Happiest of Birthdays to You

Who doesn’t need a simple, yet lovely, birthday card?  It is always useful to have one on hand for those last minute gifts, or even the birthday you forgot.  I keep a few cards on hand at all times, you just never know.  I recently got to share creating a simple card with my daughter-in-love and it was the best.  This is yet another one of the cards I made to rebuild the stash I gave her.  She loves using them, and now making them.  Woo hooo!

8-2 (2)

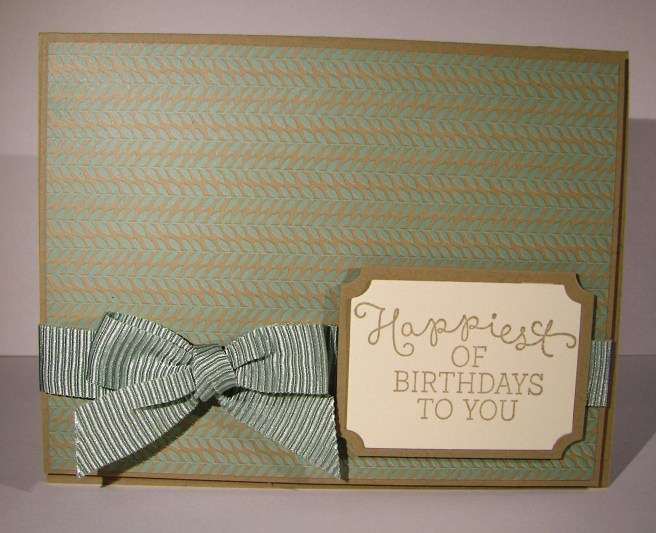
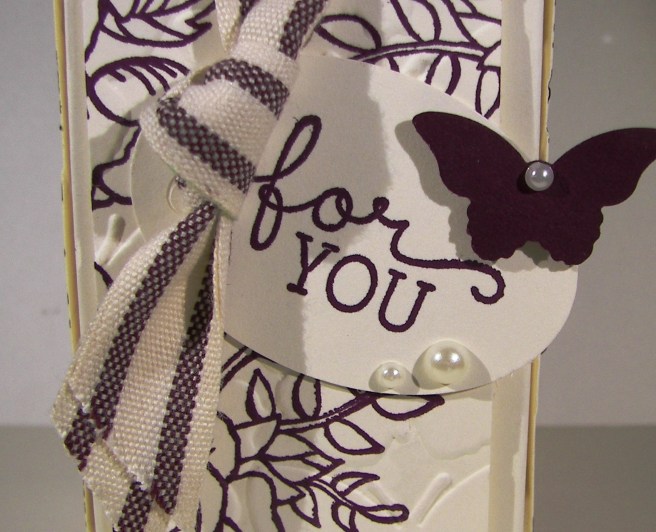
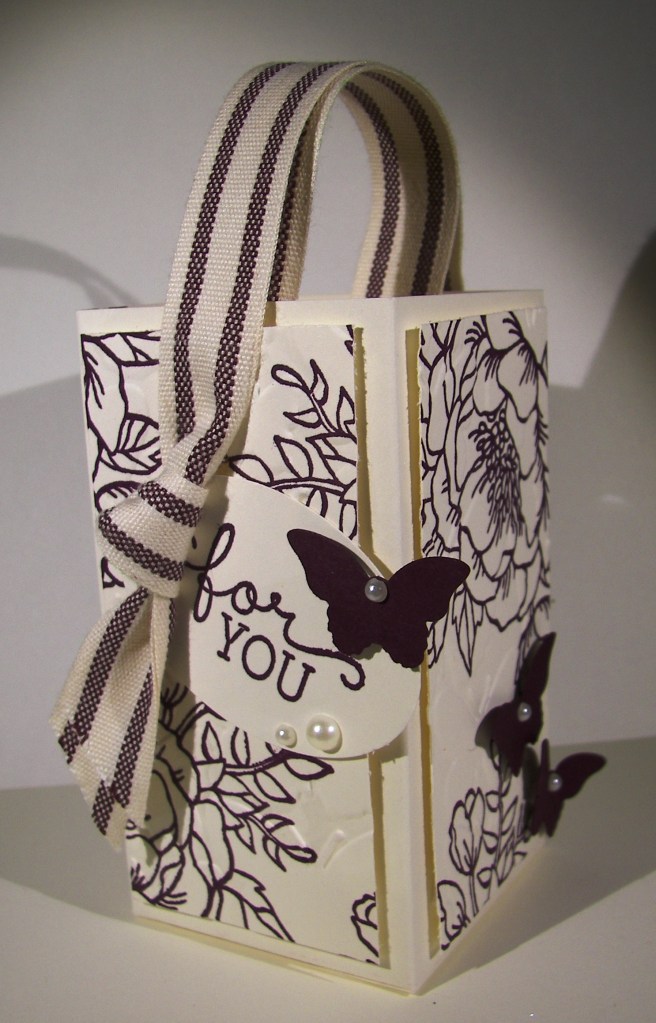
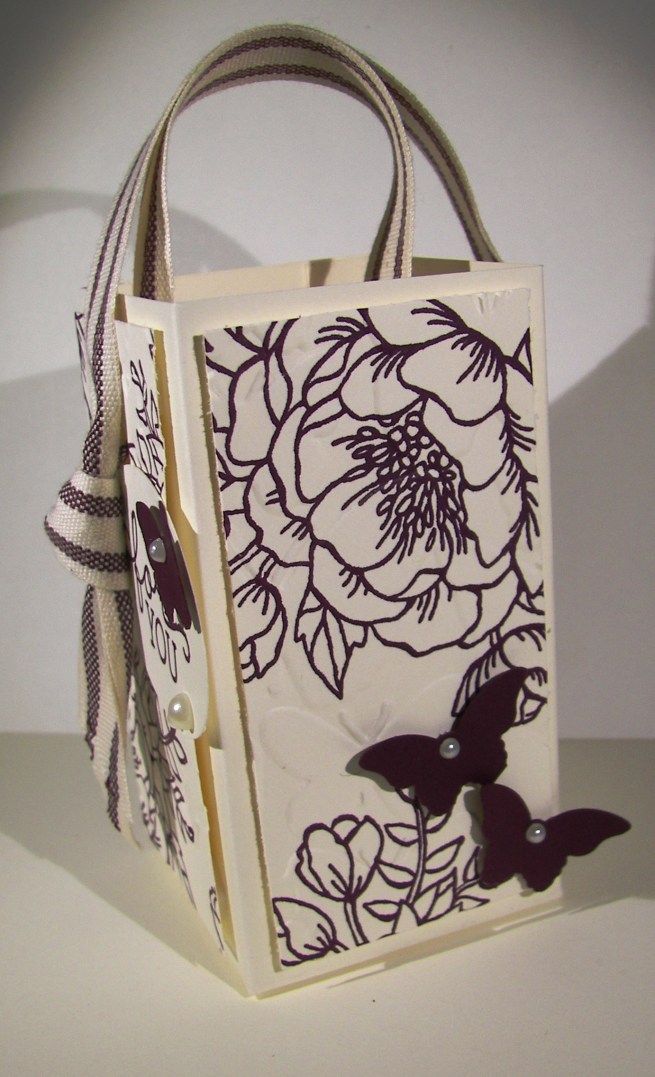
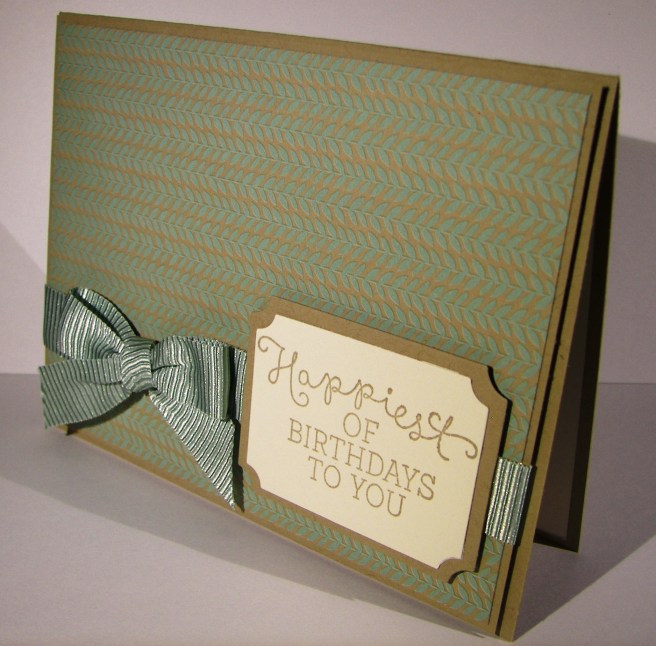
The paper is lovely, the sentiment sweet, layered tags are one of my favorite, but this ribbon.  It is so beautiful.  It has texture yet shines, is thick but ties beautiful bows and knots, and the colors are the best.  I normally don’t go through my ribbons too quickly, I try to make them last.  But these won’t with me, I see having to replace them sooner than later.

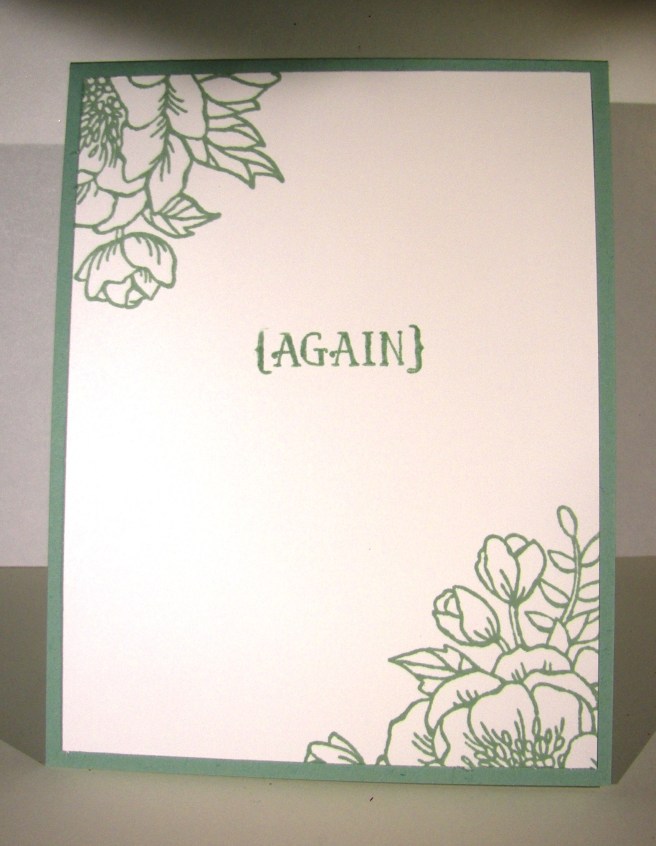
Having great tools and beautiful paper really makes quick work of a card like this.  One layer of designer series paper layered on a piece of crumb cake card stock, a ribbon tied in a bow around it, and then raised up on dimensionals on the coordinating card base.  The tag was stamped and die cut super quick and layered up again.  The inside has a clean piece of very vanilla and that makes it complete.

8-2 (1)

Have a creative day!

Moana

Happy 29th Birthday {Again}

And the third workshop project has arrived.  Good thing too, since tomorrow is workshop! I often know further in advance what I want to do, but not this time.  I have been doing a lot of detailed water coloring and that doesn’t go well for large group instruction.  Folks need their own tools and materials for that kind of work.  We are doing one water color and that is stressful enough.

4-22

Isn’t this one so adorable?  The paper, matching stamps, and the ease of stamping and die cutting the numbers really make this one fantastic.  It isn’t too difficult to make, but sure brings a smile. Believe it or not, I tried several times to add die cut flowers for a fun layered look, but had to leave them off.  Sometimes that happens.

I took the background dsp and put it through the bigshot  with an oval framelit centered.  I then took that piece and turned it over to fill that same oval hole.  The two sides coordinate so nicely I could resist.  I used the next smaller framelit to make an oval from whisper white.  The numbers were stamped in blushing bride, cut with their coordinating framelits and centered on the oval.  I did raise them up on dimensionals.  Then the sentiment was stamped centered over the top and bottom of the numbers.  The tiny ‘th’ was die cut first, then stamped.  The framelit for that tiny one doesn’t have a window to look through, so I had to.  But with photopolymer stamps you can see exactly where you are placing your image.

I stamped inside with the largest flower from the Birthday Blooms set in each corner using a different portion of the stamp to make it look different.  The center phrase ‘again’ was the last thing added.  How fun is that?

4-22 (1)

Have a creative day!

Moana

Birthday Blooms with Blackberry Bliss

And a happy good morning to everyone!  I do love a Friday that is full of promise and enthusiasm.  The only problem is that I usually have my goals too high and get frustrated when I fall short.  Either way, I love Friday and the fun evening often in store.

4-15 (3)

This little thank you is so adorable, yet lovely.  I used a half sheet of very vanilla for the box, scoring at 2″, 4″, 6″, and 8″.  Then turning one quarter turn, portrait now, to score at 2″ for the bottom.  I used a companion piece of very vanilla for the stamped and embossed layers. The piece is cut first at 3 1/2″ so the stamping could be done.  I just used the large floral image to create a pattern.  Then the second cuts came at 1 3/4″ each, needing four of these all together.

4-15 (1)

Before they were attached I embossed them with the fluttering embossing folder.  Such a nice result.  I layered them up with dimensionals and thought about leaving it just the way it was, but continued on with the plan.

I made the tag from the scrap left over from stamping and punched it with the extra-large oval punch.  A added a ribbon handle and attached the tag to the under side of the ribbon tail.  A few butterflies later and a smidge of pearls and I was ready to add my treats.  So much fun, just so much fun.  Now to deliver!

4-15 (2)

Have a creative day!

Moana

Thank You Times 250?

Just what is this about?  While enjoying a crazy holiday in Utah with family I was given a special request.  My beautiful niece is getting married tomorrow and I couldn’t be more excited.  I had originally offered to make her wedding favors for her wedding gift.  She changed her mind on having them, so instead she asked for thank you cards.  Time was short, but I decided to complete them while I was in Utah so she could have them before the wedding.  Well, it was quite the event.  I took these photos on my cell phone just before we headed home, so they are pretty fuzzy.  I just couldn’t not share.

4-8

I put in an order for the materials I would need to make 250 of these simple cards.  I started out strong on my own, but in the last hour I had to enlist the family assembly line.  They are so well trained.  Now she has custom thank you cards, with matching envelopes, in her wedding colors all ready to go.  I think she will have more than enough and will be left with a lovely stash of cards to say thank you along the way.  How fun!

I did learn an interesting thing.  Stampin’Up! ink pads do have limits.  I didn’t think to order re-inkers to go along with the new ink pads for this project.  Silly me.  I got more than half way through the so saffron stamping when I knew I was not going to make it.  My daughters friend was a demonstrator.  We hit the stash, got to looking, almost gave up, then my husband came to the rescue and found it!  Stamping could continue.  Small world. Oh, and I went through five refills of my fast fuse.  I almost didn’t make it there either.

4-8 (2)

Have a creative day!

Moana