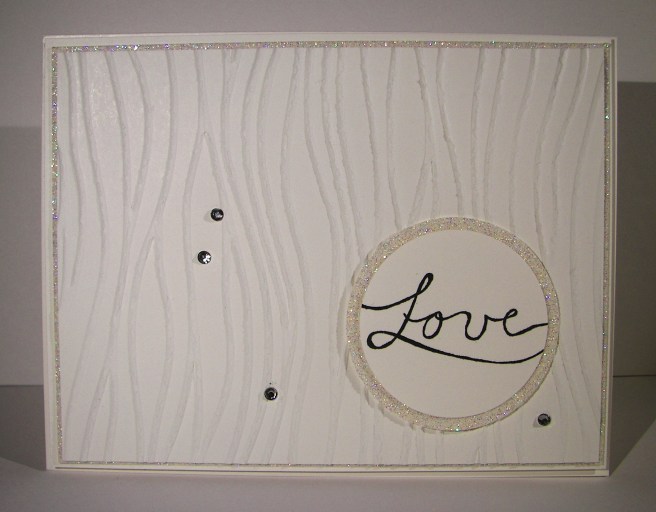
This is how things look when I am feeling creative, but not sure just which direction to go. No sentiment, hardly a stamp in sight, just pretty flowing color. That is really so satisfying. This could be for a birthday, but really any celebration would be a good fit. Balloons are so happy after all.
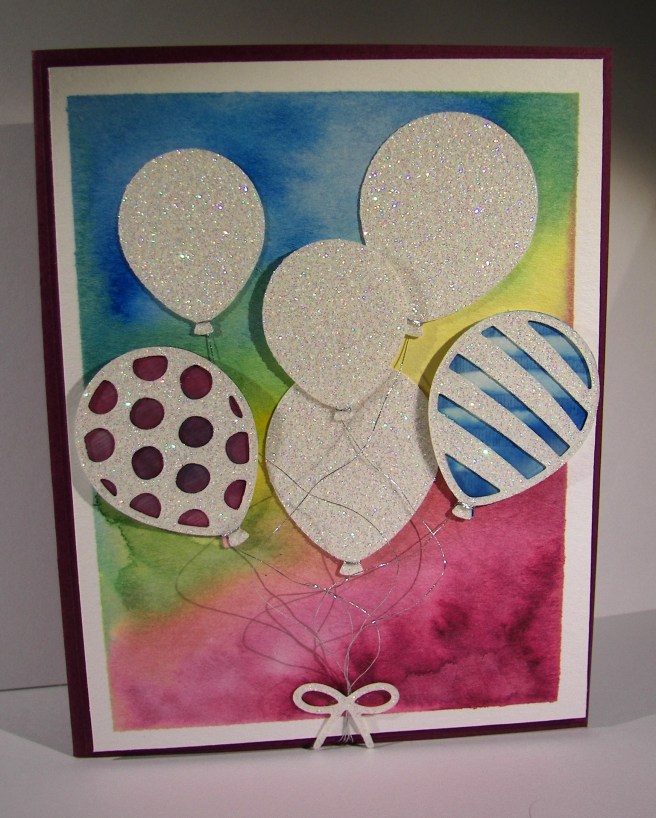
The project began with water color paper being masked to a board and spritzed with water lightly. The rich razzleberry went down first in the bottom corner pretty heavy. Pacific point was the blue I chose for the opposite corner. The center section got crushed curry, but I didn’t blend just yet. I wanted it to kind of mix with the help of water, not my brush so much. It was nice, but I did push some of the color around to make the green show up more. I would have like a bit more orange to have mixed, but the green kind of took over and I didn’t want the infamous brown to appear.
The balloon bouquet punch and the balloons inside the balloon pop-up thinlits set match perfectly. I painted a couple of swatches, punched them out and layered them under the thinlit cut balloons. A bit of layered fun there. I wanted to go with velum cardstock, but didn’t feel up to the adhesive hiding game. The glimmer paper is always pretty though.
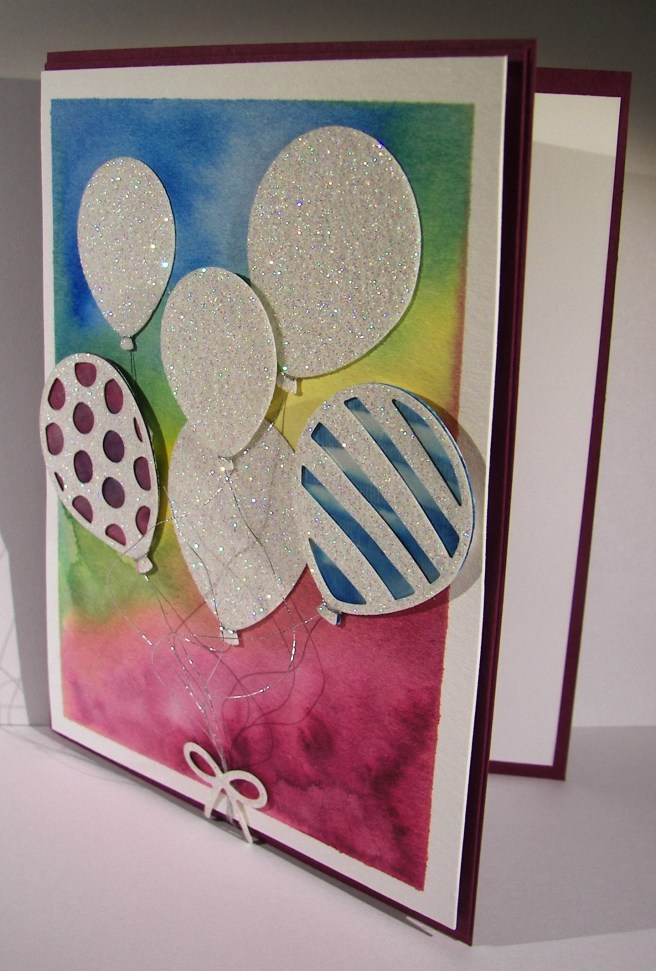
I used the metallic thread for the balloon strings and loved it! It was a bit tricky since it isn’t the easiest stuff to work with. But how it looked wrapped around the bottom of the balloons was too great to not. There it is!
Have a creative day!
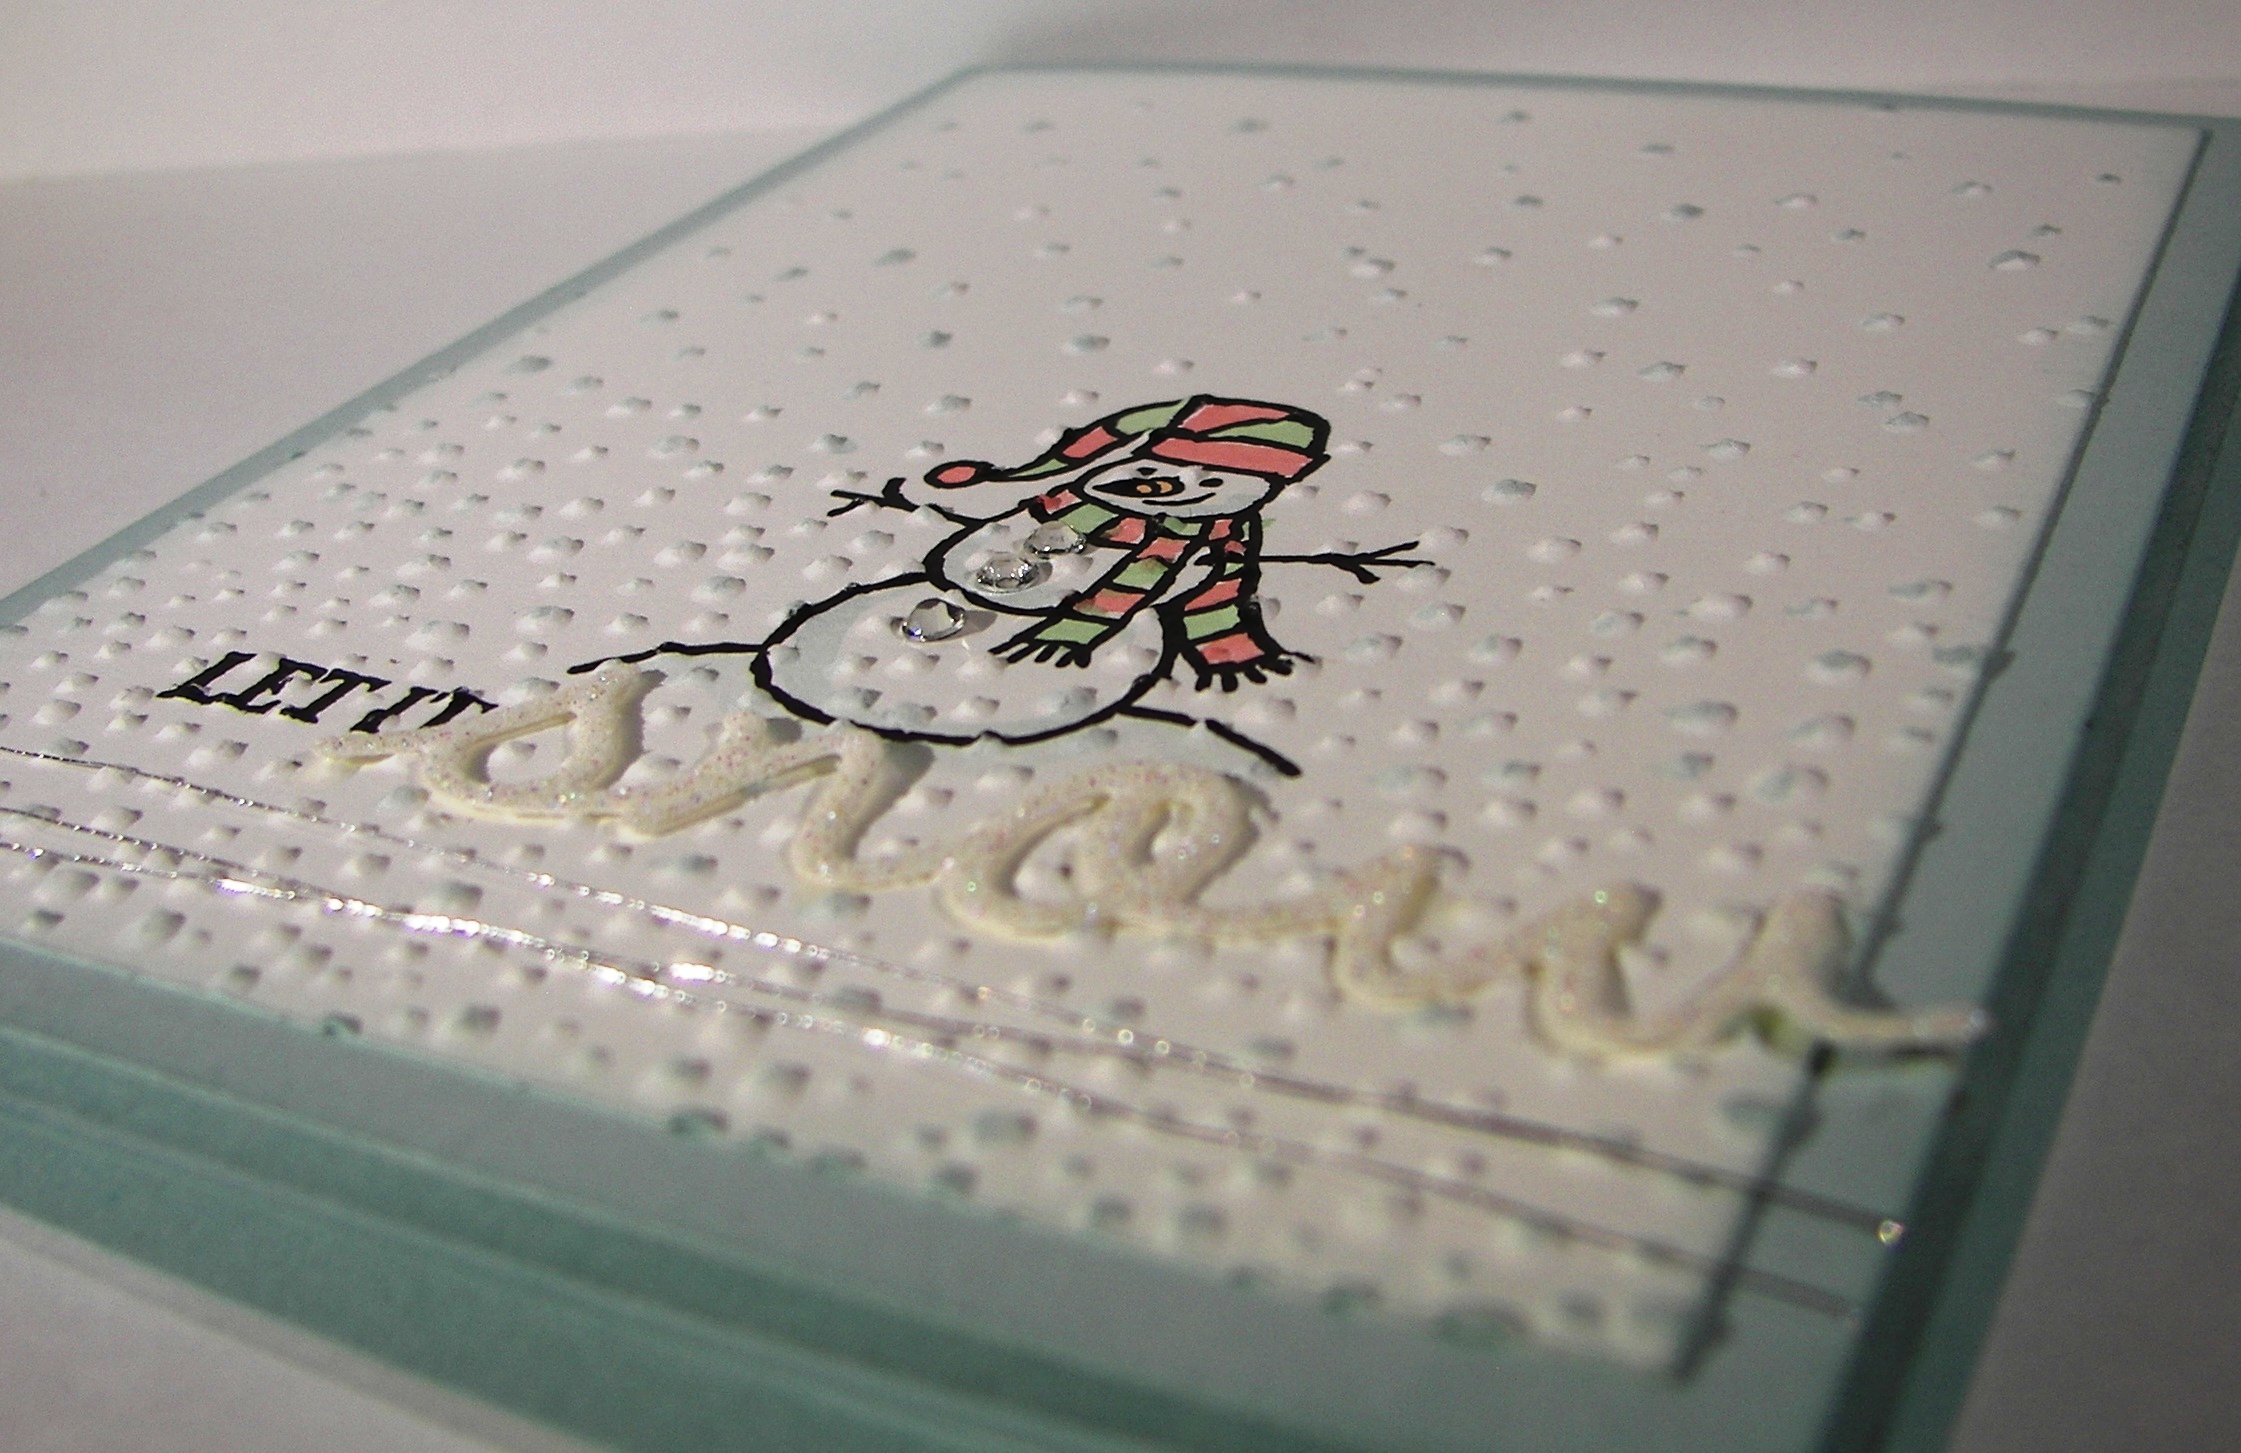
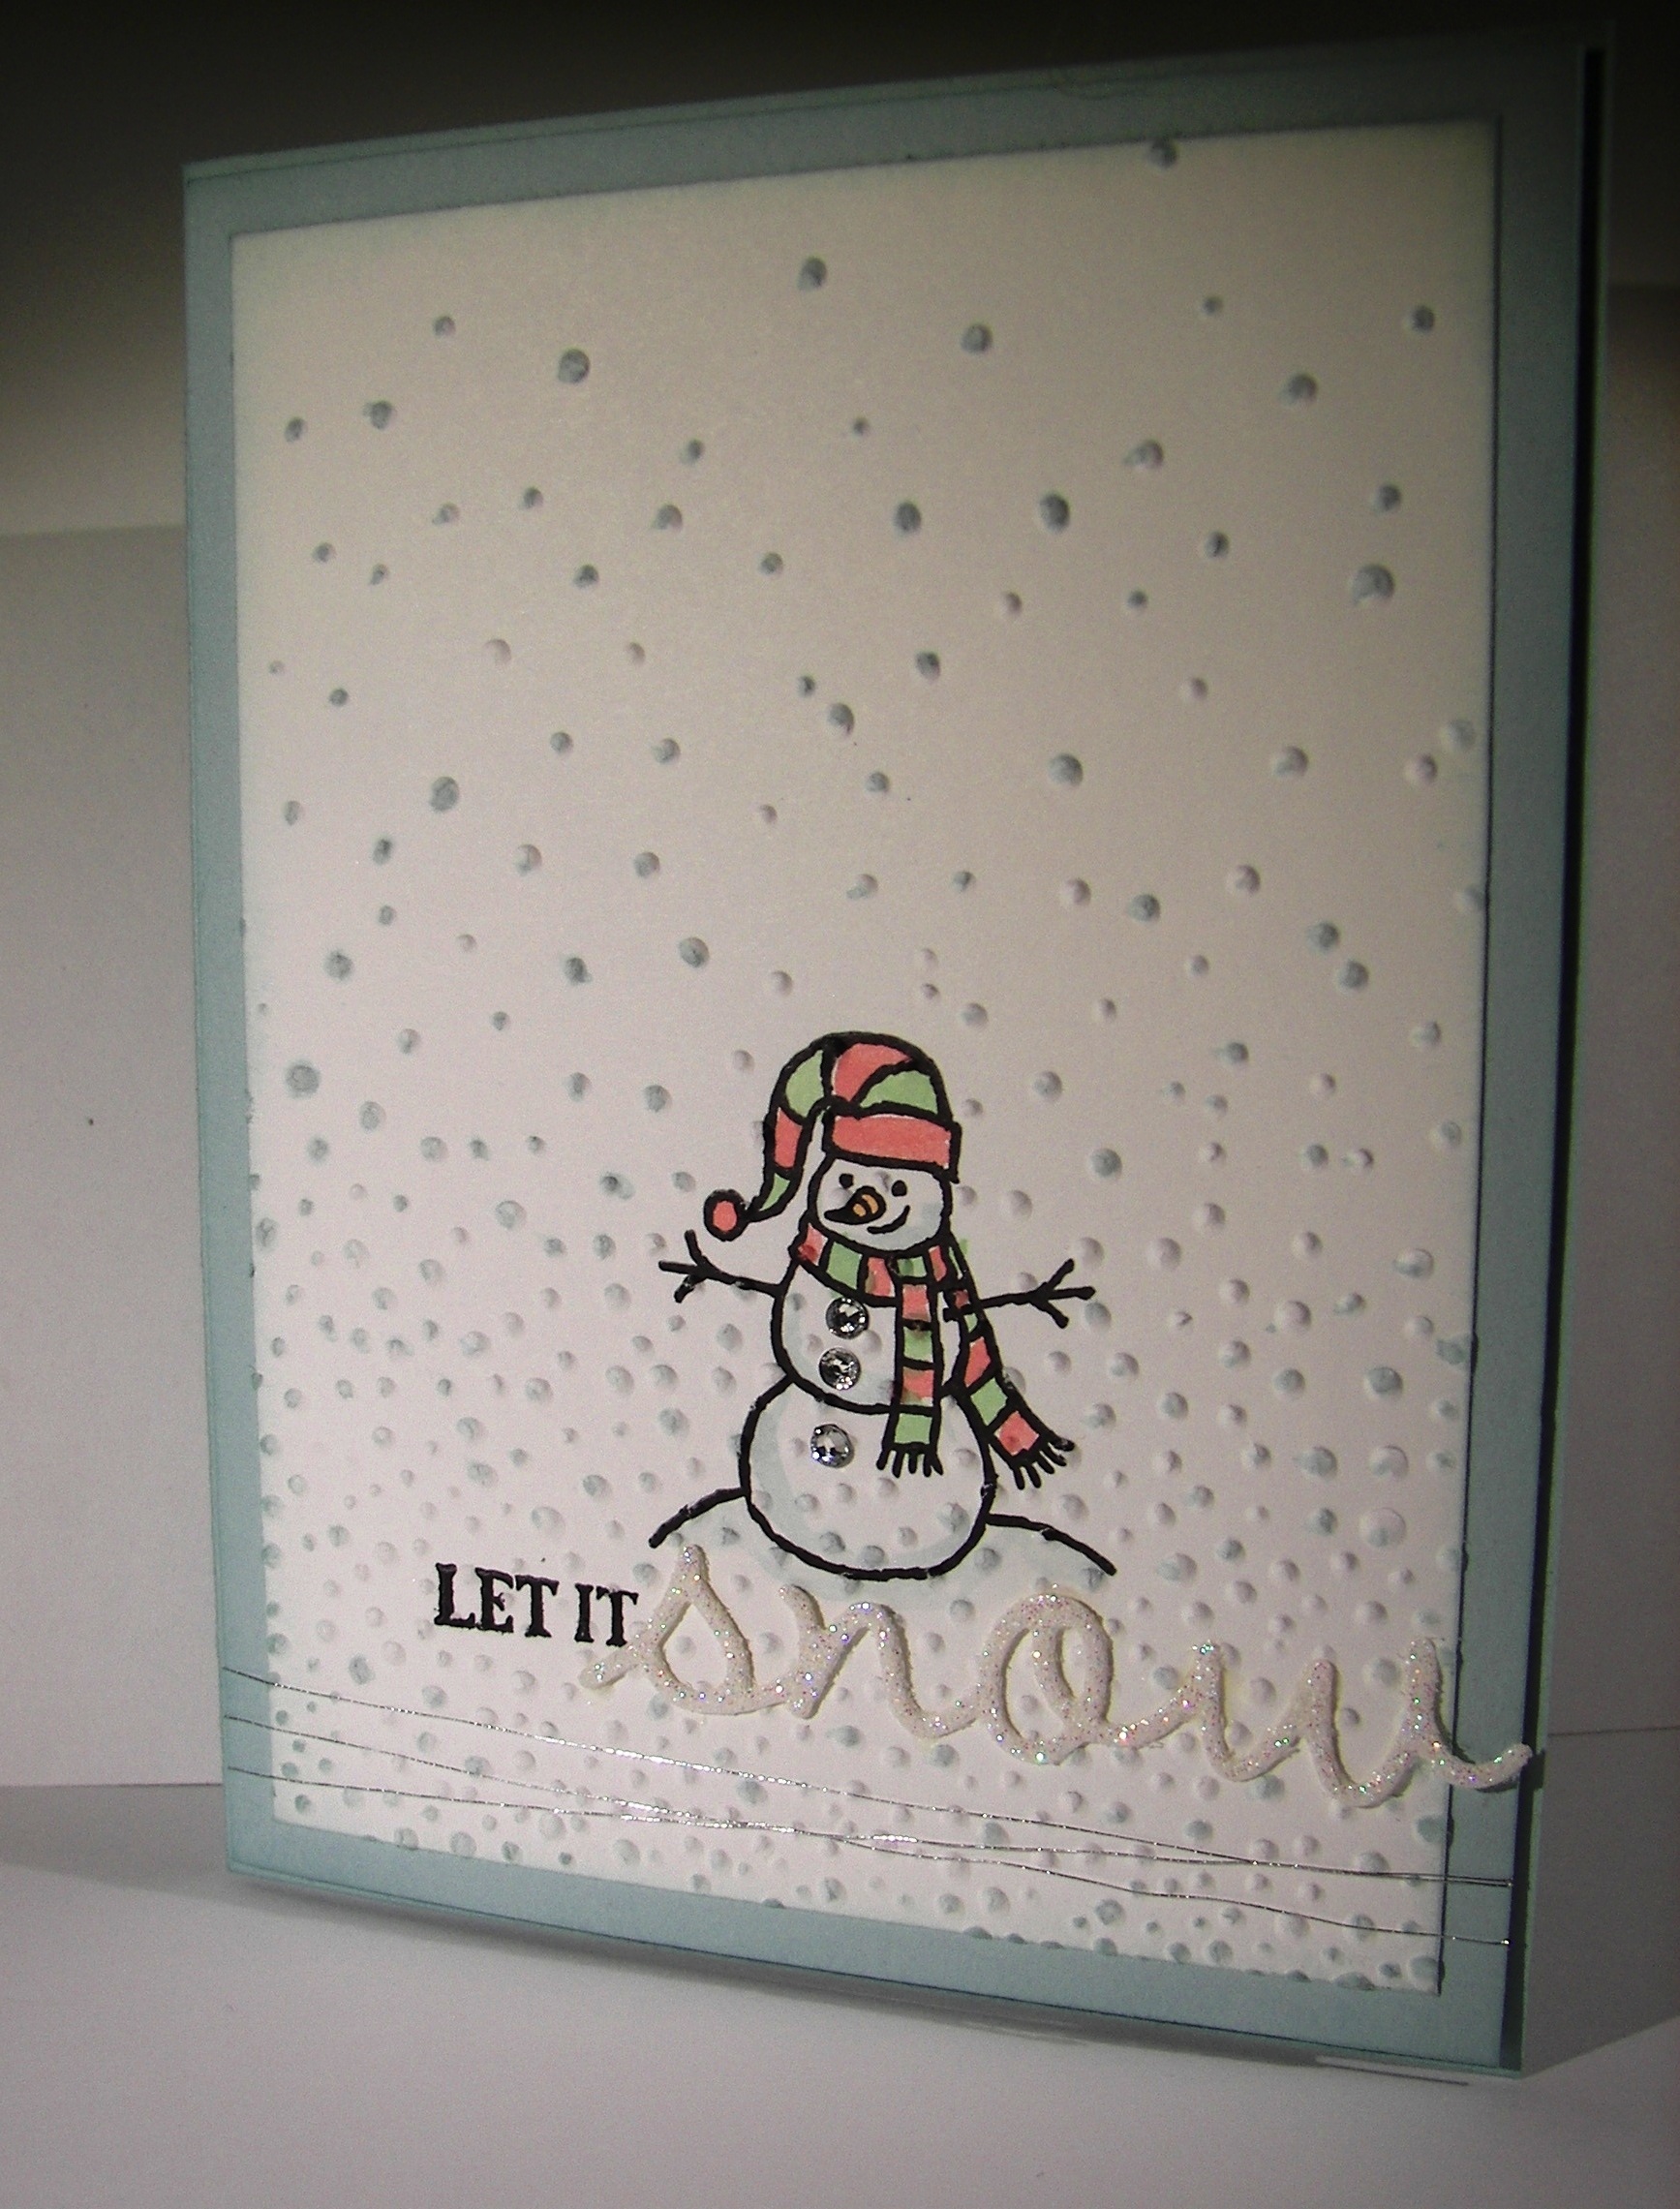
Moana