Comfort & Healing to You…

There are so many talented people out there that love to share their projects like I do. Sometimes one will come along that I not only enjoy, but have to give it a try.  This project is a mix of a couple of different ideas with my own twist.  I do love how it turned out.

7-21

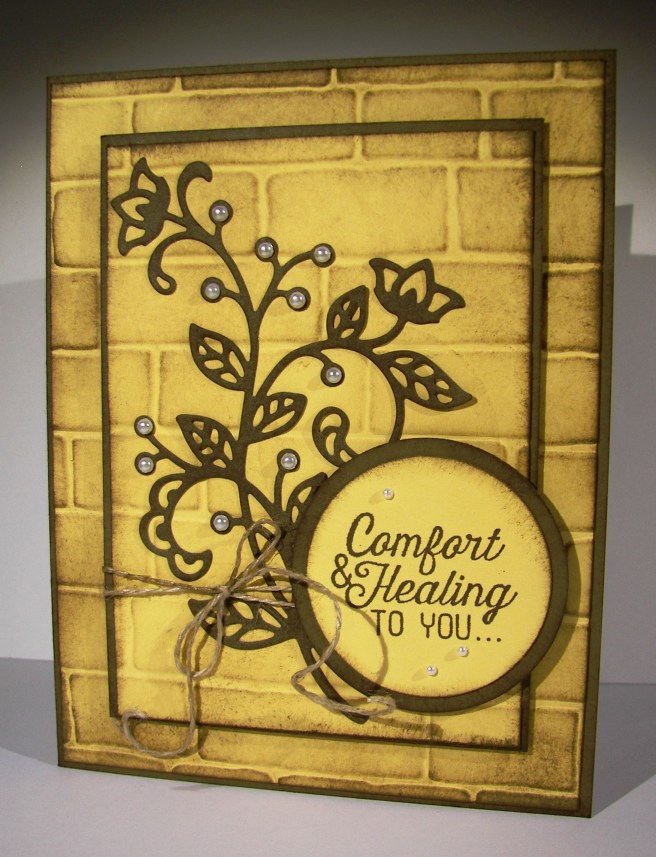
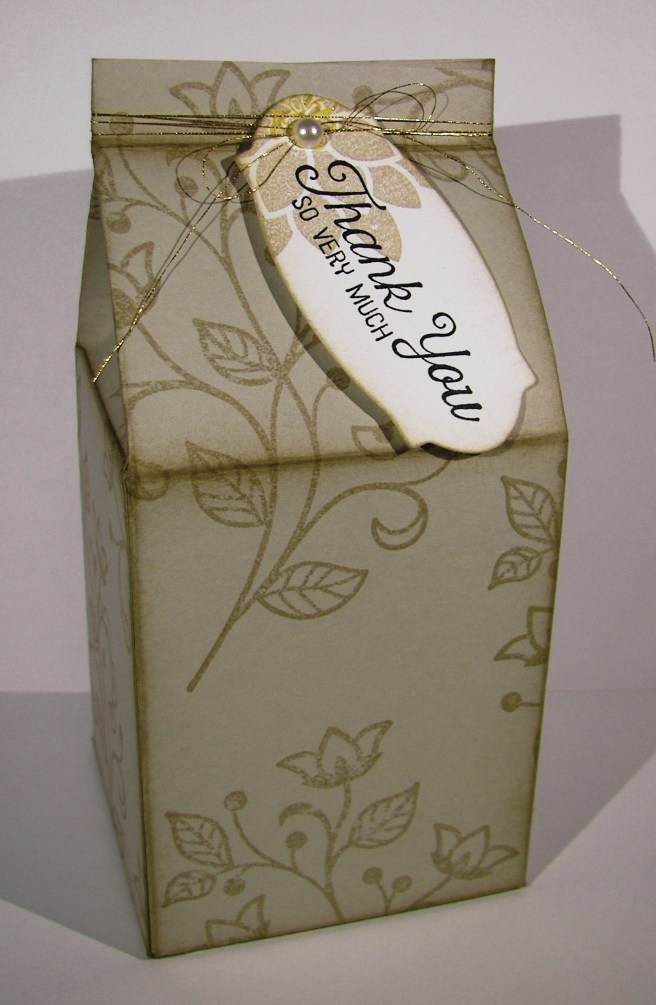
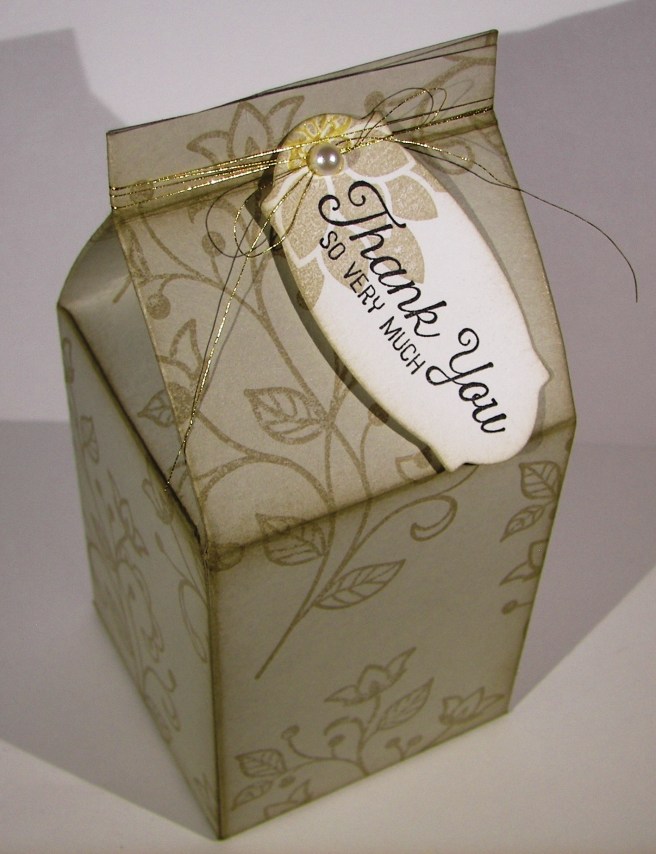
One of the projects I studied had the card base smooth, which was lovely, and no extra layers, just the circle tag.  The other had the same layers I used with a different embossing folder, but I didn’t want to use that one.  I decided on the brick wall folder, but thought it still looked a bit plain.  After it got a good sponging and distressing I was much happier.  I even sponged the die cut piece because it just didn’t match the rest.  A healthy dose of basic pearls finished everything off.

7-21 (1)

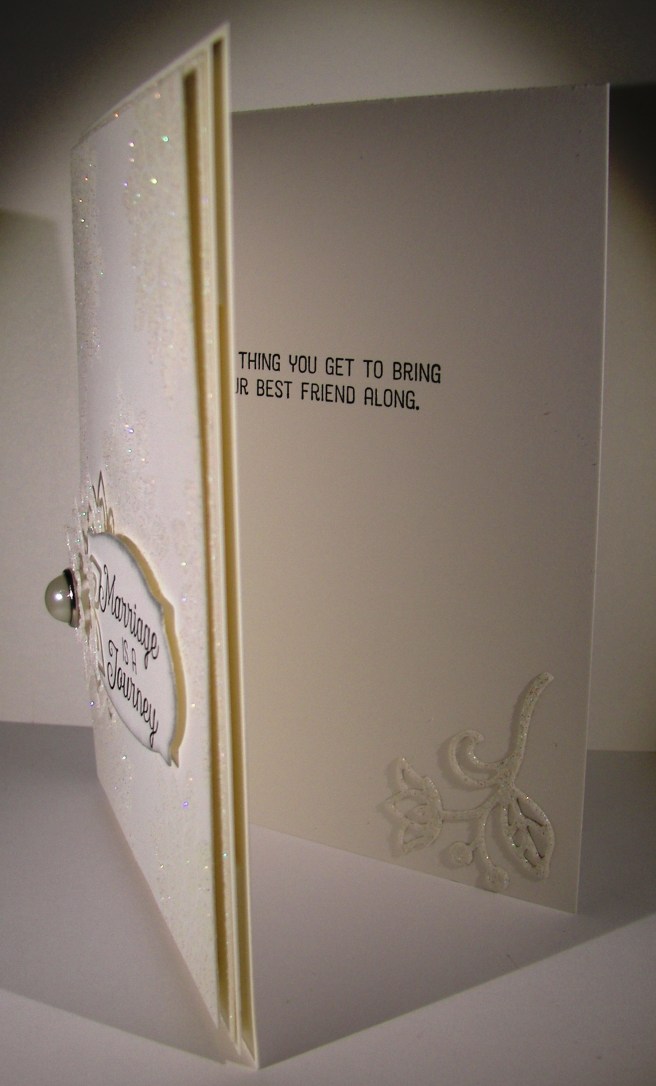
The inside of a card almost always gets a whisper white or very vanilla piece, but I went with the card front color of so saffron like another example showed.  The color is light enough to be written and stamped on equally well.  A very nice touch.

Have a creative day!

Moana

Marriage is a Journey

Time for something wonderful, like a wedding.  A white on white card with this much sparkle says wedding like nothing else.  It almost feels like a wedding gown.  So lovely.

7-16

The entire card was made from one sheet of heavy weight card stock, plus a piece of dazzeling diamond glimmer paper.  That stuff is so fantastic to work with, but I am a bit stingy sometimes.  This time, I put it to really good use.

The layers were simple, with just a 1/8″ border added along to each one.  I used the center of the glimmer paper to die cut the floral images I used to decorate the front and the inside. Since it was covered by the other layers, you can’t even see the holes.  Great use of paper.  I also stamped and die cut my sentiment from another layer of the white card stock that was covered as well.  Even with a card this glamorous you can still be practical.

I stamped the card front with versa mark ink, sprinkled with heat n stick powder and heated until it was ready to receive something more.  It was actually pretty by itself, but I did cover the freshly sticky flowers with iridescent ice powder and then heated again.  You can see how beautiful it looks.  Capturing sparkle on camera can be tricky, but not with this technique.  It is that much more in person, really beautiful.

7-16 (1)

Isn’t this sentiment set just so adorable for a wedding card?  I am looking forward to my 26th anniversary next month with my best friend, just fantastic!

Have a creative day!

Moana

Thank You So Very Much

Everyone says thank you in their own way.  Me, well I like to do favor boxes or cartons.  A little bit of words along with a special treat.  I always want to give something special and to be honest, the budget won’t often allow that.  Hence my love of paper crafting.  I always have more time than money, so my time can show my gratitude.  It isn’t that people expect, I just enjoy doing it.

6-29

This carton was made with a whole sheet of sahara sand card stock.  I pulled out the trusty simply scored scoring tool and it came together in no time.  I actually made this one while having a lovely chat with my mom and dad.  How wonderful summer can be to me.  I did do my stamping first, because it does bother me when the stamping skips over the score lines. I know, not a real big deal, but it bugs me.  So the stamping first with the Flourishing Phrases large floral image.  I stamped and sponged in crumb cake instead of sahara sand to give a more vintage look.  So adorable.

The tag was cut with from the frame from the Rose Garden Thinlits set.  It it so much fun to put such pretty things together.  The smaller floral image was stamped first, the thank you second and then die cut.  Of course the whole project enjoyed lots of sponging.  I wrapped the top of the carton with gold metallic thread, popped a tricky bow through a bitty hole I punched and topped it all with a large basic pearl.  I refrained from putting those all over the box, I made myself keep it more simple.  So there you go!

6-29 (1)

Have a creative day!

Moana

Flourishing Phrases

This particular project went through a few different phases.  This is how it started out, all about blue.  I had the ocean on my mind and gave it a try.  I had intended on using a new embossing folder after I water colored, but to be honest, I forgot once I got all this going.

6-25

After I painted with all of the blue inks I have I did some detail work using my gold wink of stella.  I focused on some of the watermarks and edges of color.  The look it creates is really awesome.  It is tricky to know when to stop because it is so much fun.  Mission accomplished here for sure.

6-25 (1)

The next step was to add a special tag.  This one got a bit out of control and went to a busy style that really isn’t my own.  However, I decided to leave it and see how it balanced out with the huge butterfly addition I had in mind.  I water colored large areas of paper to provide both my tag area as well as the butterflies.  It is much easier to paint whole sheets instead of small specific die cuts.

6-25 (2)

When this butterfly combo came along I really began to wonder just what I was up to.  I think that is because I love decorative painted backgrounds so much I rarely cover them up. They are such great all occasion cards, but I pushed forward.  I did edge the butterflies with the wink of stella, which of course you cannot see in these photos.  It is there though, and it looks so pretty.  You can see it better in the lead featured image which is much more close up.  Basic pearls, gold metallic thread with a little more patience and this project was finally finished.  It measures 5 1/2 x 5 1/2 plus the butterfly hanging off the edge.  A custom envelope will definitely be in order here.

Have a creative day!

Moana