You’re in my Thoughts & Prayers

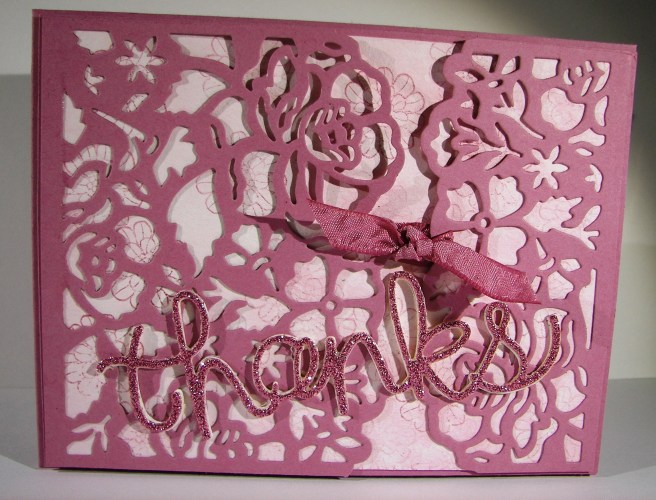
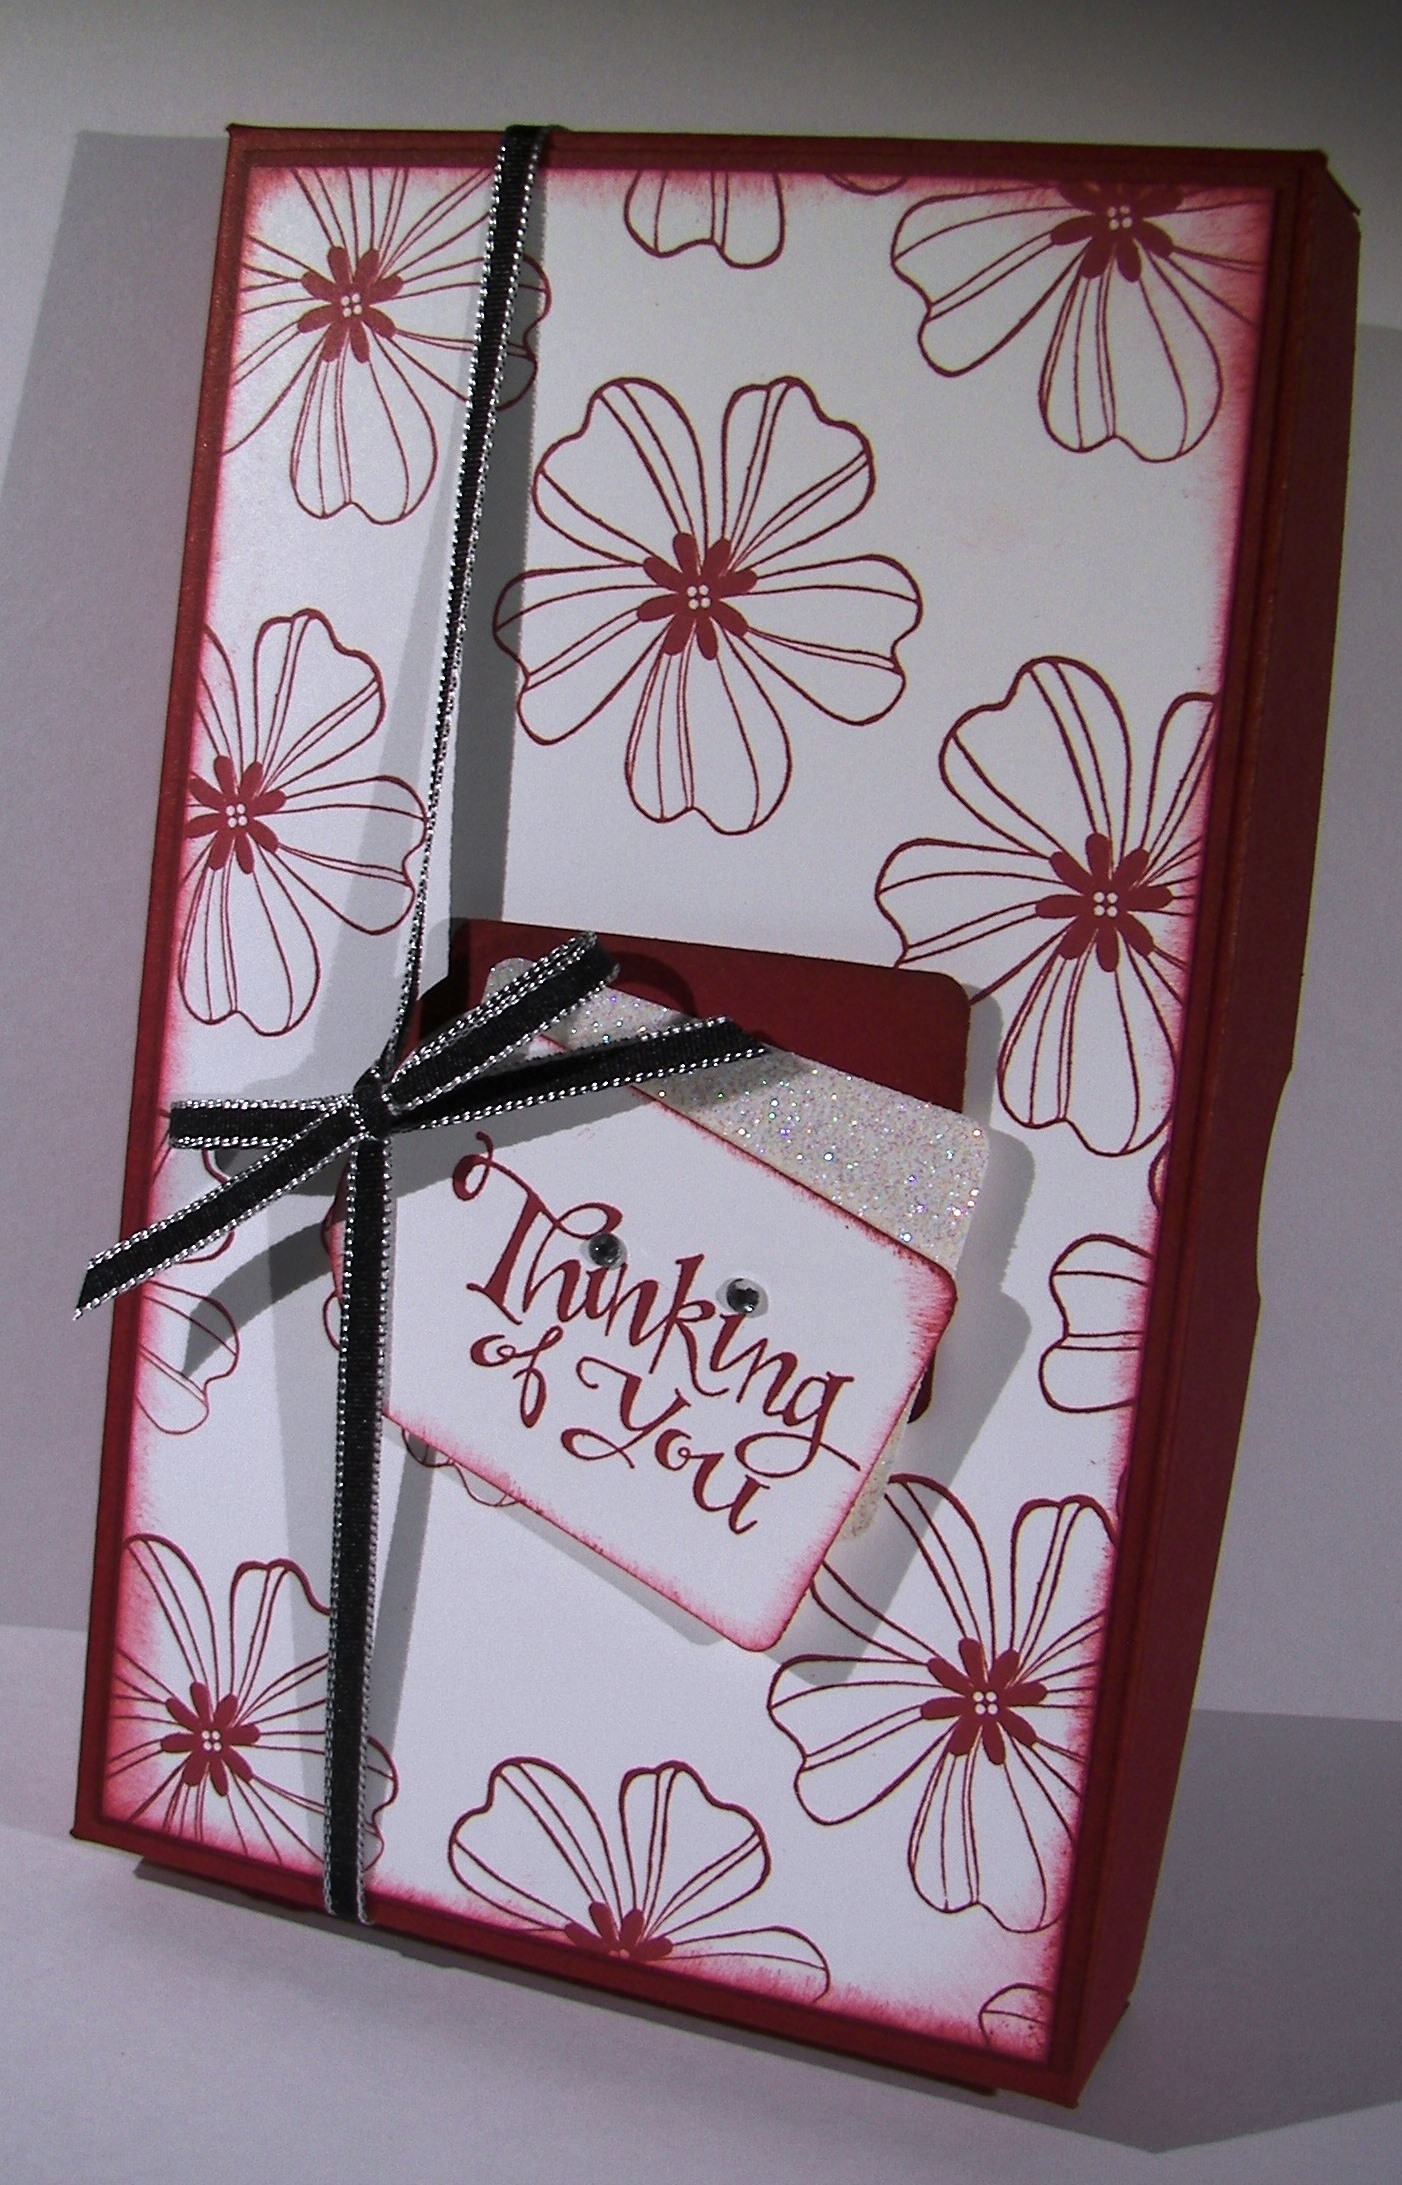
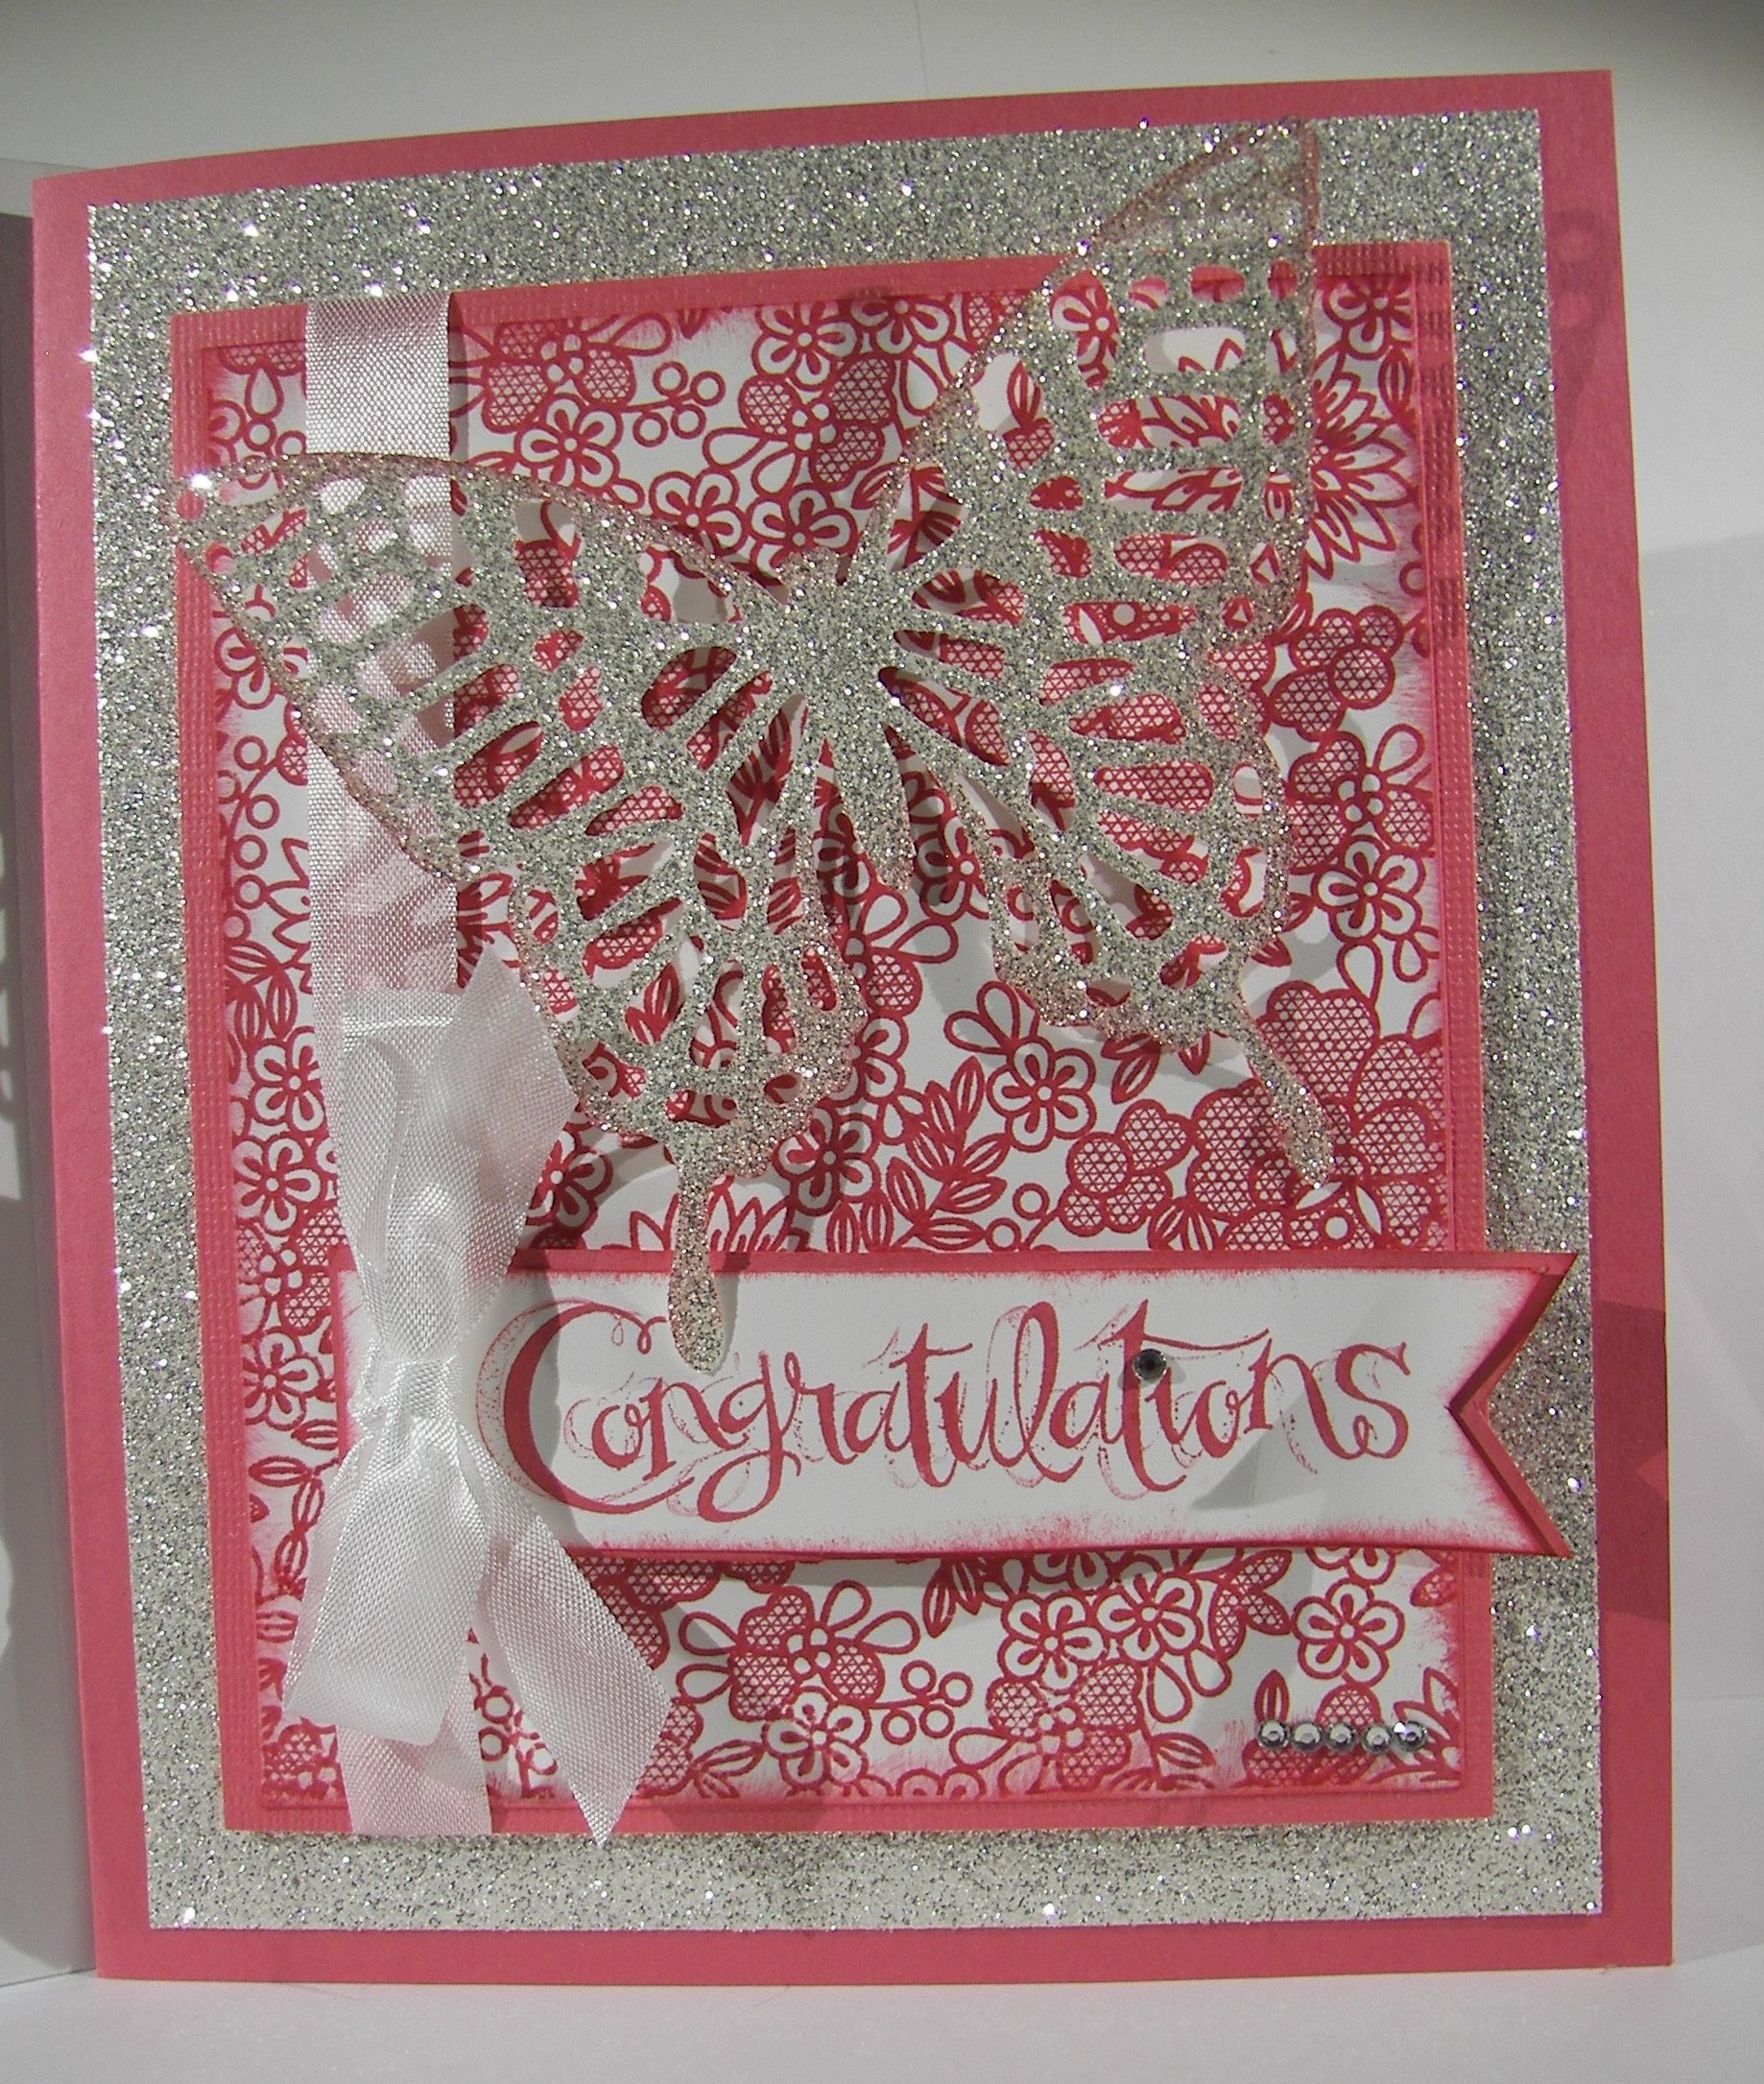
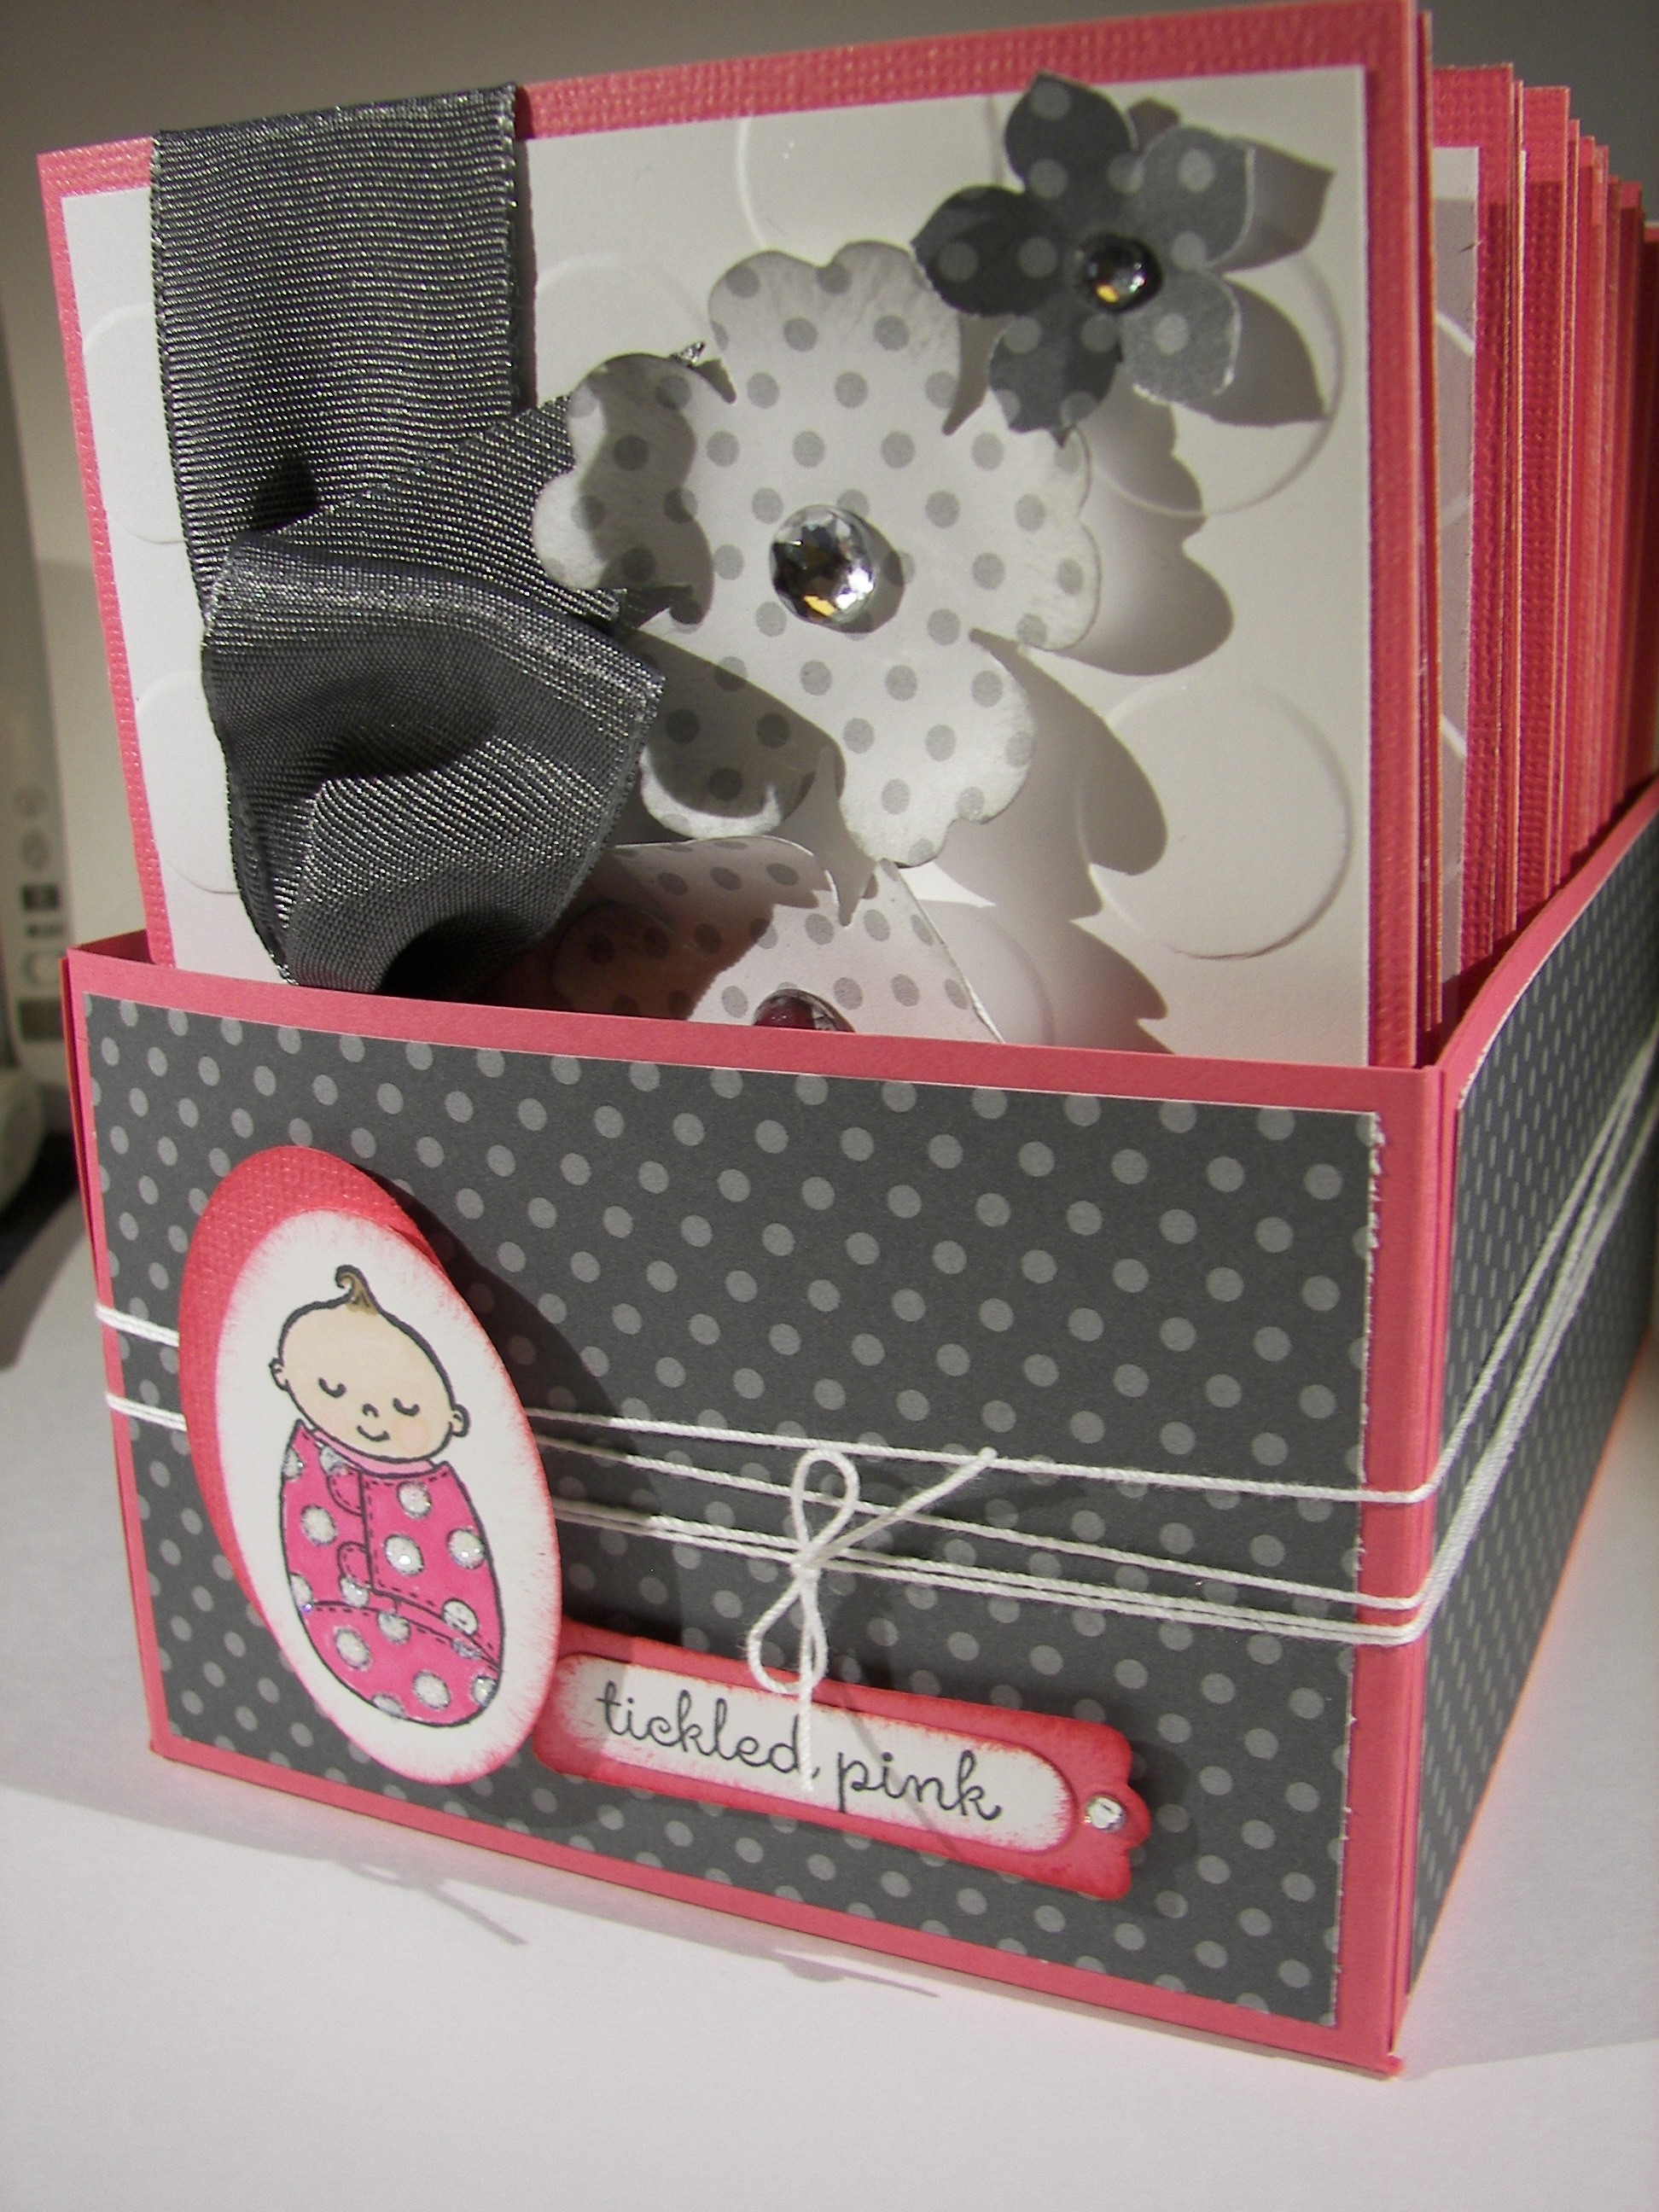
This is day three of seven projects re-purposing leftover workshop kits.  The only thing this card has in common with the first sample is color and a floral motif.  Wow, I love how it turned out.  When I made this I thought it was lovely, but didn’t have a special someone to give it to. Sad to say that now I do.  I do love having somewhere to express sincere thoughts and feelings. This will be perfect.

3-31

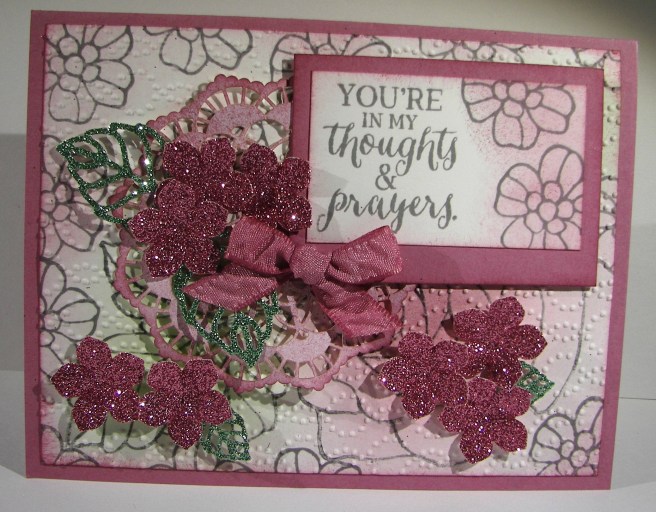
The card front was stamped with the huge image from Rose Wonder.  The small flower image is also from the same set and I used it plenty all around.  I then sponged color lightly over all of the images.  I wanted soft color not exact or even water coloring.  The color almost glows. Then I ran it through the big shot with the elegant dots embossing folder.  The look was stunning.  I nearly left the rest of the decoration off.  It was lovely enough to be a one layer card.  But I kept on and dressed it up some more.

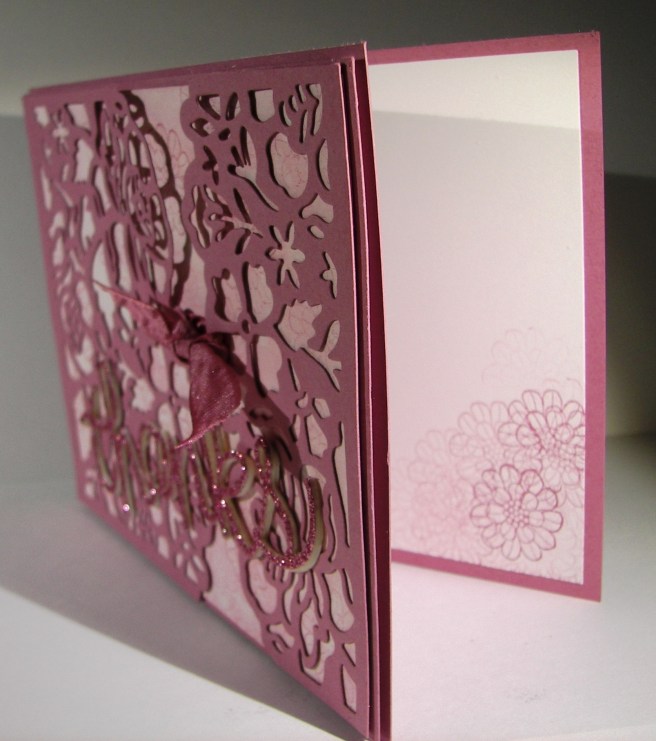
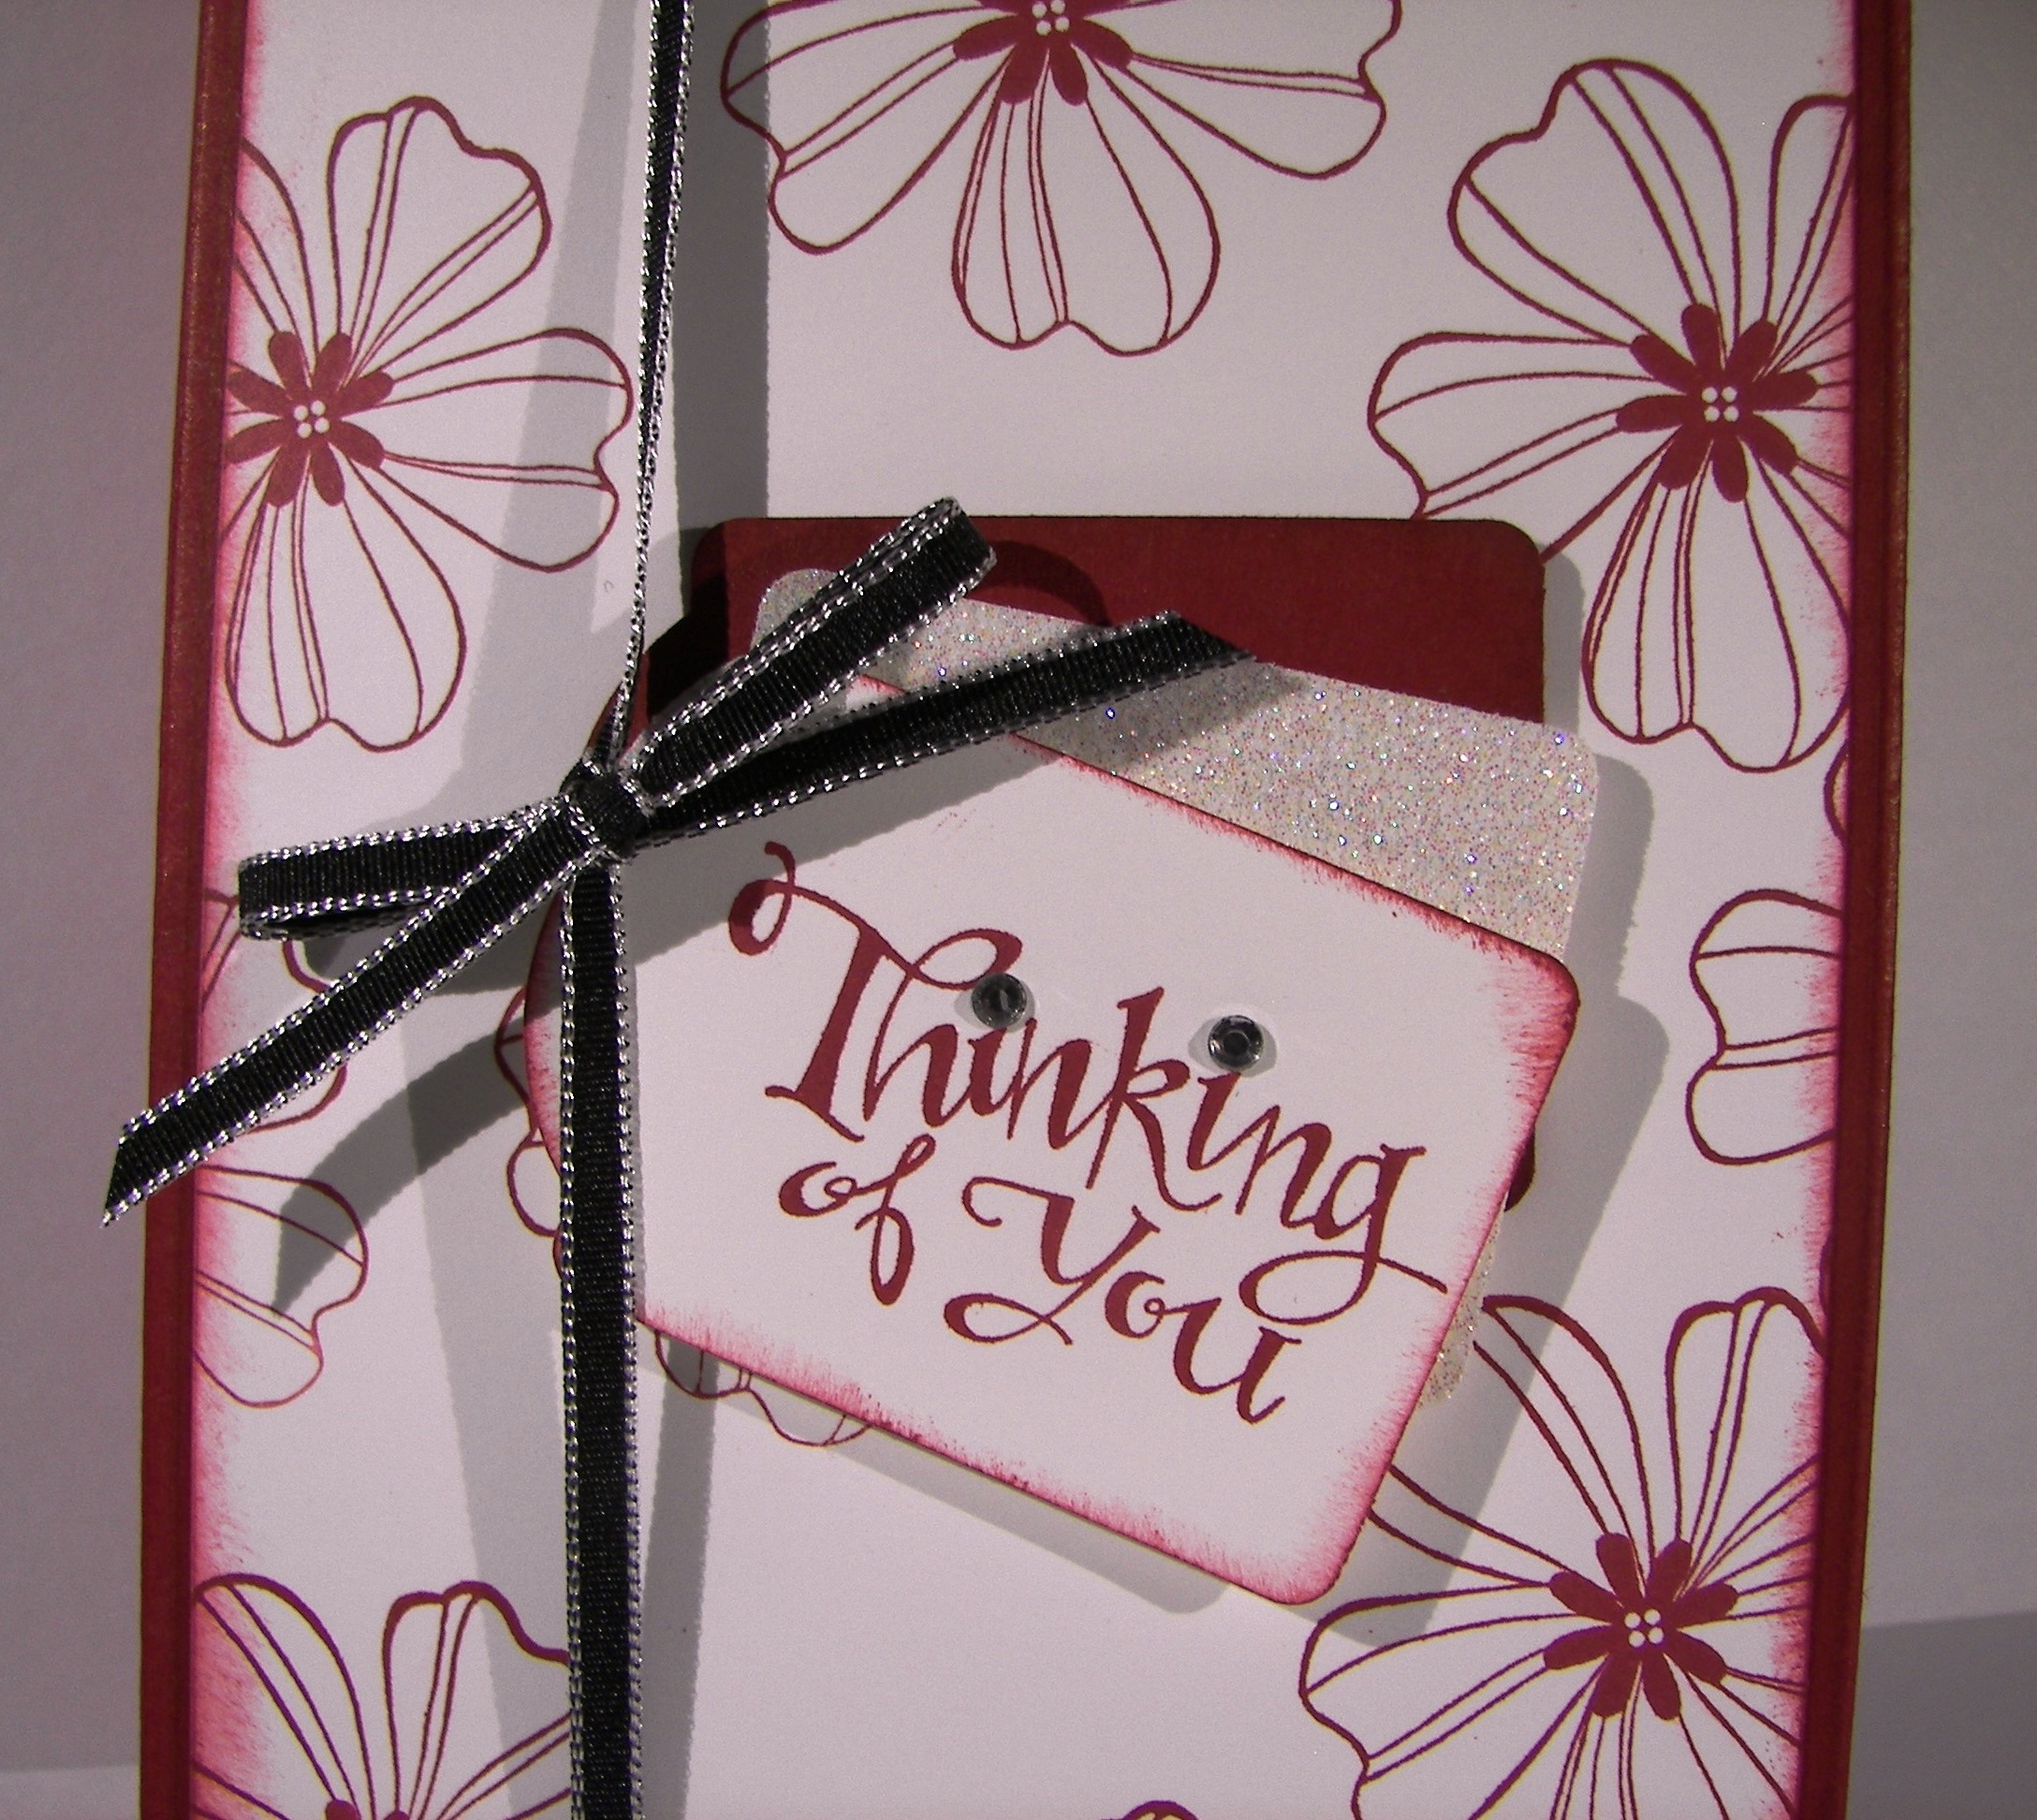
The doily was sponged with sweet sugarplum to match perfectly, love that option.  I crumpled it up some to offer more texture.  I was surprised on how many flowers I got out of that little piece of glimmer paper in the kit.  Careful use of specialty paper sure does make it last.  I staged the doily and sentiment tag before putting down all of those flowers.  There was a nice spot for everything if I do say so myself, and I do.

3-31 (2)

Everything was sponged and sponged some more.  It put everything in a soft focus look which lends itself to a card like this.  I didn’t want any harsh lines.  I don’t always re-create a project, but I can see myself making this one again.

Have a creative day!

Moana

Make a Wish

This last weekend was my card workshop and this was one of the projects we made.  Some of my ladies get intimidated easily, so I do try to keep it fun and simple.  This one fit the bill quite nicely.

3-20

The card base and ink are bermuda bay, even the glimmer paper that is hi-lighting the candles.  That glimmer paper has been super fun to work with, I will be sad to see it go away at the end of sale-a-bration this month. I will probably get one more pack with my order this month.  Maybe it will be put into the new catalog this summer?  One can only hope.

3-20 (1)

I die cut the candle framelit three times along the strip of very vanilla and adhered a strip of glimmer paper and daffodil delight paper underneath.  Such a nice accent.  That little set was then added to another strip of bermuda bay for the top layer.  The sentiment was direct enough, stamp and punch, my favorite.

The background piece is from a great paper stack.  I must have used half of it so far.  That is unusual for me, I don’t always love so many of the patterns.  Yes for sure this time around. I gave the ladies several choices for their cards and they all looked so different depending on the background piece.  Fun stuff there!  The inside earned a stamping of ‘Happy Birthday’ from the coordinating stamp set, window shopping, because I didn’t like it on the front.  It was a distraction. Can’t have that!

Have a creative day!

Moana

Hello Glimmer!

Glimmer paper, floral stamps and dies, water coloring, beautiful ribbon, these are several of my favorite things.  Seeing them all together really does make me happy. I needed a special thank you card and this has more than accomplished that.

3-17

I hadn’t had the detailed floral thinlits out for a bit, so that was reason enough.  The sweet sugarplum glimmer paper is where it all started though.  It is such a fun paper pack.  Four 6×6 sheets in three colors, sweet sugarplum, bermuda bay and mint macaron, and the set is free with a $50 purchase.  If you are going to enjoy great product, why not get a bonus at the same time, right?  Since sale-a-bration ends this month, I will have to make sure I get another pack.  So pretty.

The background had a light patterned water color wash in the same ink color and then lightly stamped as well.  I glued the edges of the detailed cut outs to secure them easily. This allowed my ribbon to be tied easily and not look like it was pulling on the paper.  I stamped lightly on the inside as well to coordinate it.

3-17 (1)

The thanks sentiment was cut out four times from inexpensive white cardstock and then glued together one piece at a time. A bit sticky, but worth it. I then added the glimmer paper one to the top and used my trusty tombo glue to place it on the front at a slight angle.  I was temped to add more, but made myself stop.  Details are great, but not if they distract from the simple beauty you started with. My club ladies would love this card, but I think a large group would be too messy, so I will just share the sample for ideas.

Have a creative day!

Moana

Your Presents

Good morning to this bundle of happiness!  My daughter was teasing me about how I get these ideas, don’t know if they will work out, because they always look amazing.  Well, I don’t know if my original vision was achieved, but I do rather like how it turned out.

Your Presents

Wouldn’t it be fun to see a big pile of gifts like this?  With the holidays here and Christmas right around the corner, I guess it could happen.  It reminds me of growing up with the way my mother decorated and wrapped gifts.  She liked everything to coordinate, the wrapping, the tree, decorations, everything.  If someone gave a gift that didn’t coordinate, she would wrap it over to make it match.  She would approve of this card for sure.

Your Presents

Just one stamp set and all of this pattern just happened.  I bet if I worked harder I could have gotten more.  I know that I will get to use this for countless birthday cards.  A holiday stamp that can keep going on is my kind of stamp.  I just stamped and layered with glimmer paper.  The gifts were sponged lightly and a couple got bows stuck on top with glue dots.  A few stars inside and one on top of the pile and it was done.  So cute.

Your Presents

Have a creative day!

Moana

Bitty Boxy Holiday Bags

I managed to sneak yet another project out of that paper set.  I still have enough for a couple of cards or a medium sized gift bag.  Dang, what a lot of fun I have had using this paper.  But these tiny little bags certainly do take the cake.  Aren’t they just absolutely adorable?

Bitty Boxy Holiday Bags

My husband was given a large bag of candy as a thank you and he brought it home.  And he opened it.  So that is just dangerous.  I knew I had to come up with several little bags to use them up.  I am getting there.

Bitty Boxy Holiday Bags

Three different styles of box bags to get me going today.  I am partial to a milk carton style to be honest, but the tiny pinch pouch is just so sweet.  I used up three scraps of paper with a touch of glimmer paper to give them some bling.  I don’t know what I love more, the cording or metallic thread, so I had to use them both.

Bitty Boxy Holiday Bags

Have a creative day!

Moana


Flower Shop Gift Box Part 1

How about a big gift box for a change.  I had to control myself and keep the cards separate from this post.  You can see them tomorrow.  Eight fit inside.  Curious?  Check it out tomorrow.

Flower Shop and Sassy Salutations Gift Box

I used one sheet of 8.8 x 11″ cherry cobbler card stock for this box.  Just some basic scoring, one tiny punch for a notch and a few snips.  Then, the box is there.

Flower Shop and Sassy Salutations Gift Box

I made a top with another layer of cherry cobbler, giving an 1/8″ border, with a stamped whisper white sheet also cut with another 1/8″ border.  Simple stamping and some sponging.  I had planned on putting flowers on top, but it was just too much.

Flower Shop and Sassy Salutations Gift Box

So here we are, a nice simple box.  It measures 6.5 x 4 x 1.  Plenty of room for the cards I made to go inside, or something else fun and exciting for sure.

Have a creative day!

Moana

Big News with Lots of Favorites

Today’s projects are all about trying something new.  Coastal Cabana isn’t new, but making it be my only color on a project sure is.  I have been trying to help myself get out of my comfort zone.  It makes me crazy sometimes, but I am finding that I like the results more often than not.

Big News

I used the same embossing folder, just put my brayer to work differently.  I rolled in directly onto the folder for this one so the embossed dots would stay white.  That made me smile.

Big News

Then I embossed my whisper white paper and put the inked brayer right over the top of the embossed dots.  That made me nervous.  I usually go for the secured success route and I saw many options for error.  There is a tiny smudge under my ribbon on the left, but not really a big deal, right?

Big News

I pulled out the Big News stamp set.  It is huge, two boxes of stamps.  But yes, admittedly, I hadn’t used one of them.  For shame.  I was also brave and didn’t ink the edges again.  Very difficult, but also liberating.

Big News

Another product I hadn’t used yet was the tab top framelits.  They just turn anything into cute file folders.  I really loved how the tops came together.  I just used a little strip of the glimmer paper and it worked perfectly.  I finished it off with the flower from the bitty punch pack and the lovely free ribbon from the sale-a-bration accessory pack.  I love earning free product!

Have a creative day!

Moana

Something Lacy with Serious Sparkle

A special friend expecting her first baby.  I knew I had to make something super special, a card to be remembered. One nice enough and large enough to be framed.  That would be this card.  It measures 6 x 8, and I love it huge!

101_9935

I am not one to go so large with glimmer paper.  But I needed a big piece for that huge butterfly, so I used it for both.  If you looked underneath to just the glimmer paper you would see where I cut it out with my butterfly framelit.  Worked out great!

101_9936

I also loved having tons of space to write all that I wanted.  Nothing worse than running out of space just in the middle of a special phrase.  Not today.

Tickled Pink

On Thursday I showed a card for part of a baby shower gift set.  Of course I had to make a box big enough to hold all twelve cards, cover card and envelopes.  This is what I came up with.  I made it in colors to match her nursery so she could use it for storage or something when the cards were done.  Just too fun!

Have a creative day!

Moana

Birthday Bash with Bermuda Bay and Age Awareness?

Just what does all of that have in common?  Well, it comes together to make one fantastic birthday card for one fantastic friend!

Age Awarness

What do we have going on here?  Bermuda bay with the awesome birthday bash designer series paper paired perfectly with the Age Awareness stamp set.  Don’t forget that bit of gold glimmer paper.  Gotta love the bling!

Age Awareness

When I showed my girls this little card they both agreed that it looked like a party.  I couldn’t agree more.  Birthdays are all about good friends and fun times together.

Age Awareness

The gift that goes along is all about paper crafting too.  The fun just doesn’t end!

Have a creative day!

Moana