Adventure Awaits with Lullaby?

Sometimes traditional, sometimes floral, and sometimes, just right.  That is how I feel about the projects for today.  They came together so effortlessly.  I guess when you are in the zone good things happen.

Adventure Awaits

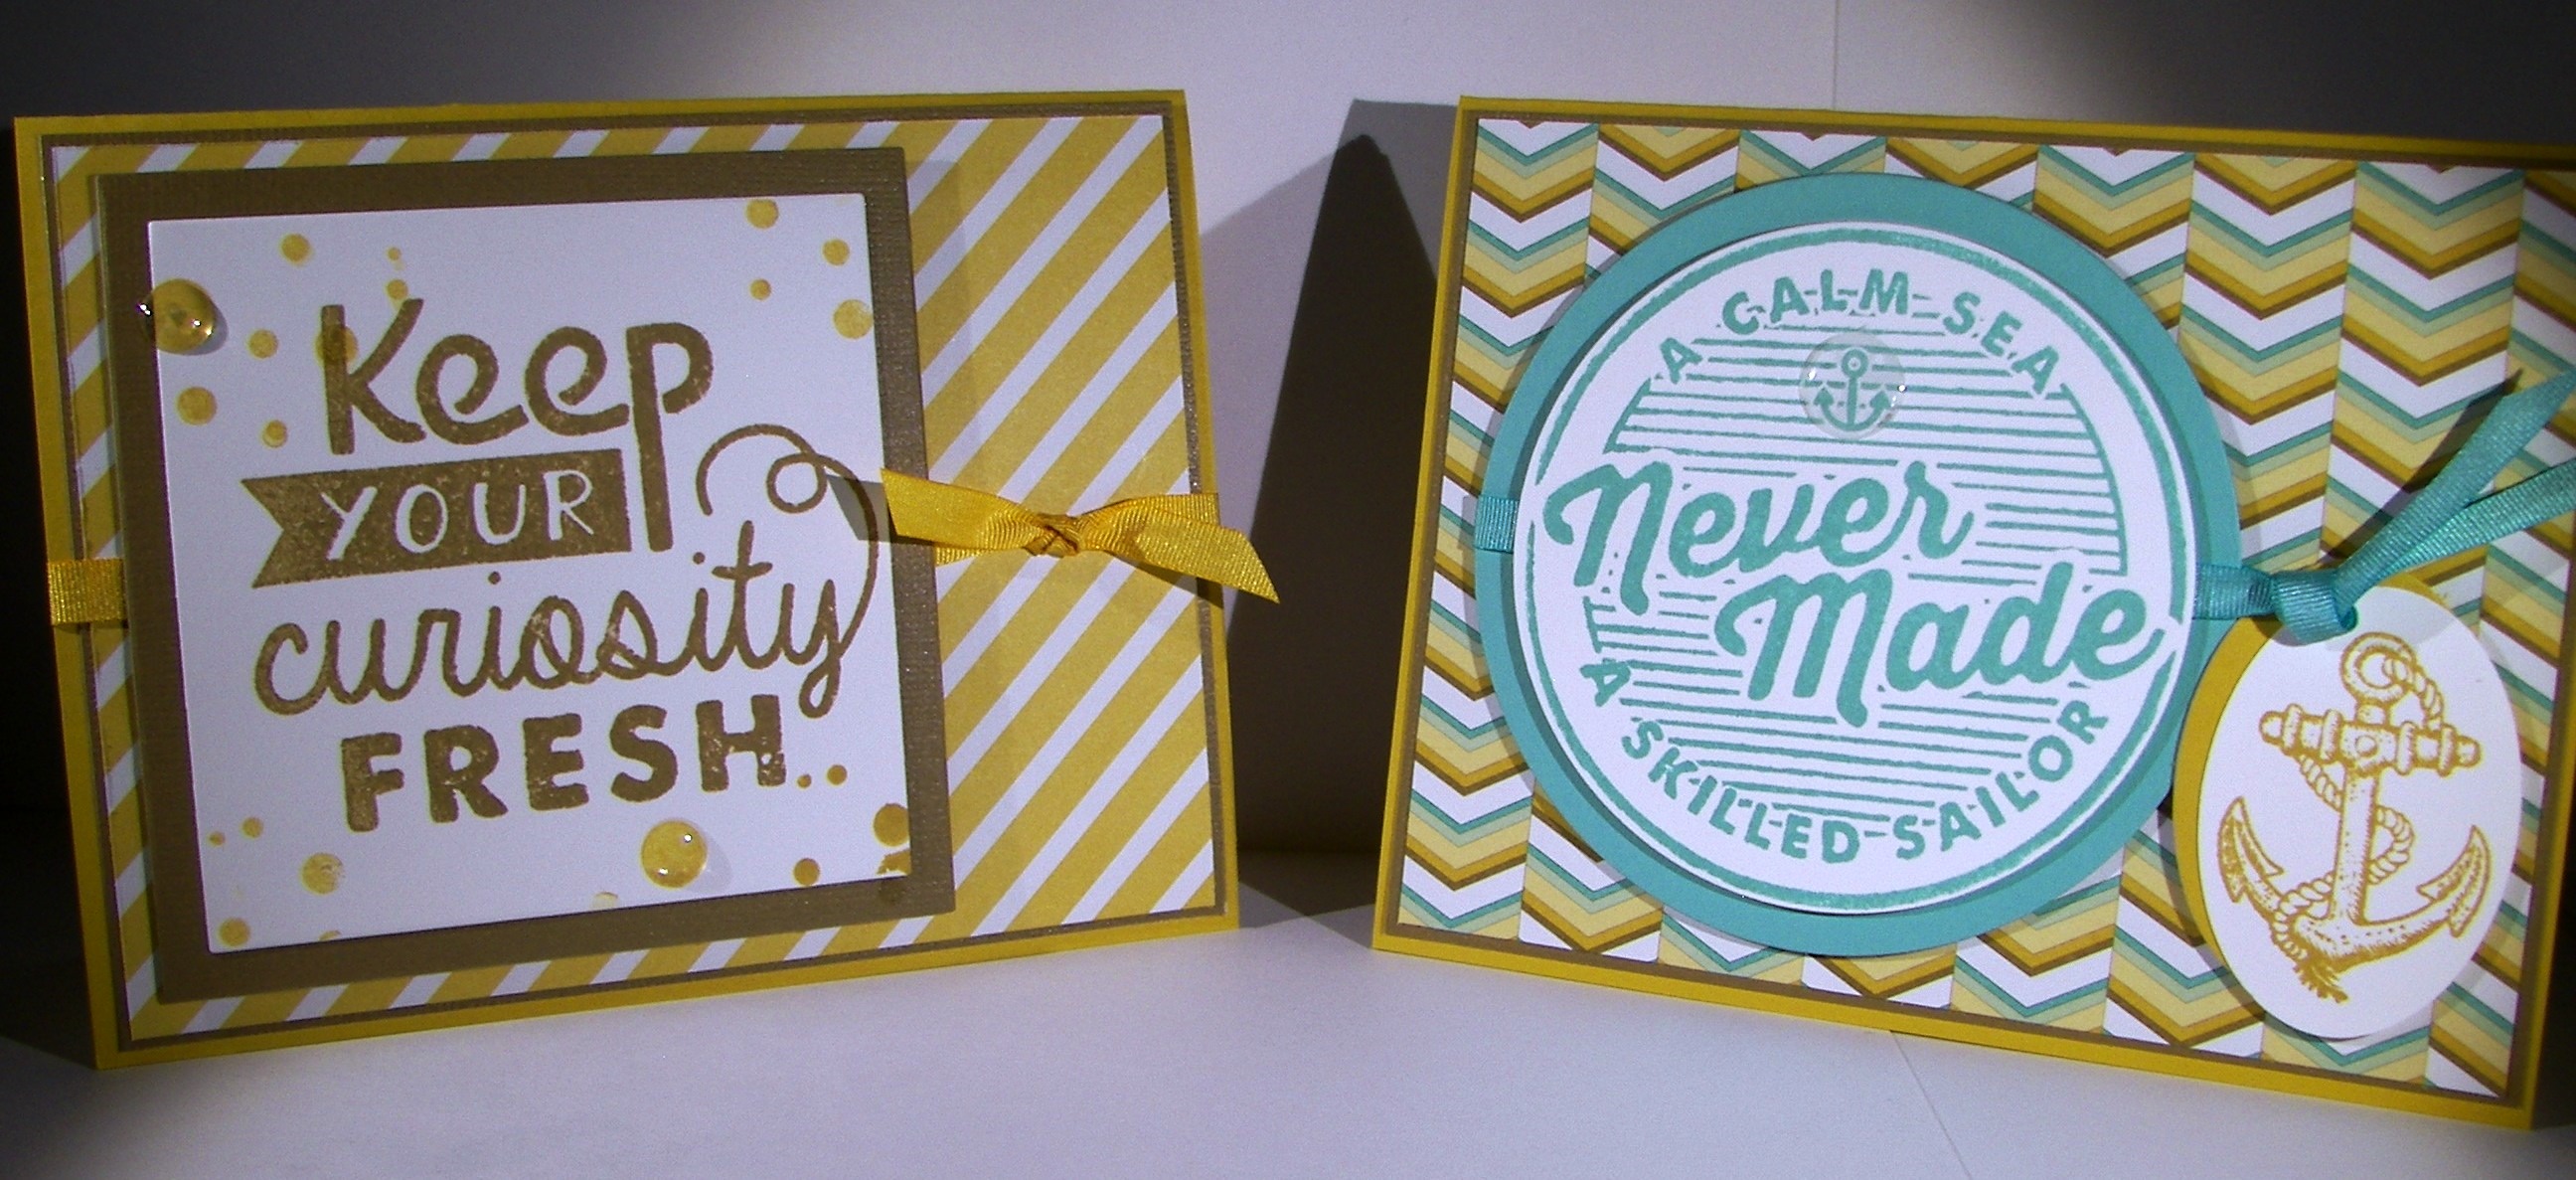
Can you believe these designer papers came out of the lullaby set?  They could speak baby, I guess, but really have a lot more uses than that.  Super fun with even a twist of masculine.

Adventure Awaits

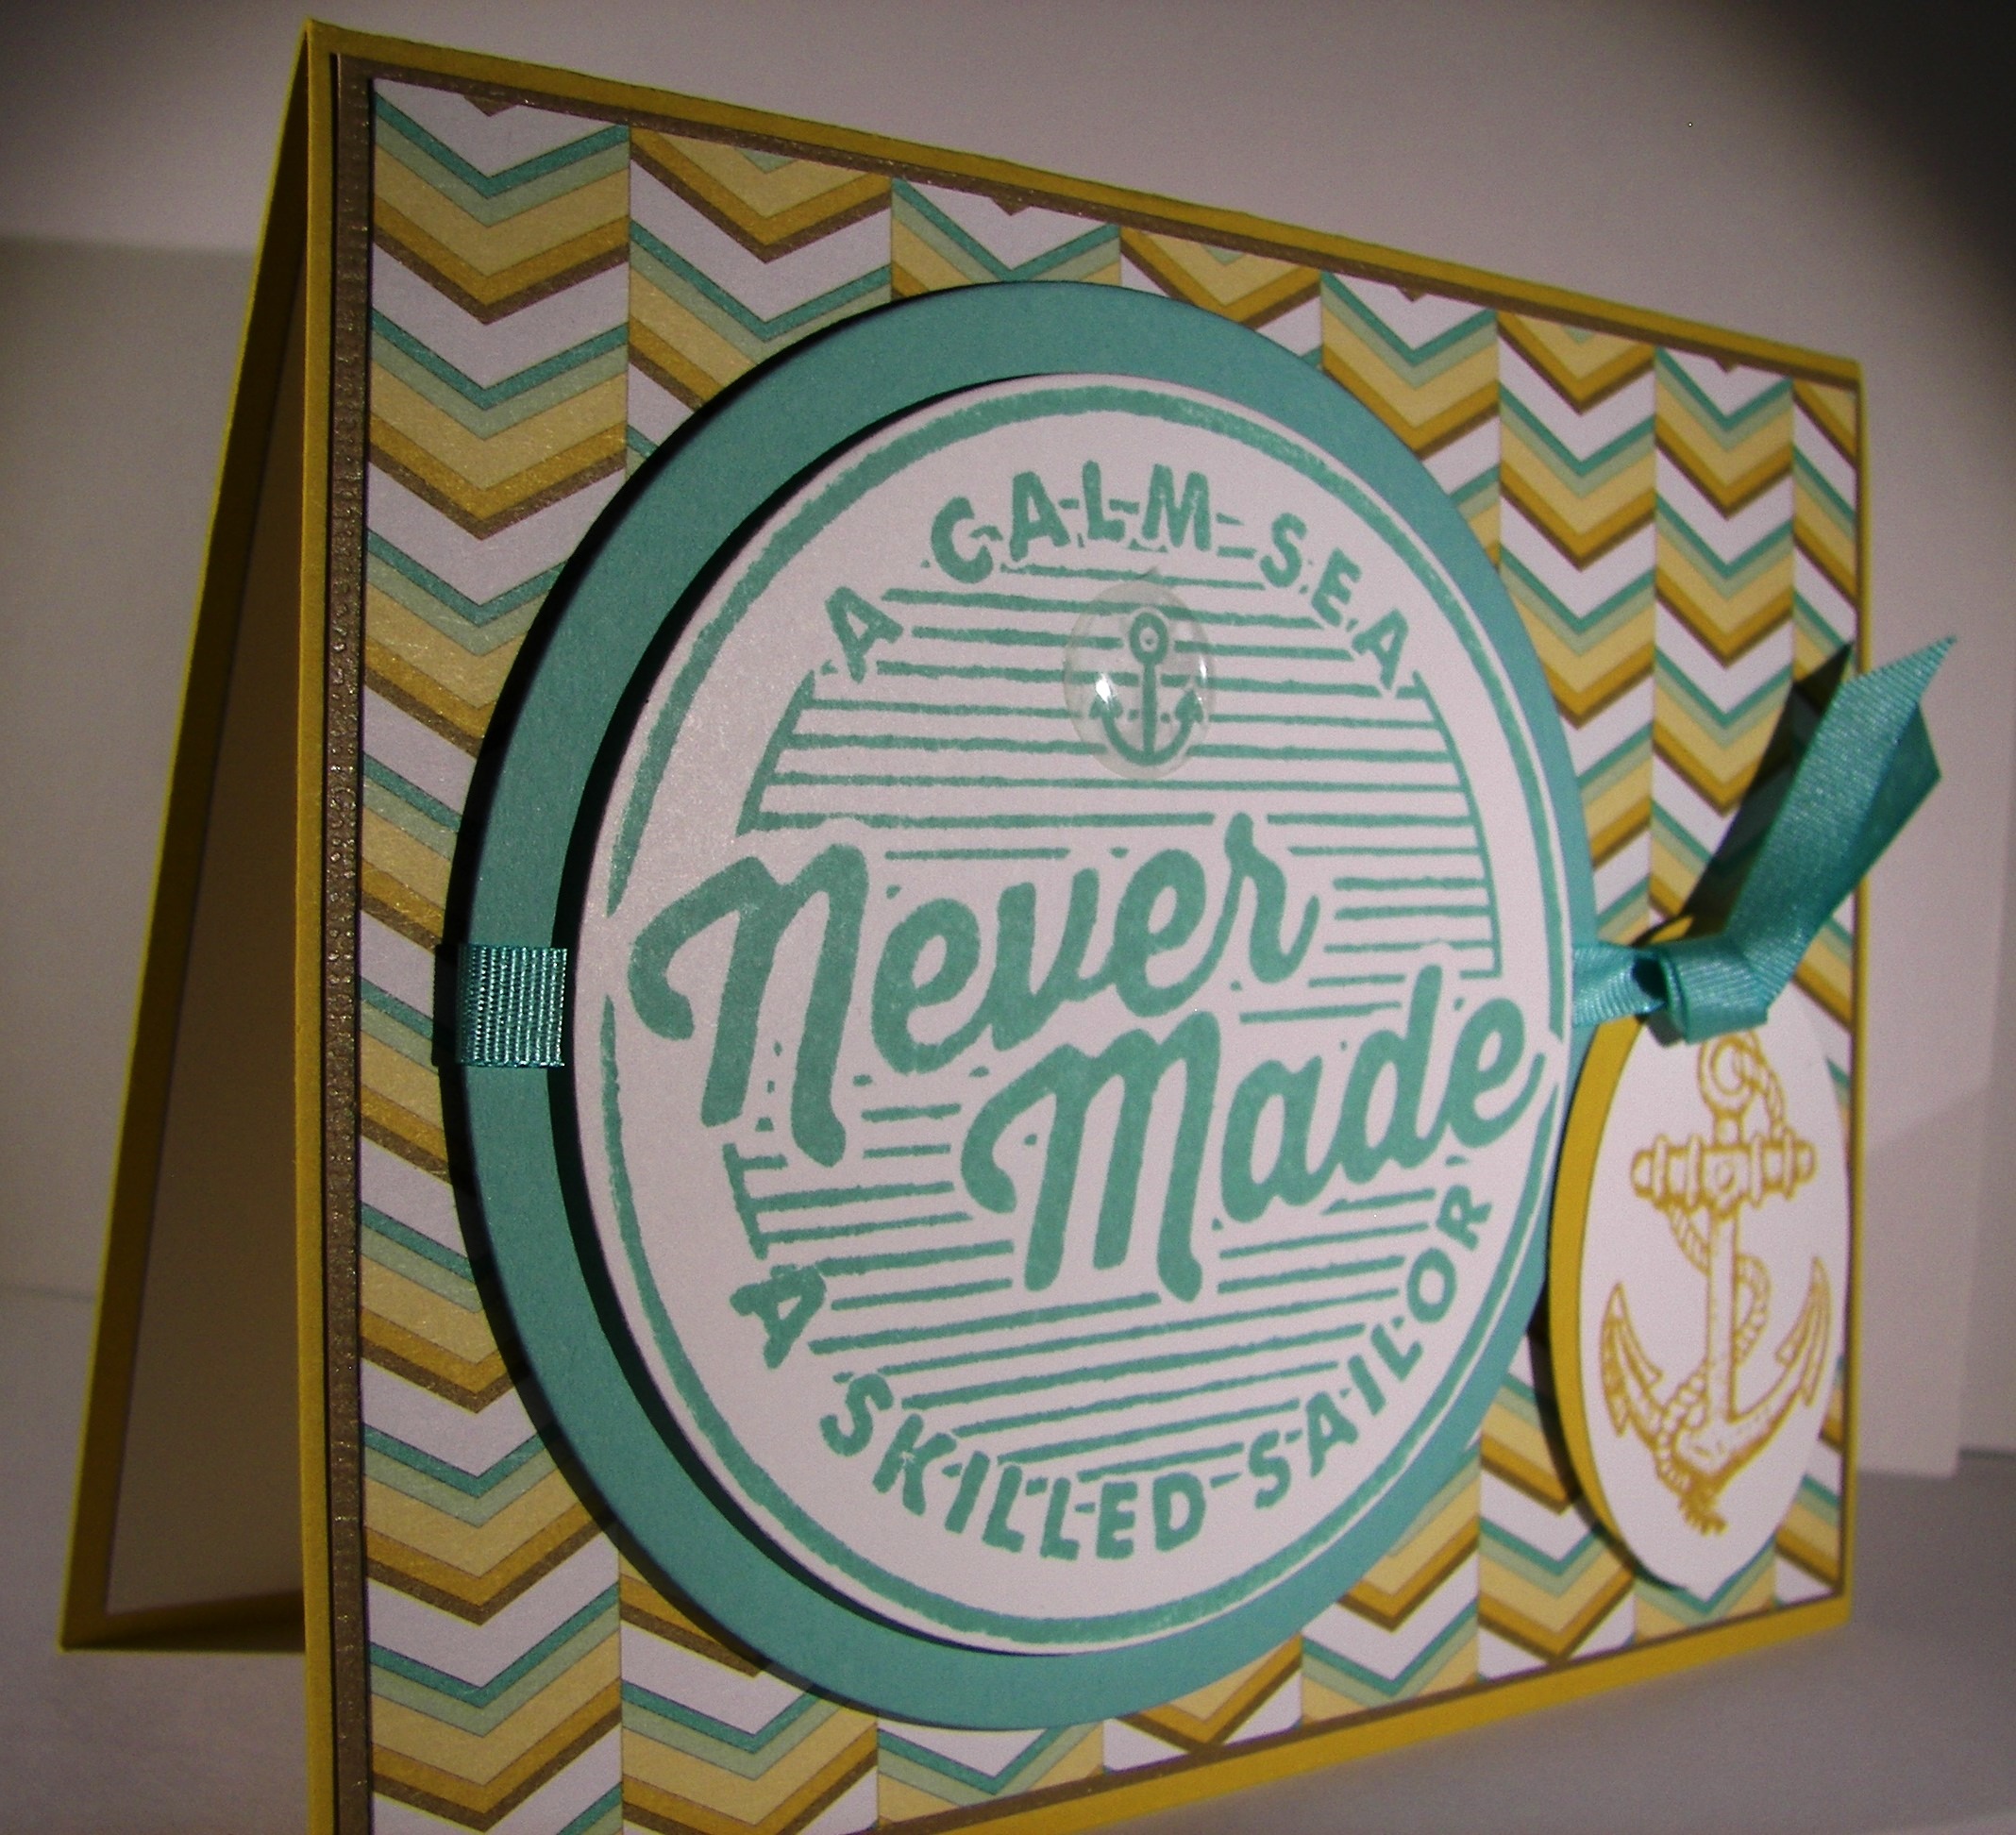
I snatched the anchor from the Guy Greetings set to add to the nautical theme.  My husband told me that the color combination felt like the beach.  Guess it worked.

Adventure Awaits

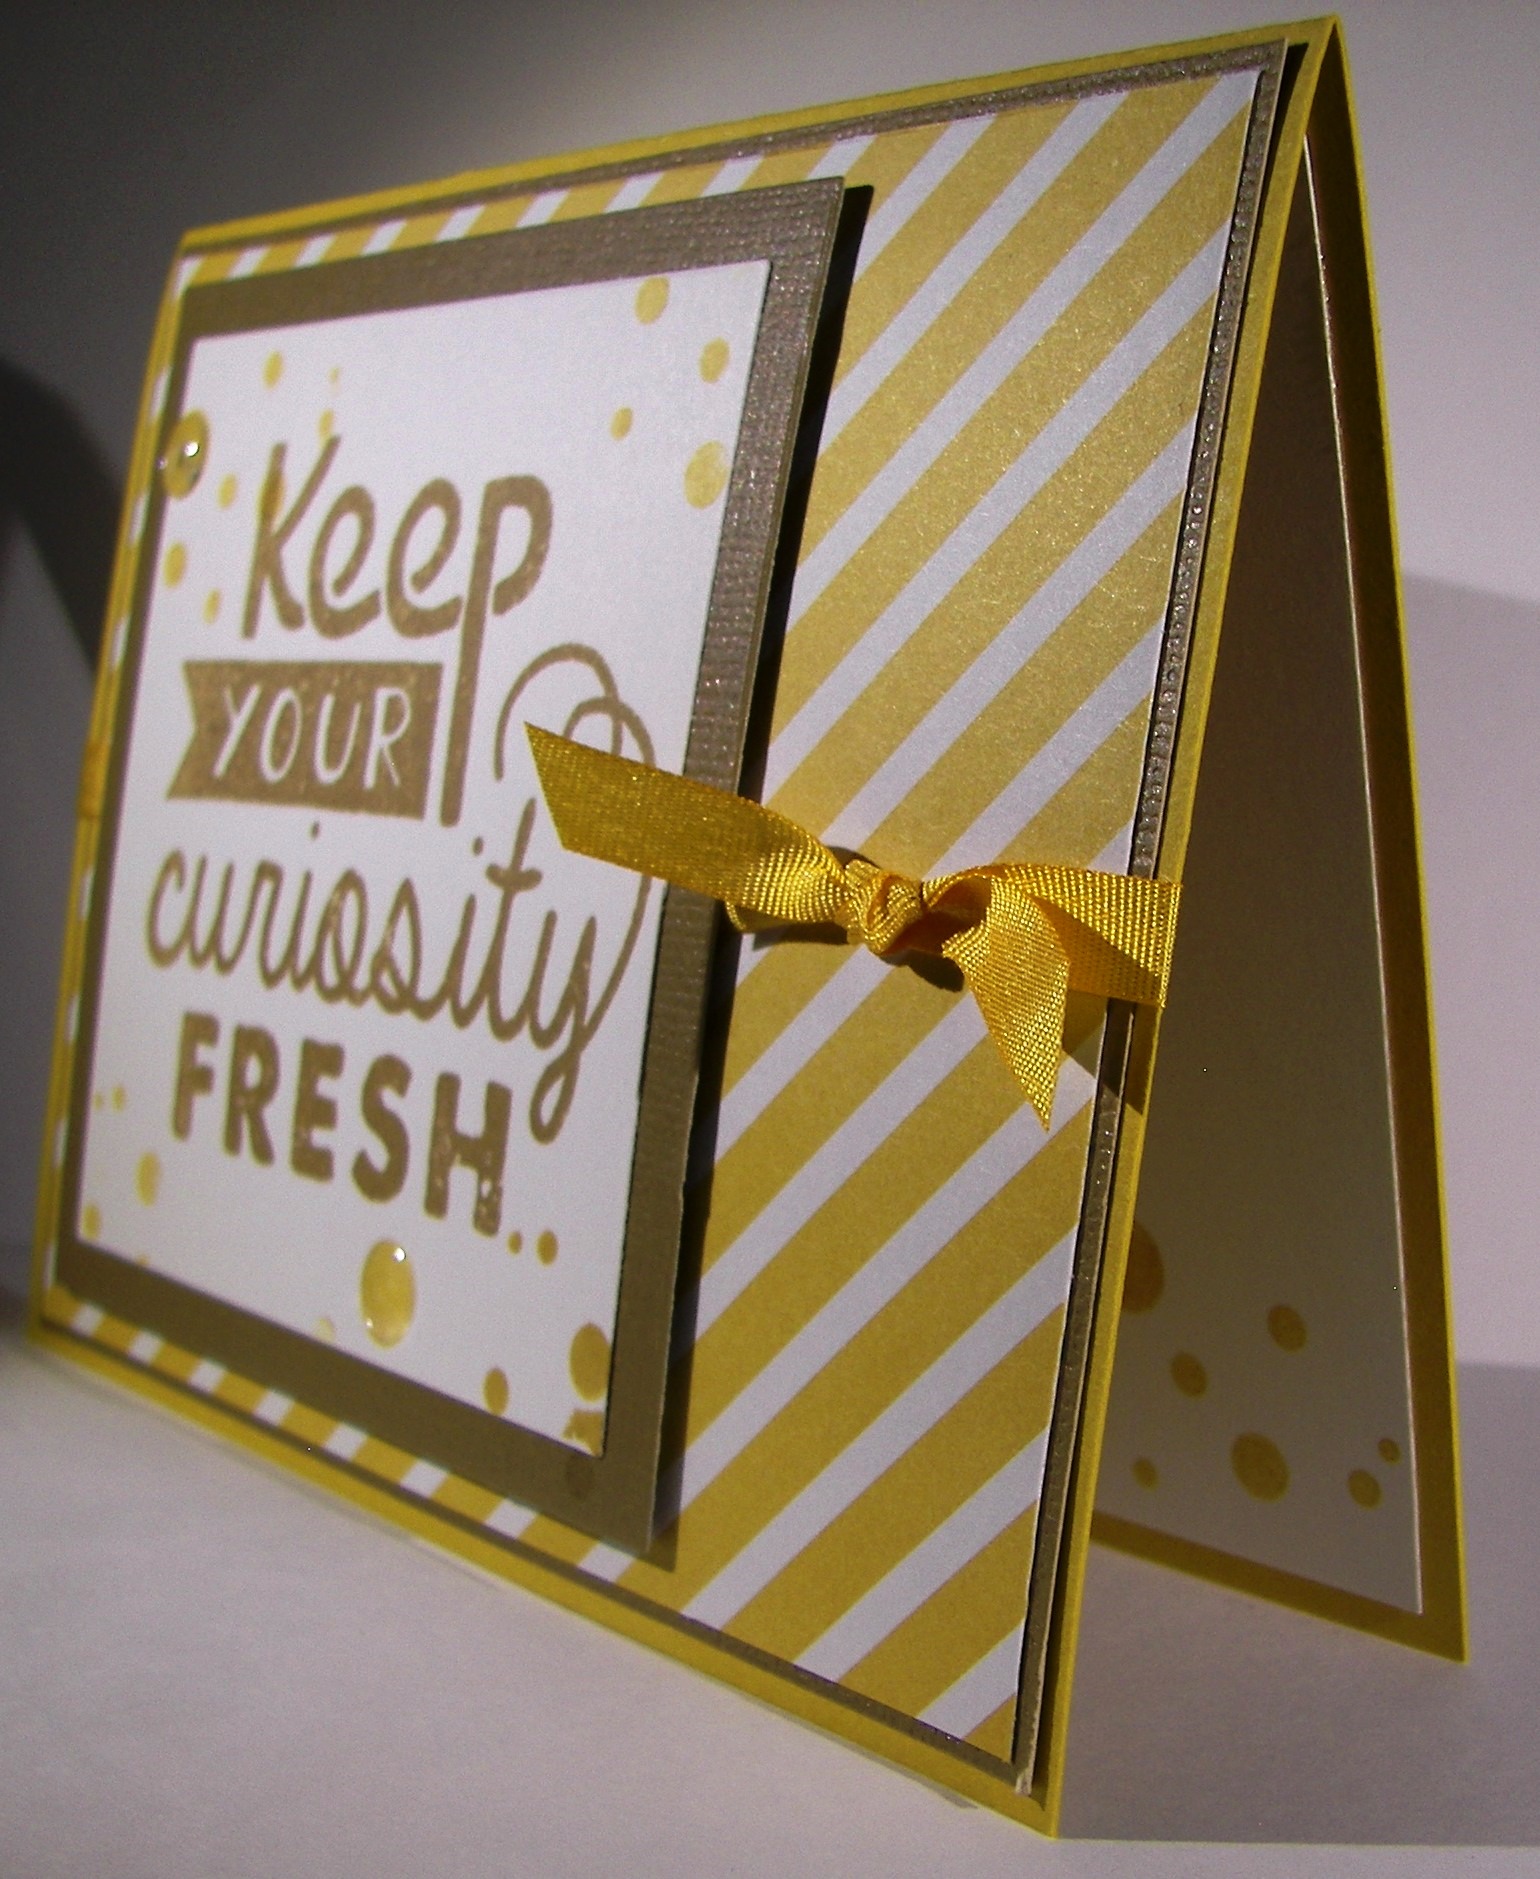
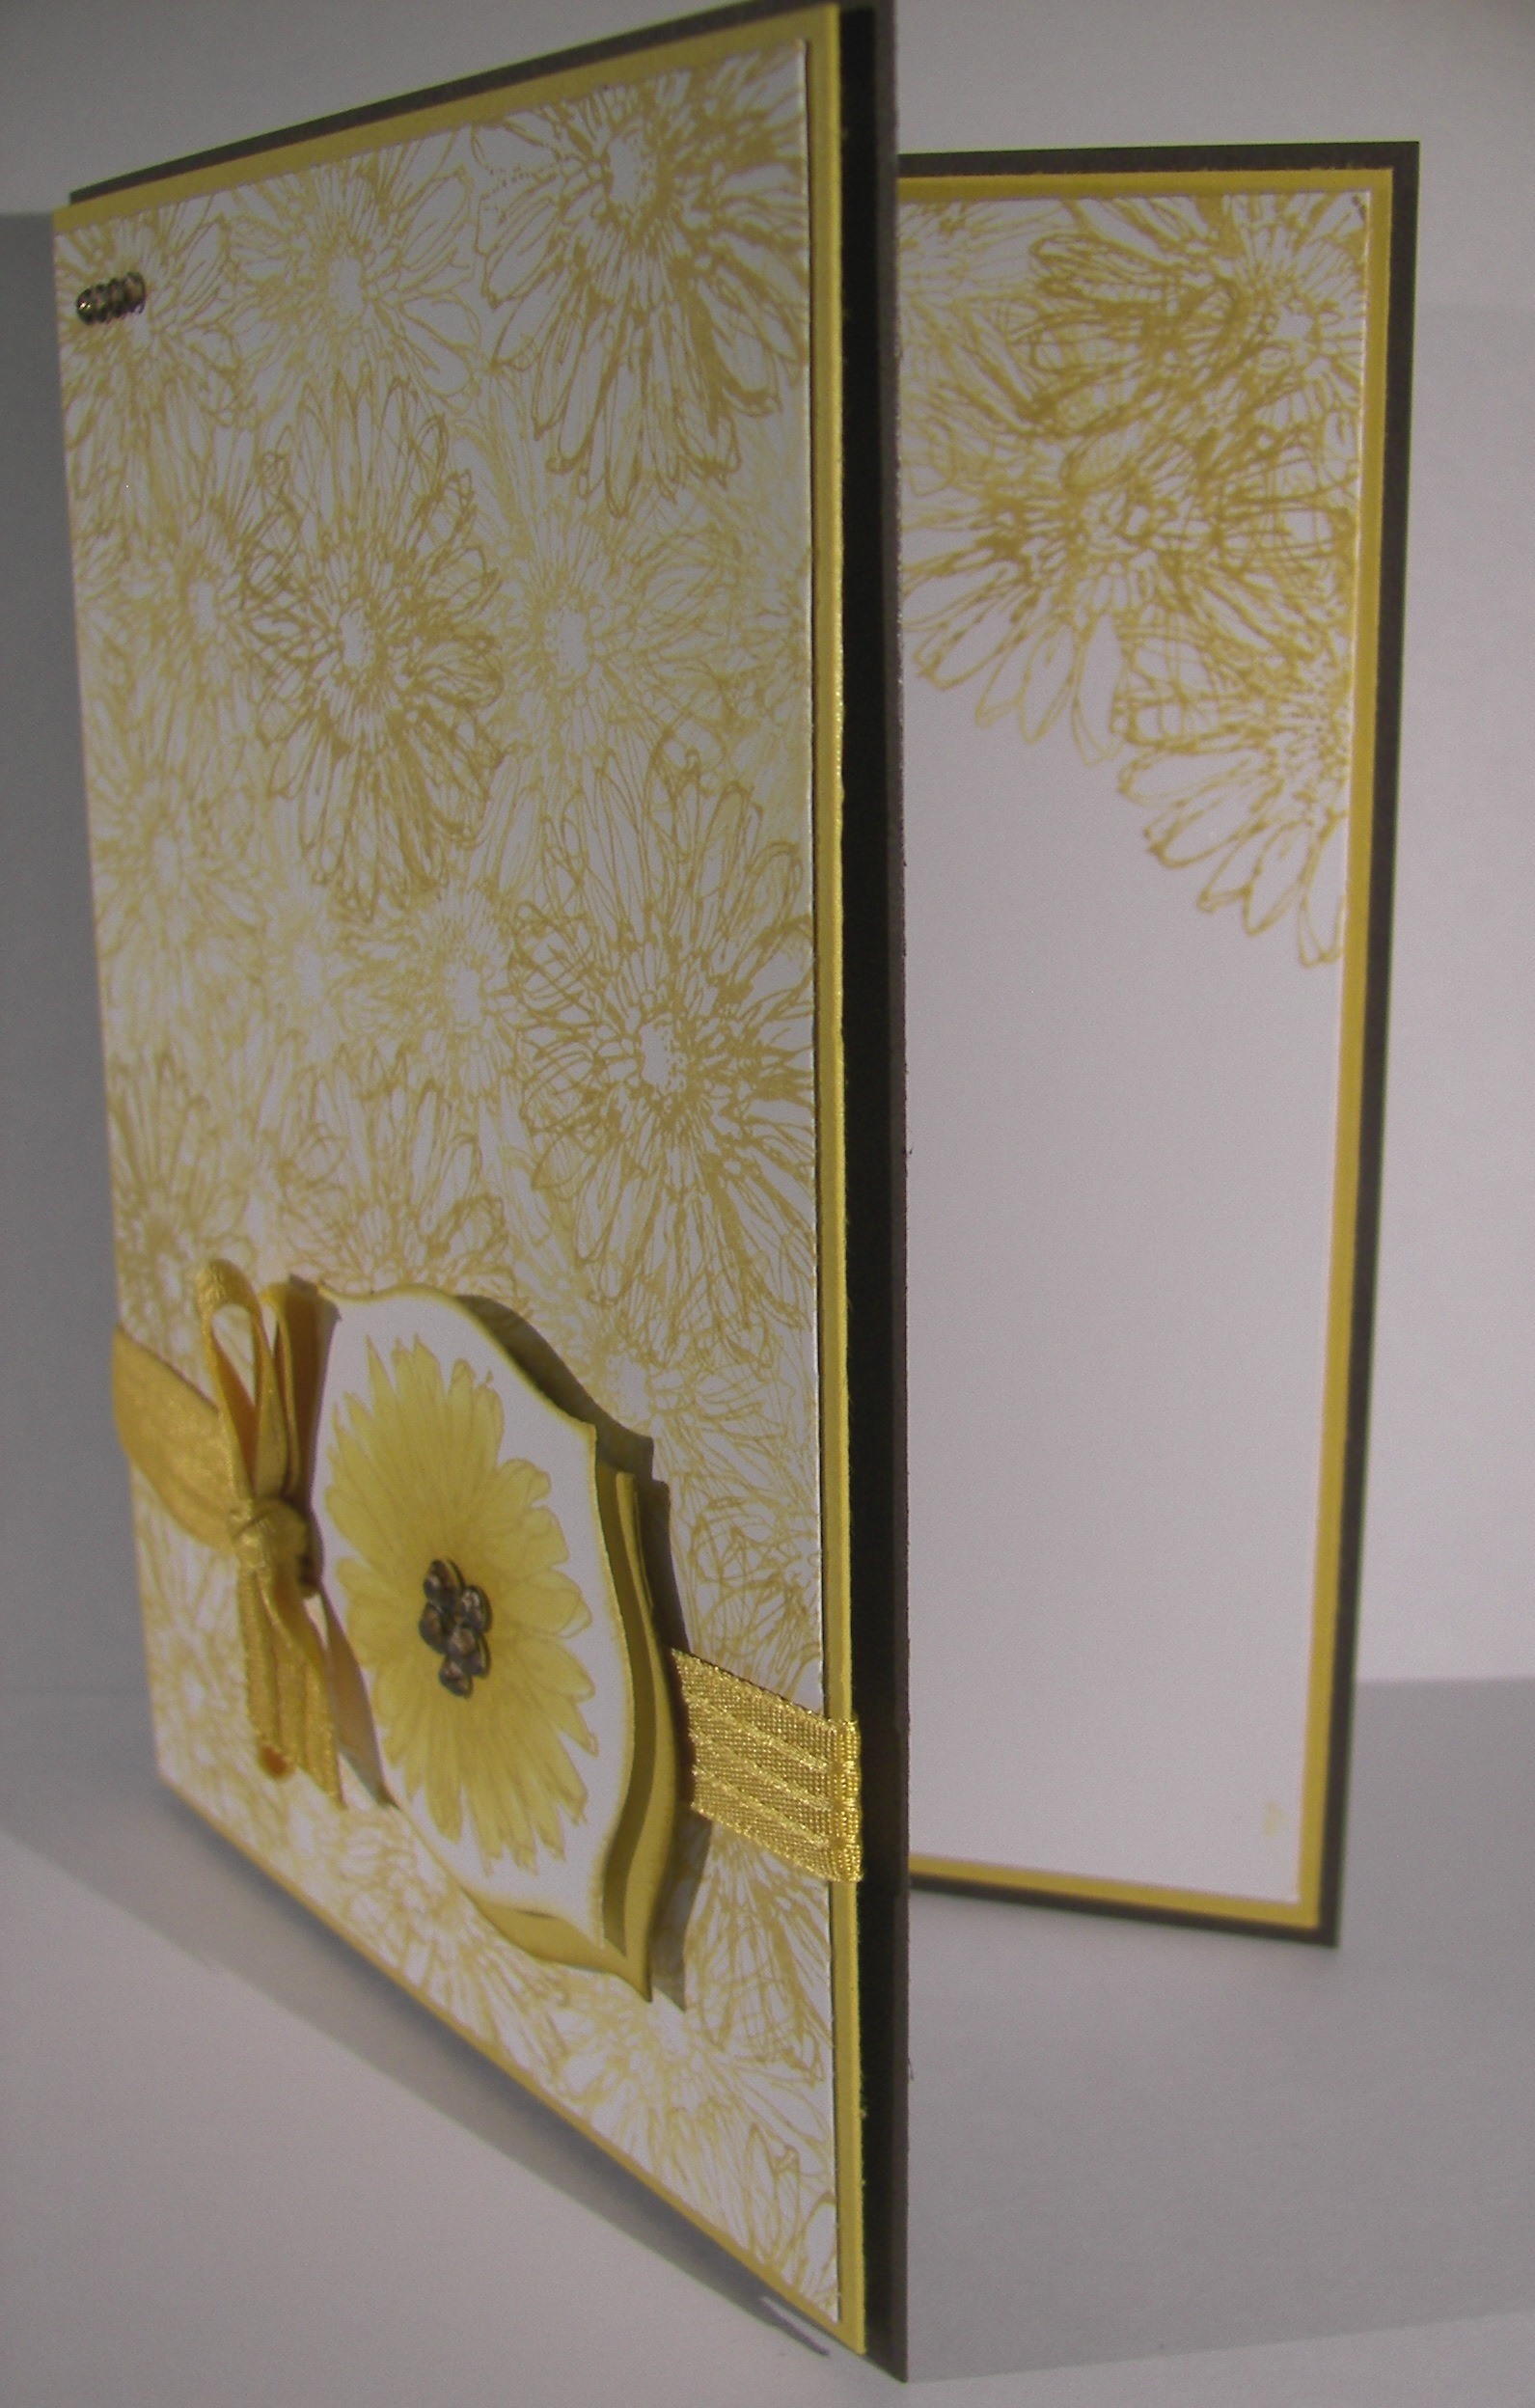
I brought in the spots stamp from the Perpetual Birthday set and it gave just the right touch.  The largest spot is the exact size as the small epoxy sticker from the sticker set.  Things just lined right up!  I do love decorating the inside of the card to match.

With the square and circle framelits to do my cutting, it kept the sentiments large but still a nice layering effect.  I have gotten into 1/8″ boarders on my layering.  Those are hard to line up without using tombo adhesive to wiggle it into place.  Love that stuff.  And I even got to use more of my Sale-a-bration ribbon stash!  Winning all around!

Have a creative day!

Moana

Cheer Up Buttercup!

Does this little guy just cheer you up or what?  I absolutely love the fry box die cut!  I have made so many for quick little gifts here and there.  They go together so quickly and look adorable every time!

Cheer Up Buttercup

The geometric stamp set has this awesome sentiment and is actually the reason I had to have it.  It has also had tons of use for obvious reasons.

Cheer Up Buttercup

I was actually headed out to work and decided I needed a little get well goody for a student of mine.  I already had the flower ready from the other days project.  With that said, it only took about ten minutes to put this all together, including a quick few photos to share.

Cheer Up Buttercup

I am telling you, this die is the best!  Get into those quick project ideas and share some happiness!

Have a creative day!

Moana

Bloom With Hope

I just love making my own background paper.  The stamp set Bloom With Hope is full of these delicate lines that are just beautiful.  The flower I used is only one of many.  If you love flowers, well, this is a great set for you.

Bloom With Hope

I chose not to use a sentiment with this card.  There are several in the set from birthday to sympathy, but I left it ready for anything.  I was just in the mood for sunflowers, and this is what I came up with.

Bloom With Hope

I did a lot of stamping on the background paper, but none of the images were at full strength.  Stamping off is the secret here.  Just play a bit and it will be wonderful.

Bloom With Hope

I stamped my main flower in Hello Honey and colored it with my Daffodil Delight Blendabilities.  Yup, there are many colors that will work and not bleed, not just the Momento ink.  Another experiment for you.  Although, I do think that Stampin’Up! did provide a list of compatible inks at one time.  I will have to look.

Bloom With Hope

I added some bling and colored them in with Crumb Cake Blendabilities.  That helped my sunflower concept come around.  I cut out my image using the rounded square shape from the Apothecary Accents Framelits set.  Love that one!

Have a creative day!

Moana