Embellished Ornaments

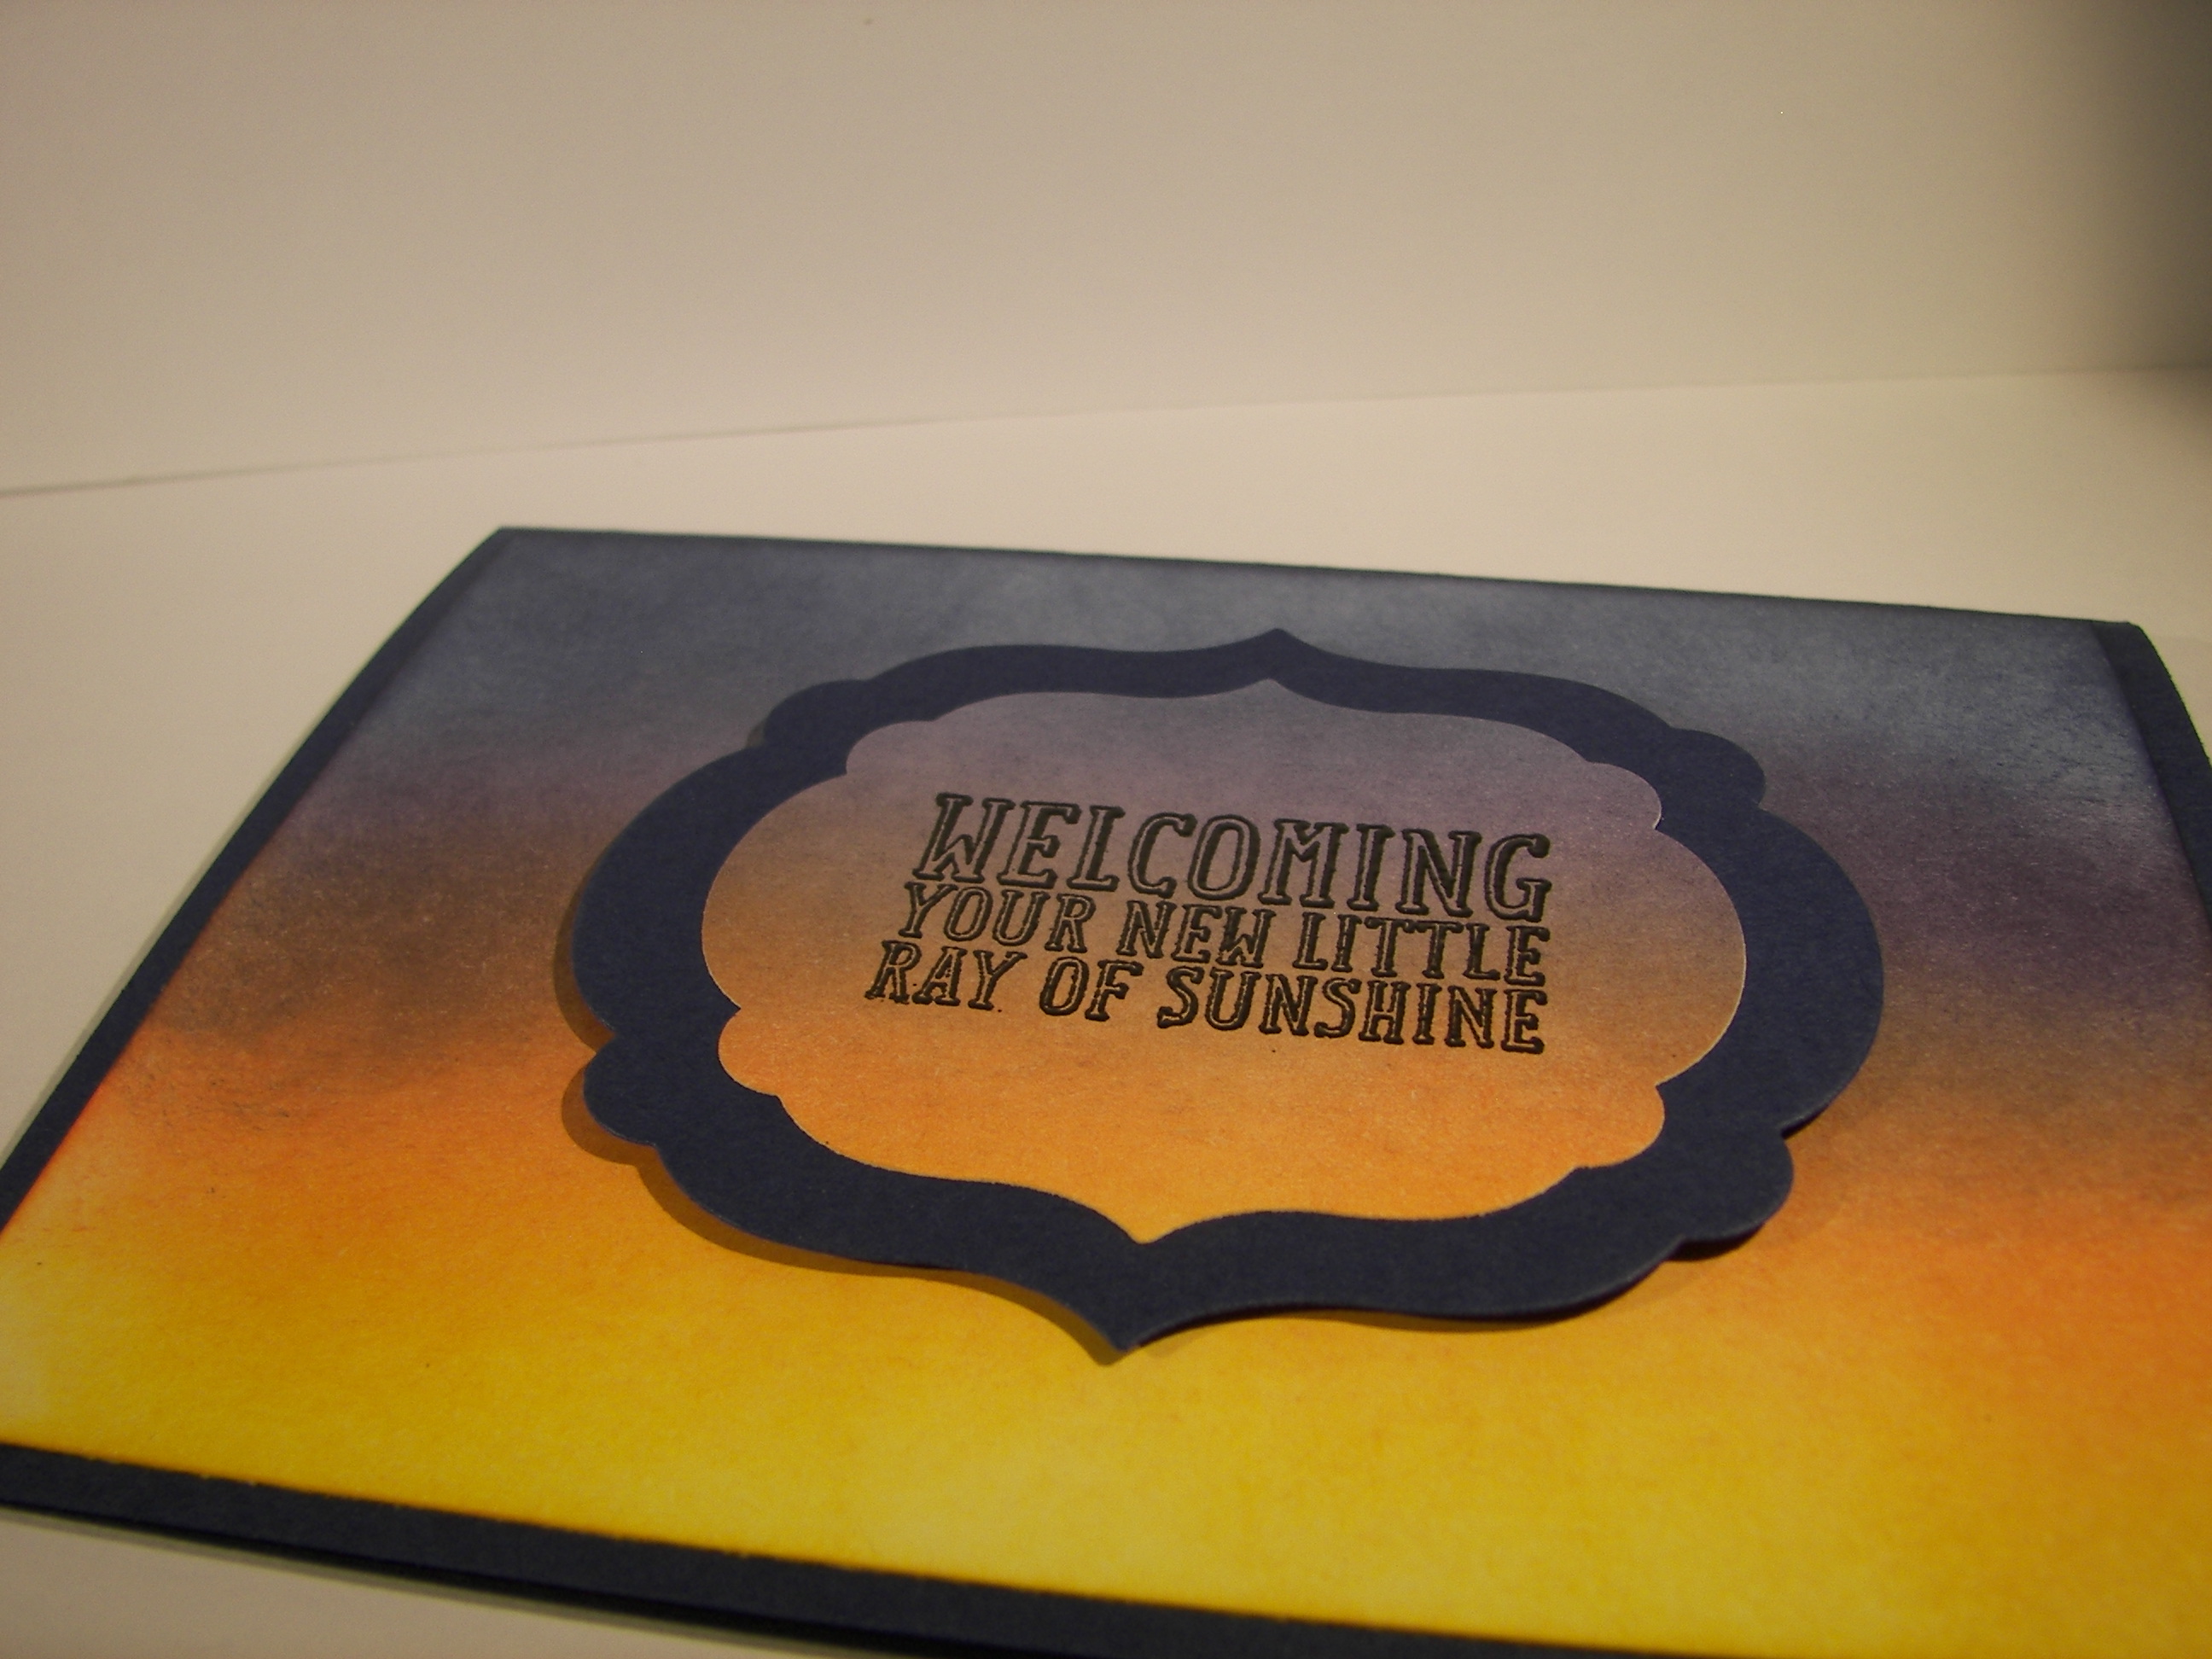
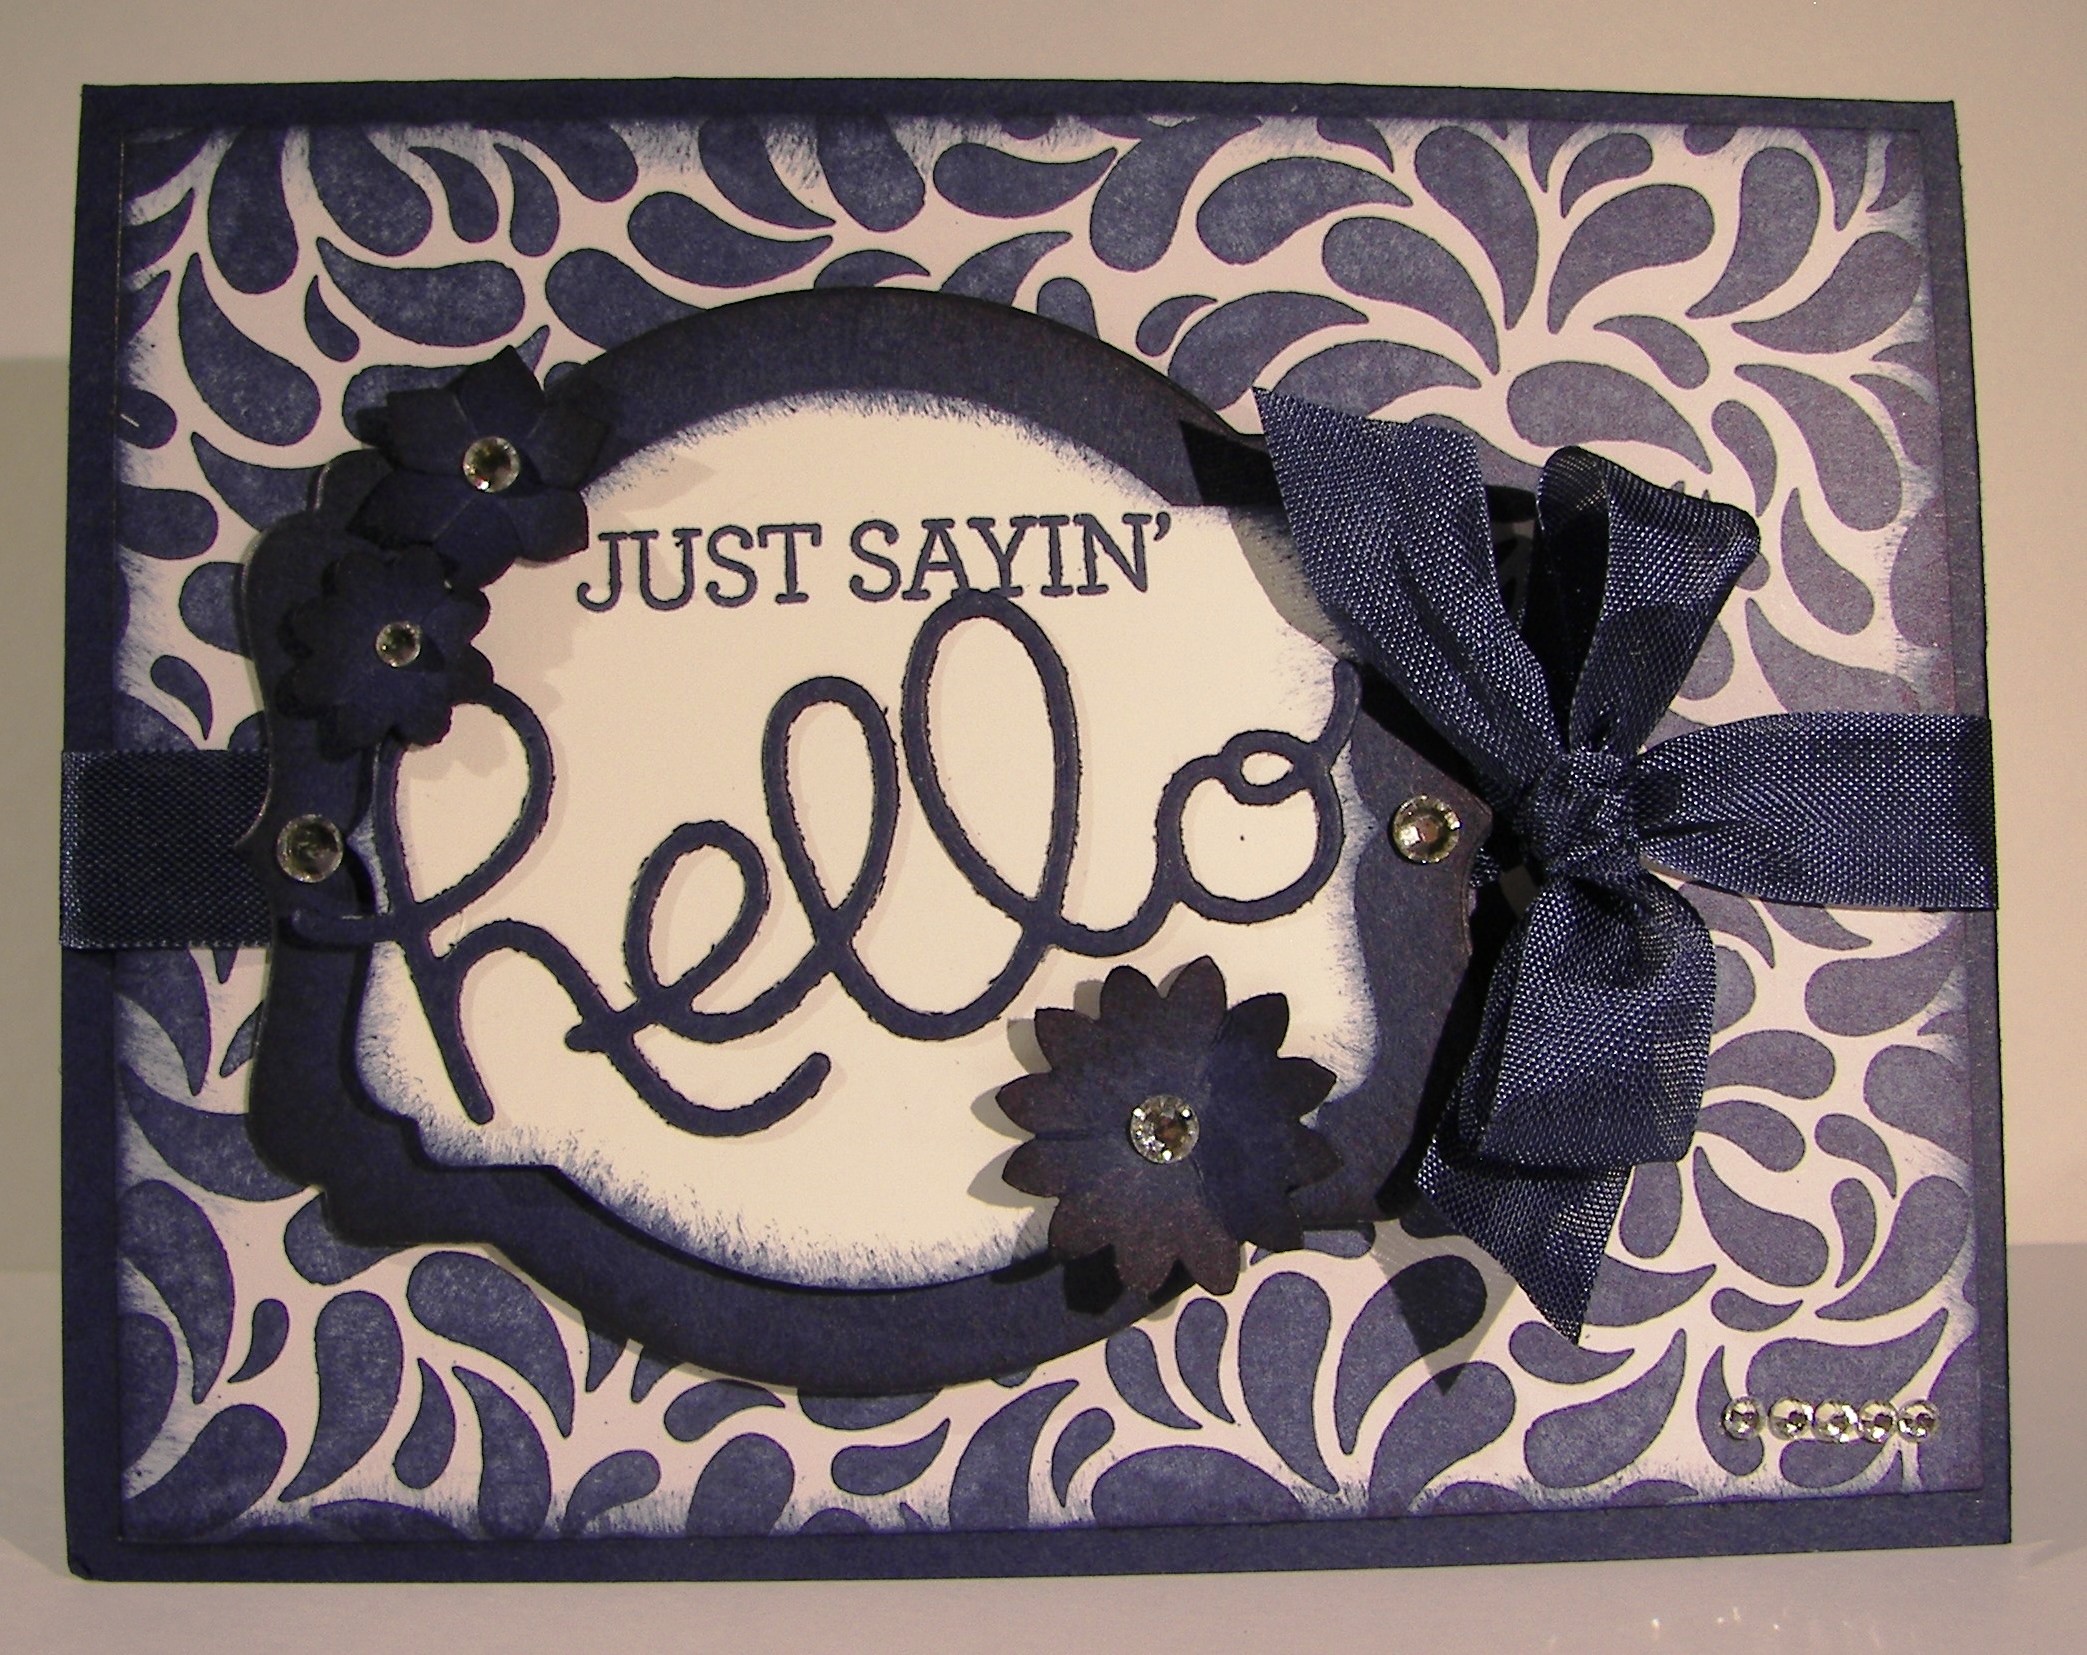
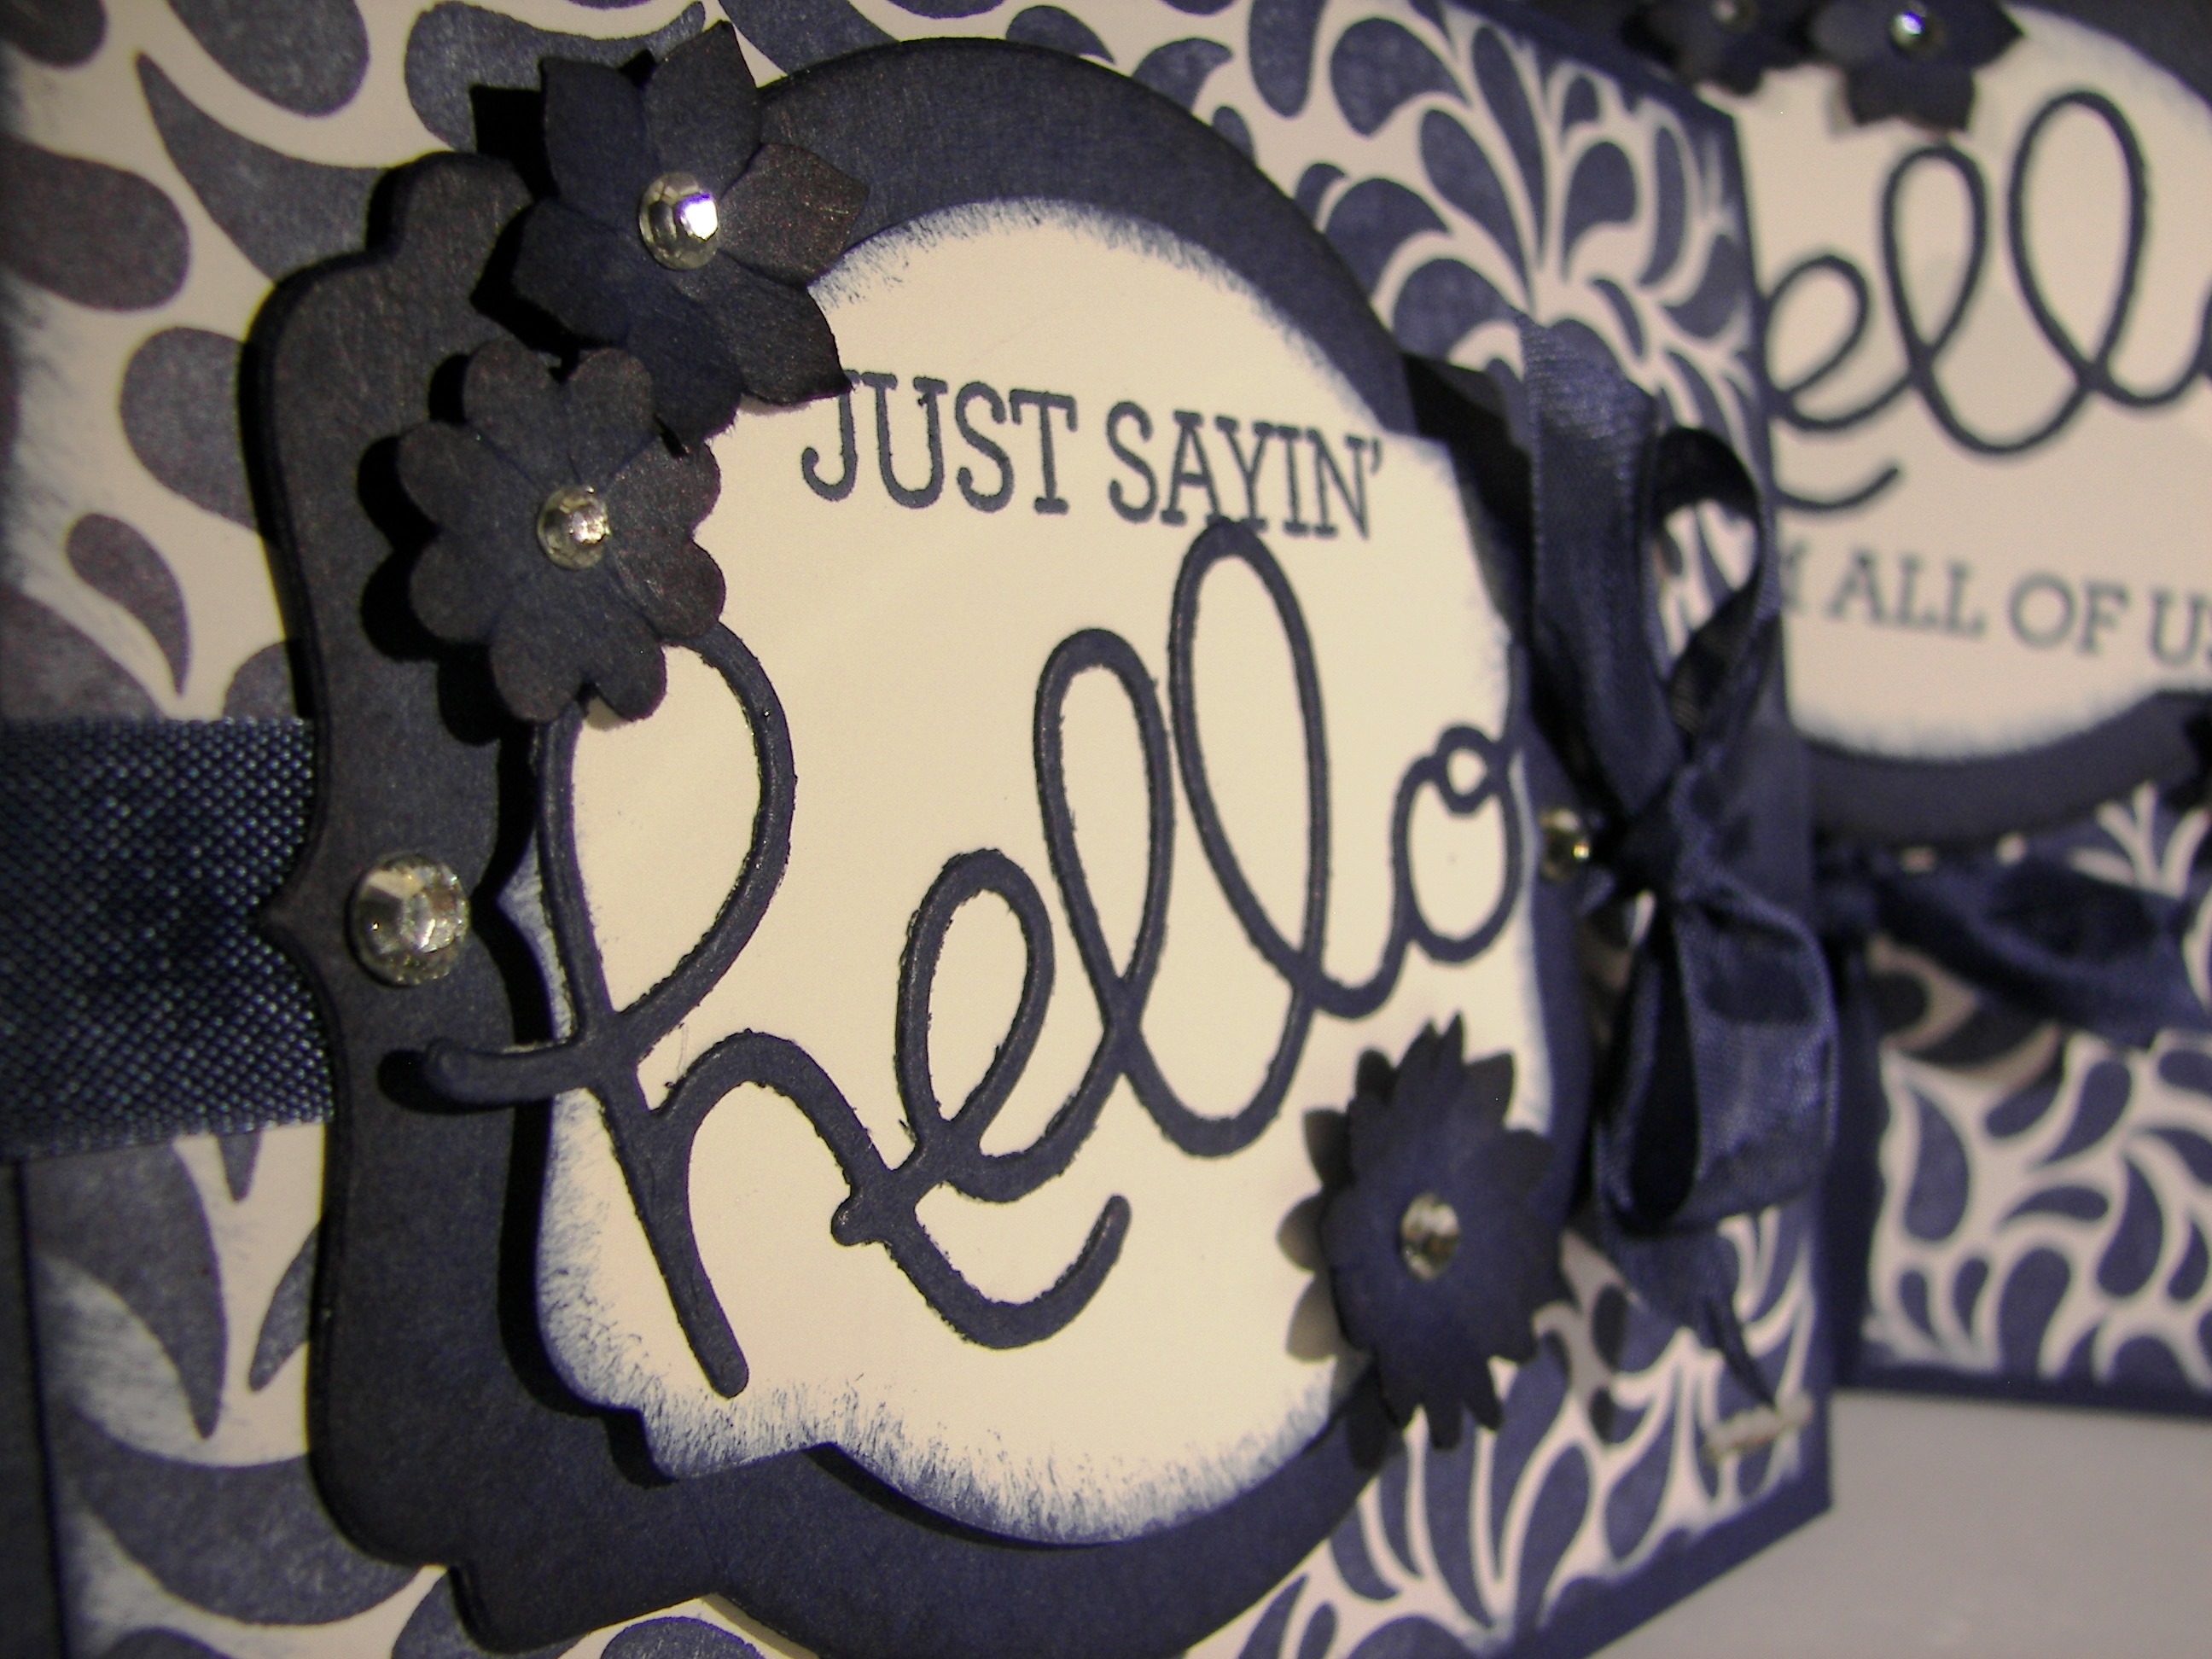
This started out as a pretty darn good morning, but I am having quite the head cold, so my time management isn’t the best.  I think I am going in kind a slow motion mode.  The results still show nicely though, don’t you think?

Embellished Ornaments

New product, new product, new product!  I so enjoy working with new product!  Today was the first time for three different newbies to my collection.  Two stamp sets and one framelit set.  They are sure to get a lot of use this holiday, for sure.

Embellished Ornaments

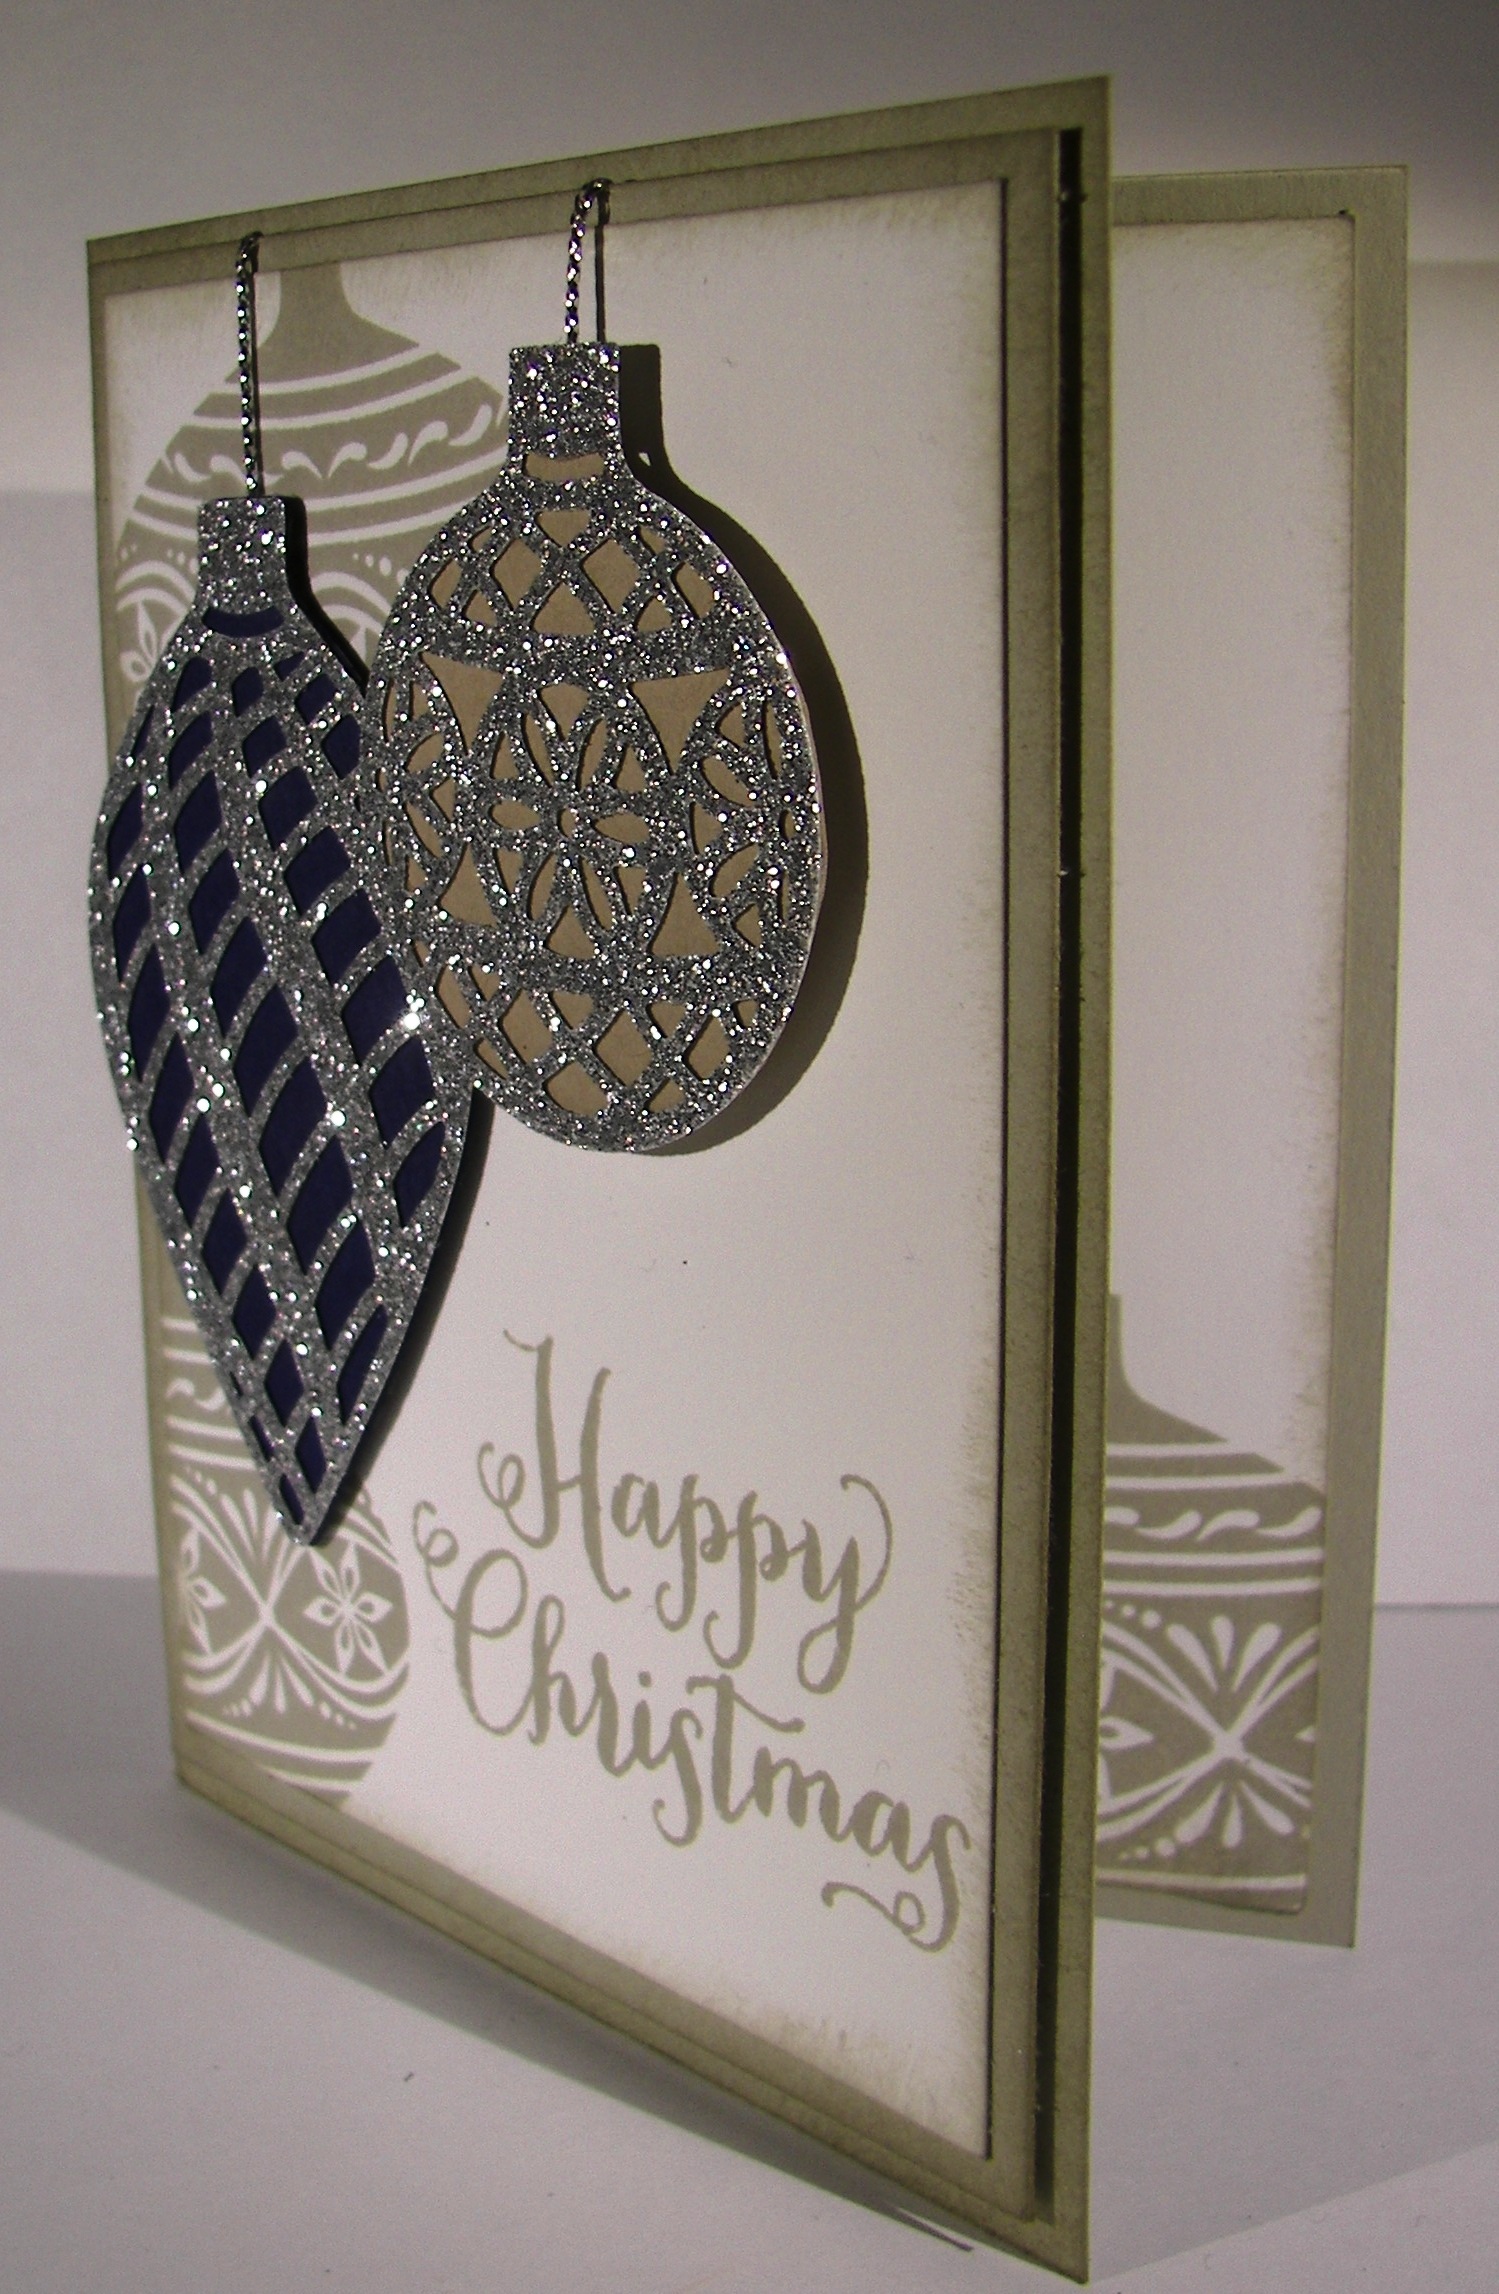
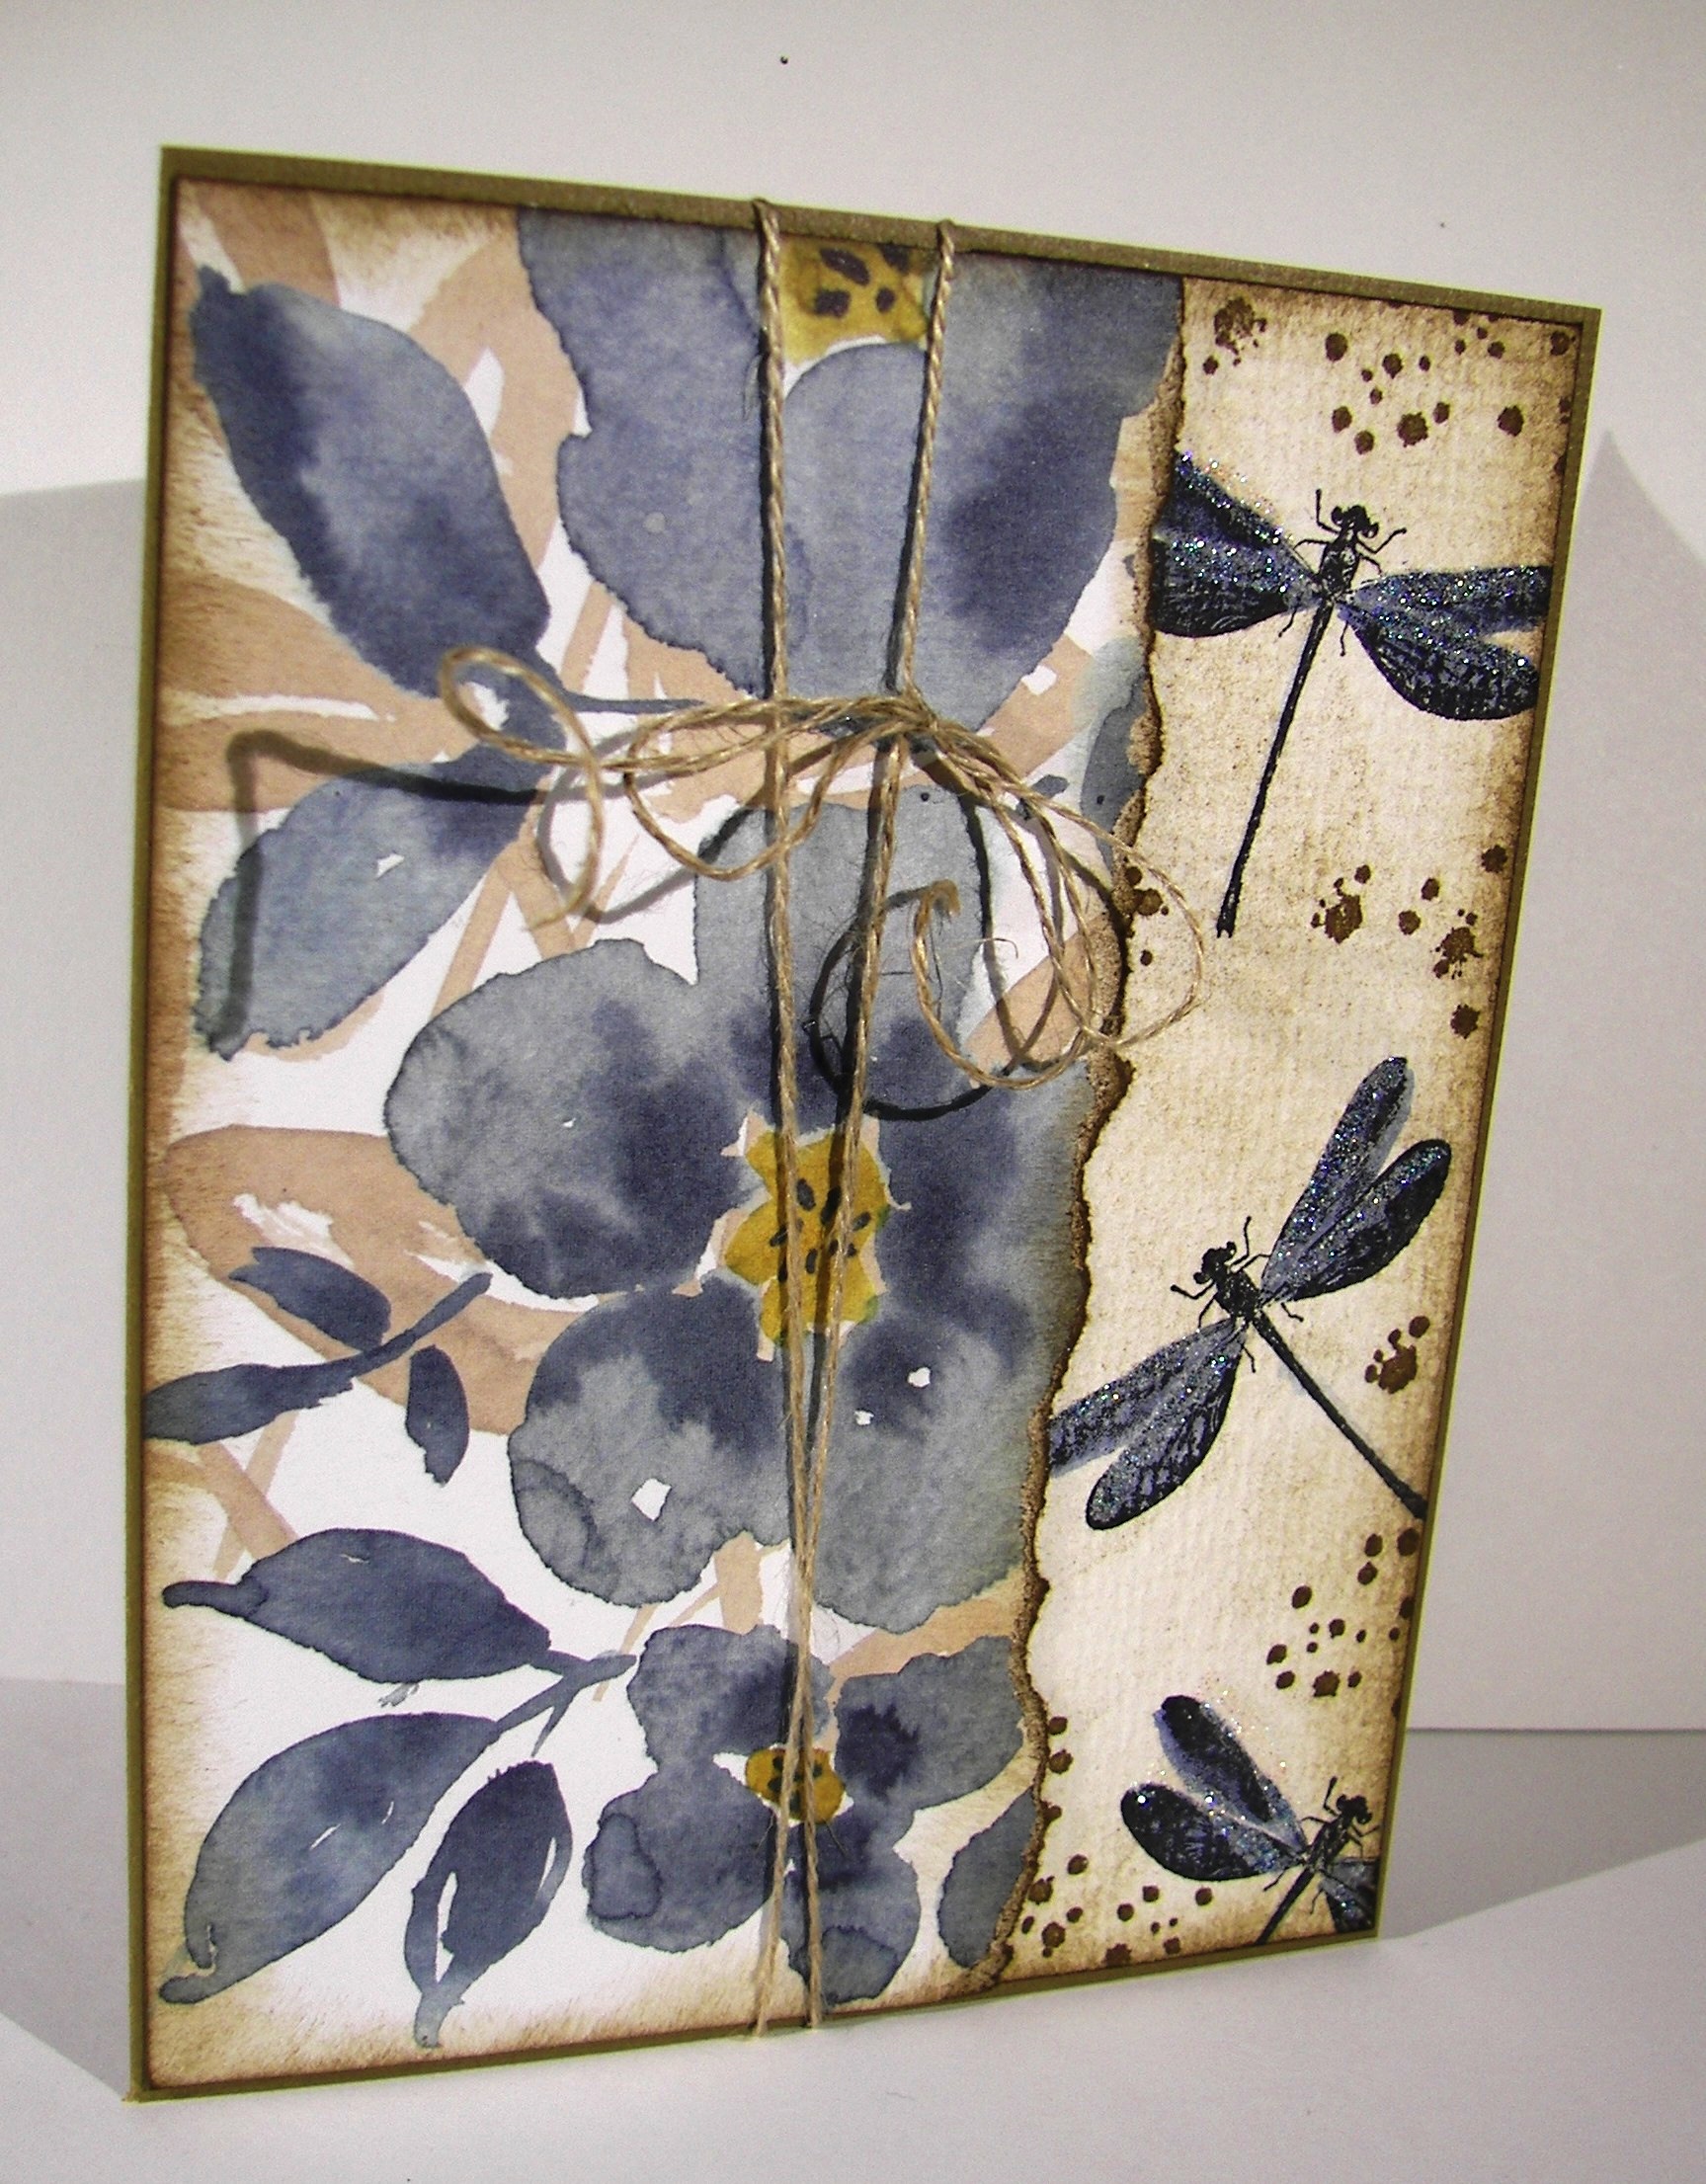
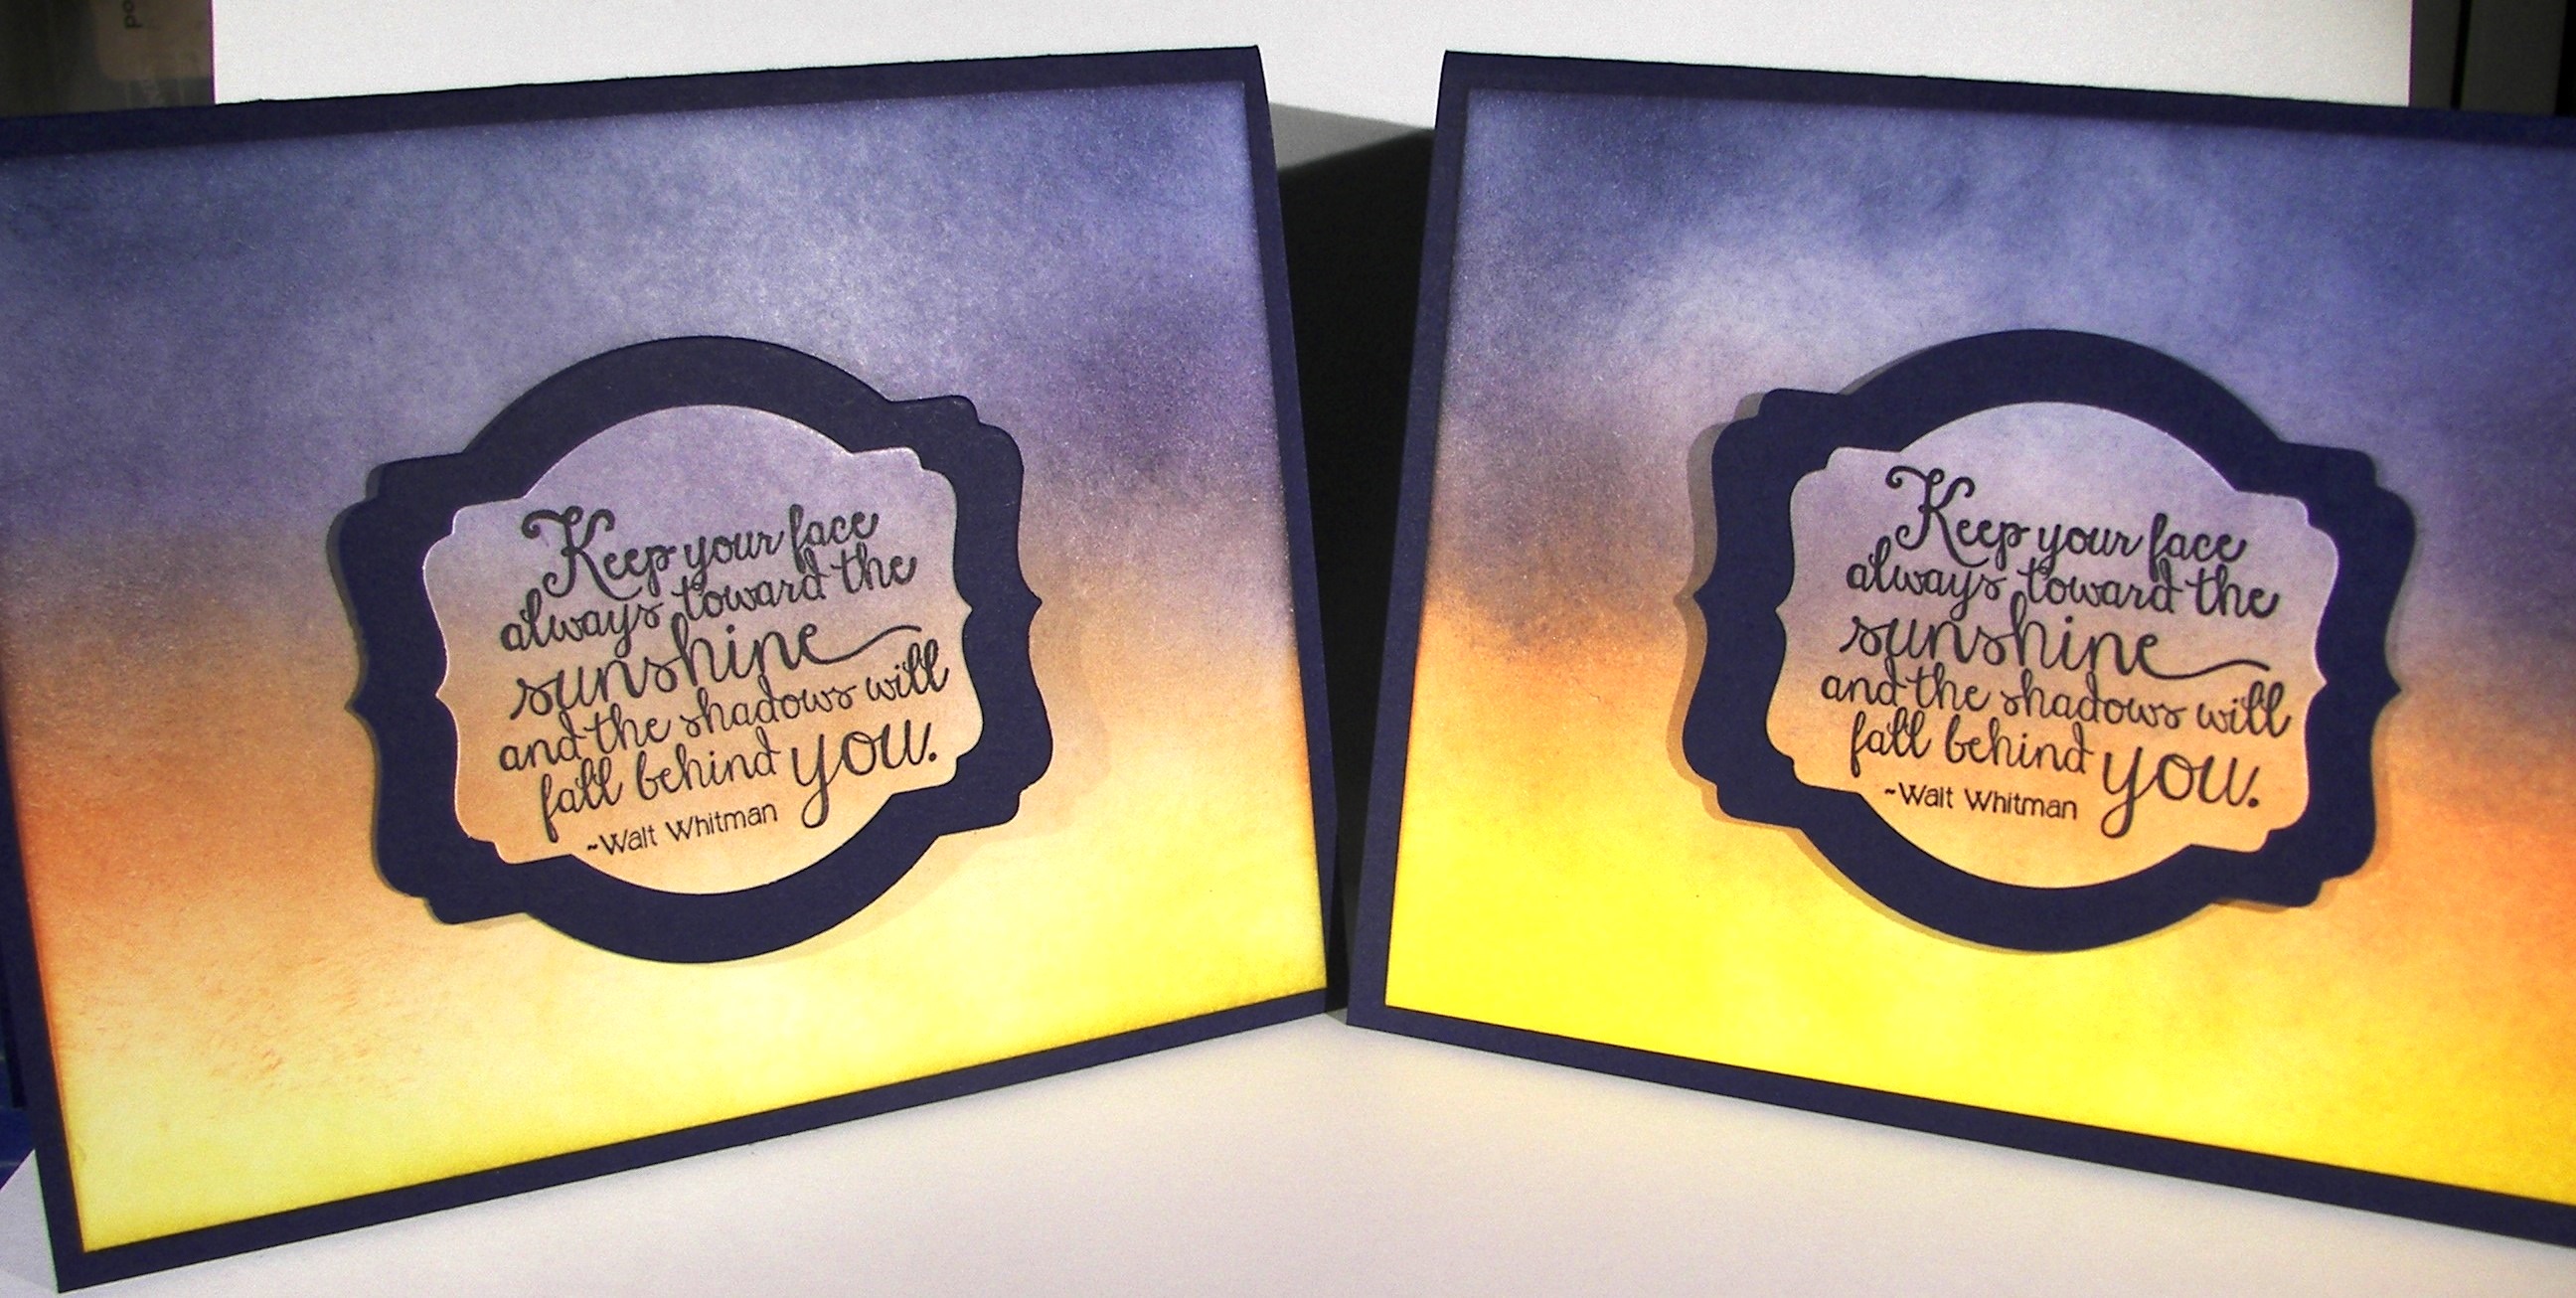
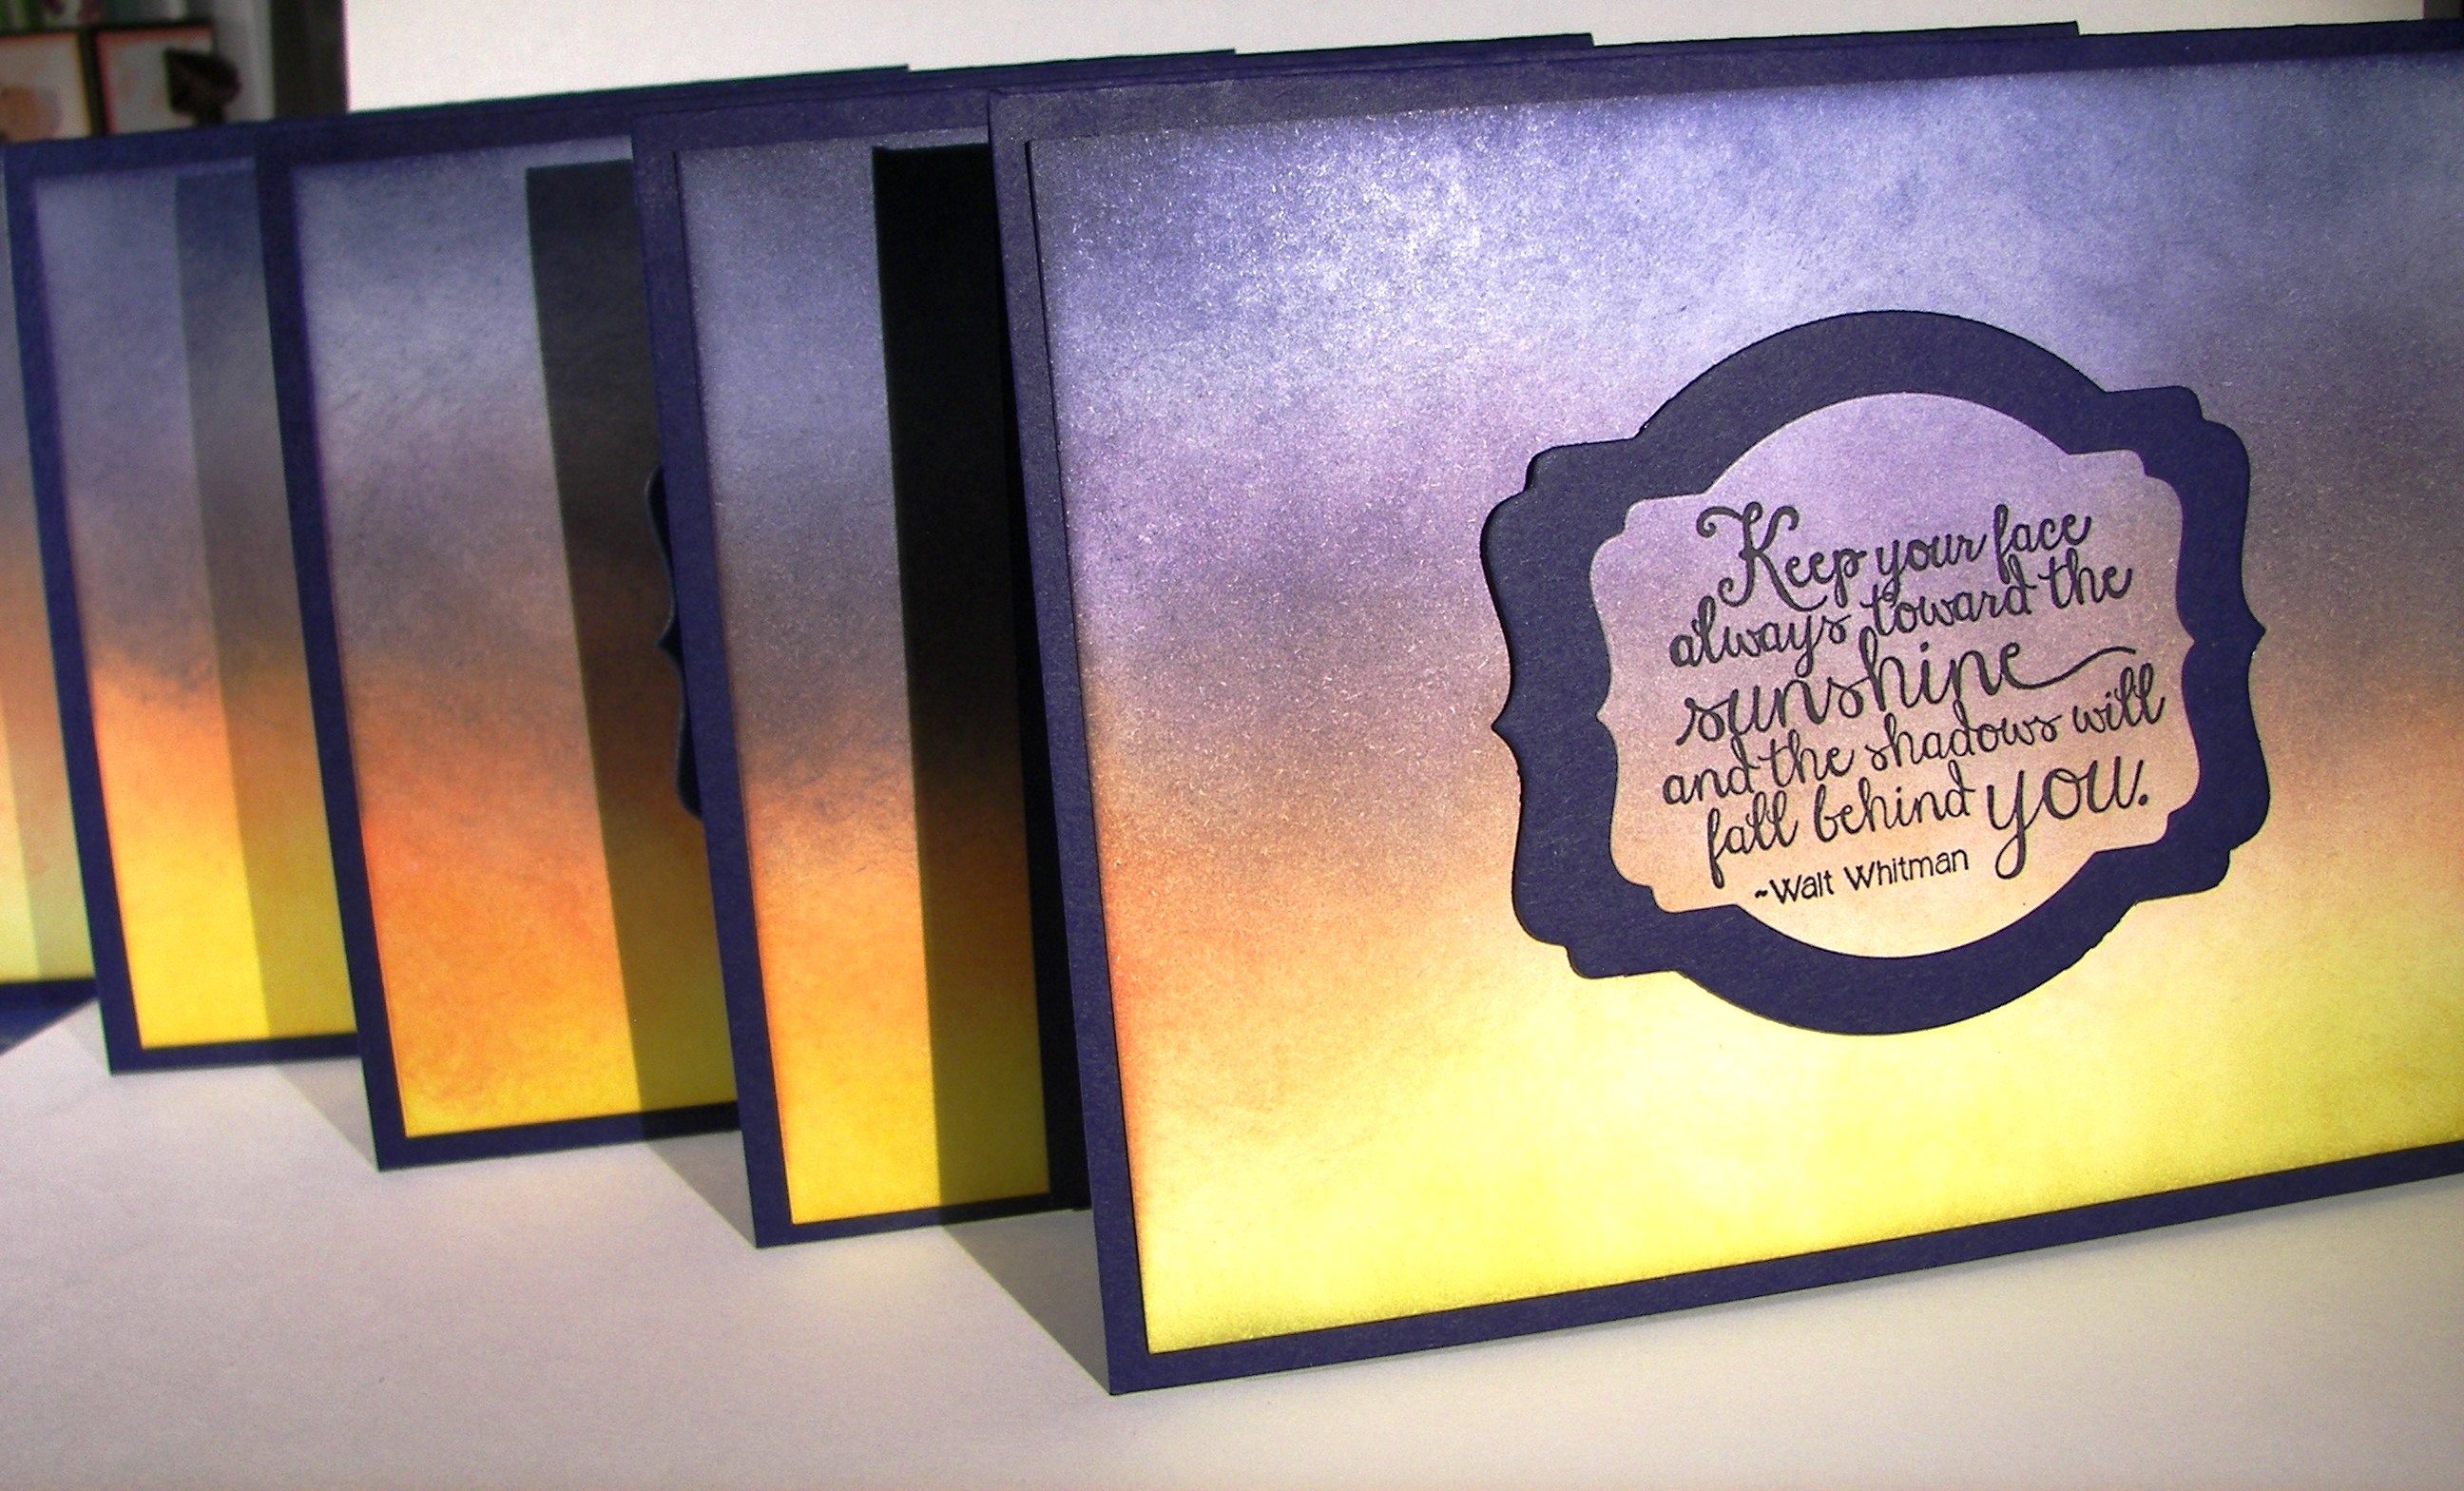
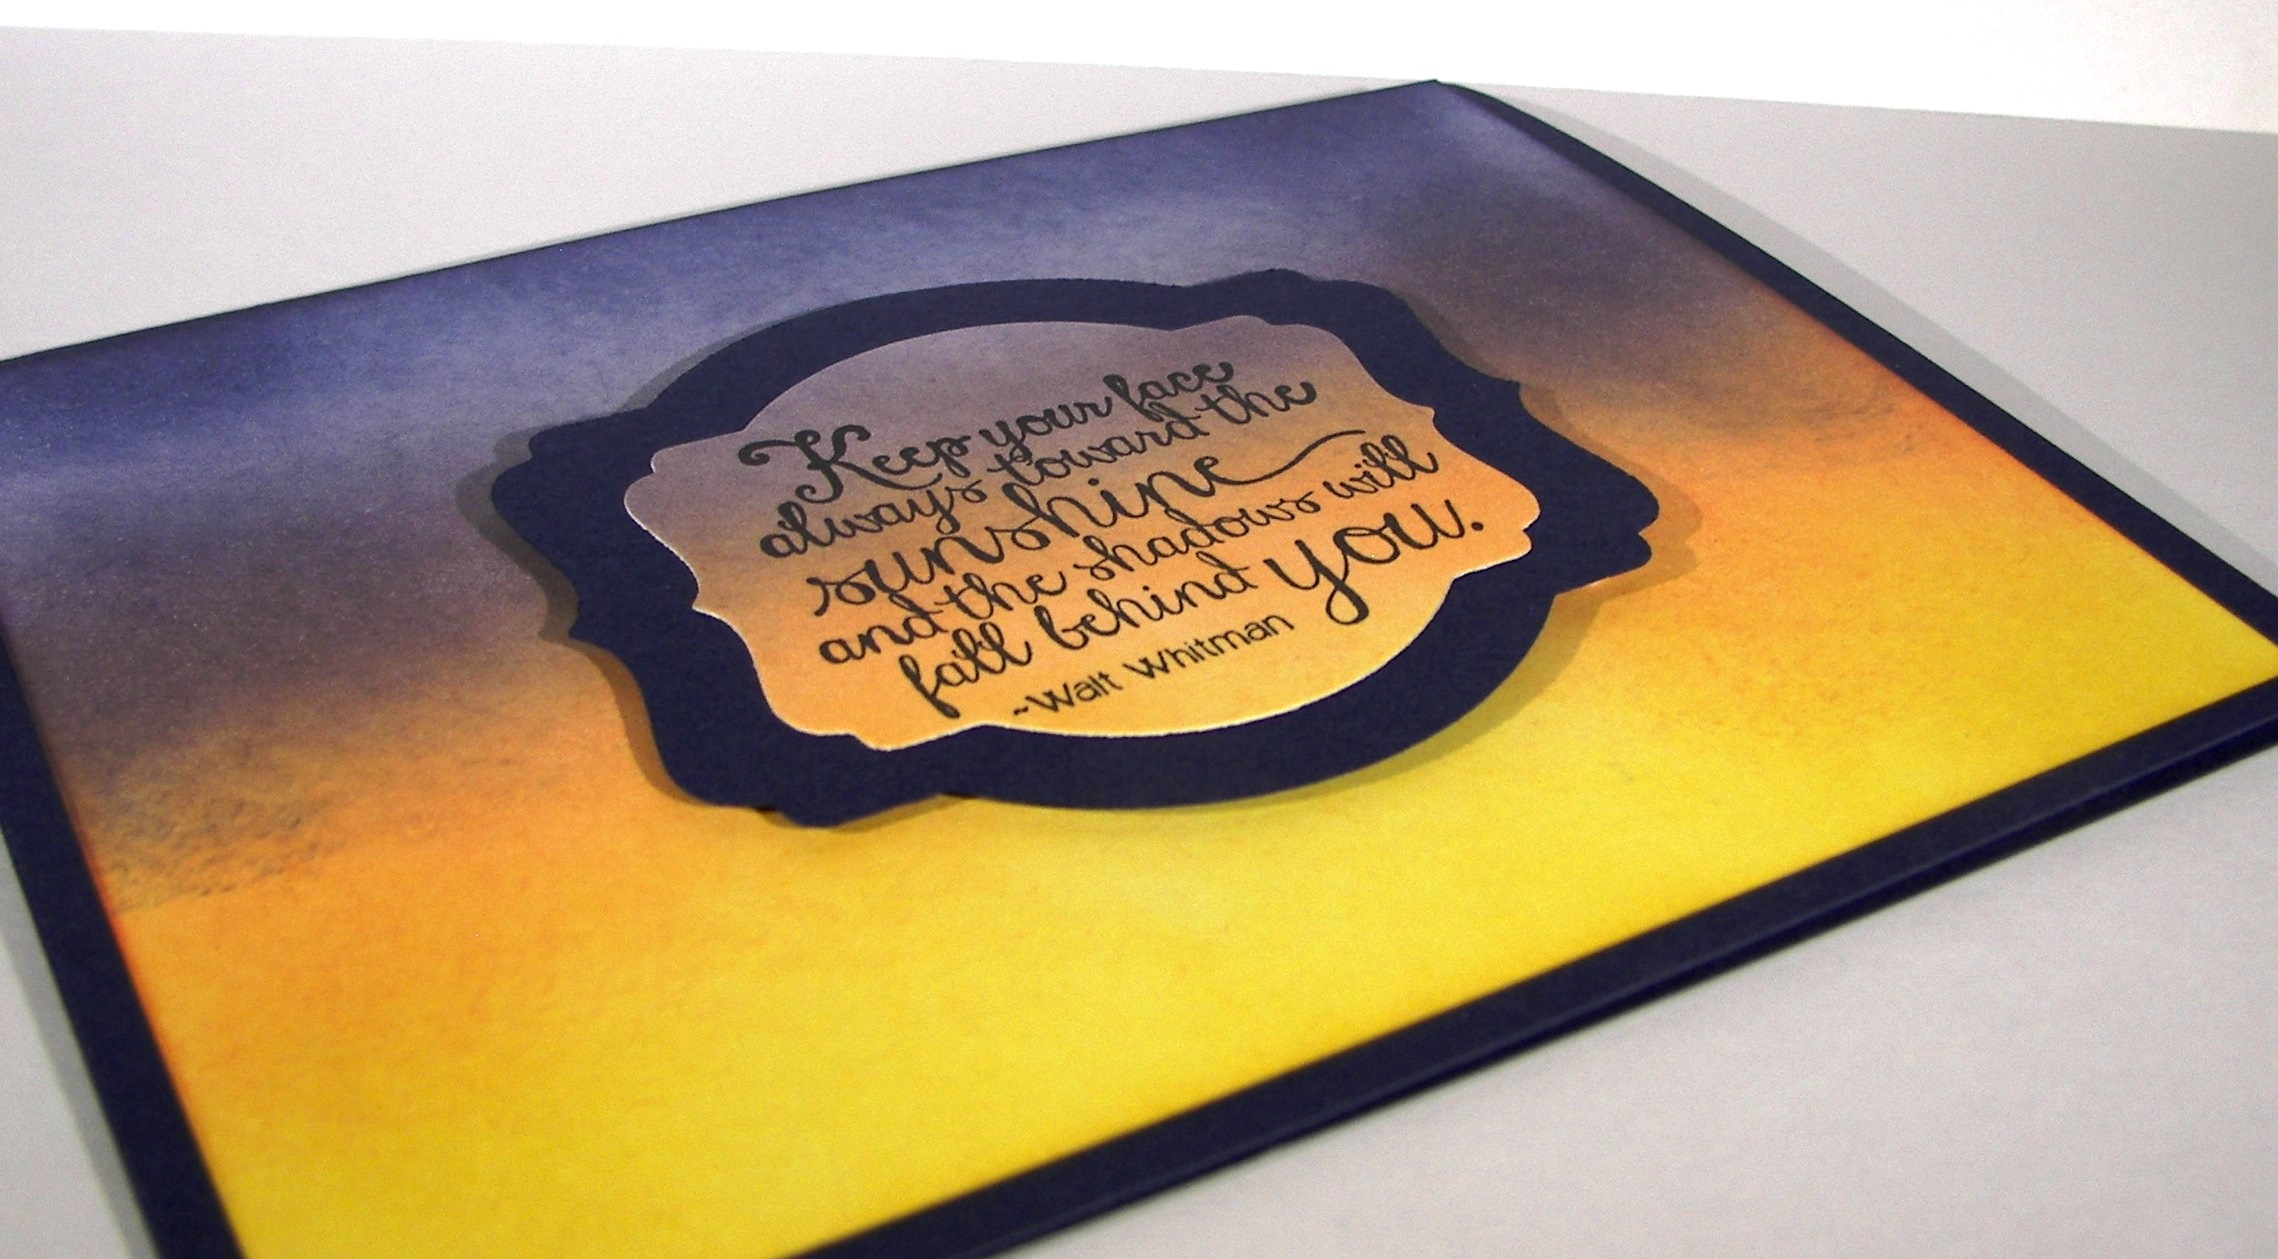
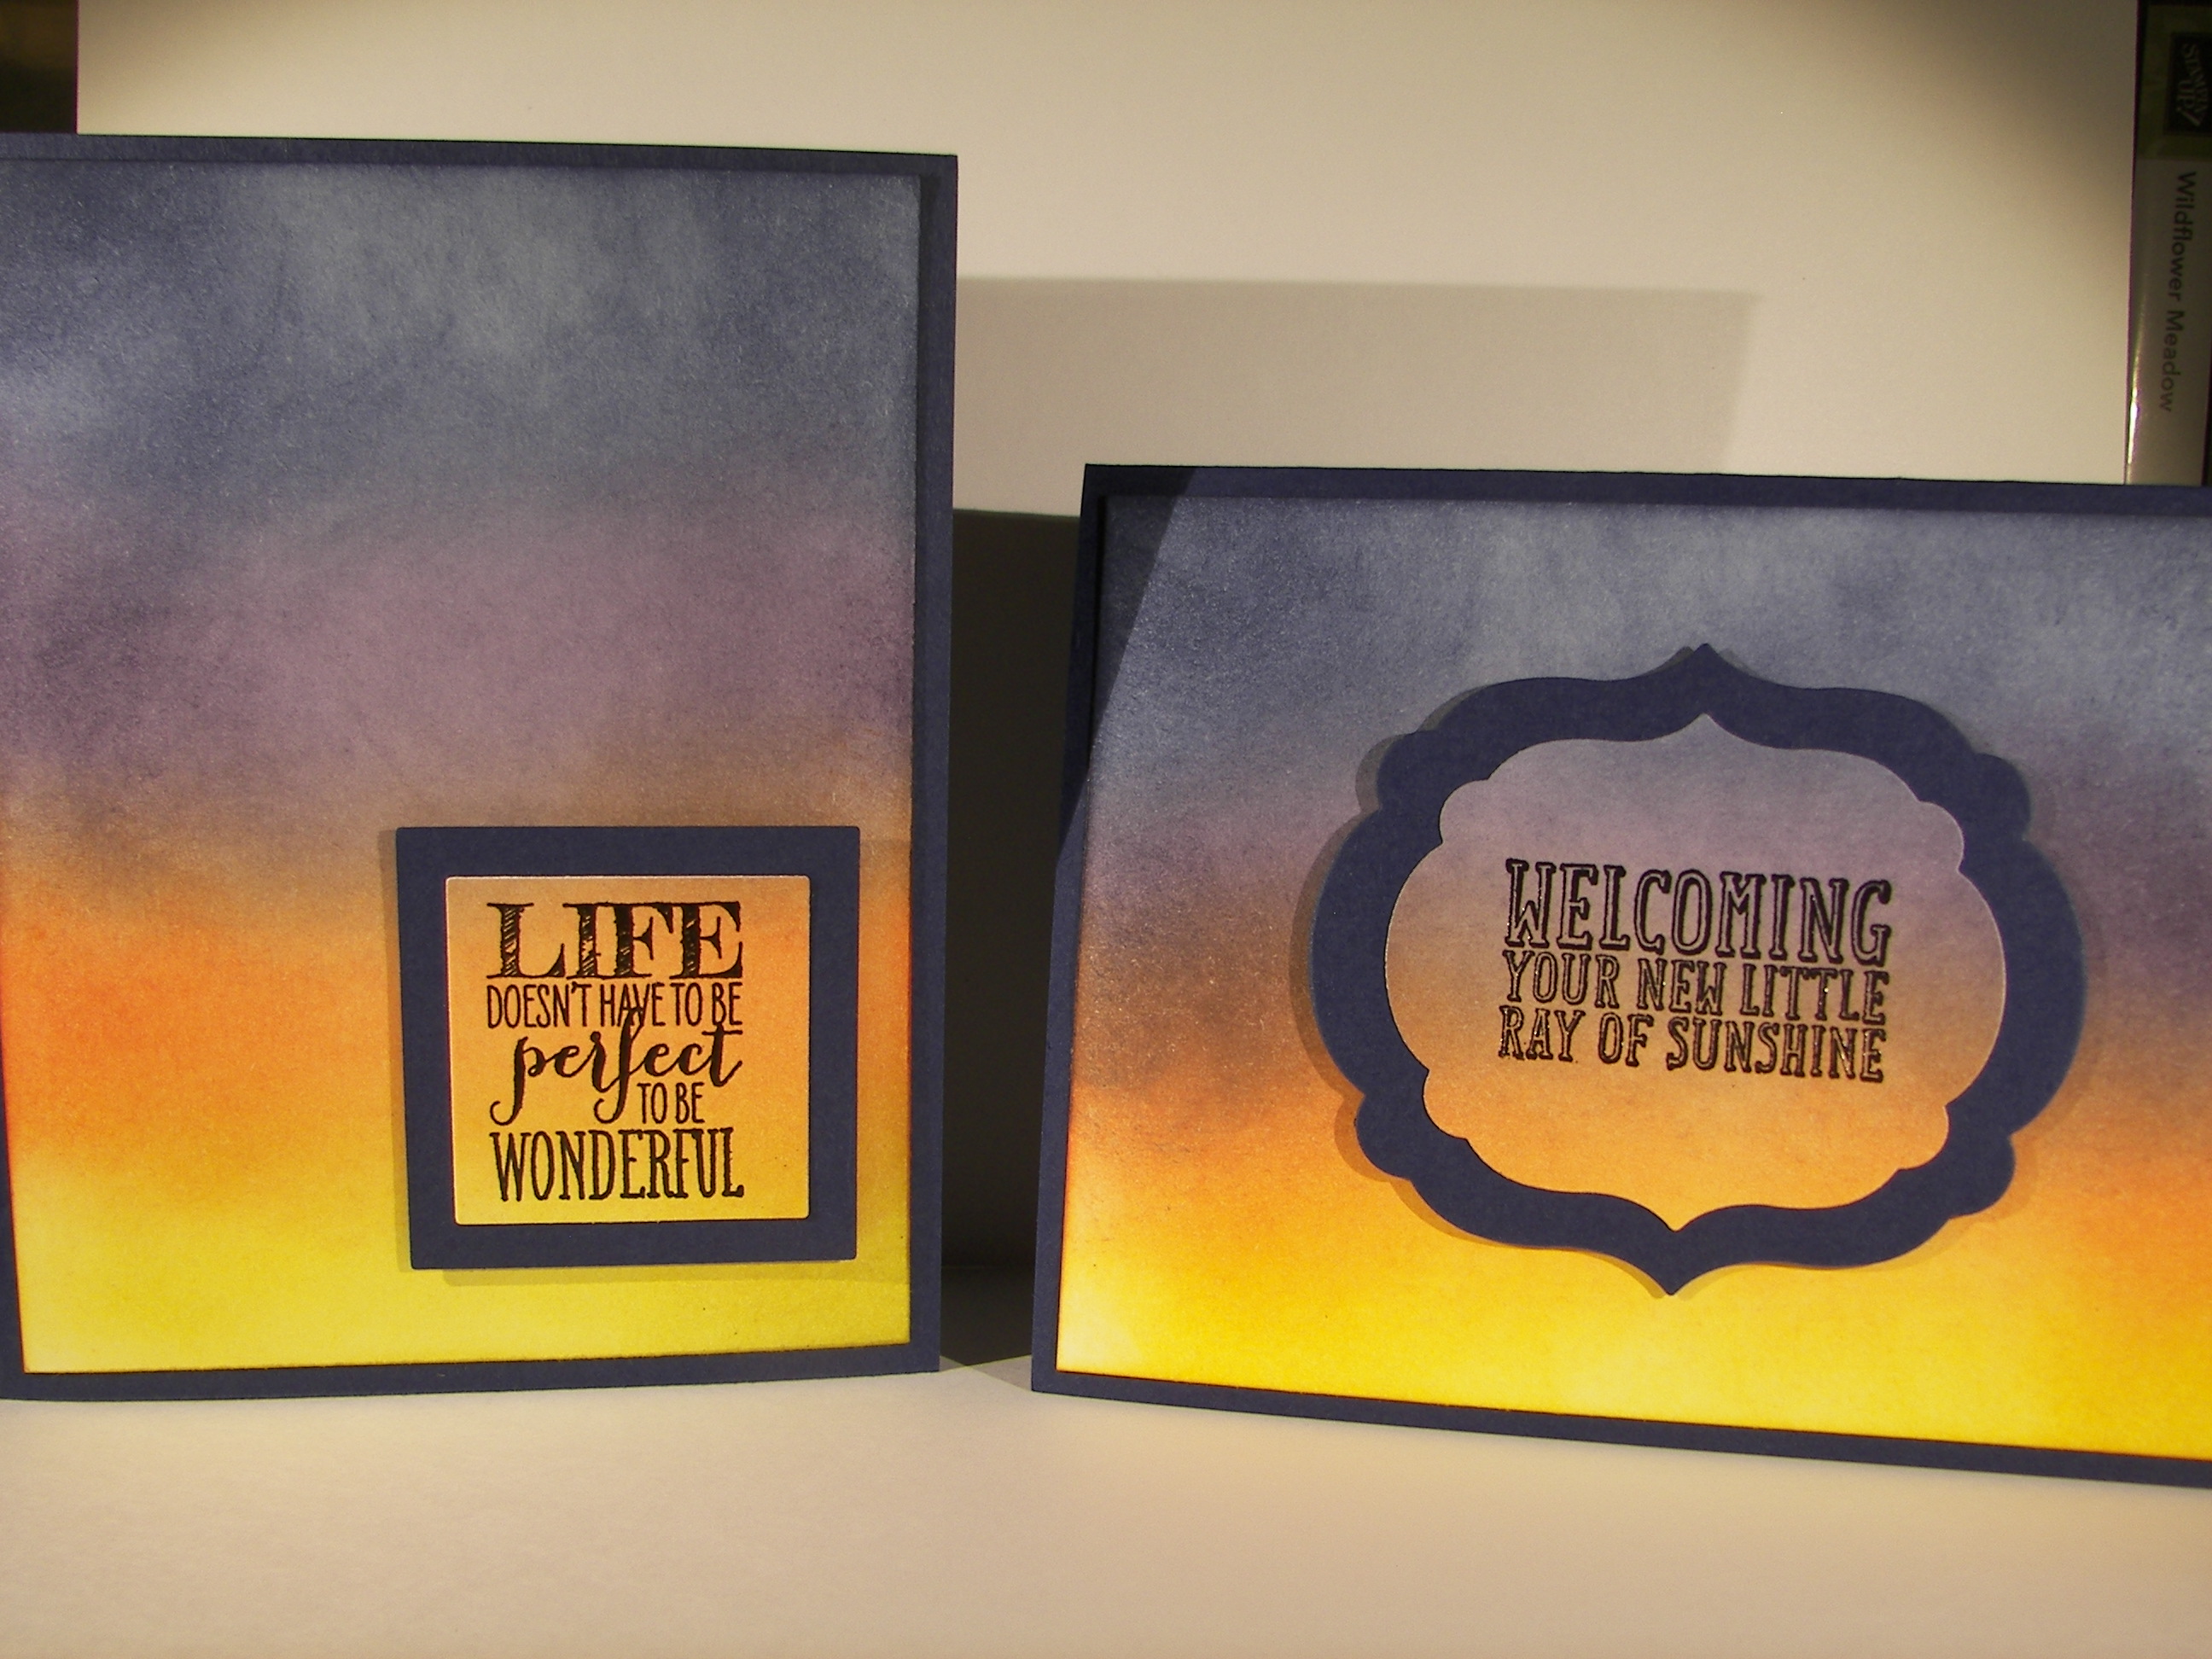
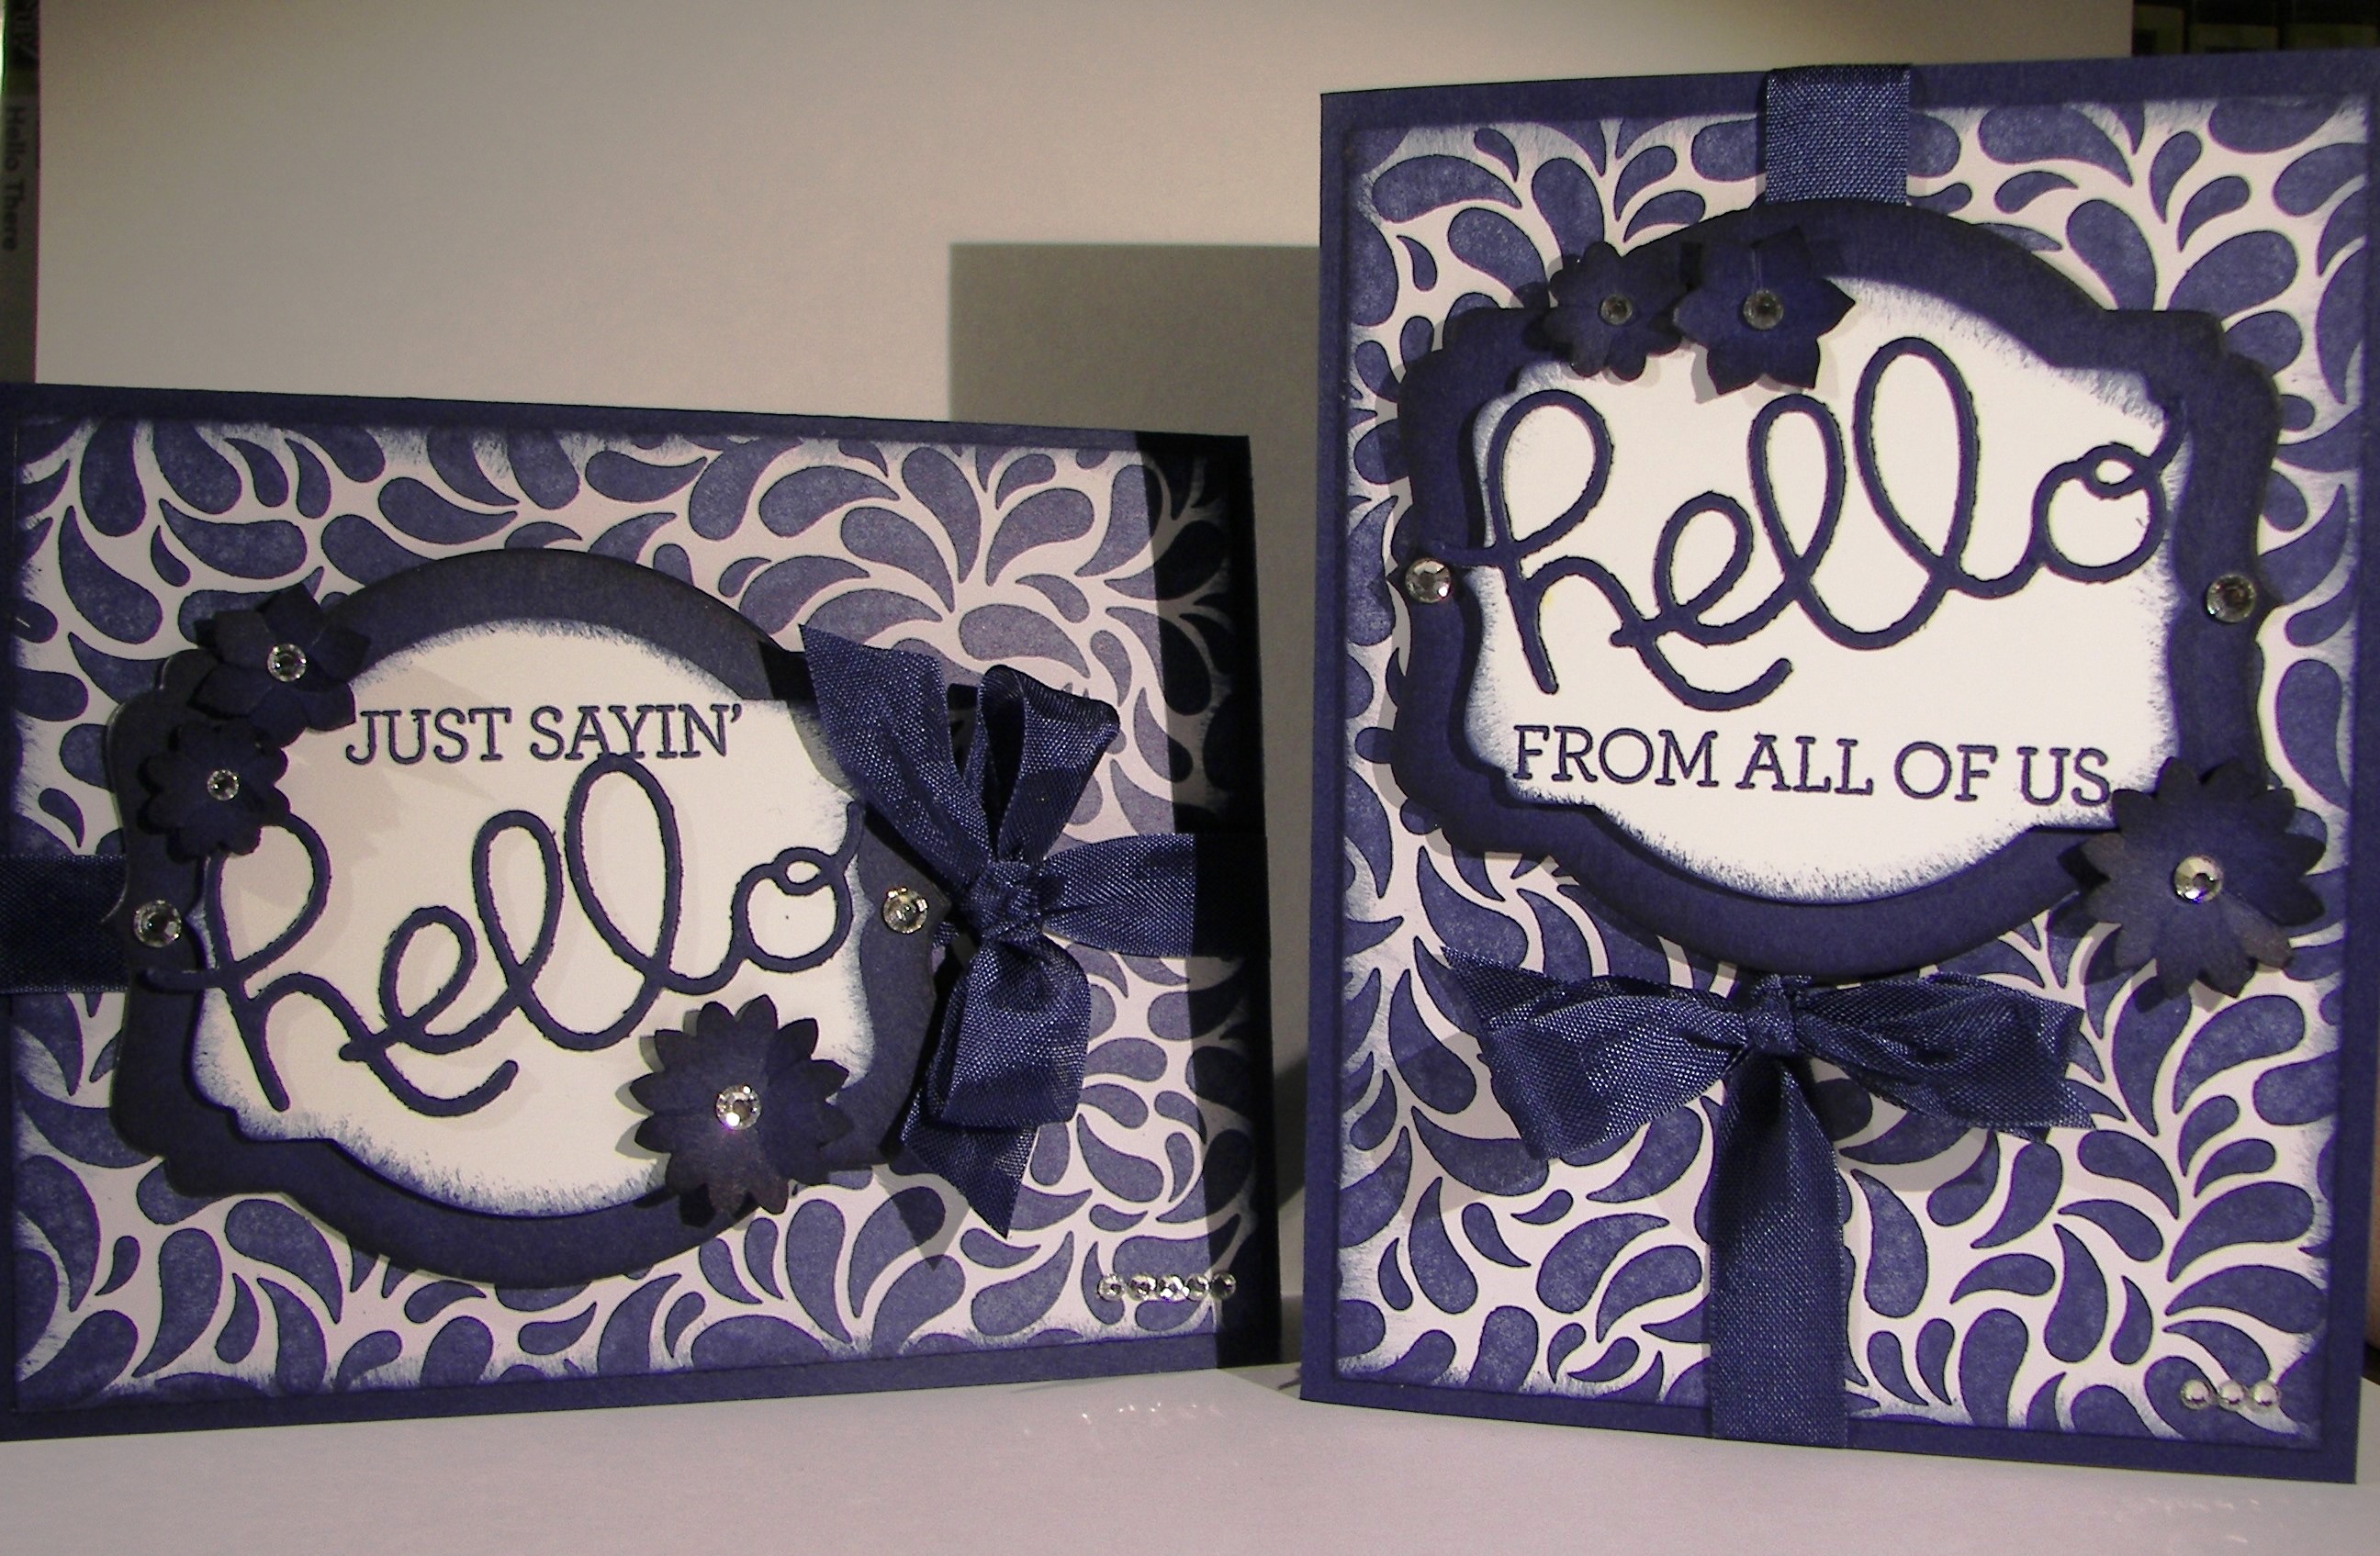
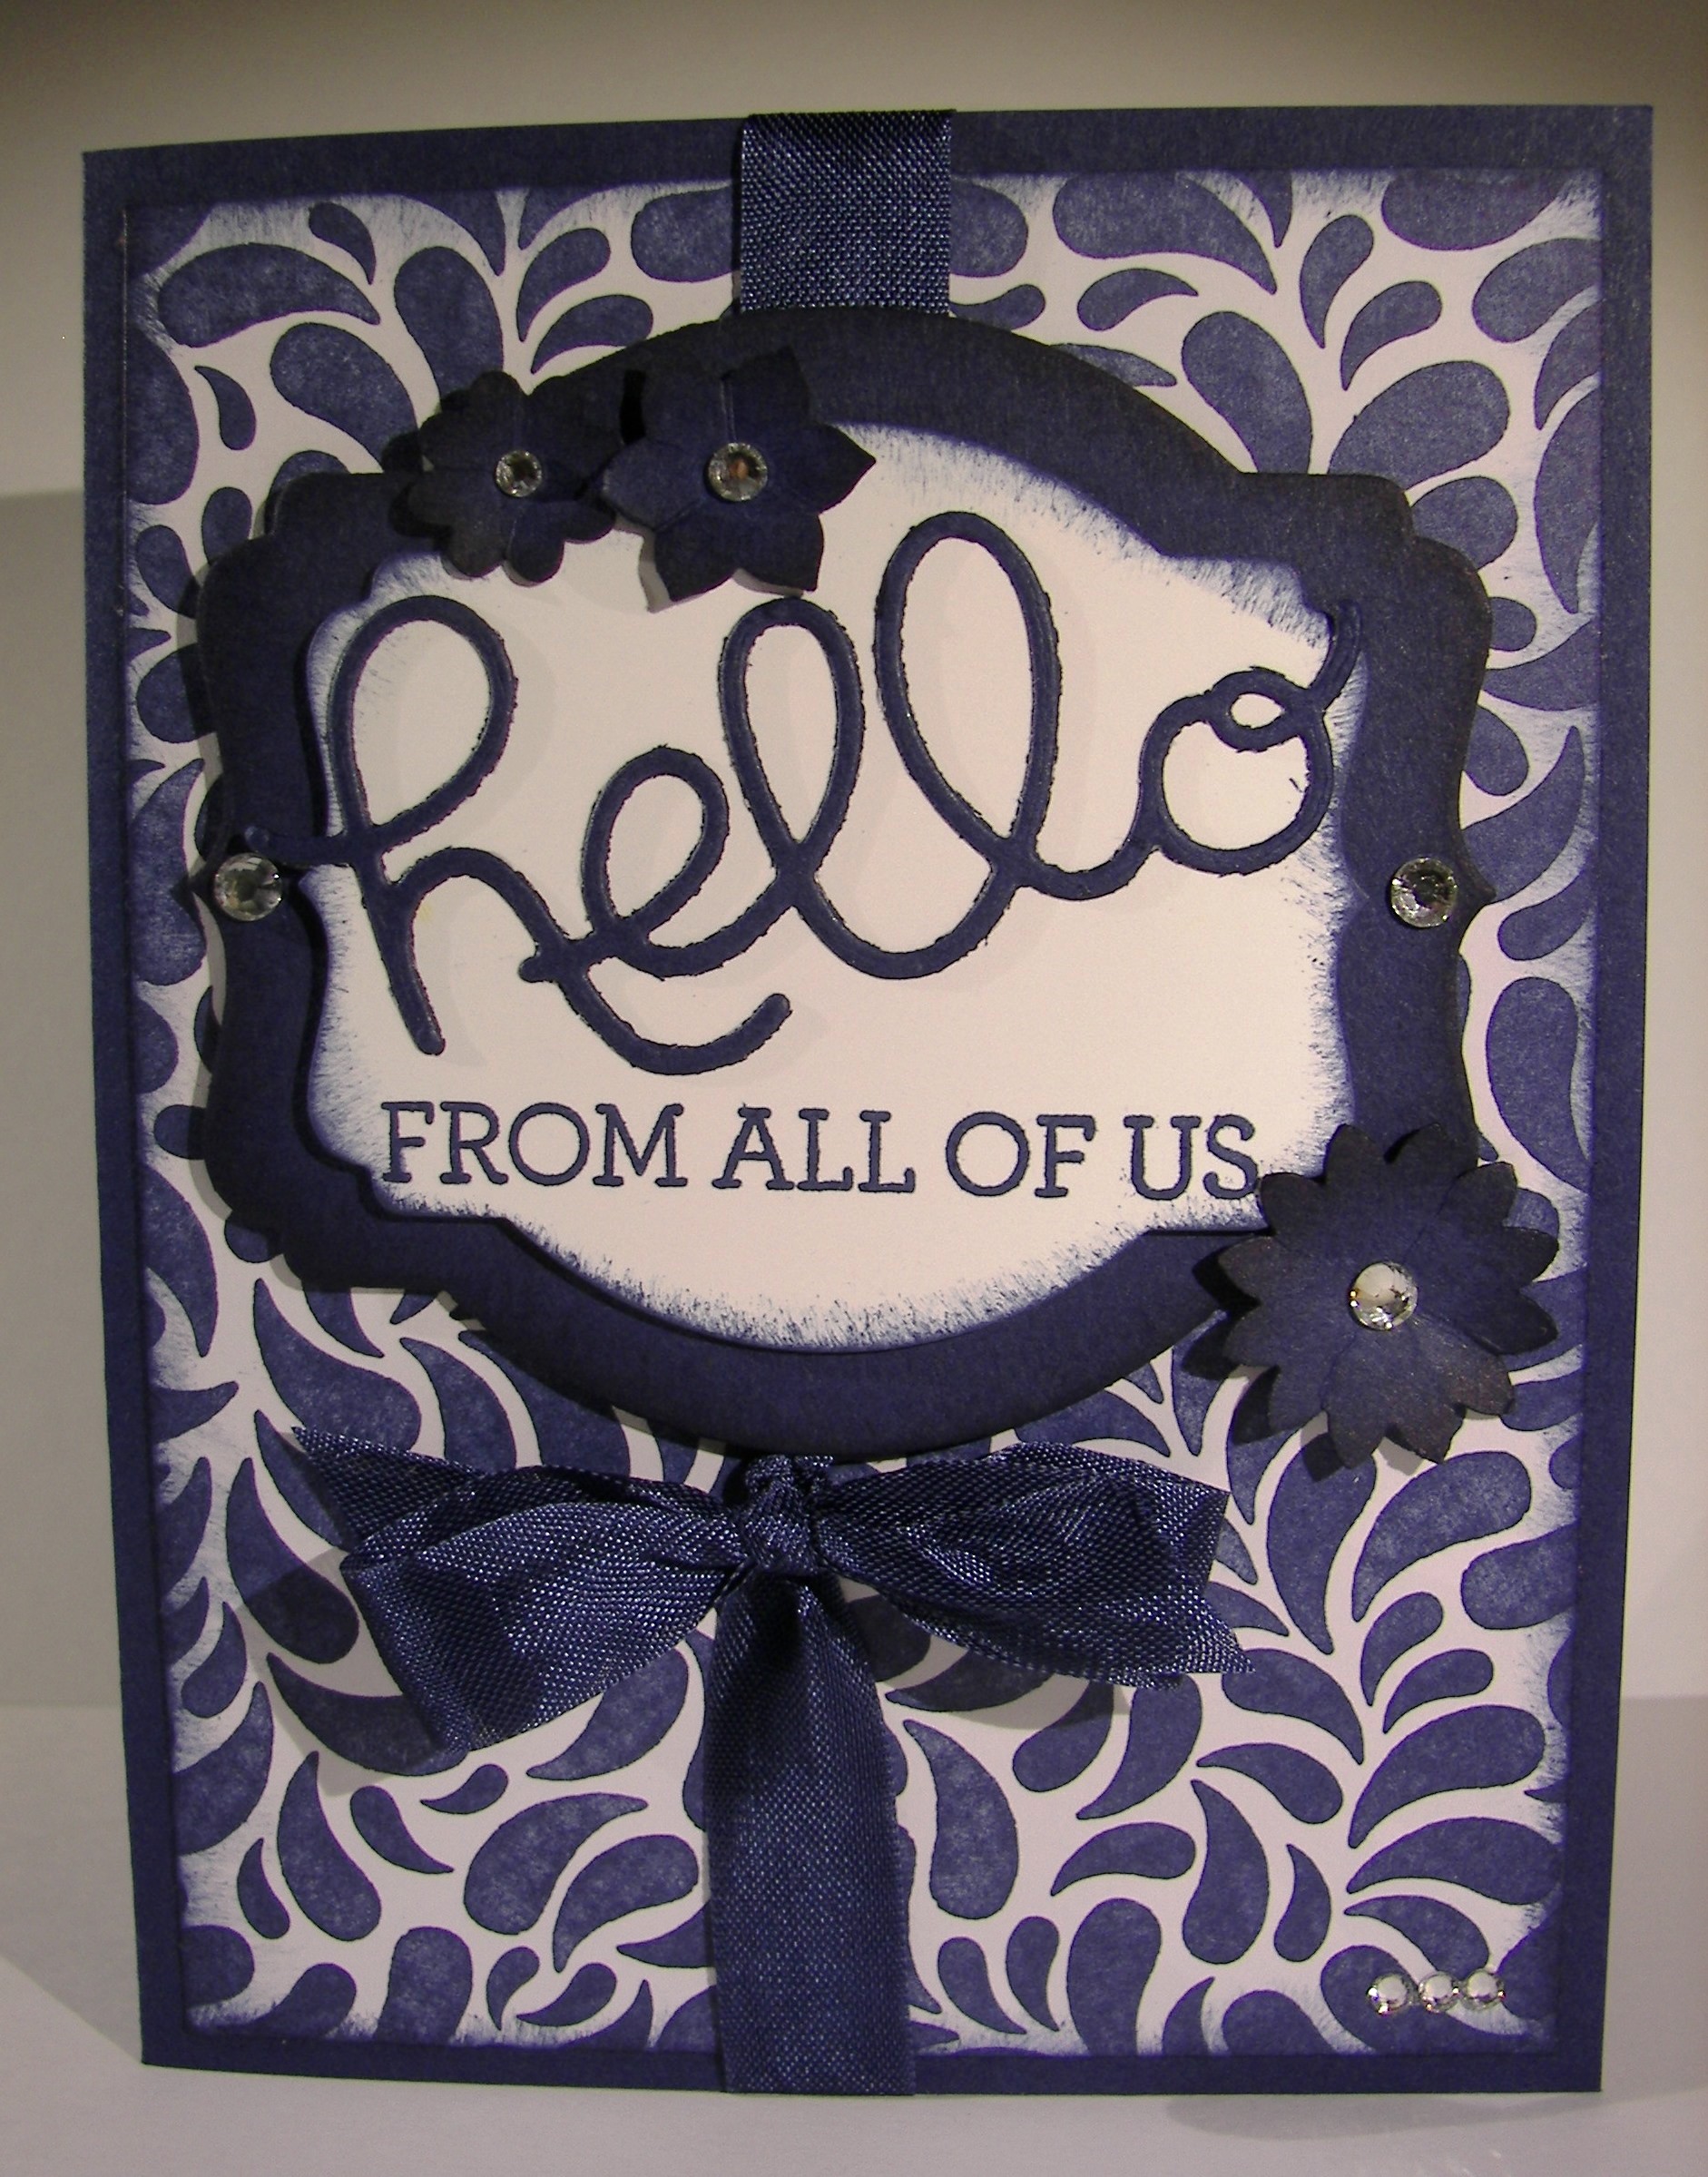
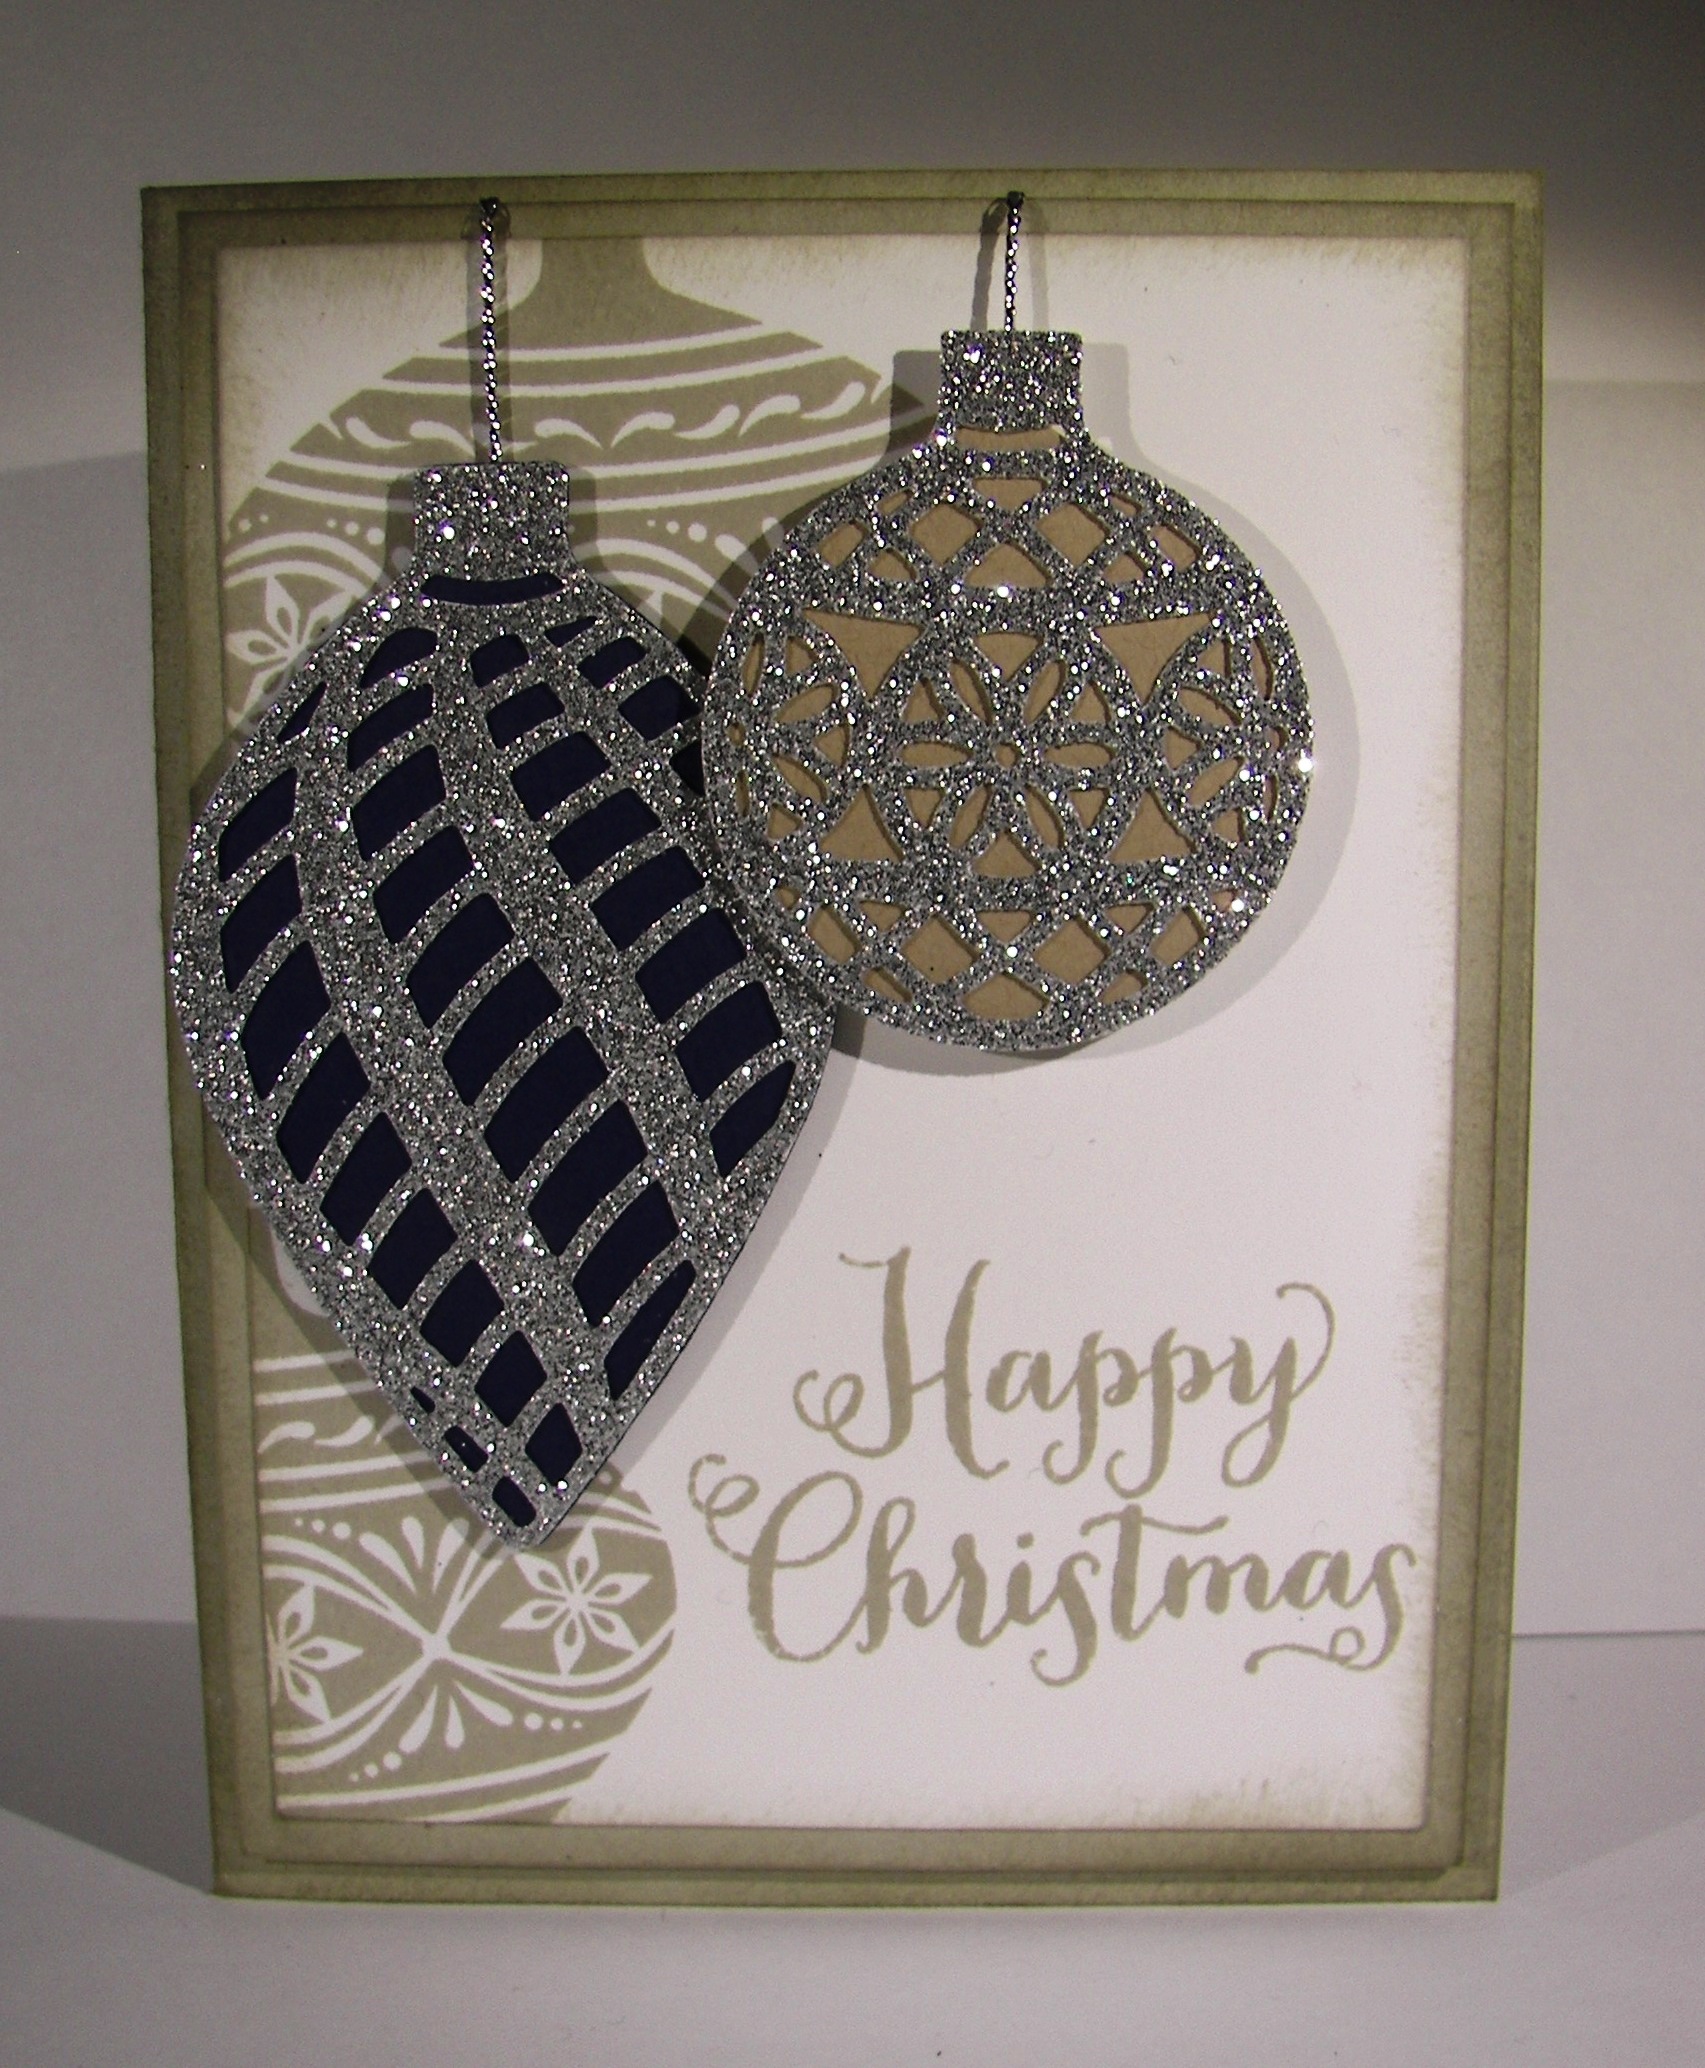
My photos don’t let you know very well, the colors look off, but I am working with Sahara Sand and Not Quite Navy.  The ornament on the left is backed with a deep navy blue and it looks so pretty.  The smaller ornament is backed with Crumb Cake just to give a better contrast.  The stamping is all done in Sahara Sand, as well as the sponging.  I used the new gold cording to “hang” the ornaments and it worked great.  I have been waiting to use this set, and it was so worth it.  Be patient, you will be seeing it a lot.

Embellished Ornaments

Have a creative day!

Moana

Moonrise Wonderland

This is the kind of thing I get to see all of the time.  The moon isn’t quite that large of course, but you get the idea.  I absolutely love it when you can see so much detail in nature.

10-29

I started with the moon.  The punched image and the negative sheet were both used.  The moon was sponged inside the mask with So Saffron and detailed some with Delightful Dijon.  The beautiful trees from Wonderland were stamped in versamark ink, after a hefty rubbing with the embossing buddy, and then covered in black embossing powder.  I had to be patient with the heat gun to get all of that powder melted, but it is so lovely.

10-29 (1)

I only used a few colors to create the background.  An aqua painter was  used along the bottom with Mossy Meadow to give me a bit of a hill and the ground.  Then Elegant Eggplant and Night of Navy were used to sponge in the sky.  I used the punched circle to mask the moon and it worked so nice.  Instead of using masking paper which is thin, I just used cardstock.  The ink has a hard time getting right up the to edge of the image and gives it a bit of a halo effect.  If yo don’t like it that way and want more exact detail, use something thinner.  This made me very happy.

It was layered up once on another piece of Elegant Eggplant cardstock and given a bit of height with dimensionals all the way around.  The inside cardstock was sponged lightly with more Elegant Eggplant just to tie it together a bit more.  All done!

10-29 (2)

Have a creative day!

Moana

Lovely Amazing You

While sitting next to my youngest daughter, trying to keep her awake to finish homework, I thought I would complete my project for the next day.  Good idea, right?  I pulled two stamp sets I hadn’t used in a while and asked her for a color idea.  She said dark blue, so I went with Night of Navy.  The card began.

Lovely Amazing You

She wasn’t having the best of evenings and her older sister came to the rescue, even though she is out of state attending university.  I do think that technology can interfere with real personal relationships, but this was perfect.  The infamous ‘snapchat’ was just the thing.  The sad faces turned to happy and then on to absolutely silly.  And that is how I chose my sentiment.  Thank you my sweet daughter for being the best big sister ever.

Lovely Amazing You

The brayer was still out from workshop so I let it give me my background on the large polka dot embossing folder.  Kind of artsy looking, even if I didn’t keep it perfectly clean.  I then decided to do a lot of sponging to disguise some of that, can’t hide it all, and also sponged lightly all over the paper.  Nice.

Lovely Amazing You

The little notebook sheet was created with a stamp from the Tap Tap Tap set, offset on some Night of Navy cardstock, raised up on dimensionals and embellished with basic rhinestones.  I even used the 1/16″ hand held punch and punched actual holes over the stamped ones.  Pretty cute.  I finished off the project with a bow of seam binding ribbon and decided I loved it!

Have a creative day!

Moana

Thank You for Everything and More.

What a wonderful way to start this special holiday.  Making this card this morning gave me some quiet alone time to contemplate.  I do my best thinking while I am crafting, I really do.

Thank You for Everything and More.

This project was more about the sentiment than anything.  Of course the color choices were important.  I kept everything subtle so the message was clear.

Thank You for Everything and More.

Gratitude, plain and simple.  Grateful for the freedoms I know I have, but so much more.  There is a larger picture that regular citizens are just simply unaware of, and sometimes grateful for that ignorance.  I do feel truly blessed for the way I am allowed to live my life.

Thank You for Everything and More.

Take the opportunity to share the gratitude you feel in the way you feel most comfortable.  I get to enjoy my quiet  beginning, attend a flag raising social at my church, and spend the afternoon with family.  Just wonderful.

Have a creative day!

Moana

Awesomely Artistic at last!

I have made it through my June adventures and have finally been able to sit down with a long awaited stamp set and designer series paper.  I am still way beyond tired after completing a sixteen mile handcart trek, so it took me longer than normal to get going, but I did it.  It kind of feels a bit vintage and a strong nature theme.  So pretty.

Awesomely Artistic at last!

I learned my lesson with the last designer series paper that I loved too much to use for way too long.  I opened this pack up, took out my favorite pattern, and cut it for the card front.  Quite brave if you ask me.

Awesomely Artistic at last!

I stamped inside with two of the stamps from the set using night of navy and soft suede.  I have a hard time leaving the inside blank.

Awesomely Artistic at last!

I used a piece of water color paper to stamp the dragonfly a few times.  I started with black stazon, water colored with night of navy on the wings, then used some two way glue to attach dazzeling diamonds glitter to the wing edges.  I absolutely love dragonflies.  They are my signature mark and have been for some time.

Have a creative day!

Moana

Maritime Thank You

Today is a day filled with gratitude.  Not only for our freedom, but for those who sacrificed so much to provide it to us.  Sometimes we feel a bit removed from celebrations like Memorial Day.  Today I have the opportunity to spend time with family, and to thank my own sailor, my father-in-law.  Hence, the nautical themed projects for today.

Maritime Thank You

I used the awesome anchor from Guy Greetings to make a background paper for my sentiment and stamp inside as well.  All you need to say is ‘Thank You’.  We will enjoy writing special notes in these.

Maritime Thank You

I had to make a treat bag, of course.  But I knew I would be making this specific, so I actually bought candy to go inside.  It is already tucked inside ready to go.  Everyone needs a treat once in a while.

Maritime Thank You

So, don’t forget to take some time in your busy, and hopefully wonderful, holiday to share your gratitude.

Maritime Thank You

Have a creative day!

Moana

Ray of Sunshine CASE

What happened to yesterday?  Well, it was absolutely all over the place!  It started out with finishing up this batch of handouts for a church youth lesson, 32 of them to be exact.  I had to enlist some family help to get them done in time.  They really looked beautiful all splayed out on the dining table.

Ray of Sunshine

We were off to church and it was so lovely.  My lesson went really well, because I have a great group of young ladies that I get to work with.  I made sure to share the extras before I came home, no need to add to the large stack of blog projects.  We went up the hill to have dinner with my husbands parents, spending much needed time there.  Only to return home to remember a church girls camp meeting that I had indeed completely forgot.  What a busy day.

Ray of Sunshine

I did CASE myself on this one.  But I needed a sunrise background to match the phrase which went perfectly with the theme of my lesson.  Inking up all of those backgrounds can give your hand a bit of a cramp.  But since I was all over the place I didn’t have a chance to share them with you.

Ray of Sunshine

So, I missed a day, sorry about that.  It should be a bit more calm today, I hope.  Let’s hope work is reasonable.  Oh, and I get to pre-order today in the new Stampin’Up! catalog!  It doesn’t go live for another month, but that is a perk of being a demonstrator!

Have a creative day!

Moana

Ray of Sunshine with Perfect Pennants

Color, color, and more color.  I obviously had color on the mind.  I have been wanting to make a card that felt like a sunrise.  This fit the need  nicely.

Ray of Sunshine with Perfect Pennants

It wasn’t easy for me to leave it alone with just ink and a sentiment, but I managed.  I have coordinating ribbon, but didn’t want to break up the colors.  My supporting committee backed me up and here they are.

Ray of Sunshine with Perfect Pennants

A friend of mine recently had an adorable little girl and I couldn’t wait to use this stamp for a baby card.  It feels like a warm cuddle, just like a baby.  Yummy.

Ray of Sunshine with Perfect Pennants

I took my inks and sponges and went to work.  I started at the bottom with crushed curry and sponged and swirled away.  I progressed across the card with the four different colors ending with night of navy on the top.  After the ink dried I stamped my sentiment where I wanted it to sit and embossed it with black powder.  I headed to the big shot and cut out my image.  Yes, that left a hole in my background piece.  But with my framed bit also done in night of navy, it was all covered up.  I just popped that up on dimensionals and called it done.  A great technique on both fronts.

Have a creative day!

Moana

Birthday Bash Times Two

Can you see a theme at my work station?  Yup, still working on birthday cards.  With paper this beautiful, you don’t really need a lot of extras.

Birthday Bash Times Two

I don’t know if you can tell from the photos, but several of the printed balloons are in gold foil.  It is just so pretty.  It could easily have gone without stamping, but I did just for fun.

Birthday Bash Times Two

I thought with the color combination it could easily be masculine.  Even with the seam binding ribbon.  Simple and strong.

Birthday Bash Times Two

I could go on and on, but these cards speak for themselves.  Dip into those pretty papers and put them to work.  Don’t be shy, just cut into them and make something beautiful.  That is why you bought them, right?

Have a creative day!

Moana

Perfect Pennants Birthday Bash

Aside from the rushed photos and my crazy allergies, I think these cards are rather fun!  They are a definite challenge to the cloudy rainy day we have here.  We need the rain and I need the pollen washed away.  Actually, everything has a dusting of pollen that gives it a crushed curry look.  Funny…

Perfect Pennants Birthday Bash

My mind is pretty darn blank today.  Again with the allergies.  But I needed some birthday cards and wanted to brighten up my desk.  Mission accomplished.

Perfect Pennants Birthday Bash

The banner framelits really make a fun look.  So simple to do, my favorite kind of excitement on a card.  It doesn’t have to be all tricky and unique to give the right effect.  Having everything all tidy and clean really gives a professional edge.  Nice.

Perfect Pennants Birthday Bash

So, get out there and make some birthday cards!  You know you need them and it is always nice to have them on hand.

Have a creative day!

Moana

Hello You

I was pretty unsure about using such a dark color.  I normally would have brightened it up, but stuck with it.  The results did come together pretty nicely I must say.

Hello You

The designer paper from the Birthday Bash set had been fussing at me for a while to get out the Night of Navy.  Isn’t it pretty paper?

Hello You

The wording set is a combo of a stamp and a thinlit.  The small words come from a huge set of stamps that really give so many choices.  They are photopolymer so placement is super easy.  The adorable ‘hello’ is one of five thinlits from the Hello You set.  For being so delicate, it was super easy to use.  Great results!

Hello You

I went back and forth on adding the Boho Blossoms flowers or not.  The card actually was lovely without them, but I kept on. I liked how they added just the right touch.   If you are a clean and simple kind of crafter, just remove the flowers. It really does make a difference.

Hello You

Either way, you should give this card a try.  It uses a ton of fun products that come together in a way that only Stampin’Up! could.  I so love how everything coordinates in every way.  Especially with a monochromatic look like this.

Have a creative day!

Moana