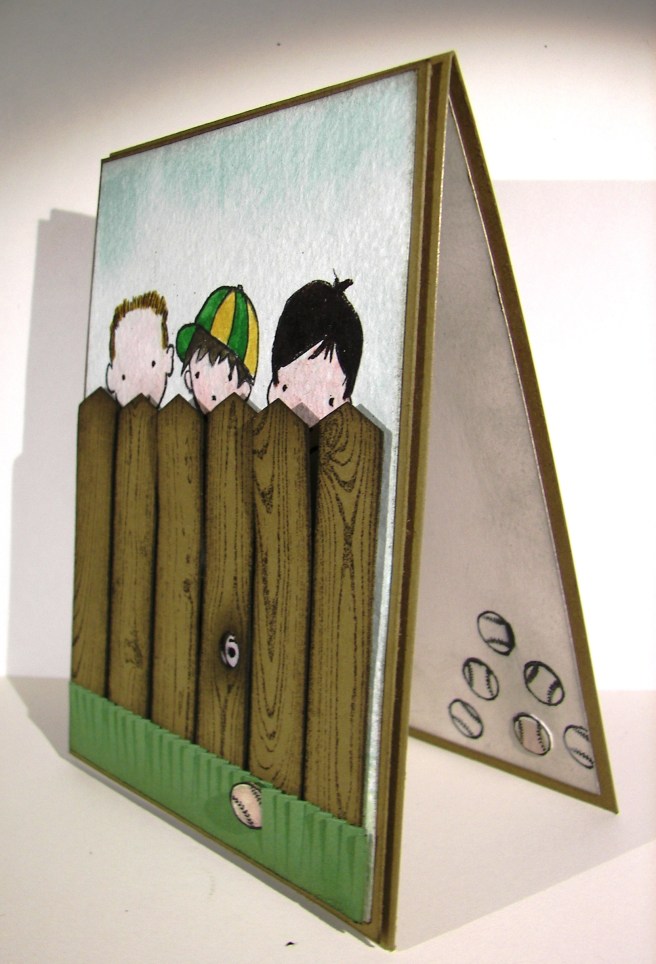
What sandlot do you think I am referring to? Well, the awesome kids movie about baseball and friendship of course. This movie was just watched in the P.E. classes at the school I work at and I thought of a card to go with it. New for me, a movie inspired card. It was sure a lot of fun to create.

The card base and the fence is made from soft suede. I stamped the hardwood image in early espresso and sponged the planks as well. I also punched out a knot in the wood with the 1/4″ hand held punch to make a spot for a peephole. So cute! The grass is from a strip of garden green, snipped with the fringe scissors and sponged with early espresso as well.
The light paper is water color as well as the tiny little baseball in the grass. It was a bit tricky to get the fence in the right place to let the boys peek over, but I did okay. The interesting part was stamping an image to let a boy peek through the hold in the fence. I think it would have been easier to just draw with a pen instead of trying to adjust my stamp, but I ended up having to do both anyway.
I glued the grass in place with tombo and placed the baseball in the grass with half a dimensional. I did water color the ball a bit and sponge it too. I had to hold it with tweezers during the sponging, such a small piece. I totally had to fussy cut that one out. The 1/2″ circle punch was just too big, bummer. I did some water coloring with soft sky on the background, pink pirouette on their faces and used markers to color in the rest. It was a bit of work, but it turned out great. I think it would be a great card to give along with the movie, don’t you think?
Have a creative day!
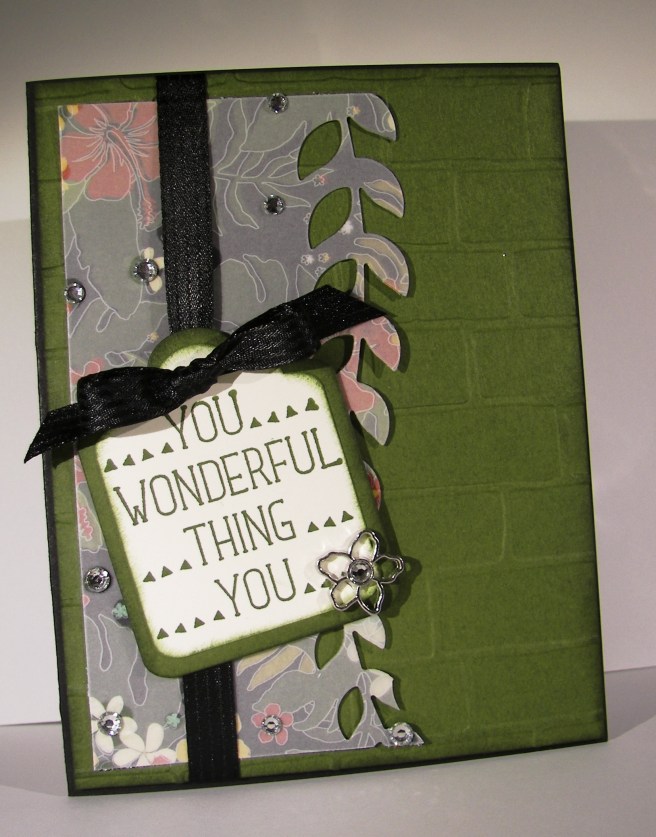
Moana