That Thing You Did

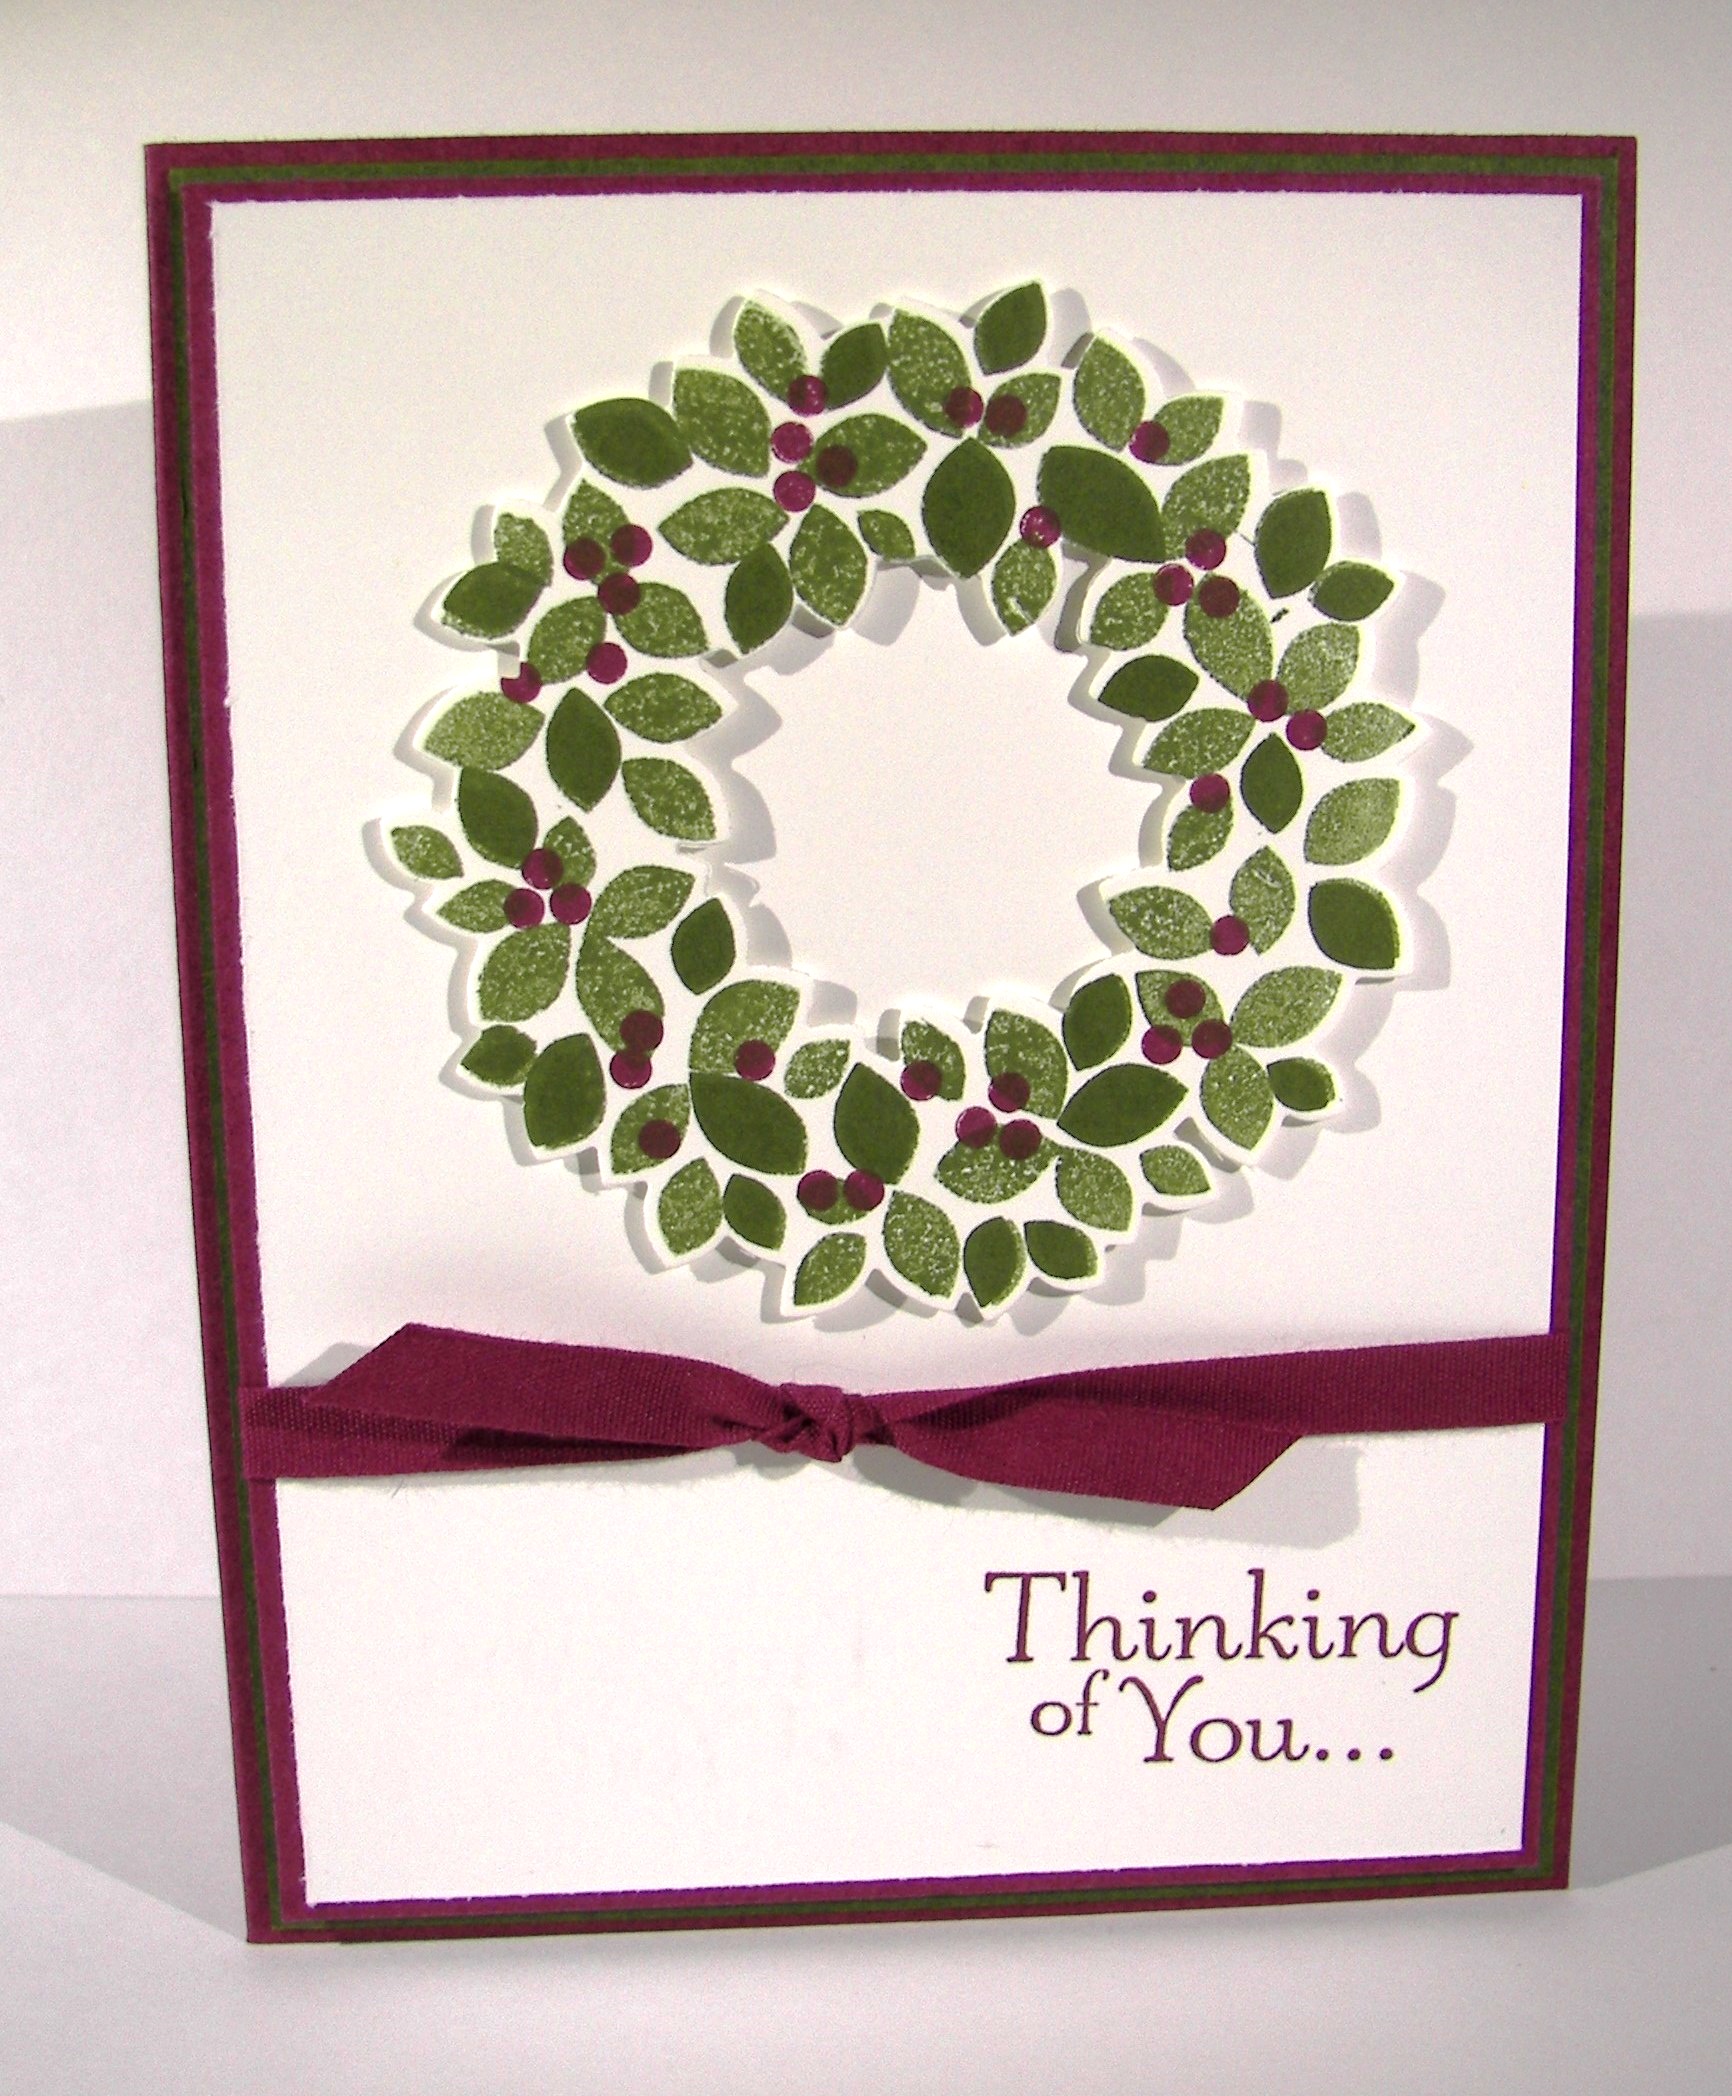
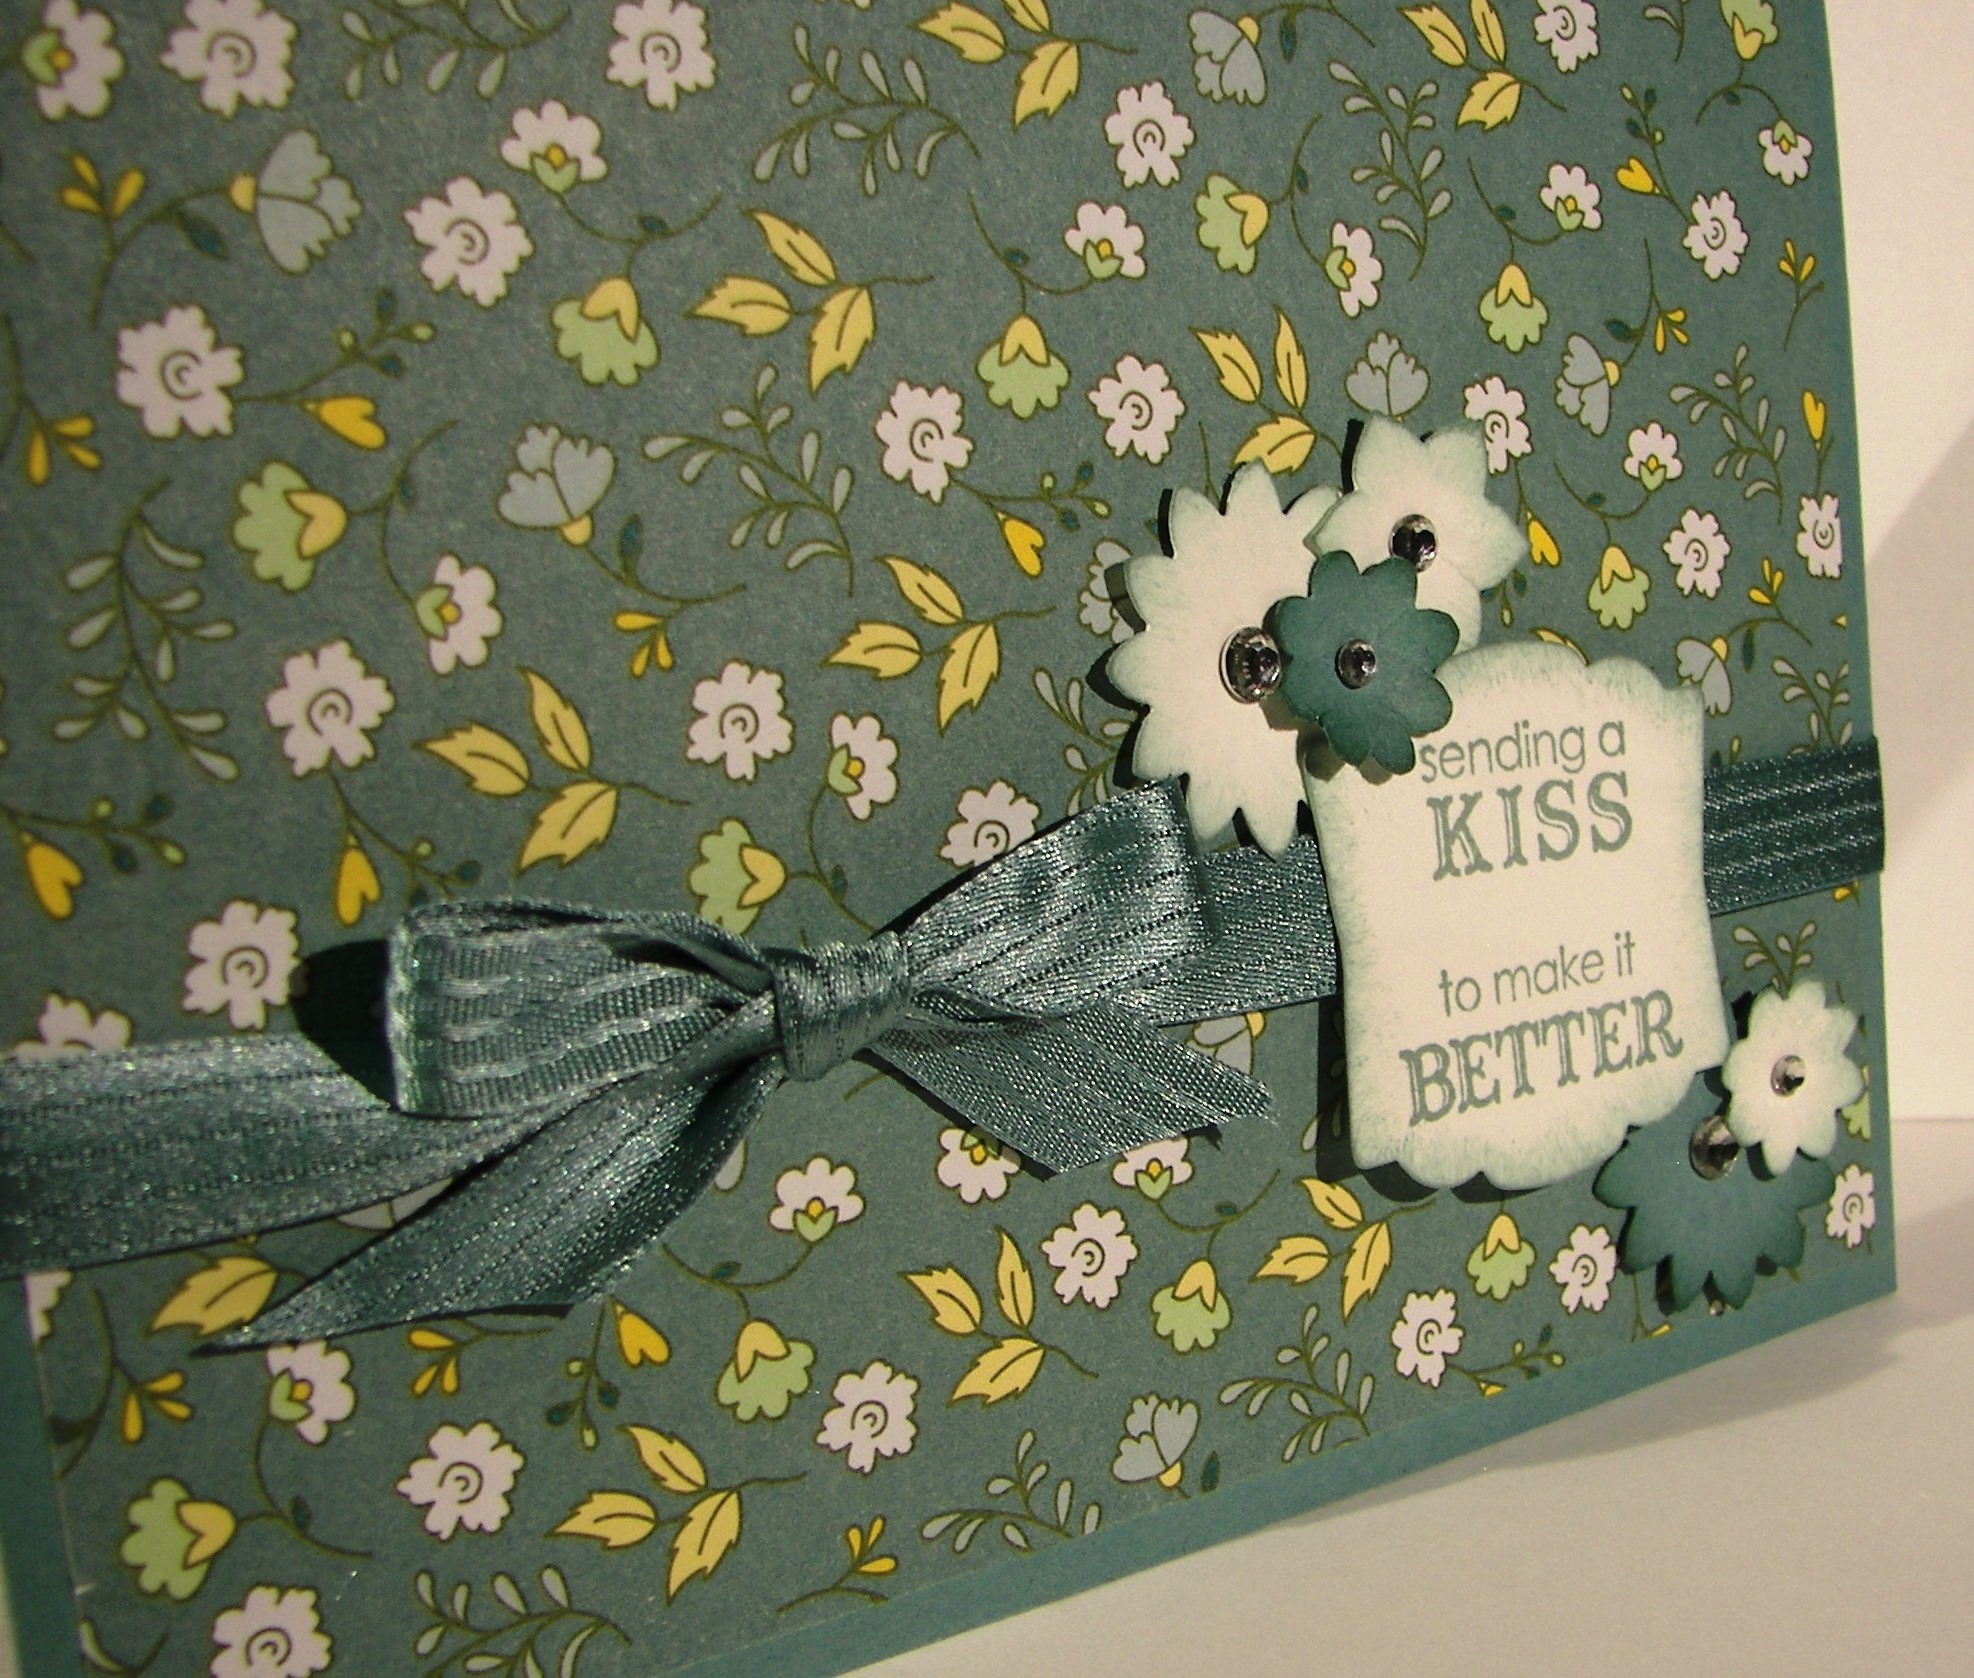
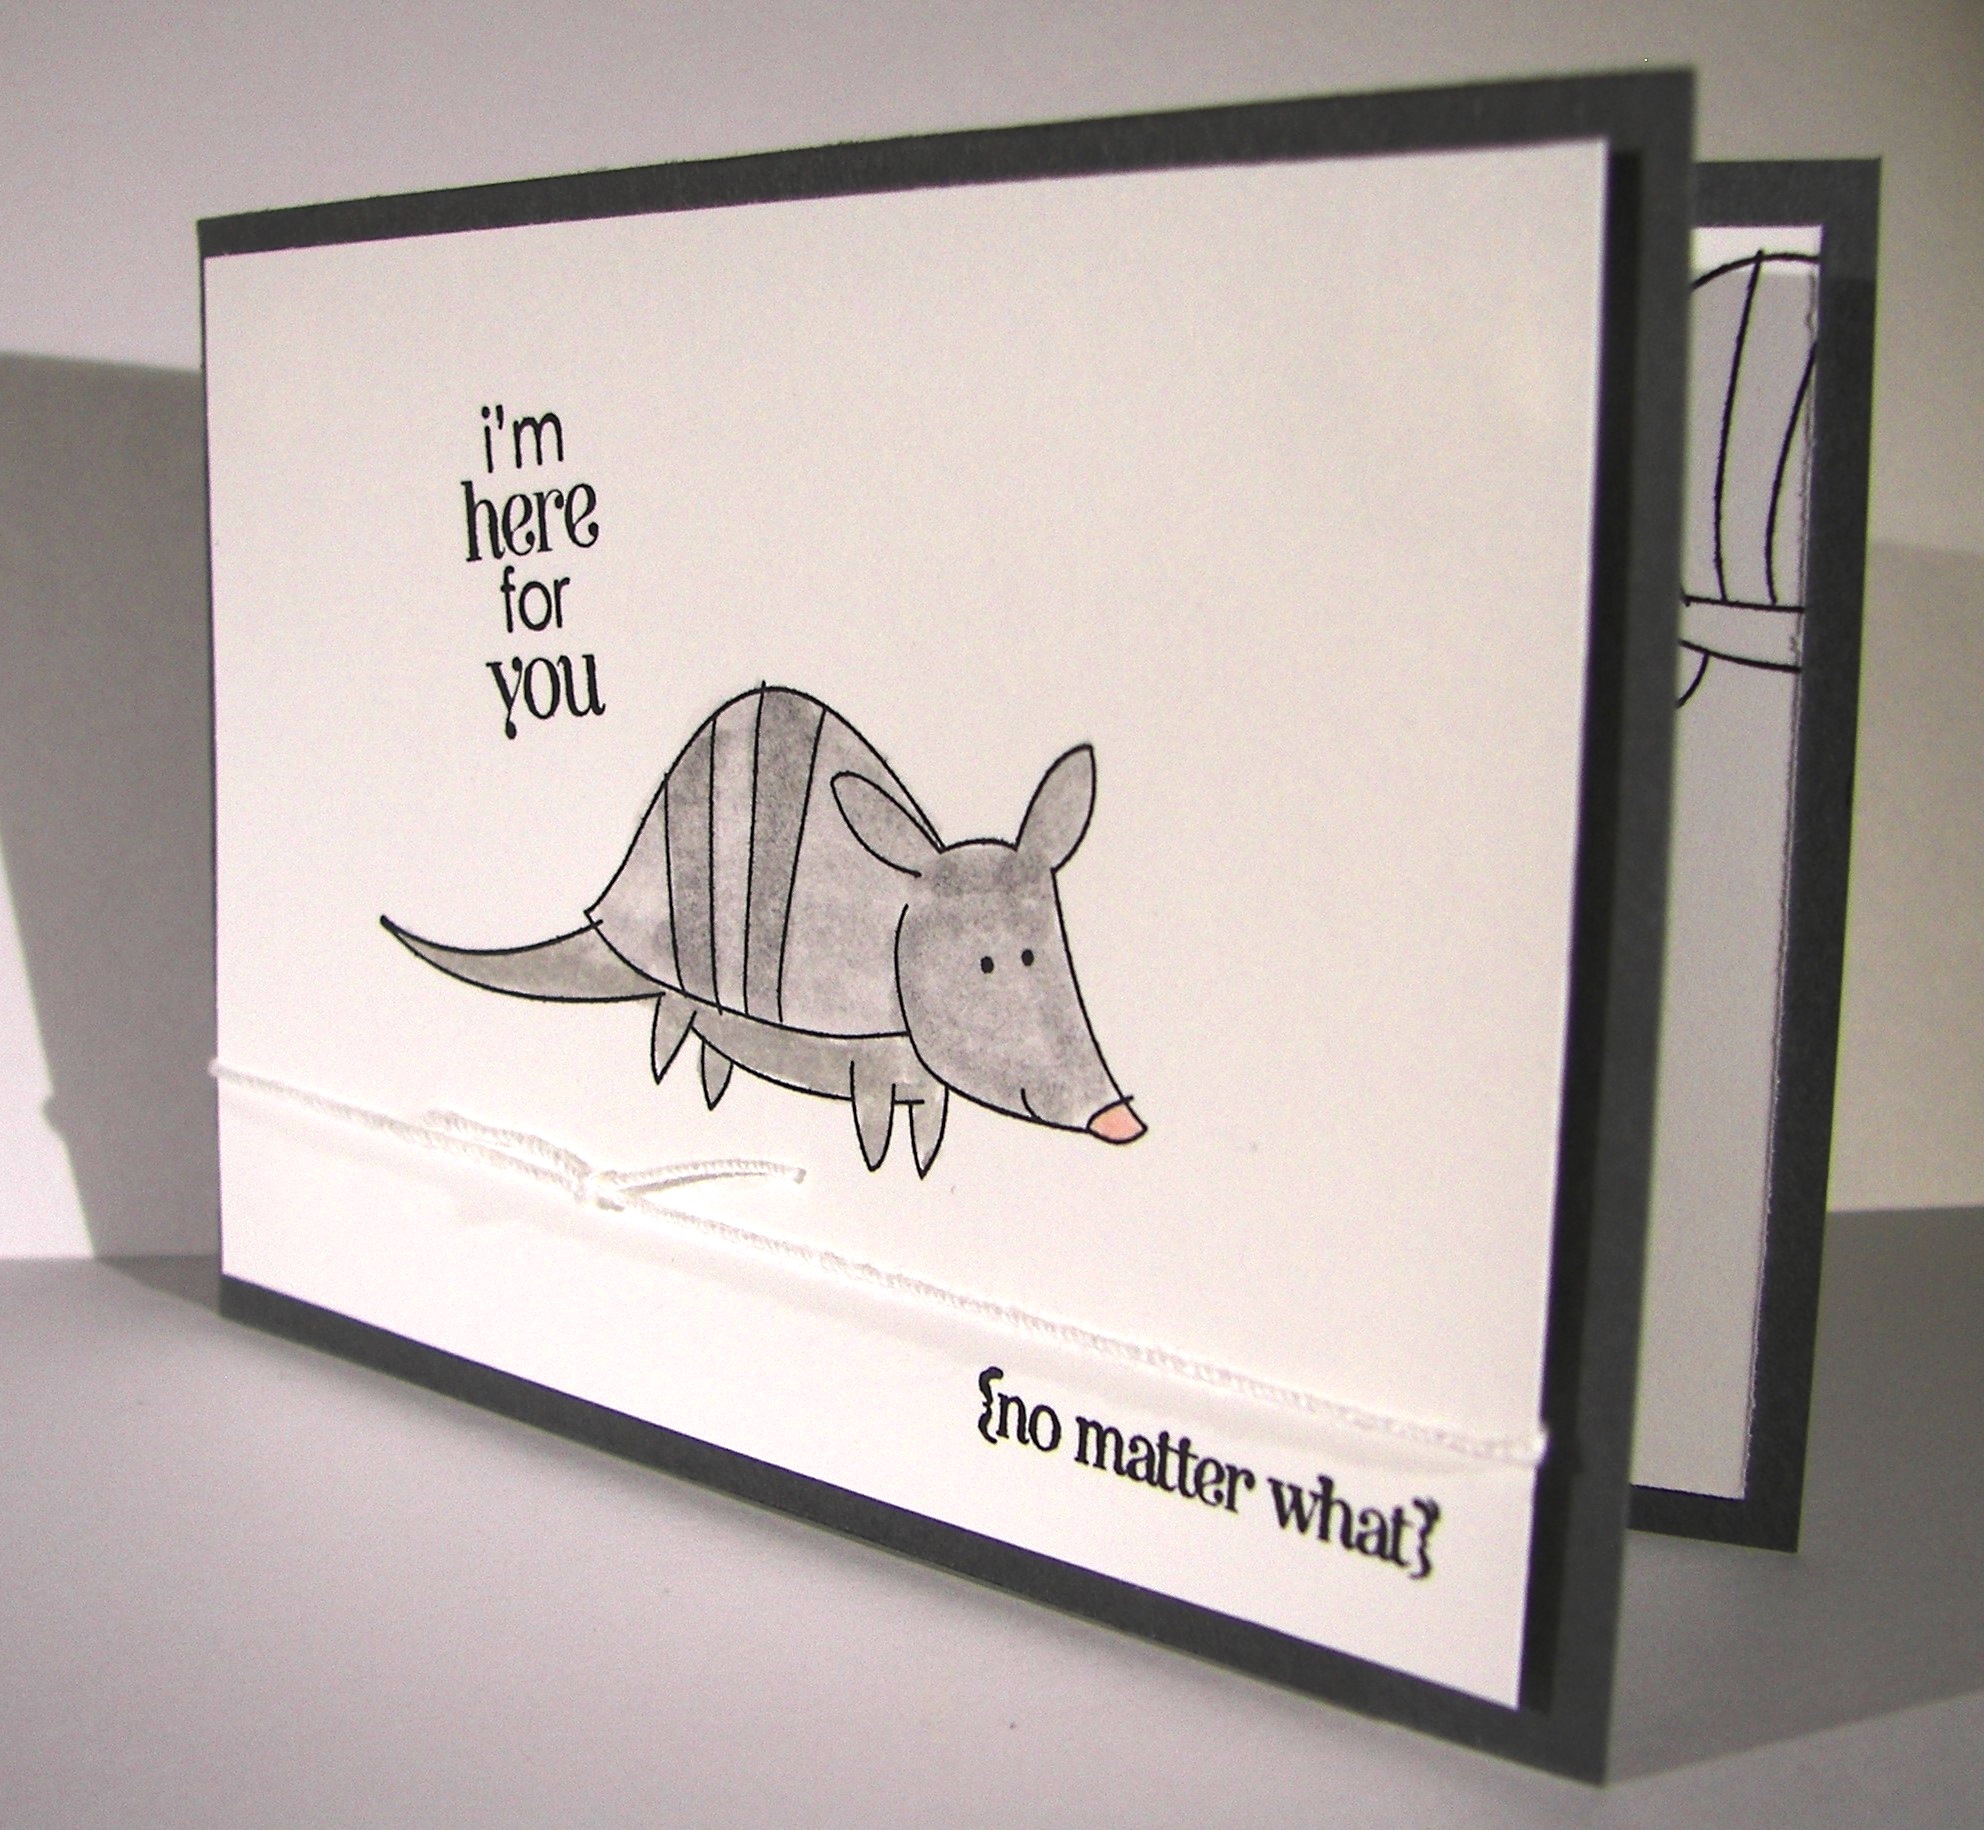
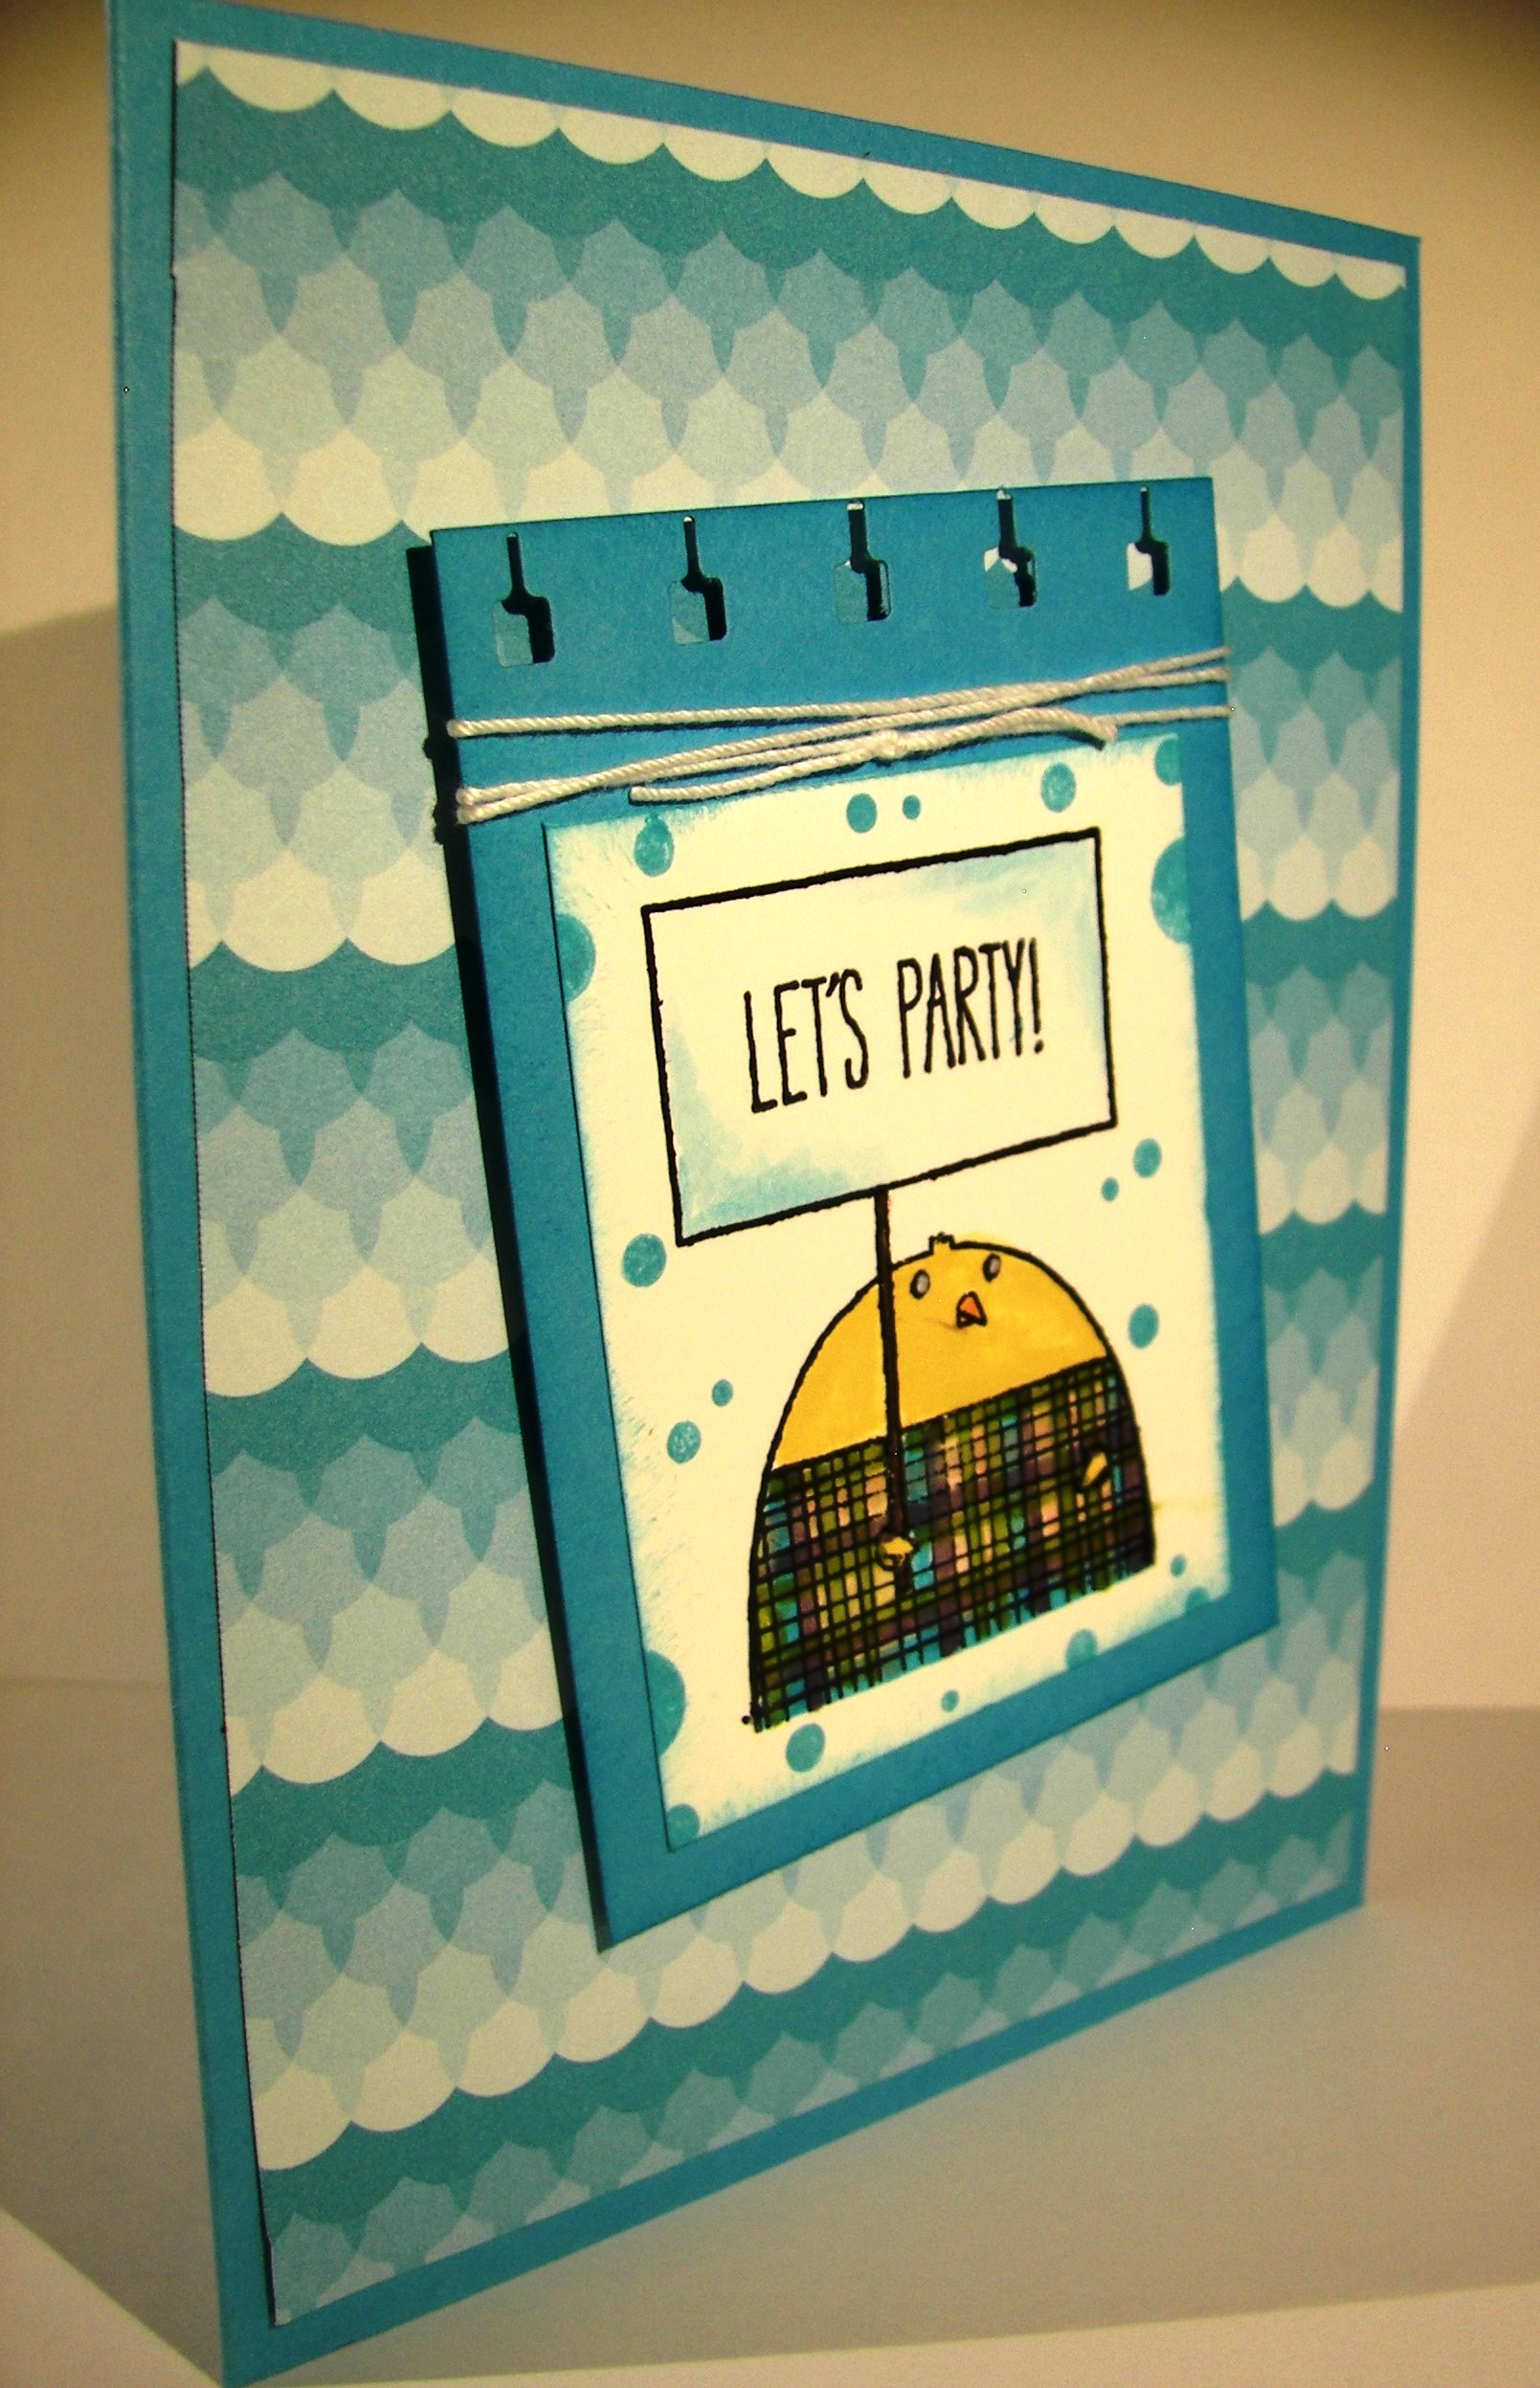
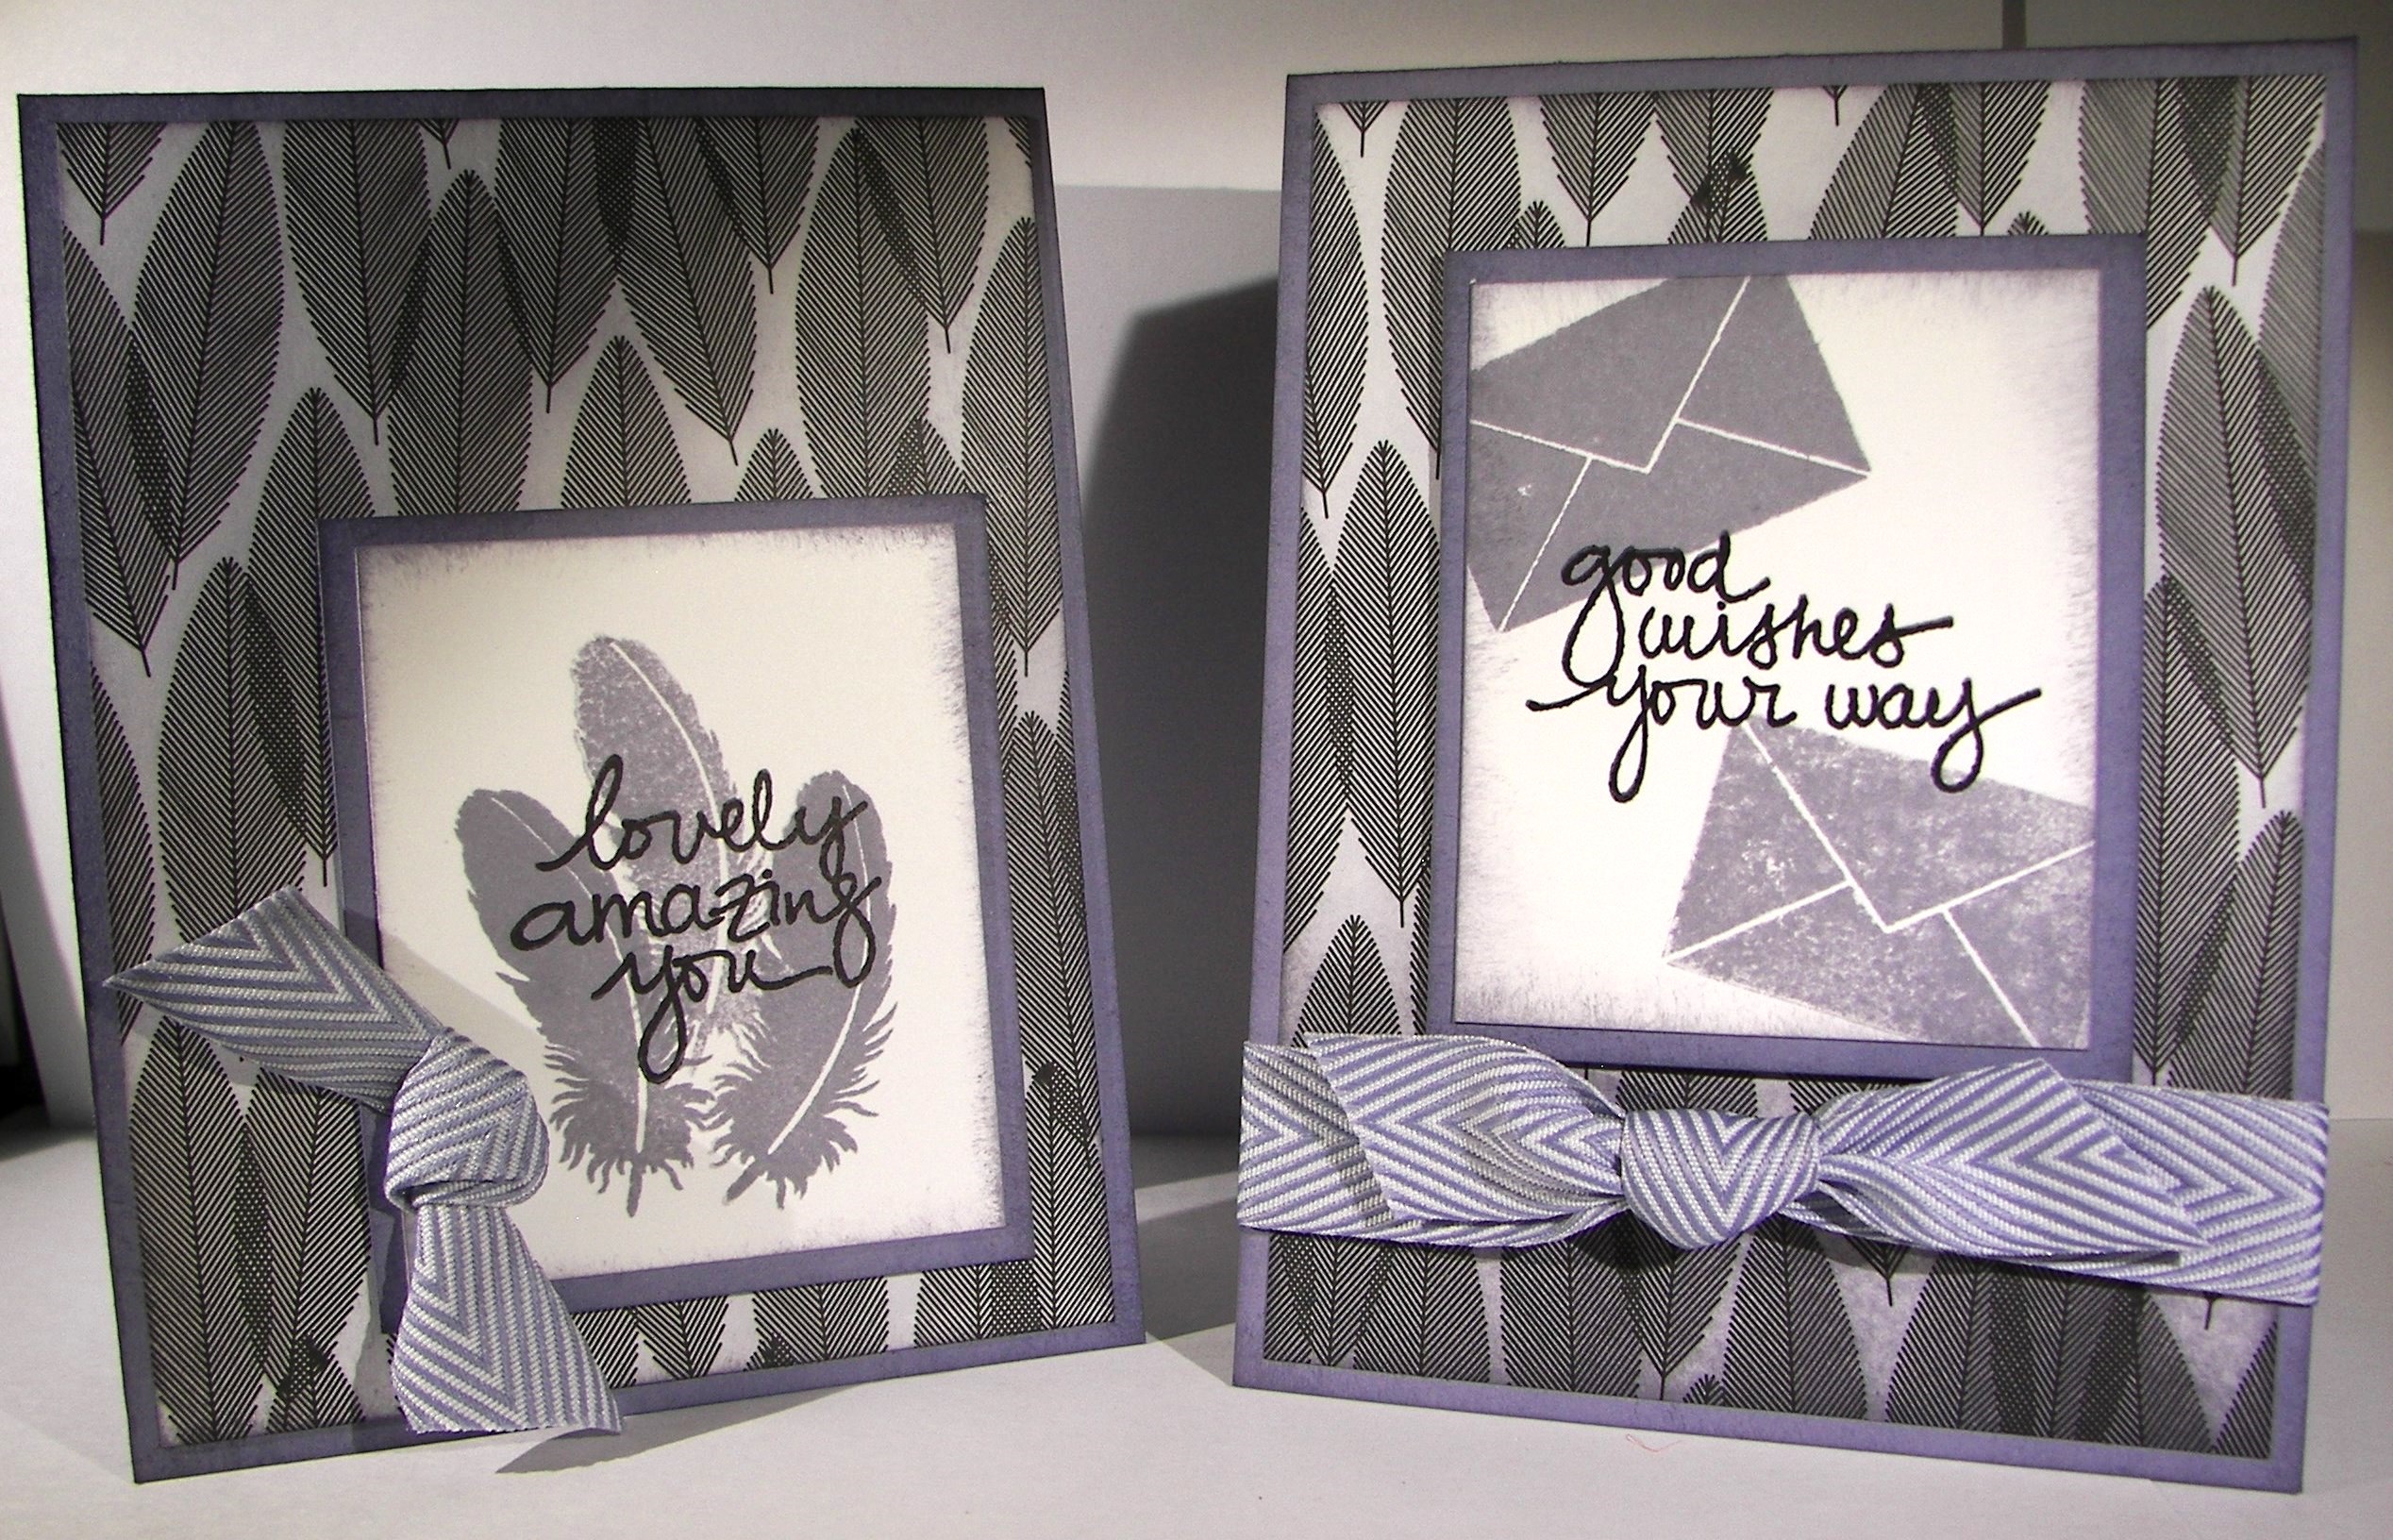
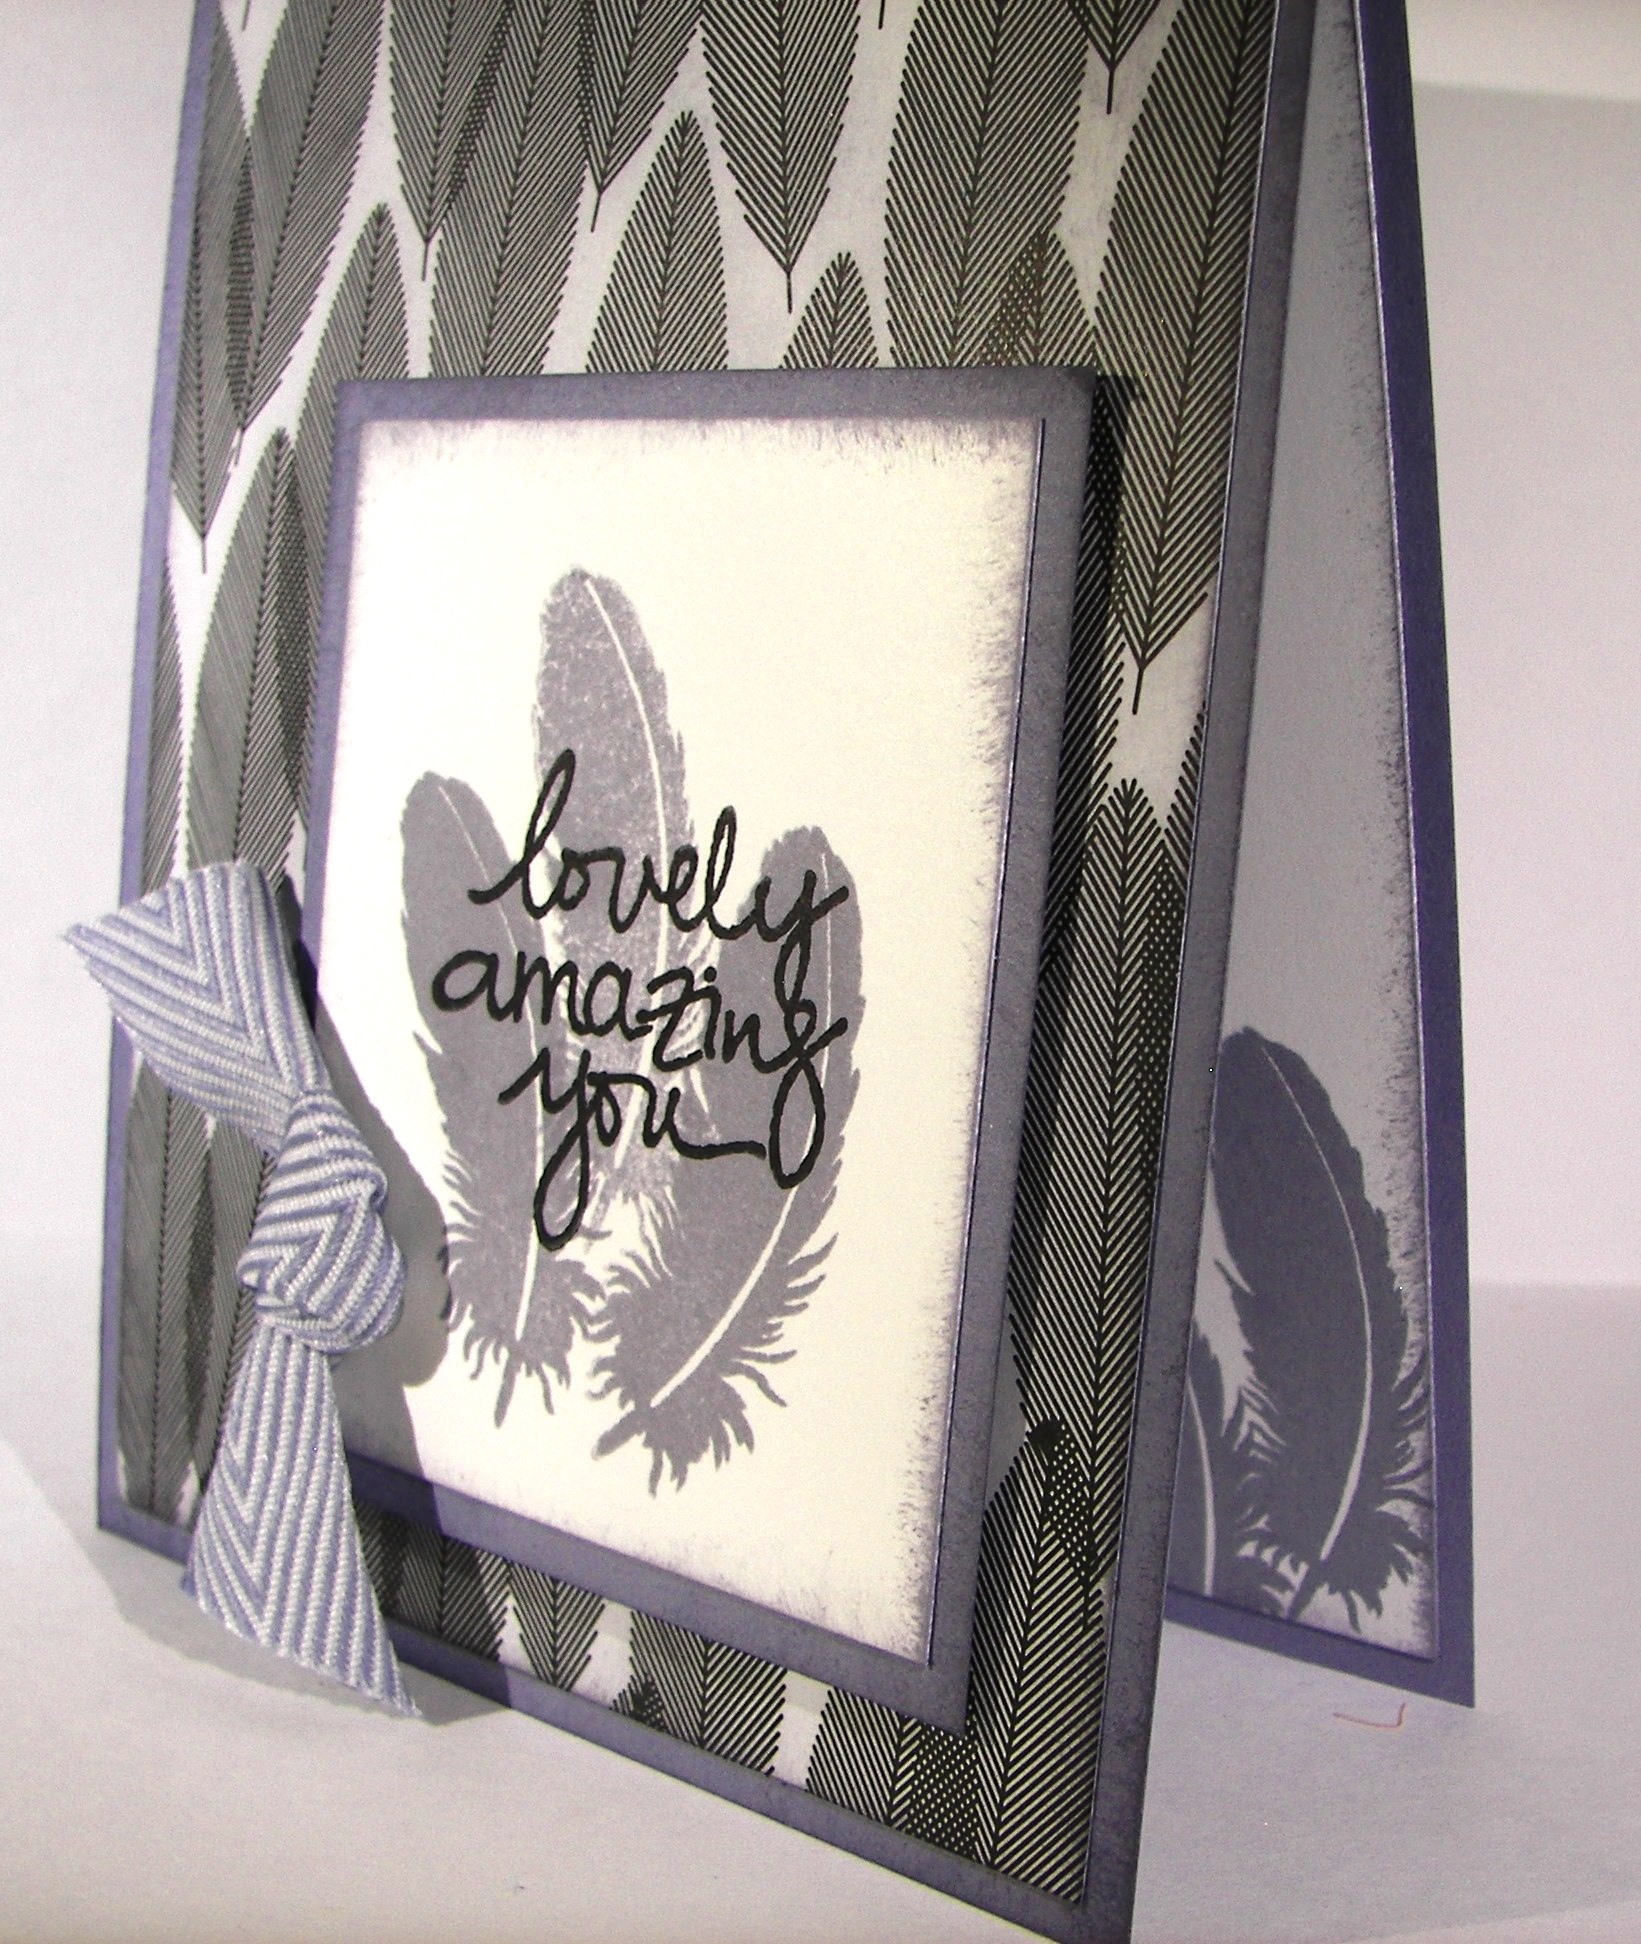
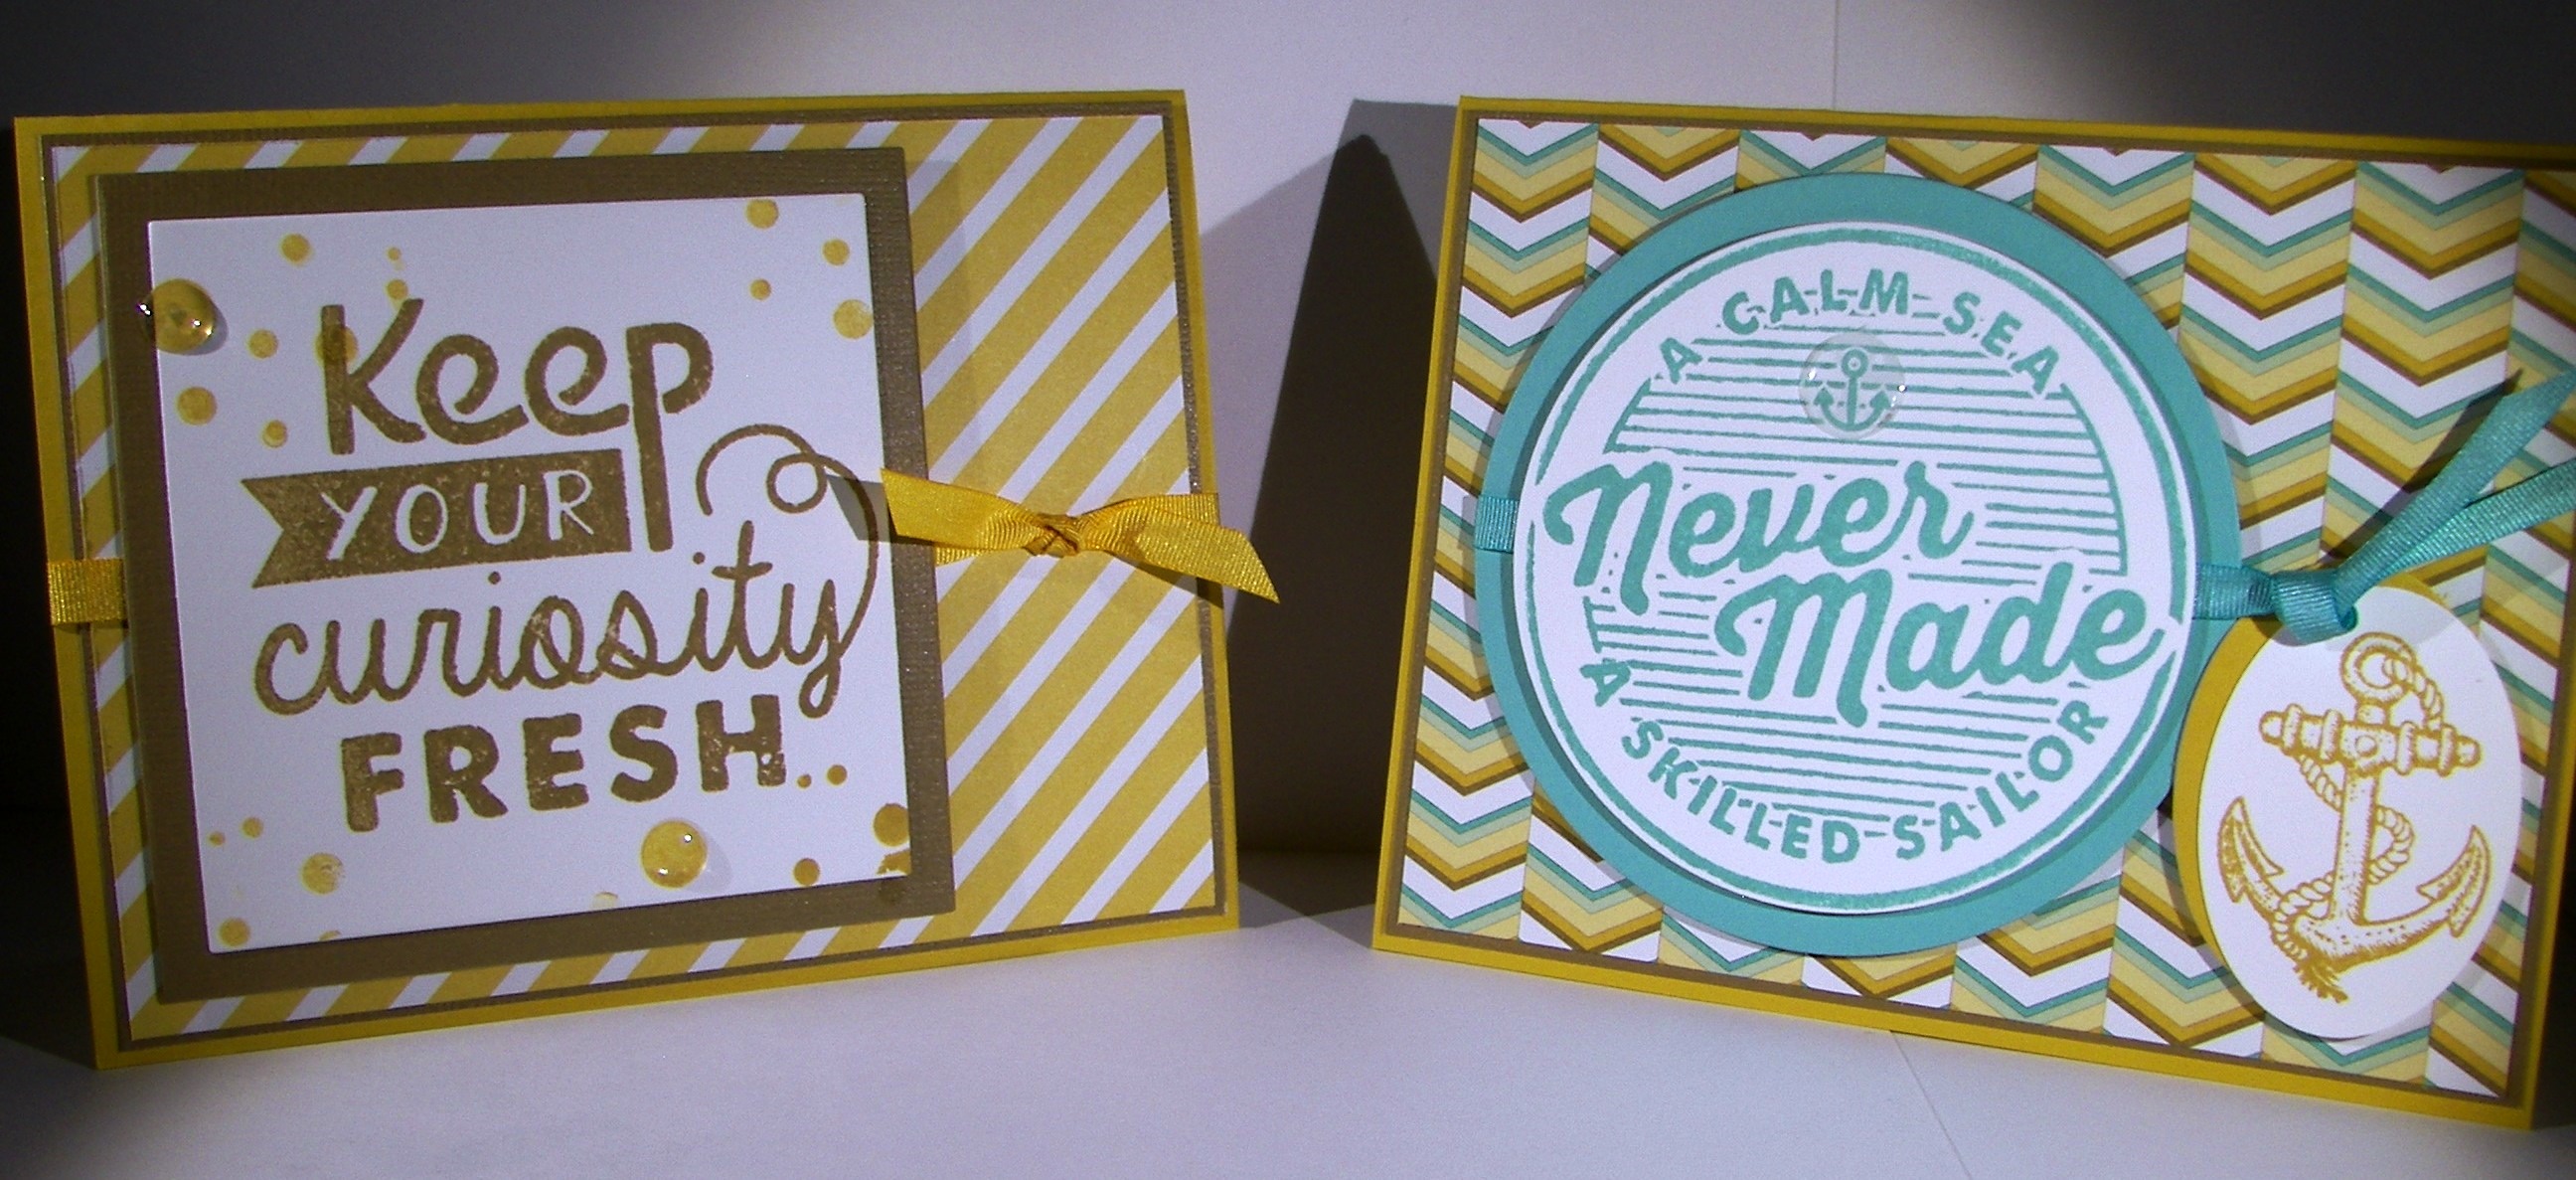
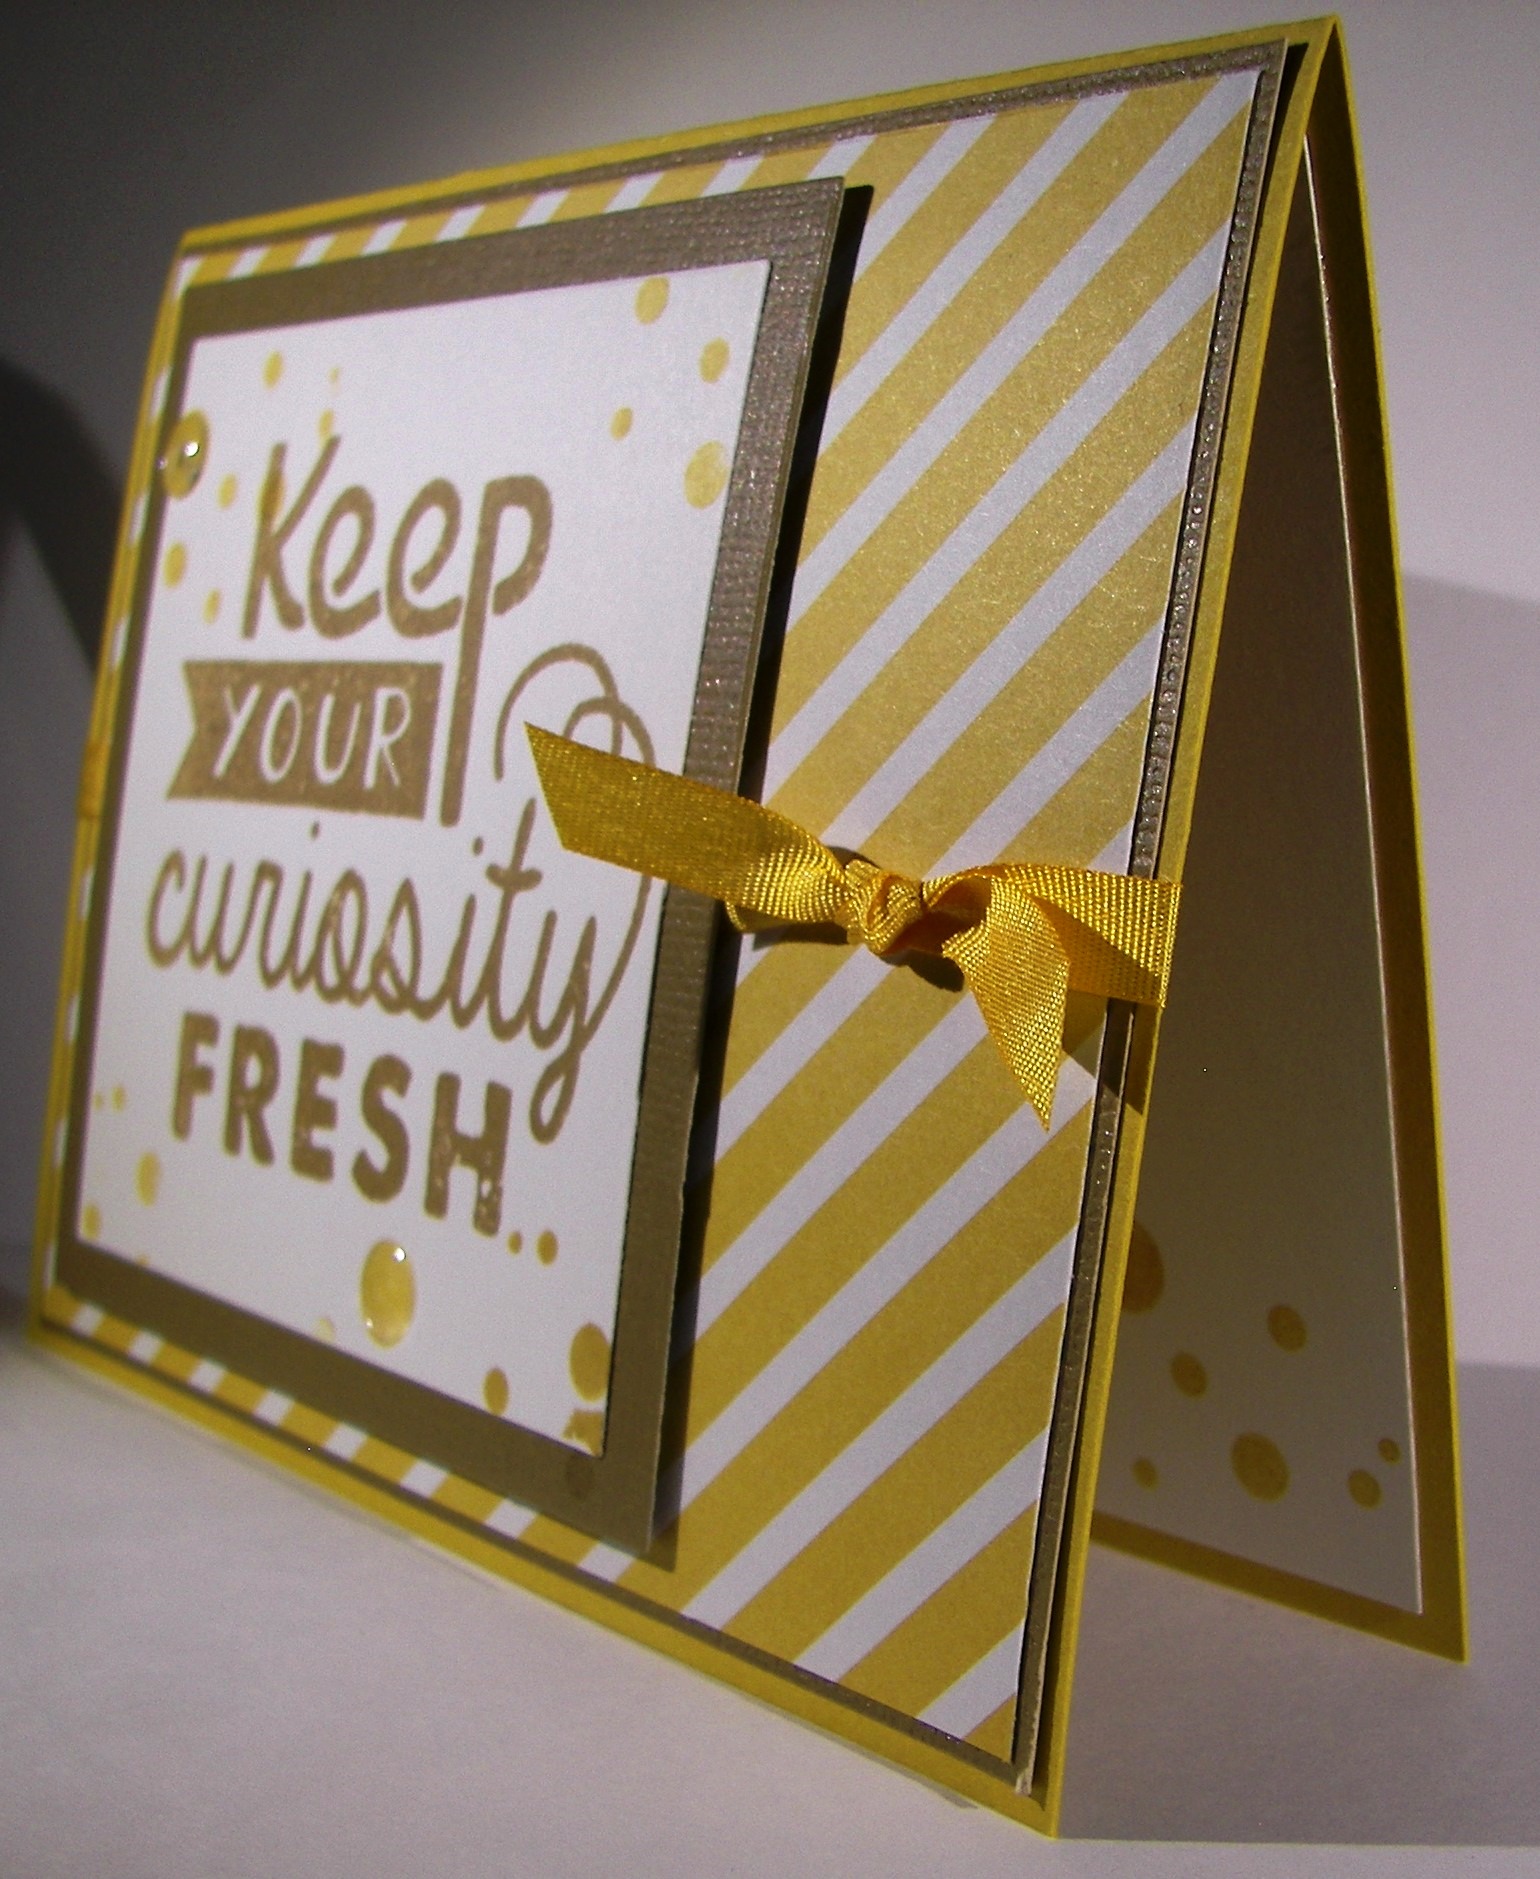
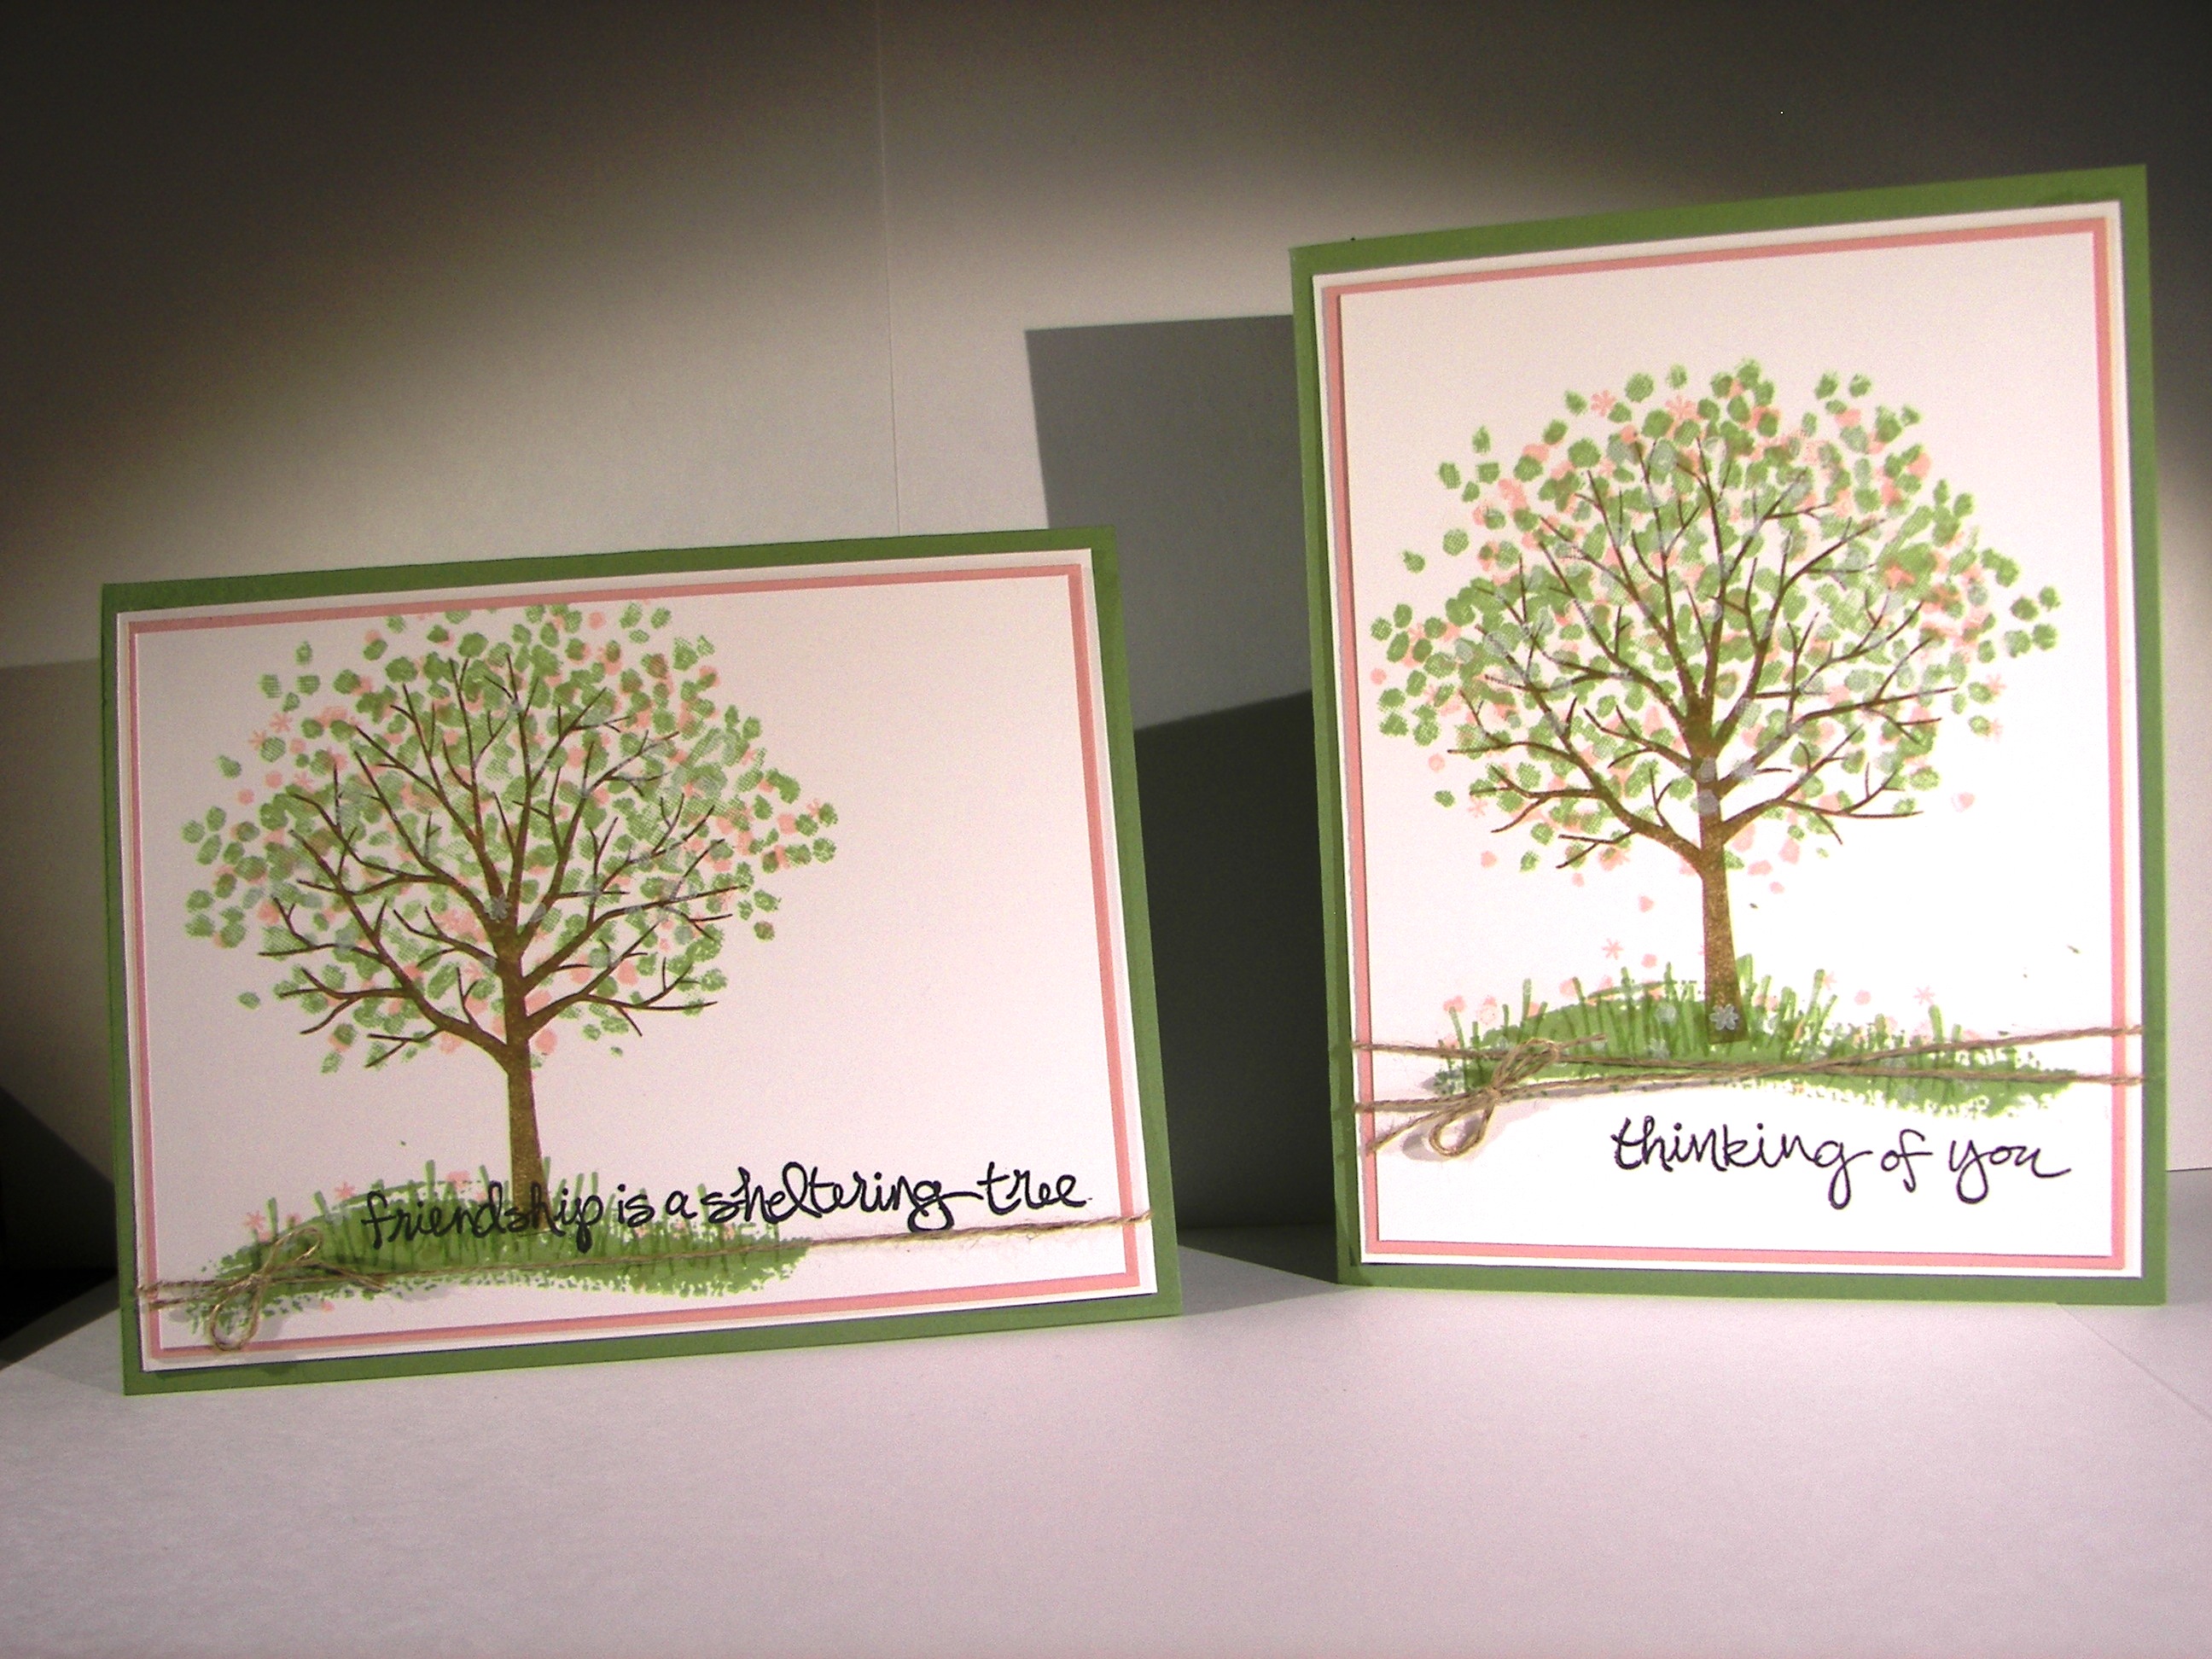
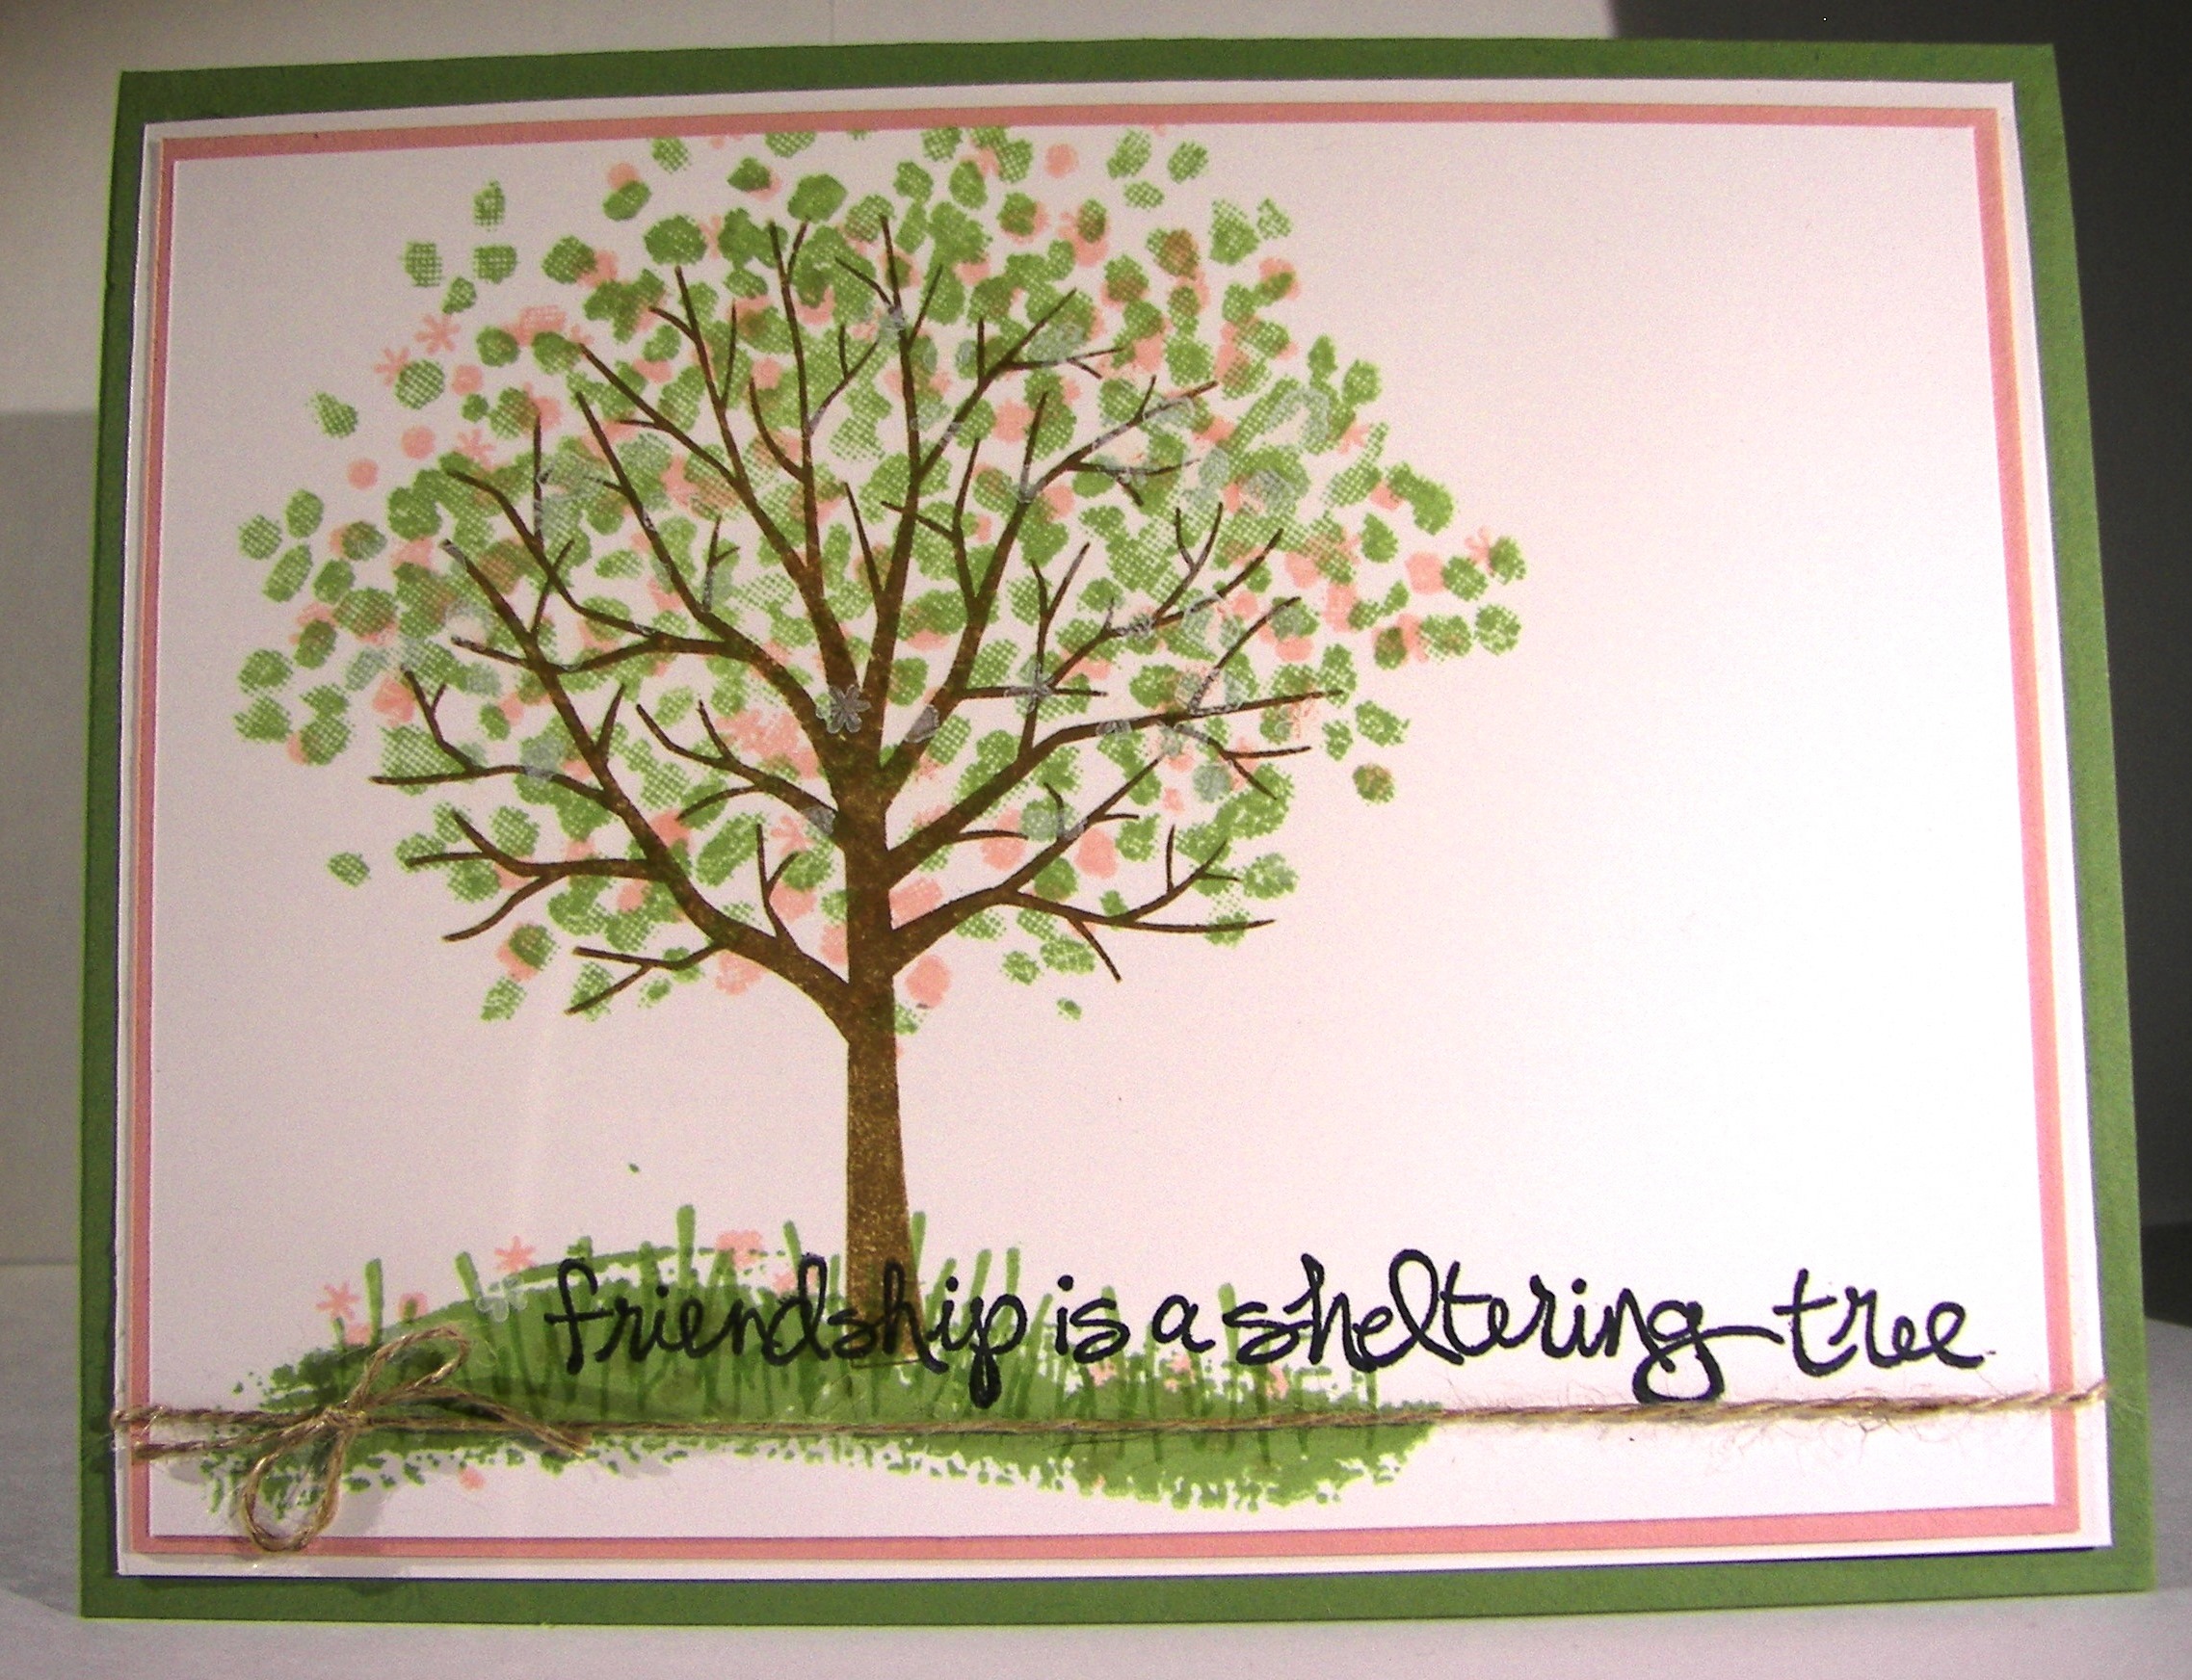
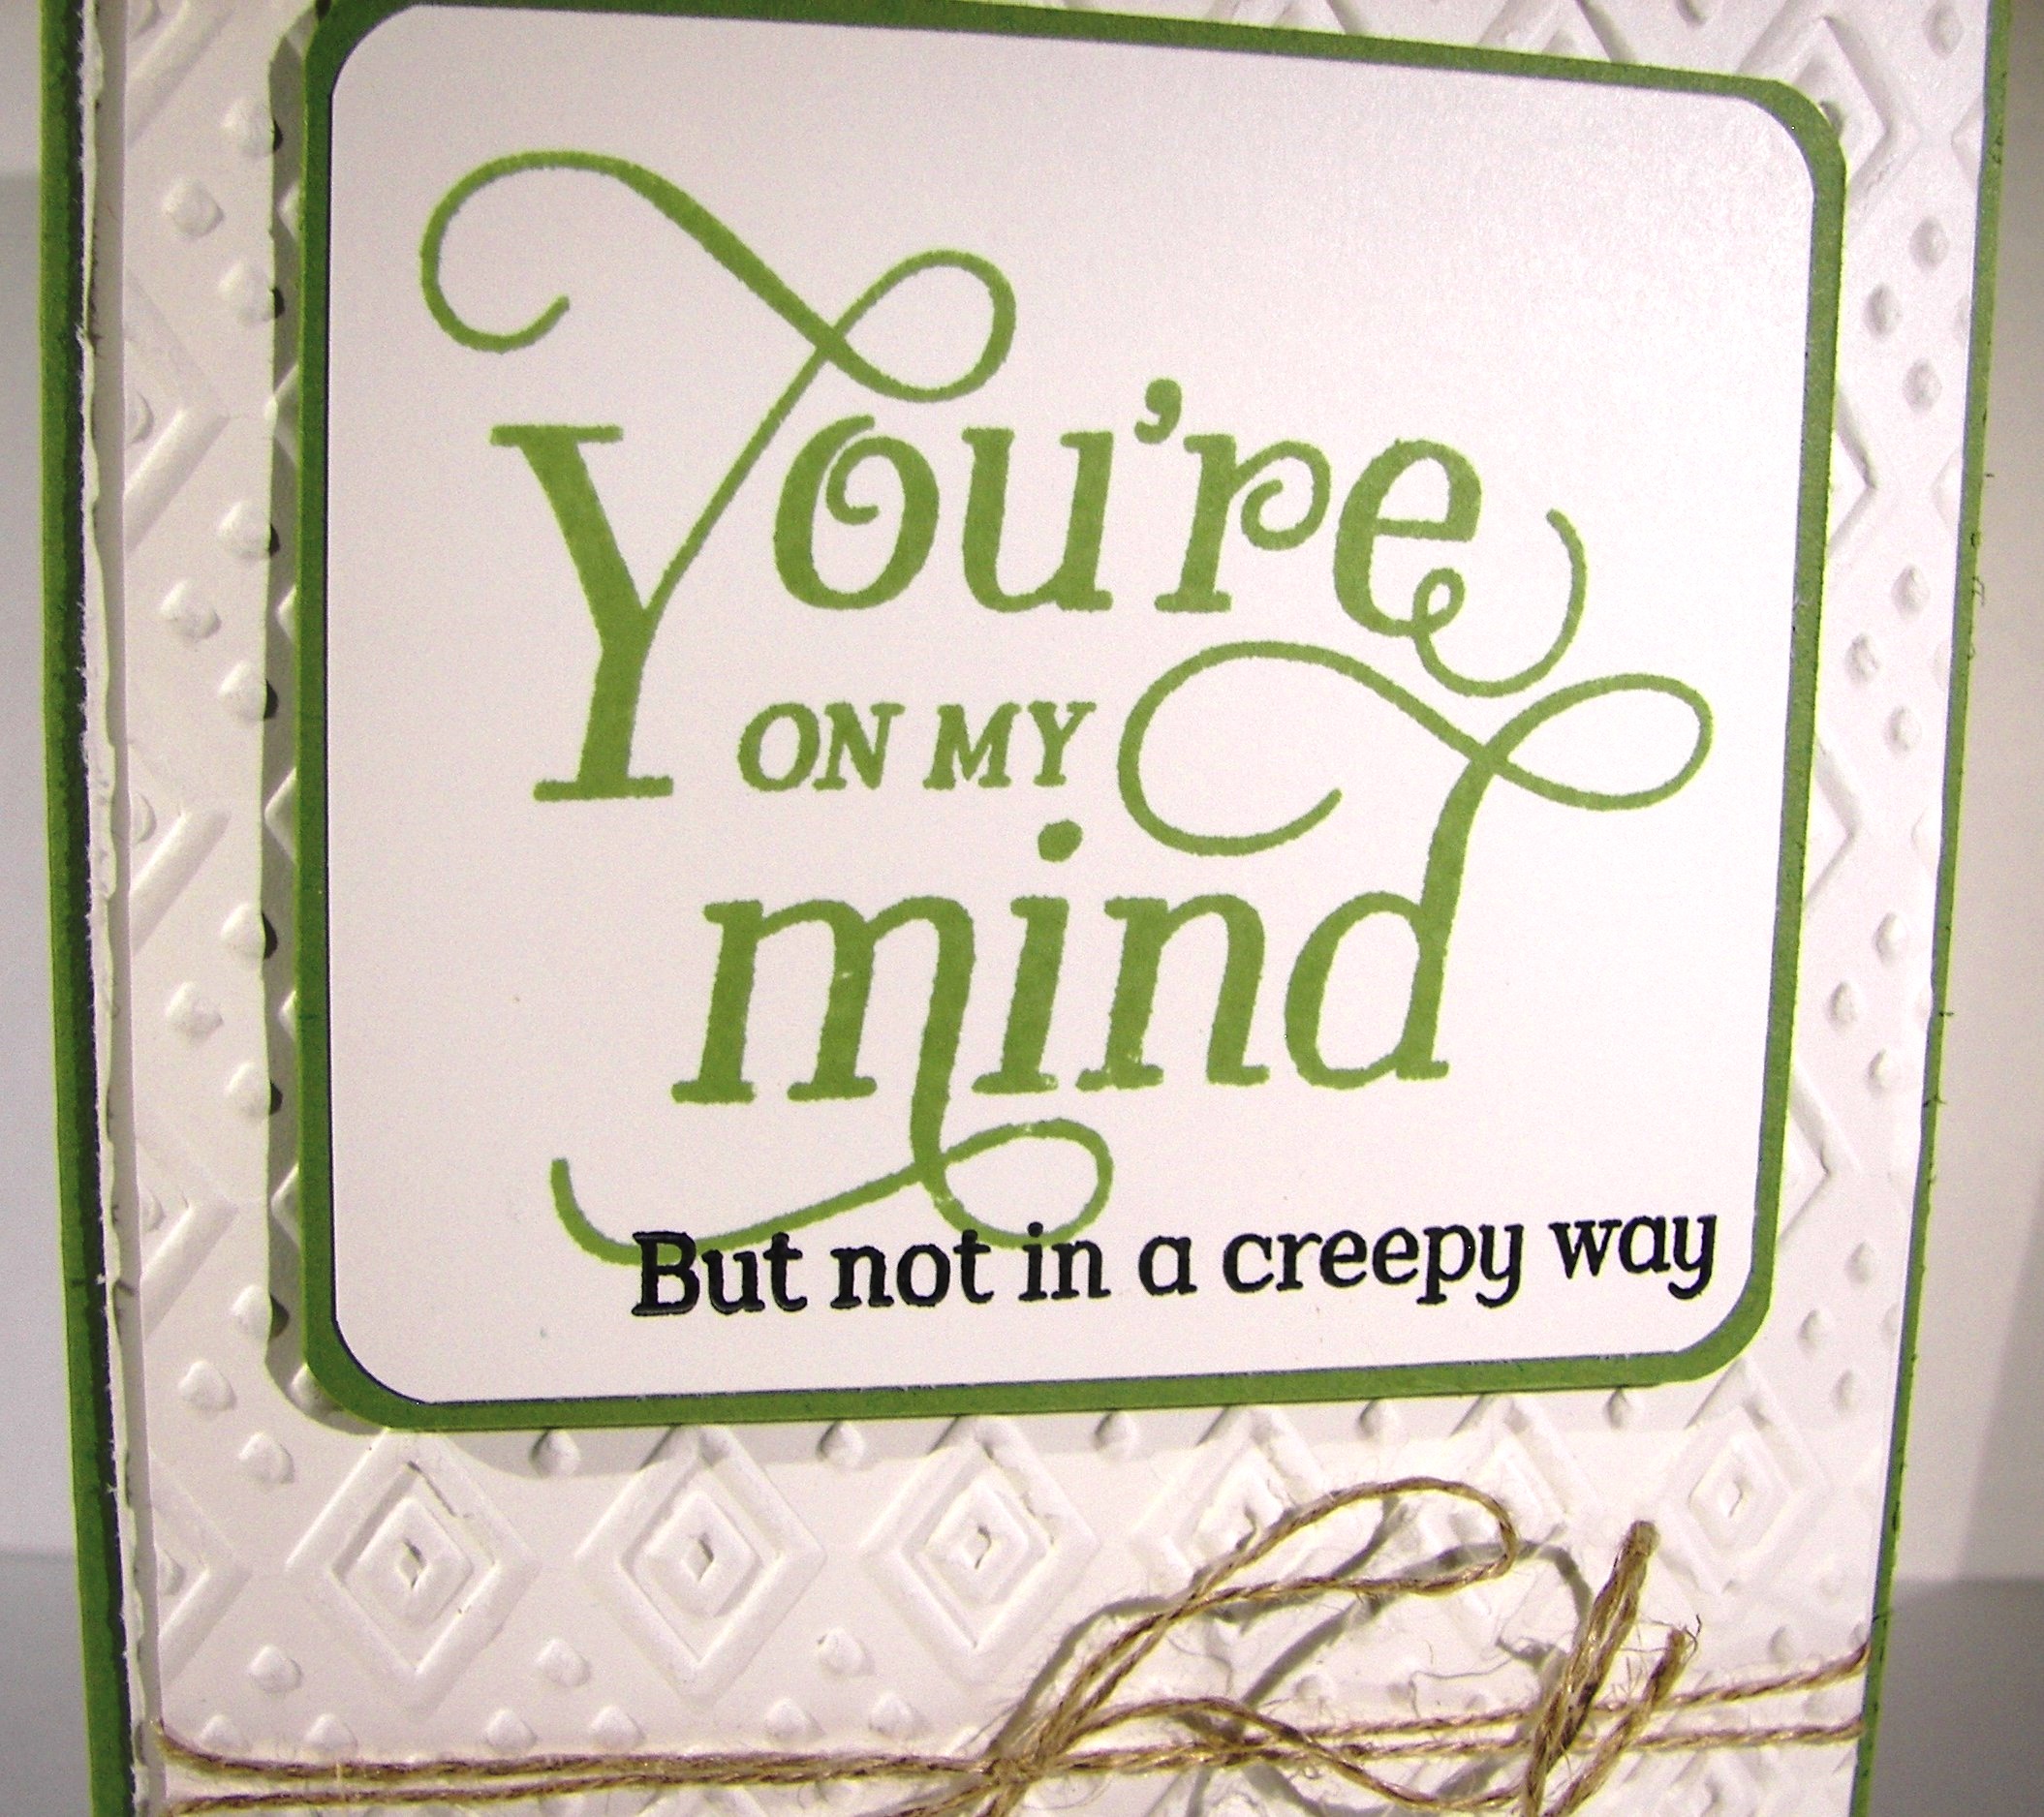
This stamp set is just the best.  The combination phrases really get me laughing.  This one in particular is my favorite.  You’re on my mind, but not in a creepy way.  How great is that.

That Thing You Did

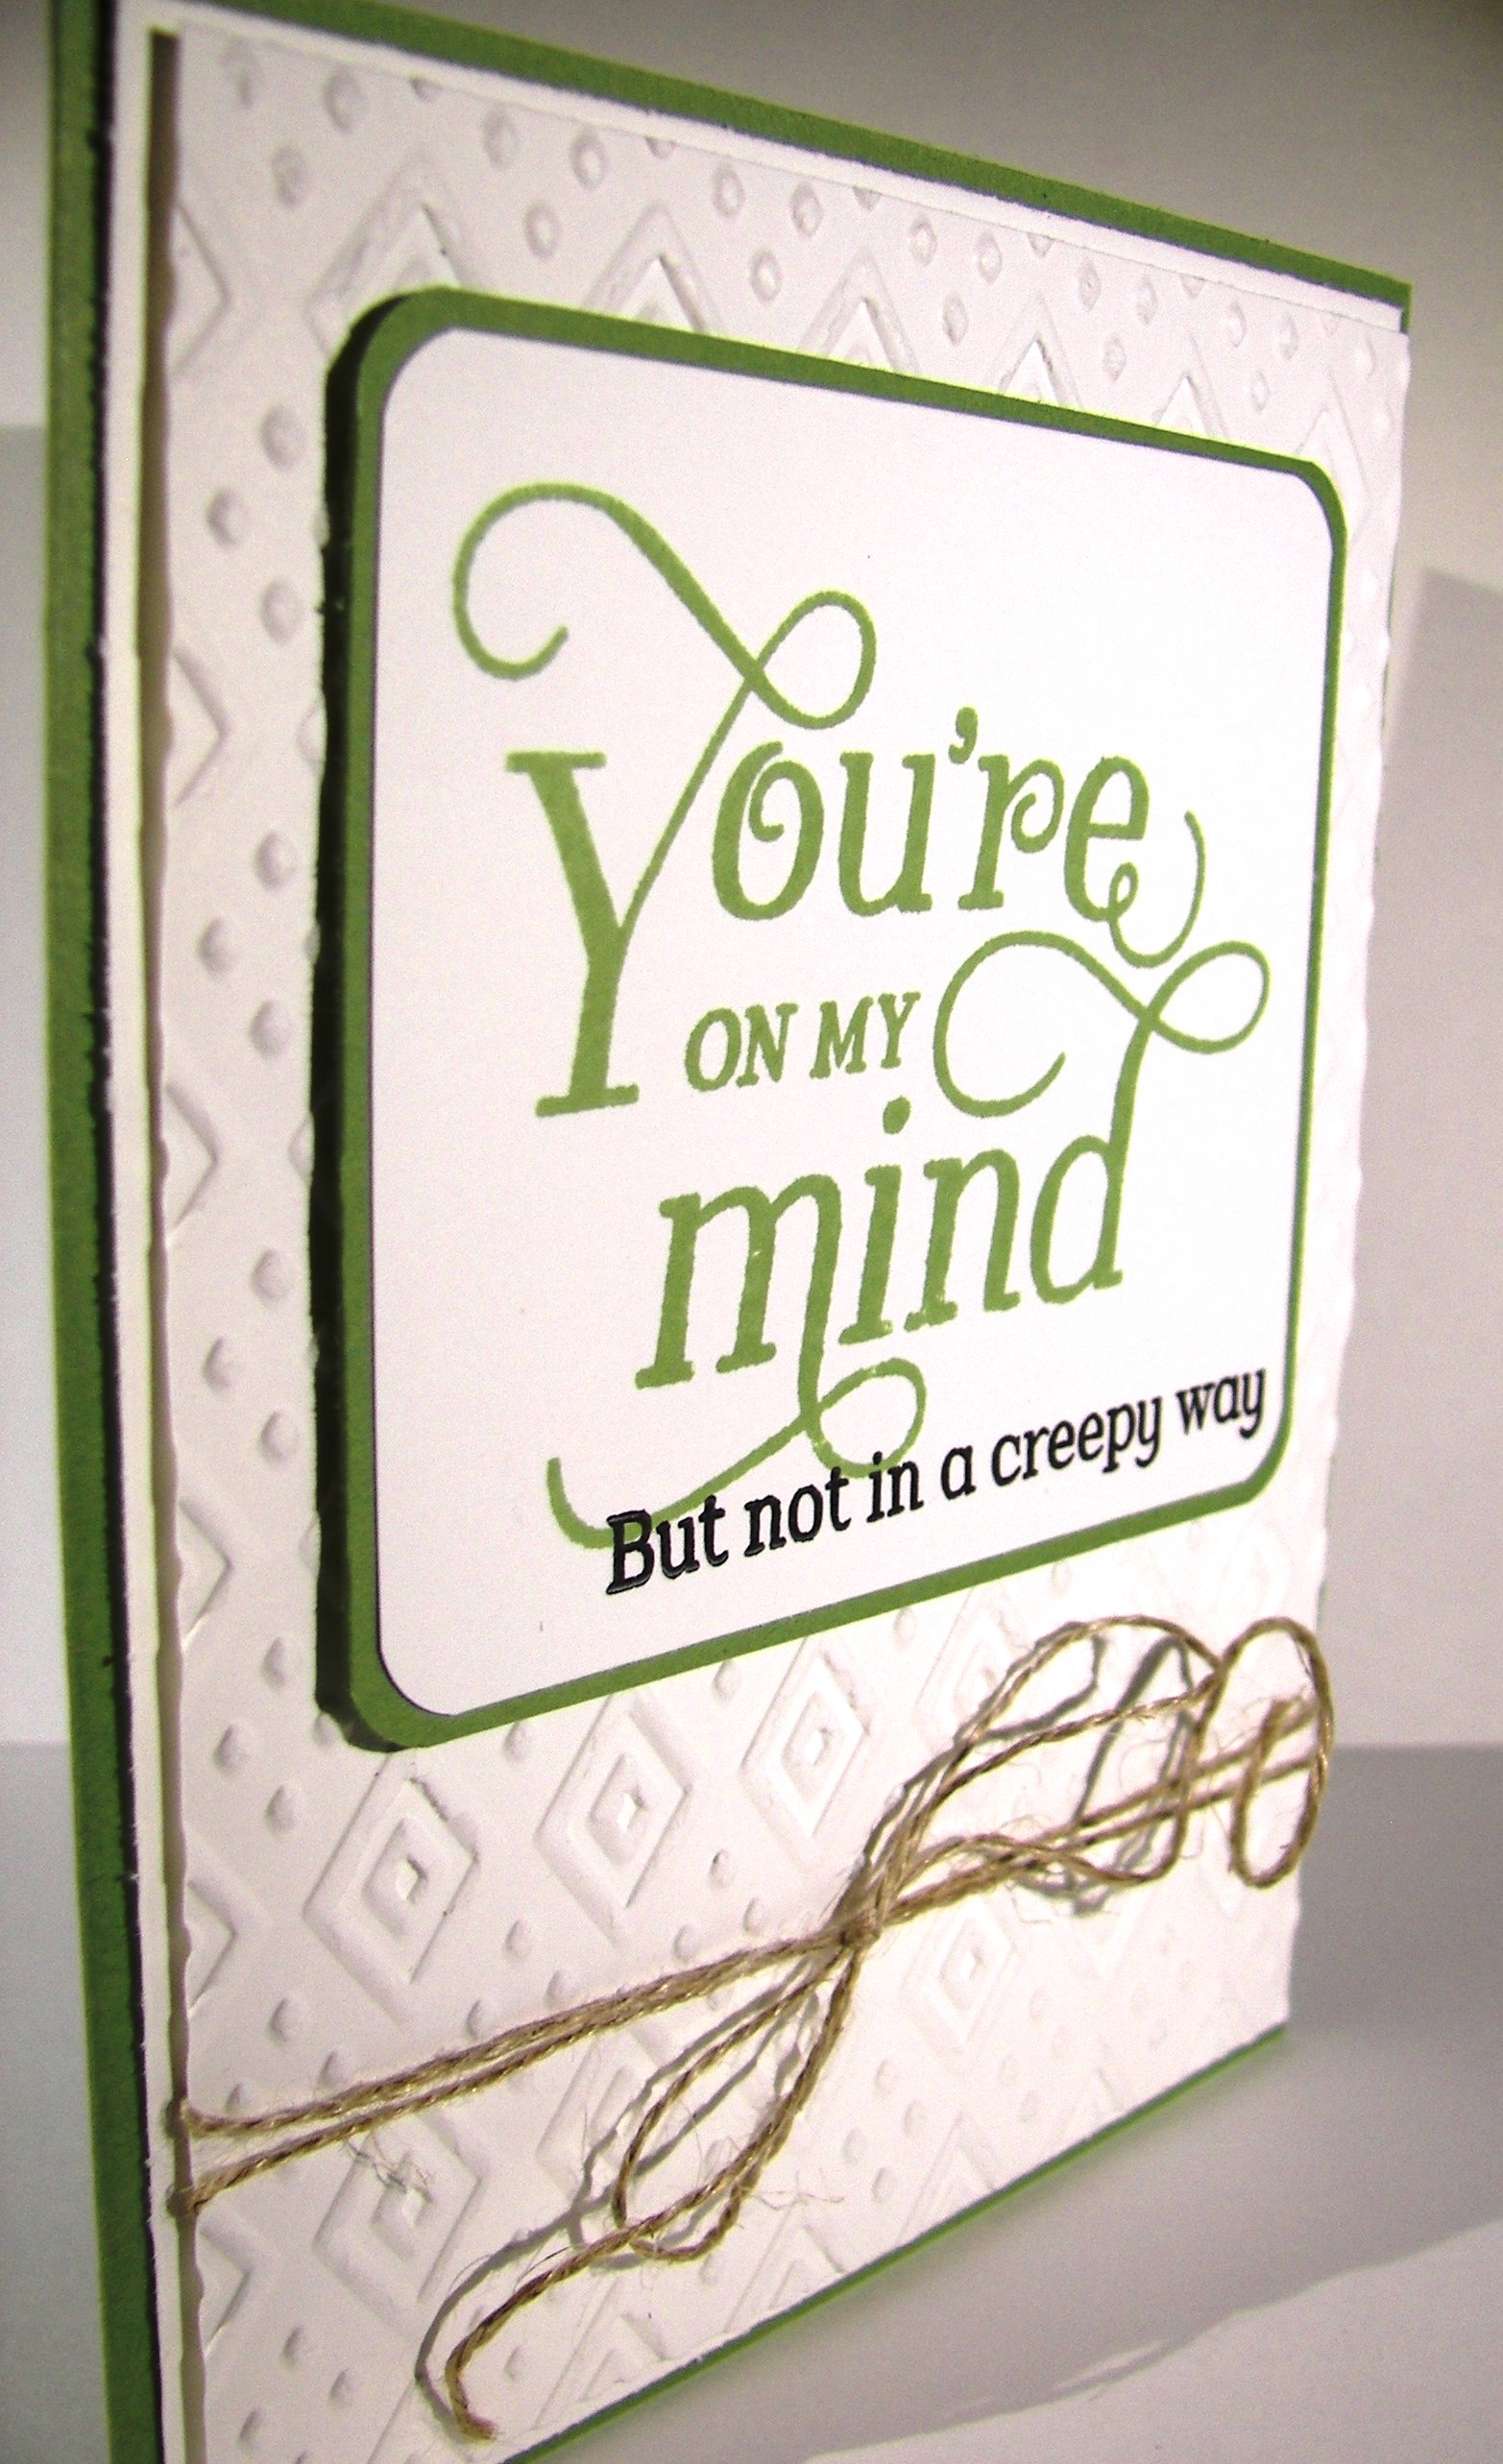
I like how it looks all pretty and then this secondary saying just throws it off like crazy.  Almost like if you aren’t really paying attention, you will totally miss the joke.  My favorite.

That Thing You Did

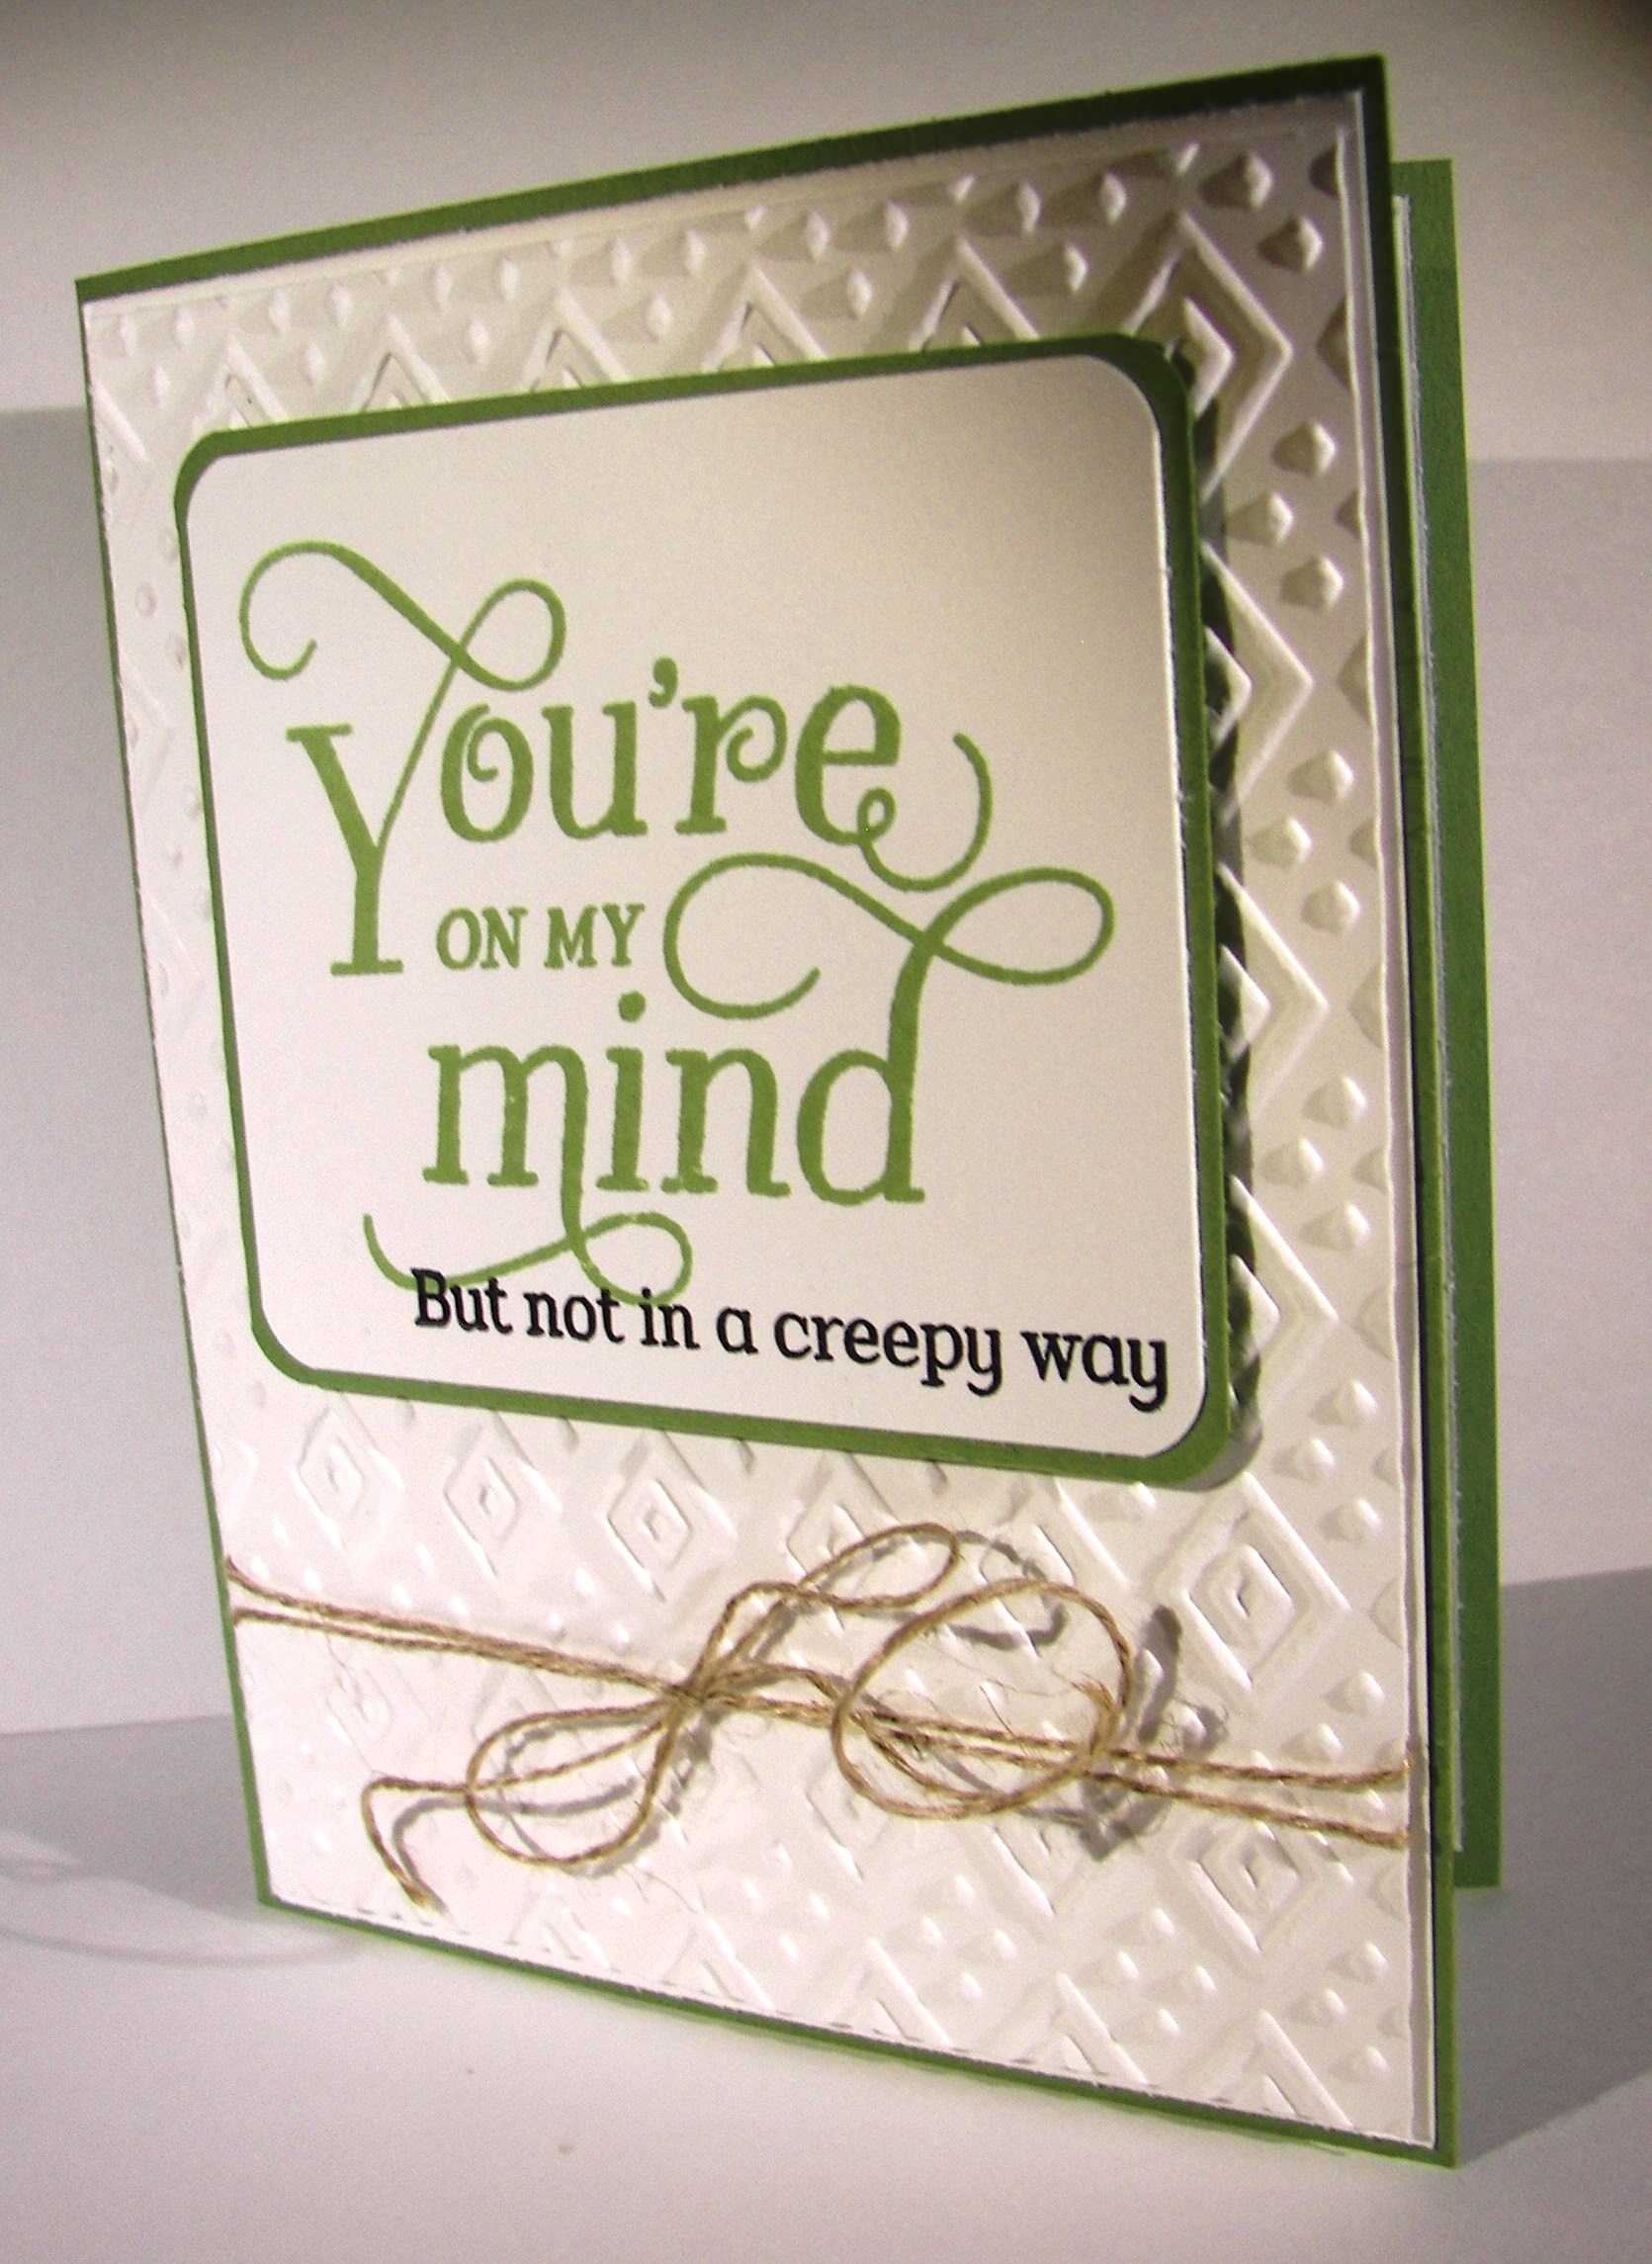
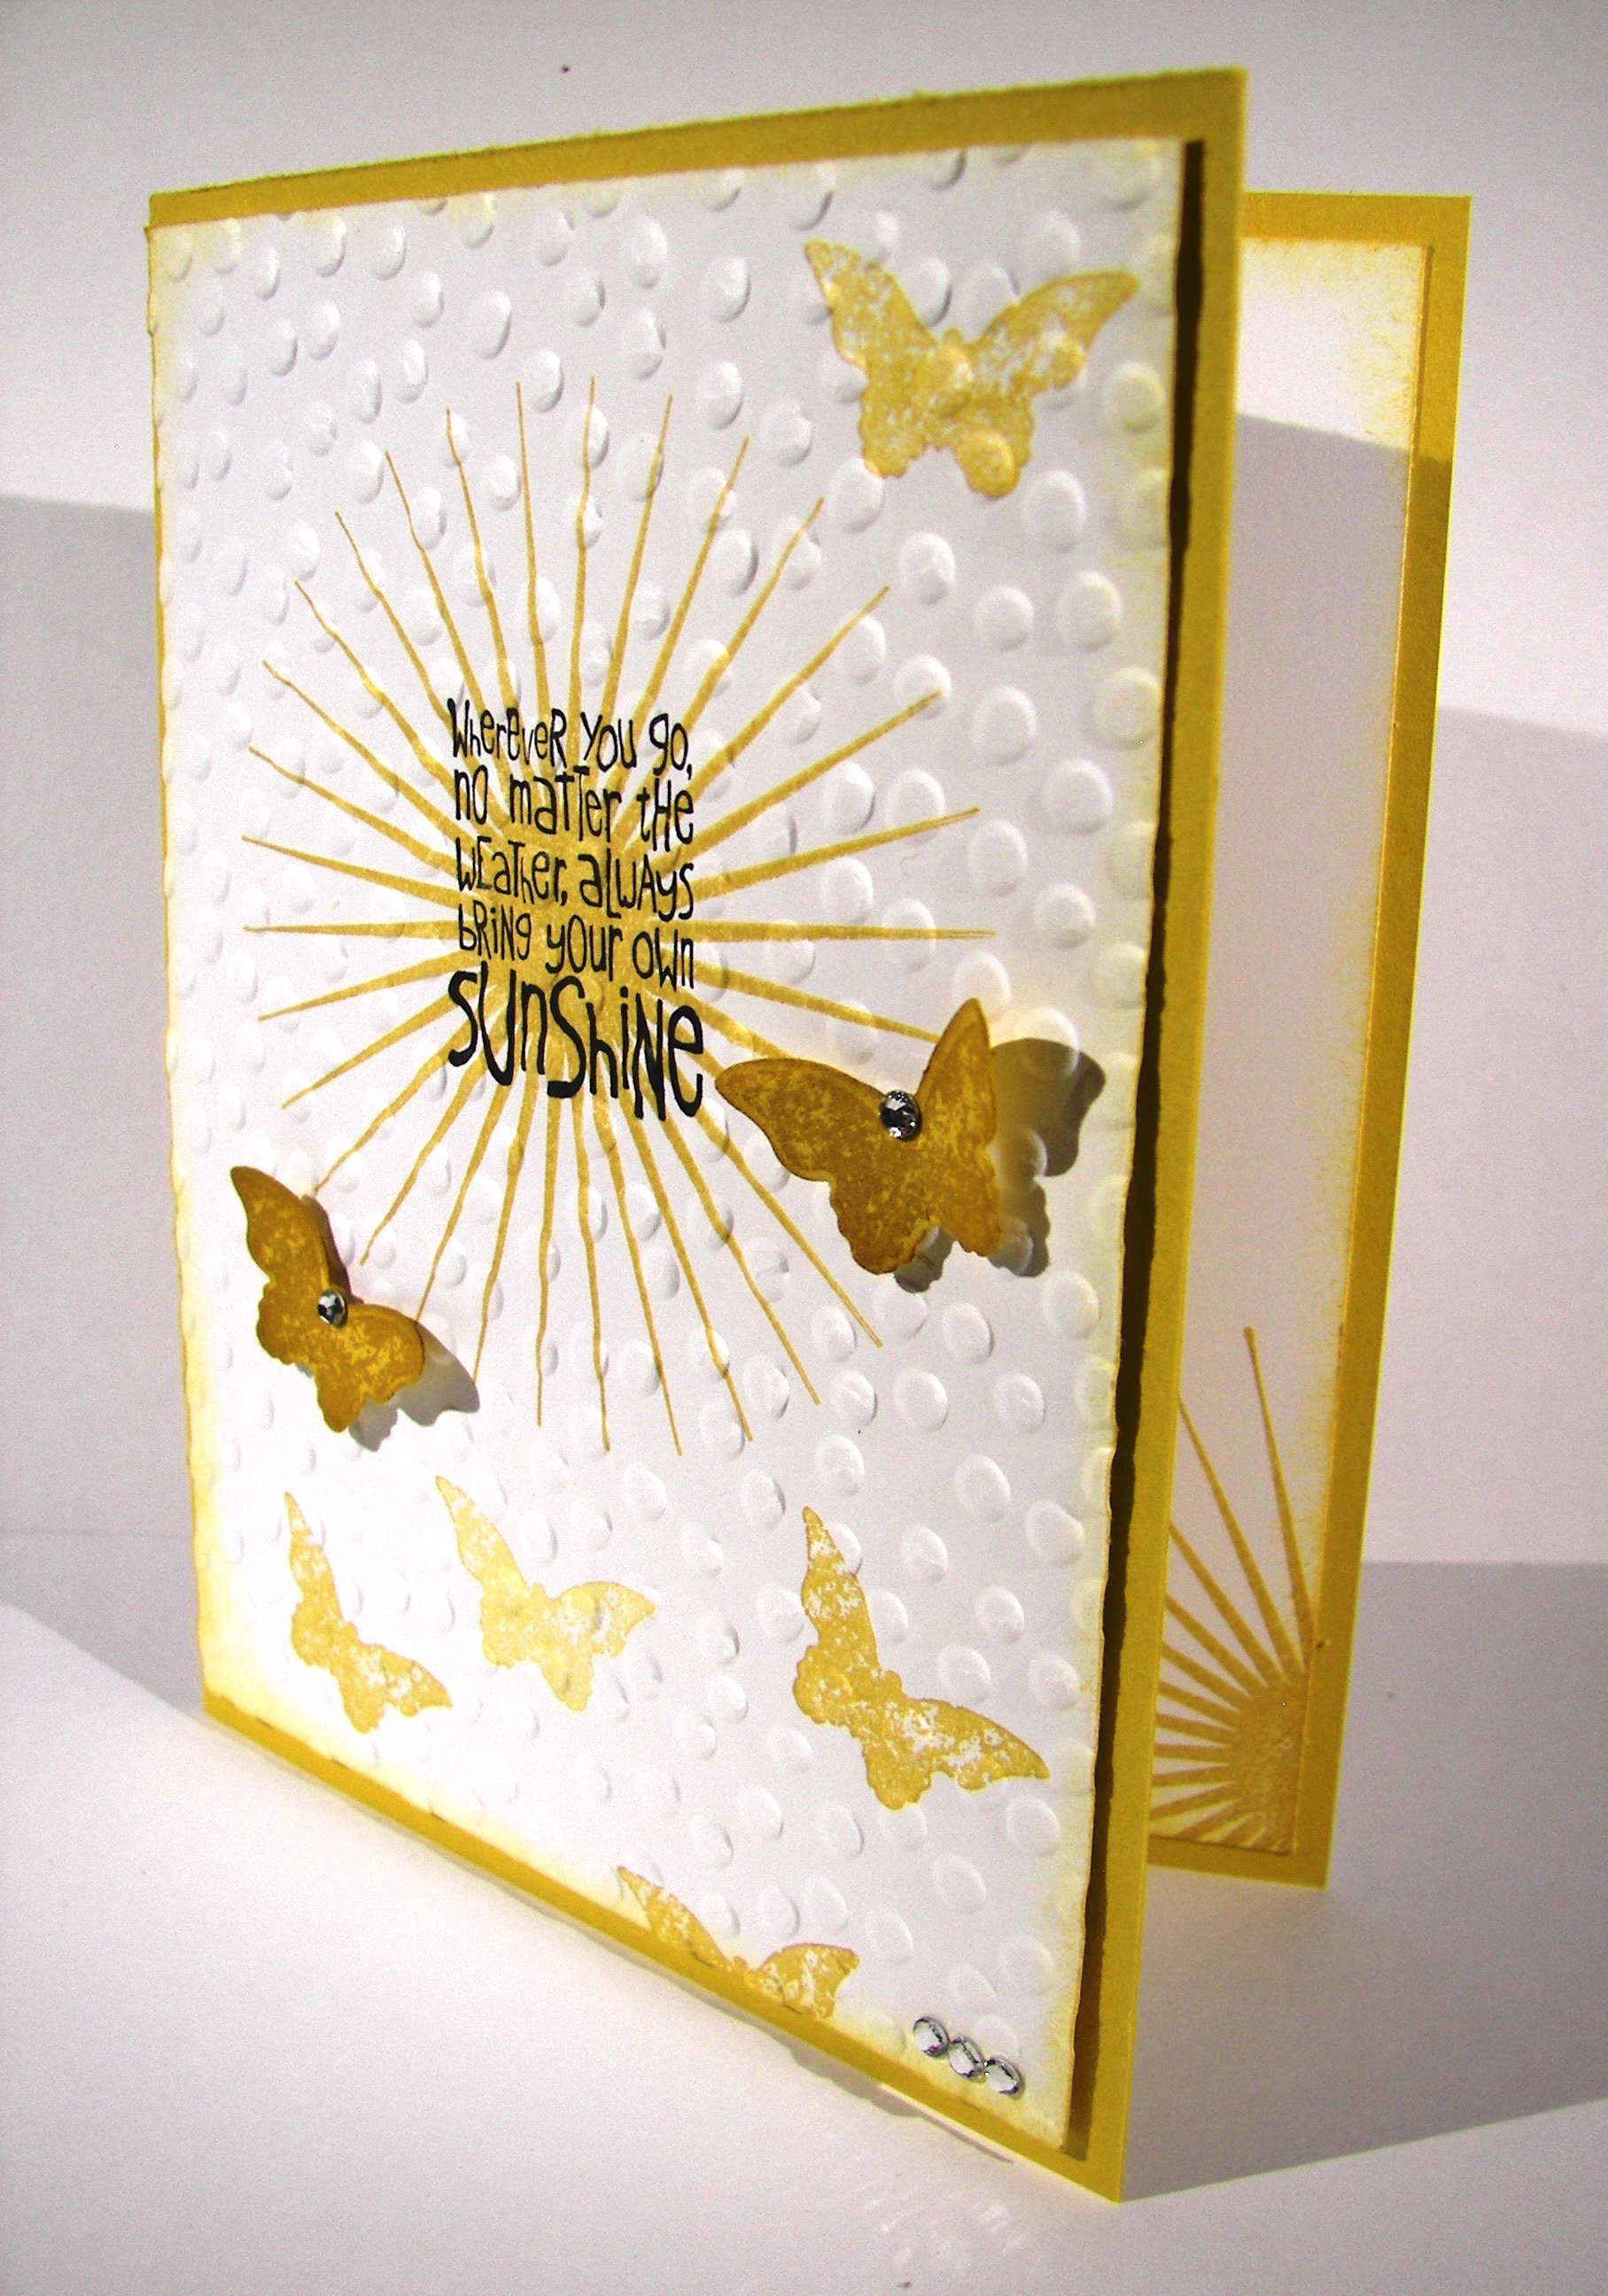
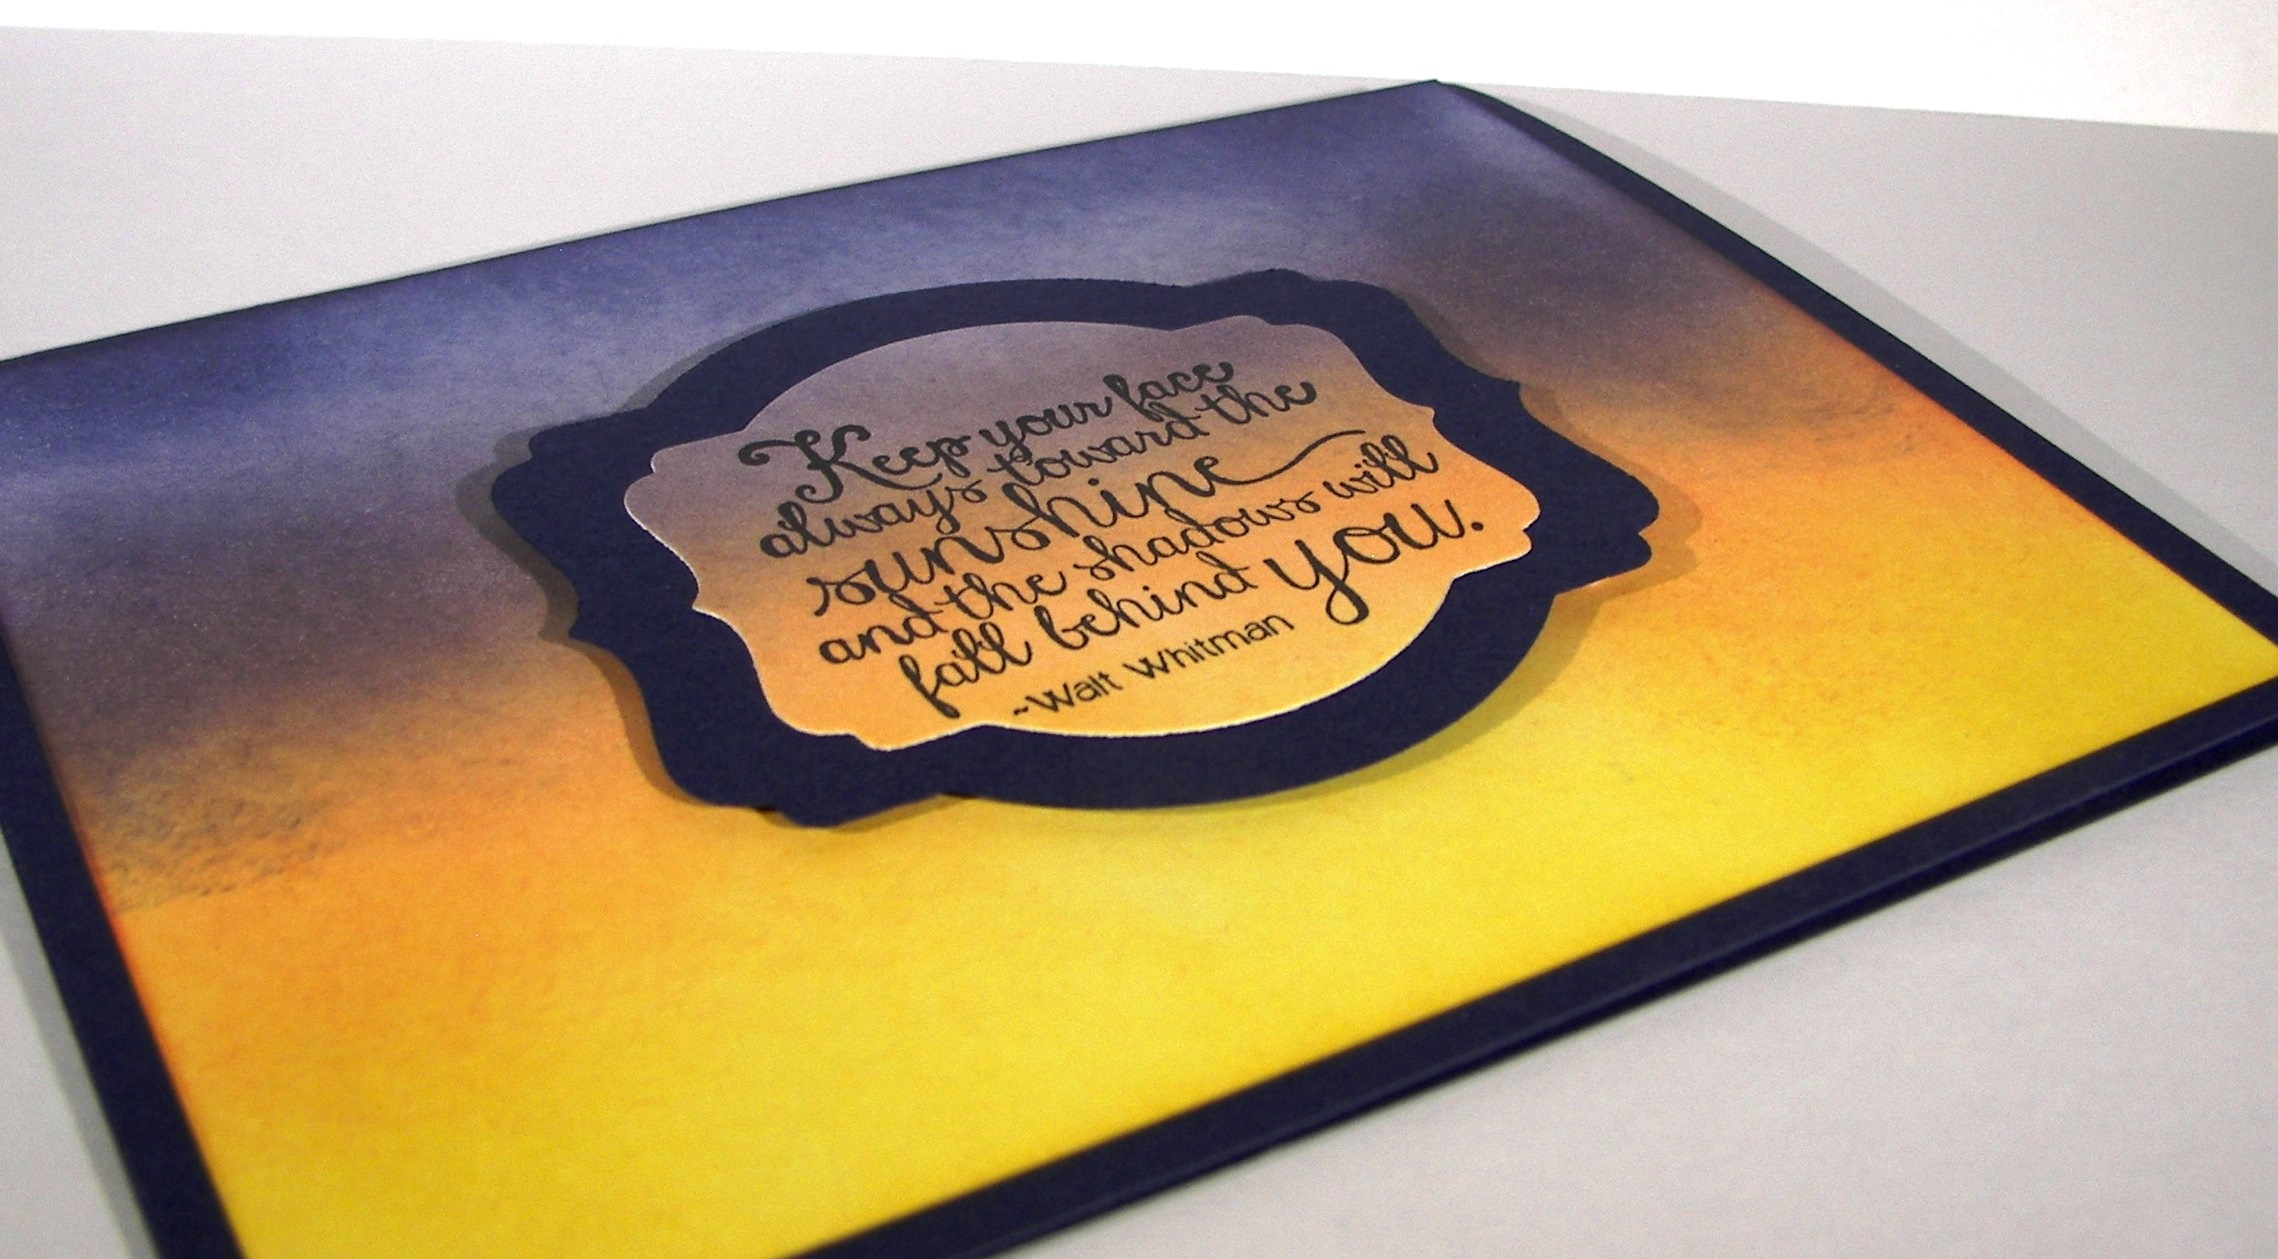
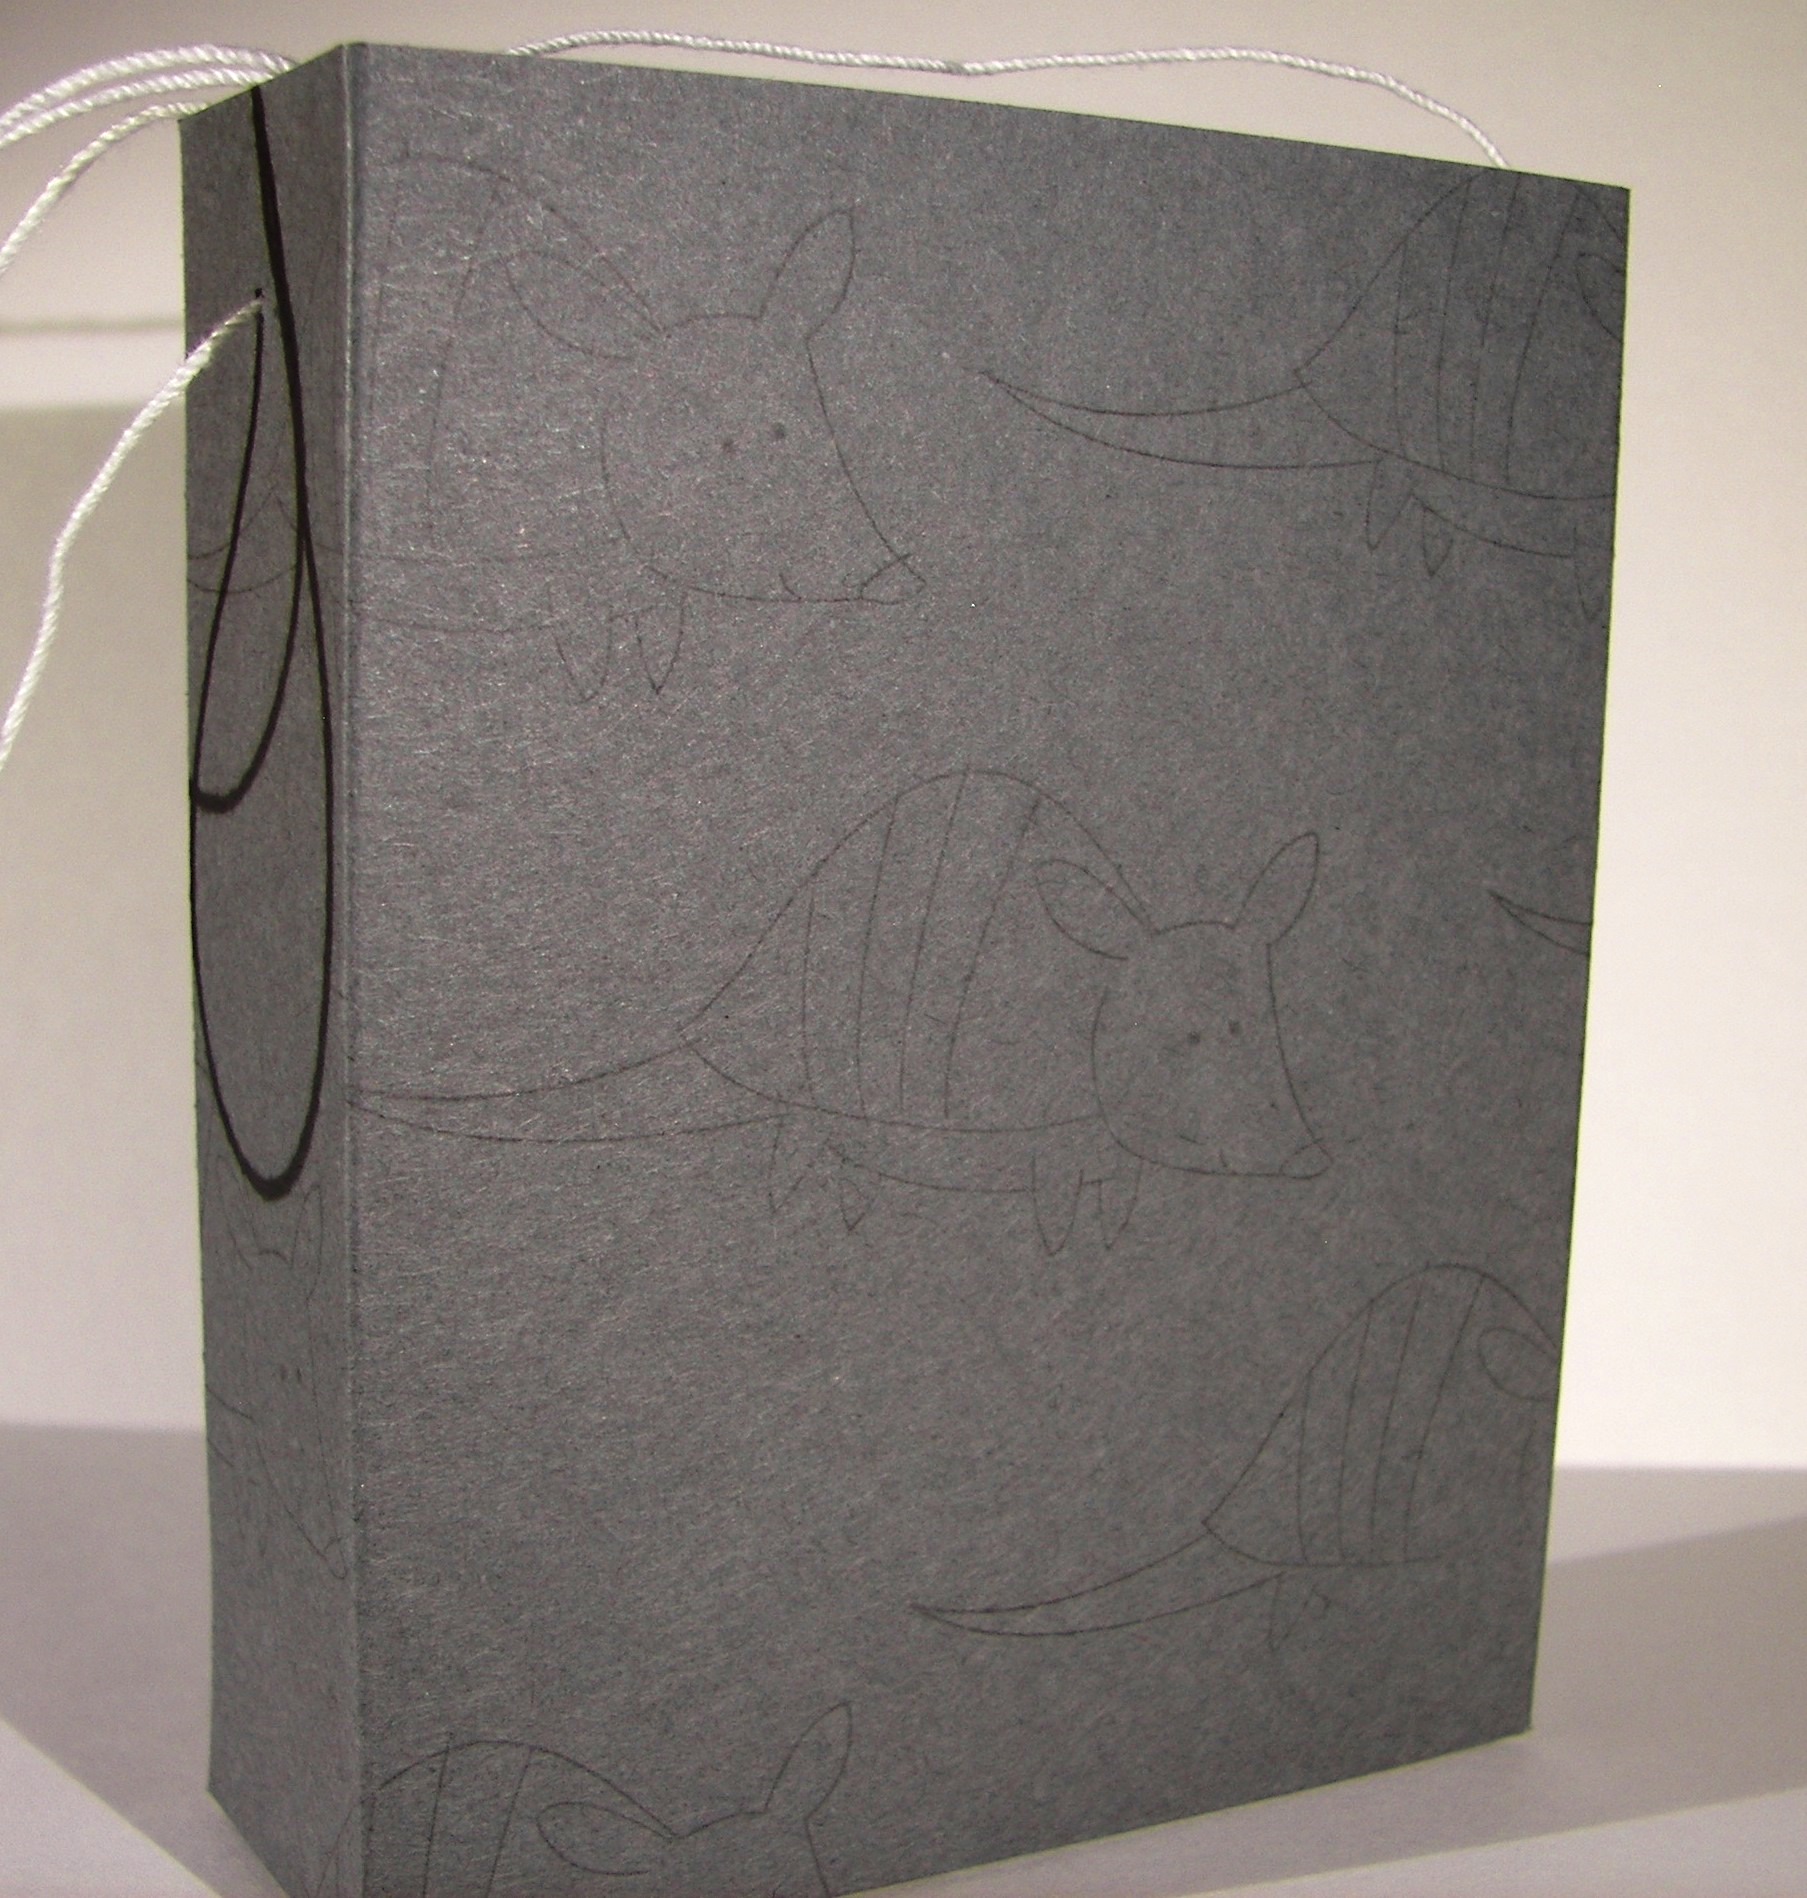
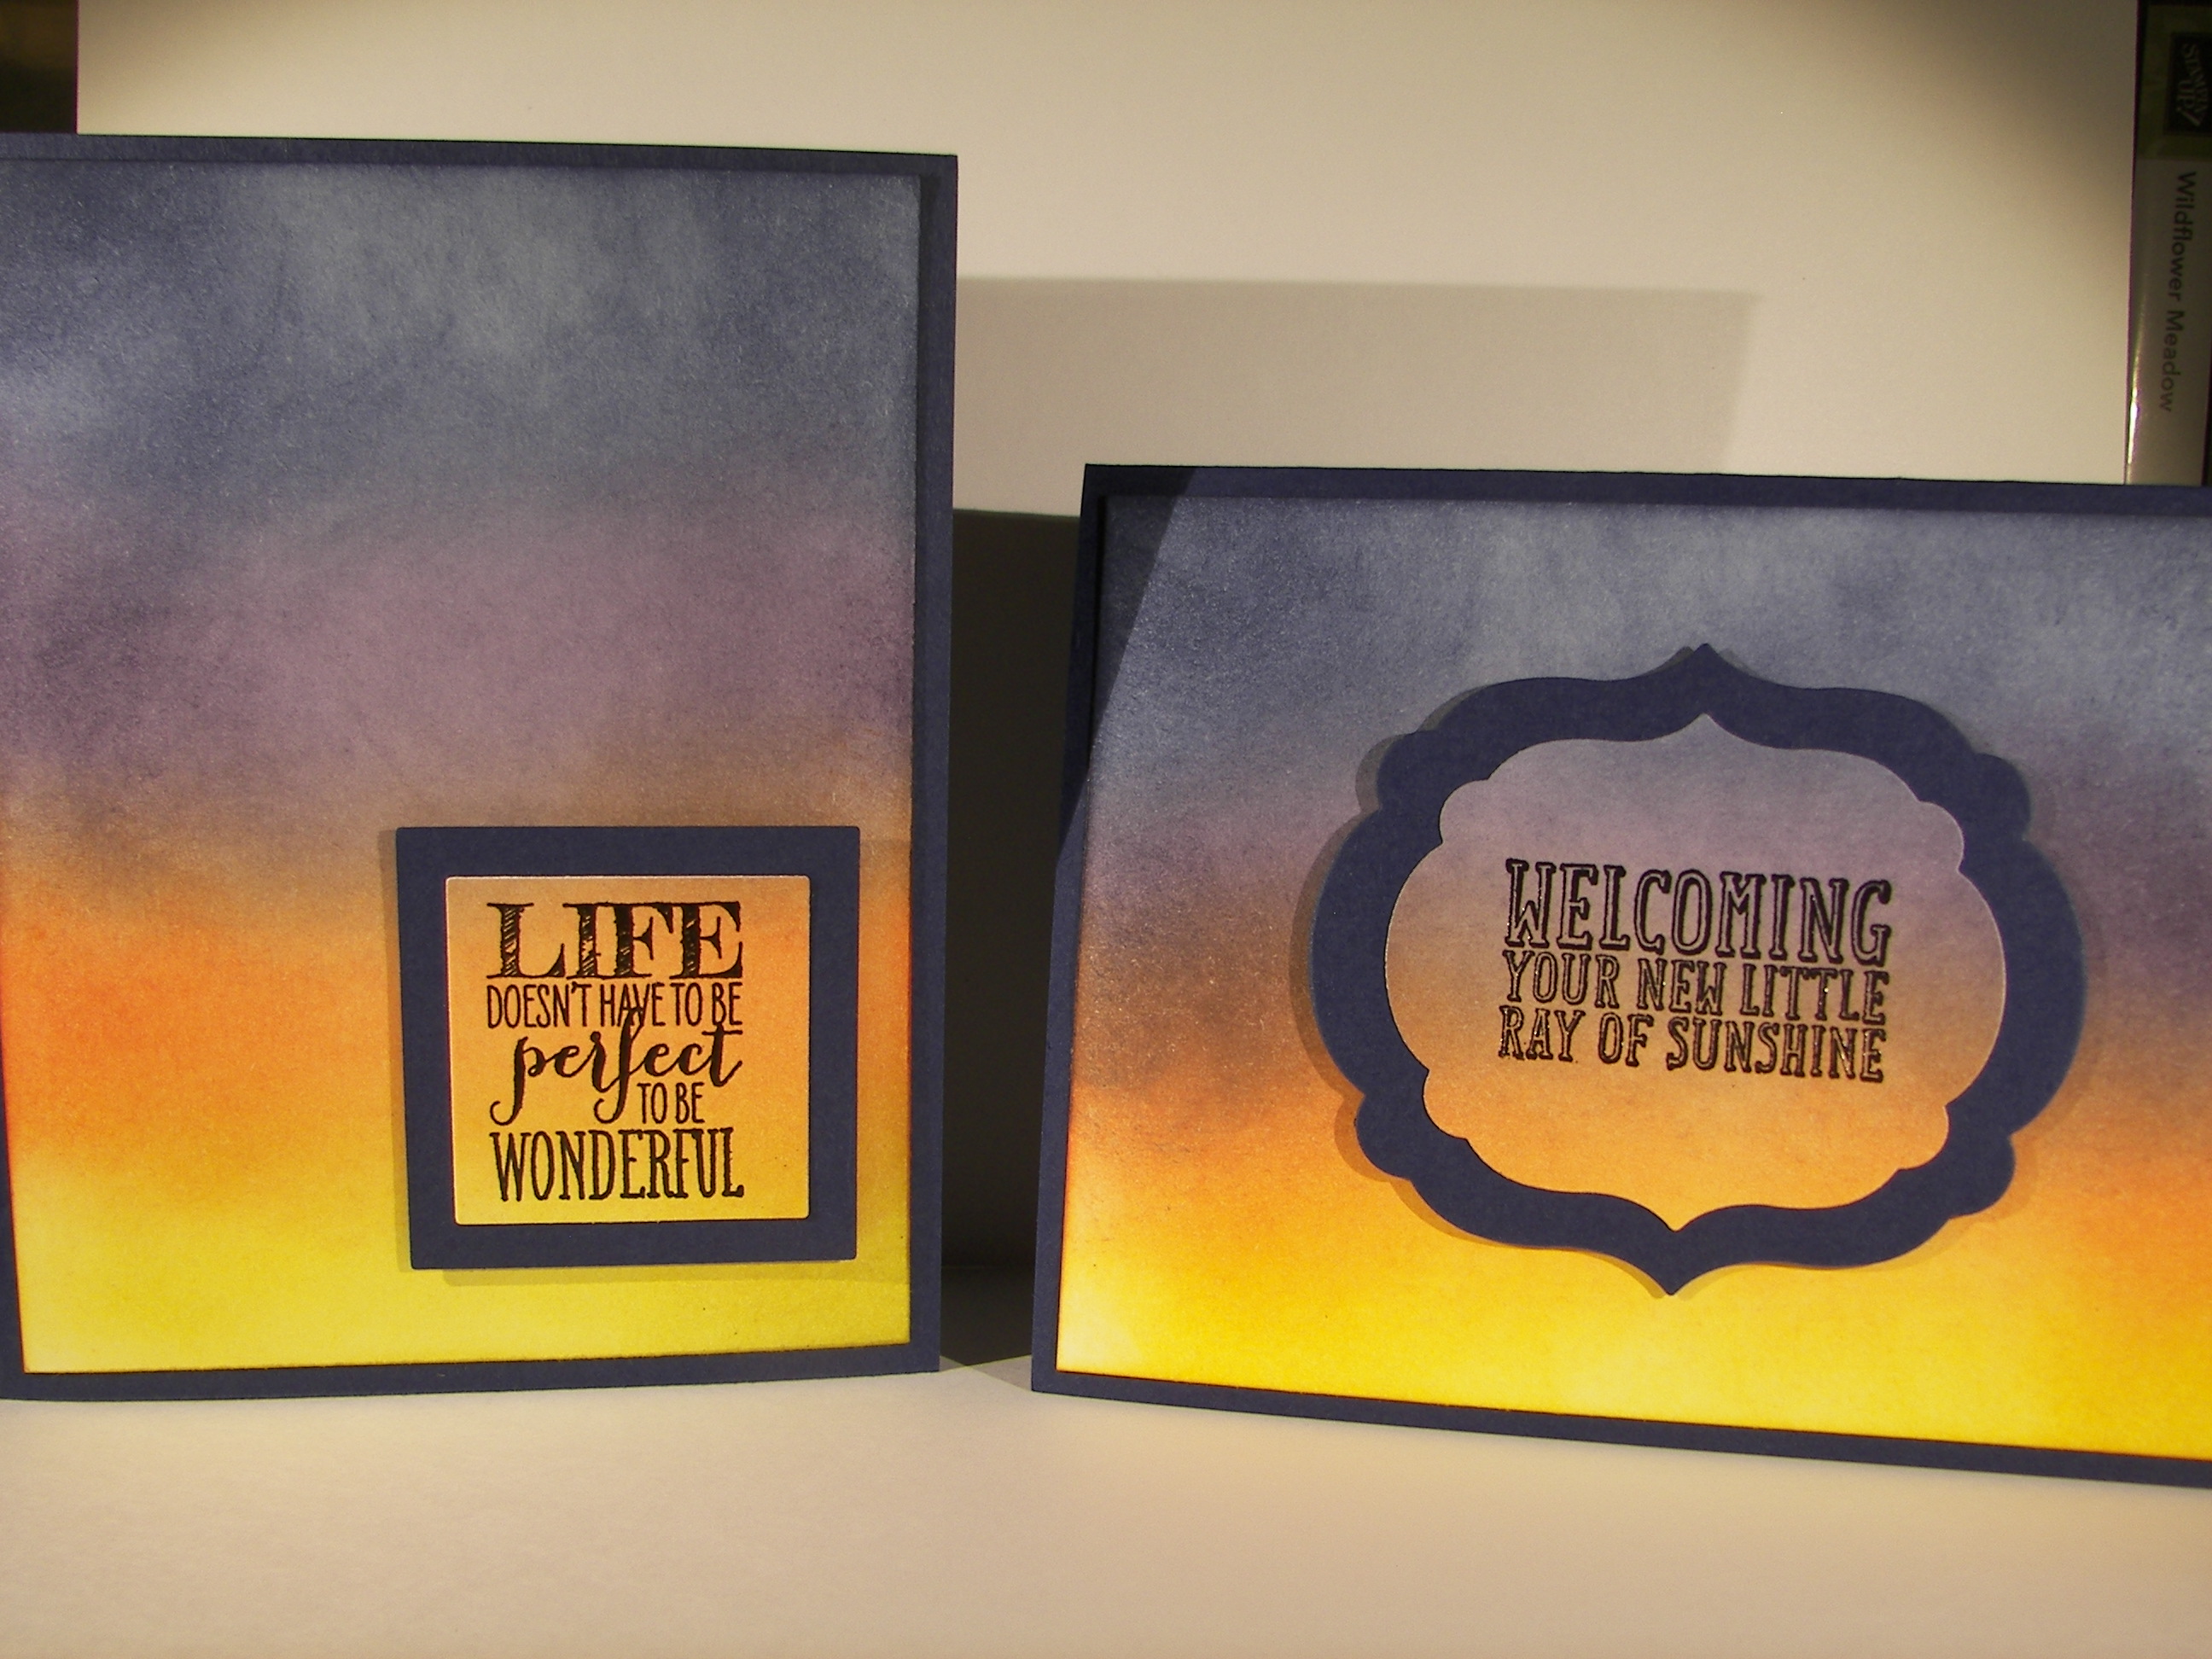
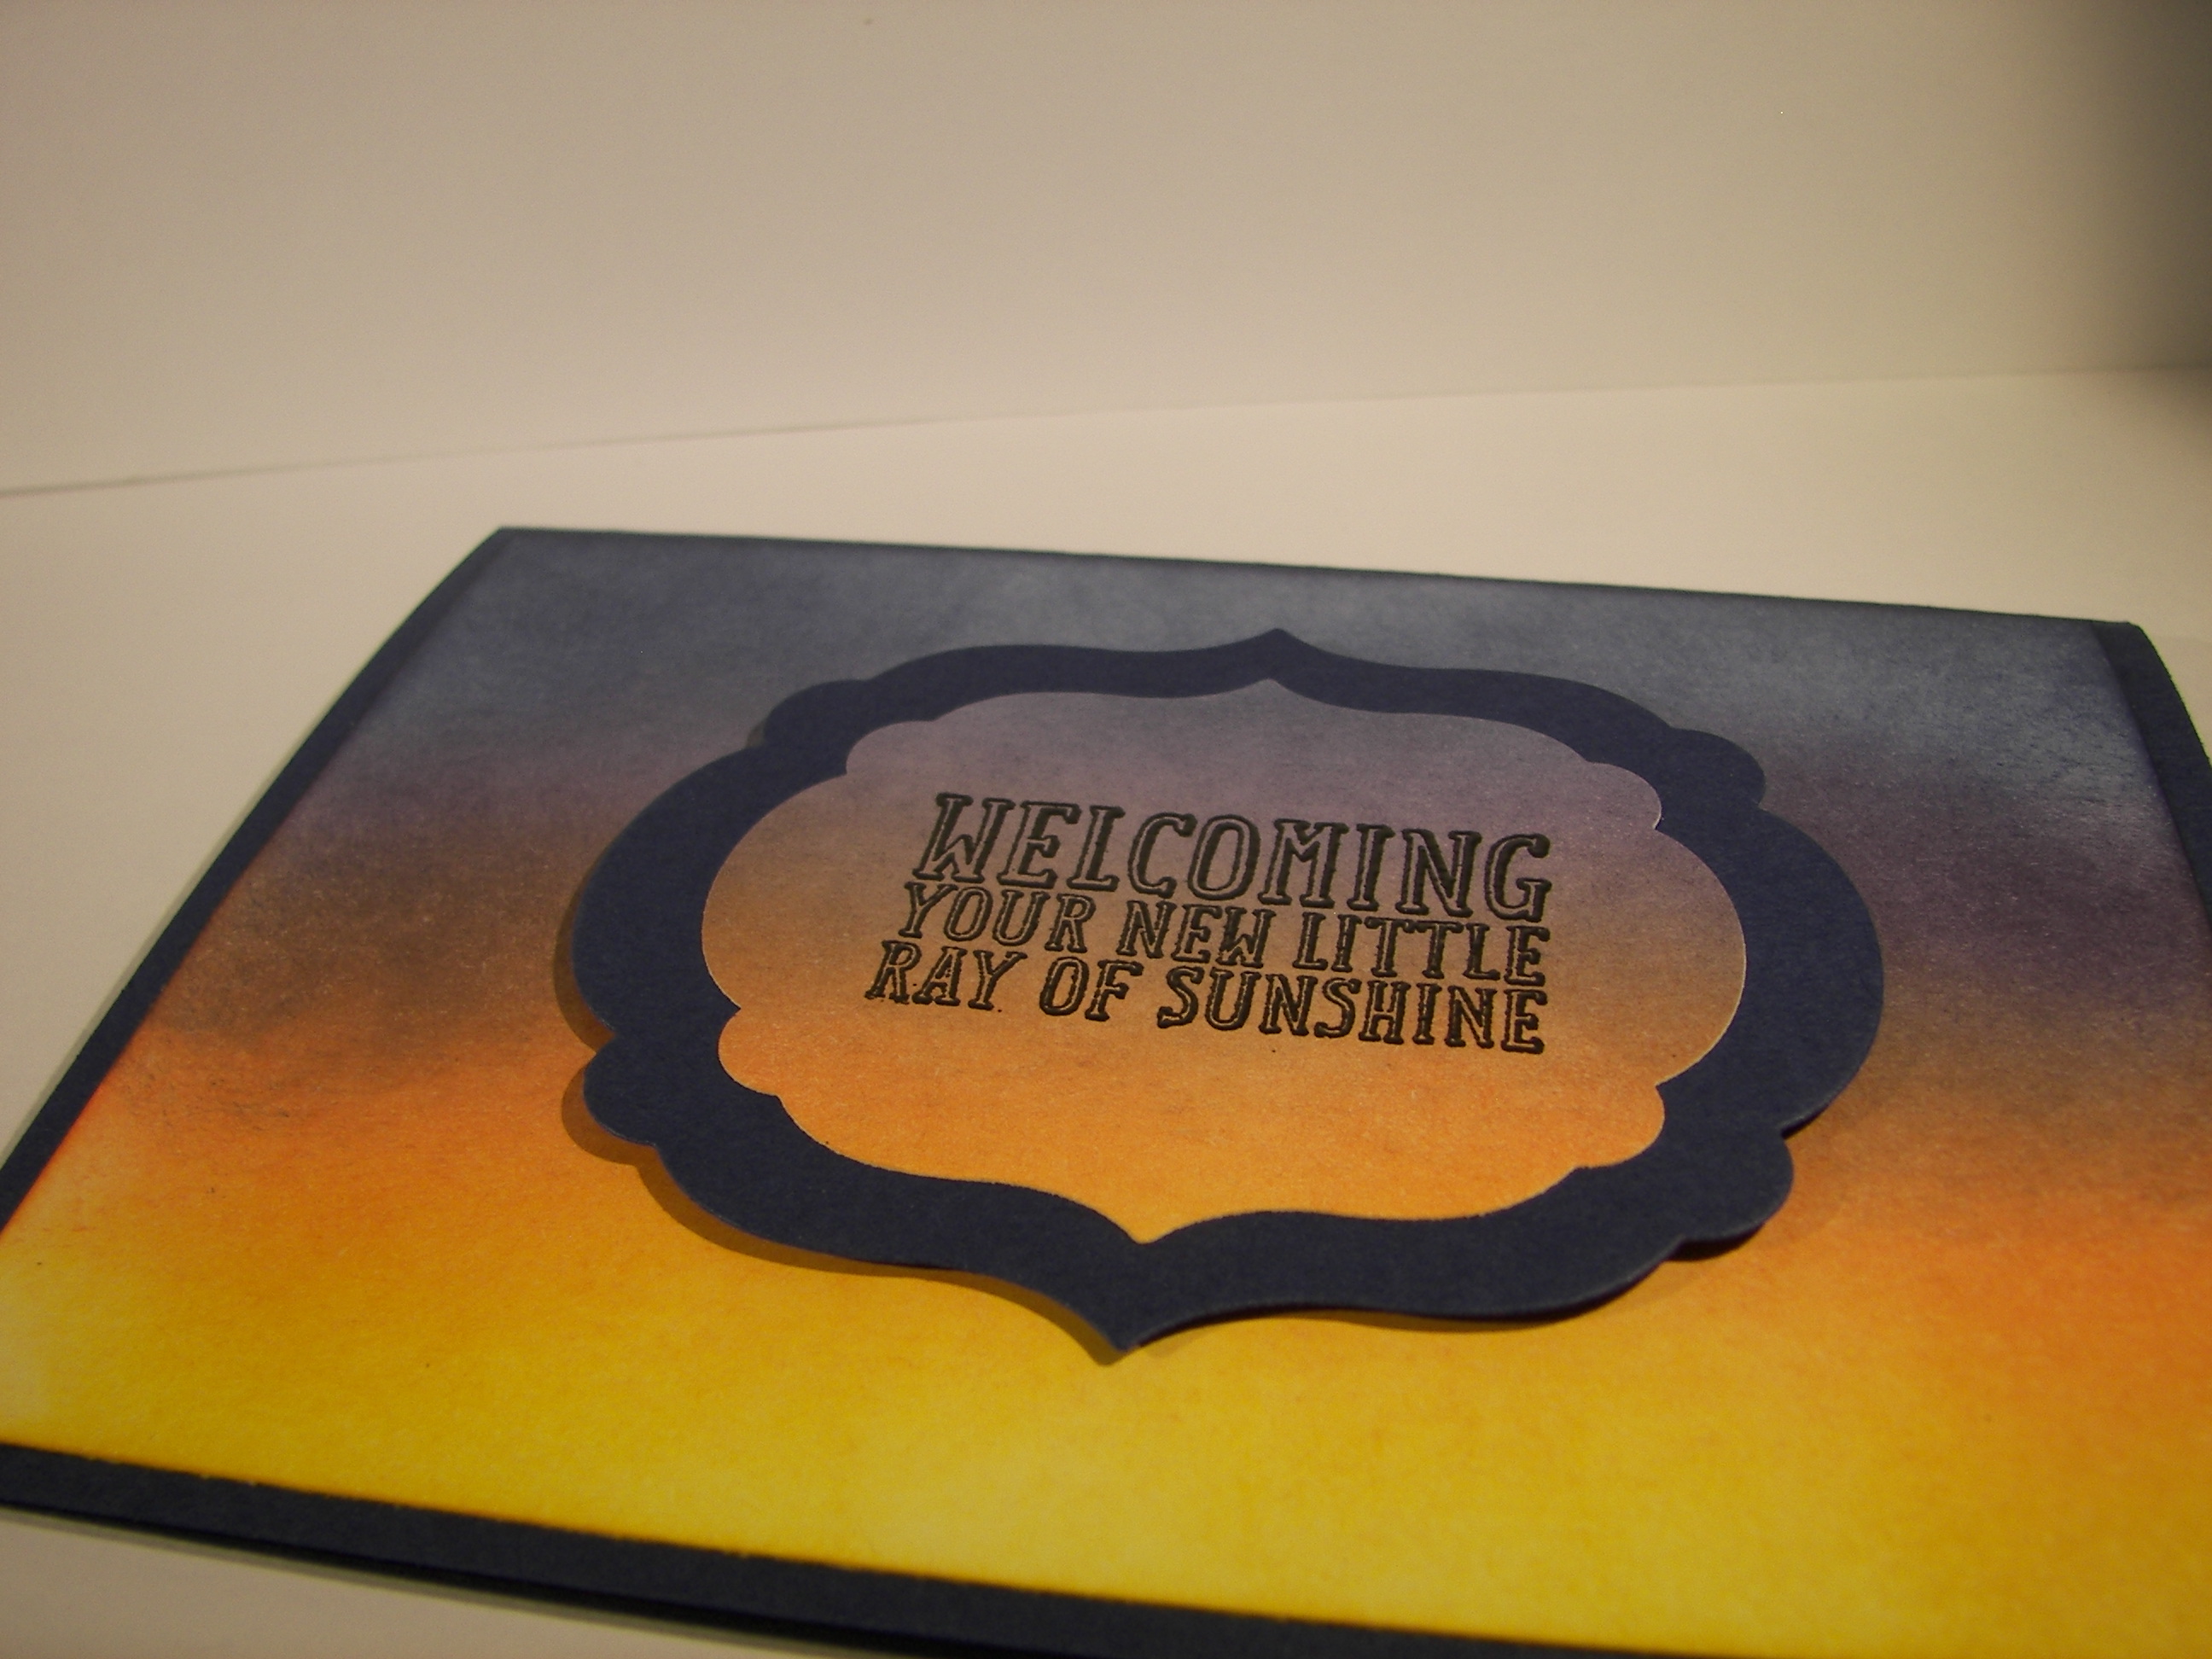
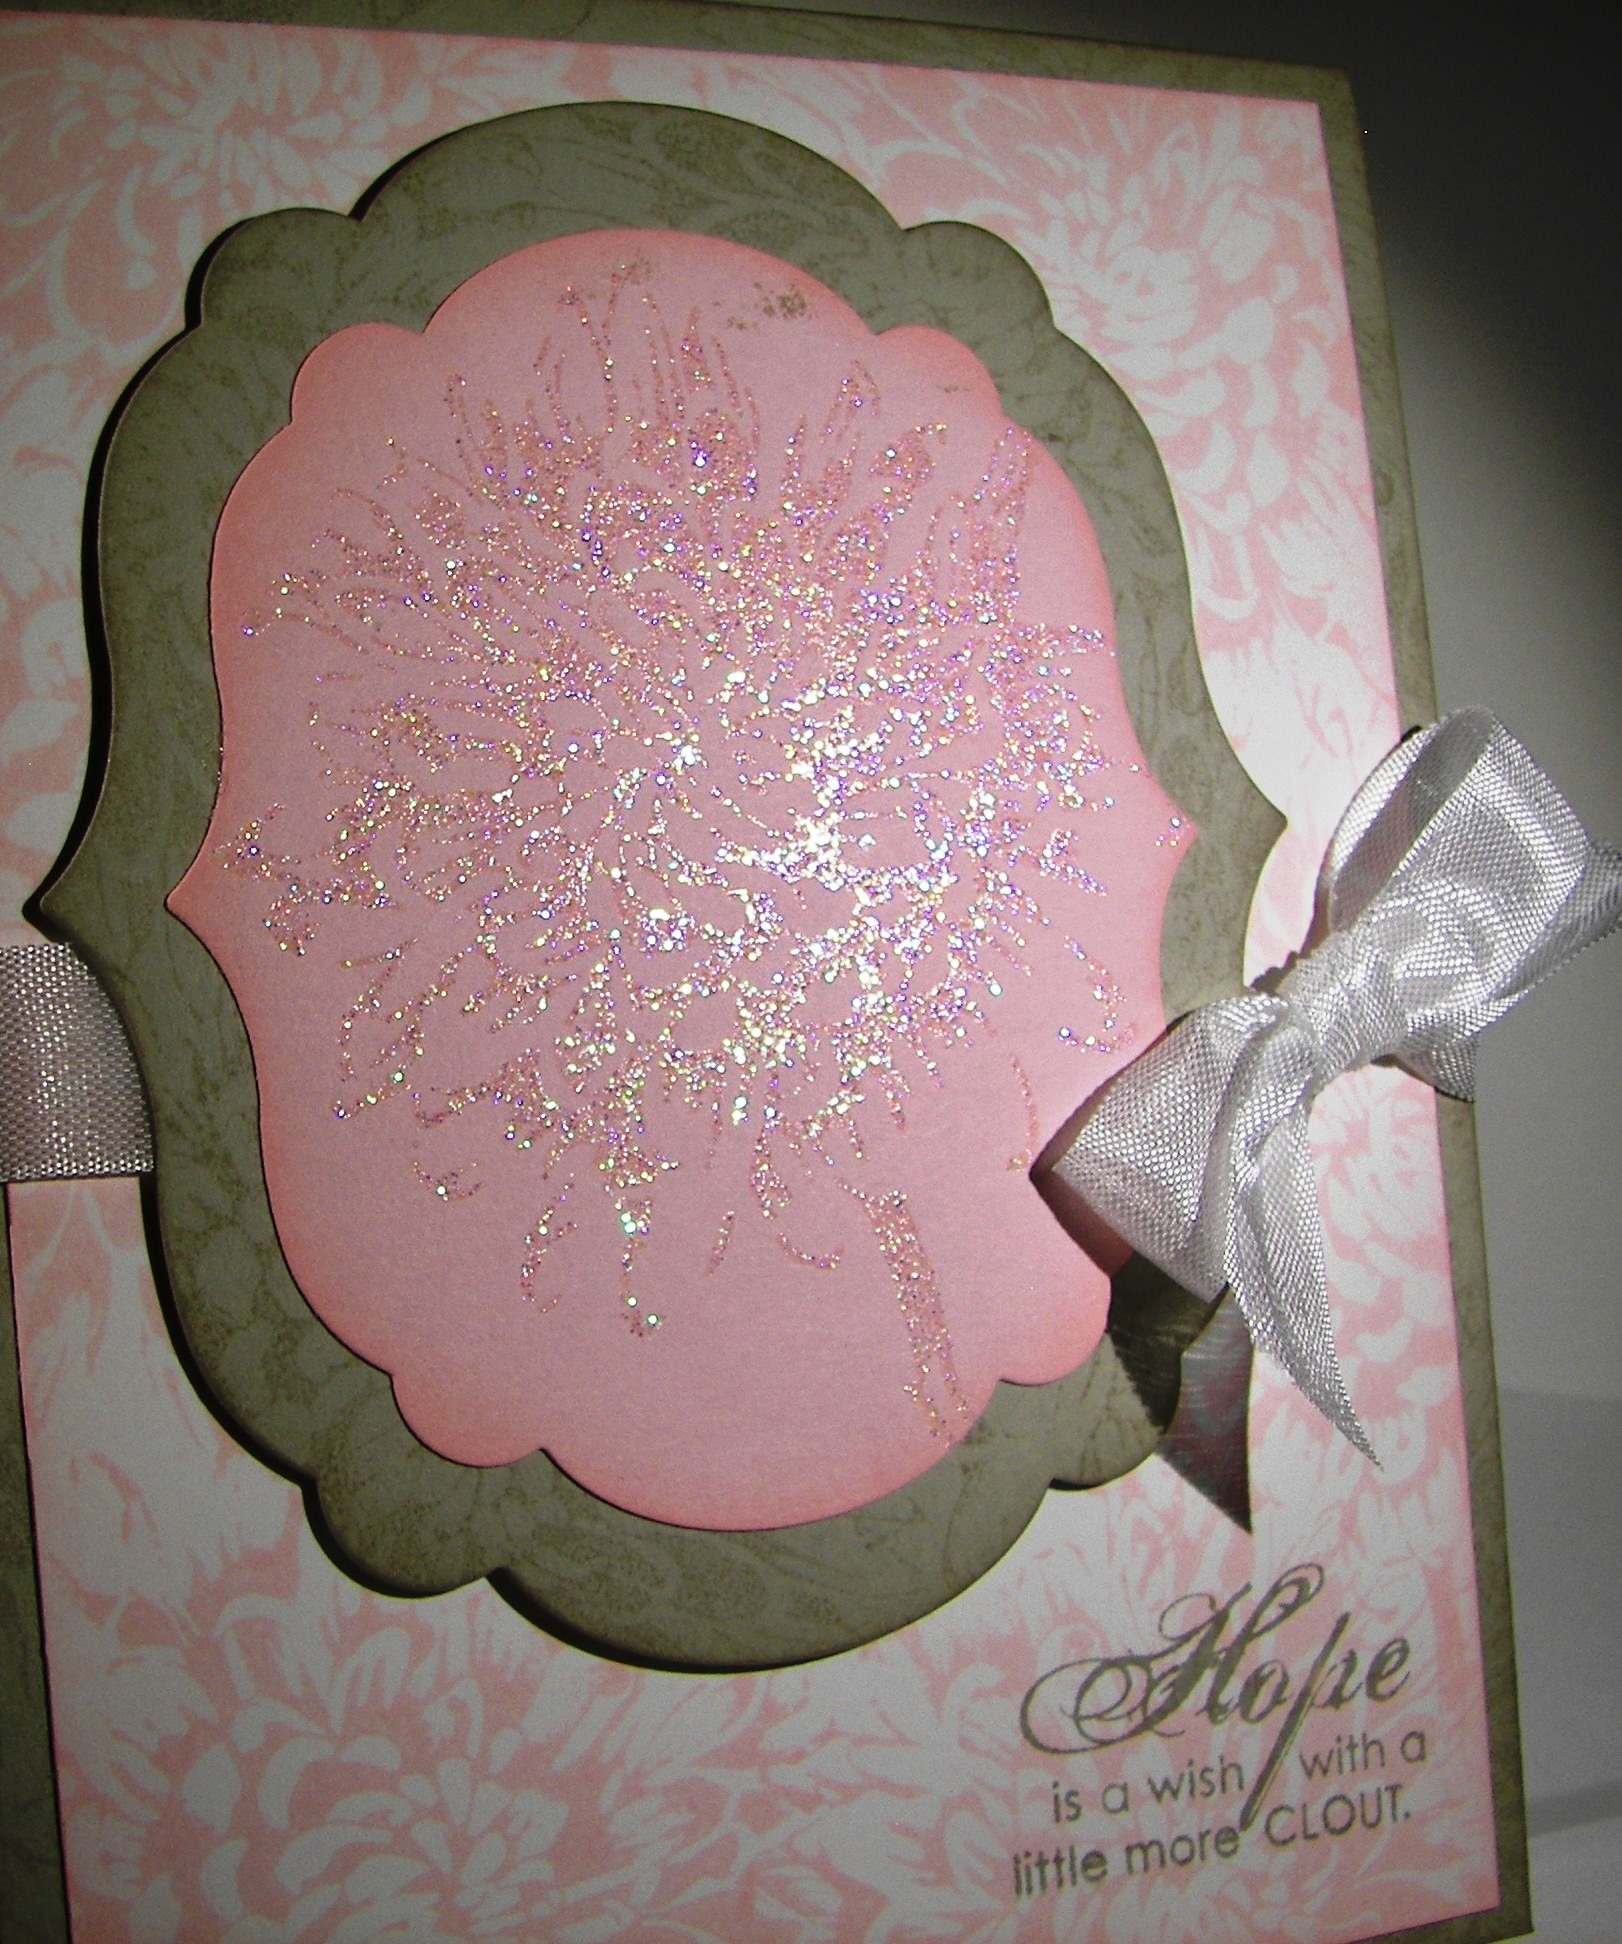
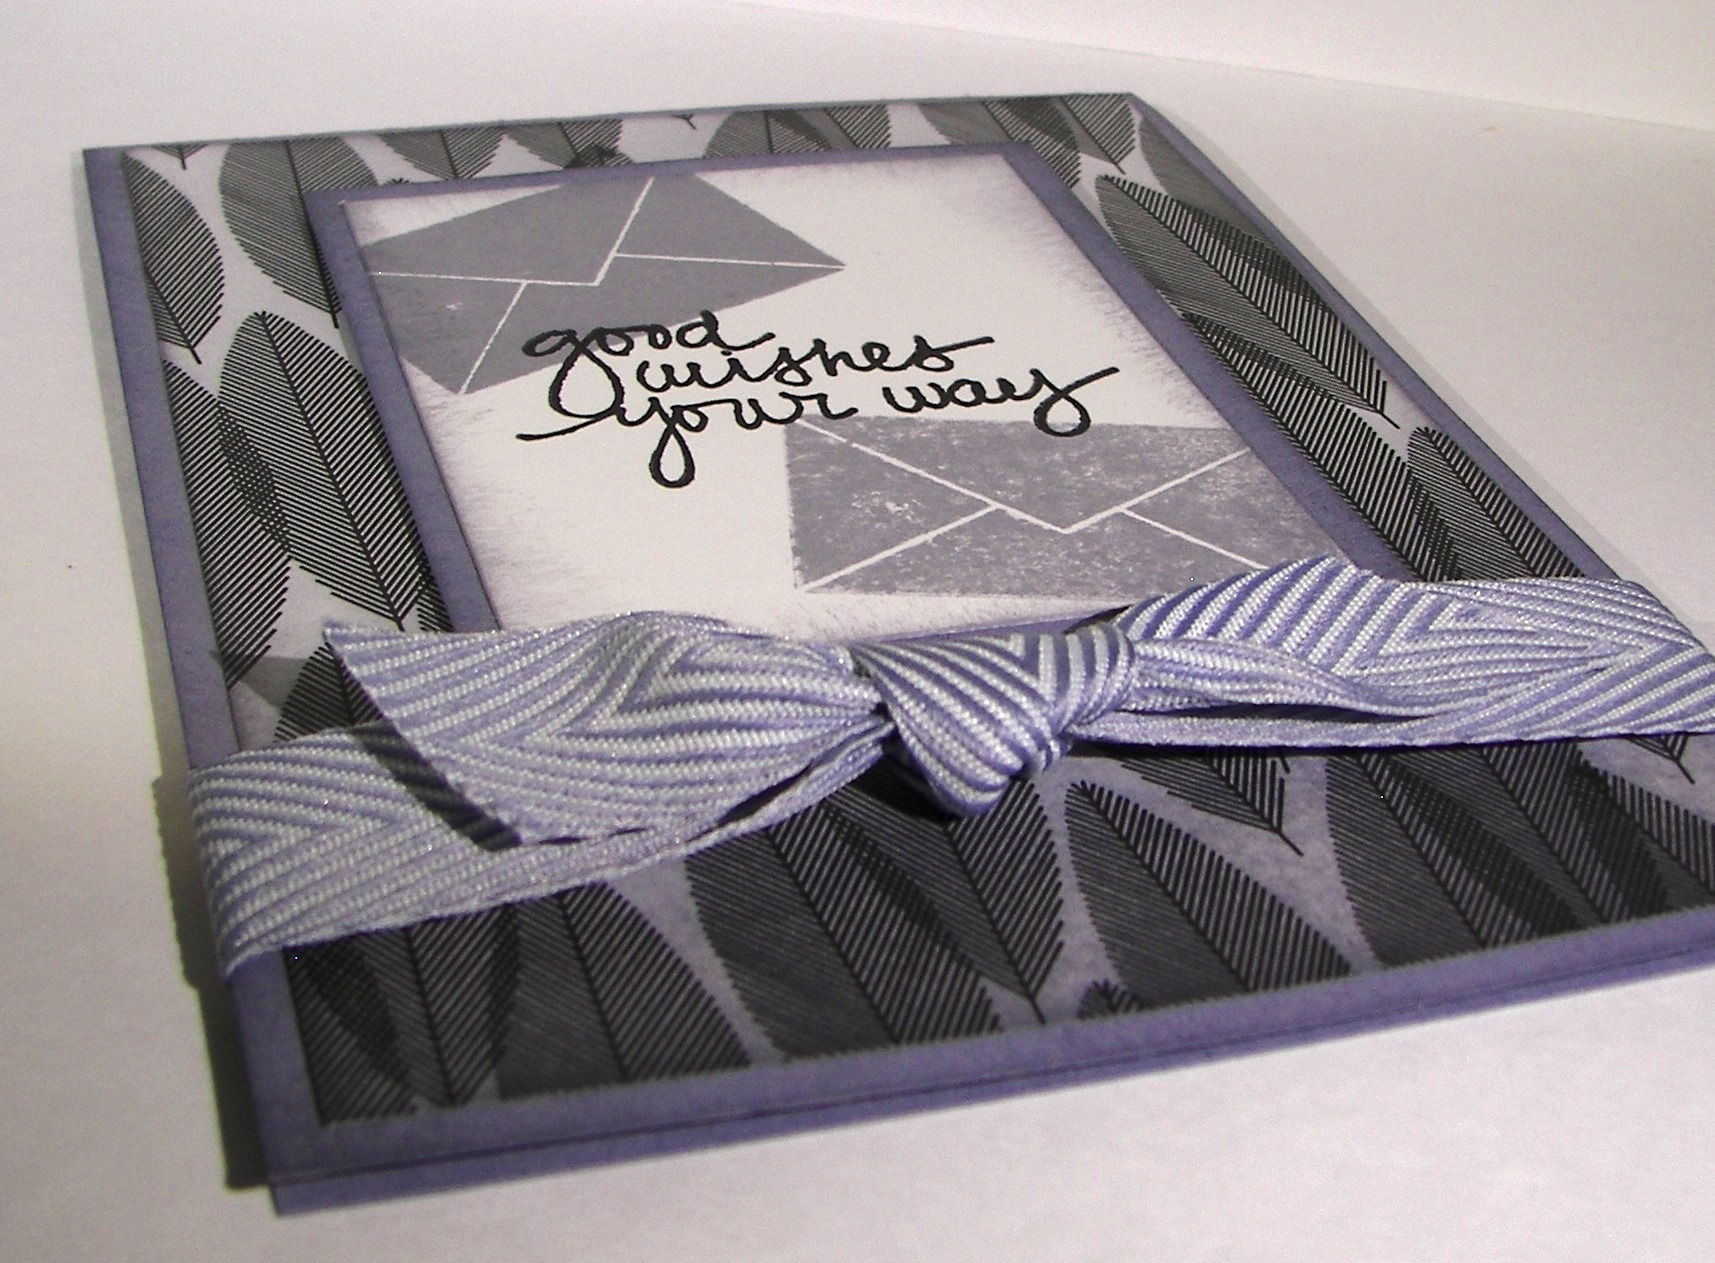
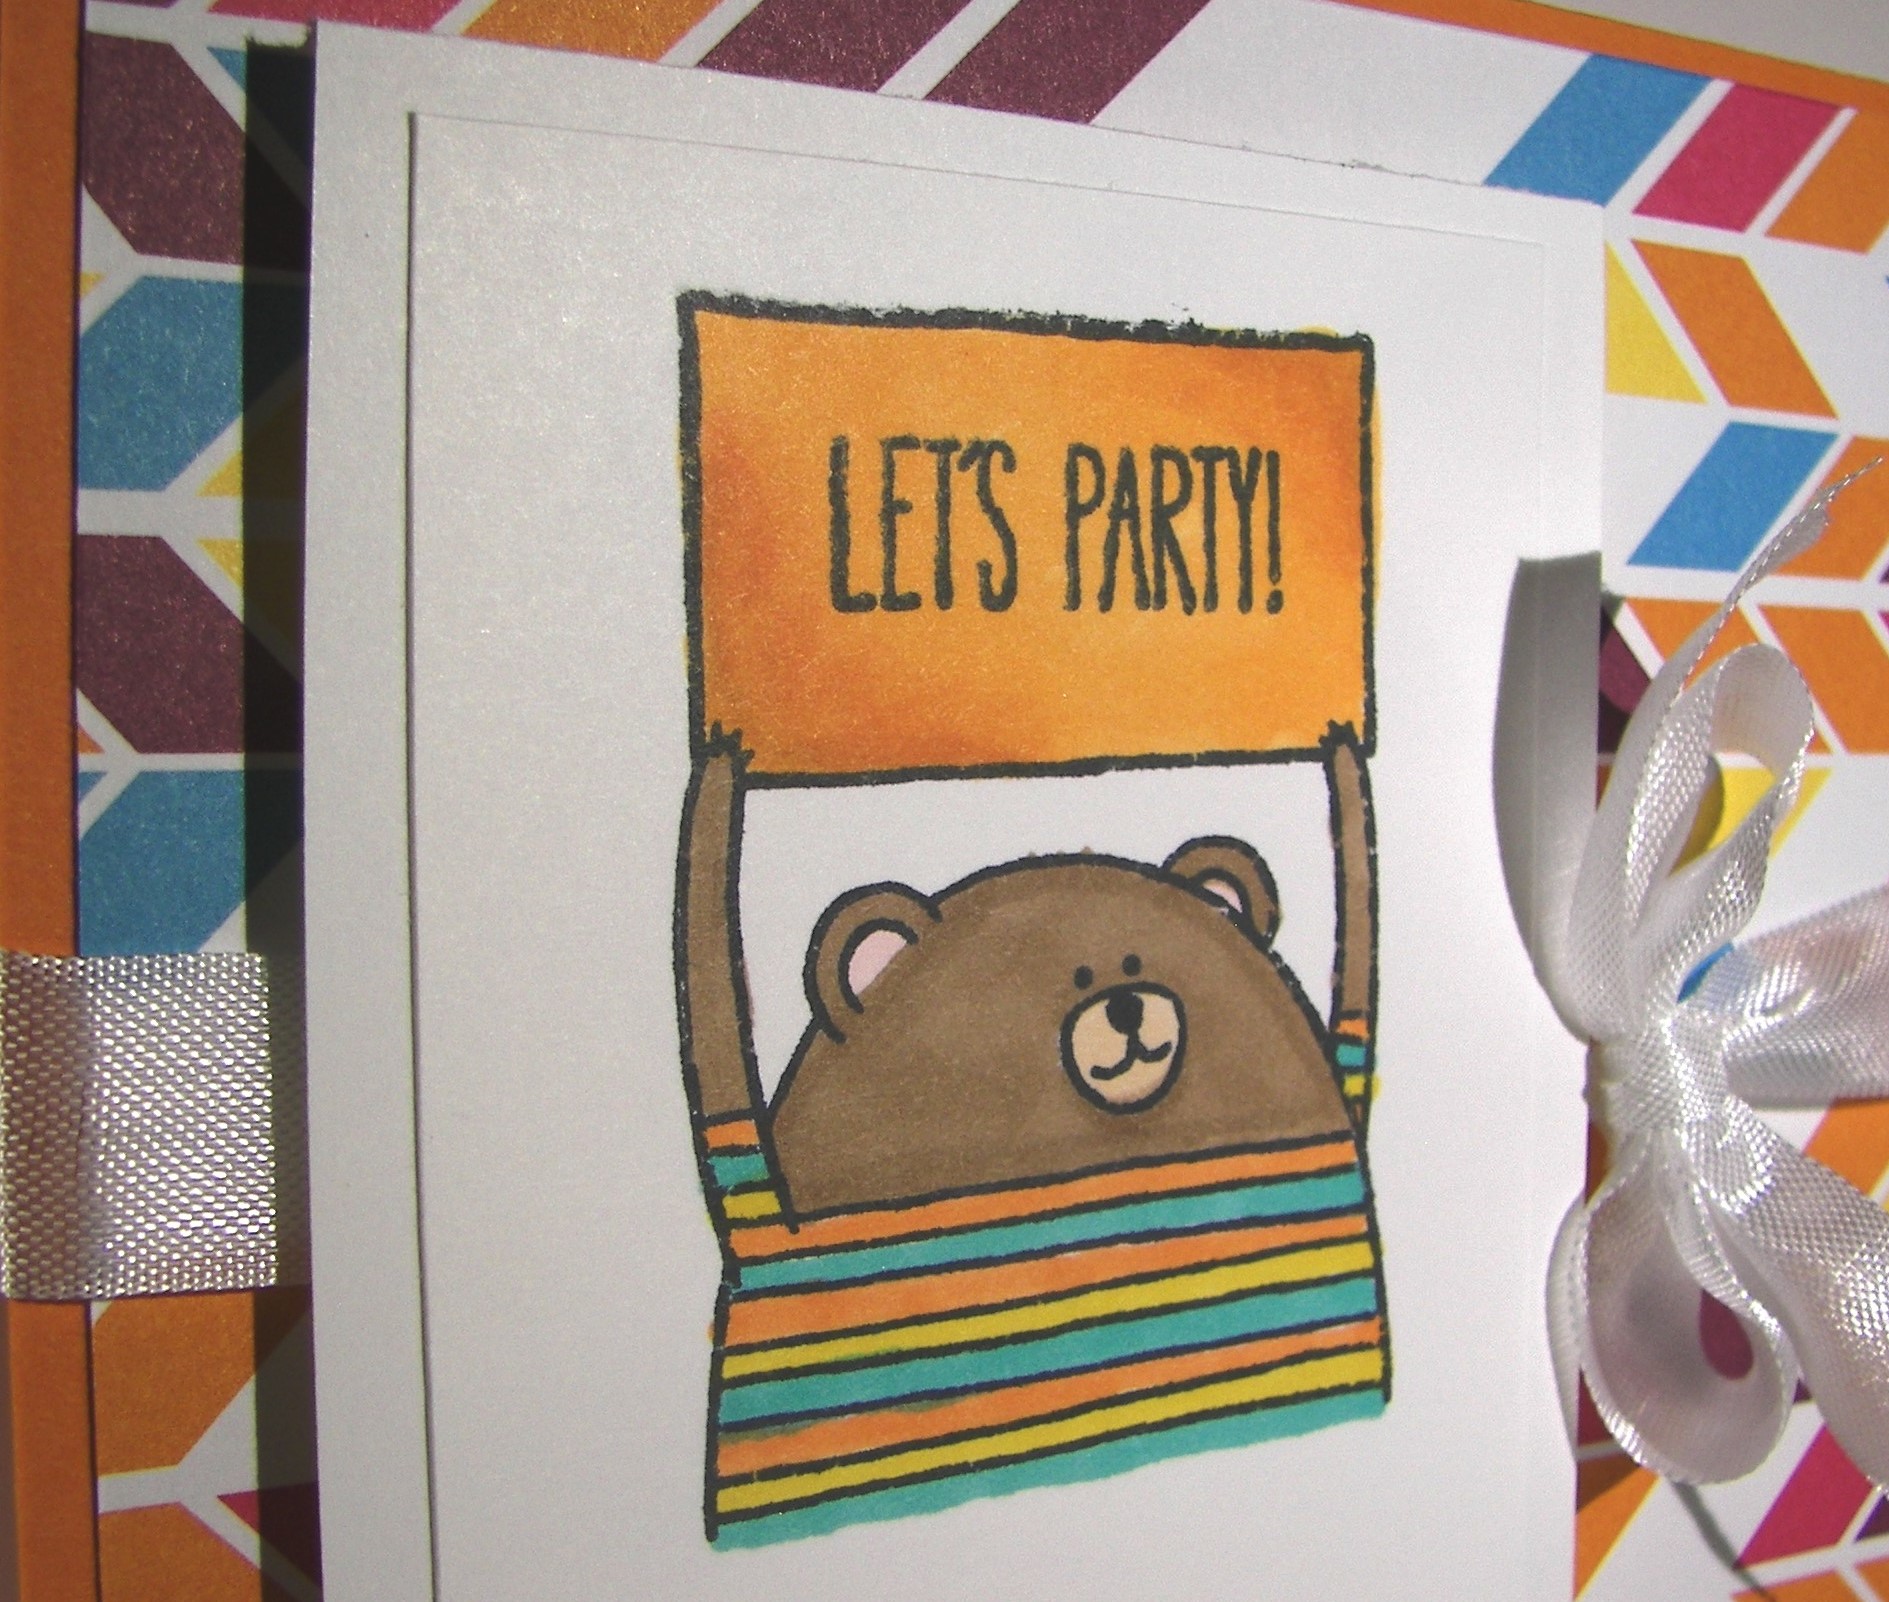
A simple embossed background with the new cool boho chic folder.  I wasn’t sure at first, but that didn’t last long.  It is way cool.  Lots of options there.

That Thing You Did

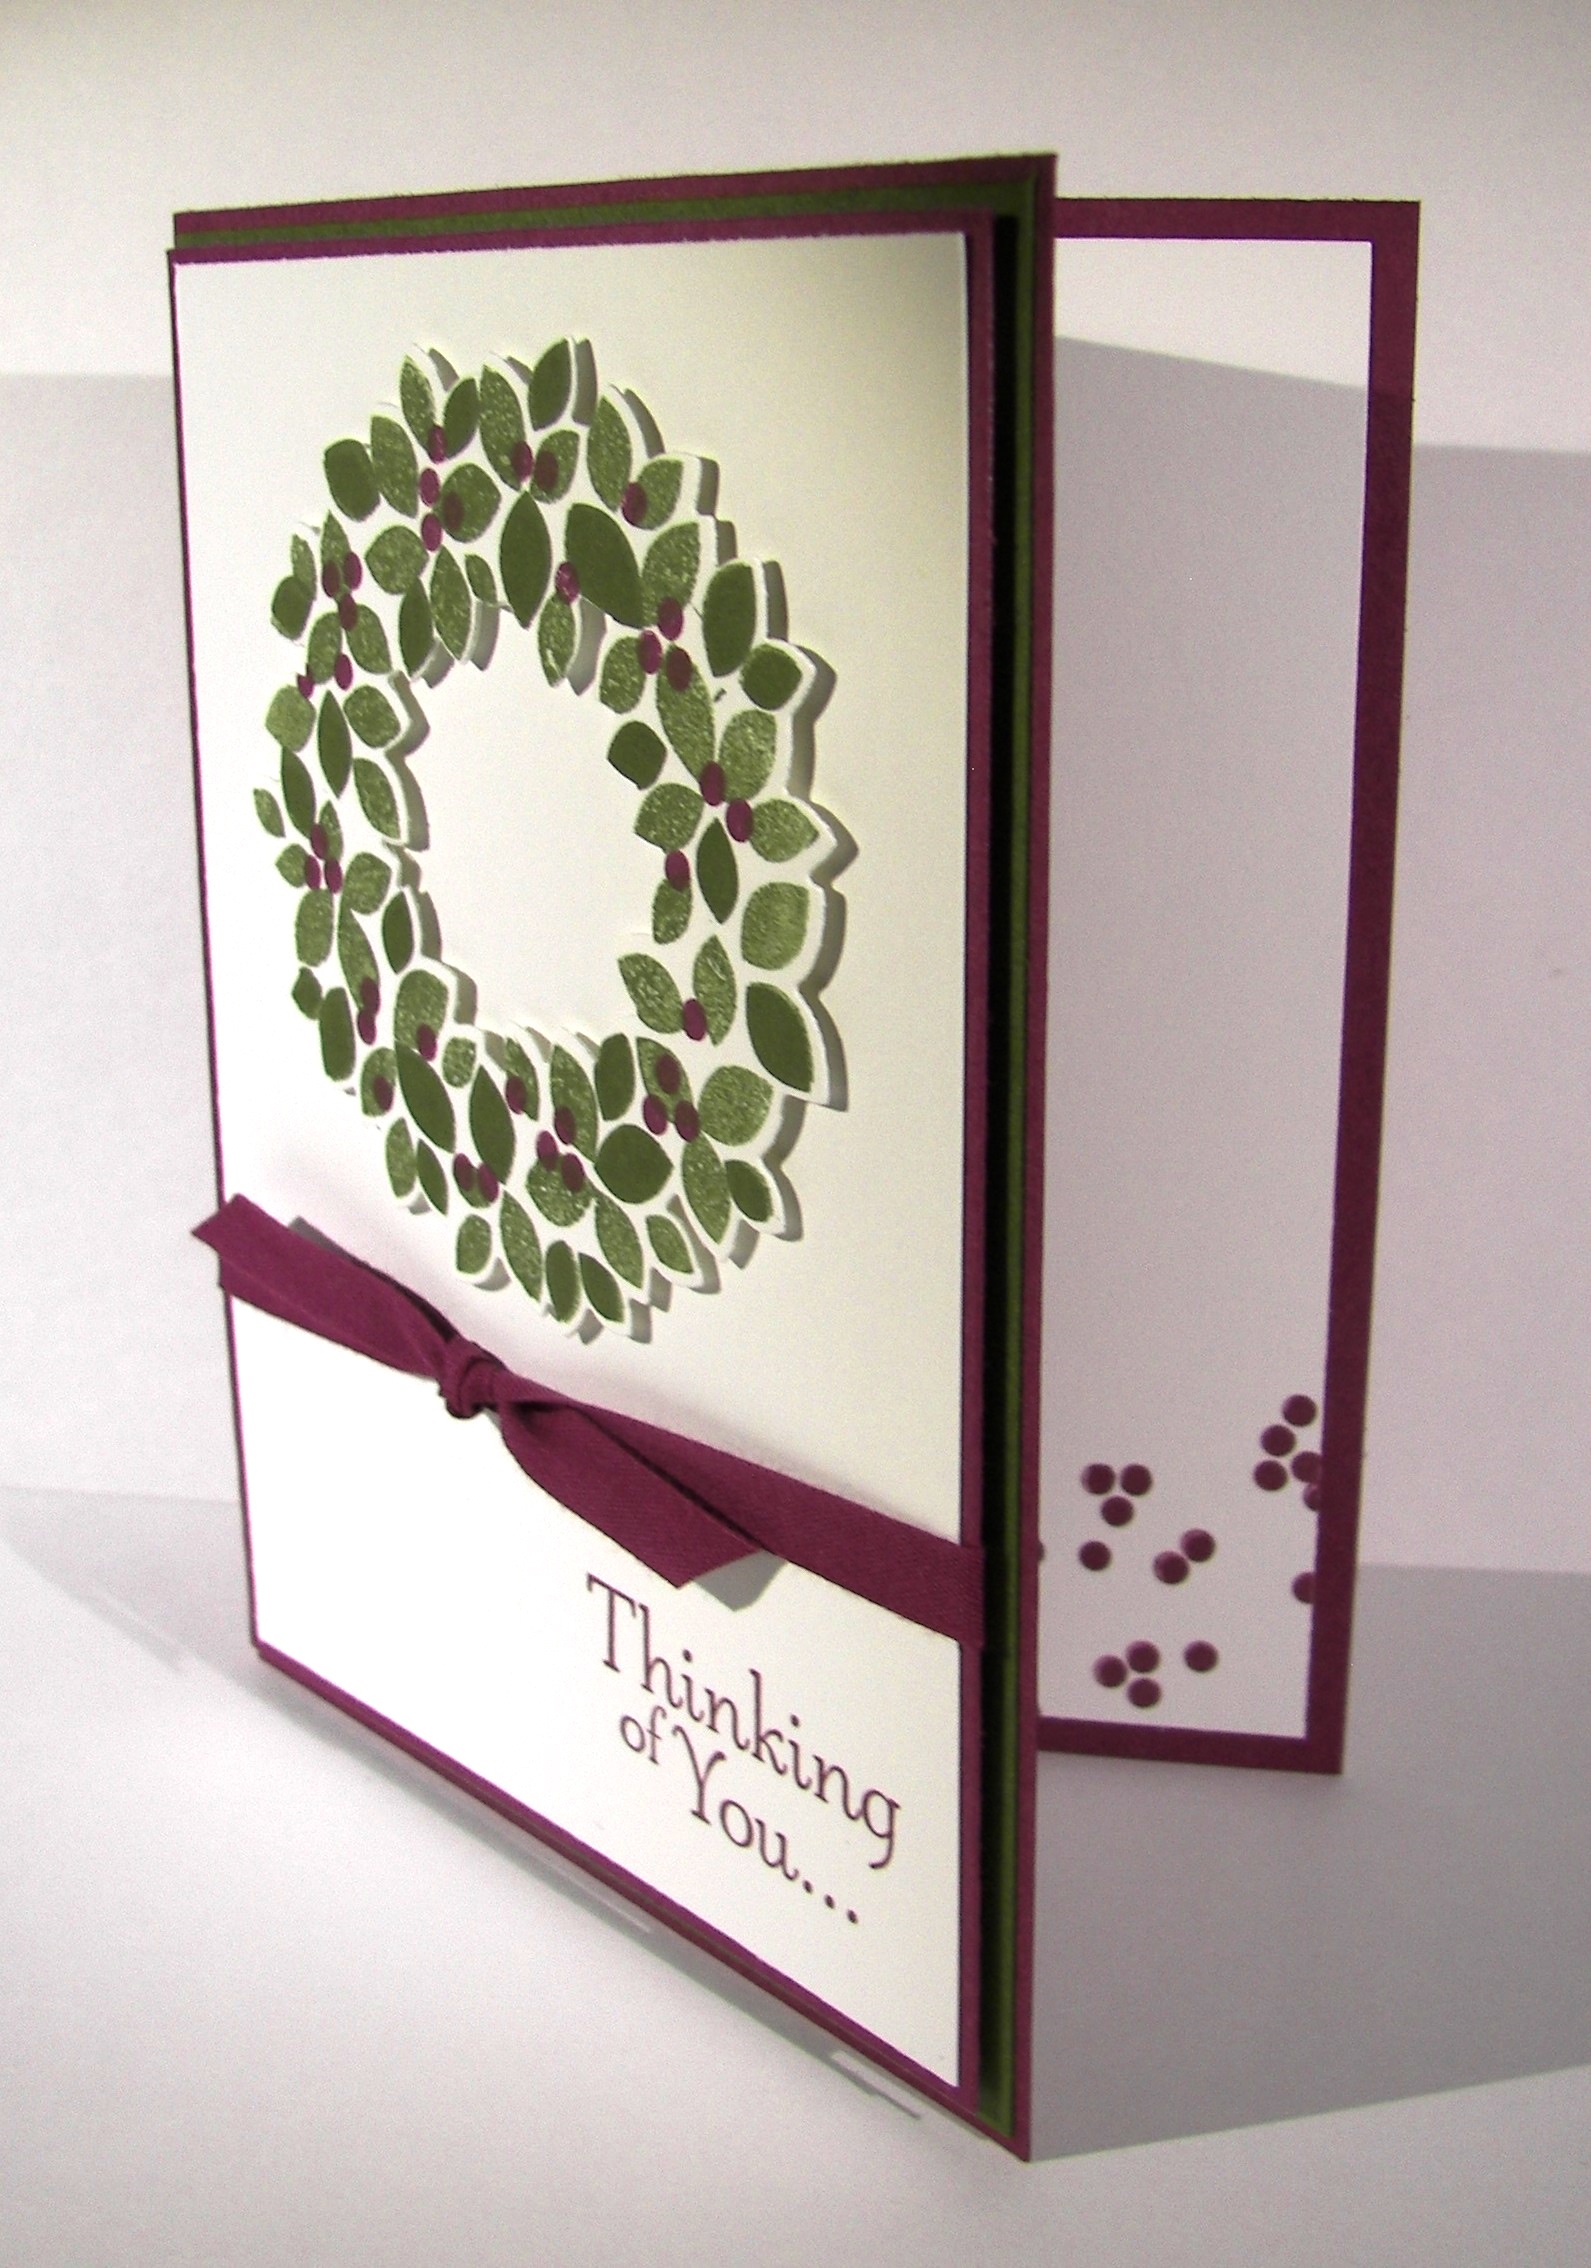
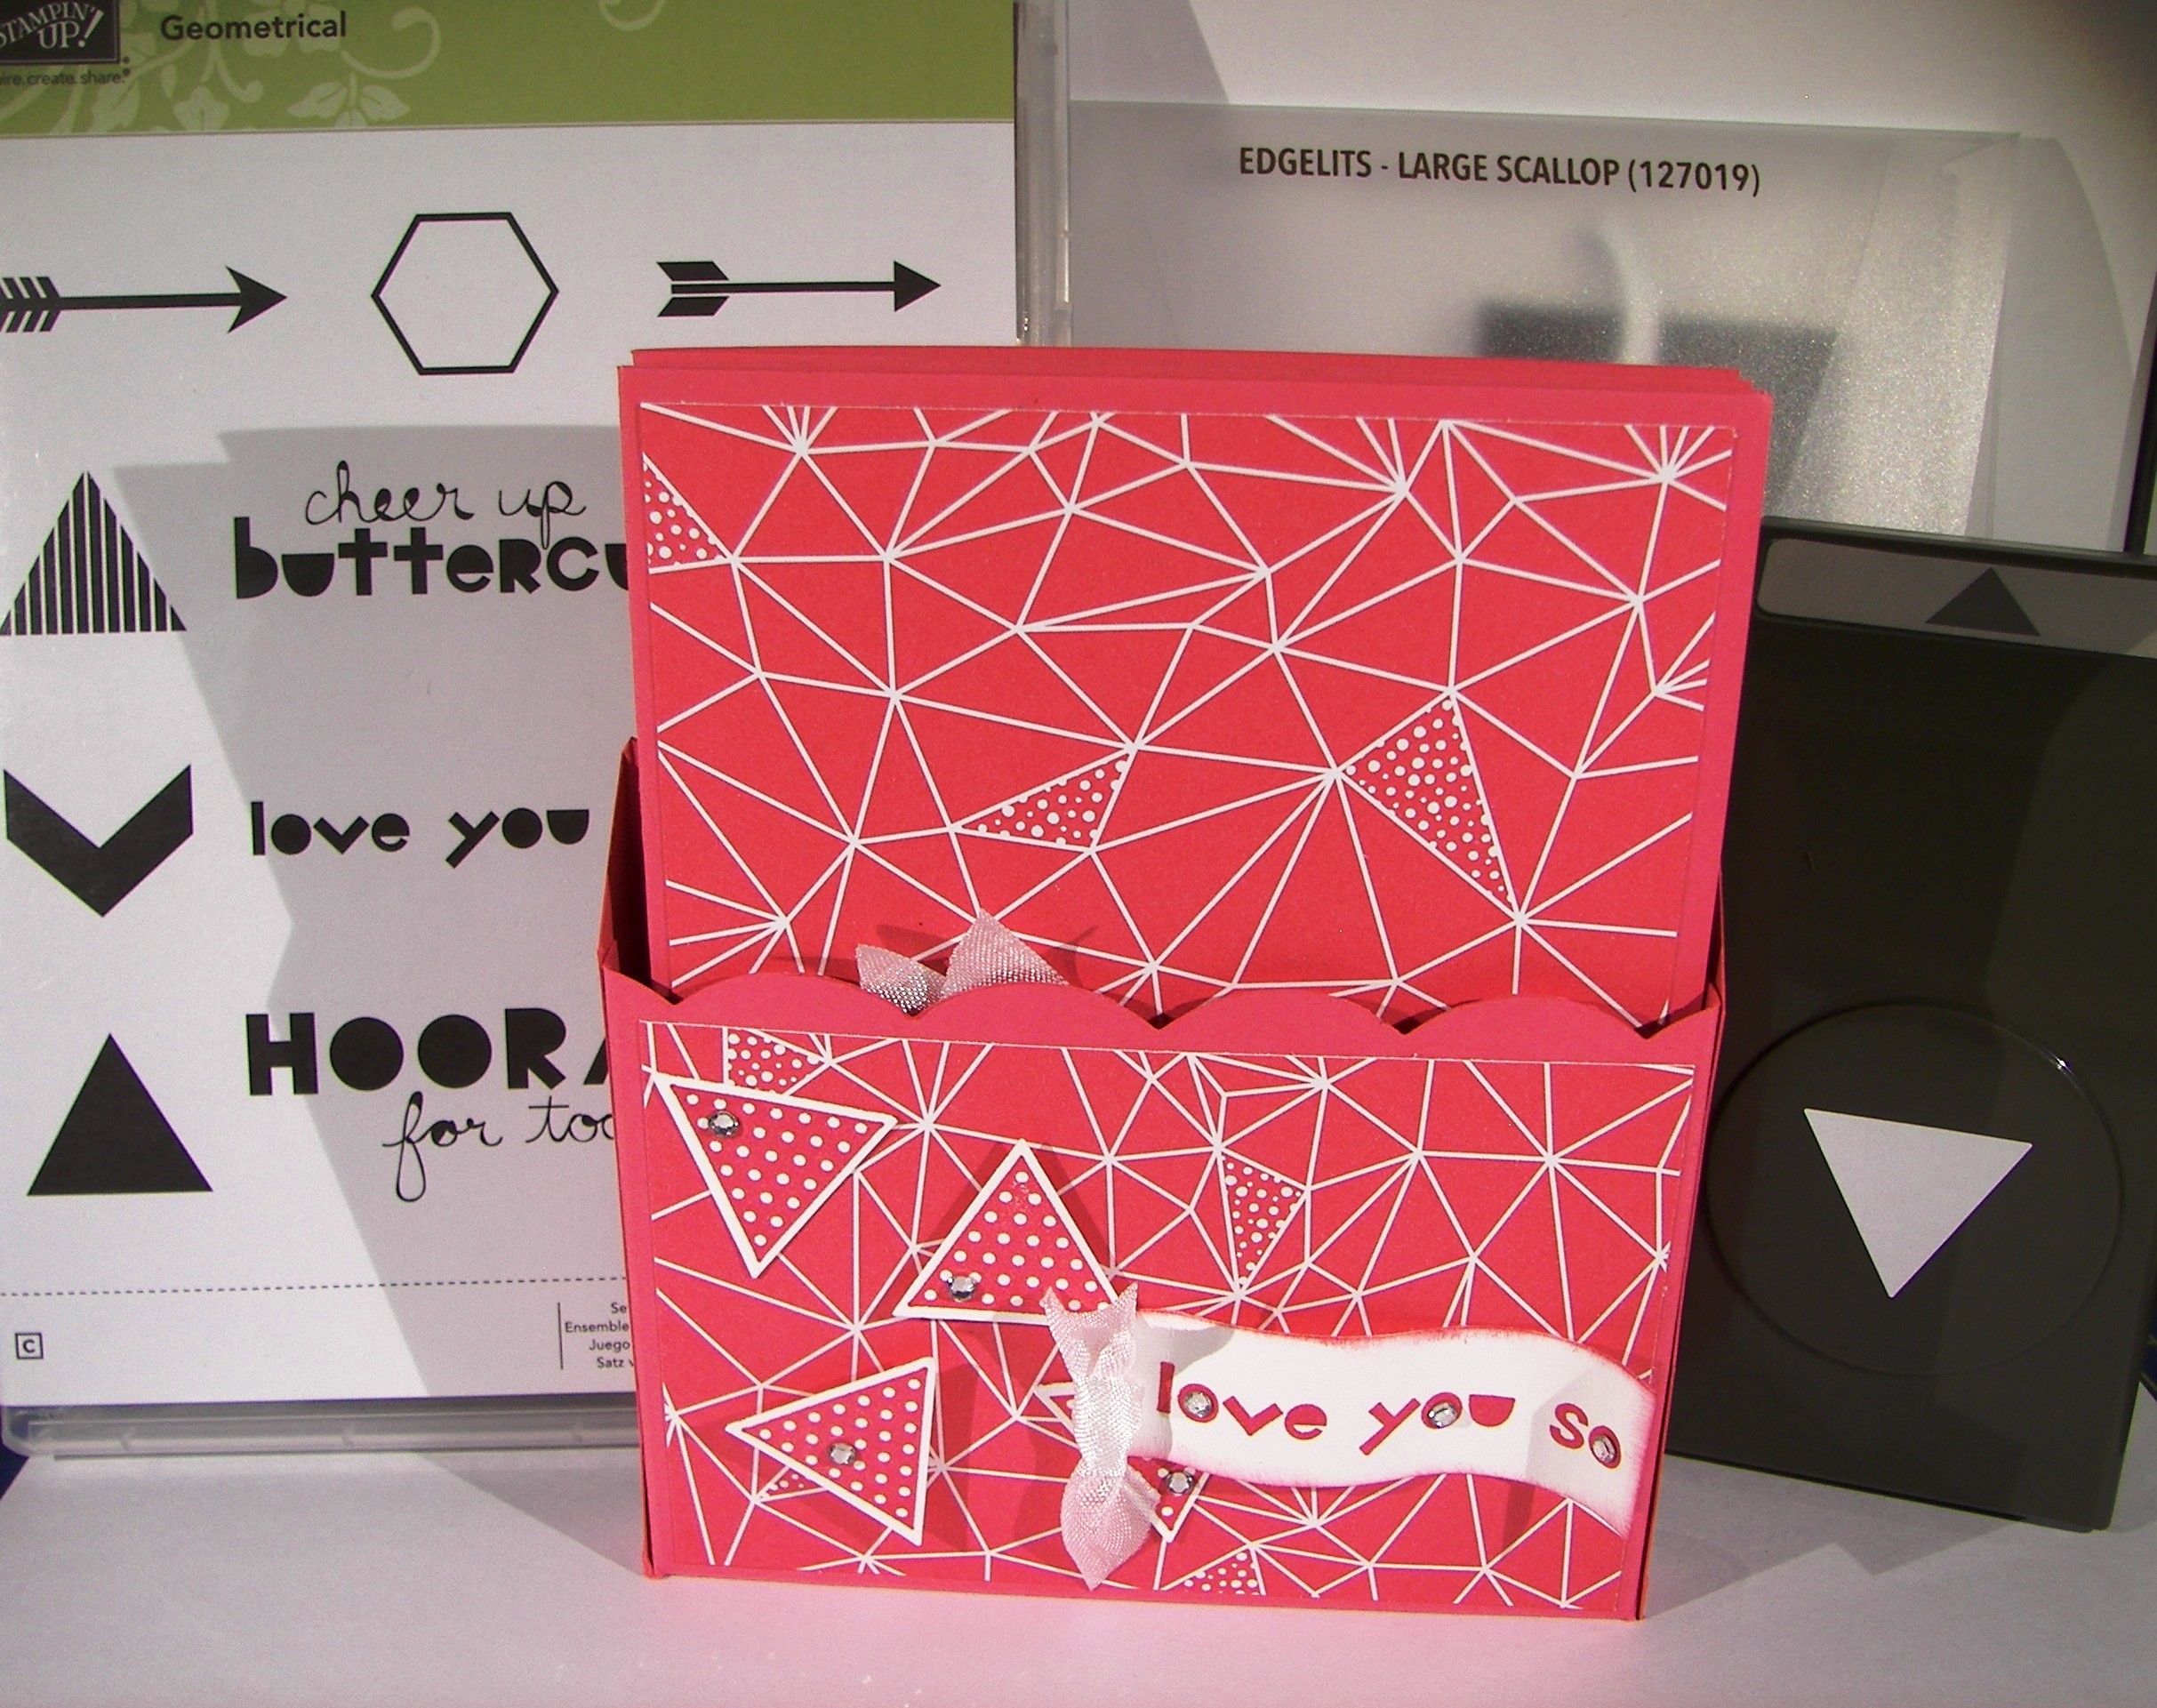
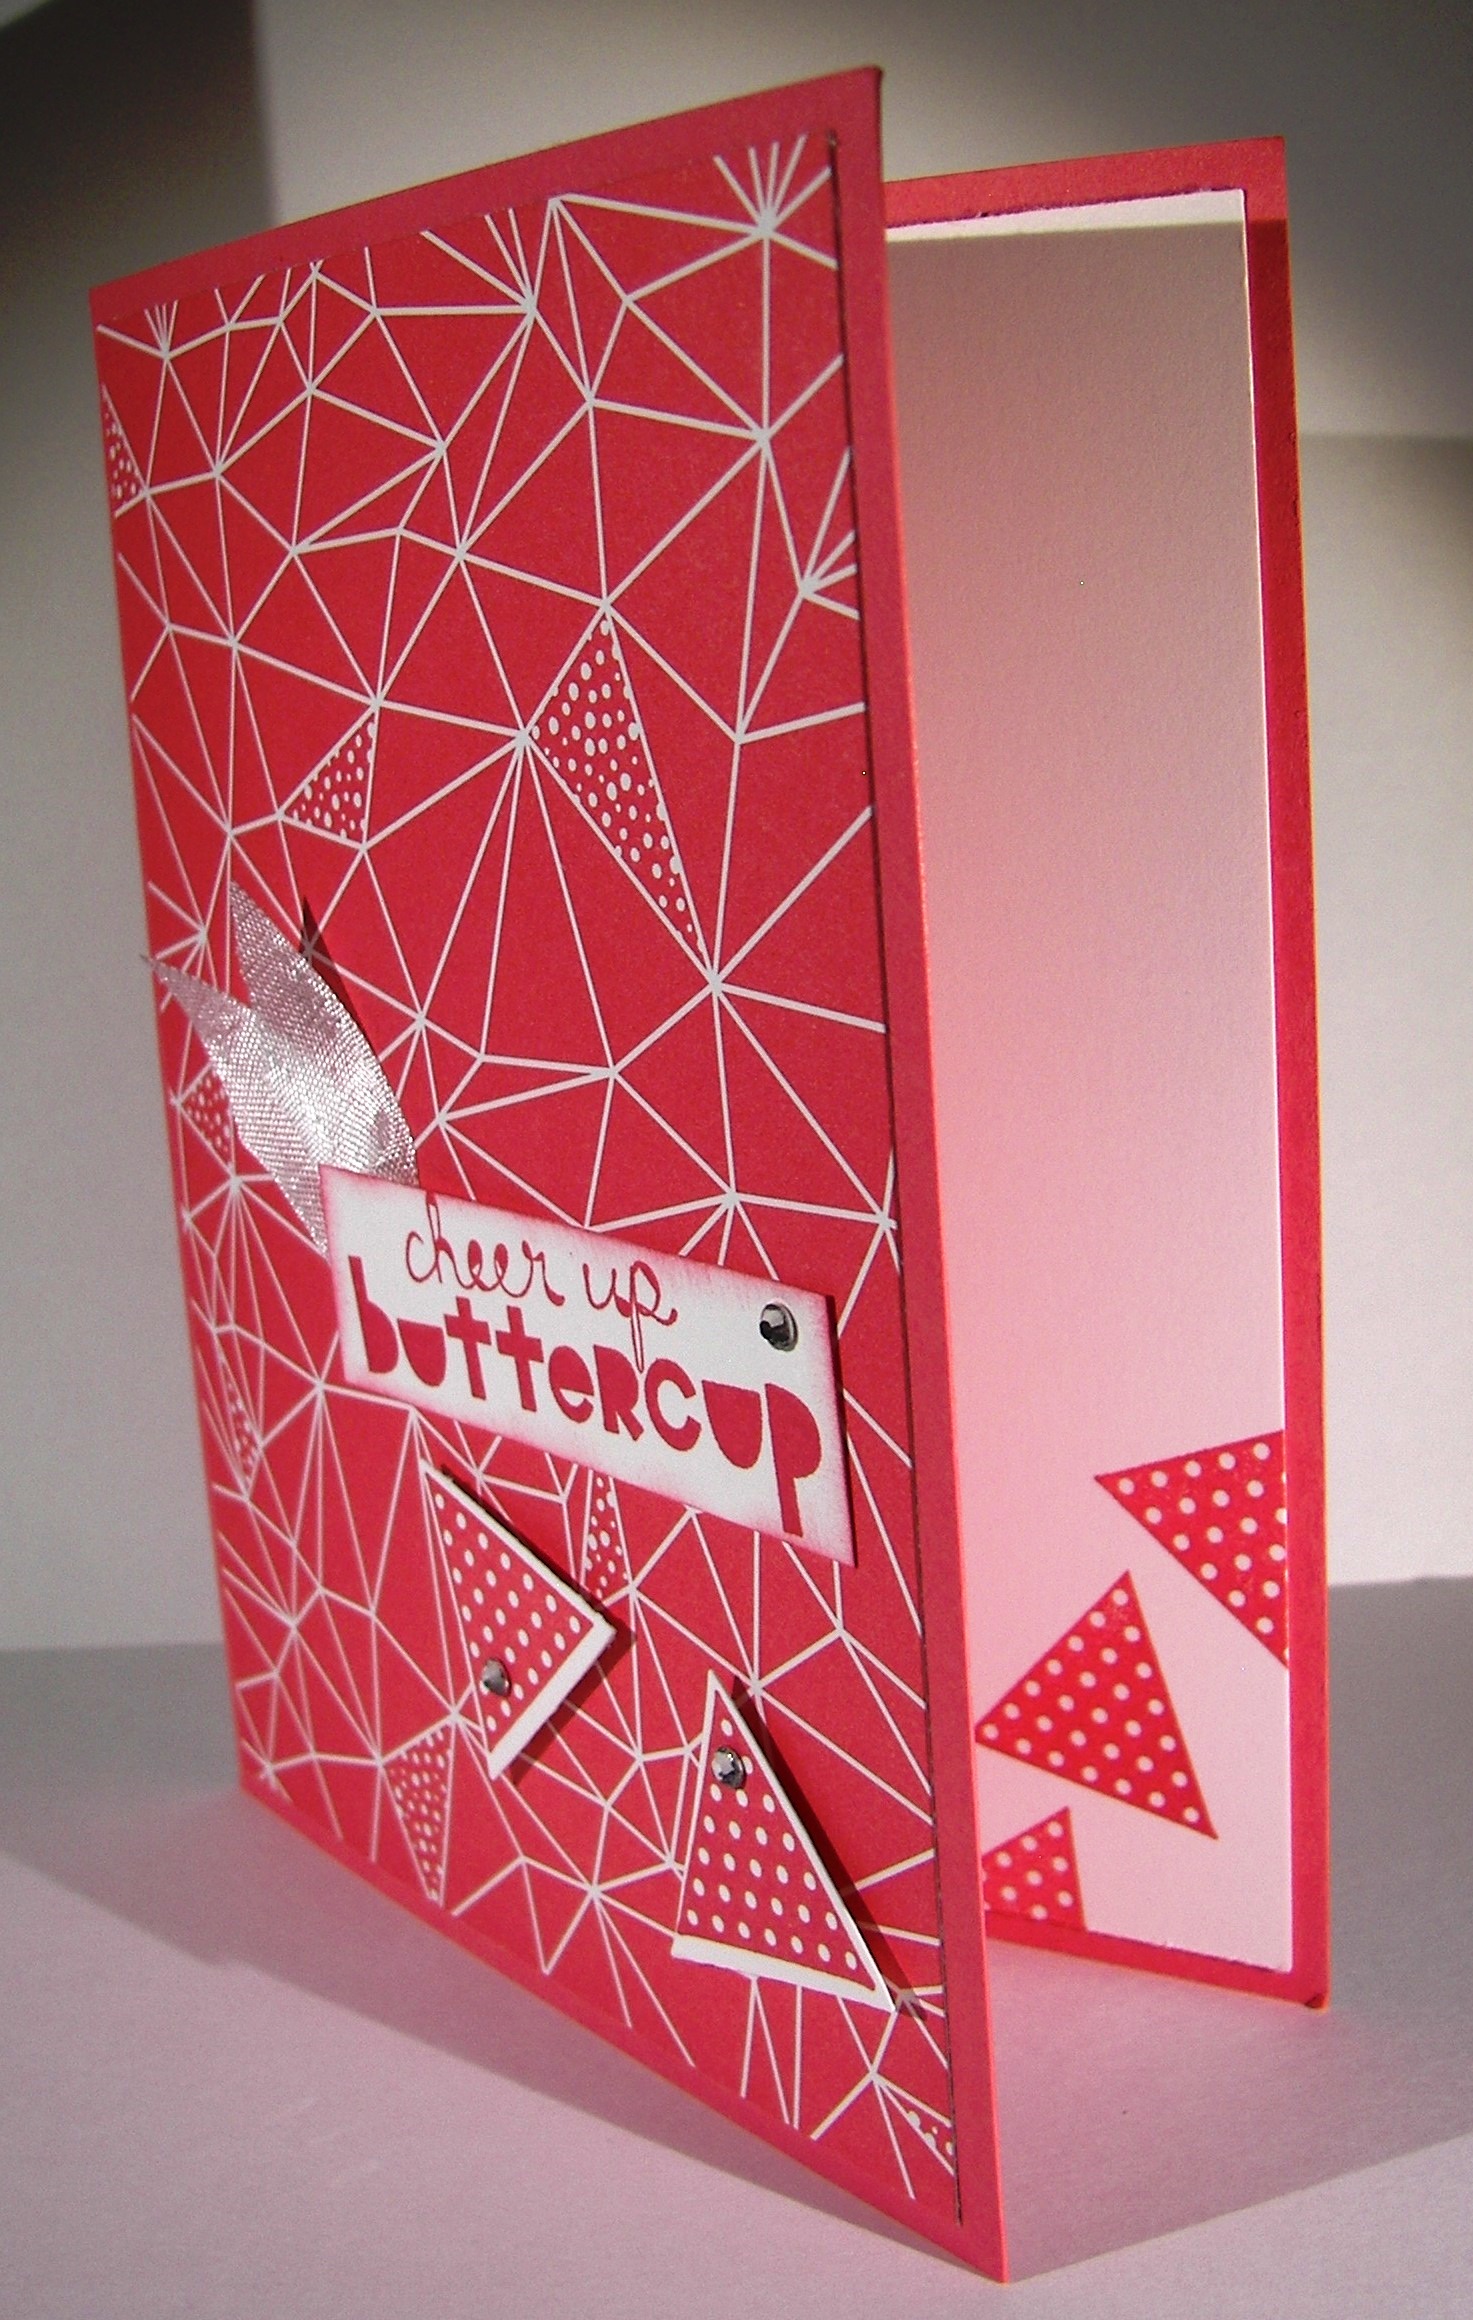
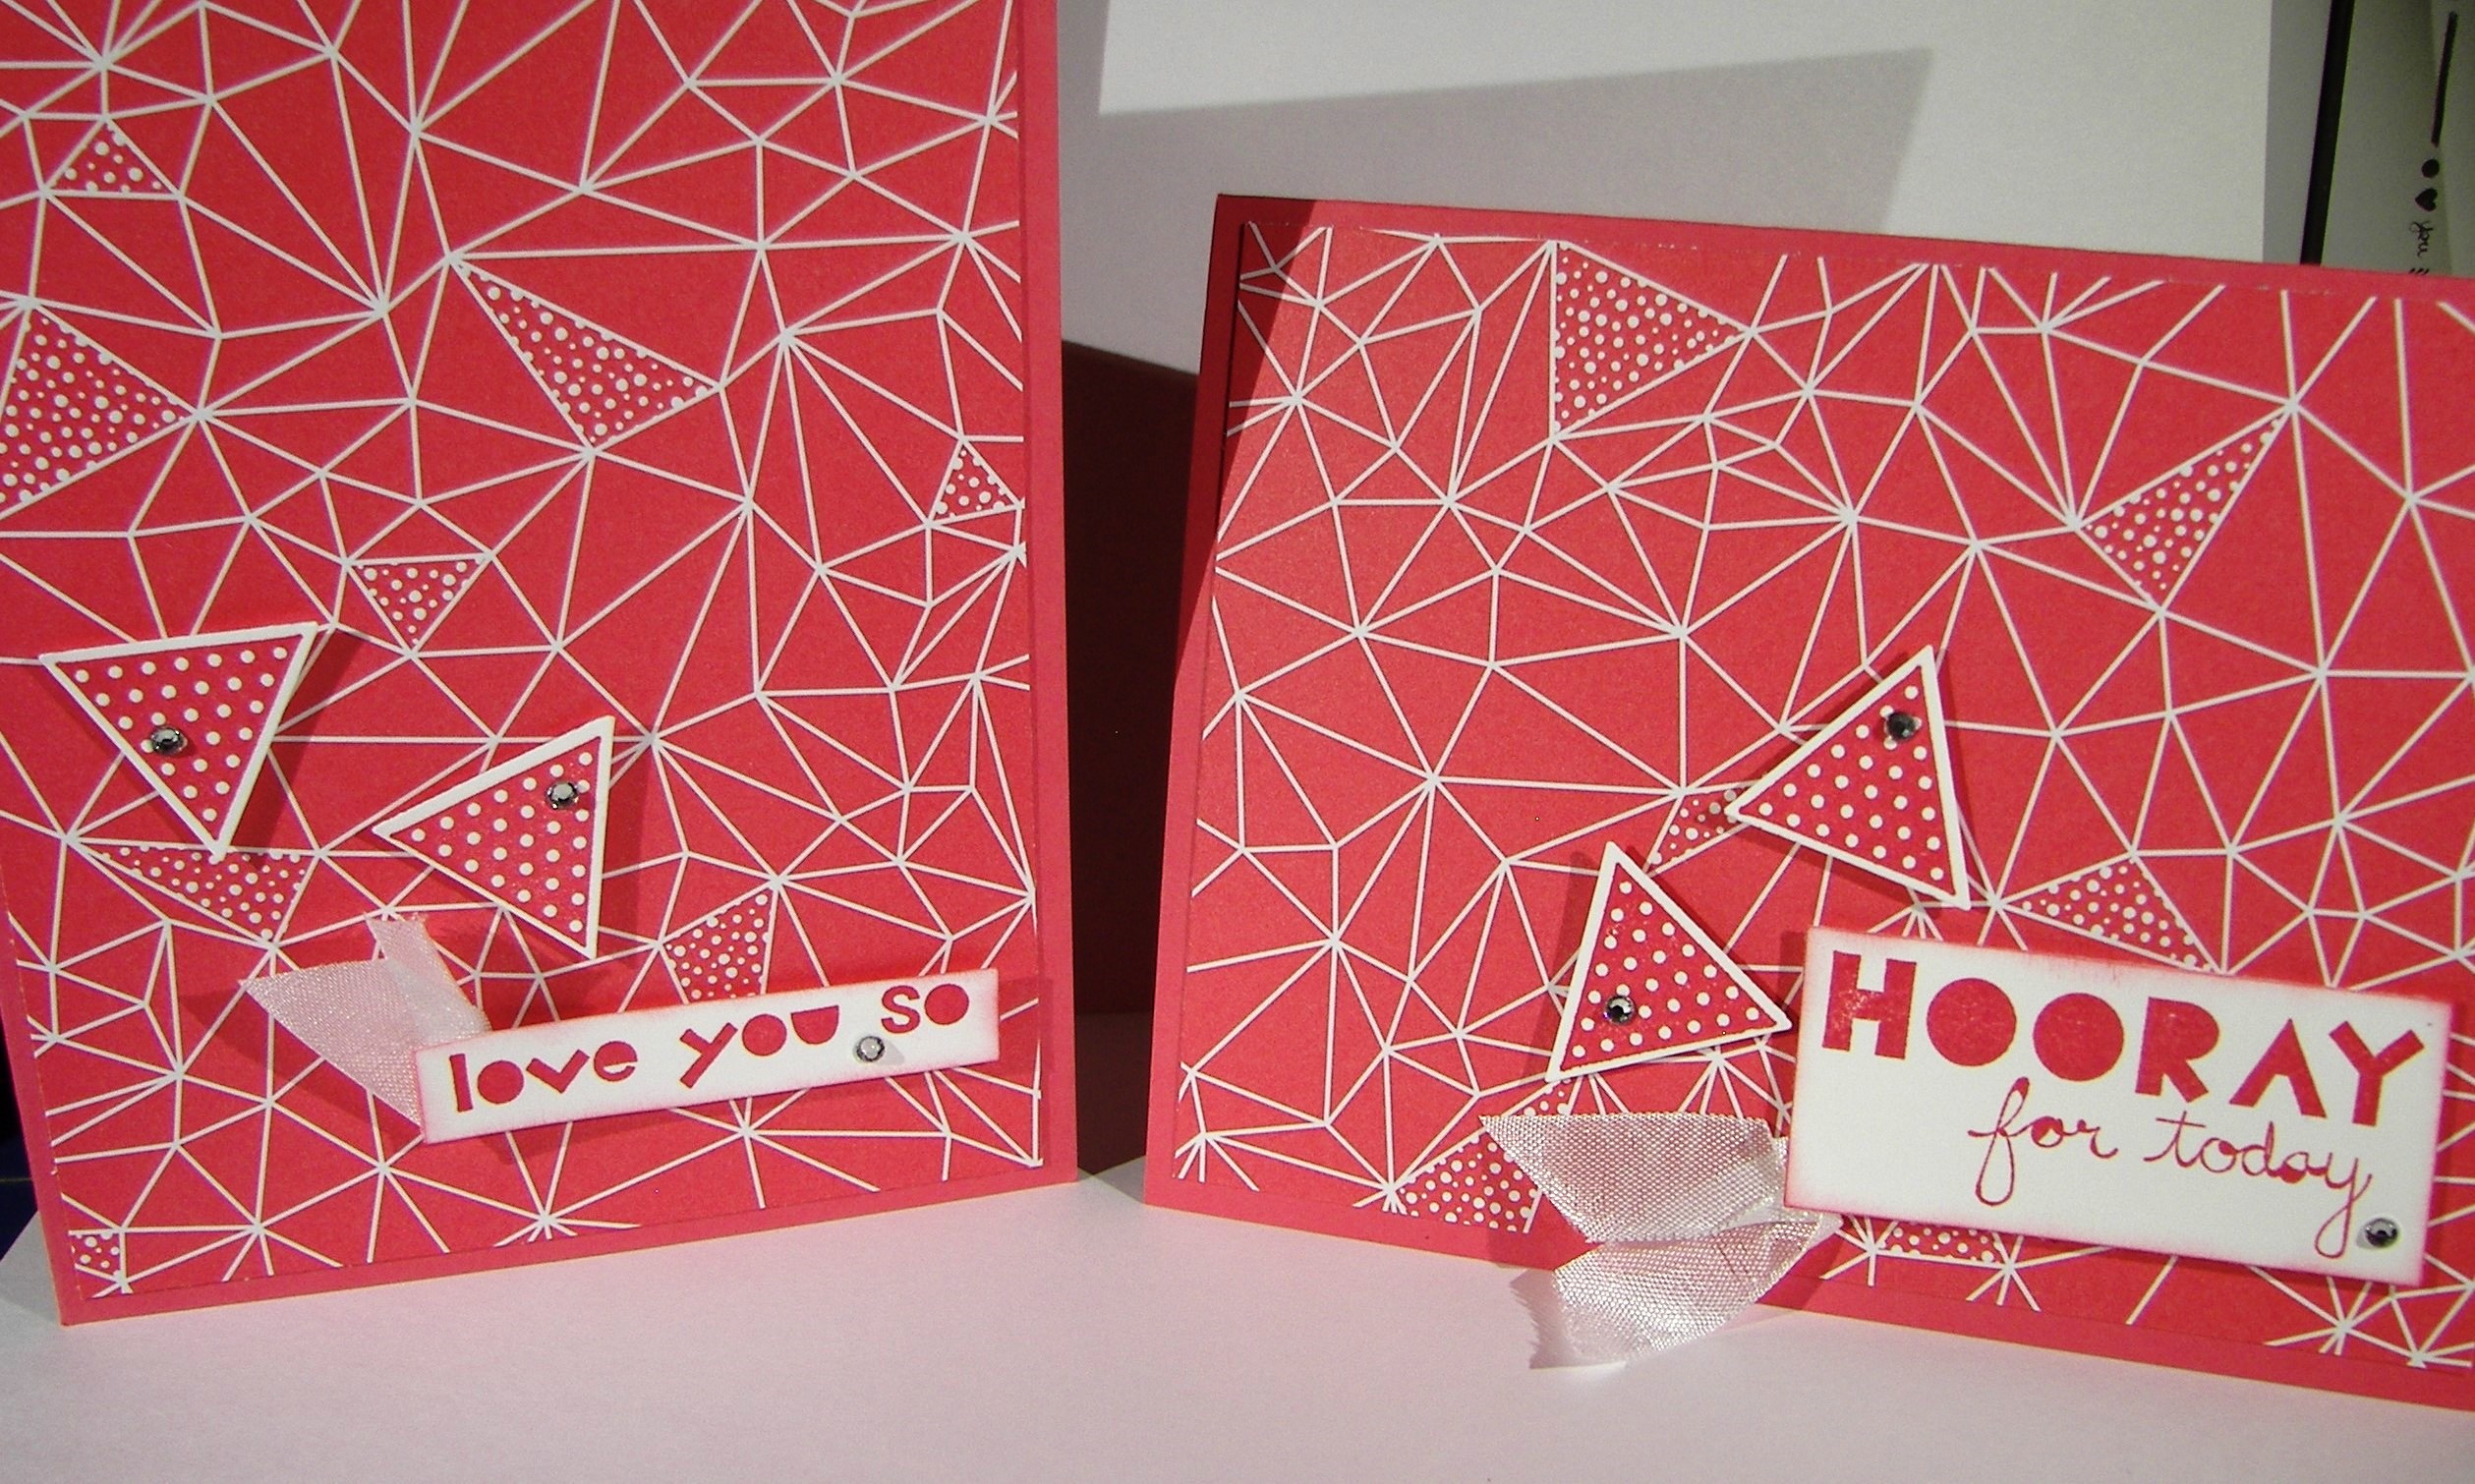
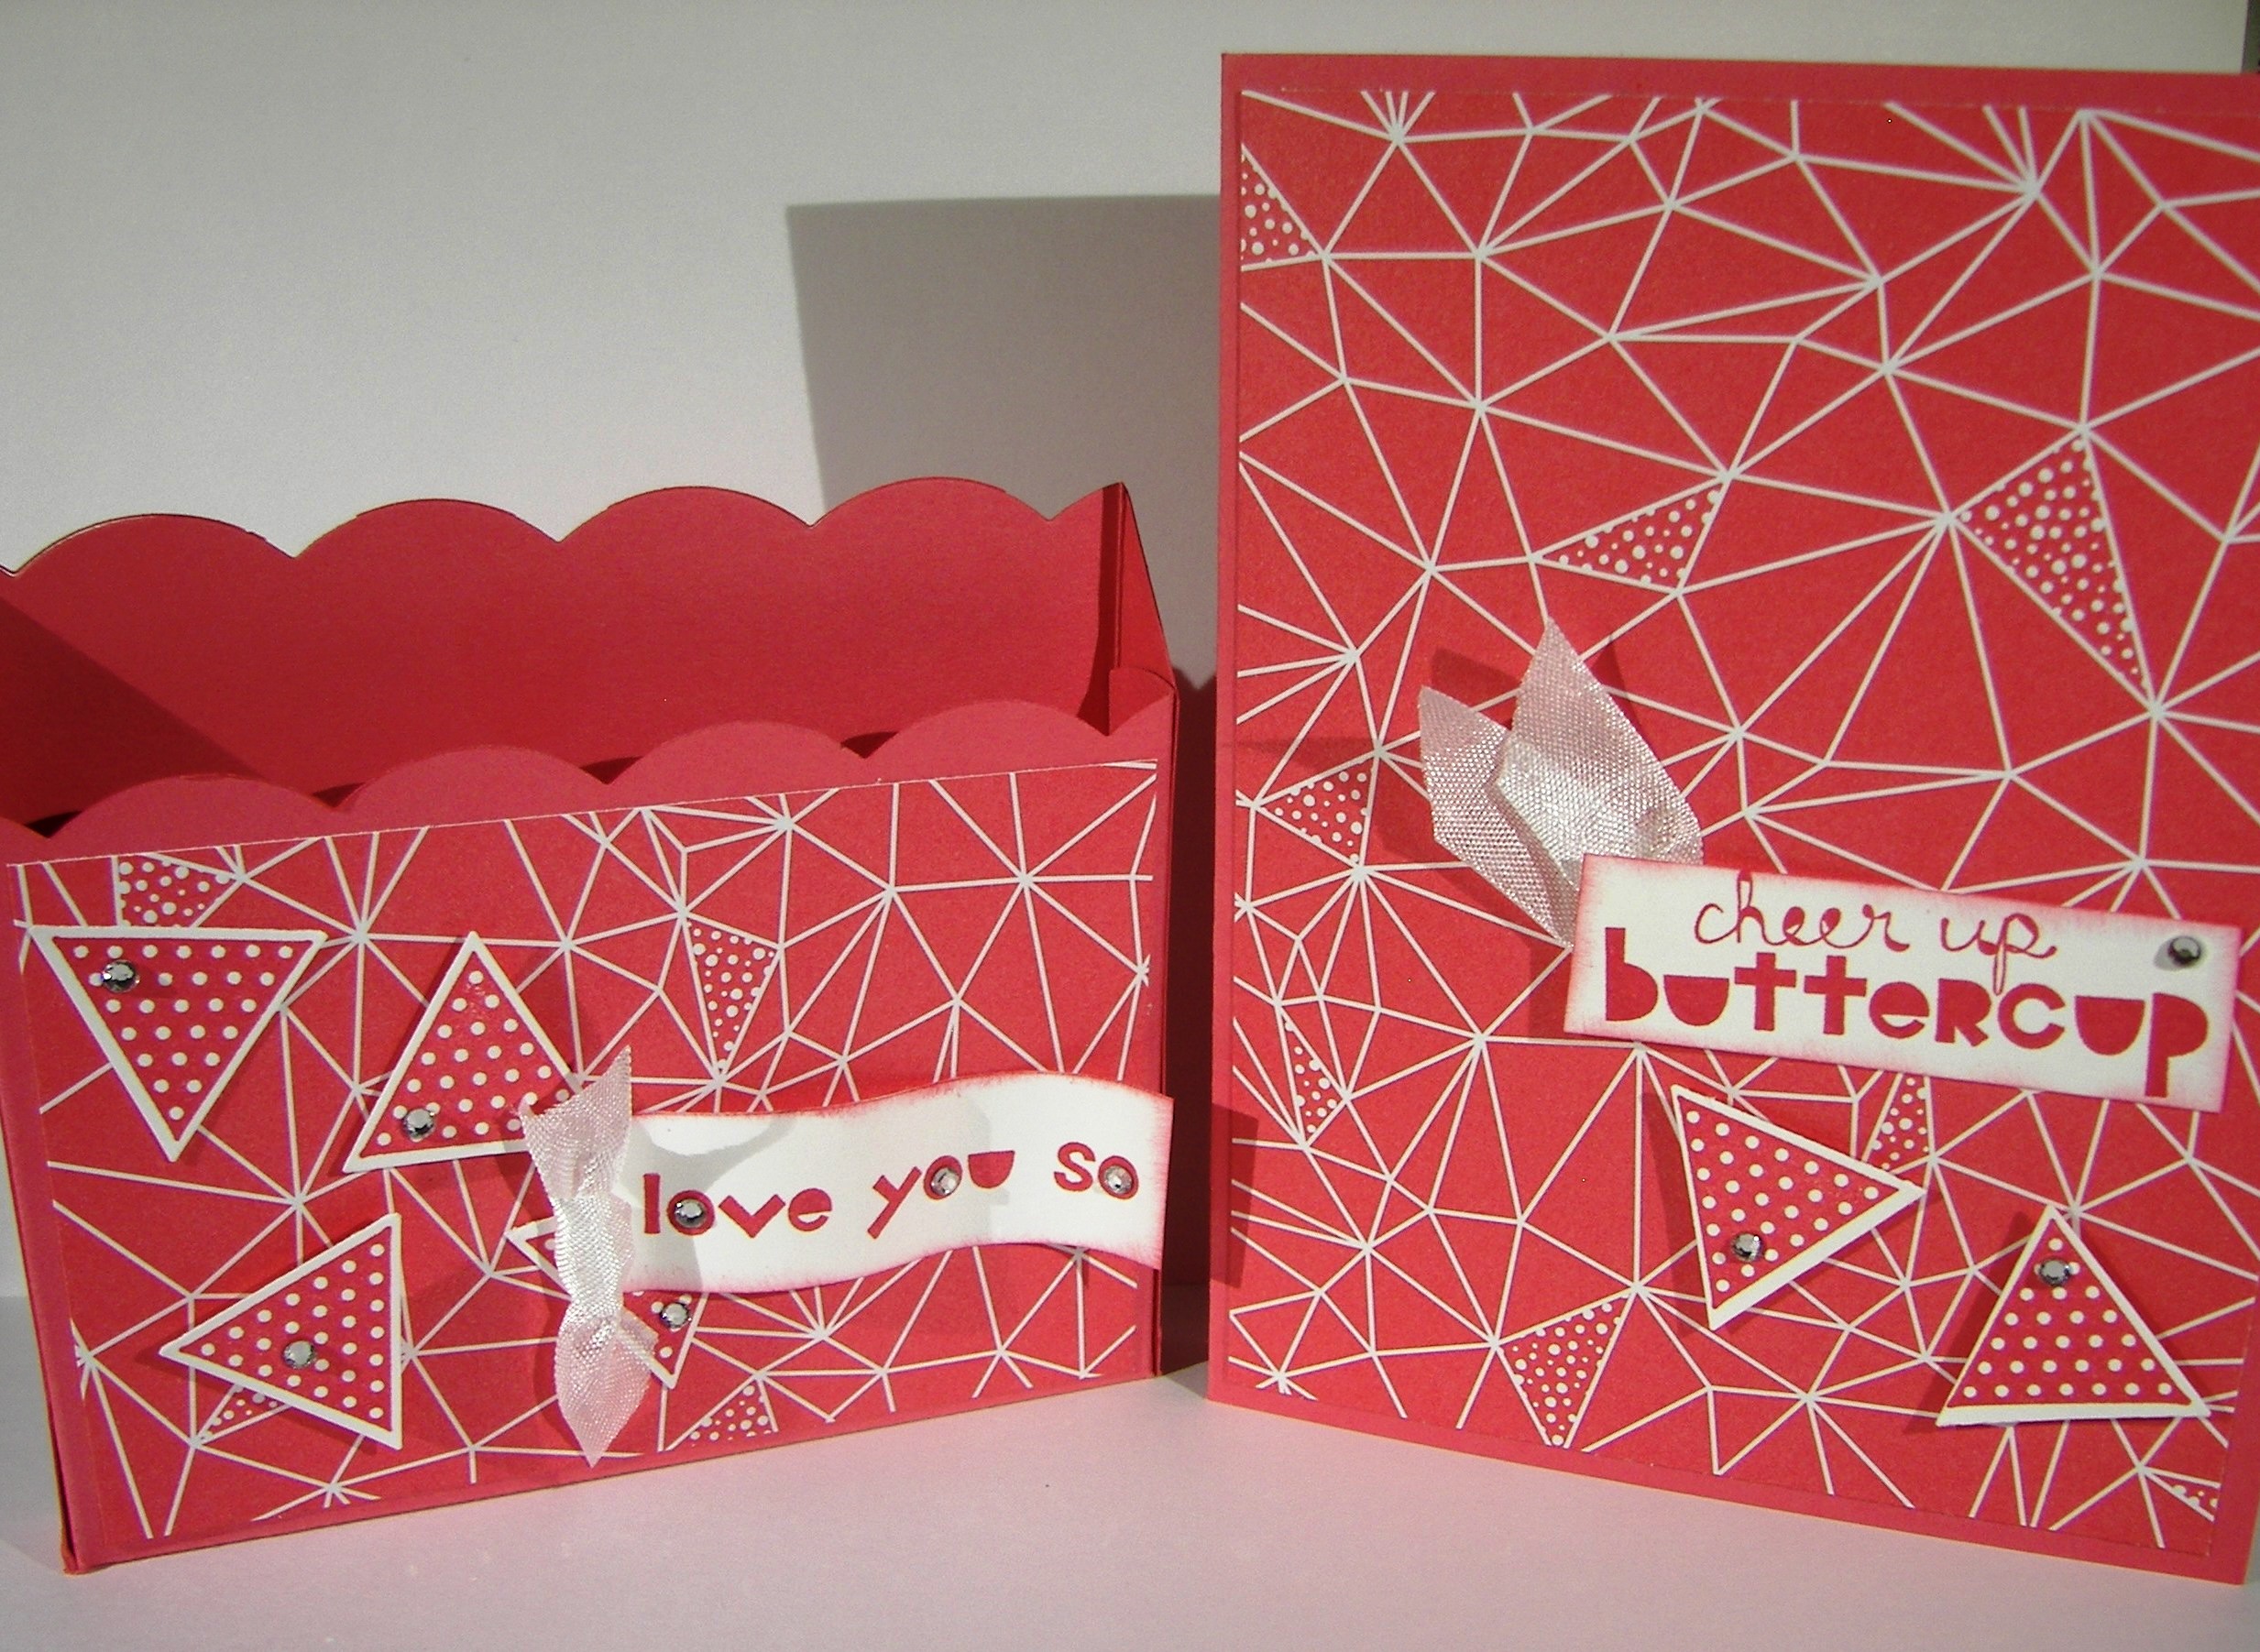
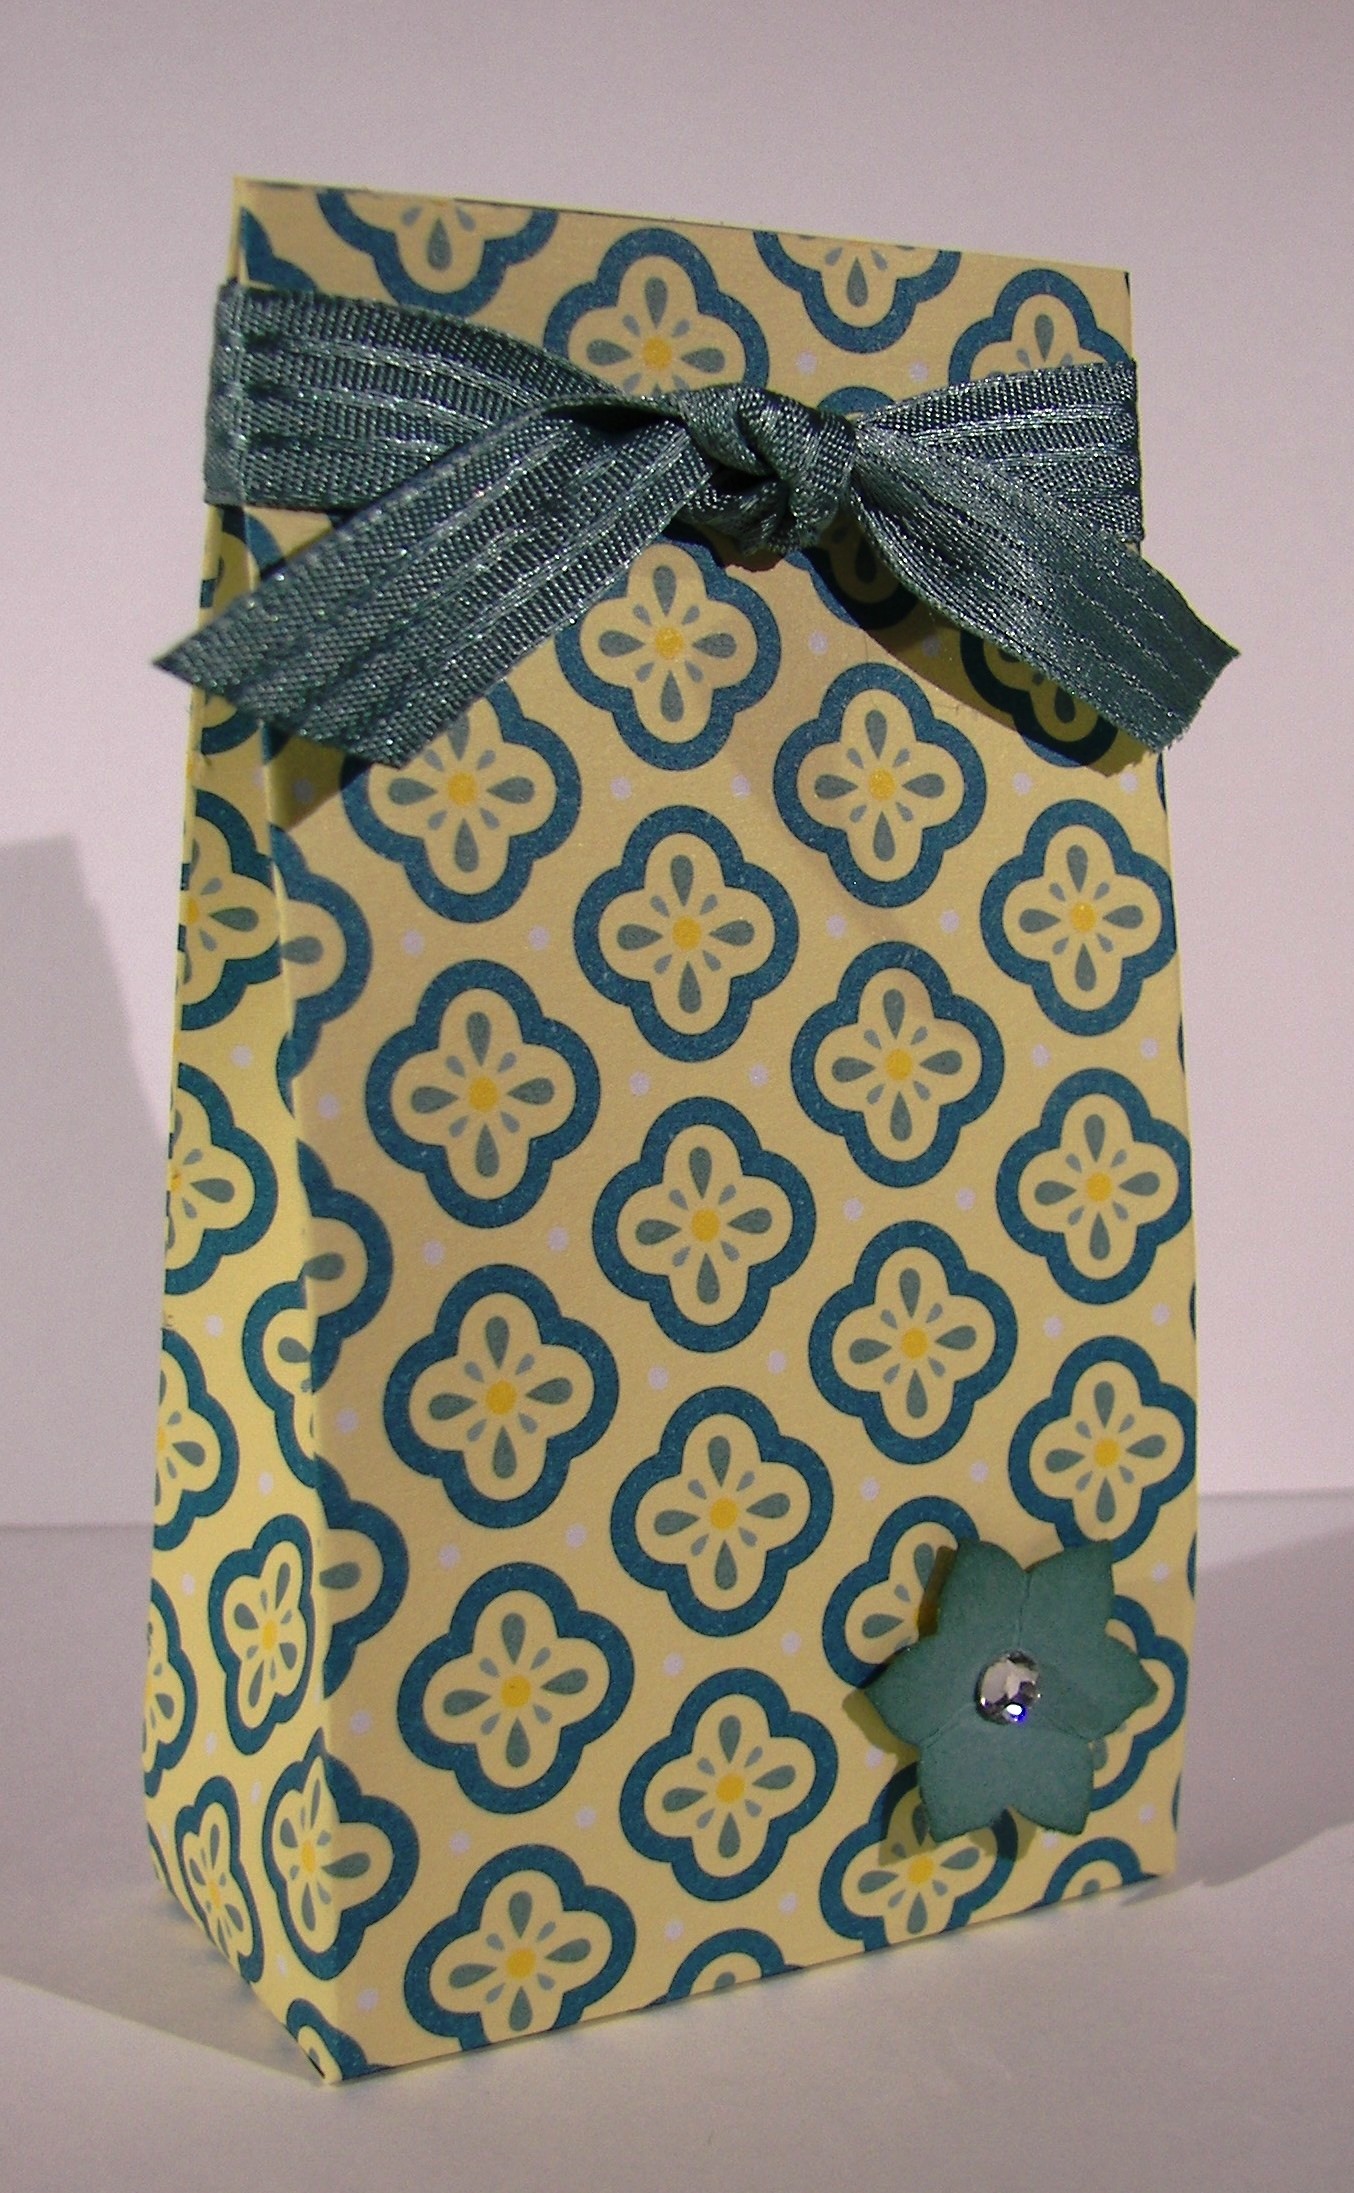
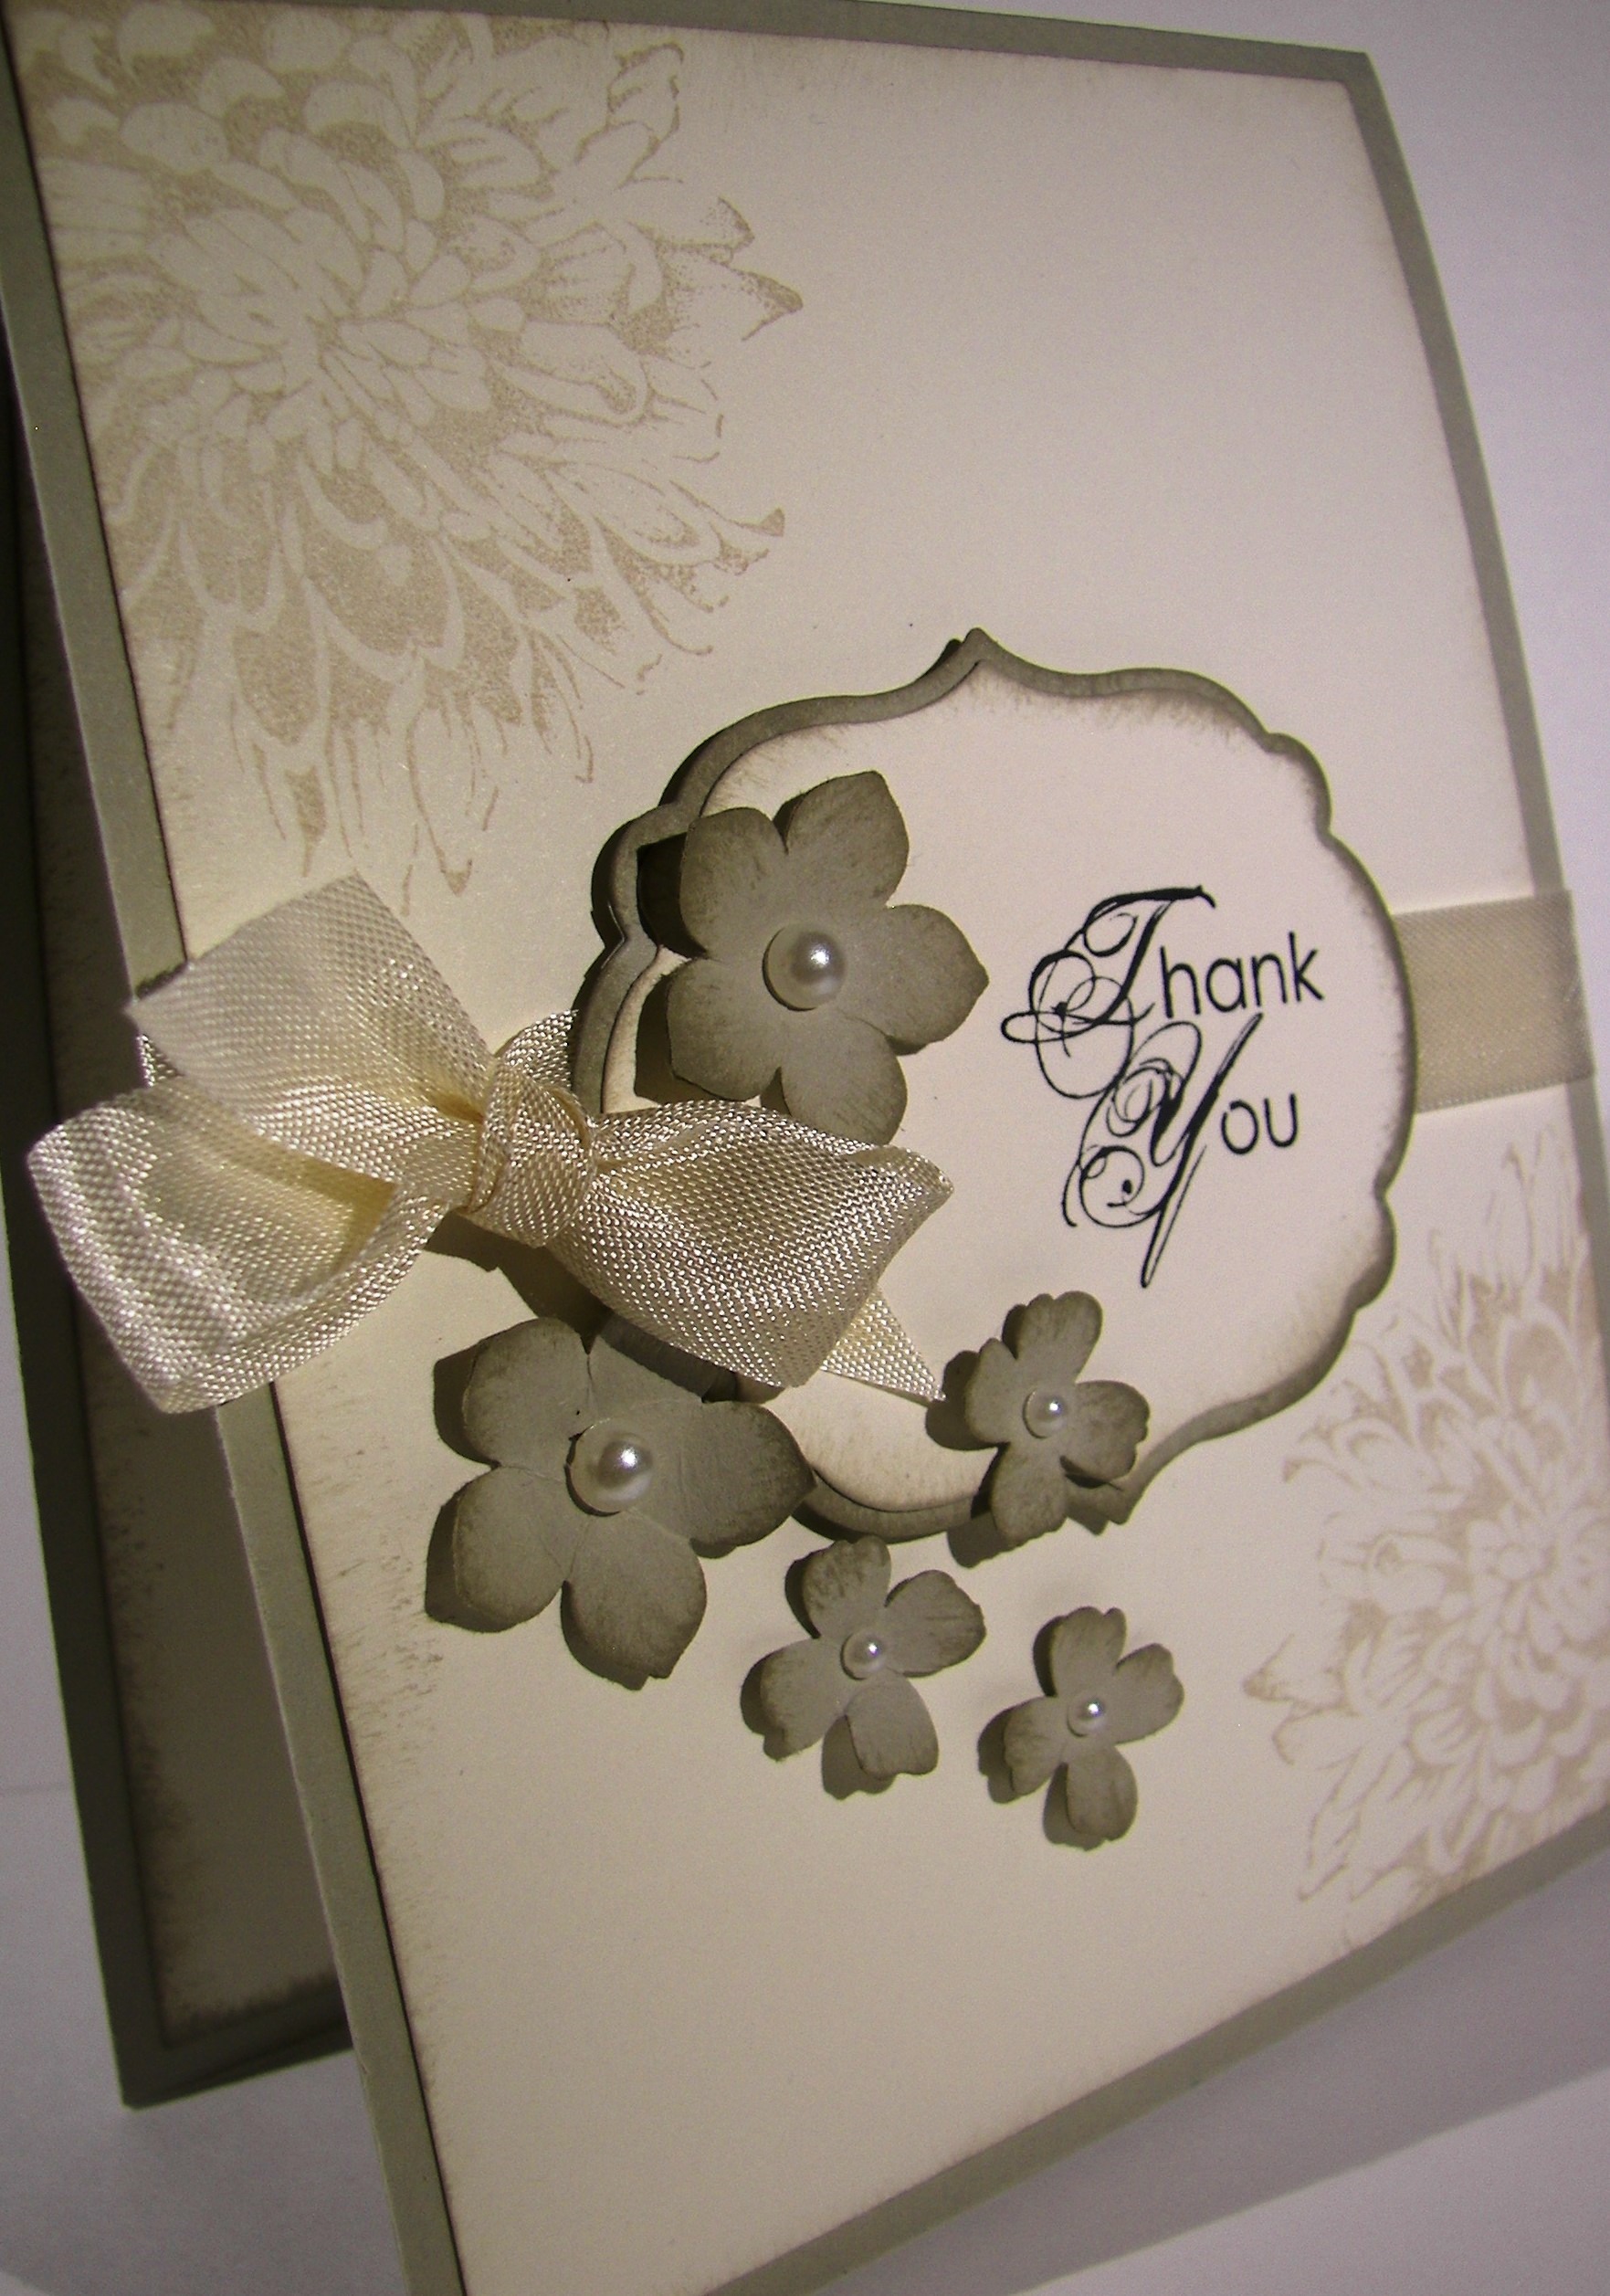
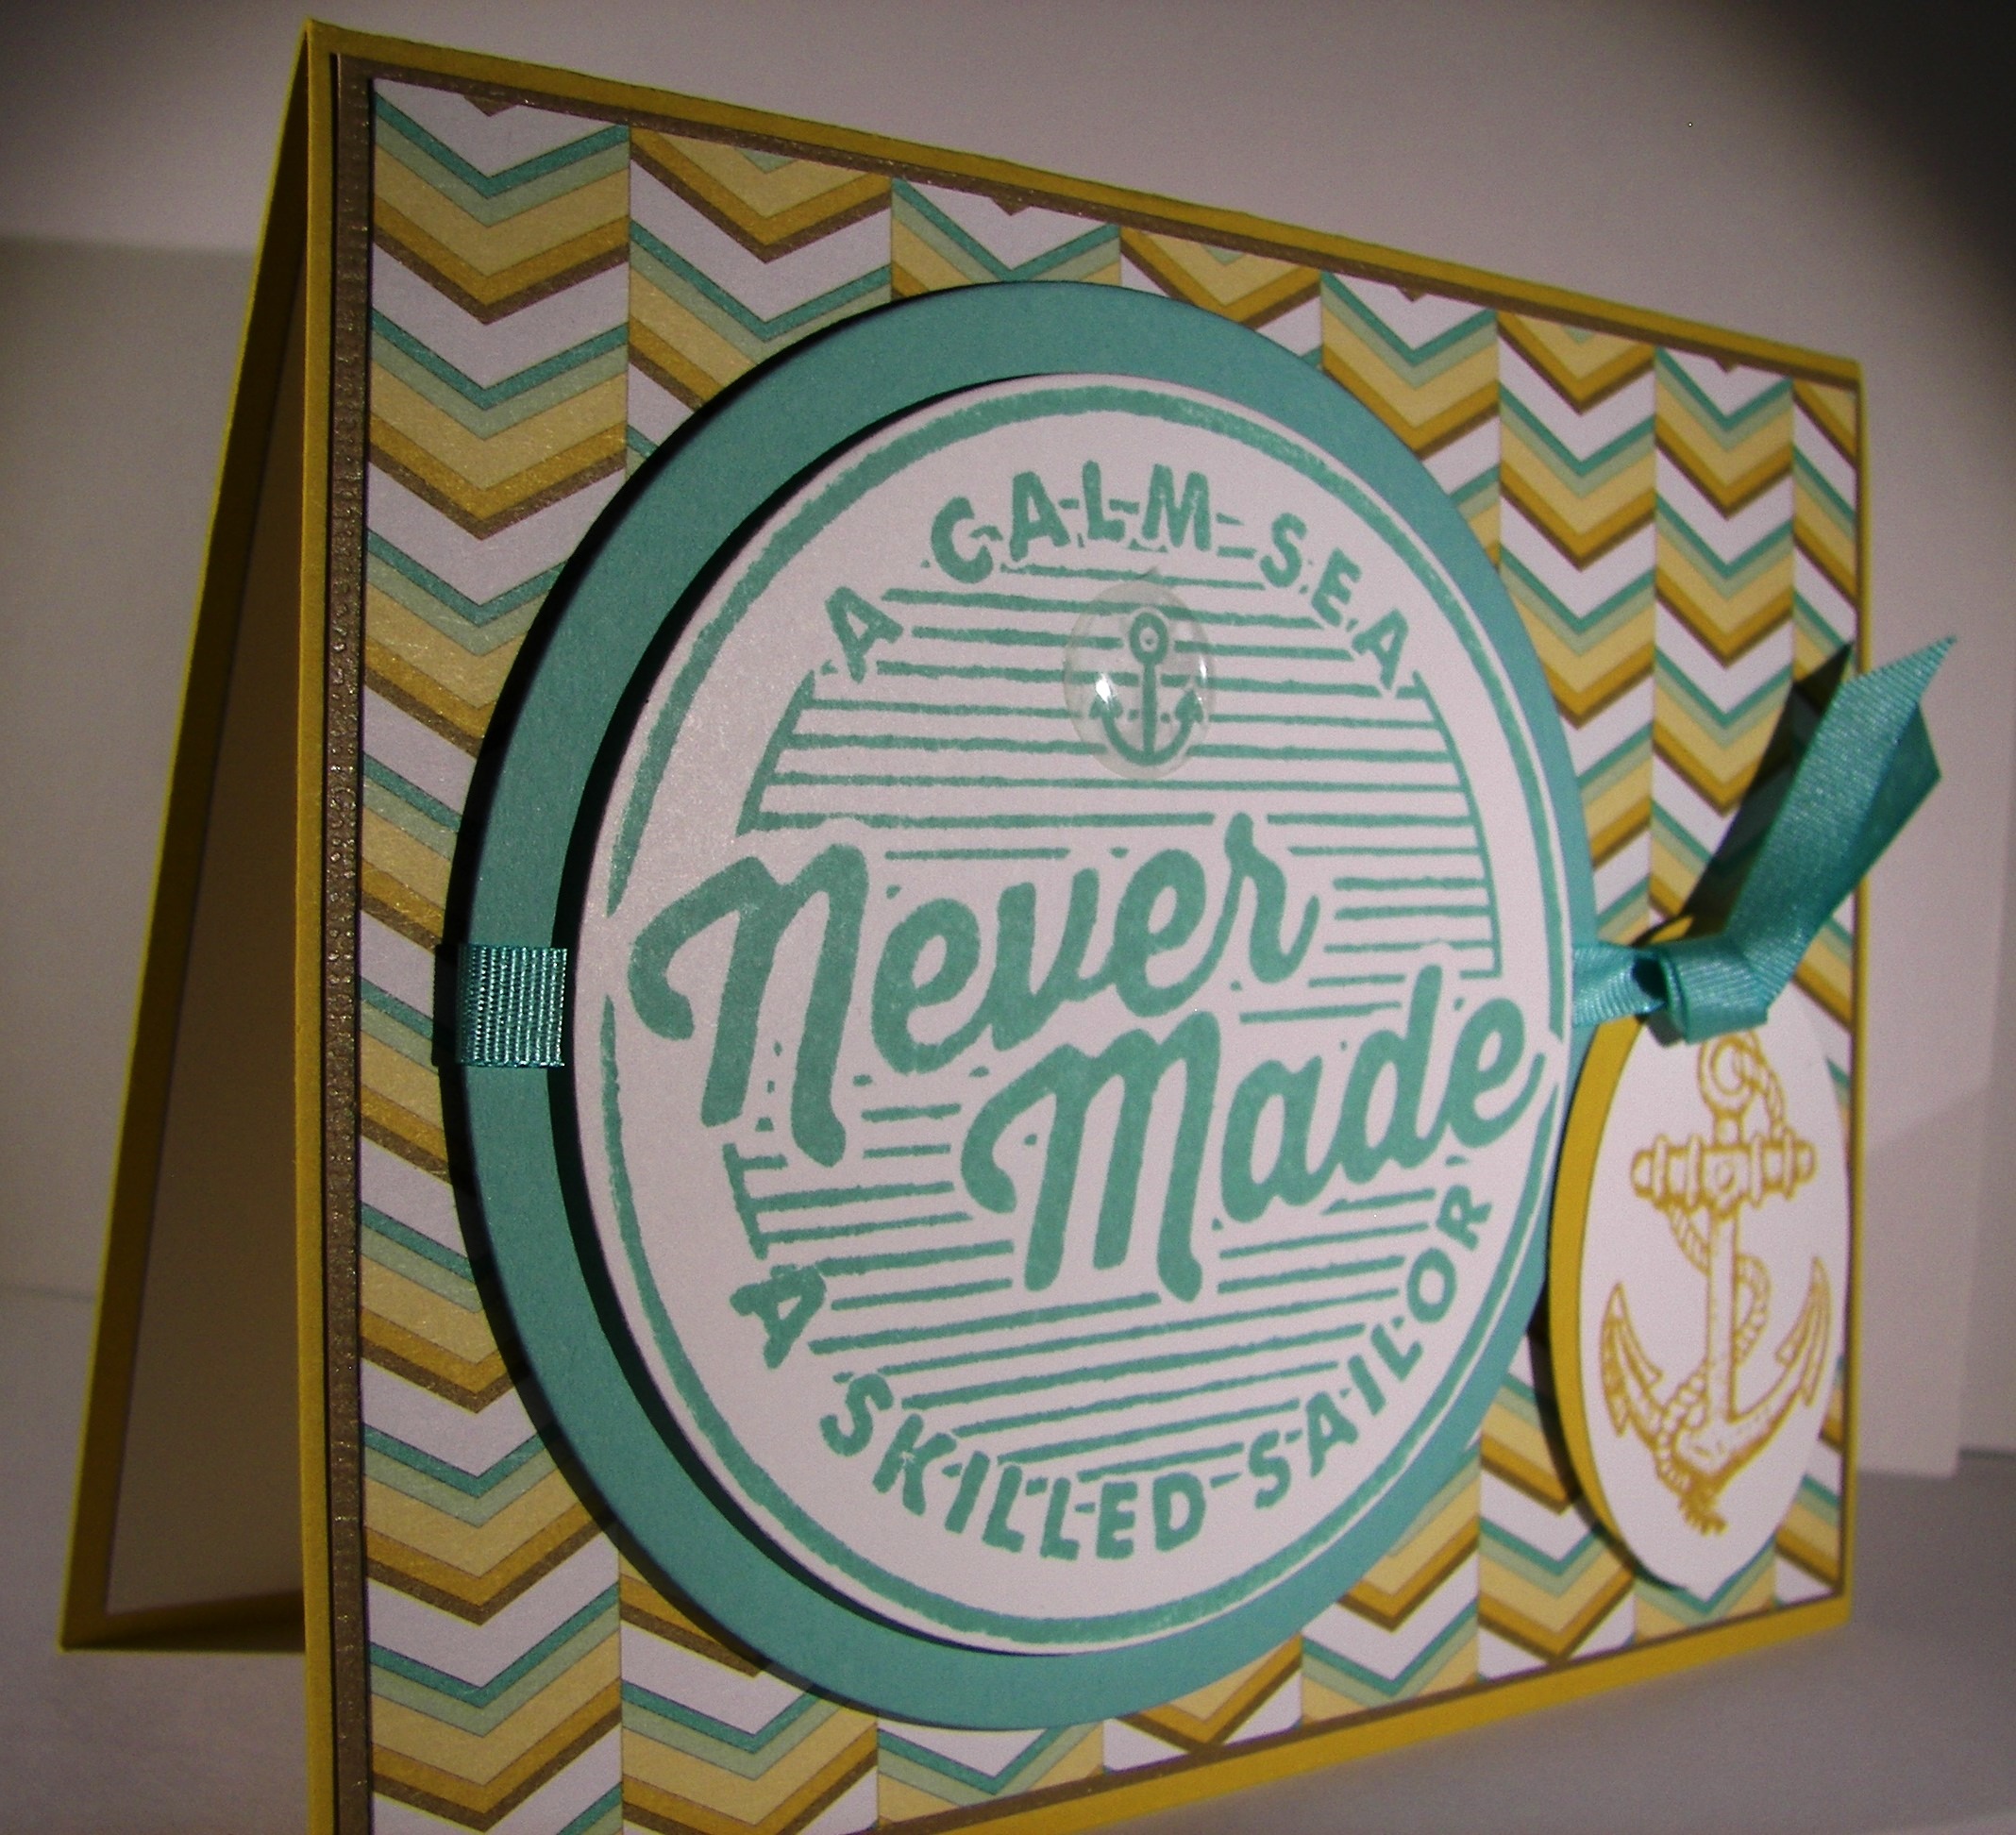
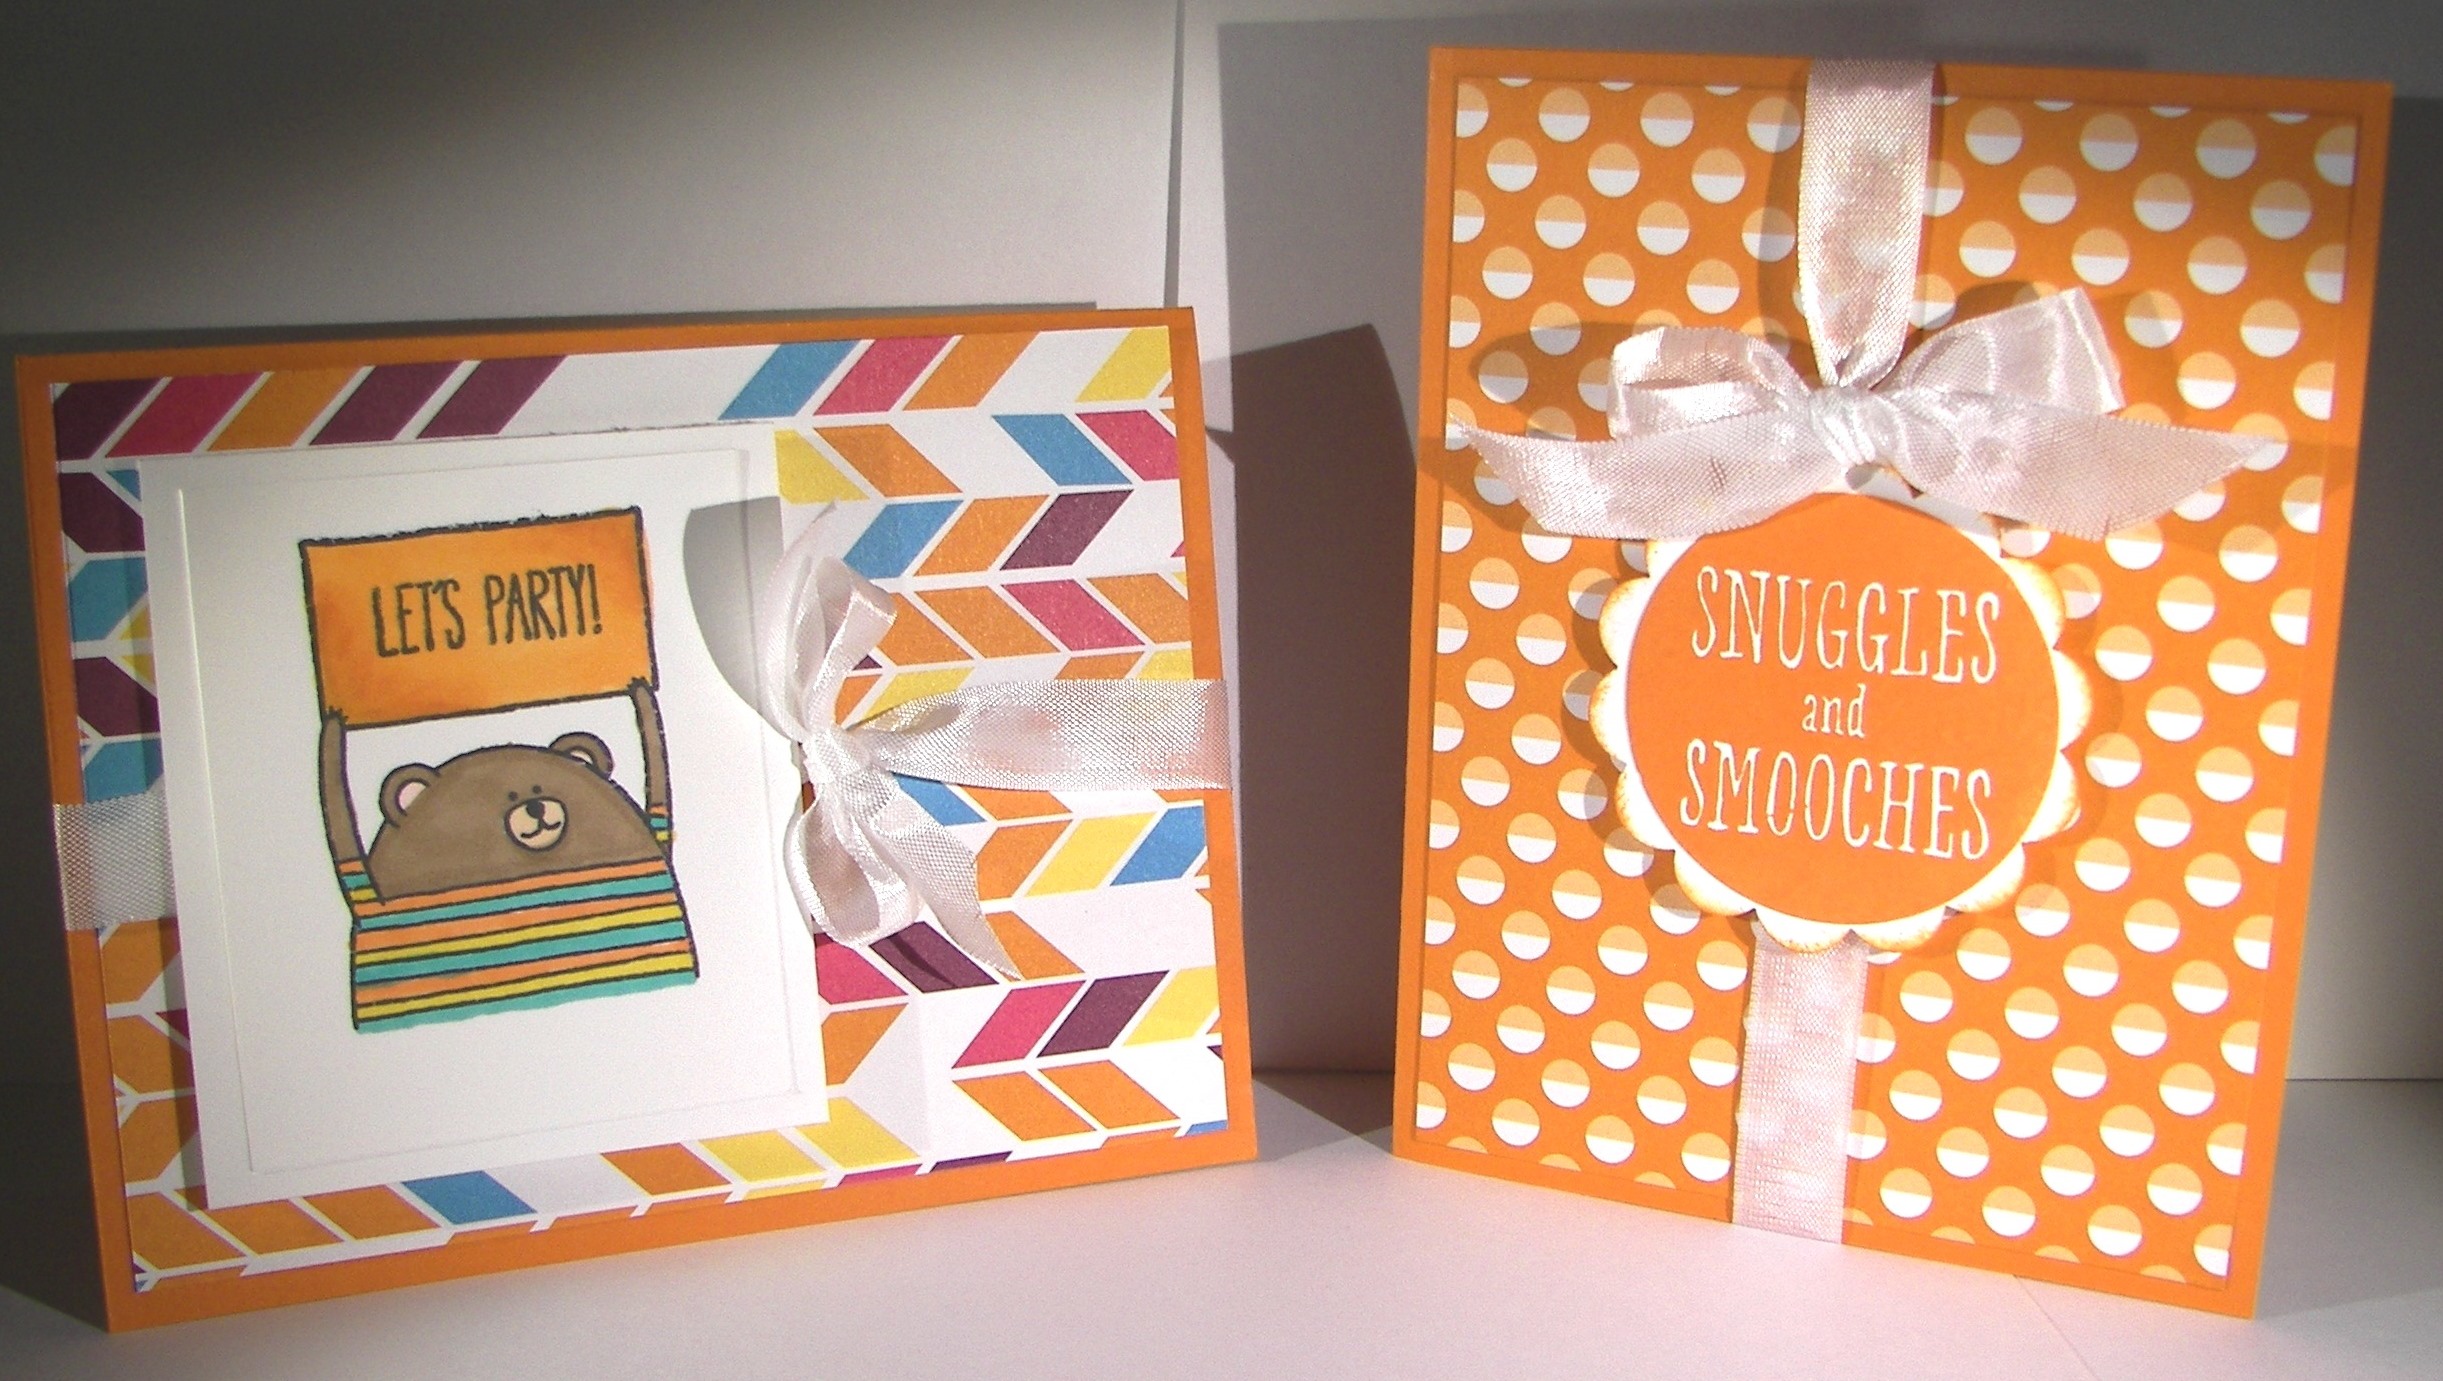
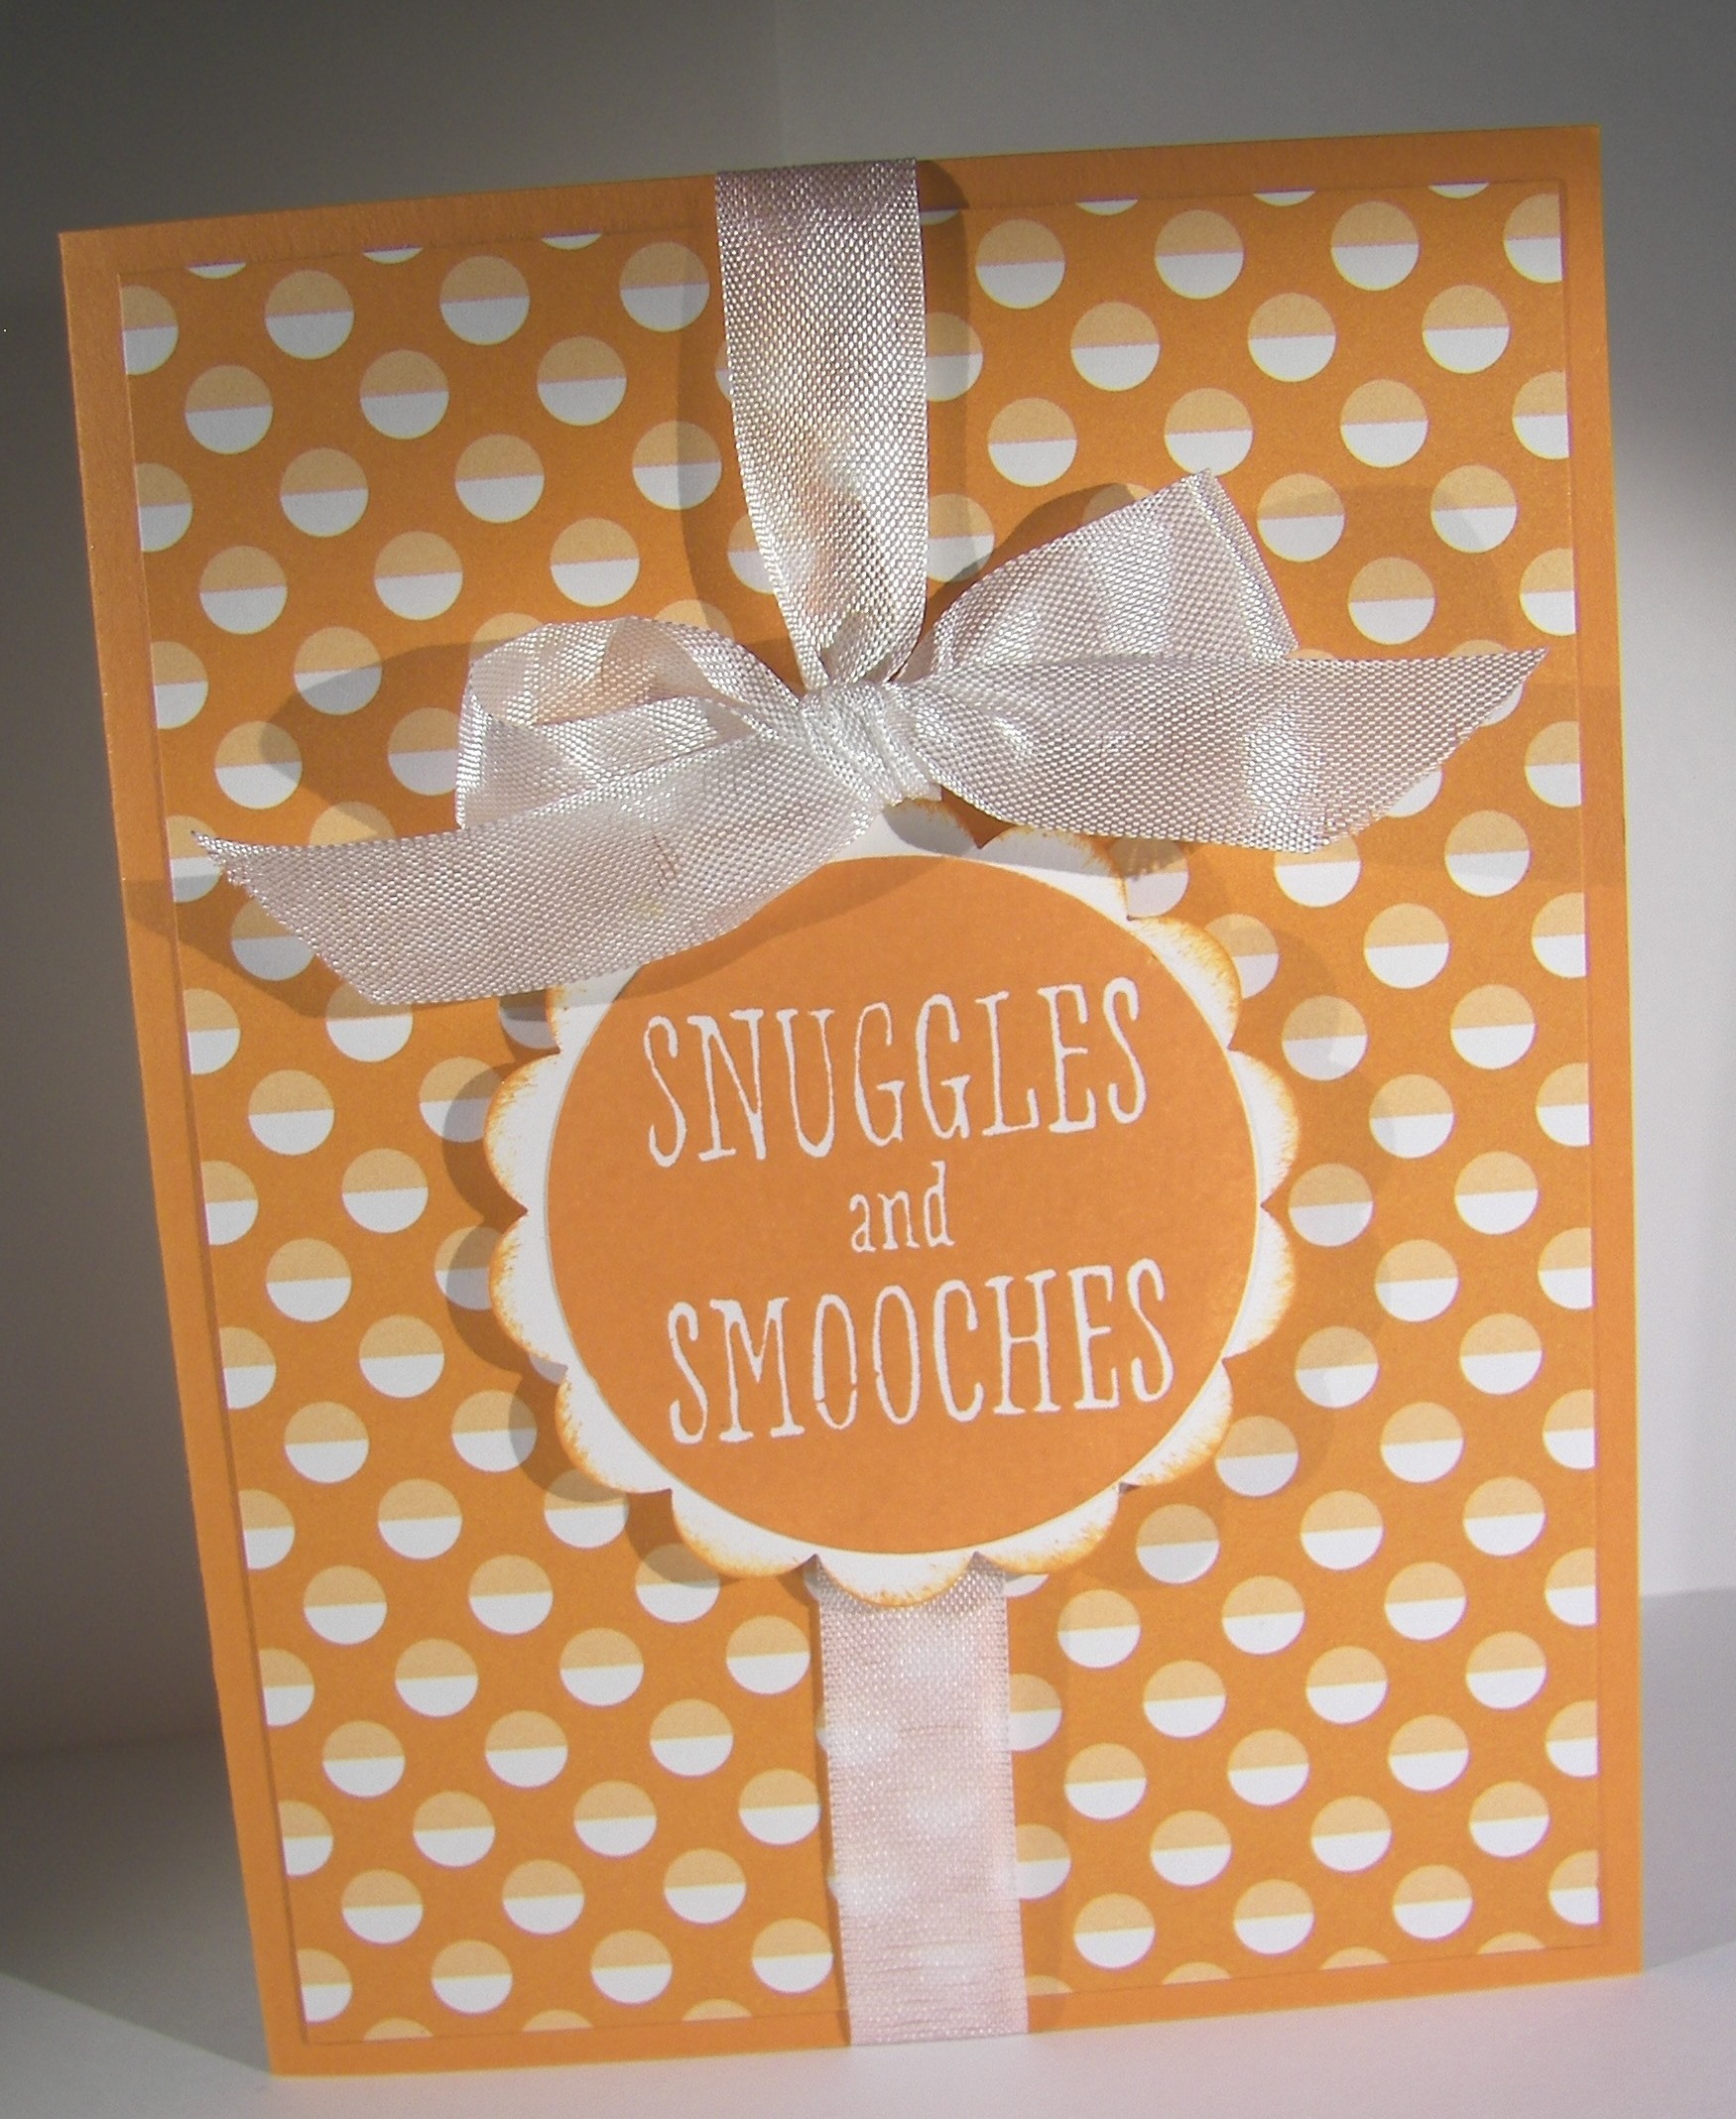
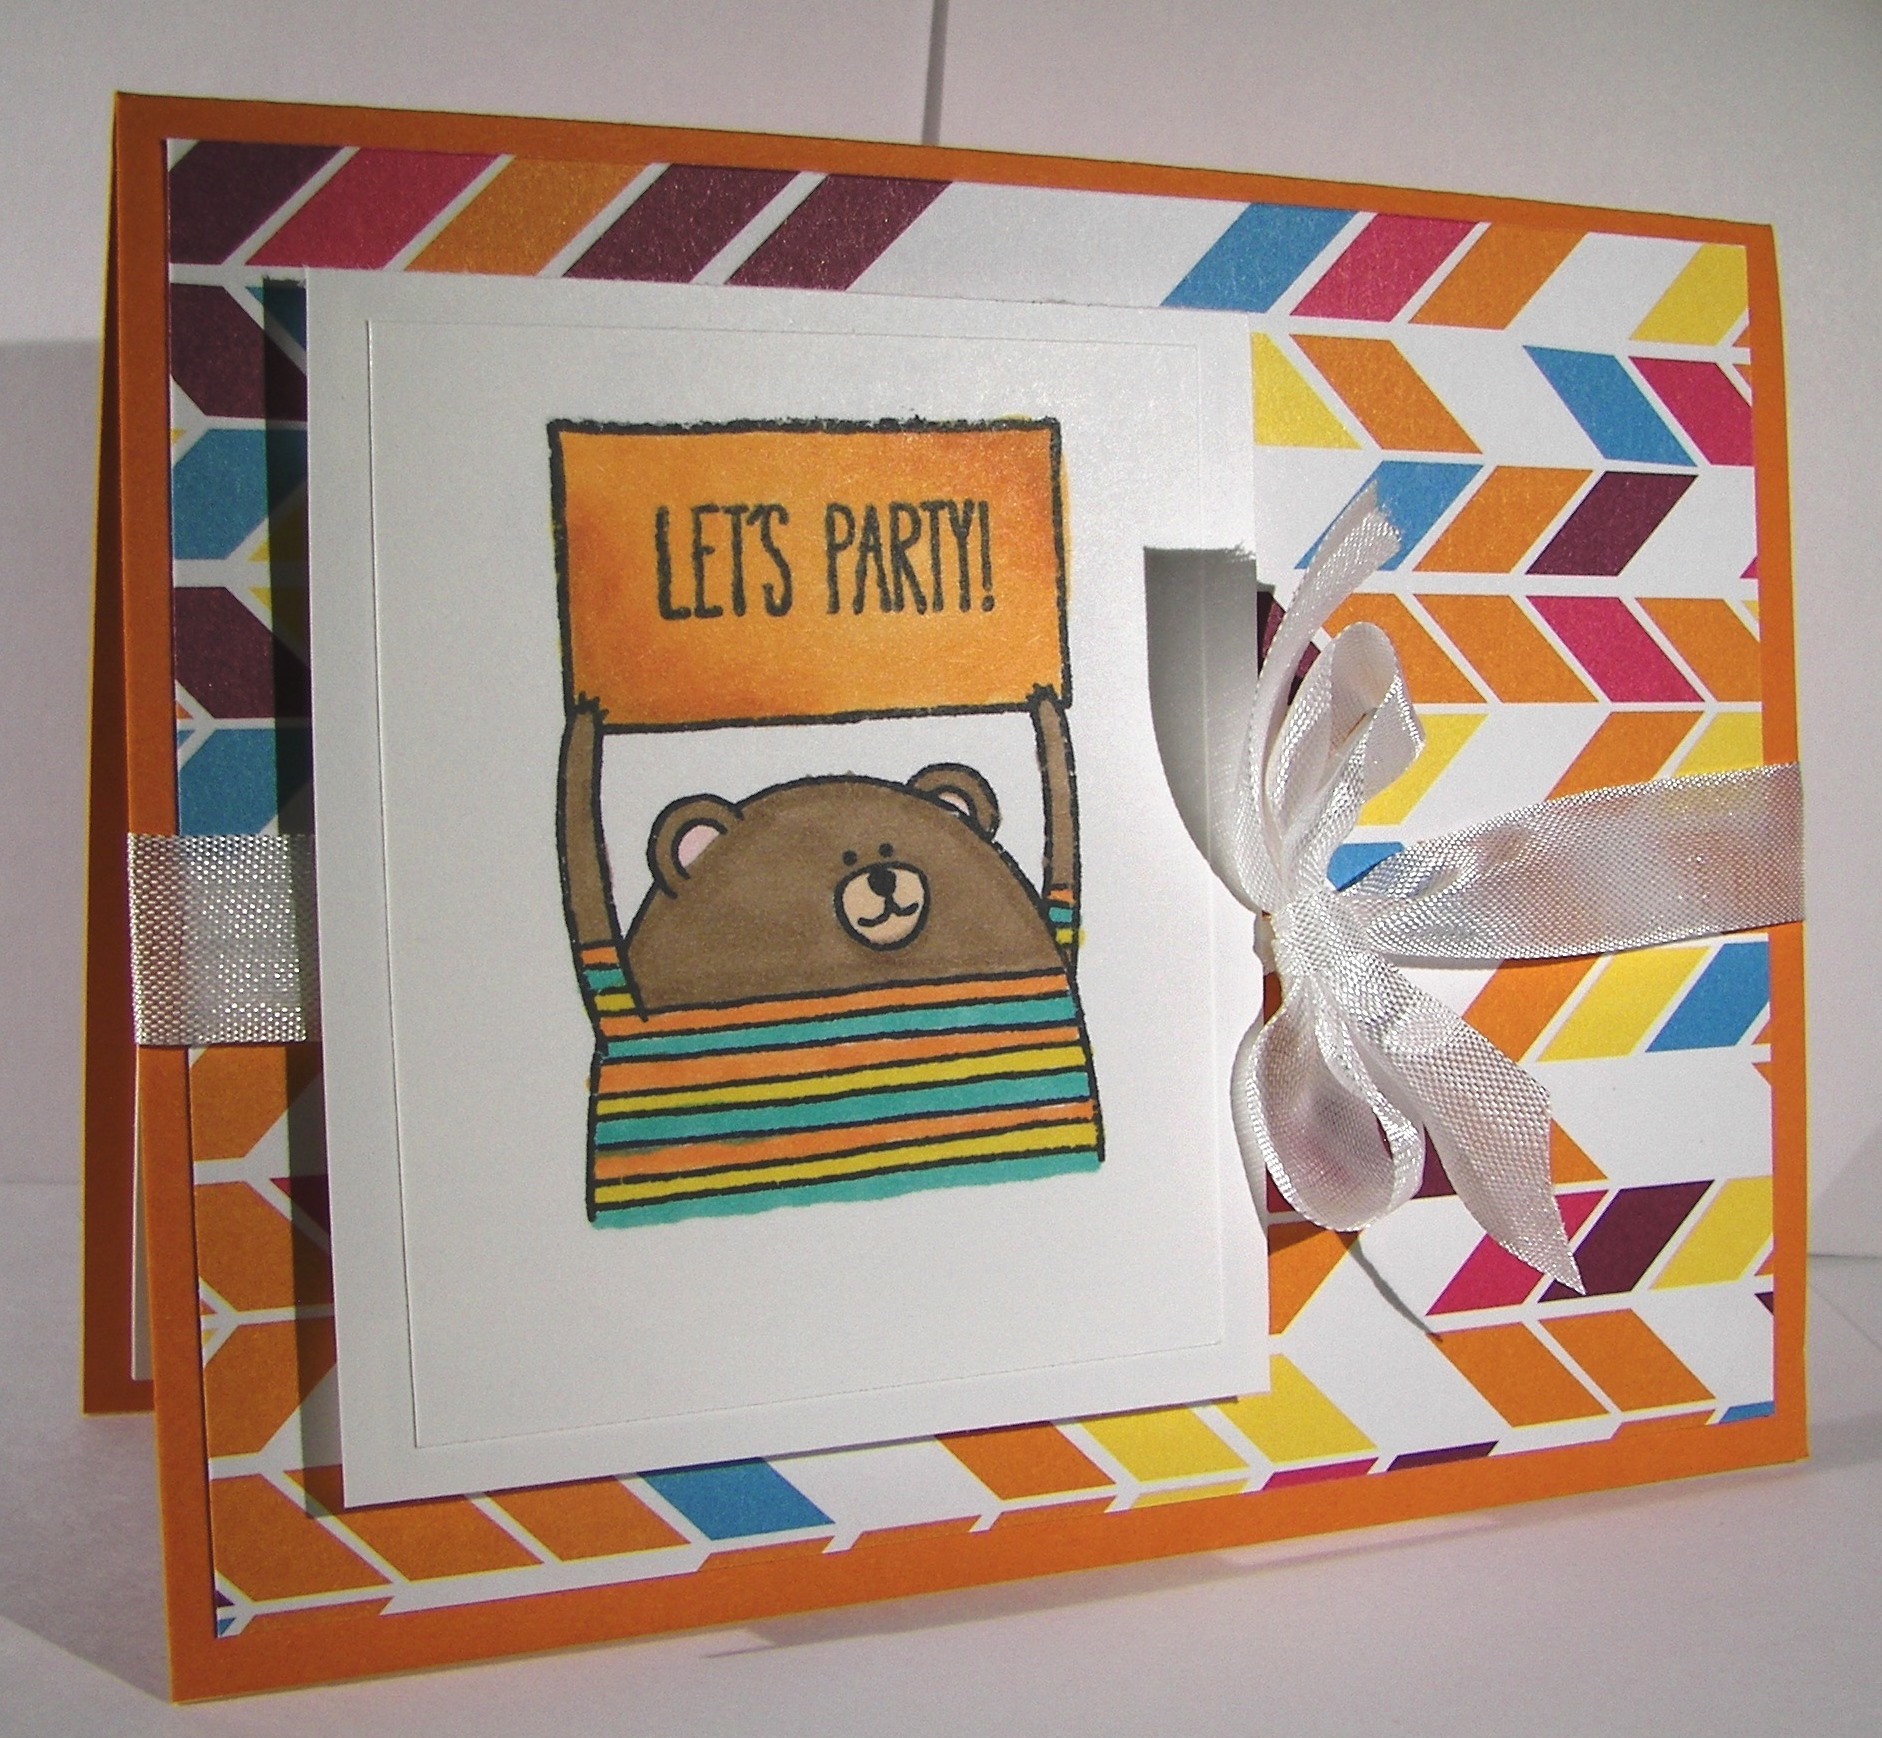
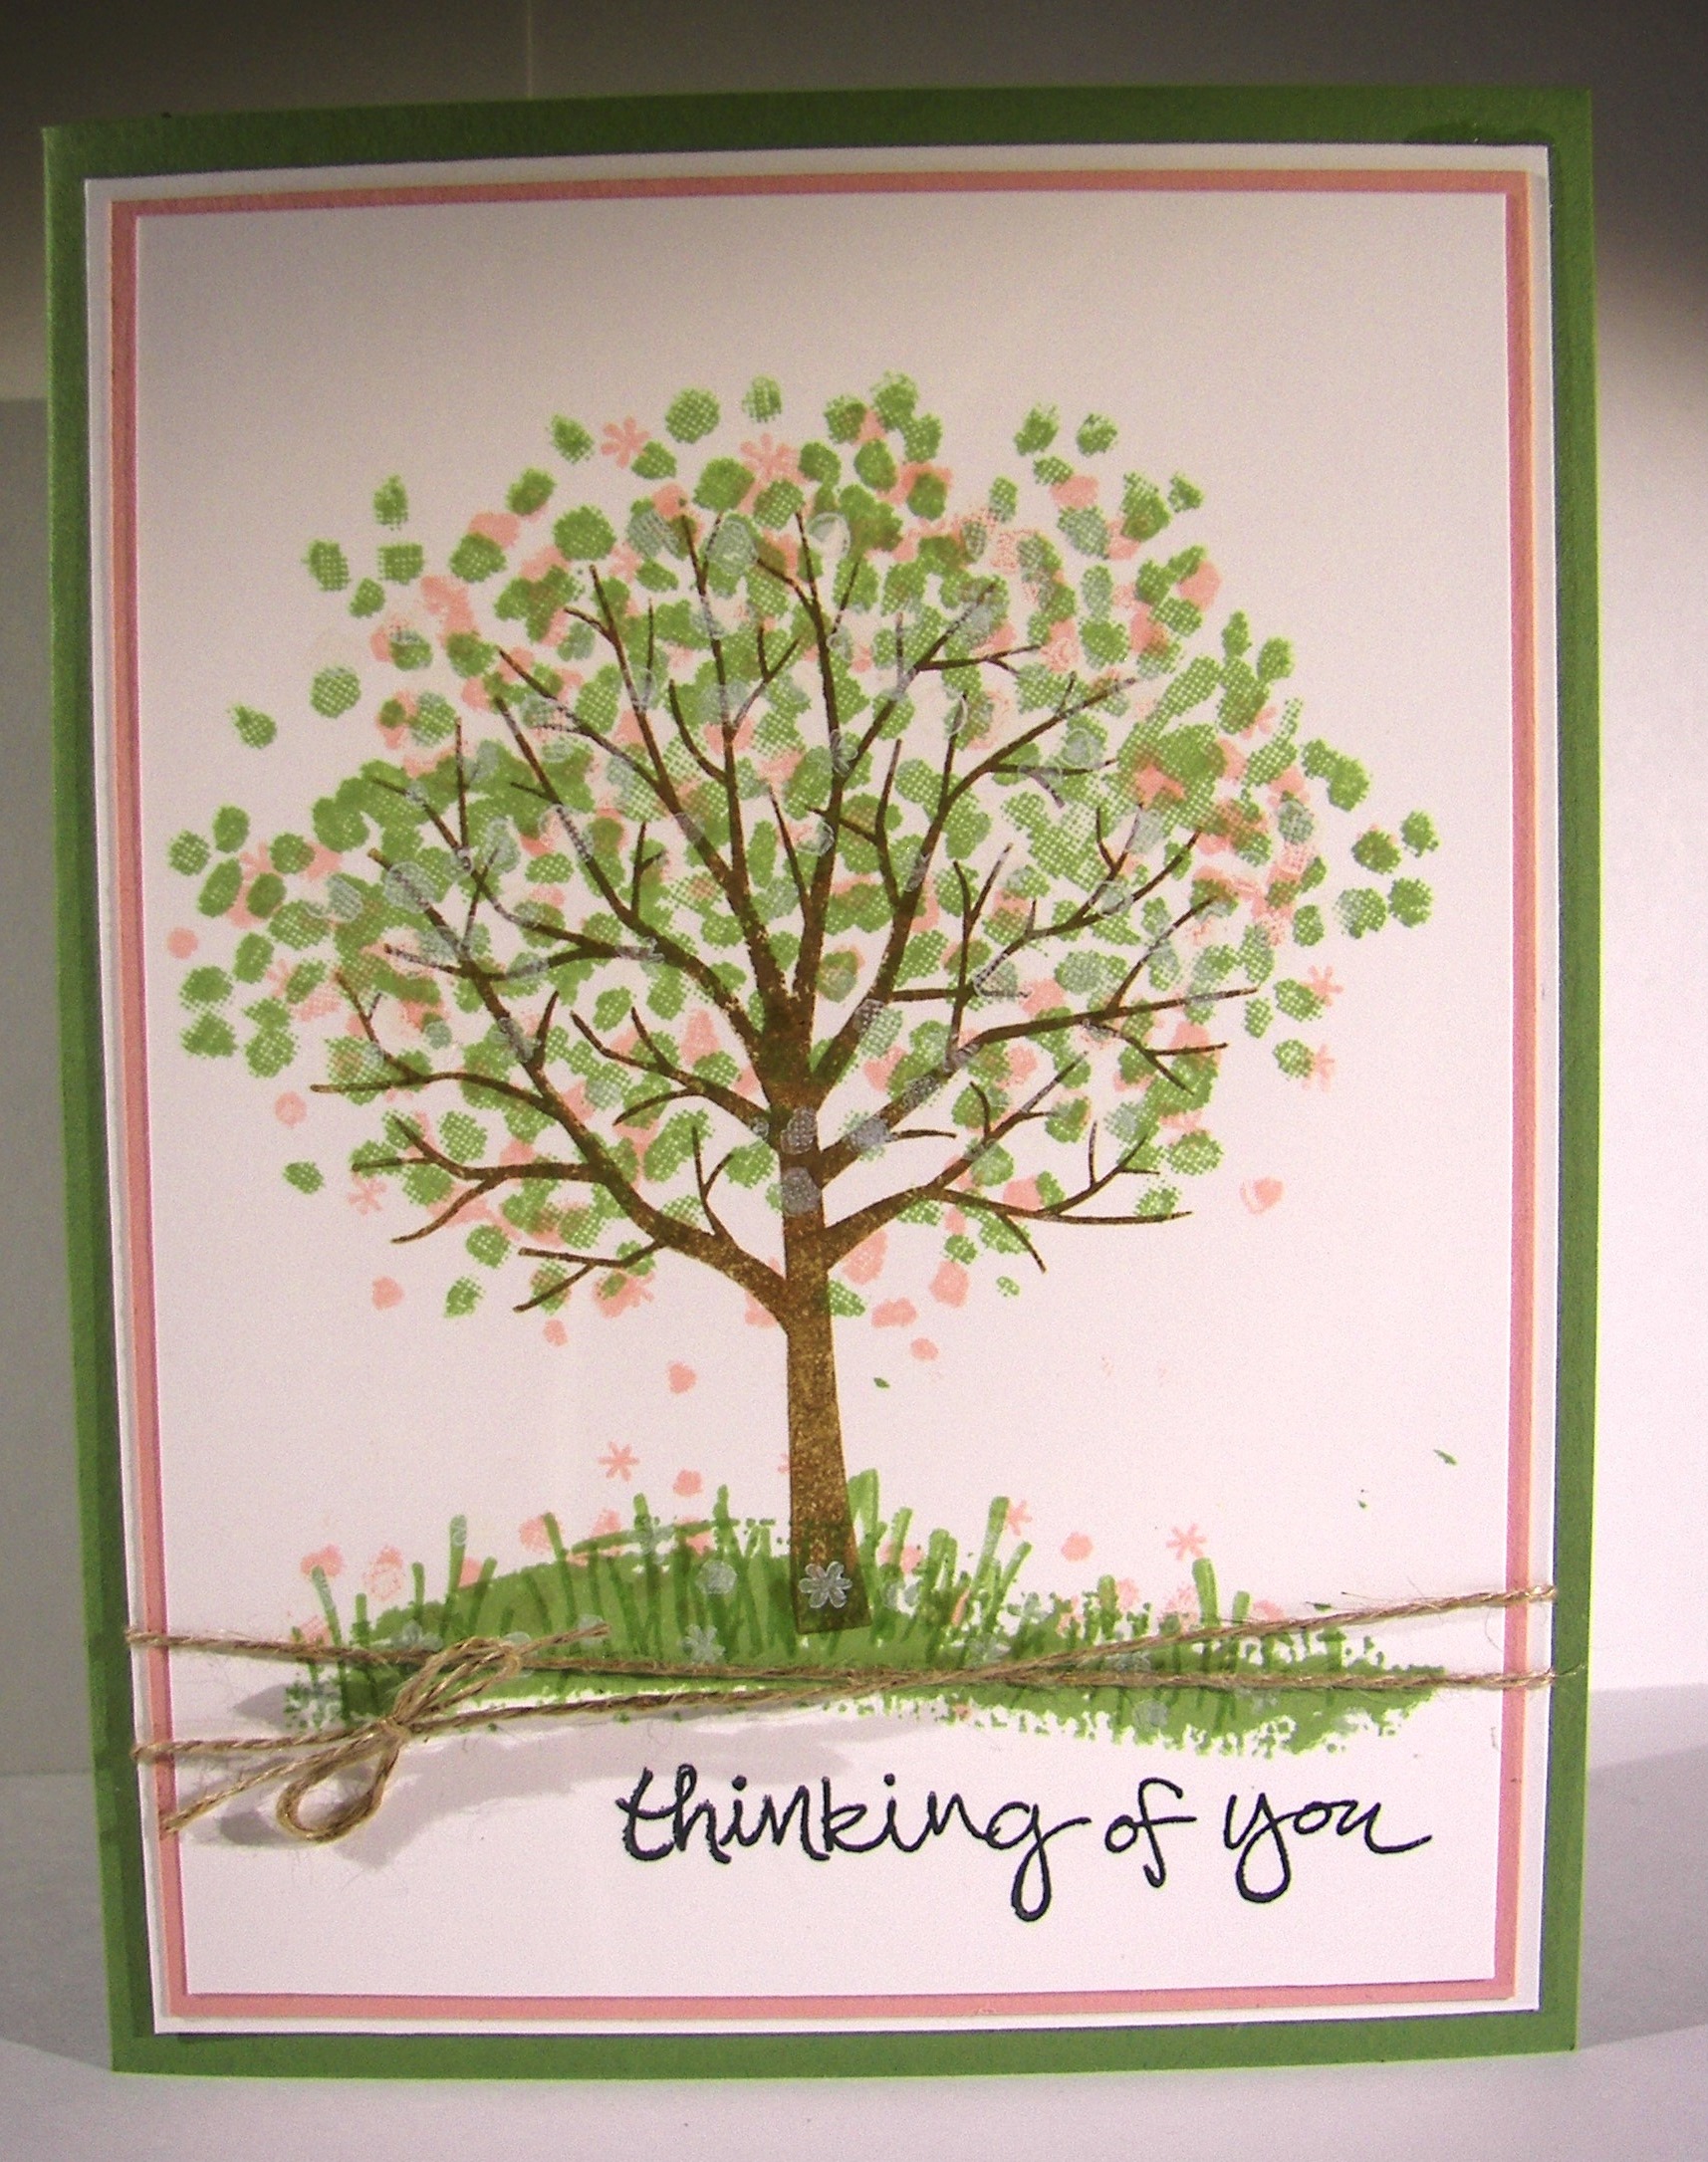
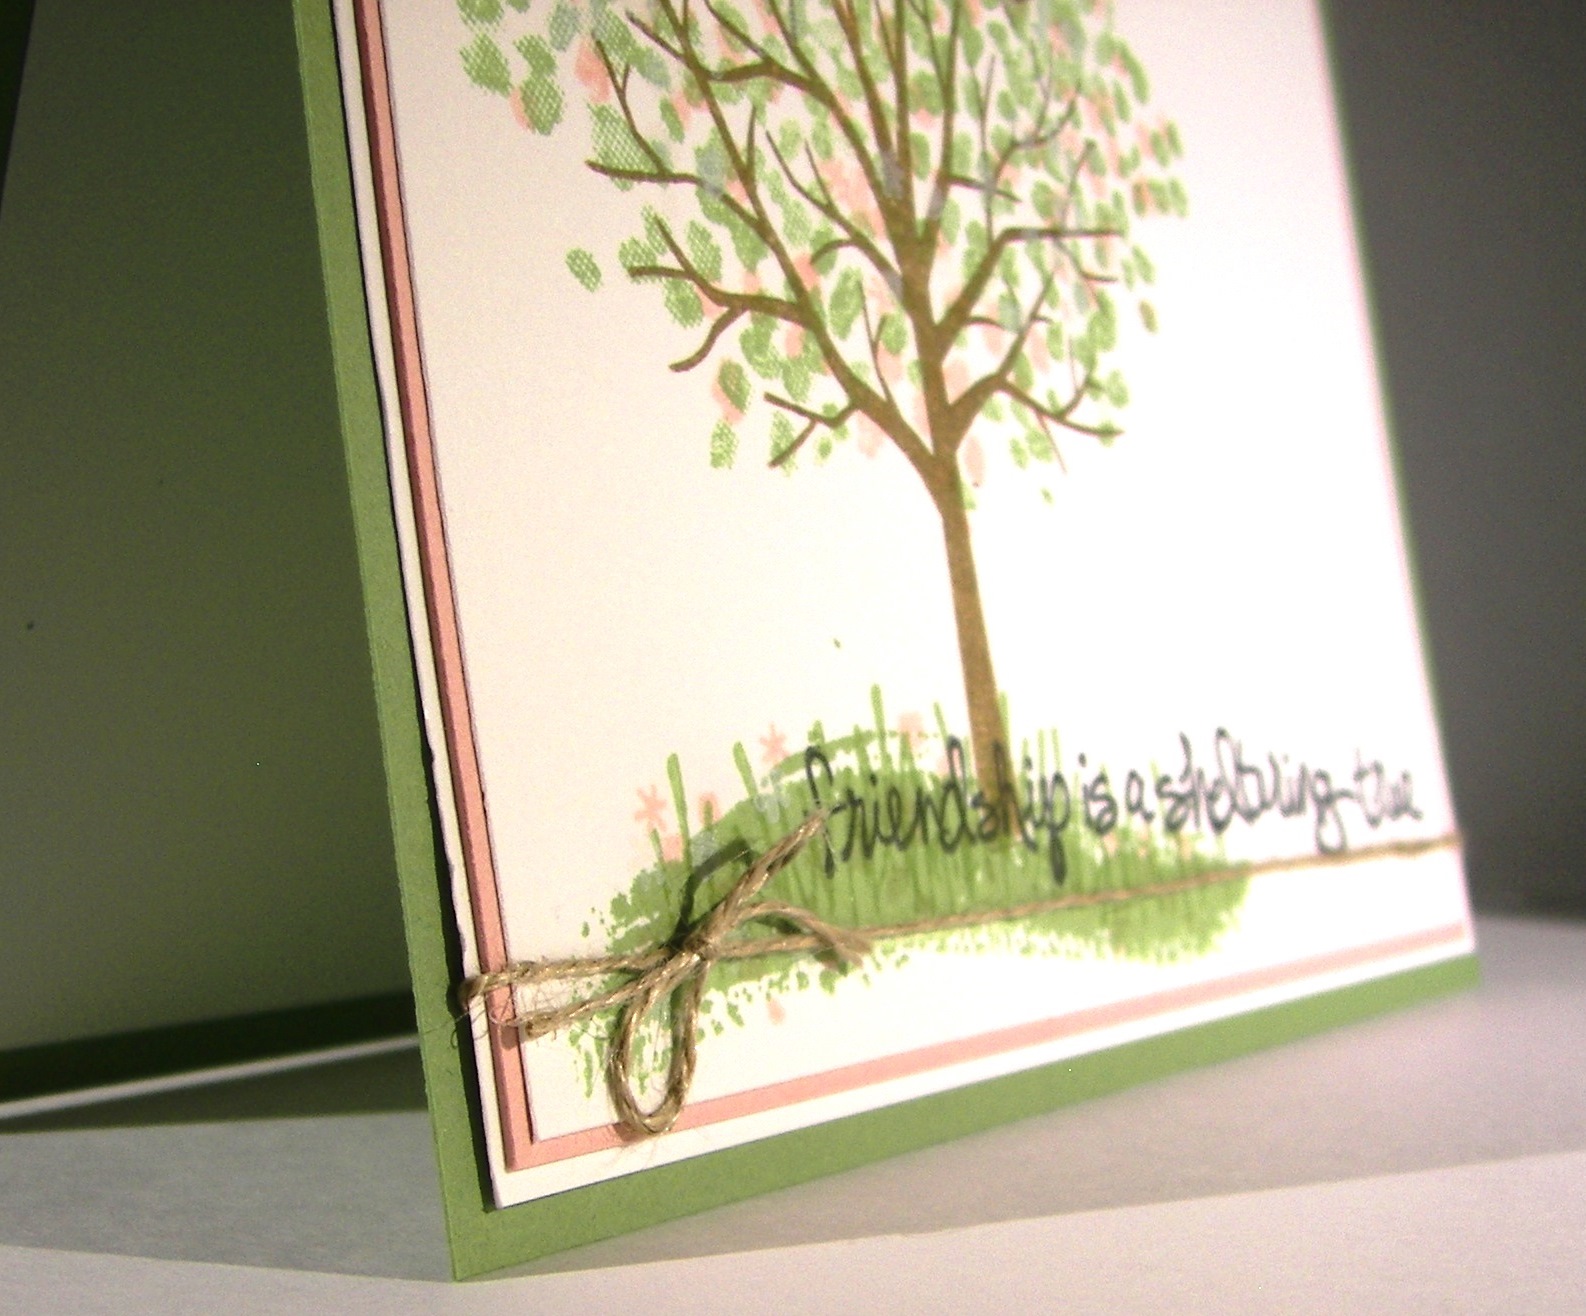
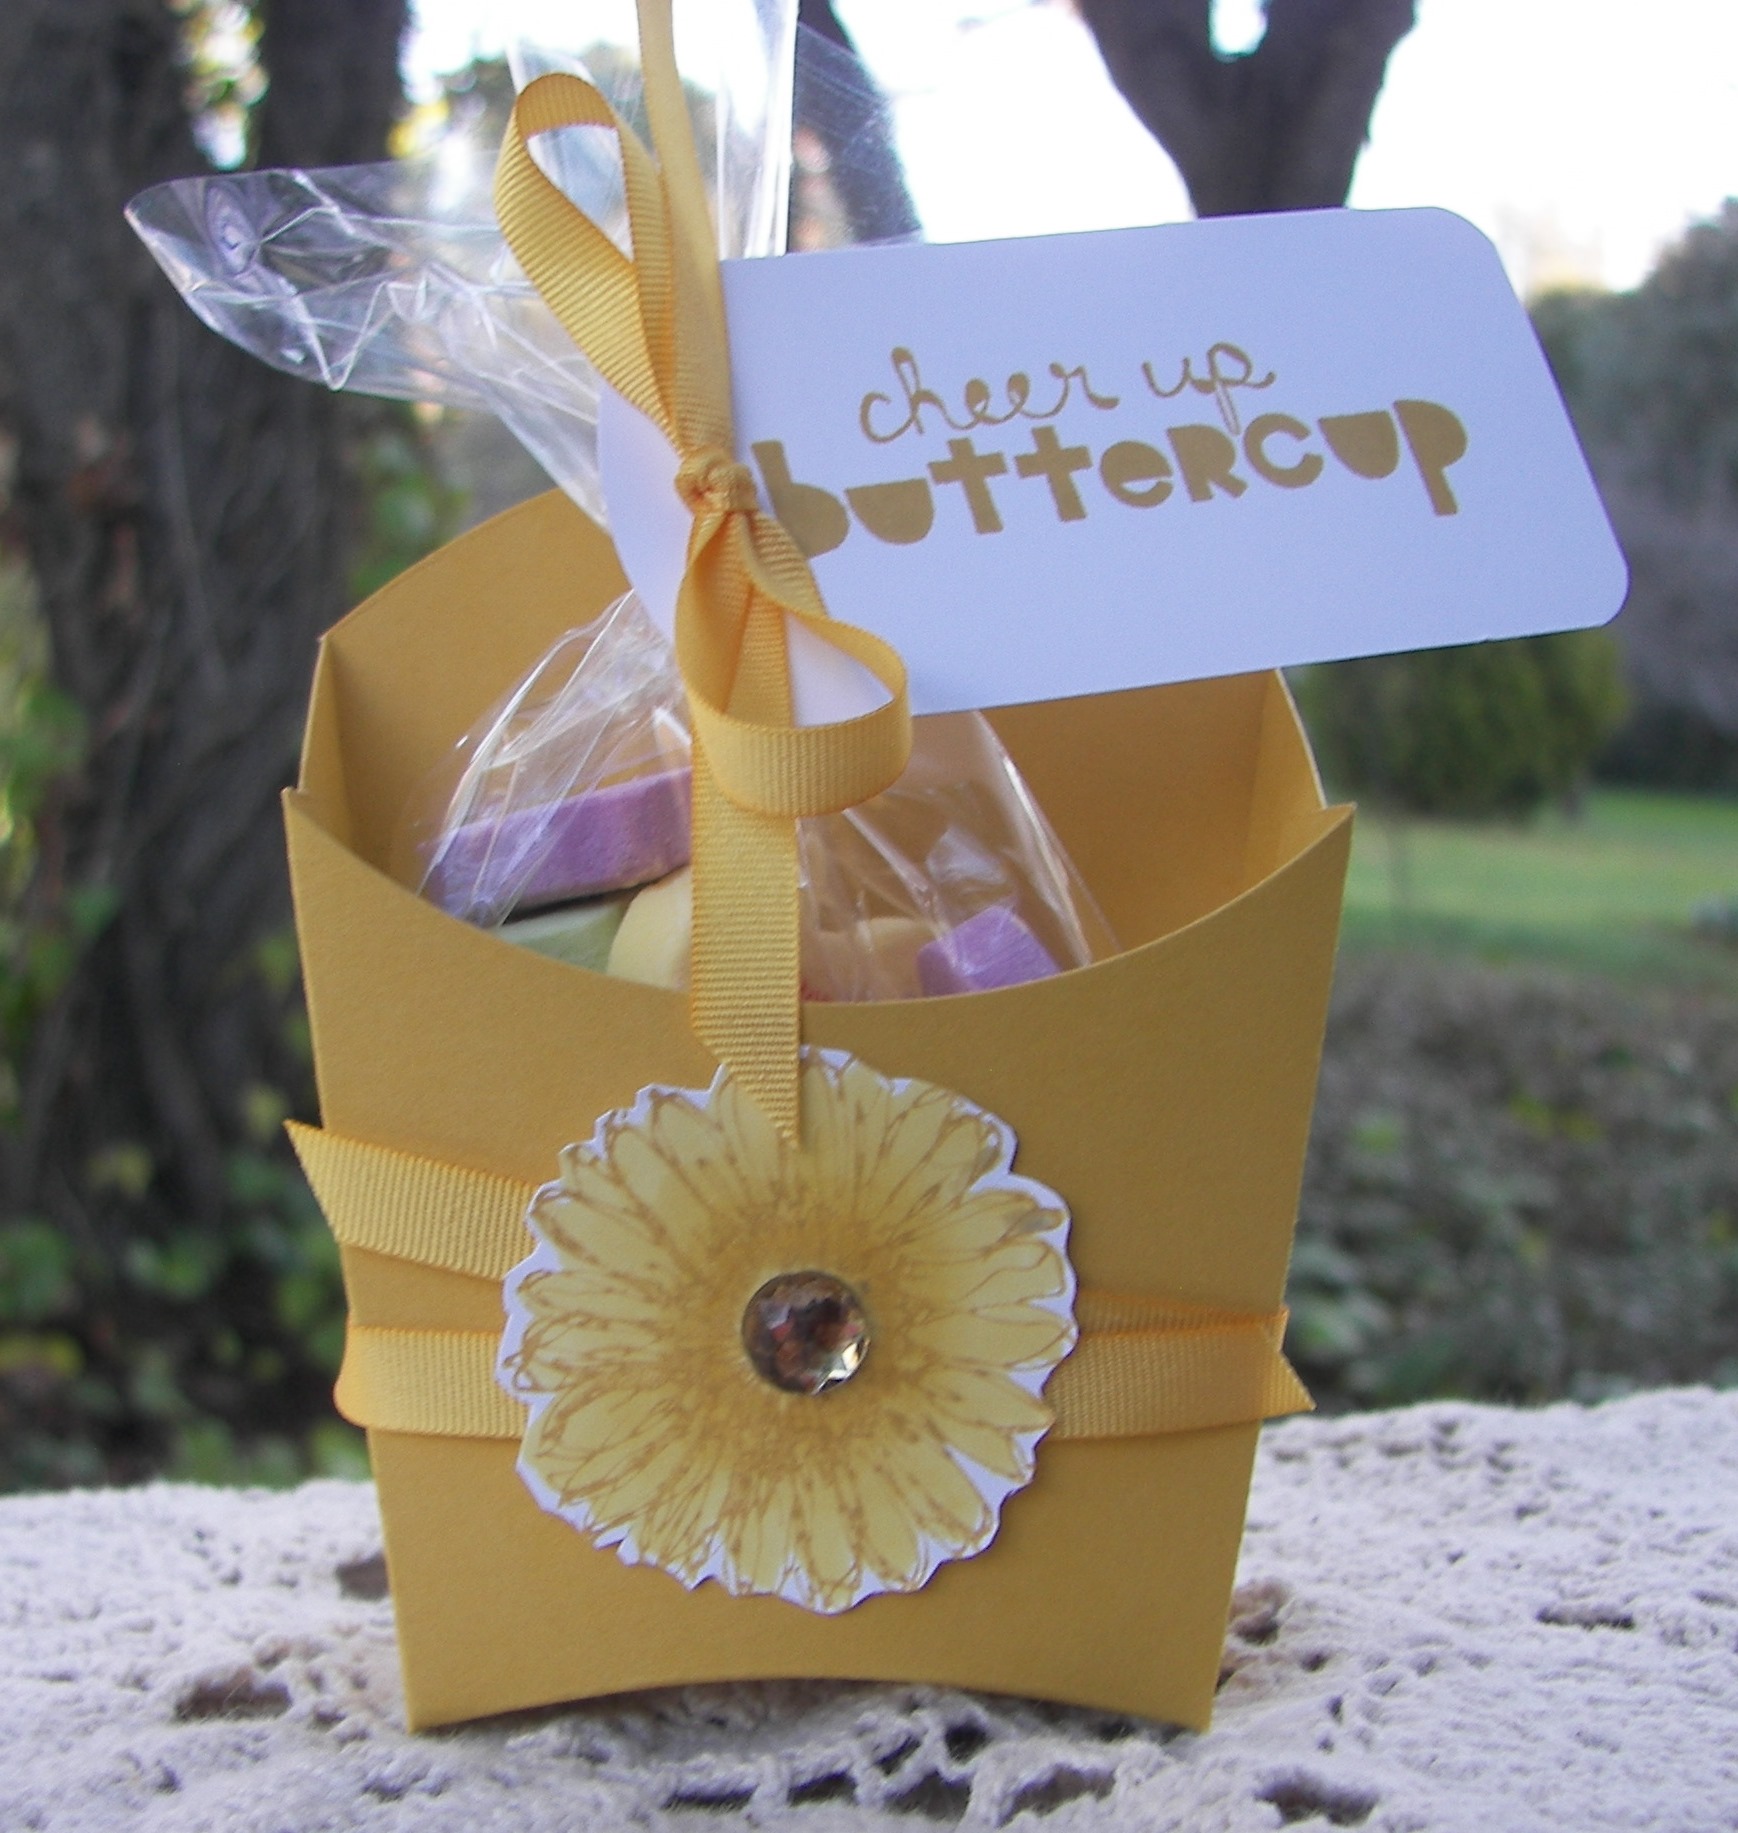
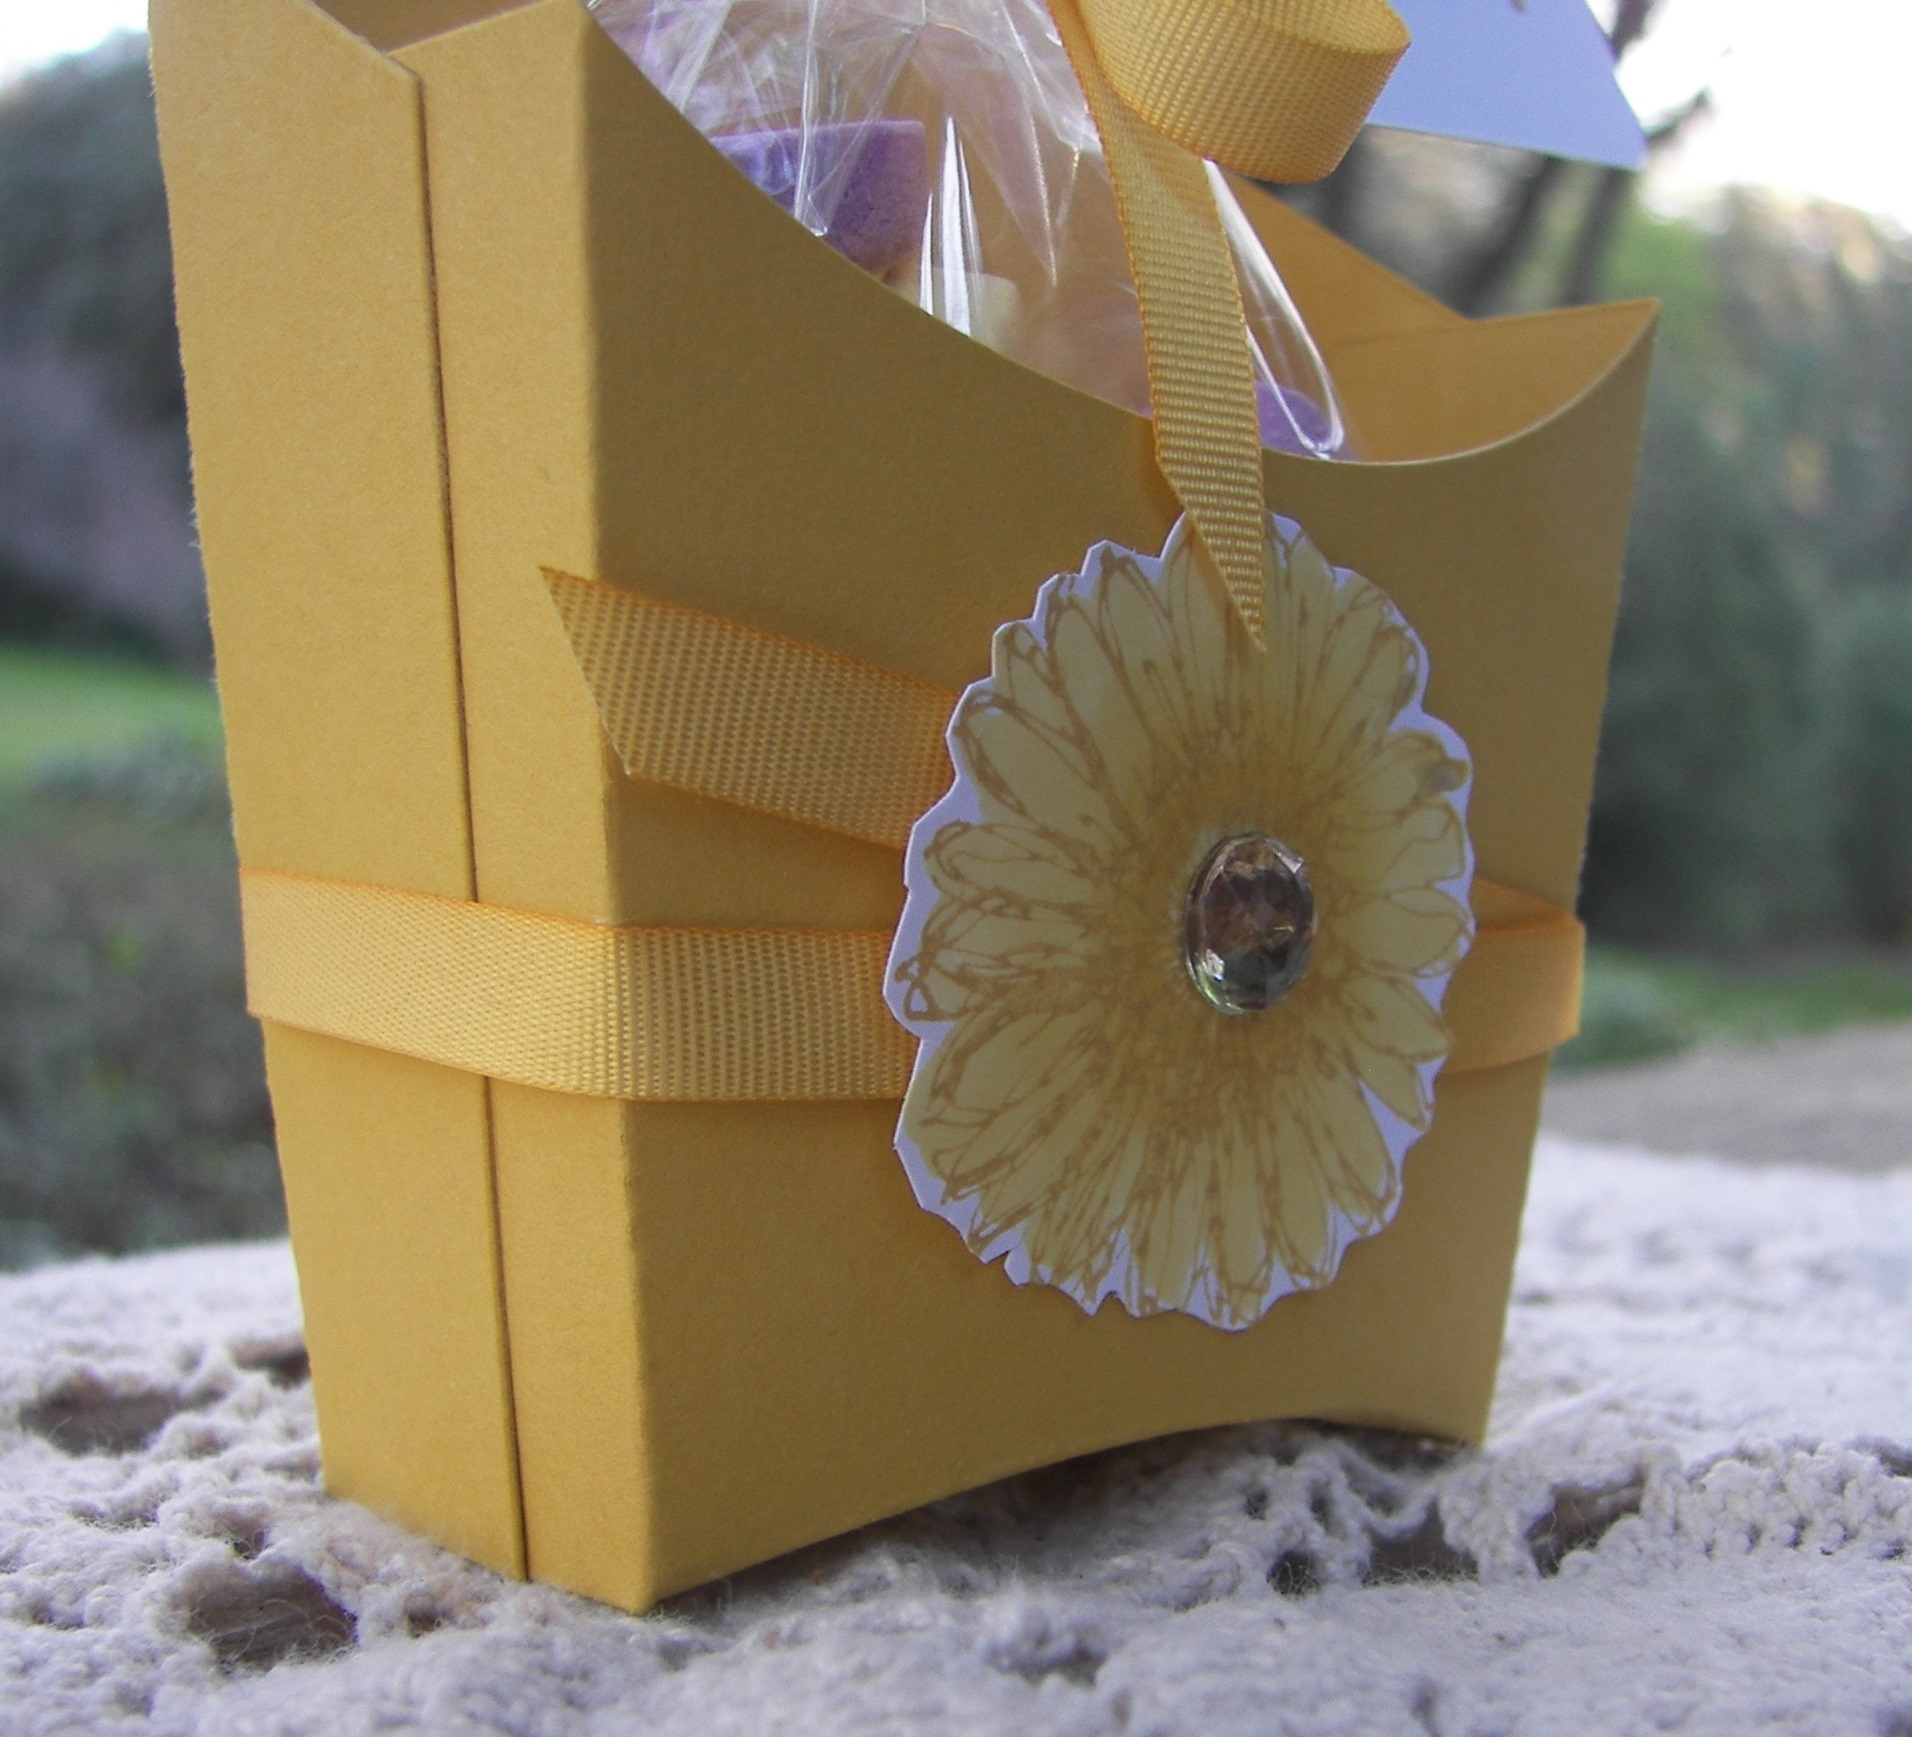
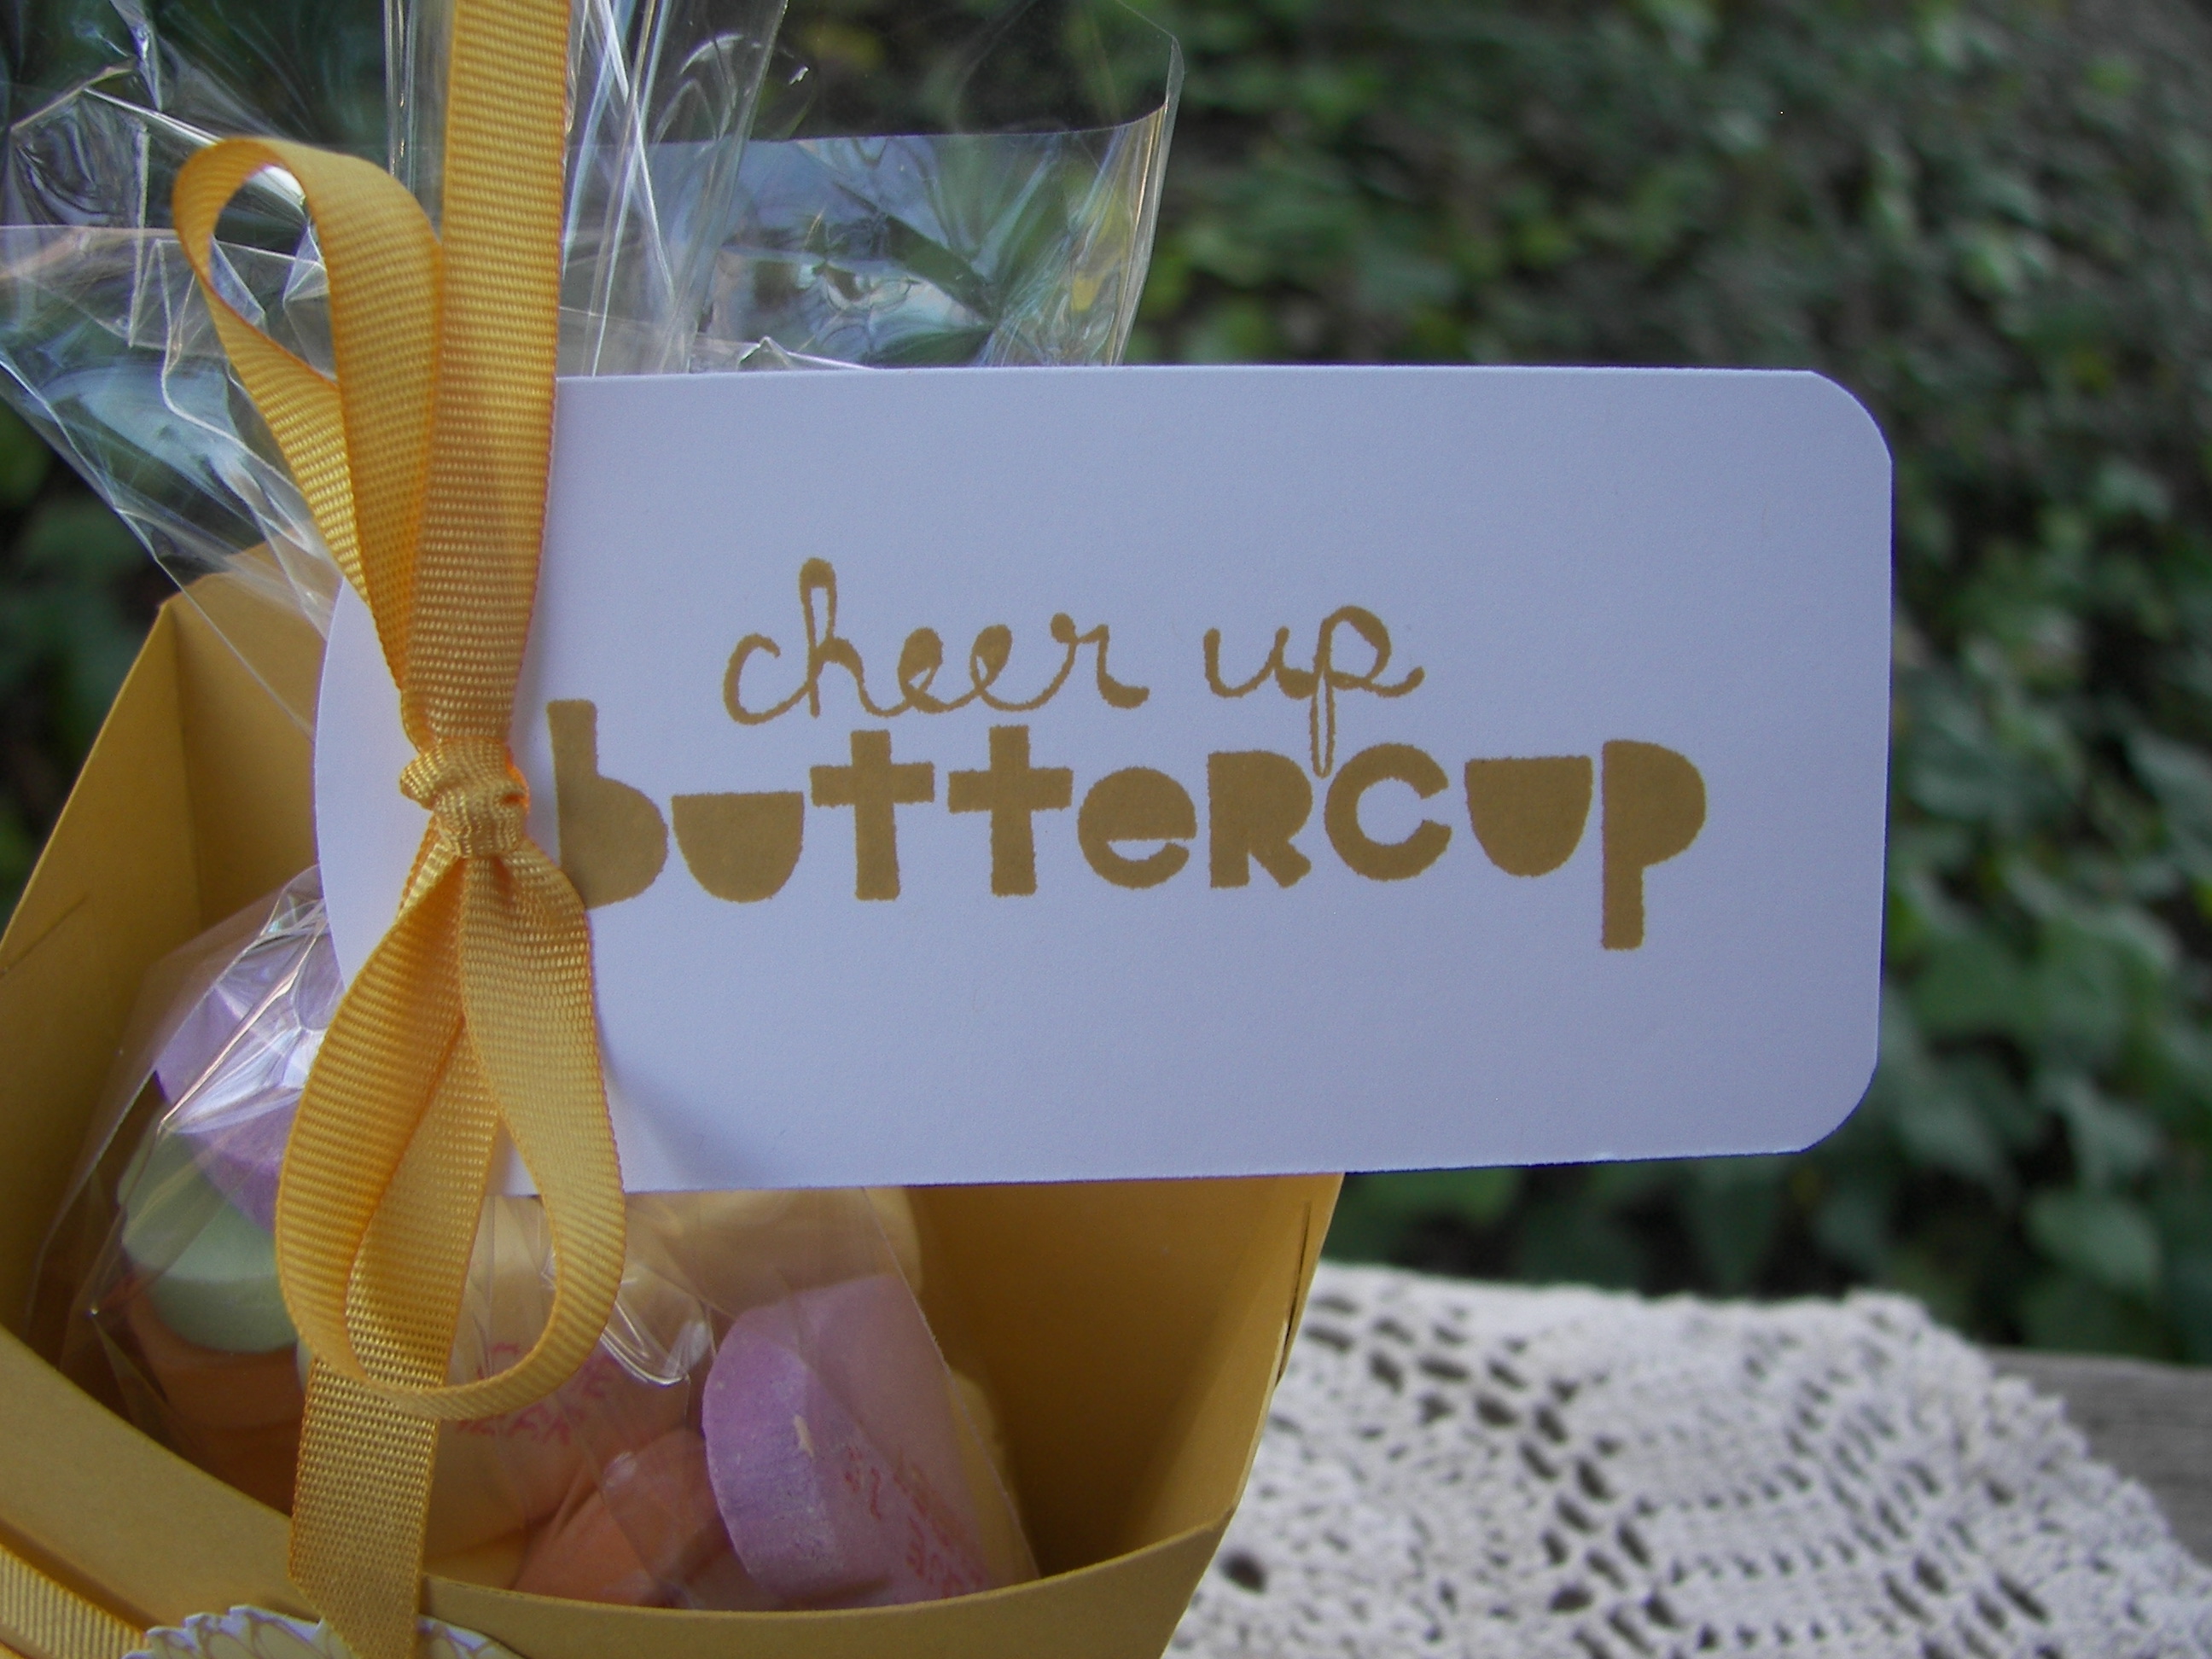
This is short and sweet today because first, the card just doesn’t need a lot of explaining.  Second, I am posting ahead because I am taking my girls to a concert, that they have been waiting for since Christmas, and I wanted to focus on that.  I made this card as a thank you for my sister-in-law for letting us stay over at her place after the concert.  I also made a little matching tote with a bunch of other cards for her to use as part of the thank you.  Good stuff there!

Have a creative day!

Moana

Kinda Eclectic with a Ray of Sunshine

This burst of sunshine should be posting while I am in Utah getting my Denali all settled at university.  She is a huge burst of sunshine in my life, so it suits the day perfectly.

Kinda Eclectic with a Ray of Sunshine

I have used the sunburst stamp from the Kinda Eclectic set in so many projects.  It is why I bought the set, but the rest of it is just as beautiful.  I am so glad that it carried over to the new catalog.  I wasn’t ready to say goodbye just yet.

Kinda Eclectic with a Ray of Sunshine

I loved using the super smooth whisper white card stock to make a matching bag.  It folds rather crisp, but is easier to manipulate that the other card.  And of course I love the stamp.  This set is done in hello honey and it works so well.  I even got out an embossing folder to give it a little extra.

Kinda Eclectic with a Ray of Sunshine

A simple card that is all about the saying and a few bright touches to bring it full circle.  Perhaps this one will find its way to someone in need of a pick me up.  Sounds about right!

Have a creative day!

Moana

Wondrous Wreath and My Plum Trees…

I was out looking at my plum trees last night and decided I wanted to bring those colors into a project.  My photos aren’t the best, you can hardly even see the mossy meadow layer in-between the two others, but it is there.  I so need a new camera.

Wondrous Wreath and My Plum Trees...

Either way, I still love how it turned out.  I stamped off once on my first layer of leaves.  So when I added the second layer of leaves with the second stamp I left it full strength.  Lovely contrast if I do say so myself.  I did the berries in rich razzelberry to match of course.  I continued those little guys on the inside, and they are so cute.  I can see me using the berry stamp to make a background paper.

Wondrous Wreath and My Plum Trees...

I know my wording is a bit slanted, but I was tired.  The heat has been so bad lately that by the time I get to settle down to work, I am so warm and tired that I don’t have the patience I should.

Wondrous Wreath and My Plum Trees...

My brain is so all over the place.  Just too many things to get done and not enough time.  Summer break may be here, but I have yet to really enjoy any of it.  July will be better, supposedly.

Have a creative day!

Moana

Butterfly Basics

Simple elegance is one of my favorite things in a card.  This color combination surely does lend itself in that direction.  I even think it is neutral enough to be masculine, what do you think?

Butterfly Basics

I used the Butterfly Basics set for this project for the element and sentiment.  I put the fern stamp to work with three different inks.  I started with black stazon, layered with silver encore, and finished up with elegant eggplant.  I continued stamping inside with just the elegant eggplant.

Butterfly Basics

I added some silver satin ribbon to keep those ferns together but kept it in a knot instead of a bow.  The ribbon kind of took over when it was tied in a bow, but just right in a knot.

Butterfly Basics

I kept the boarders narrow and popped the front up on dimensionals.  A nice clean look for an elegant card.  I think I have just the person to send it to.

Have a creative day!

Moana

Ray of Sunshine CASE

What happened to yesterday?  Well, it was absolutely all over the place!  It started out with finishing up this batch of handouts for a church youth lesson, 32 of them to be exact.  I had to enlist some family help to get them done in time.  They really looked beautiful all splayed out on the dining table.

Ray of Sunshine

We were off to church and it was so lovely.  My lesson went really well, because I have a great group of young ladies that I get to work with.  I made sure to share the extras before I came home, no need to add to the large stack of blog projects.  We went up the hill to have dinner with my husbands parents, spending much needed time there.  Only to return home to remember a church girls camp meeting that I had indeed completely forgot.  What a busy day.

Ray of Sunshine

I did CASE myself on this one.  But I needed a sunrise background to match the phrase which went perfectly with the theme of my lesson.  Inking up all of those backgrounds can give your hand a bit of a cramp.  But since I was all over the place I didn’t have a chance to share them with you.

Ray of Sunshine

So, I missed a day, sorry about that.  It should be a bit more calm today, I hope.  Let’s hope work is reasonable.  Oh, and I get to pre-order today in the new Stampin’Up! catalog!  It doesn’t go live for another month, but that is a perk of being a demonstrator!

Have a creative day!

Moana

Geometrical Confetti Celebration Retirement Party

More retirement stuff?  Absolutely!  So, out of this project, what did I use that will be retiring?  It would be easier to share what isn’t.  That would be the whisper white paper and coordinating seam binding ribbon.  Yup, everything else is heading out.

Geometrical

When I bought this stamp set I admit it was for the sentiments.  Specifically, the cheer up buttercup one.  Totally worth it in my mind.  But I have gotten a little more attached to the funny little shapes.  It is nice to do something different once in a while.

Geometrical

This card set was made from four cut and ready card bases.  Three cards and one holder, and yes, the holder was made from a card base.  A little scoring, a little edgelit work, a little inking and there you have it.  Crazy, right?  I need to get the whole video thing going, you would like to see how easy that one is.  I surprised myself.

Geometrical

I am enjoying more and more making sets that I can use as gifts.  People love getting pretty things they can turn around and use.  I love the smile on their faces when they look at them.

Geometrical

Well, I had better get going.  I have a prom dress to add sleeves to.  That is okay, my sewing machine feels neglected when I paper craft so much.

Have a creative day!

Moana

Petite Pairs and Punches Retirement Party

Good morning to this retirement party!  Every time I get into one of those designer series paper stacks I get a surprise.  It is always something like, I don’t remember seeing this pattern, I should use this.  My poor brain.

Petite Pairs and Punches

I do really like this grouping here.  It is colorful but subtle at the same time.  Can you believe how many products will be retiring out of this?  The artisan label punch is one of my favorites.  It will stay in my stash for sure.

Petite Pairs and Punches

I also didn’t think to put this bright of a yellow with lost lagoon.  But I tried to use a daffodil delight card base to bring out the yellow, and it was too much.  Just a little bit then, not too much.

Petite Pairs and Punches

And to complete any card combo is a cute little bag.  This guy is made from one sheet of the stack.  A simple scoring, a bit of ribbon, and a flower from the other punching and it is just right.  And yes, a gift card will fit inside just right.  My cuteness must have an additional purpose other than being cute.  Who says that, right?  But it is true.

Petite Pairs and Punches

Have a creative day!

Moana

Little Buddy Birthday and Petite Pairs Retirement Party

Well, after yesterday’s absolute shenanigans, I really wanted to keep it simple.  I think things went well enough.  These are two stamp sets that I will really miss, not to mention basic gray.

Little Buddy Birthday and Petite Pair

It is hard to tell in this photo, but I did stamp that adorable armadillo all over this basic gray paper.  The little lines of the stamp almost disappear, but not quite.  Perfect for a treat or a little gift card.

Little Buddy Birthday and Petite Pairs

I painted this adorable little guy with me aqua painter using basic gray, smokey slate, and a touch of blushing bride for his nose.  Really, how adorable.

Little Buddy Birthday and Petite Pair

I used one sheet of card stock for this trip.  I cut the paper to measure 5 x 8.5, just under  a half sheet, to make the little bag.  Then I took the 6 x 8.5 portion, turned it on its side and cut it in half so the two card bases measured 3 x 8.5 and then scored at 4 1/4.   The card fronts and inserts measure 4 x 2 3/4.

There, I even gave some measurements, I am trying to improve what I share.  One day at a time!

Have a creative day!

Moana

Ray of Sunshine with Perfect Pennants

Color, color, and more color.  I obviously had color on the mind.  I have been wanting to make a card that felt like a sunrise.  This fit the need  nicely.

Ray of Sunshine with Perfect Pennants

It wasn’t easy for me to leave it alone with just ink and a sentiment, but I managed.  I have coordinating ribbon, but didn’t want to break up the colors.  My supporting committee backed me up and here they are.

Ray of Sunshine with Perfect Pennants

A friend of mine recently had an adorable little girl and I couldn’t wait to use this stamp for a baby card.  It feels like a warm cuddle, just like a baby.  Yummy.

Ray of Sunshine with Perfect Pennants

I took my inks and sponges and went to work.  I started at the bottom with crushed curry and sponged and swirled away.  I progressed across the card with the four different colors ending with night of navy on the top.  After the ink dried I stamped my sentiment where I wanted it to sit and embossed it with black powder.  I headed to the big shot and cut out my image.  Yes, that left a hole in my background piece.  But with my framed bit also done in night of navy, it was all covered up.  I just popped that up on dimensionals and called it done.  A great technique on both fronts.

Have a creative day!

Moana

Cheerful Critters Party

There are never enough birthday cards to be made, never.  Sometimes I just dip into my stash of designer paper, pick a sheet, and get working from there.

Cheerful Critters Party

That is exactly where these two came from.  Of course I love the Cheerful Critters stamp set.  I know I teased it at first, but I have fallen in love with it every time I use it.  Really, how cute are these guys!

Cheerful Critters Party

I absolutely love my inside stamping to coordinate with the my card front.  It makes me very happy.  To the point that I have a hard time leaving the inside blank.  Kind of like doing your hair.  Everyone can make the front look nice, but the back needs just as much attention, or so my brain says.

Cheerful Critters Party

I had a fun time using my stampin’ write markers on this guy.  I have such confidence issues with them and making it look smooth.  But I have to say, this one didn’t turn out too bad.  Maybe I can do it after all.

And let me just say one more time, the perpetual birthday calendar stamp set is so absolutely wonderful.  I use those little guys all of the time.  Since they are designed to accent different months of the year, they go with everything.  How perfect is that!

Have a creative day!

Moana

Blooming With Kindness Trio

This set started with an experiment, had some problems, then turned the corner and gave me something beautiful.  Pretty fun experiment there.

Blooming With Kindness

I started out wanting to use pink pirouette, saraha sand and very vanilla.  The papers looked lovely together, however, the way they looked on the very vanilla compared to whisper white made all the difference.

The pink looked so different on the vanilla that it made it look like my card stock was the wrong color.  That was odd for sure.  But I loved the paper I had created using the huge flower from the blooming with kindness set, so I had to get creative.

Blooming With Kindness

I made other cards using the front and inside bits I had stamped on the very vanilla.  Then I made another background piece on whisper white and the pinks were much more friendly.  And I ended up loving the secondary cards more than my original.  How about that?

Blooming With Kindness

Even though my results went a bit off, I do love the look I made.  I stamped the flower with versamark ink onto the card stock and quickly sprinkled iridescent ice powder on the wet ink.  I heat set it and while it was still tacky I hit it again with the powder and heat set it again.  You can kind of see how shiny and sparkly it is.

Blooming With Kindness

Each card got a different sentiment, and they are all so beautiful.  My daughter is the one that said we had to have the set.  She was so right, my creative buddy.

Remember, there are no mistakes in art, only opportunities.

Have a creative day!

Moana

Throw Back Thursday with Essence of Love

I so enjoy dipping into my older stamps to create something.  It is easy to get caught up in all of the new product available.  It is the perfect reminder that I love all of the stamps I buy, and they should still get used, even if they are retired.

Essence of Love

As you can tell, this floral stamp still looks as crisp and beautiful as the first time it got used, which was nearly ten years ago.  I even pulled out some retired paper.  That venetian romance dsp set is so beautiful.  I opened my last pack of it to make these cards.

Essence of Love

I loved mixing all of these elements together.  Any time I get to use oranges I am a happy crafter.  This particular card set brings together all of my favorite things.  Flowers, butterflies, elegant ribbon, more flowers, lots of orange (tangerine tango), and the most beautiful sentiments ever.  Like I said, my favorites.

Essence of Love

With all that said, get into your stash of your favorite things, make something beautiful, and have a creative day.

Moana

Lovely Amazing You and Wisteria Wonder

Well, I finally did it.  I jumped on the ‘feather’ bandwagon.  I really didn’t see the big interest, just thought it wasn’t my thing.

Lovely Amazing You and Wisteria Wonder

That is until a friend talked about them at our last workshop and how she thought they were different and looked nice.  You know what?  She was totally right.  Something else to be grateful for that was carried over into the spring catalog from last fall, the feather set.  More to buy, oooops!

Lovely Amazing You and Wisteria Wonder

I did enjoy taking the paper and softening it up with ink.  With the card above I just gave it a gentle sponging all over with the coordinating wisteria wonder ink.  Below I gave it the ombre look.  The photo gives you an idea, but it looks better in person, of course.

Lovely Amazing You and Wisteria Wonder

And of course I loved that I got to use a favorite ribbon that hadn’t been out in a while.  I do so love the chevron ribbon.  Good stuff there.

As we head into the weekend I think you should take a little time for yourself, and have a creative day!

Moana

Wildflower Meadow Watercolor

How about waking up to a ray of sunshine?  This feels like a spring sunrise.  The kind you wish you could get lost in, or just put on pause so you can stay there.

Wildflower Meadow

I was sulking over my blendabilities tragedy and wanted to play with color.  So I pulled out some watercolor paper and decided to make a mess.  I picked my colors, mushed some ink from my pads onto wax paper, sprayed them with water and started putting my paper on it to make patterns.  Those colors were too dark, so I switched to the ones you see.  Soft sky, daffodil delight and blushing bride.  I repeated the process and the colors were just right.  I dried it with my heat gun because I have no patience, sheesh…

Wildflower Meadow

I then stamped the wildflower meadow stamp in black stazon and went for it.  I love the texture that shows through the ink.  I finished it off with a tiny stamp from the Tap Tap Tap set to just say “hi”.  I used the tiny oval to punch it out, inked it and backed it with another oval punched in daffodil delight.

Wildflower Meadow

A healthy smattering of basic pearls and a big hug in seam binding ribbon and this guy was ready.  I raised it up on dimensionals and called it done.  Kind of simple, but has lots of interest at the same time.  Give it a try!

Have a creative day!

Moana

Adventure Awaits with Lullaby?

Sometimes traditional, sometimes floral, and sometimes, just right.  That is how I feel about the projects for today.  They came together so effortlessly.  I guess when you are in the zone good things happen.

Adventure Awaits

Can you believe these designer papers came out of the lullaby set?  They could speak baby, I guess, but really have a lot more uses than that.  Super fun with even a twist of masculine.

Adventure Awaits

I snatched the anchor from the Guy Greetings set to add to the nautical theme.  My husband told me that the color combination felt like the beach.  Guess it worked.

Adventure Awaits

I brought in the spots stamp from the Perpetual Birthday set and it gave just the right touch.  The largest spot is the exact size as the small epoxy sticker from the sticker set.  Things just lined right up!  I do love decorating the inside of the card to match.

With the square and circle framelits to do my cutting, it kept the sentiments large but still a nice layering effect.  I have gotten into 1/8″ boarders on my layering.  Those are hard to line up without using tombo adhesive to wiggle it into place.  Love that stuff.  And I even got to use more of my Sale-a-bration ribbon stash!  Winning all around!

Have a creative day!

Moana

Cheerful Critters with Snuggles & Smooches

Working with pretty paper is always a ton of fun.  I decided to pick out a sheet of designer series paper and go for it.

Let's Party Snuggles and Smooches!

This paper is from the Sweet Taffy set.  The whole pack is really fun, exciting, and full of bold color.  You are seeing both sides of one sheet today.

Let's Party Snuggles and Smooches!

That is probably my greatest frustration with some of the paper packs.  Which side do you love more?  Well, today I used both.  I made a card for each side.  Aren’t they fun?

Let's Party Snuggles and Smooches!

The stamping was pretty basic and the layering was simple too.  Sometimes that is just all you need.  I really wanted to enjoy the paper though.

Let's Party Snuggles and Smooches!

Of course, if you know me well, you know that orange is my favorite color.  When I get asked that question I always clarify with, “Yes, orange, like a pumpkin orange.” Too much fun there!

Have a creative day!

Moana

Sheltering Tree

Spring is in the air and blossoms are all over my fruit trees.  I thought I would try to re-create that with my maiden voyage of this beautiful stamp set.  It worked.

Sheltering Tree

I tried  to add more interest with white stazon flowers in the trees, but my color pallet was too light and they were kind of lost.  Seeing them in person makes it easier that through a photo.  I thought I could color with some blendabilities over the stazon parts, but decided against it.

Sheltering Tree

The card base is wild wasabi with whisper white and blushing bride layers.  To keep the boarders nice and tidy I adhered them with tombo multipurpose glue so I could wiggle them in just the right place.  I love the skinny boarders, but they can be a bit tricky.

Sheltering Tree

It needed some kind of embellishment, but it had to be subtle.  The linen thread became the perfect choice and finished it off perfectly.

Sheltering Tree

Now, with these cards looking so happy and ready to go, I wish I had a bunch more to send to all my dear friends.

Have a creative day!

Moana

Cheer Up Buttercup!

Does this little guy just cheer you up or what?  I absolutely love the fry box die cut!  I have made so many for quick little gifts here and there.  They go together so quickly and look adorable every time!

Cheer Up Buttercup

The geometric stamp set has this awesome sentiment and is actually the reason I had to have it.  It has also had tons of use for obvious reasons.

Cheer Up Buttercup

I was actually headed out to work and decided I needed a little get well goody for a student of mine.  I already had the flower ready from the other days project.  With that said, it only took about ten minutes to put this all together, including a quick few photos to share.

Cheer Up Buttercup

I am telling you, this die is the best!  Get into those quick project ideas and share some happiness!

Have a creative day!

Moana