From Santa

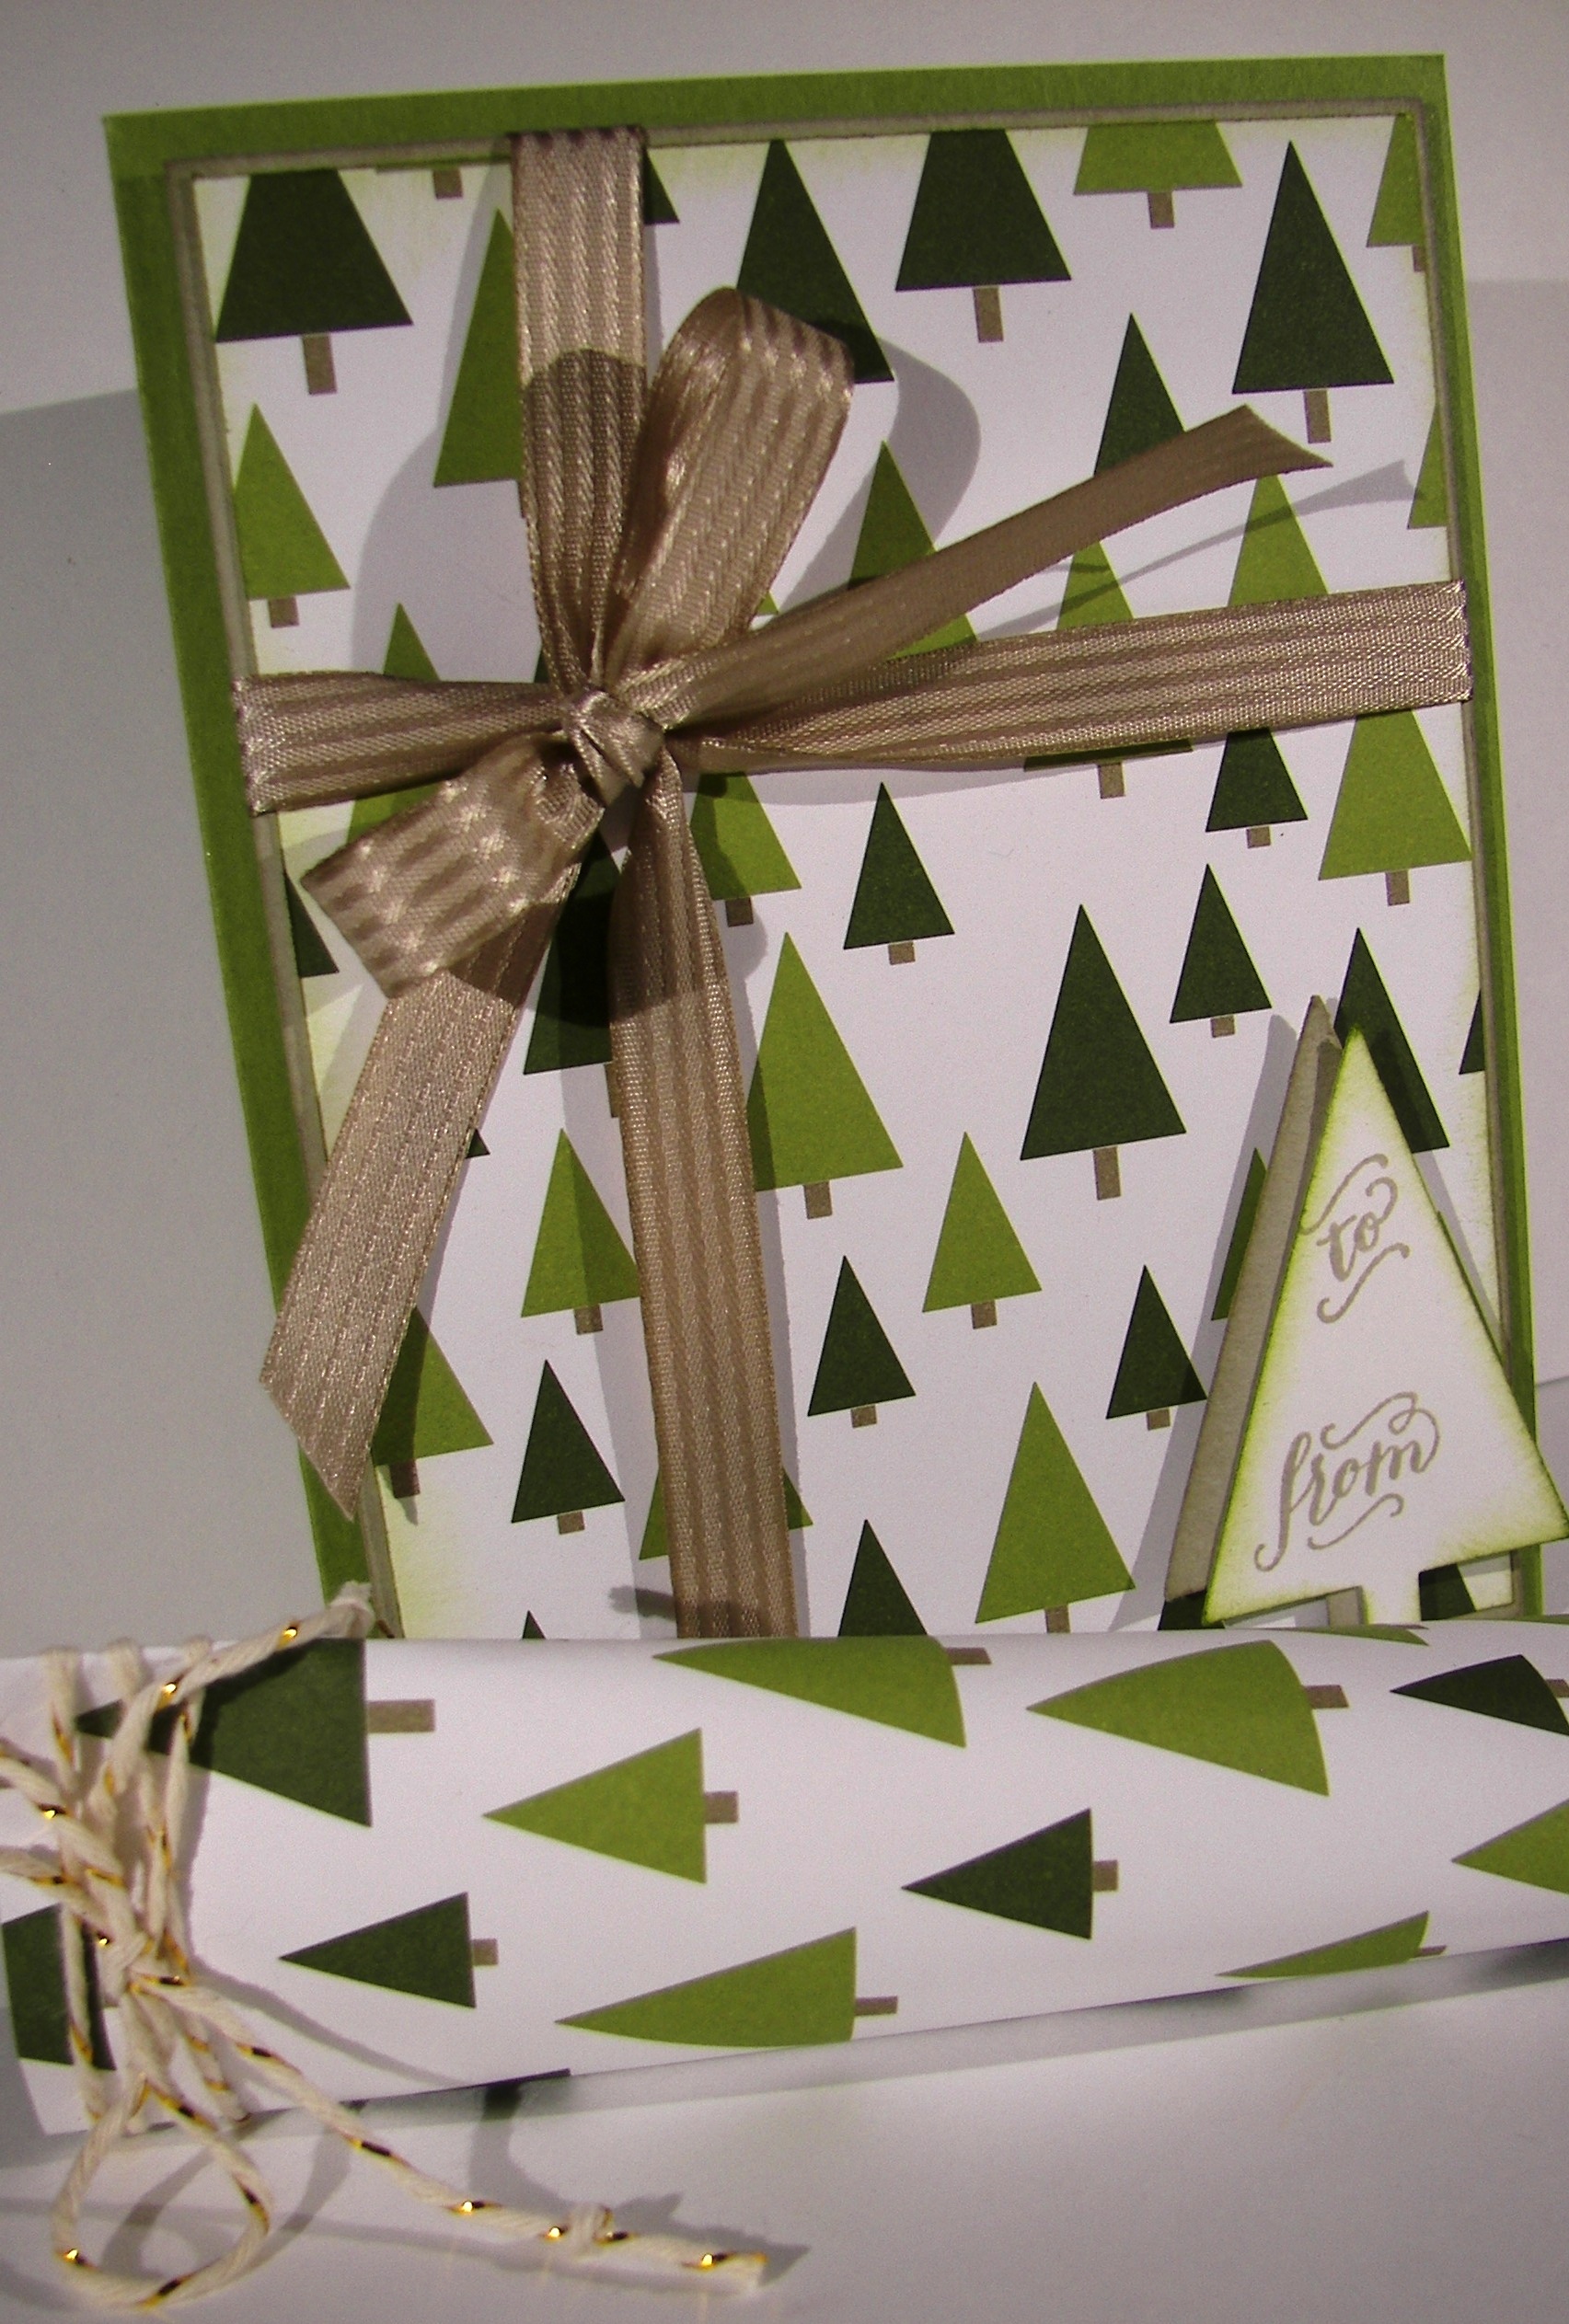
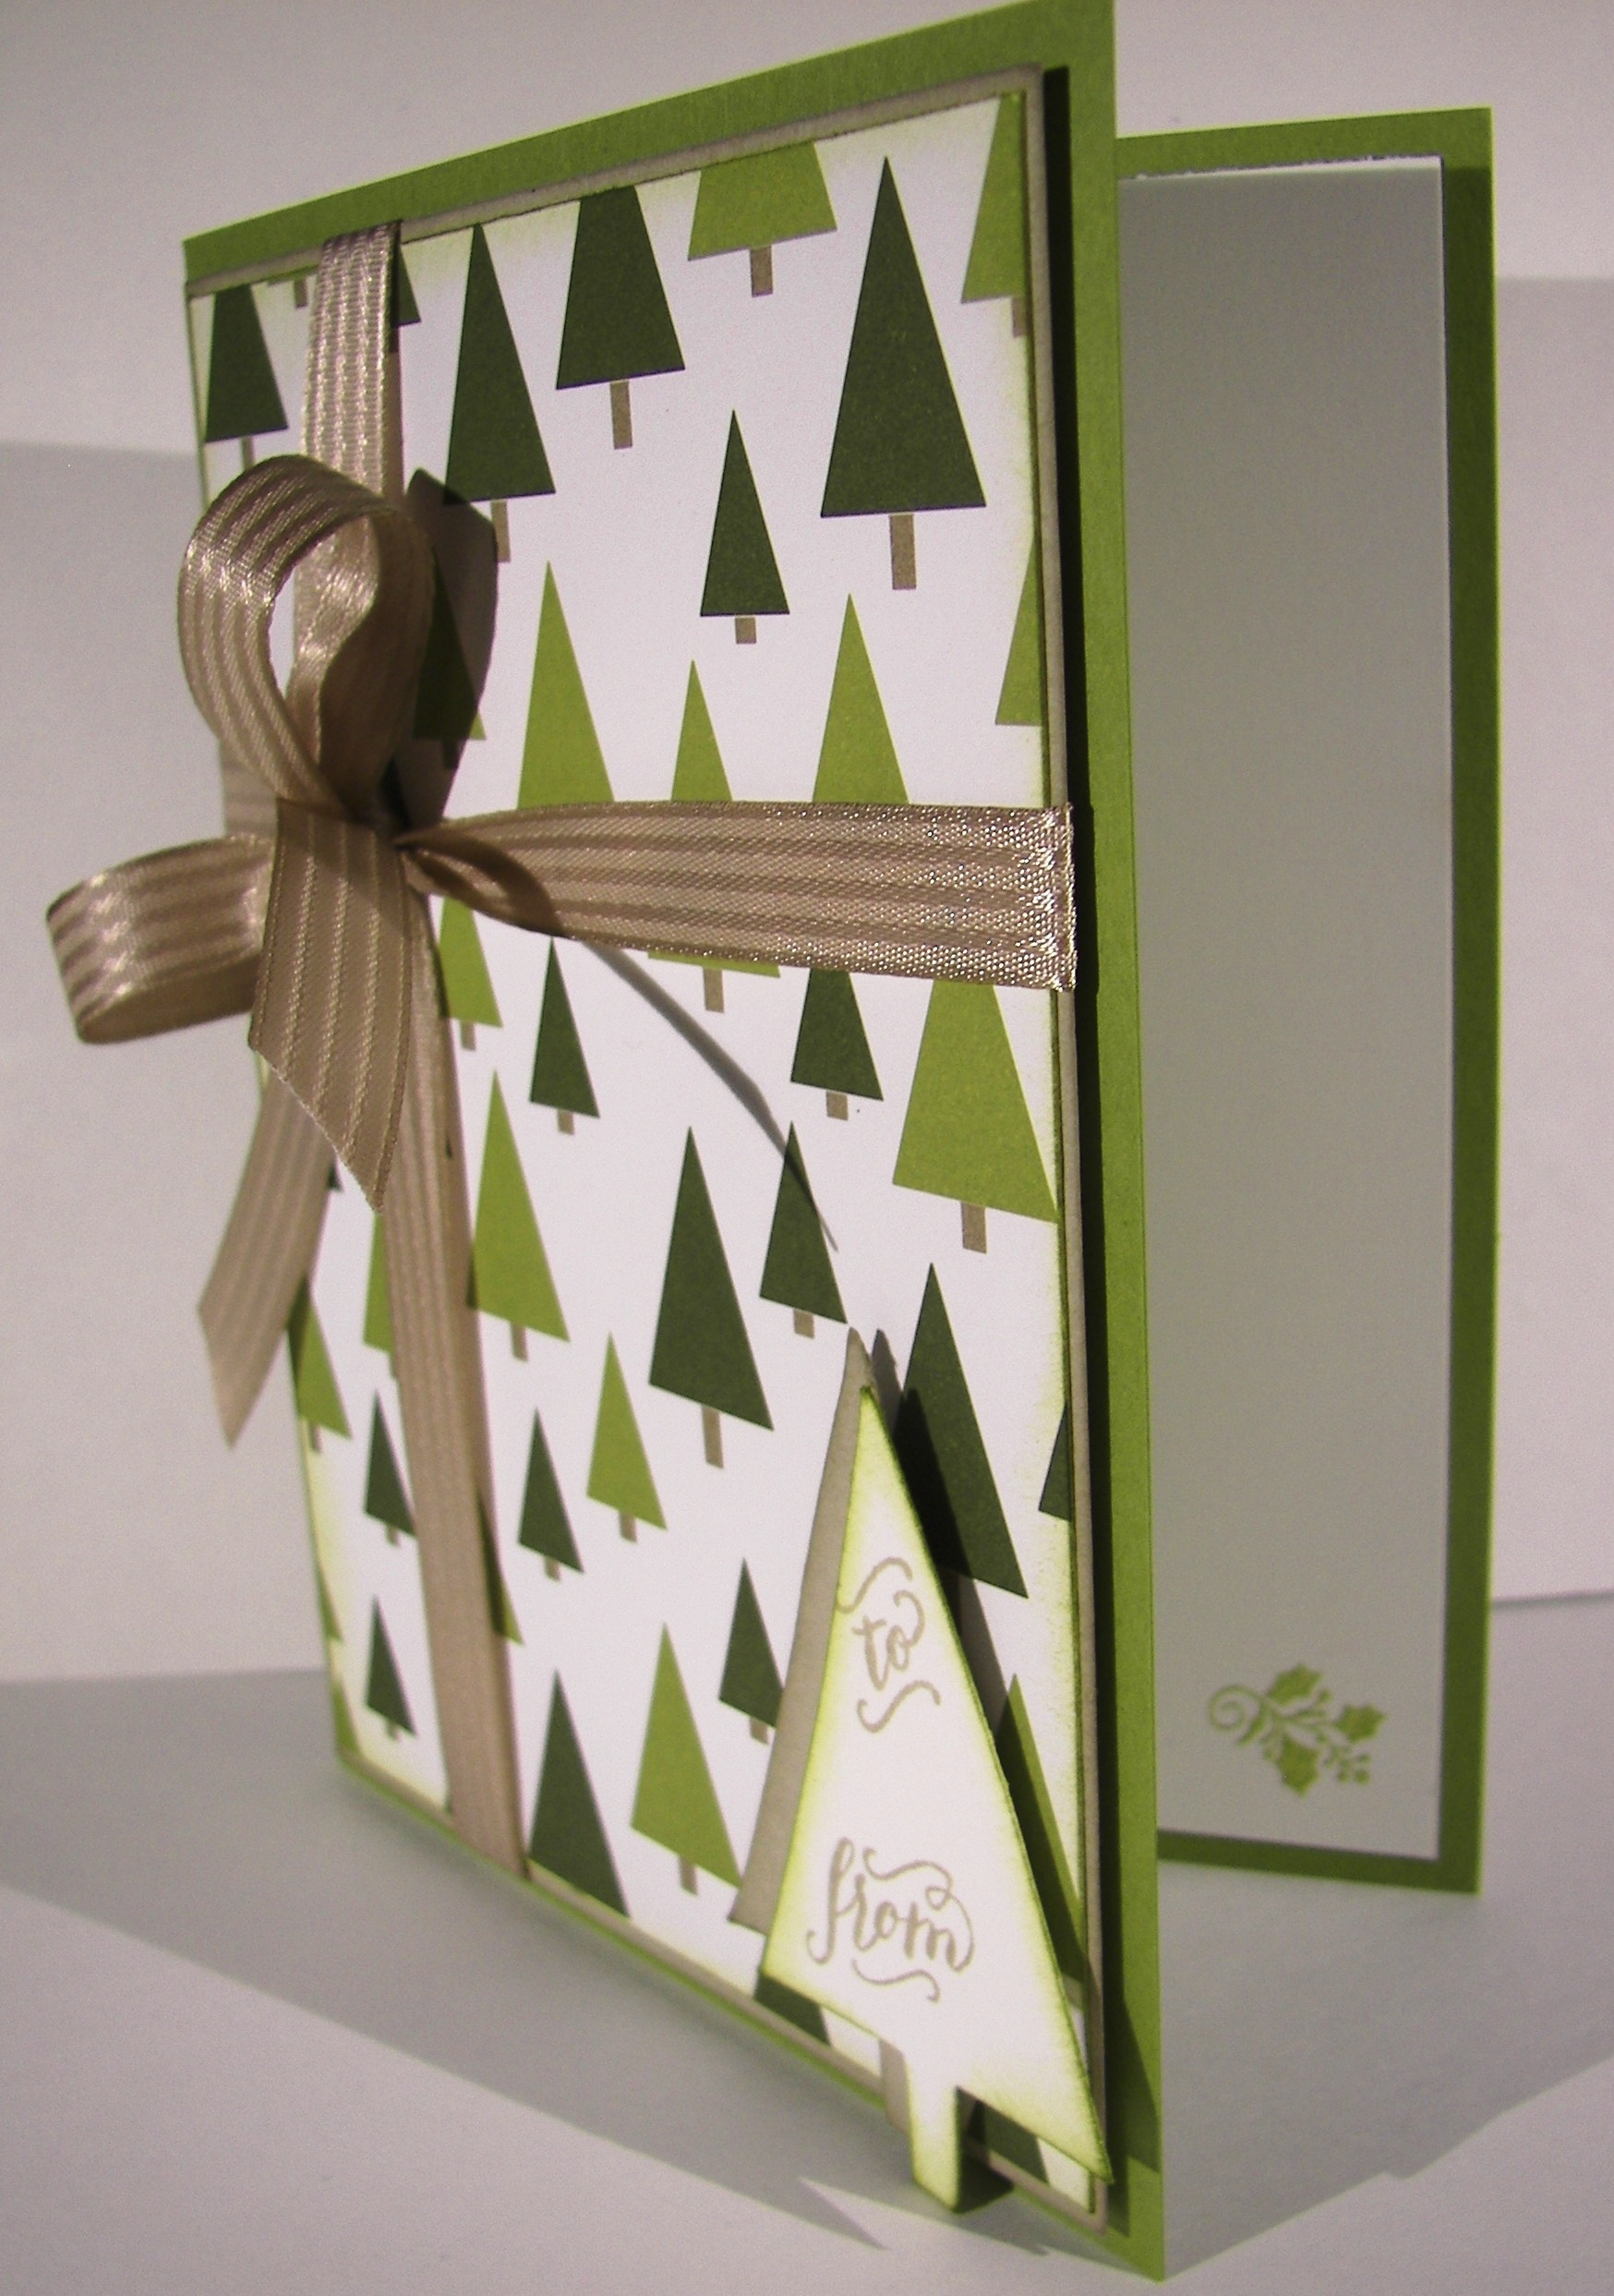
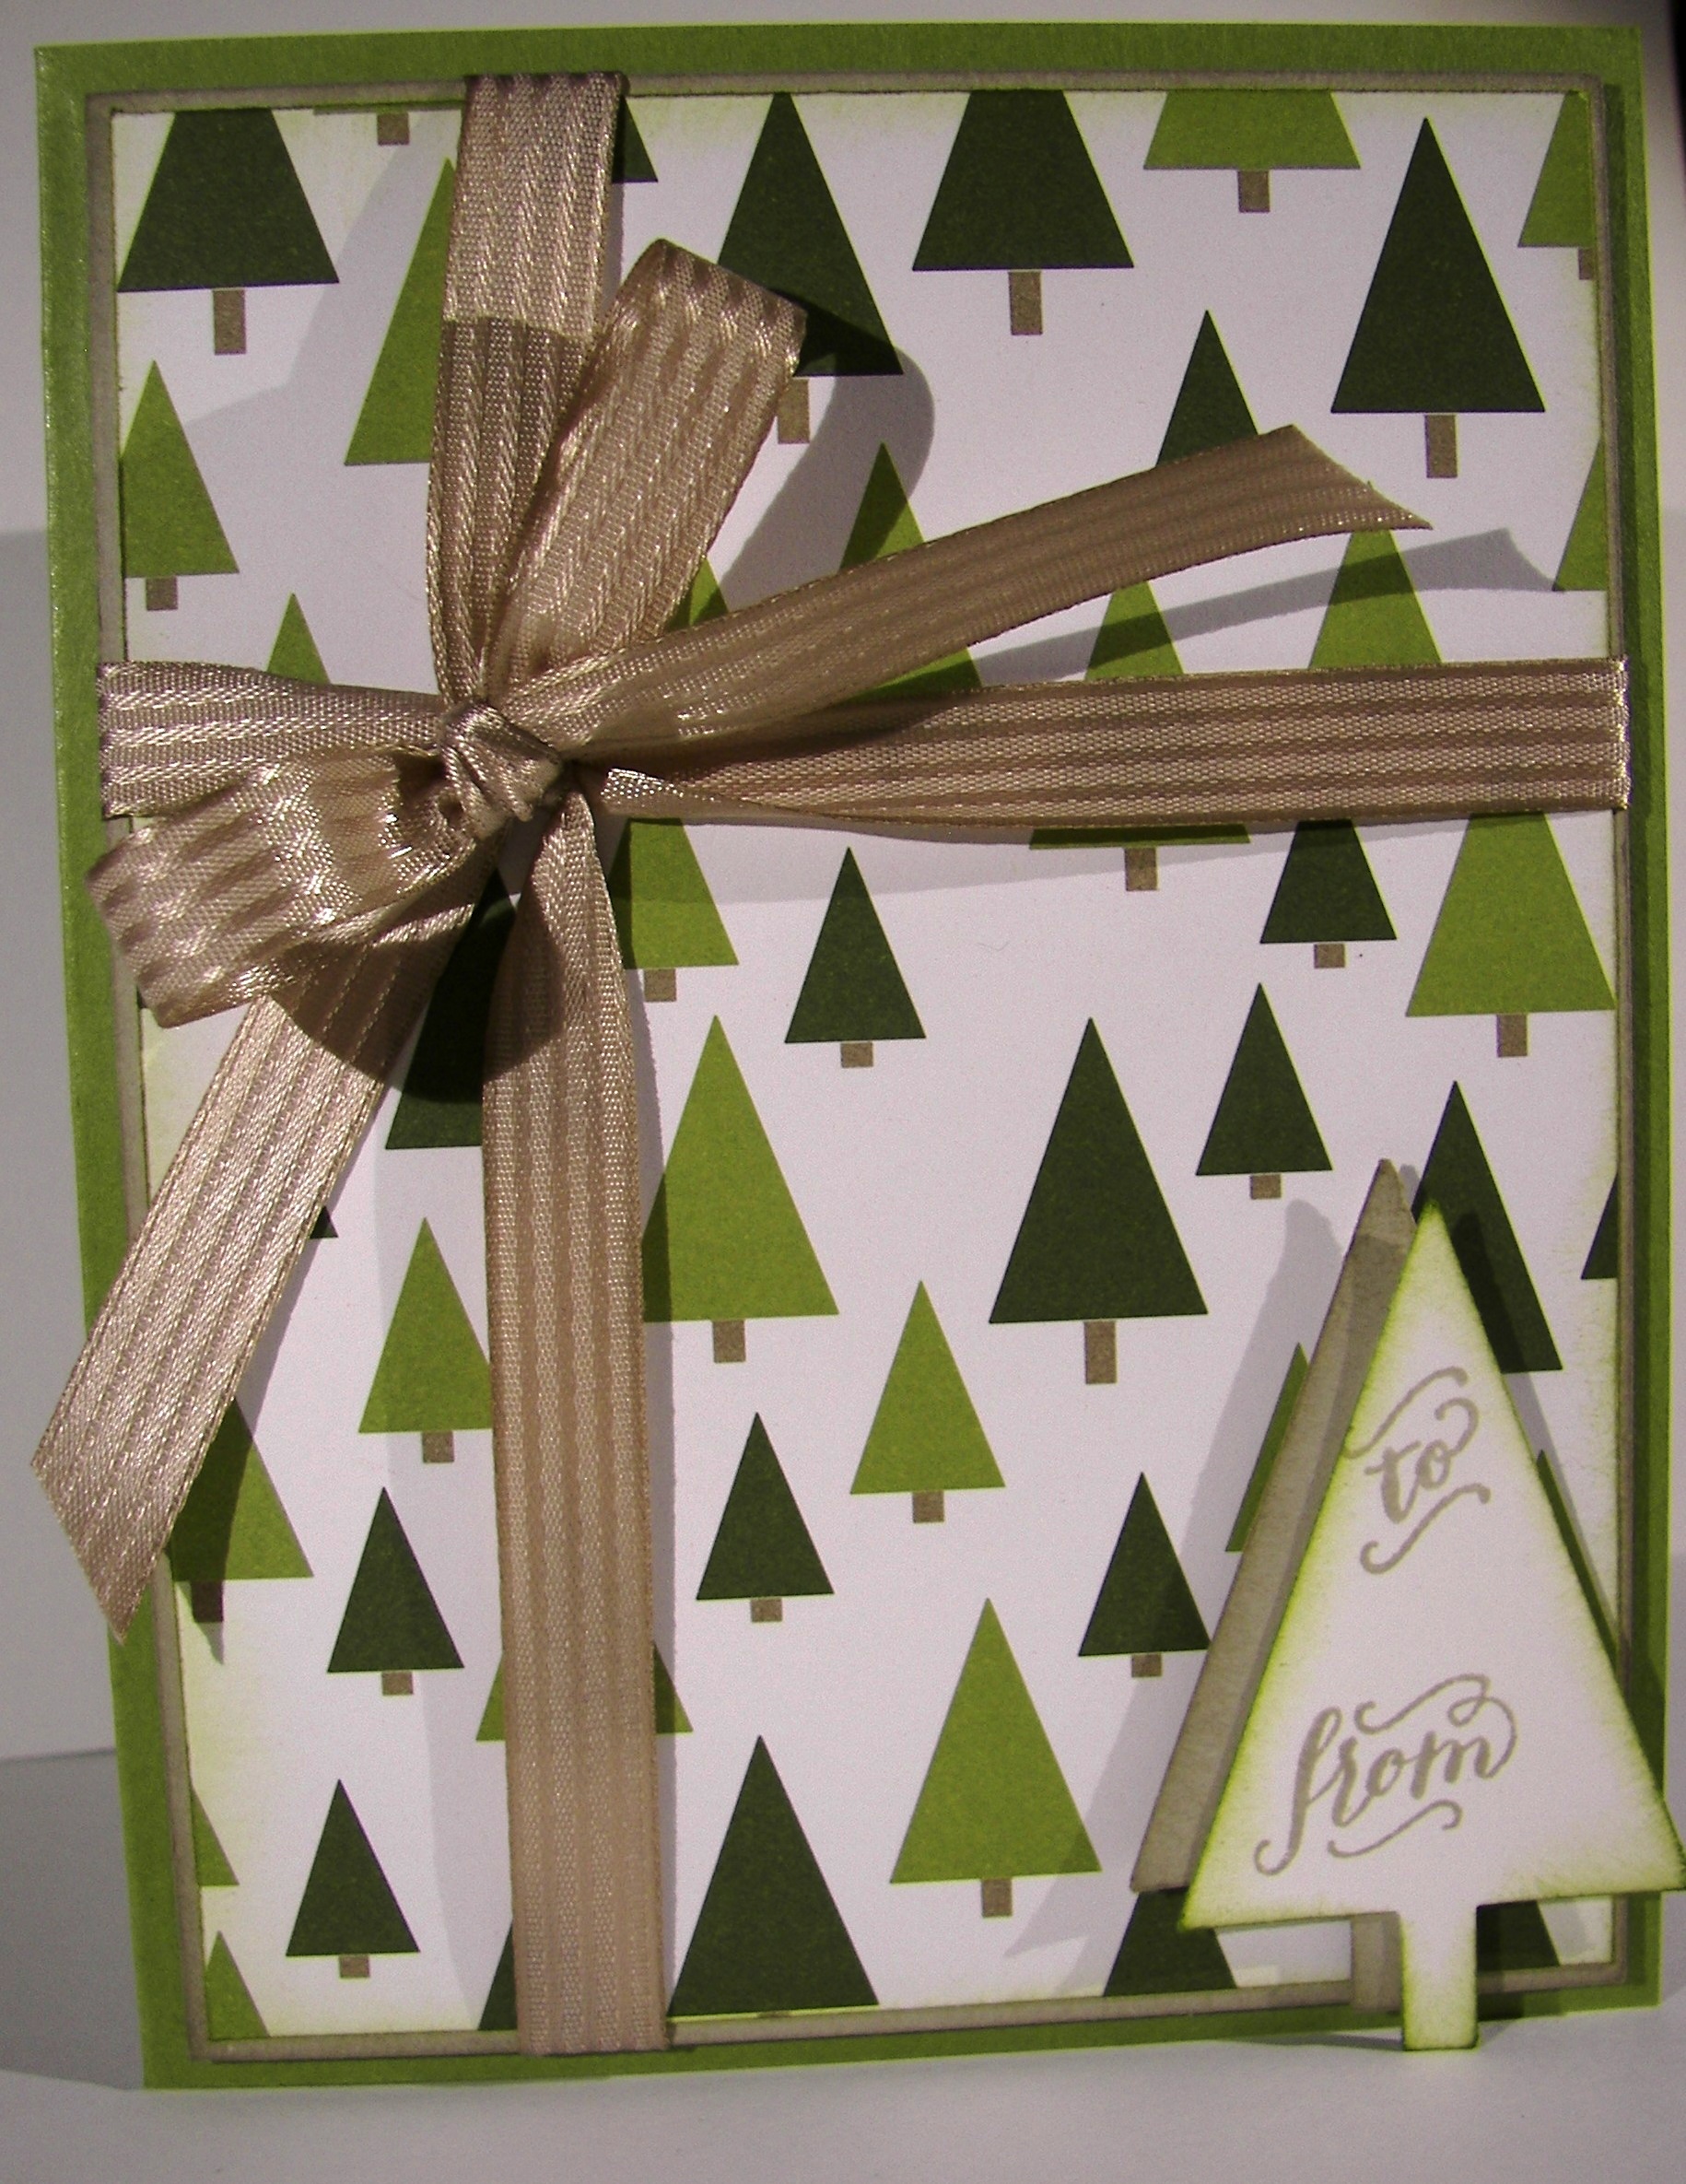
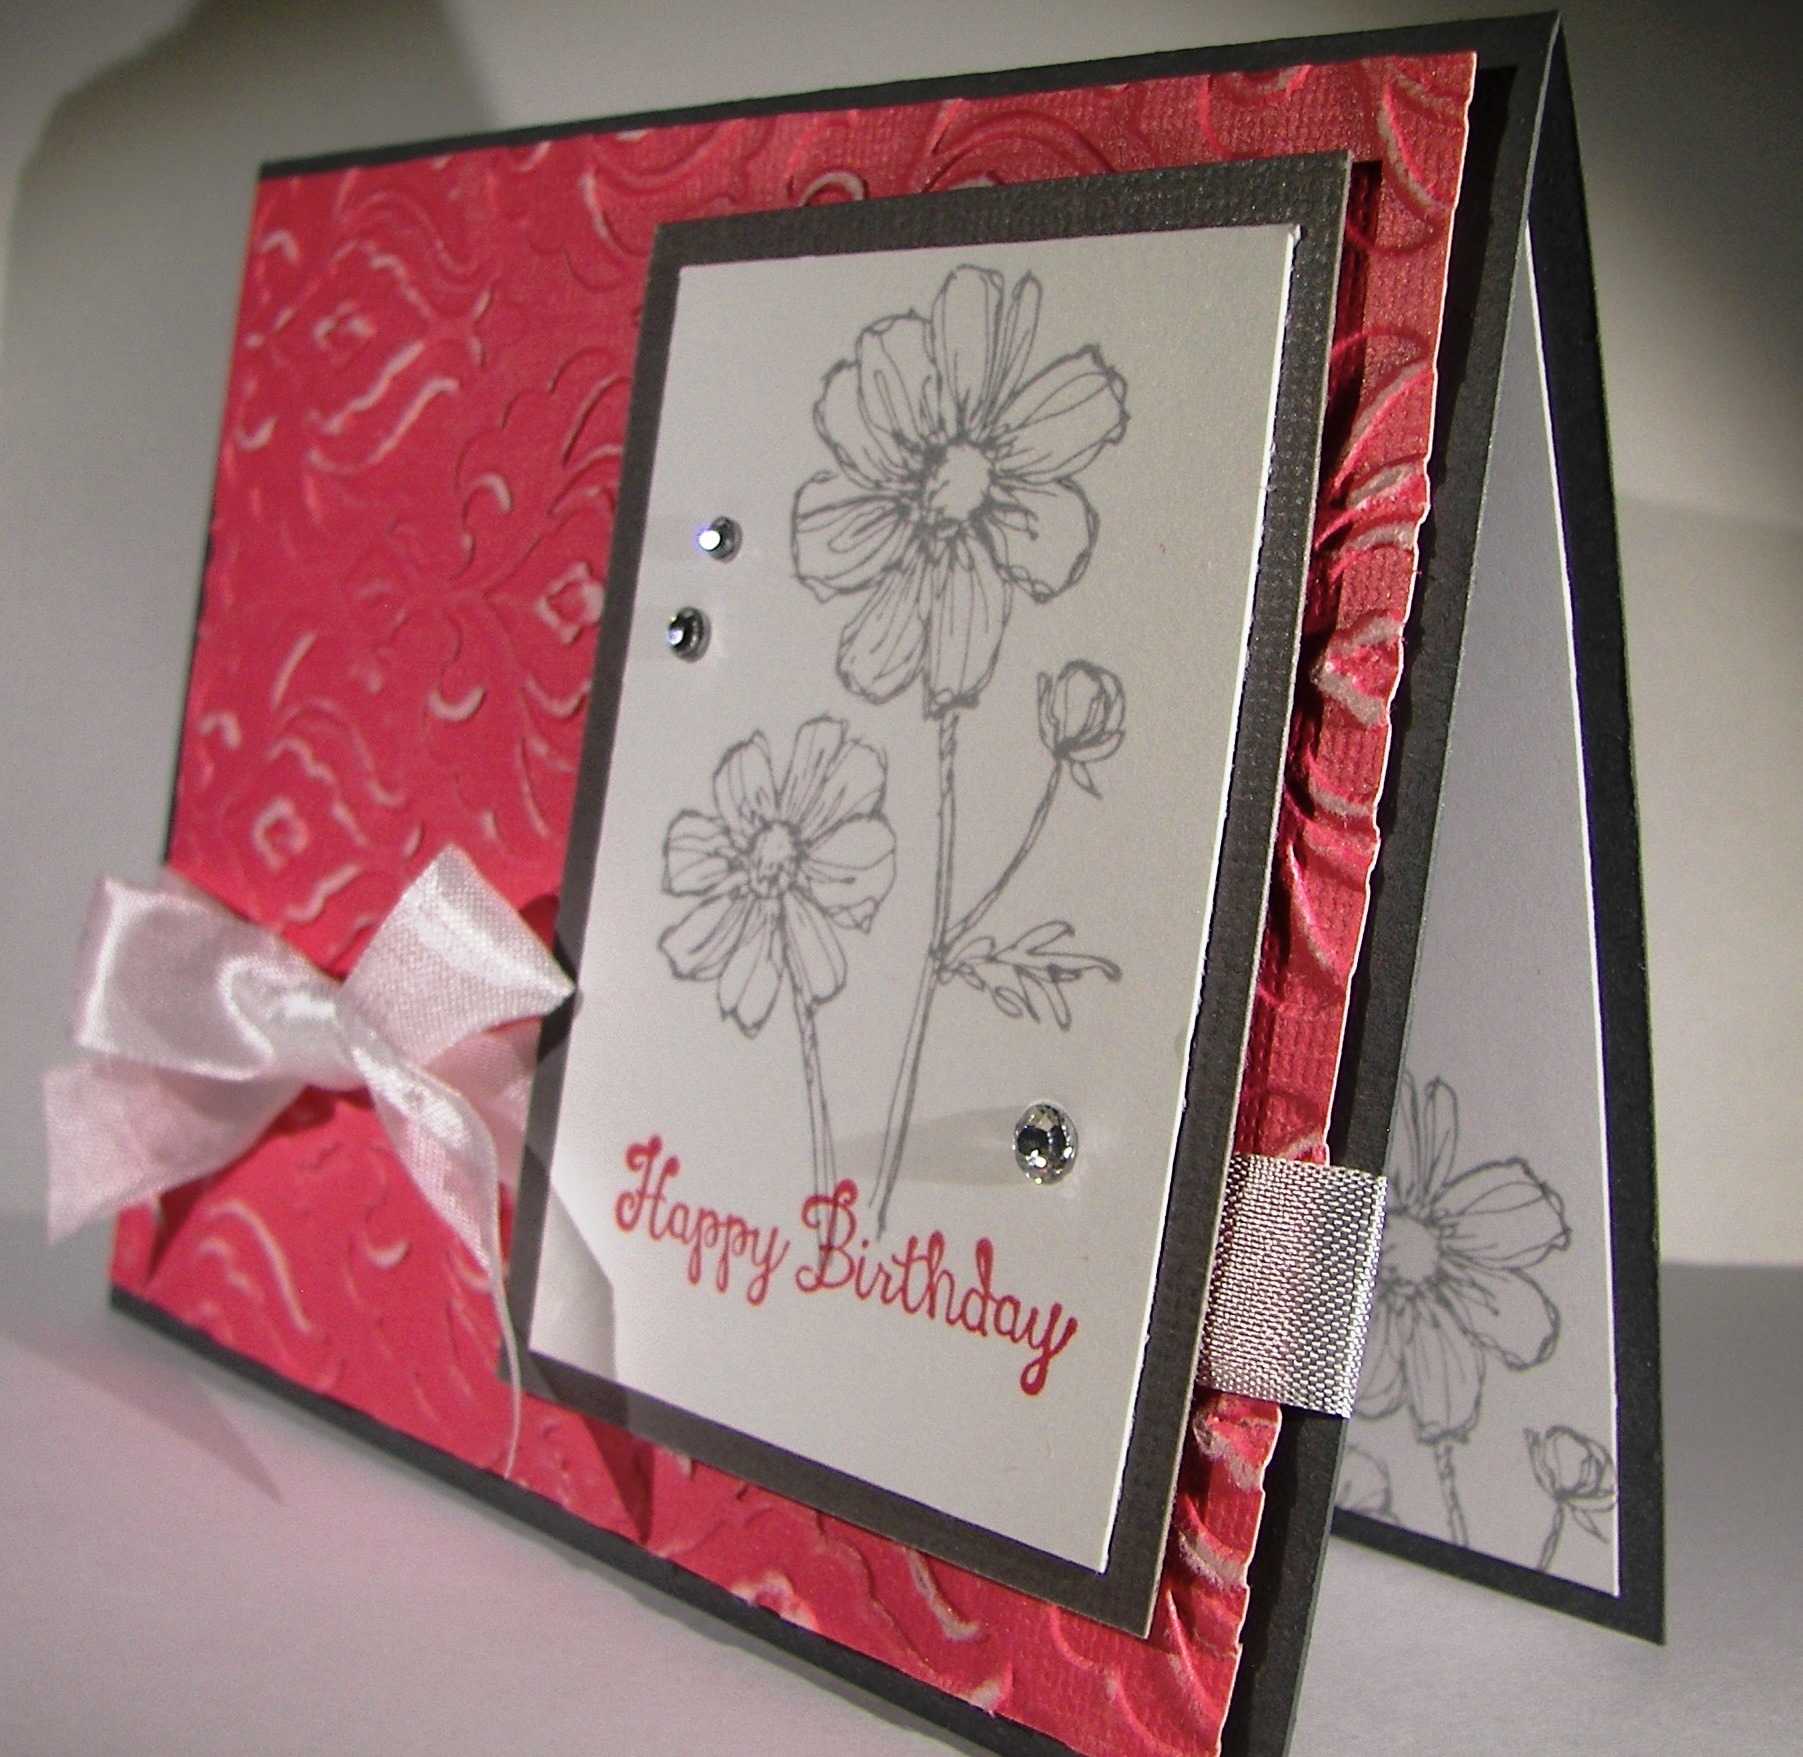
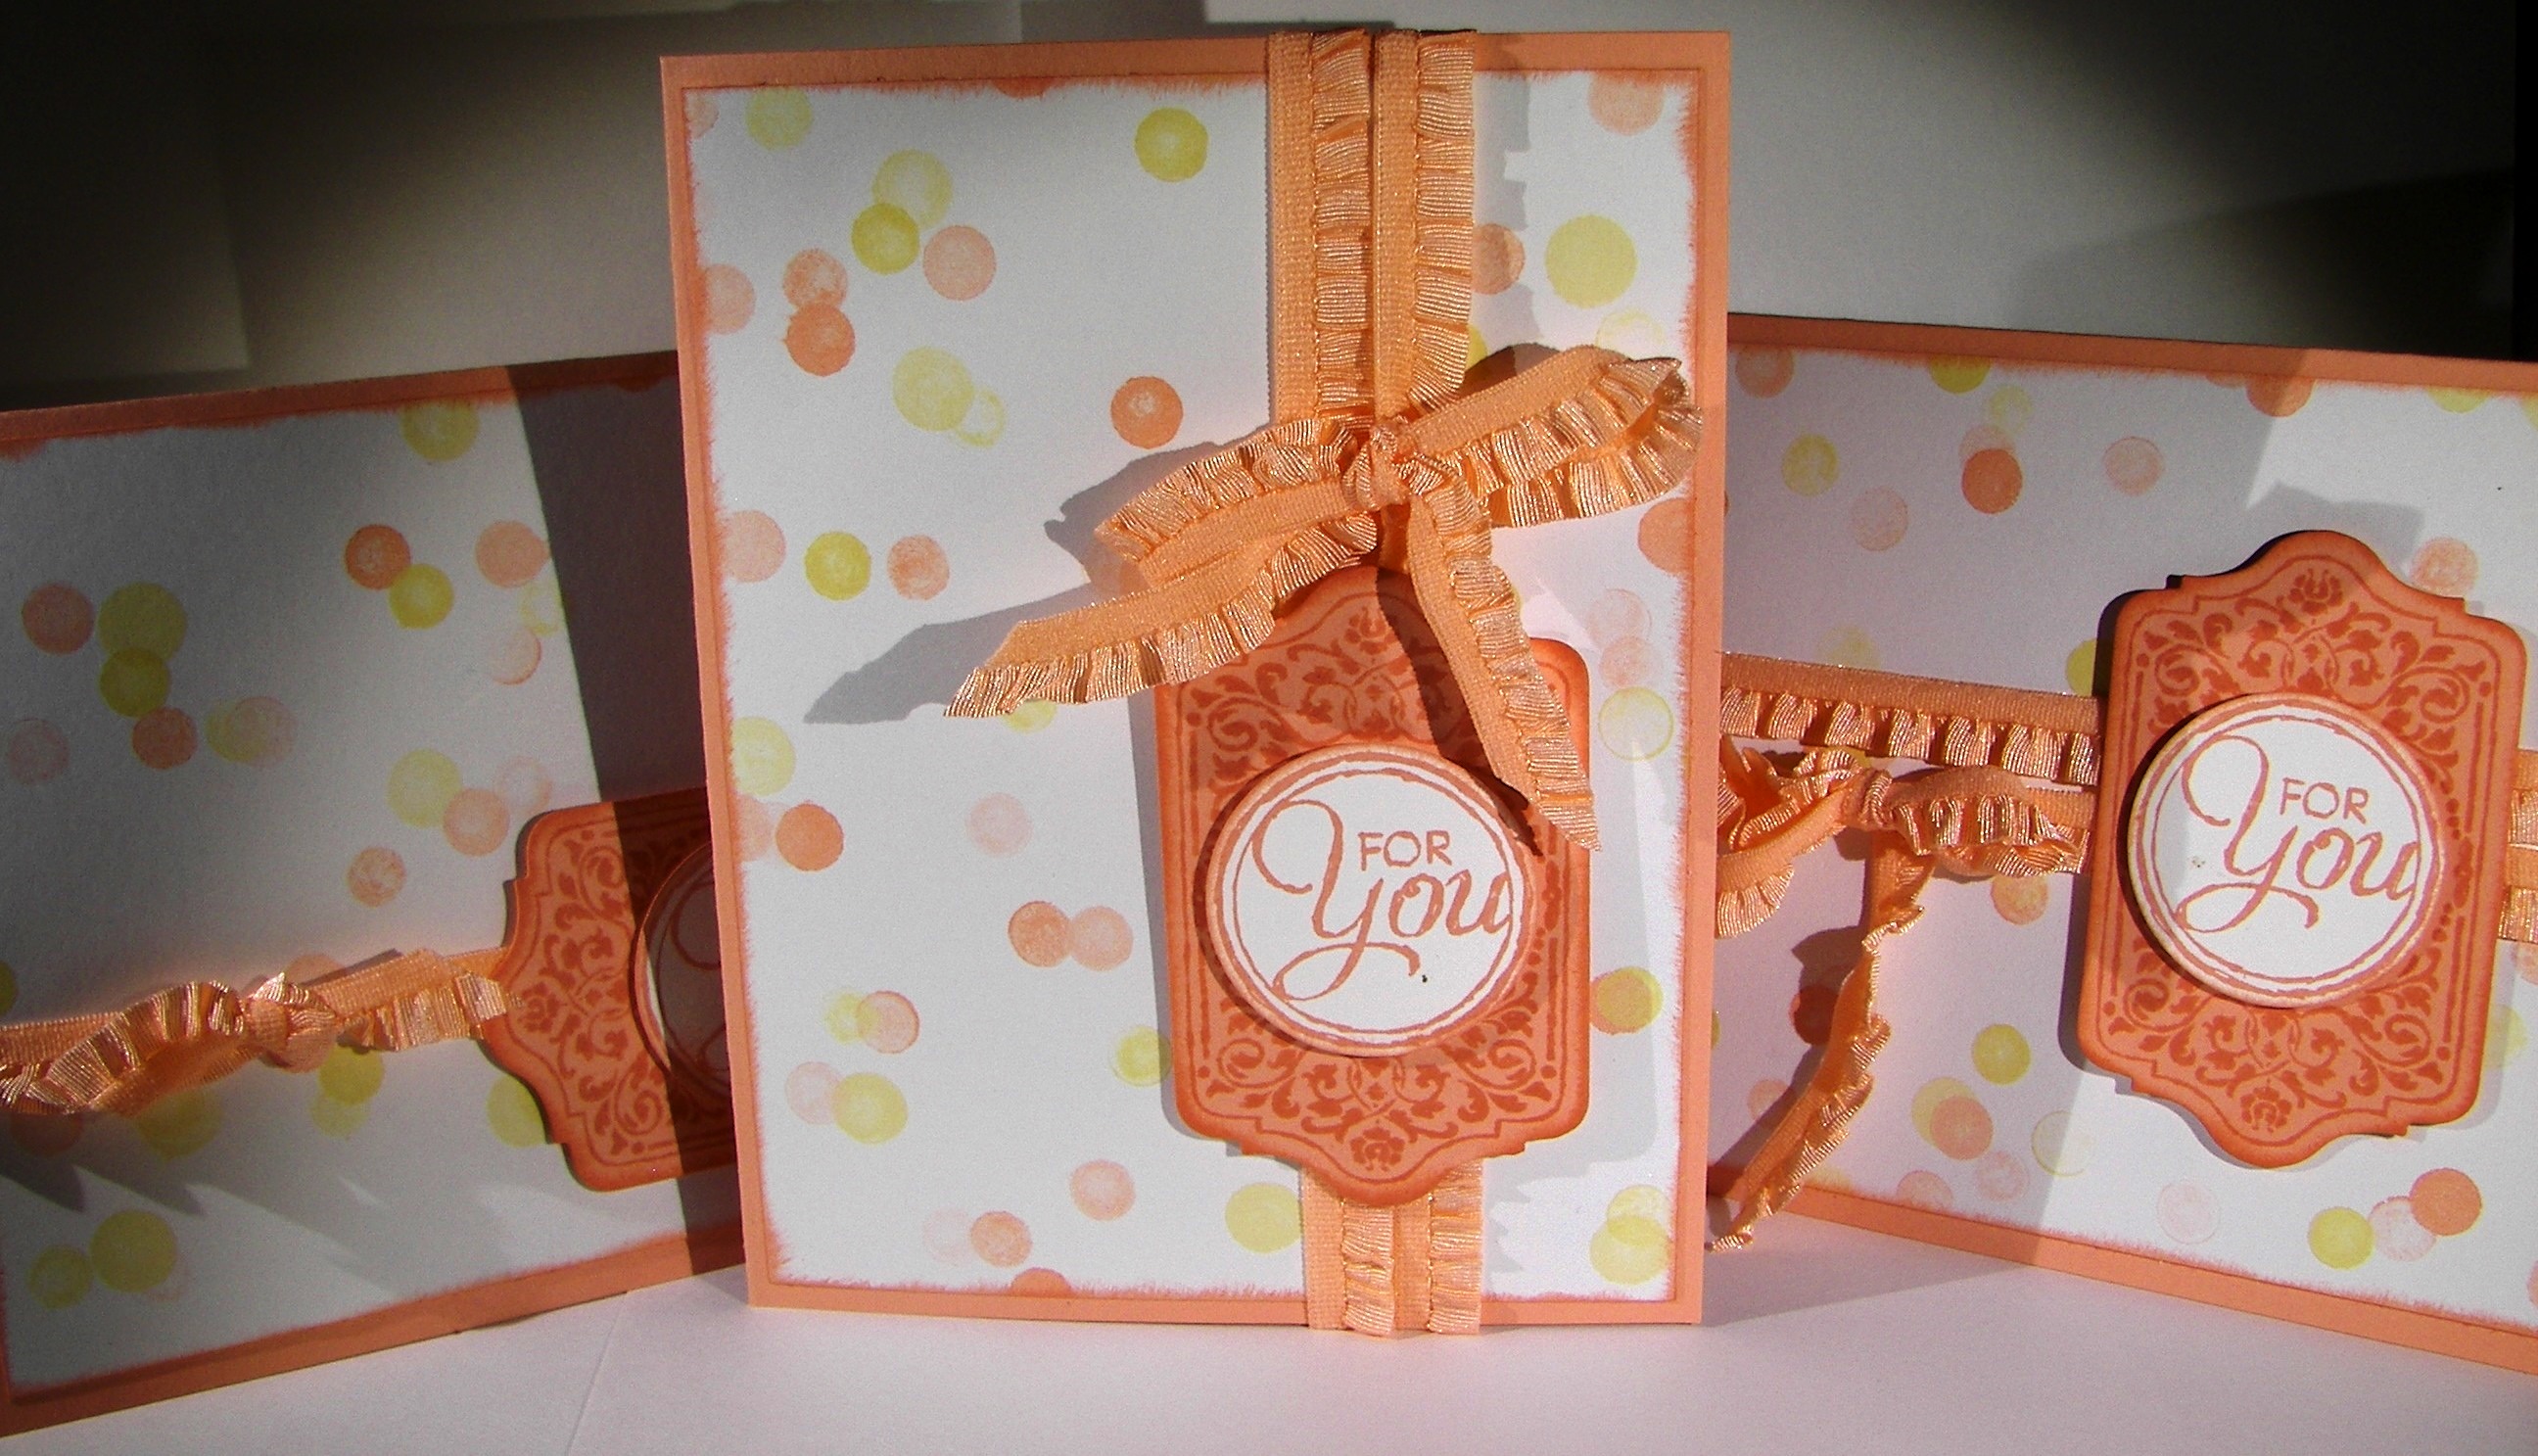
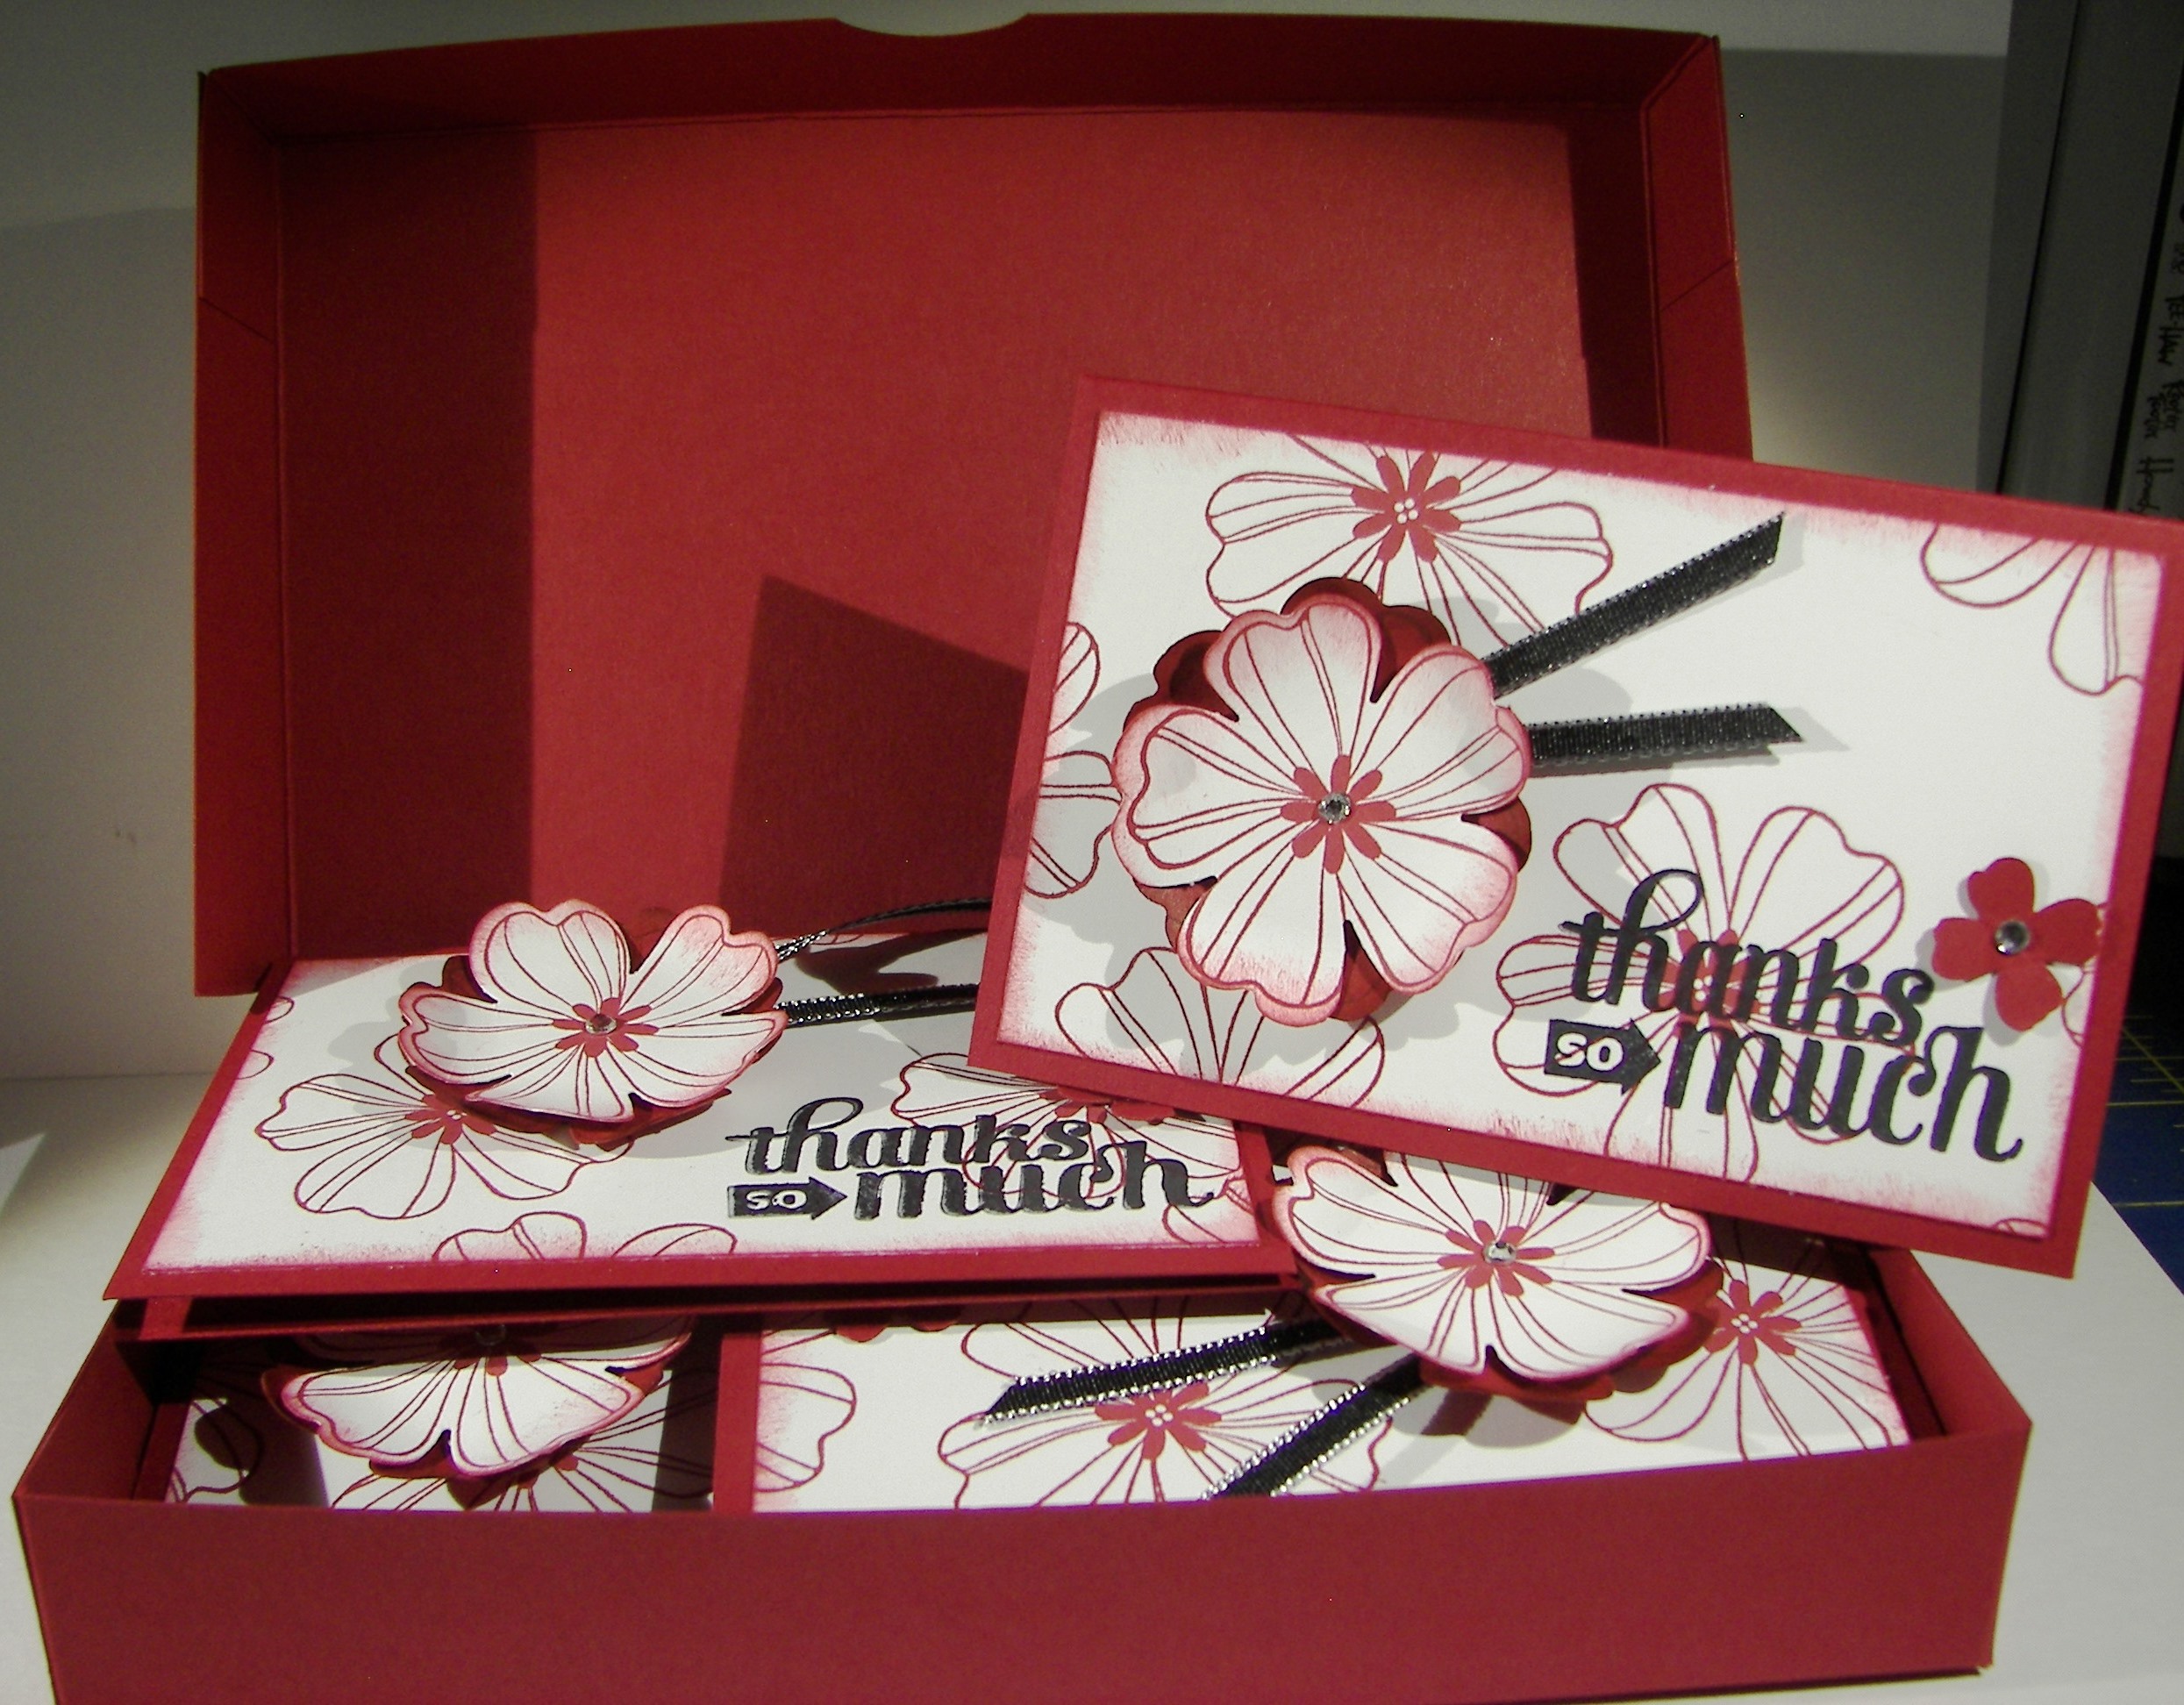
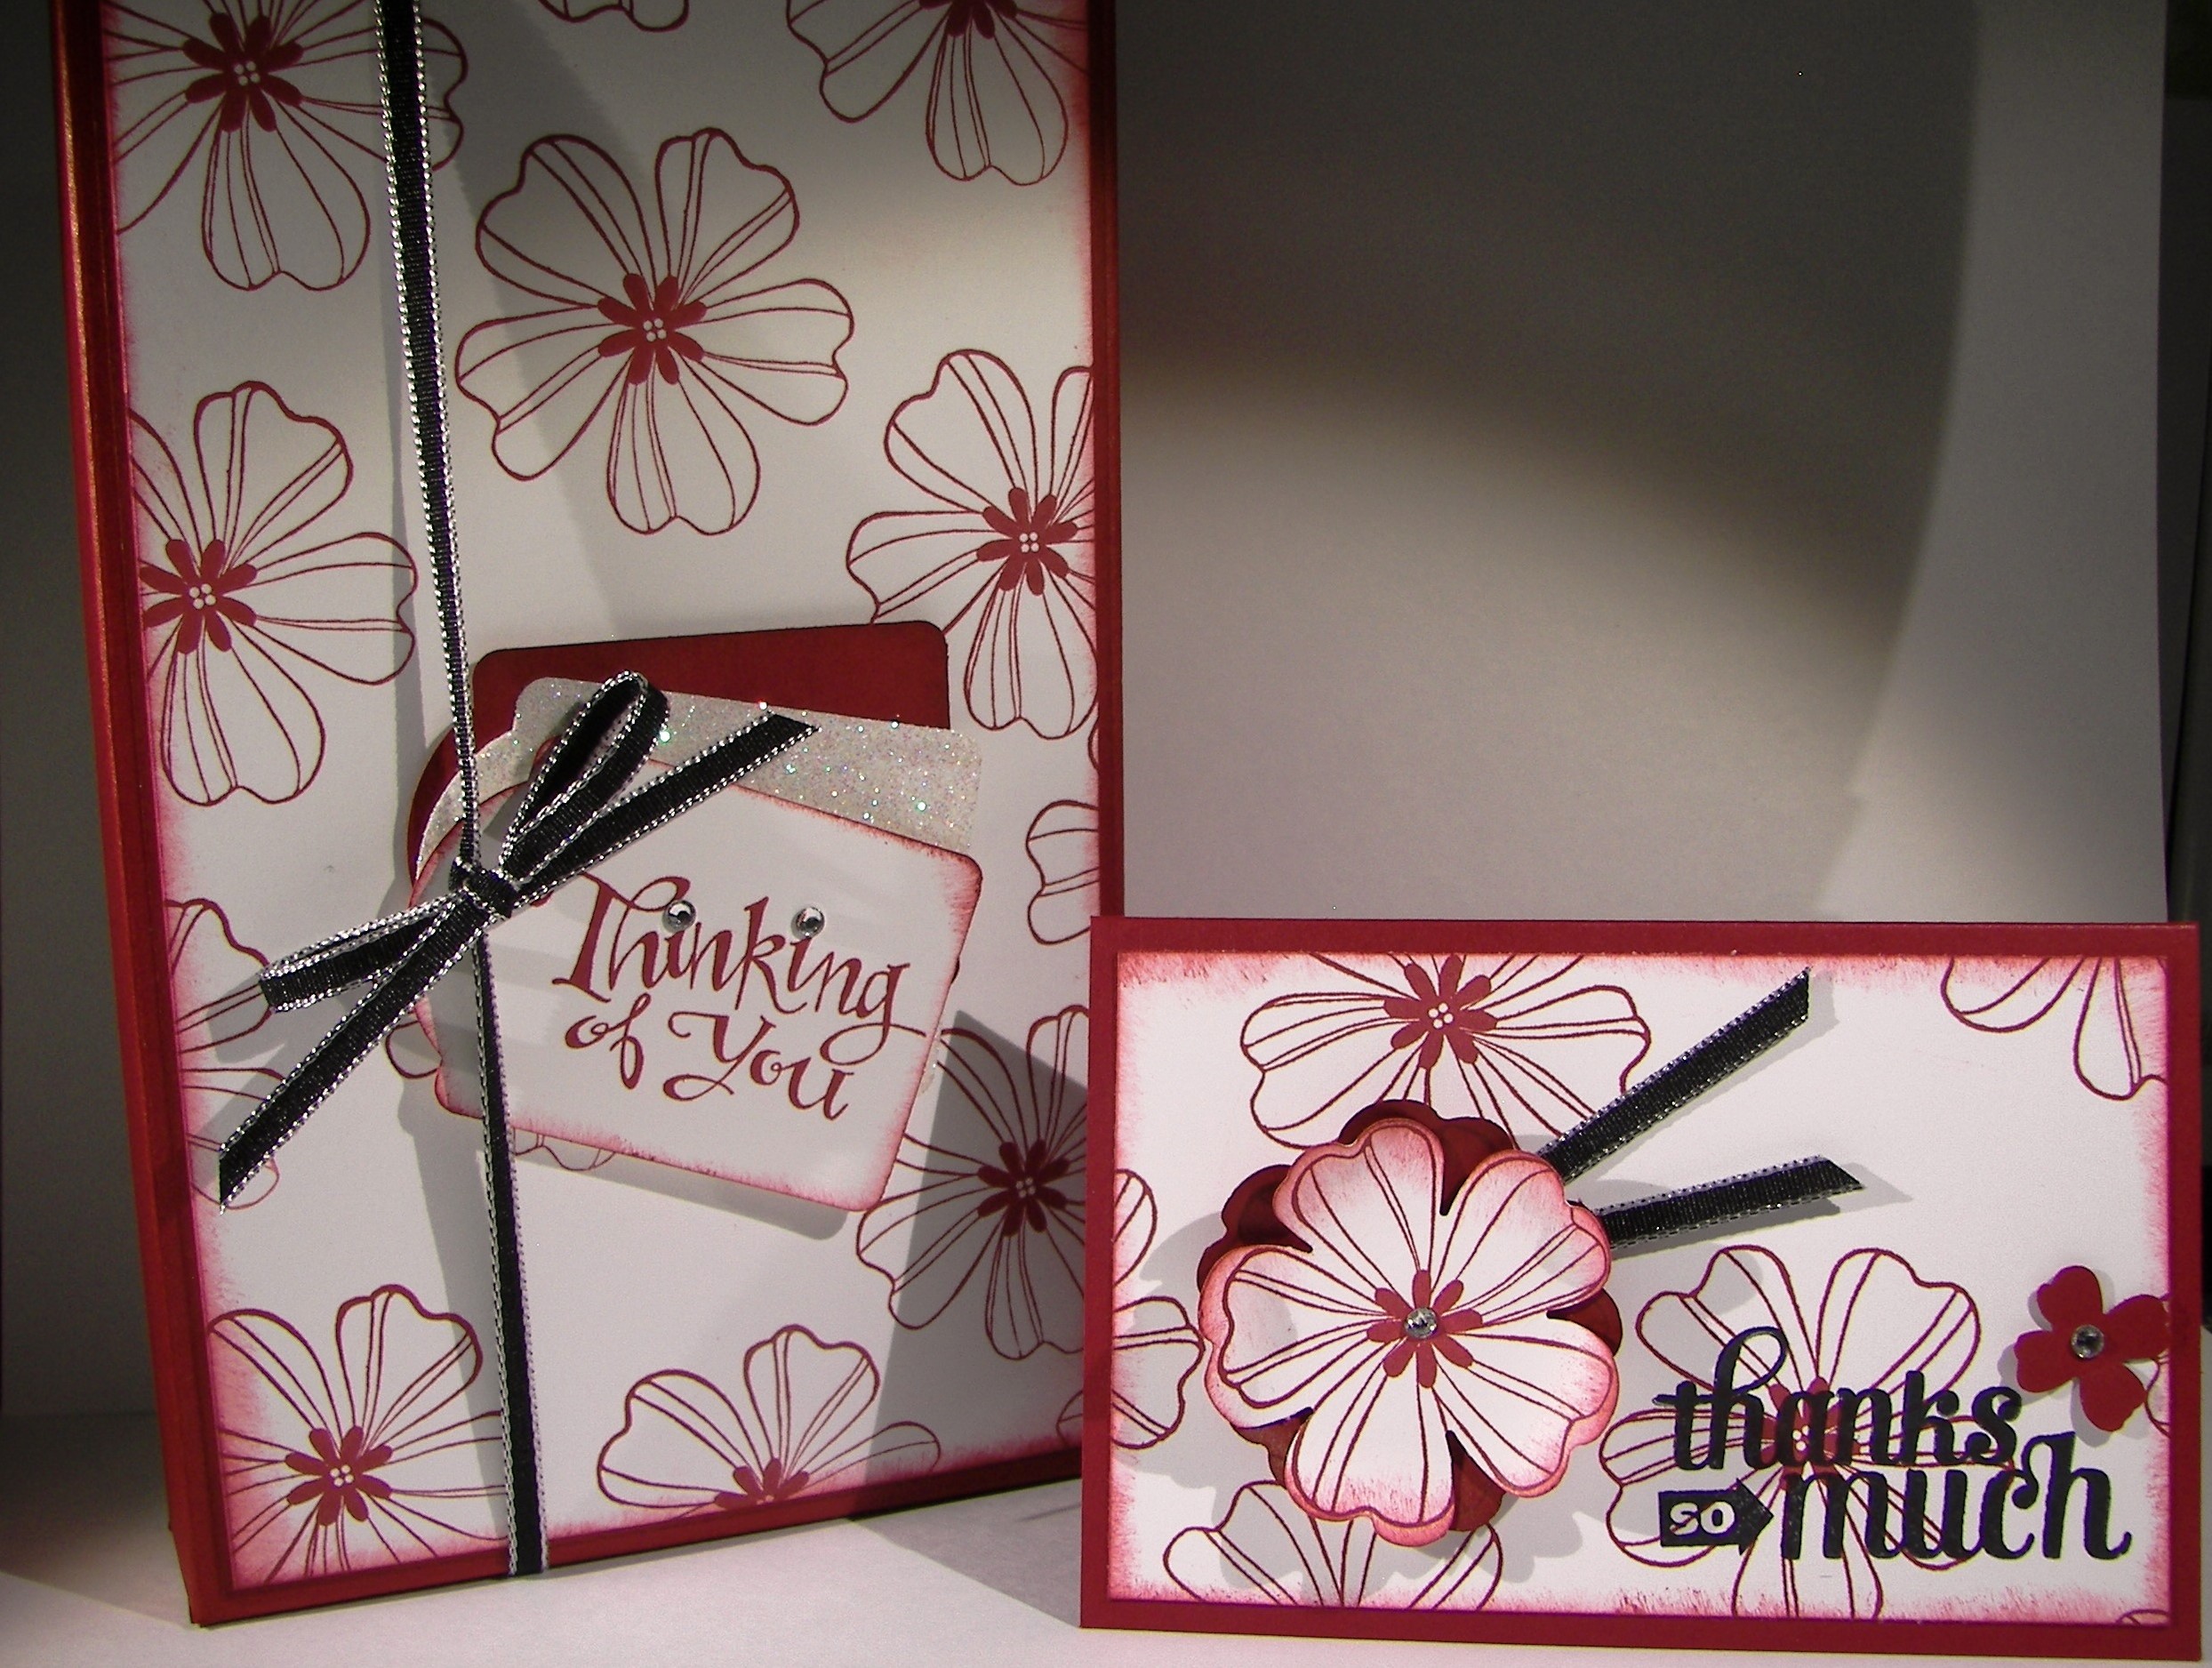
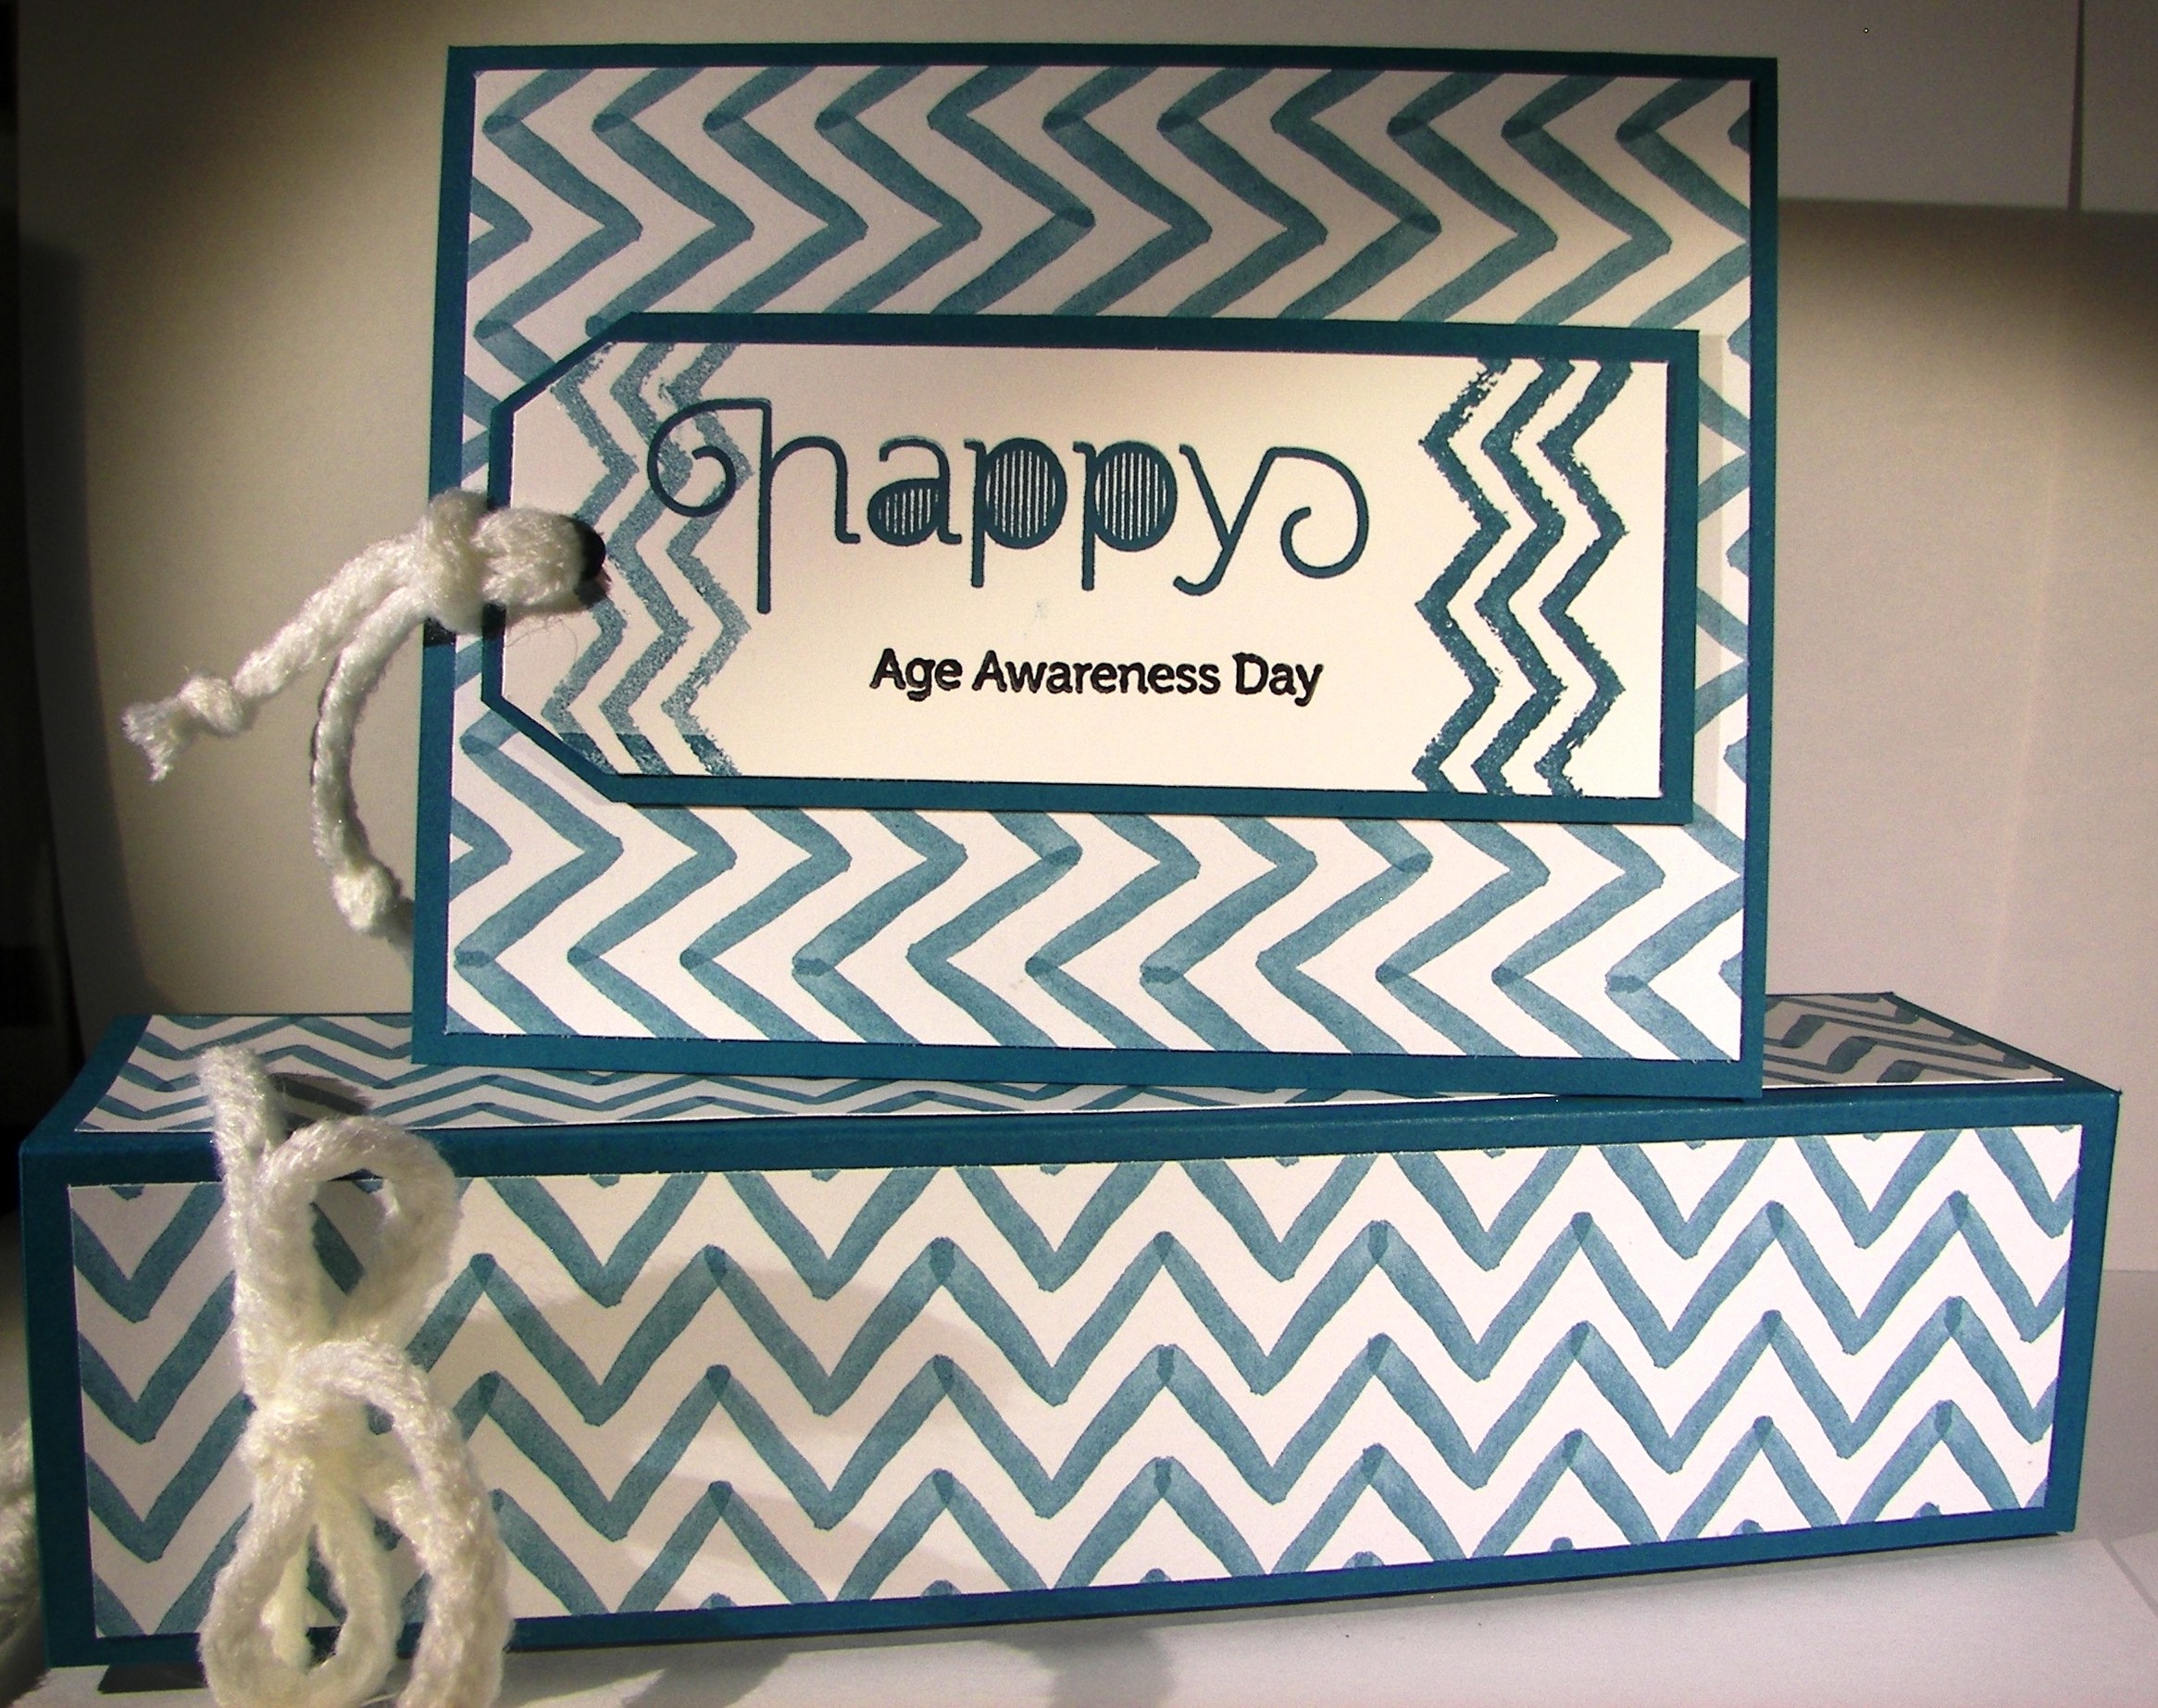
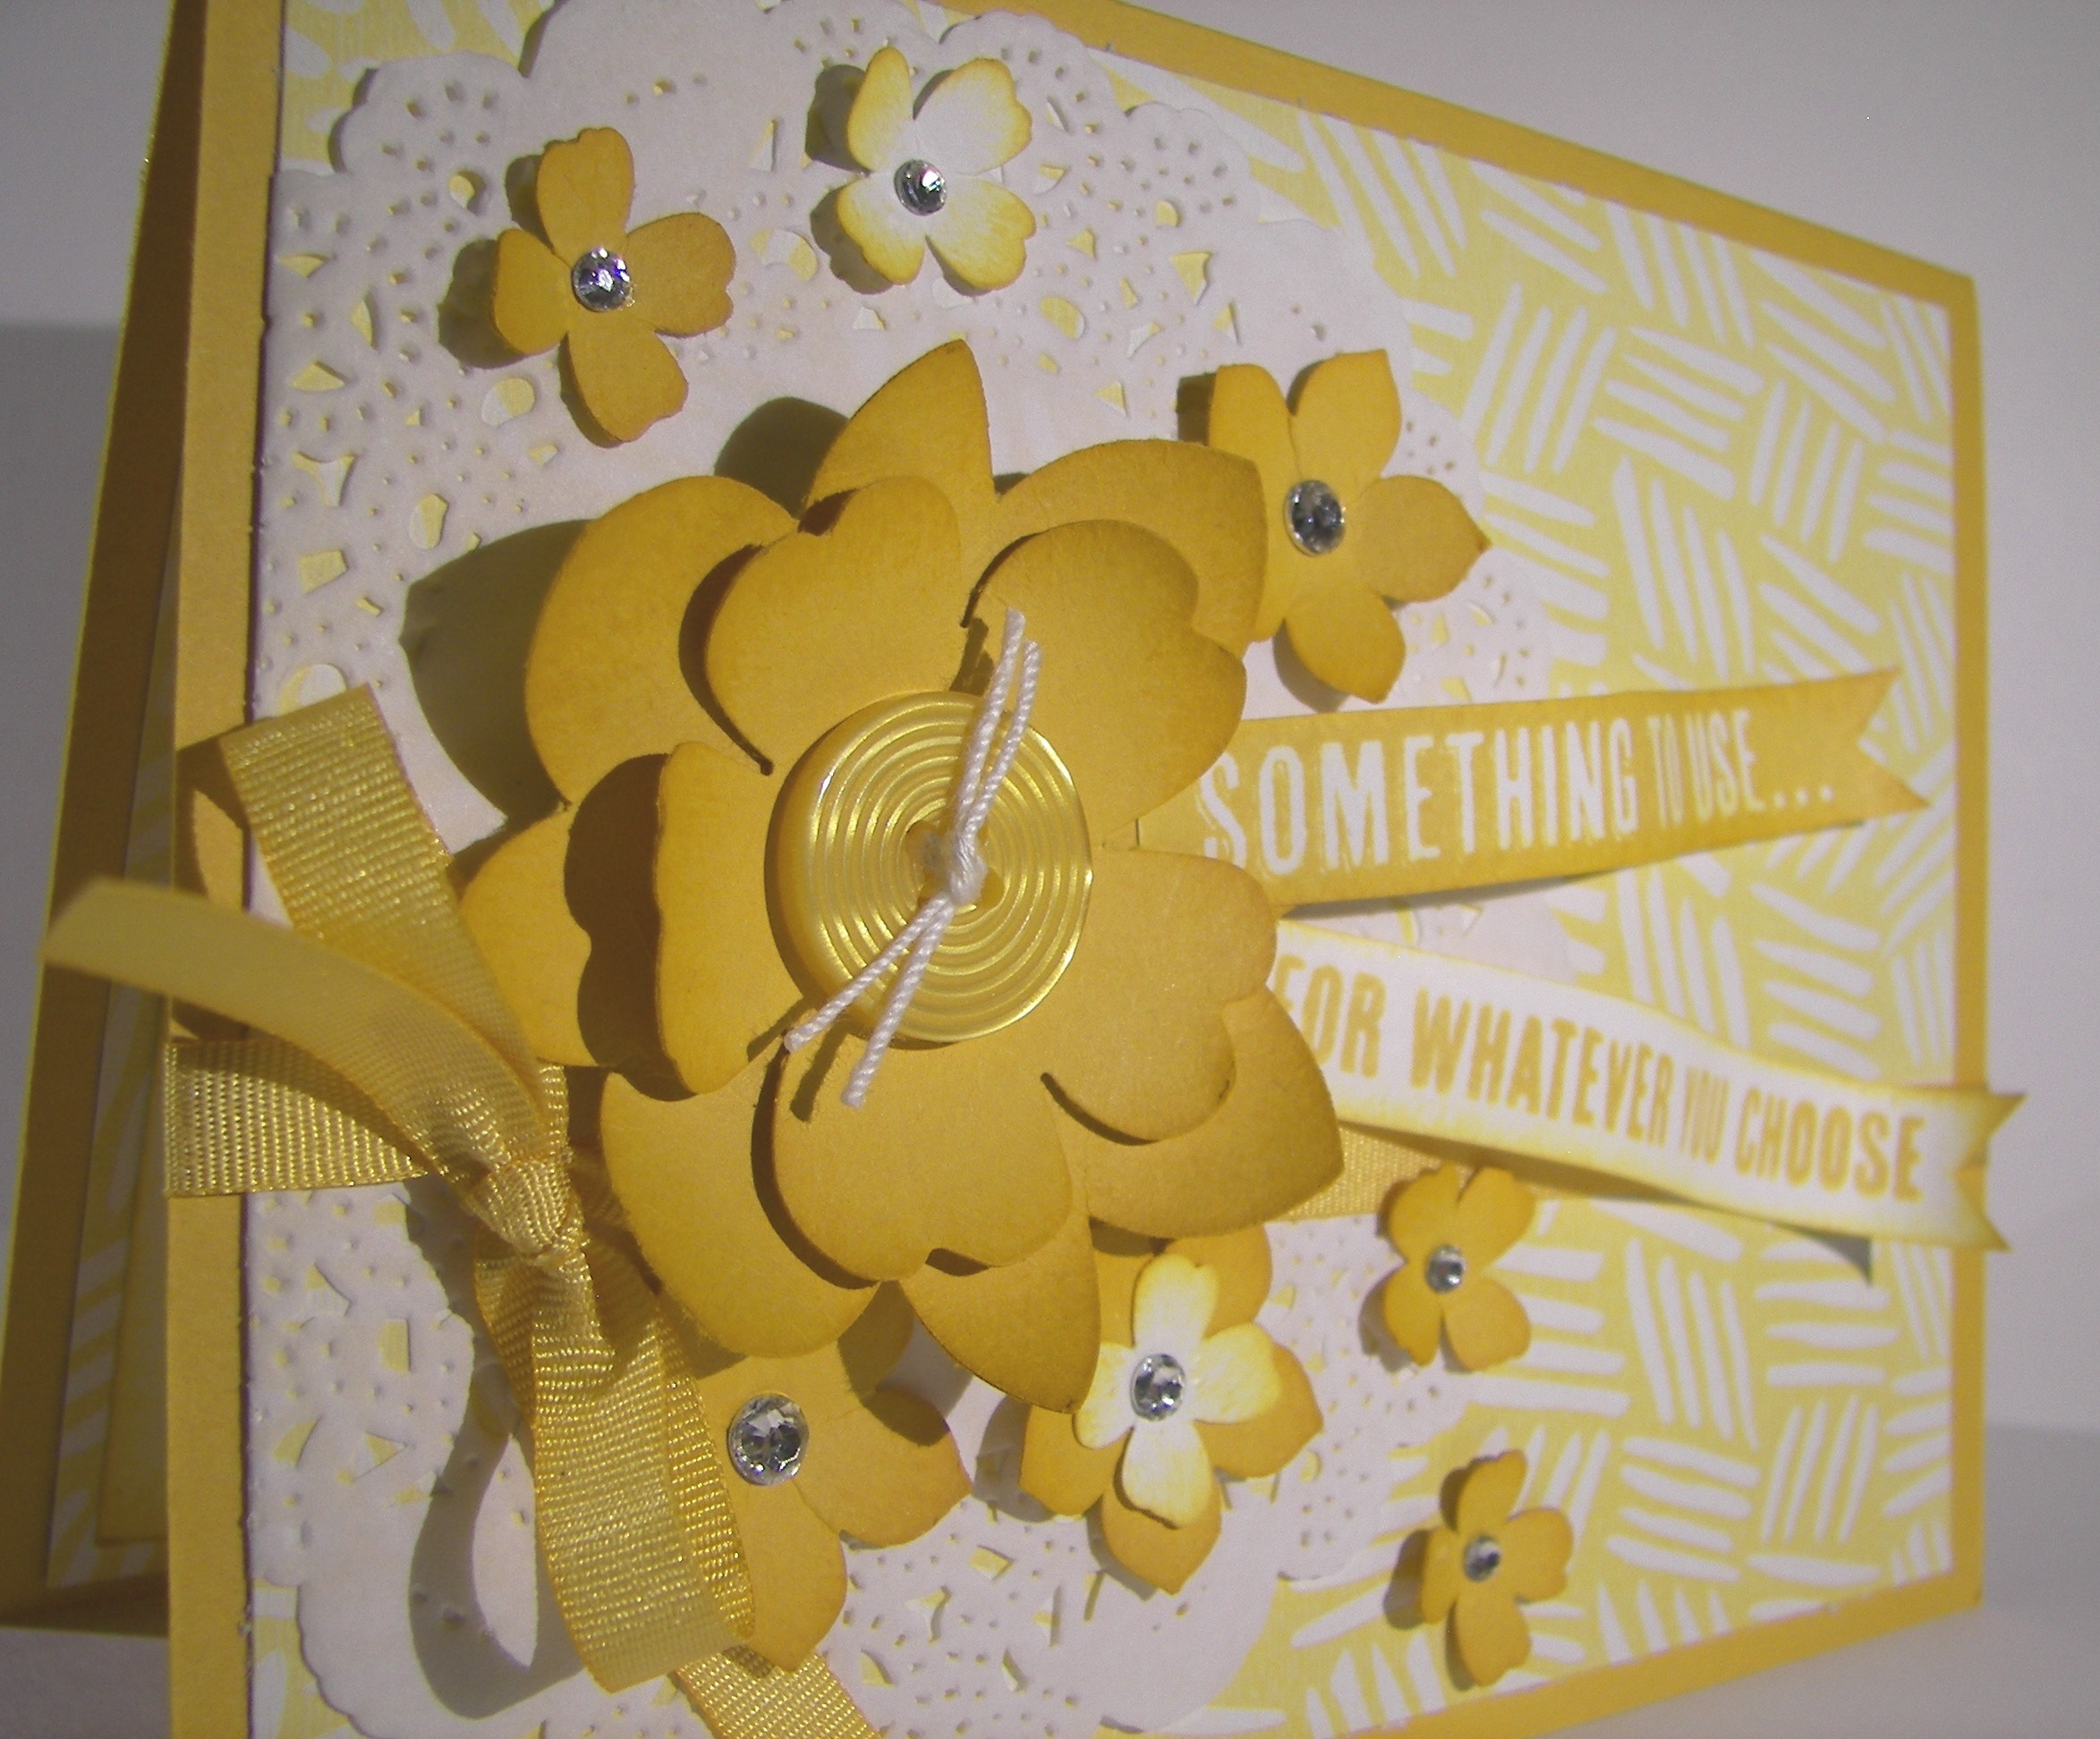
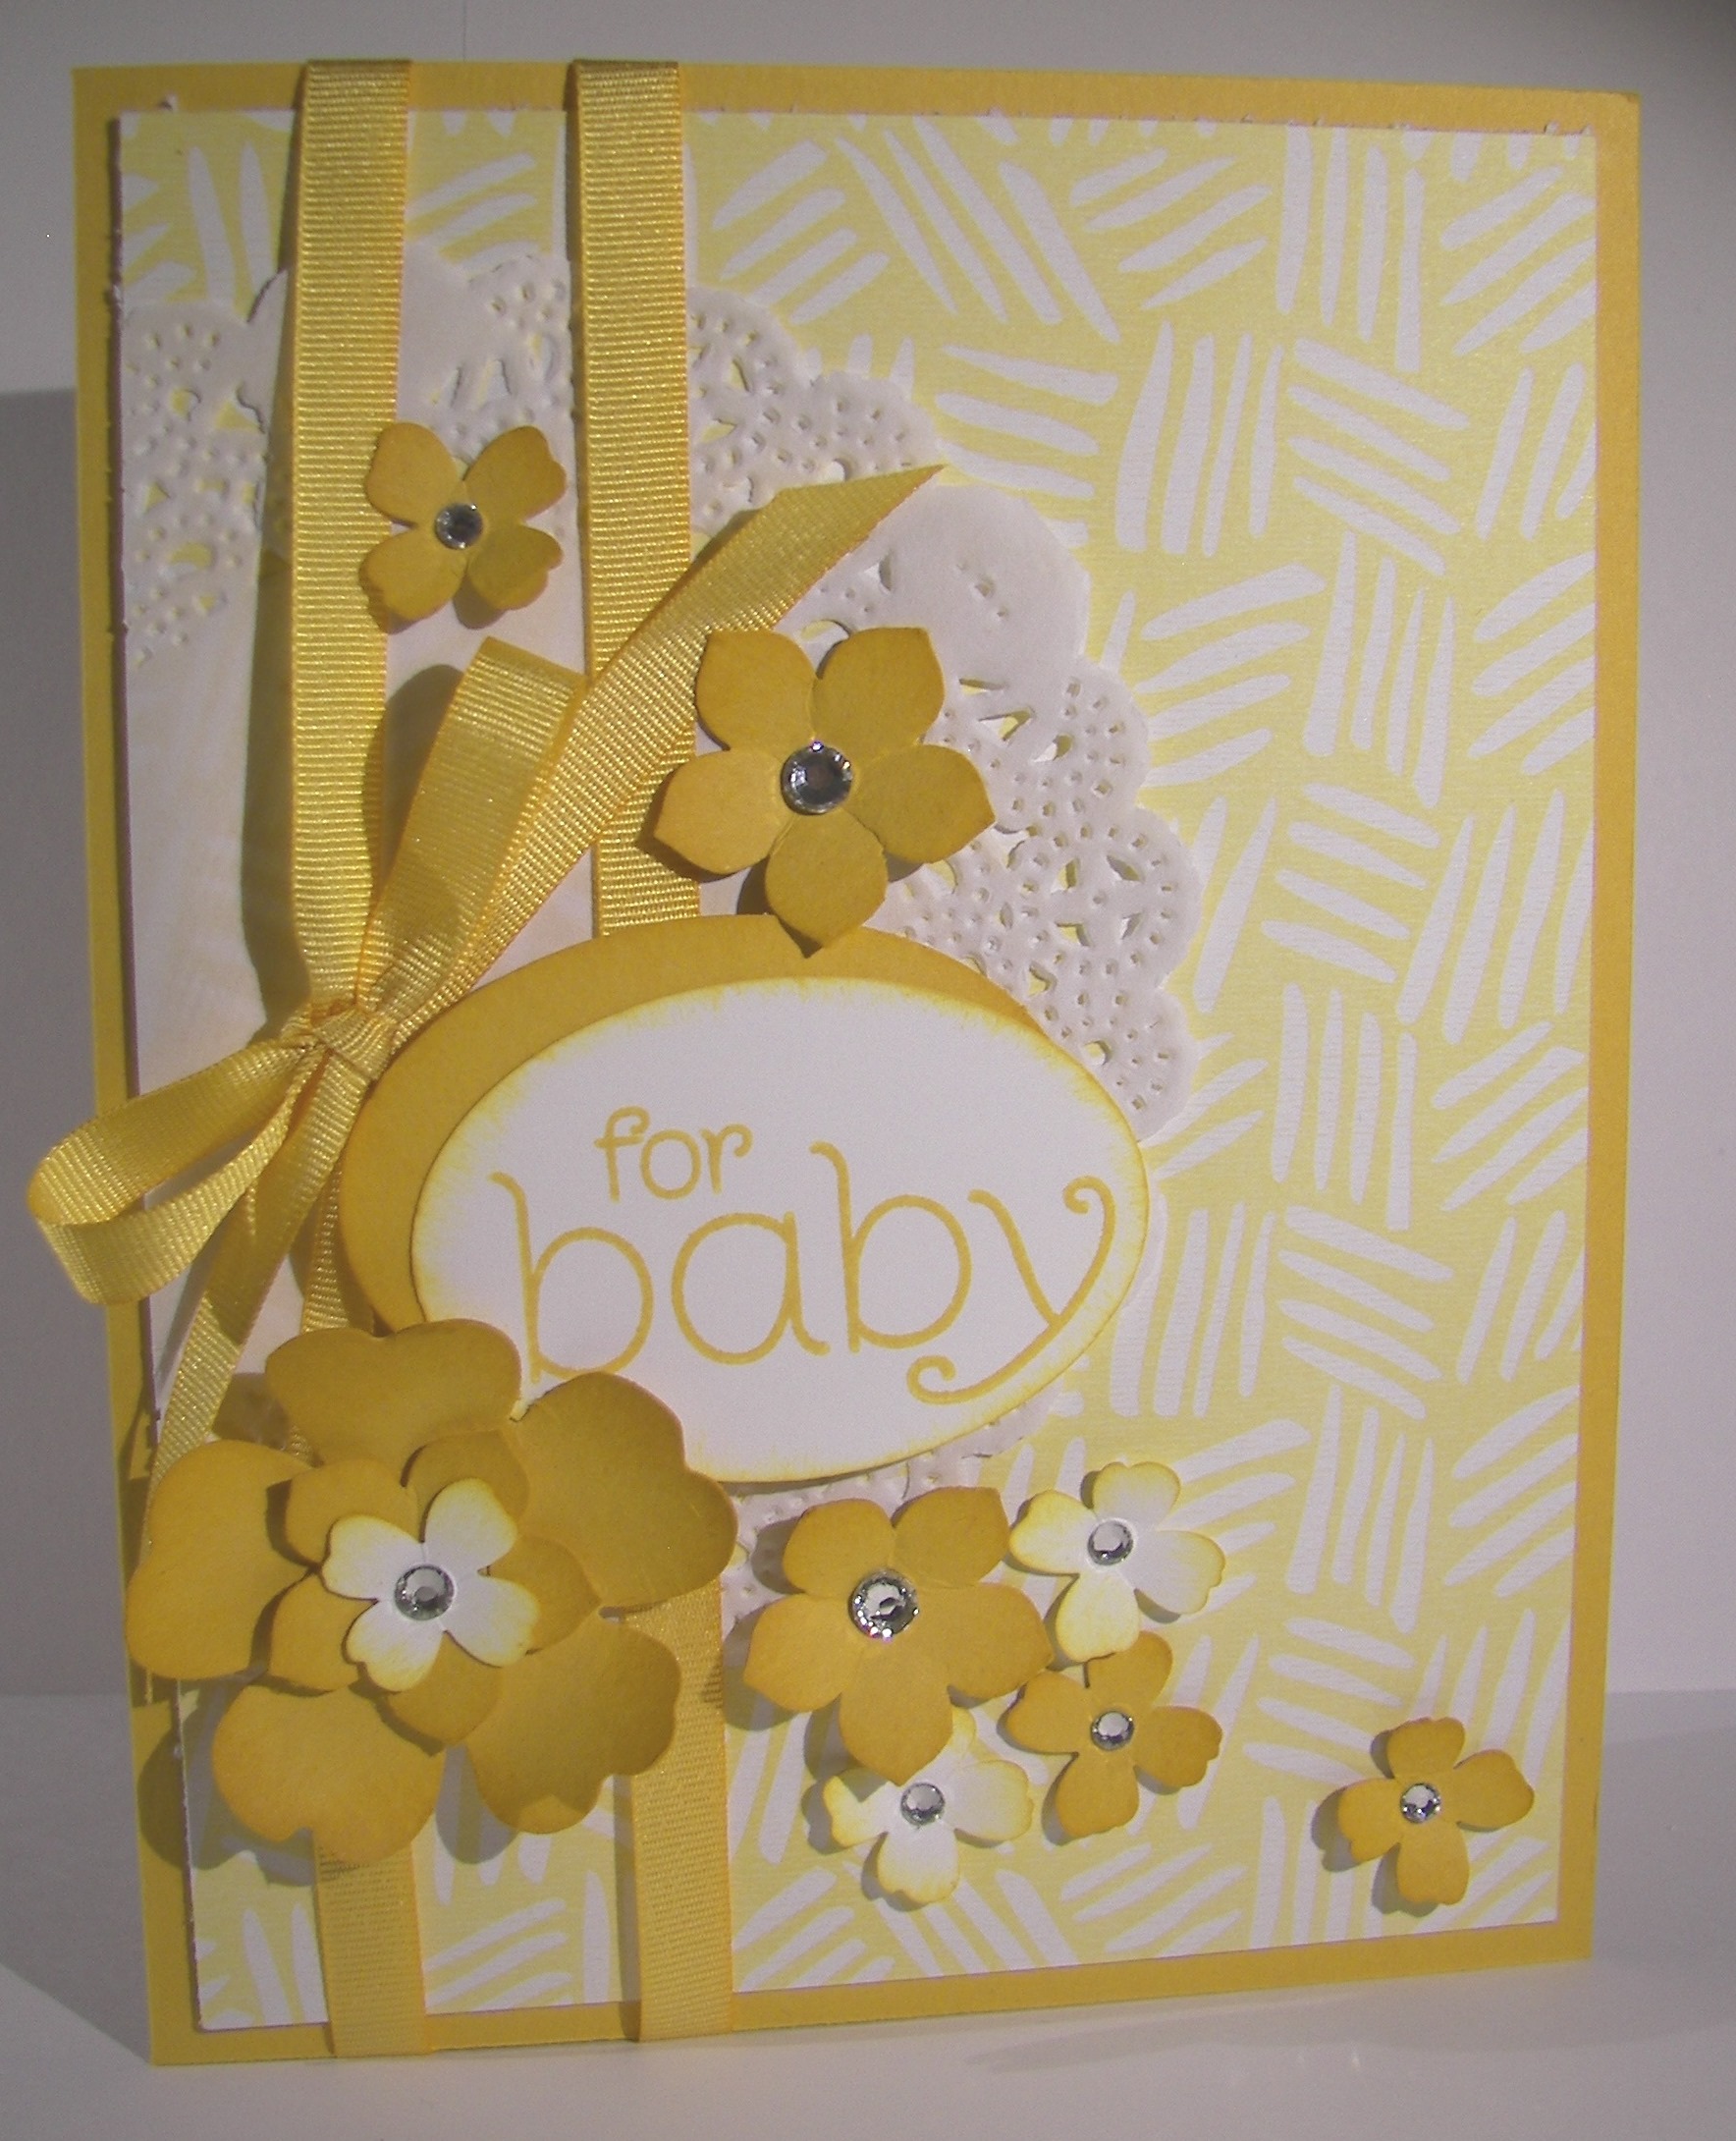
Another wonderful day in Utah.  I sure could get used to this vacation thing.  My girls are fast asleep and looking adorable.  I took a photo of them, but they would not be happy if I shared, so it stays with me.  So cute. However, here is one of the adorable cards from my gift set.

11-26 (1)

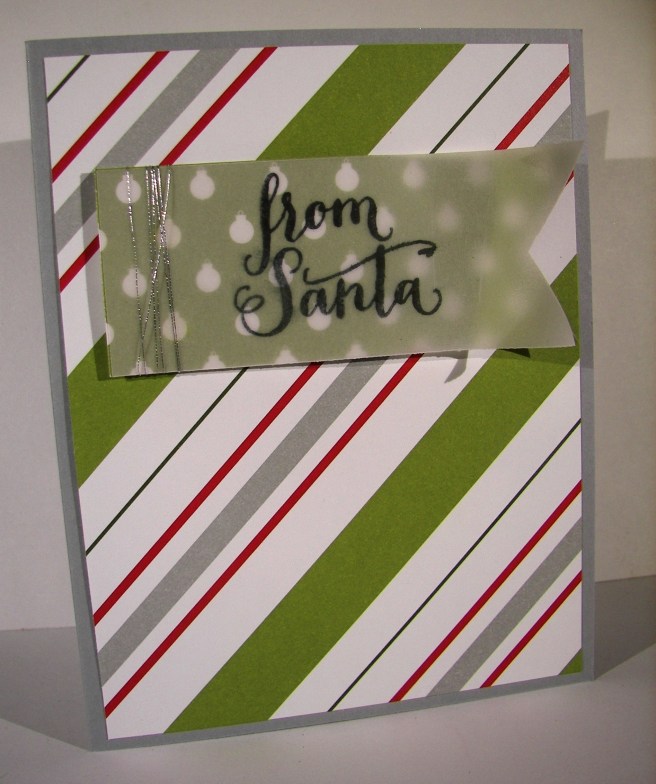
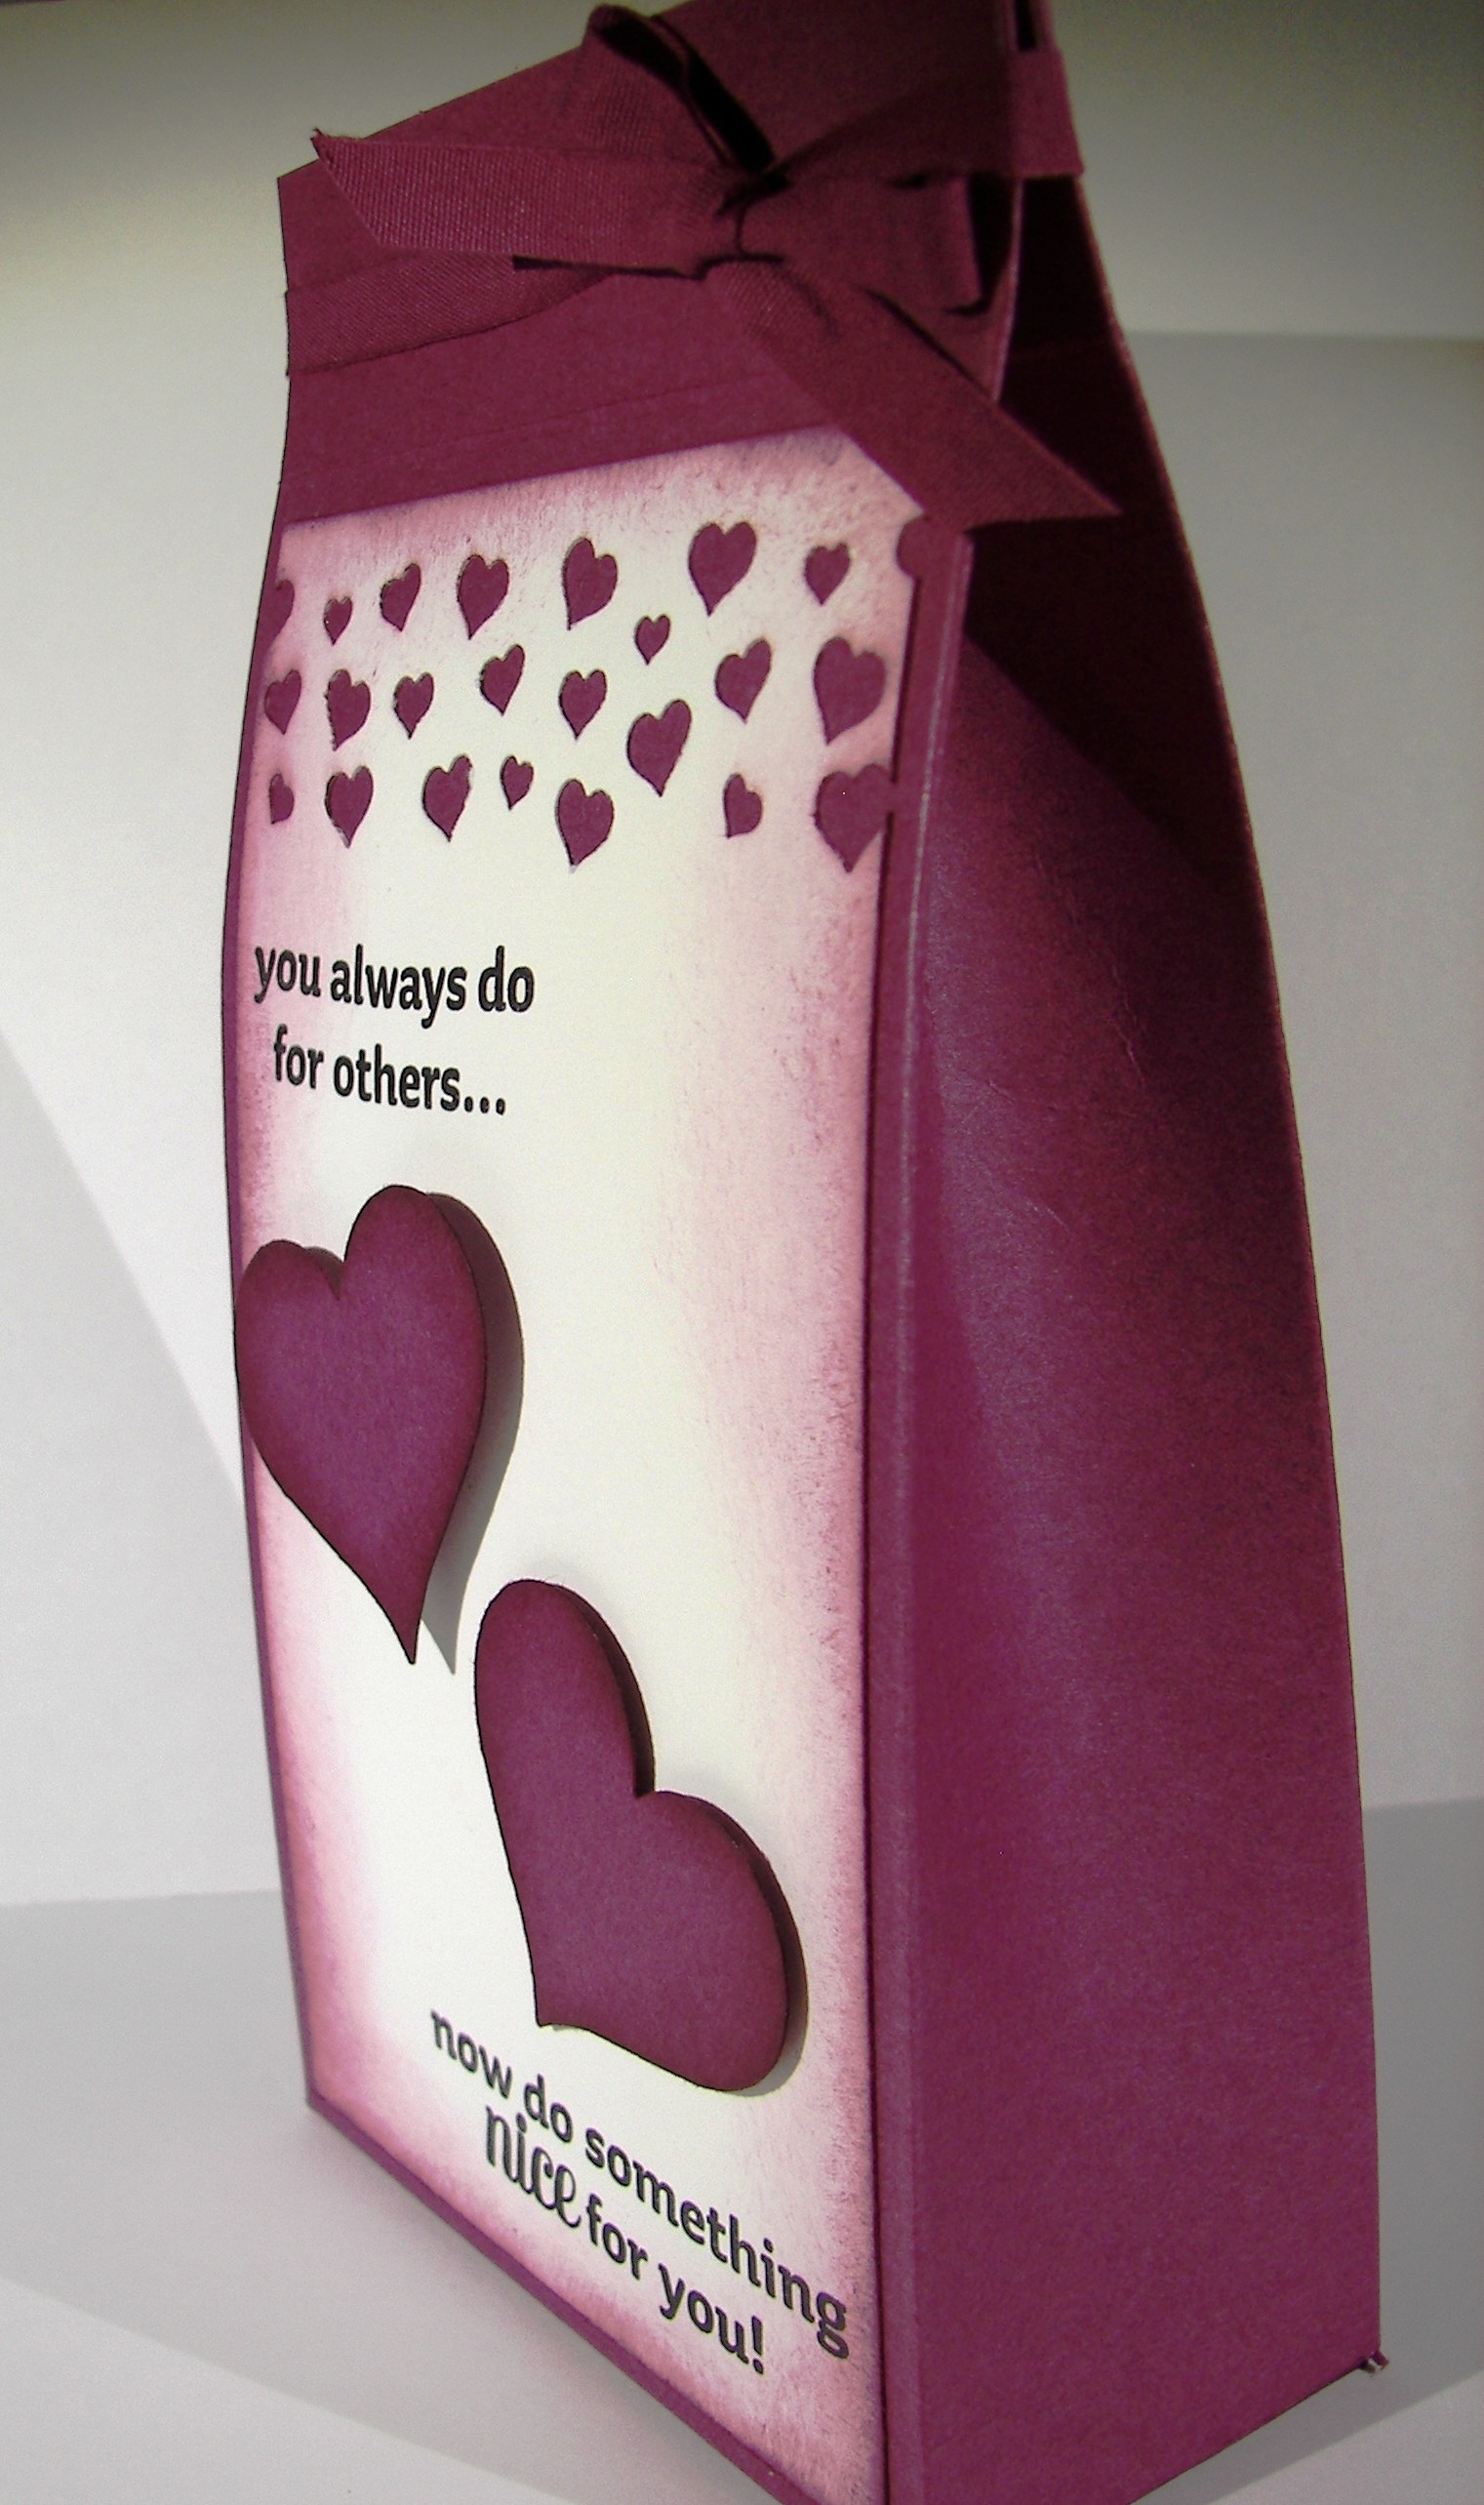
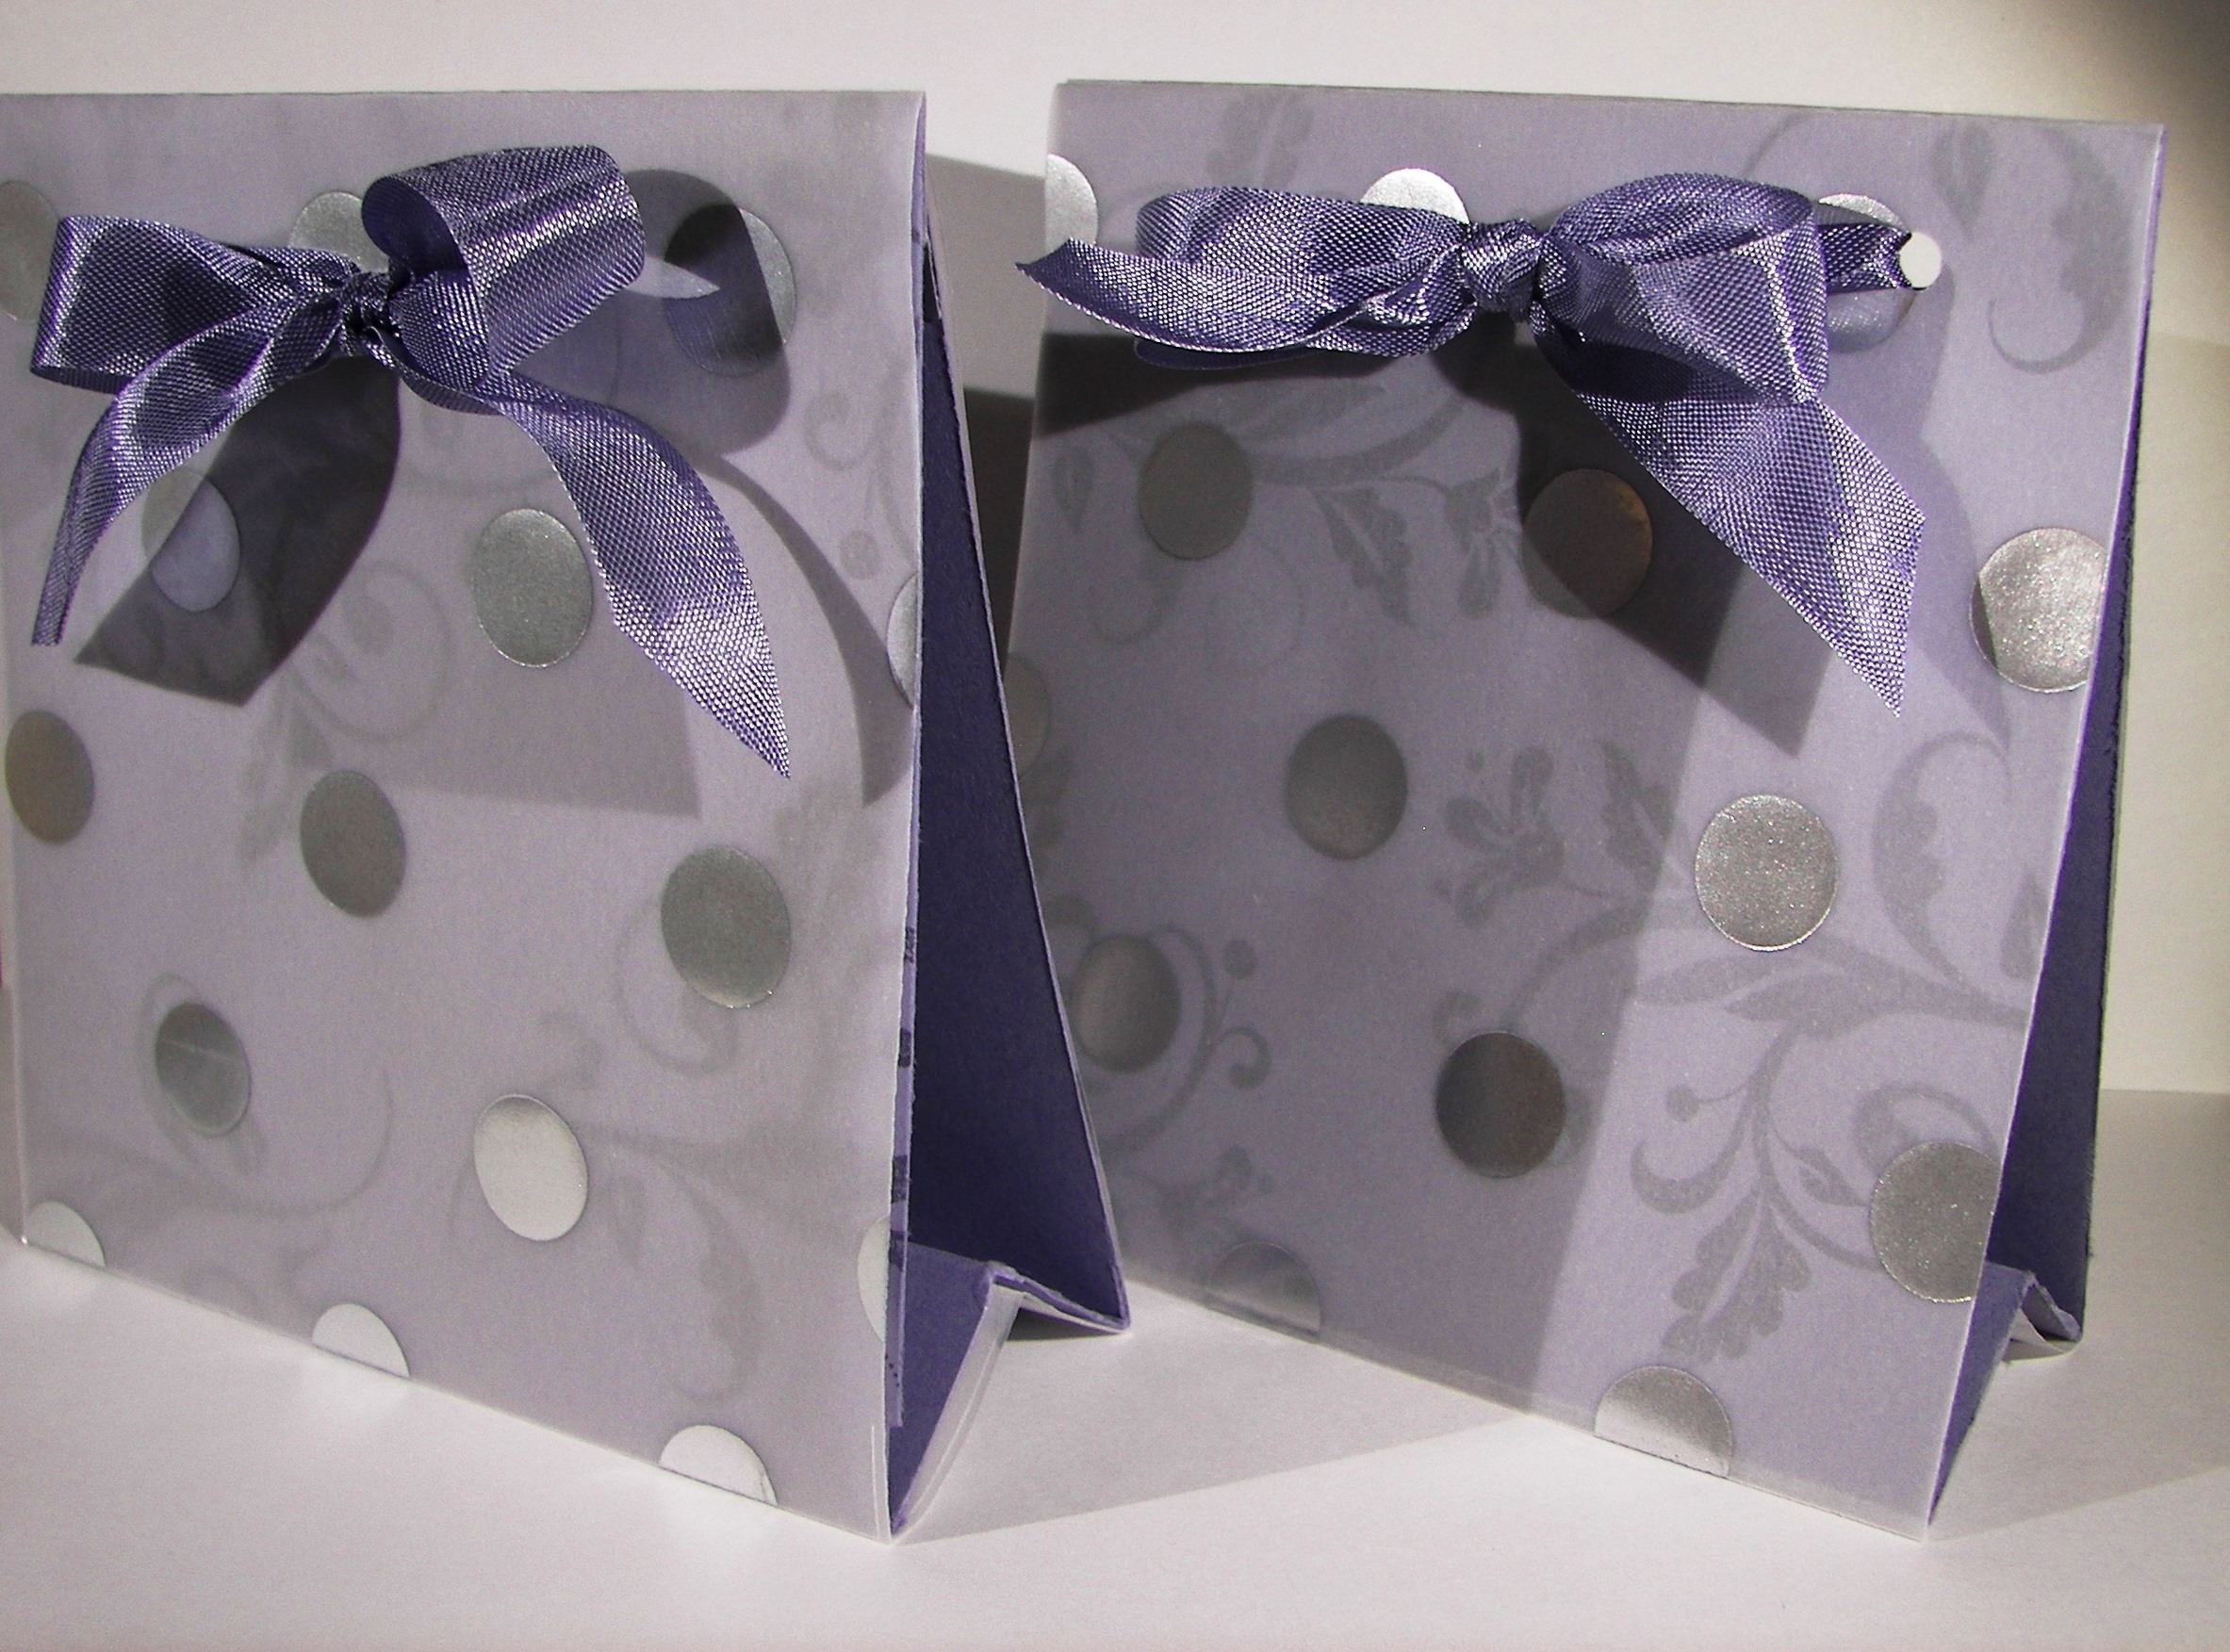
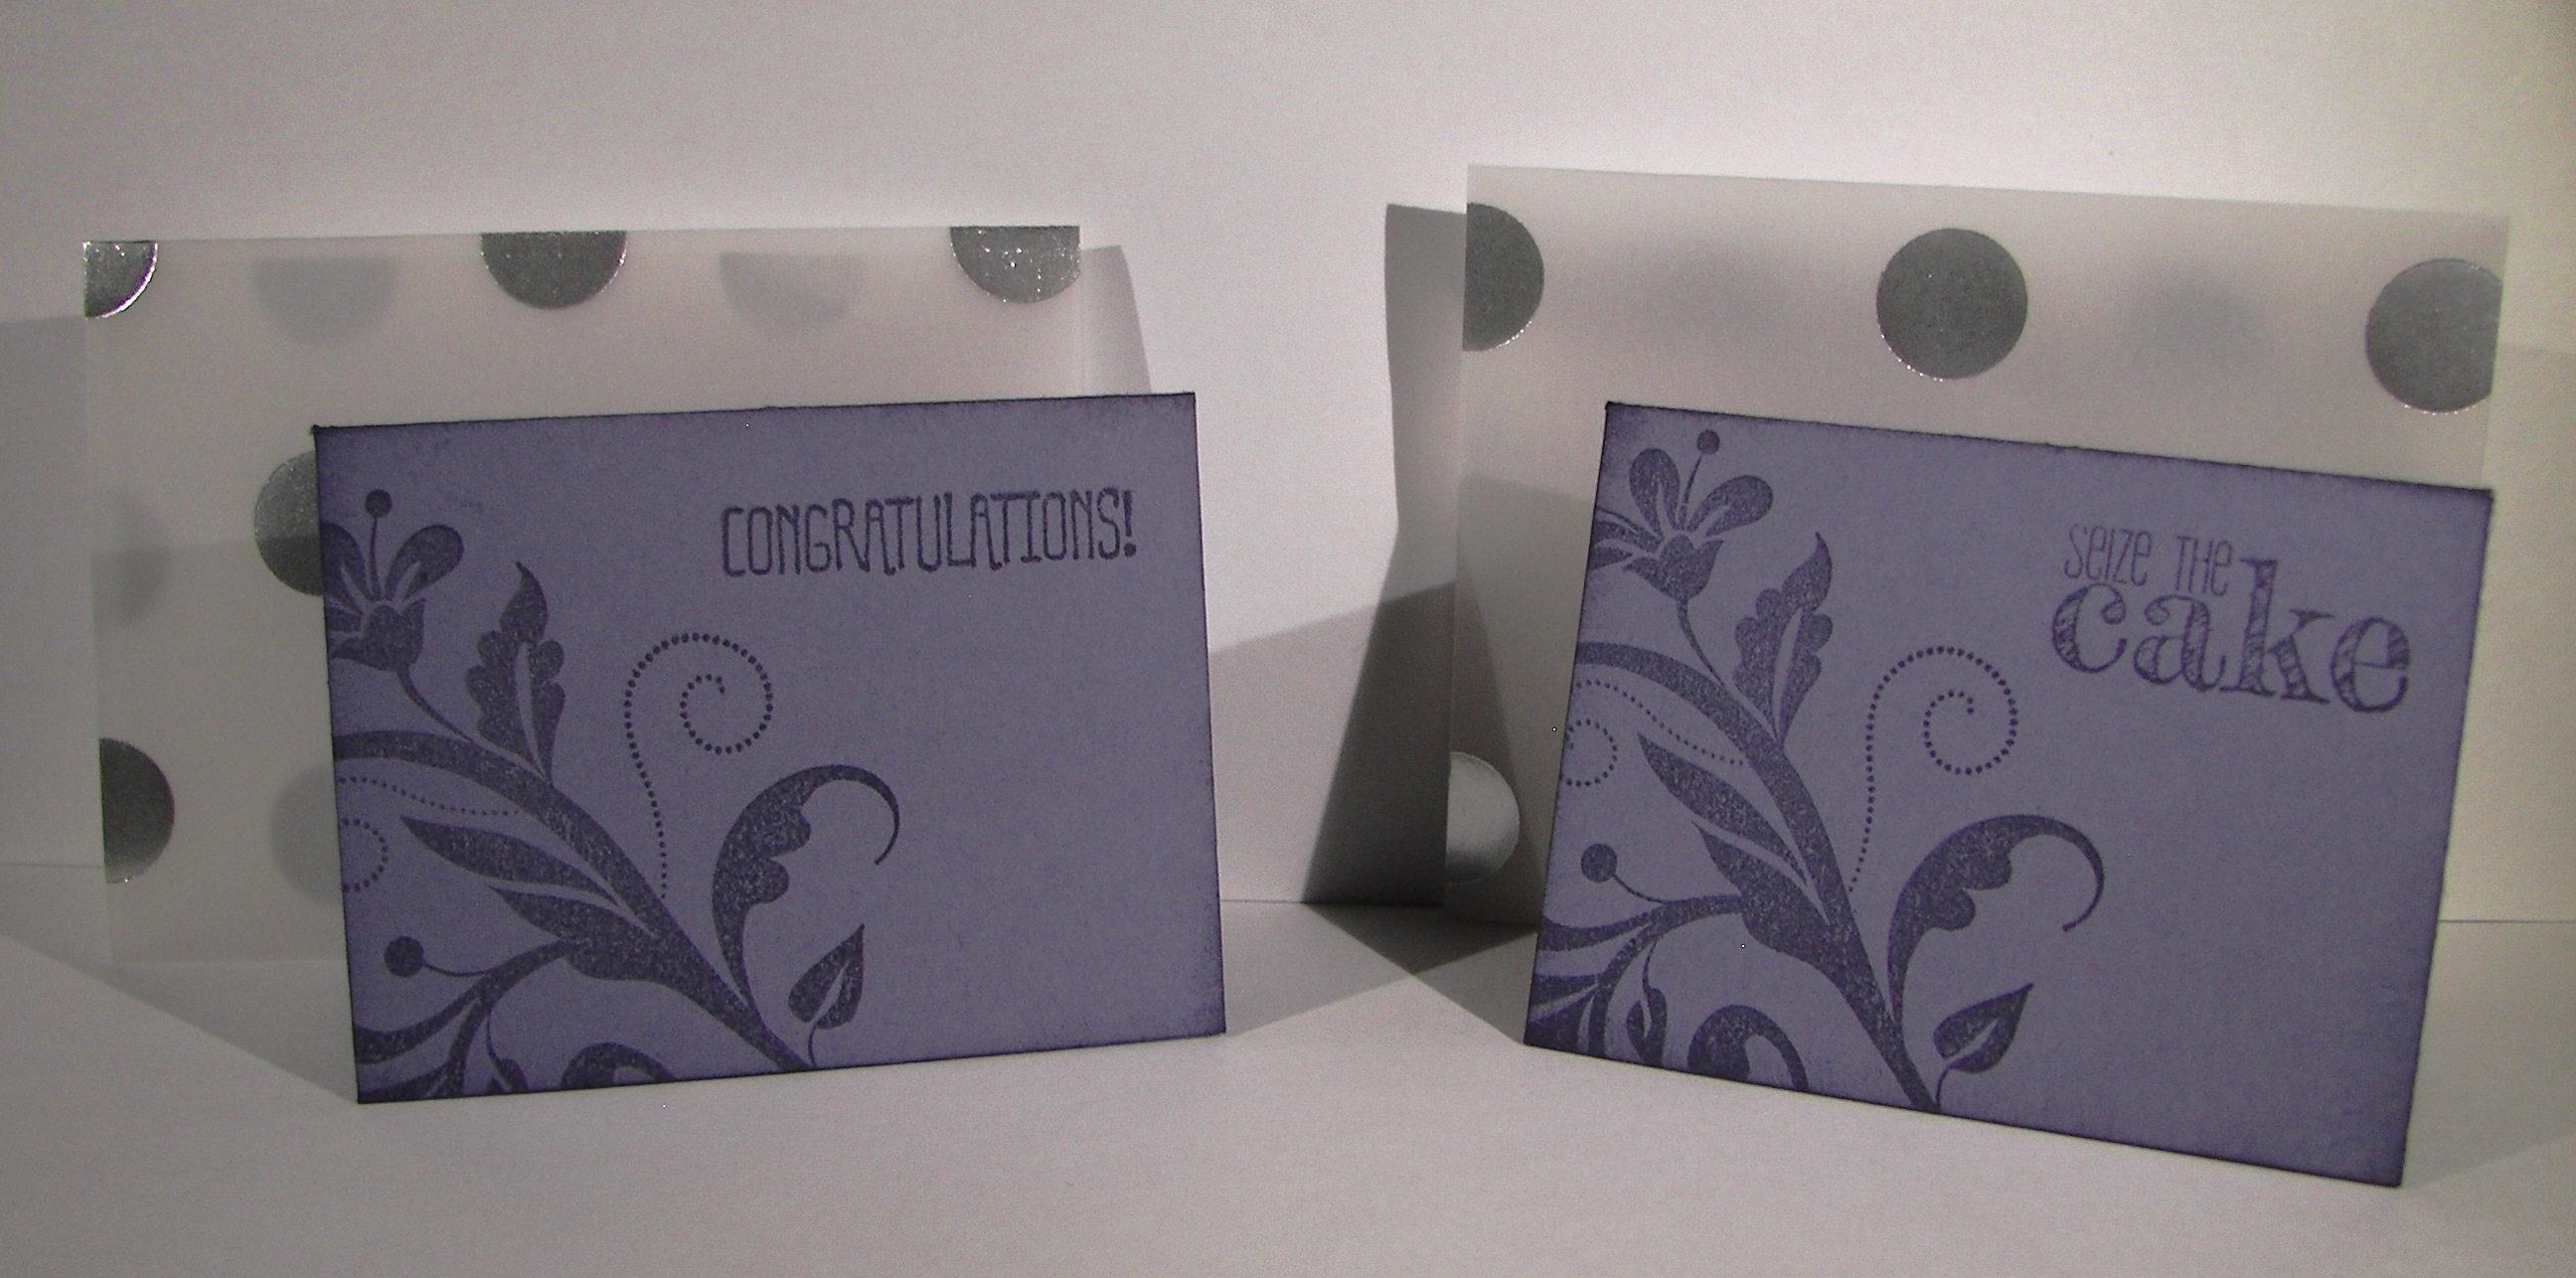
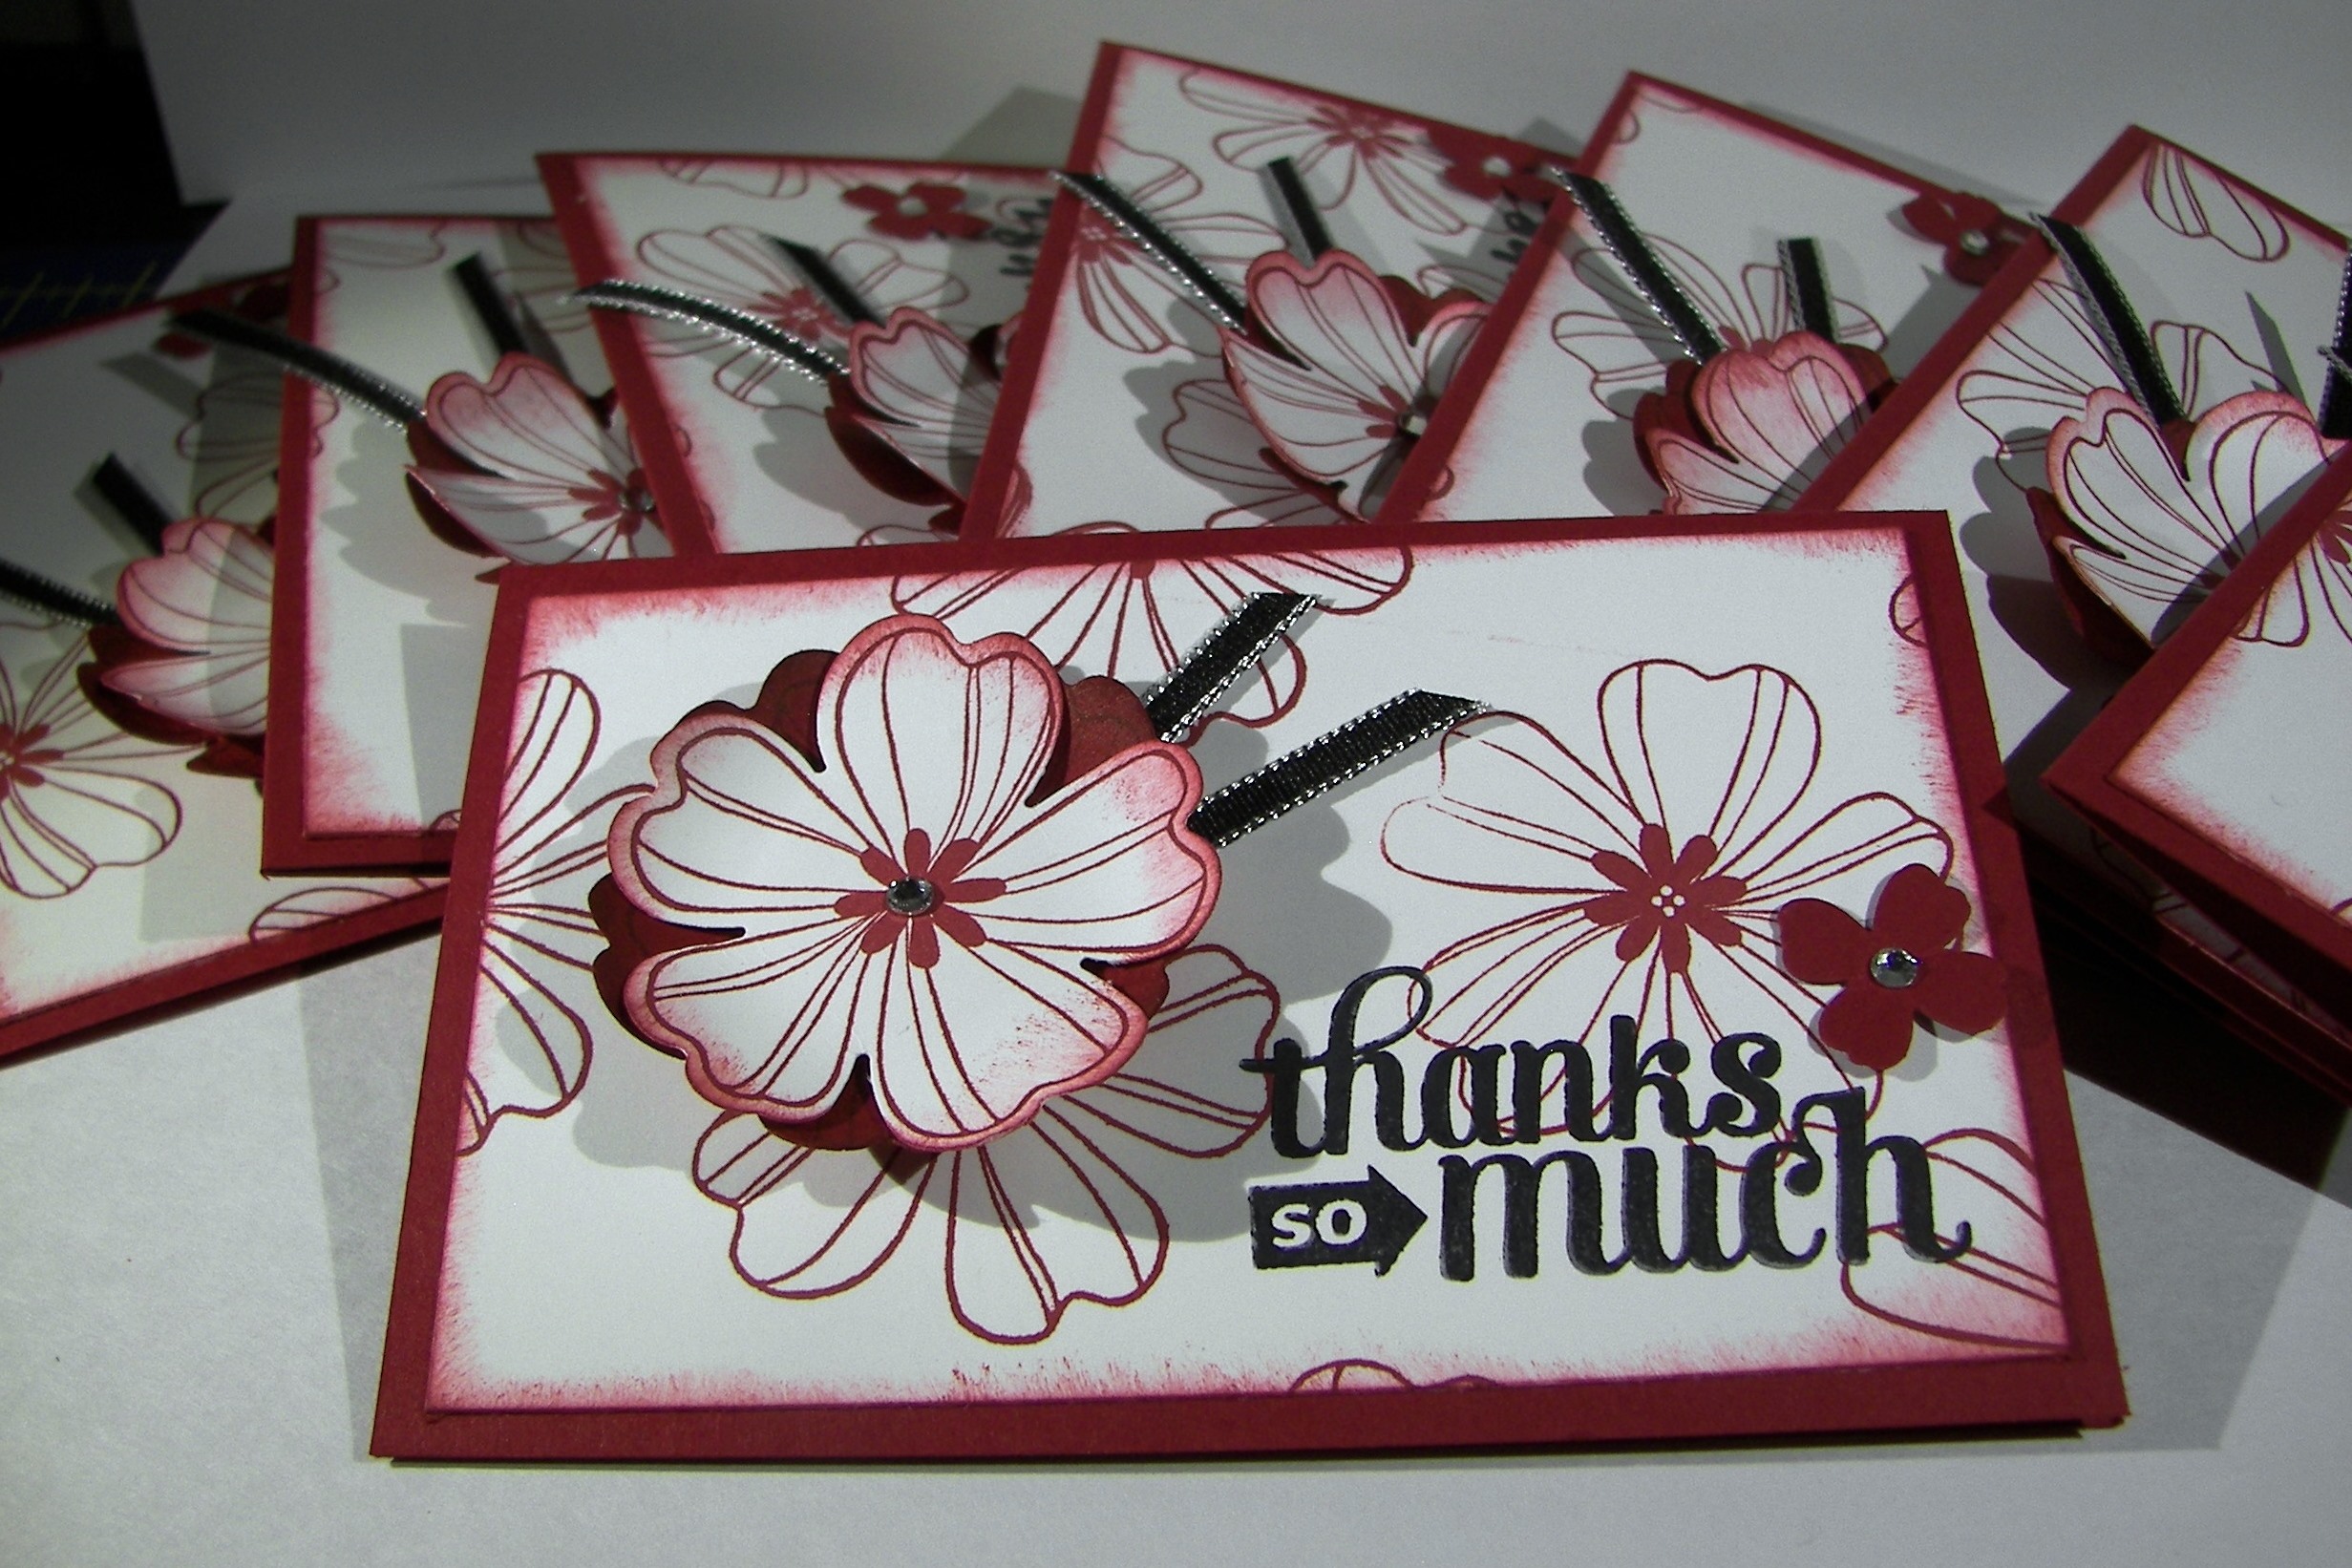
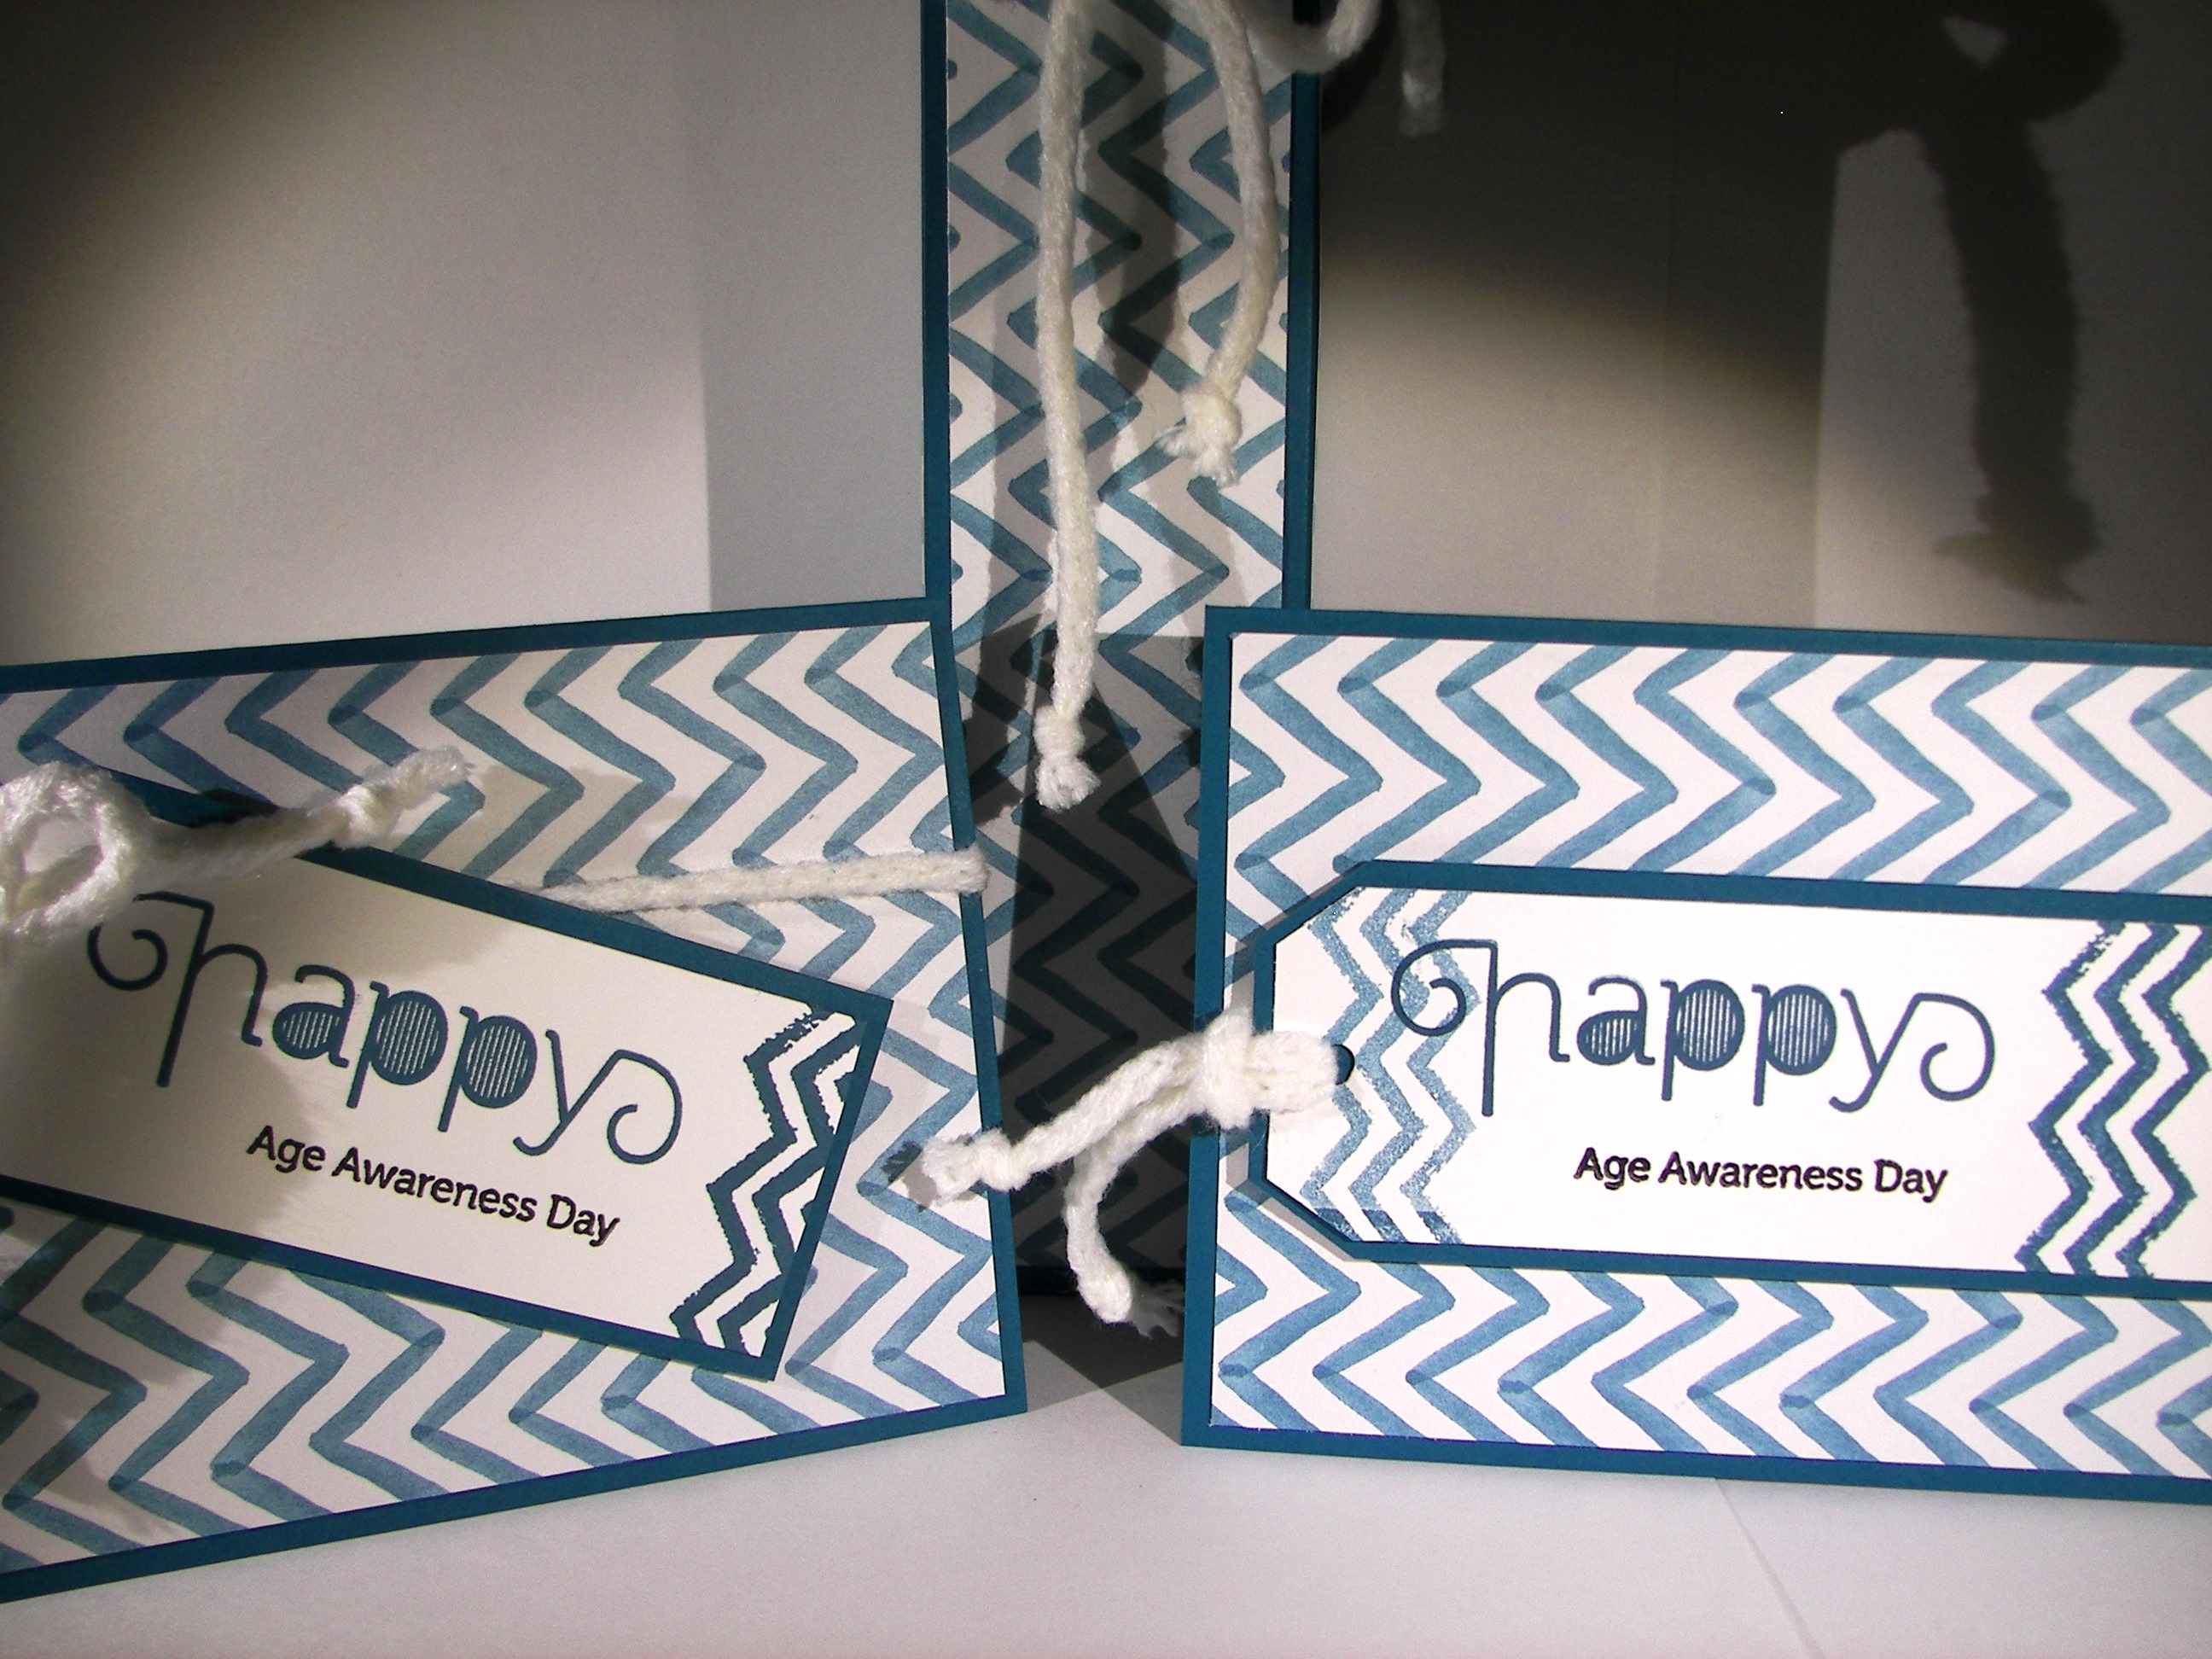
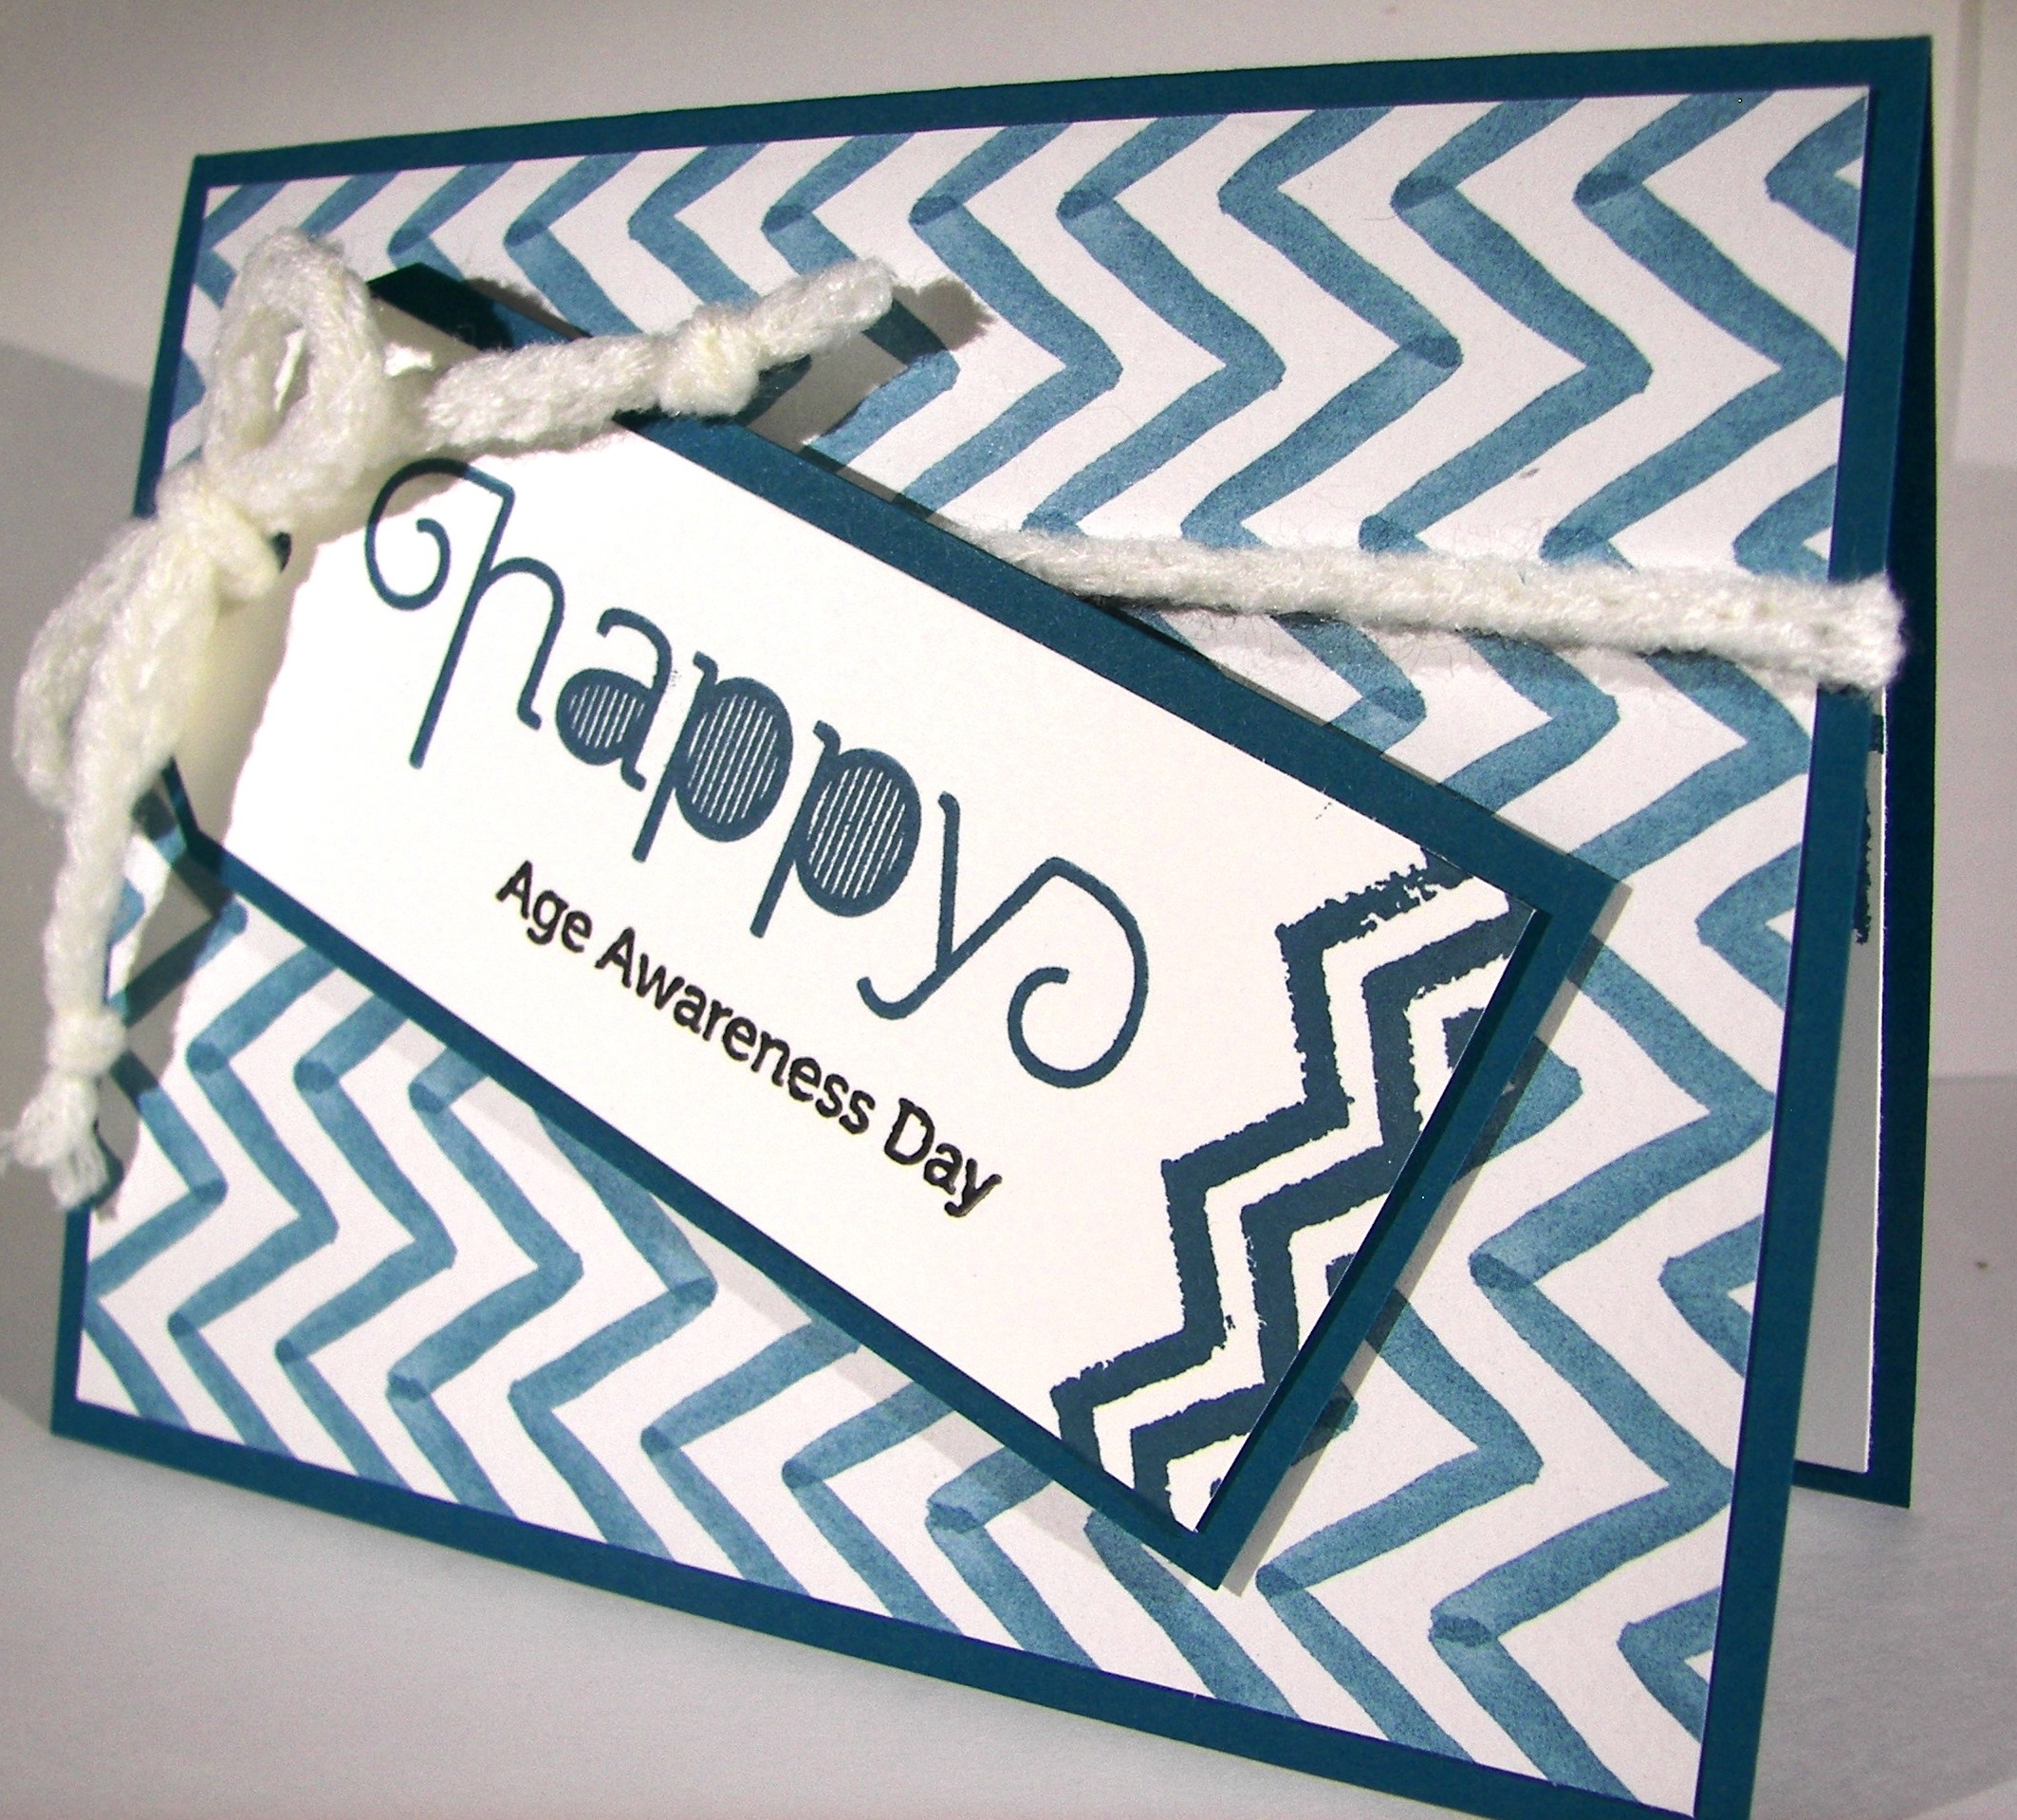
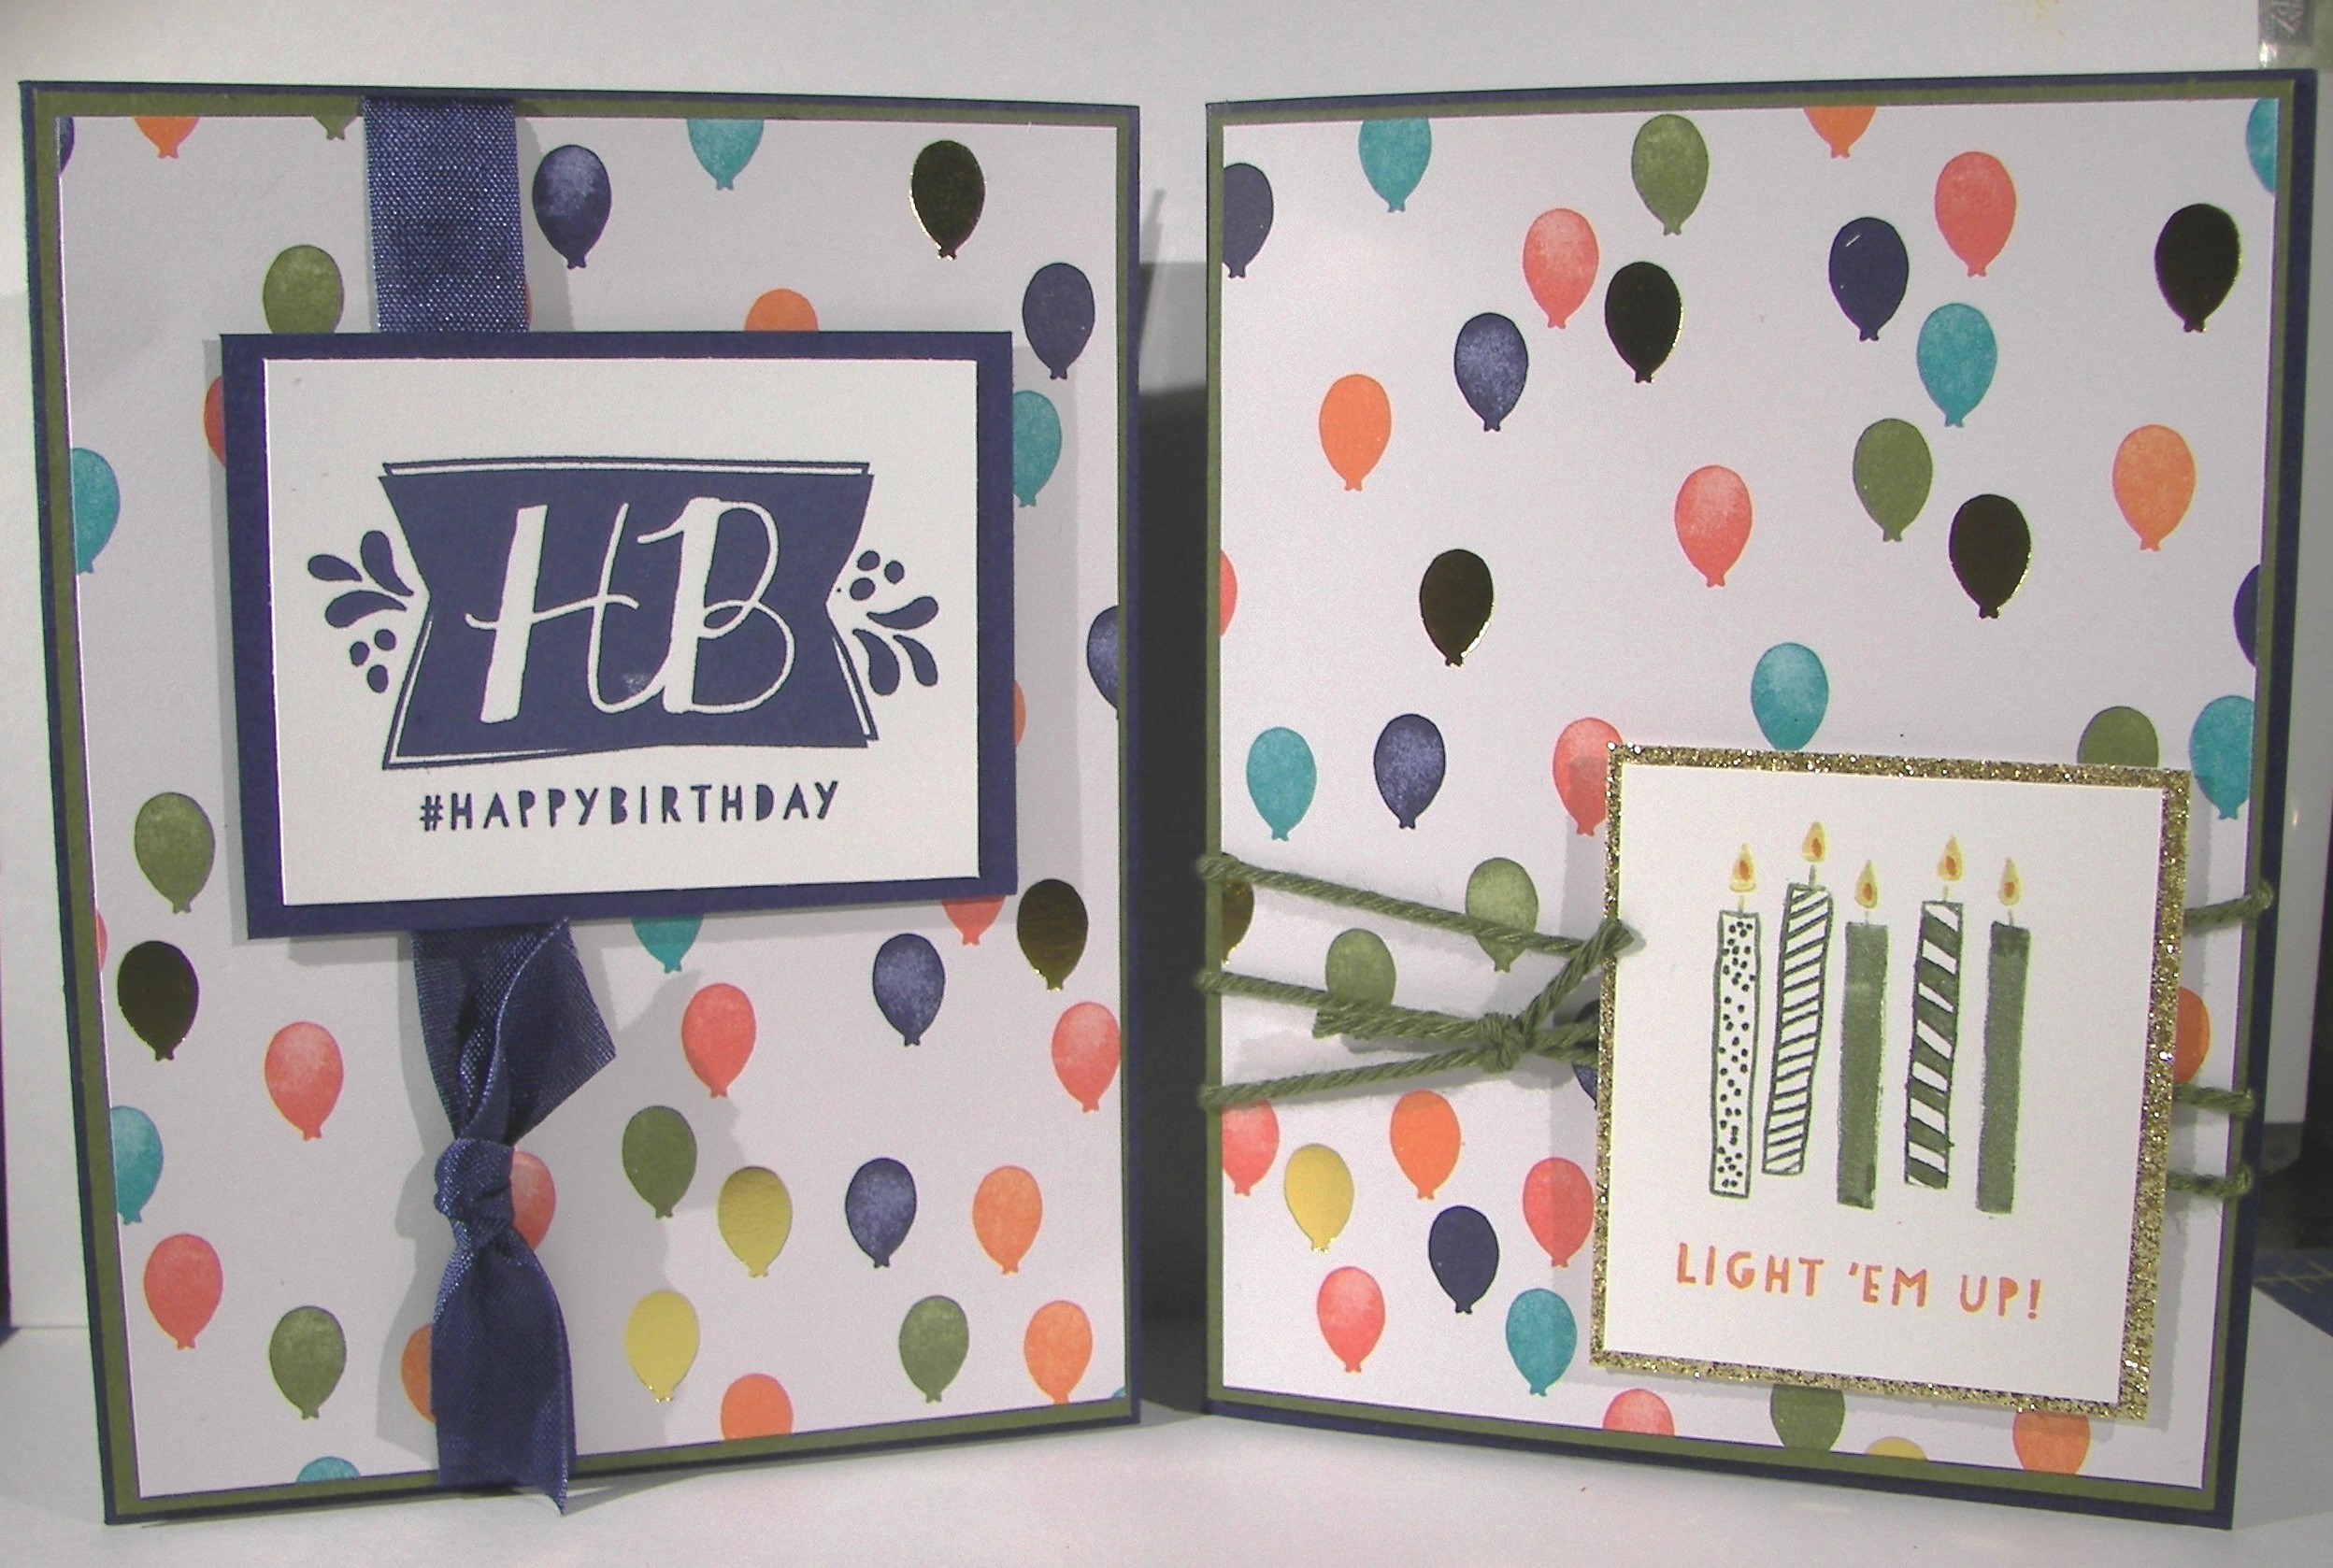
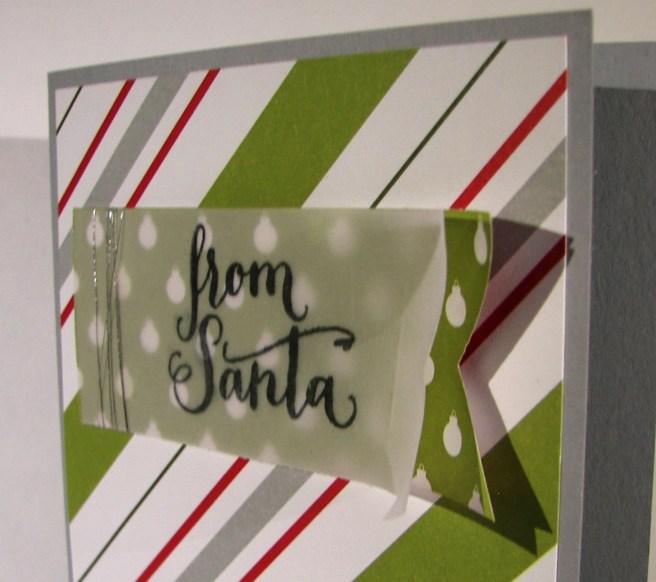
This is definitely a clean and strong look with these wonderful stripes.  They are the focus of the card for sure.  So I kept the sentiment simple and stamped on a strip of velum.  I backed it with another piece of paper from the same dsp set, only one set of paper used in this series, and wrapped them together with silver metallic thread.  I just love that thread!  The ends were punched with the triple banner punch and it finished it off quite nicely I must say.

11-26

Have a creative day!

Moana

Merry Moments Gift Card Set

A card that looks like a gift, but is a card, or is it?  I guess you could use this when you want to give a gift card and don’t just want to use the tiny envelope provided.  Either way, I like the look of a present shown here.

Merry Moments Gift Card Set

It has a hint of masculine with the color choices, but with that much ribbon I hesitated to give it the full masculine stamp.  You could probably get away with it though.  And I have to be honest, this is the first time I have used this adorable Christmas tree punch.  I guess I needed this awesome paper to inspire me to get it out.  It fit nicely as the gift tag.  So, I guess I will get to use it on other gifts this holiday season as well.

Merry Moments Gift Card Set

The DSP is layered on a piece of sahara sand cardstock with a narrow border showing.  I wanted to have a little more strength as I tied my ribbon on.  I do very much like a snug fit and probably winch it in a bit much sometimes.  I got the look I wanted though.  Why not give it a try your self?

Merry Moments Gift Card Set

Have a creative day!

Moana

You Always Do For Others…

The people in our lives that give endlessly, they are so awesome!  They deserve much more than something like this, but always appreciate it.  Someone has to something nice for them, right?

You Always Do For Others...

My school secretary is just that person.  She even keeps the little containers I make her gifts in.  She has a cute little collection.  This one is a bit larger than others I have given her, but she deserves it!  The beginning of school is always so hectic.

You Always Do For Others...

One whole sheet of rich razzelberry for this gift bag.  Doesn’t it look lovely?  I didn’t have a project in mind, so I just reached to my paper files with my eyes closed, pulled the first file and there it was.  I then turned to my punches and grabbed the first one I focused on.  That would be the confetti hearts border punch.  The rest just fell into place.

You Always Do For Others...


I did my favorite sponging and opted not to layer the base.  Sometimes my fronts tend to curl a bit at the edges when I layer cardstock on cardstock with gift bags.  So, after I punched and sponged I used tombo liquid multipurpose glue to get to the edges well to make sure it stayed down nicely.  Perfect job.

A little matching cotton ribbon, subtle but still there, and the gift bag was done! Now I have the pleasure of getting the perfect treats and a gift to go inside.  That will be a fun little activity for sure.  Sea salt chocolates and maybe a lovely lotion.  Sounds nice.

Have a creative day!

Moana

A Little Thanks

What to do with a spool of silver metallic thread?  Make butterfly antennae of course.  This tiny, oh so tiny, tiny little bag is also closed with the same thread.A Little Thanks

This bag is sized just right to hold a gift card and you could squeeze in a flat chocolate or two.  How perfect a thank you is that?  I do love giving gift cards to people and having them tucked inside something as adorable as this makes it even better.

8-7

I started out with a piece of cardstock measuring 4 1/4 x 5 1/2, yup, that tiny.  I stamped half way down with my little butterflies, flipped it around and went down the other way.  I did that so if you turn the bag around, my butterflies aren’t upside down.  Clever, right?  Thought so too.

8-7 (2)

My score lines were all about the 1/2″ mark.  Just a tiny little bag here, so cute.  Can you tell I love tiny things?  Well, I do!  And this bag is all done and ready to get that special gift card for some lucky friend.

Have a creative day!

Moana

Something to Say with Flowering Flourishes

I honestly sat down to my very messy desk and couldn’t think of what to do.  There are many reasons to stay organized, and that is one of them.  I looked to my paper for inspiration, as I usually do when I get stumped.  But I haven’t purchased any of the new paper yet, so that threw me another loop.  I really had to look for a little extra creativity, so I kept looking.  The foil velum carried over and I had some of that.  For the win!

Something to Say with Flowering Flourishes

I started out with the idea of making a purse style gift bag, but thought it was looking to be too bulky and wide.  So, I cut it in half and went for two of these little beauties.  I stamped my wisteria wonder card stock with the medium stamp from flowering flourishes to go under the velum.  I love the soft layering it gives.

Something to Say with Flowering Flourishes

I used a whole 12 x 12 sheet of velum to start with.  When I trimmed it to match the 8.5 x 11 I had a nice strip left over.  I cut that in two and made two mini envelopes for the tiny gift cards.  The cards are large enough for a tiny note and also house a gift card.  Nice, right?

Something to Say with Flowering Flourishes

I plan on putting a couple of gourmet cookies in a cellophane bag to tuck inside the gift bags.  It should make a lovely set.

Have a creative day!

Moana

Happy Heart Mini Treat Bag

Could this treat bag be any cuter?  I don’t know, maybe.  I did buy some chocolate to put inside, but forgot to take a photo with them included.  Ooops, but it will still get in there.  I am actually going to give it away today.

Happy Heart Mini Treat Bag

I used the framelit set to cut out the bag bits.  While I was working the big shot I went ahead and cut out the ‘for you’ sentiment from the same paper, calypso coral. I did some sponging, but knew I needed something more for the bag front.

Happy Heart Mini Treat Bag

I used the heart framelit from the same set on some of the coordinating washi sheets.  I had planned on sticking it directly to the paper, but the embossing changed that plan.  I left it on  the white background paper it came on and liked it.  I did punch a few hearts with the bitty heart punch and stuck them on.  But not til I had embossed the bag front with the happy heart folder.  Those little hearts fit in pretty darn good.  I used my stylus to help tuck them in just right.  Before I did, I used my brayer and inked over the embossed hearts to make them pop a bit.  I got a little messy, so I went with that and sponged a bunch to help balance it out.

Happy Heart Mini Treat Bag

I used the row of dots framelit, also in the same set, to make some sewing punches for my ribbon.  It wraps around the back, but laces in the front.  I put it in a bow and tied my tag on.  I did stick the tag with a dimensional to help it stay just right.  Now, to get the chocolate in and give it to my friend.  Should be fun!

Have a creative day!

Moana

Retirement Party for Bloom With Hope

How did my morning get away from me?  Well, it goes along perfectly with the color choices for today’s projects.  These lovely cards had to wait for their retirement party until I had helped my oldest daughter.

Bloom With Hope

She is participating in a small business class that has a specific business competition today.  Her and another young lady were selected to represent their club and their school at this competition.  I just heard from her and they are finished presenting.  Just a few more and they will announce the winners.  How exciting is that?

Bloom With Hope

What is with the color choices then?  Their organization has these two colors, instead of strawberry slush it is a bit more magenta, but pretty close.  They were to dress exactly alike with these colors as their emphasis.  They look adorable!  So I thought I would use product with the same color choices.  Cool stuff there.

Bloom With Hope

I also dipped deep into a retired product from last year.  The coordinations line sure was a fun one, and I miss it.  However, I did get quite a bit of the paper when it hit the clearance racks.  As I have used down my stash of in colors, I have found myself out of a few, but have them in coordinations.  It works for me!

Bloom With Hope

If you find yourself in need of a few cards, why don’t you give these a try?  They actually went together pretty easily and they look great too!

Have a creative day!

Moana

Chalk Talk Retirement Party

How about this for an overdone party.  I really should set some limits with myself, because seriously, six cards and two bags for one blog post is just a bit much.  But hey, it is a party right?

Chalk Talk

The designer paper I used was so fun.  I guess that is why I ended up with two sets, because each side of the paper was too cute.  I am used to having paper around for a catalog year, but I do tend to get attached to the colors.  I really did enjoy the 2013-2015 In Colors.

Chalk Talk

The stamp set Chalk Talk is retiring, but the framelit isn’t.  So, maybe a new set will be available?  We will have to wait and see.

Chalk Talk

For a little throw back I used the stretch ribbon from last years catalog.  It was really fun to play with.  This is a reminder to me to get the items I want that are retiring before they run out.

Chalk Talk

Well, I am running behind for sure with all my crafting.  Off to another adventure!

Have a creative day!

Moana

#You’re Welcome

Literally, one of my favorite things has become a card and matching box or bag.  This little project set fits that perfectly.

#You're Welcome

The Balloon Bash stamp set is full of whimsy.  The saying is all cute and pretty and then has the punch line at the bottom.  How often do people forget to say thank you anymore.  They really ought to make a card, but the words would do.  This one just made me laugh.

#You're Welcome

Could the paper be any more exciting?  The Birthday Bash Specialty dsp is almost full of energy.  All kinds of confetti going on here.  I stamped the sentiment I wanted and fussy cut it out.  It didn’t look done, so I fussy cut a boarder as well.  I do prefer a framelit or a punch, but we can’t have that every time.  In the bottom corner I snuck a little star with a matching epoxy sticker over the top.  Just right.

#You're Welcome

I repeated the pattern on some calypso coral card stock with the confetti stamp from the same set.  Tone on tone is a beautiful thing.  A little treat bag with some heart candy and topped with coordinating chevron ribbon.  Just right.  I did sneak some of the retired sale-a-bration ribbon to wrap around the french fry box, love that die cut, just to give it a hug.  It really did come together pretty quickly.  And of course I had to sponge absolutely everything.  No holding back there.

Have a wonderfully creative day!

Moana

Part 2 with Gift Cards as Promised

These little cards are just so cute.  And yes, all eight of them do fit nicely in yesterdays box project.  It was hard not to share them together, but I managed.

Part 2 with Gift Cards

I thought the cards were perfectly sized to write a tiny note and put in a gift card.  This would be a great stash to have on hand.  The cards were made simply with 1/4 of a page of card stock and then scored in half.  That way I was able to make all of the card fronts from one sheet of whisper white.

Part 2 with Gift Cards

I stamped the whole page and then chopped it into eight pieces.  How easy is that?  It was super easy,no questions.

Part 2 with Gift Cards

Now, you need to go try something fun like this.  Have a creative day!

Moana

Throwback Birthday!

How about another Throw Back Thursday?  You got it!  The designer paper I used was from last years Spring Occasions catalog and it was my favorite.  I used it like crazy, but kept one pack whole just so I could love it some more.  So pretty.

Throwback Birthday

It was the watercolor wonder set.  If you didn’t get any, you should be crying about it.  Really, you should try to find some on ebay or something.  Why am I going on about it now?  Well, every catalog has paper that is specific to it and then it goes away when the catalog is done.  If you find a paper you love, stock up before it’s gone!

Throwback Birthday

I paired this awesome paper with two current sets.  The Age Awareness photopolymer set and Work of Art.  Both are absolutely fantastic sets that are loaded in fun!  I even dipped into some really old sweater trim.  Remember that stuff?  I have loads of it.  I stocked up when it hit the clearance rack.  I love a good sale.

Throwback Birthday

Can you see just how big this bag is?  I scored a whole sheet in portrait mode and created this monster.  If you want to know how the handle worked out, you will have to send me a comment.  It was an accident, and I love how it worked out.  Might be a new regular for my bags.

Have a super awesome creative day!

Moana

Birthday Bash Times Two

Can you see a theme at my work station?  Yup, still working on birthday cards.  With paper this beautiful, you don’t really need a lot of extras.

Birthday Bash Times Two

I don’t know if you can tell from the photos, but several of the printed balloons are in gold foil.  It is just so pretty.  It could easily have gone without stamping, but I did just for fun.

Birthday Bash Times Two

I thought with the color combination it could easily be masculine.  Even with the seam binding ribbon.  Simple and strong.

Birthday Bash Times Two

I could go on and on, but these cards speak for themselves.  Dip into those pretty papers and put them to work.  Don’t be shy, just cut into them and make something beautiful.  That is why you bought them, right?

Have a creative day!

Moana

B.Y.O.P. Trio

How about waking up to this bundle of sunshine!  I’ve noticed that I have migrated to yellows quite a bit.  It must be a bit of spring fever in the air.  I know it is only February, but with how warm it has been, everything is bright and in bloom.  Just like this bundle.

B.Y.O.P.

This awesome stamp set B.Y.O.P. has the best sayings ever.  If you are a gift card giver, this is the set for you.  It has sentiments for everything and they range from funny to nice to just right.  I’m telling you, just awesome!

B.Y.O.P.

The products are pretty basic here today.  I think it is obvious that I love flowers.  There are four different floral punches and even a floral die cut.  Yup, I love flowers.

B.Y.O.P.

The color scheme is all about crushed curry.  That is one of the colors used in the free designer series paper pack.  The ribbon and buttons are also from a coordinating set.  Also free.  Don’t you love that?

B.Y.O.P.

So, no matter what kind of gift giver you are, this totally works.  But really, giving a gift card can look kind of tiny, even though it can be just right.  Why not give it a beautiful wrapping?

Have a creative day!

Moana