Garden In Bloom

Taking a few days off is kind of nice, but it was not intended.  Getting ready for a huge workshop can be really exciting, but also very time consuming.  Put that with still working full time and you get a bit of a circus.  Not to mention the adventures of everyday life.  Time to get back on track and have some fun!

2-1 (2)

There is a lot of attention right now with Sale-a-bration and the Spring Occasions catalogs, and they are very exciting to say the least.  However, the annual catalog is so full of beautiful product it is hard to ignore.

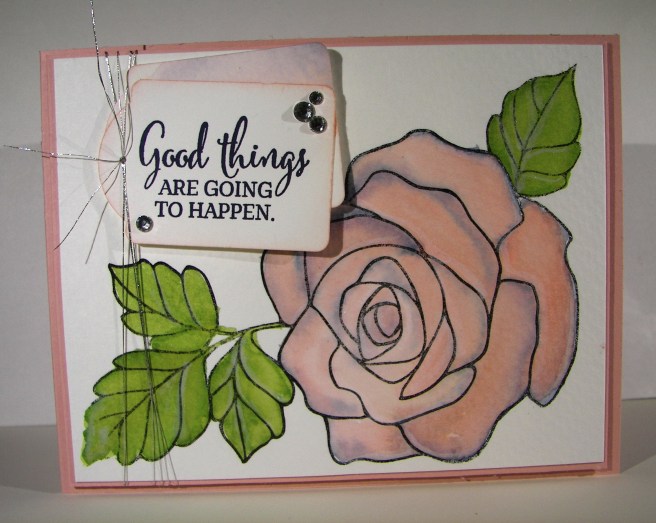
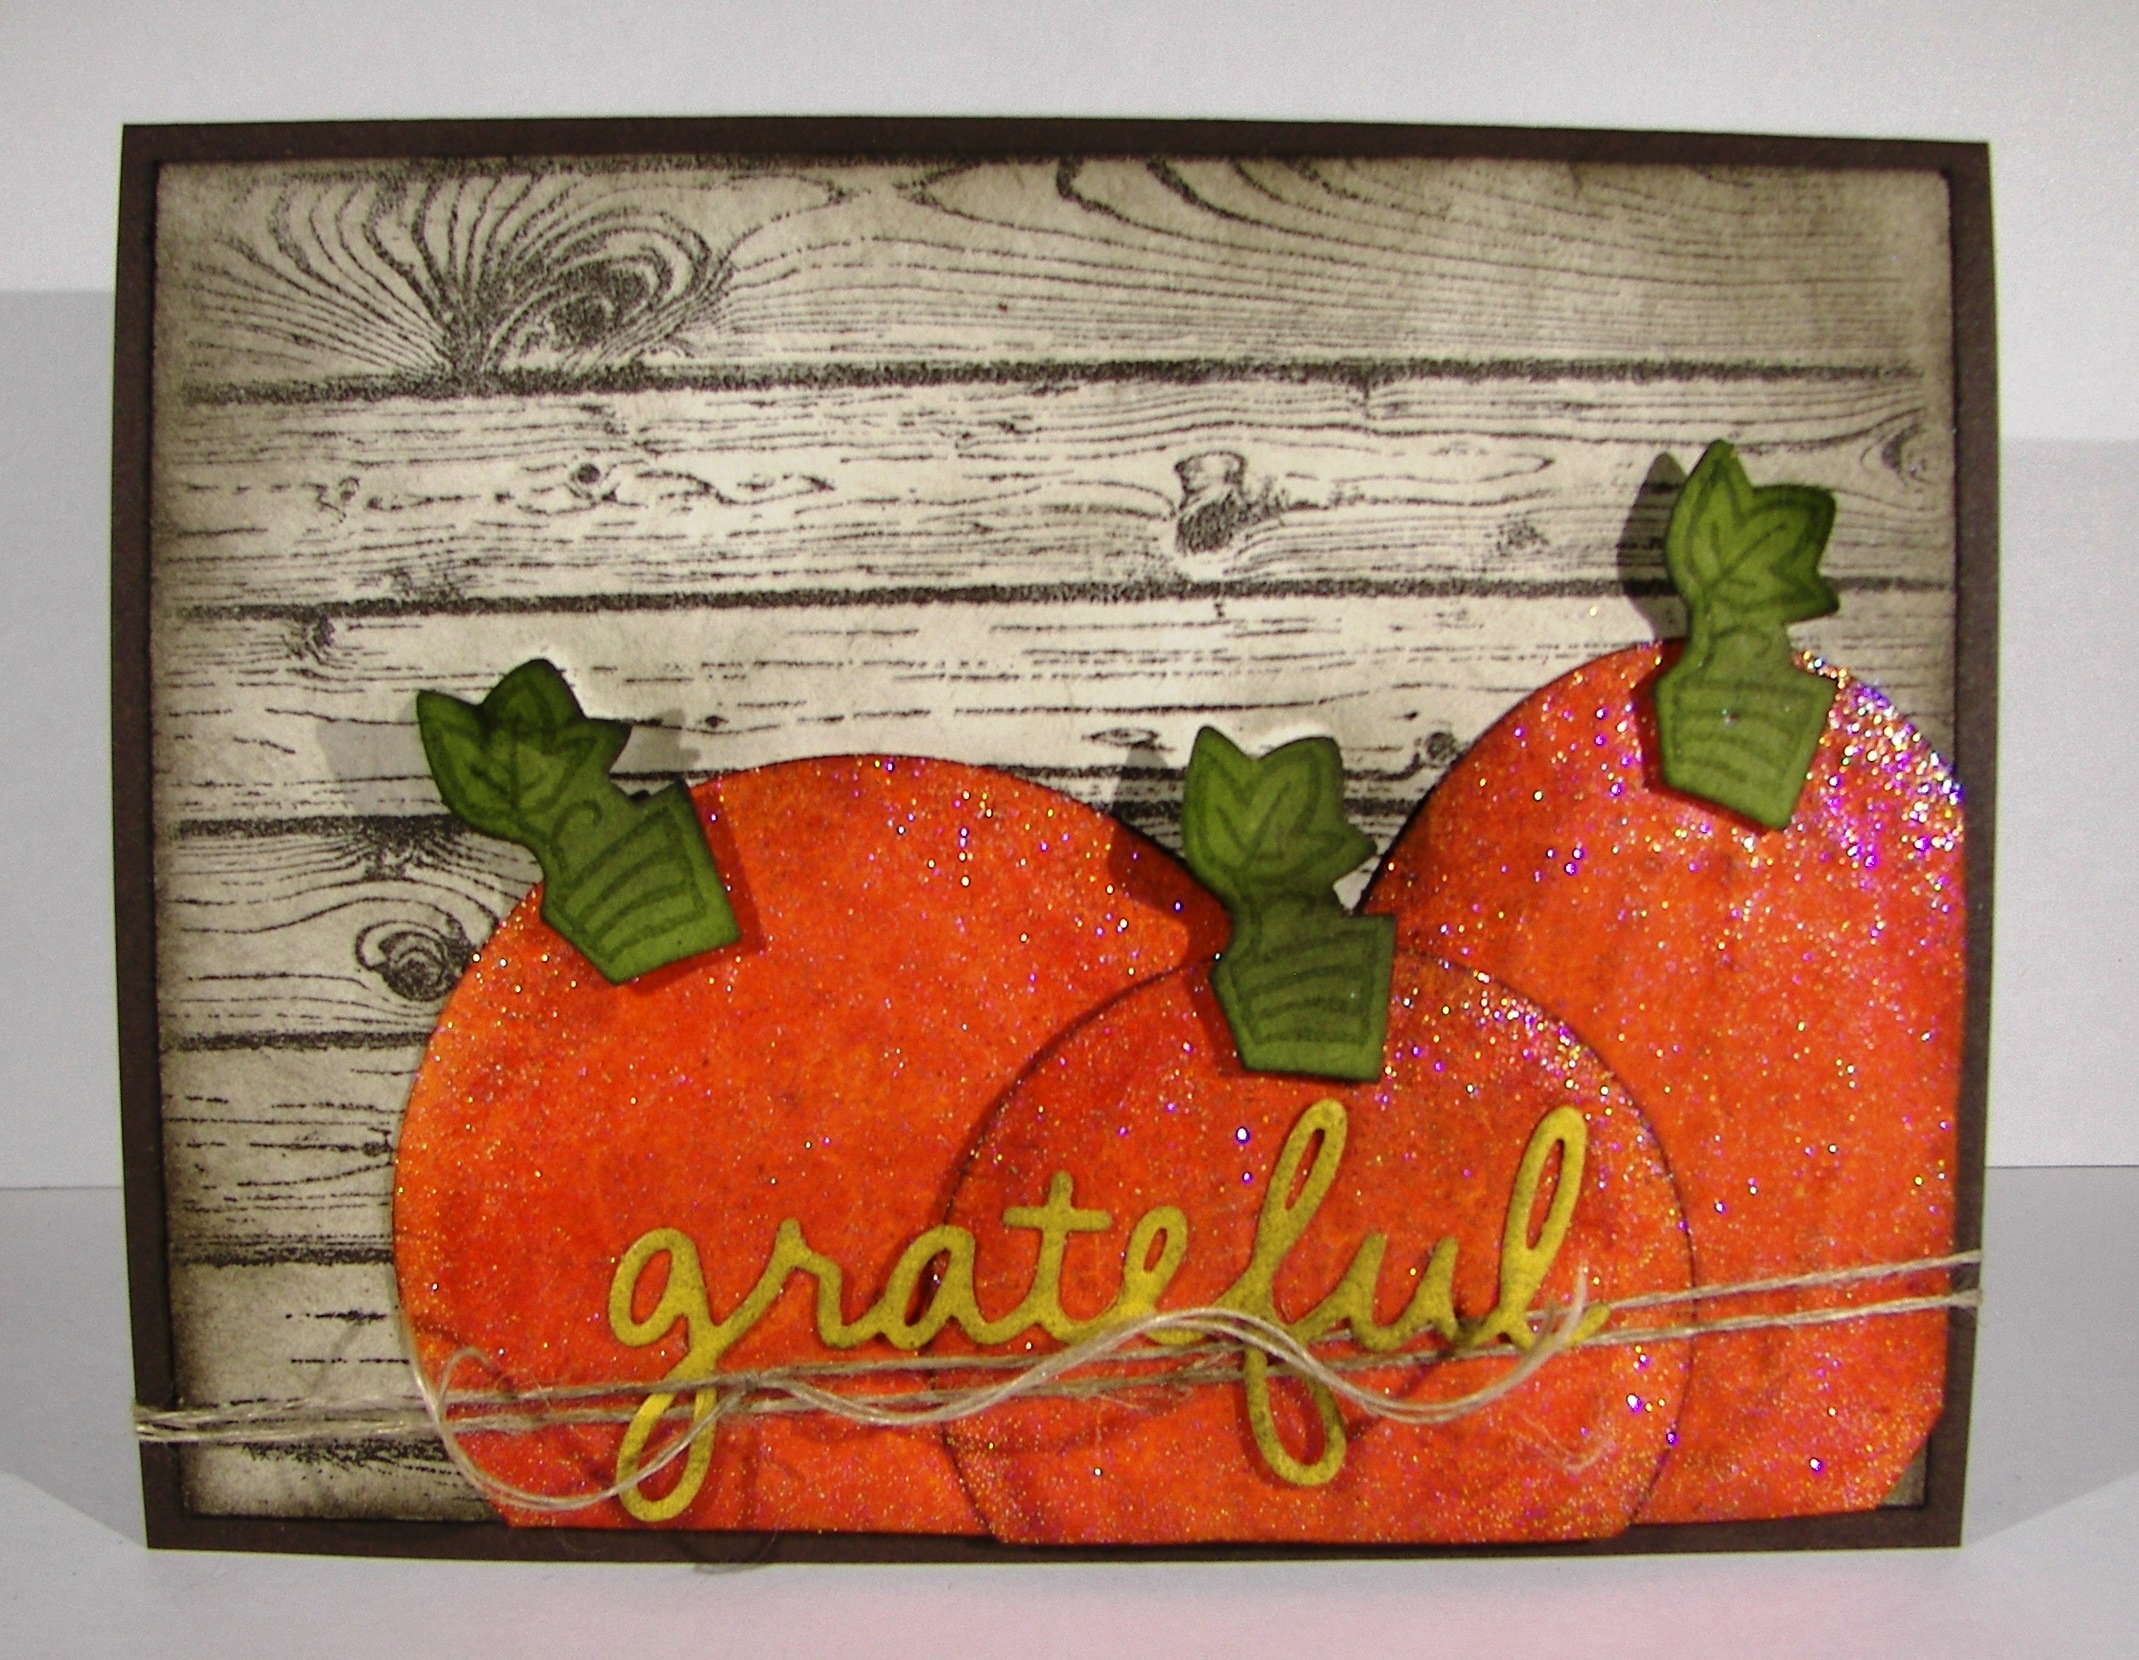
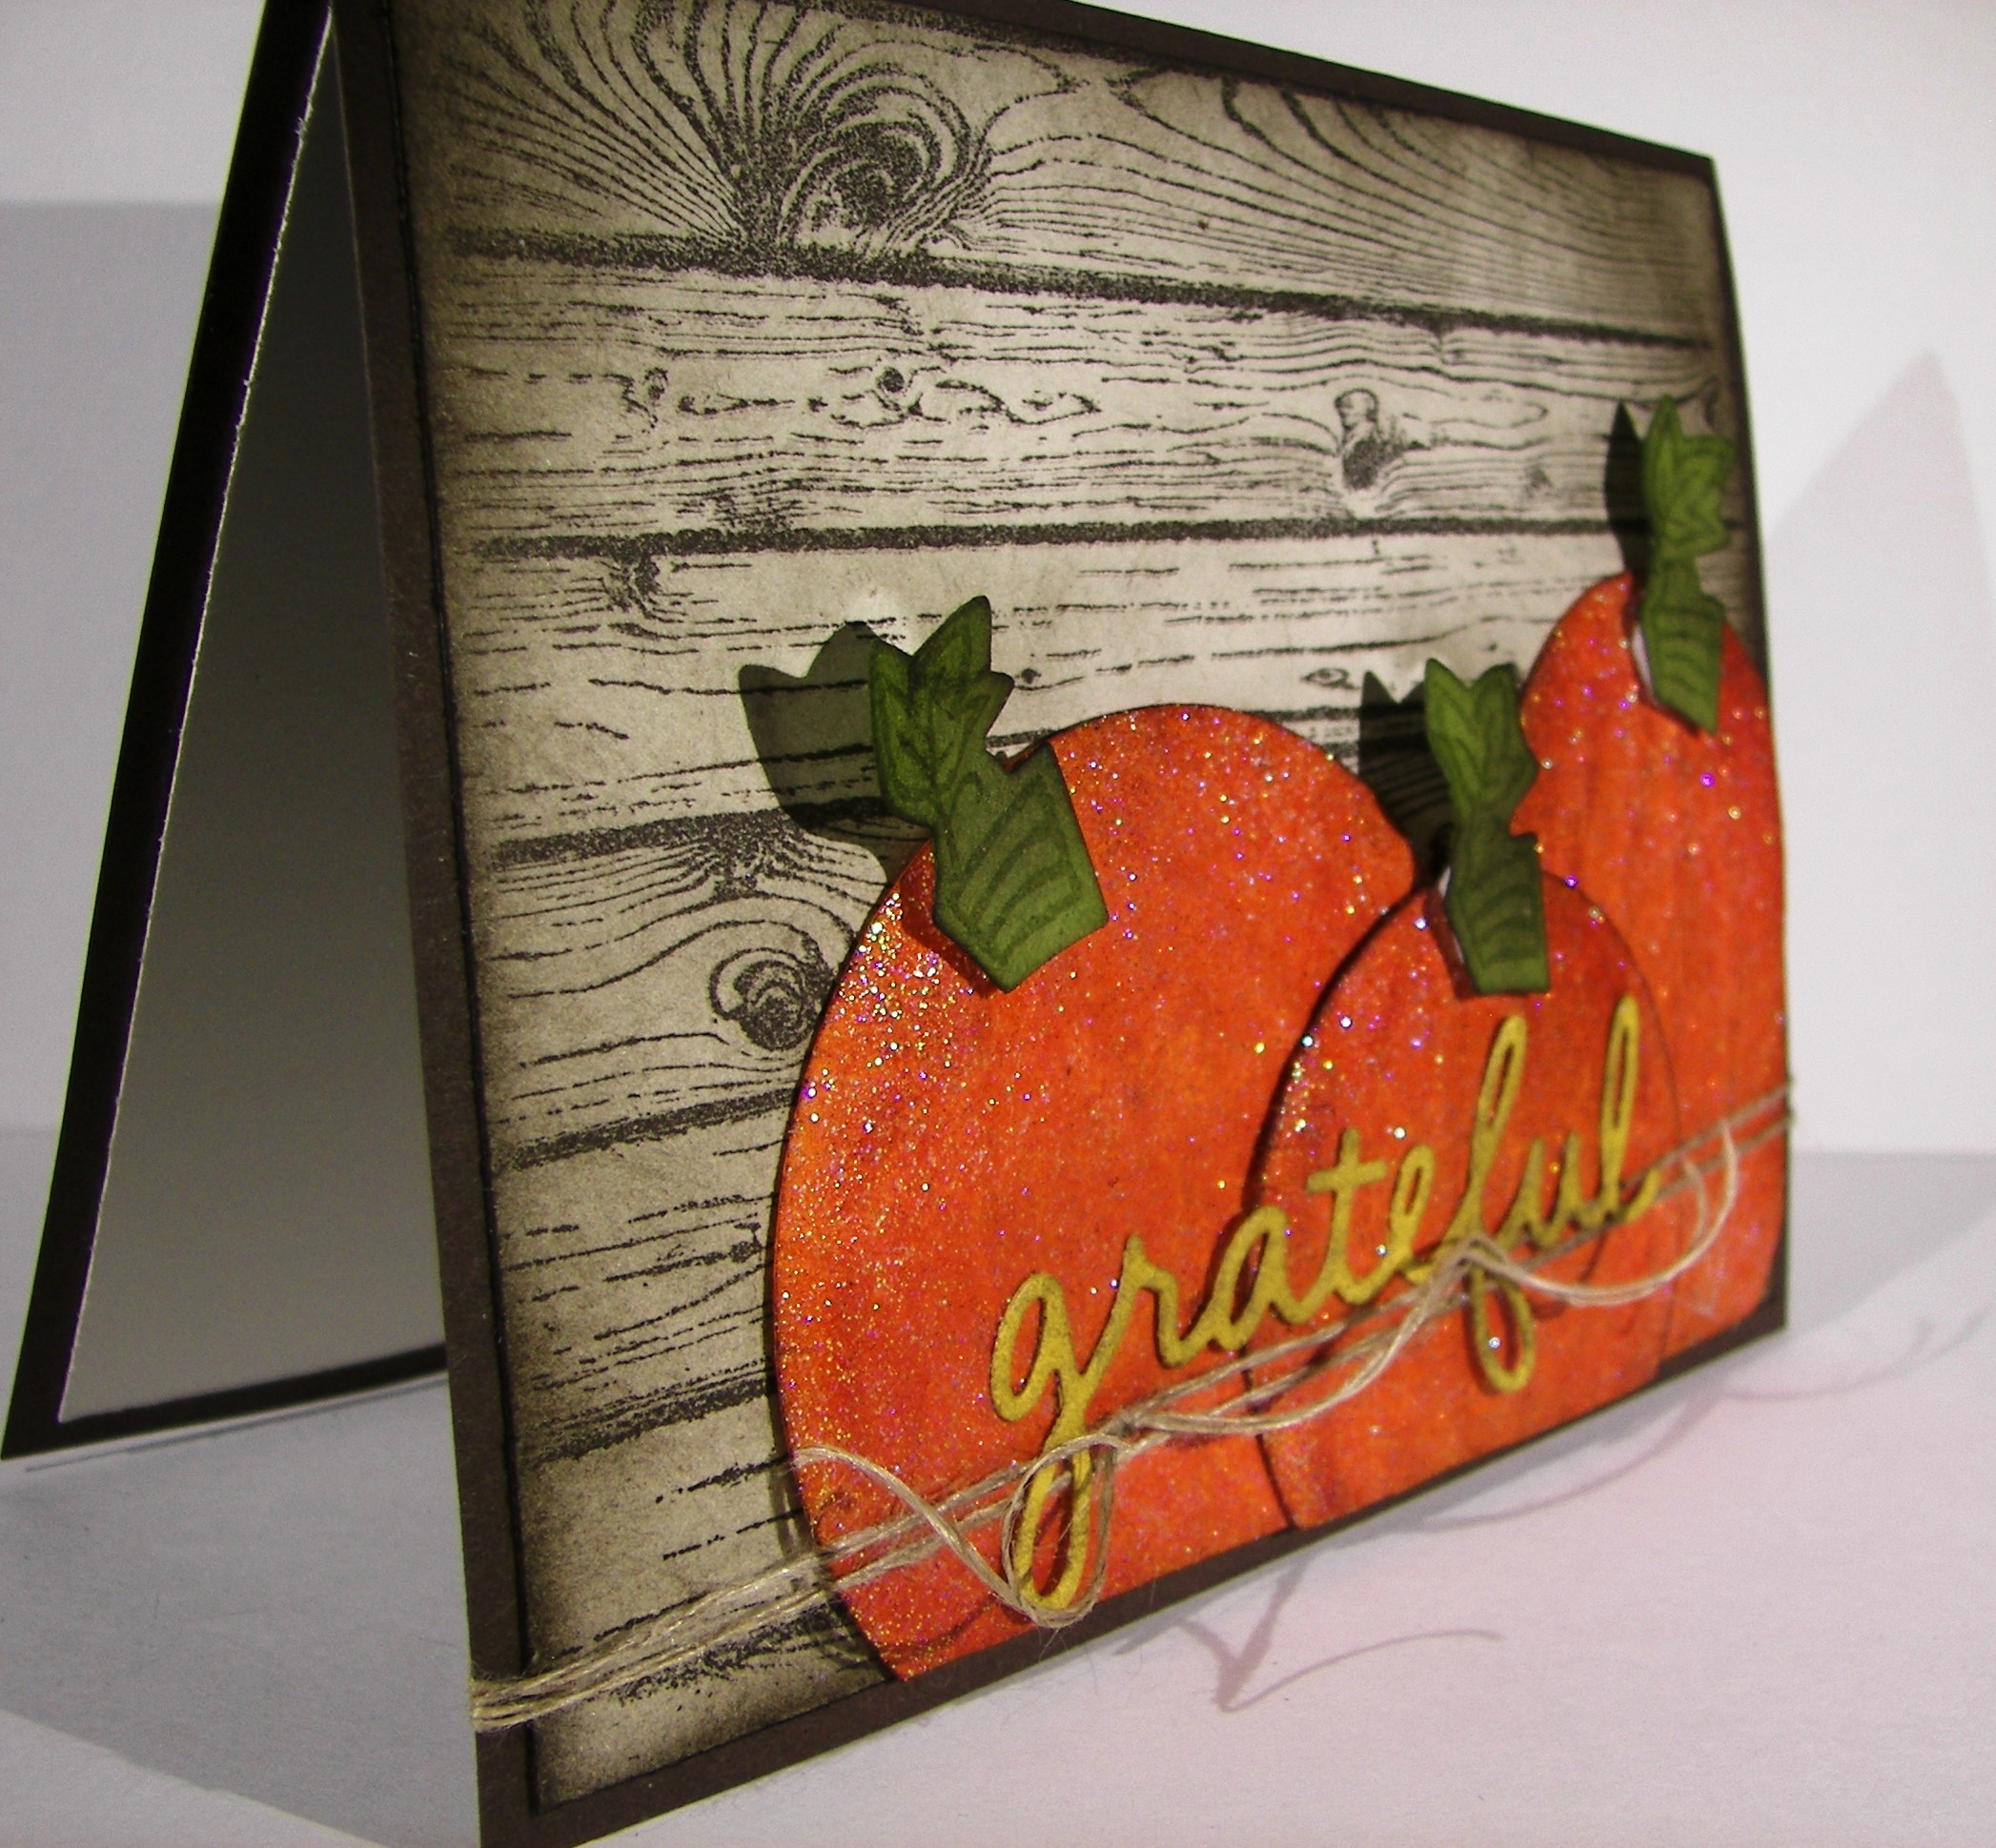
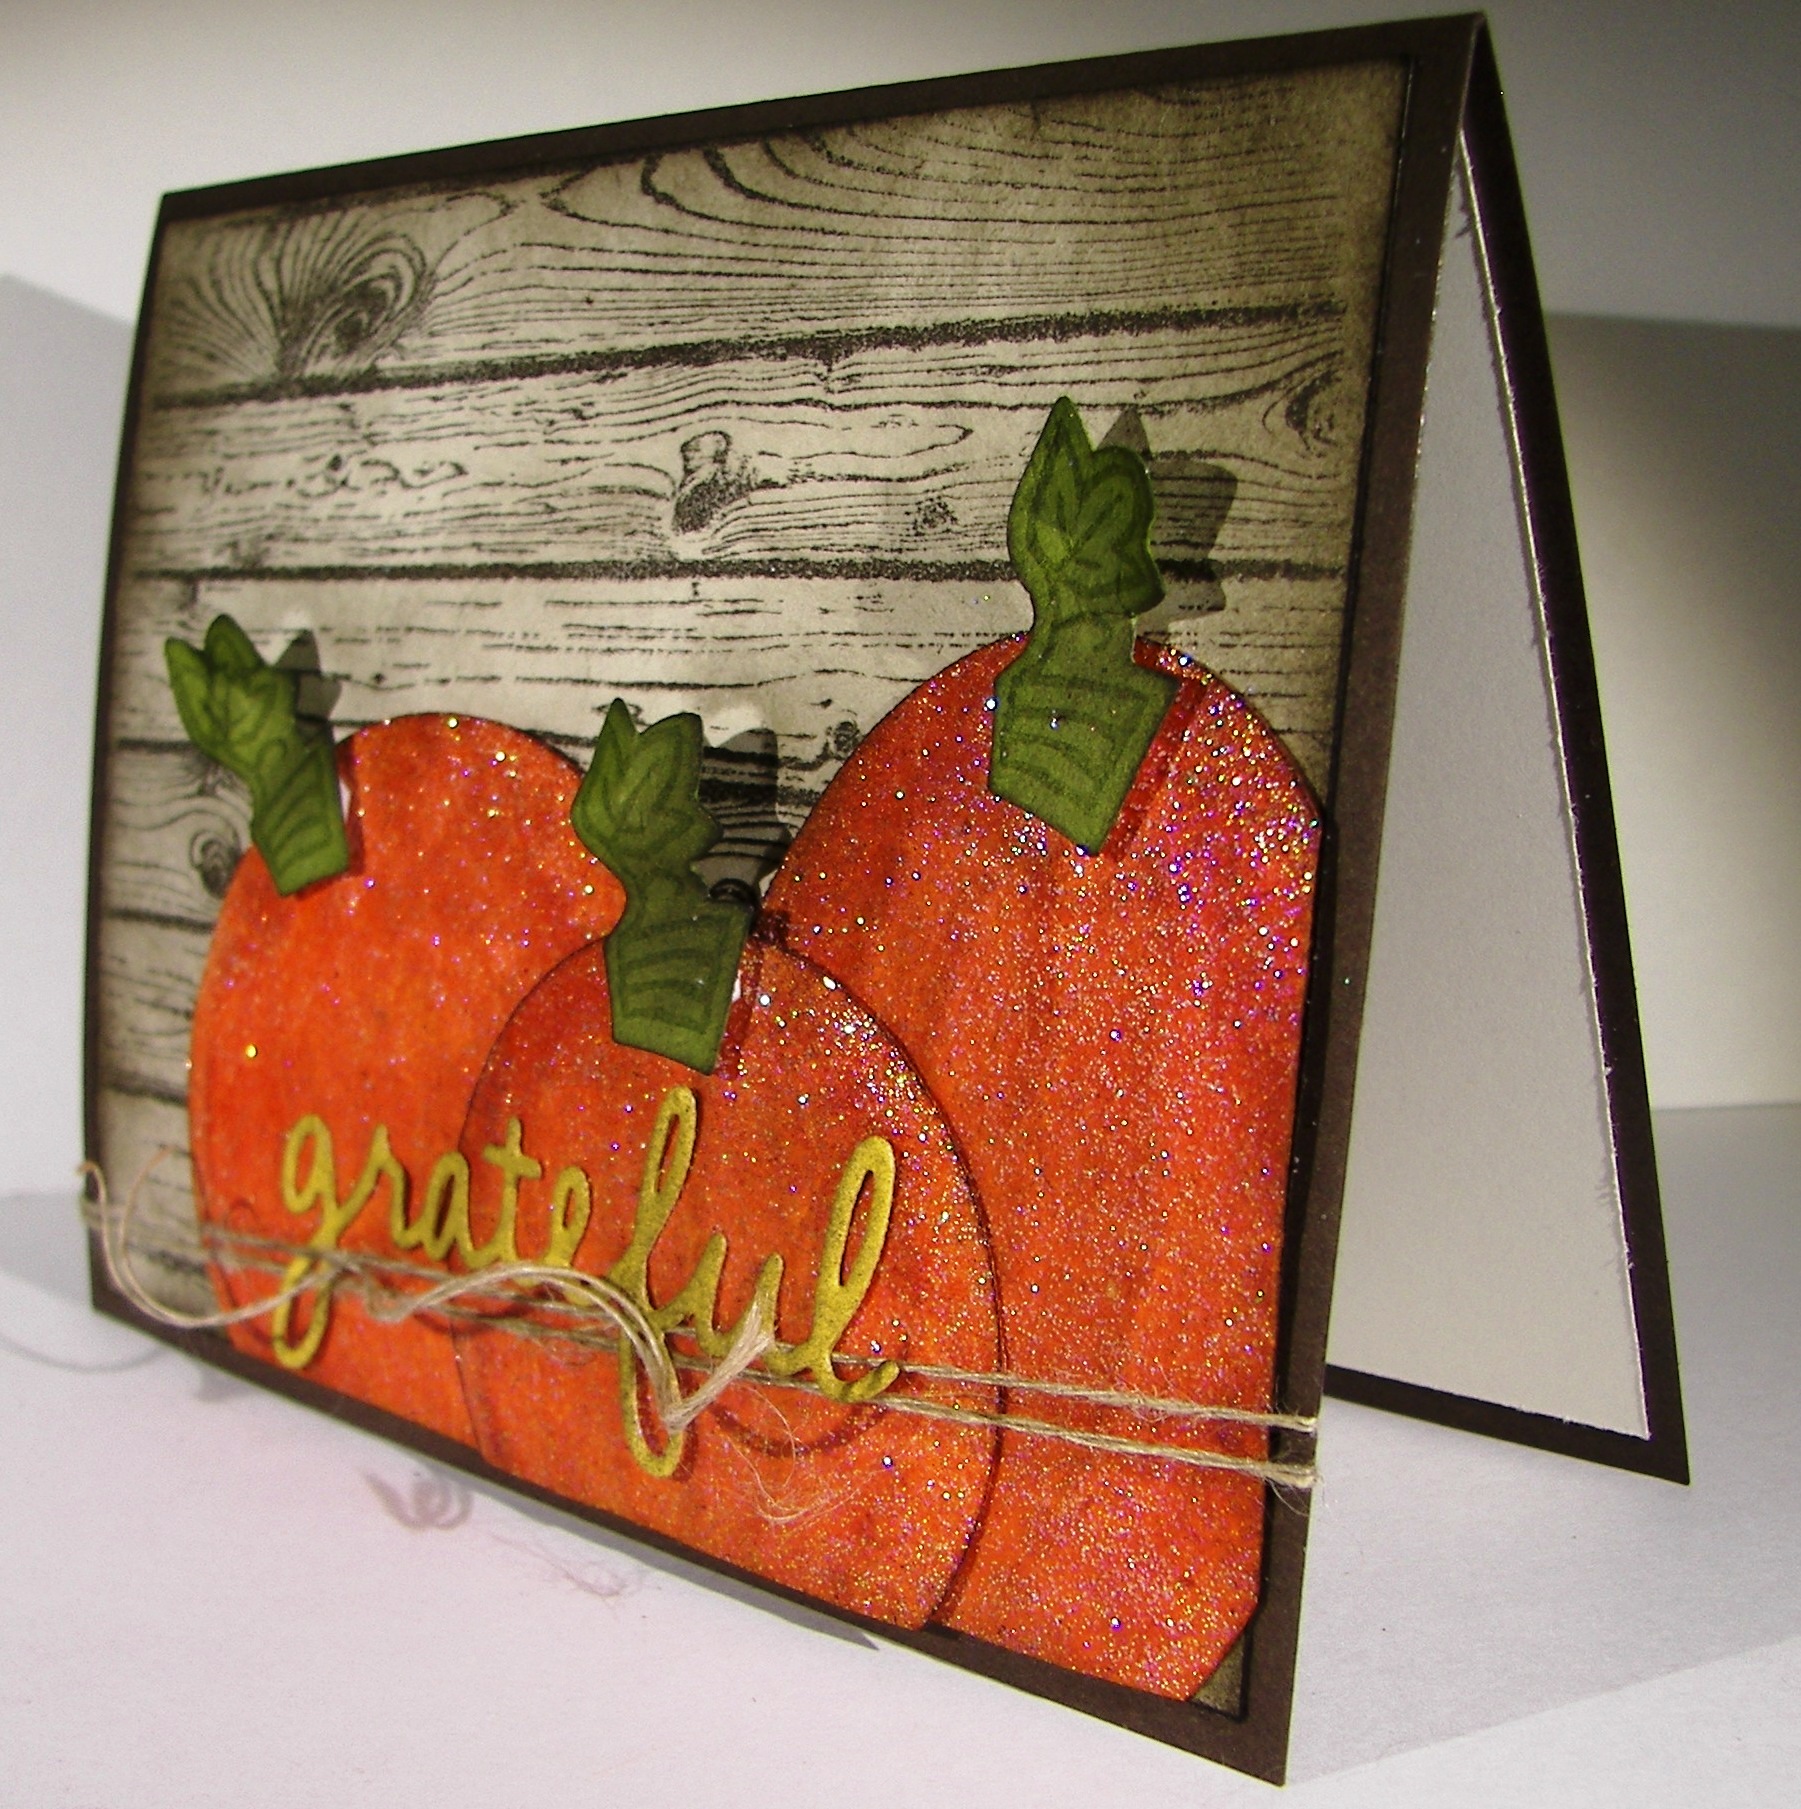
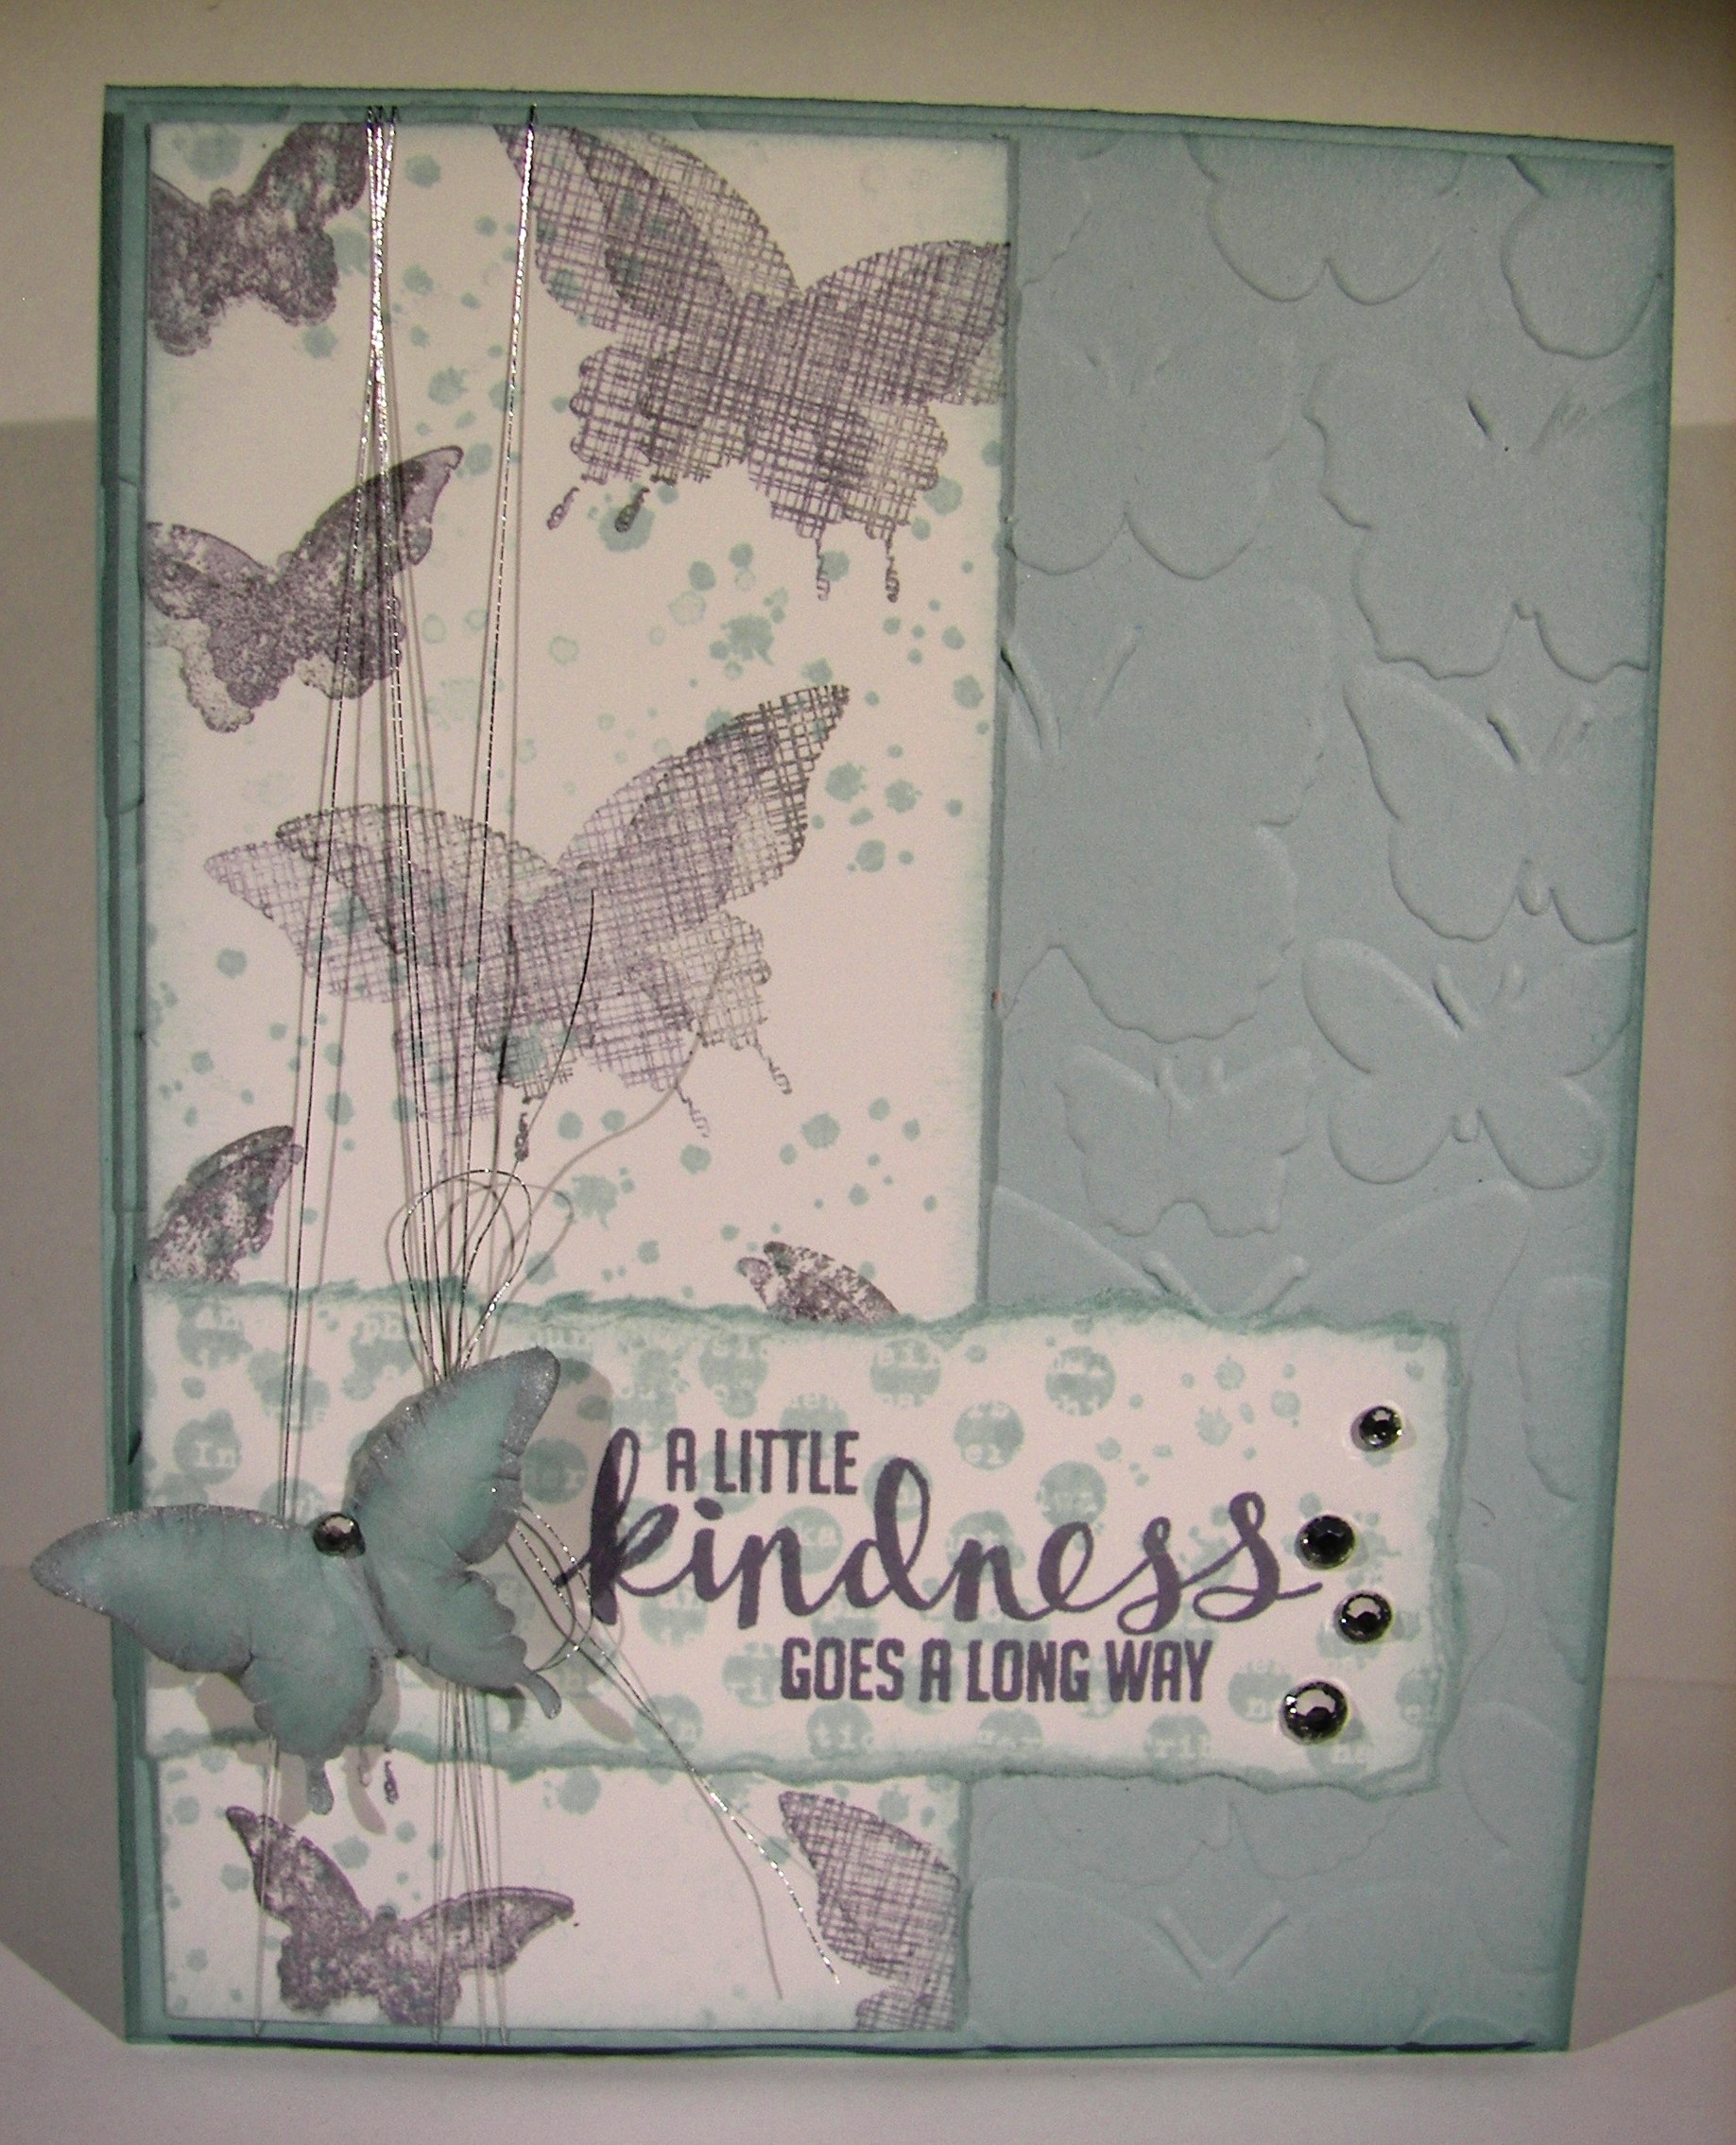
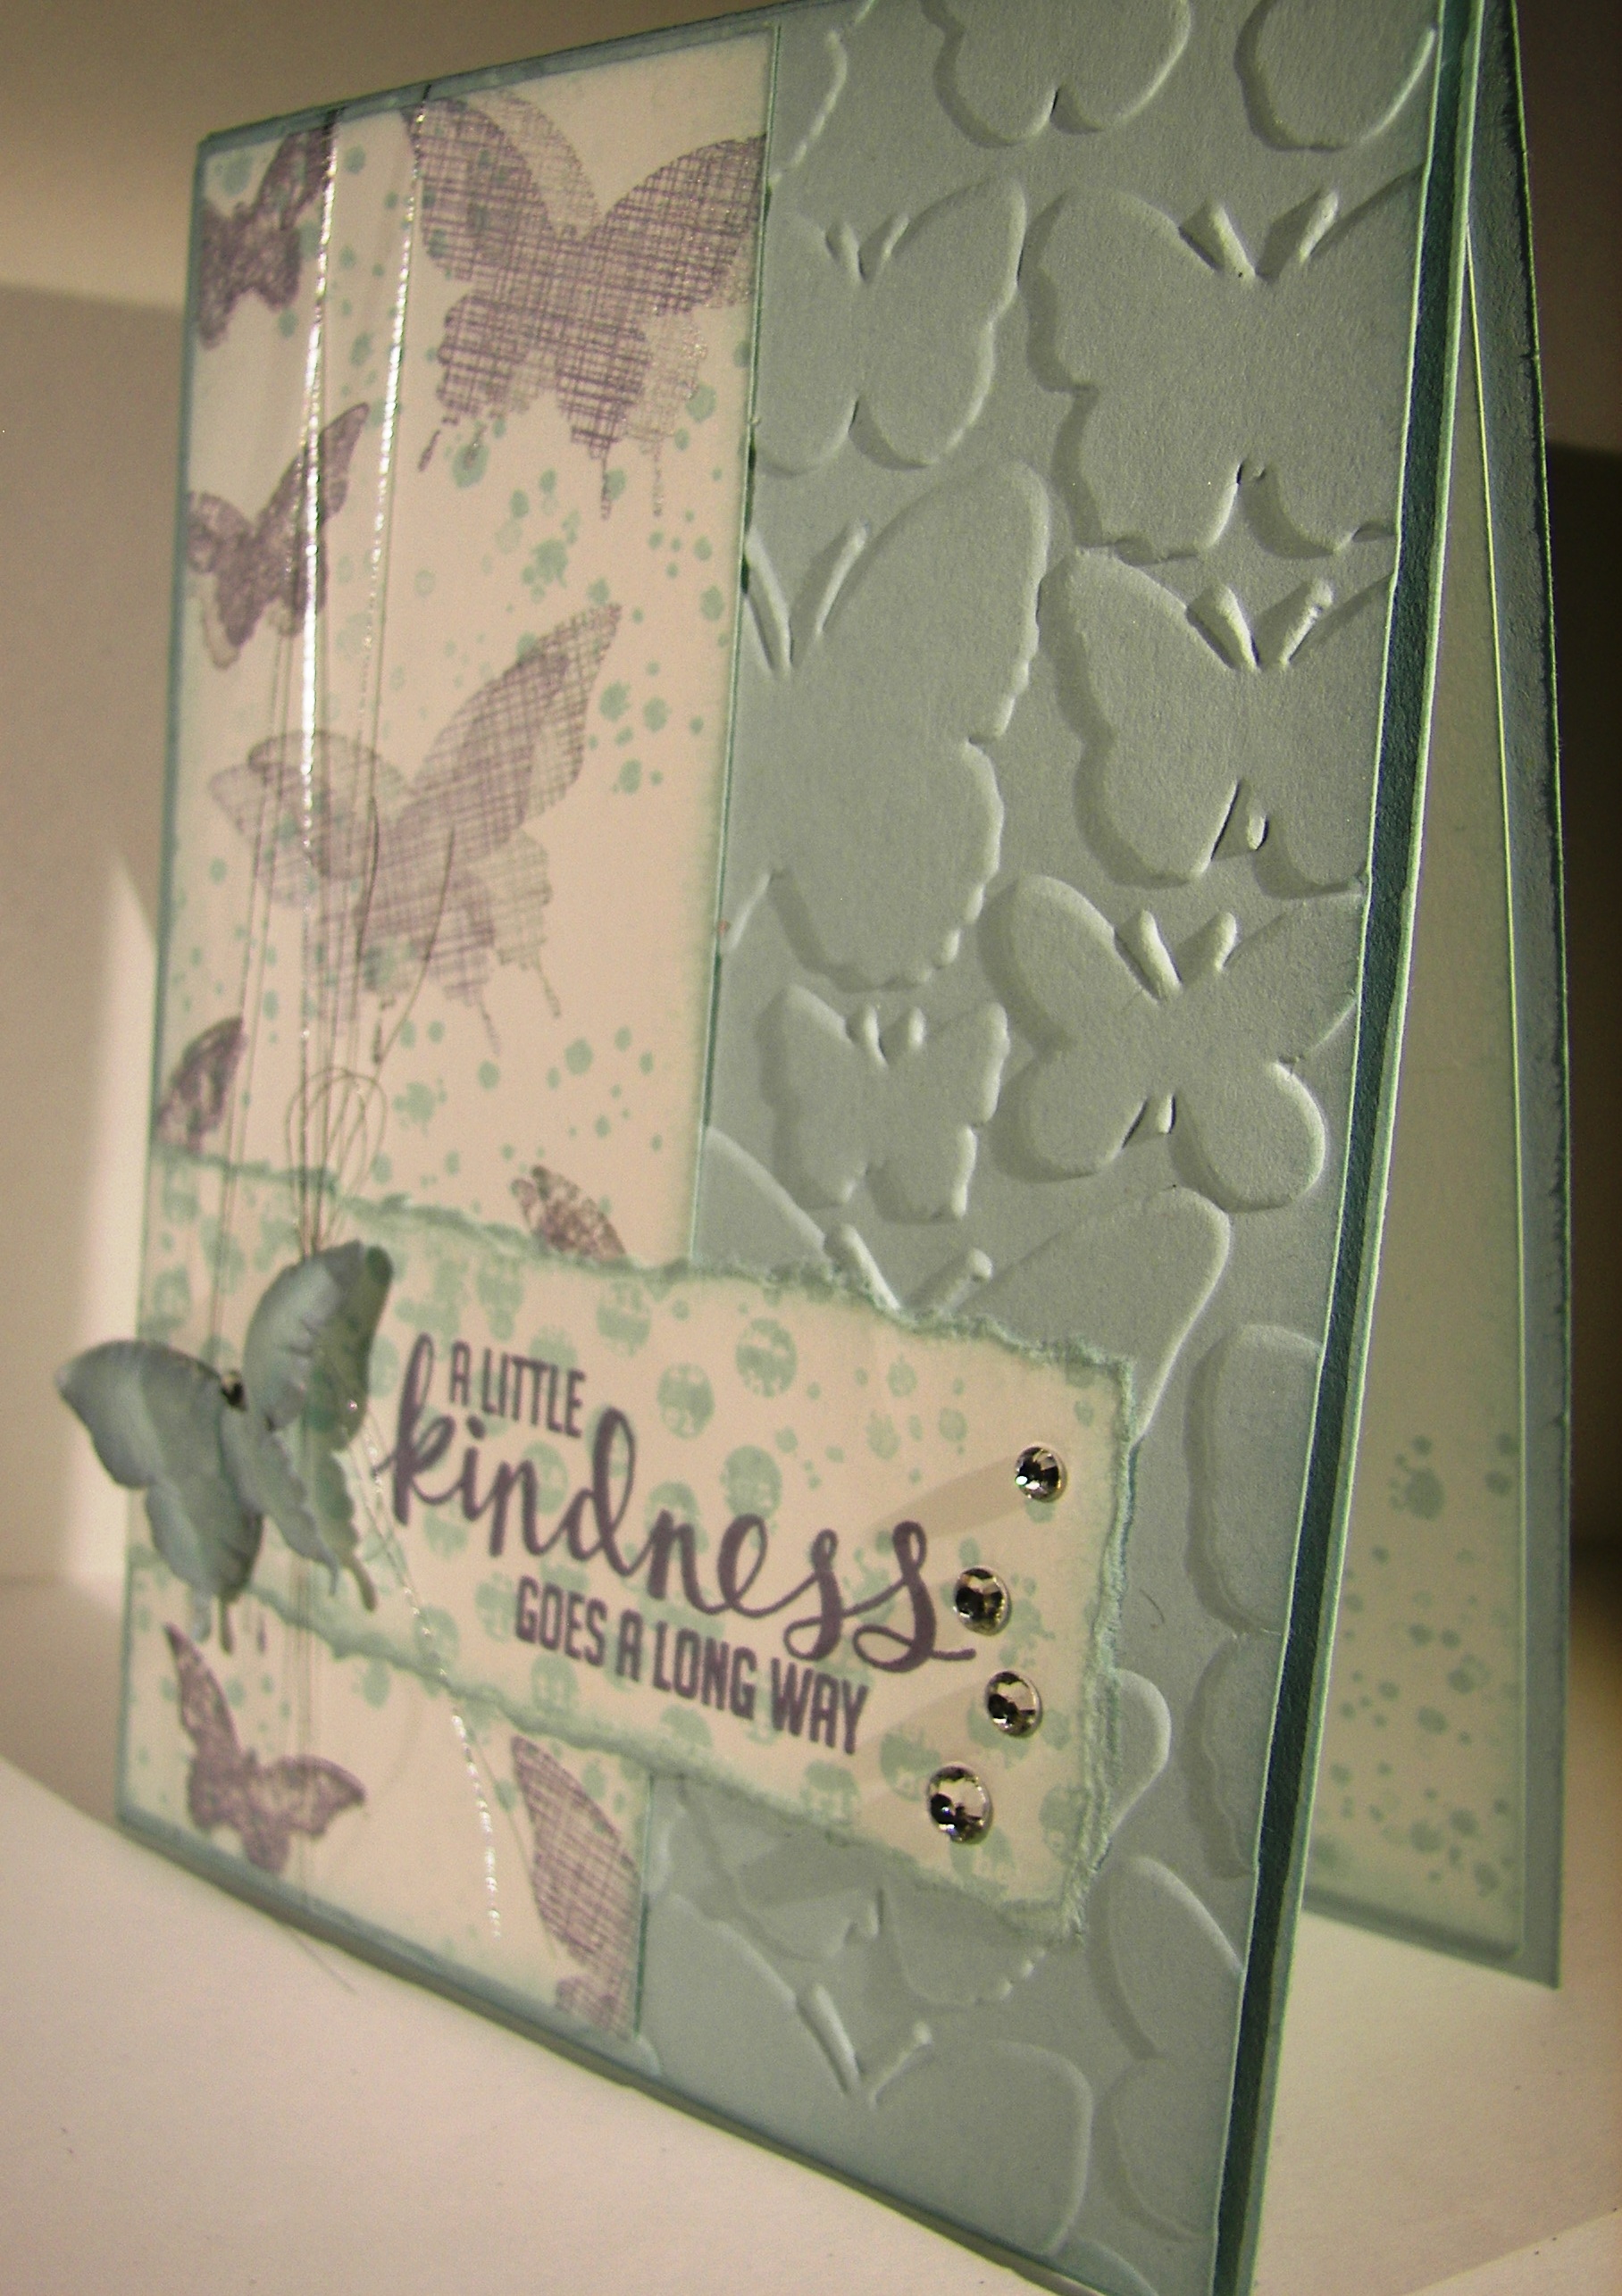
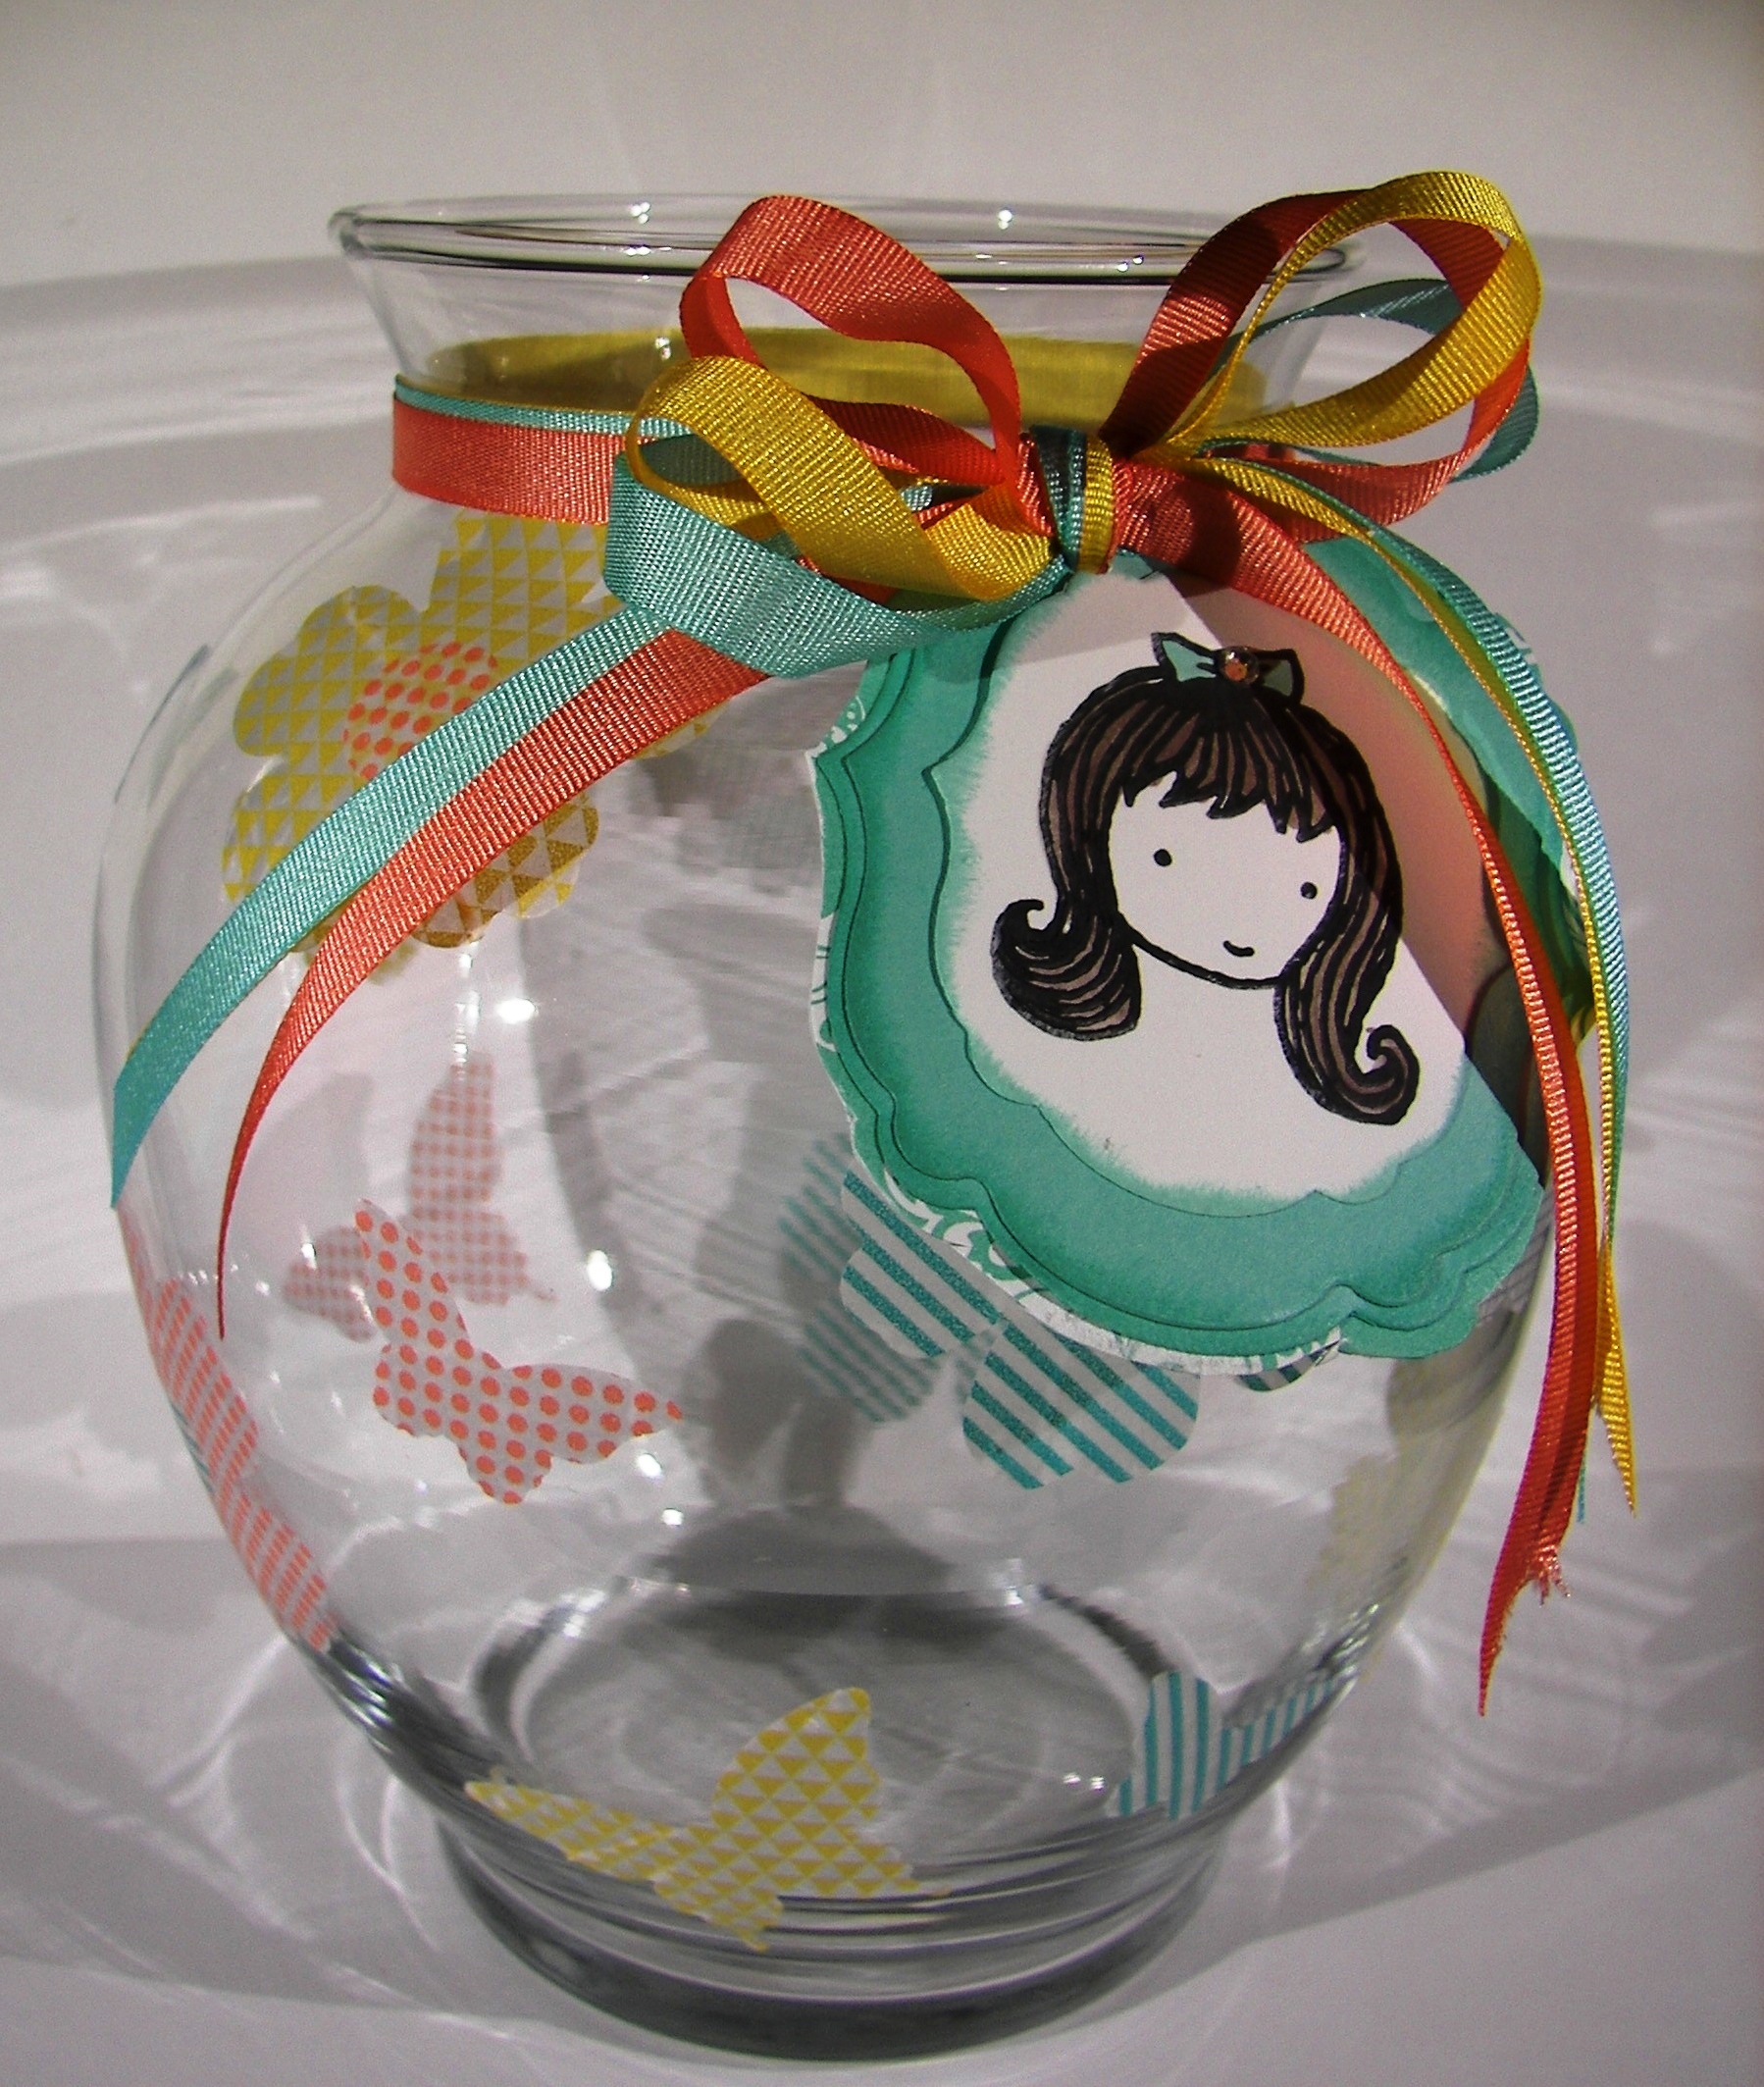
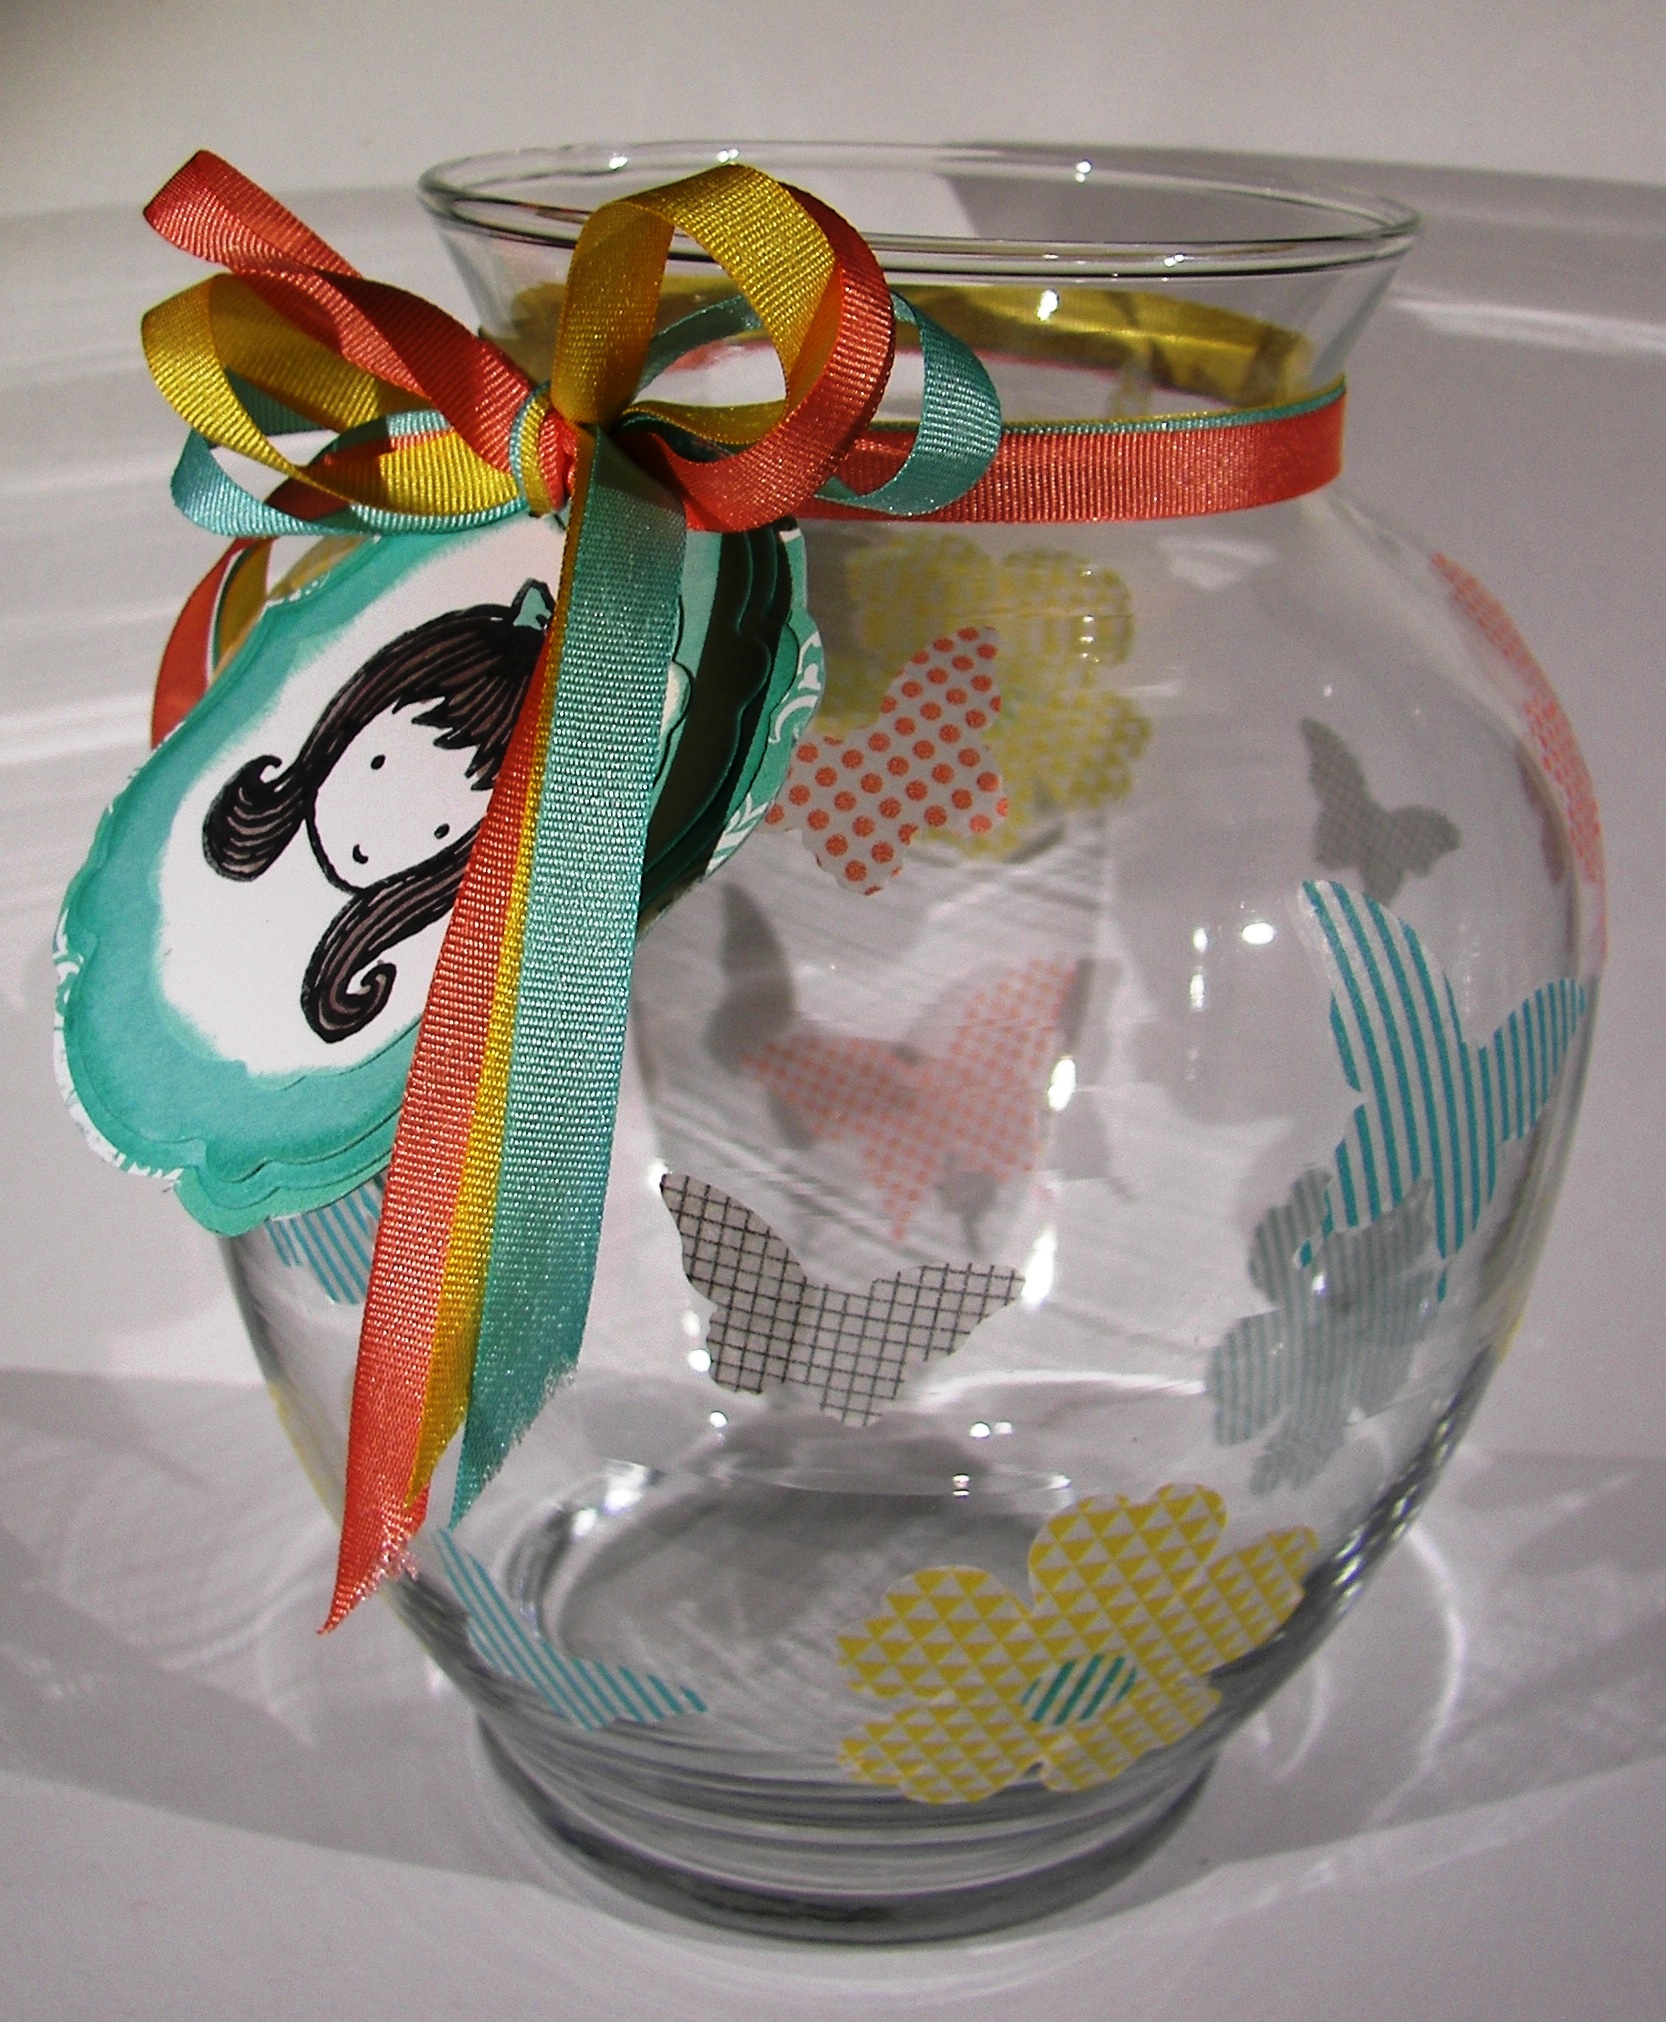
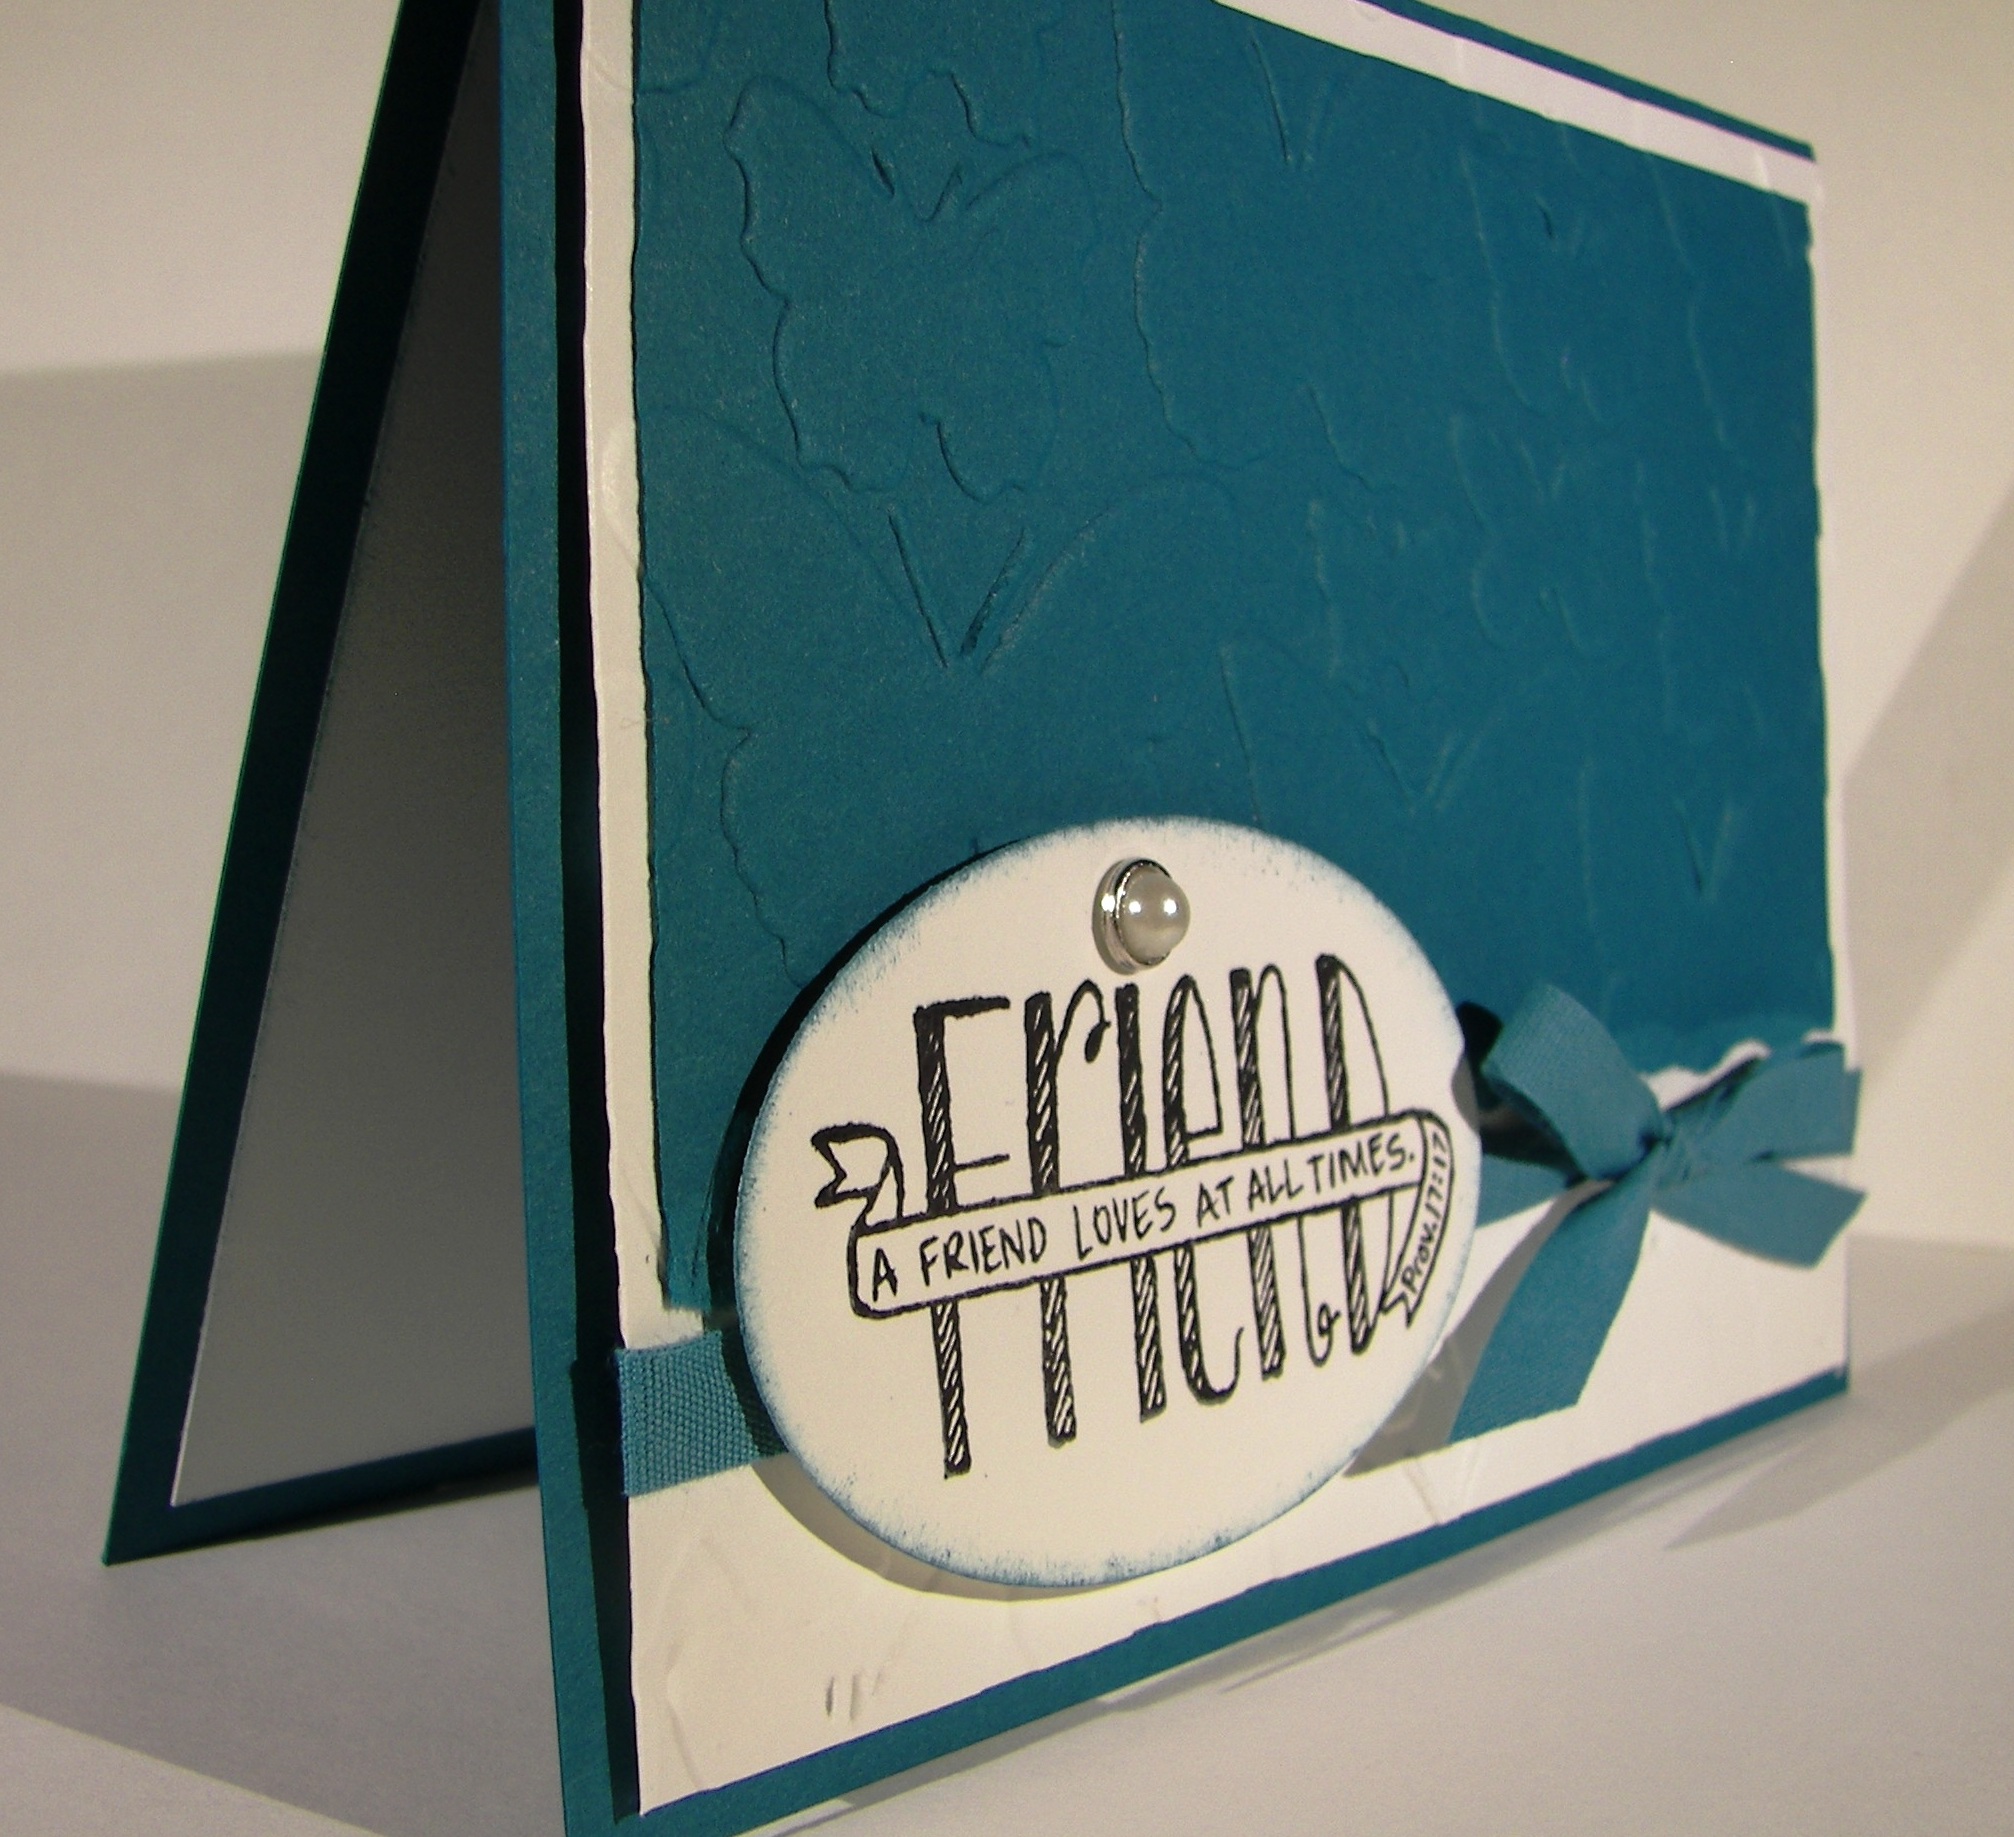
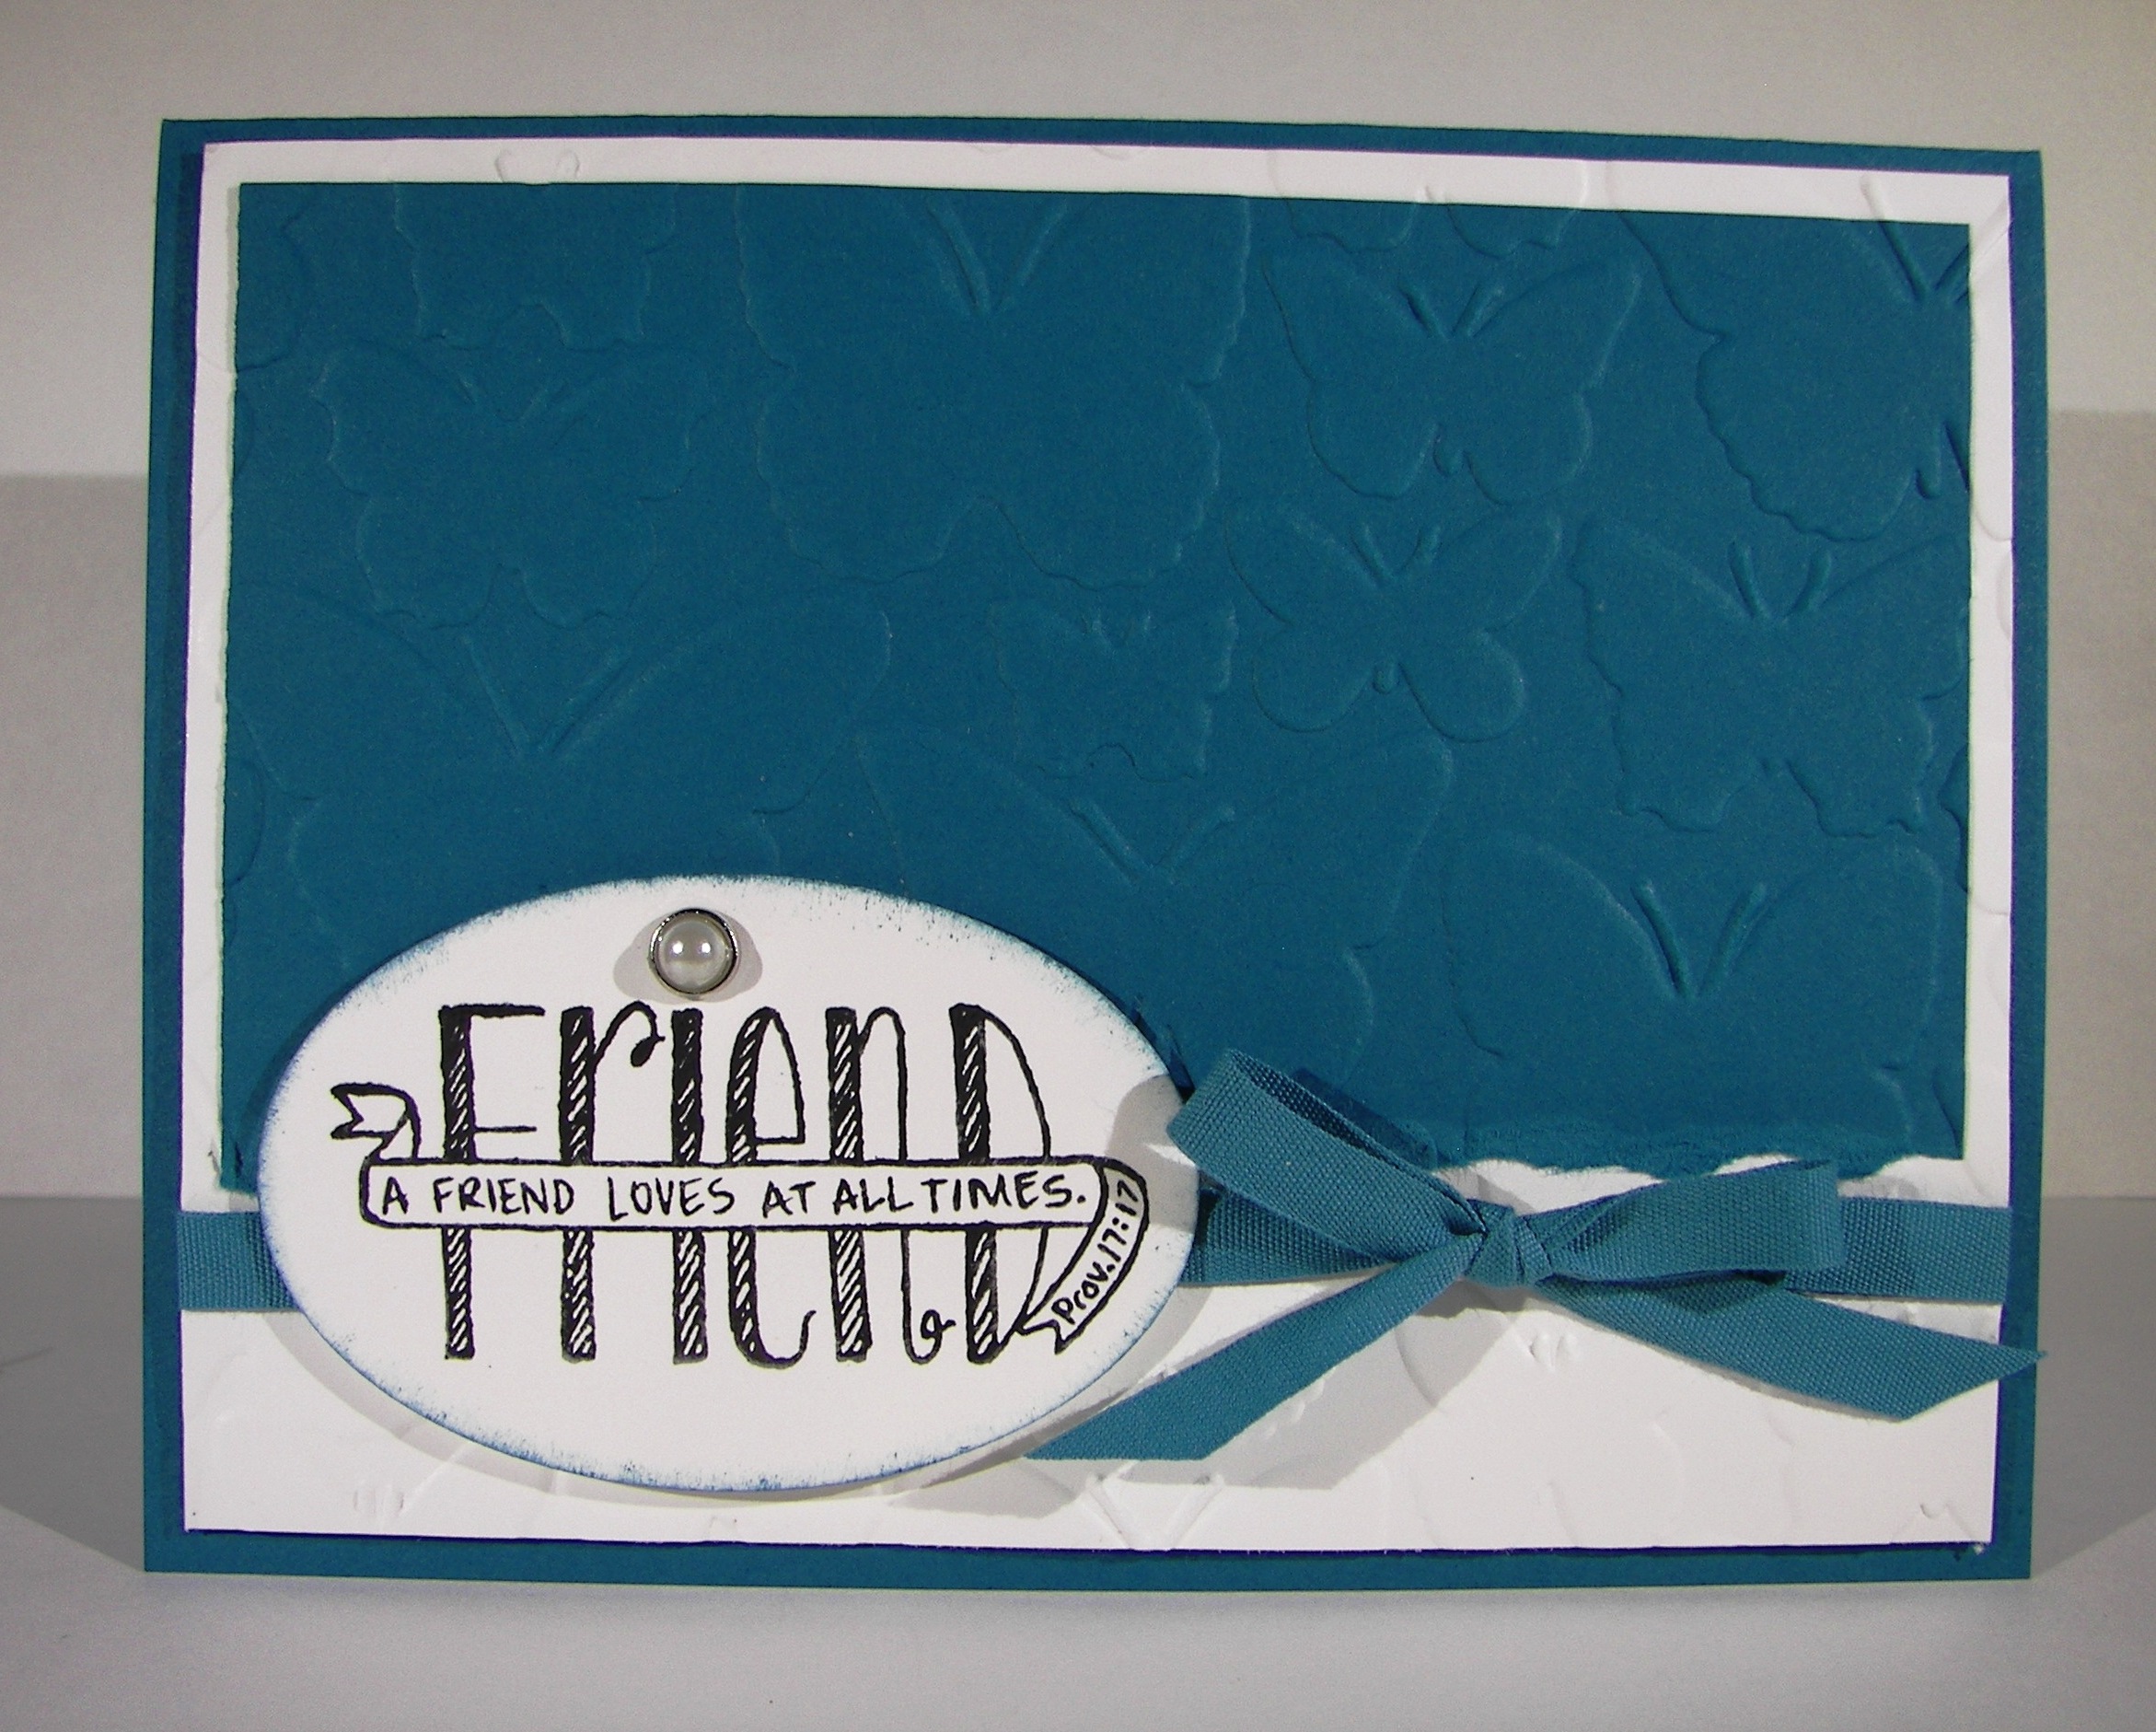
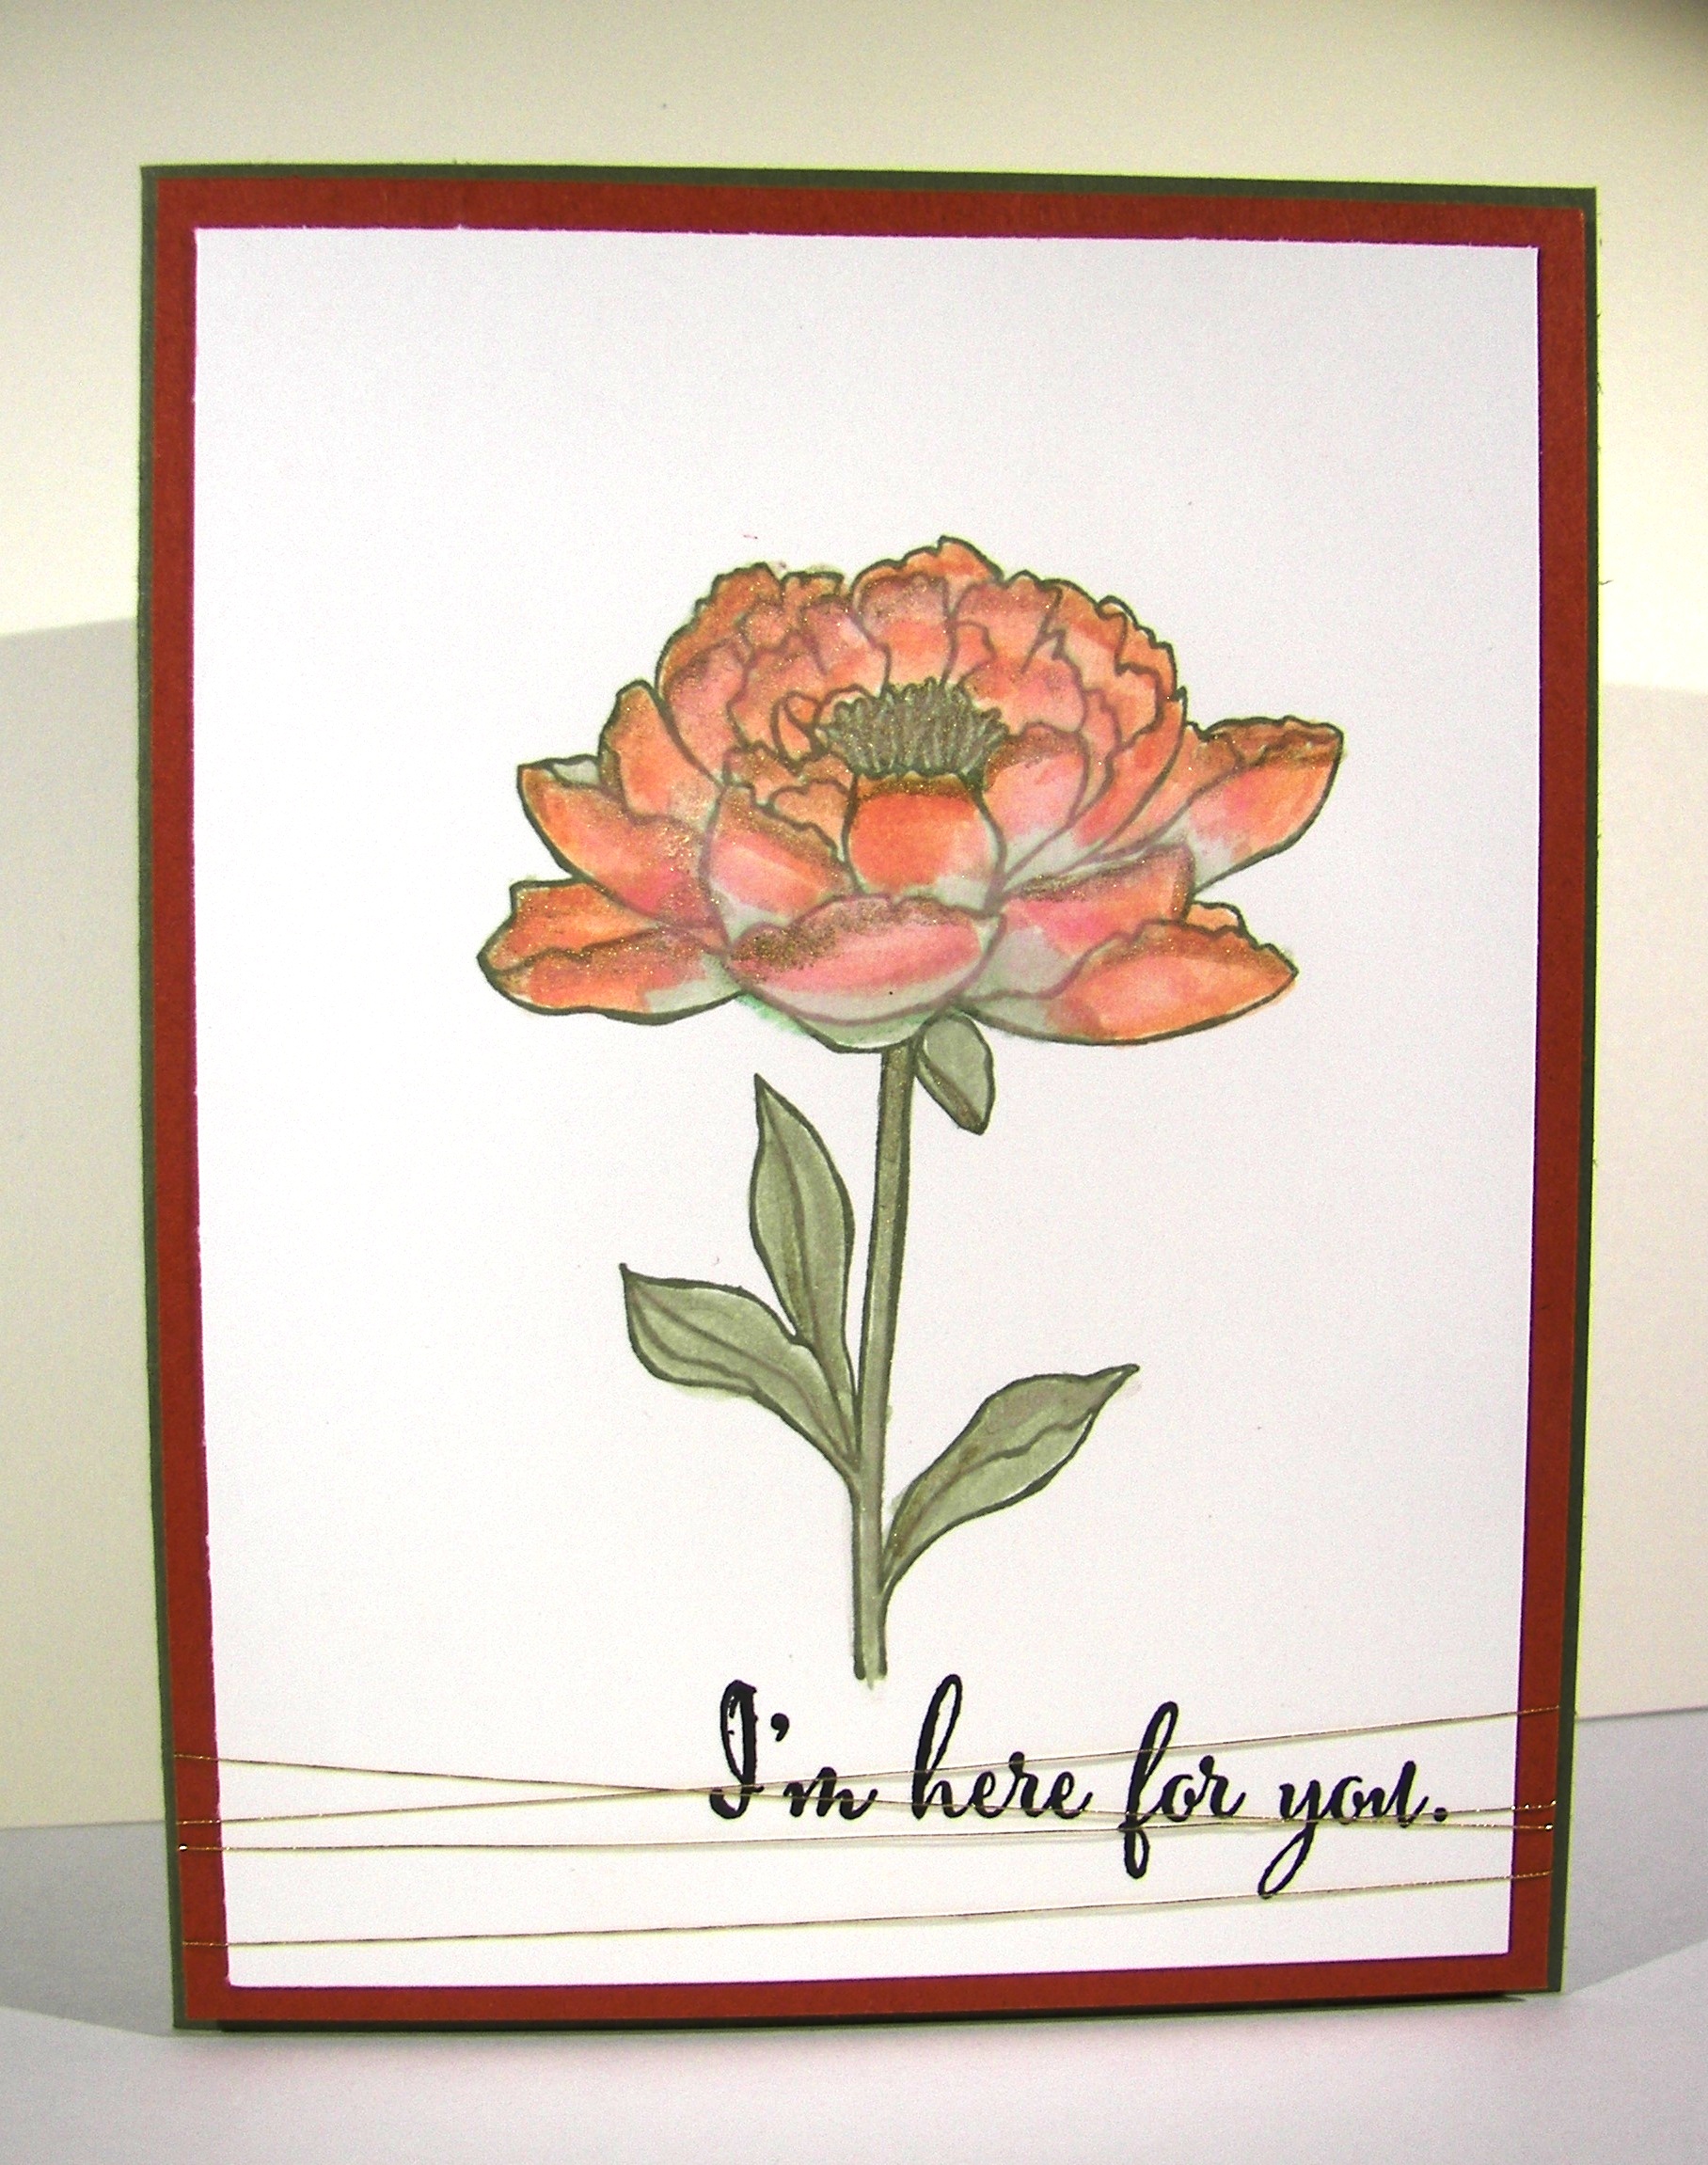
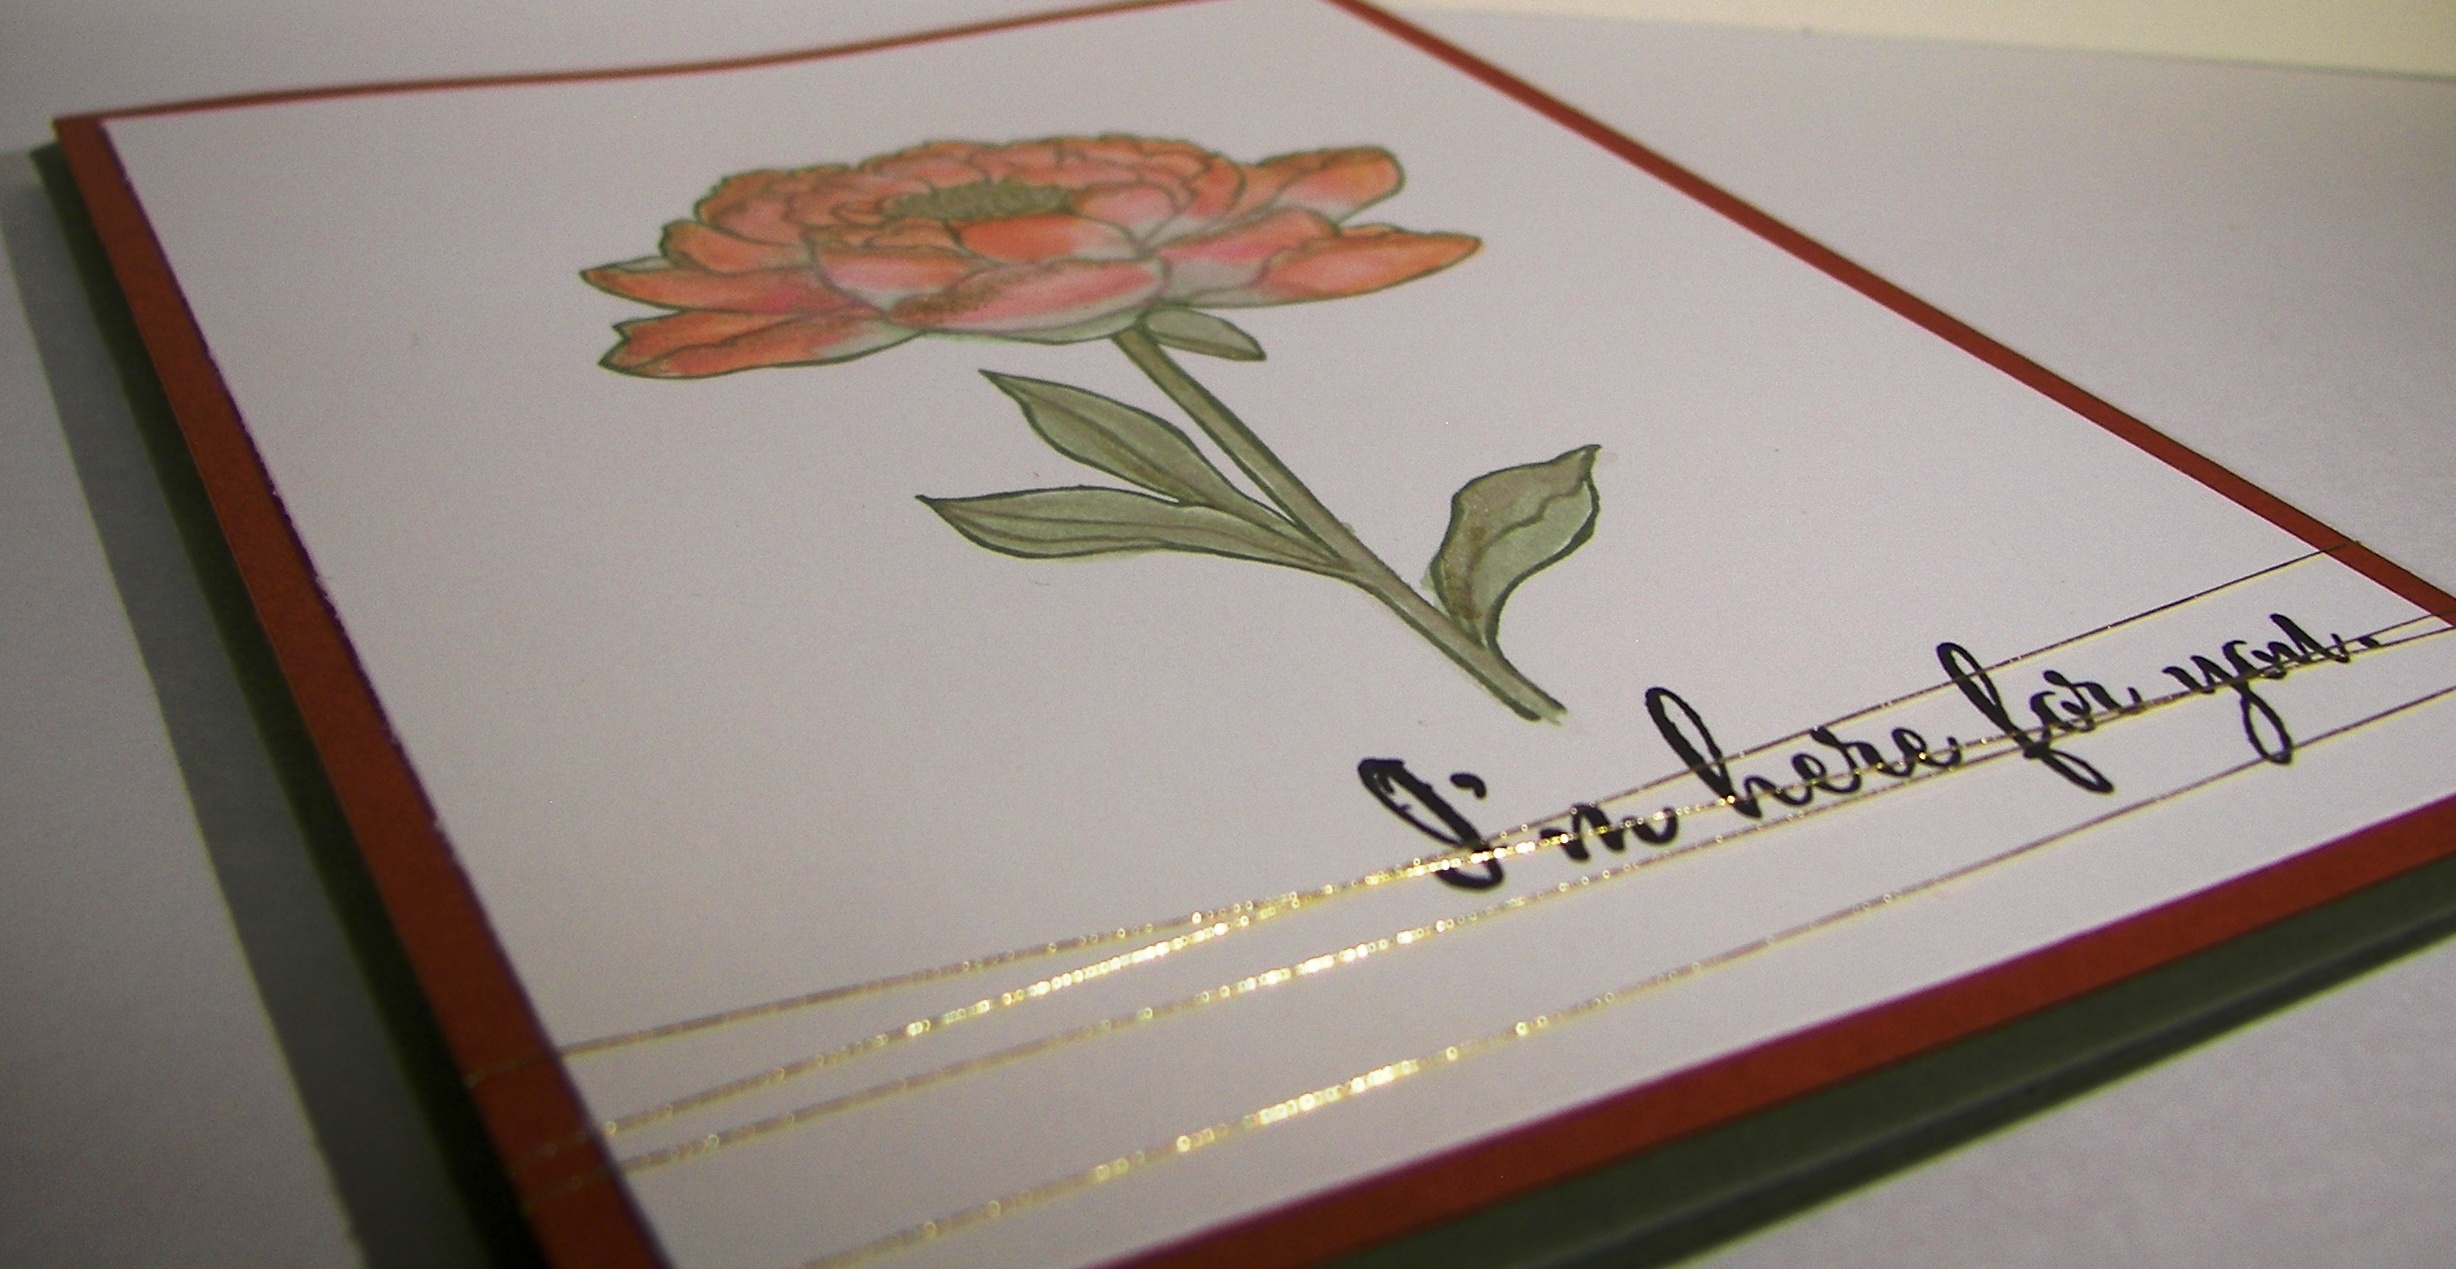
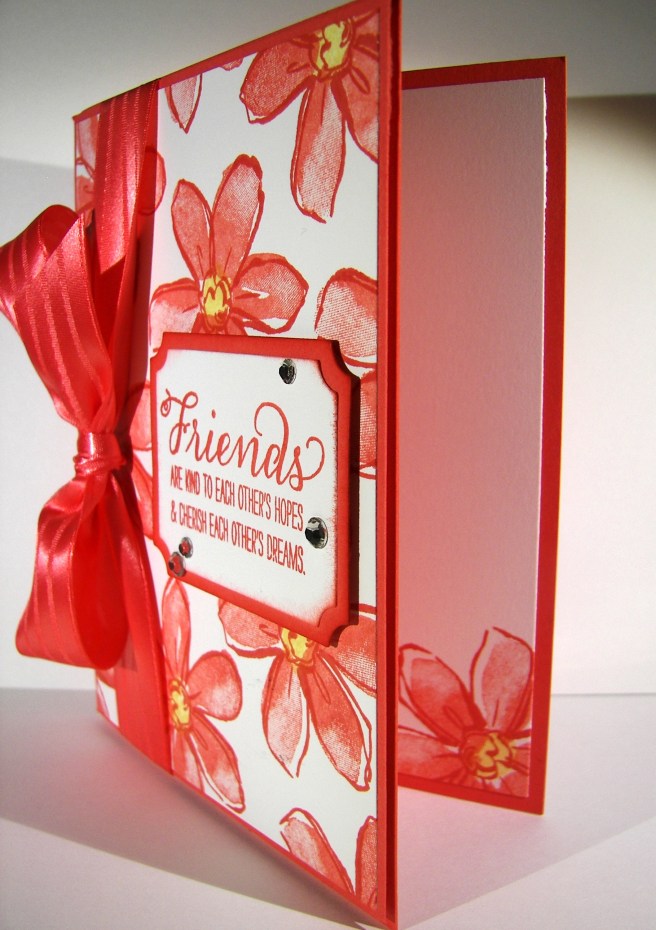
I have been waiting to use this stamp set for some now and it was worth the wait.  I took one of the left over kits from Saturday’s workshop and paired it with this lovely set.  There are a ton more stamps in the set, but I focused only on the large flowers.  I think I could get stuck on this set and not repeat myself for some time.  Exciting!

2-1 (1)

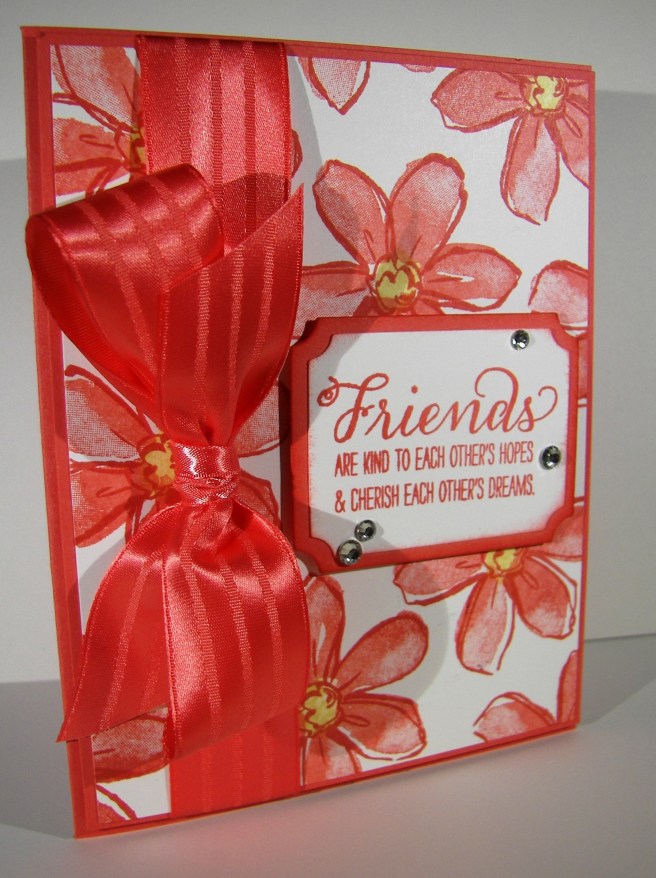
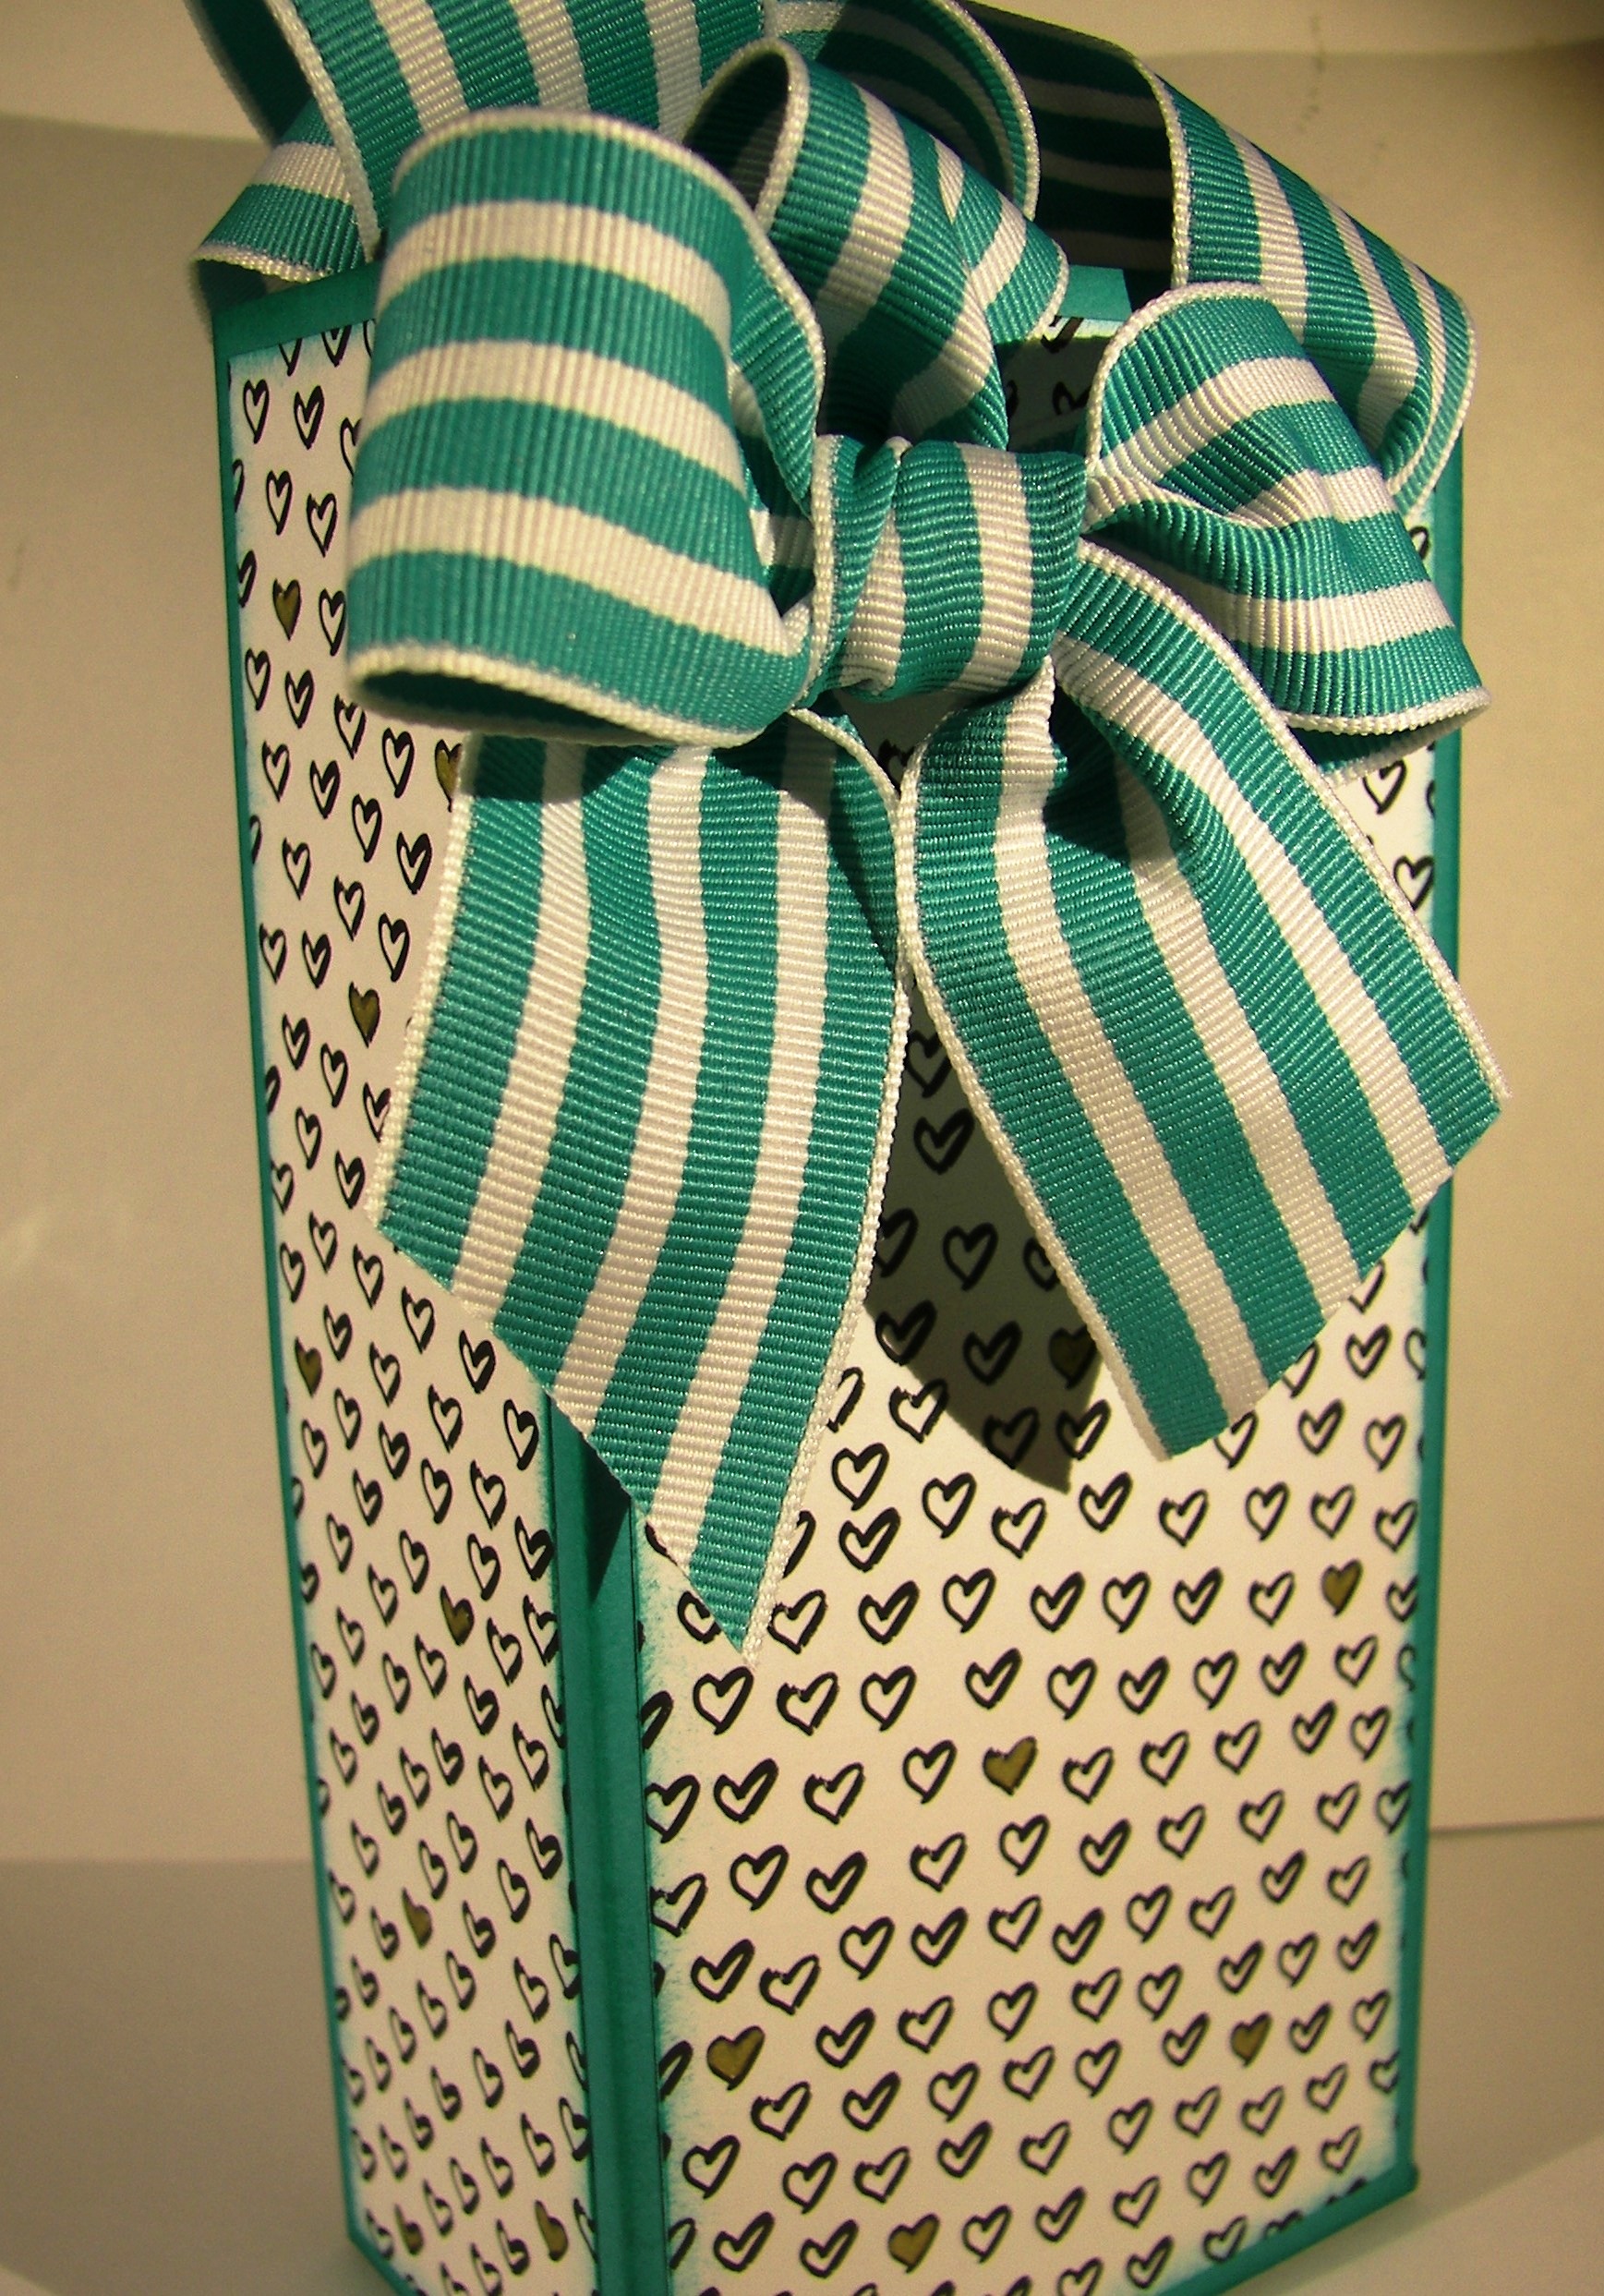
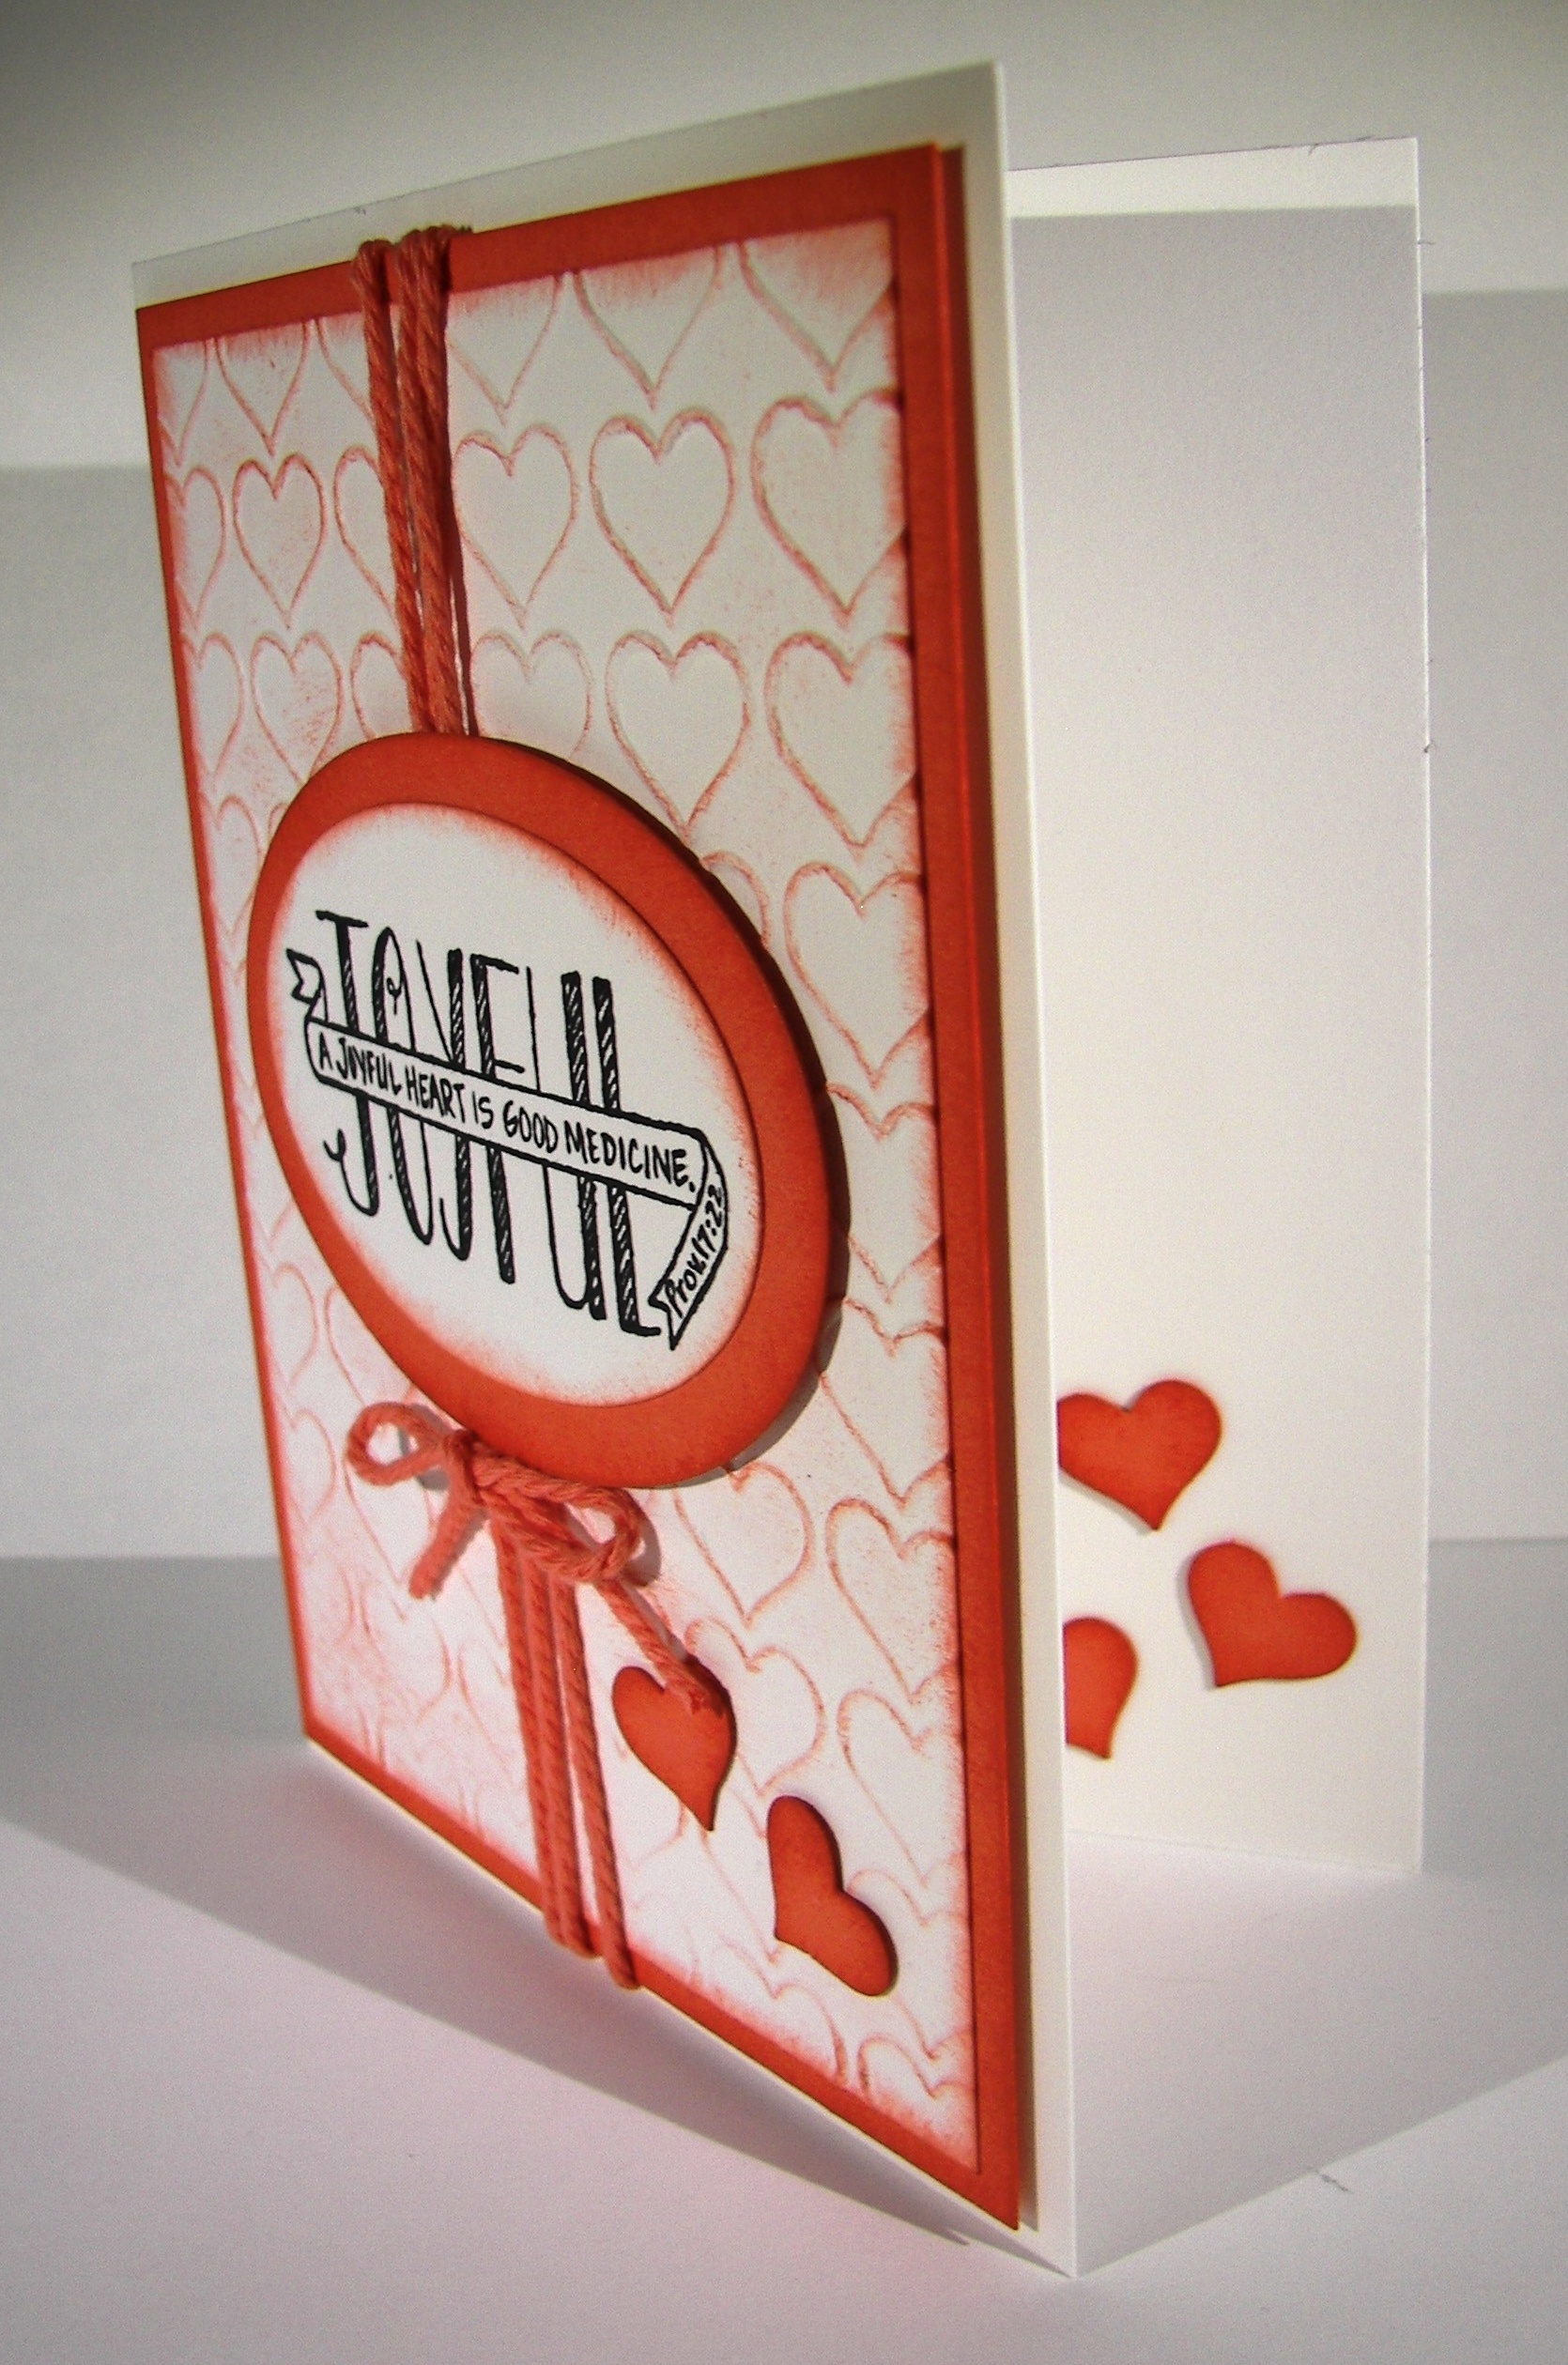
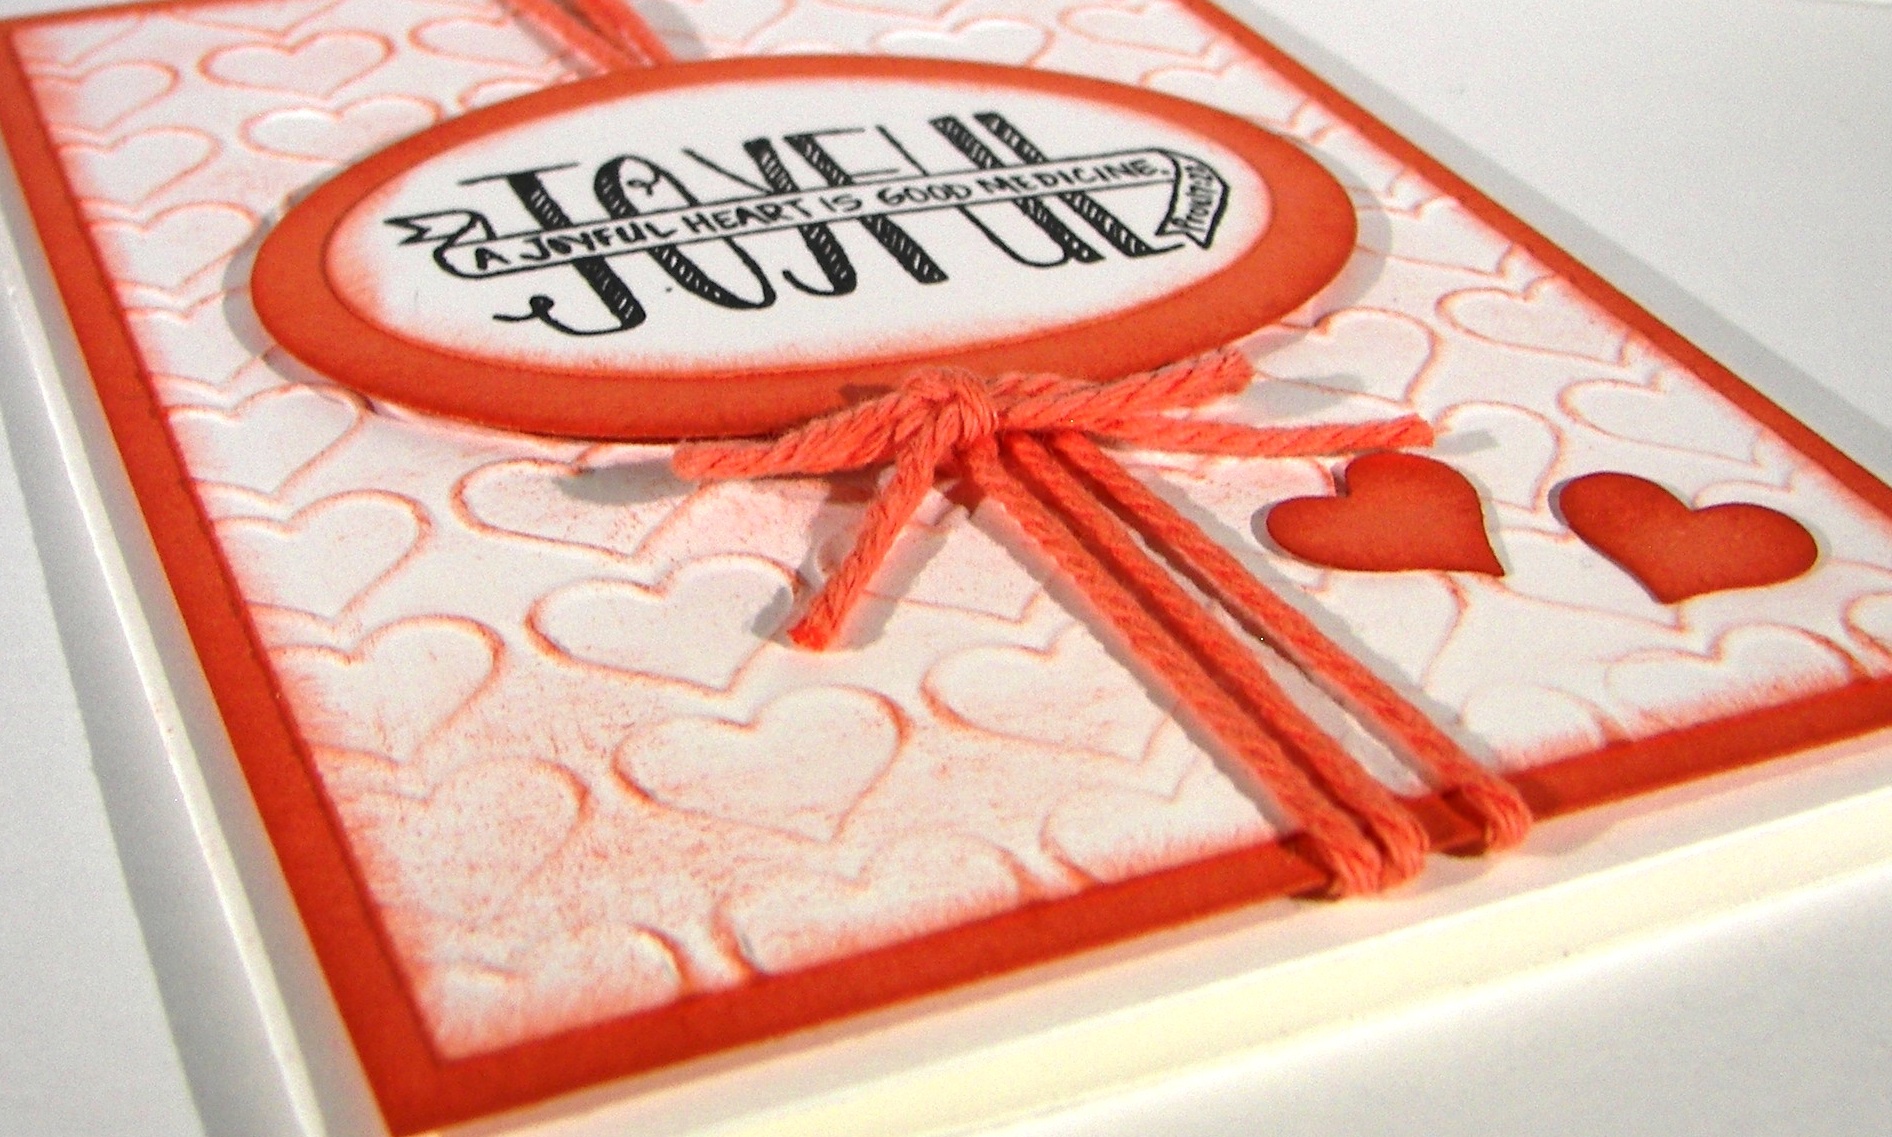
The card front is 4 x 5 1/4″ with an 1/8″ background piece of watermelon wonder and then placed on a standard card base.  Not too tricky.  I put the tags & labels framelit set to work for this lovely sentiment.  It is so pretty.  Then I broke out the fabulous ribbon that has been teasing me from the shelf.  I love, love, love big pretty ribbon.  It is just delicious to me.  The ribbon is the only item from the occasions catalog.  I would love it if Stampin’Up! would bring back some huge satin ribbon in next years annual catalog.  I will have to just wait and see.

2-1 (3)

Have a creative day!

Moana

Rose Wonder

This was a fun project for sure.  As you have heard me say so much recently, I do love to water color with my stamping.  I wasn’t sure if these two colors would come together in an attractive mix, but they did well.  Having the touches of navy with the blush as a primary is really enjoyable.

1-26

I think I might be making the decisions a bit tricky for these bridal shower invitation choices.  I am not sure which one I like better between the two, guess I will have to come up with another one just for good measure.  I can’t spend too much time playing though, I have workshop coming this weekend.  It is fun to play though.

I stamped this huge wonderful rose on water color paper with stazon ink.  I didn’t goof it up too much, so I went with my first attempt.  I did a trial run with the colors on a scrap of water color paper just to check it out and I liked it.  So, I wet down my stamped image and got to work.  I spent a bit of time trying to be cautious, then I just went for it.  That is why I love to water color, it is pretty darn forgiving.  I even used my trial scrap as a background punch, cool right?  I do try not to waste.

1-26 (1)

Have a creative day!

Moana

Perfectly Artistic Gift Box

Sometimes you just need a big box to fill with treats.  I have found that if I keep treats on hand to put in my blog projects, I just eat the treats.  So this guy is on display empty, but I imagines it with Lindt truffles, the white chocolate ones that come in a white and silver wrapping.  Wouldn’t that be lovely?  Thought so too.

Perfectly Artistic Gift Box

I did use a whole sheet of paper for this project.  But when it is a free paper pack, love that Sale-a-bration, it is easier to do that.   I had to fight the urge to tack down my banners so the sentiment was easier to read.  I will need to remove the ribbon to fill it up for gifting, so I  had to just let them dangle.  I do like how they look with the ribbon tails though, so I am good with it.

After I did my scoring and folding I ran the paper, folded in half and half again, through the big shot all at once with my oval framelit.  I know they are designed to be used with one layer of paper at a time.  I have found that when the design is simple, they do great with more than one layer.  I would be cautious with cardstock, but the dsp worked like a charm.  That way my oval windows were all exactly the same placement.  And that makes me very happy.

Perfectly Artistic Gift Box

Have a creative day!

Moana

Flowering Fields Thank You

So I was looking through my blog site and discovered this as a draft and not a blog.   Oooops on my part.  I really loved this one too.  Enjoy!


While browsing a catalog I came across this book.  The title was awesome, but to be honest, I knew I had to make a card that looked like it.  It sat at my desk for several days until I had a little time to experiment.  I got my inks out and went to work.

Flowering Fields Thank You

I went back and forth on using just ink, or a versamark with gold embossing powder.  I went with just ink and then used my aqua painter with some ink to add details and make the flowers a bit more prominent.  Aren’t these pretty?  Yet another awesome free set during Sale-a-bration!  Wheeee!  The thank you came from Another Thank You.

Flowering Fields Thank You

I masked the water color paper and brushed it heavily with water before I added ink.  I added, dobbed, and added more until I was satisfied.  So much fun, honestly.  I could do that a lot.  Wouldn’t it be fun if we could just hide away in a creative bubble?  Either way, I absolutely loved making this card.  But not more than sending it to share a very special thank you.

Flowering Fields Thank You

Have a creative day!

Moana

Service With a Smile

What is all this about?  Well, yesterday I shared a great lesson with young women from my church and we talked about staying strong and serving others, to sum it up.

Service With a Smile

I challenged them to think of others when they are feeling down, and to look for those who are struggling.  Little gifts of kindness mean so very much. They were to take as many gift bags as they wanted and share their kindness with others.

There were so many, I cleaned out the entire gift bag and box blog drawers.  Wow, I am so excited for all of the kindness these wonderful girls are going to share!

Have a creative day!

Moana

Schoolhouse Thank You Gift

People do kind things all of the time and never ask for anything in return.  I am fortunate enough to have people like that in my life.  A school secretary is definitely a wonderful person.  They do more than most people imagine.

Schoolhouse Thank You Gift

As it happens, I have been helped along once again.  So, I wanted to thank her, again.  This lovely box was made to look as school like as possible.  The Schoolhouse DSP had so many patterns to choose from, but I needed a vehicle of sorts, so I went with the bicycles.  I used a whole sheet of 12 x 12 card stock in Hello Honey and a good portion of the dsp to decorate it.  It is filled with large pretzel sticks that have been dipped in white chocolate. So yummy.

Schoolhouse Thank You Gift

I got into the Chalk Talk framelits for this huge tag.  I wanted to have a stamp and a spot for a tiny note.  Just right, don’t you think?  I forget about that set sometimes, but the tag options are really wonderful.  I gave them a bit of a go over with my bone folder for some added texture and clipped it around one of my favorite ribbons.  Gift done!

Schoolhouse Thank You Gift

Have a creative day!

Moana

Everyday Chic Gift Bag

Inspiration can come from the most unlikely places.  I like to ask my youngest daughter what colors to work with so I don’t go to my favorites all of the time.  Last night she said, “I don’t know.”  Classic teen response.  However, she was wearing an adorable white shirt with a gold studded neckline and a lovely long turquoise scarf.  Inspiration complete.

Everyday Chic Gift Bag

This bag is hearty enough to hold plenty of weight for sure.  I used a whole sheet of bermuda bay card stock for the bag and a good portion of  a 12 x 12 sheet of Everyday Chic DSP.  Before I assembled the bag I used a gold marker to color in random hearts for a little bit of accent.  That was actually quite relaxing.

Everyday Chic Gift Bag

This ribbon is so wonderful.  I knew I wanted a huge bow out front, so I threaded it a bit differently.  I made sure to have the ends out front, both long enough to make this pretty bow.  I just tied the ribbon together with bakers twine right at the front of the box which left two long strands of ribbon hanging down just ready to go.  I did have to fuss the bow a bit to get it where I wanted it, and used a couple of glue dots to keep the bow pulled back a bit.  Now I am ready to fill it up and give it away.  So much fun!

Everyday Chic Gift Bag

Have a creative day!

Moana

Sparkly Seasons Pumpkin Patch

It may not look very busy, but these little pumpkins almost did me in.  I nearly got to the point of just showing you how frustrated I was and that there was not much to show for it.  Then I thought about iridescent ice, and the world came together.

Sparkly Seasons Pumpkin Patch

I love that stuff.  It can make the most simple things look almost magical.  I used three different framelits for my pumpkins and got to work.  I used a large stylus to create grooves and texture to the surface, but from the back side.  It really broke down the fibers a lot.  Then I began to water color streaks to give dimension.  That didn’t do a whole lot.  Then I spritzed water and swiped ink on with my finger.  It got better.  Then I sponged with pumpkin pie and added early espresso too.  At that point they looked okay, but still kind of sad.

Sparkly Seasons Pumpkin Patch

That is when I tried the iridescent ice.  I daubed the whole surface with versamark and sprinkled on the powder.  I only used one coating and thought that would be enough.  It was just right.  I did sponge a bit more with early espresso afterwards.  I layered the pumpkins together using dimensionals, with the stems too, and wrapped them all in linen thread.  I wanted to leave it then, but decided on a simple word phrase.  And there you go!

Sparkly Seasons Pumpkin Patch

Have a creative day!

Moana

Elegant Butterfly

Butterflies, butterflies, and more butterflies.  There are a bunch going on here, but one in particular started it all.  You might not realize it, but I played quite a bit with this little butterfly.  Lots of detailing and working it with a stylus.

Elegant Butterflies

Sometimes the attention to detail makes all the difference.  My daughter made a good observation.  She said it would be really pretty if it were glass or something so it could be a necklace charm.  I have to agree, it would be lovely.

Elegant Butterflies

I do rather enjoy working with colors that are so not of the current holiday.  Nothing more entertaining than making a spring card in late fall, or a fun Christmas project in the middle of July.  Something different to expect.

Elegant Butterflies

Have a creative day!

Moana

Grateful Gifts

When you are trying to wind down from a way to crazy day, what do you do to relax?  Well, today I went straight to my desk and worked a day ahead.  This is going to be one ridiculous weekend and I need to get as much out of the way as possible.  Of course I do the fun things first.

Grateful Gifts

The new designer series paper pack is so much fun.  Here is one sheet, showing both sides of it.  I cut one strip 4″ wide and it gave me the card front and the paper for the tiny gift bag.  Yup, 4″ x 12″ is all it took.

Grateful Gifts

I do think that this dotted lace trim has become my favorite ribbon.  I am definitely a girl who loves a bargain, but even if it is a bit pricier, I love it every time I use it, with no regrets.  I can’t always say that about embellishments.  I used both the negative and positive die cuts, one for each project.  Once more, I am totally happy with this set.  I might be on a bit of a gift set kick again.  Hmmm…

Grateful Gifts

Have a creative day!

Moana

Birthday Jar Wishes That Last

It isn’t my usual project to share, but I do make these particularly often.  The idea is lovely and I get to put a lot of retired product to good use.  I do hate to ignore it, so I thought I would share  a way to use it differently.

Birthday Jar Wishes That Last

I bought some of those washi sheets having no idea what I would do with them.  Until this fun series of projects came about.  I work with the young ladies in my church, along with several other ladies, and we come together as a team in a large variety of events from large to small and everything in between.  Of course we celebrate birthdays!  And that is what this is.

Birthday Jar Wishes That Last

I decorate jars and vases with washi paper punches to the mood I am in.  Sometimes I use framelits, or punches, or both.  I have a large collection of last springs sale-a-bration ribbon, so it always goes together.  You know how I love to coordinate as much as possible.  So these jars are created for each young lady or woman in our group.  We all then write inspirational wishes, birthday wishes, and just kind words in general to fill the jar.  Then, the recipient can read them all at once, or read them one at a time, or open them over time when a bad day happens and they need a pick me up.  Something sweet for whenever you want them.  So, try something different with the awesome product you have, either current or retired, it is all wonderful!

Birthday Jar Wishes That Last

Have a creative day!

Moana

One Big Meaning Tiny Treats

Welcome back and thank you too!  Going back to work yesterday, after taking a long weekend off, left me thinking I should give a little thank you to my student TA’s.  They are a great bunch and were honestly quite happy with these treats.

One Big Meaning Tiny Treats

I kept things very simple, because I knew they would really just want the candy.  So, I used some adorable retired ribbon, with an effort to keep it neutral.  I have young men and knew they wouldn’t appreciate anything too girlie.  However, I did give them color choices and they picked the ones they liked best.  Three of five kept the little tag in their things.  How cute is that!

One Big Meaning Tiny Treats

What do we gain from this?  First of all, saying thank you is so important.  Secondly, it doesn’t have to be huge and elaborate to be appreciated.  Honestly, these took me maybe ten minutes from start to end, including a quick set of photos.  Having great tools to work with makes all the difference.  Give something like this a try.  This punch combo is fantastic!  The 1 3/4″ circle punch is large enough that lots of sentiments fit inside quite easily.  Add the 2″ circle for a tiny border and it looks so great!

One Big Meaning Tiny Treats

Have a creative day!

Moana

Banner Blessings Gift Set -Shine

This is card four, the last of the set.  The gift box is so lovely.  I can’t wait to show you.  But this card was saved for last because it is my favorite one.  So pretty and such a beautiful sentiment.

Banner Blessings Gift Set -Shine

I used the falling snow embossing folder to give me a starry background.  Since it was more sparse on the top, because it was to show snow not stars, I put it through again turned around and ran it through half way and ran it back out.  That gave a lovely balance I think.

Banner Blessings Gift Set -Shine

The star border punch doesn’t get to come off my shelf much, but this was the perfect job for it.  Stars stars and more stars.  The heavens are full of them and I wanted the card to do so as well.  Mission accomplished.  The card base is made from the heavy weight whisper white.  Sometimes I cannot get enough of this stuff.  I accented the sentiment with a hefty twisting of metallic gold thread. I decided it made my sentiment look kind of like a shooting star or a comet.  I love feeling creative.

Banner Blessings Gift Set - Shine

Have a creative day!

Moana

Banner Blessings Gift Set – Thanks

Another wonderful day with many adventures ahead.  I feel so blessed and grateful to be able to spend time here with my children.  How fortunate I am to have a husband that allows me to do so.

Banner Blessings Gift Set - Thanks

This lovely card came together pretty darn quick. A few simple layers with my favorite sponging left it nearly done.  I wanted to use the trim without covering up the beautiful embossing from my favorite embossing folder.  I think everyone should have this one. It is so great to have a tool like this that can be used in so many ways.  So I just attached a simple knot of trim instead of a card front wrap.

Banner Blessings Gift Set - Thanks

I chose the pattern of the DSP with the tiny flowers.  It went better with the nature look of the trees.   A touch of dimensional a went with the sentiment layer only.  Simple to make and easy to mail.  Sounds like a win to me.

Banner Blessings Gift Set - Thanks

Have a creative day!

Moana

Banner Blessings Gift Set – Joyful

I get to be out of town this weekend and enjoy some time with my two children away at school. Utah is so pretty this time of the year, the rain is making it even better.

Banner Blessings Gift Set - Joyful

This is the second card in the gift set I made for my daughter. Bright and cheery for sure. The color scheme certainly does go with the word joyful.  I love this stamp set.  Very inspiring and the writing style is awesome.

Banner Blessings Gift Set - Joyful

The card base is the heavy whisper white. Love having something this heavy to work with. I stayed away from white cards, but not any more.  I enjoyed sponging  the front to bring out the heart detail. A couple of hearts punched on the front and inside to coordinate.  Second card in the series is done. Wait til you see the gift box.

Banner Blessings Gift Set - Joyful

Have a creative day!

Moana

Banner Blessings Gift Set – Friend

The morning took off without me, and there was nothing I could do about it.  This has sat at my computer waiting for me to take a lunch.  Well, never happened.  How about a tiny break?  Works for me.

Banner Blessings Gift Set - Friend

This is the first card of a set of four with a coordinating gift box.  It was so fun to make.  I actually made it for a special someone and I can’t wait to deliver it.  Should be tomorrow!

Banner Blessings Gift Set - Friend

I attached the island indigo torn card stock to the thin whisper white before I ran it through the fluttering embossing folder.  Everything got done at once.  The sentiment was stamped in black stazon and sponged a bit with coordinating ink.  I love the cotton ribbon, it makes such cute bows.  The inside stamping is actually negative punching.  I punched a butterfly or two from the white insert and revealed the card base.  Simple and very effective!  So fun.  Those pretty pearl accents.  I could really get used to those.  I had it dot the “i”, even though it wasn’t needed, I wanted to use one and it fit the image.  A bit of dimensionals and this card was done!

Banner Blessings Gift Set - Friend

Have a creative day!

Moana


You’ve Got This

Sometimes simple words are all you have, and sometimes that is all you need.  That is just how I feel this morning.

You've Got This

I took my time painting this lovely flower with a few of my favorite inks.  I stamped the flower in almost artichoke and did light water coloring to get the base down.  I added cajun craze but kept it light the first time through.  Adding more water helped to do a little blending, but I didn’t want too much of that.  I like that two colors together can create a third unexpected surprise.  In person, you can see the blended areas have nearly a cherry cobbler tone.  Cool, right?  I thought so too.

You've Got This

The entire image was accented in gold encore ink, still using the aqua painter.  That really creates a fun look and is surprisingly easy to control.  One simple sentiment in black stazon ink with a little gold metallic thread and this simple card was done.  Well, I did have to stamp inside as well.  I stamped off twice before I placed the stamp on the inside paper.  Nice and light.  And look, absolutely no sponging!  Crazy.

You've Got This

Have a creative day!

Moana

Game On Dear Heart

I absolutely love, love, love making my own paper with unique stamps.  Most of the time my friends can’t even place which stamp set it came from.  I have overlooked several stamps myself.  Example, look at this cute little fish!

Game On Dear Heart

Sometimes we feel like we don’t fit in, but I feel like that is a beautiful thing.  I made this card with that theme in mind.  He is stamped in melon mambo, water colored a bit, and water colored again with silver encore ink.  Everything is lightly sponged and there are plenty of dimensionals here.

Game On Dear Heart

The sentiment was stamped on a little scrap, punched with the bitty banner punch on one end, and given a bit of ribbon on the other.  How easy is it to just staple some ribbon on.  Some cards need just that, a little different look.  And of course this is layered up as well.  Did you see the little fish repeated inside?

Game On Dear Heart

Have a creative day!

Moana

Floral Gift Bag

The seasons are all backwards, so why not create a spring themed gift bag!  Seems kind of silly to really feel like fall might have arrived, then summer heat, then what.  Who knows, so I will craft what I like, and I like this.

Floral Gift Bag

One whole sheet of 12 x 12 dsp went into this bag.  The dots are too much cuteness, so they had to be out front.  I wasn’t feeling a particular stamp, so I curled a couple of flaps over to show the writing side.  This paper pack is so adorable.  A bunch of bright and happy paper going on.

Floral Gift Bag

The diagonal scoring plate is what helped this box happen.  I scored on the 3″ marker, on the diagonal, on each corner.  It worked out pretty darn good.  I don’t always feel confident my scoring is accurate when using the diagonal plate, but when putting the bag together, my sides and corners matched up.  Go me!

Floral Gift Bag

A few punches from the heavy whisper white cardstock and regal buttons for centers made the embellishments I wanted.  The bag was sealed, but not sealed, with a stretch of dotted lace trim.  It is stretched around the top, under the front and back flaps, and then tied in a bow.  Just untie it and the bag will flop open.  Easy to use and re-use.  My kind of bag.

Have a creative day!

Moana

Lovely Amazing You

While sitting next to my youngest daughter, trying to keep her awake to finish homework, I thought I would complete my project for the next day.  Good idea, right?  I pulled two stamp sets I hadn’t used in a while and asked her for a color idea.  She said dark blue, so I went with Night of Navy.  The card began.

Lovely Amazing You

She wasn’t having the best of evenings and her older sister came to the rescue, even though she is out of state attending university.  I do think that technology can interfere with real personal relationships, but this was perfect.  The infamous ‘snapchat’ was just the thing.  The sad faces turned to happy and then on to absolutely silly.  And that is how I chose my sentiment.  Thank you my sweet daughter for being the best big sister ever.

Lovely Amazing You

The brayer was still out from workshop so I let it give me my background on the large polka dot embossing folder.  Kind of artsy looking, even if I didn’t keep it perfectly clean.  I then decided to do a lot of sponging to disguise some of that, can’t hide it all, and also sponged lightly all over the paper.  Nice.

Lovely Amazing You

The little notebook sheet was created with a stamp from the Tap Tap Tap set, offset on some Night of Navy cardstock, raised up on dimensionals and embellished with basic rhinestones.  I even used the 1/16″ hand held punch and punched actual holes over the stamped ones.  Pretty cute.  I finished off the project with a bow of seam binding ribbon and decided I loved it!

Have a creative day!

Moana