Flameless Candle Favors

Two days off in a row?  What is up with that I would like to know.  Well, these little babies are to blame.  Well, these are the ones left over from the original 150 I made.  Yes, there were 150.

Flameless Candle Favors

Our church youth group decided to go Christmas caroling to a few nursing homes in our area and well, the final decisions came a bit late.  We normally would have collected fuzzy grippy bottom stockings, or made knitted hats or something along those lines.  I live in a small town and couldn’t gather up enough of those kinds of things this late in the holiday season.  So, it ended up being a paper crafting moment, or two, or more.

Flameless Candle Favors

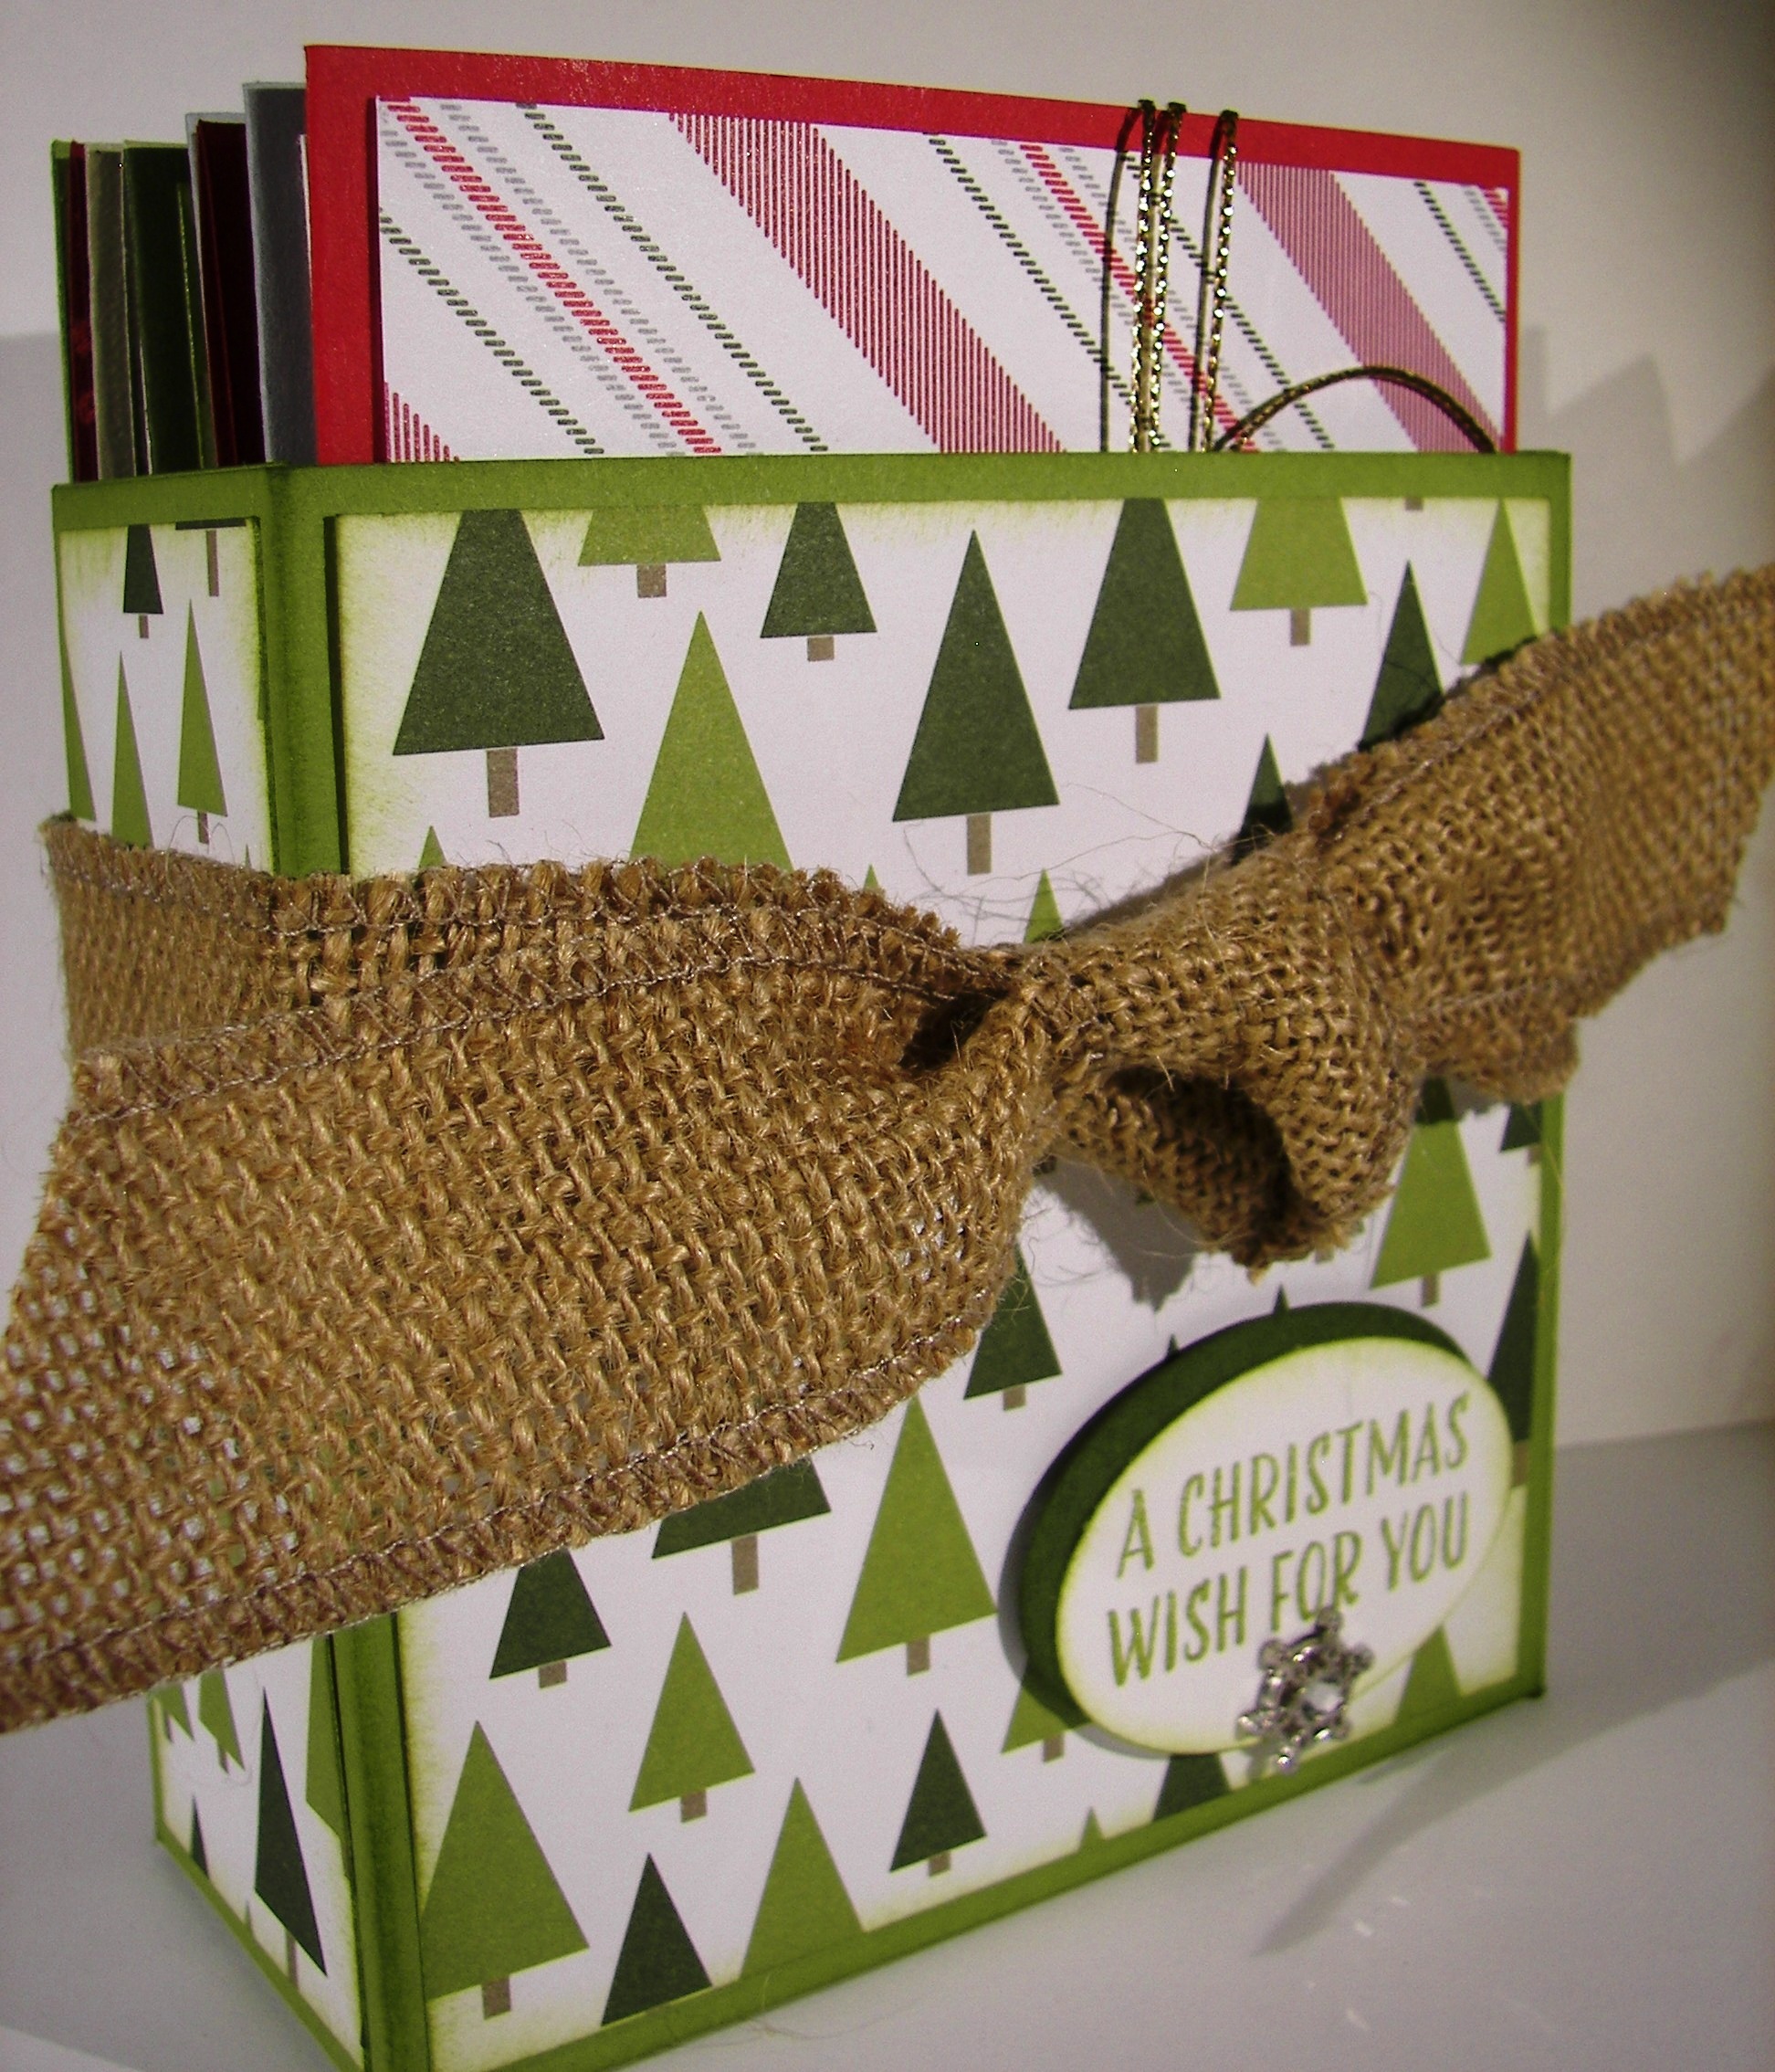
My Saturday was spent making these little treasures.  If you weren’t making a ton it would be a super quick craft.  I cut 6″ squares, scallop trimmed the tops, punched two snowflakes on opposite sides and tucked in a candle at the bottom.  The candles got a little extra grip from glue dots to make sure they stayed put.  It is a tight fit, but just in case.  They are tubes so you can turn the candle on and off without taking it out.  Pretty simple, but very nice.

As we sang the kids passed out lit favors to the nursing home guests.  It really was a lovely experience for everyone.  Christmas is about giving after all.

Flameless Candle Favors

Have a creative day!

Moana

Bitty Boxy Holiday Bags

I managed to sneak yet another project out of that paper set.  I still have enough for a couple of cards or a medium sized gift bag.  Dang, what a lot of fun I have had using this paper.  But these tiny little bags certainly do take the cake.  Aren’t they just absolutely adorable?

Bitty Boxy Holiday Bags

My husband was given a large bag of candy as a thank you and he brought it home.  And he opened it.  So that is just dangerous.  I knew I had to come up with several little bags to use them up.  I am getting there.

Bitty Boxy Holiday Bags

Three different styles of box bags to get me going today.  I am partial to a milk carton style to be honest, but the tiny pinch pouch is just so sweet.  I used up three scraps of paper with a touch of glimmer paper to give them some bling.  I don’t know what I love more, the cording or metallic thread, so I had to use them both.

Bitty Boxy Holiday Bags

Have a creative day!

Moana


Glittering Holidays

After nearly a two week run of a clean and simple holiday gift set I have been more than ready to make something fabulous.  That is exactly what I did, if that sounds a bit showy, well, just look at it!  I have been planning it all week.

Glittering Holidays

I really just had the flowers in mind and knew they should go on top of a box.  So, to get my brain going, I picked some paper, ink and a stamp and got to work.  The paper alone was just lovely.  I stamped in a way to further elongate the tall box I had in mind.  I really wanted it to be about the flowers.  I did have to use my hot glue gun to keep these guys in order.  After they were assembled I attached them to each other.  The ribbon is threaded between them to hold them on top, so they are not attached otherwise and can be used again.

Glittering Holidays

The box is just scored every two inches for the side measurements and the same for the top and bottom.  Simple there for sure.  I closed the bottom, but just folded the top in place.  I am so going to use this for a wonderful gift, so I needed to get back inside.  Not just for a blog post, nope.

Glittering Holidays

My husband actually designed the card for me.  We chatted while he drove to work and he did a great job with the stamp choices I must say.  I stamped in silver ink and heat embossed in clear to give it an extra shine.  So pretty.  I added flowers with metal rimmed pearls in the centers and added a thin ribbon to finish it off.  The ribbon also helped tie the gift box in as a set.

Glittering Holidays

Have a creative day!

Moana

Christmas Card Gift Set

I have the pleasure of visiting my children and family during this Thanksgiving holiday.  Well, when I see my daughter I like to give her card sets.  So, I thought I would share them with you.

Christmas Card Gift Set

It couldn’t just be simple for me though.  I gave myself a challenge.  I let myself have one set of dsp and access to coordinating cardstock and only two stamp sets.  The challenge was to use these things, keep them simple but elegant, and make ten cards.

Christmas Card Gift Set

She is a young stamper and has loved having access to my supplies over the years.  But being at college she doesn’t have all of that, but does pretty well of course.  I thought I would make a set that she could see as doable for herself.


All of the cards are basic in shape, so they would fit in the card holder, with only one layer of dsp as the front.  A series of single stamping, sometimes an accent, and tag punches.  I am going to share her gift with you over the next week, so enjoy!

Christmas Card Gift Set

Have a creative day!

Moana

Joyful Season

This little red cardinal has eluded me a few times over, but today was my lucky day.  I wasn’t sure just which bird I wanted to create, but decided to stick with the cardinal.  Call it Christmas whimsy.

Joyful Season

The red inside was stamped first and then I added the outline in black.  It was easier for me that way.  I tried to do the outline first and then the inside, but wasn’t happy with my efforts.  I managed to get the extra front stamp pretty good giving the darker black around the face and I even got the beak color in the right spot.  Woo hoo!

 Joyful Season

The oval framelits worked nicely to frame the image.  I decided to frame it in early espresso to match the branch.  Again, nice results for sure.  These were layered up with dimensionals over another layer of real red.  That layer was put through the softly falling snow embossing folder and sanded a bit to add interest to the flakes.  A simple bow with a snowflake embellishment and the card was done.  How nice is that?

Joyful Season

Have a creative day!

Moana

Sparkly Seasons Ballerina

Doesn’t everyone get enchanted with a pretty snow globe?  This particular stamp set has a few options to make one happen, but this pretty ballerina might be my favorite.  She is so delicate and lovely.

Sparkly Seasons Ballerina

The base is stamped in sahara sand and the globe is in soft sky.  That is also the card base and background color. I stamped her in sahara sand as well to give a hint of skin color without having to make it happen.  I did water color her tutu and slippers though, couldn’t resist that.  Her hair just had a touch of marker coloring.

Sparkly Seasons Ballerina

I stamped the ‘sparkle’ inside the globe with versa mark ink and then covered it with dazzling diamonds.  Loved it.  But I needed more.  So I used the 2-way glue pen to color a layer around the bottom of the globe and used more dazzling diamonds.  I liked that a lot better.  Of course I had to put a bunch of rhinestones around as well.  Sparkle means sparkle.  I even put a few inside.

Sparkly Seasons Ballerina

Have a creative day!

Moana

Hearth & Home Thinlits Fun

After a full day of workshop excitement, I finally have a few minutes to share the third project we did.  This one just about did my ladies in, but they managed though most of it.  I didn’t have to help too much really.

Hearth & Home Thinlits Fun

The base of this candle holder is made with old olive from one sheet of cardstock.  Two card bases with 1/2″ cut off from one side and 1/2″ score on the other with a score in the middle.  With two of these joined together, the box frame was made.  Four panels of heavy whisper white cardstock were put through the Bigshot in the Brick Wall embossing folder that had been brayered with old olive ink.  It gave the perfect mix of a soft brick wall that coordinates nicely with the base.

Hearth & Home Thinlits Fun

Cherry cobbler was used to create the window frames.  The Hearth & Home Thinlits set is simple, but what a great look right?  The window frame is a great focal point that I chose to back with velum to allow an opaque look in.  I had provided fun battery operated candles that fit nicely inside.  When they flickered it made it look like there was a very colorful set of Christmas lights going on inside.  So pretty.  A couple of buttons, some twine with a simple saying set the front panel apart from the others.  Along with a few little shrubs made from mossy meadow paper punched with a scalloped circle punch.  Really, a cute project all in all, even if it was a bit of work.

Hearth & Home Thinlits Fun

Hope your day was creative, mine sure was!

Moana

Embellished Ornaments

This started out as a pretty darn good morning, but I am having quite the head cold, so my time management isn’t the best.  I think I am going in kind a slow motion mode.  The results still show nicely though, don’t you think?

Embellished Ornaments

New product, new product, new product!  I so enjoy working with new product!  Today was the first time for three different newbies to my collection.  Two stamp sets and one framelit set.  They are sure to get a lot of use this holiday, for sure.

Embellished Ornaments

My photos don’t let you know very well, the colors look off, but I am working with Sahara Sand and Not Quite Navy.  The ornament on the left is backed with a deep navy blue and it looks so pretty.  The smaller ornament is backed with Crumb Cake just to give a better contrast.  The stamping is all done in Sahara Sand, as well as the sponging.  I used the new gold cording to “hang” the ornaments and it worked great.  I have been waiting to use this set, and it was so worth it.  Be patient, you will be seeing it a lot.

Embellished Ornaments

Have a creative day!

Moana

Wonderland Snowflake Treat Favor

I guess I am on a gift bag kick again.  This one is all ready to go though, candy inside and everything!  But, is it okay to just give it back to me?  I love it, and the yummy candy inside.

Wonderland Snowflake Treat Favor

Stamping with stazon  is the only way to go with window sheets.  Easy and crisp images, and doesn’t slide everywhere.  My stamp was from the Wonderland set, just the snowflake one, and isn’t very big.  Believe me, it was so easy to stamp, I don’t think I saw one little goof.  Came together great.

Wonderland Snowflake Treat Favor

My piece measured 8 x 8.5″ and was scored at 2″, leaving 1/2″ for adhering the box together.  Then turned a quarter to score along the bottom to create the bottom flaps, or the bottom of the gift bag.  Pretty direct work here.  I burnished the score lines really well and used tear n’ tape to seal it up.  You can see my seam, but it doesn’t look bad.  I think it is adorable, and easy enough to make a bunch for party favors.  And how about that tiny little snowflake embellishemnt!  So adorable!

Wonderland Snowflake Treat Favor

Have a creative day!

Moana

Let It Snow

I know it is only the beginning of  September, but I do love seasonal cards, especially winter scenes and Christmas.  Not to mention that the Stampin’Up! holiday catalog goes live today.  So much fun!

Let It Snow

I have used several new products in today’s project.  New stamp set, new framelit set, new embossing folder and then comes a new card.  How cute is this little snowman?

Let It Snow

I stamped the image where I wanted it along with the sentiment.  Then I embossed the card front.  At first I wanted to have all the snowflakes sky blue and thought to use the brayer.  But I decided to be more selective and yes, I did water color select flakes.  It didn’t take that long, really.  The effect is nice.

Let It Snow

I had an extra ‘snow’ die cut from Saturday’s event project and knew just where to use it.  Actually, that is what started the card out.  I added in a little silver metallic threat and layered it all up on dimensionals.  Just my speed.

Have a creative day!

Moana

Christmas Snow

So, I took the day off yesterday.  I had the opportunity to attend an event my upline hosted for demonstrators.  It was a bit crazy, but lots of fun too.  So much creativity in one room.

Christmas Snow

This was my project to share and I got to make a whole bunch of others in return.  Yes, I made a lot of these, but it was worth it.

Christmas Snow

I tried to put “snow” on some of the tree branches, but wasn’t happy with these results.  For the event I went “snowless” but I want to get it sorted out with another product or two.  I have time, it is still August after all.  But you get the idea.

8-30 (2)

Three of the products used here are in  the new seasonal catalog that goes live September 1st!  How exciting!

Have a creative day!

Moana