Happy Father’s Day, a Day Late…

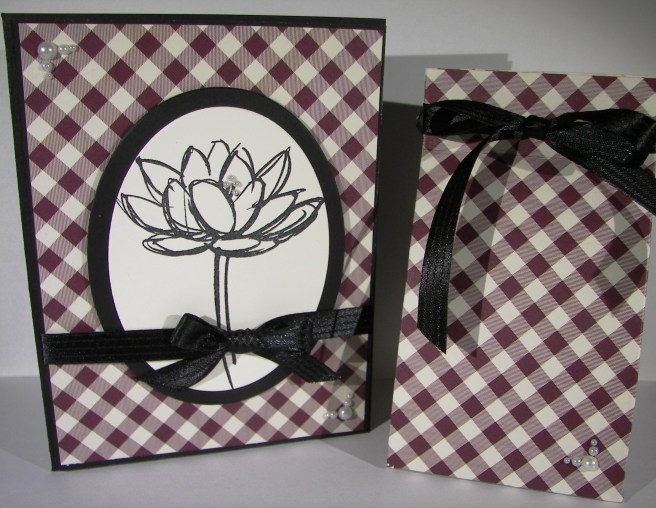
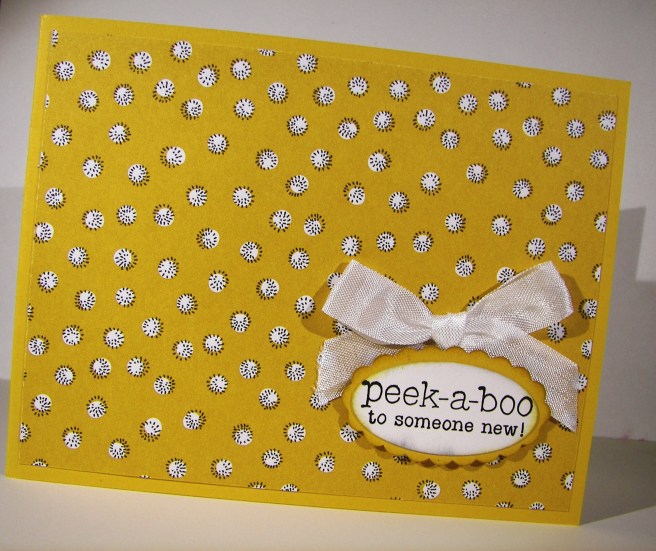
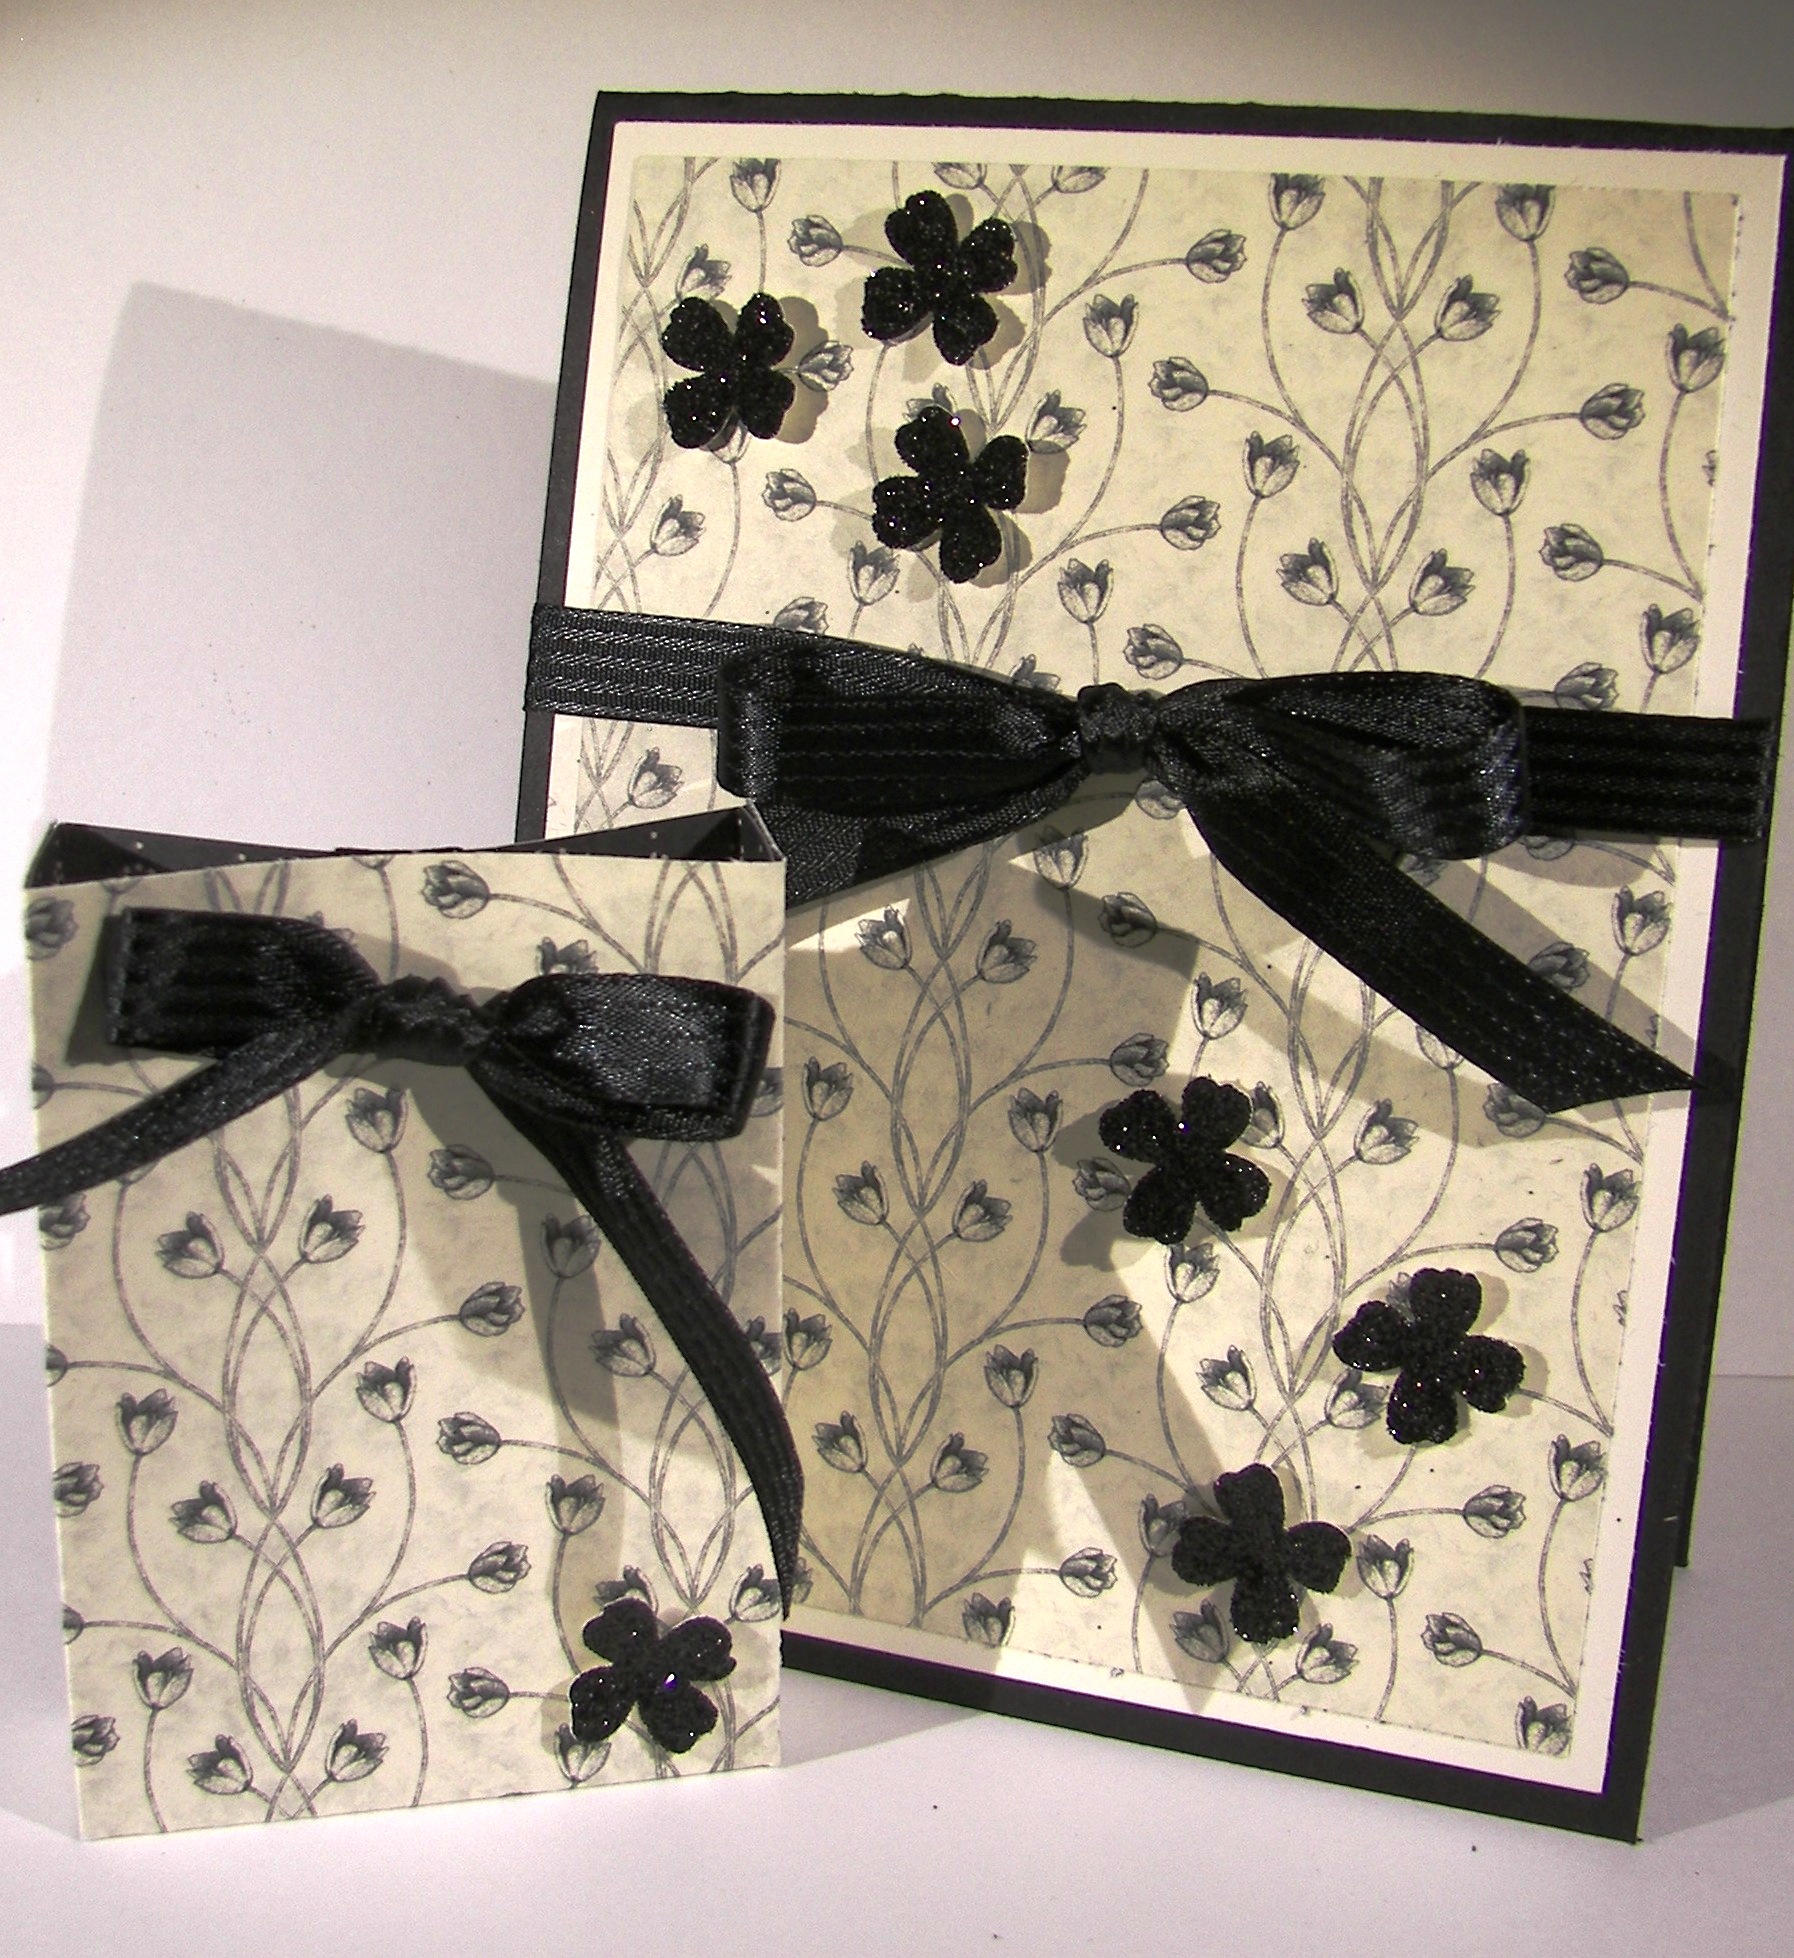
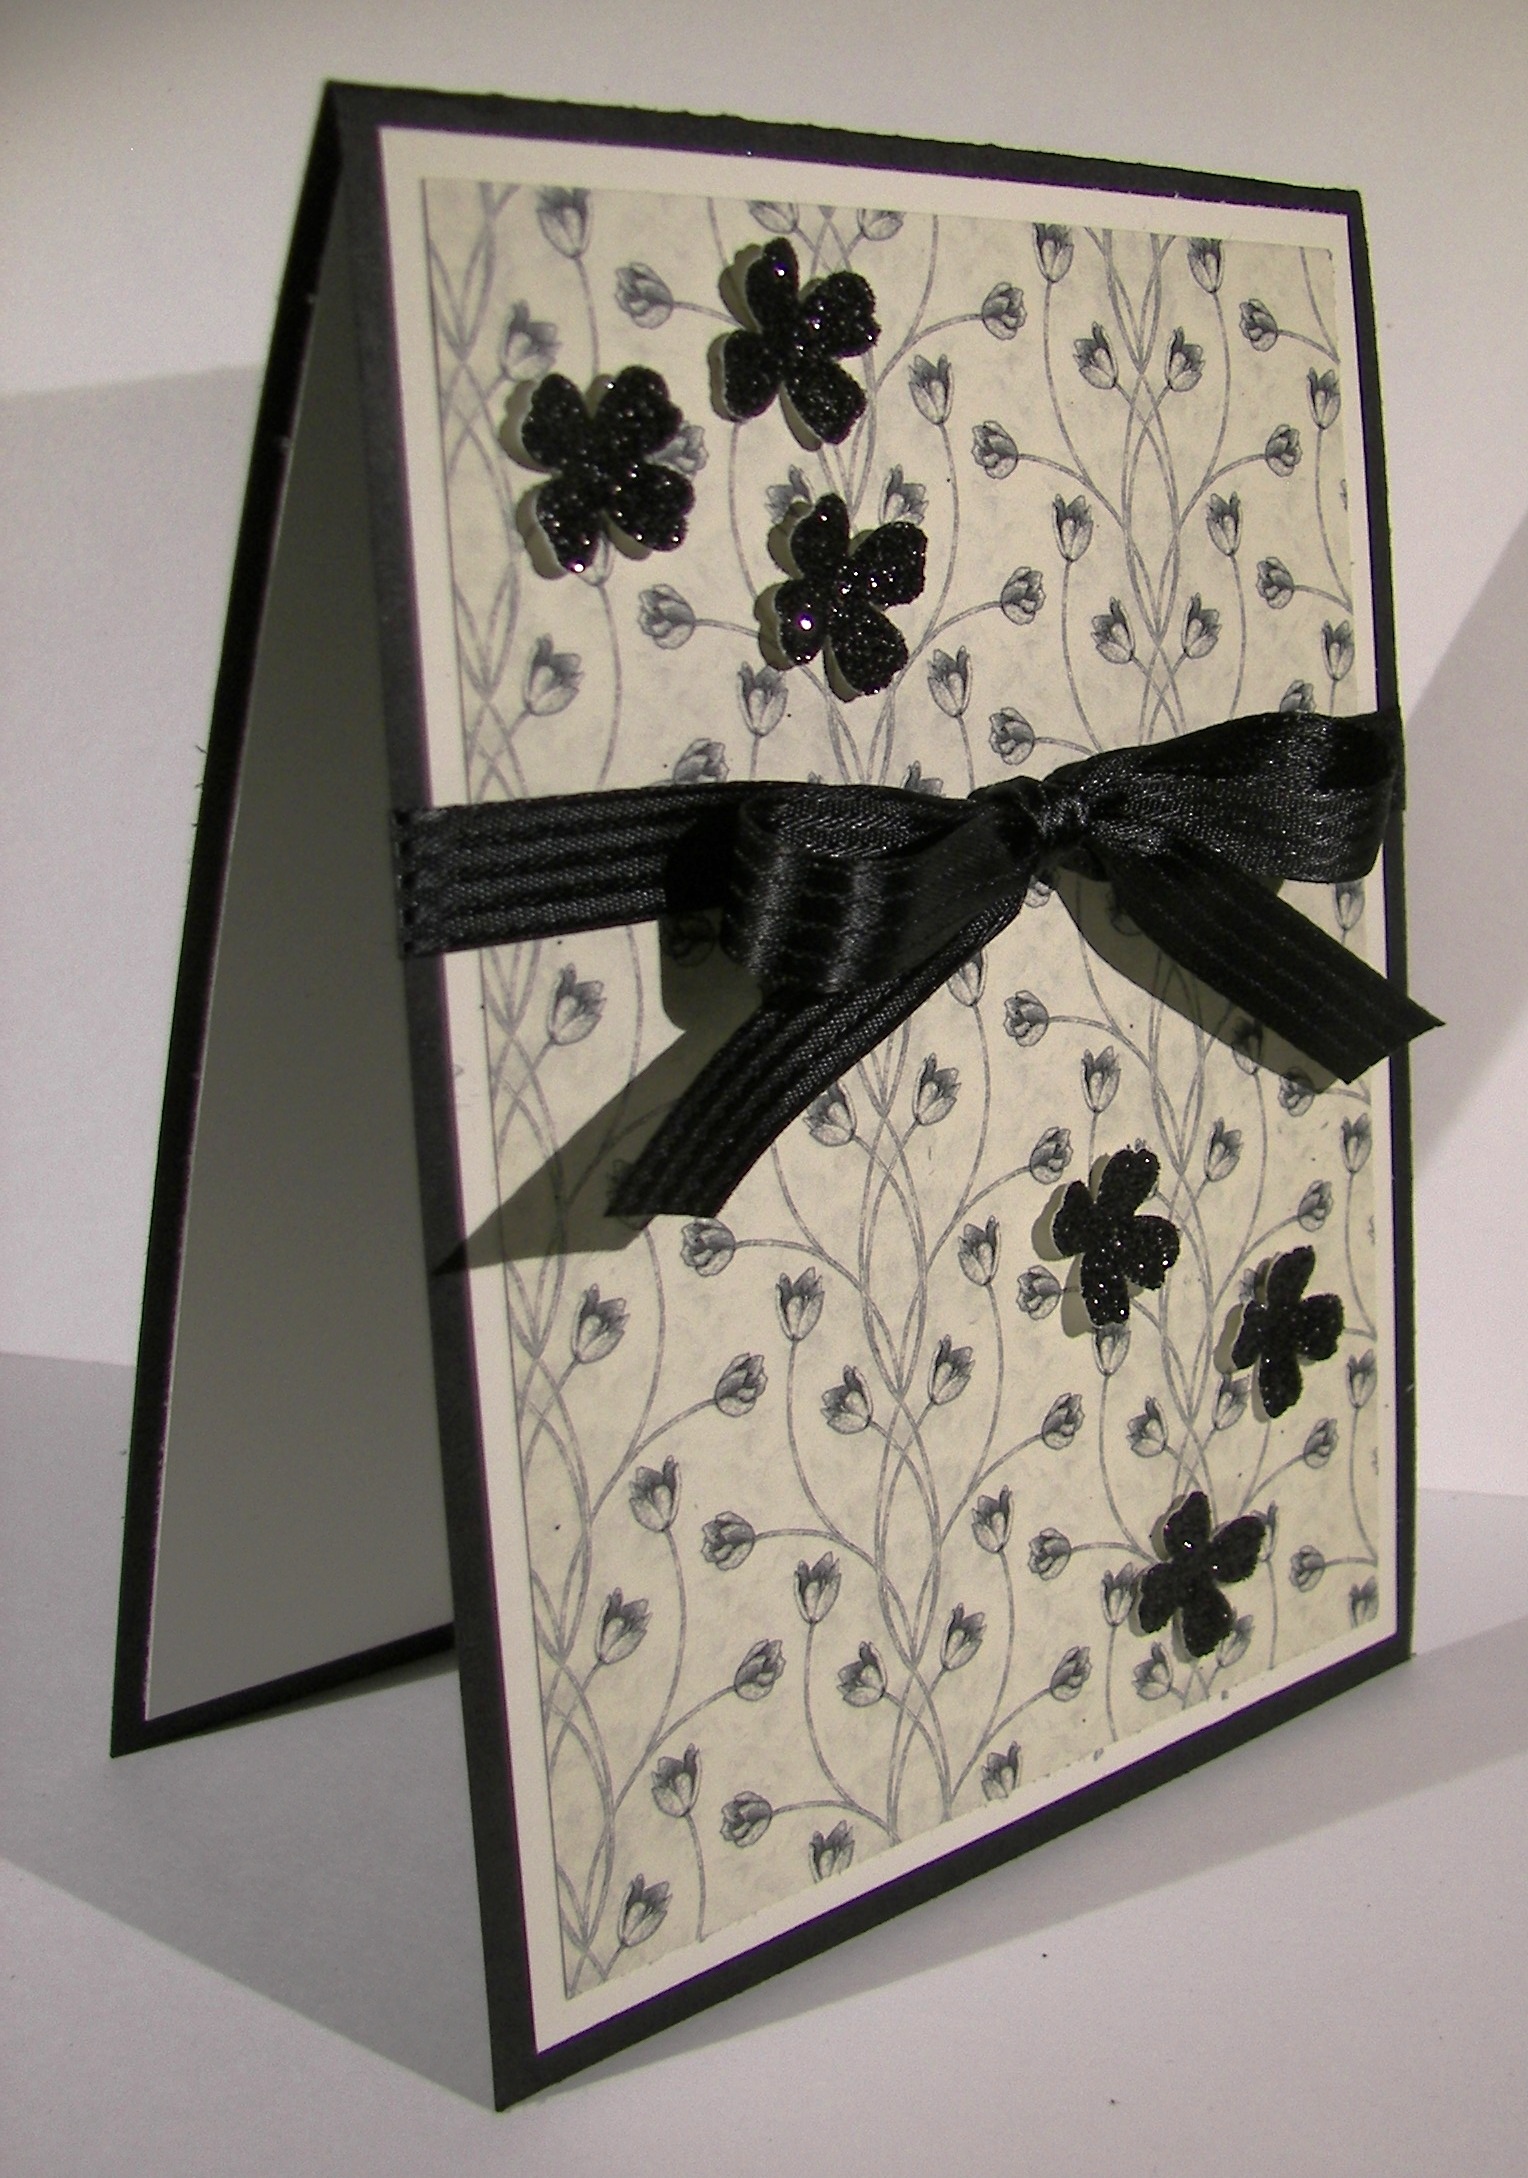
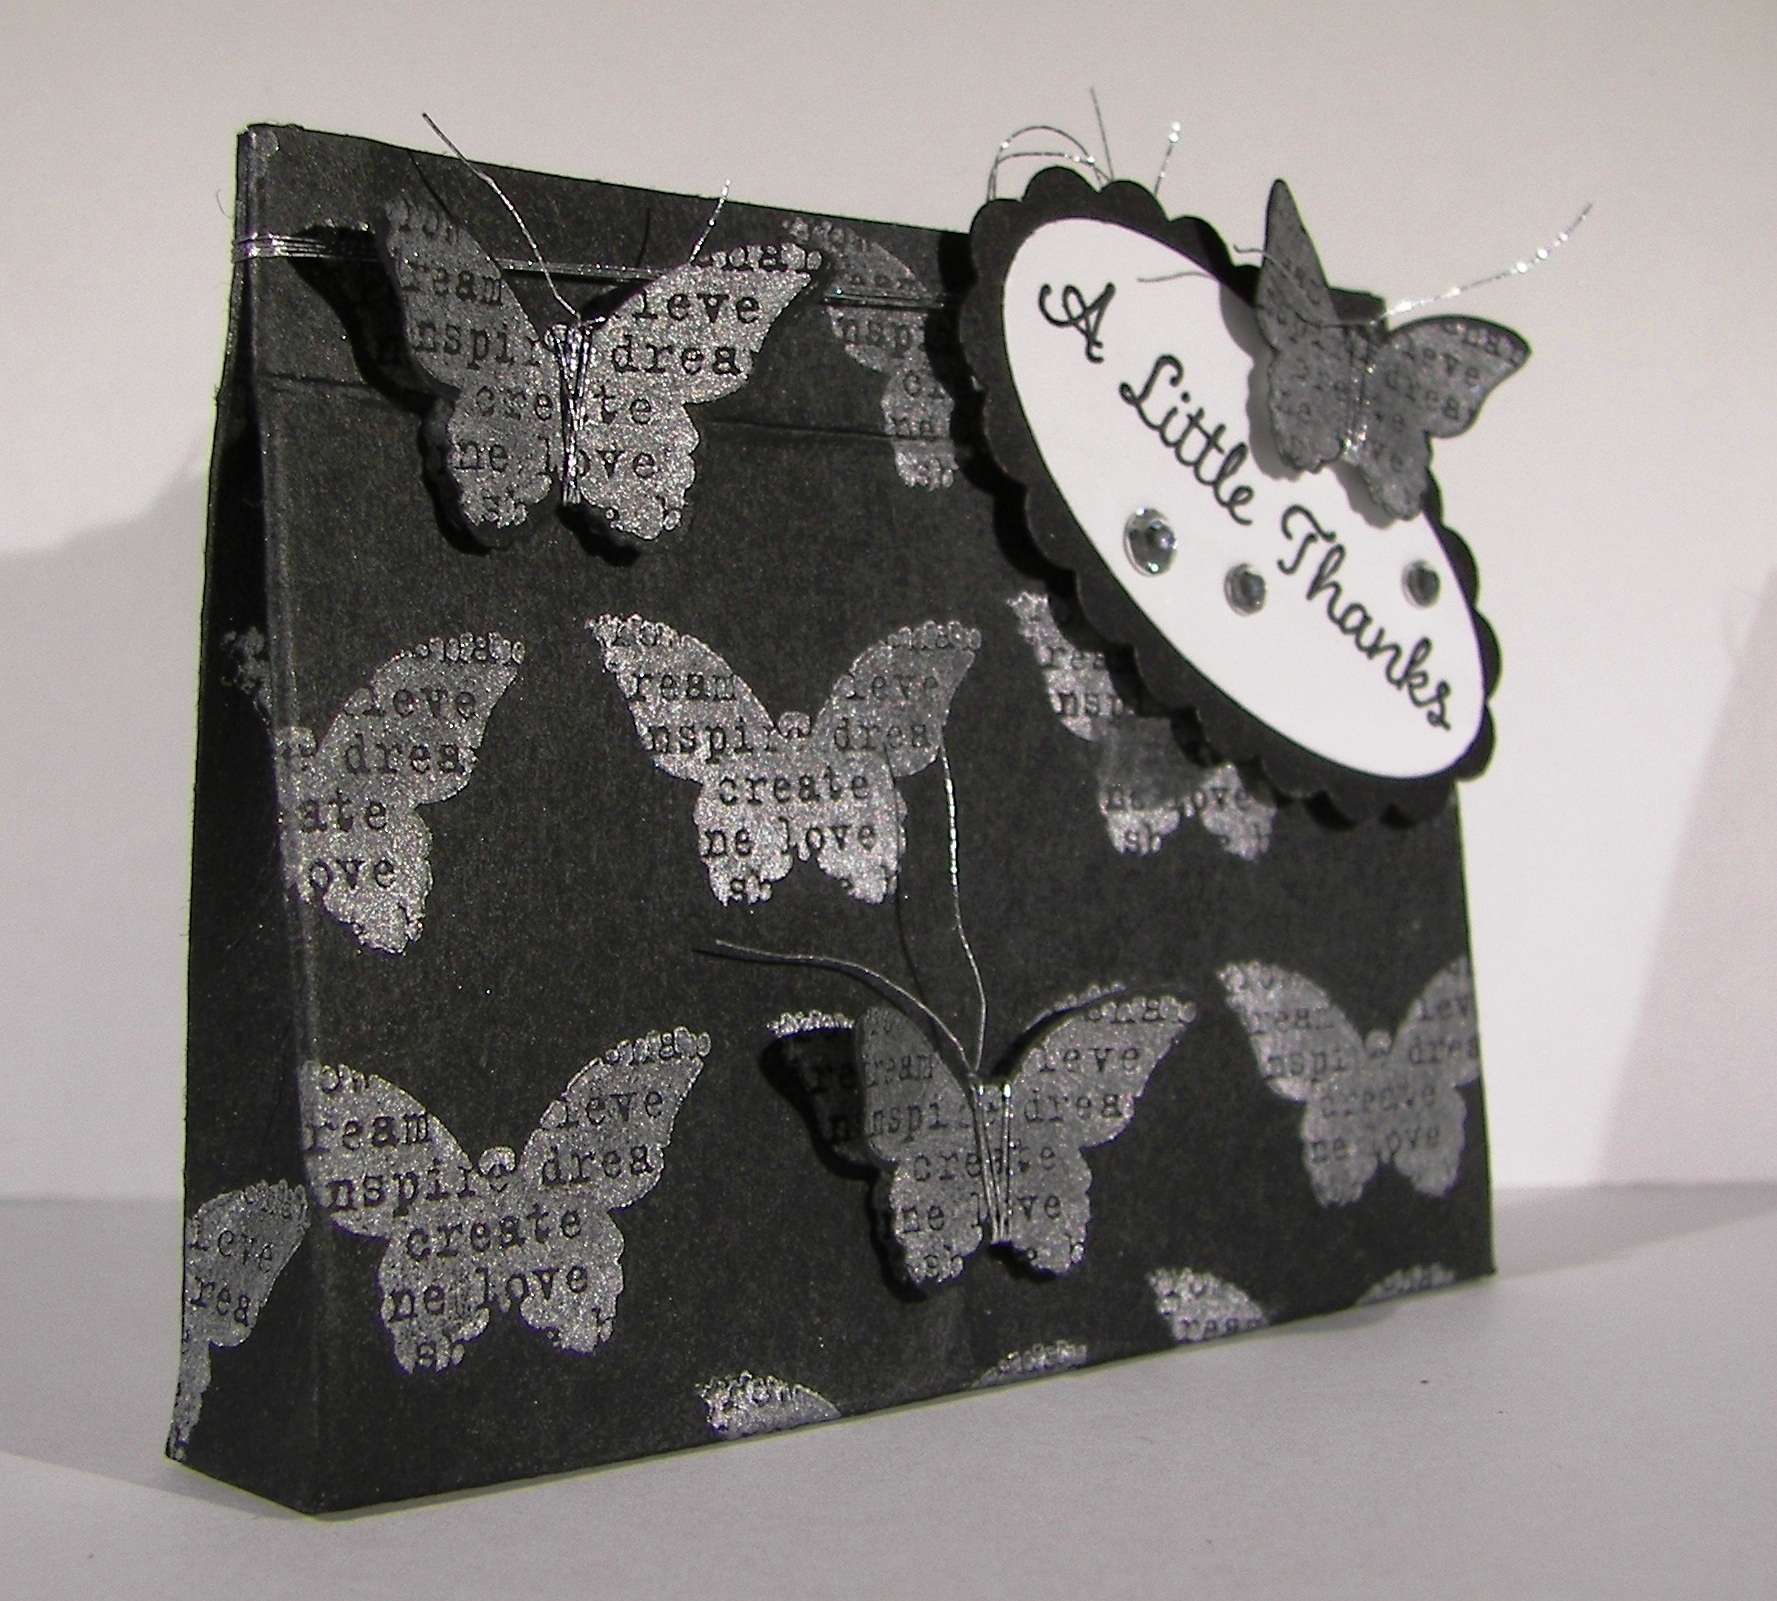
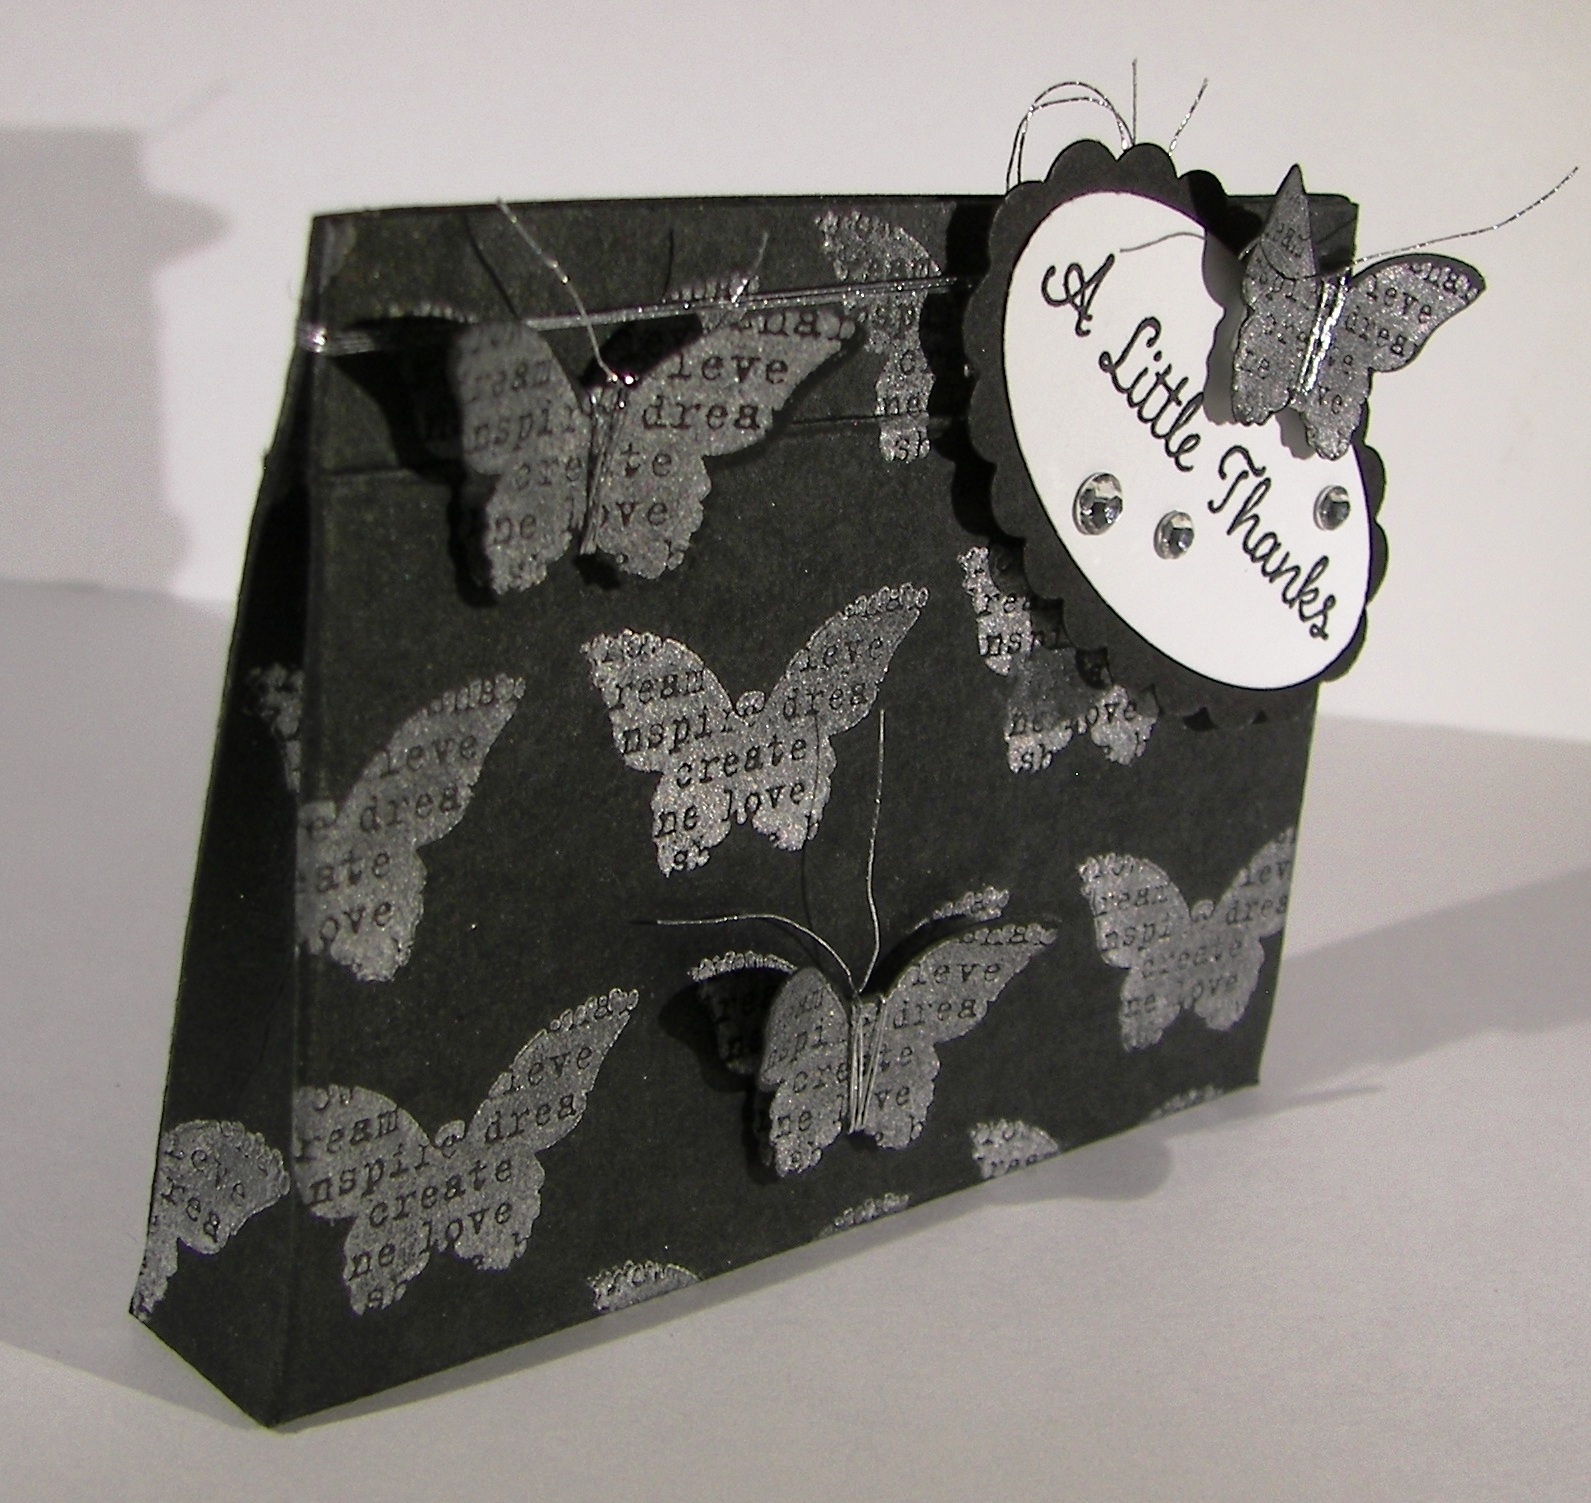
Where have my blog manners gone?  Well, I had workshop on Saturday and one heck of an adventure before going, so couldn’t blog the projects we were going to make.  I will share them this week though, no worries.  Then there was Father’s Day, and these lovely little tuxedo boxes to make, nearly 85 all together.  So, you can see why I haven’t had a minute or two to share some of these goodies.

6-20 (6)

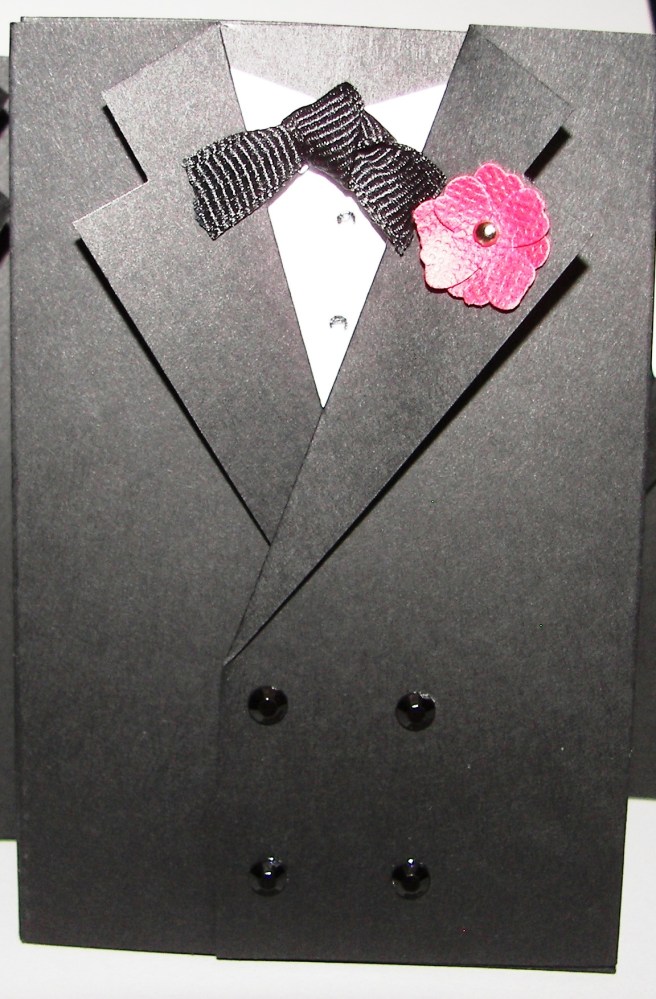
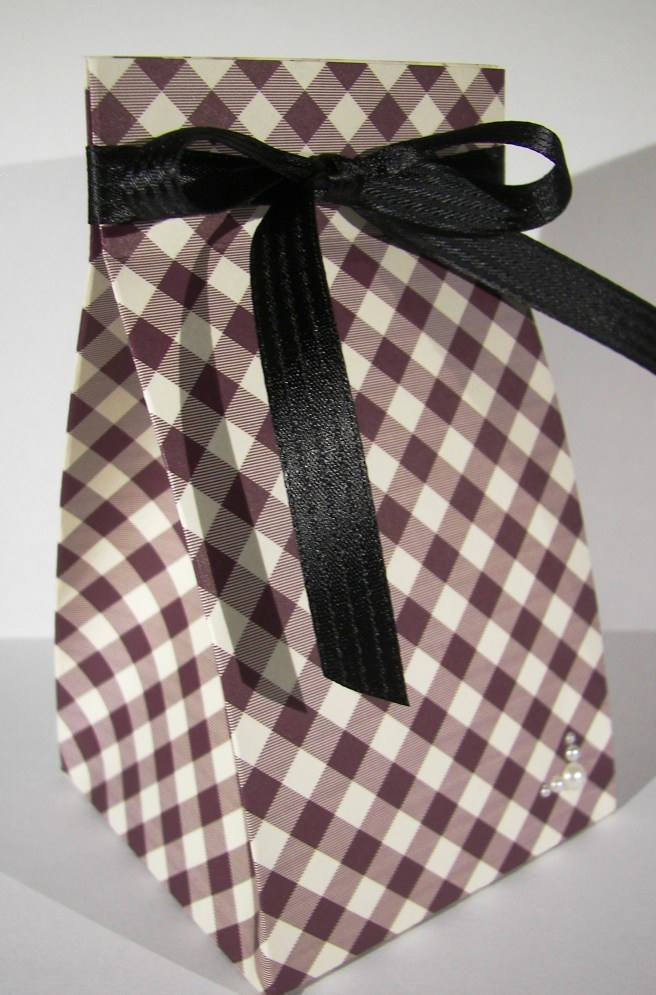
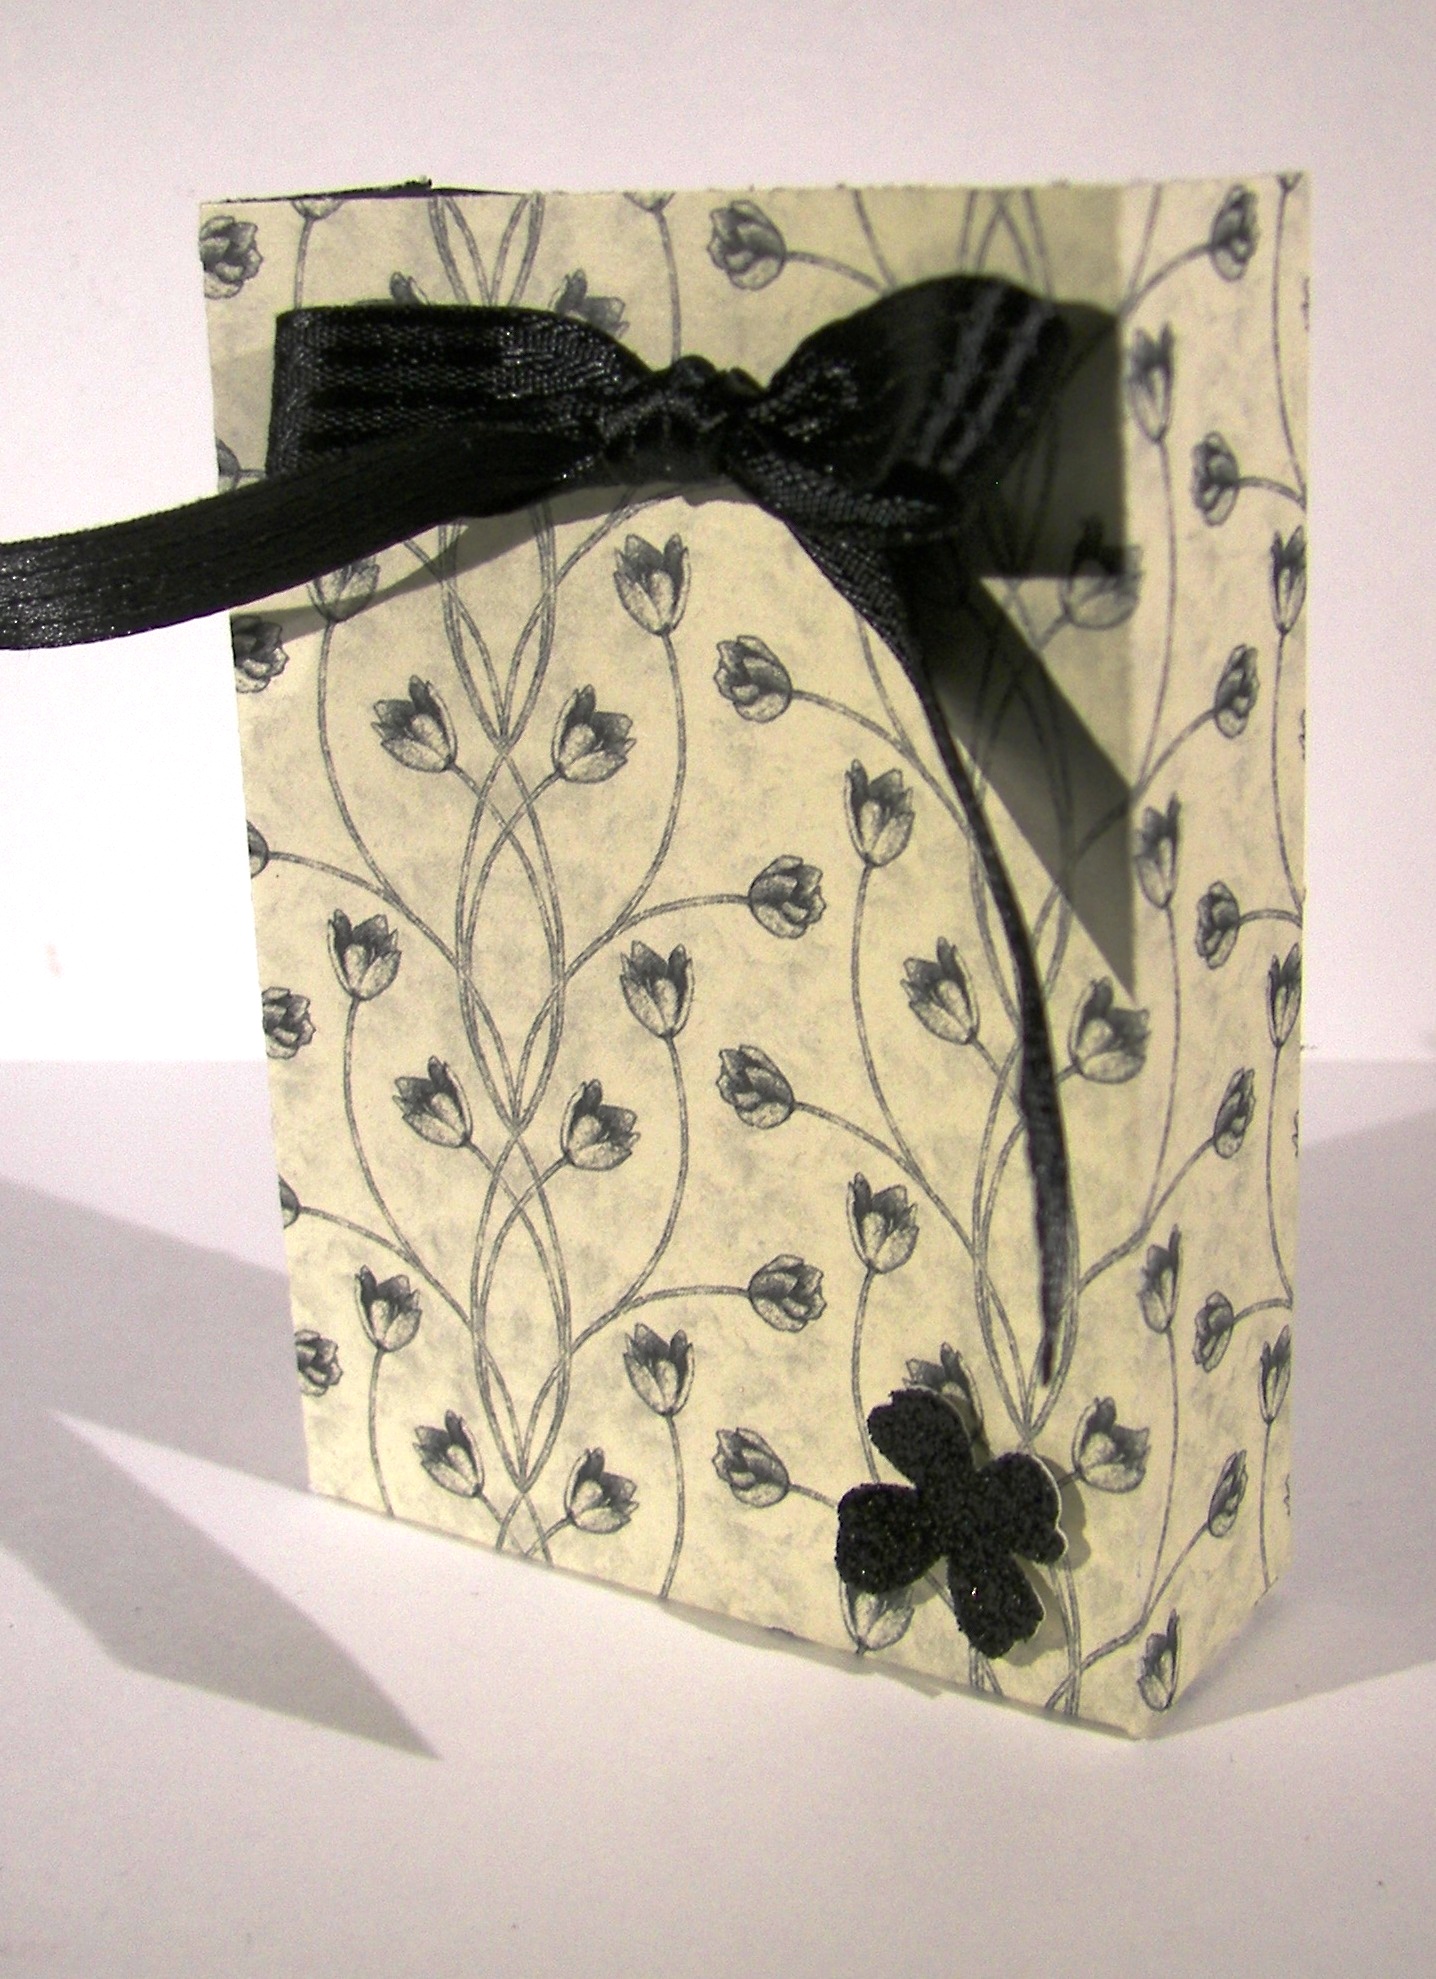
This tiny gift box wasn’t my idea, thank you many people who are also so creative and share online, but I adapted to make it work for me.  They looked so adorable all lined up with treats poking out of the top, but I just didn’t have a moment to photograph them all together before they were given away.  Believe me though, there were many smiles from more than pleased men in my church congregation as they were passed out by the young women I work with.

The box was made with half a sheet of 8 1/2 x 11 black cardstock and measures 1 x 3 4/2 and can hold a lot of little treats.  The tuxedo was assembled and then glued to the box.  All kinds of assembly lines were working with my family being so helpful.  The bow tie was obviously just a bit of ribbon with a knot in it and then trimmed to look kind of right and glued on with a glue dot.  The buttons went on in a bit of a whirlwind, but ended up looking pretty darn adorable.  The boutonniere was made from a retired tiny flower punch, punched twice, and attached together as well as the lapel with a tiny silver brad.  It was a bit extra, but added just the perfect touch.  The lapels and shirt collars were really eyeballed and scored with no real measuring in mind, just trying to make it look right.  I knew I had too many to do to make them too perfectly.

It was a great project that took quite a bit of time, over four days, with plenty of family help, but was worth every moment.  Way to be awesome dads everywhere!

Have a creative day!

Moana

Remarkable…

This quite simply was round two.  I had this fun idea to emboss this flower with silver powder on black card stock.  Thought that would look pretty cool.  Then, I thought I would water color with a bit of silver encore ink and touch it up with wink of stella.  Can I just say that all went in the trash bin?  True story, not a good combination there.  Next try…better.

5-16

These colors are all I have on my brain lately.  The wedding is three weeks away and the reception I am hosting is four weeks away.  It is hard to find blackberry bliss in the spring out and about. I have managed what I can, and have had to let go of other ideas.  It is going well.  Just like this card duo.

5-16 (1)

Simple stamping and die cutting with oval framelits.  Touches of basic pearls to set it off and wrapped in pretty satin ribbon.  My kind of yummy.  After donating my stash of cards and bags for a fund raiser, this is the first one to begin the rebuilding.  All for a good cause.

5-16 (2)

Have a creative day!

Moana

Beautiful Ride for Newlyweds

It may be hard to tell, but there are an absolute ton of colors going on here.  I had a blast working on this set.  When I finally finished I was a bit surprised to see how late it got, but it was worth it for sure.  I love making wedding cards just for special people in your life. This one is no different.

4-21

I worked the colors to create a sunrise look and I think it turned out really nice.  I was having a chocolate craving last night, so I settled for chocolate chip paper.  Not quite delicious, but it still worked out.  That led me to marina mist for the car color. From there everything else just came together.

4-21 (2)

I wanted a gift bag to go along with the card to give the gift card something to go in.  I think I will put a tiny selection of rich chocolates around it, wouldn’t you like to get a treat too? Opening gifts can be exhausting for a newlywed couple, so they deserve a sugar boost along the way.

The details in this set are really busy and probably hard to notice.  I think a project like this should look simple even if you know better.  Not everyone knows how much work goes into a tiny work of art like this, but that doesn’t stop me from sharing them.  Just a few more weeks and this card will find its way to the deserving adorable couple.

4-21 (1)

Have a creative day!

Moana

Peek-a-boo to Someone New!

Adorable and adorable.  With a sentiment like this, any project is bound to look adorable. However, the dandelion puffs do help tremendously.  This is the third in a gift series focusing on one set of paper from Sale-a-bration and just one stamp set.  With a few punches and some ribbon I was able to create a dozen cards and a container to hold them. Enjoy them like I have.

3-26 (2)

One piece of paper for the card front, one tag layered with a scalloped background, and a simple bow.  I do think of a new baby with this card, but it could work for other situations I suppose.  There are several ladies in my life who are expecting little ones, so this just might get made a few times over.  Easy and fun to do.

3-26 (1)

Have a creative day!

Moana

Thanks for Being You

Day two in this adorable little series finds me fortunate enough to be in Utah visiting family, family, and more family!  How wonderful is that?  It is  more than fun, especially for me.  So many fun social opportunities.

3-25 (2)

I do love this paper.  The little dandelions dancing in the wind are so cute.  Simple and fun but it will be the perfect thank you for the person who has been so kind.  Giving cards is always so much fun.  This gift set will be fun for my daughter to use.  And use it she will.

3-25 (1)

Have a creative day!

Moana

Success Looks Good On You

Don’t you love it when designer paper has such unexpected patterns?  This awesome paper from Sale-a-bration, which will end soon, has a few patterns that are so fun and different.  You  wouldn’t guess that this dotted pattern comes from a primarily floral set paper.

3-24 (1)

This project is the first of a dozen cards that I made for a gift set to share with my daughter. It is nearly spring break and my family gets to all be together.  She loves to paper craft with me, and actually kept me company through crafting nearly all of these.  So, you get to enjoy a different one each day.  The series will end with the coordinating container I made to store them all in.  It is so pretty.

The card is super simple.  Just one layer of dsp cut to leave a 1/4″ border, one strip of ribbon tied in a knot, and a layered sentiment.  I stamped in black stazon, punched with the decorative label punch, and then sponged with silver encore ink.  I did use a double layer of dimensionals to keep the tag high enough to clear the ribbon knot underneath.  Simple, right?  Sometimes simple is just right.

3-24 (2)

Have a creative day!

Moana

Dear Heart, Sweet Boy

This project was all about giving myself a challenge.  I grabbed a piece of dsp, decided on three colors, picked a stamp set I hadn’t used a long time and went for it.  This was definitely not my usual style, but it felt good.

3-20

The card itself wasn’t too complicated, just one layer for the background.  I stamped my little boys on water color paper with black stazon and opened the ink pads.  Their faces were done with a very diluted wash of pink pirouette with the hair in tip top taupe.  I wanted them to look like the same boy just doing different things.

Each boy face was accented with one color only.  For the darker areas I kept the ink fairly strong.  When I accented I diluted it a bit more and even more for the outlined areas in the background.  I left it simple because I wasn’t really going for perfection, just soft coloring. I punched their faces out with the 1 3/4″ circle punch and a background of black with the 2″ circle punch.  They were arranged on the front and layered with a bit of dimensionals.

The banner was stamped from the same set and a light wash of each color was put on its own section.  Then each end was punched with the bitty banner punch.  I also put that up on dimensionals.  I repeated the pattern of paper inside with more dsp and a smaller piece of very vanilla to write my message on.  Such a sweet card, for a very sweet boy indeed.

3-20 (1)

Have a creative day!

Moana

Pedal Pusher Through Wildflower Fields

I was so excited for this stamp set to show up I could hardly stand it!  Last year during Sale-a-bration Stampin’Up! added some new freebies half way during the sale to perk things up. It went so well they did the same thing this time.  This little set is one of them and it is the best!  It even made my husband grin.

2-26

There are other sentiments, but this one is my favorite.  There are several different items that could be stamped in the basket, but I chose flowers to coordinate with my background paper choice.  Talk about riding through a spring meadow, wish I really could though. Having a tandem bicycle is something my husband and I can’t wait to have.  Maybe that is why I love this set so much.

I also broke out some markers to do my coloring.  I tend to prefer my aqua painter, but it is good to use other things too.  They worked great, of course!  I did water color the basket, the bike seats, and my country road.  What a fun time I had creating this project.  Like I said, I just got it yesterday.  The rest of my box is still on the kitchen table, not gone through, not inventoried or anything.  I just dug through it, got this set out and made something right away.  The sign of a great stamp set for sure.  This could also be a workshop project I think.

2-26 (1)

Have a creative day!

Moana

Everything Botanical

Well, this project started somewhere else, but the results are great.  Sometimes it is hard to see past your ‘opportunity mistakes’, I managed though.  Once I fussy cut designer series paper I am totally committed.

2-8 (3)

The free items you can earn from Sale-a-bration are all unique, but this one caught my eye right away.  A patterned velum paper that not only coordinates, but actually outlines designer series paper, well that is amazing.  I fussed a bit matching it up, but found the exact spot.  I almost did a 6 x 6 card just so I could see the whole pattern line up.  It would have been worth it, it looked so pretty all lined up.  I moved on though.

2-8

My opportunities came from the glue experience.  I thought I could put tiny tiny dots of glue on little flowers and it would look kind of neat, and hide the adhesive at the same time.  Well, my tiny dots were not as tiny as they needed to be.  Several fixes later, it worked out.  Basic rhinestones, a larger sentiment with tag layering, and using one of the many coordinating framelits.  Phew!

I added a touch of inside stamping with a leaf from the coordinating stamp set.  I don’t usually go for a whole suite of product.  This one is different, I loved all of it.  However, it is my favorite color pallet, floral, and it goes together so wonderfully.  I couldn’t resist it.  So I didn’t.

2-8 (1)

Have a creative day!

Moana


It’s My Party

What kind of chatter do you need to say anything about a suite that speaks so much for itself?  The paper stack is huge and full of so many great patterns.  Bright, fun and exciting.  Just like any birthday celebration should be.

It's My Party

How about this bitty balloon punch?  It comes in a trio along with a tiny candle and a cupcake.  They are so sweet.  This stamp set is going to get a lot of use for sure.  Birthdays are going to happen, so why not have a diverse stamp set to give plenty of options, right?  I used glue dots under the balloons and bakers twine to keep them in place.  They were just a bit too tiny for dimensionals and I knew the glue dots would hang on to the twine better.

It's My Party

Have a creative day!

Moana

Bouquet Bigz L Die Meets Thrift Store Skirt

My daughter gave me a challenge.  She took a photo of this wild skirt she saw at the thrift store she works at.  She wanted to see it made into a card.  Well, I took it a different direction.  And yes, the skirt looks this wildy.  How fun!

Bouquet Bigz L Die Meets Thrift Store Skirt

I made flowers using the Bouquet Bigz L Die with real red.  It was actually the maiden voyage of that die cut.  As I looked at it I decided I could spend way too much time playing with it.    I distressed the petals before I put them together.  Even though it adds time in the process, it was worth it.

Bouquet Bigz L Die Meets Thrift Store Skirt

I attached them to a rectangle of black cardstock so I could put the flowers on the ribbon and not the box.  Makes for easy opening and the opportunity to re-use both the box and the flowers.  This box though.  The pattern of this paper is more than fun, don’t you think?  And with a simple wrap of satin ribbon it was done and ready to be used.

Bouquet Bigz L Die Meets Thrift Store Skirt

Have a creative day!

Moana

Workshop Wonders

What do you get when you bring together some creative friends?  A really unique workshop that was more fun than work that is for sure.  Just look at these adorable projects they created!

12-14

We really did have a wonderful time sharing ideas, laughing, exchanging gifts and enjoying a lovely luncheon.  I think they impressed themselves more than each other.  And I loved crafting with them.

12-14 (2)

I already blogged mine on Saturday, but wanted to just show theirs.  Two of our group couldn’t attend this one and they sure missed out.  Next time I am sure they will share something wonderful.  The ladies liked the activity so much that we decided to do it twice a year, once in December and once in the summer.  I do love these gals!

12-14 (1)

Have a creative day!

Moana

Everyday Chic Gift Bag

Inspiration can come from the most unlikely places.  I like to ask my youngest daughter what colors to work with so I don’t go to my favorites all of the time.  Last night she said, “I don’t know.”  Classic teen response.  However, she was wearing an adorable white shirt with a gold studded neckline and a lovely long turquoise scarf.  Inspiration complete.

Everyday Chic Gift Bag

This bag is hearty enough to hold plenty of weight for sure.  I used a whole sheet of bermuda bay card stock for the bag and a good portion of  a 12 x 12 sheet of Everyday Chic DSP.  Before I assembled the bag I used a gold marker to color in random hearts for a little bit of accent.  That was actually quite relaxing.

Everyday Chic Gift Bag

This ribbon is so wonderful.  I knew I wanted a huge bow out front, so I threaded it a bit differently.  I made sure to have the ends out front, both long enough to make this pretty bow.  I just tied the ribbon together with bakers twine right at the front of the box which left two long strands of ribbon hanging down just ready to go.  I did have to fuss the bow a bit to get it where I wanted it, and used a couple of glue dots to keep the bow pulled back a bit.  Now I am ready to fill it up and give it away.  So much fun!

Everyday Chic Gift Bag

Have a creative day!

Moana

Timeless Elegance with Black Glimmer Paper

It is so enjoyable to create something very lovely that is so simple to put together.  That is just how nice it is to work with great product that makes you feel so creative and talented.

Timeless Elegance with Black Glimmer Paper

I had been wanting to use this fun black glimmer paper differently than shown in the catalog.  It was fun to see it with all of the Halloween projects, but I think it has a lot more uses.  Simple little flowers for instance.  I didn’t want to use a punch too large because I wasn’t sure how to center them.  These little flowers didn’t require a button or anything.  So adorable.

Timeless Elegance with Black Glimmer Paper

I cut a strip of the dsp 3 3/4″ wide for the card front and thought it would be nice to make a matching gift bag with the rest of the strip.  It worked out pretty nicely, don’t you think?  It is big enough for a few treats, or even a gift card.  Just my kind of favorite thing, a card and matching bag.

Timeless Elegance with Black Glimmer Paper

Have a creative day!

Moana

Journal Inspired Butterfly Basics

My husband bought this pretty journal and I immediately took it to my desk to stare it down.  I just knew there was a card in there somehow.  Well, after sharing swaps for nearly two weeks my creative bug was on high alert.  I sat down last night and gave myself some time to go at it.  And I did.

Journal Inspired Butterfly Basics

Isn’t is uncanny how close the colors are?  I guess that is why I migrated to it.  I have other off market stamps that might have gotten closer to the tree, but I really wanted to get my brain in gear for workshop this weekend.  I couldn’t be happier with the end result.

Journal Inspired Butterfly Basics

The borders are a narrow 1/8″, my favorite.  I bravely opened up my new elegant dots embossing folder and rubbed Stazon all over one side and then ran it through the  big shot.  I loved the result, and most of the ink came off.

Journal Inspired Butterfly Basics

I used lots of butterfly framelits and layered everybody up.  The smaller one has two black die cuts over the delightful dijon layer.  Light sponging made everything look a little grungy and tied it together.  There is a little stamping inside, as well as more sponging.  I used plenty of glue dots to hold the butterflies together and layered like crazy with dimensionals.  So fun!

Have a creative day!

Moana

Larger Than Life Birthday Wishes

Any wonder what today’s card is all about?  Couldn’t get any more direct that this and I love it!

Larger Than Life Birthday Wishes

A certain young man is having a birthday this month and his grandmother requested a special card.  I love personalized items, especially when you aren’t likely to see that name all of the time.  Call it childhood memories.

Larger Than Life Birthday Wishes

My youngest daughter might disagree as to who this should be for.  She might want to send it to a particular One Direction band member who also might be named Liam, but that isn’t going to happen.  She can make her own.

Larger Than Life Birthday Wishes

The Larger Than Life Alphabet and Number set is so wonderful for things like this.  I took the ‘happy birthday’ sentiment from That Thing You Did.  Some Cucumber Crush for a fun bright green and it was nearly done.  A touch of ribbon to bring it all together and I was happy.  I think Liam will be too.

Have a creative day!

Moana

Bombs Away Birthday!

Well, I must admit, I think Call of Duty visited my craft table this morning.  My plan began differently, honestly.  But then things got a little interesting.

Bombs Away Birthday!

I started out with the fun birthday bomb stamp and made background paper.  I knew I wanted to add my husbands name, but wasn’t sure on the color.  Since the black is so strong, I knew I needed to heat emboss the lettering.

Bombs Away Birthday!

Of course all of my colors are not quite masculine, and I wanted bright color.  I guess I could have done silver, but too late for that.  I had a couple of tiny spots that didn’t get powder to stick, so I thought I would just sponge a little ink here and there to fill them in.

Bombs Away Birthday!

I went out of the lettering a bit on the second B, so I gave in and sponged away. Then I giggled as I imagined how much cherry cobbler looked like dried blood, especially next to a bunch of bombs.  Maybe this is a bit tacky or even offensive, but my husband will get a kick out of it, and it is totally for him.  Happy Birthday my love!

Have a creative day!

Moana

All About Sugar and No Bones About It

When you get asked for a birthday card for a little boy, don’t you just think of dinosaurs?  This fun card could be for folks of all ages.  You know, the cards that tease you about being older than a dinosaur, or a fossil in this case.

All About Sugar and No Bones About It

I gave warning that I would be into this set like crazy, and I love every chance I get to use it.  I have a few more children’s birthday cards to make and I think they will all have a dinosaur on them.  Tee hee.

All About Sugar and No Bones About It

The card itself is very simple.  Narrow borders layered together with some very simple stamping.  I only used three stamps for this card.  I think it looks like this dinosaur is smiling.  I digress…

All About Sugar and No Bones About It

Simple stamping, basic color pallet, sponging on the edges and a touch of ribbon.  Keeping open spaces on a project isn’t my strength, but when I manage it, I realize that I really do like it.  I just forget.

Have a creative day!

Moana

Hello You

How do you decide what to work with?  Today, I went with my skirt as inspiration.  While I am not wearing black and white zebra stripes with butterflies, the colors are right on.  I could hold it on display and coordinate so nicely.  I love how it turned out.

Hello You

I have to admit, this is the first time I have used my file tab edgelits and I have had them for a long time.  I wanted to use them, just in a different way.  The paper helps out a lot here, and I like them vertical instead of horizontal the way a file folder would normally look.  Mission accomplished.

Hello You

In order to coordinate the inside with the outside, I took the small butterfly stamp from Kinda Eclectic and stamped away.  It makes me so happy to have the inside match the front.    The card actually is quite simple, with patterned paper like this you do have to have some limits, just some.

Hello You


Have a creative day!

Moana

A Little Thanks

What to do with a spool of silver metallic thread?  Make butterfly antennae of course.  This tiny, oh so tiny, tiny little bag is also closed with the same thread.A Little Thanks

This bag is sized just right to hold a gift card and you could squeeze in a flat chocolate or two.  How perfect a thank you is that?  I do love giving gift cards to people and having them tucked inside something as adorable as this makes it even better.

8-7

I started out with a piece of cardstock measuring 4 1/4 x 5 1/2, yup, that tiny.  I stamped half way down with my little butterflies, flipped it around and went down the other way.  I did that so if you turn the bag around, my butterflies aren’t upside down.  Clever, right?  Thought so too.

8-7 (2)

My score lines were all about the 1/2″ mark.  Just a tiny little bag here, so cute.  Can you tell I love tiny things?  Well, I do!  And this bag is all done and ready to get that special gift card for some lucky friend.

Have a creative day!

Moana