Huge Thank You Part 2

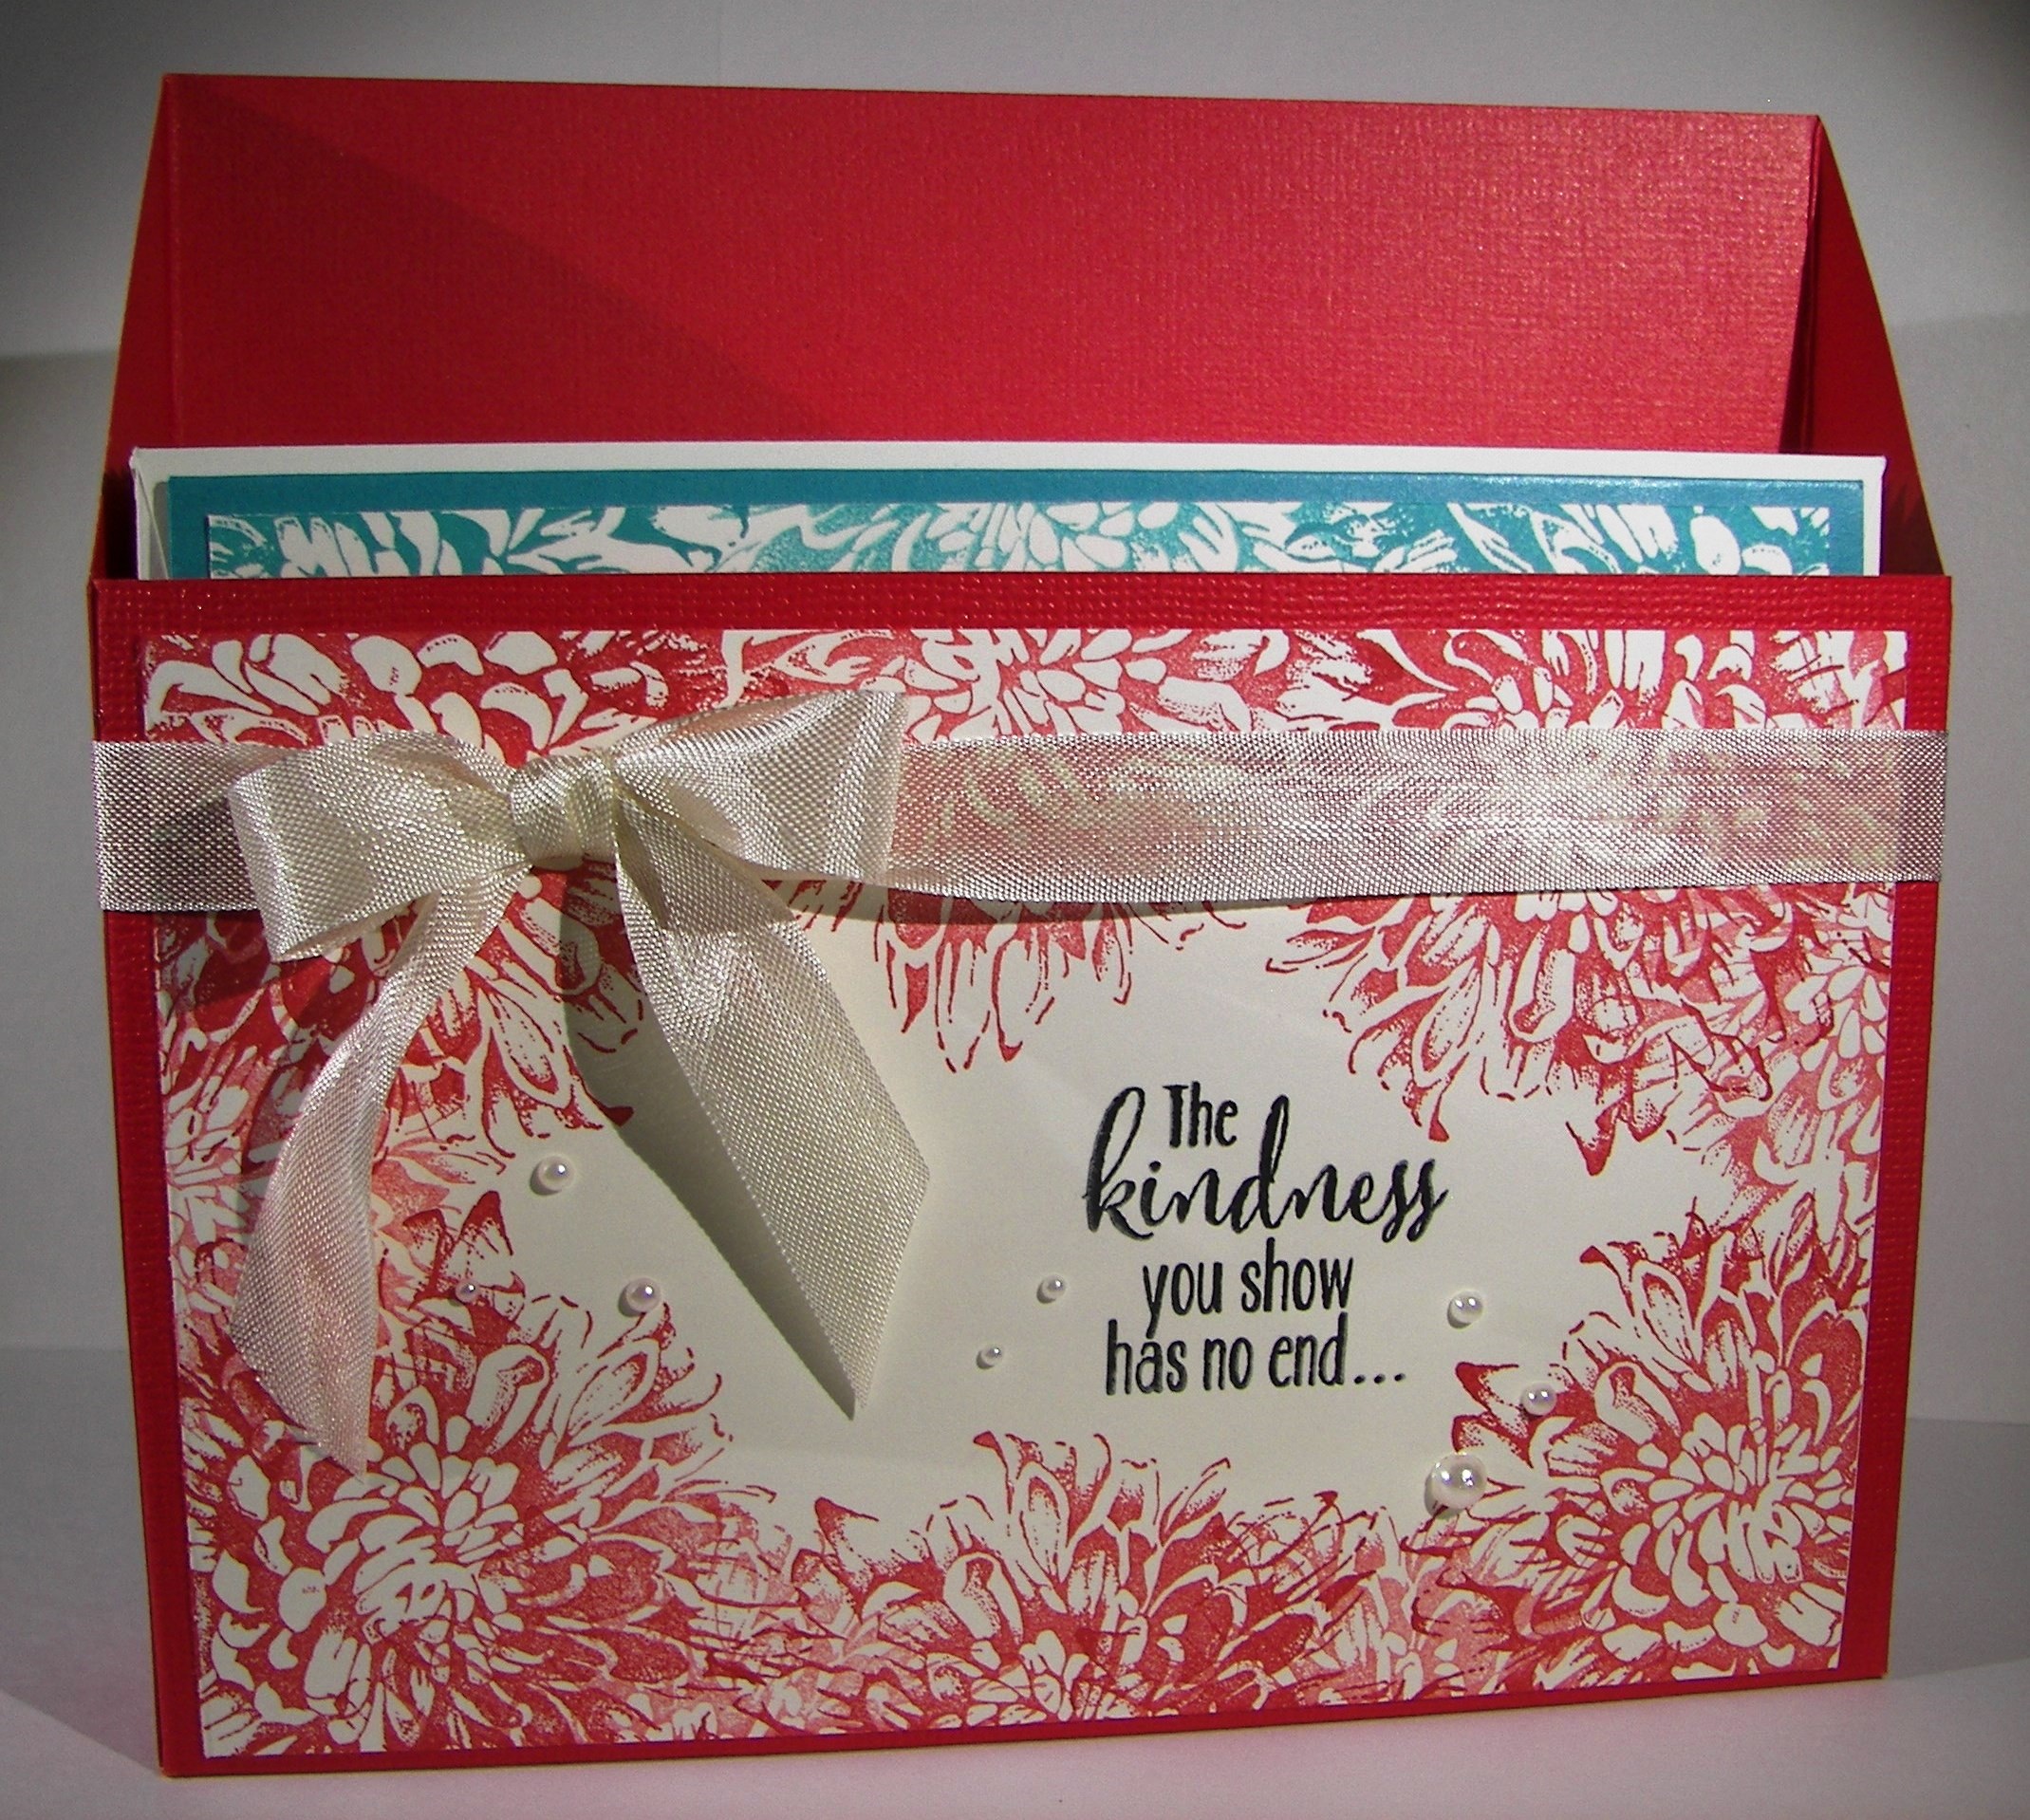
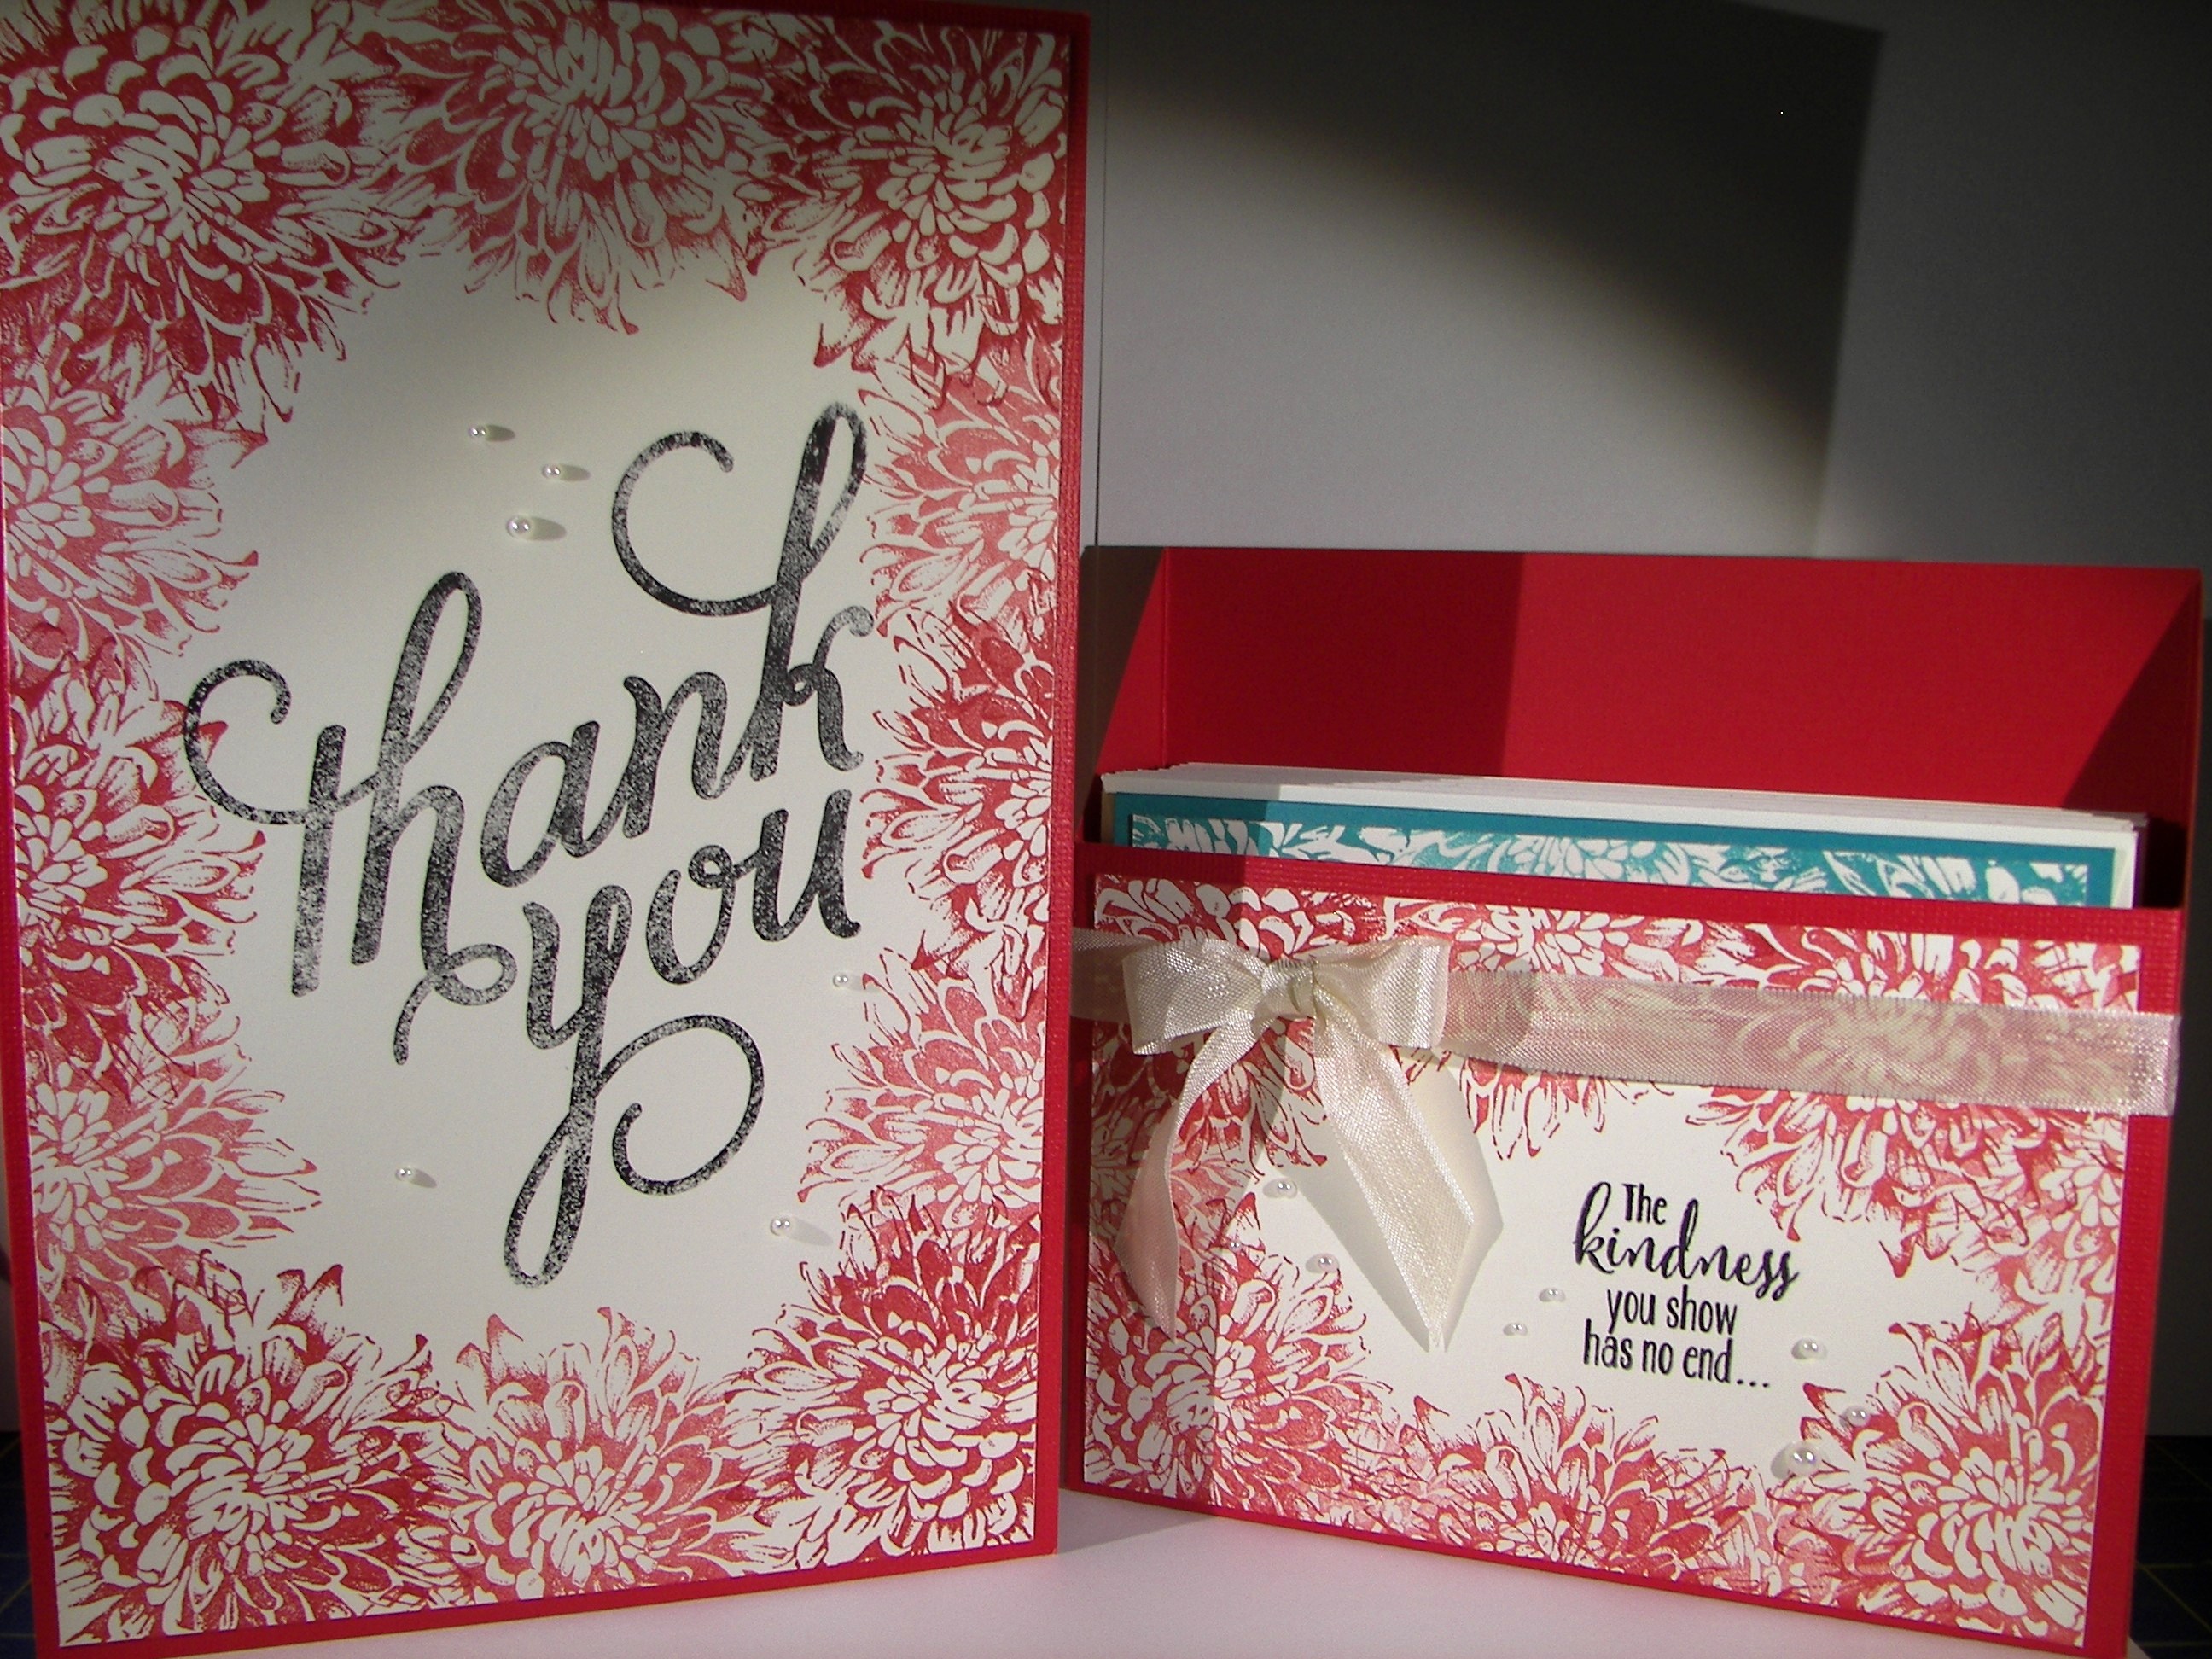
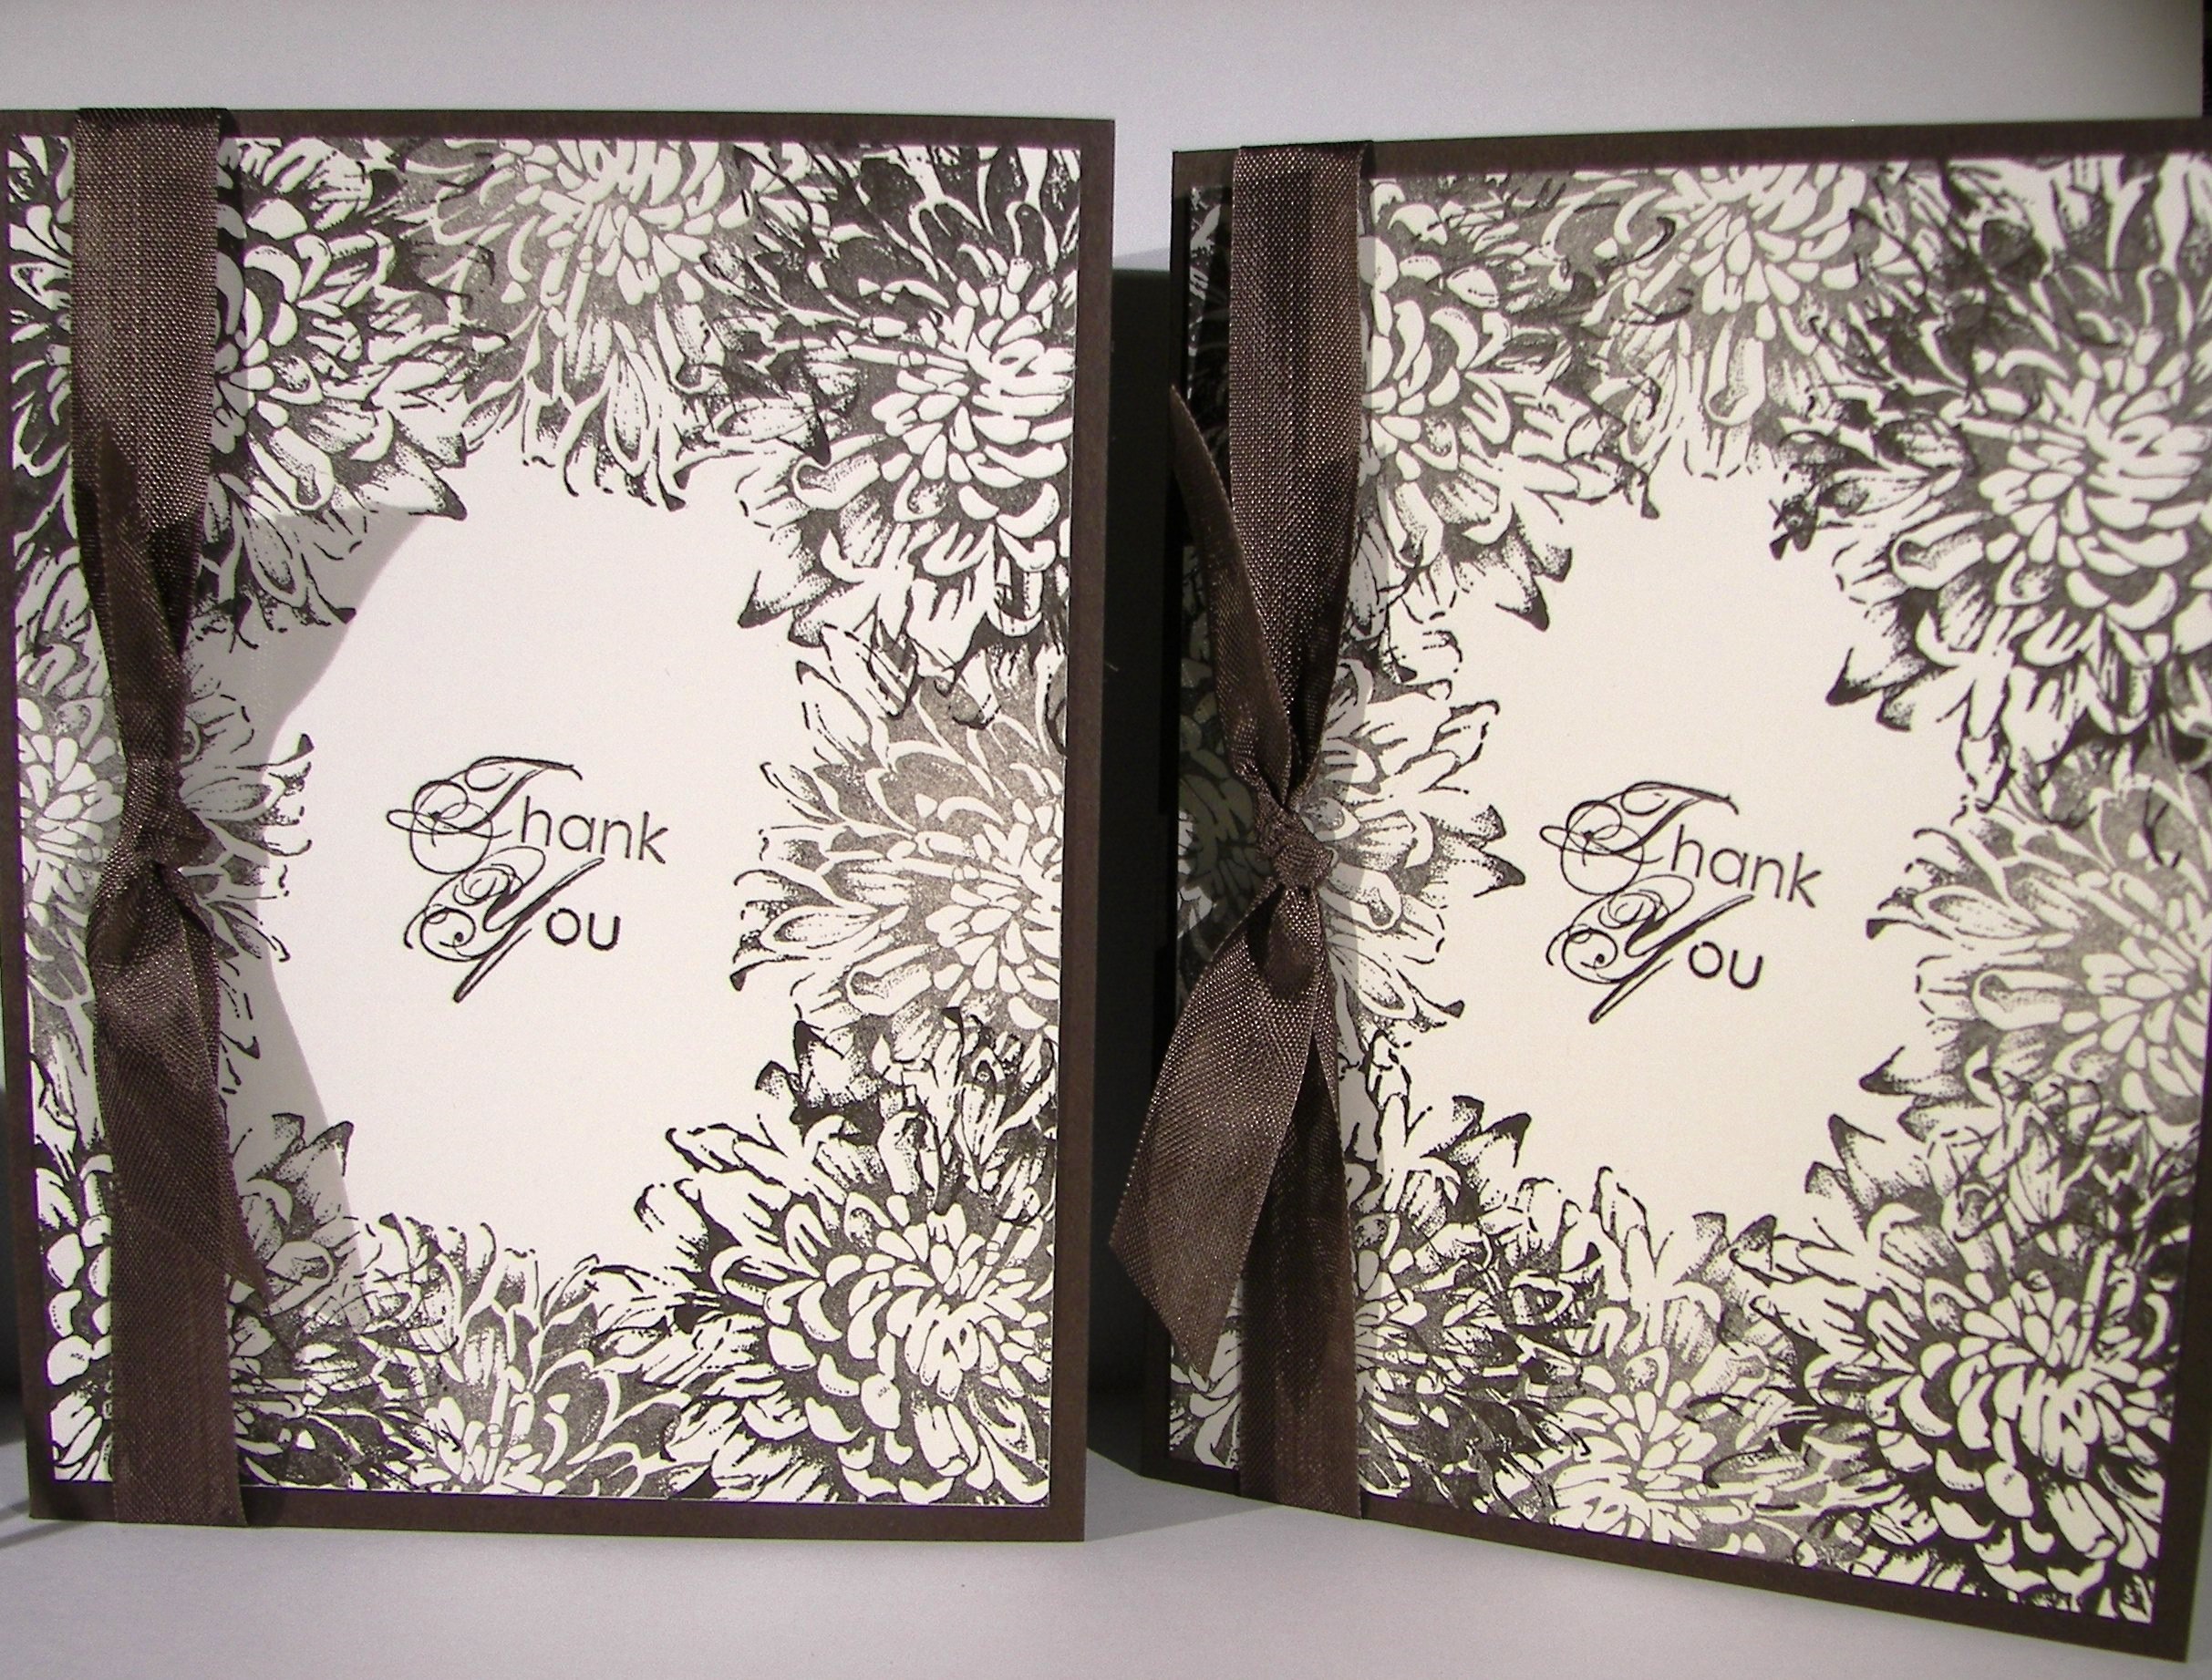
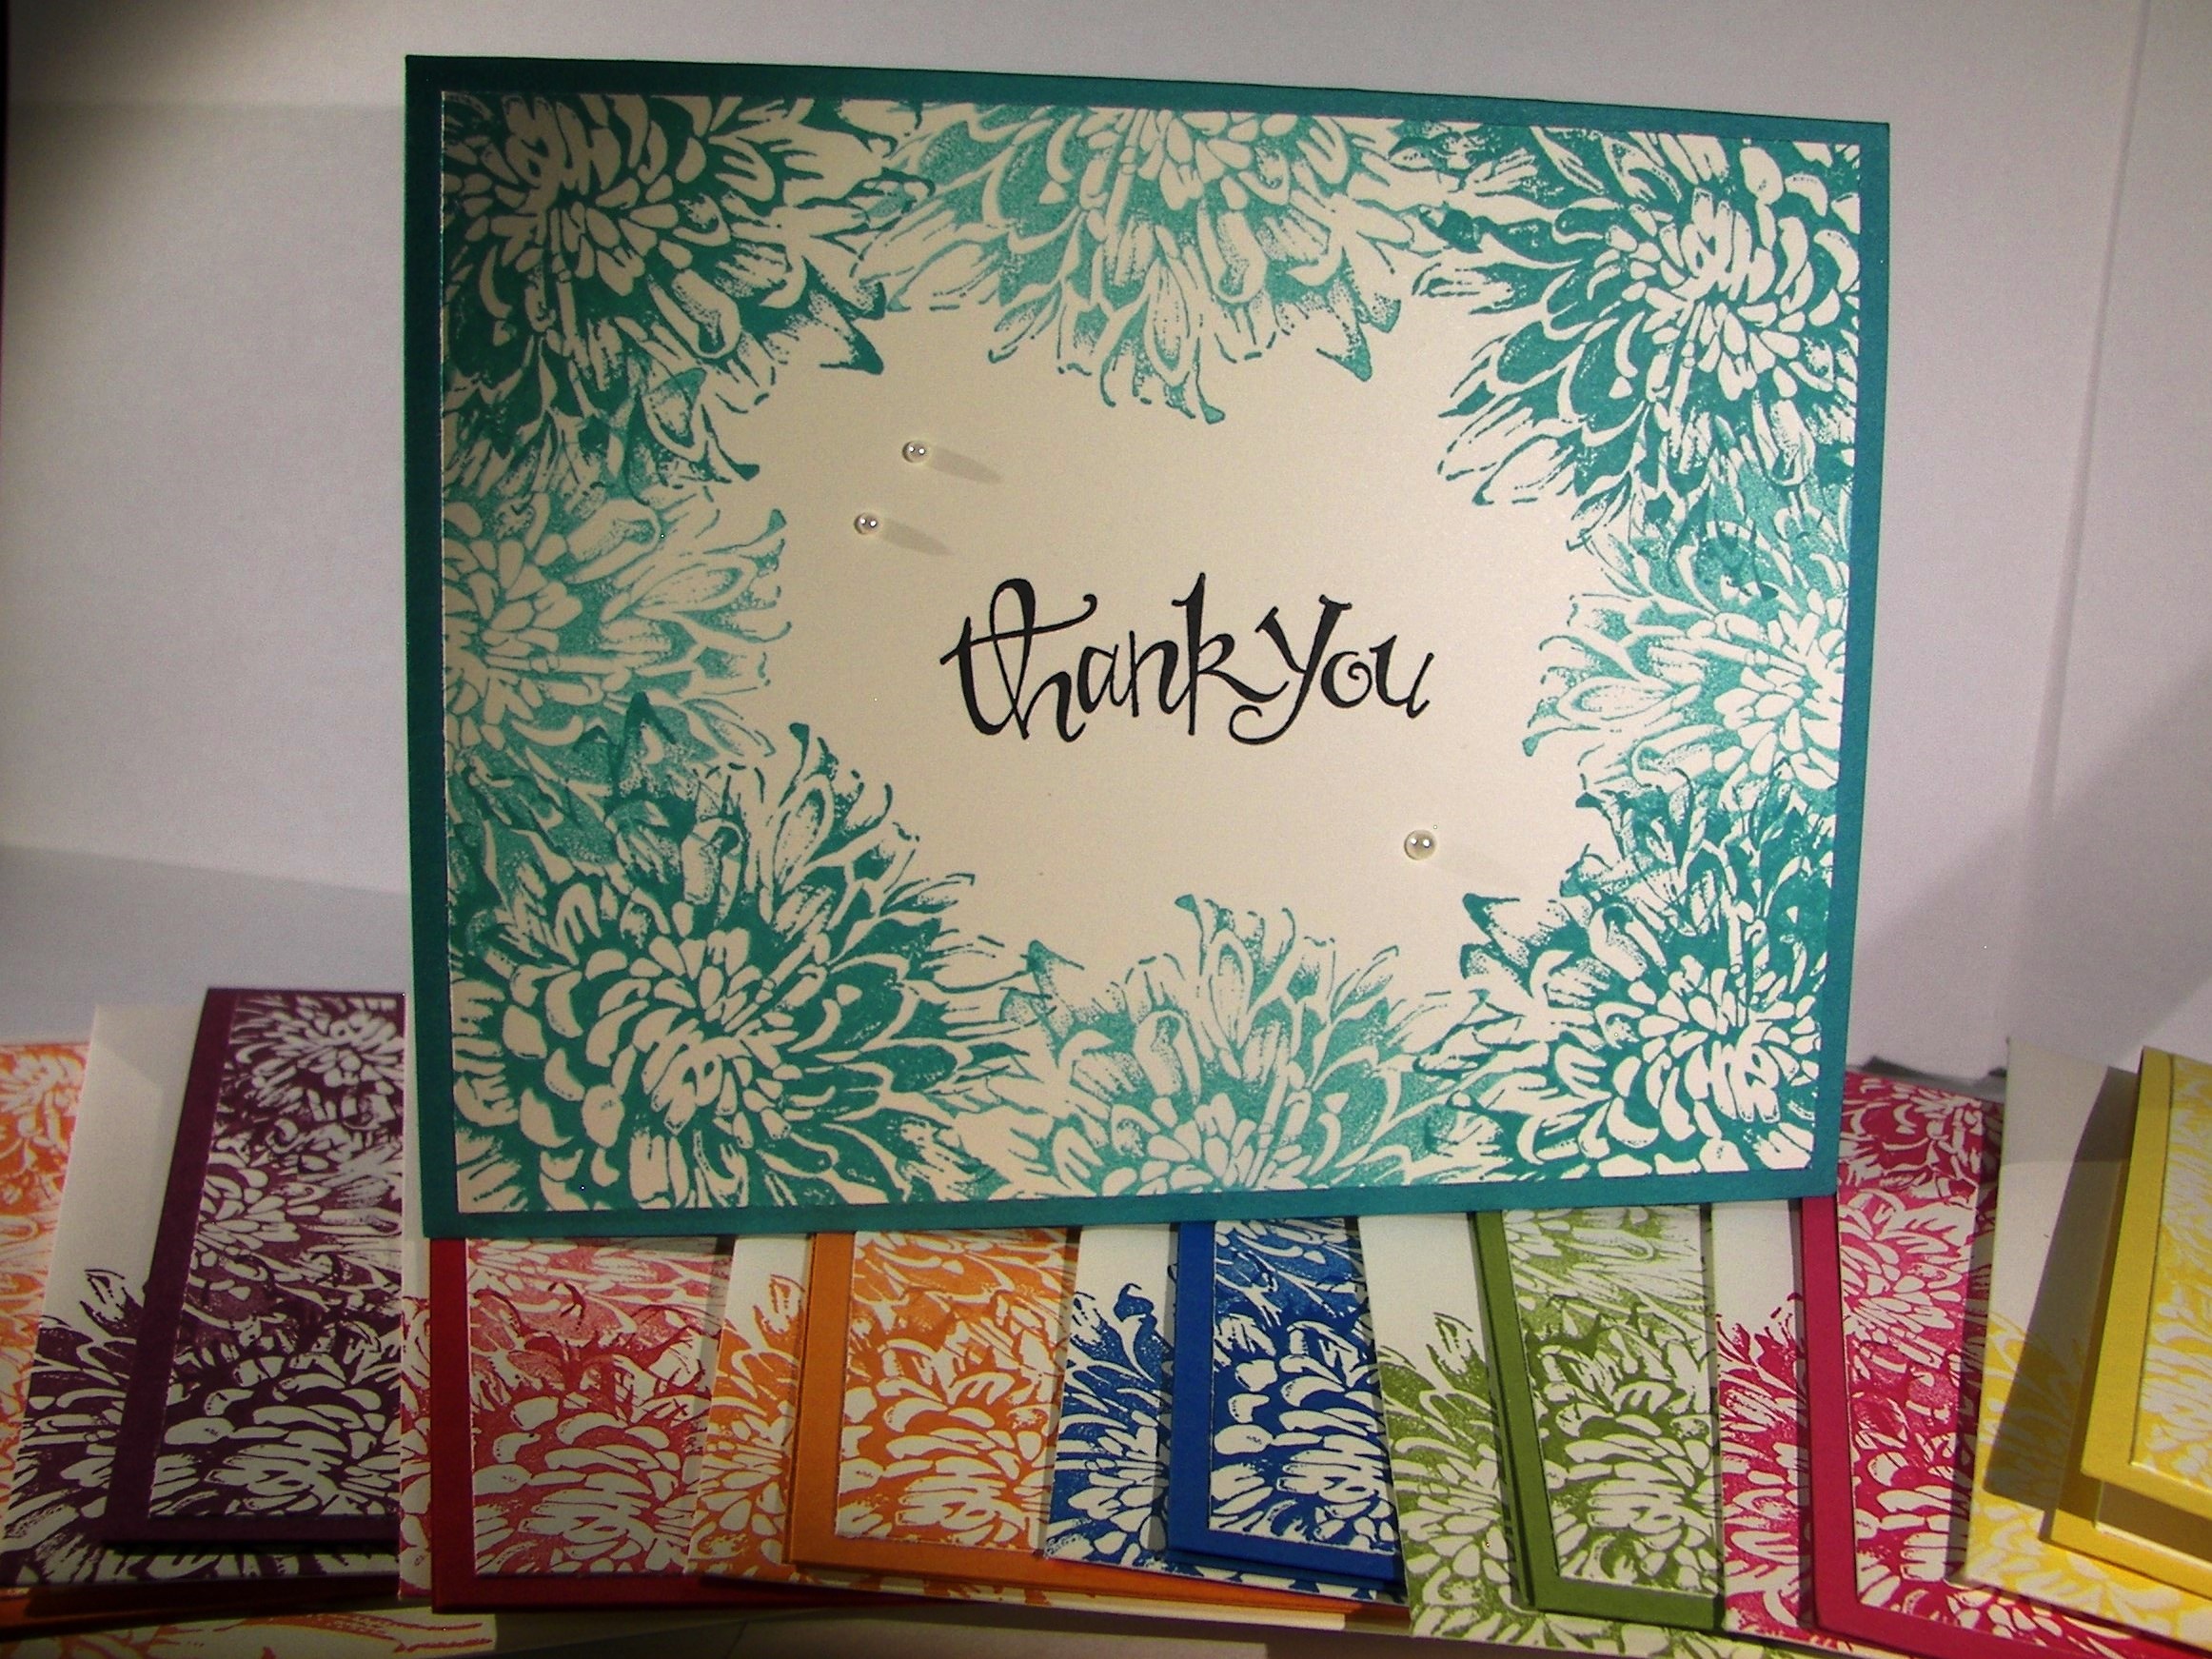
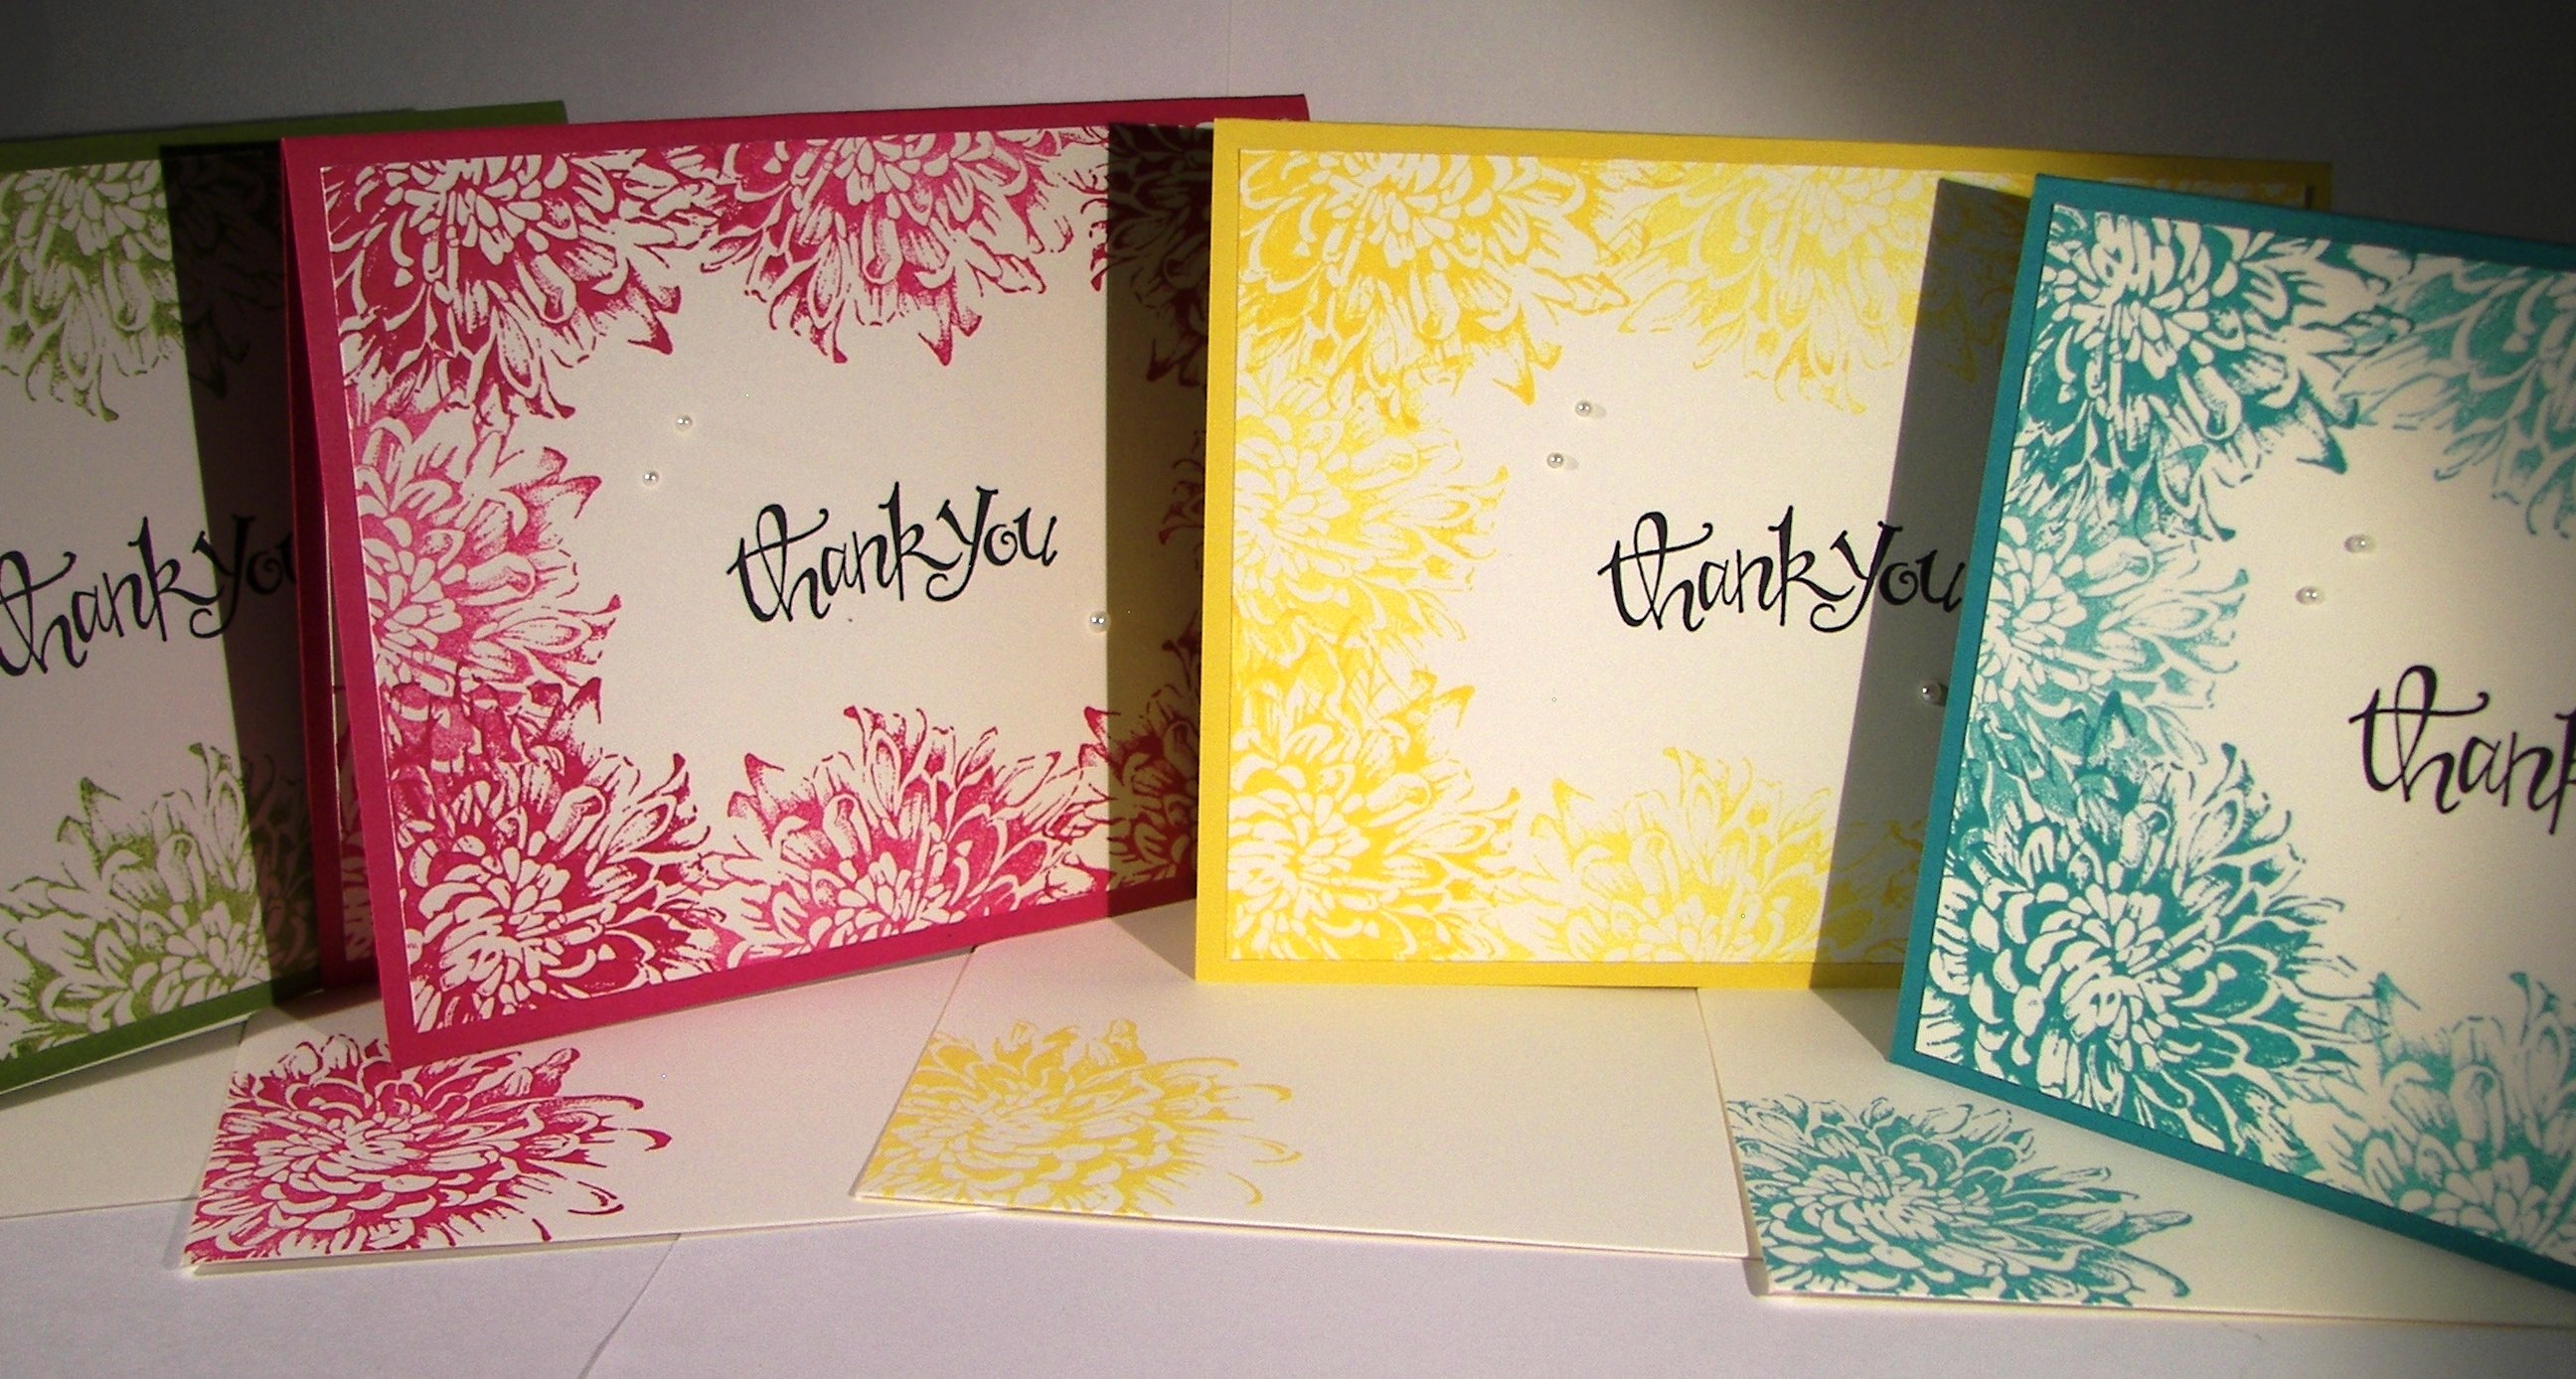
Here is the other half of the project.  You saw a bit of color at the front and probably suspected more cards.  How many?  How about ten?  Yup, I did the entire brights collection.  I knew this stamp and card idea would look wonderful no matter what color I used.  I wonder if I should do the other color sets?

Huge Thank You

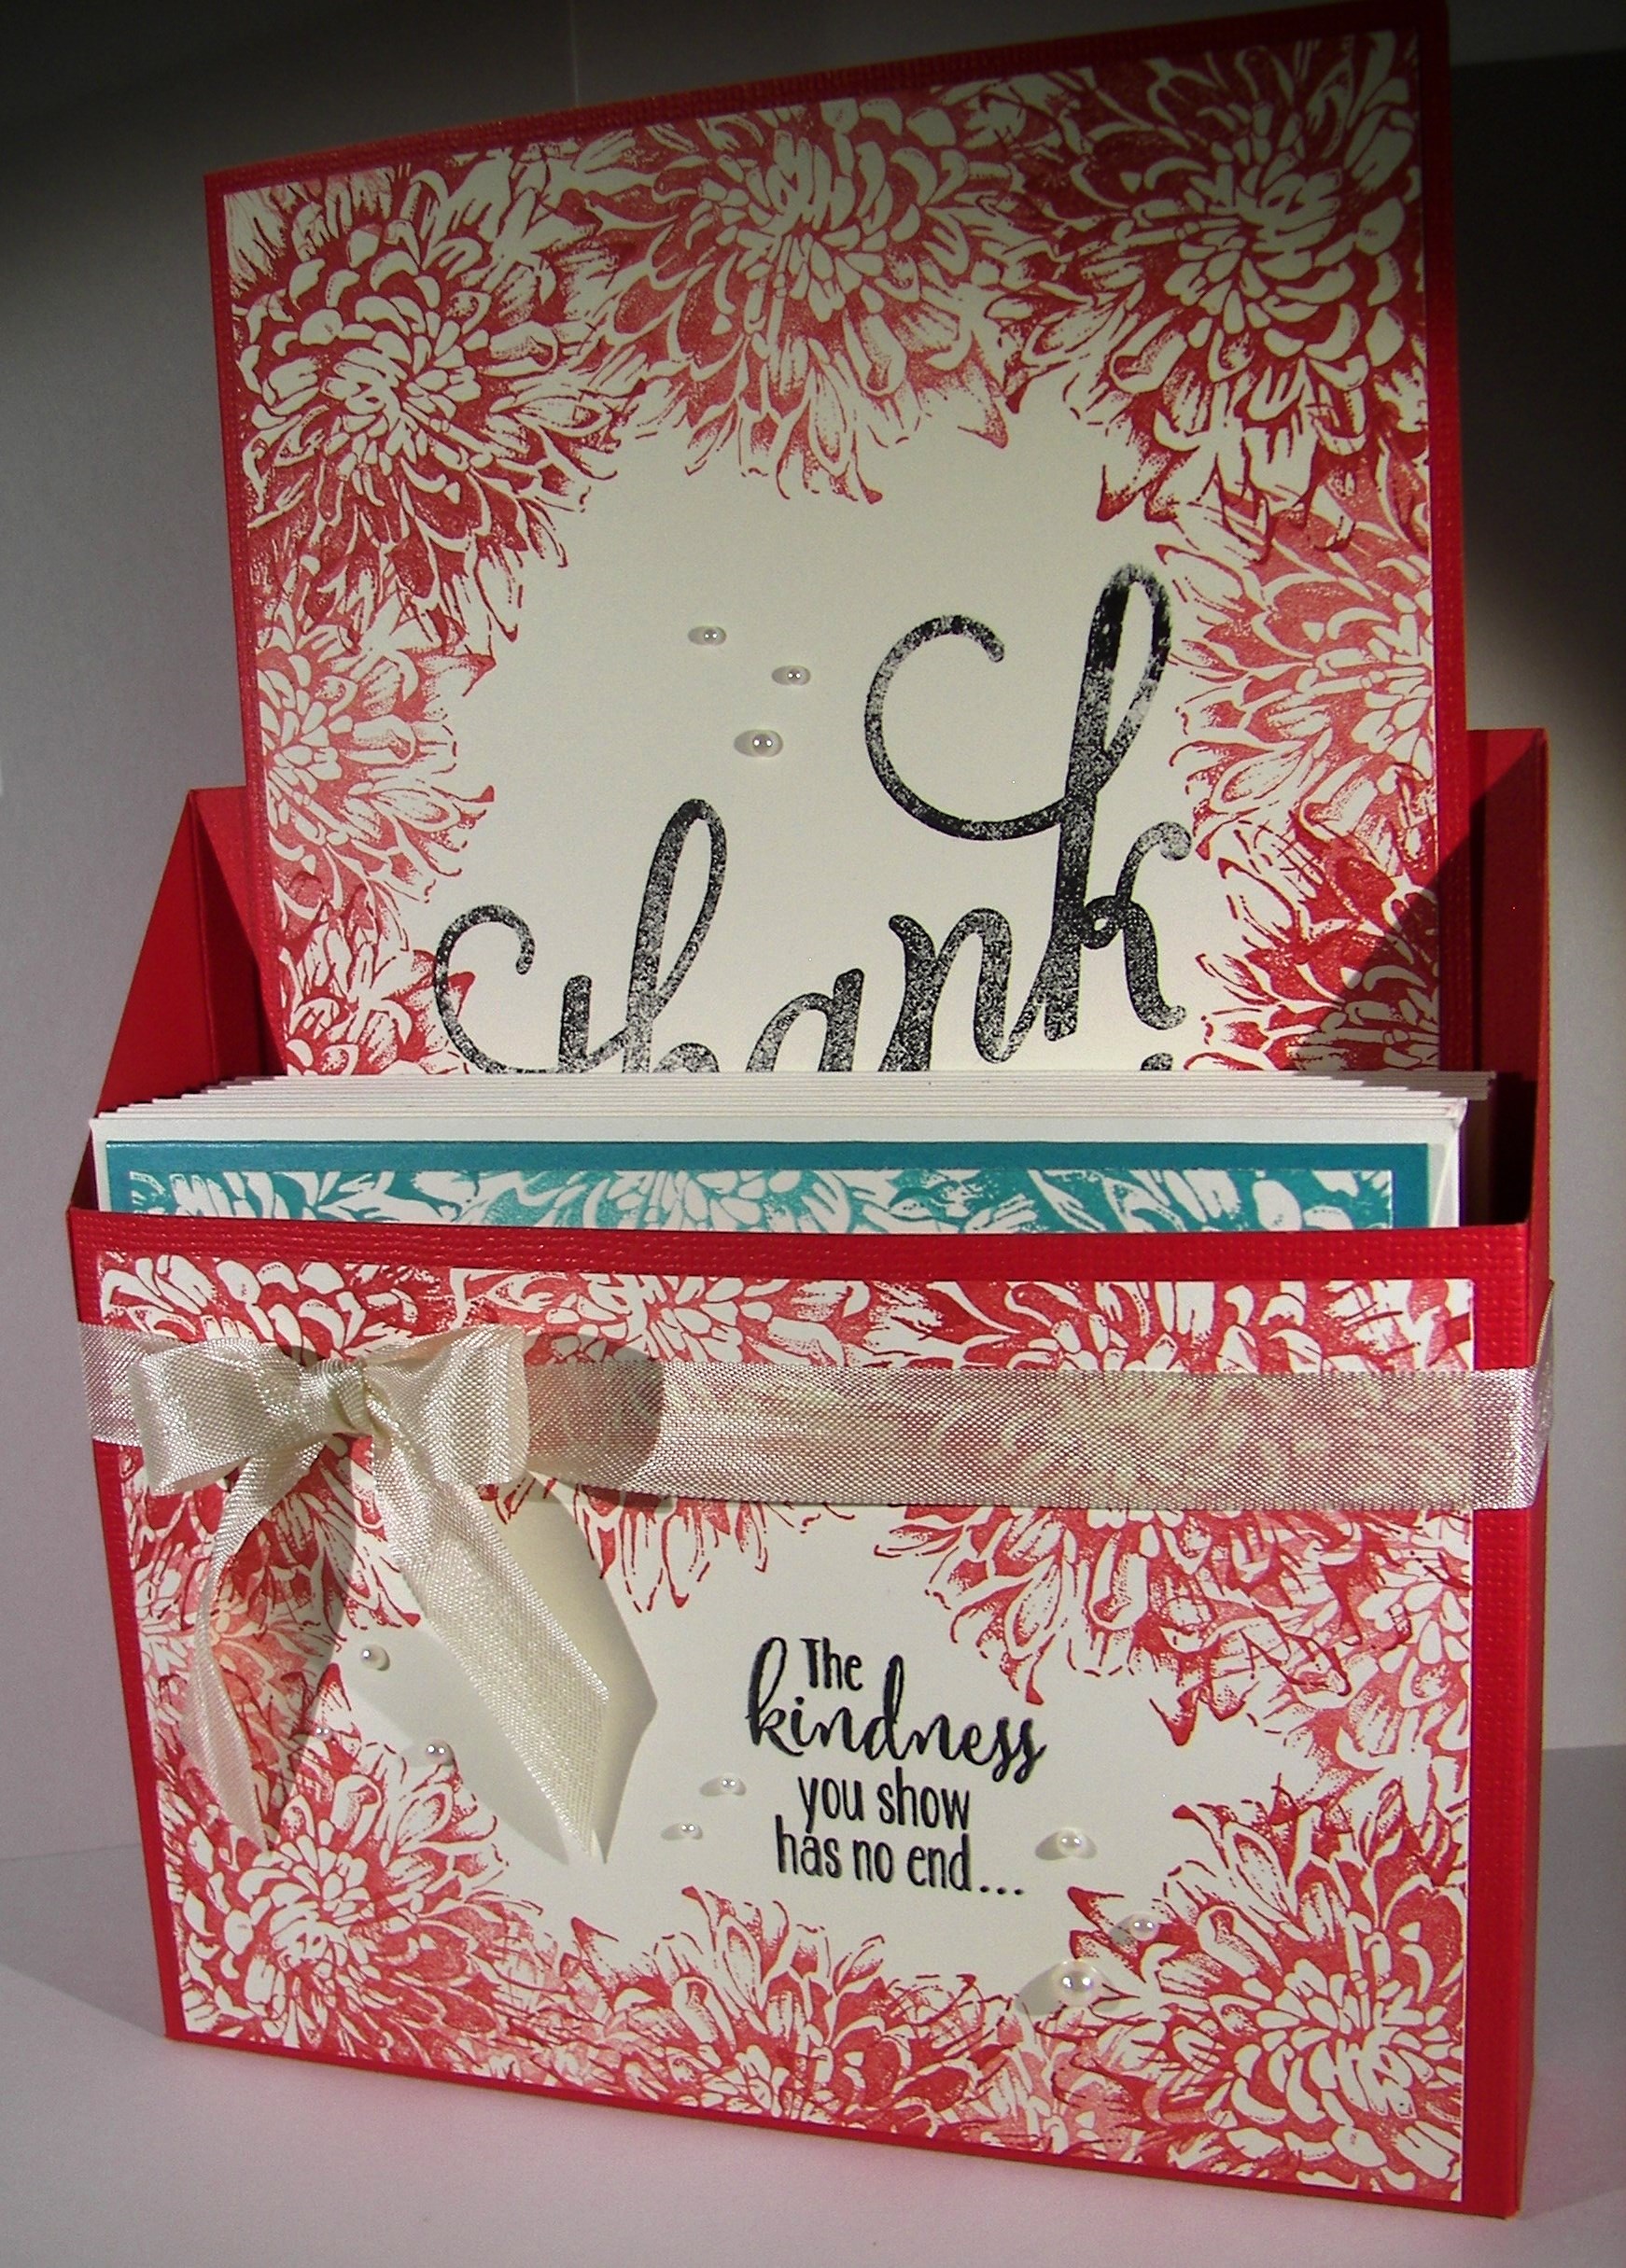
All ten cards fit nicely inside this container that coordinates with both the gift set and the main card.  It also allows the large card to be on display without being in the way.  What a perfect way to brighten up your desk, right?

Huge Thank You

What card set would be complete without matching envelopes?  It just finishes everything off.  I only goofed one envelope with the stamp in the wrong corner.  It is hard to get everything right all of the time.  I can deal with that.

Huge Thank You

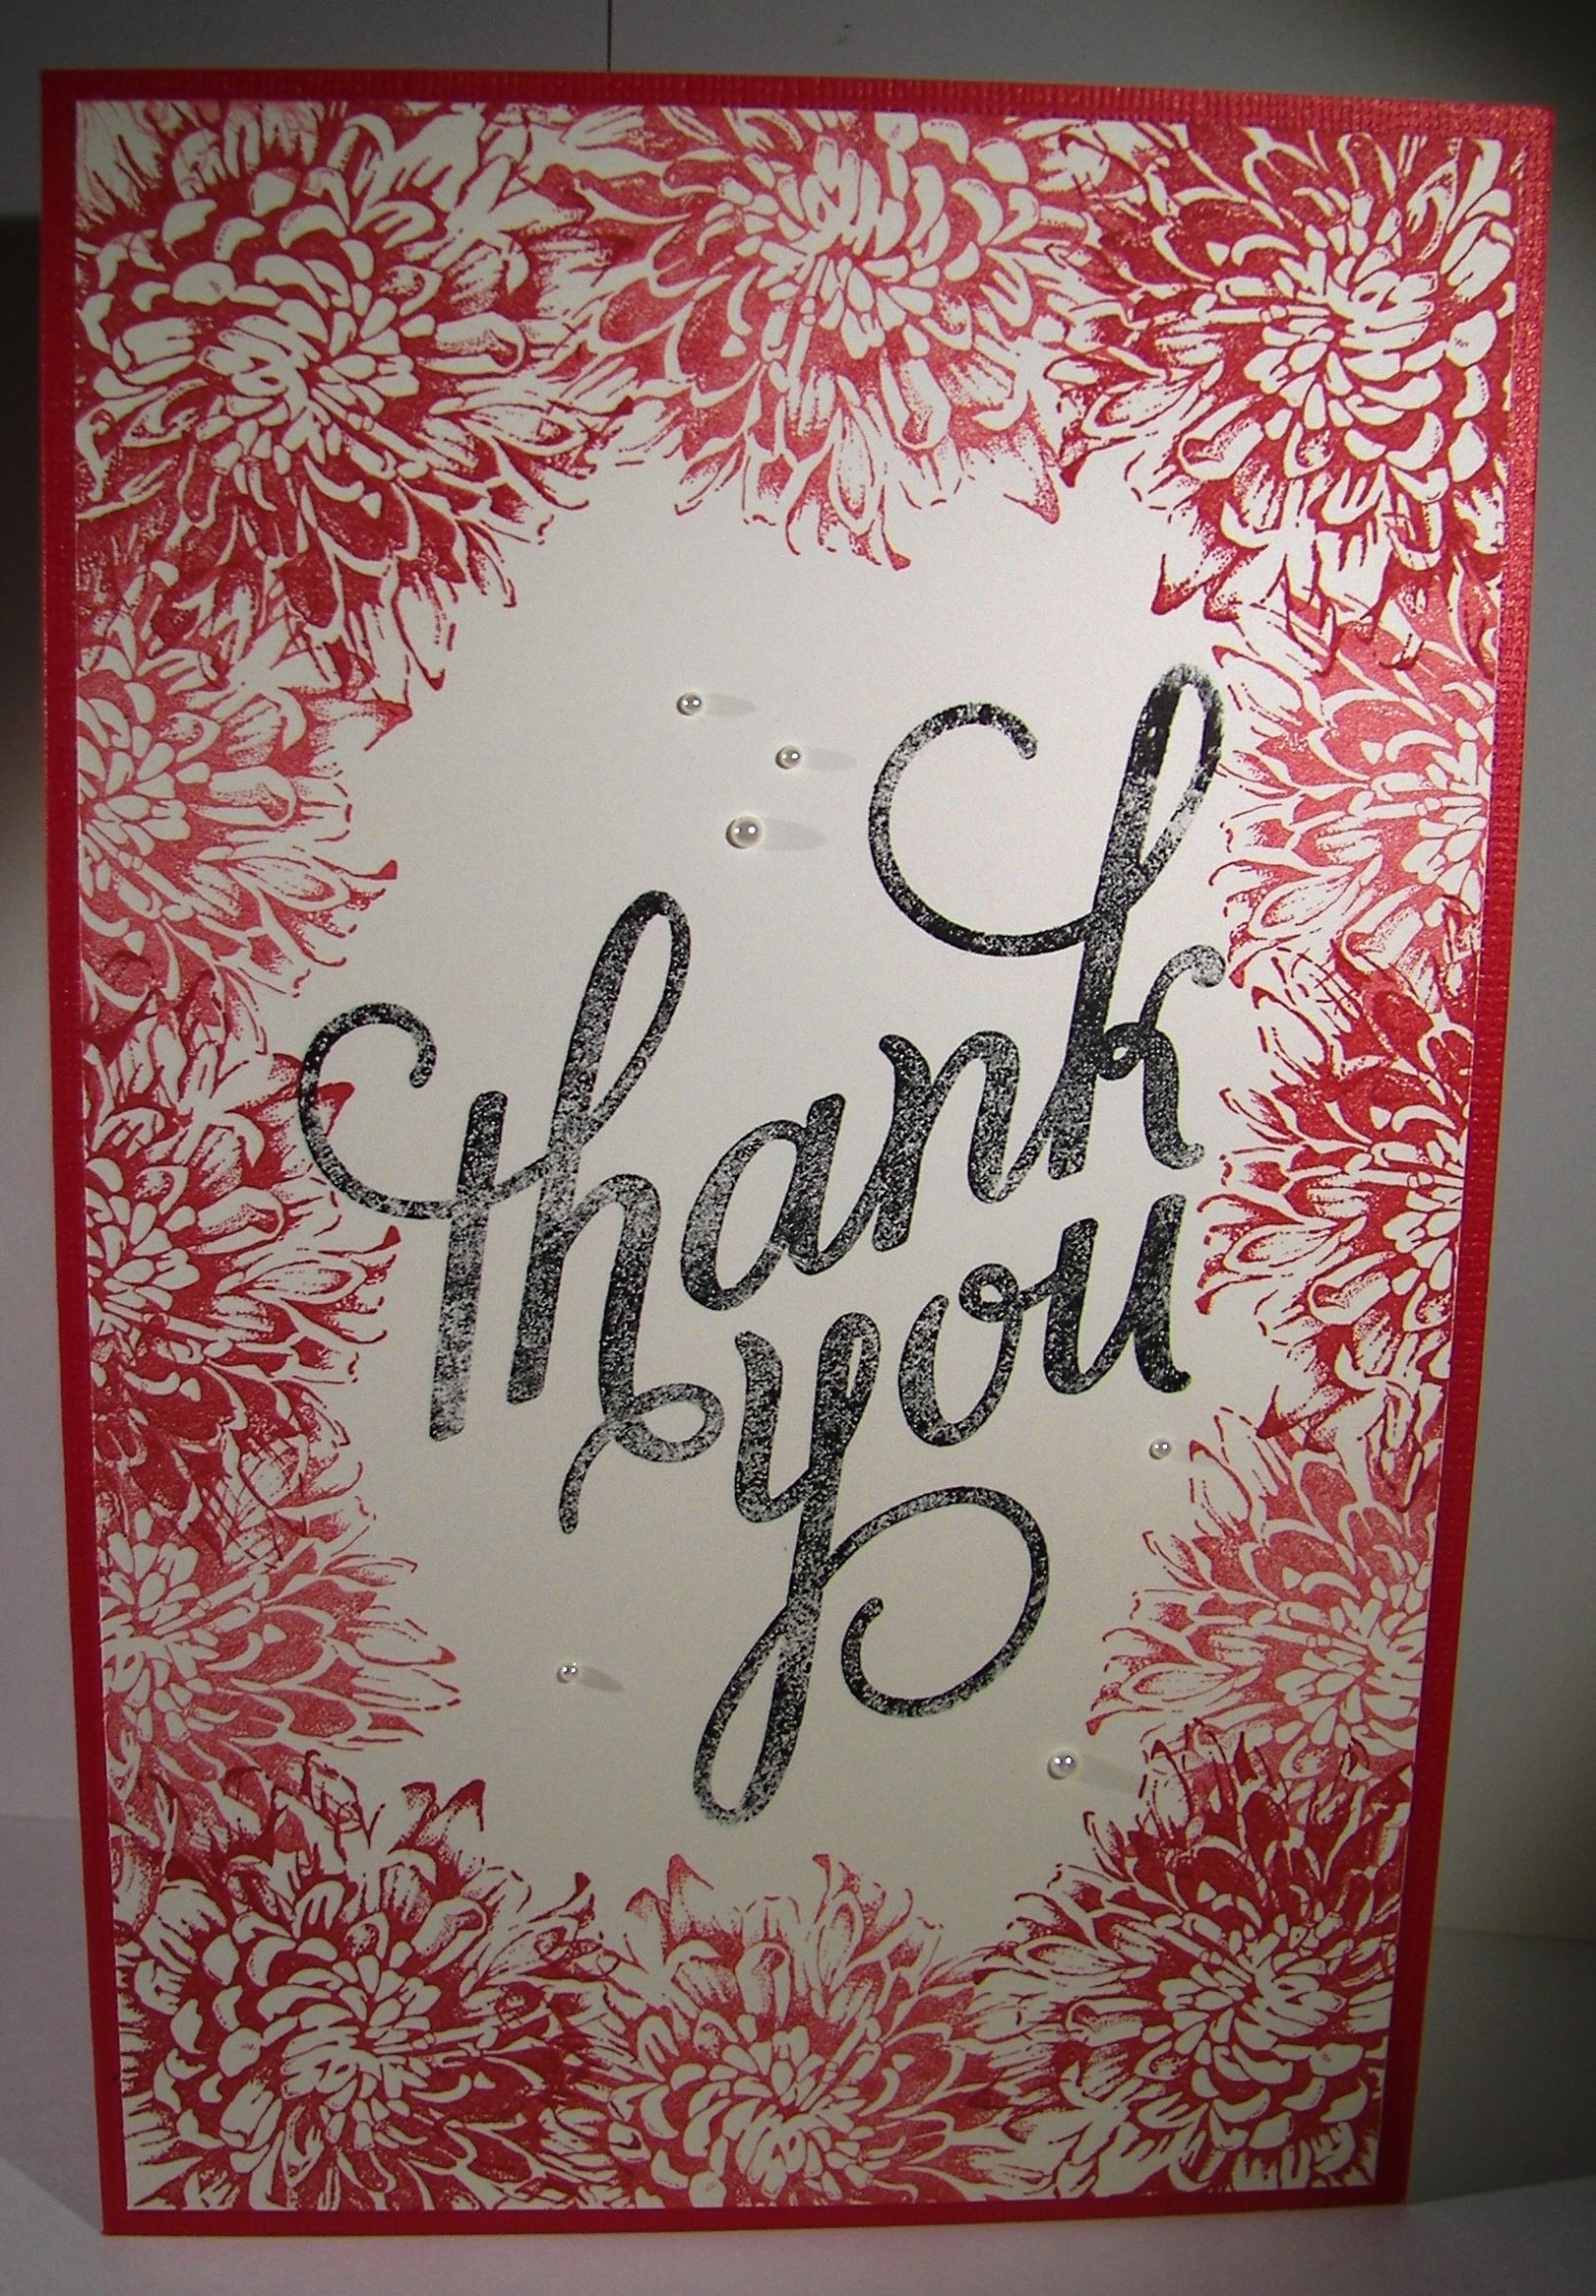
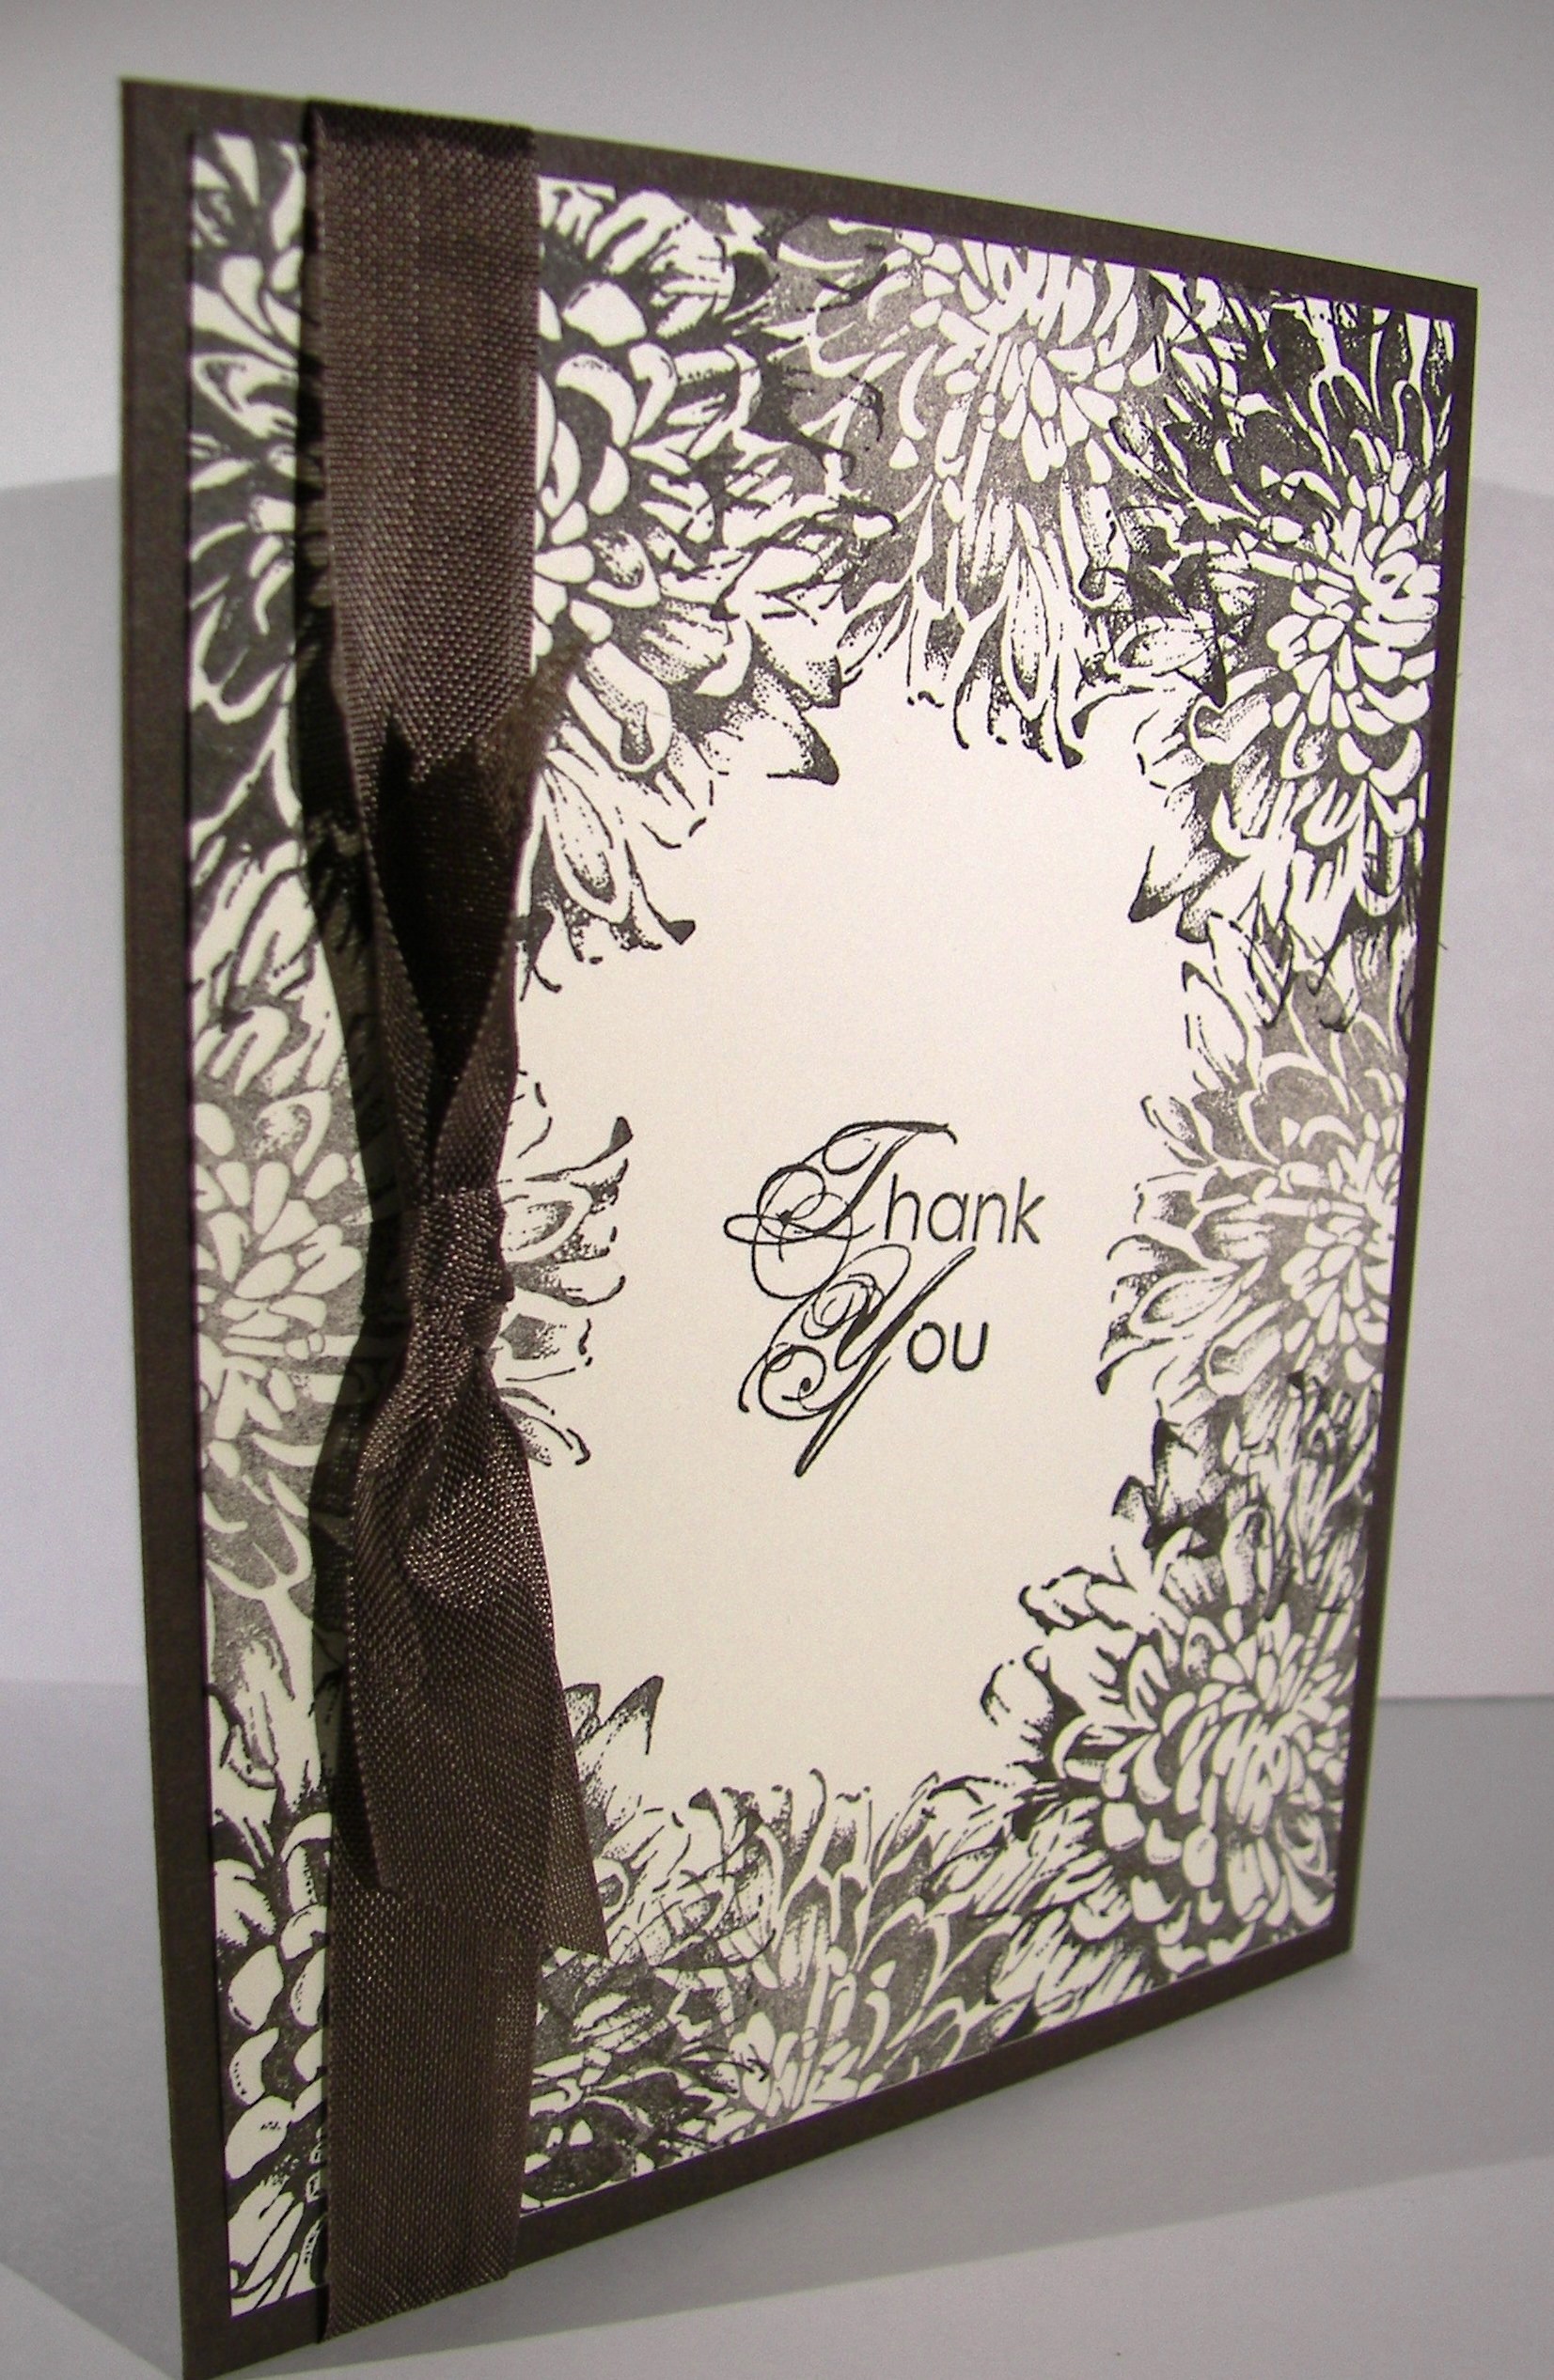
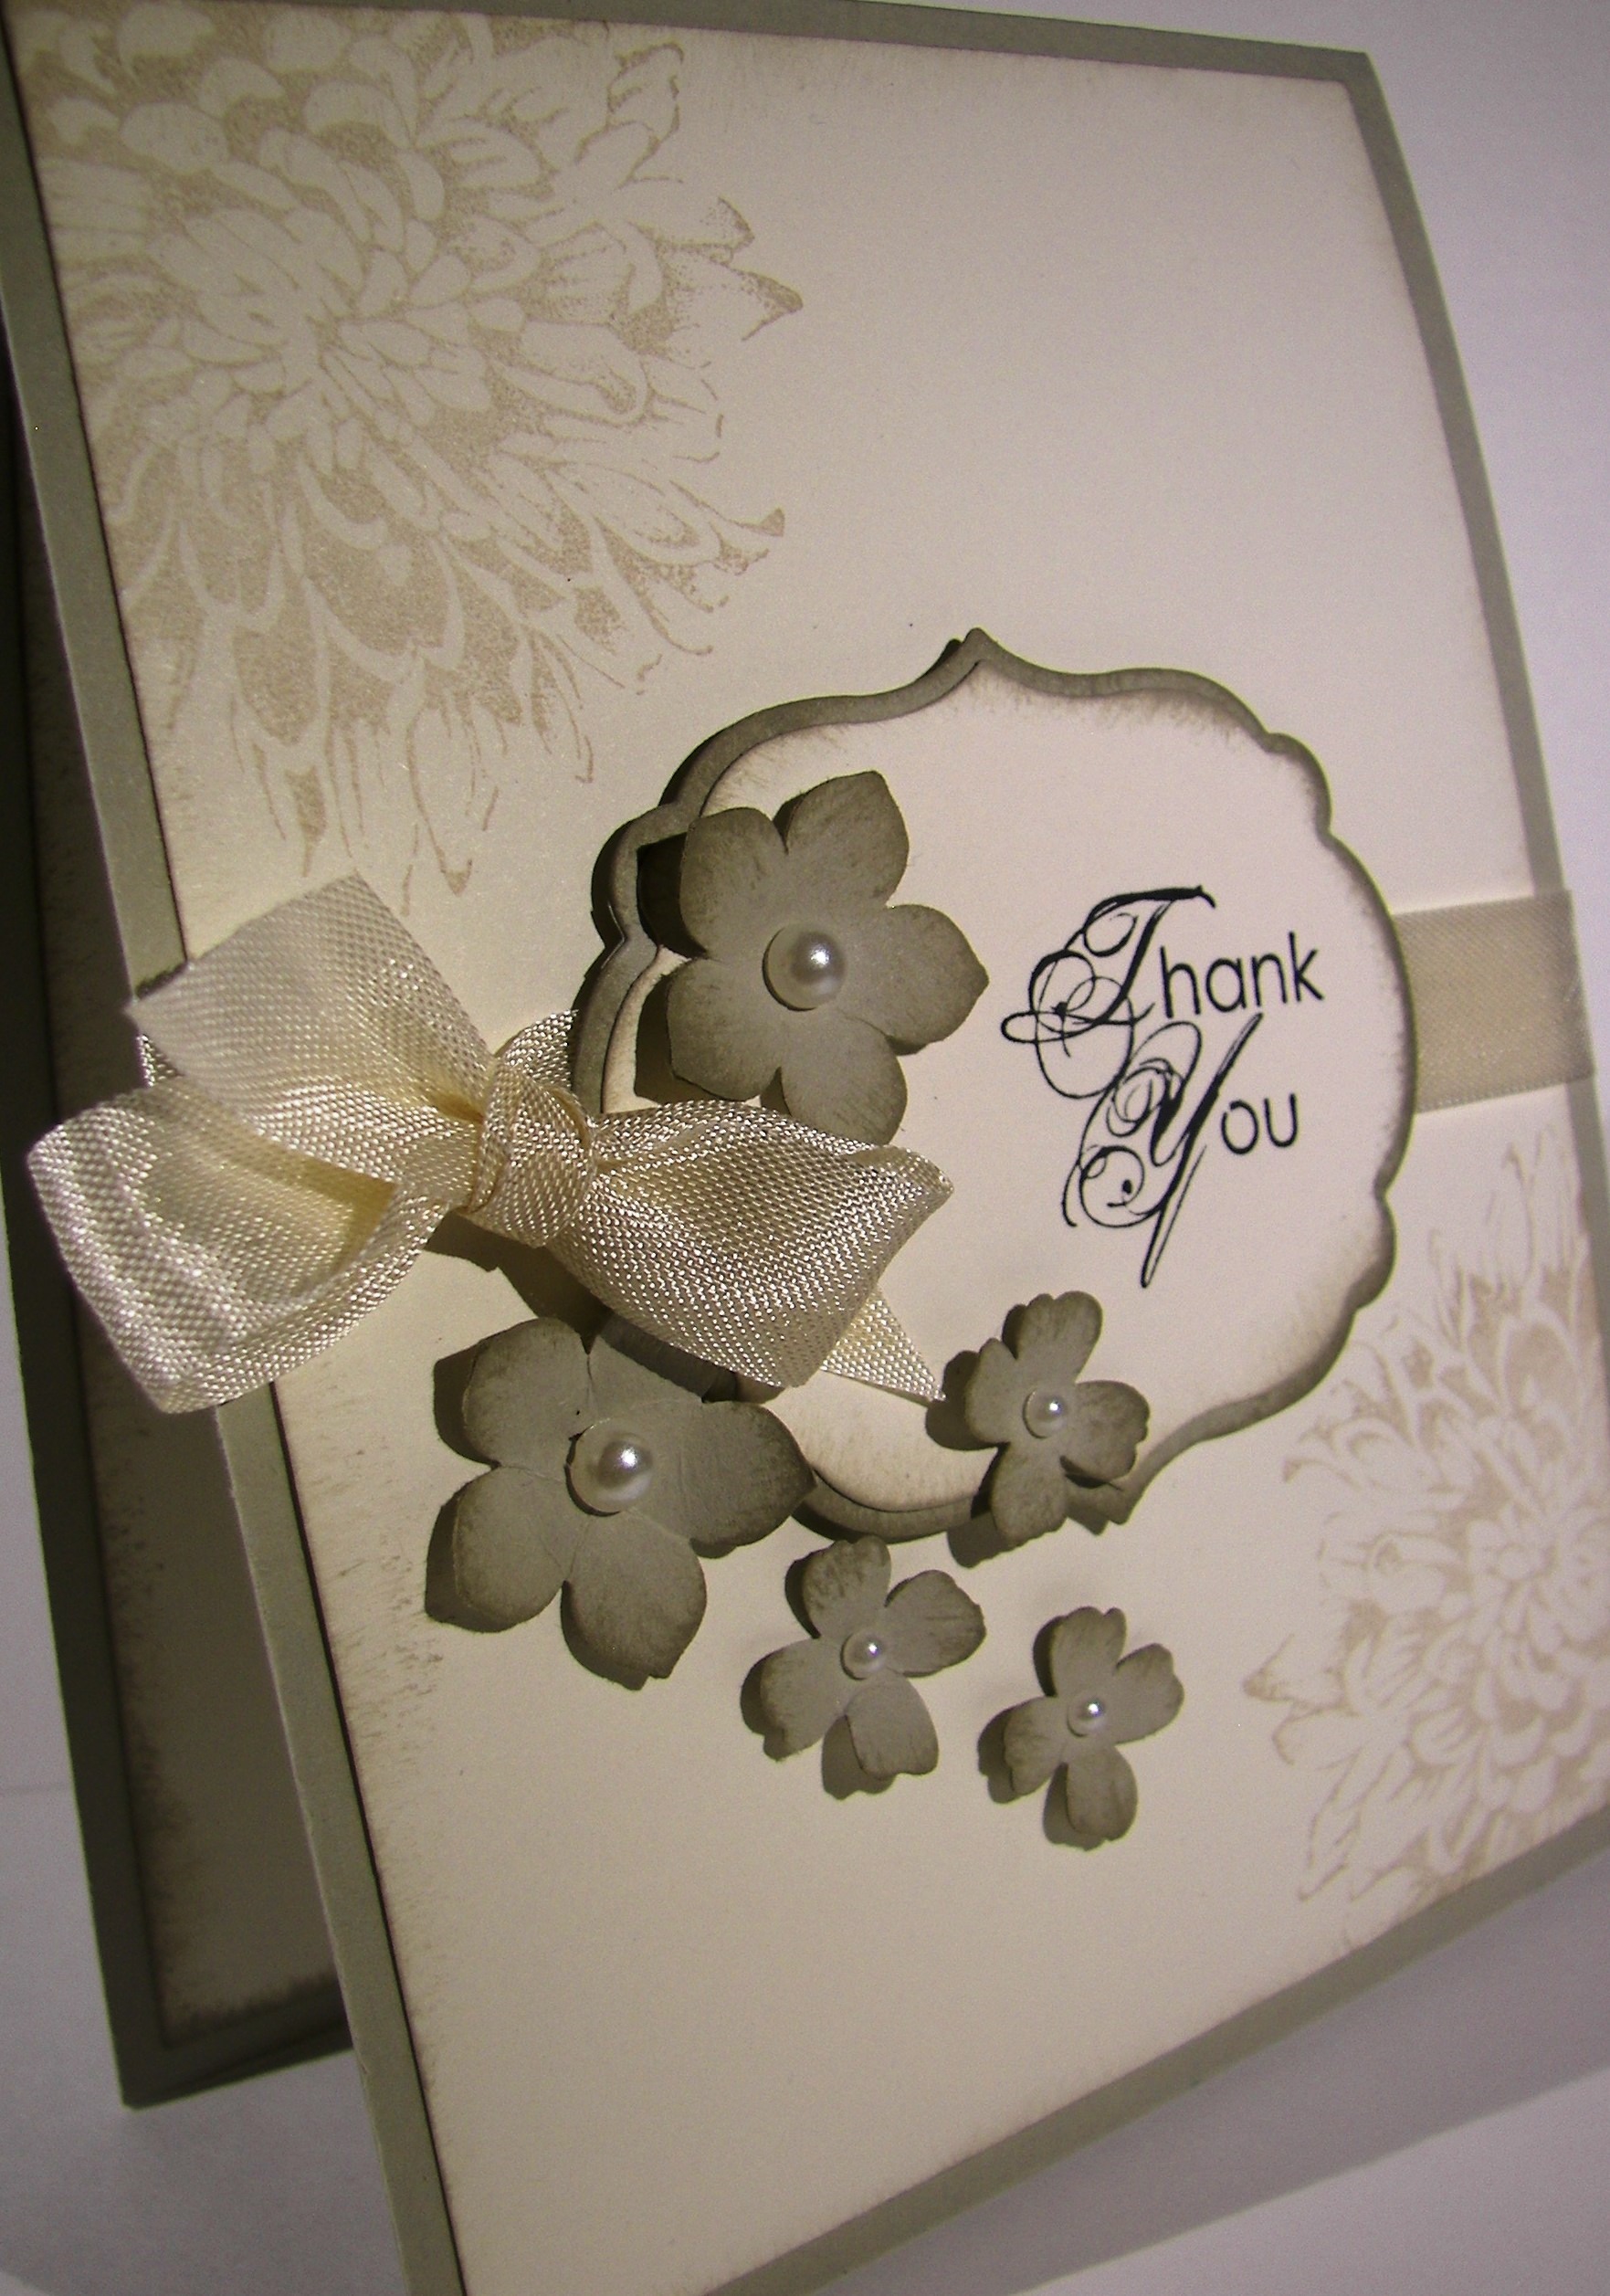
Now it is turned over to my daughter for nice signatures and gift giving.  It always feels good to say thank you, especially when it looks as beautiful as it feels.

Have a creative day!

Moana

A Huge Thank You

When a lot of people need to say thank you, you need a huge card.  This one measures 5.5 x 8.5, totally huge.  It has signing panels on both sides, plenty of room for everyone.

5-10 (2)

I had the opportunity to be a driver for my oldest daughters small business class field trip to Silicon Valley.  There was a lot of prep work, a hectic schedule, and highway time galore.  I thought it appropriate that the students thank their teacher for all of her hard work.

5-10 (3)

To make it a little better, I made a little something extra that I will share with you tomorrow.  You can see the top of them poking out of the holder.  It should sit nicely on her desk either at home or school.

5-10 (1)

My Denali will get the students to sign during the morning and give it to her during class.  It should be a nice thank you from all of us.  Sometimes we need to help others to be grateful.  Let’s call this an additional learning opportunity for the students.

I will share photos of the gift portion of the thank you tomorrow.  So festive and fun.

Have a creative day!

Moana

Blooming With Kindness Thank You Notes

A quick, but special, project graced my desk today.  I wanted to make special thank you cards for the young ladies that I teach in a church class.  They were to write about things that they were thankful for concerning our gospel lesson.  It was a really great experience for them.

Bloom With Hope

I only recently got this stamp set at my daughters request, so I have used it a lot.  I was so sad to see it put on the retirement list.  I have enjoyed every project though.

Bloom With Hope

I think this flower image would look stunning no matter what color I used.  It is just that lovely.  I decided to use early espresso so I could pair it with the retiring seam binding ribbon.  These have become my go to products.  Only positive thoughts here though.  I know something equally amazing will come our way.

Bloom With Hope

The card assembly was really quite simple.  Just a basic card cut to measure 8 1/2 x 5 1/2 and scored at 4 1/4.  A very vanilla single layer on top measuring 4 x 5 1/4 with a length of ribbon tied in a know.  I stamped full strength in the four corners and then stamped off once to do the gaps in between.  It gave it a bit of dimension and was super easy.

Have a creative day!

Moana

Blooming With Kindness Trio

This set started with an experiment, had some problems, then turned the corner and gave me something beautiful.  Pretty fun experiment there.

Blooming With Kindness

I started out wanting to use pink pirouette, saraha sand and very vanilla.  The papers looked lovely together, however, the way they looked on the very vanilla compared to whisper white made all the difference.

The pink looked so different on the vanilla that it made it look like my card stock was the wrong color.  That was odd for sure.  But I loved the paper I had created using the huge flower from the blooming with kindness set, so I had to get creative.

Blooming With Kindness

I made other cards using the front and inside bits I had stamped on the very vanilla.  Then I made another background piece on whisper white and the pinks were much more friendly.  And I ended up loving the secondary cards more than my original.  How about that?

Blooming With Kindness

Even though my results went a bit off, I do love the look I made.  I stamped the flower with versamark ink onto the card stock and quickly sprinkled iridescent ice powder on the wet ink.  I heat set it and while it was still tacky I hit it again with the powder and heat set it again.  You can kind of see how shiny and sparkly it is.

Blooming With Kindness

Each card got a different sentiment, and they are all so beautiful.  My daughter is the one that said we had to have the set.  She was so right, my creative buddy.

Remember, there are no mistakes in art, only opportunities.

Have a creative day!

Moana