Rainy Sky or Under Water, Yes

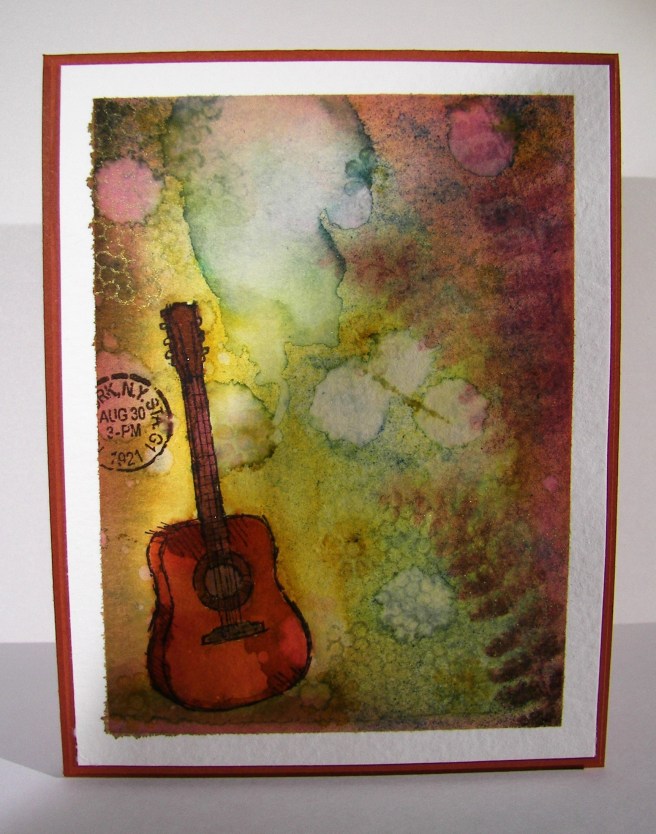
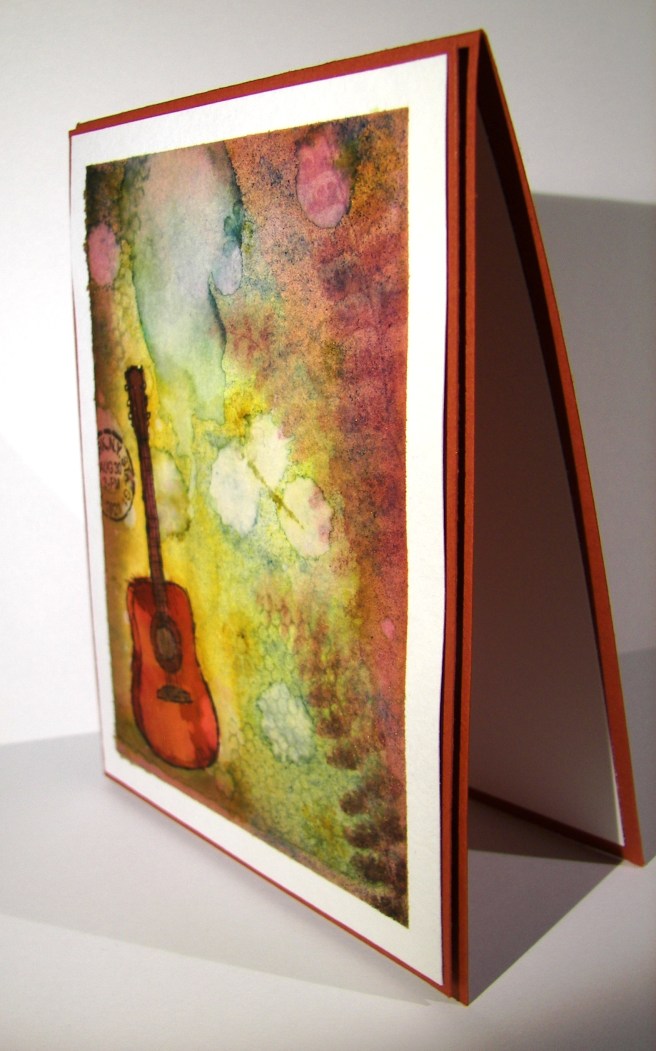
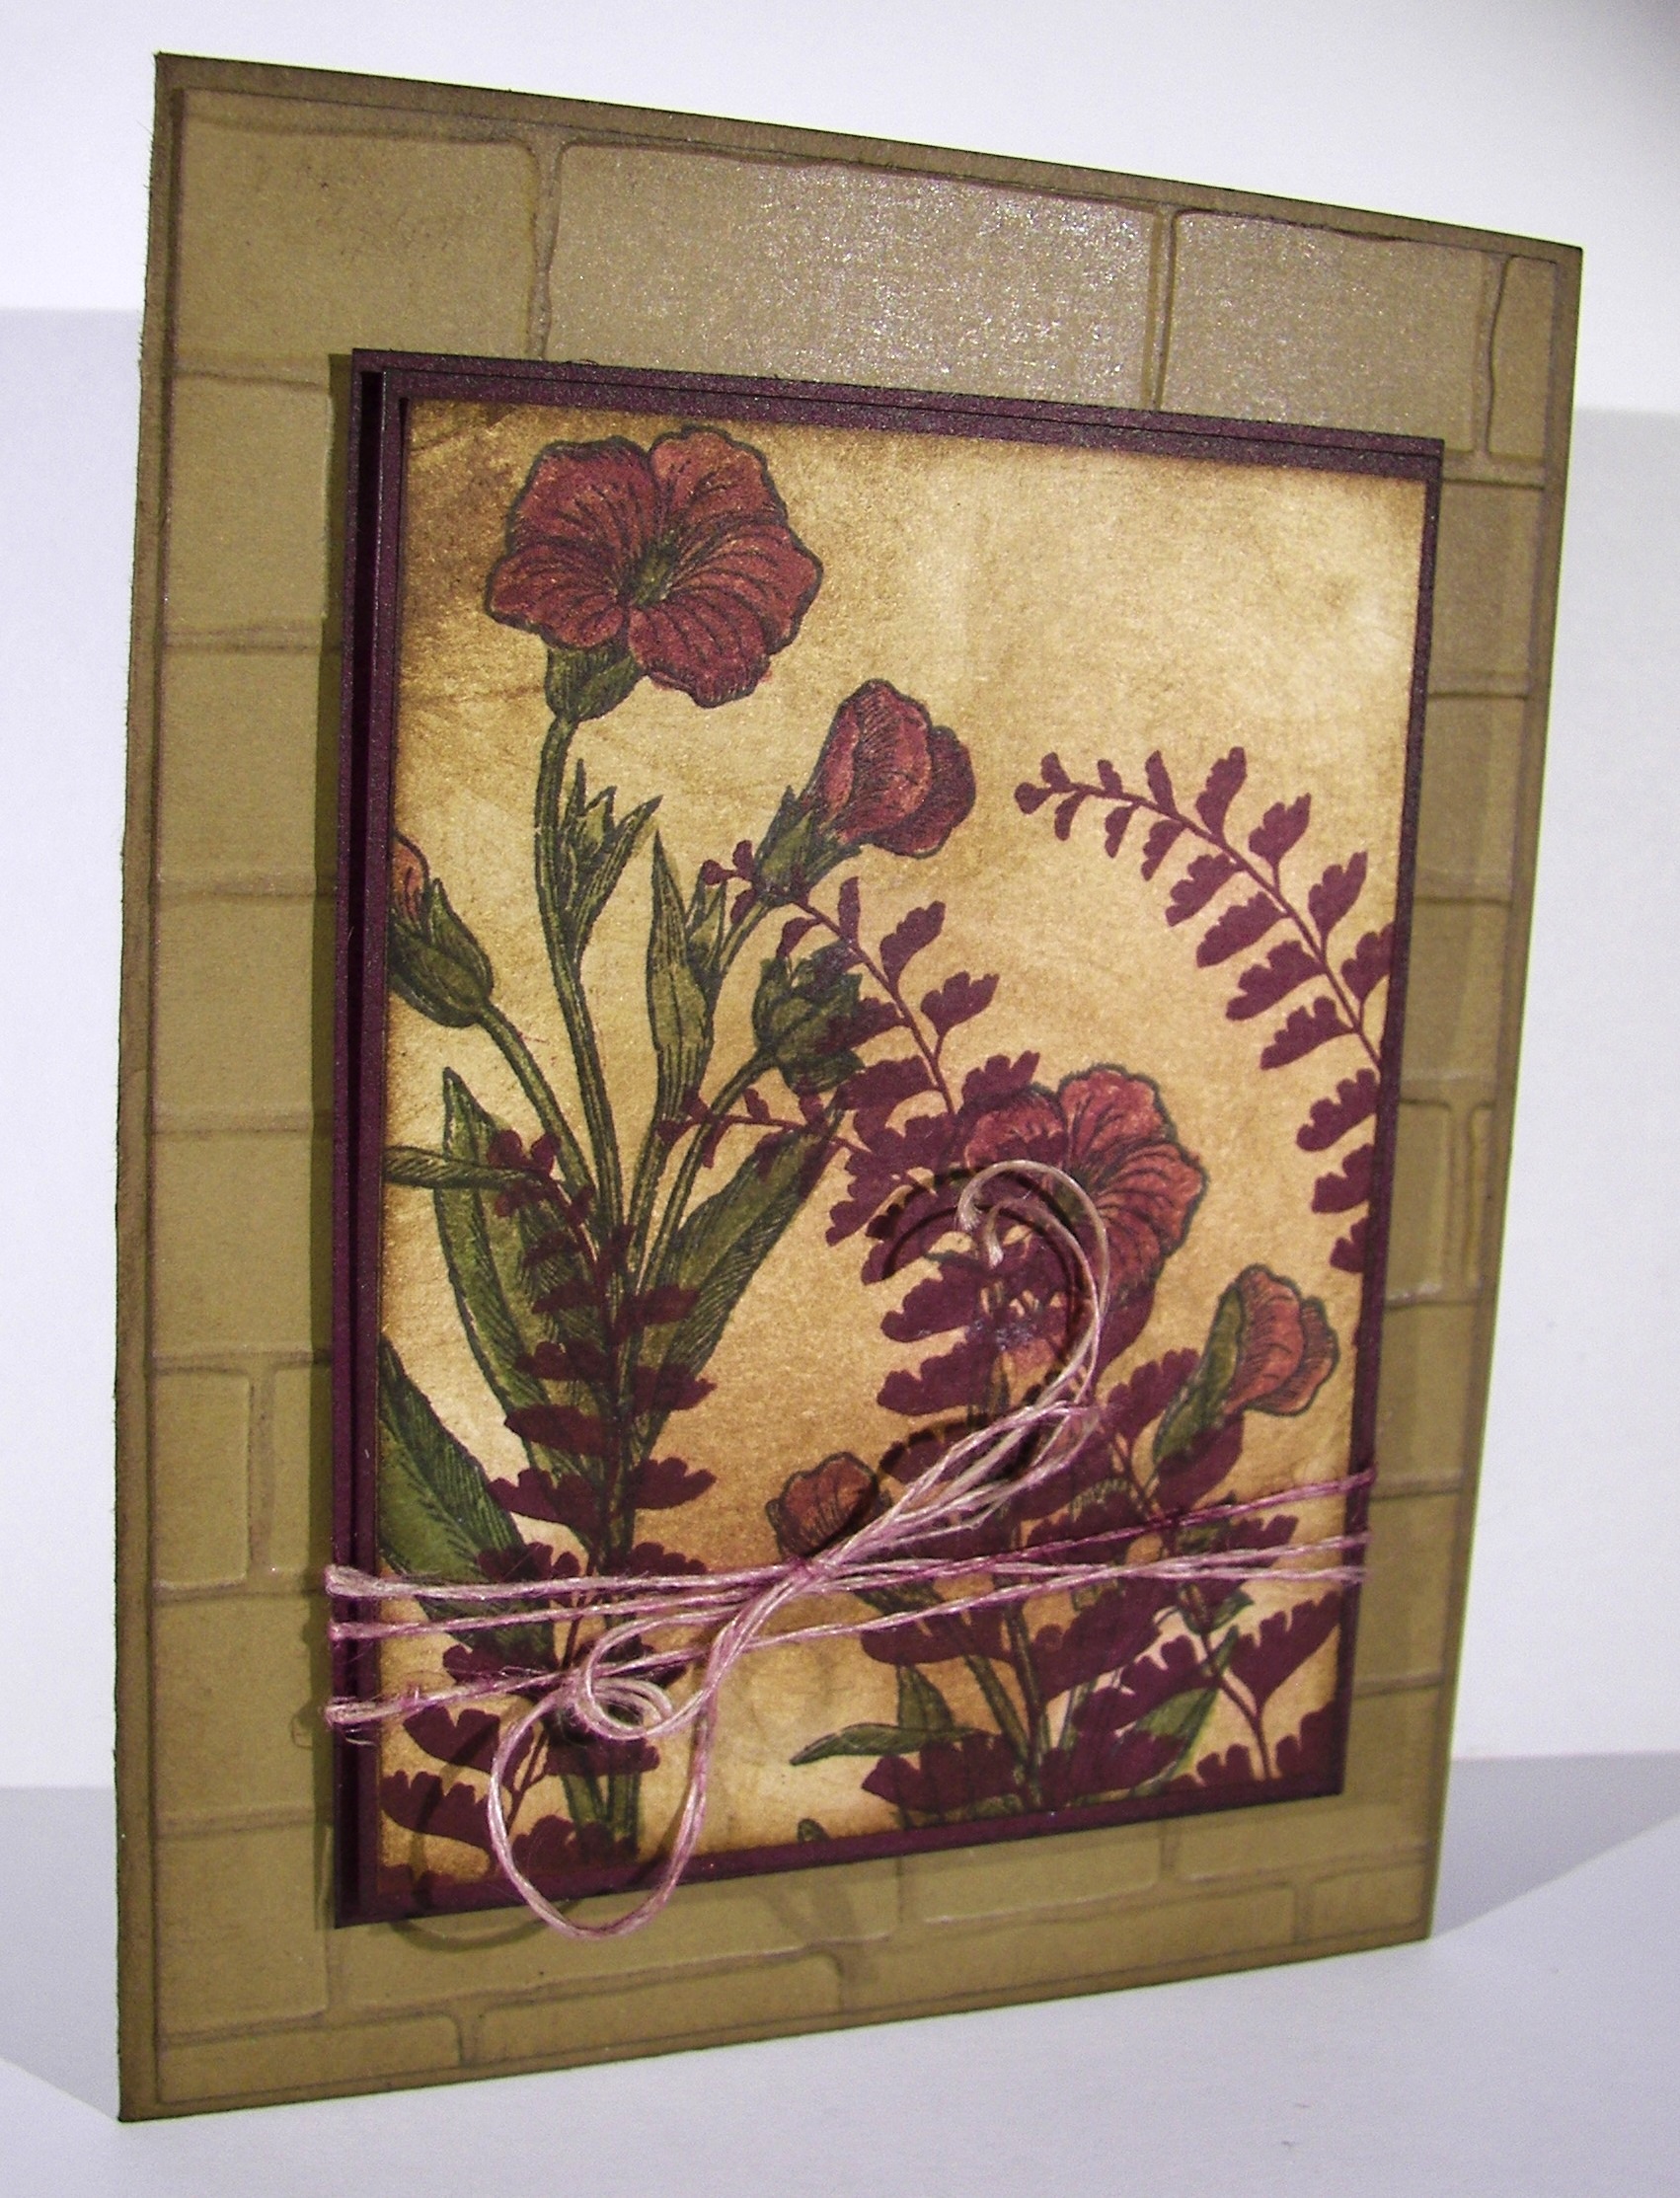
This lovely water color started as a fun project with my daughter-in-love.  We sat down together with a bunch of blue ink and totally different ideas.  I can’t wait to see what her card ends up looking like.  I wanted to create dimension in a single layer water color.  I love how it turned out.

1-13-17

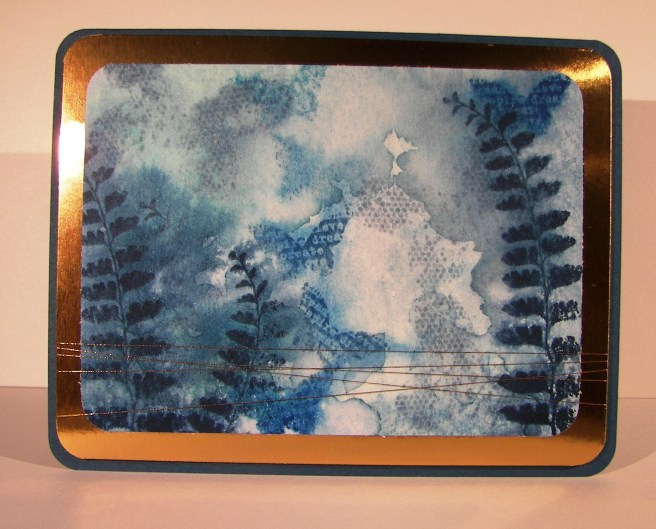
I started with a wet brush and paper.  I put different colors in all four corners and the lightest blue in the center.  The wet ink blooms did a lot of blending, but I moved the paper around to control the rest.  My patience runs thin often, which ends up in me drying my projects along the way to speed them up.  This time was different.  I only dried the paper enough to apply some stamped images here and there.  Then, I spritzed the entire piece to soften the images and allow more blending to happen.

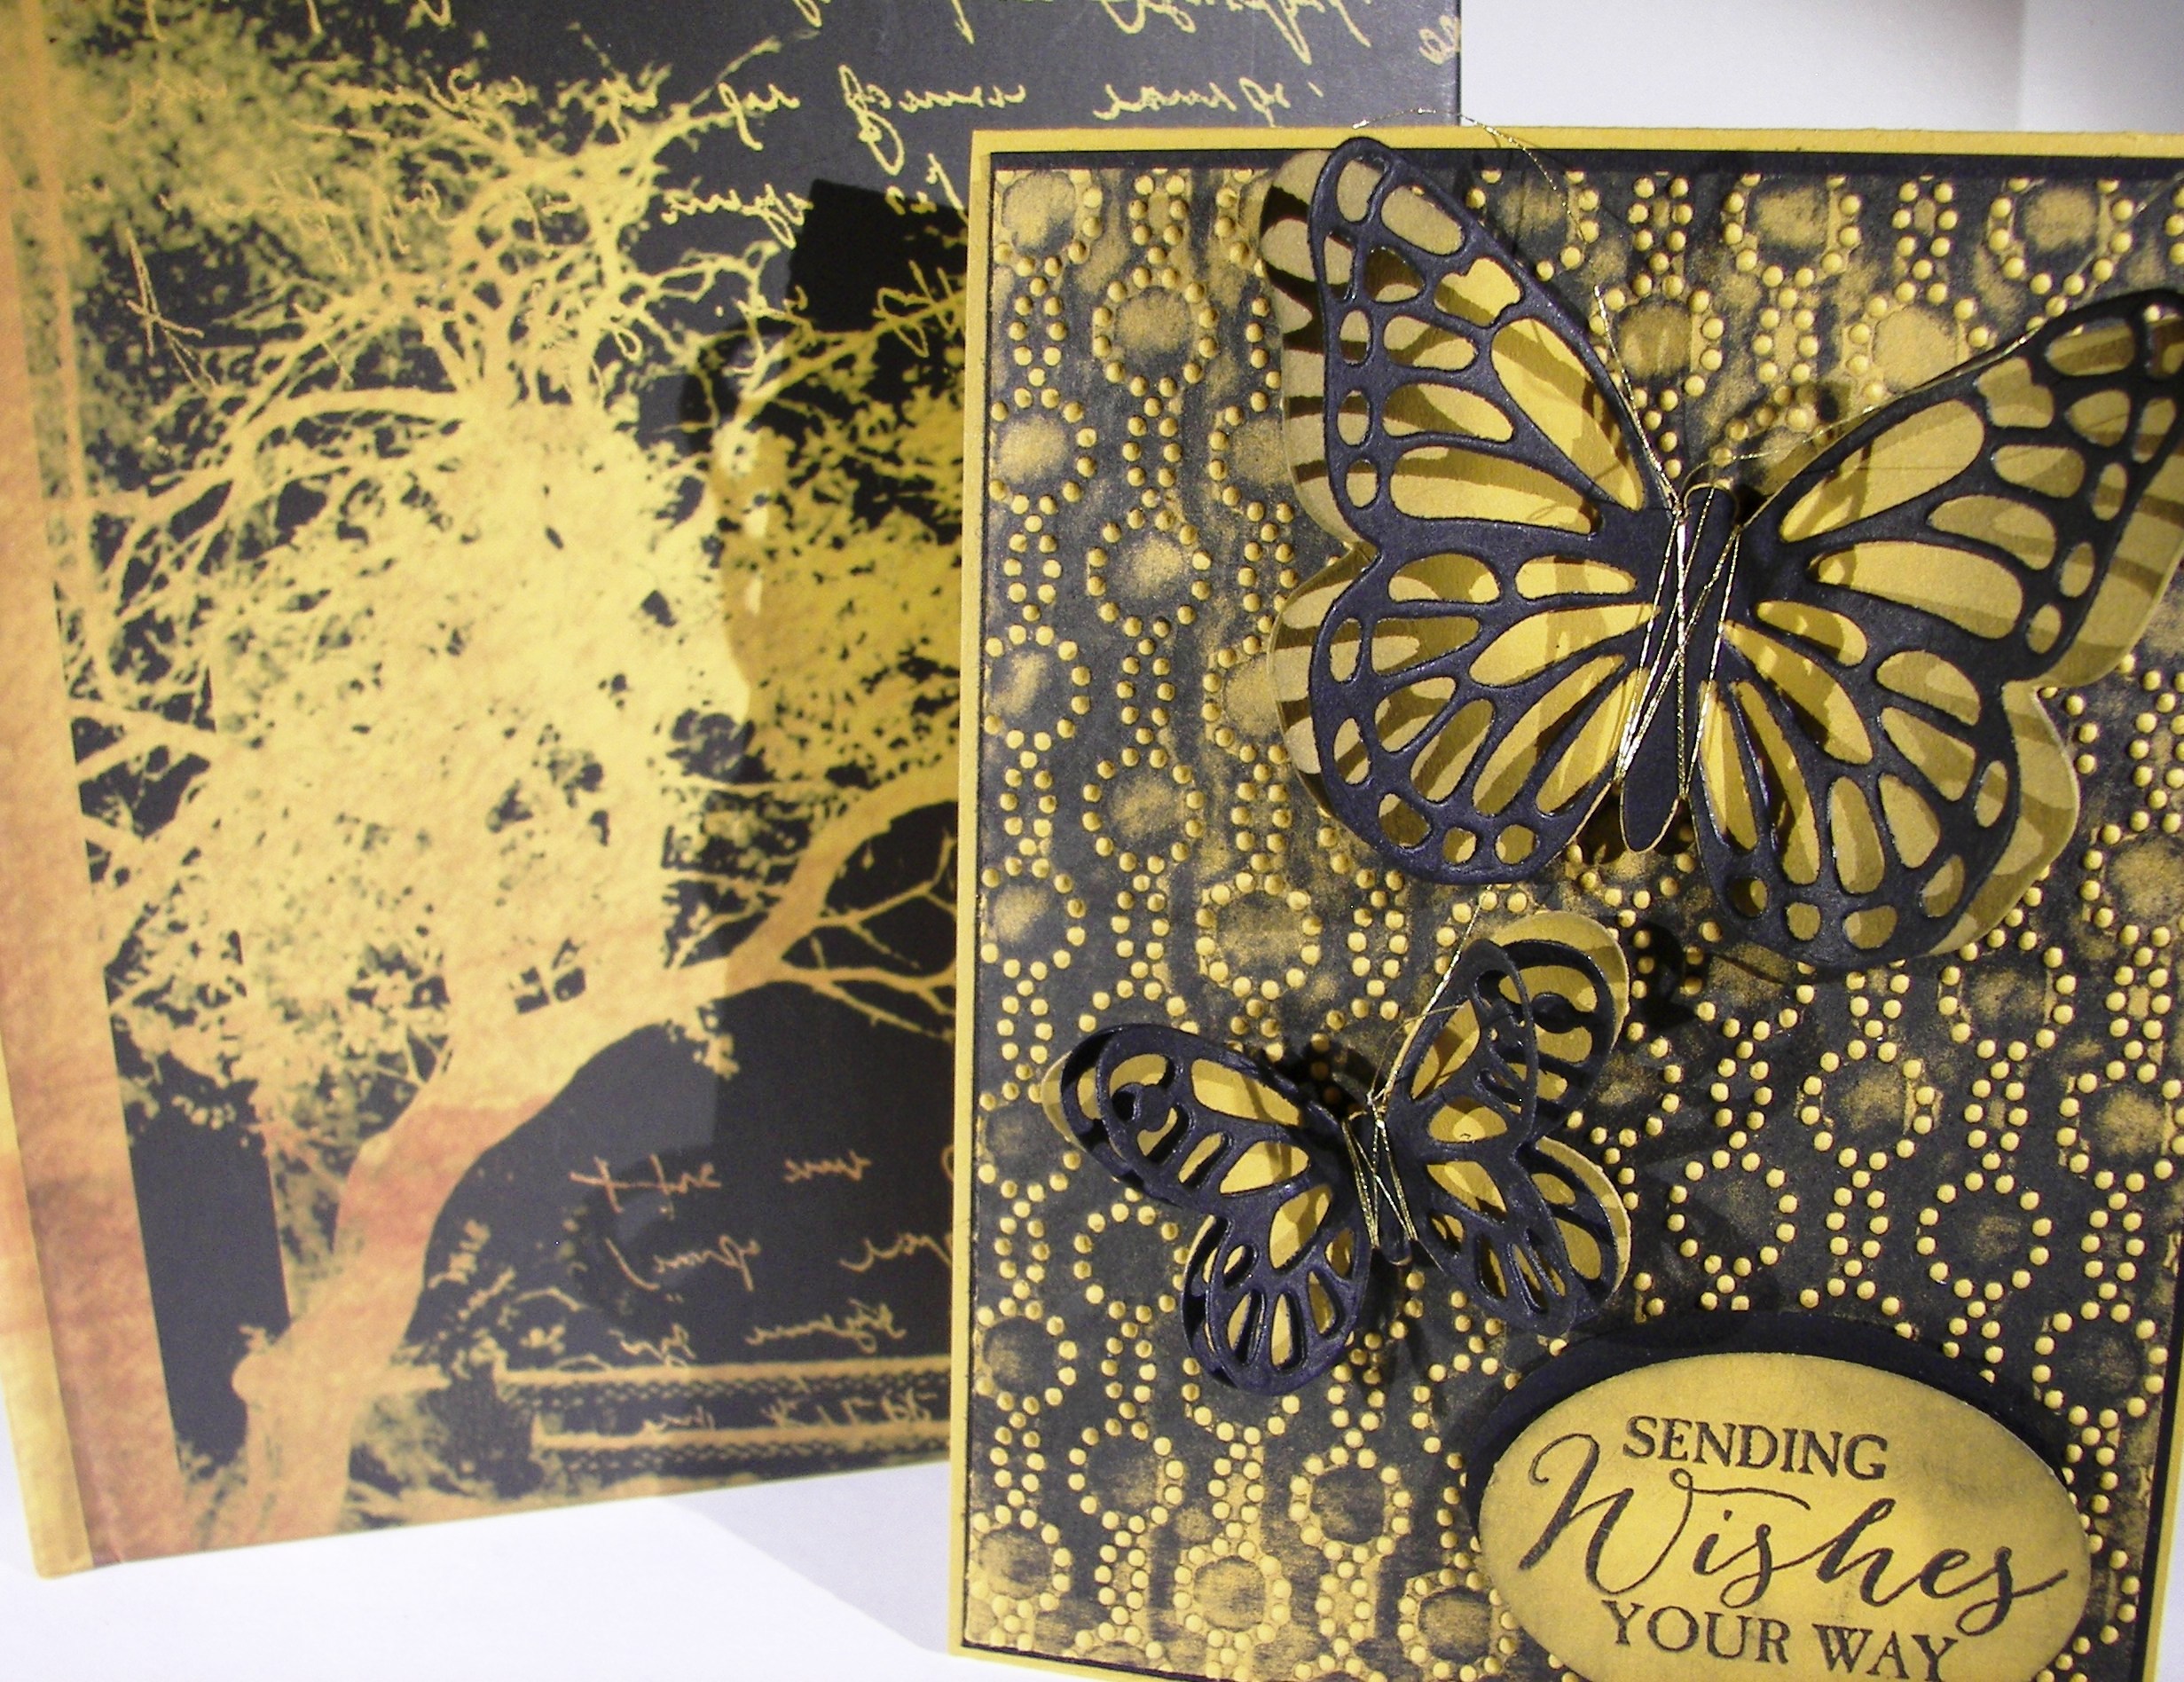
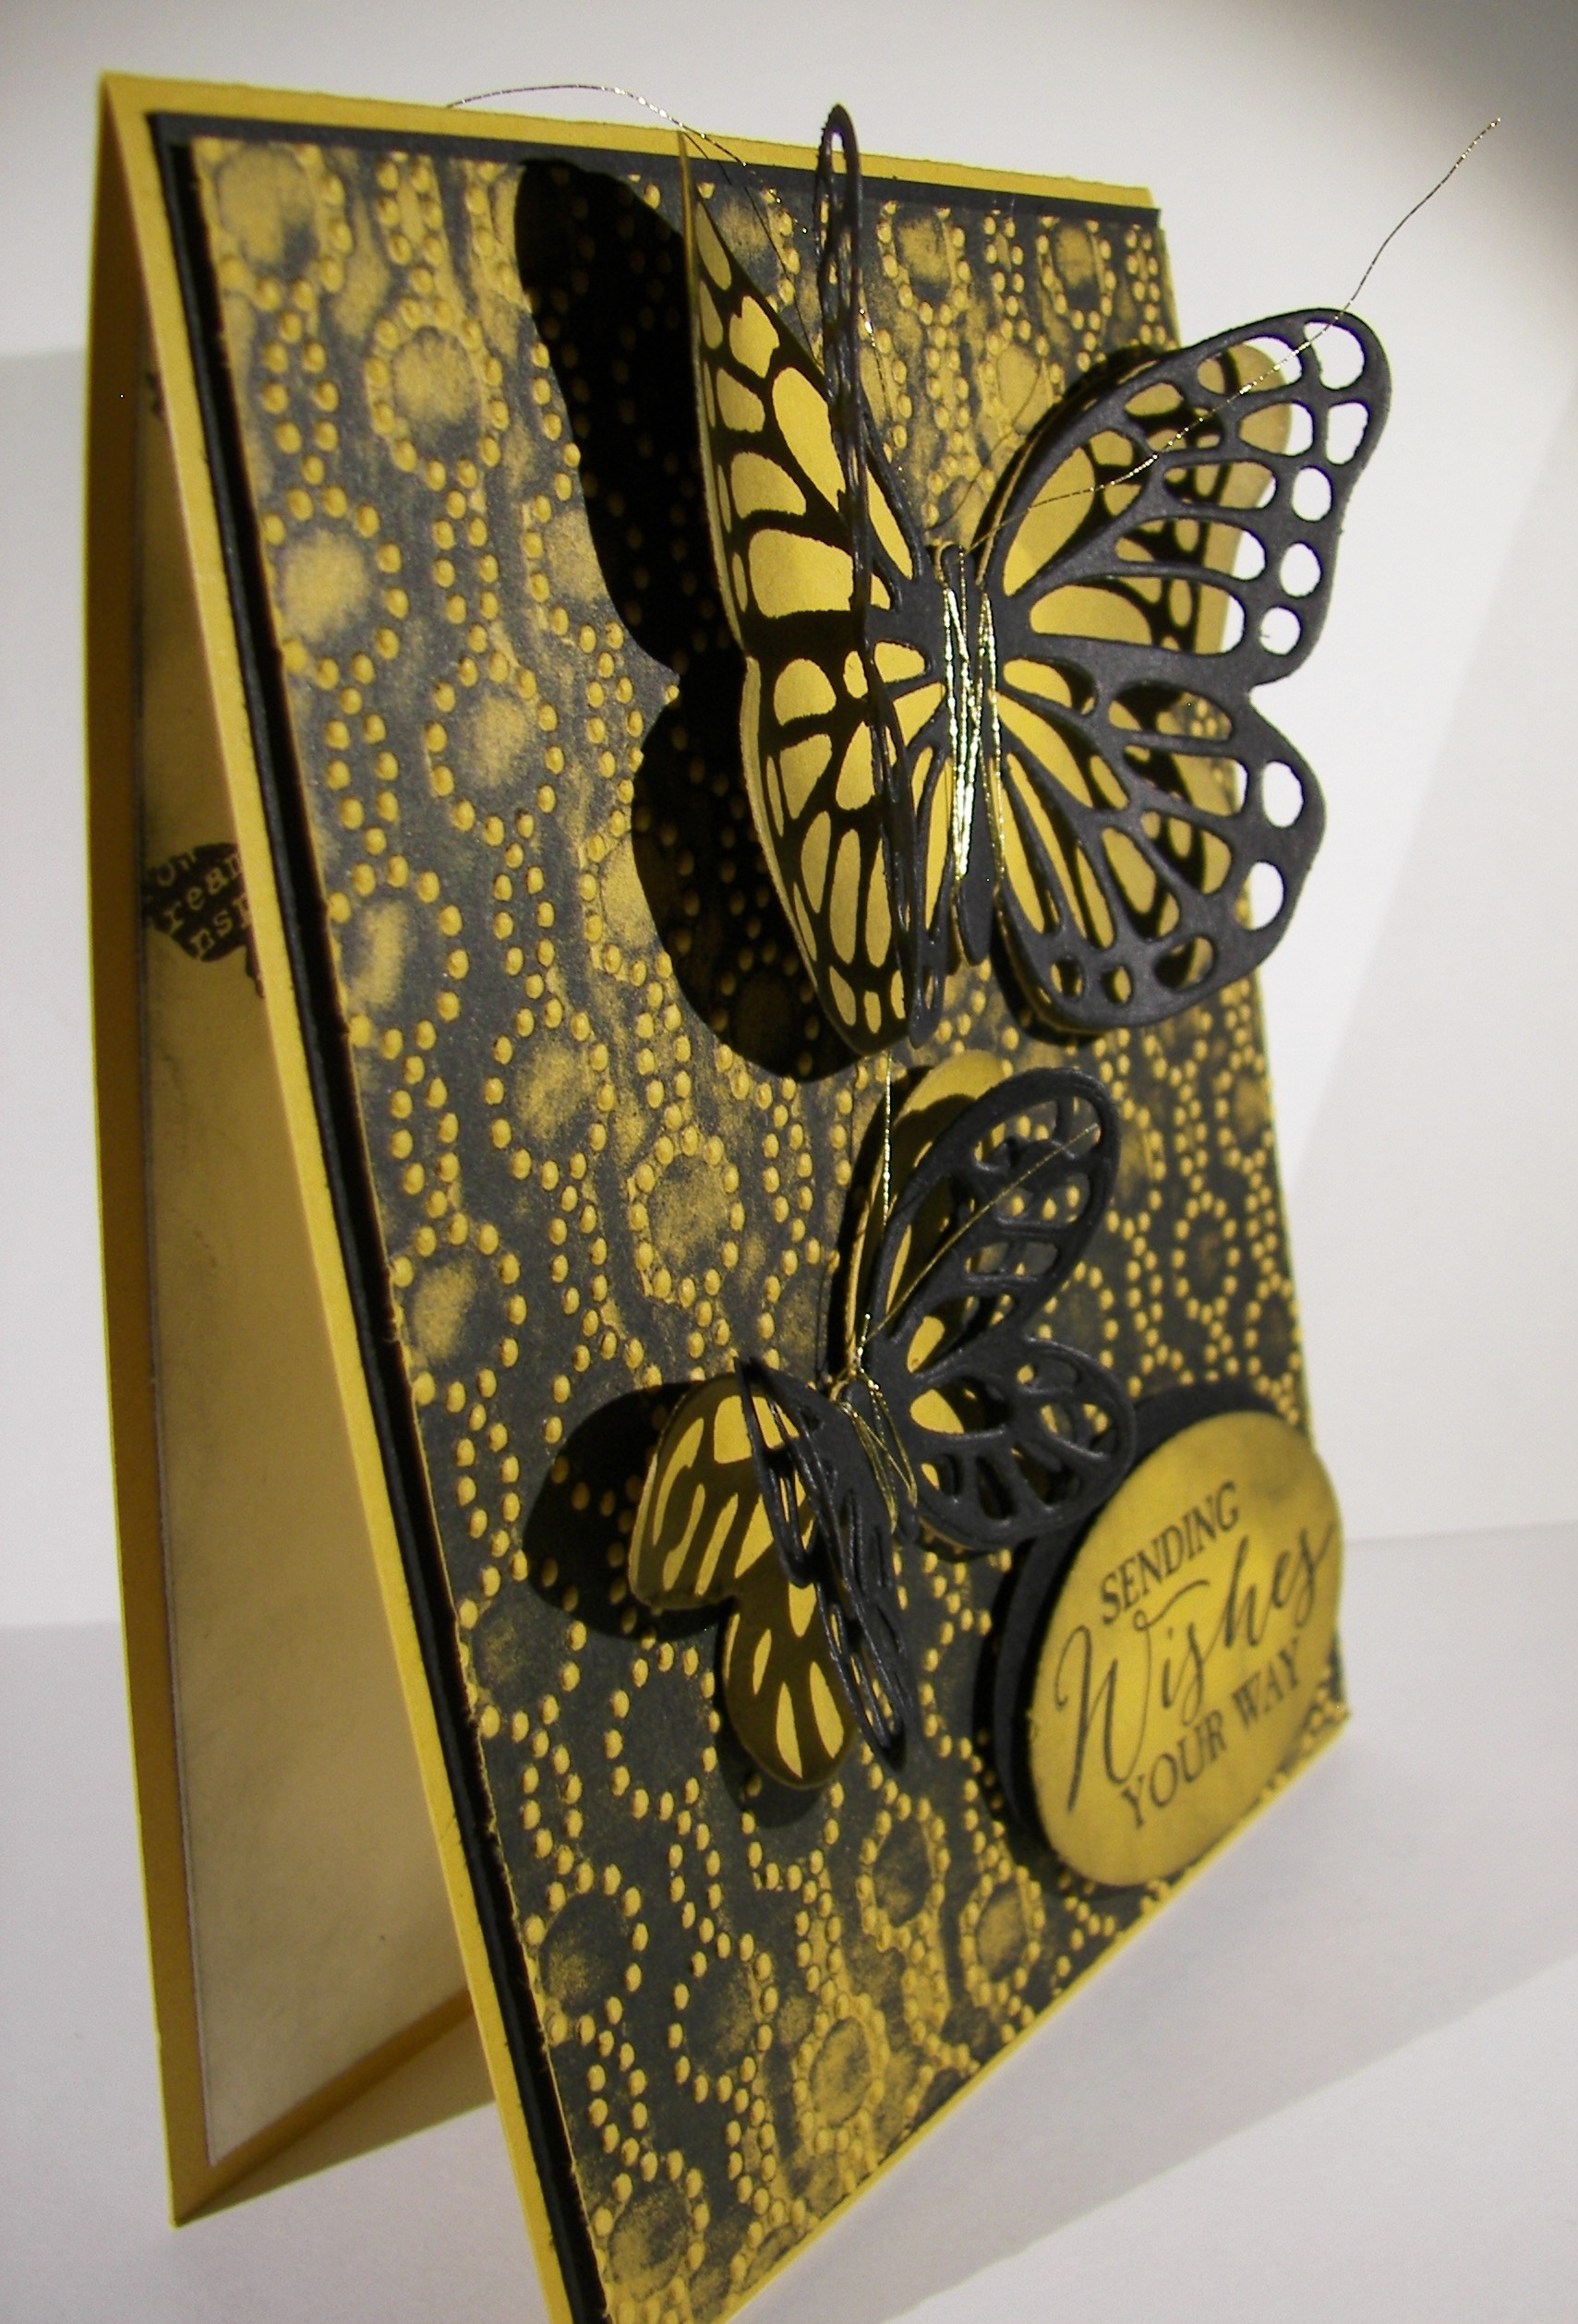
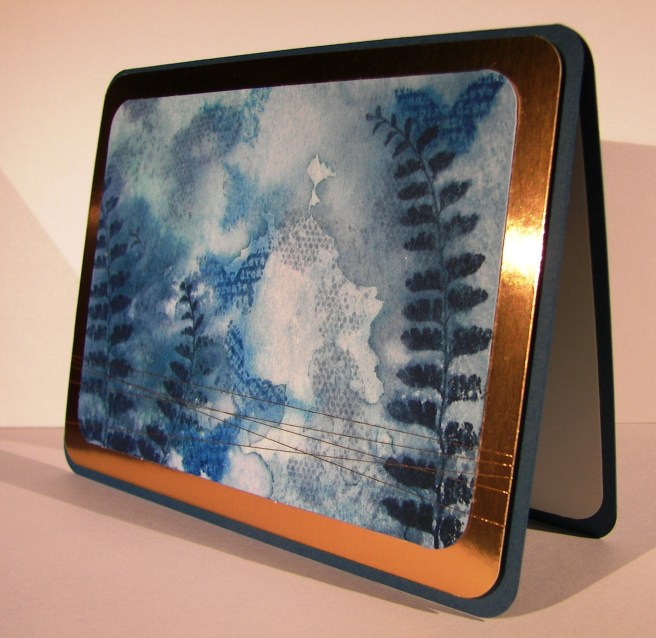
After a few hours I came back to see how it ended up.  Just like this.  I even controlled myself and didn’t add anything else.  No more color, or blending or water droplets.  It was accented with copper foil paper and copper metallic thread.  What a great all occasion card to have on hand.

1-13-17-1

Have a creative day!

Moana

Country Basics

This particular project really made me slow down and think.  My usual haphazard color selection just didn’t work out, as you can tell from the huge collection of colors I have listed. This might be the most color I have used on one project.  It ended up kind of cool in the end, but not sure what it will end up serving as.

7-18

One single stamp was the beginning, just the guitar.  The rest of the images were at the end and quite an afterthought to be honest.  I painted the guitar with cajun craze and the color adventure began.  I had thought it would have been fun to sew metallic thread in the guitar string area, but when I spent so much time on the painting I really wanted to walk away. Maybe next time.

Even though it can be a bit frustrating, it is also quite relaxing to work like this.  It also helps a lot with patience.  I know that if I just stick with it, eventually it will come together. Then, the next project doesn’t seem so daunting, because look at what I managed to pull out of the trash bin!

7-18 (1)

I left it clean of sentiment and all other embellishments.  The images speak for themselves and that guitar, I love that guitar.

Have a creative day!

Moana

You Are Awesome

The other day my daughter was wearing a fun pair of pants that were so colorful and had a bunch of fun patterns.  Every time I looked at them I thought I should make a card.  So, I literally went digging through her laundry to find them and give it a go.  Inspiration comes from a lot of different places, but the laundry bin was a first for me.

7-12 (1)

I went through my paper files pulling scraps of the different colors I wanted.  Most of the strips were fine, but some needed to be trimmed to give some diversity.  Once I had the color strips ready I cut a base from printer paper to adhere them too.  It was pretty easy to do because they were just stripes, nothing too tricky.

7-12

I used one of the elements from the butterfly basics set to put a few black stripes down as well.  The piece was then trimmed to 4″ x 5 1/4″ and put through an embossing treatment.  I was able to slide the piece around a bit lining up the patterns inside the stripes and along borders.  I liked that part quite a bit.

The sentiments were stamped and layered with more basic black, but something still wasn’t quite right.  The stripes were too stark.  So, I got my trusty sponges out and went at the whole card front with smokey slate ink.  It hi-lighted the embossed areas more and gave a bit of a distressed look.  That is what I needed and I called it done.

7-12 (3)

Have a creative day!

Moana

Flower Fair Gift Box

I am definitely in the mood for gift boxes.  I wanted to make a huge floral bloom and then make a box sized right for the flower to cover the whole top of it.  And here you go .

Flower Fair Gift Box

I used pumpkin pie paper with stamping and sponging in tangerine tango.  Color families make such lovely projects.  I wanted the sponging to be more prominent and give a bit more depth.  I think it worked out nicely.

Flower Fair Gift Box

The flower layers were adhered with dimensionals with the larger flowers and then switched to glue dots withe the smaller ones.  Overall, it was a very satisfying creative process.  When I scored the box, I just made sure that the dimensions allowed the right base for the flower, 2″ square.  The top isn’t sealed shut, just folded for easy opening and closing.  This great big flower is actually stuck to the ribbon, so it could slide off without damaging the box.  I also tied the ribbon in a knot so it could be folded over and appear to be leaves or a banner looking element.  Great fun!

Flower Fair Gift Box

Have a creative day!

Moana

Vintage Butterfly Basics

This project started out as something entirely different, but I love where it ended up.  Would you believe I thought I was going to make something dark and dreary with a Halloween theme?  Well…like I said, it ended up lovely.

Vintage Butterfly Basics

The floral images were stamped in black and water colored with blackberry bliss and mossy meadow.  The ferns were also stamped in blackberry bliss.  Then the soft suede ink was put to work.  Lots of sponging and swirling and edging went into image.  I ended up with something that look almost tea dyed.  Just what I wanted.

Vintage Butterfly Basics

A double layer of blackberry bliss became the frame for the card front.  Linen thread was pulled through my blackberry bliss sponge to give it a tint to coordinate.  The tan color it comes in didn’t quite go with the soft suede.  Extra attention went into dimensionals to give  lots of height.

Vintage Butterfly Basics

A narrow boardered piece of soft suede card was embossed with the brick wall embossing folder and then sponged to give additional detail to the embossing.  All together, these elements created something lovely, just lovely.

Have a creative day!

Moana

Journal Inspired Butterfly Basics

My husband bought this pretty journal and I immediately took it to my desk to stare it down.  I just knew there was a card in there somehow.  Well, after sharing swaps for nearly two weeks my creative bug was on high alert.  I sat down last night and gave myself some time to go at it.  And I did.

Journal Inspired Butterfly Basics

Isn’t is uncanny how close the colors are?  I guess that is why I migrated to it.  I have other off market stamps that might have gotten closer to the tree, but I really wanted to get my brain in gear for workshop this weekend.  I couldn’t be happier with the end result.

Journal Inspired Butterfly Basics

The borders are a narrow 1/8″, my favorite.  I bravely opened up my new elegant dots embossing folder and rubbed Stazon all over one side and then ran it through the  big shot.  I loved the result, and most of the ink came off.

Journal Inspired Butterfly Basics

I used lots of butterfly framelits and layered everybody up.  The smaller one has two black die cuts over the delightful dijon layer.  Light sponging made everything look a little grungy and tied it together.  There is a little stamping inside, as well as more sponging.  I used plenty of glue dots to hold the butterflies together and layered like crazy with dimensionals.  So fun!

Have a creative day!

Moana

A Little Thanks

What to do with a spool of silver metallic thread?  Make butterfly antennae of course.  This tiny, oh so tiny, tiny little bag is also closed with the same thread.A Little Thanks

This bag is sized just right to hold a gift card and you could squeeze in a flat chocolate or two.  How perfect a thank you is that?  I do love giving gift cards to people and having them tucked inside something as adorable as this makes it even better.

8-7

I started out with a piece of cardstock measuring 4 1/4 x 5 1/2, yup, that tiny.  I stamped half way down with my little butterflies, flipped it around and went down the other way.  I did that so if you turn the bag around, my butterflies aren’t upside down.  Clever, right?  Thought so too.

8-7 (2)

My score lines were all about the 1/2″ mark.  Just a tiny little bag here, so cute.  Can you tell I love tiny things?  Well, I do!  And this bag is all done and ready to get that special gift card for some lucky friend.

Have a creative day!

Moana

Timeless Elegance Birthday

Well, this was to be yesterday’s post.  Talk about an adventure.  I think I killed my laptop.  Apparently it isn’t a good idea to drop your full cup of drink and have it spill all over the keyboard and stuff.  Who knew.  Either way, moving forward.

Timeless Elegance Birthday

Could this paper be any more beautiful?  I could probably open a pack and just project away until it was empty.  It truly is my favorite.  Elegant and so simple.

Timeless Elegance Birthday

Just some simple layering, one stamp, five punched flowers with tiny pearls at each center, dotted the “i” with a pearl, and laid down a string of pearls under ‘birthday’.  There you go.

Timeless Elegance Birthday


I did make a project for today, but I will be saving that for tomorrow.  Wait til you see what I did with a tiny cup die cut from my paper pumpkin kit.  Oh My Goodness, just amazing!

Have a creative day!

Moana

One Butterfly Too Many? I Think Not…

It was time to gather the butterflies, and I didn’t even use them all!  There is another punch and framelit and other stamps as well.  Clearly I love these!  Can you blame me?  They are so beautiful.  I am getting excited for a new stamp set that is on its way.  It has a dragonfly in it and those are my favorite.

One Butterfly Too Many?  I Think Not...

It is hard to match this combination though.  I wonder how many butterflies I have seen so far on my pioneer trek.  I might be too tired this morning to notice.  But today I get to come home.  This yellow is the accent color in my skirt and matching apron I made for this trek.  What an event it must have been.  I will have to tell you more later.

One Butterfly Too Many?  I Think Not...

I layered up this beautiful butterflies after I sponged their edges pretty heavily.  I wanted them to be one color, but have a subtle difference as well.  It worked nicely,  I also used the tiny butterfly stamp from the perpetual birthday calendar set to create a flock of them flying up the side and across the top.  That was really fun.  With some heavy sponging that look was complete.

One Butterfly Too Many?  I Think Not...

I didn’t know if I wanted to stamp my sentiment with so saffron or black.  I started with so saffron, decided it wasn’t bold enough, and offset a second stamping in black.  It worked out really well.  The photopolymer stamps really make things like that super easy.  I repeated some of those stamps on the inside and then blinged up the butterflies properly.  They do look grand, do they not?

Have a creative day!

Moana

Butterfly Basics

Simple elegance is one of my favorite things in a card.  This color combination surely does lend itself in that direction.  I even think it is neutral enough to be masculine, what do you think?

Butterfly Basics

I used the Butterfly Basics set for this project for the element and sentiment.  I put the fern stamp to work with three different inks.  I started with black stazon, layered with silver encore, and finished up with elegant eggplant.  I continued stamping inside with just the elegant eggplant.

Butterfly Basics

I added some silver satin ribbon to keep those ferns together but kept it in a knot instead of a bow.  The ribbon kind of took over when it was tied in a bow, but just right in a knot.

Butterfly Basics

I kept the boarders narrow and popped the front up on dimensionals.  A nice clean look for an elegant card.  I think I have just the person to send it to.

Have a creative day!

Moana

Corner Garden Gift Bag

Sometimes I design a bag around a gift or to match some cards I have made.  This time I wanted to work around a specific stamp.  I wanted to do a tone on tone with the Corner Garden stamp set.  The detail is fine and subtle, just the look I was going for.

Corner Garden Gift Bag

The bag is large enough to hold plenty.  It could hold a large set of cards and envelopes, or any number of things.  It is sturdy too.  A nice heavy cardstock bag with my favorite chevron ribbon.  Bring on the heavy gift, I am totally ready.

Corner Garden Gift Bag

At workshop Saturday my ladies teased me about my need to sponge the edges of everything.  I was able to say that I had controlled myself and we only sponged one of our three projects.  So I was feeling the need and definitely got busy on this bag. I just love the look it gives.

Have a creative day!

Moana