Forever Begins Today

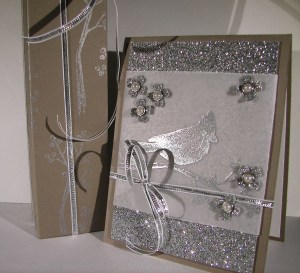
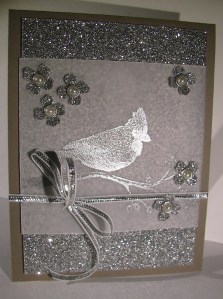
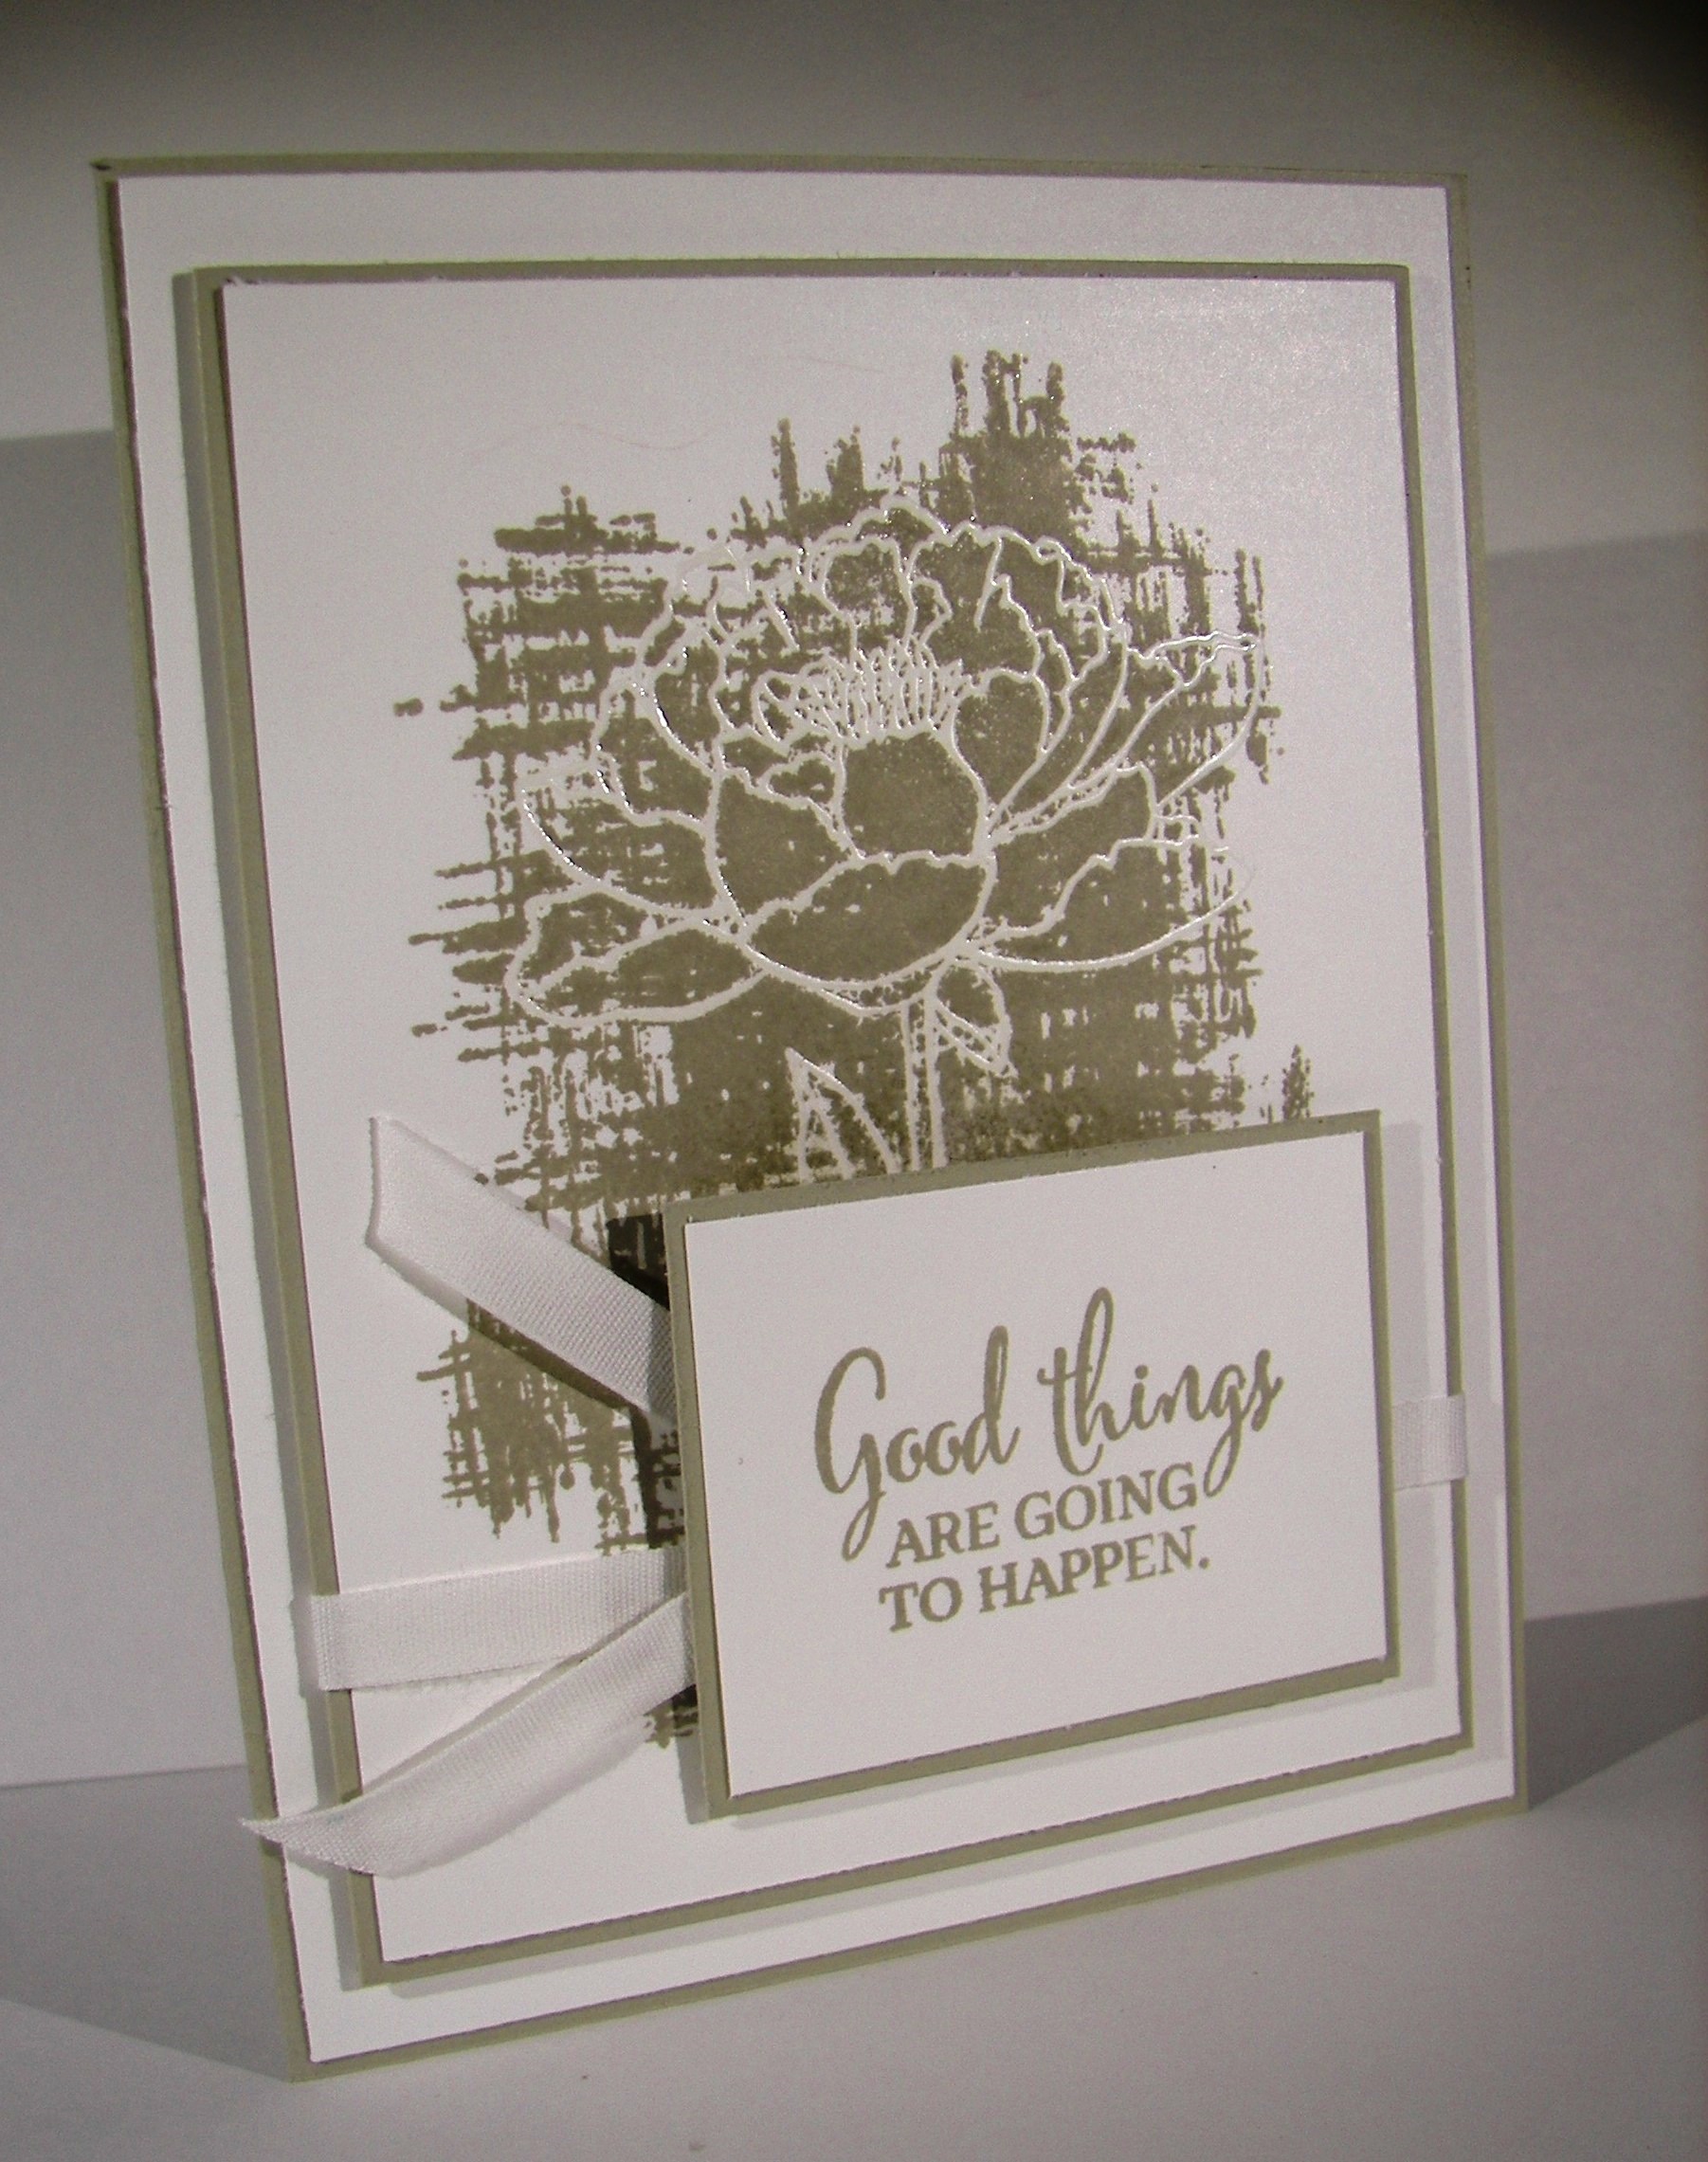
Inspiration came from an unusual place this time.  I was pretty tired after a full day and looked through the events and chatted with my daughter a bit.  She didn’t have much either.  However, we had just gotten our nails done that afternoon and I went with her nail choice.  They were done white with a few pretty jewels tucked around the base of her ring finger nails.  I thought it was lovely.  So, here it went into the card.  This turned into one stunning card fit for any wedding or very special occasion.

3-11 (1)

Of course weddings are on my mind like crazy.  Not only is my son getting married this summer, but my niece, my good friends daughter, and another few to boot.  It is a really busy wedding season for sure.  I will need wonderful cards like this for sure.

3-11 (4)

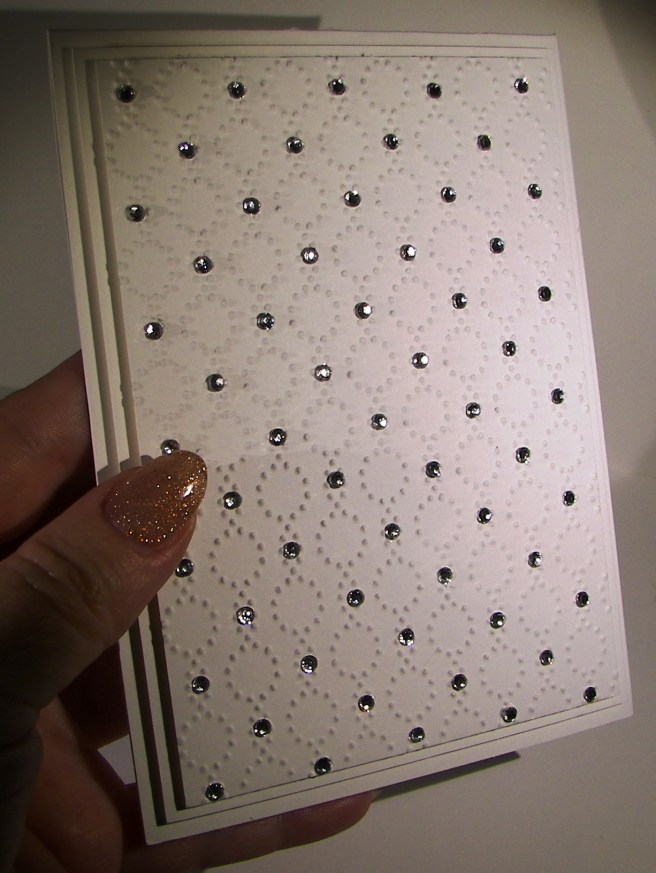
The layers are very simple.  Just quarter inch two times over with the front layer embossed with the elegant dots embossing folder.  I tucked small basic rhinestones in each of the small ovals and it was wonderful.  Yes, that is a lot of bling, but wedding cards always deserve special attention.  This is the kind of card I could see a bride keeping in her memory book.  So exciting!

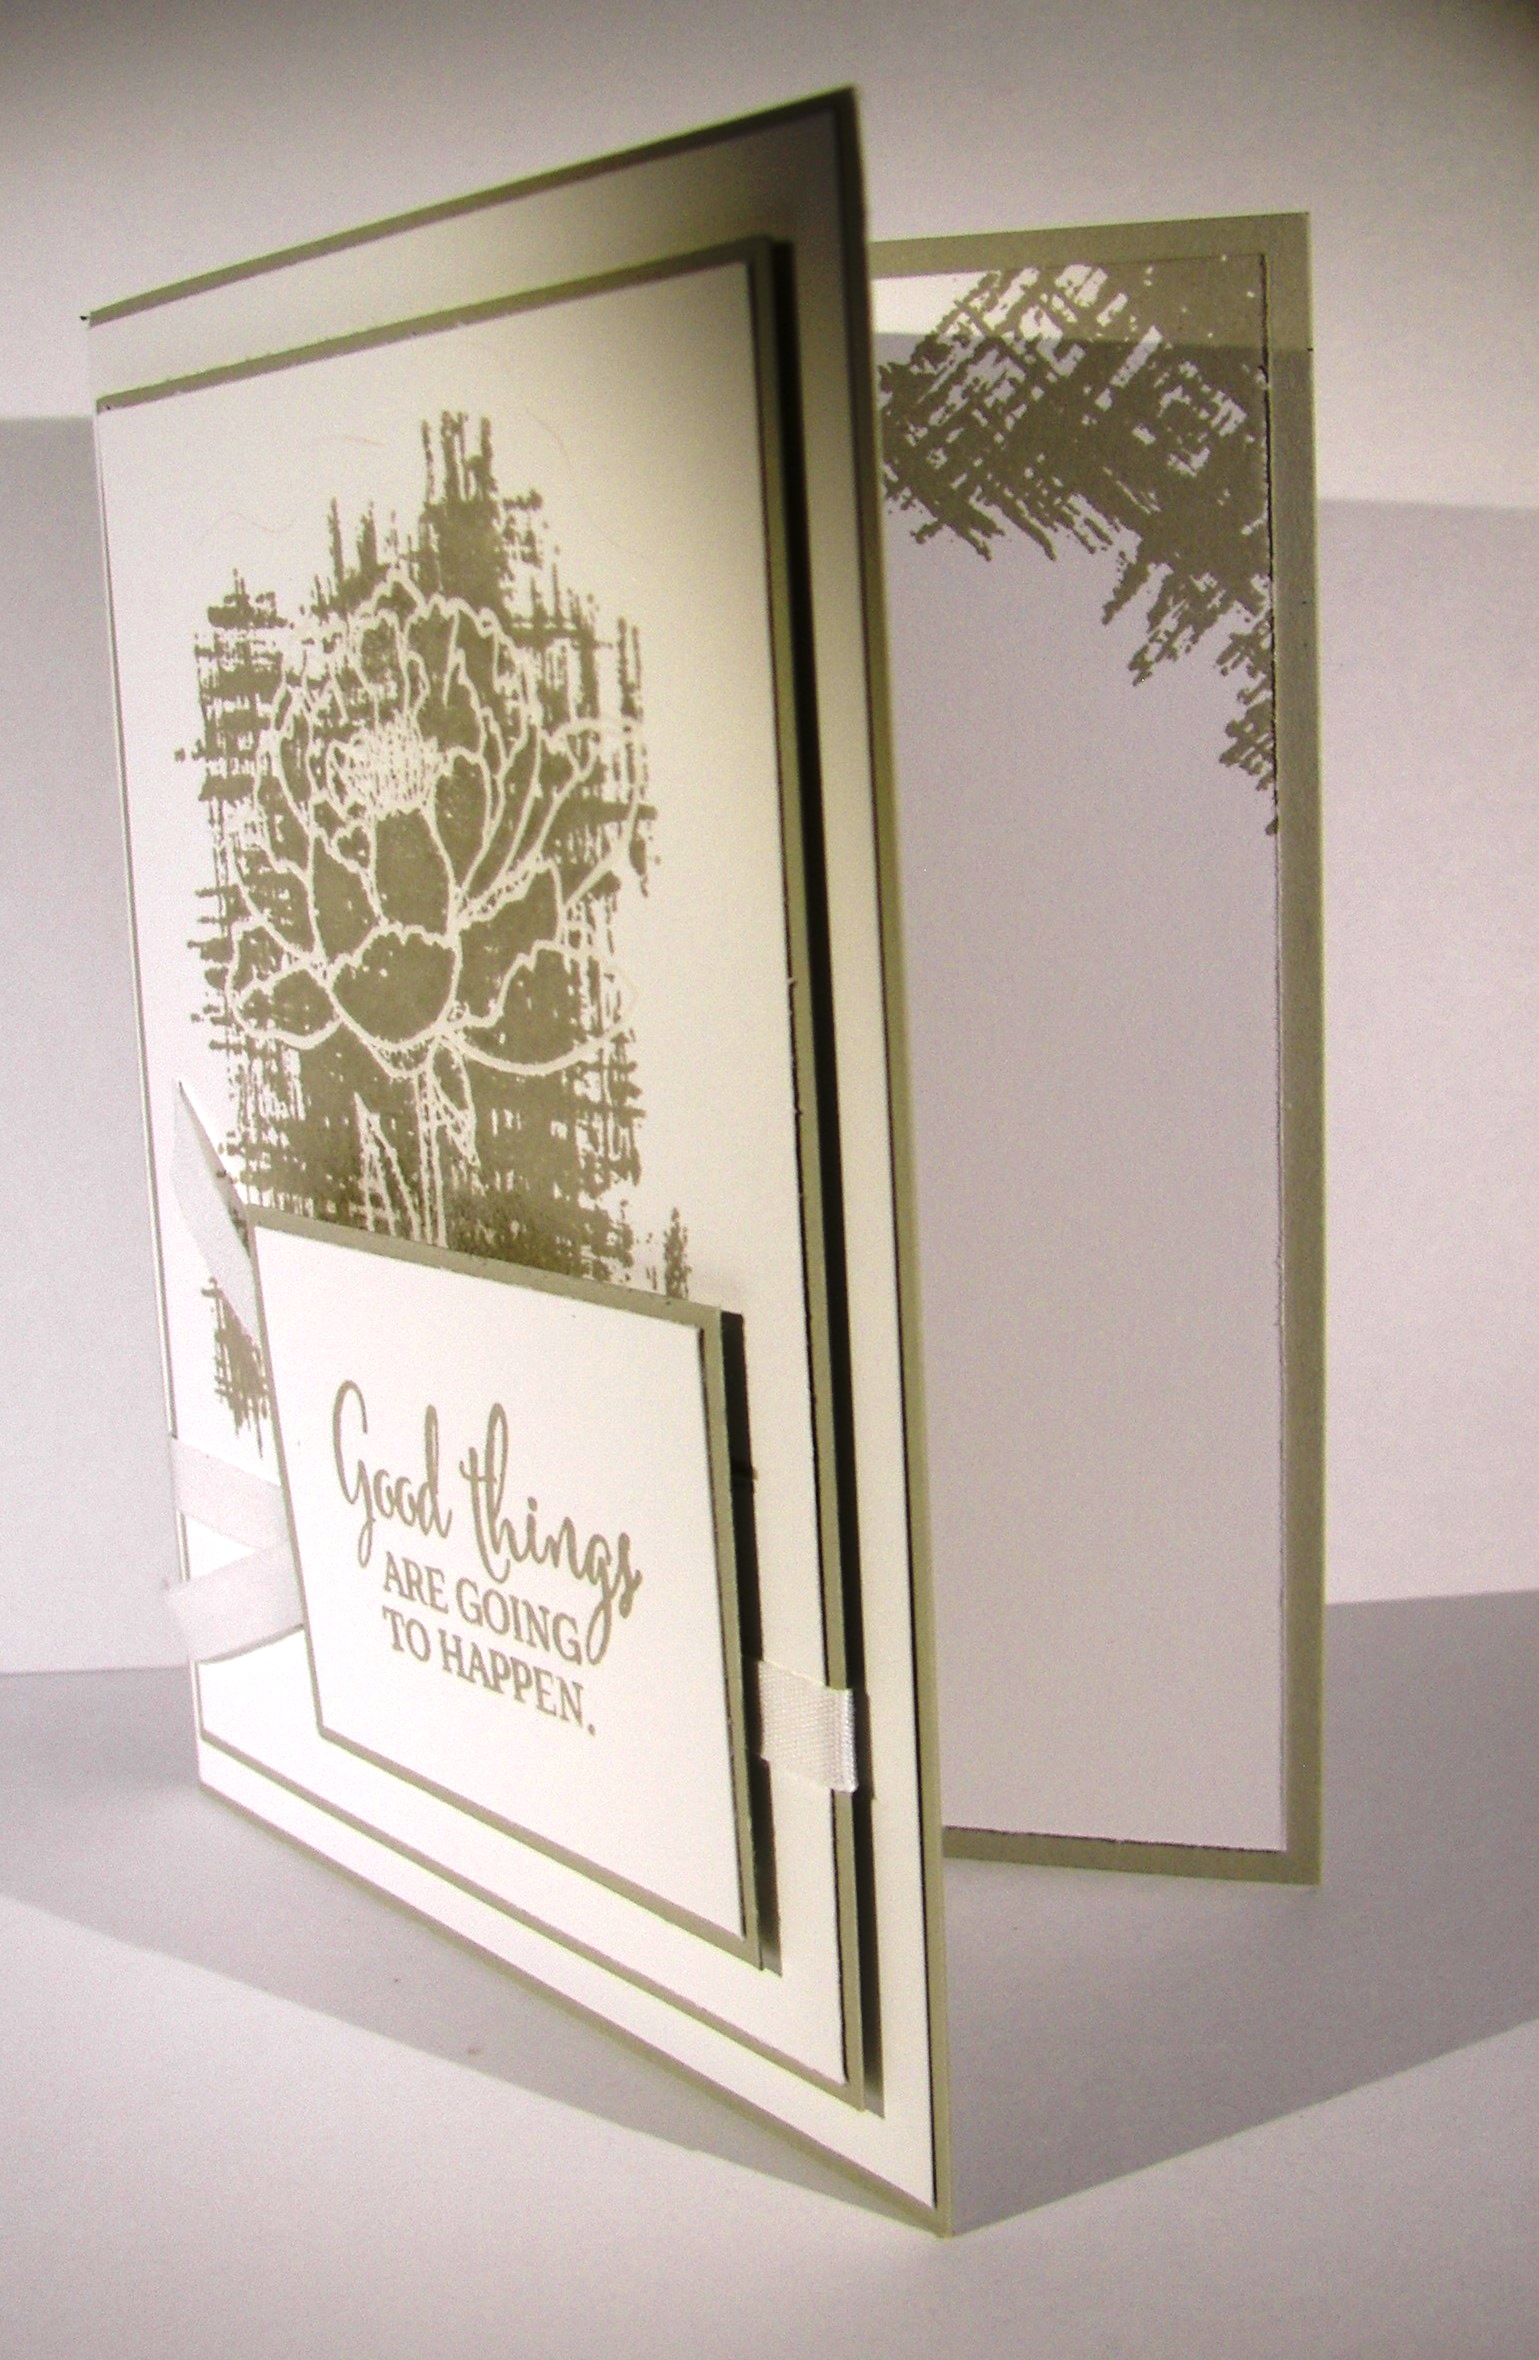
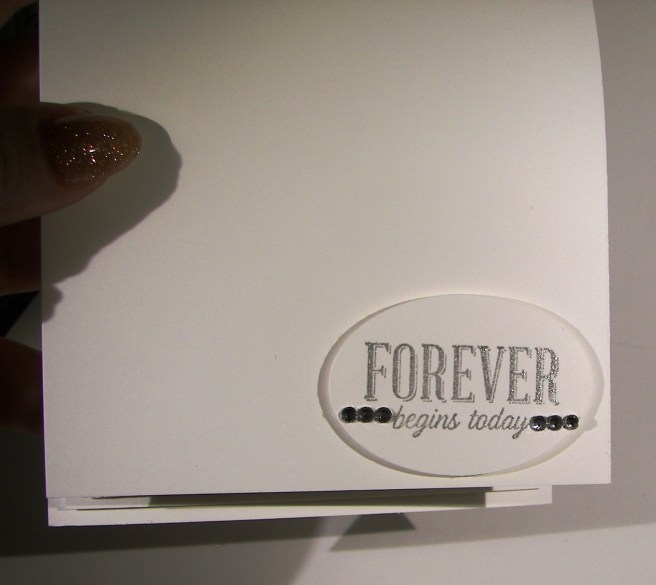
I had intended on putting the sentiment on the front of the card, but hated to interrupt the beautiful symmetry going on.  So I tucked in inside because it made it wonderful.  Without that particular sentiment the card could become all occasion, but special occasions for sure.

The sentiment was stamped in silver encore ink.  I wanted a bit more shine so I sprinkled clear embossing powder over the top and set it with my heat tool.  It took it up a notch and made me very happy.  I can see more of these coming together to help celebrate the many wonderful events coming up this year.

3-11 (3)

Have a creative day.

Moana

Glittering Holidays

After nearly a two week run of a clean and simple holiday gift set I have been more than ready to make something fabulous.  That is exactly what I did, if that sounds a bit showy, well, just look at it!  I have been planning it all week.

Glittering Holidays

I really just had the flowers in mind and knew they should go on top of a box.  So, to get my brain going, I picked some paper, ink and a stamp and got to work.  The paper alone was just lovely.  I stamped in a way to further elongate the tall box I had in mind.  I really wanted it to be about the flowers.  I did have to use my hot glue gun to keep these guys in order.  After they were assembled I attached them to each other.  The ribbon is threaded between them to hold them on top, so they are not attached otherwise and can be used again.

Glittering Holidays

The box is just scored every two inches for the side measurements and the same for the top and bottom.  Simple there for sure.  I closed the bottom, but just folded the top in place.  I am so going to use this for a wonderful gift, so I needed to get back inside.  Not just for a blog post, nope.

Glittering Holidays

My husband actually designed the card for me.  We chatted while he drove to work and he did a great job with the stamp choices I must say.  I stamped in silver ink and heat embossed in clear to give it an extra shine.  So pretty.  I added flowers with metal rimmed pearls in the centers and added a thin ribbon to finish it off.  The ribbon also helped tie the gift box in as a set.

Glittering Holidays

Have a creative day!

Moana

You’ve Got This

My mind is a little more scattered than usual this morning.  That is because there are more than one exciting things going on.  Yes, and that includes me finally getting to showcase this awesome stamp set!

You've Got This

Good things are about to happen, truly.  This is a weekend made for family, friends, and fun.  How exciting, right?

You've Got This

This card though.  I kept the layering very simple and clean.  I wanted to see both of these stamps well and not have one overpower the other.  I think that worked out pretty darn well if I do say so myself.

You've Got This

I stamped the image in versamark ink and heat embossed it using clear embossing powder.  When I stamped over with the background stamp, in sahara sand, the image showed through so nicely.  I did have to rub it a bit with a paper towel to get the ink off the embossing, but not much.  And there you have it!

I repeated the stamping somewhat on the inside using the background stamp edges.  I can see so many possibilities with this set.  I think I will have to set one day aside to see just what I can do with it.

Have a creative day!

Moana