Talk About Wow!

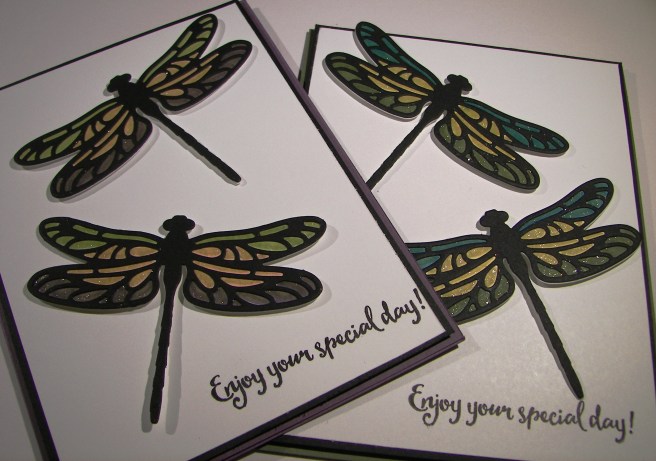
This was one fun experiment session!  I sat down with a few items and literally ended up with this trio of awesome cards.  This is exactly why you should give yourself challenges every so often.  You can come up with amazing ideas.

3-23

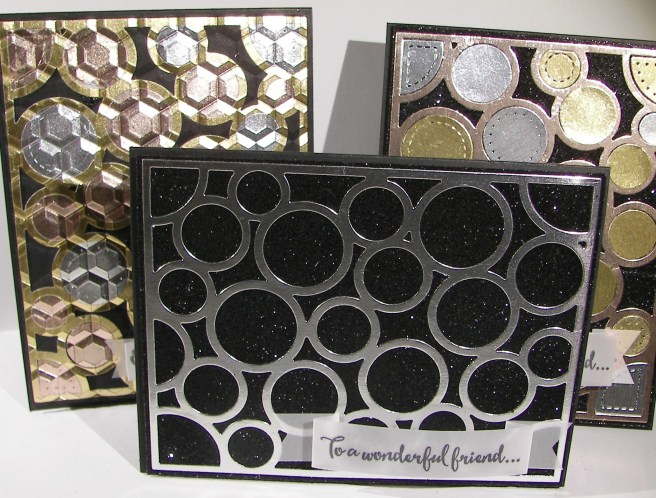
I had this die cut in mind with black glitter, that is where it started.  I have this huge roll of very wide tear n tape that gave me a large stick surface to work with.  I covered my card front with two and a half strips of this tape, trimmed it to the right size and set down my die cut piece.  I created three die cut pieces from three different tones of metallic paper. That gave me lots of different circle pieces to work with.

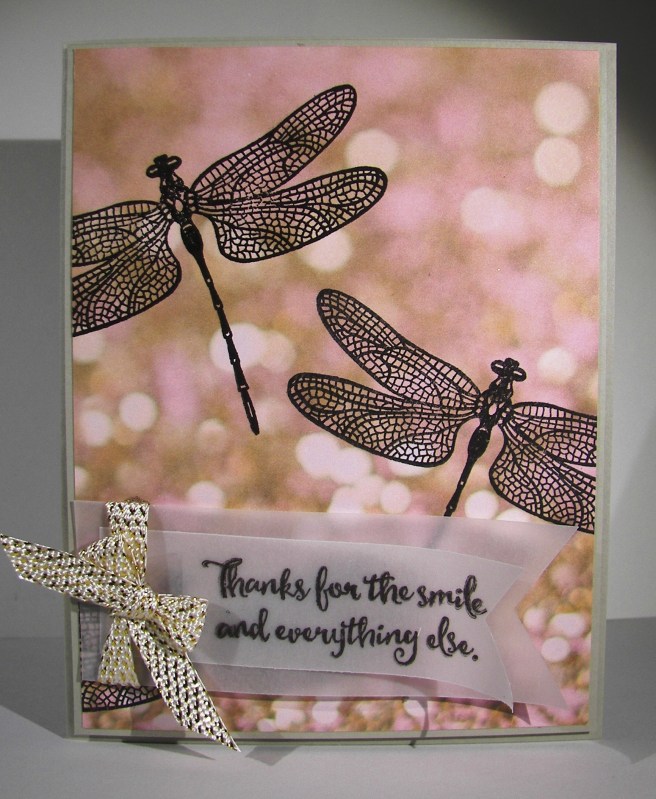
The first card had to be all about the glitter.  When the silver die cut went down I was left with all this open space just waiting for the glitter to fill it up.  I sprinkles and rubbed until the spots were filled.  When I poured the glitter back into the jar it was still full, I thought I would have used up more than than.  Go figure!

3-23 (1)

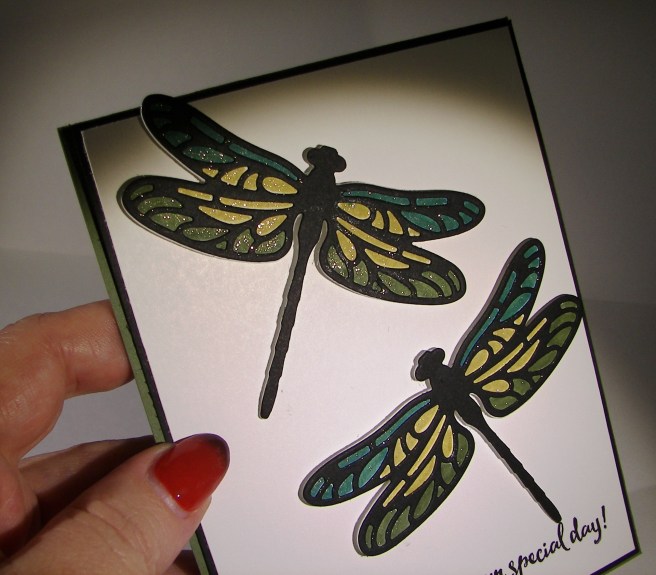
Then I moved onto filling in the die cut piece with the circles from the other colors.  That was fun and a bit tricky to get them right.  With the in between spaces, other than the circles, I filled in with more black glitter and rubbed it all in.  That took care of the second one quite nicely.

3-23 (2)

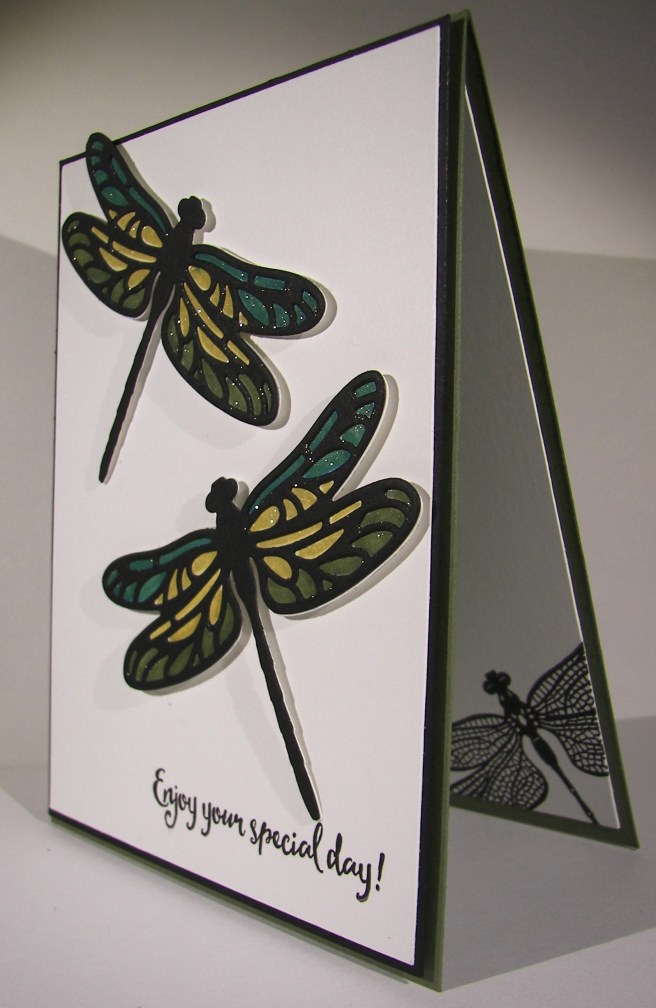
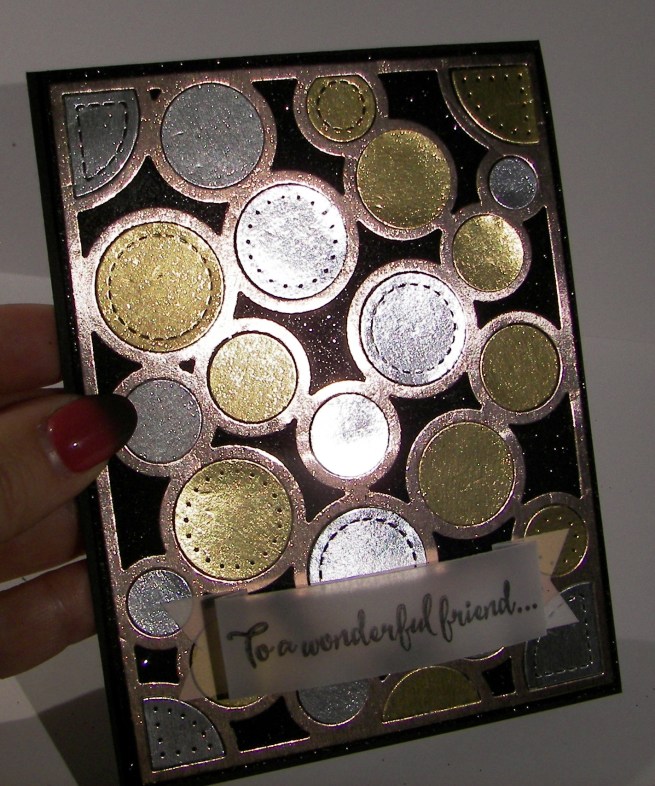
This last one didn’t get any glitter.  I used tombo glue to place the die cut as well as the circle inset pieces.  I wanted a bit of umph so I ran it through the Big Shot with a cool embossing folder.  Great choice.  I just grinned at the card front for such a long time.  The photos are okay, but these are super awesome in person.  You really have to try this.

This trio sat at my desk for a few days because I didn’t know how to finish them off.  I knew that embellishments were out of the question and a sentiment choice had to be simple, elegant and subtle.  Talk about pressure.  I got that sorted out with some velum cardstock and sentiments from the Dragonfly Dreams stamp set.  All good, all good.

Please get out some different product, watch a few inspiration videos and try something new.  You might create something amazing.

Have a creative day!

Moana

Enjoy Your Special Day

With all of the crazy flood problems and evacuation orders in our area (Northern California), writing this blog almost seemed silly.  But, instead of constantly worrying, I thought I would try to do something a bit more productive.  This project was actually for Saturday, but I never seem to be able to get a blog in on workshop day.  Just a bit much for a Saturday morning I think.  So here you go!

2-13-4

The ladies sure did love making these.  I was kind and did the die cutting for them, but that was just so the big shot would be available for the hot air balloon birthday card.  That was blogged the other day, and they loved it too!  I know how to challenge them, make them a bit crazy, and help them have a wonderful creative time.

This project idea came from another Stampin’Up! demonstrator, who got it from one of her friends.  Either way, Dawn’s Stamping Thoughts is the inspiration behind this project.  She used different colors and the white wink of stella covering the entire dragonfly, so only a tiny touch different. I added a bit of inside stamping.

2-13-1

It looks so much more complicated than in really is.  The back piece of the dragonfly was die cut from whisper white and the detailed overlay from basic black.  They were glued together and the sections were colored in with the brush end of the marker.  I then went over all of the sections with gold wink of stella.  How easy is that!  It is so beautiful in person. I tried to get an angled photo just right to show off the shimmer, but it is so hard to capture those tiny little glimmers.  You really have to try it out.

2-13-3

Have a creative day!

Moana

Thanks For the Smile

I love using stamps and paper in a way that creates a new vision.  This background paper comes from a lovely set of paper called Falling in Love.  This particular sheet is actually an artistic view of glitter.  When paired with this amazing dragon fly stamp, from Dragonfly Dreams, is looks like a shimmery pond and sunset.  Wonderful.

1-30

The dragonfly was stamped three times on the front and once on the inside.  That is it.  I used basic black archival ink to give this strong, rich look.  Awesome!  The same ink was used on velum cardstock for the sentiment.  I used the triple banner punch to make this layered tag and wrapped it with some of the free ribbon I earned from my last Sale-a-bration purchase.  Love that stuff!  I hid my adhesive on the ribbon.  I used glue dots, small, strong and easy to hide.  And there you go!

1-30-1

Have a creative day!

Moana