I Do…

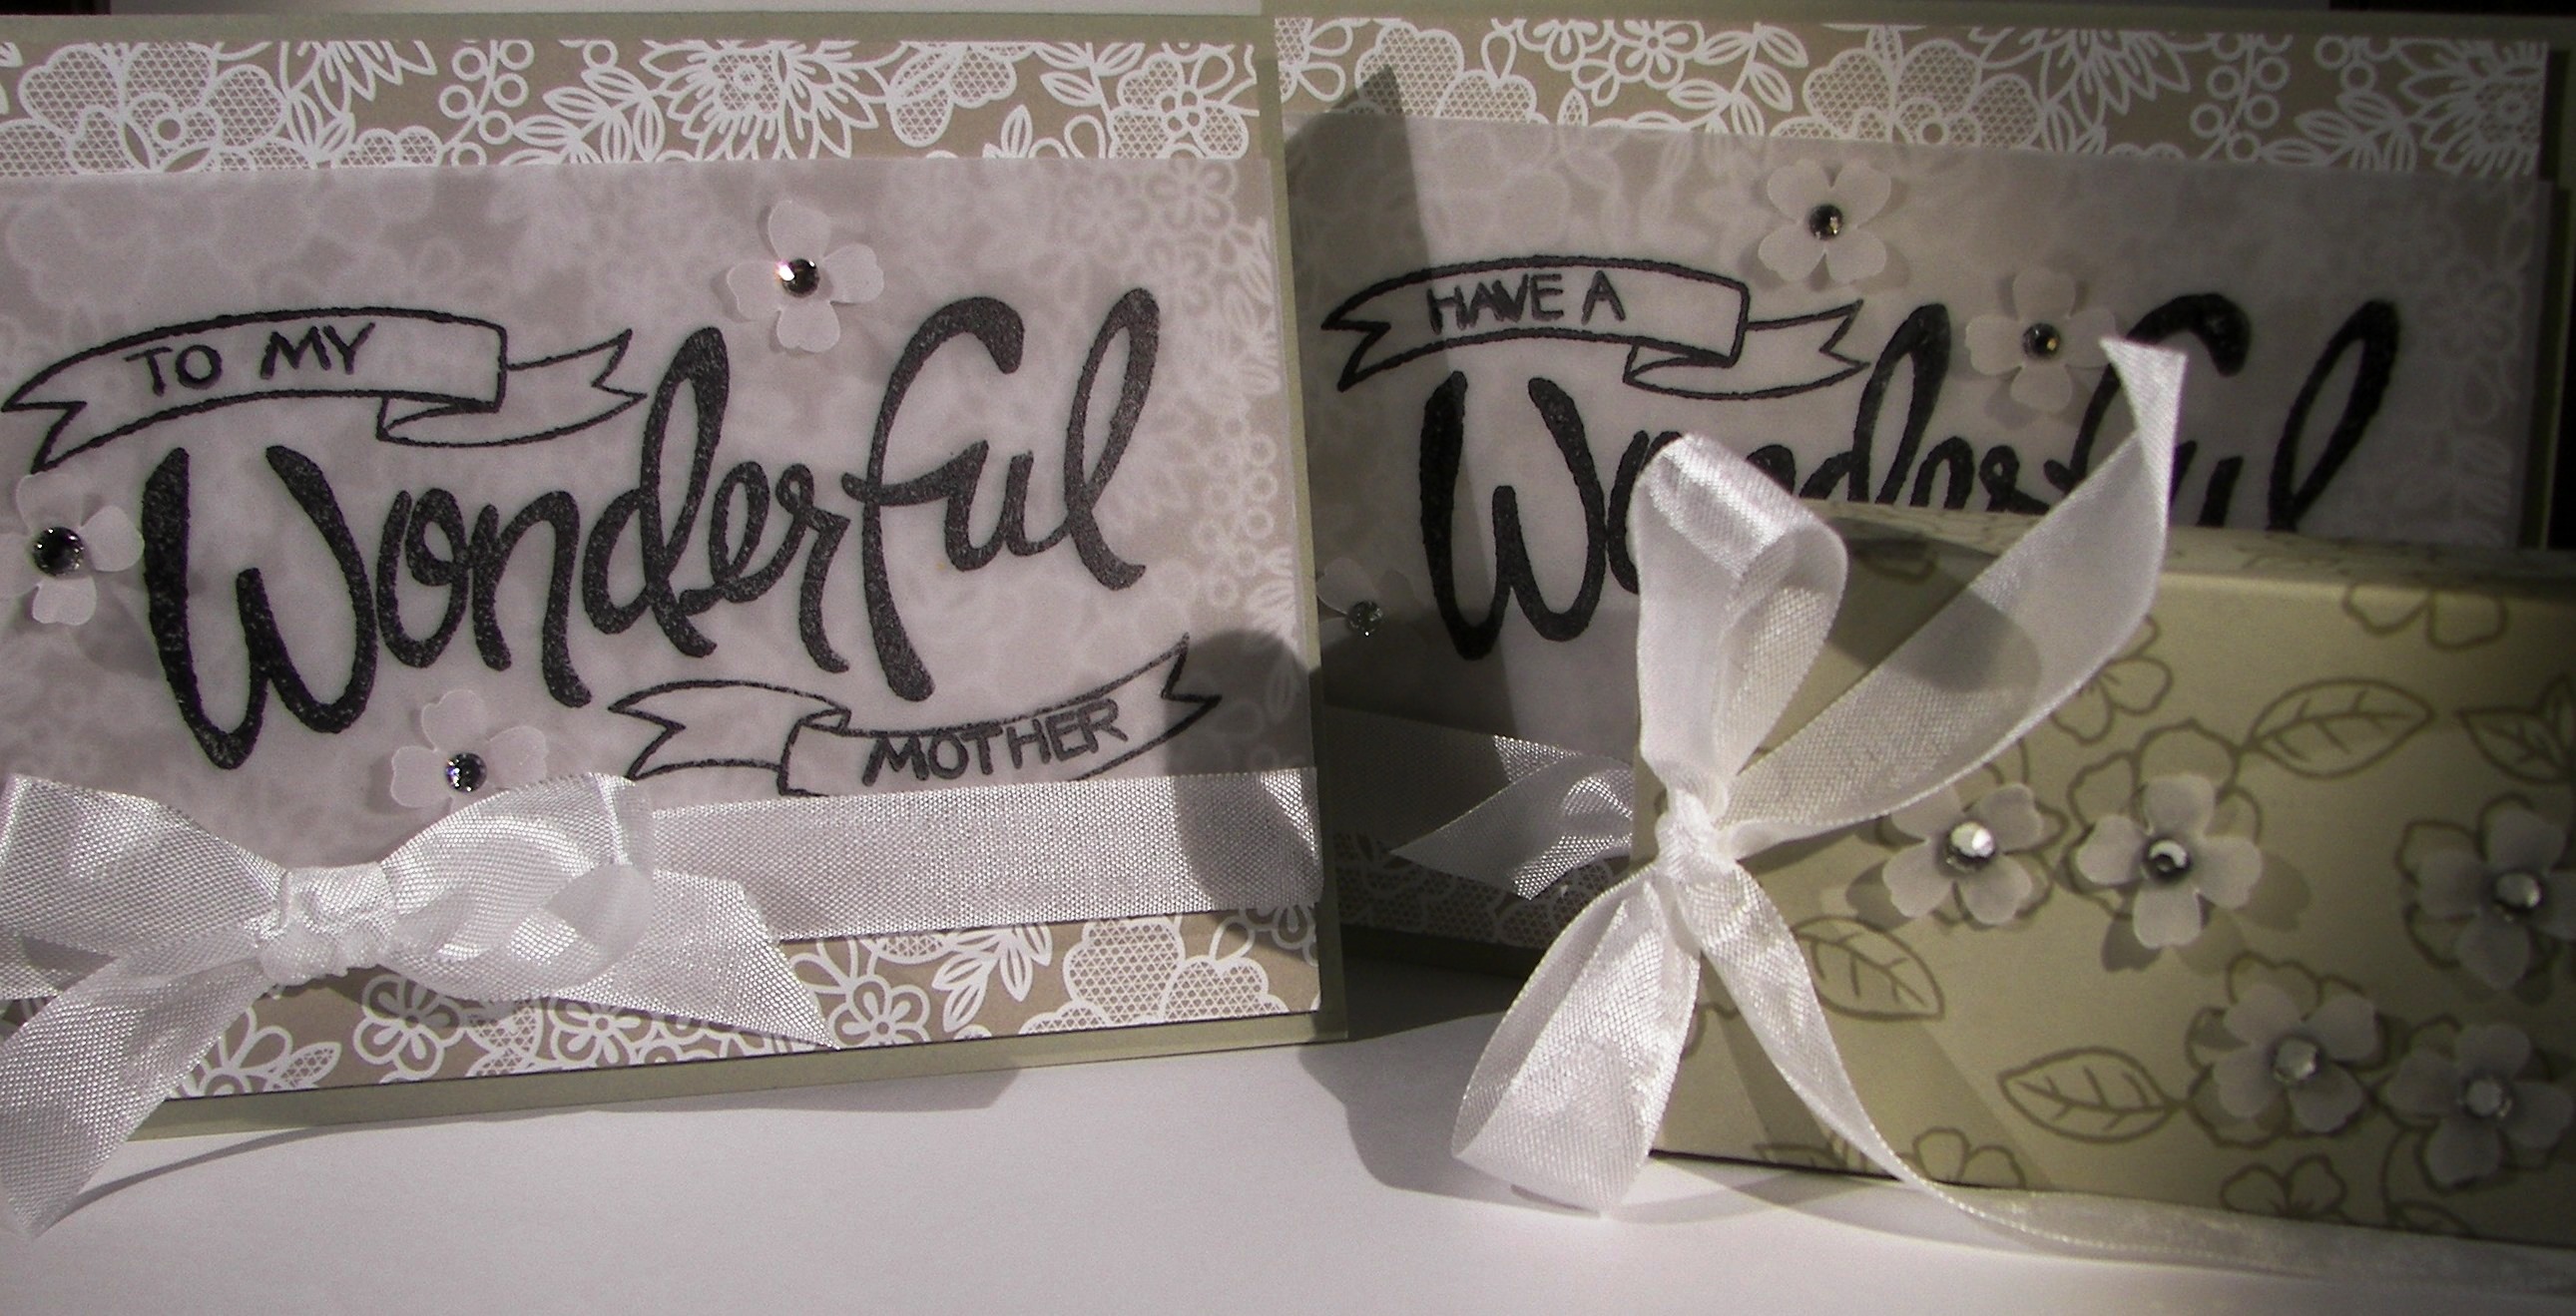
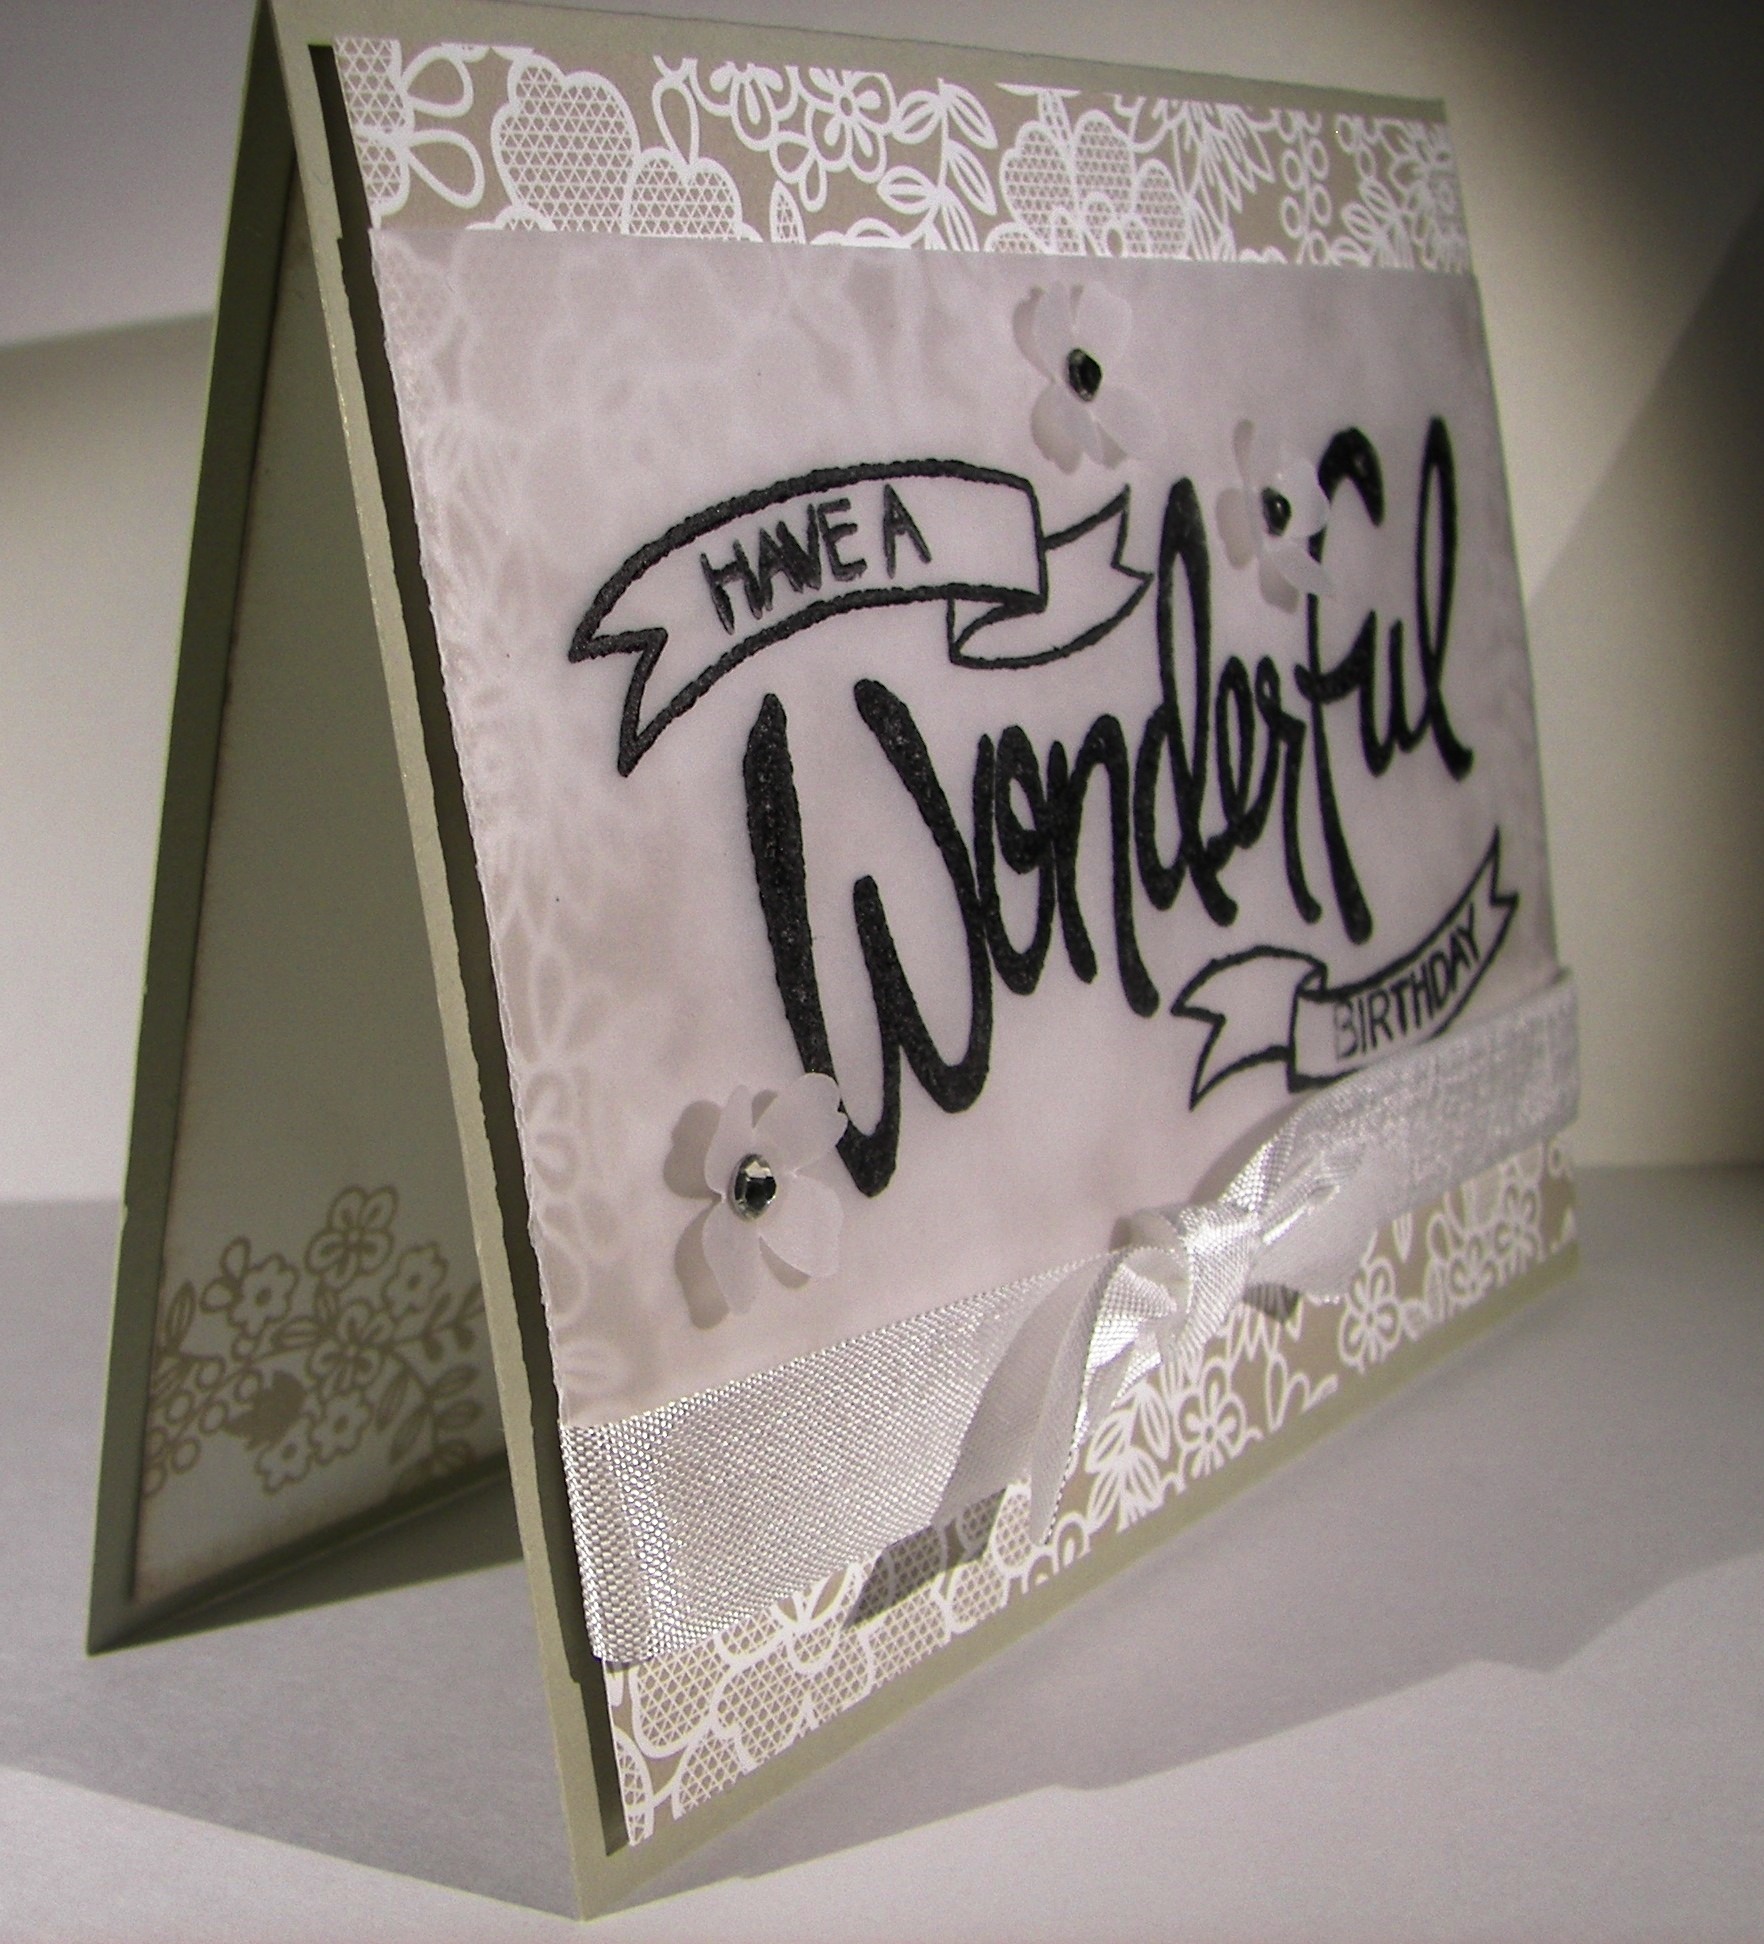
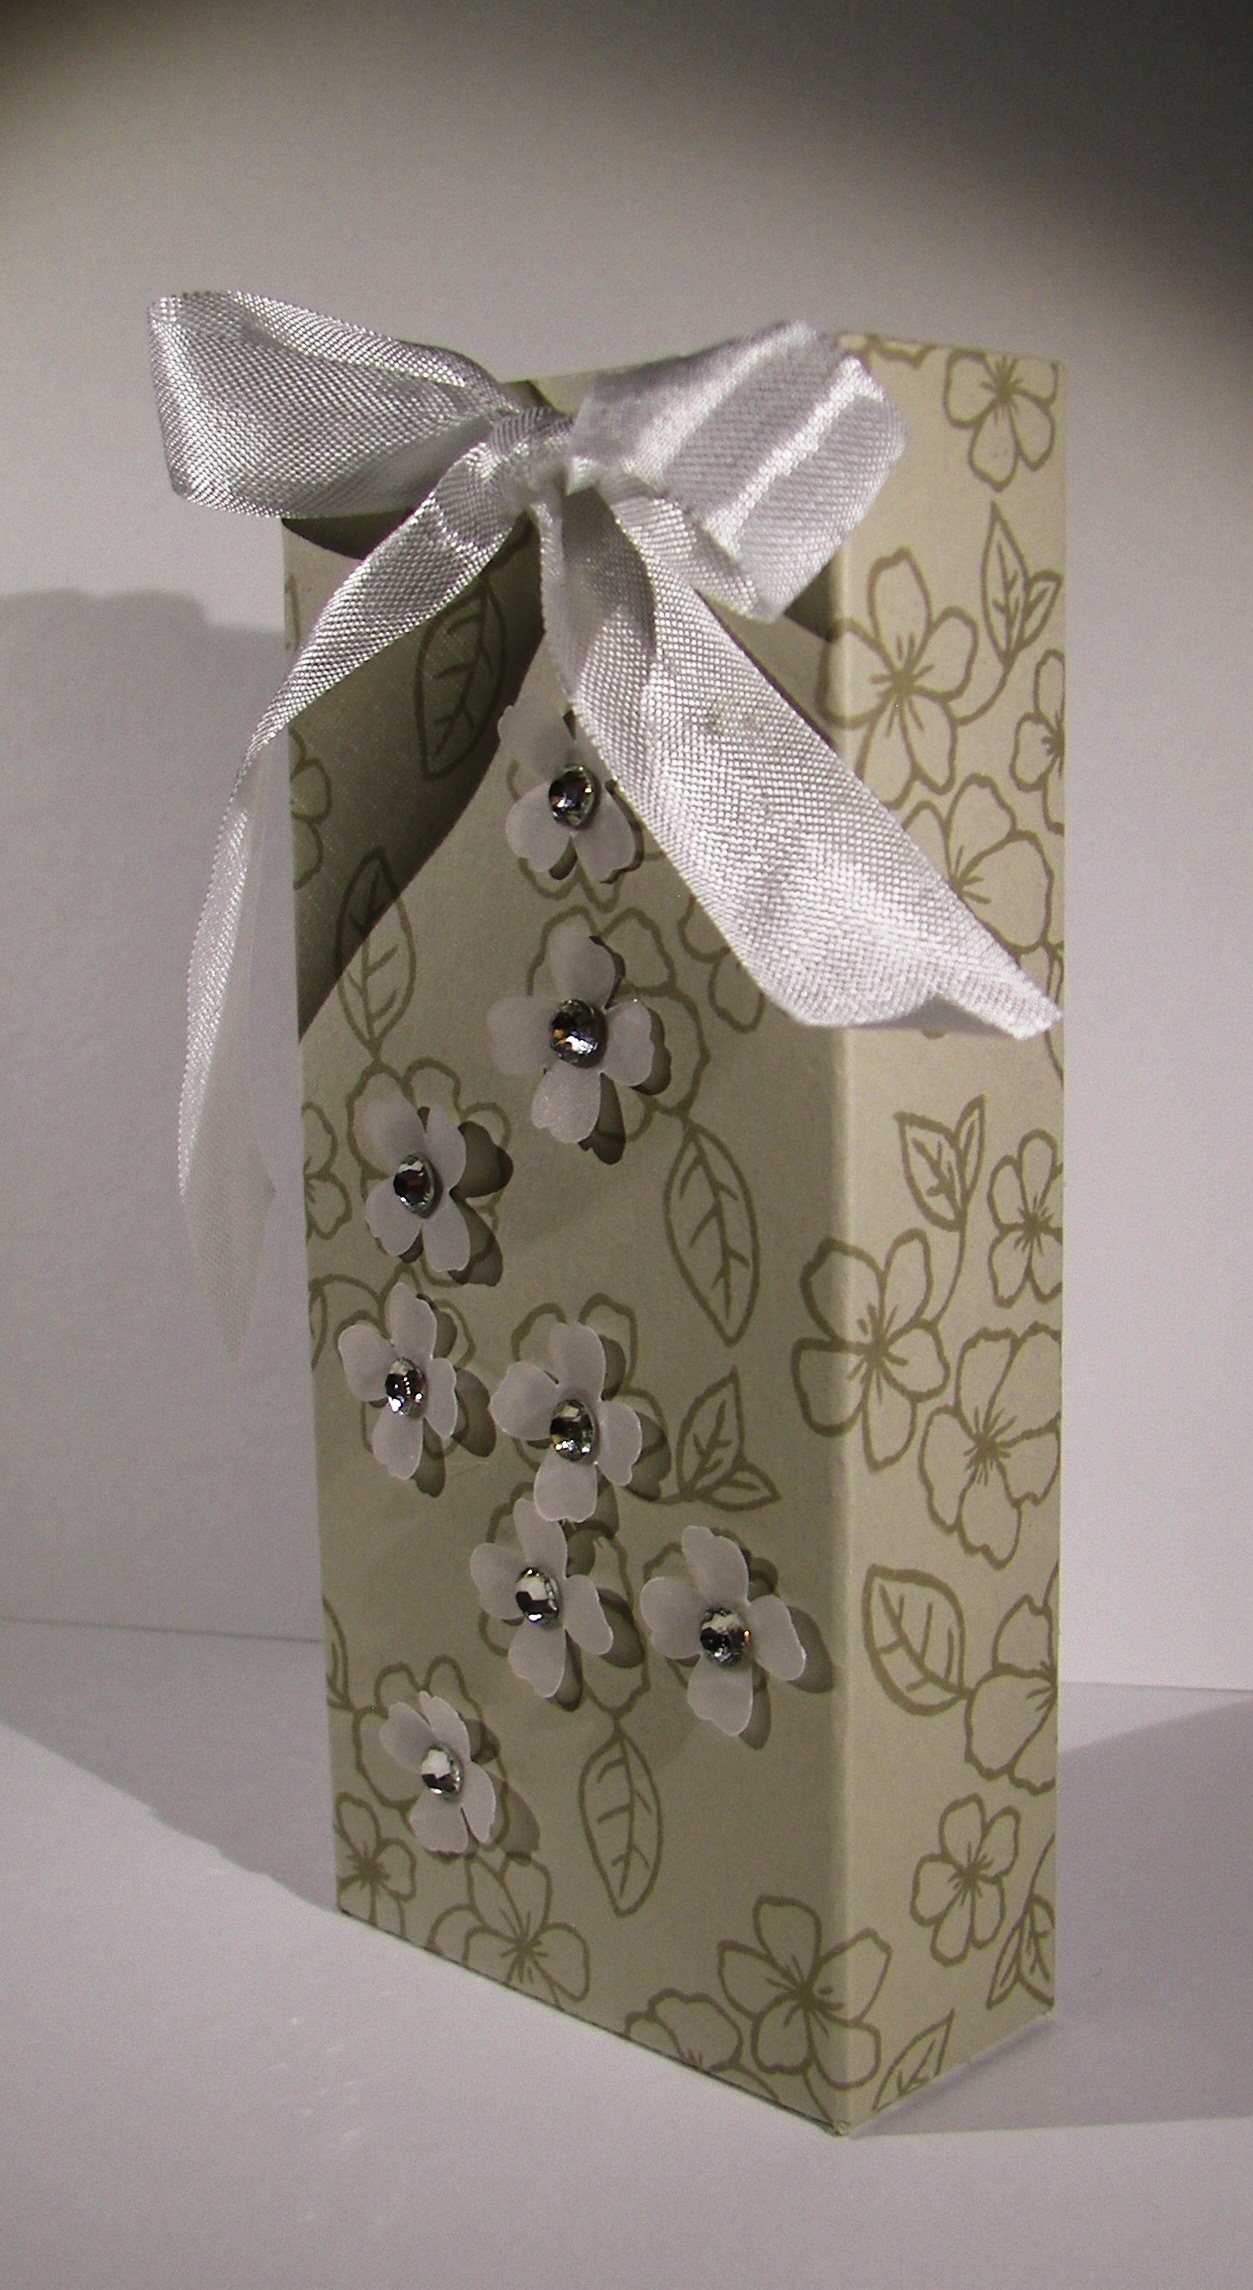
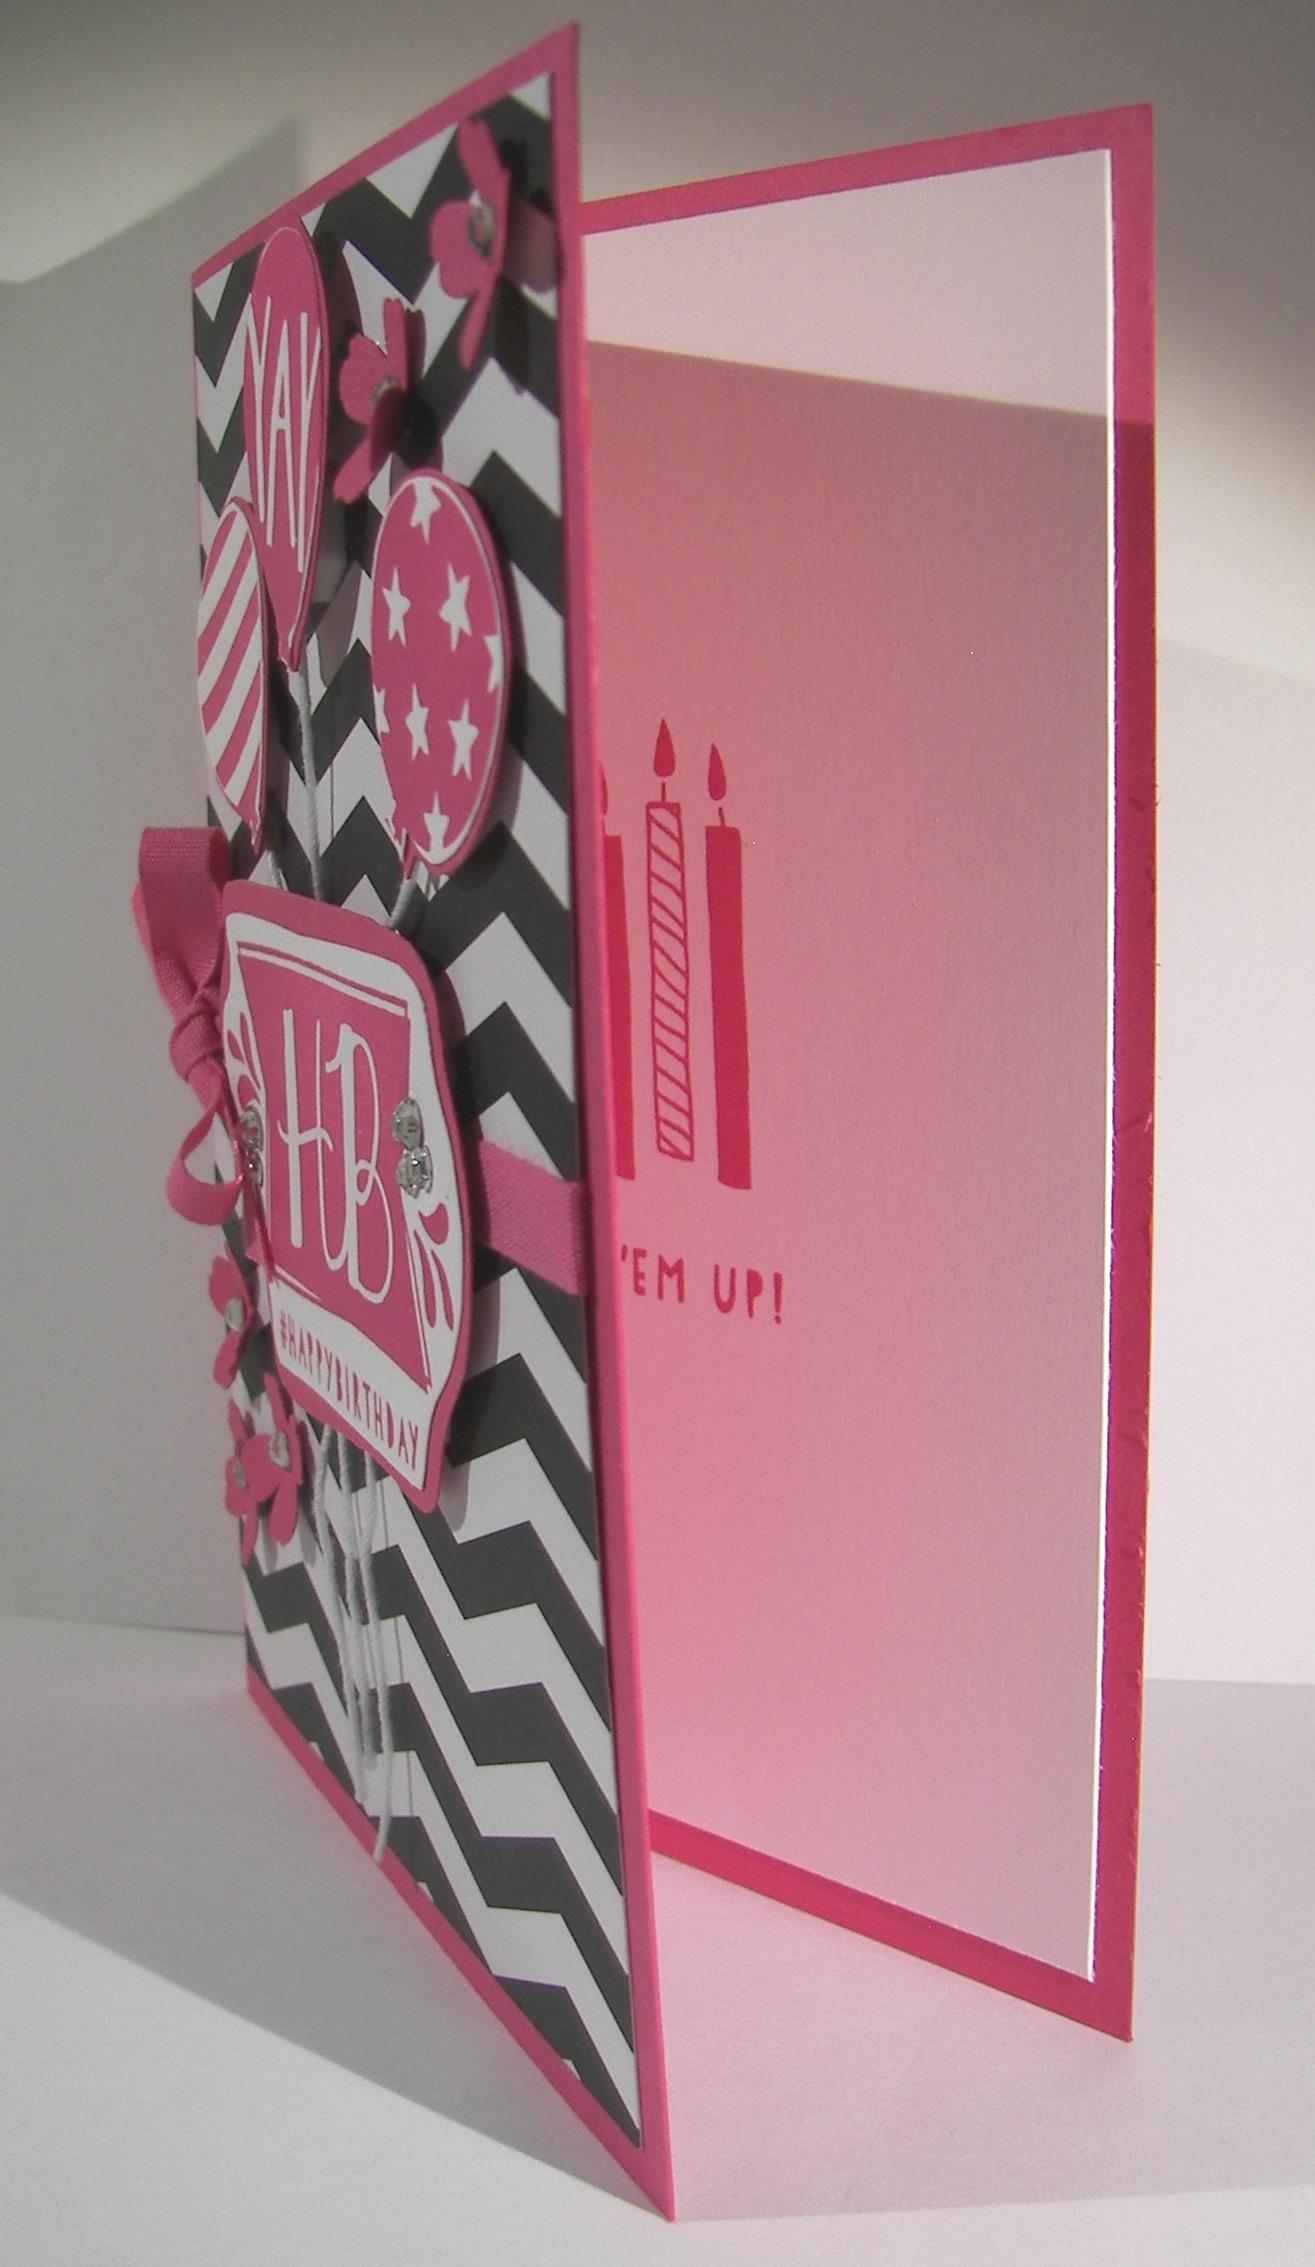
This is one huge, and most wonderful wedding card.  I think it is to the grandest scale I have done so far.  Must be because we are only a week away from our sons big day!  I think that I just might use this one for myself. I will have to think long and hard about what to write…

5-27

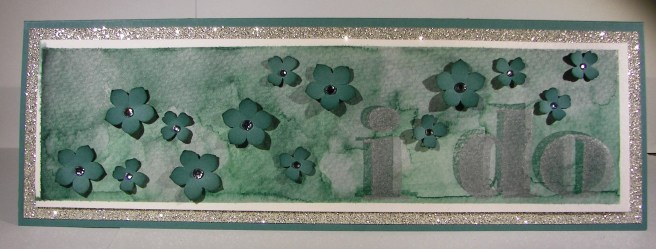
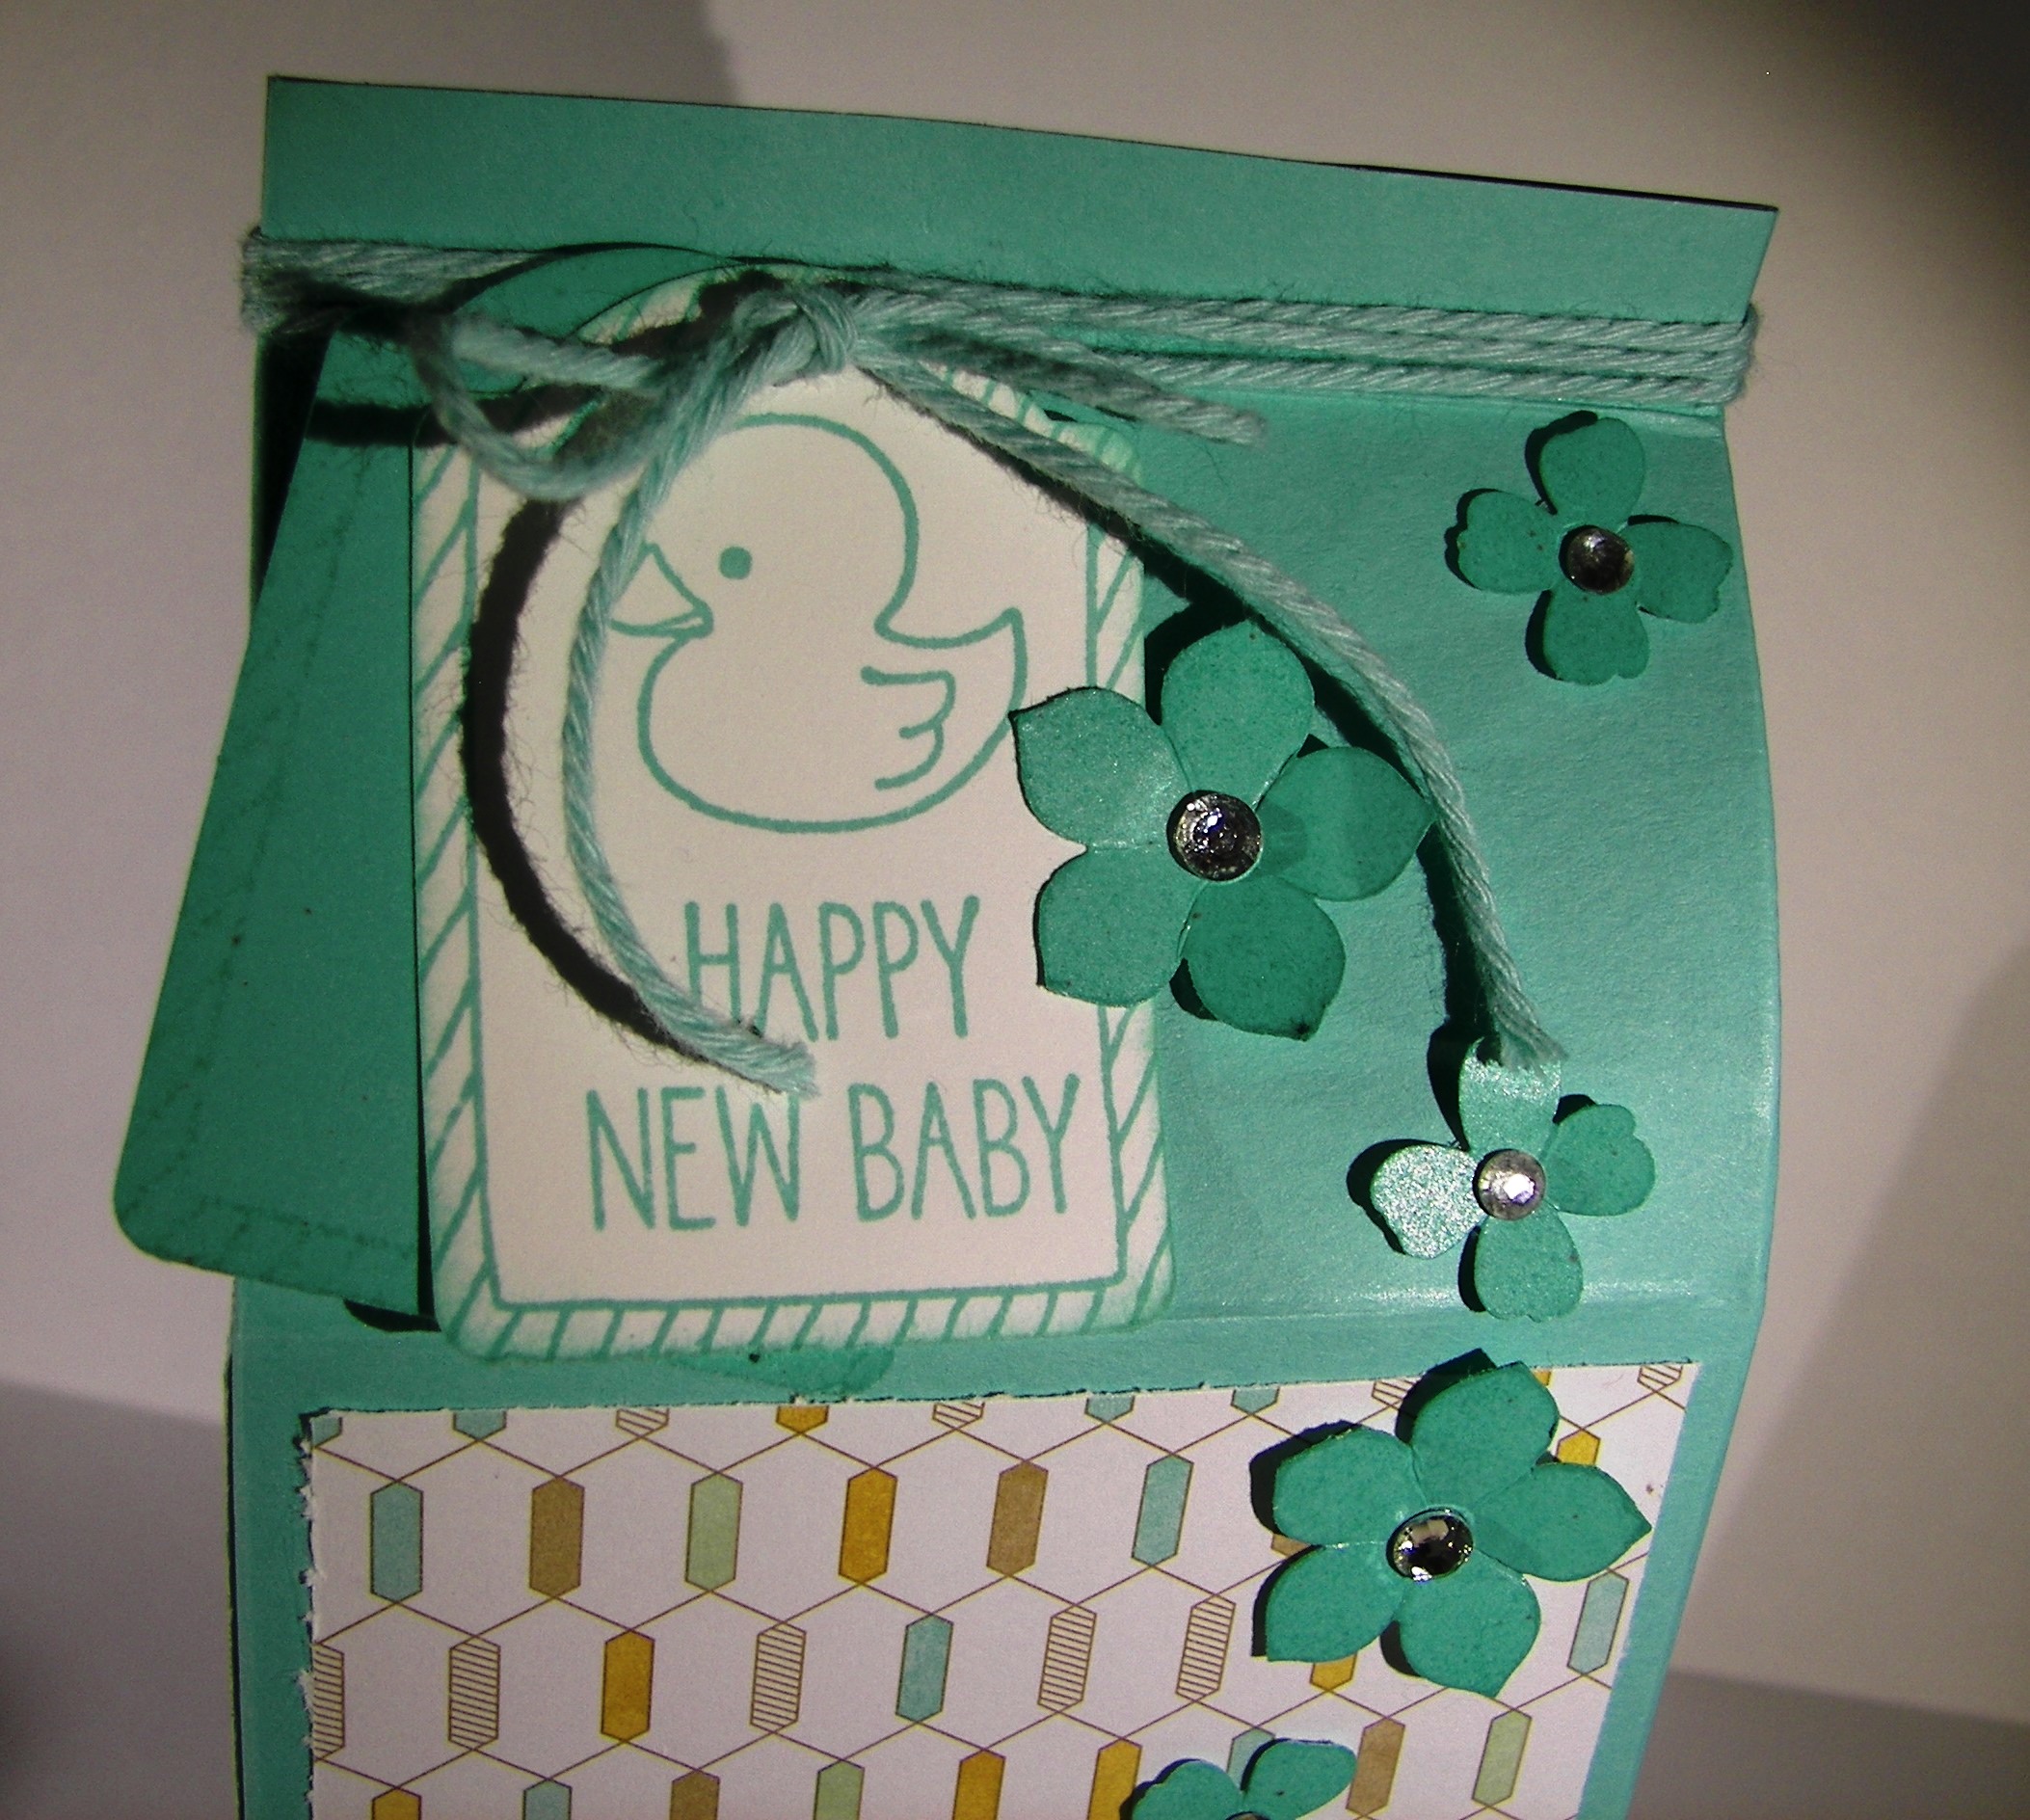
This card measures 11 1/4 x 3 3/4″, how about that!  I used a sheet of 12 x 12 to put this one together.  The front is layered with a large piece of dazzling diamond glimmer paper with a special water color panel for the card front.  The lettering was done with the Larger Than Life Alphabet & Number stamp set.  It is, sad to say, retiring.  Along with this beautiful Lost Lagoon color.

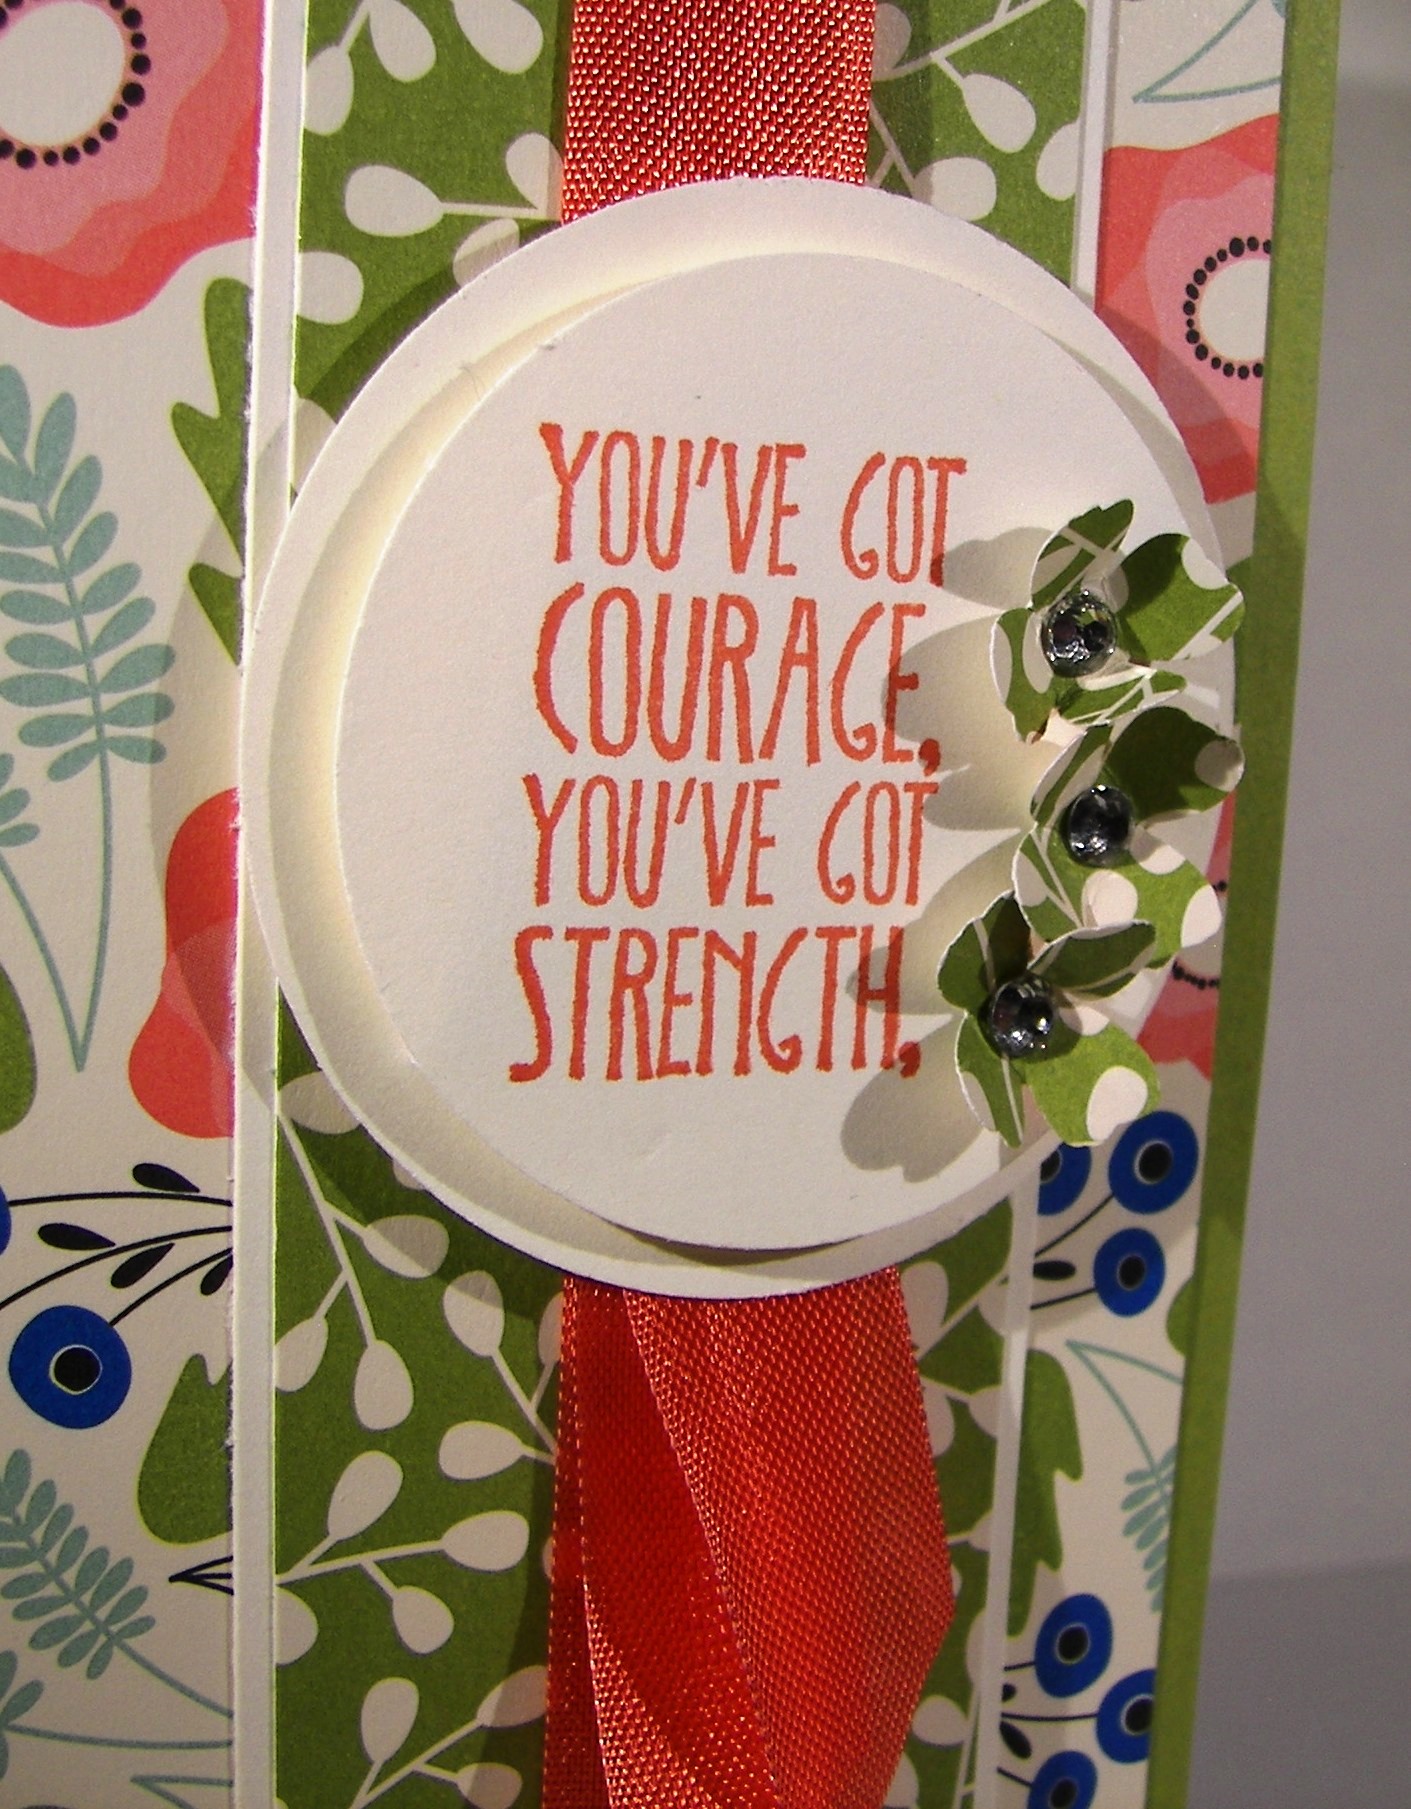
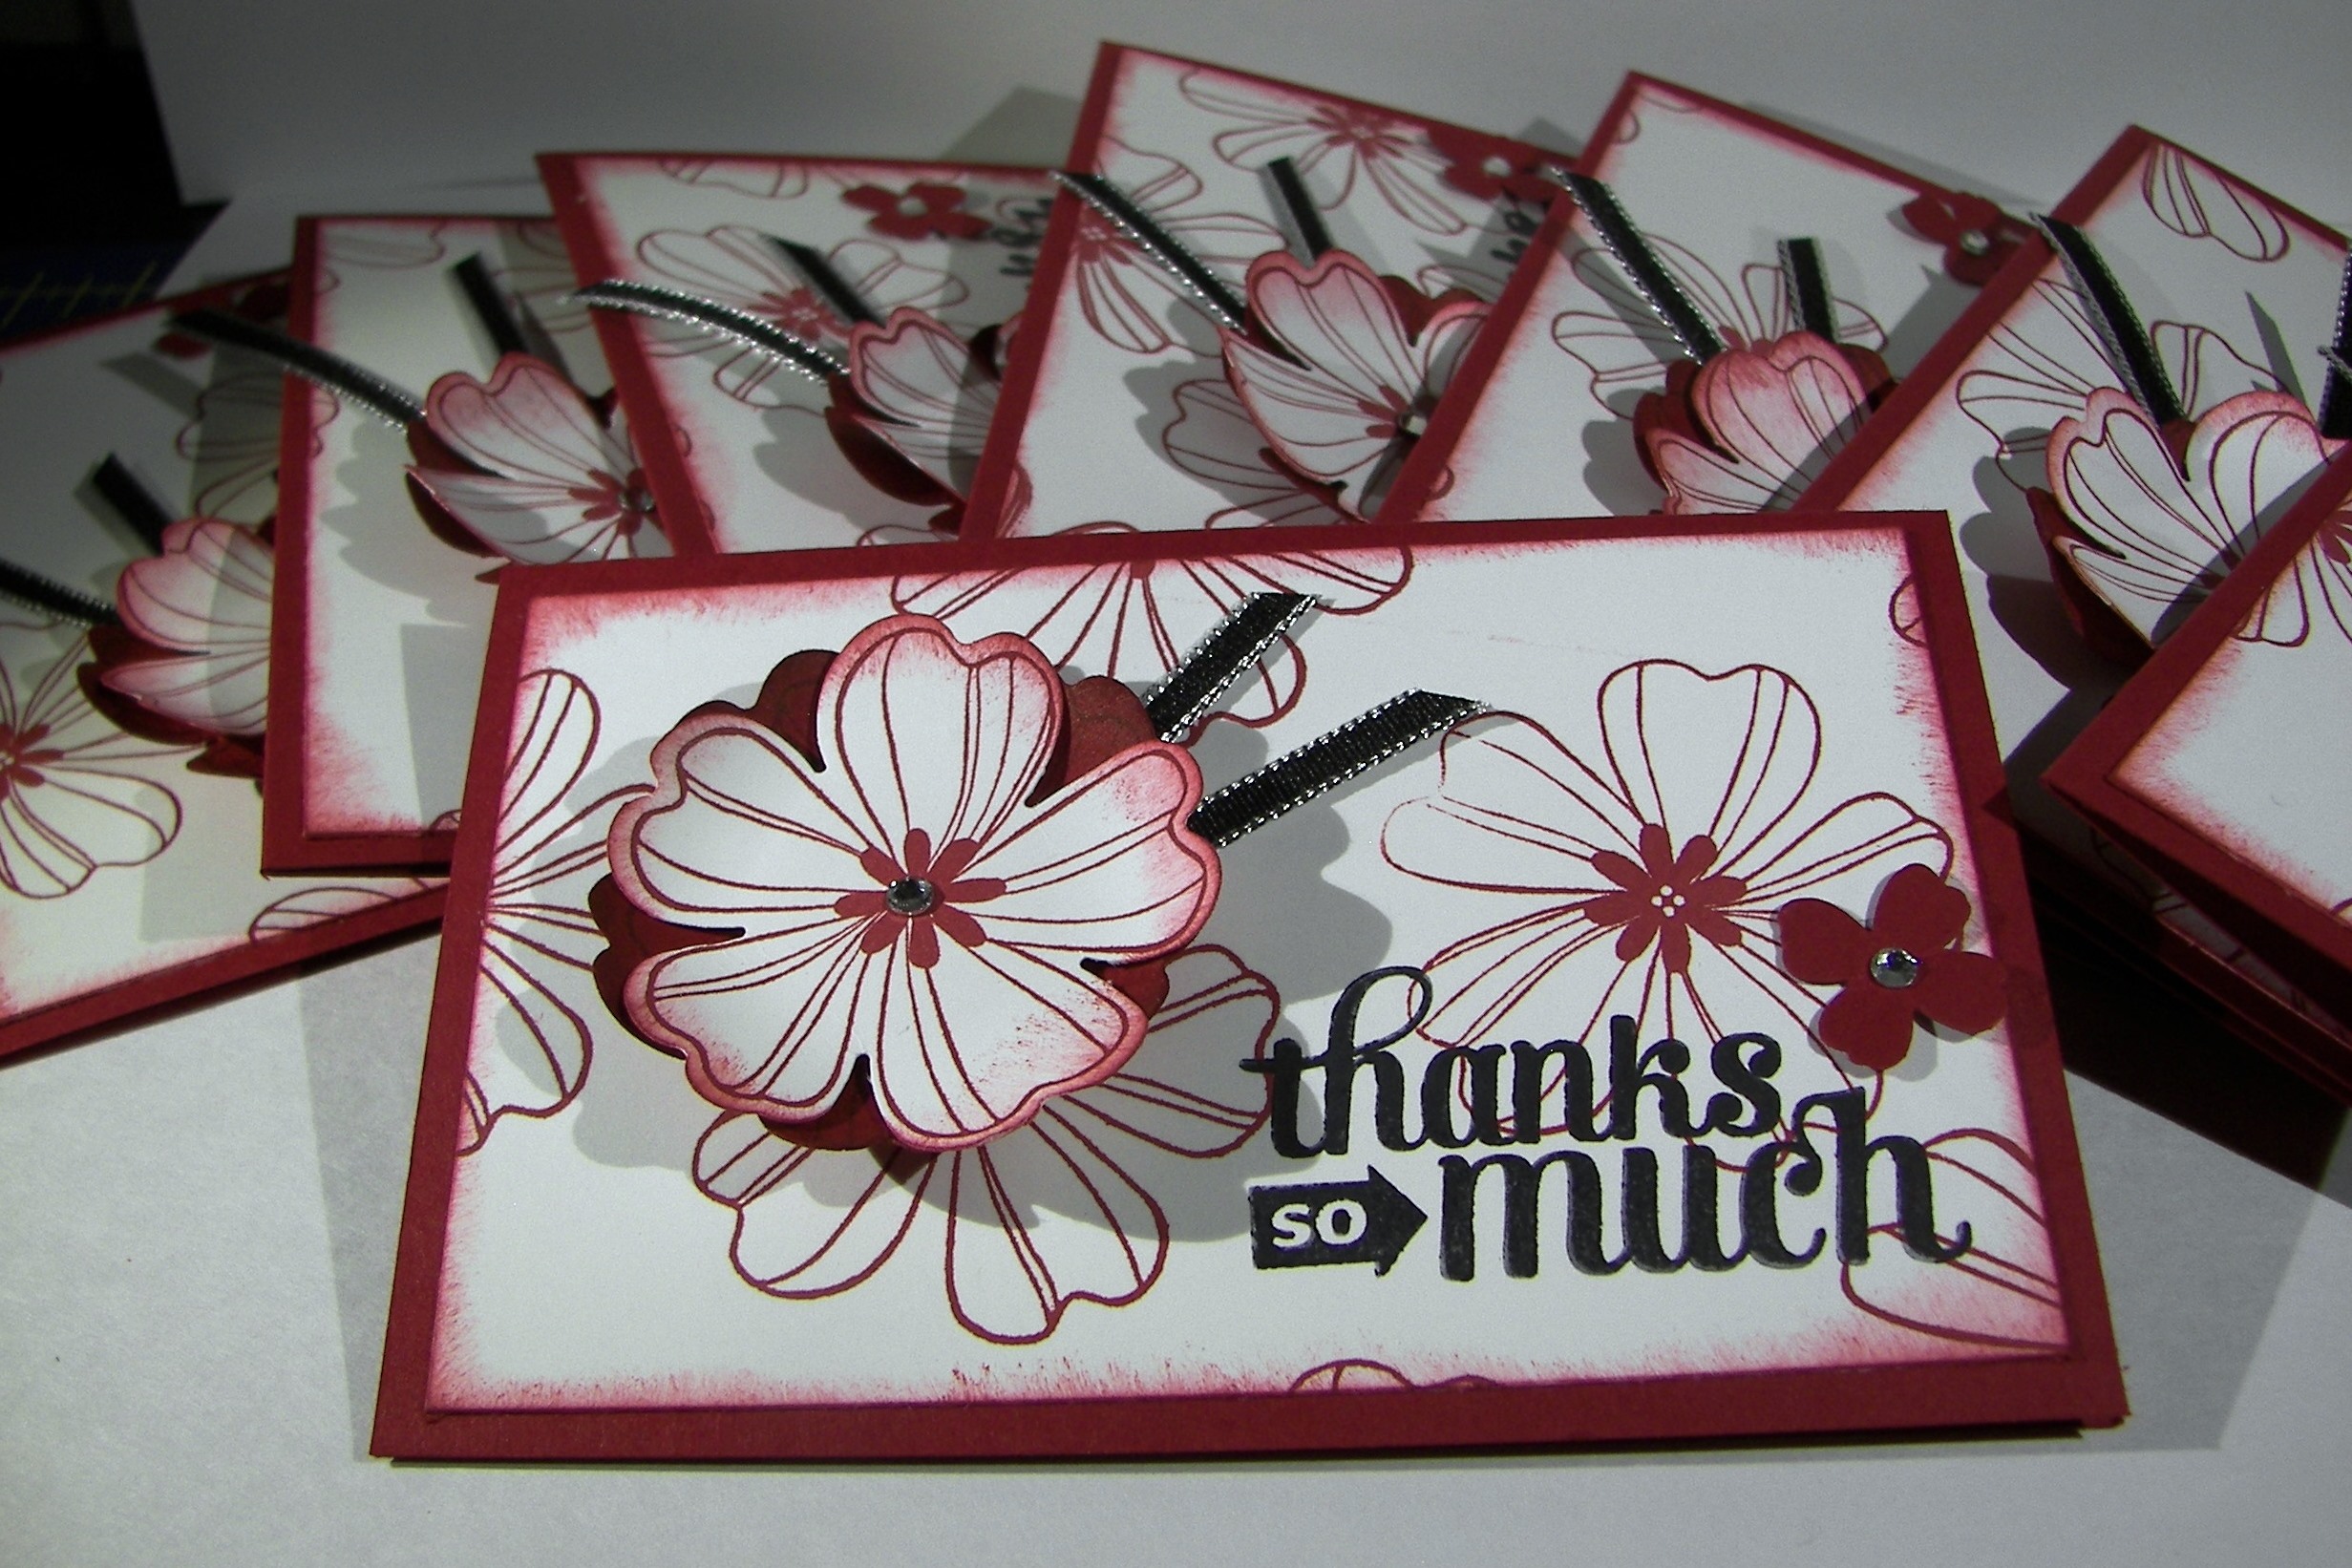
I spent quite a bit of time moving ink along this piece.  Painting, distressing, drying, and then repeating all of that until I liked what I saw.  The stamping was simple.  The first layer was done with lost lagoon and then again with silver encore ink.  The result gave a shadow look, but it is still two dimensional and flat as can be.  The flowers aren’t of course, and I love the look.  Kind of like blossoms traveling in the wind.  It will be interesting to try and create an envelope for this one, maybe it is too beautiful to put it in one. Hmmm….

5-27 (1)

Have a creative day!

Moana

It’s My Party Gift Box

Instead of a large bag, which is what I had planned, I went with a gift box.  I had cut a strip of the dsp for two card fronts and thought to use the remainder of the sheet for the bag now turned box.  I love using a whole sheet up for several projects, especially when I get to make a coordinating set.  Two more cards for this little grouping.

2-19 (3)

I think my scoring tool has to be one of my most used tools.  I do enjoy making gift bags and boxes though, so it is a great fit.  This one is two inches deep and plenty large enough to hold plenty of treats, small gifts, or even some home made soaps.  Sometimes I make a box for a specific gift, but I often go shopping through my stash for one just the right size. When you blog as much as I do, there are always plenty of choices.

2-19 (1)

Have a creative day!

Moana

My Heart Smiles

As my husband and daughter were heading out the door early this morning, I asked them to pick a pattern for today’s project from the Love Blossoms DSP stack.  Didn’t they choose awesome ones?

2-3

I was initially thinking of a Valentine’s Day card, but this quickly changed into more than that.  It definitely has that vibe, but not exclusively.  I do enjoy a project that is versatile. I used new product like crazy today.  The paper of course, I hadn’t taken one piece out of the stack yet.  Such pretty patterns.  This stamp was a first too.  And wouldn’t you know it, the sentiment fit perfectly inside the extra-large oval punch.  Too perfect!  I hadn’t tried the fine tip glue pen yet, but it was perfect to stick down my tiny baby linen thread bow.  Can’t see my adhesive, can you.  Nope.  And of course, the lovely blushing bride glimmer paper.  It is so fun.  I know we can’t have glimmer paper in all of the colors, but wouldn’t that be fun?

This card was just blocked on heavy weight whisper white card stock, with the base also being heavy.  I really enjoy a white card, but the paper has to be heavy enough to hold up all the fun stuff on the front.  This paper is totally up to the task.

2-3 (1)

Have a creative day!

Moana

For All Things

It can be hard to get even the simple things done when you don’t quite feel yourself.  That is why today’s project is super simple, just what I needed.

For All Things

I started with a half sheet of very vanilla cardstock and scored every 2″ on the 8.5″ side which left me a 1/2″ edge to seal the box together.  I also scored along the length at 2″ to make the bottom, and at 3/4″ at the top and then 1″ over from there.  I know I am not very exact at sharing my measurements, but it works out I promise.  Oh, I did do my stamping before I scored, forgot to mention that.

For All Things

I have held the box together using the tear n tape adhesive.  I do like that stuff, easier to work with than sticky strip.  The flaps are folded together and adhered with the same and then I got to sponging.  All the edges and even on these bitty little flowers.  I love that look!  I put the largest basic pearls inside each flower and grabbed for a scrap of ribbon.  The dotted lace trim has a good bit of stretch to it, so it is held on just by that.  Not a glue dot or anything.  That makes it easy to use and re-use.  A simple bow and it was all done!

For All Things

Have a creative day!

Moana

Floral Frenzy

After a huge workshop I usually just take a break from my desk, but yesterday was different.  I got back home and found myself drawn into a project that was clean and full of floral punches.  No stamping at all.

Floral Frenzy

I think I just needed to make something in a calm setting away from the frenzy.  It can get a bit wild with too many people, especially with new stampers.  I think it is time to split the group.  We will have to see. 

Floral Frenzy

There isn’t even any ink here at all.  No sponging or a sentiment either.  Very clean and simple, with a ton of flowers, my favorite.  Kind of like my comfort craft.  All this card is about is punches, punches and more punches.  Five different flowers all layered about with basic pearls to finish them off.  I used the striped cotton ribbon because I wanted it to physically stand out as much as the flowers would.  Bows and flowers and now I feel better.

Floral Frenzy

Have a creative day!

Moana

Ray of Sunshine and Pretty Petals

How about another one of those crazy mornings, that absolutely ran away from me.  To be honest, I was helping out everyone else and didn’t get my own goodies done.  Everything came together and worked out so, no worries!

Ray of Sunshine and Pretty Petals

Is this designer paper adorable or what!  This particular print reminded me of a recently retired stamp that has the most beautiful poppies in it.  I do love it when everything goes together so nicely.

Ray of Sunshine and Pretty Petals

A simple layering of designer paper, with coordinating paper and a length of ribbon to bring it all together.  I did a double layer of tags and squeezed in this sunshine sentiment keeping everything in calypso coral.  Love that color.  Six pretty little flowers all sponged and centered with basic rhinestones and I am in love with this card.

Ray of Sunshine and Pretty Petals


Have a creative day!

Moana

Thanks A Latte

Well then, how about these precious little cups!  Last Saturday a good friend of mine came over to paper craft with me and we just got out several of my paper pumpkin kits and went to work.  Some were partials and some were unopened, sorry to say.  Busy crafter here.

Thanks A Latte

But this one is actually the current July kit.  By itself it is absolutely adorable.  I really let myself play on this one.  The instructions showcase simple stamping and there you go, totally adorable.  I had to watercolor.

7-27

After making a lovely little wisteria wonder cup and a little plant set I knew I wanted to do more.  The next cup I took the flowering stamp, it could be a plant but I made them flowers, that would have been the plant growing out of the cup.  I created a pattern on the cup with it, colored them with markers, and then went to town with my aqua painter.  The cup is a little more than an inch square.

7-27 (2)

The new flowers were punched with the floral punch from the itty bitty accents punch pack and the stems were from variegated embroidery floss.  A bit tricky to put together, but lovely at the end.

If you have ever thought about a paper pumpkin subscription, just look at how much fun you can have with them!  There was enough material to make eight cards in this kit, plus totally adorable envelopes.  And, I now have the so cute stamps that came with.

Have a creative day!

Moana

You’ve Got Me

I love it when everything coordinates so perfectly, but today is all about the sentiment.  I love these paired phrases, simple but strong.

You've Got Me

The card layering is fairly basic and puts a few favorite punches to work.  A dash of basic rhinestones to draw further attention to the sentiment and the front was done.

You've Got Me

I don’t normally stamp inside a card, but this one needed it.  I zoomed in on the detail, but it actually measures barely over a square inch.  When that card gets opened, that is what you see. “You’ve Got Me.”  How perfect is that.

You've Got Me

This new paper pack is loaded with beautiful paper.  I just used one sheet for this card.  The green floral is the other side to the main floral front.  My little flowers are from scrap of the same sheet.  I love putting all everything to work.

Have a creative day!

Moana

One Big Meaning

Today is workshop day!  As much as I dislike all the rush to finish up last minute to-do’s, workshop is always fun.  I get to work with a bunch of really great ladies that love to create and do beautiful work.

One Big Meaning

I set out for a super quick project this morning and found it.  I do love how a few good punches can make magic so quickly.  It really was a grab and go kind of card.

One Big Meaning

This was made with a card front in my ever so favorite newsprint designer series paper.  It is so light and clean.  The look of newspaper without all the mess.  Partnered with a card base in sahara sand, all it needed was a simple sentiment and a bit of fluff.

One Big Meaning

I love the new thank you set, One Big Meaning.  I like having choices of how I say thank you.  A heavy dose of itty bitty flowers and basic pearls and it was nearly done.  A full bow was too much, so I opted for a simple knot instead.  When you are working with the beautiful dotted lace trim you can’t go wrong.  Great stuff!

Have a creative day!

Moana

You’ve Got This

I love beautiful paper, just love it.  This Timeless Elegance set is truly wonderful to work with.  Once I cut this piece for a card front the rest of the card came together so easily.

You've Got This

The card base is very vanilla with a narrow background of the same color.  It isn’t easy to see, but it gives it just the right touch.  The stamping was also done on the same color and cut out with the tags and labels framelits.  That new set makes me very happy.  I like a tighter border in layering and this set does it well.

You've Got This

Of course everything is layered up on dimensionals, I have to have that.  And that ribbon.  I just got this one and couldn’t wait to use it.  The stitched satin ribbon is lovely, just lovely.  A pretty bow and then on to flowers.

You've Got This

The petite petal punch and the flower from the itty bitty accents punch pack make it work.  I filled the corner up nicely and gave everyone basic pearls in the center.  Simple and yet very elegant.

Have a creative day!

Moana

Lullaby Gift Carton

It has been a while since I have scattered flowers across a project like this.  But sometimes, you just really want to.  I like trying an unlikely pairing and seeing how it turns out.  Especially when it works!

Lullaby Gift Carton

I started with the paper, thought of the cute baby tag idea and decided it needed flowers.  Even though we traditionally put boys with blue and not flowers so much, doesn’t mean we have to stick to it.

Lullaby Gift Carton

It would be easy enough to swap out the tag for something else though.  I do like a versatile project, don’t you?

Lullaby Gift Carton

Each day brings me new opportunities to stretch my mind and try to challenge myself without too much frustration. Quite the interesting balance sometimes.

Have a creative day!

Moana

Happy Heart Mini Treat Bag

Could this treat bag be any cuter?  I don’t know, maybe.  I did buy some chocolate to put inside, but forgot to take a photo with them included.  Ooops, but it will still get in there.  I am actually going to give it away today.

Happy Heart Mini Treat Bag

I used the framelit set to cut out the bag bits.  While I was working the big shot I went ahead and cut out the ‘for you’ sentiment from the same paper, calypso coral. I did some sponging, but knew I needed something more for the bag front.

Happy Heart Mini Treat Bag

I used the heart framelit from the same set on some of the coordinating washi sheets.  I had planned on sticking it directly to the paper, but the embossing changed that plan.  I left it on  the white background paper it came on and liked it.  I did punch a few hearts with the bitty heart punch and stuck them on.  But not til I had embossed the bag front with the happy heart folder.  Those little hearts fit in pretty darn good.  I used my stylus to help tuck them in just right.  Before I did, I used my brayer and inked over the embossed hearts to make them pop a bit.  I got a little messy, so I went with that and sponged a bunch to help balance it out.

Happy Heart Mini Treat Bag

I used the row of dots framelit, also in the same set, to make some sewing punches for my ribbon.  It wraps around the back, but laces in the front.  I put it in a bow and tied my tag on.  I did stick the tag with a dimensional to help it stay just right.  Now, to get the chocolate in and give it to my friend.  Should be fun!

Have a creative day!

Moana

Petite Purse Retirement Party

Why is this little tiny purse all alone?  I wanted to showcase just it.  I have loved this die for so long now.  Admittedly, I am addicted to die cuts that make boxes and other such things.  However, this one has always been my favorite.

Petite Purse

I kept it very basic here, just showing off the adorable flowerpot dsp and only one little punch with a rhinestone.  Simple, but perfect.  Can’t you just see opening it up and finding a truffle?  Of course you can.

Petite Purse

I have changed out the top with other cutting or even removed it entirely and had an open container.  I have made different fancy handles, covered the top in little pearls or jems, or even smothered it button or butterfly closures.

Petite Purse

I am so glad these dies last so long.  This is one I have enjoyed and will keep in my collection for years to come.  Thanks Stampinup! for such a fun product!  What will you replace it with?  I wonder.

Have a creative day!

Moana

You’re Wonderful

What is wonderful?  Mothers are!  My mother is wonderful.  My mother-in-law is wonderful.  Paper crafting for both of them makes all of us happy!

You're Wonderful

After workshop I tend to have a bit of an empty brain, so I wondered what I could come up with for today.  As I put away my  materials and tidied my desk I cam across a couple of cards that were part way through.  Instead of just putting away the components to become something else, I added to them and made this set.

You're Wonderful

I love sending my mother cards to use and love.  She sets up the ones I personally send her around her house as decoration.  How sweet is that?  I also keep my mother-in-law supplied in birthday cards.  She is so nice to remember literally everyone in her family on their birthday.  Even down to the great-grand-babies.  Such a kind woman.

You're Wonderful

So I try to live up to their great examples and share what I can.  This pretty set is made from sahara sand, whisper white, and the lovely something borrowed designer paper.  I stamped my sentiment from the You’re Wonderful photopolymer set.  It is so fun because you can change out the wording that nests in the banners.  So awesome!

You're Wonderful

And what set of mine would be complete without an adorable matching bag?  It was made from a card base that was cut at 4 1/4 x 11″.  Simple scoring, stamping tone on tone with a smaller flower image from the same set, and adorned with velum flowers and rhinestones.  As you can tell, I stamped my sentiment on velum as well.

Have a creative day!

Moana

All Abloom Gift Set

Sometimes we go back to our beginnings when we aren’t even thinking about it.  Years ago when I first started paper crafting it was all about the paper and utilizing great tools.  I was pretty tired and just started without thinking.  Half way through I recognized where I was and just went with it.

All Abloom Gift Set

After I picked this patterned paper from the All Abloom dsp stack I literally had to scrounge for some coordinating pistachio pudding paper.  I try really hard to get through my in color stash before they retire.  I will be so sad to see this one go.

All Abloom Gift Set

Using the faintest of stamping, just color on color for the pistachio pudding strip, I enjoyed a little ribbon sewing.  So simple, yet it gives a lot of texture and interest.

All Abloom Gift Set

I used a couple of sheets to make the cute little matching bag.  Any more I give a card with a tiny gift or treat, it is almost compulsory.  I just love giving.

Have a creative day!

Moana

#You’re Welcome

Literally, one of my favorite things has become a card and matching box or bag.  This little project set fits that perfectly.

#You're Welcome

The Balloon Bash stamp set is full of whimsy.  The saying is all cute and pretty and then has the punch line at the bottom.  How often do people forget to say thank you anymore.  They really ought to make a card, but the words would do.  This one just made me laugh.

#You're Welcome

Could the paper be any more exciting?  The Birthday Bash Specialty dsp is almost full of energy.  All kinds of confetti going on here.  I stamped the sentiment I wanted and fussy cut it out.  It didn’t look done, so I fussy cut a boarder as well.  I do prefer a framelit or a punch, but we can’t have that every time.  In the bottom corner I snuck a little star with a matching epoxy sticker over the top.  Just right.

#You're Welcome

I repeated the pattern on some calypso coral card stock with the confetti stamp from the same set.  Tone on tone is a beautiful thing.  A little treat bag with some heart candy and topped with coordinating chevron ribbon.  Just right.  I did sneak some of the retired sale-a-bration ribbon to wrap around the french fry box, love that die cut, just to give it a hug.  It really did come together pretty quickly.  And of course I had to sponge absolutely everything.  No holding back there.

Have a wonderfully creative day!

Moana

Blooming With Kindness Trio

This set started with an experiment, had some problems, then turned the corner and gave me something beautiful.  Pretty fun experiment there.

Blooming With Kindness

I started out wanting to use pink pirouette, saraha sand and very vanilla.  The papers looked lovely together, however, the way they looked on the very vanilla compared to whisper white made all the difference.

The pink looked so different on the vanilla that it made it look like my card stock was the wrong color.  That was odd for sure.  But I loved the paper I had created using the huge flower from the blooming with kindness set, so I had to get creative.

Blooming With Kindness

I made other cards using the front and inside bits I had stamped on the very vanilla.  Then I made another background piece on whisper white and the pinks were much more friendly.  And I ended up loving the secondary cards more than my original.  How about that?

Blooming With Kindness

Even though my results went a bit off, I do love the look I made.  I stamped the flower with versamark ink onto the card stock and quickly sprinkled iridescent ice powder on the wet ink.  I heat set it and while it was still tacky I hit it again with the powder and heat set it again.  You can kind of see how shiny and sparkly it is.

Blooming With Kindness

Each card got a different sentiment, and they are all so beautiful.  My daughter is the one that said we had to have the set.  She was so right, my creative buddy.

Remember, there are no mistakes in art, only opportunities.

Have a creative day!

Moana

Part 2 with Gift Cards as Promised

These little cards are just so cute.  And yes, all eight of them do fit nicely in yesterdays box project.  It was hard not to share them together, but I managed.

Part 2 with Gift Cards

I thought the cards were perfectly sized to write a tiny note and put in a gift card.  This would be a great stash to have on hand.  The cards were made simply with 1/4 of a page of card stock and then scored in half.  That way I was able to make all of the card fronts from one sheet of whisper white.

Part 2 with Gift Cards

I stamped the whole page and then chopped it into eight pieces.  How easy is that?  It was super easy,no questions.

Part 2 with Gift Cards

Now, you need to go try something fun like this.  Have a creative day!

Moana

Balloon Bash Gone Wild

This got a bit wild I think, but my girls thought it was great.  I suppose for teen girls it would be.  Sometimes we need to just step outside a bit and see what happens.

Balloon Bash

I suppose I should have done something green, for St. Patrick’s Day, oooops.  I am wearing what I call my grinch shoes.  Quite comfy, if a bit silly too.

Balloon Bash

I digress…so let’s focus here.  This tiny bag is just 2 x 2 x 3 1/2″, but you could fill it with lots of little treats or a gift or two.  It looks adorable, don’t you think?

Balloon Bash

I normally have to use a die cut or punch for my sentiments.  I was distracted and found myself fussy cutting.  So I just went that way all around.  Admittedly, I am not the best at that.  I avoid it as much as possible actually.  I know, it’s silly.

Balloon Bash

The stacked with love paper stack isn’t just about Valentine’s Day.  The back side of the red prints are more than fun in all of these exciting black and white patterns.  I use it more than my other stacks to be honest.  Interesting.

Have a creative day!

Moana

Sheer Perfection

I had taken a break from blackberry bliss, since I couldn’t leave it alone.  I went through a pack of that paper pretty darn quick.  Just had to order another.  I absolutely love, love, love that color.  I am glad we get it for another year.

Sheer Perfection

Isn’t this velum paper just beautiful?  It is yet another free gift with a qualifying purchase during Sale-a-bration!  Those folks at Stampin’Up! did a really clever thing during this sale.  By the time we hit March, things have slowed a bit, so they introduced four new gift items!  Wheeeeeee!

Sheer Perfection

I picked my favorites right away of course.  This pack has several patterns and they are all wonderful.  You should really get some of it, really.

Sheer Perfection

The gift bag I made to go with is pretty darn simple.  I probably should have done more, but I was wasn’t feeling it.  My daughter thought it would be perfect with a couple of candy bars inside.  What bag wouldn’t, right?

Either way, I finally got these together.  Some Saturday’s are busier than others, and today was chuck full of very wonderful distractions.  Life can be so good.

Hope you had a creative day!

Moana