You’re How Old?!

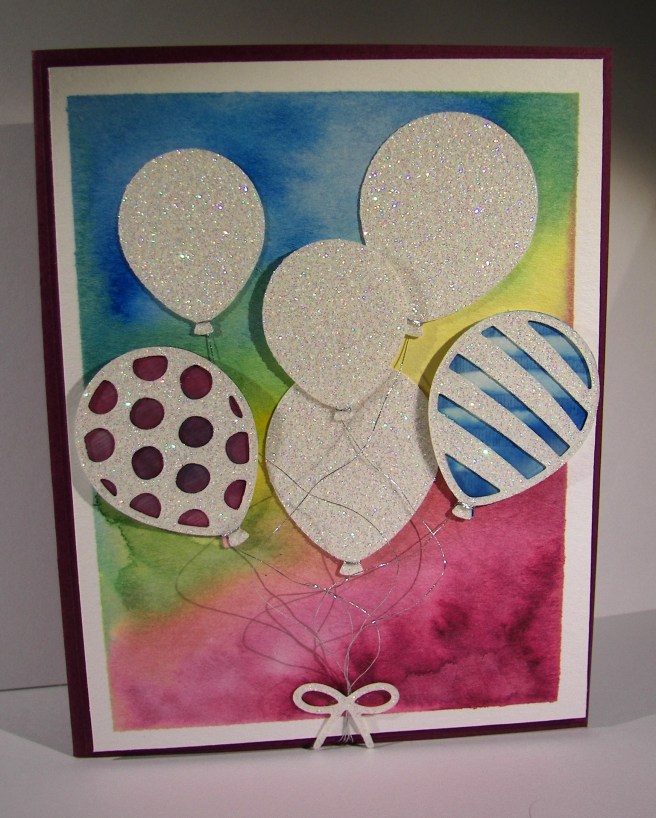
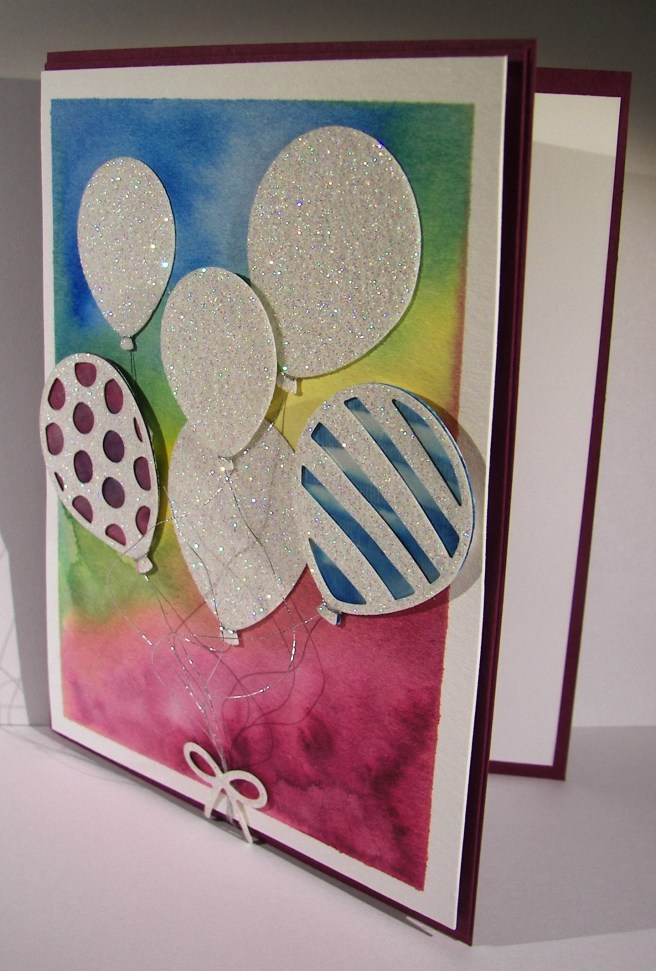
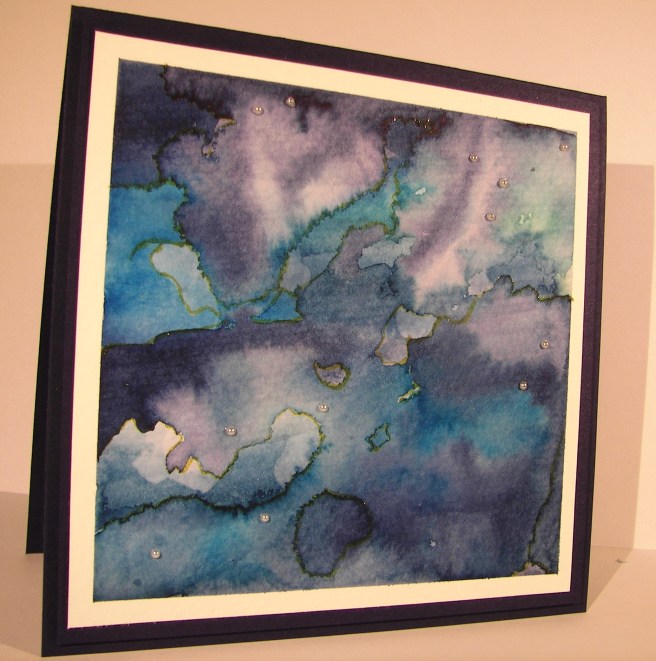
This was an experiment all the way around.  The only thing I hadn’t used yet was the paper. The color burst powder is some crazy cool stuff, but new to me.  That was an adventure. Well, the brushing of color, adding and removing, stamping, spritzing and general mess making left me with this. I wasn’t quite happy with it, but let it be shared anyway. It is so silly after all.

2-22

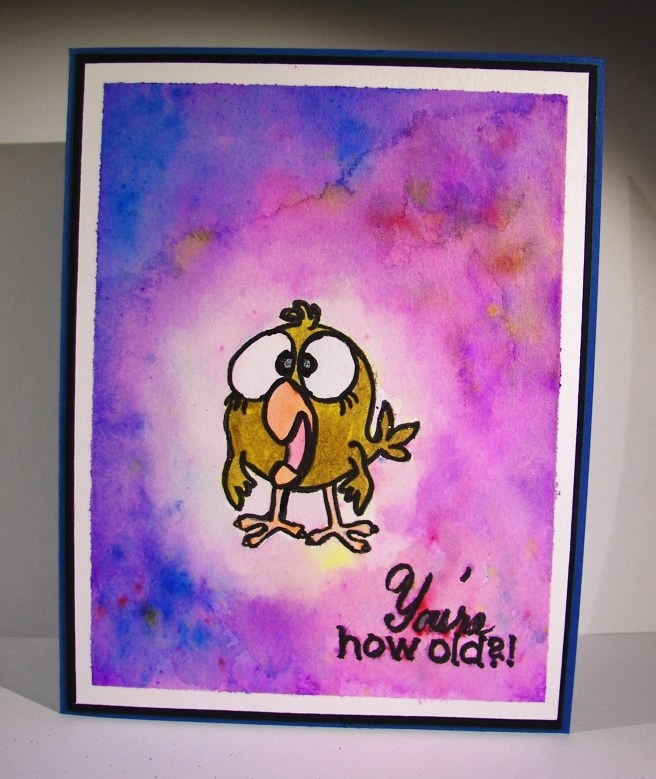
I began the adventure with some of the color powder on a pallet, added water and began to apply to the background area.  It was actually very dark purple to start with. The blue came second, and then both were lightened tremendously.  Then I tried tapping bits of powder here and there on the piece and spritzing with water.  A cool, and very different look happened then.  That is where it looks like sprinkles of color.

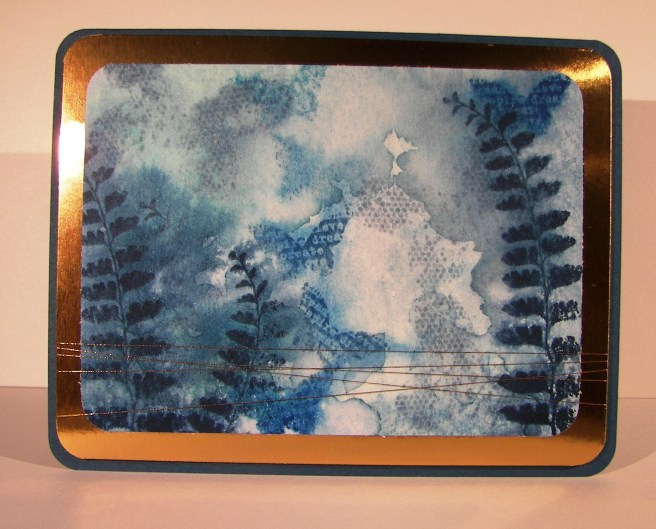
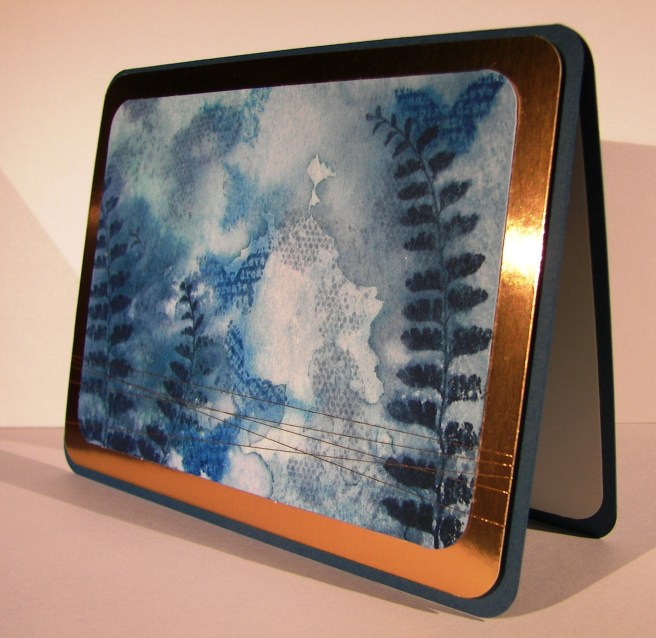
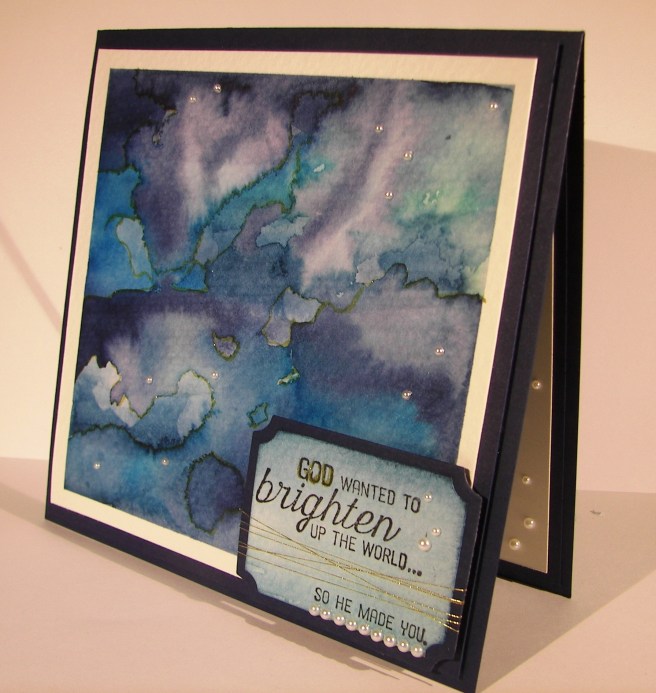
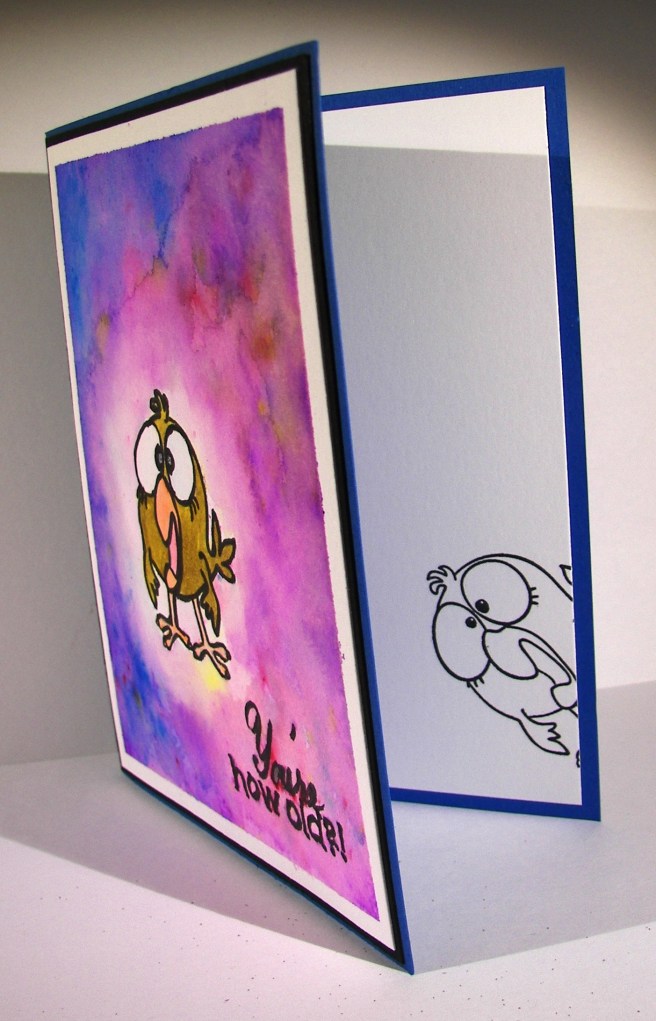
It ended up making my wording look very muddled and hard to read.  I had to outline the stamping with a pen and chose a brush tip just too wide.  That is why it looks so very wonky. Like I said, I stuck with it.  I painted the adorable little bird and was getting pleased again.  Then I went too far and applied wink of stella to that bird.  The gold wasn’t a problem, it was the white area.  It got onto the stamp lines and instead of stamping over again, because I would have had to use my stamp-a-majig, and I didn’t feel that adventurous.  My mistake, because my pen drawing over the goofed edges really didn’t do the stamp justice at all.  Like I said, mistakes were made, products were experimented with, and I still thought I wouldn’t get judged too much on the final product.

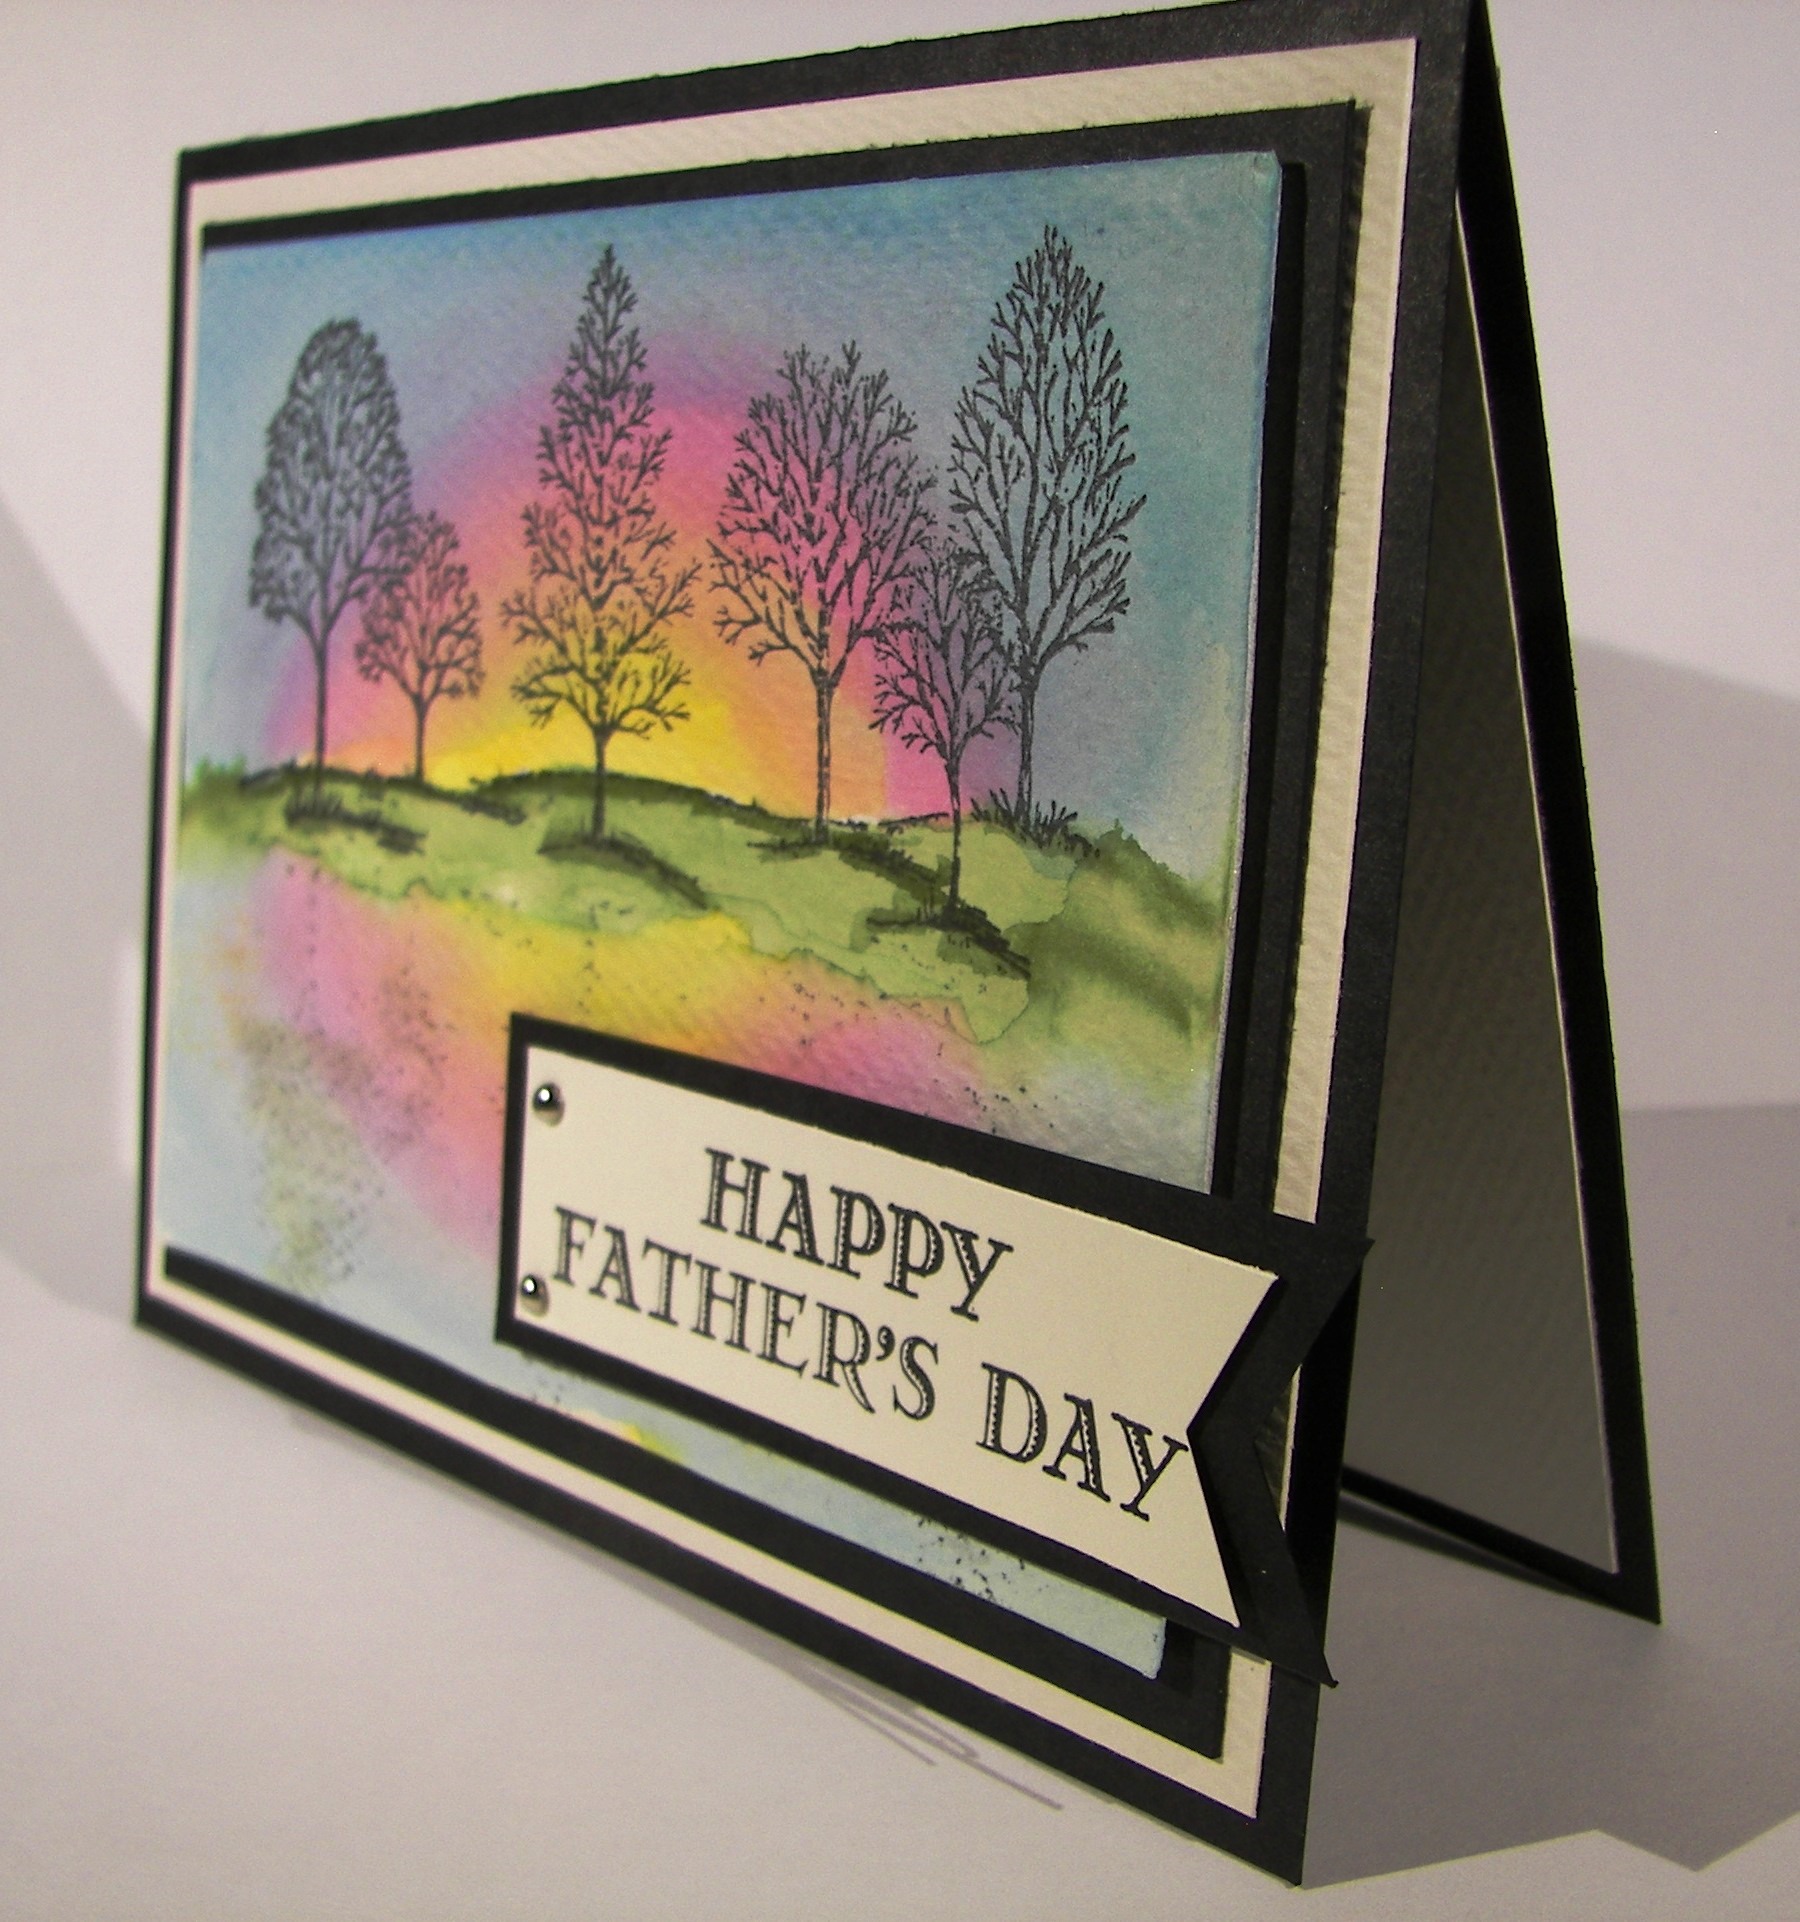
My card base was made with pacific point card stock and layered with basic black. Nothing was layered up, just adhered heavily with fast fuse to keep that paper under control. It really got a proper working over. I do want to try again though.

2-22-1

Have a creative day!

Moana

Balloon Adventures

This is how things look when I am feeling creative, but not sure just which direction to go. No sentiment, hardly a stamp in sight, just pretty flowing color.  That is really so satisfying. This could be for a birthday, but really any celebration would be a good fit.  Balloons are so happy after all.

2-18

The project began with water color paper being masked to a board and spritzed with water lightly.  The rich razzleberry went down first in the bottom corner pretty heavy.  Pacific point was the blue I chose for the opposite corner.  The center section got crushed curry, but I didn’t blend just yet.  I wanted it to kind of mix with the help of water, not my brush so much.  It was nice, but I did push some of the color around to make the green show up more. I would have like a bit more orange to have mixed, but the green kind of took over and I didn’t want the infamous brown to appear.

The balloon bouquet punch and the balloons inside the balloon pop-up thinlits set match perfectly.  I painted a couple of swatches, punched them out and layered them under the thinlit cut balloons.  A bit of layered fun there.  I wanted to go with velum cardstock, but didn’t feel up to the adhesive hiding game.  The glimmer paper is always pretty though.

2-18-1

I used the metallic thread for the balloon strings and loved it!  It was a bit tricky since it isn’t the easiest stuff to work with.  But how it looked wrapped around the bottom of the balloons was too great to not.  There it is!

Have a creative day!

Moana


Thank You Very Much

Holiday weekends offer a lot if you are willing to enjoy.  I love the extra time to sort through all of life’s adventures and endless “to do” lists.  But it is also a time to pace yourself and reflect.  This project offered me that time.

1-16

I started with the idea of more precise painting, but quickly learned that it had other things in mind.  Since I have such a hard time waiting for much of anything, my colors couldn’t stay still.  So I went with it and created a much more fluid and dreamy look.  You can tell from the warp of the side of the paper just how much water went into this project.  I had fun though, and it was truly relaxing.

1-16-1

The sentiment was stamped on very vanilla and cut out using one of the dies from the Bunch of Banners framelits set.  I love the crisp edges of a die cut.  The inside stamp was another image from the same stamp set.  This particular set isn’t available for regular purchase, but at a reduced price when you host a workshop.  Sounds like a win win to me!

Have a creative day!

Moana

Rainy Sky or Under Water, Yes

This lovely water color started as a fun project with my daughter-in-love.  We sat down together with a bunch of blue ink and totally different ideas.  I can’t wait to see what her card ends up looking like.  I wanted to create dimension in a single layer water color.  I love how it turned out.

1-13-17

I started with a wet brush and paper.  I put different colors in all four corners and the lightest blue in the center.  The wet ink blooms did a lot of blending, but I moved the paper around to control the rest.  My patience runs thin often, which ends up in me drying my projects along the way to speed them up.  This time was different.  I only dried the paper enough to apply some stamped images here and there.  Then, I spritzed the entire piece to soften the images and allow more blending to happen.

After a few hours I came back to see how it ended up.  Just like this.  I even controlled myself and didn’t add anything else.  No more color, or blending or water droplets.  It was accented with copper foil paper and copper metallic thread.  What a great all occasion card to have on hand.

1-13-17-1

Have a creative day!

Moana

Flourishing Phrases

This particular project went through a few different phases.  This is how it started out, all about blue.  I had the ocean on my mind and gave it a try.  I had intended on using a new embossing folder after I water colored, but to be honest, I forgot once I got all this going.

6-25

After I painted with all of the blue inks I have I did some detail work using my gold wink of stella.  I focused on some of the watermarks and edges of color.  The look it creates is really awesome.  It is tricky to know when to stop because it is so much fun.  Mission accomplished here for sure.

6-25 (1)

The next step was to add a special tag.  This one got a bit out of control and went to a busy style that really isn’t my own.  However, I decided to leave it and see how it balanced out with the huge butterfly addition I had in mind.  I water colored large areas of paper to provide both my tag area as well as the butterflies.  It is much easier to paint whole sheets instead of small specific die cuts.

6-25 (2)

When this butterfly combo came along I really began to wonder just what I was up to.  I think that is because I love decorative painted backgrounds so much I rarely cover them up. They are such great all occasion cards, but I pushed forward.  I did edge the butterflies with the wink of stella, which of course you cannot see in these photos.  It is there though, and it looks so pretty.  You can see it better in the lead featured image which is much more close up.  Basic pearls, gold metallic thread with a little more patience and this project was finally finished.  It measures 5 1/2 x 5 1/2 plus the butterfly hanging off the edge.  A custom envelope will definitely be in order here.

Have a creative day!

Moana

A Happy Hello

I tell you what, the more I think things should calm down, the more they wind up.  No need to fuss I say, just pick up where you left off and get going.  So, here we go!

4-26 (1)

I thought it would be fun to pull out some paper that I did not know how I would put to use. The School House DSP is definitely in that category.  I don’t have young children, and I don’t work in an elementary school setting anymore.  That is when you look to the other side of the paper.  And what did I discover?  These awesome spots!  They just had to get to work in a huge box to show them off.

I stamped the little fish from the Sea Street set in pool party and my sentiment in pacific point.  The color combination is so fun and happy.  Just what I needed.  I even had an unopened spool of pool party cotton ribbon.  That called for a double bow for a little extra fun.  Then my favorite combo of circle punches and I didn’t even sponge them.  The spots were huge and clean looking, so I stayed with that look.  And there you go!

4-26

Have a creative day!

Moana

Happy Father’s Day!

What more do you need to say than that?  I guess there are too many words to include in such an important day as this, but a card can only hold so many.  It is a special occasion, so I did a little more than normal for this project.

Happy Father's Day!

A friend of mind recently stepped out of her front door to a scene similar to this card front.  Of course hers was more accurate, and with a lot more trees, but you get the idea.  It was a beautiful sunset and I couldn’t wait to put it in a card somehow.  It worked out and was fun to arrange.

Happy Father's Day!


I hope you are all enjoying this special day in the way you would like.  We are actually all over the place, but doing good things either way.  I love all of the dads in my life!

Have a creative day!

Moana

Divine Nature

The week is nearly over and I am sure I am all tuckered out.  Today theme is “I Serve With All My Strength”.  The value is Divine Nature and blue is the color.

Divine Nature

Have you noticed in each of the favors that I used the initials of the value for that day?  Of course I used the very clever alphabet stamps from the Calling All Heroes set.  They are tiny, but give the perfect comic book font.

Divine Nature

I used pacific point to make the blue favor and stamped the mask in the same color.  Coordination makes me more than happy.  Especially when it looks as good as this does.  I think today’s is my favorite favor.  Please note the cute blue jelly beans inside.

Divine Nature

Tonight will be bittersweet.  It is always nice to go home after being gone, especially camping, but I know we will have had such a wonderful time and become great friends.  The experiences you get to have during a special camp like this can truly be life changing.  I know it will be for me, once again.

Have a creative day!

Moana

Hello There Painted Petals!

Bringing together my favorites once again.  This whole painted blooms and painted petals brings me so much joy.  Pairing it with this beautiful hello there phrase makes it work!

Hello There Painted Petals!

I think I could use the painted petals suite exclusively for some time without getting bored.  Maybe that should be a challenge for me.  Just how many different things can I make, while having them look different, from the same set.  I like it!

Hello There Painted Petals!

Of course the paper I am showing here is either side of the same sheet.  Yup, awesomeness on both sides!  I just love that!

Hello There Painted Petals!

And my little punch buddy.  That bow builder makes anything look wonderful.  I even have a couple made up that just sit on my desk.  They are adorable even all by themselves.  What a treat!

Have a creative day!

Moana

Because You Care Workshop Gifts

I love getting ready for workshop, especially the special gift I make my club members.  Others attend just to make the projects, but don’t necessarily order. Having fun making pretty things doesn’t have to be about buying, but they often go hand in hand.  Especially when it comes to me.

Because You Care

These cute little gifts contain a huge spool of sadly retired pacific point ribbon.  You can still get it in other color choices though.  It is really awesome!  The designer paper is Painted Blooms.  I really can’t get enough of this paper.  I truly am a floral girl at heart, thanks to my lovely mother.

Because You Care

Well, I would love to chat, but I need to get out the door.  Literally, in fifteen minutes.  Yikes!  Get off the computer already!

Have a creative day!

Moana