Vintage Leaves

What happens to some mornings, I really don’t know.  Just when you think you might get a break here or there, it just doesn’t happen.  But I made it here, finally.

Vintage Leaves

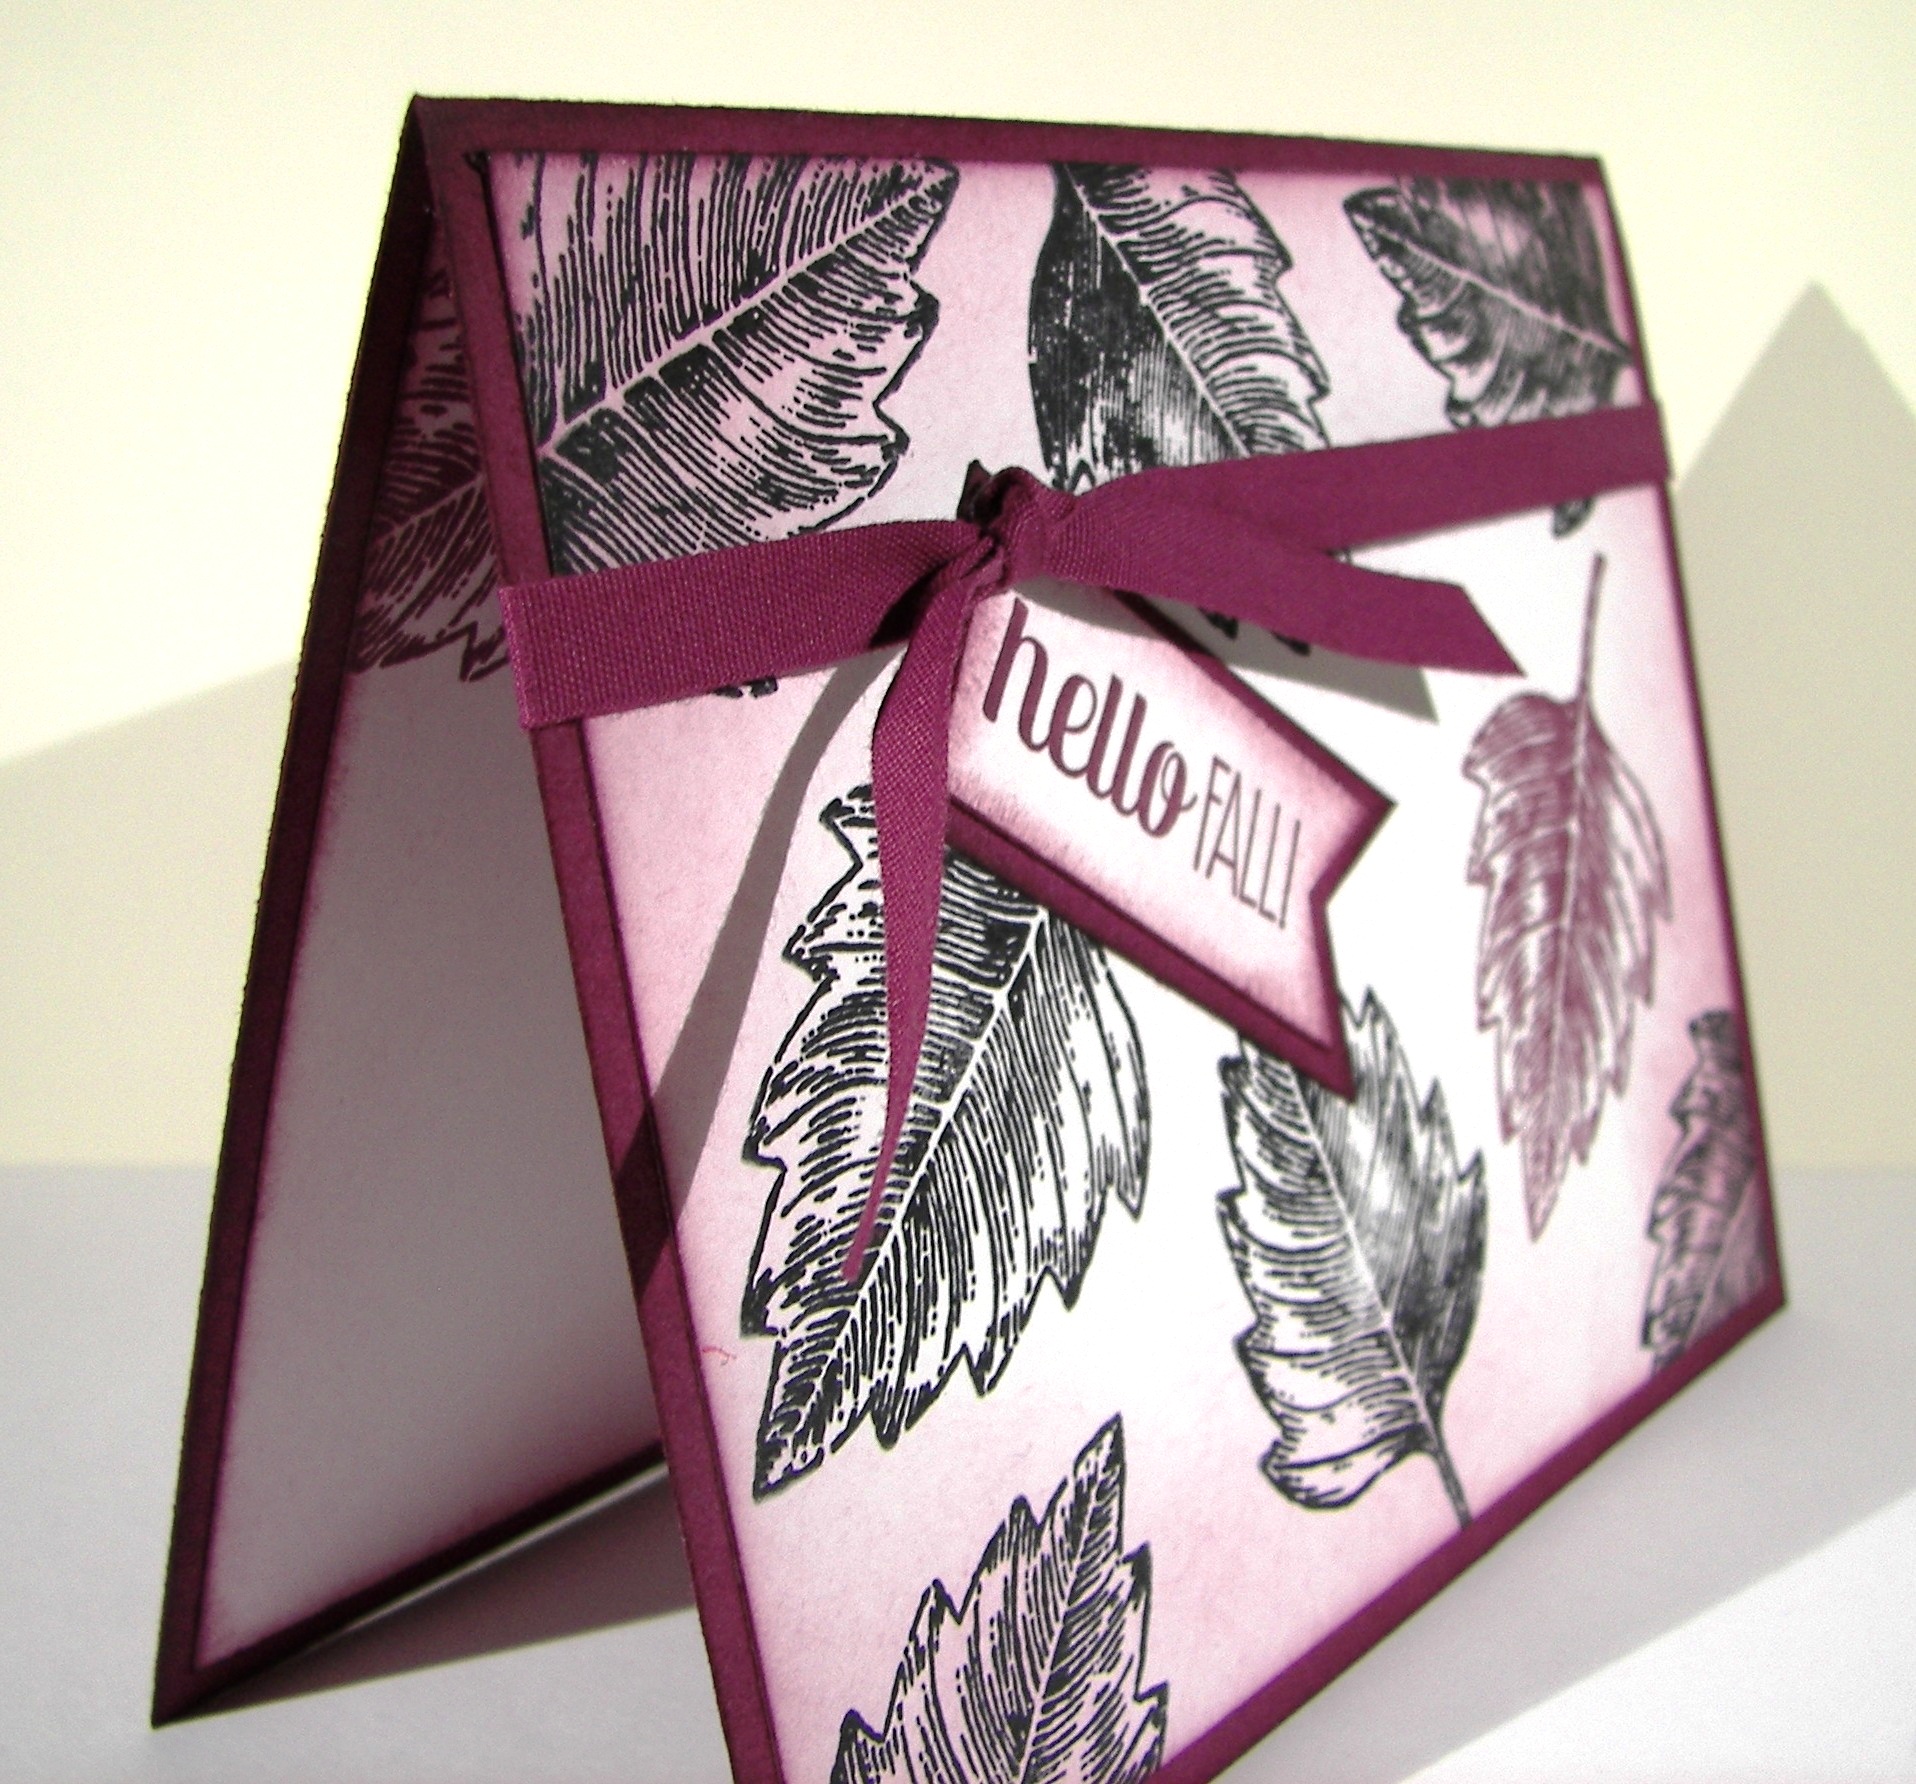
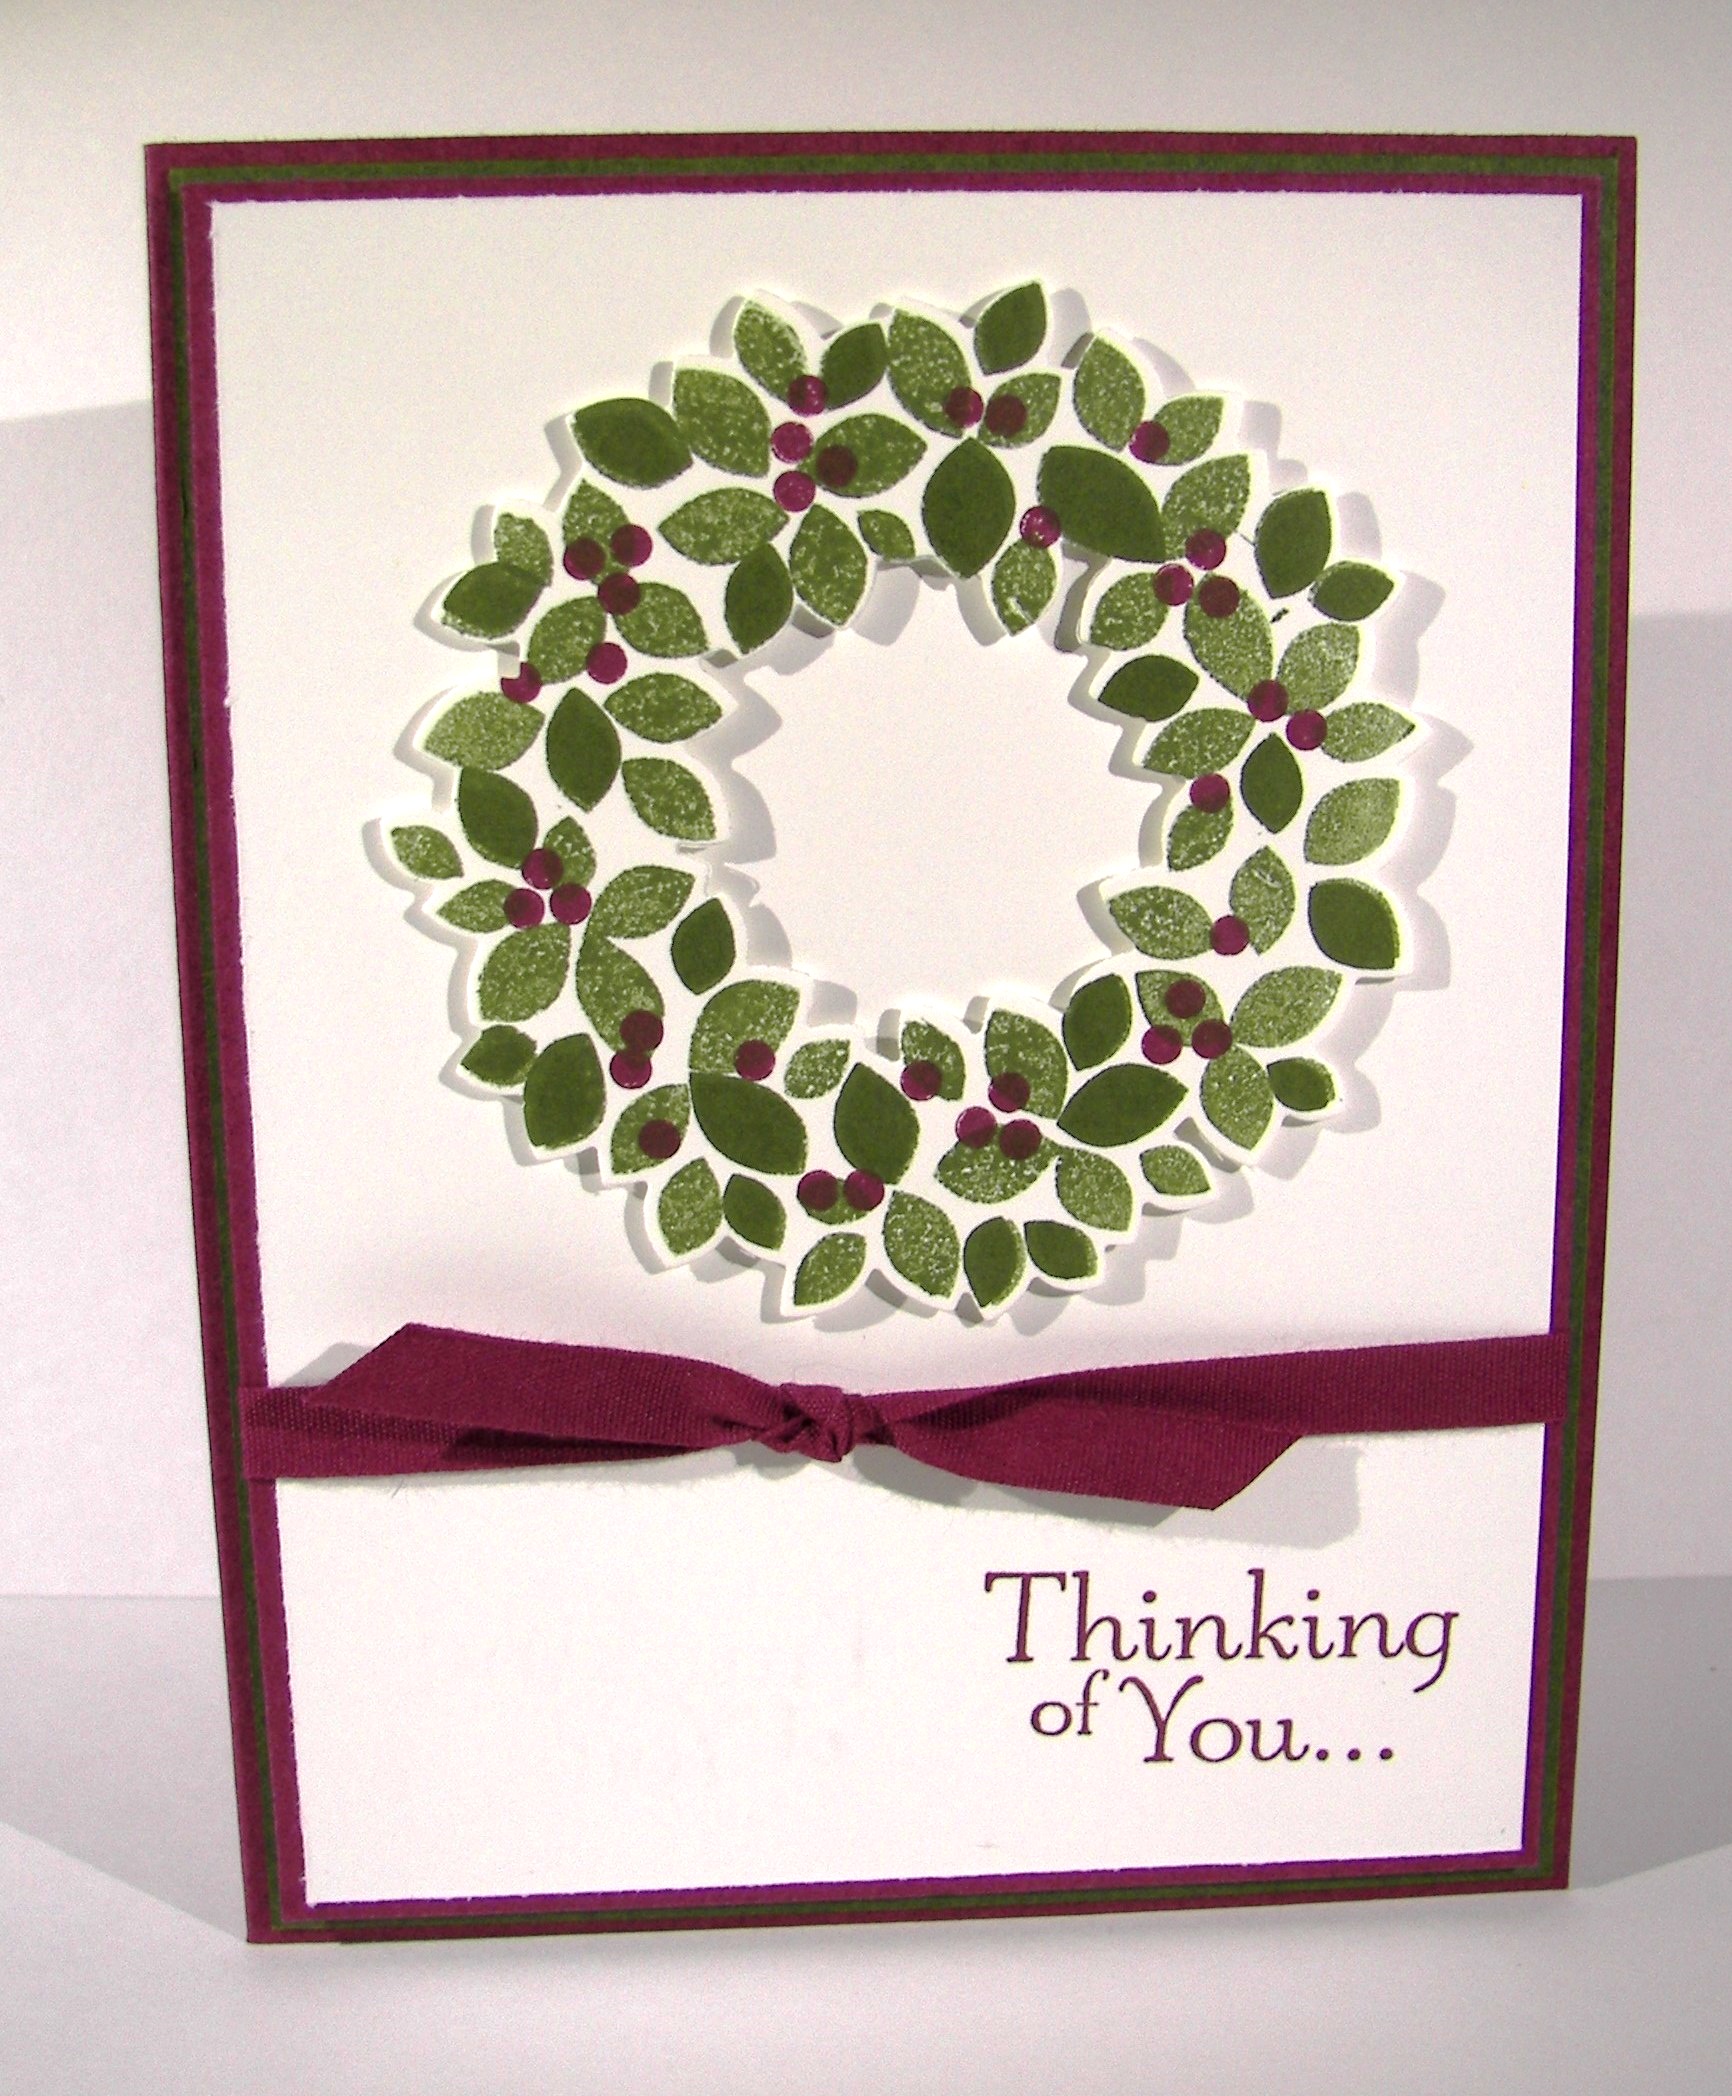
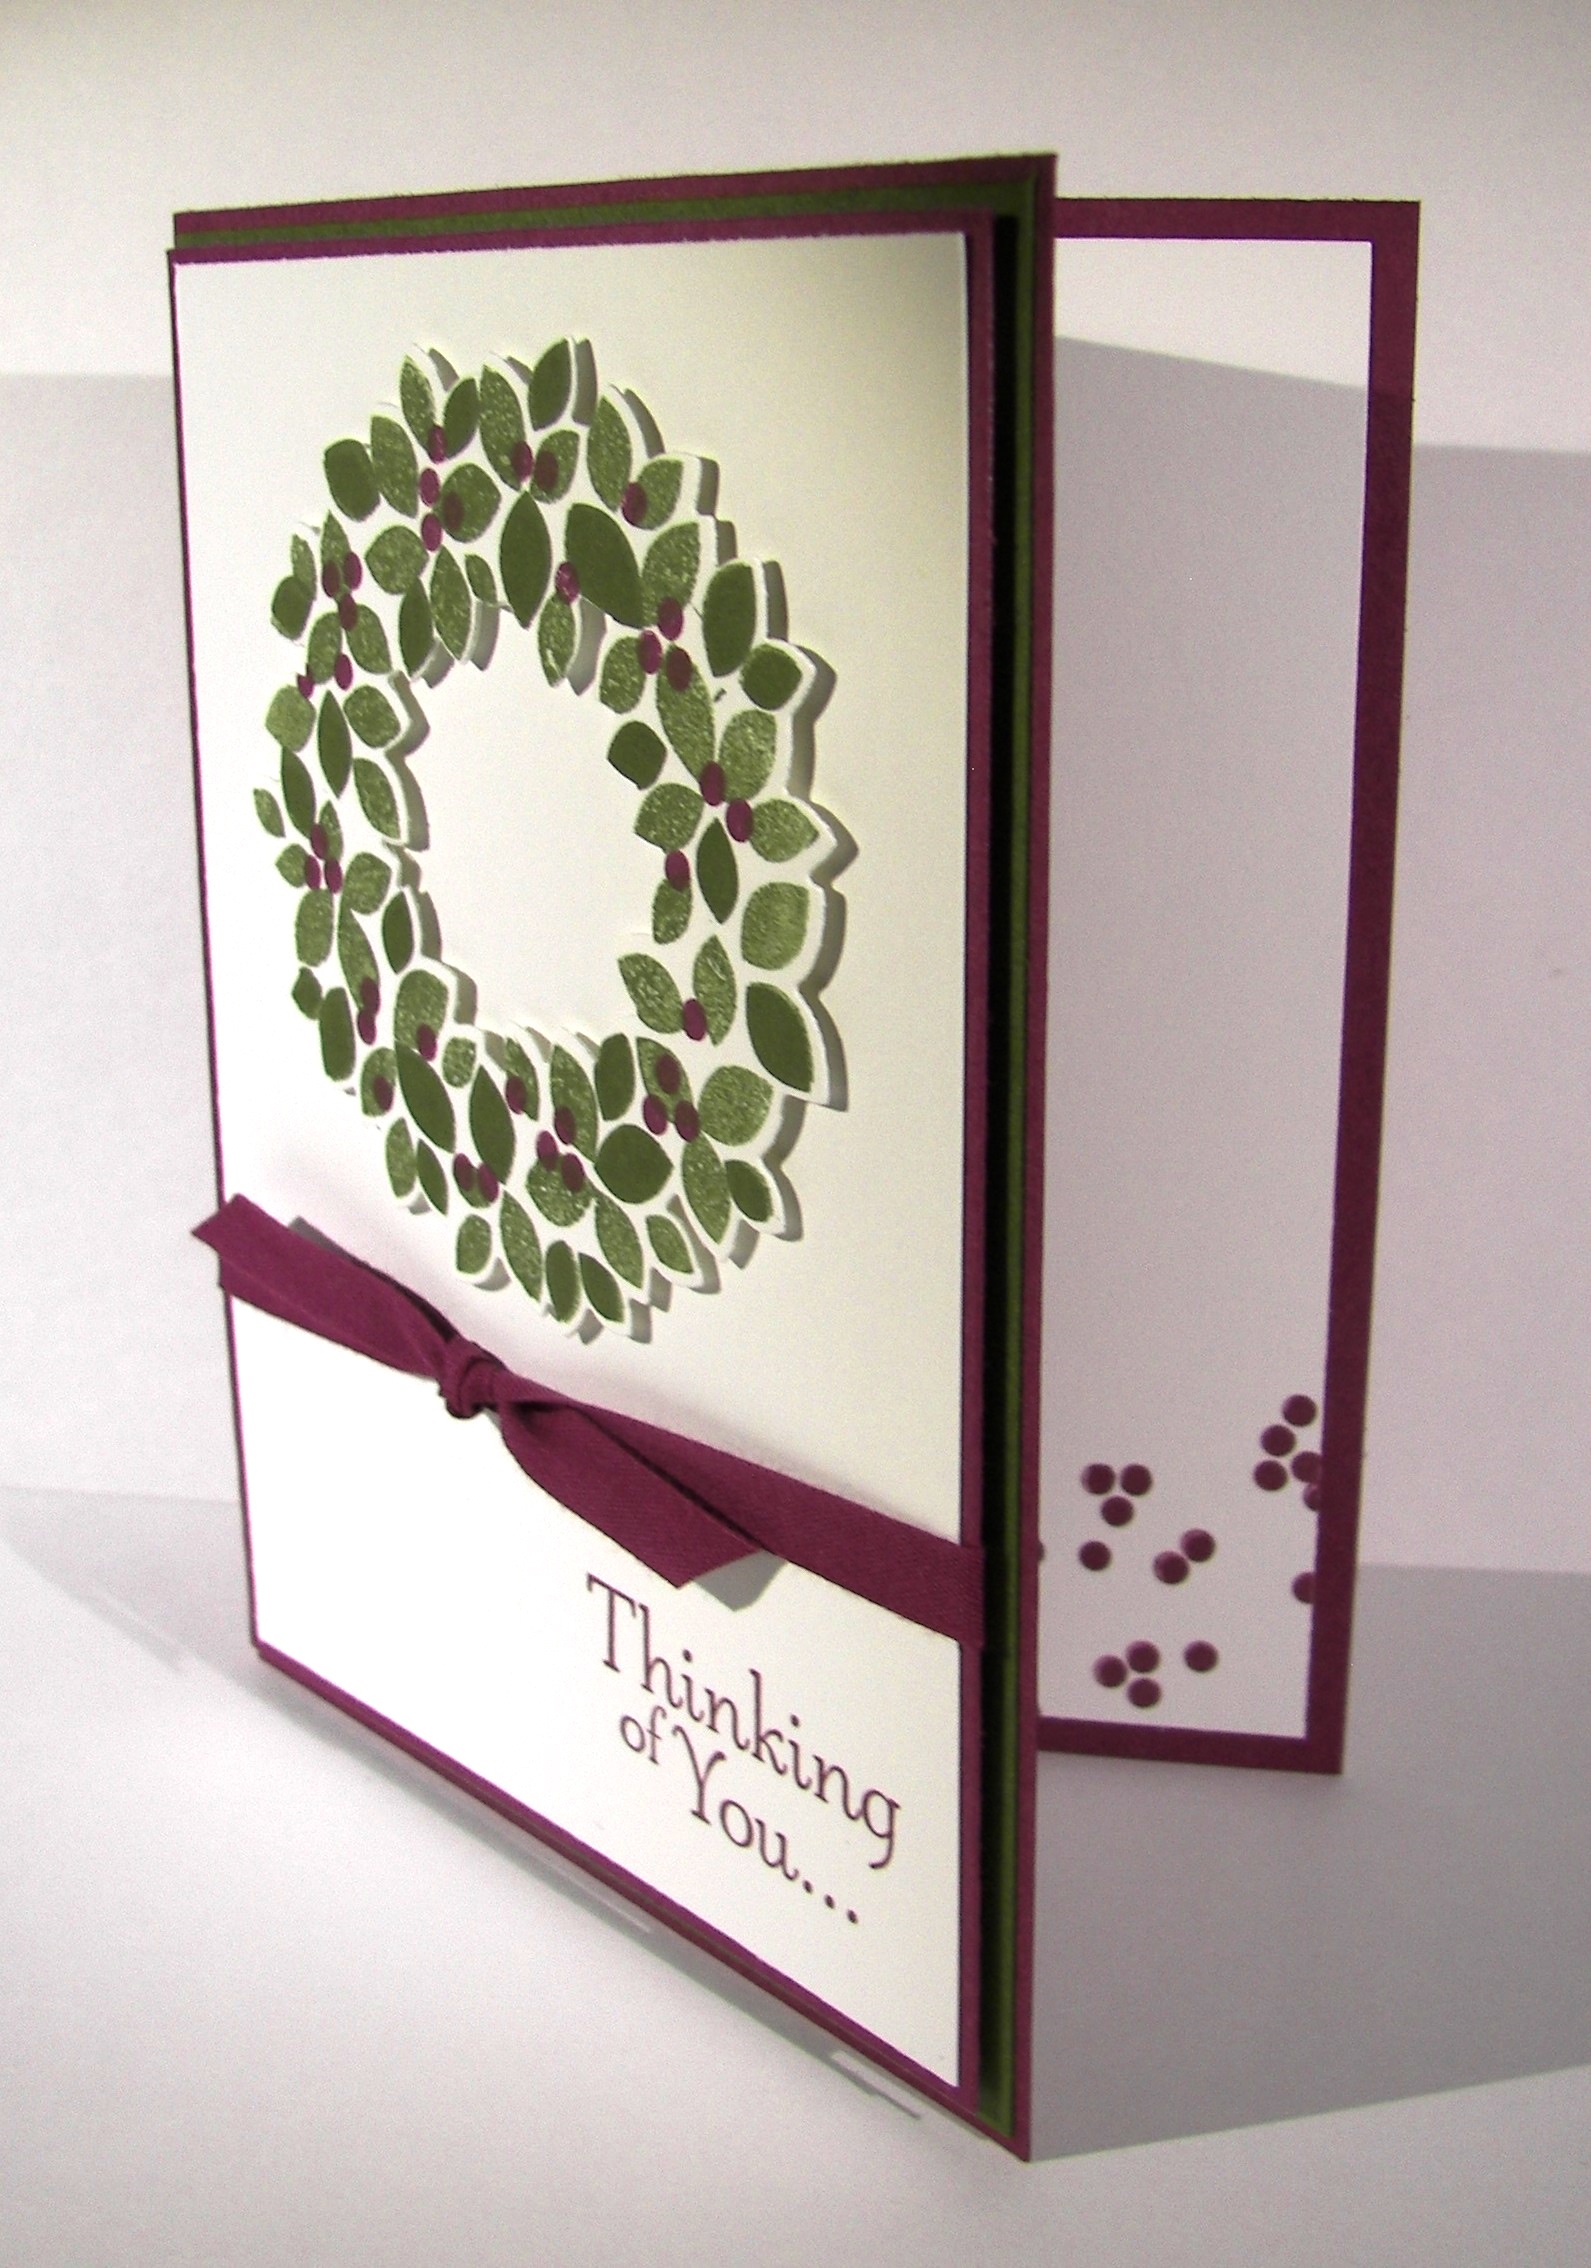
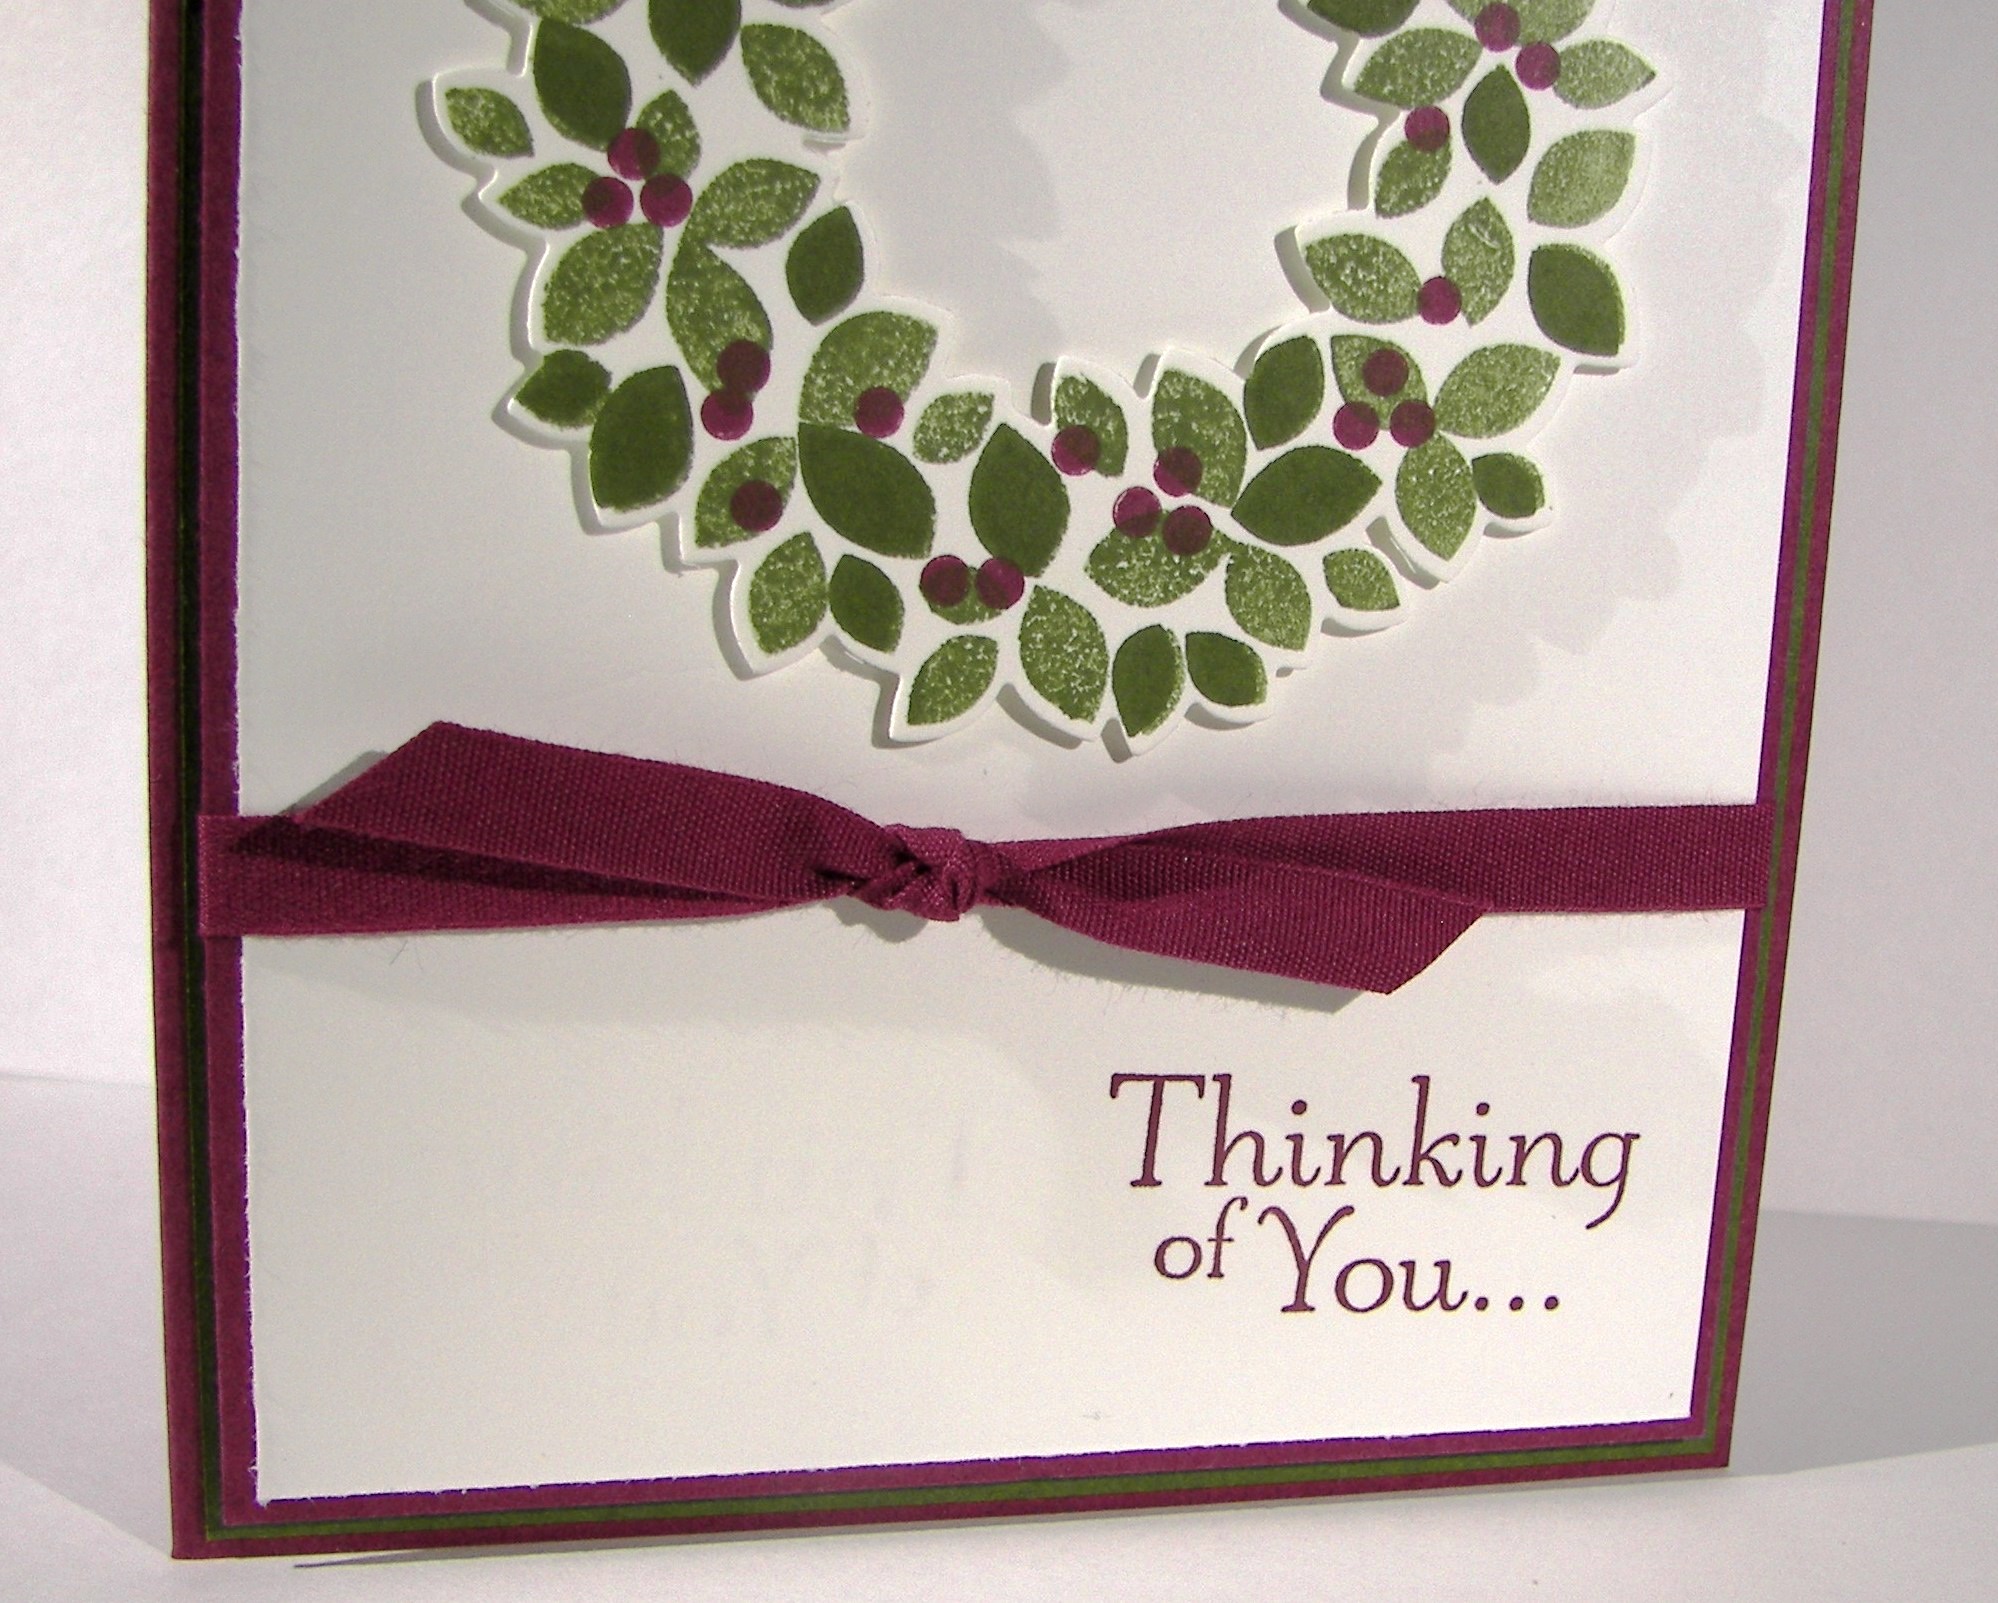
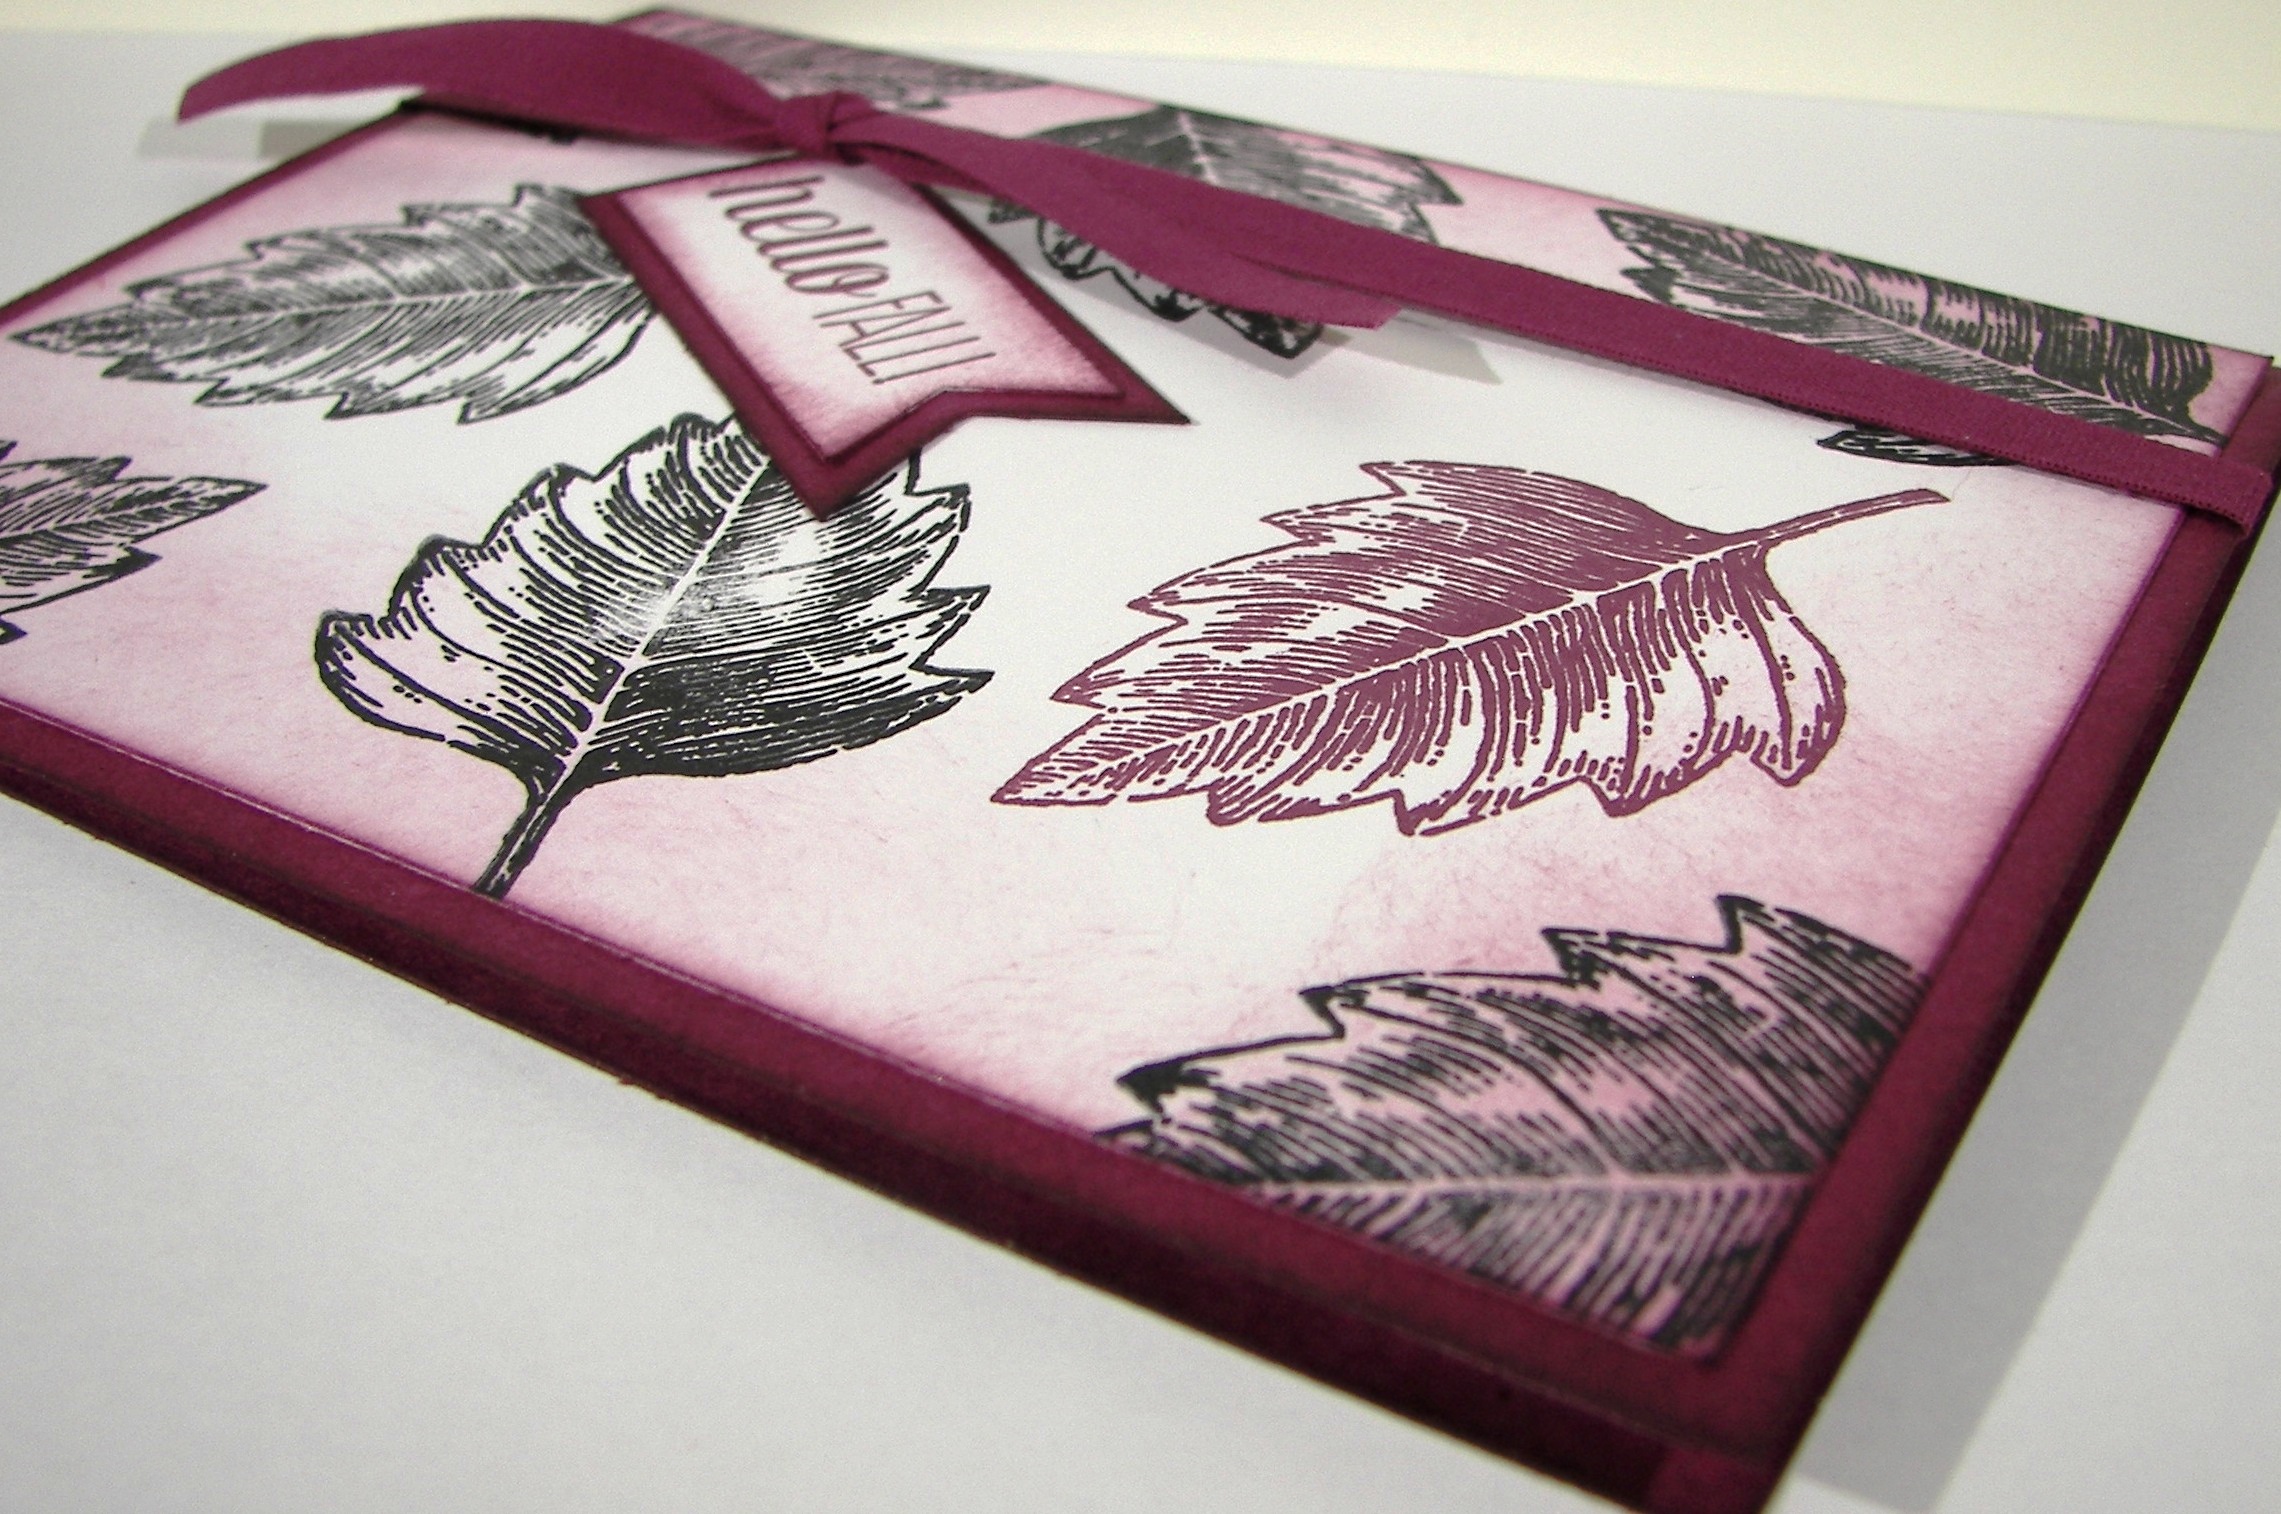
I have taken my time in using this new set, Vintage Leaves, but am totally ready to go now.  I only used one leaf today.  I wanted to focus on color as much as detail and thought if I had too may patterns and colors it might get lost.  Rich Razzelberry was my focus, and this was totally what I wanted it to look like.

  Vintage Leaves

I stamped several of the same leaf in black Stazon and left space for just one rich razzelberry one.  So simple.  I used a second stamp set, For All Things, for the sentiment.  It was layered flat with a banner of coordinating cardstock.  I touched it up with a strand of cotton ribbon and called it good.  I really did love how this turned out.

Vintage LEaves

Have a creative day!

Moana

You Always Do For Others…

The people in our lives that give endlessly, they are so awesome!  They deserve much more than something like this, but always appreciate it.  Someone has to something nice for them, right?

You Always Do For Others...

My school secretary is just that person.  She even keeps the little containers I make her gifts in.  She has a cute little collection.  This one is a bit larger than others I have given her, but she deserves it!  The beginning of school is always so hectic.

You Always Do For Others...

One whole sheet of rich razzelberry for this gift bag.  Doesn’t it look lovely?  I didn’t have a project in mind, so I just reached to my paper files with my eyes closed, pulled the first file and there it was.  I then turned to my punches and grabbed the first one I focused on.  That would be the confetti hearts border punch.  The rest just fell into place.

You Always Do For Others...


I did my favorite sponging and opted not to layer the base.  Sometimes my fronts tend to curl a bit at the edges when I layer cardstock on cardstock with gift bags.  So, after I punched and sponged I used tombo liquid multipurpose glue to get to the edges well to make sure it stayed down nicely.  Perfect job.

A little matching cotton ribbon, subtle but still there, and the gift bag was done! Now I have the pleasure of getting the perfect treats and a gift to go inside.  That will be a fun little activity for sure.  Sea salt chocolates and maybe a lovely lotion.  Sounds nice.

Have a creative day!

Moana

Wondrous Wreath and My Plum Trees…

I was out looking at my plum trees last night and decided I wanted to bring those colors into a project.  My photos aren’t the best, you can hardly even see the mossy meadow layer in-between the two others, but it is there.  I so need a new camera.

Wondrous Wreath and My Plum Trees...

Either way, I still love how it turned out.  I stamped off once on my first layer of leaves.  So when I added the second layer of leaves with the second stamp I left it full strength.  Lovely contrast if I do say so myself.  I did the berries in rich razzelberry to match of course.  I continued those little guys on the inside, and they are so cute.  I can see me using the berry stamp to make a background paper.

Wondrous Wreath and My Plum Trees...

I know my wording is a bit slanted, but I was tired.  The heat has been so bad lately that by the time I get to settle down to work, I am so warm and tired that I don’t have the patience I should.

Wondrous Wreath and My Plum Trees...

My brain is so all over the place.  Just too many things to get done and not enough time.  Summer break may be here, but I have yet to really enjoy any of it.  July will be better, supposedly.

Have a creative day!

Moana

Flowerpot Painted Petals Trio

Sometimes when you draw a blank, you still come out on top.  I was sure I had crafters block yesterday.  So I sat and read a novel instead.  When I made myself go back and sit down I decided to pull out a sheet of designer series paper and just design a bag and call it good.  As soon as I had this sheet of paper on my desk my brain got busy.  Cool right?

Flowerpot Painted Petals

I hadn’t paired this ribbon with rich razzelberry yet and I wish I would have.  They look great together!  And then a bit of glimmer paper to frame a tiny sentiment and we are off and running.

Flowerpot Painted Petals

I trimmed off a 4″ section from the whole 12 x 12 for a card front.  When I finished the other cut to give me the 4 x 5 1/4″ front I needed I was left with a choice.

Flowerpot Painted Petals

Make a second card, put the remainder back with its set, or make another tiny bag to go along.  The tiny bag won.  What a cute little baby bag.

Flowerpot Painted Petals

This set went together really quickly.  That is what happens when you have great product.  Just a little bit of stamping, some creasing, adhesive here and there and a ribbon on top.  I went to bed with a smile for sure.

Have a creative day!

Moana