Birthday Dash with Box Buddy

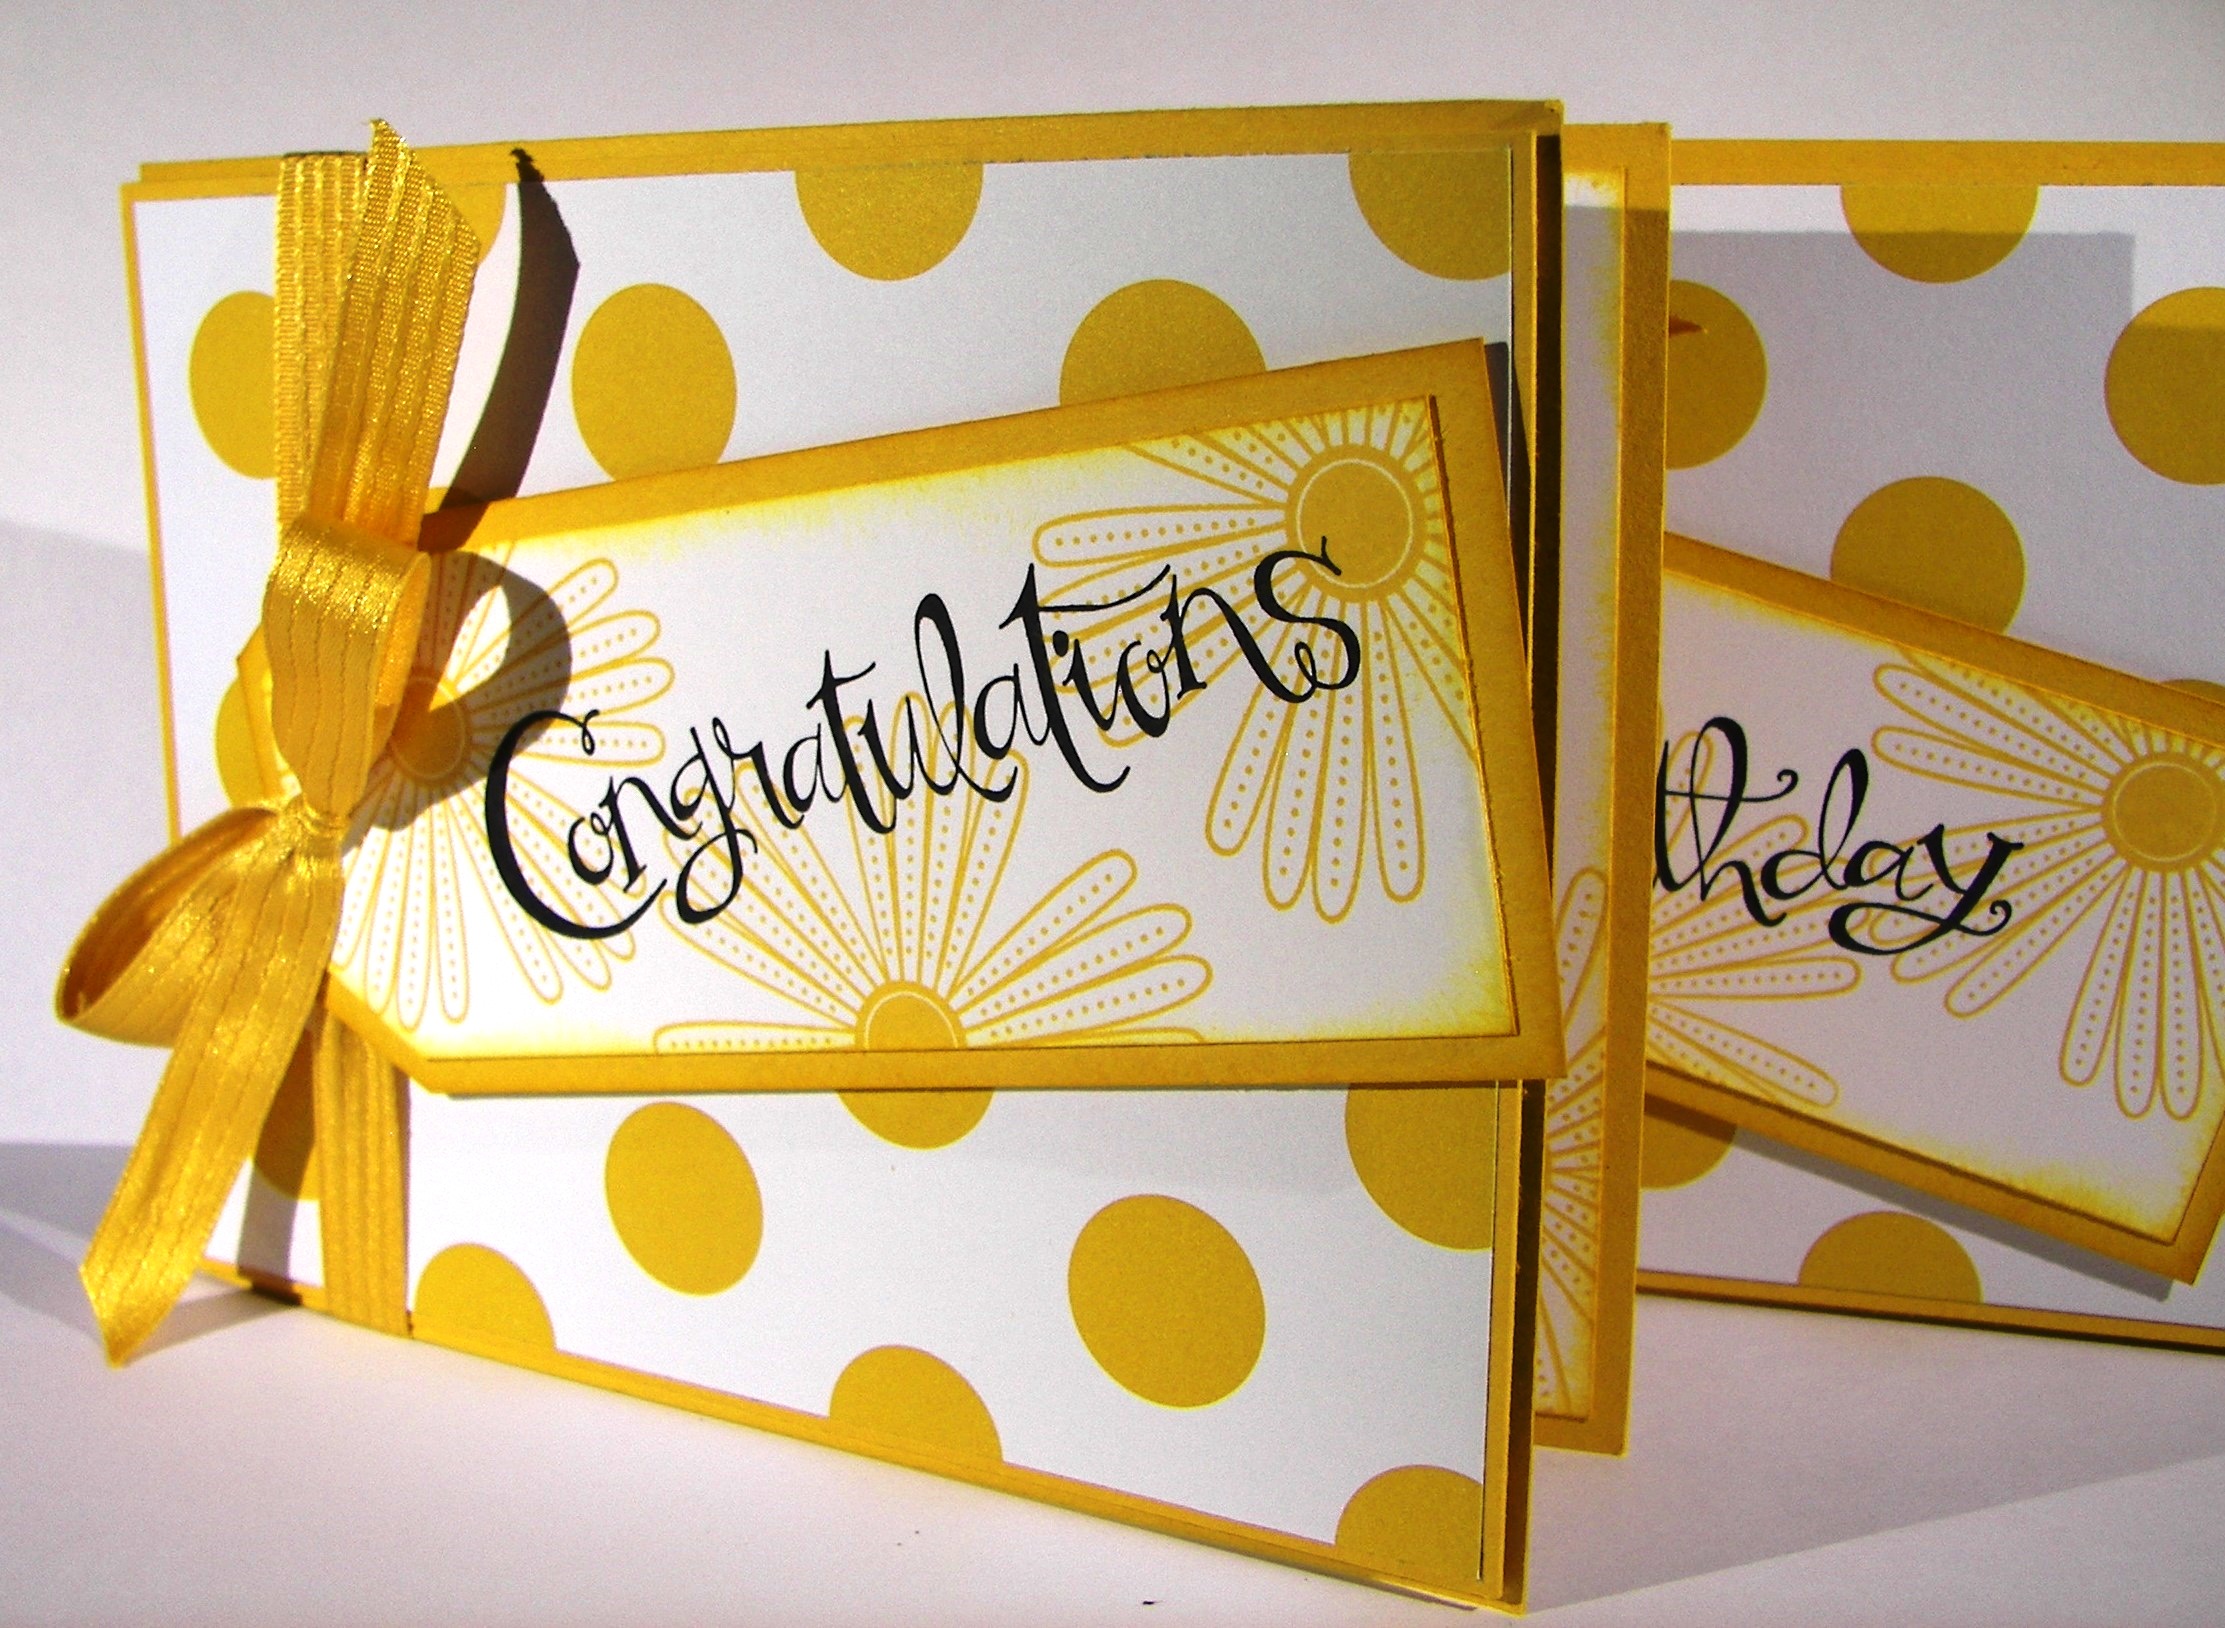
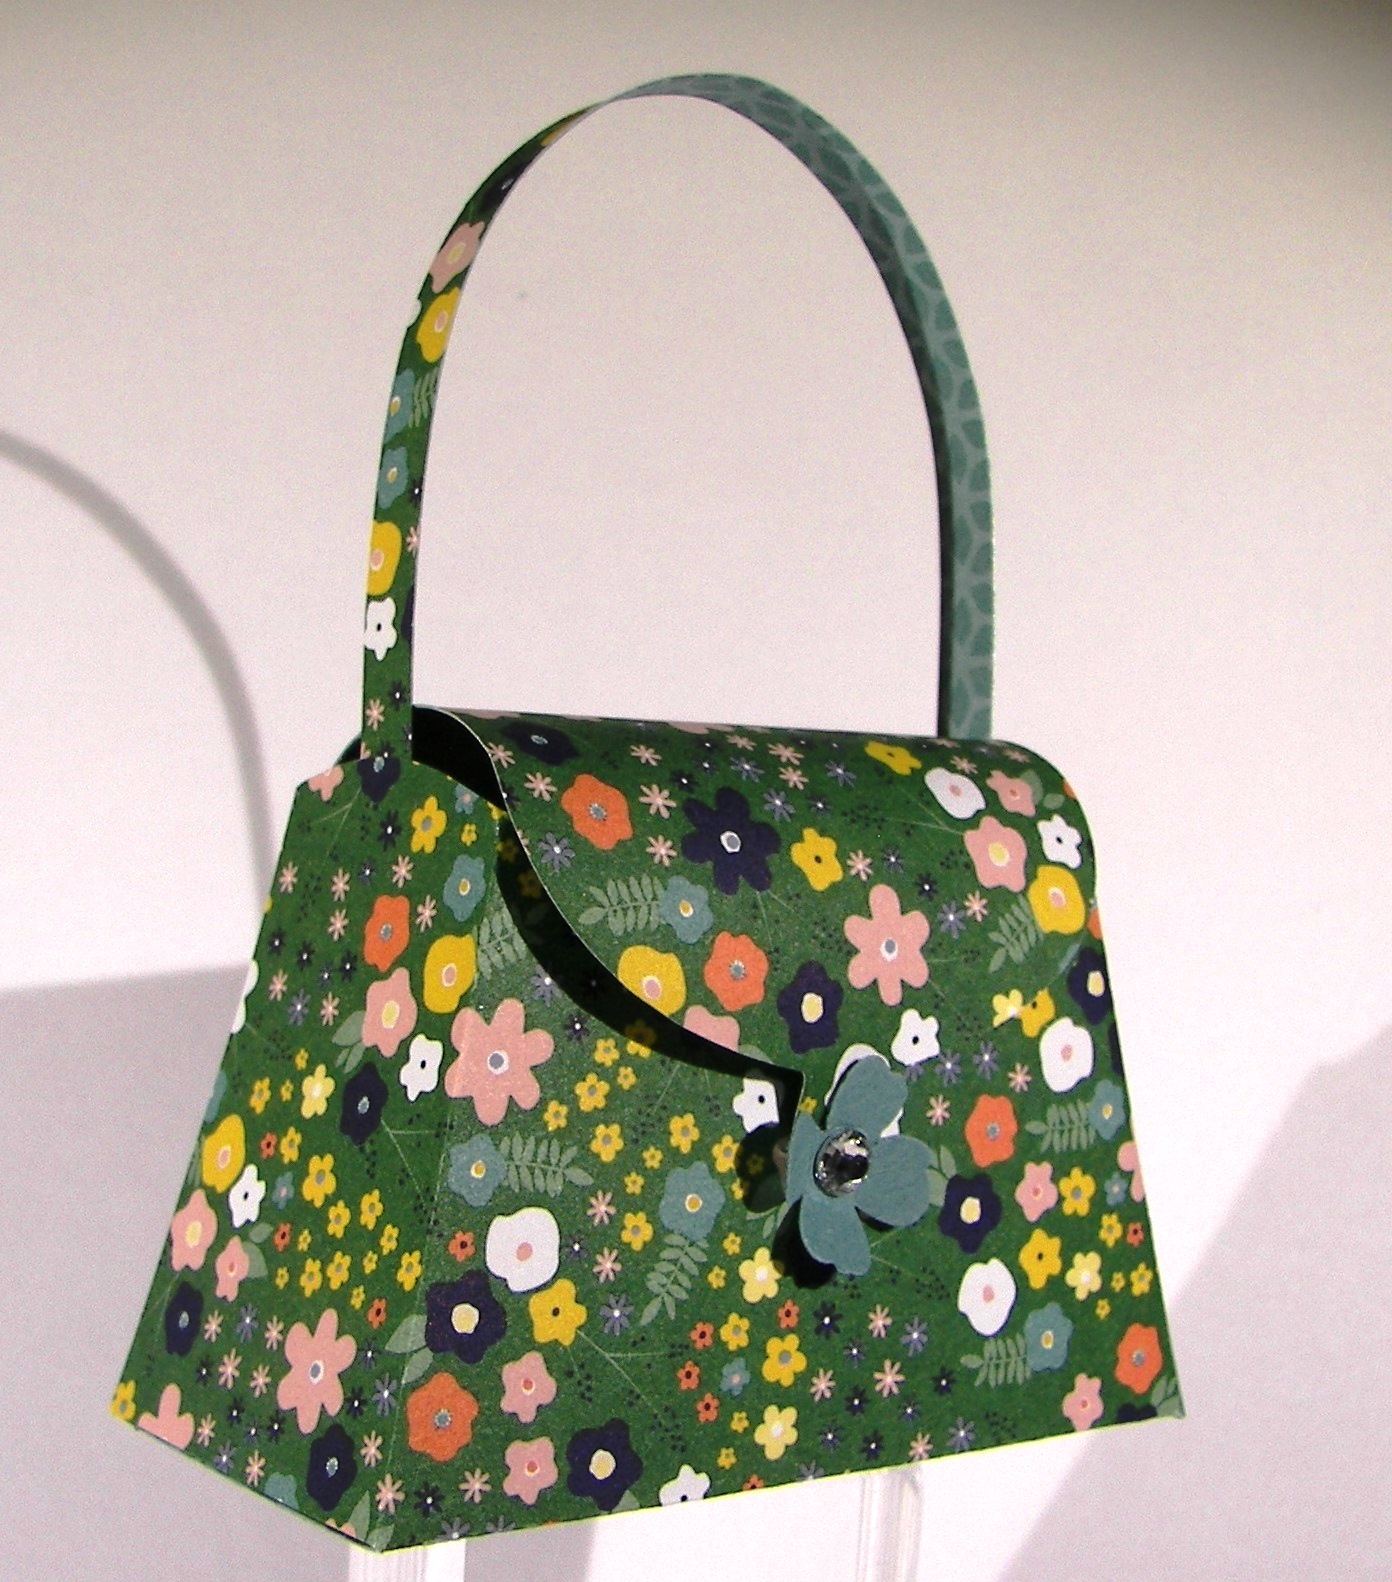
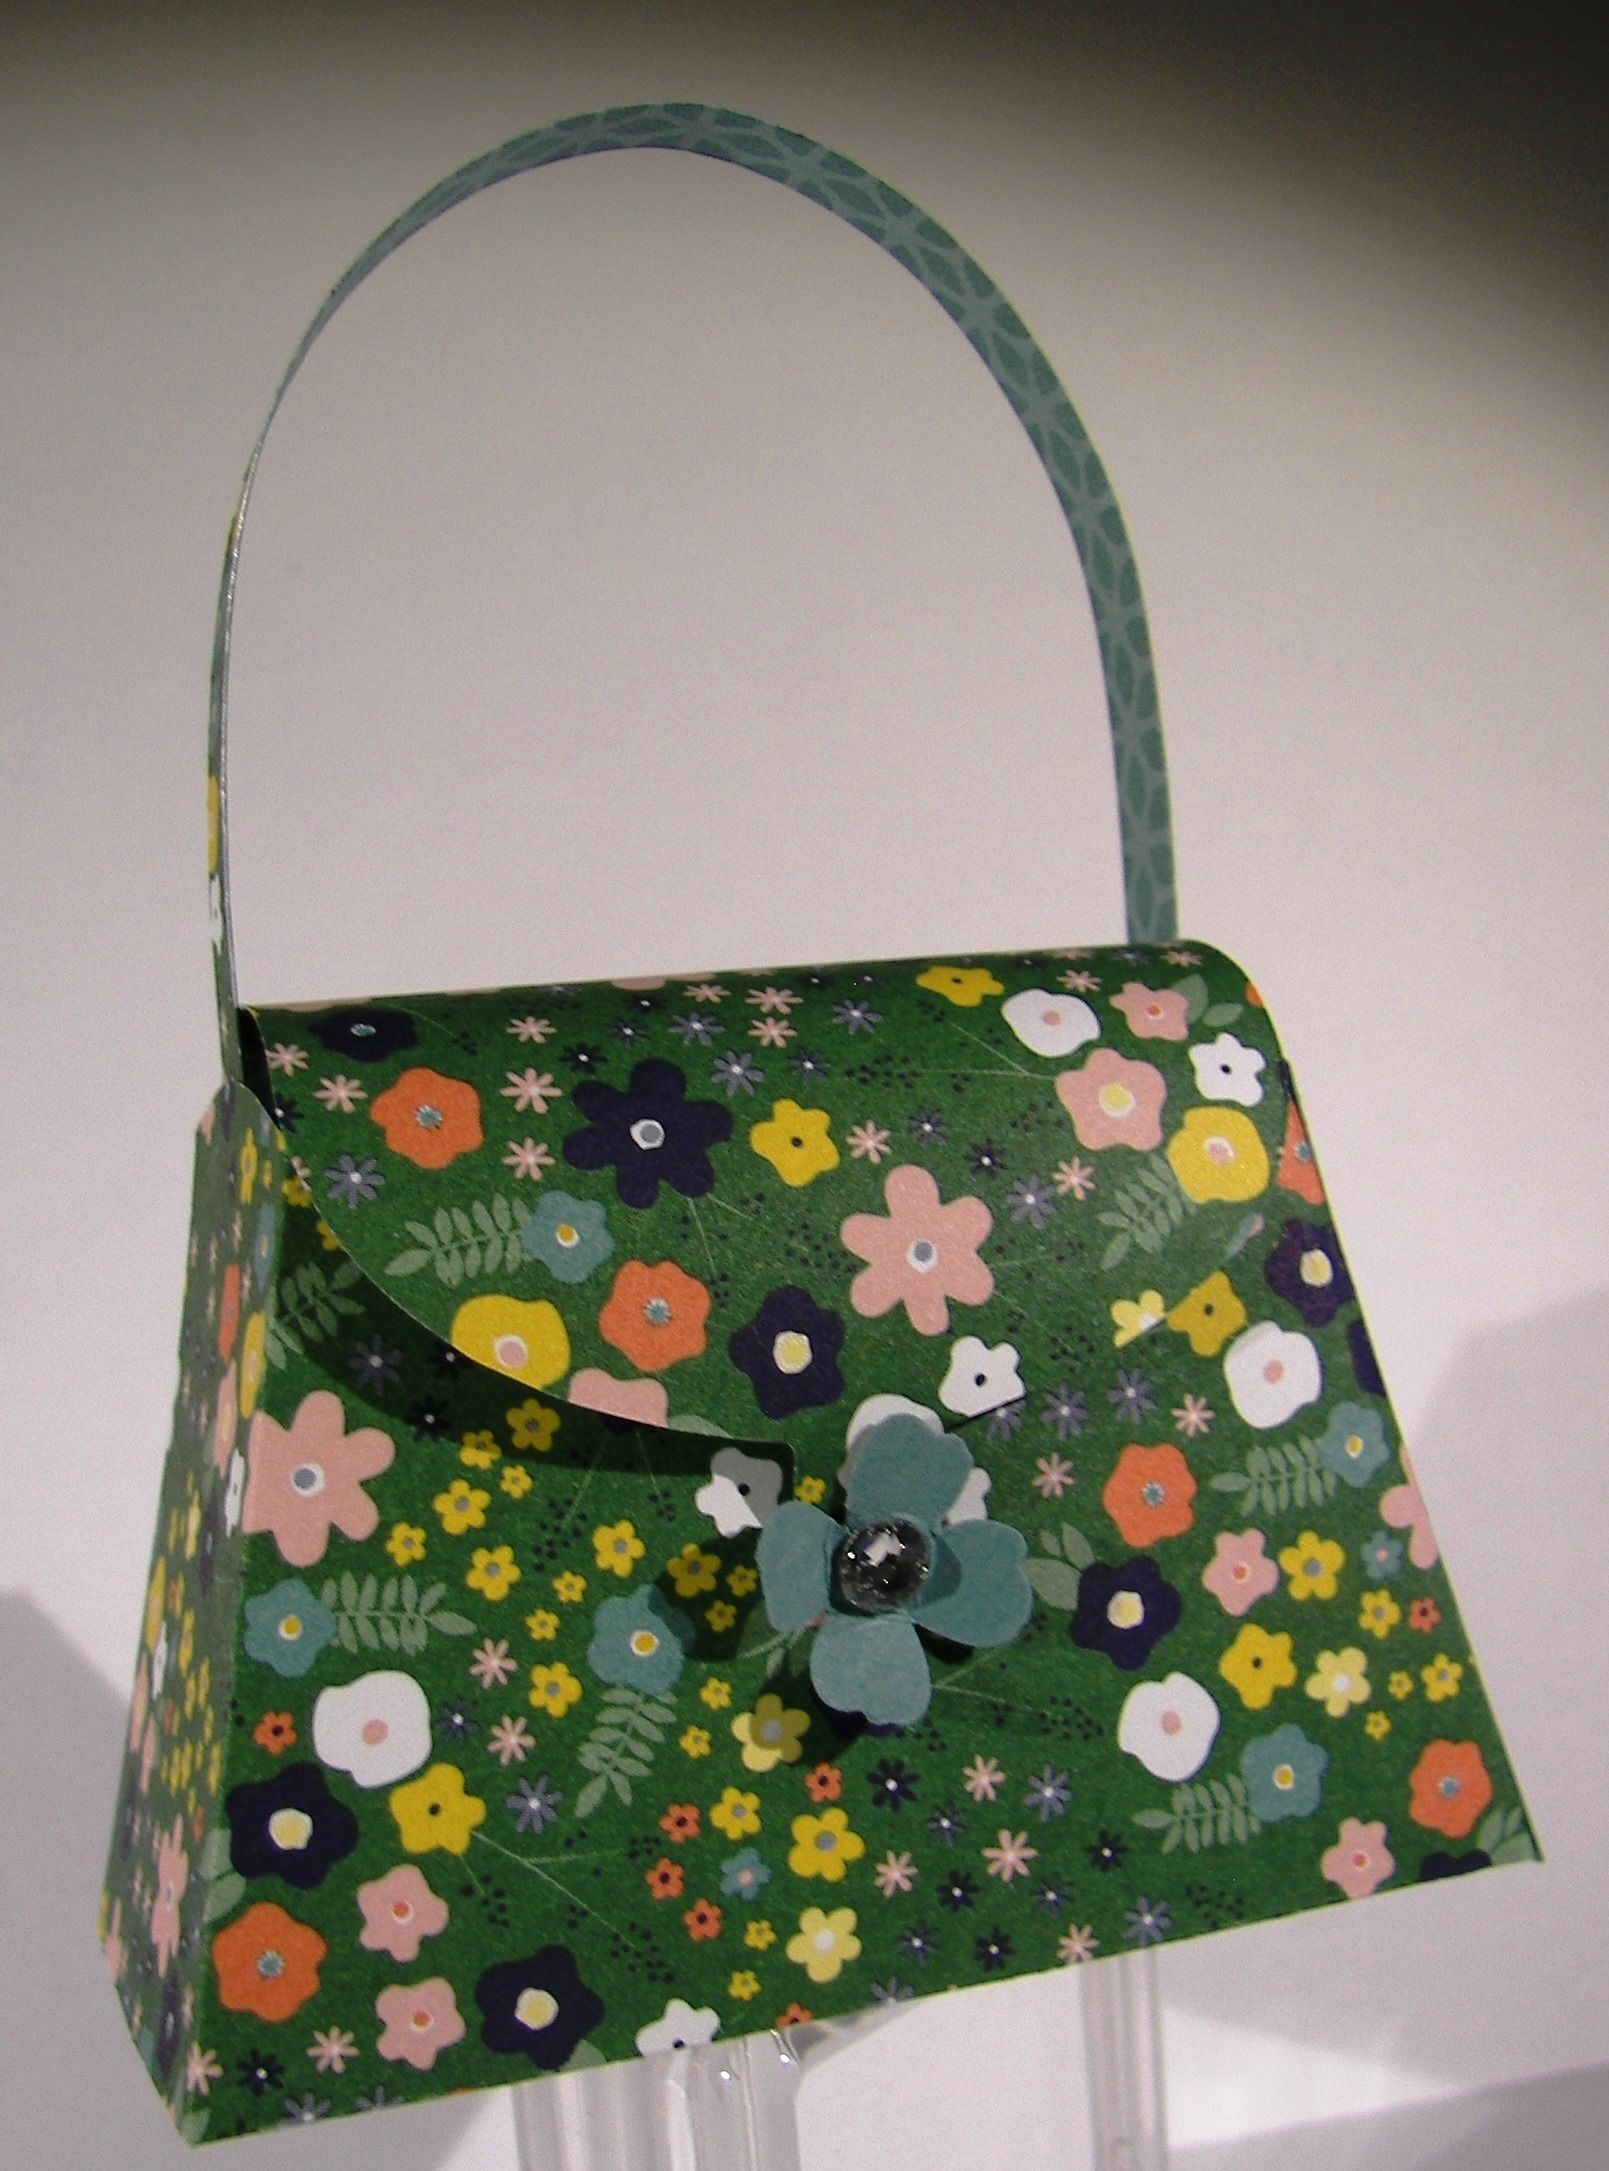
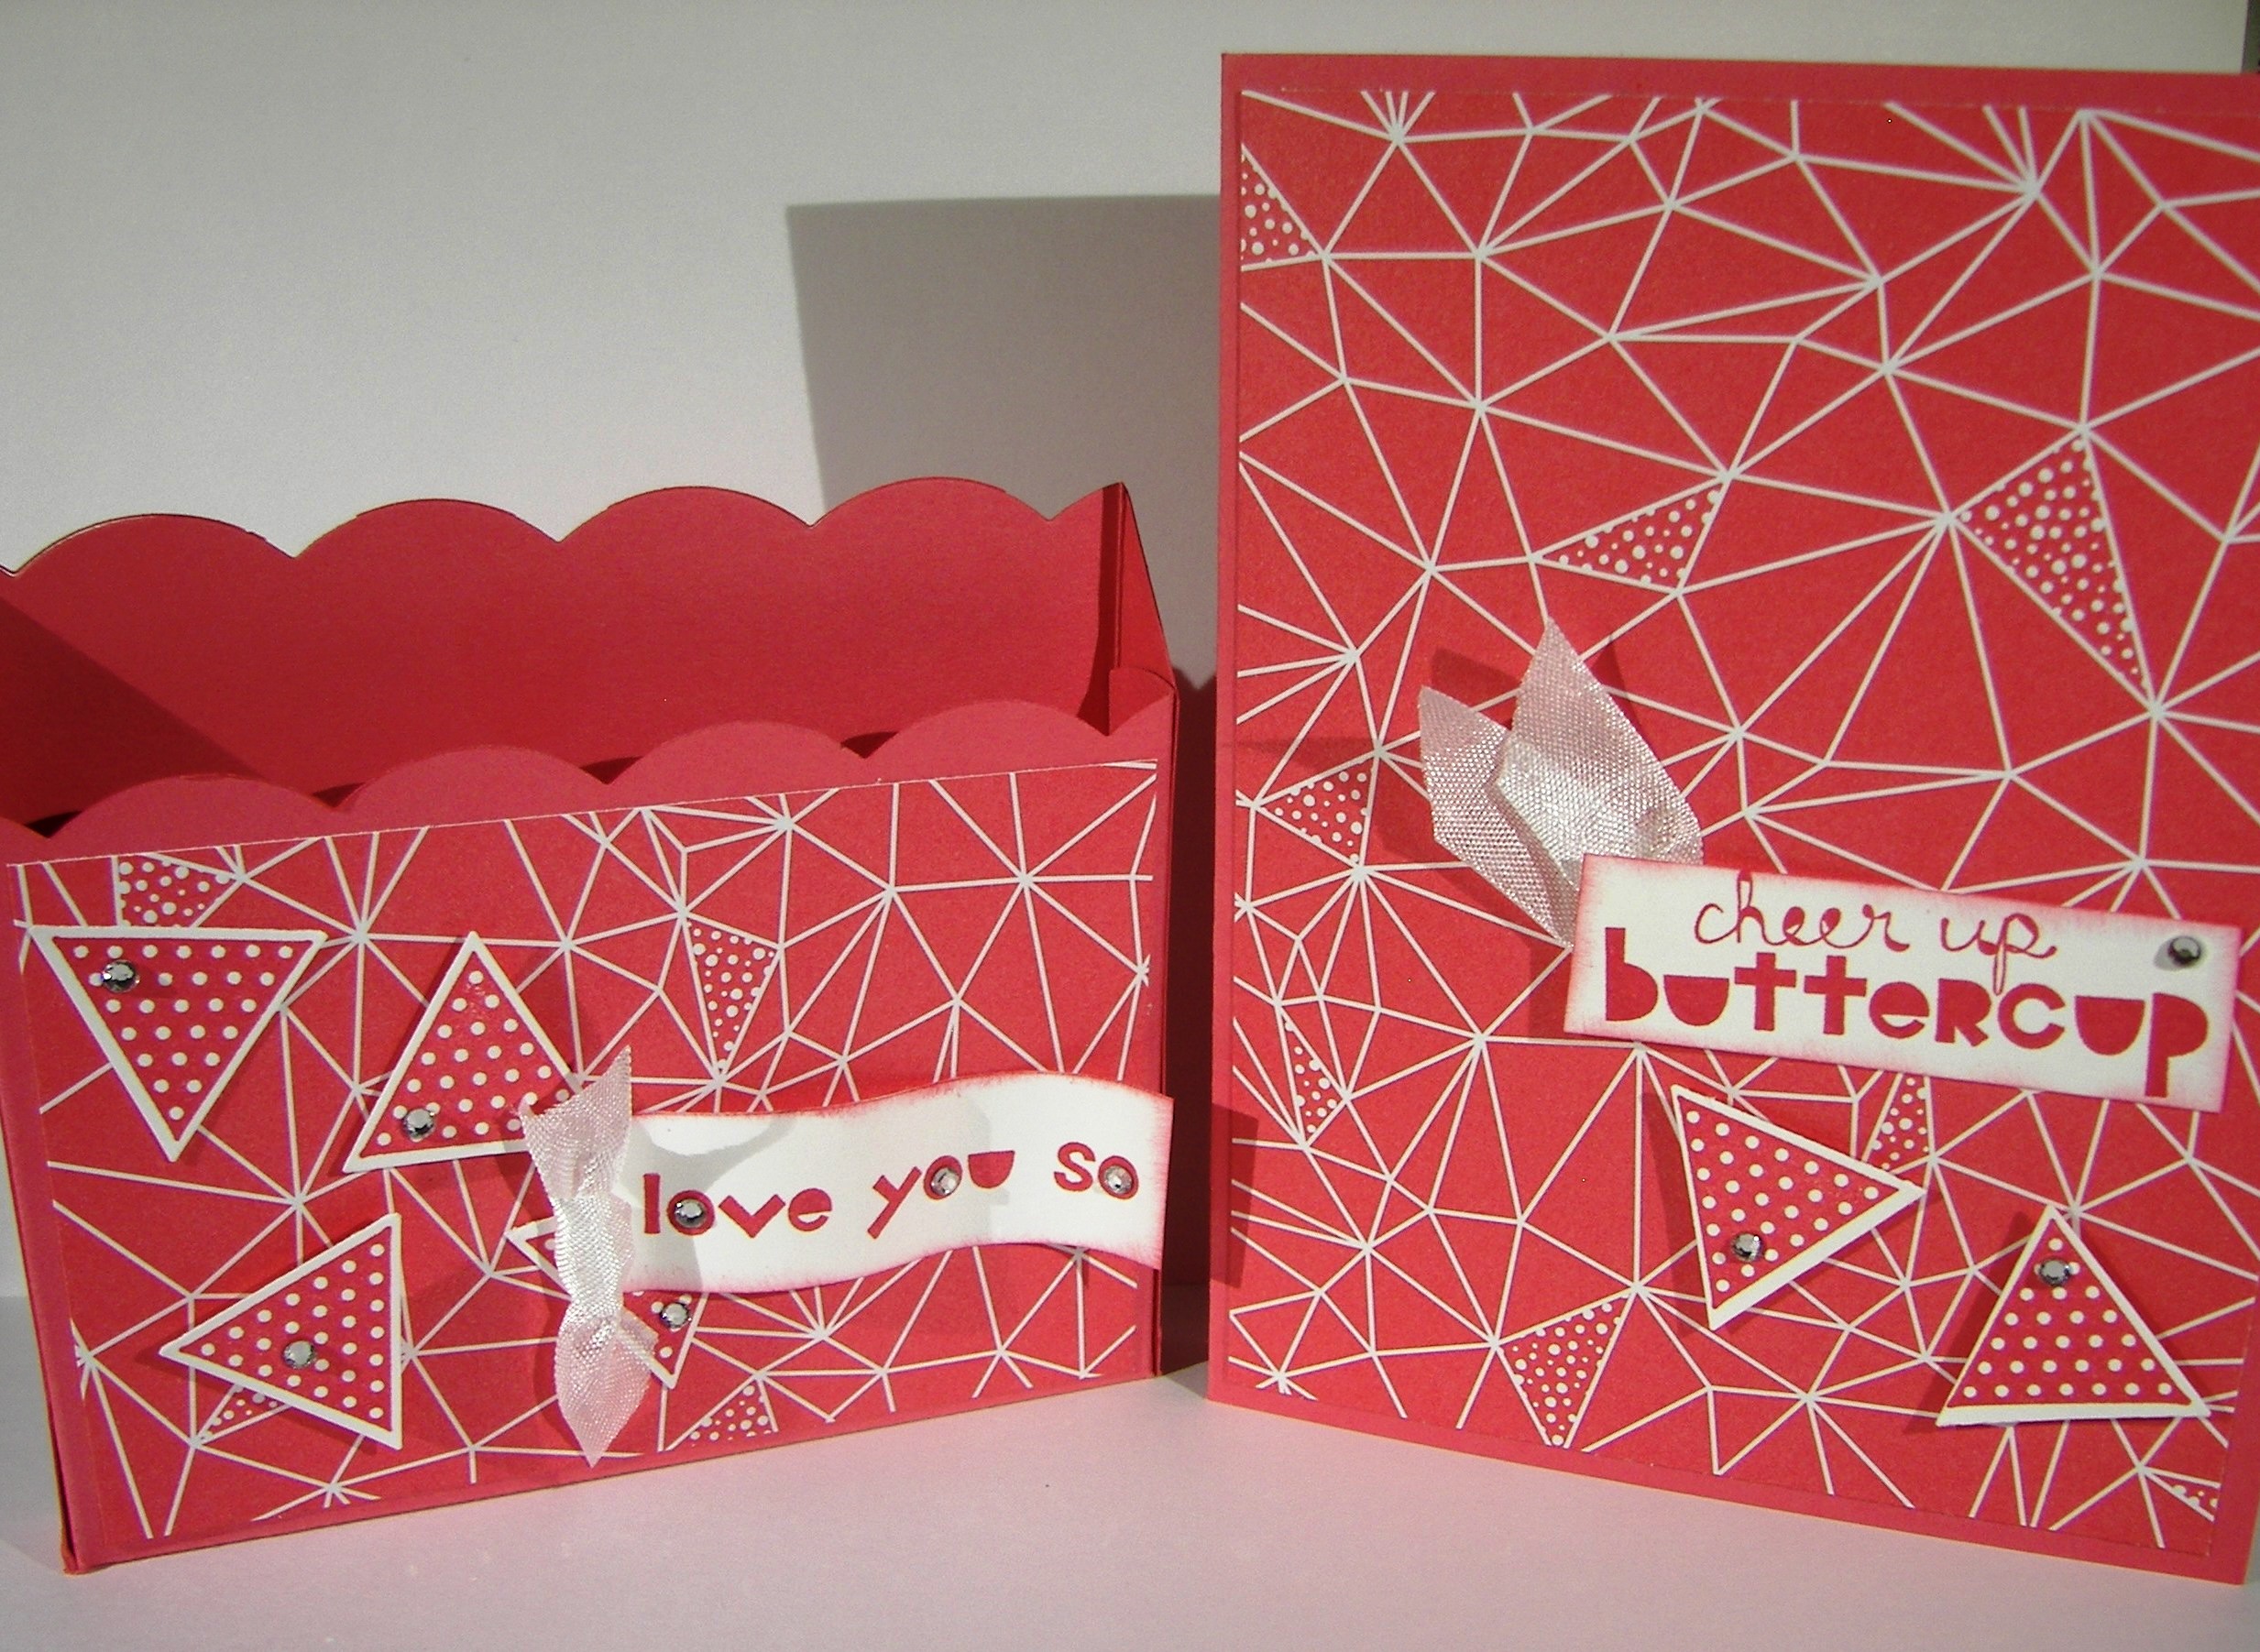
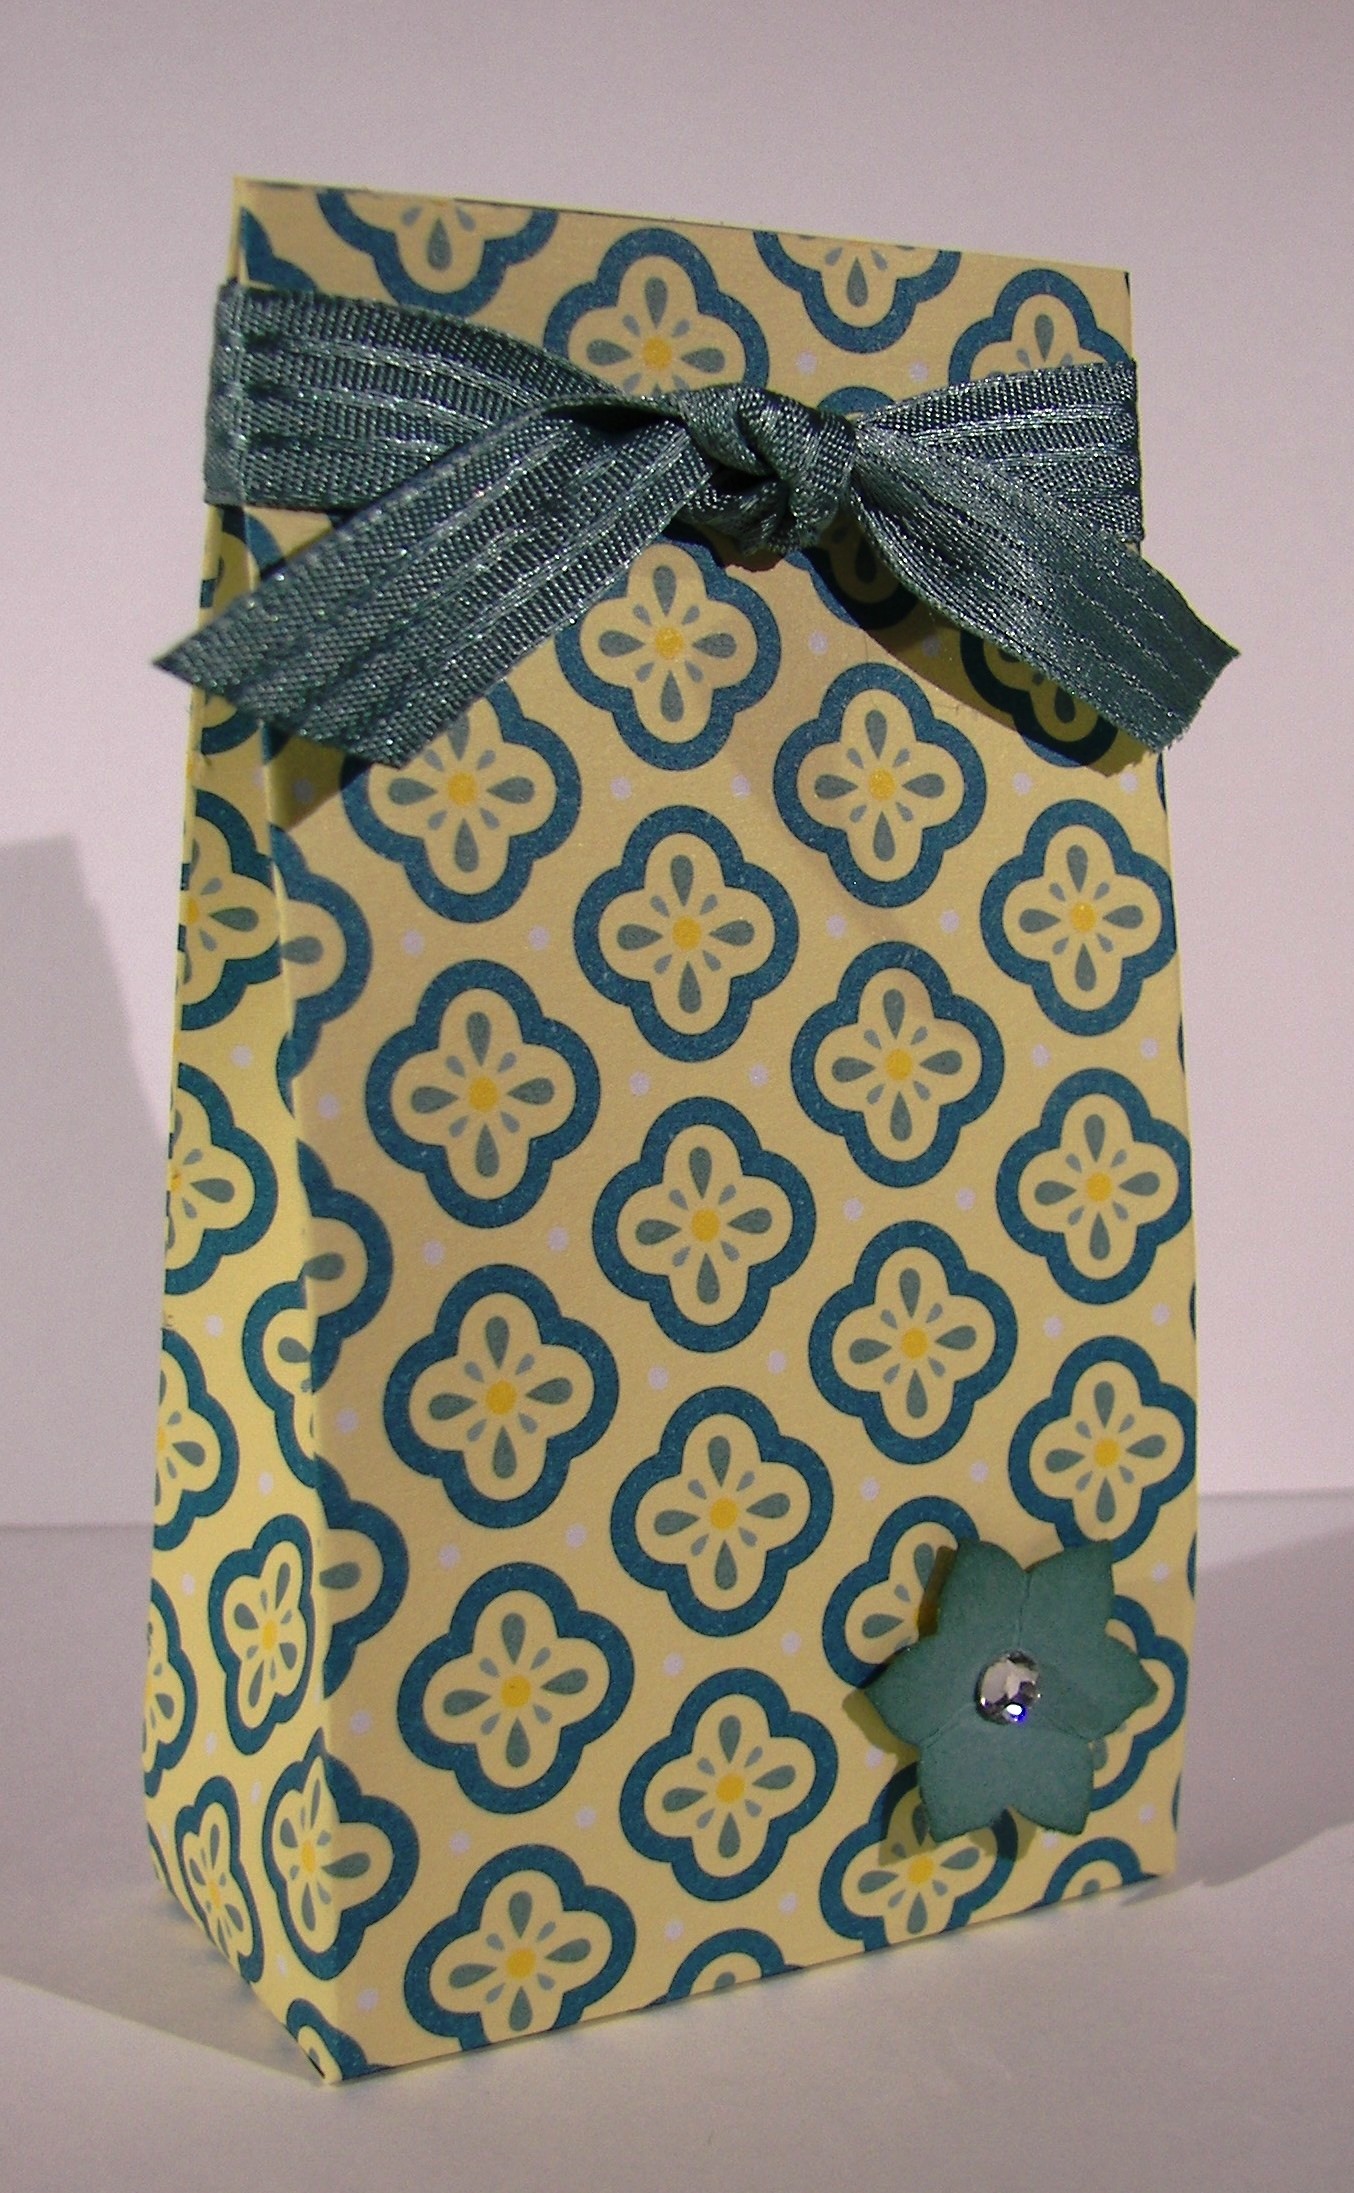
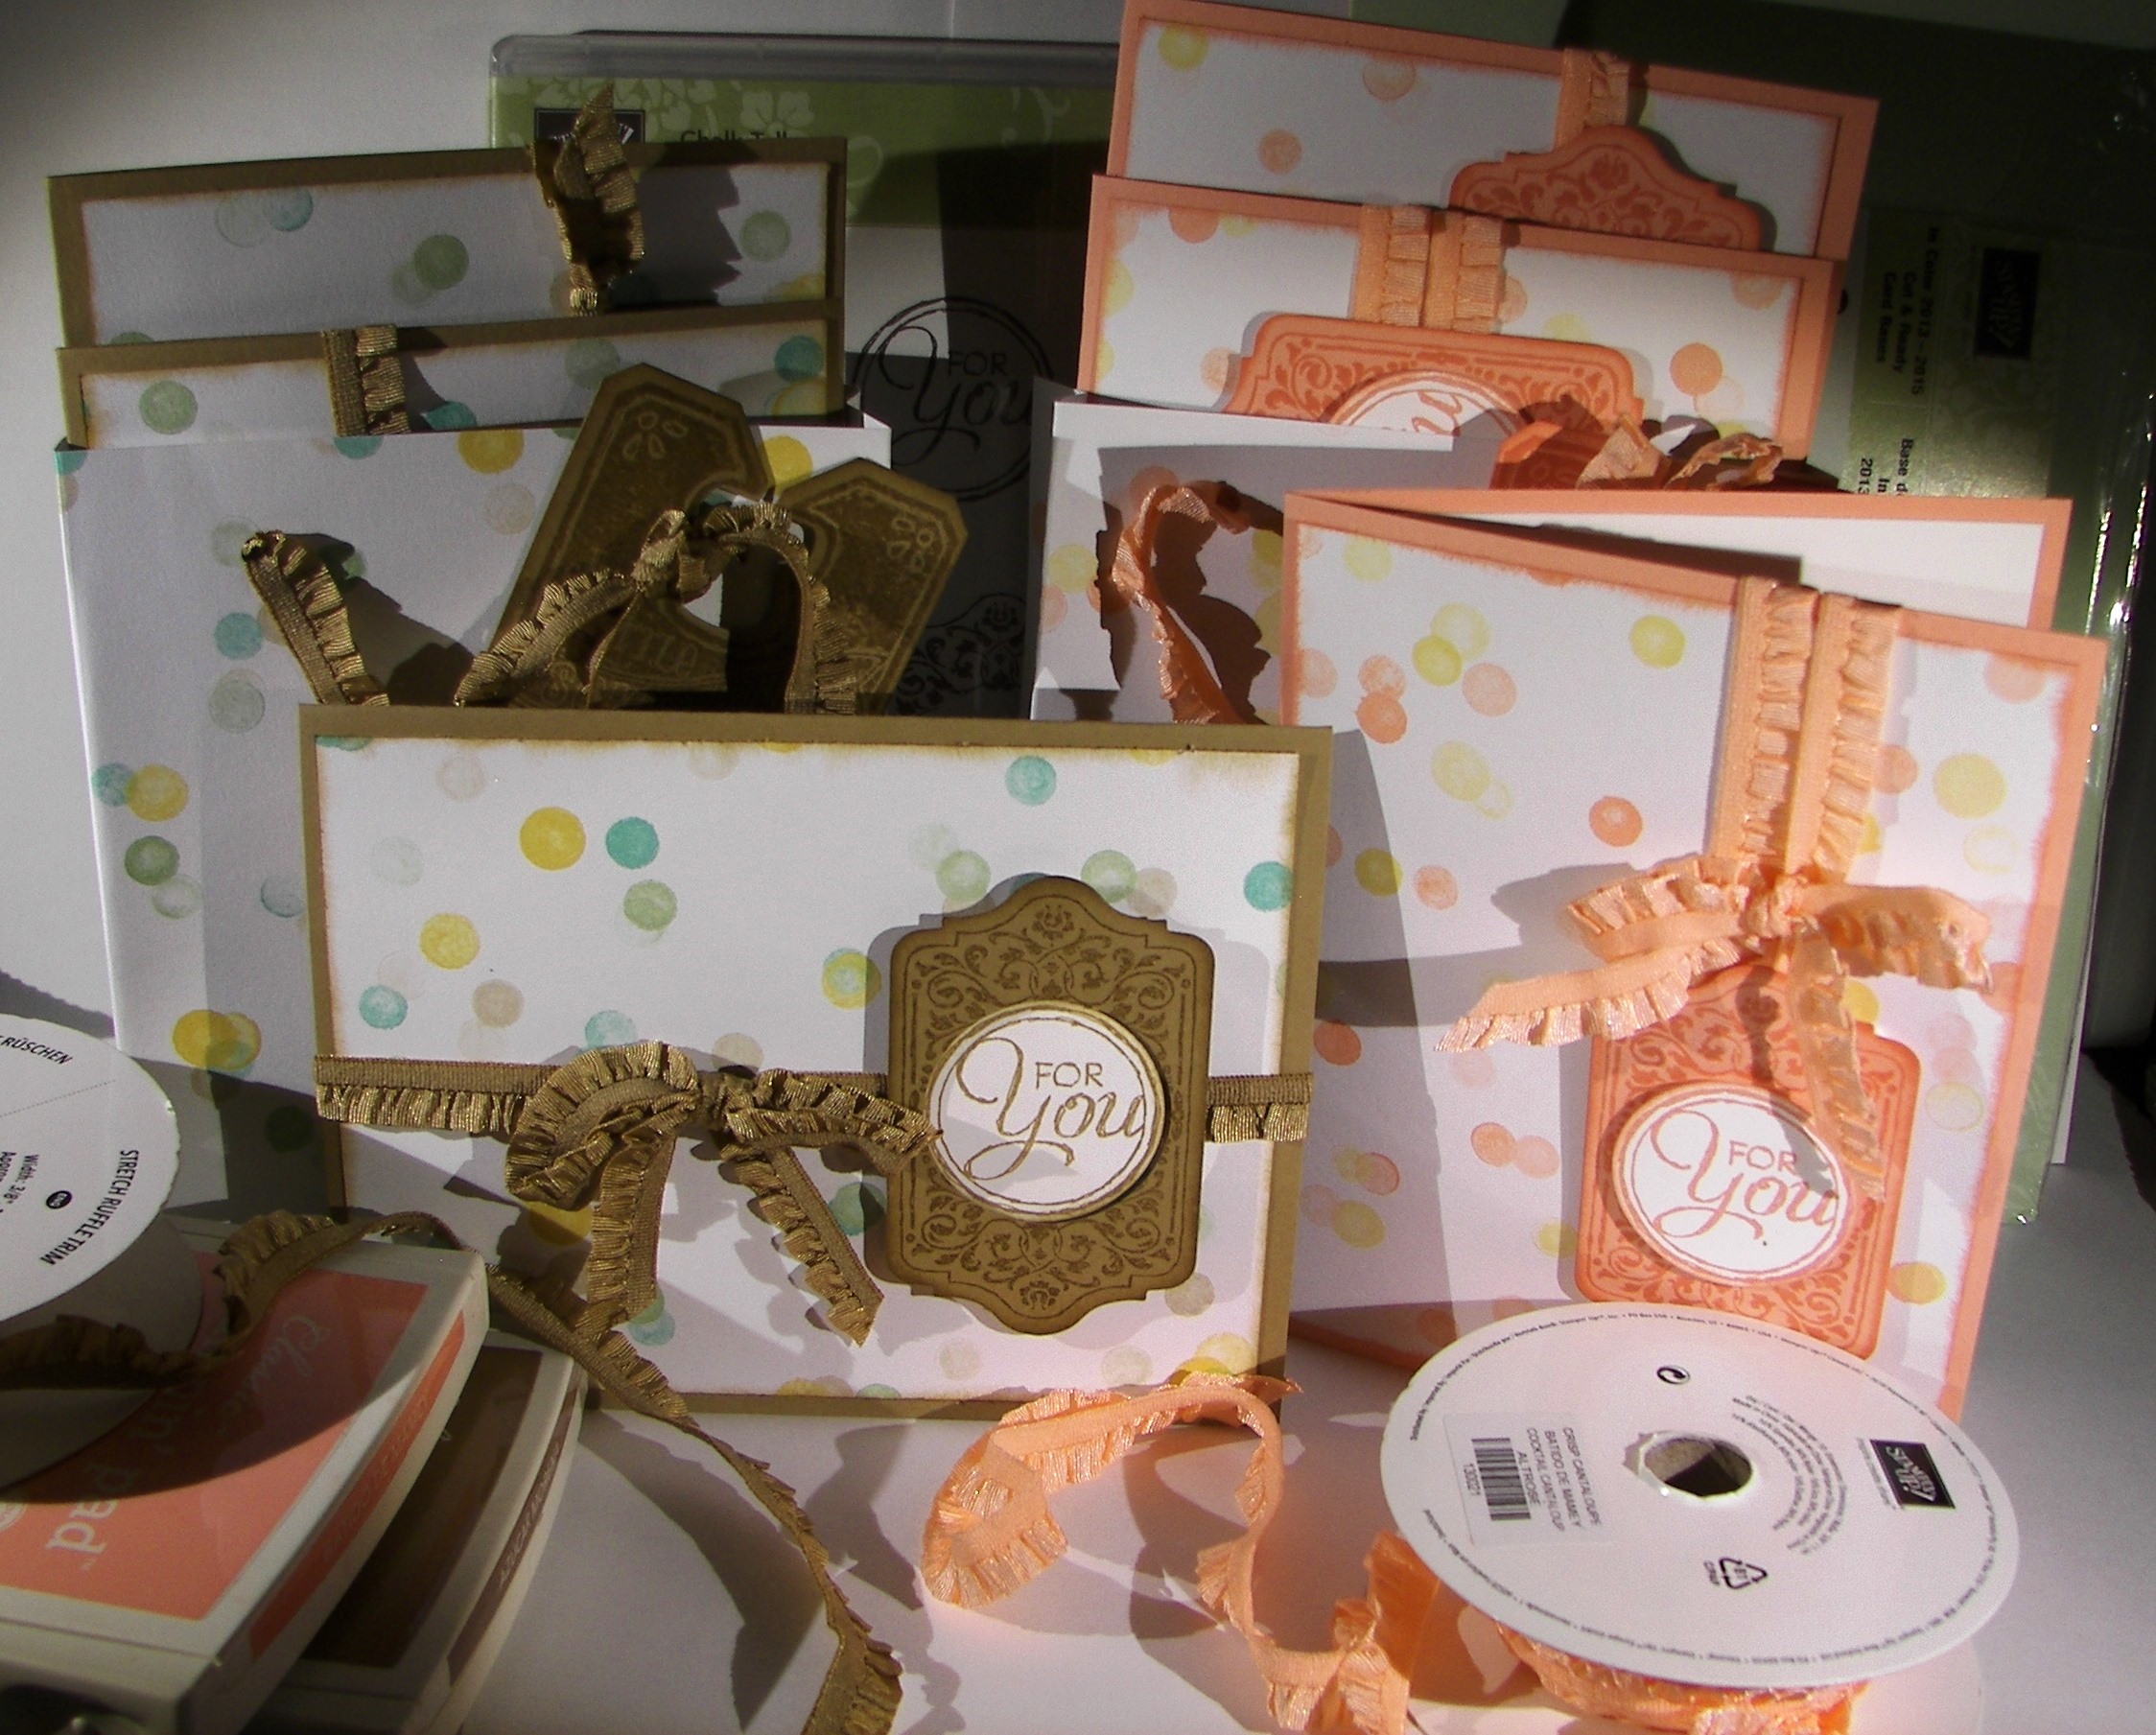
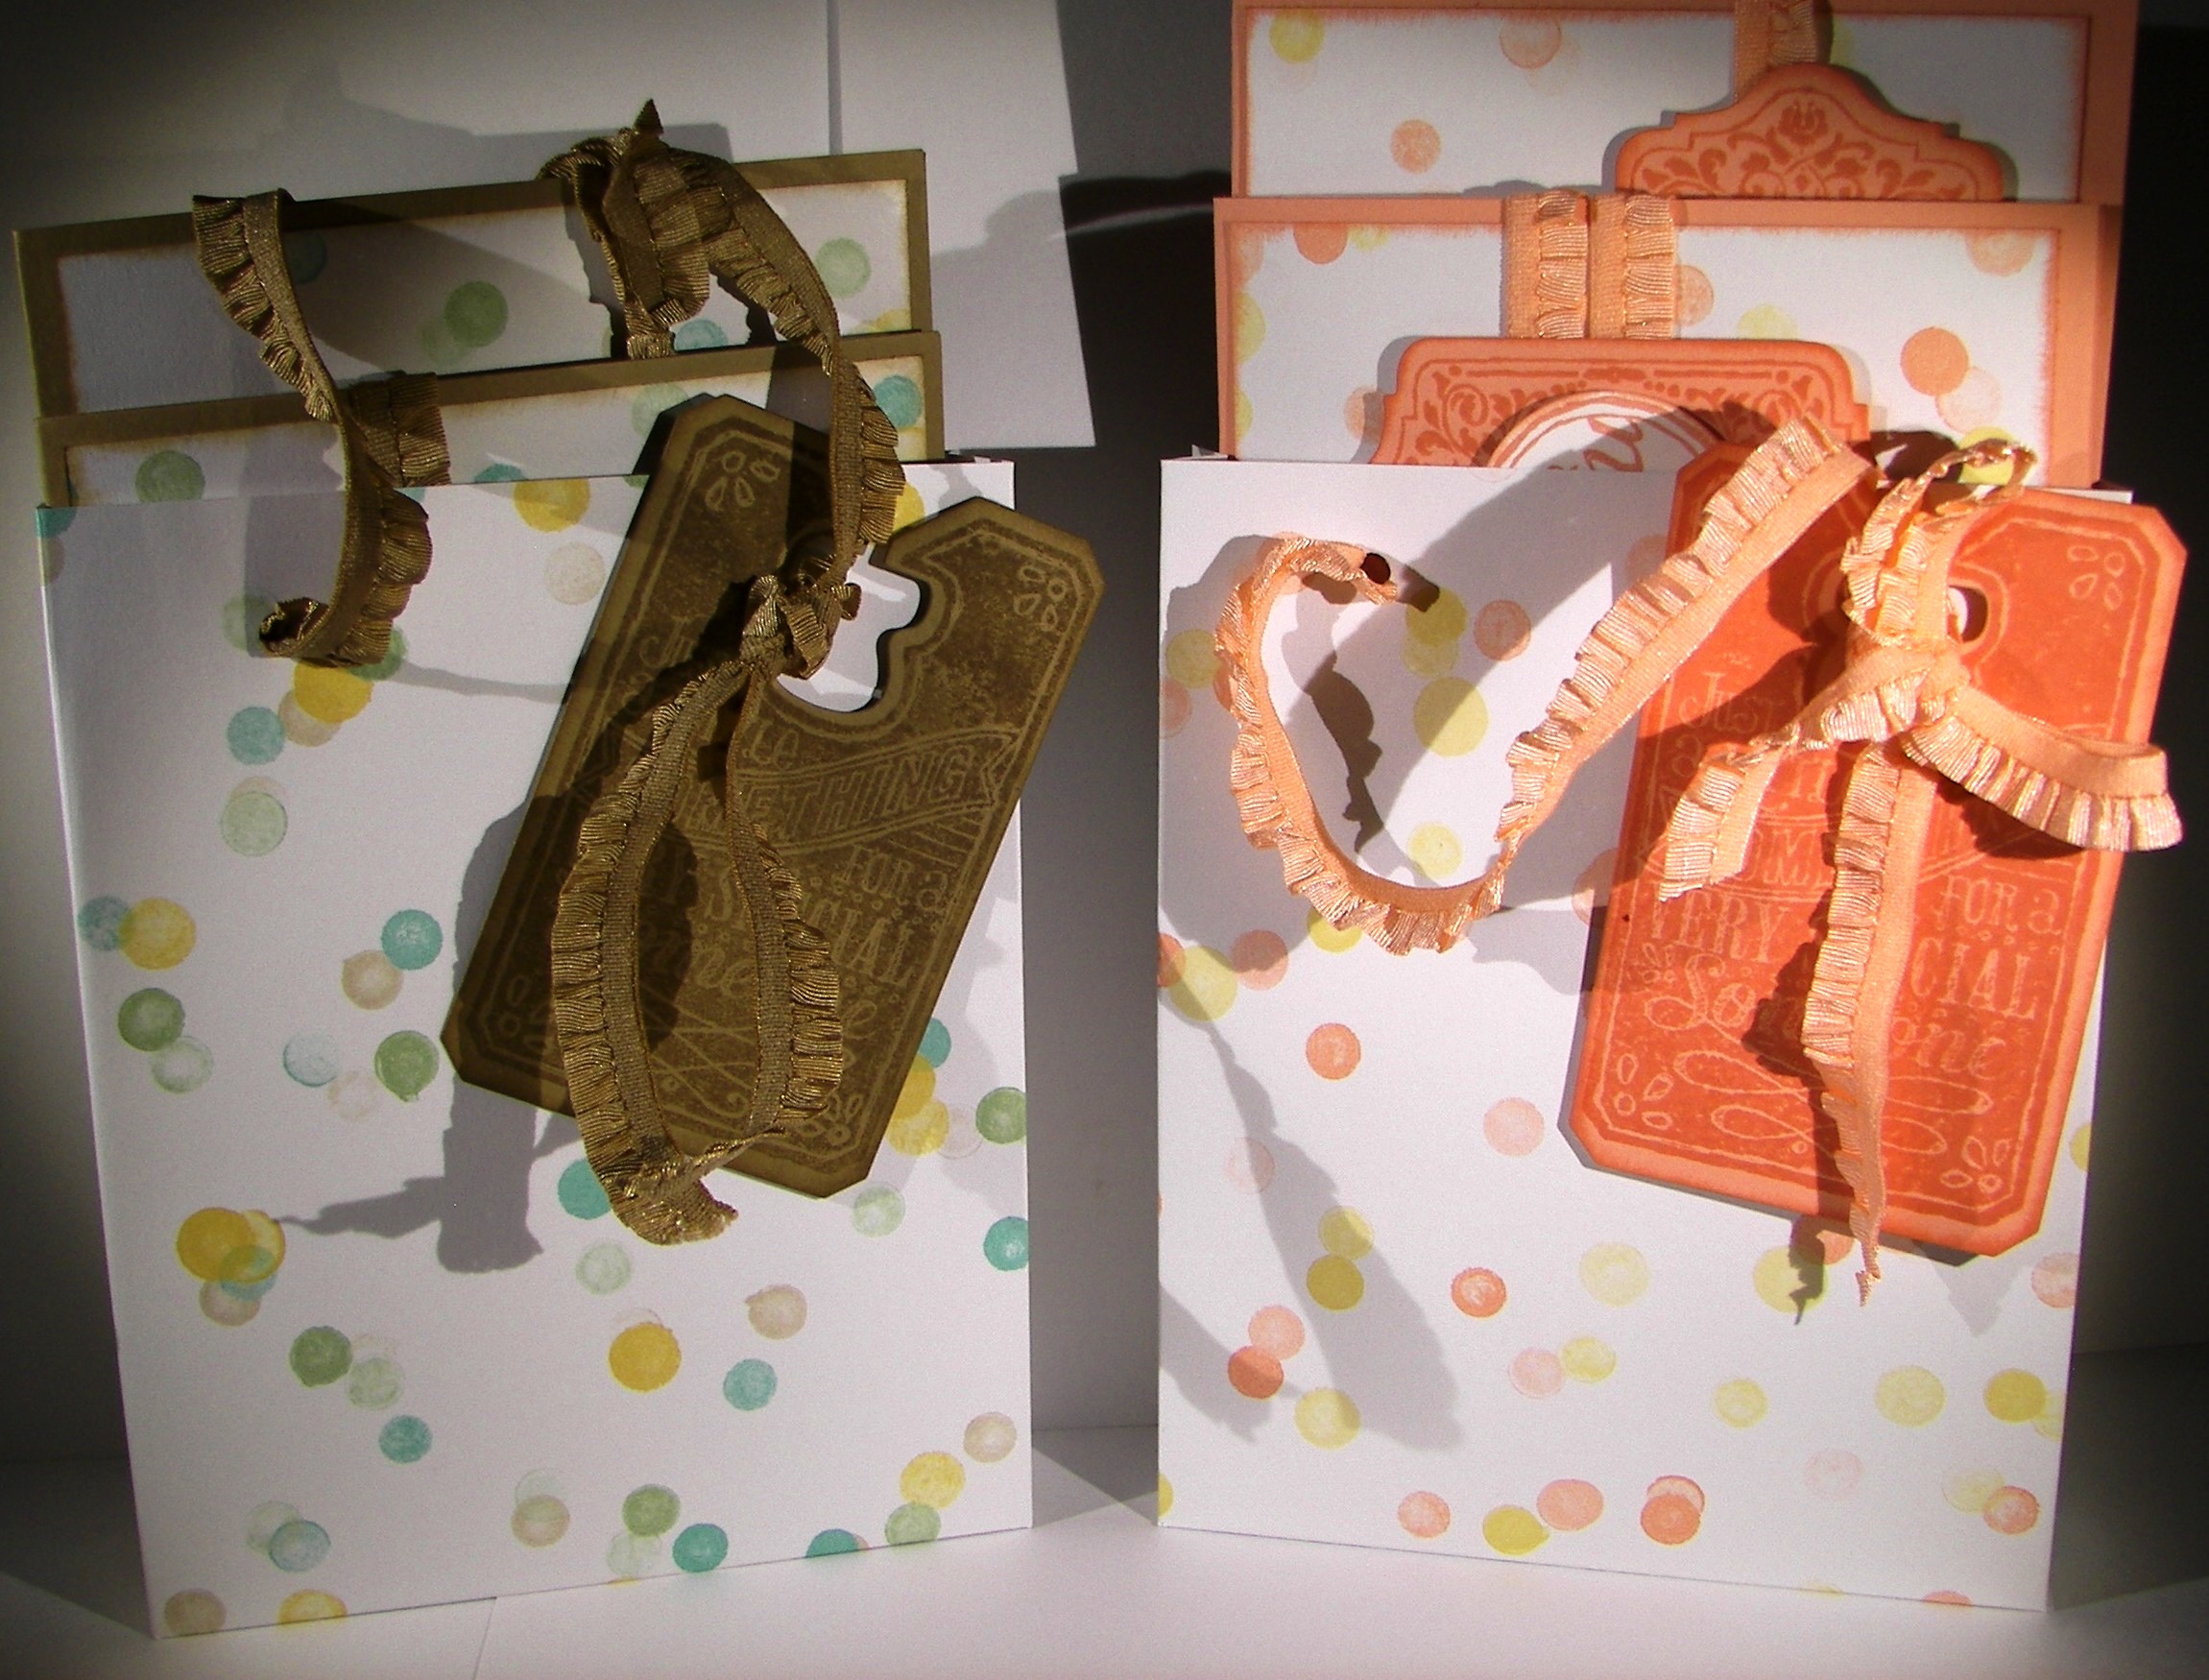
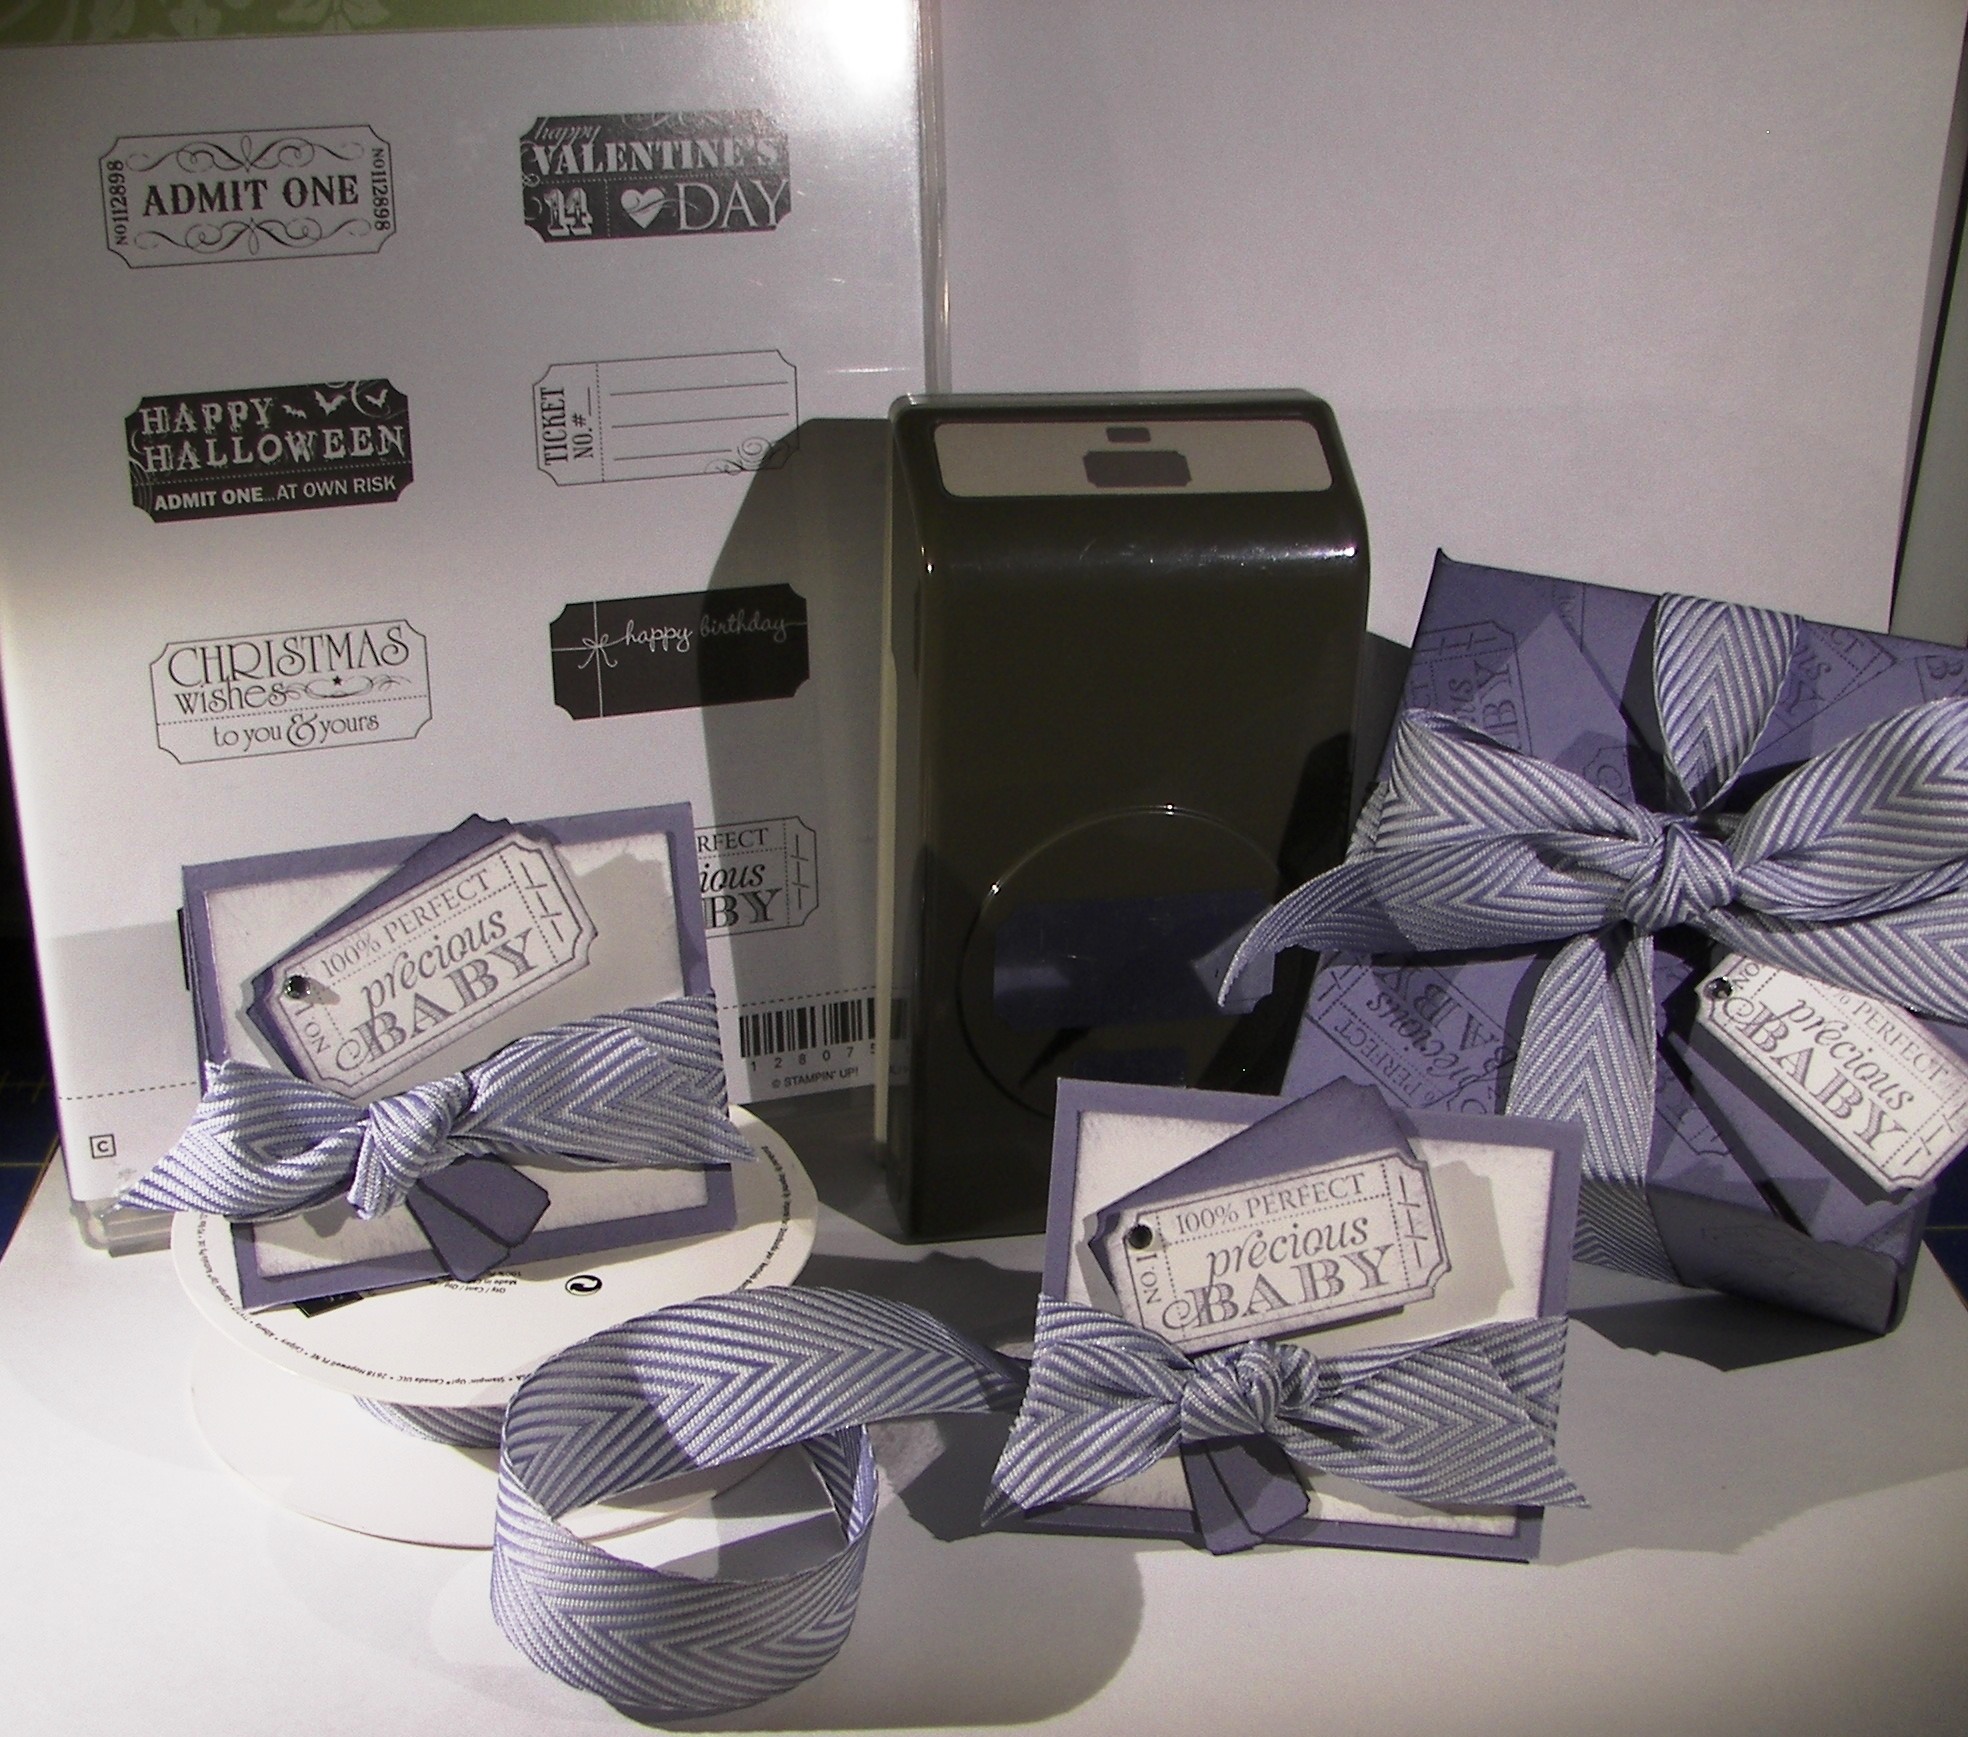
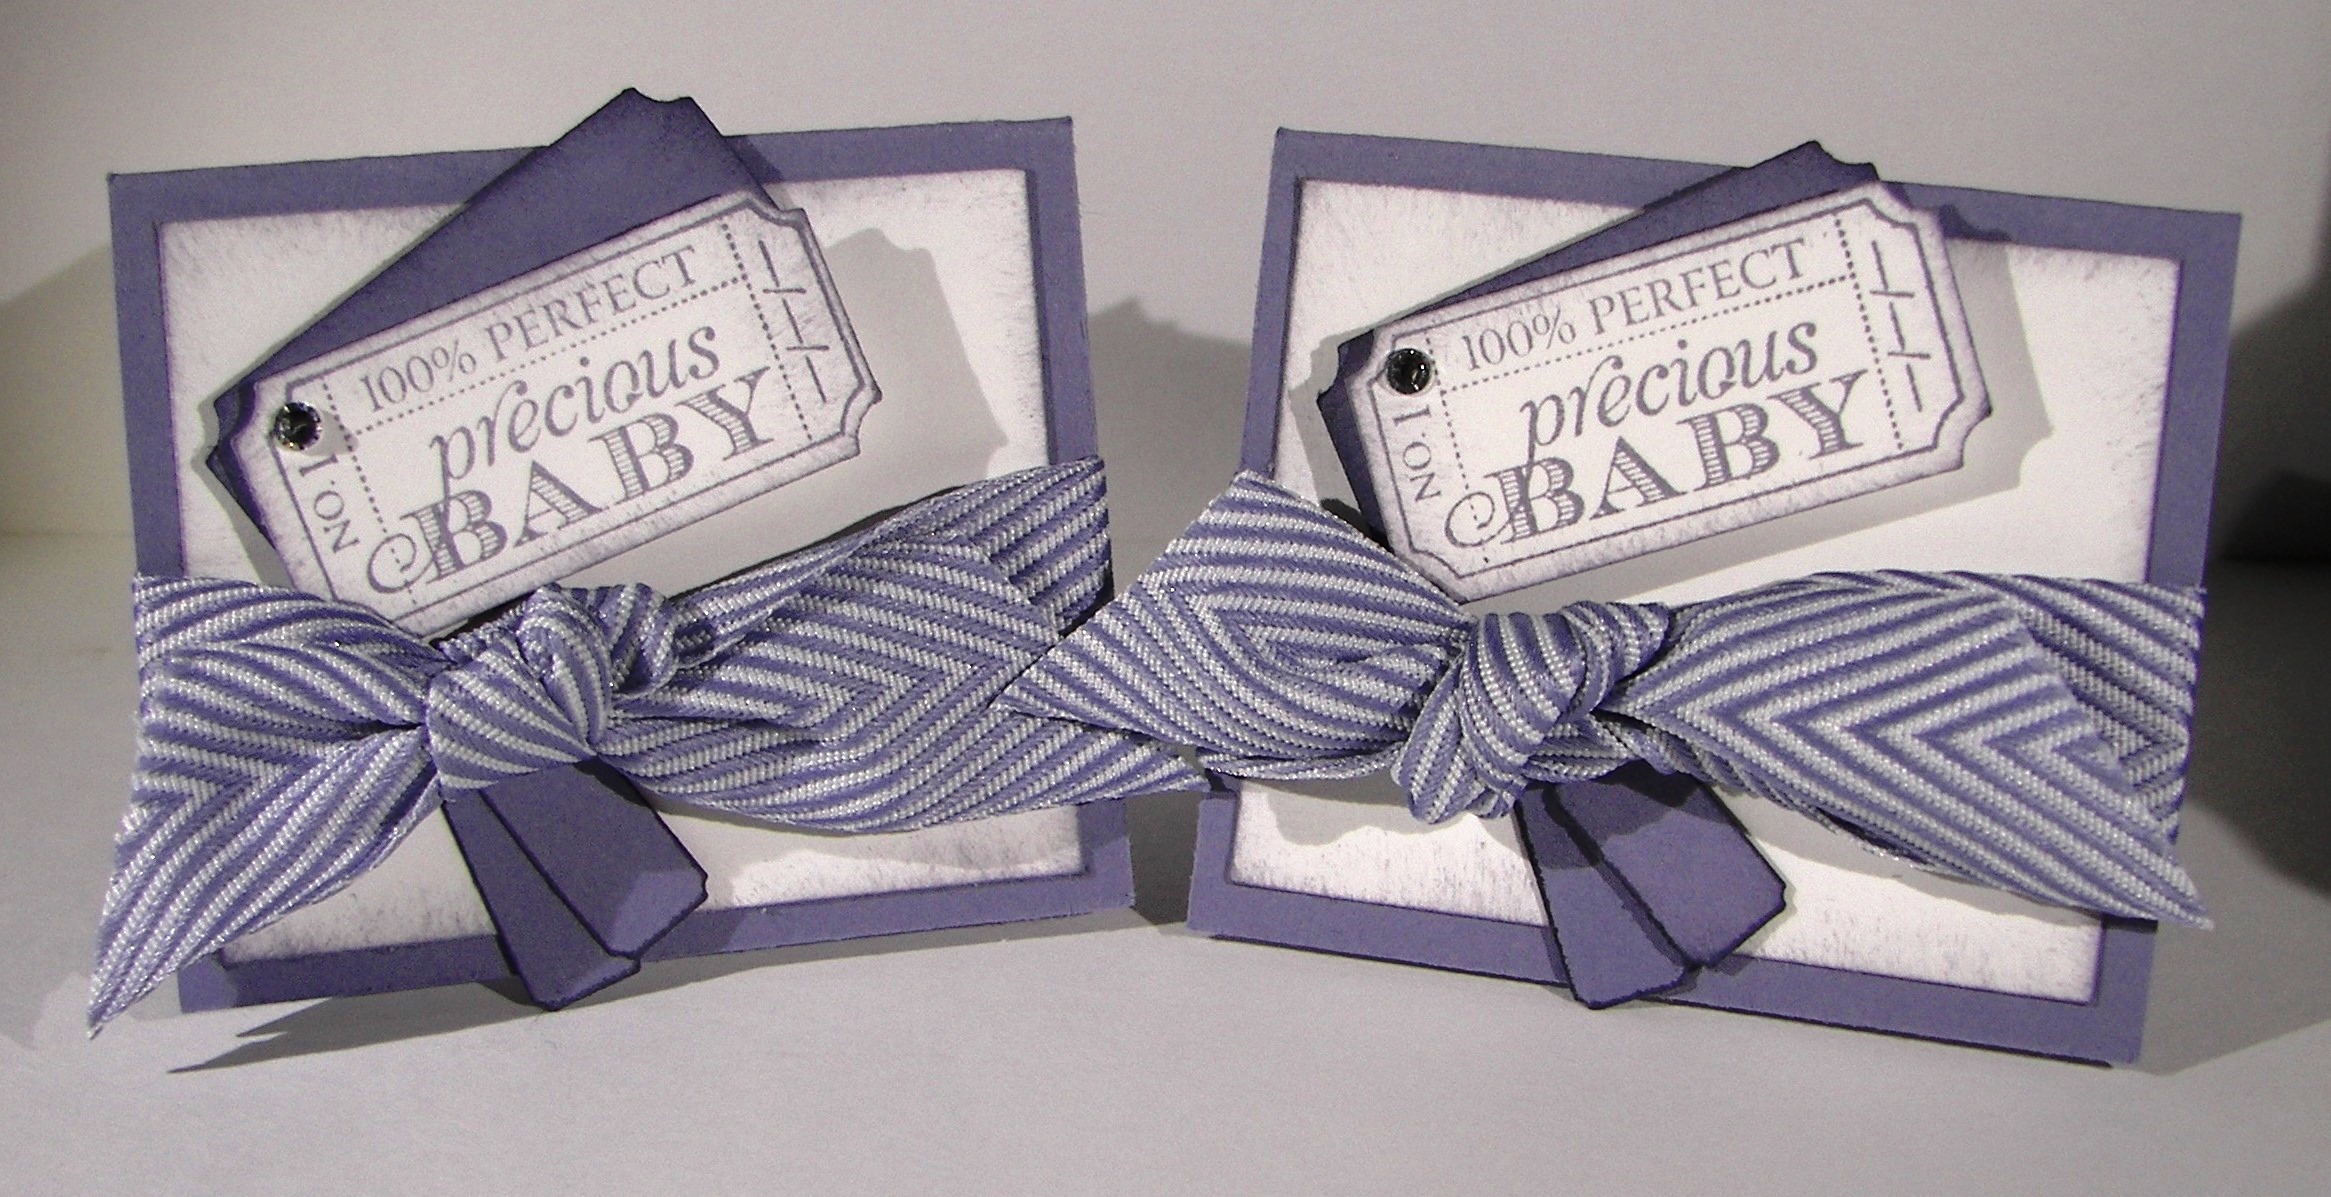
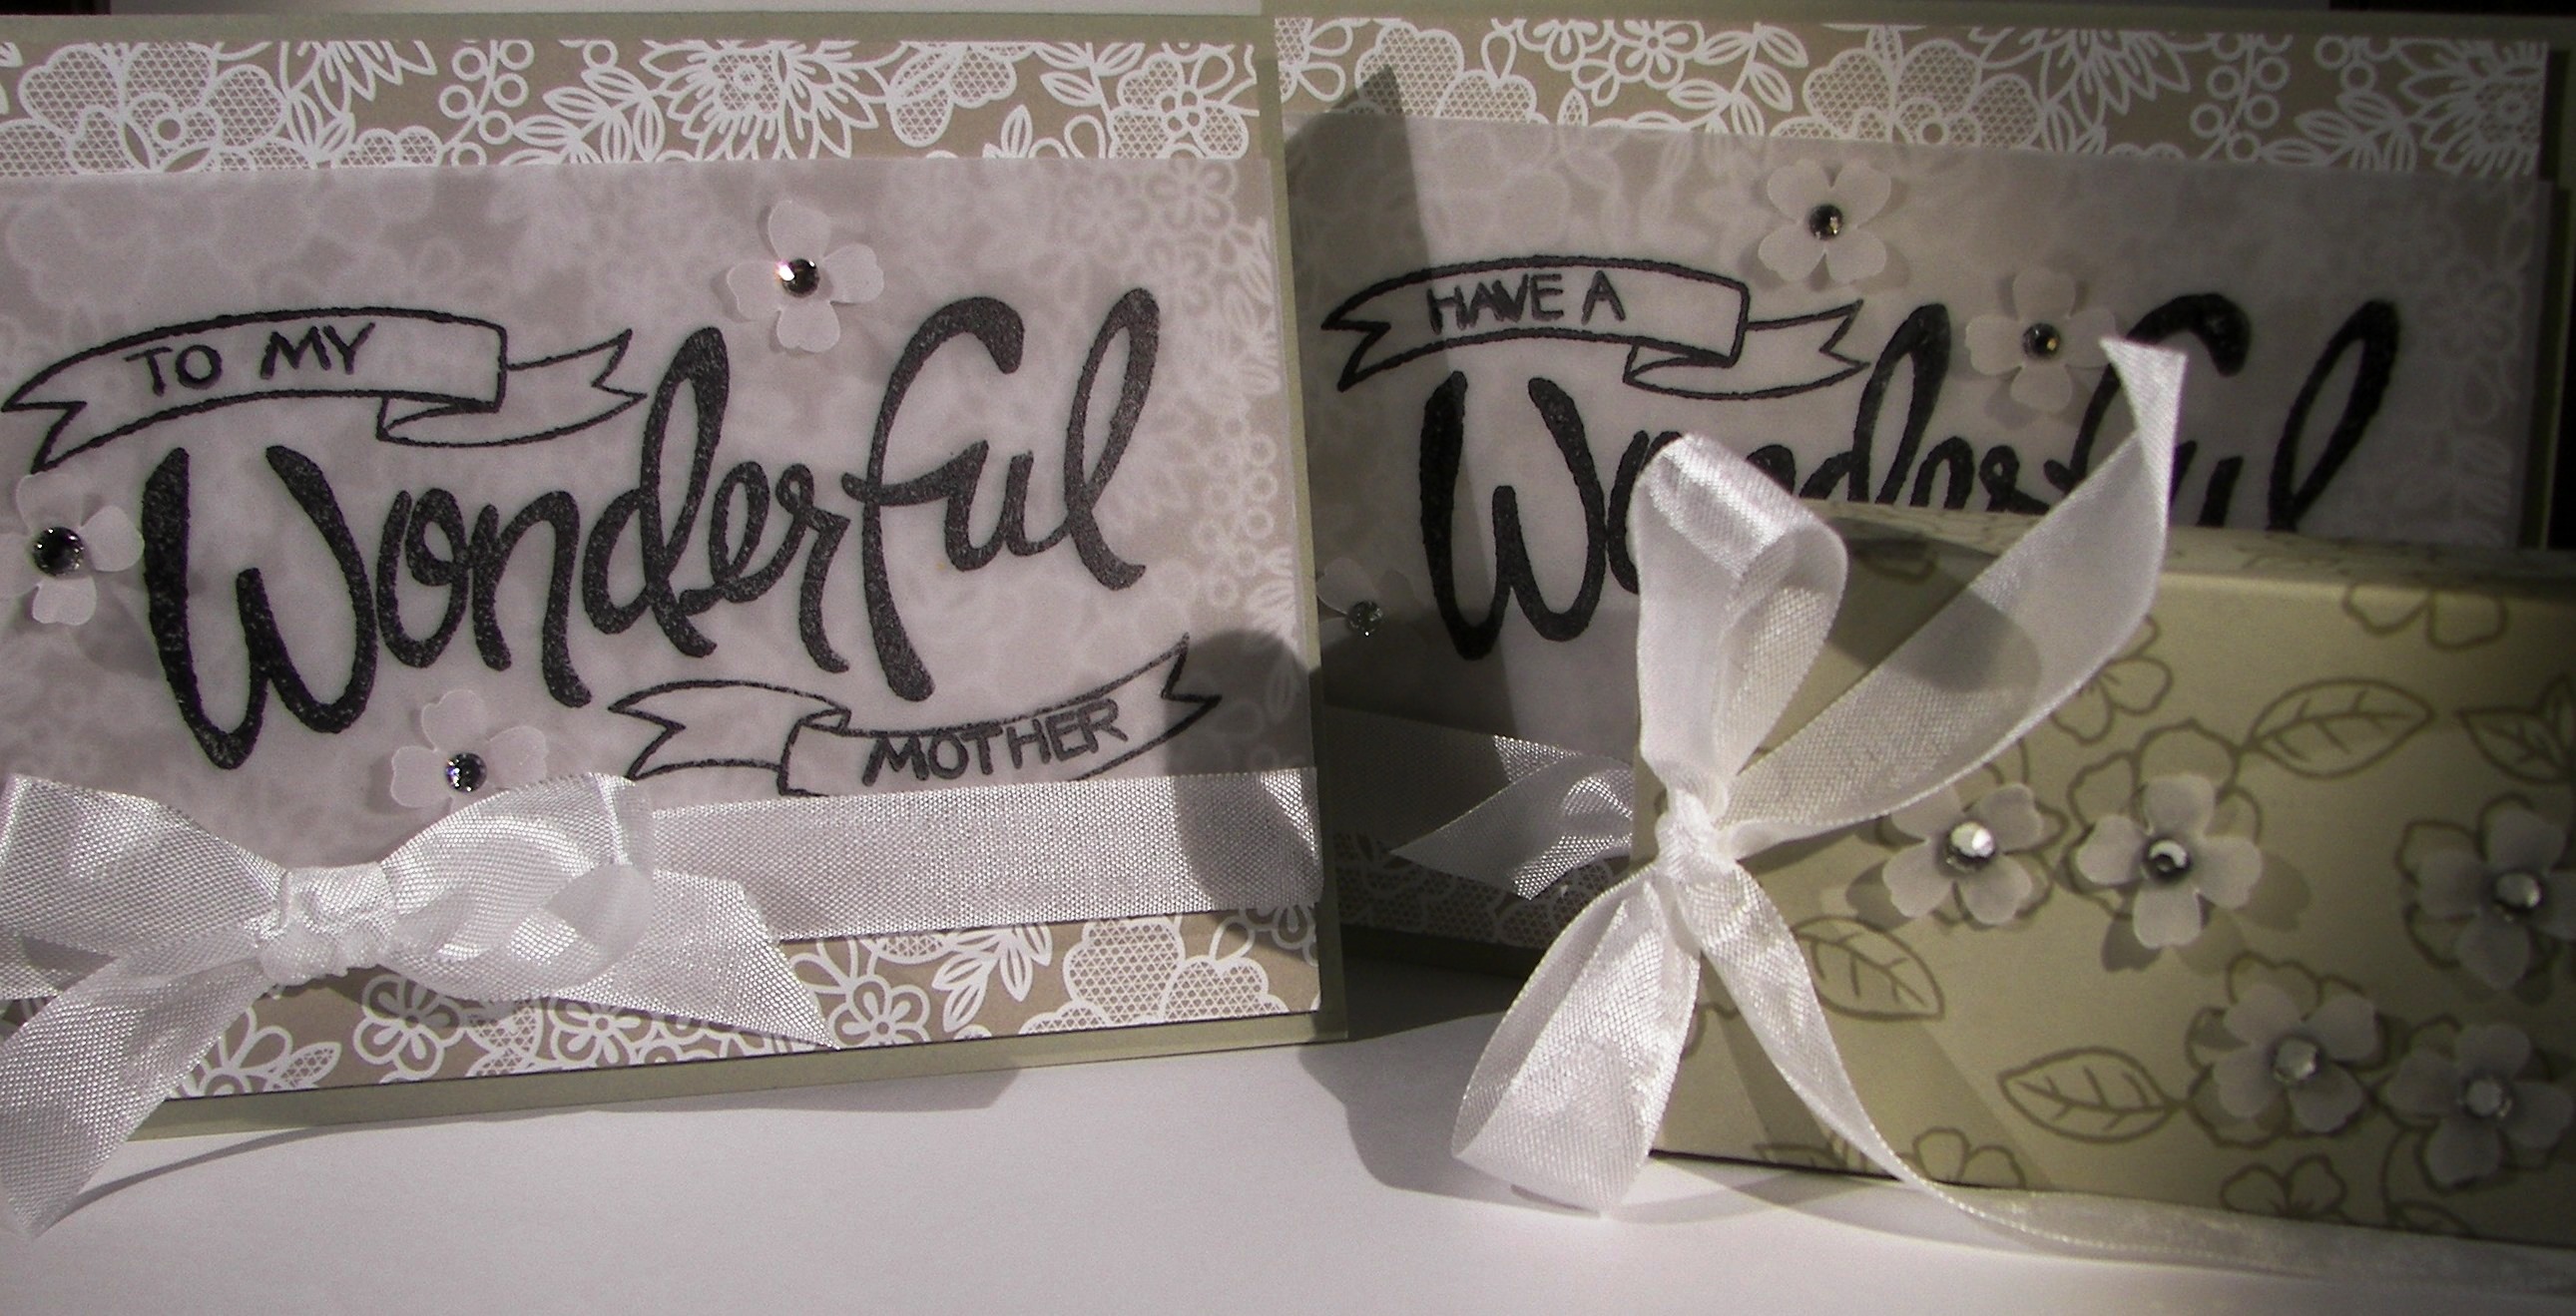
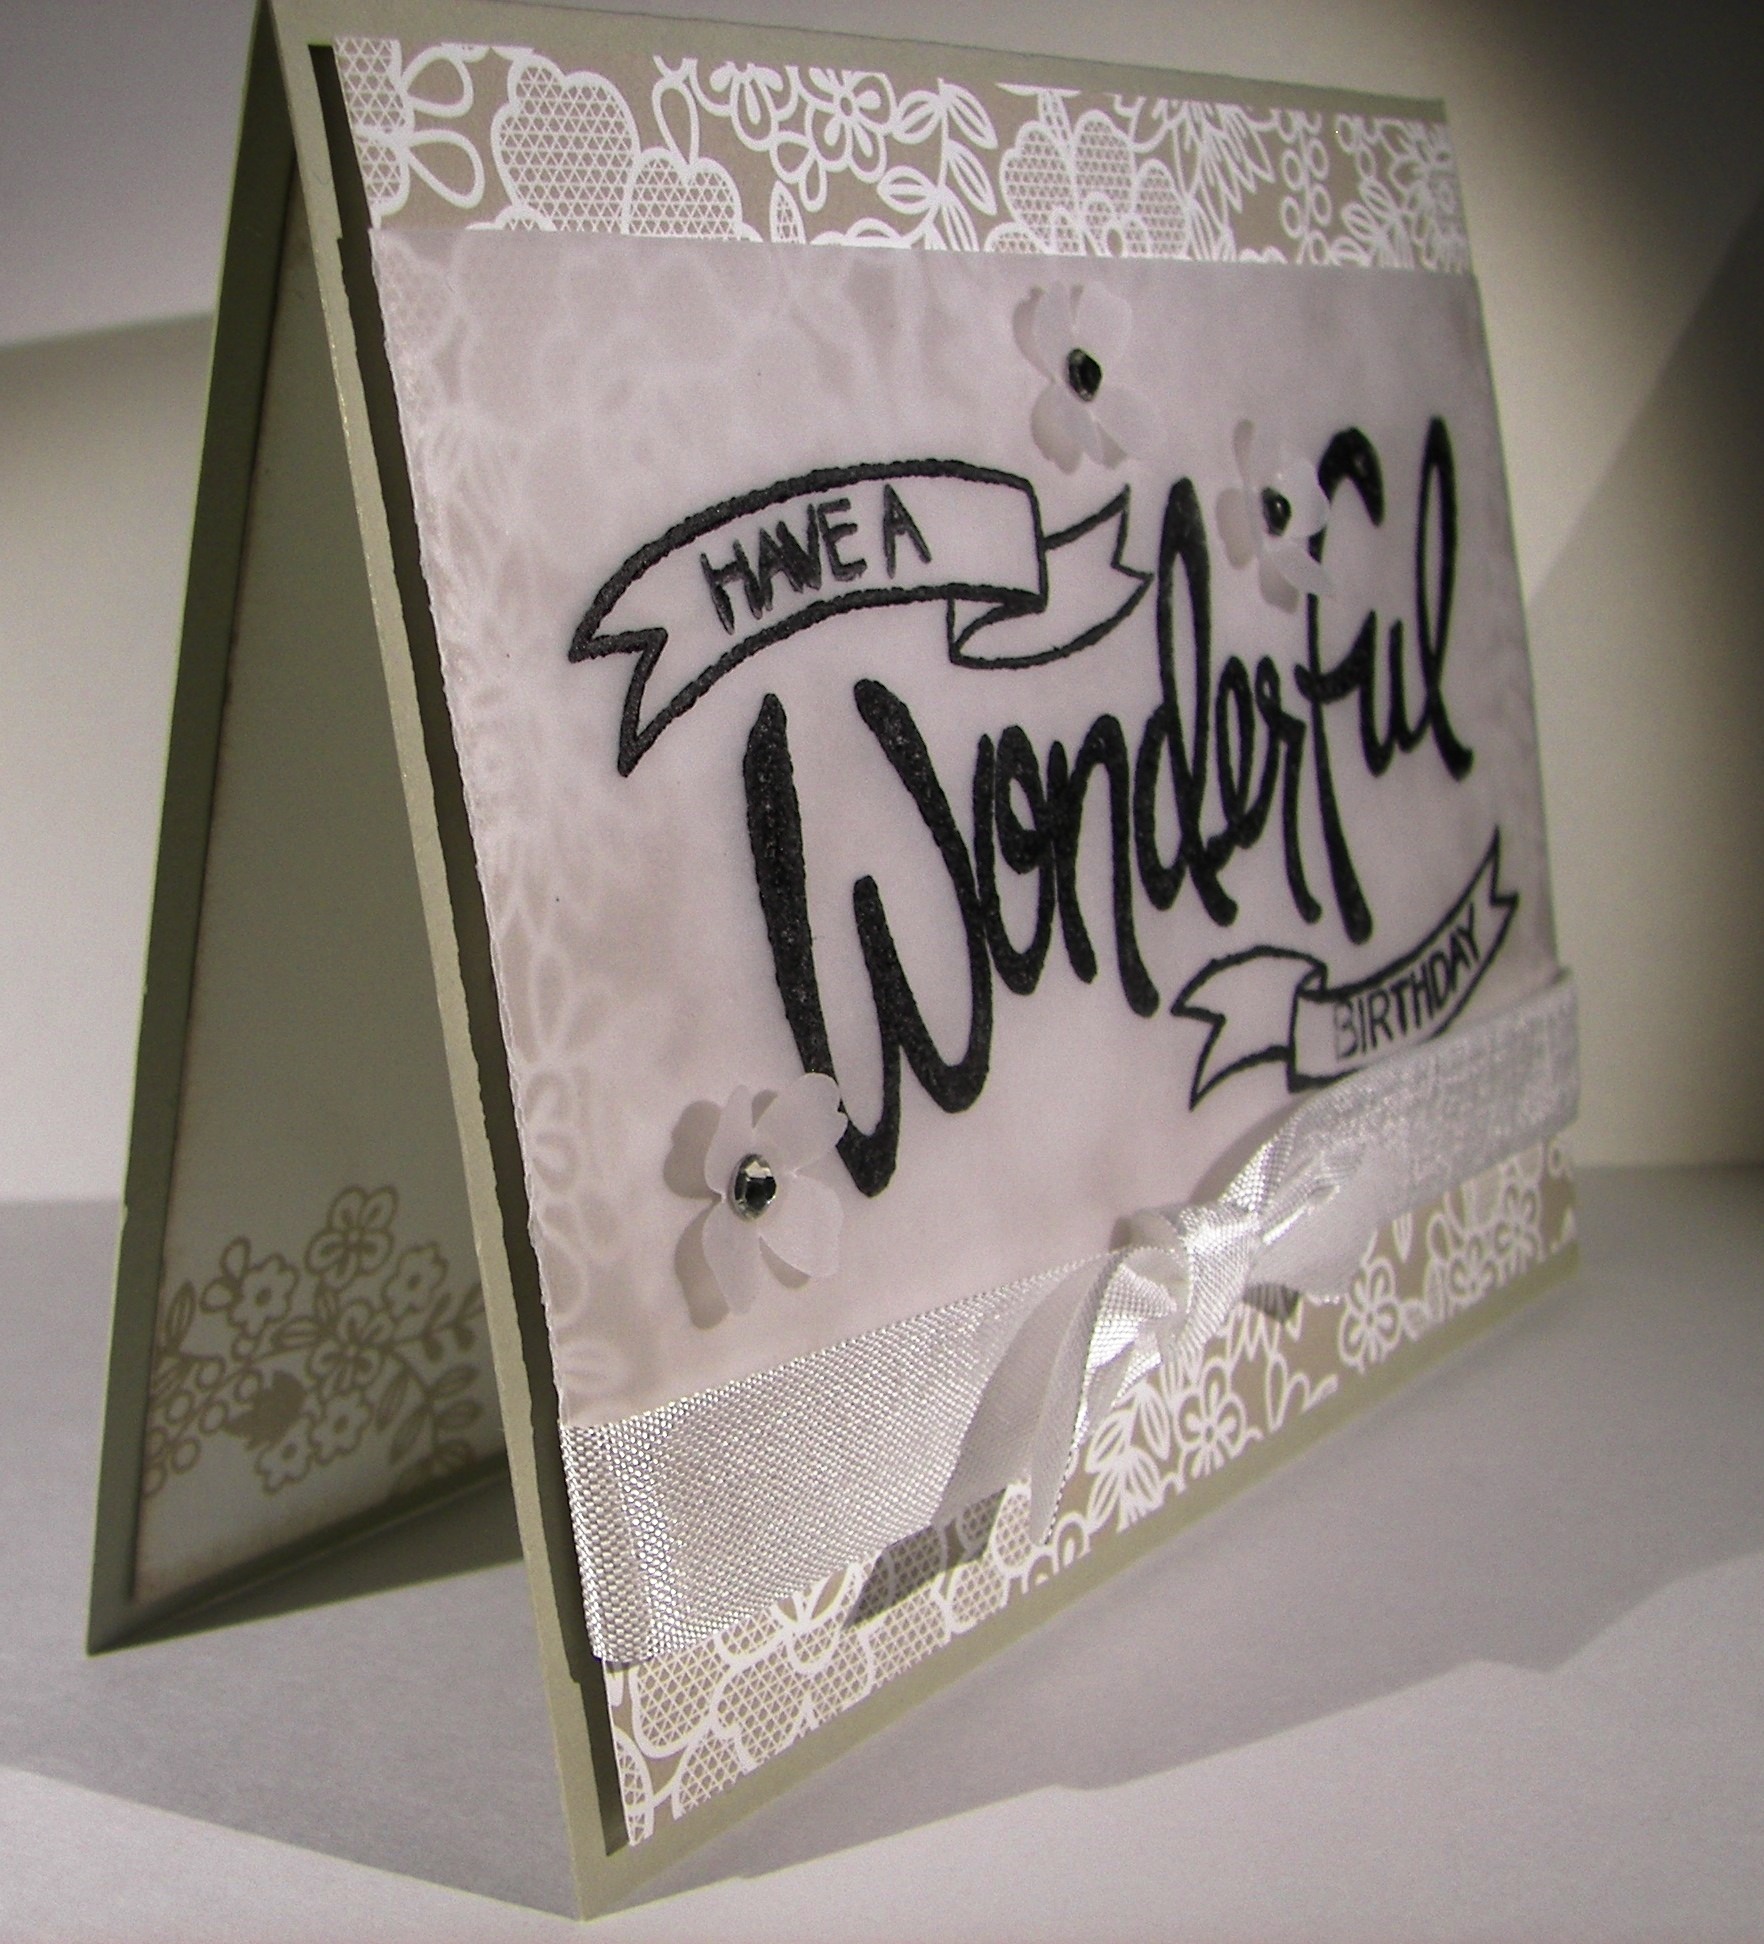
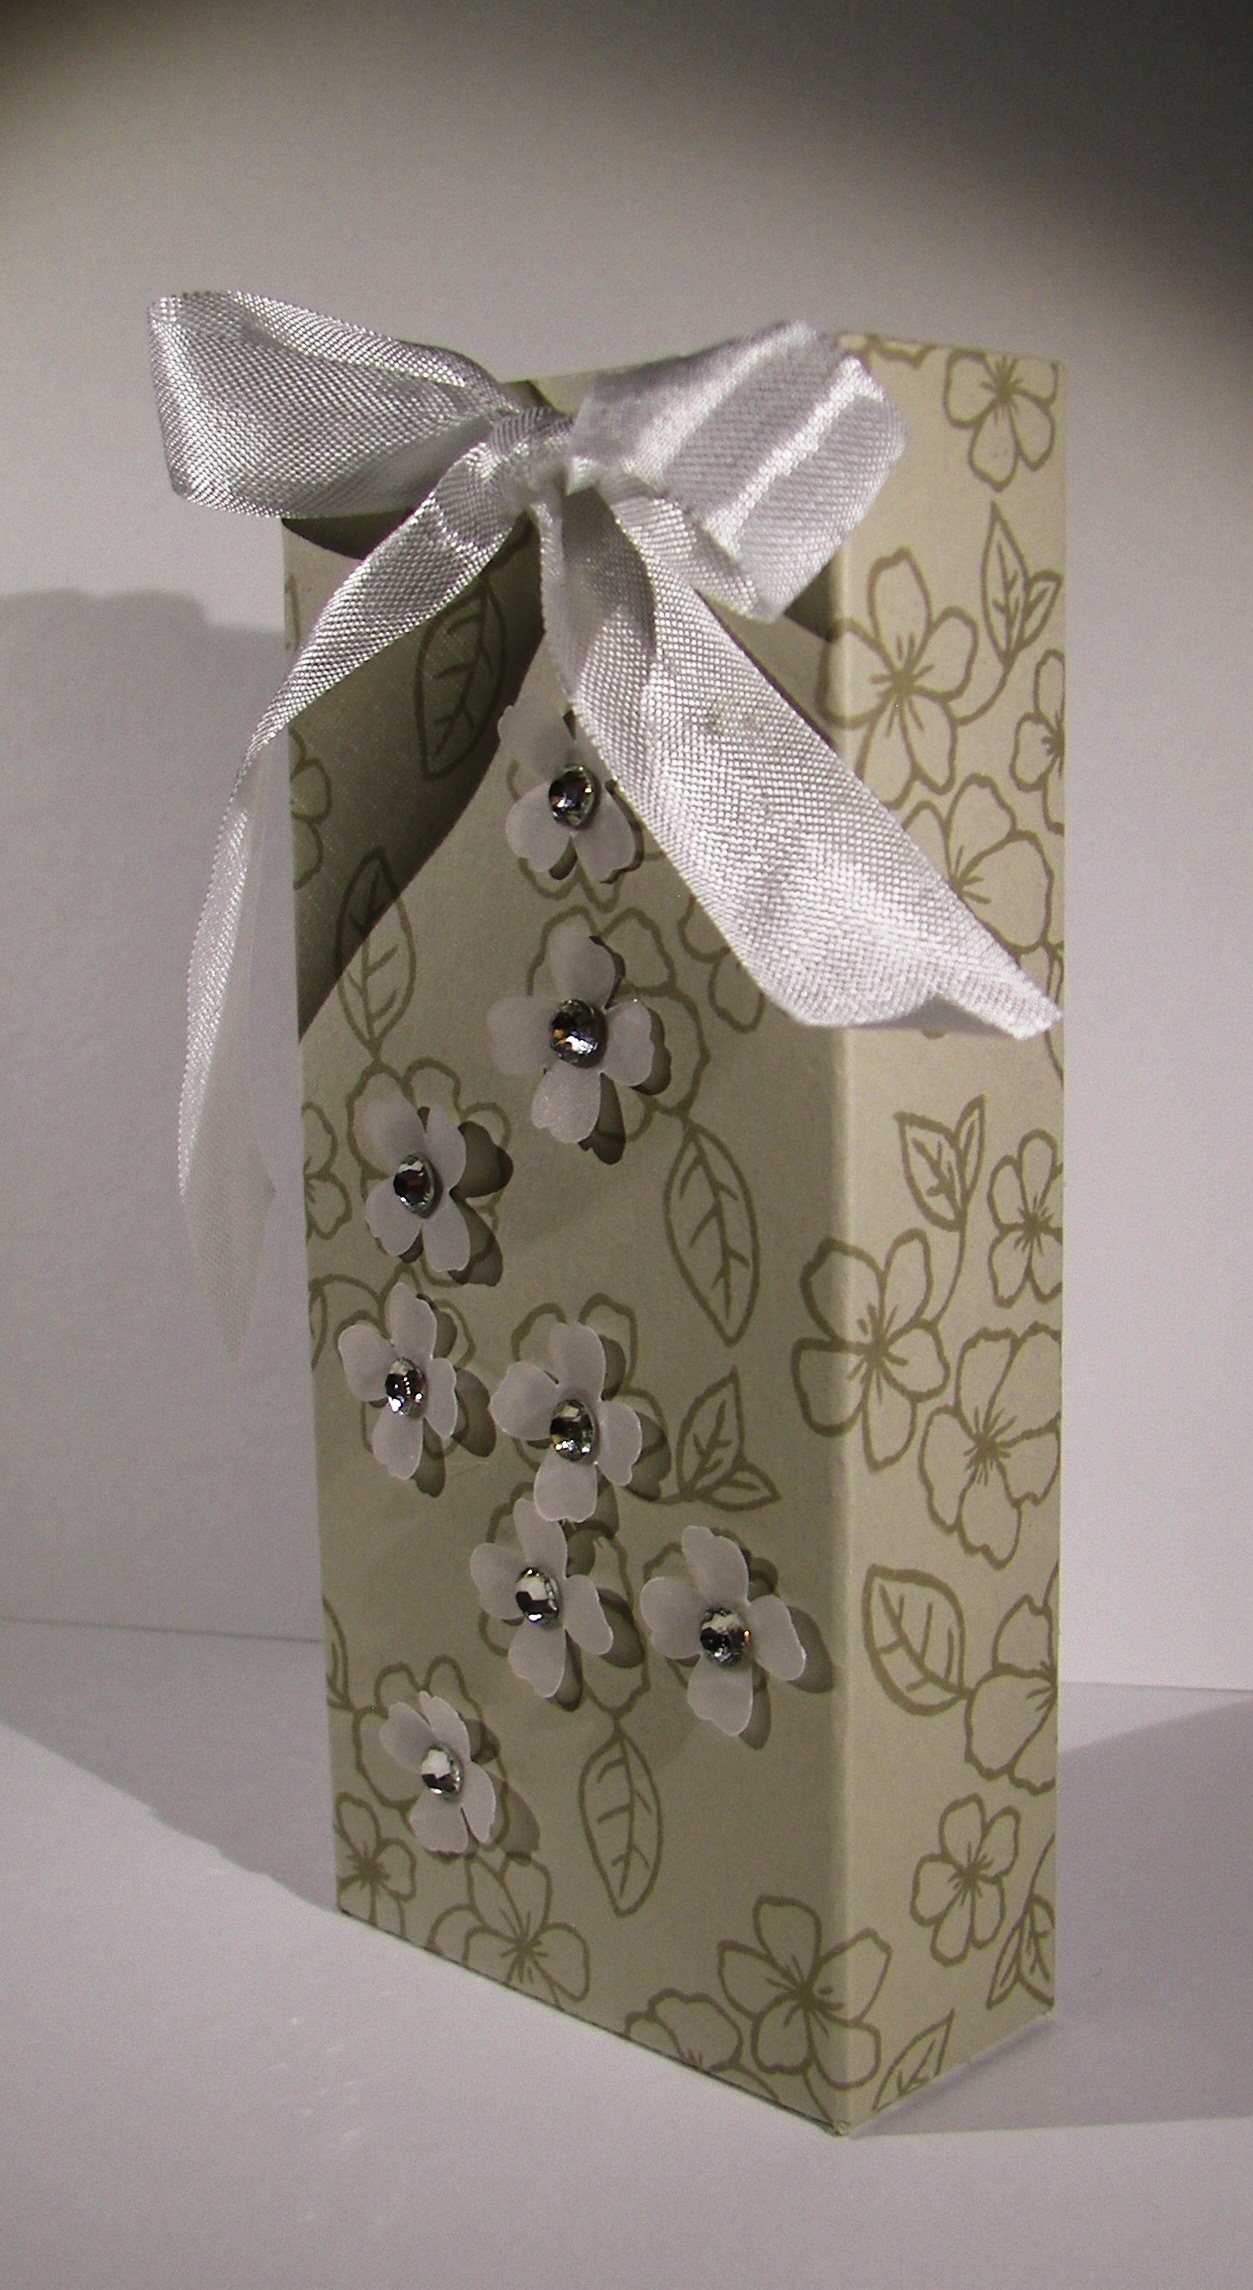
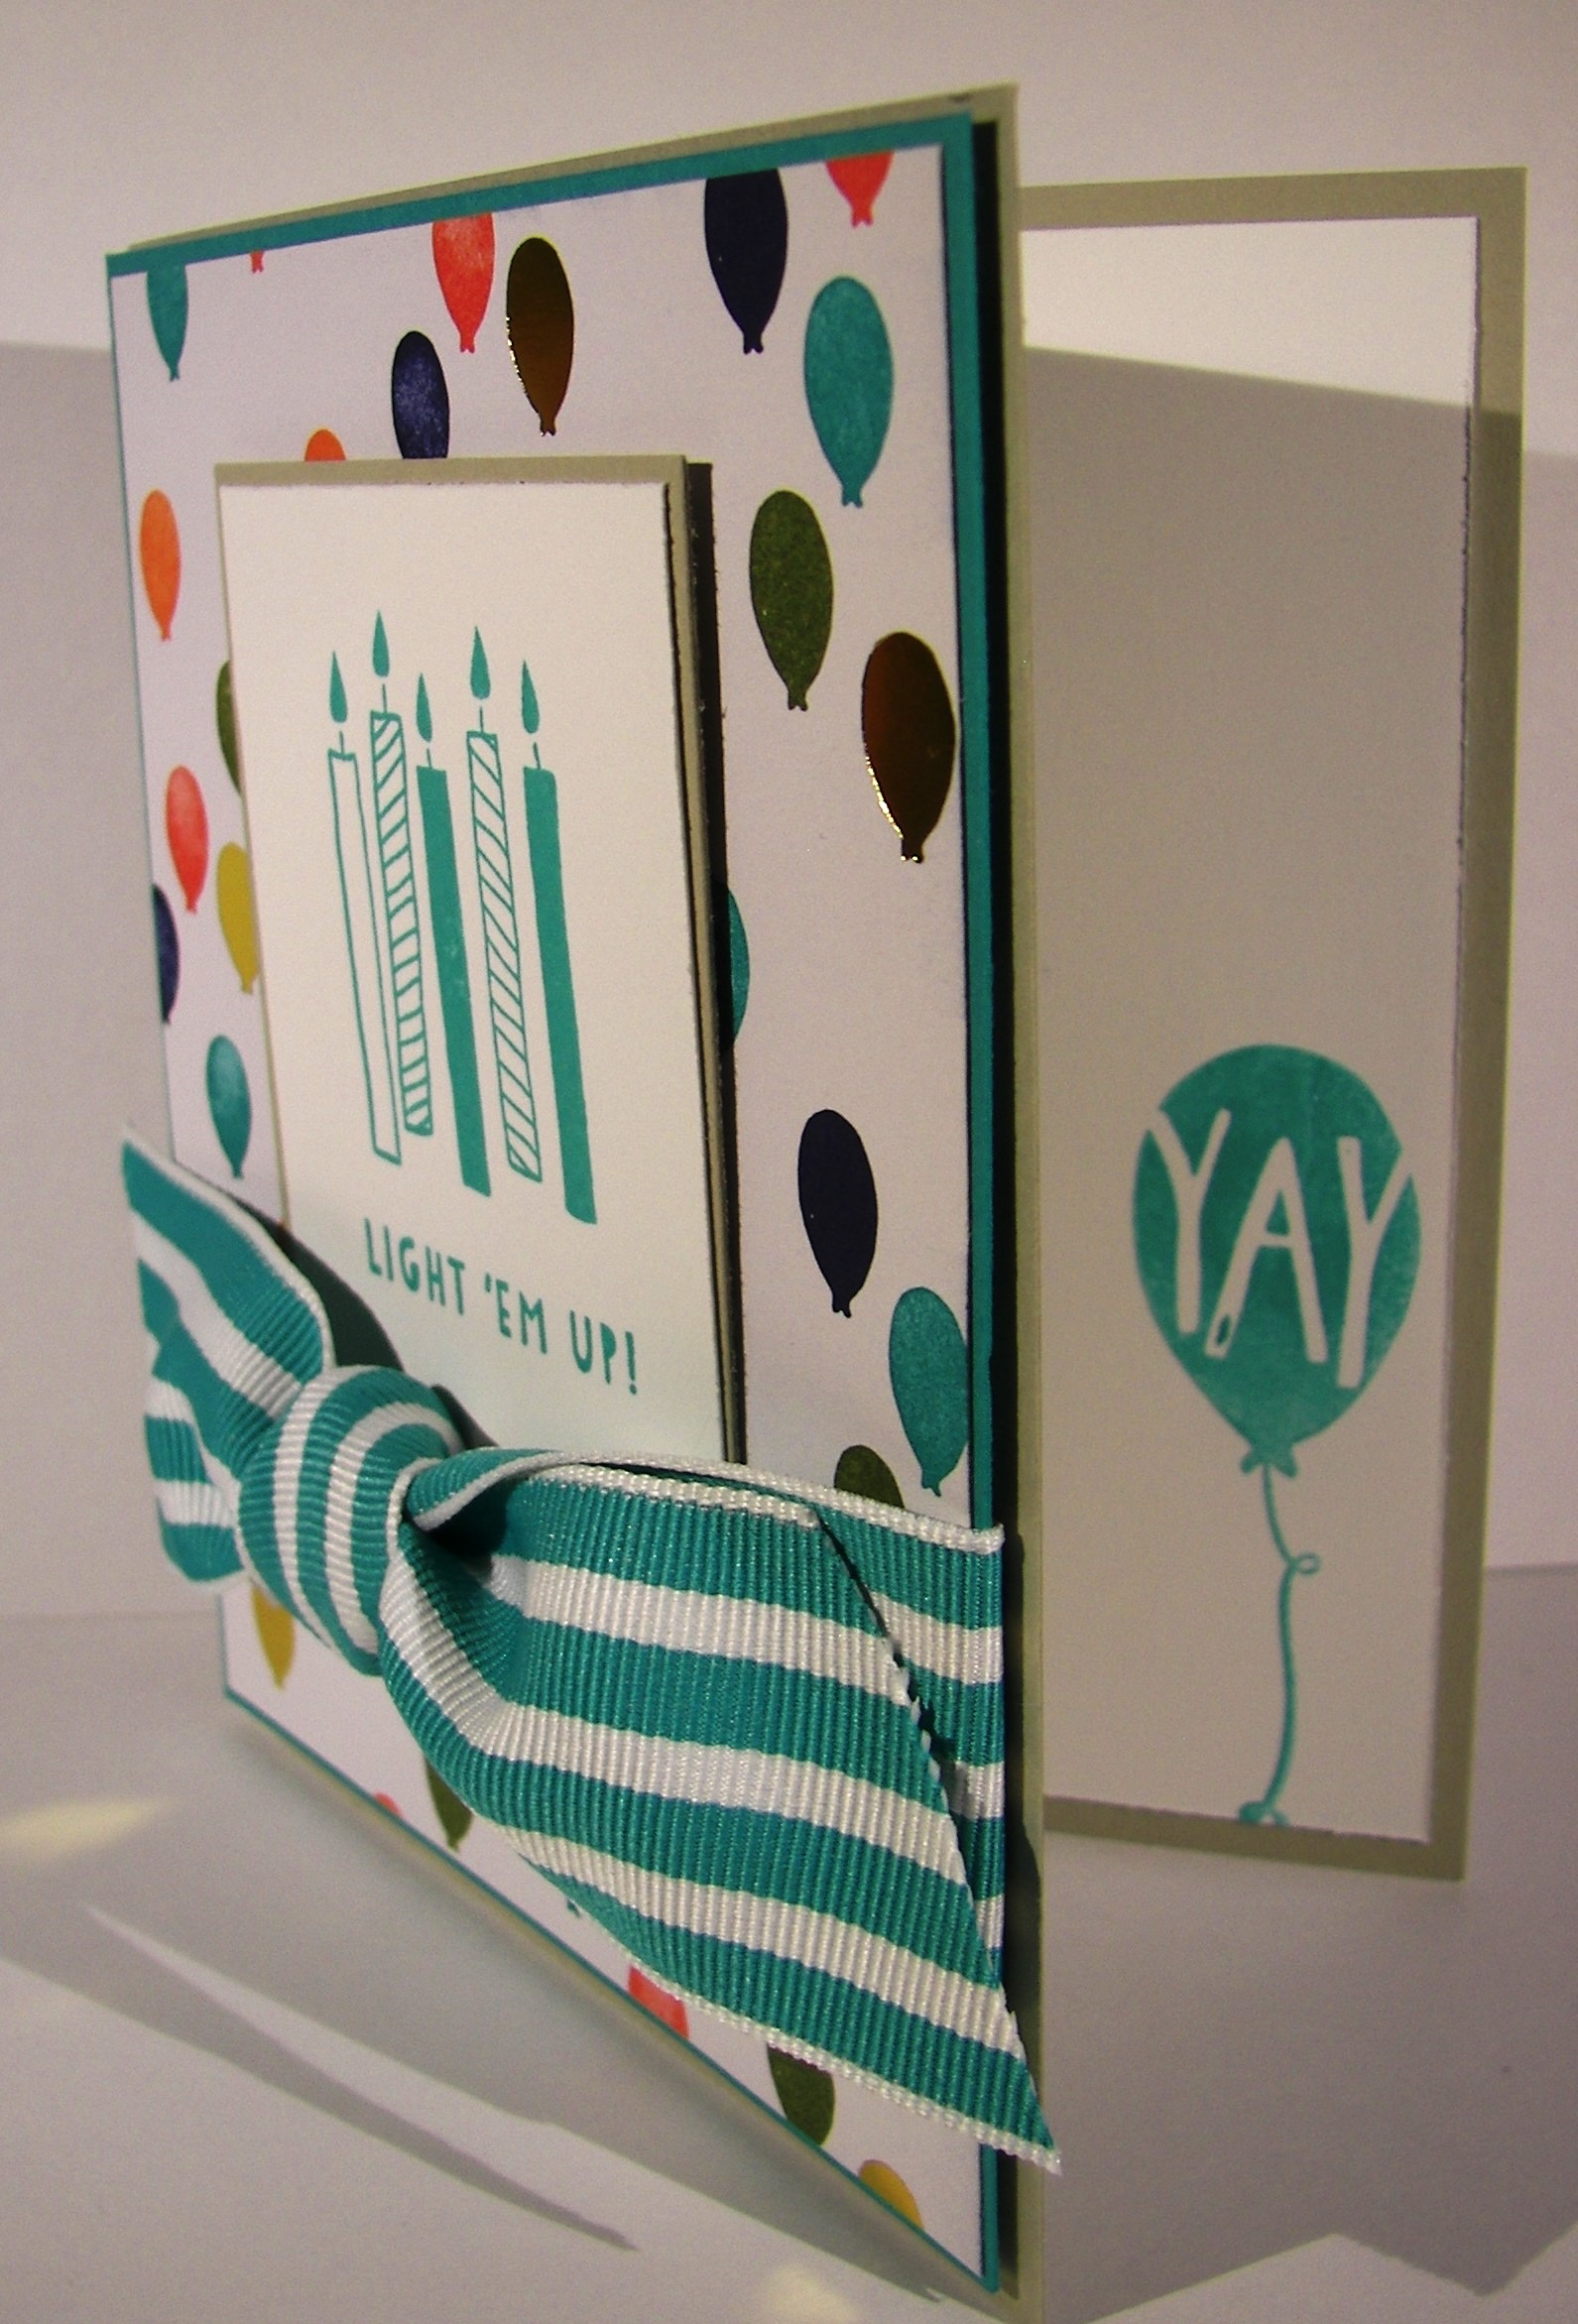
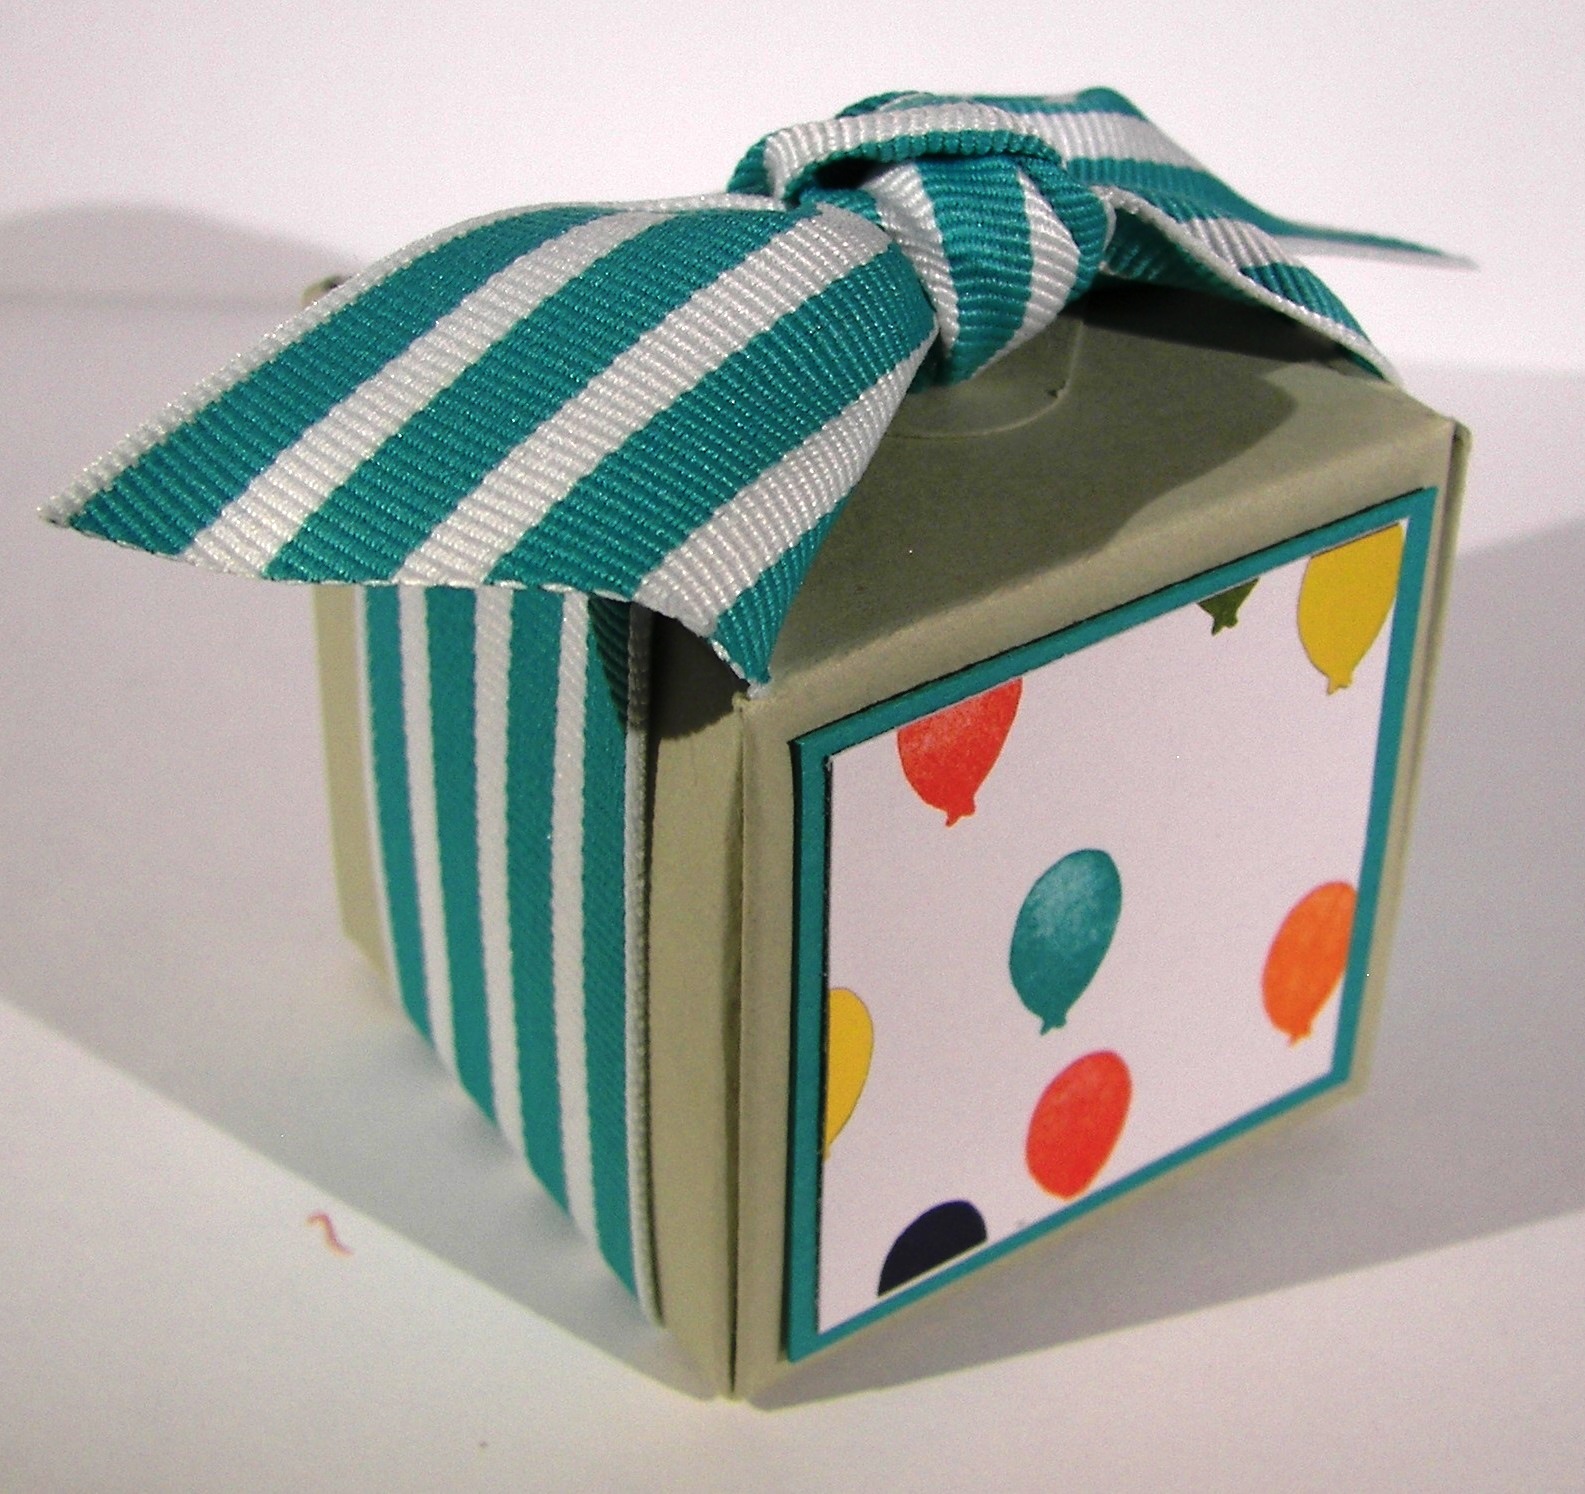
Someone you know having a birthday and need a card right away?  Why not make a card with a matching box buddy?  It may look like it took a lot of time, but it was super quick.  Enough said.

Birthday Dash with Box Buddy

I used one sheet of sahara sand to base both of these projects.  I cut a 6 x 6 portion first and used the remaining for the card.  It came together really nice actually.

Birthday Dash with Box Buddy

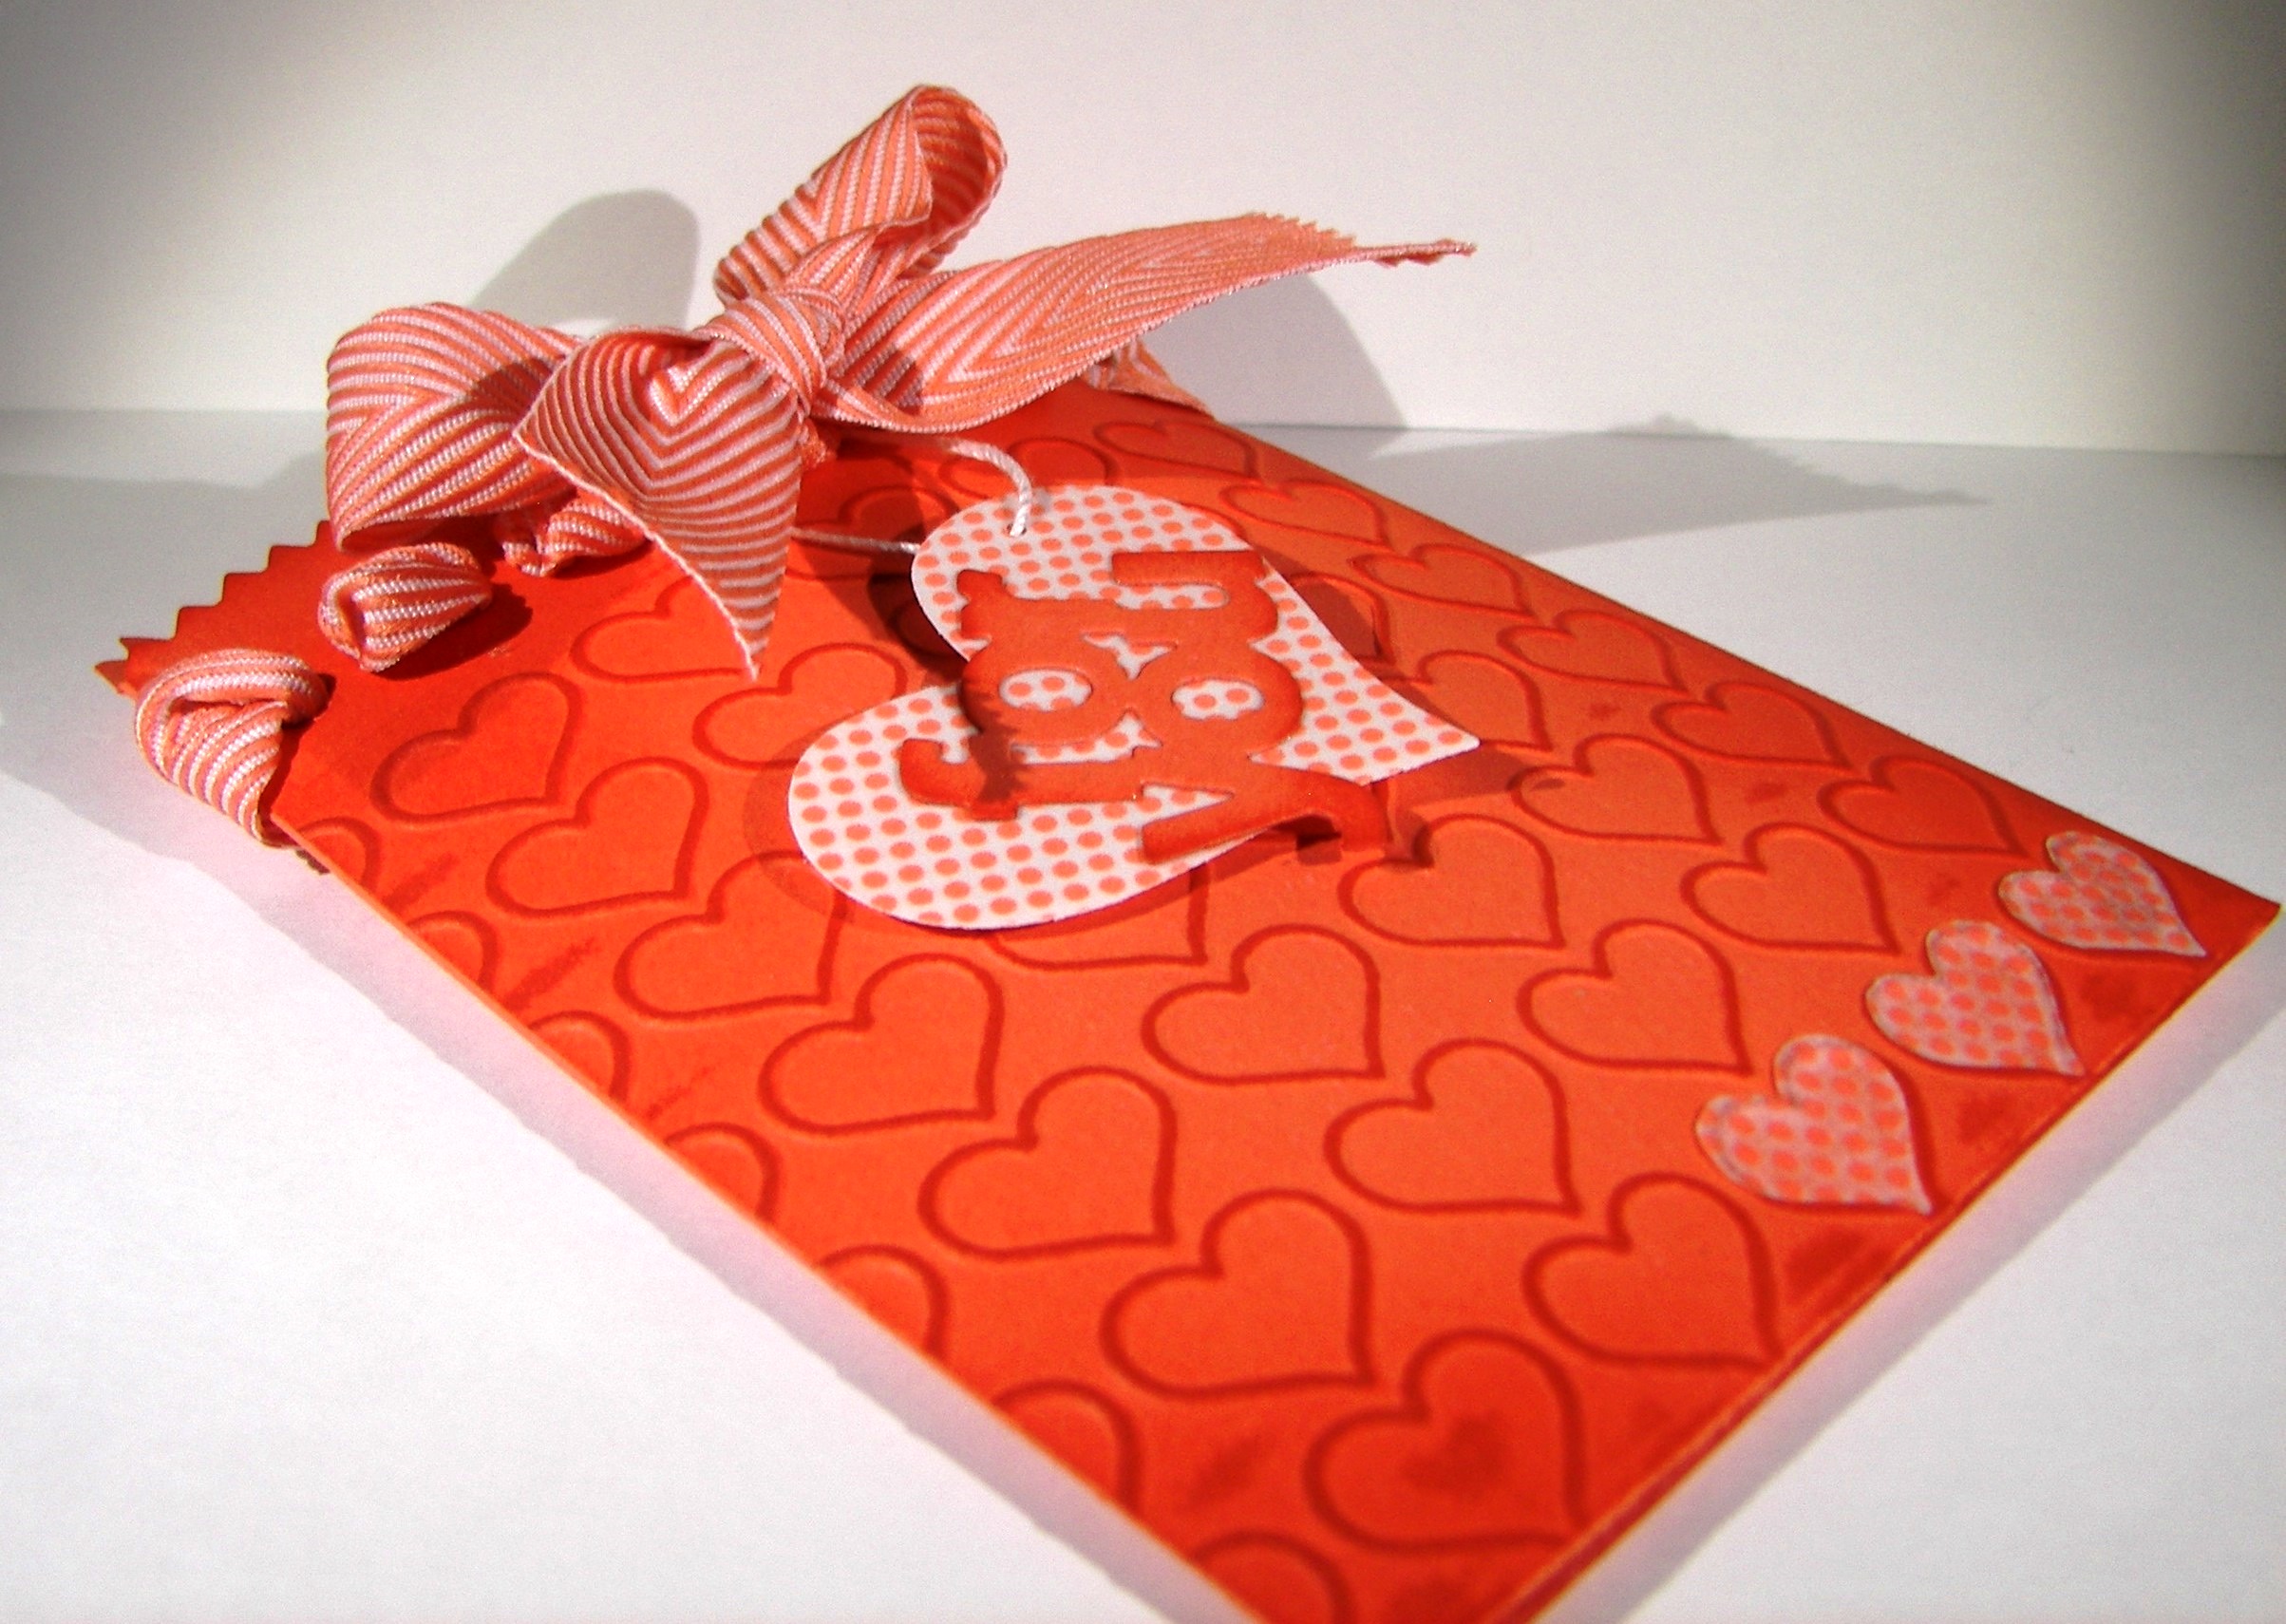
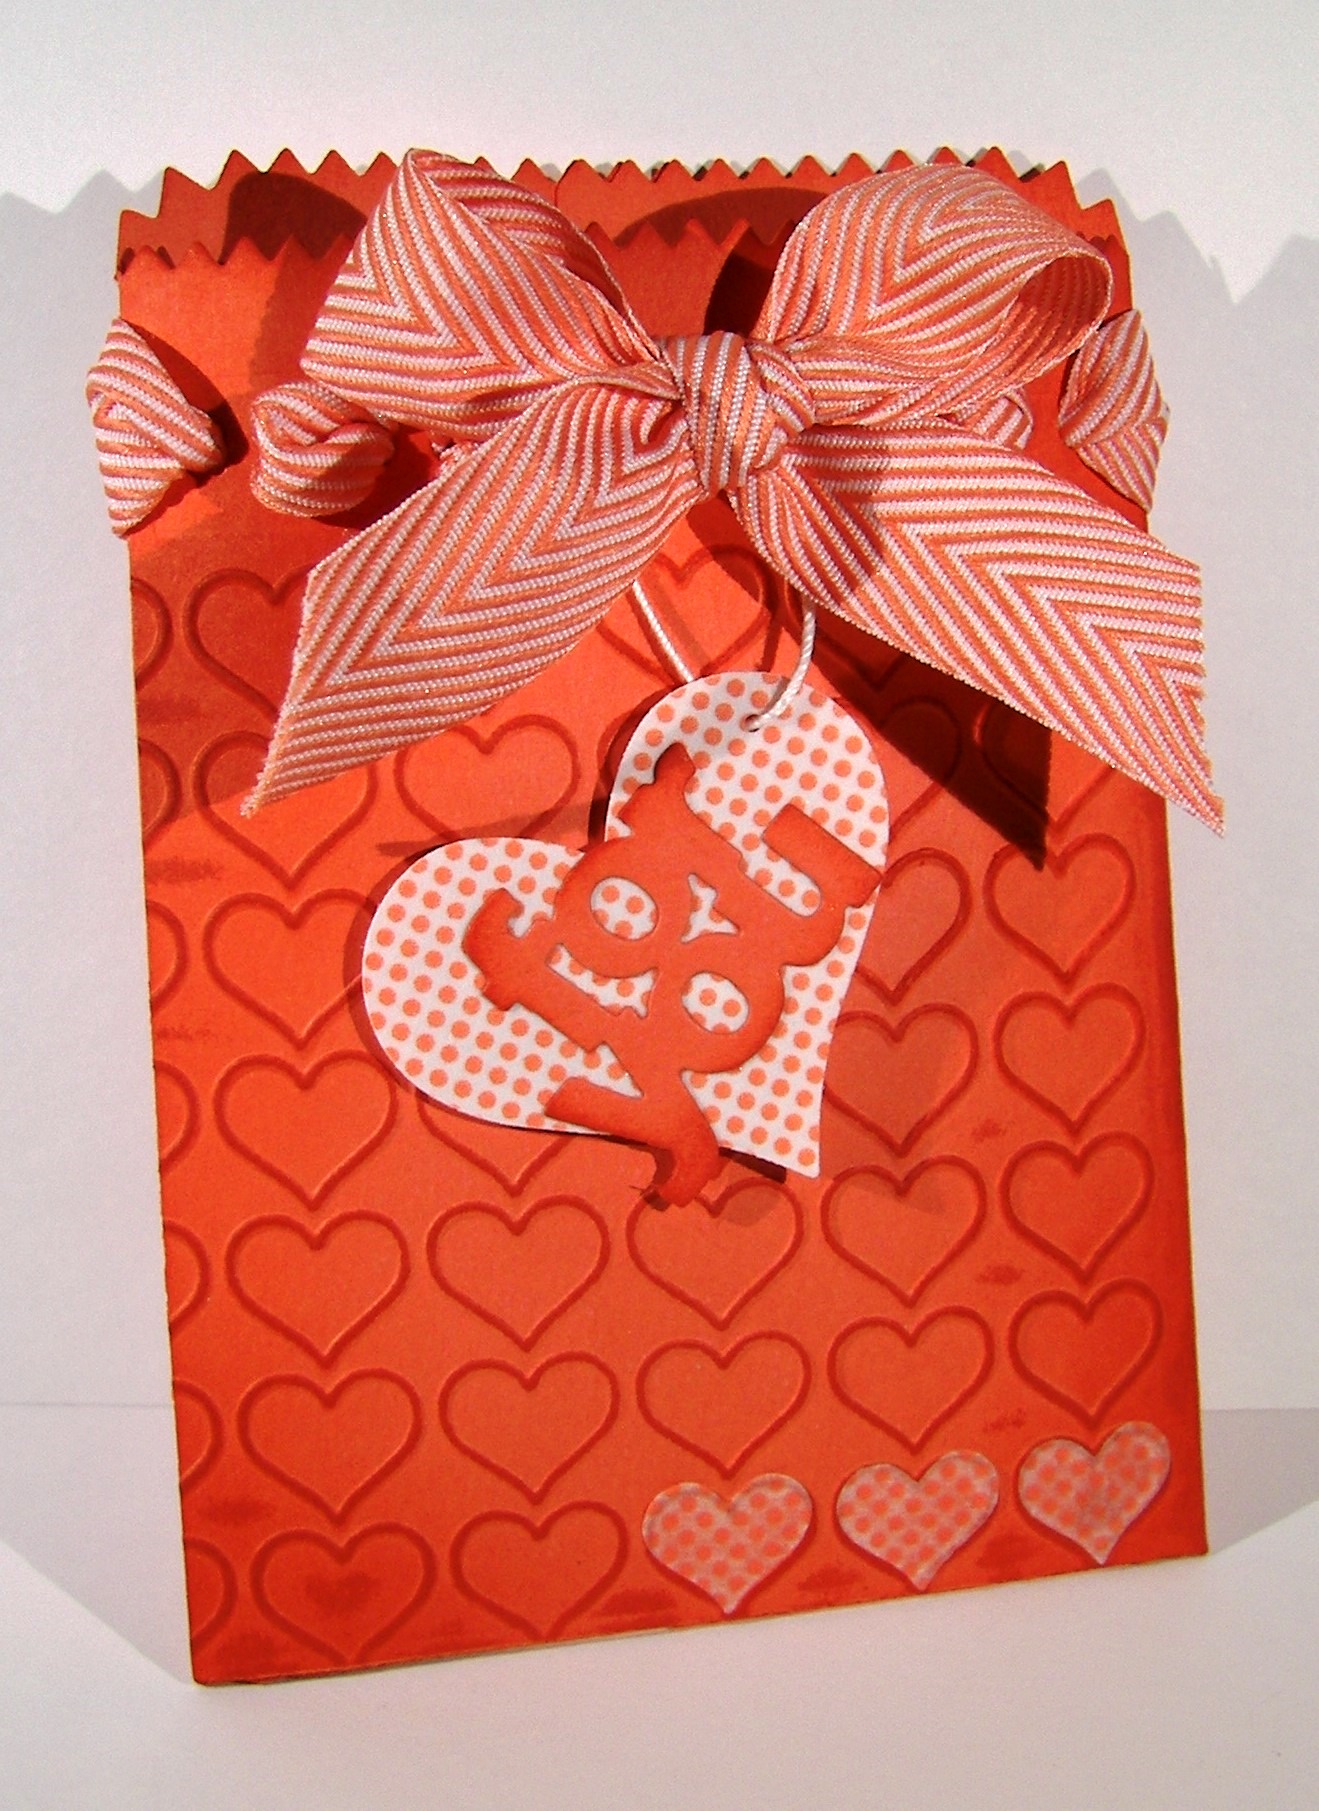
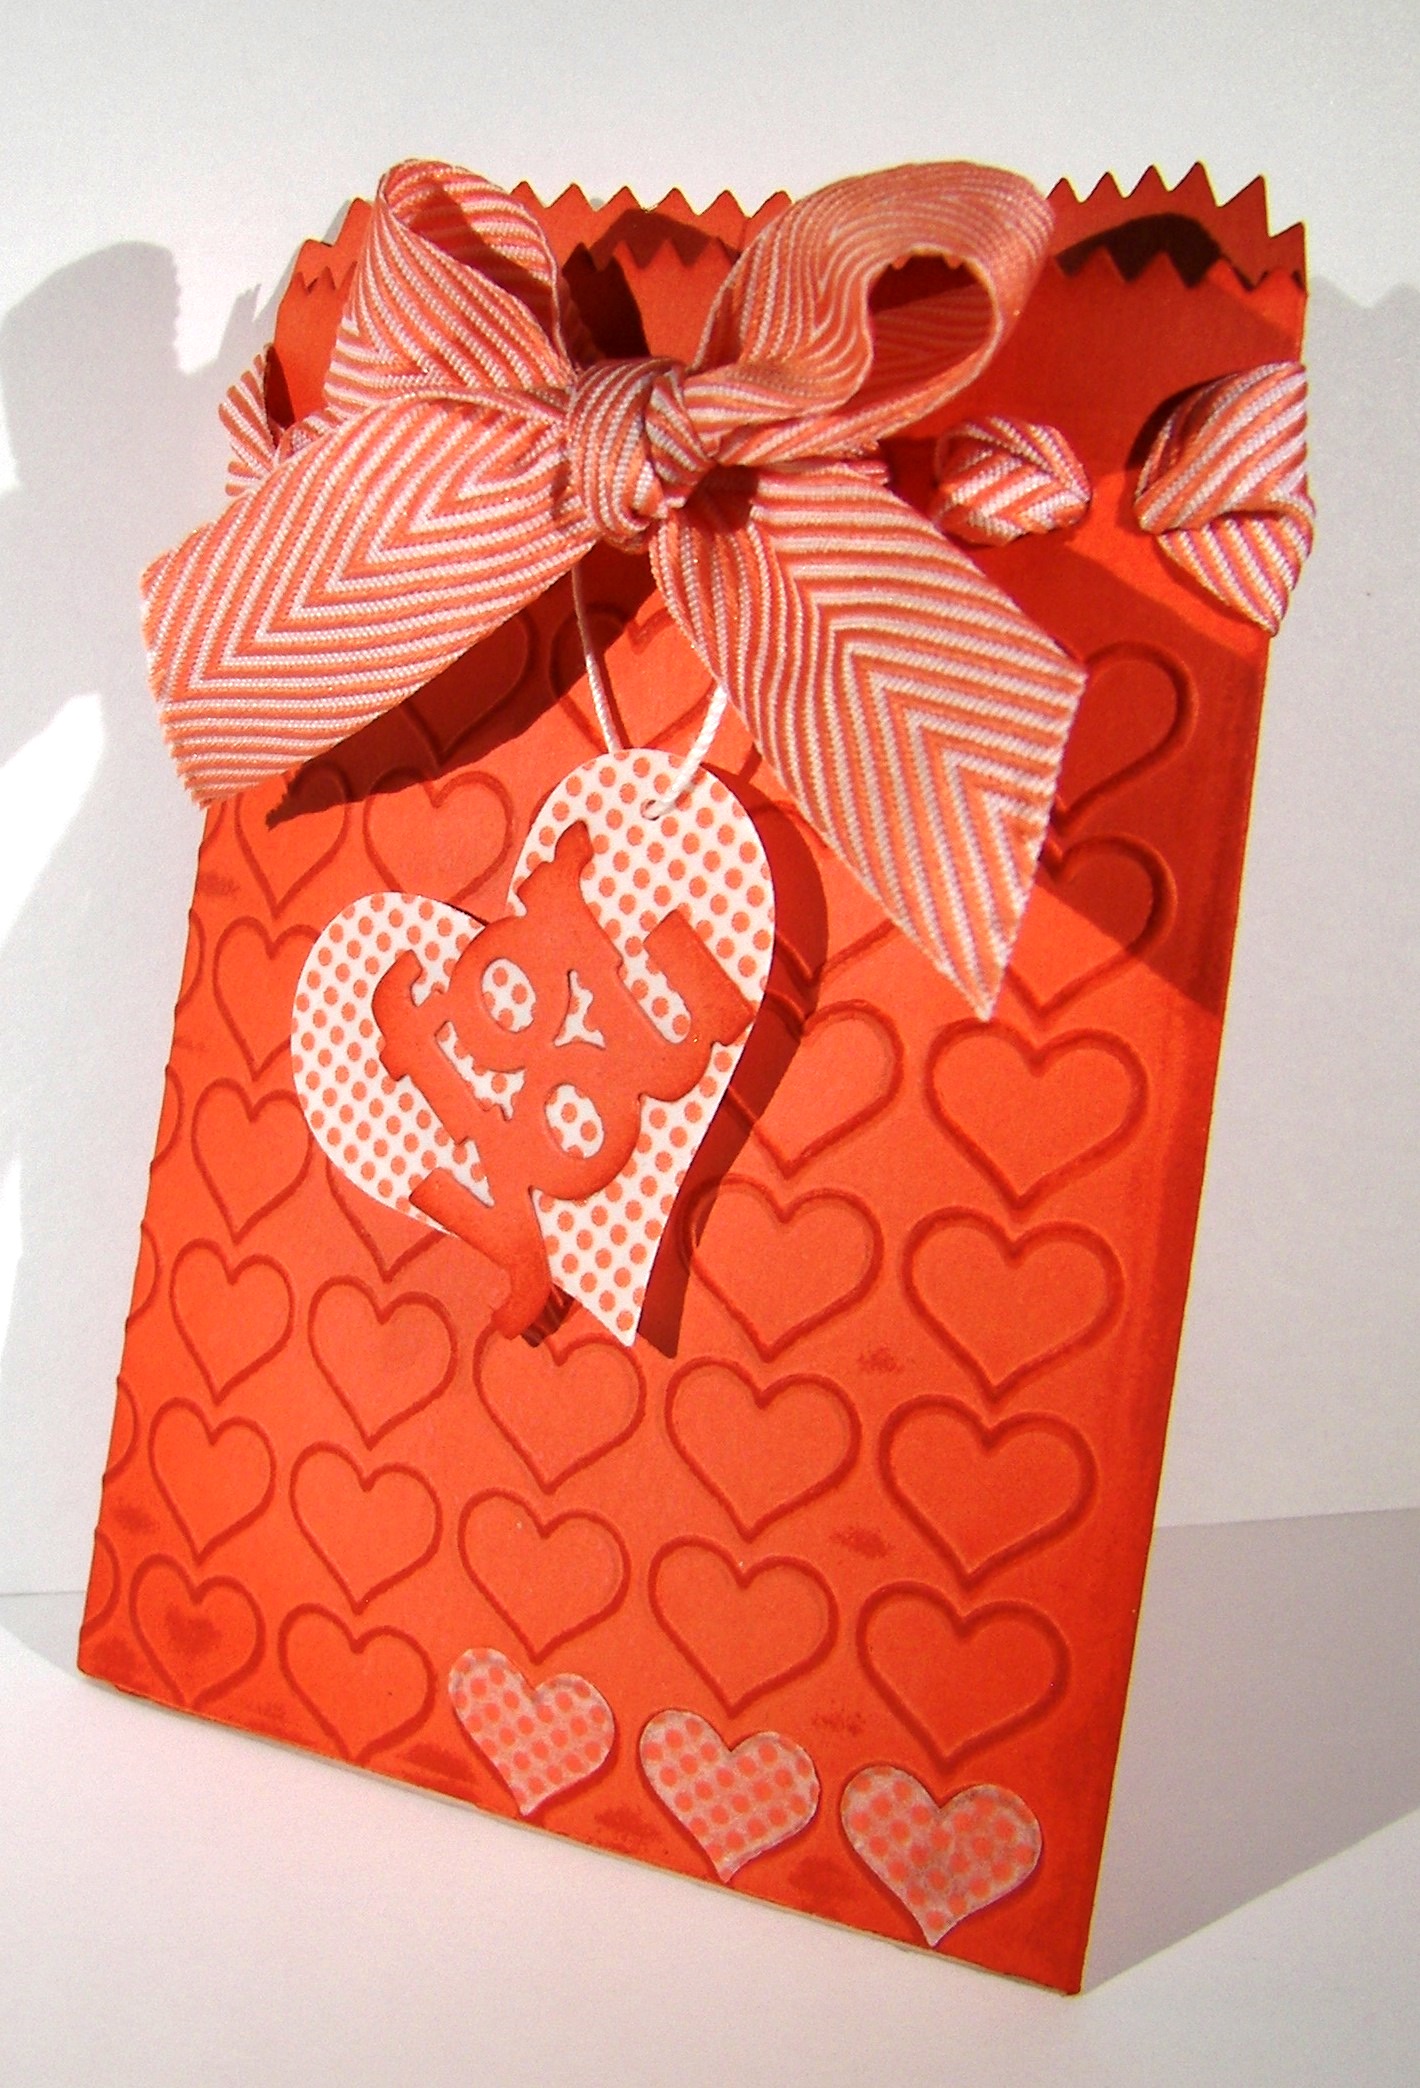
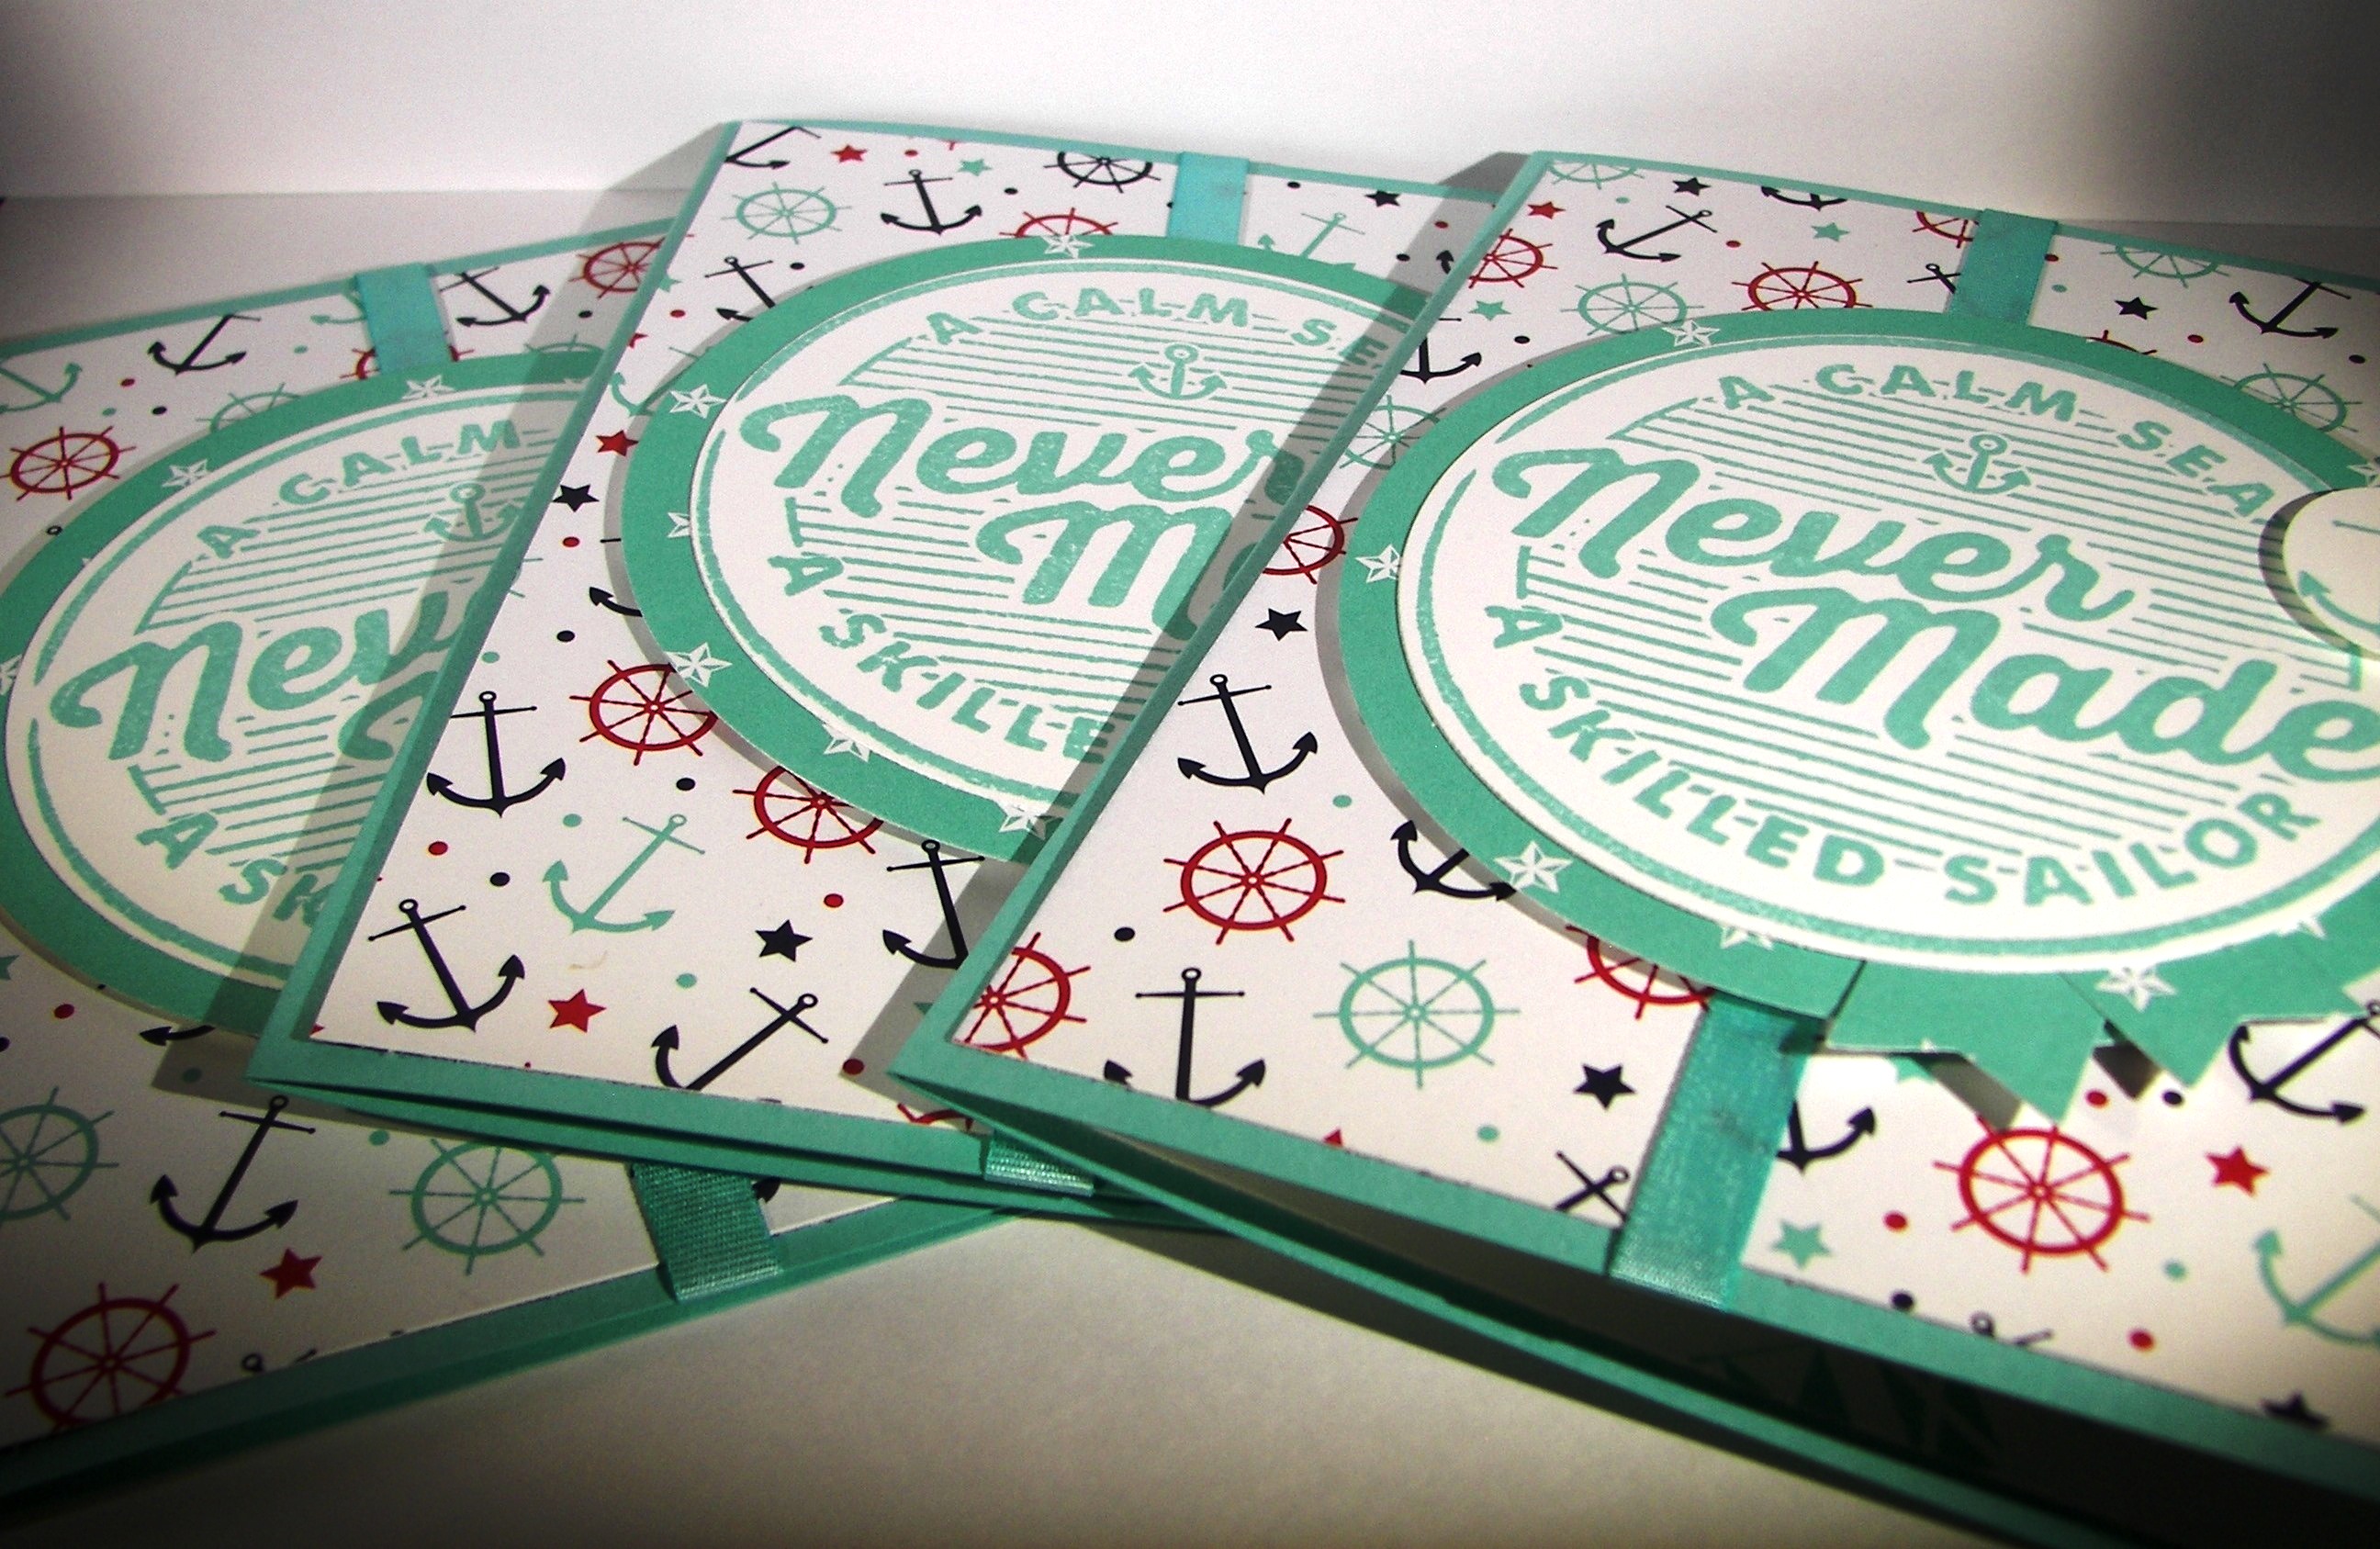
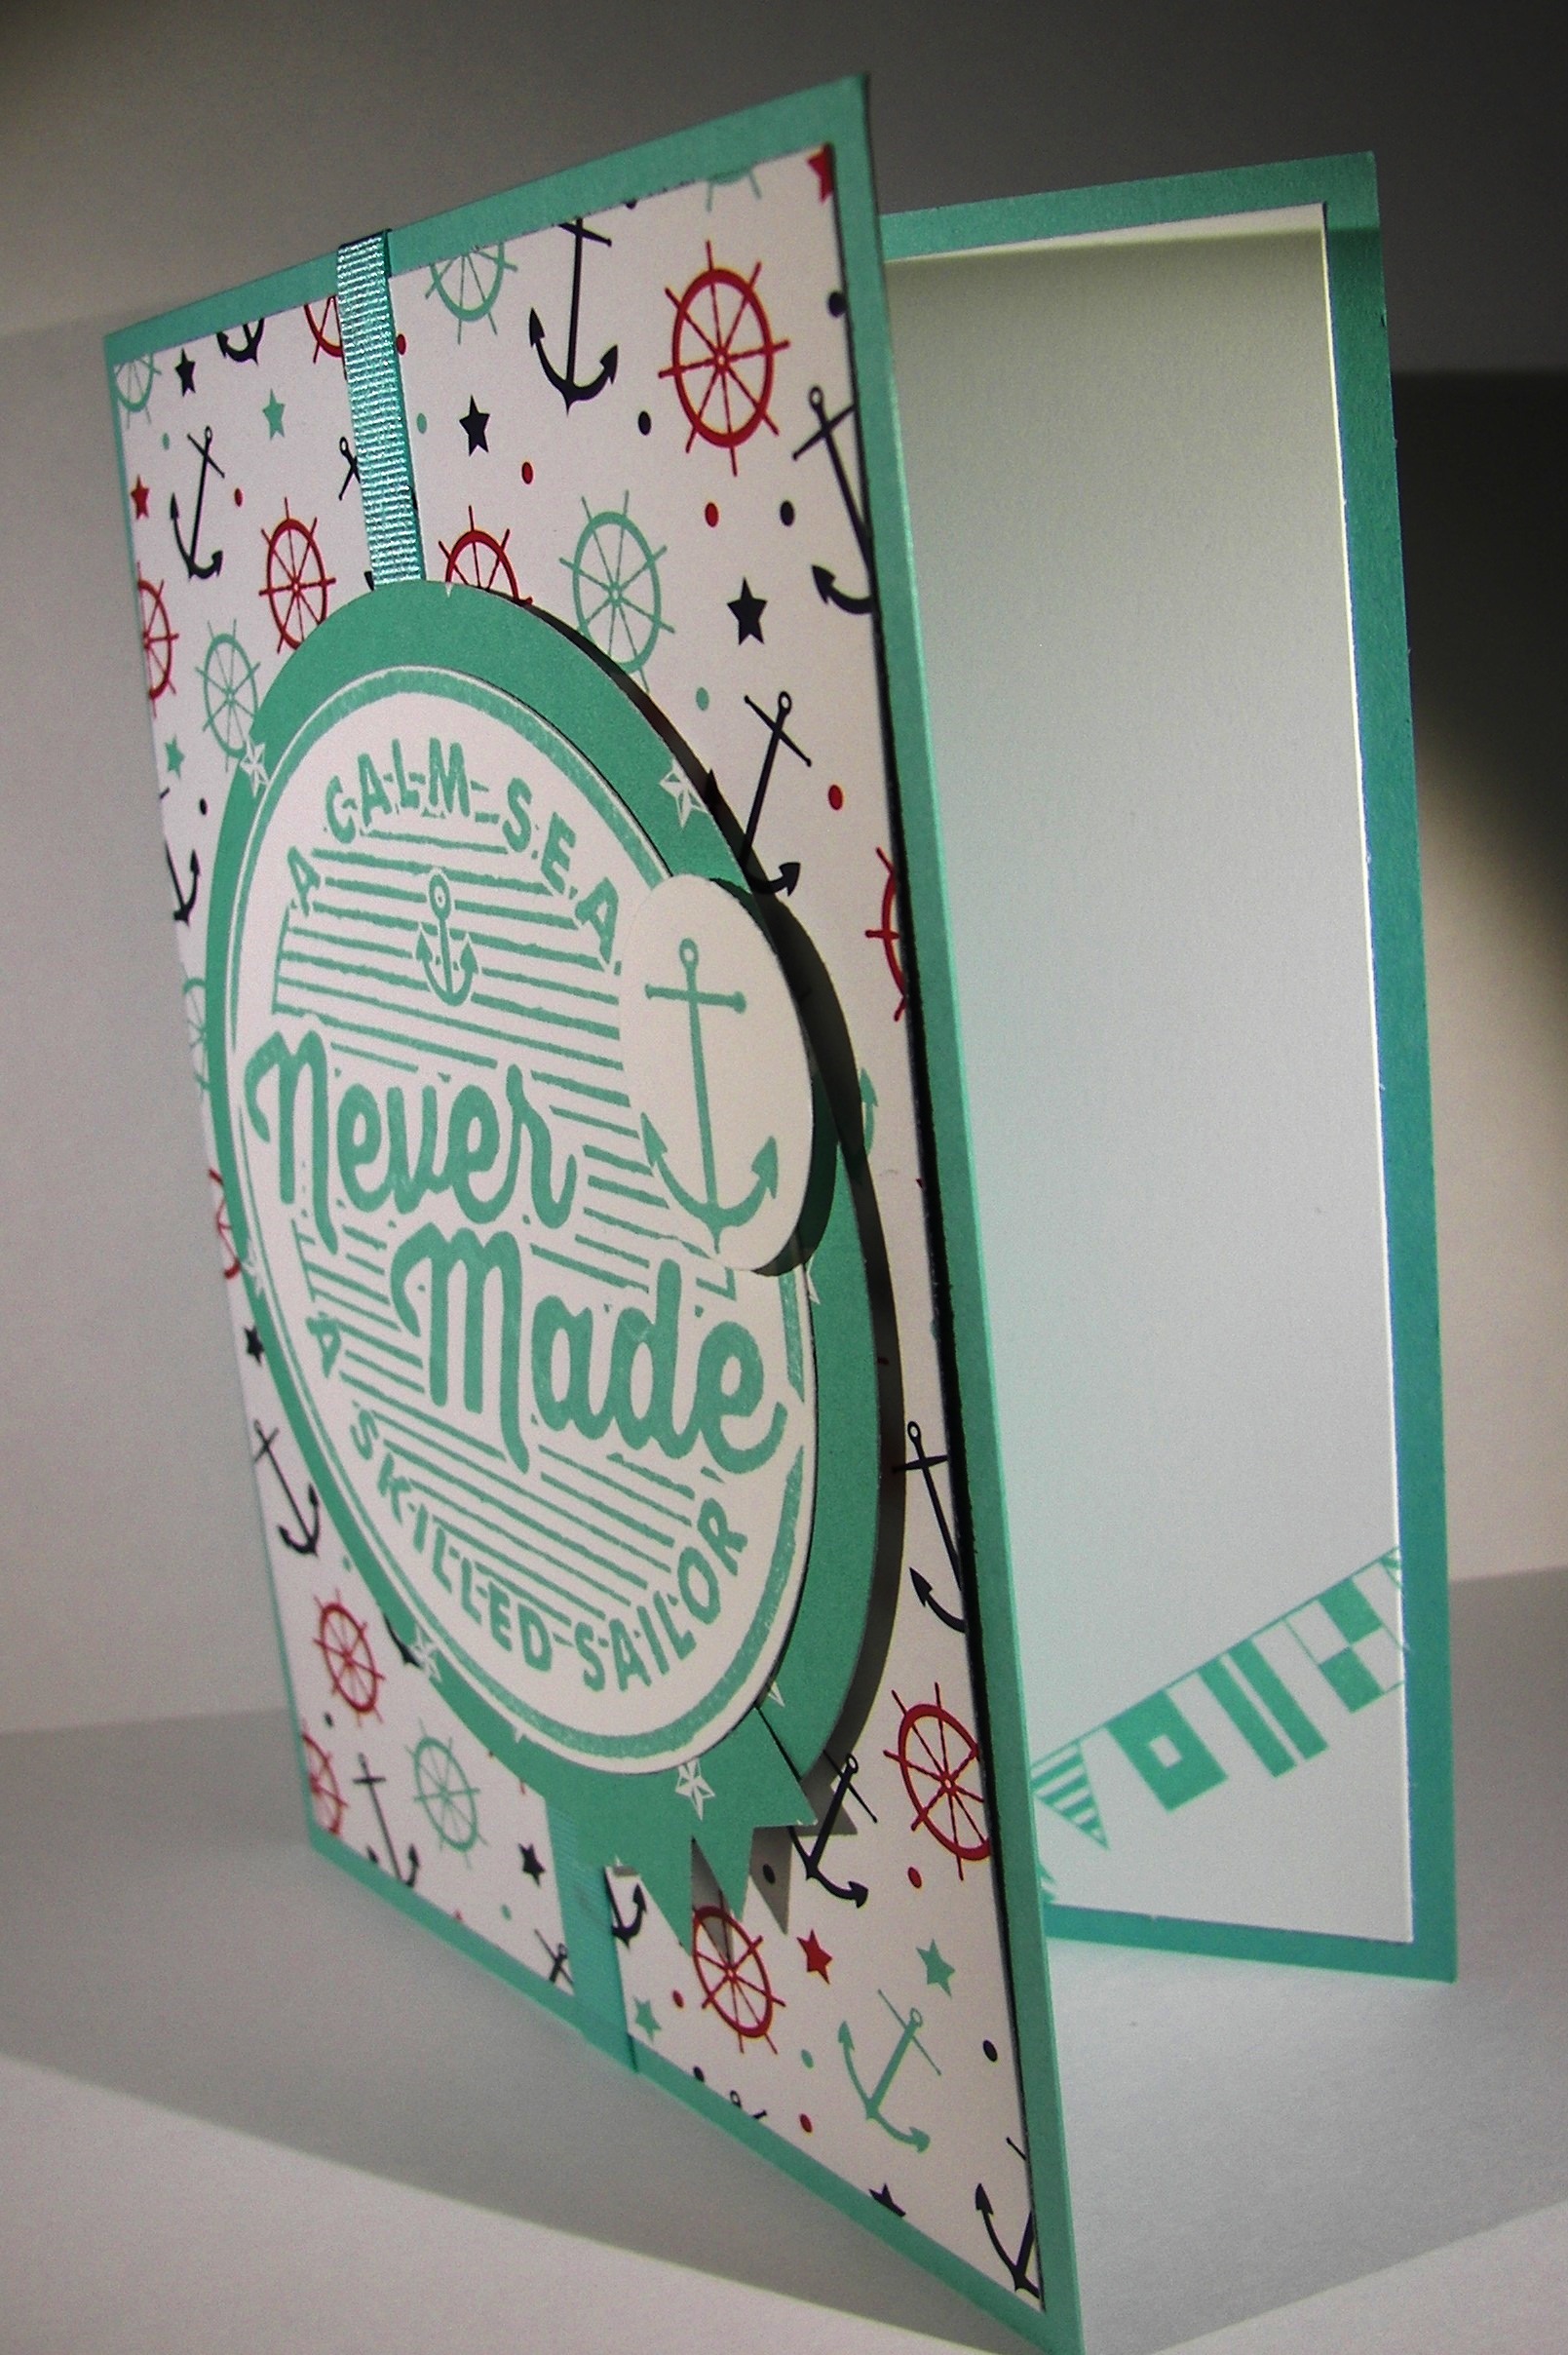
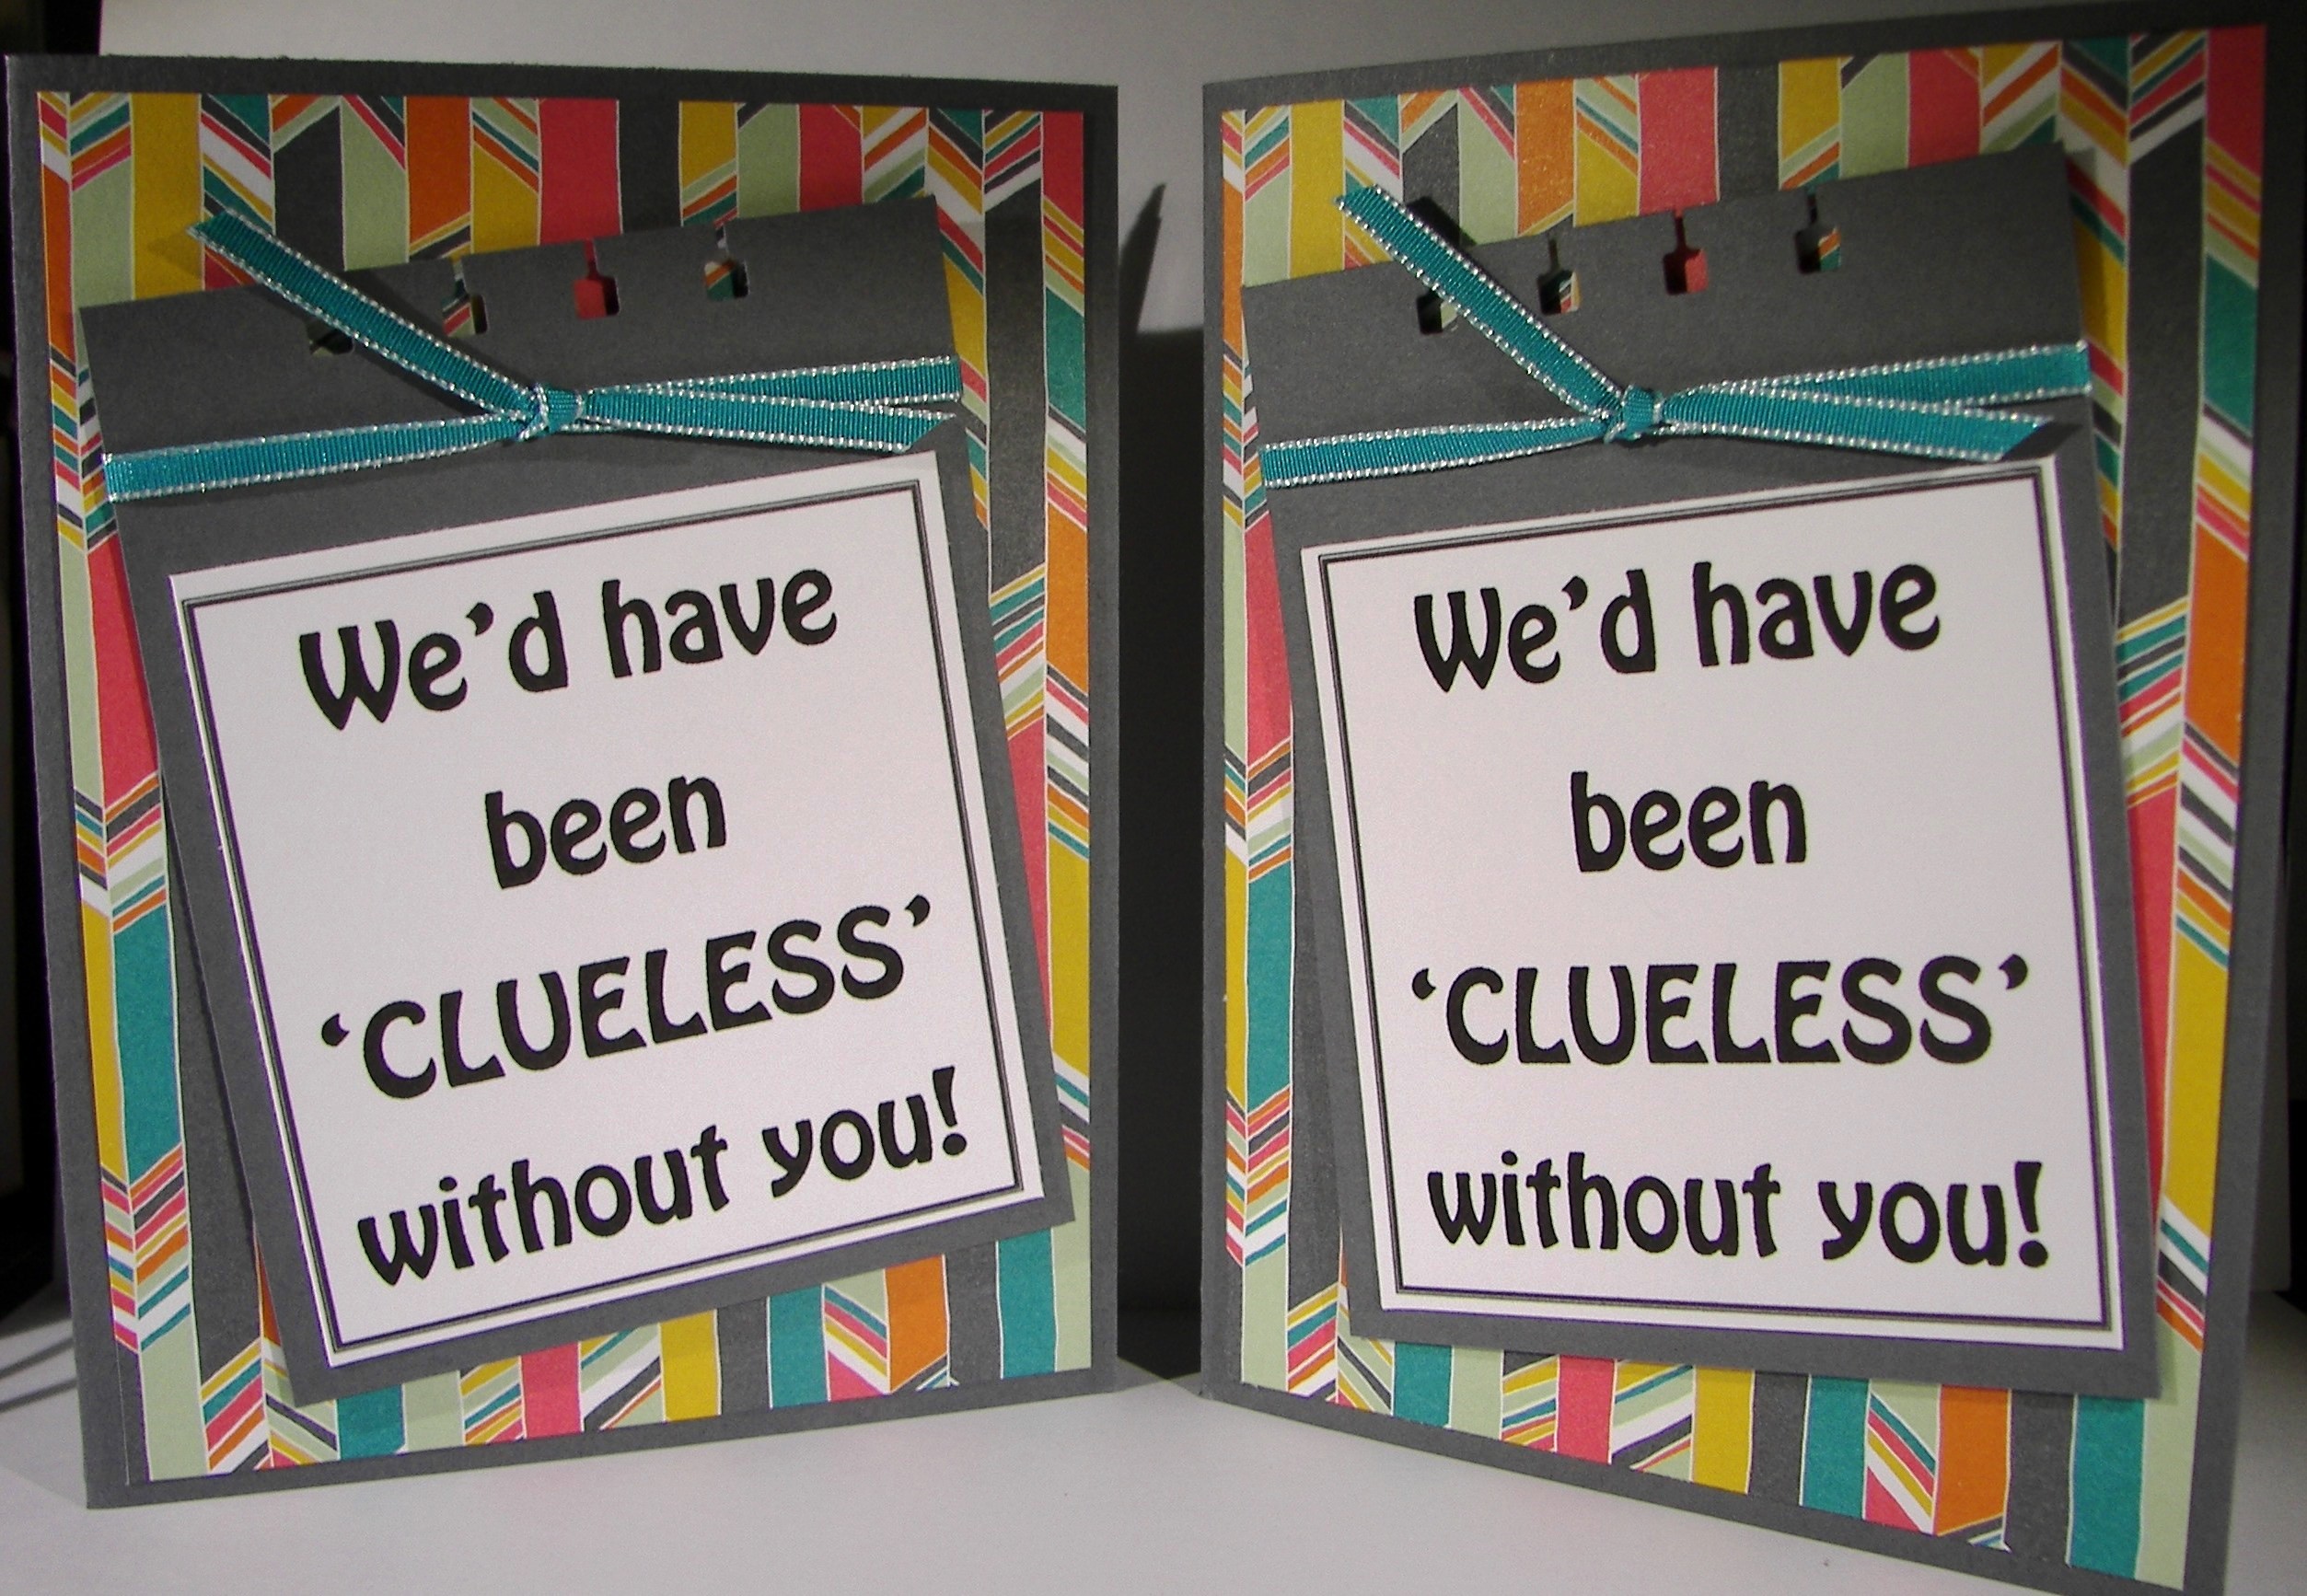
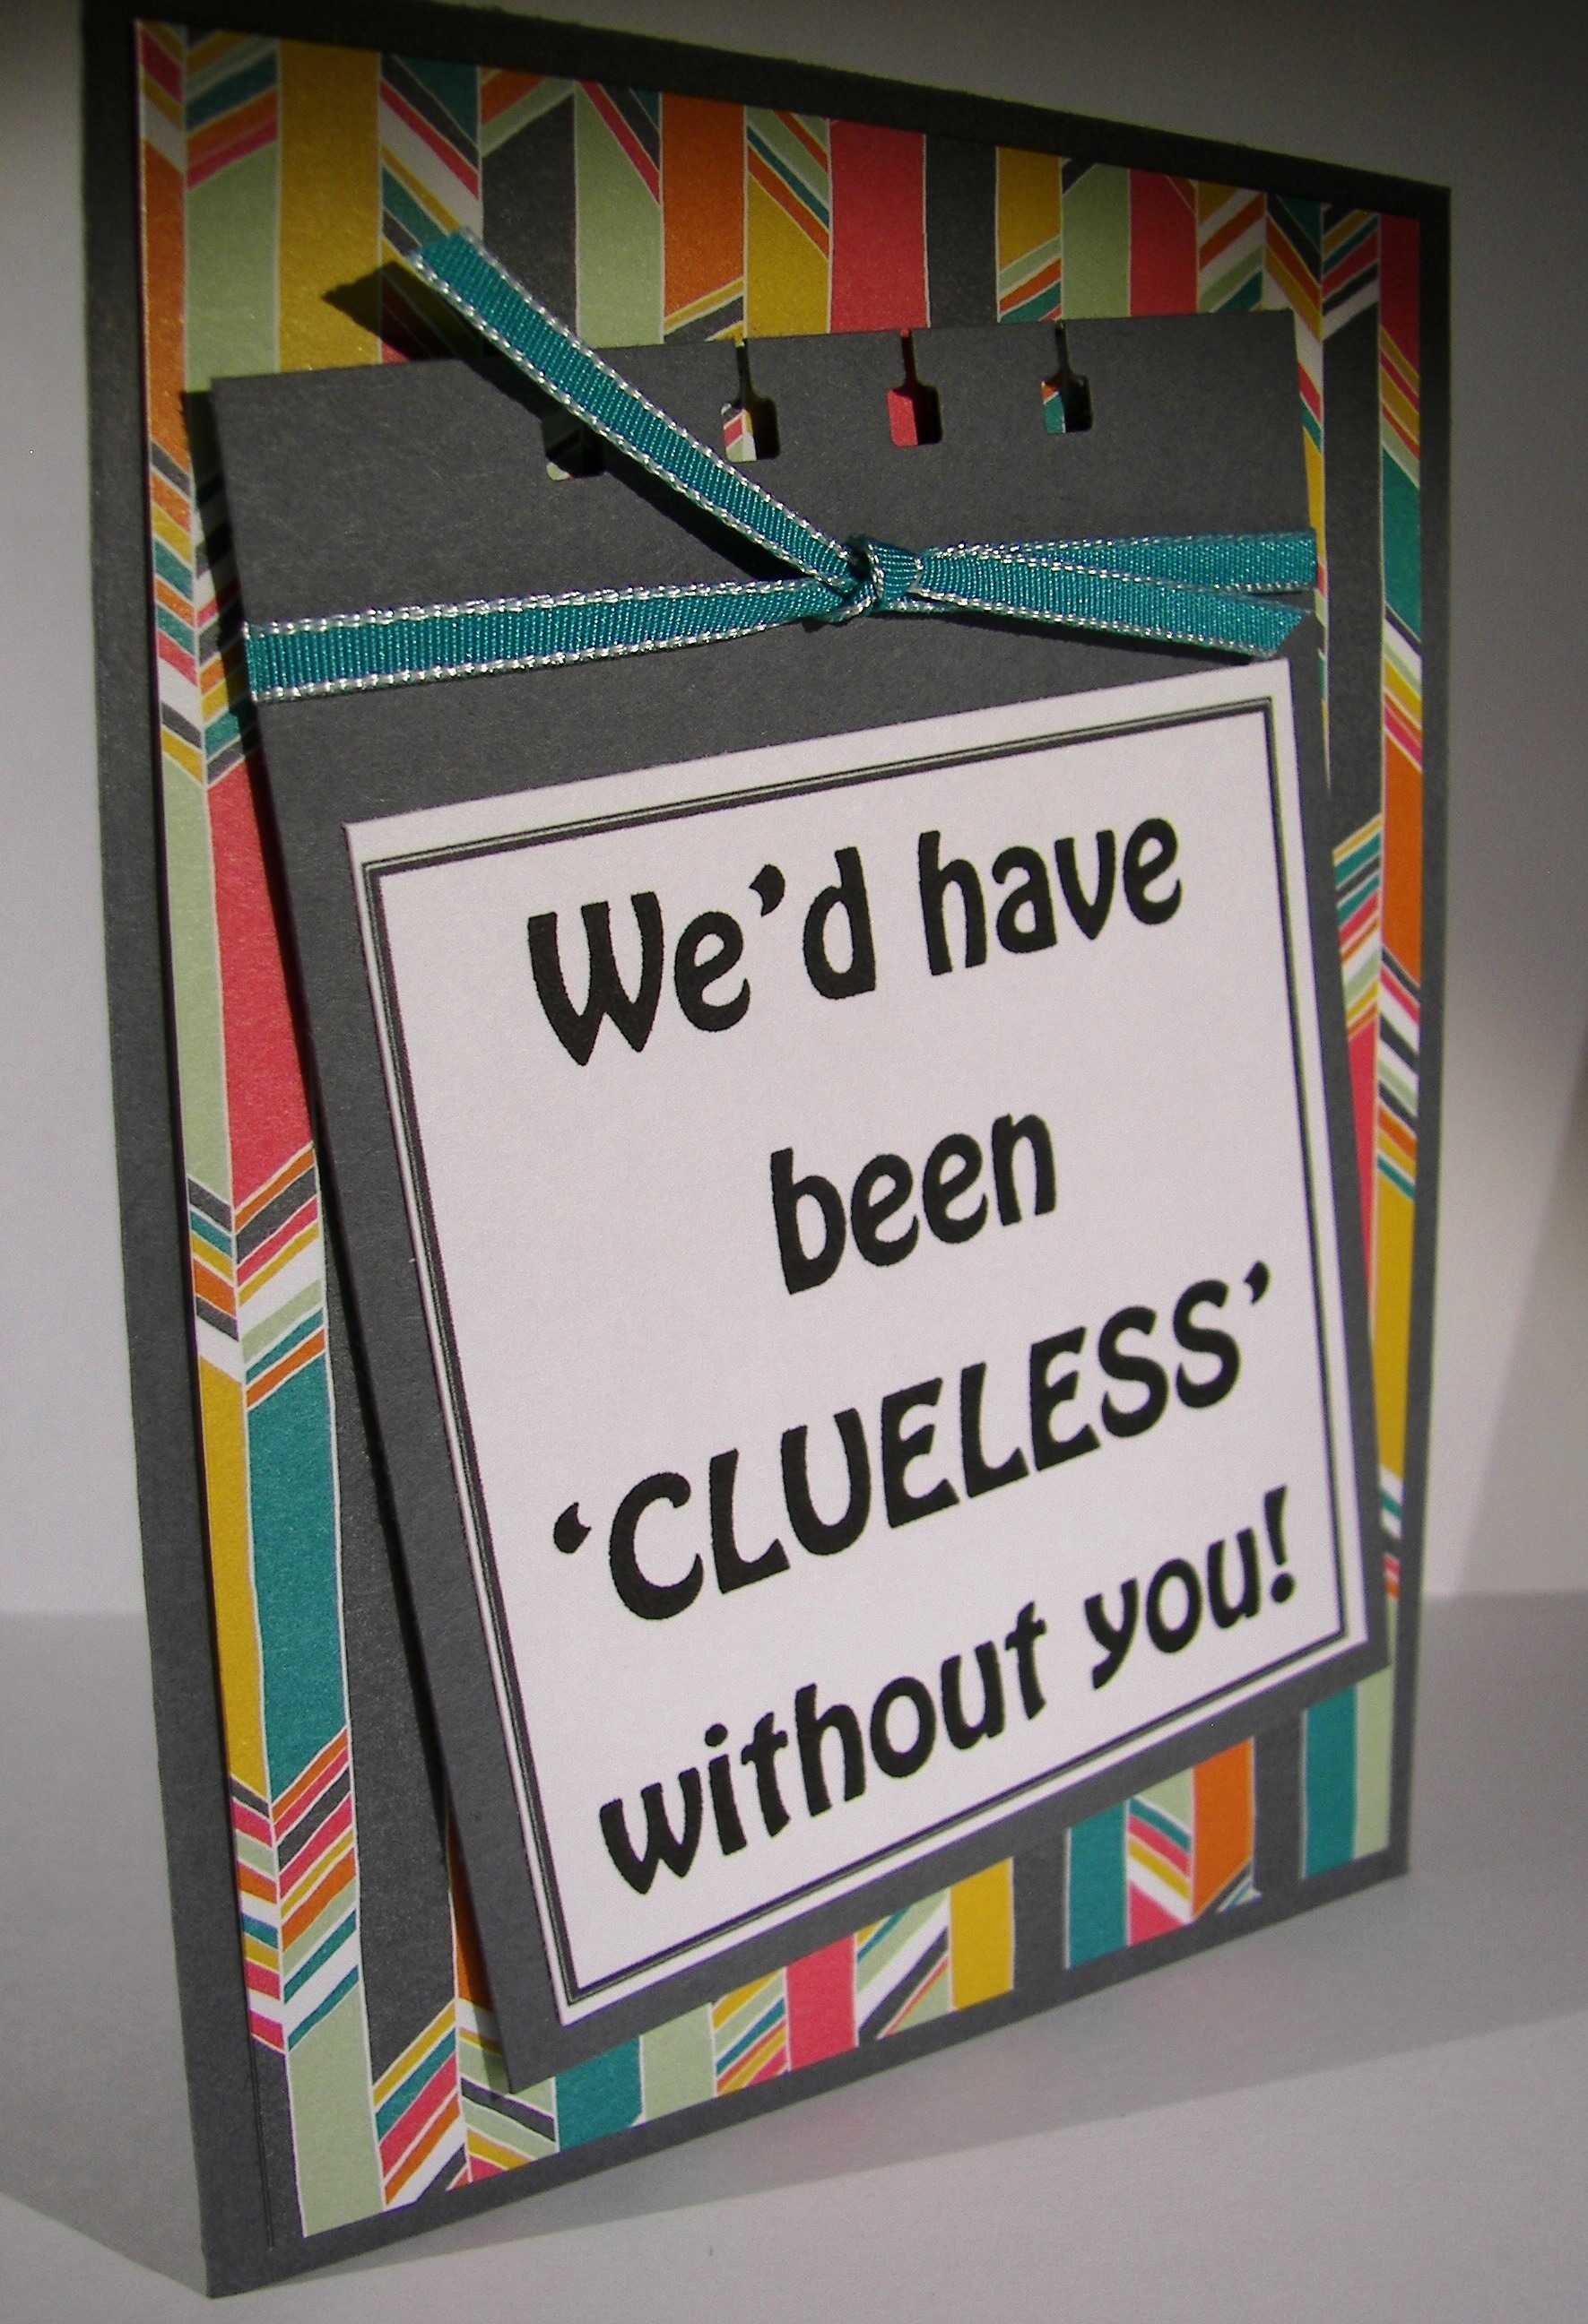
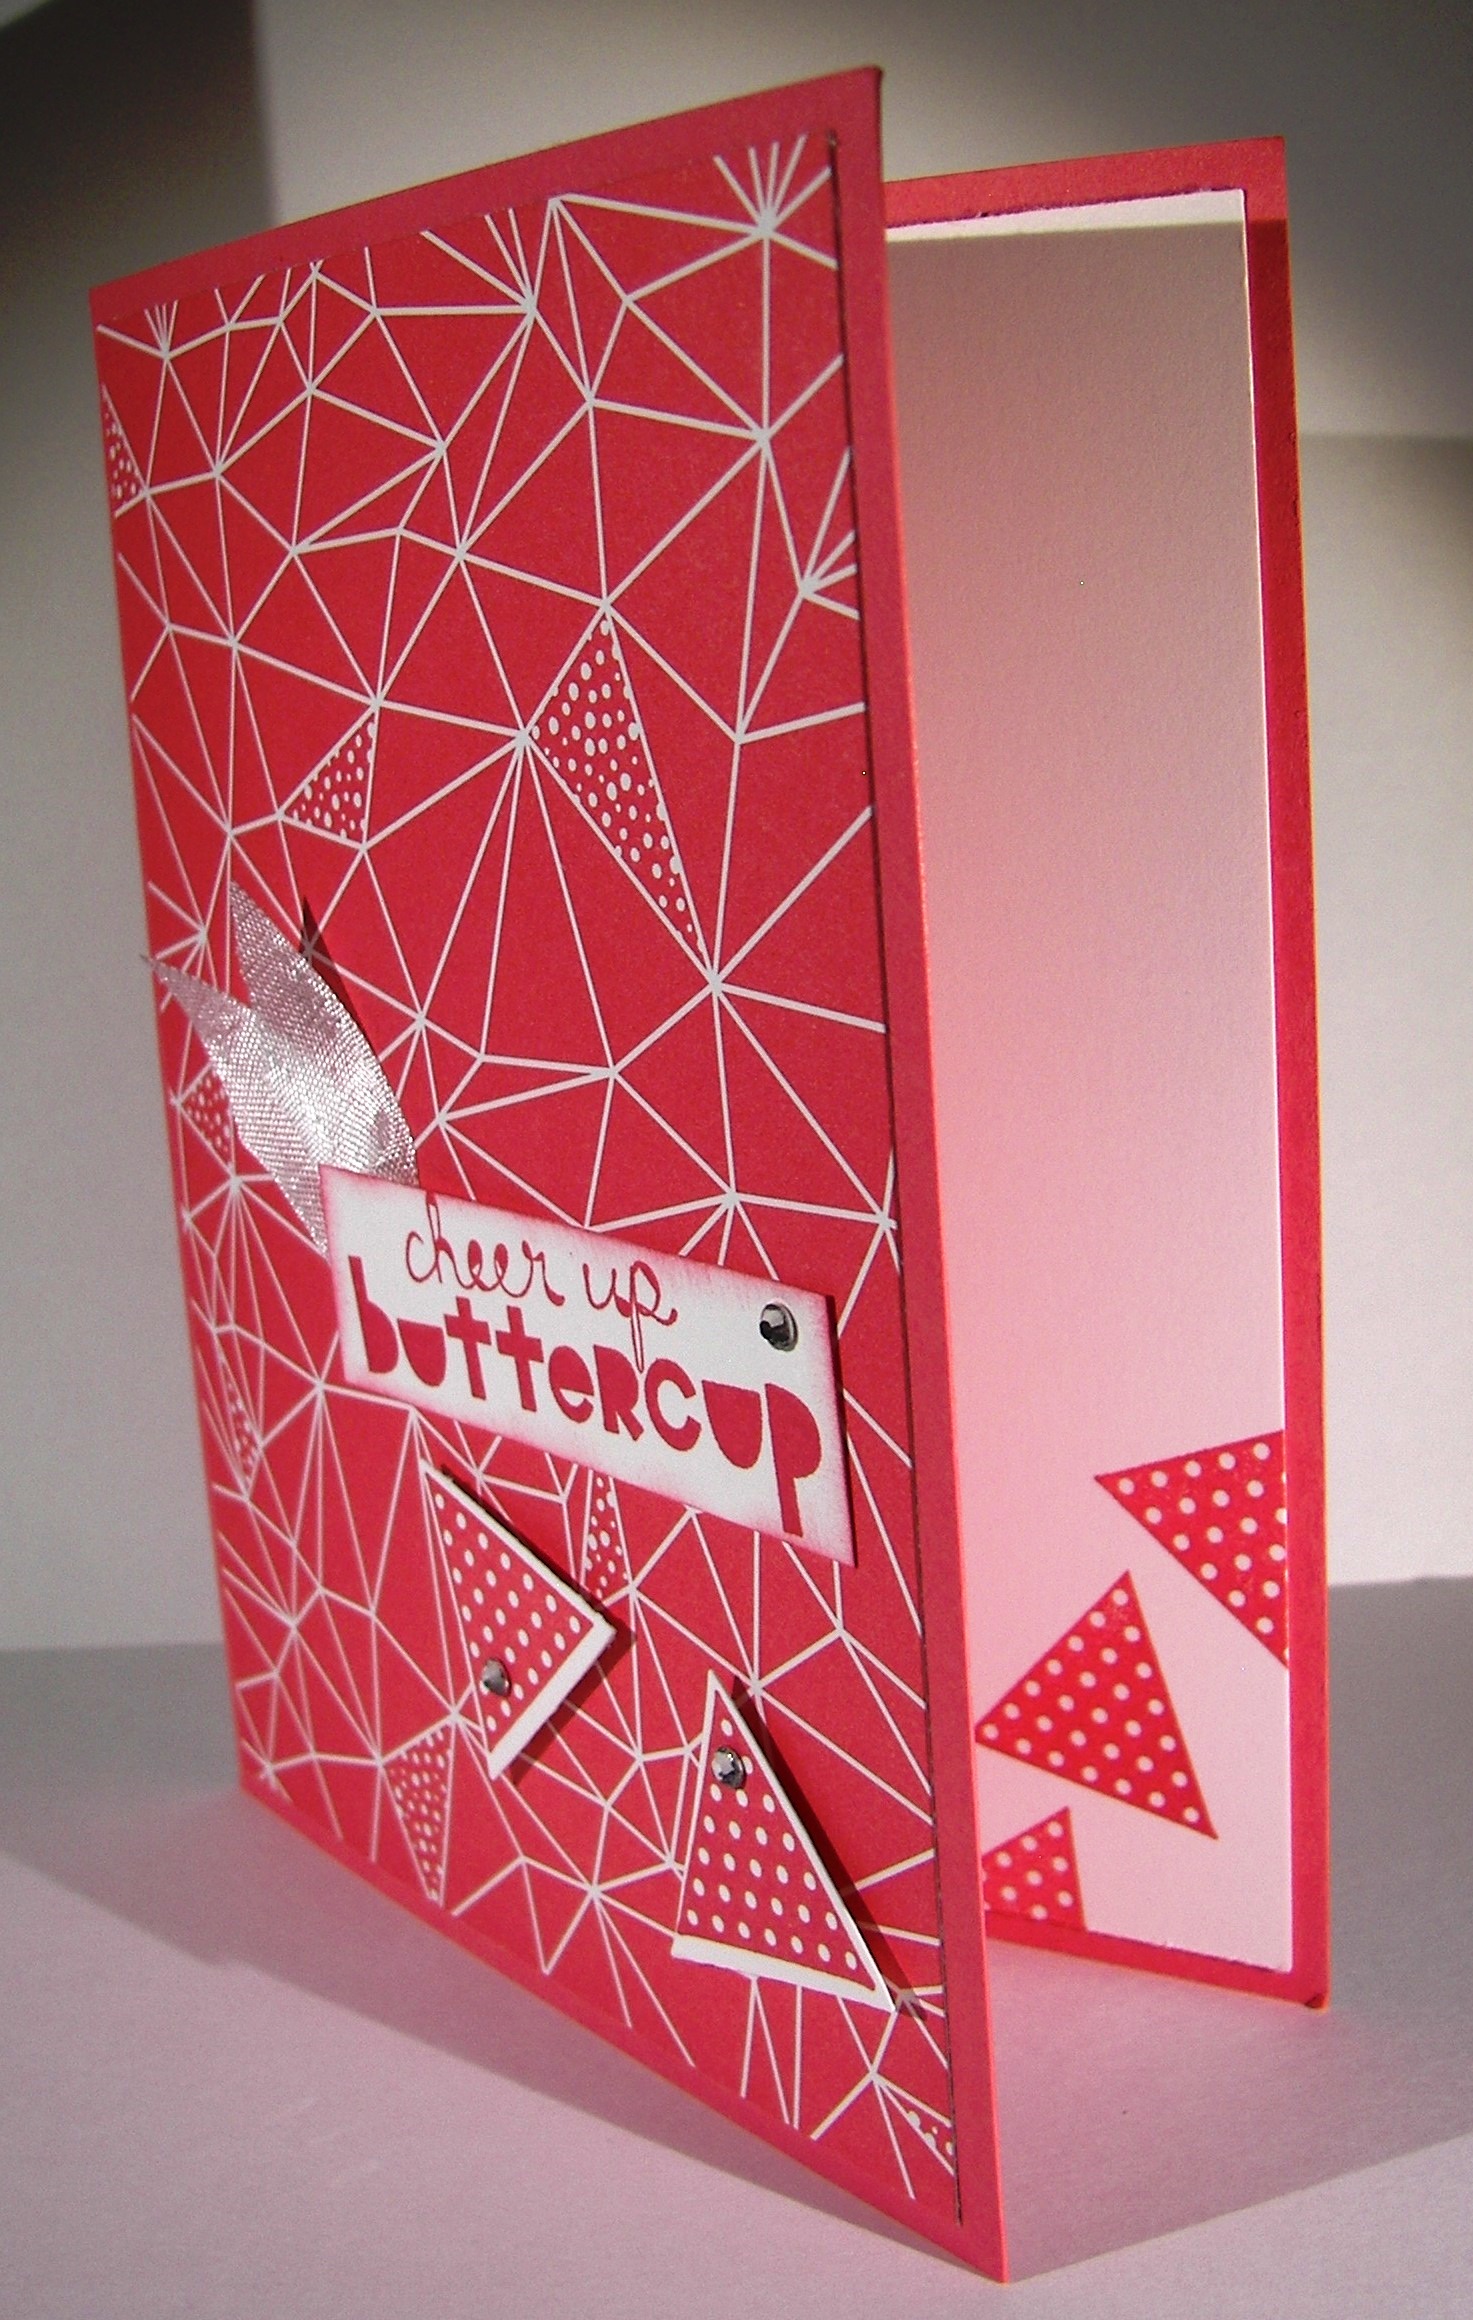
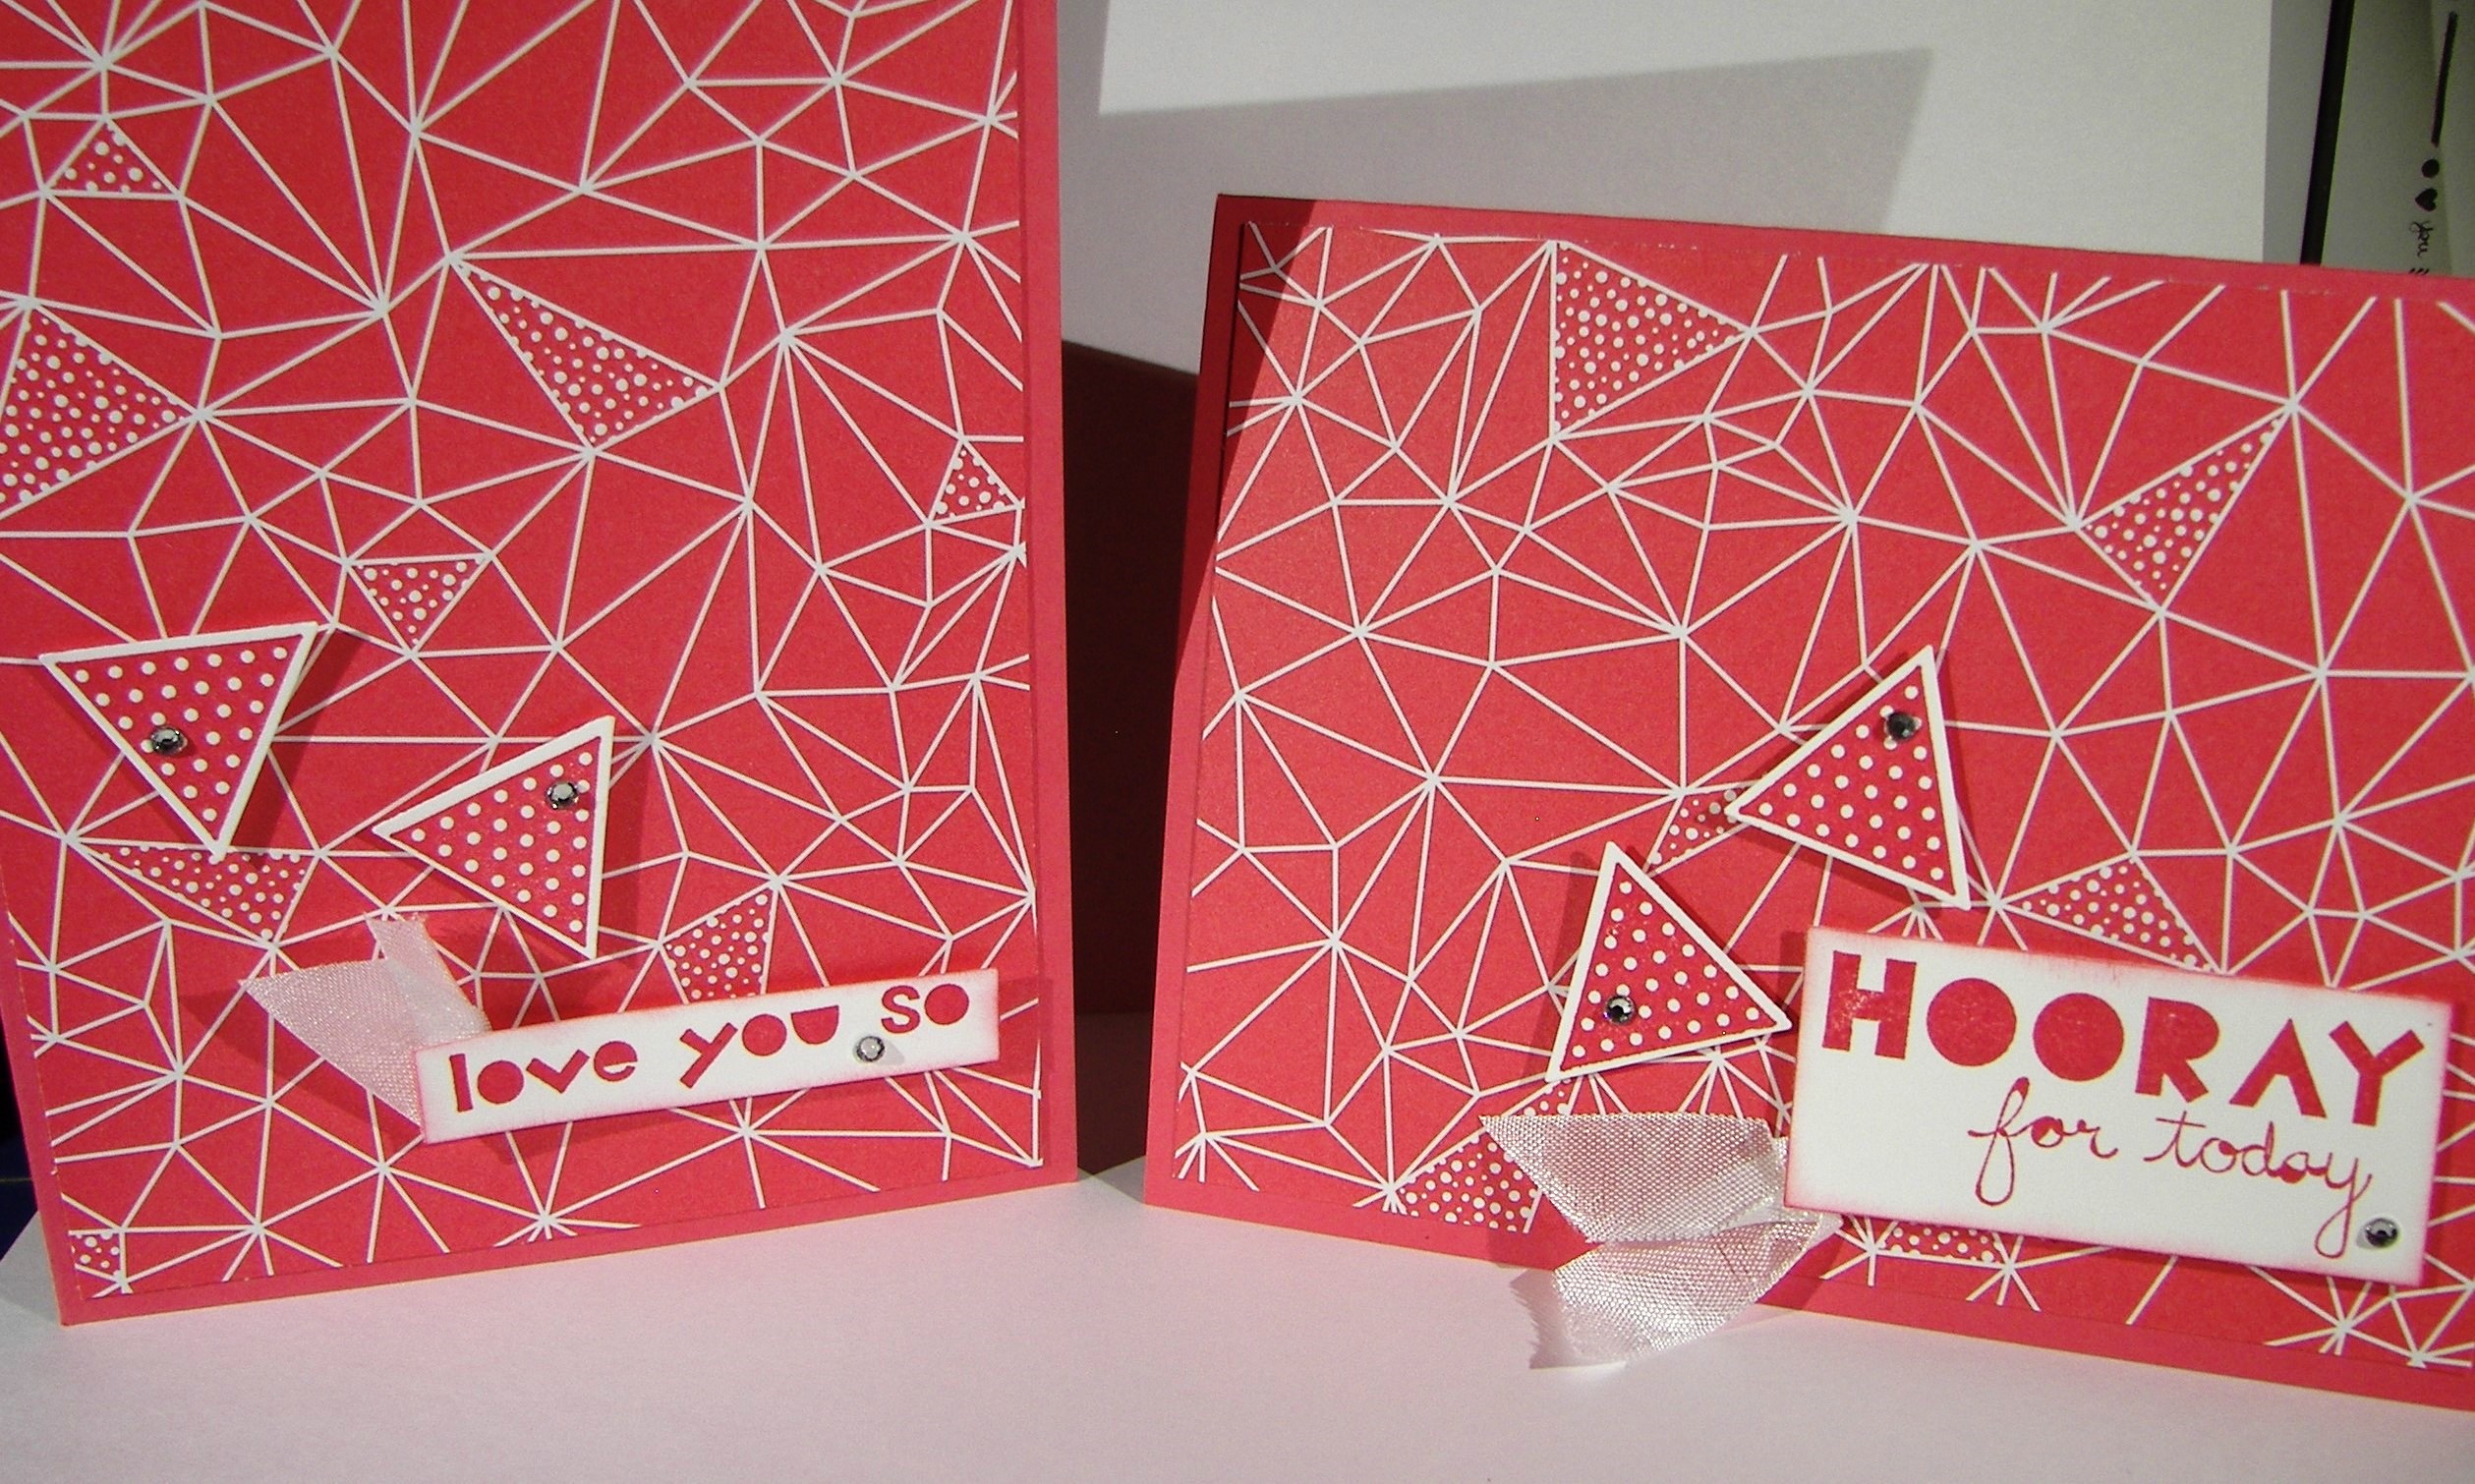
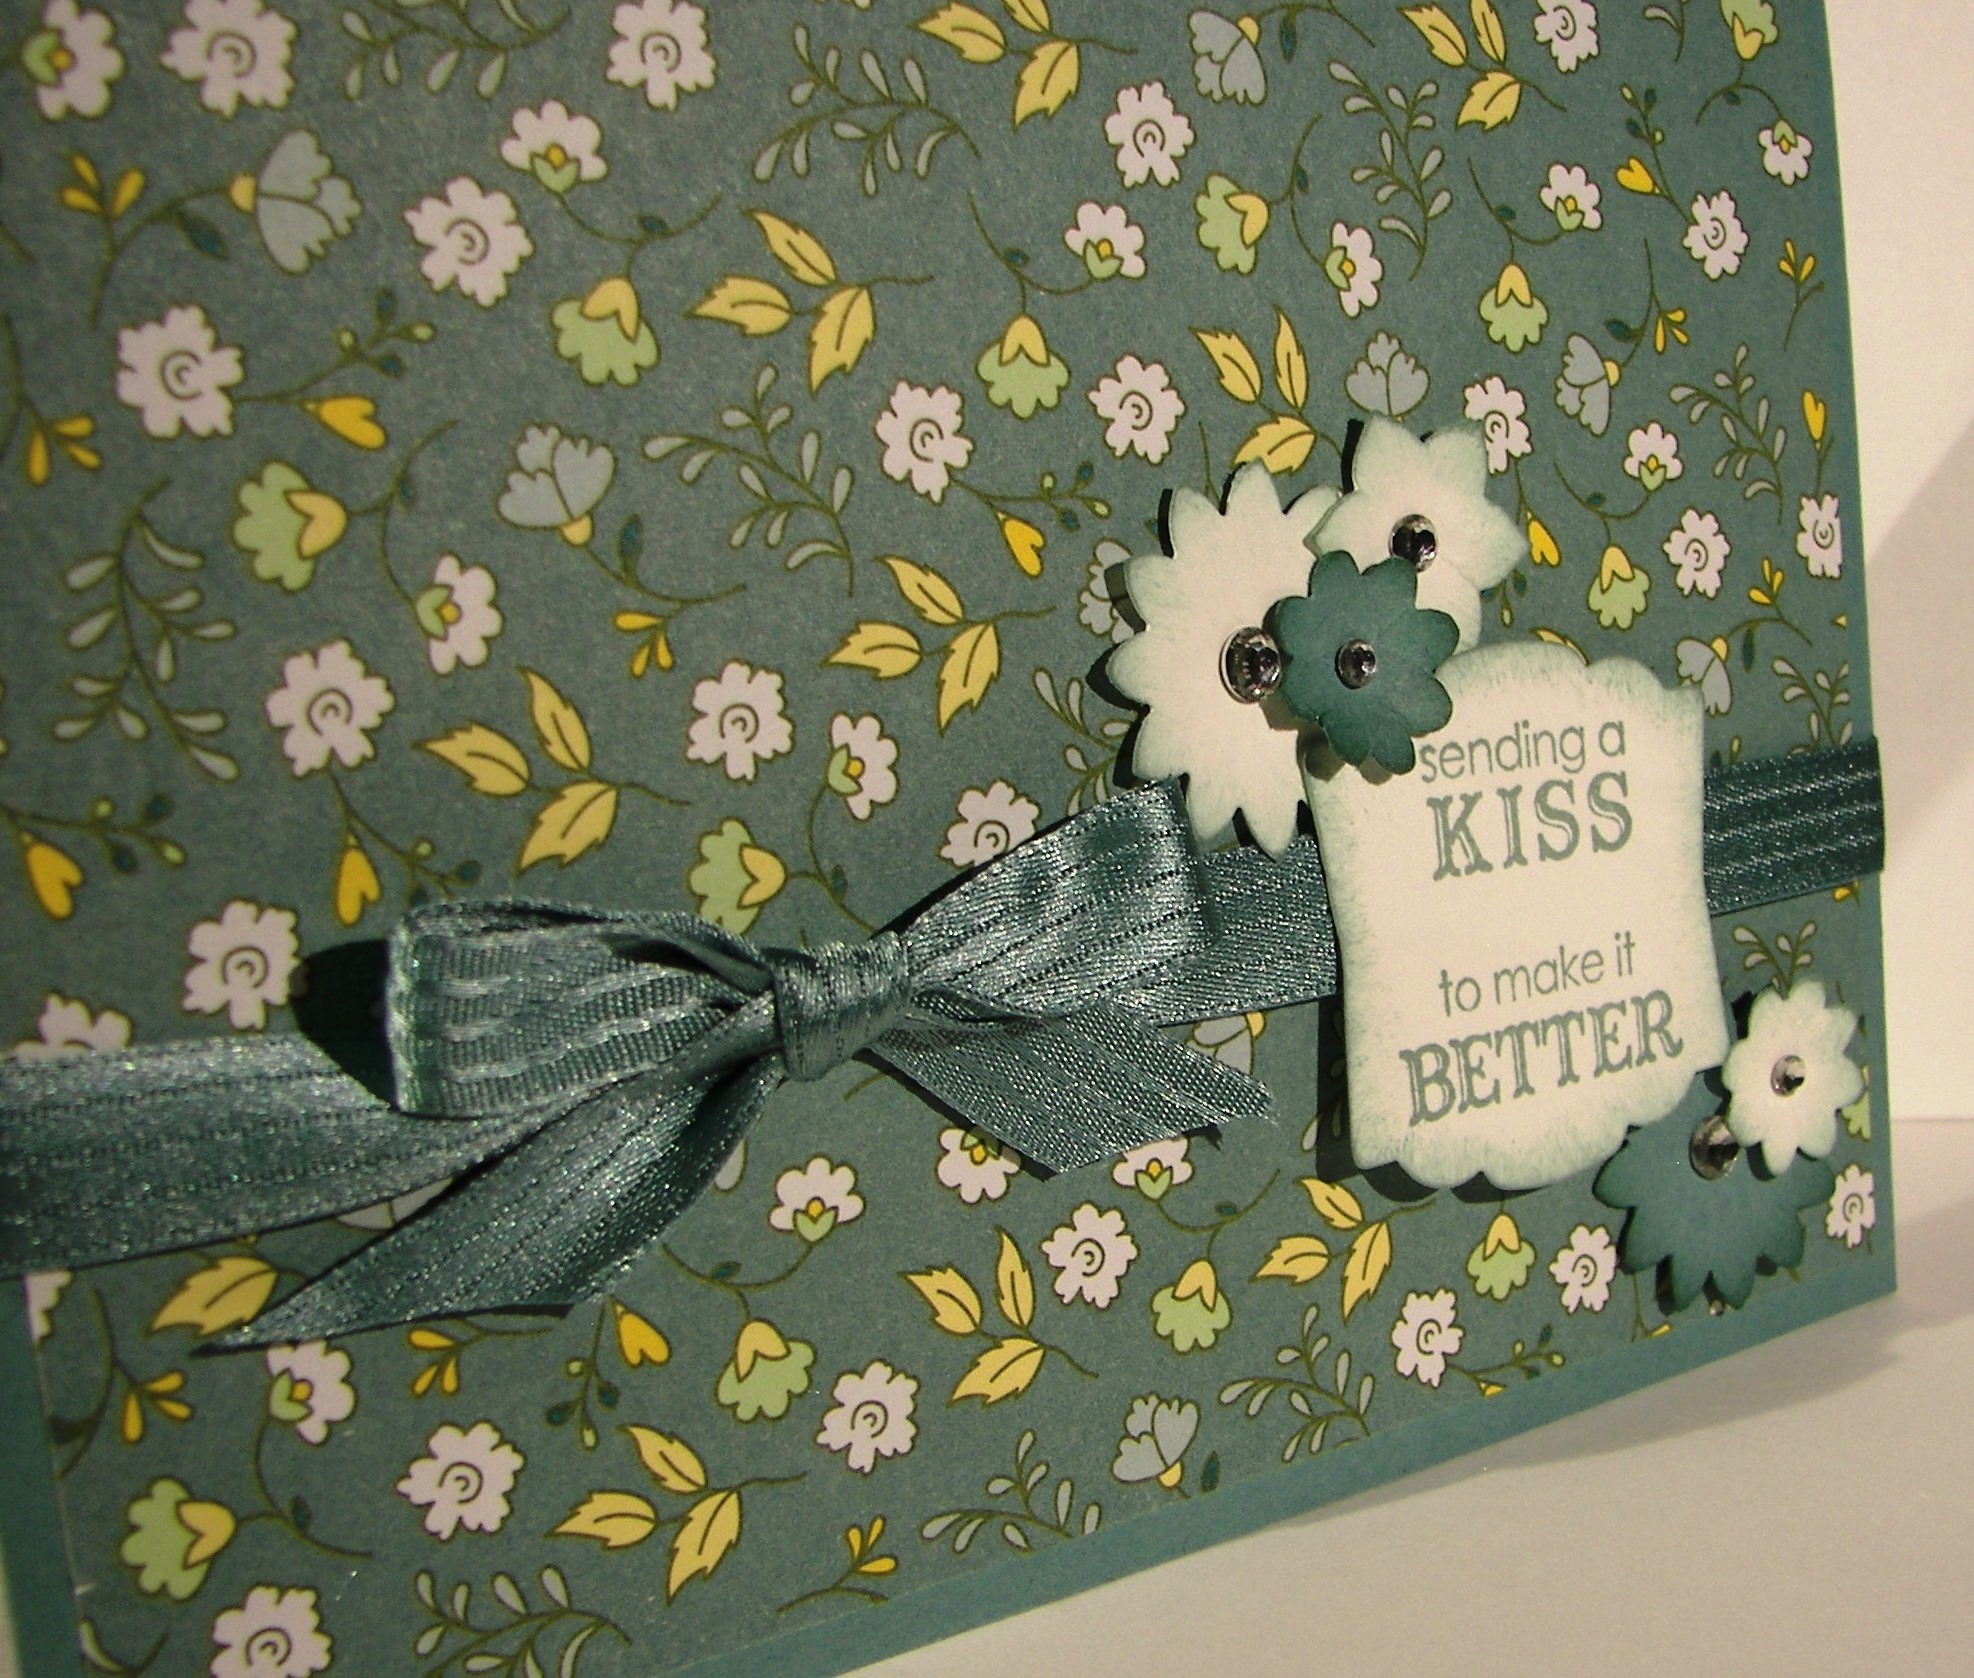
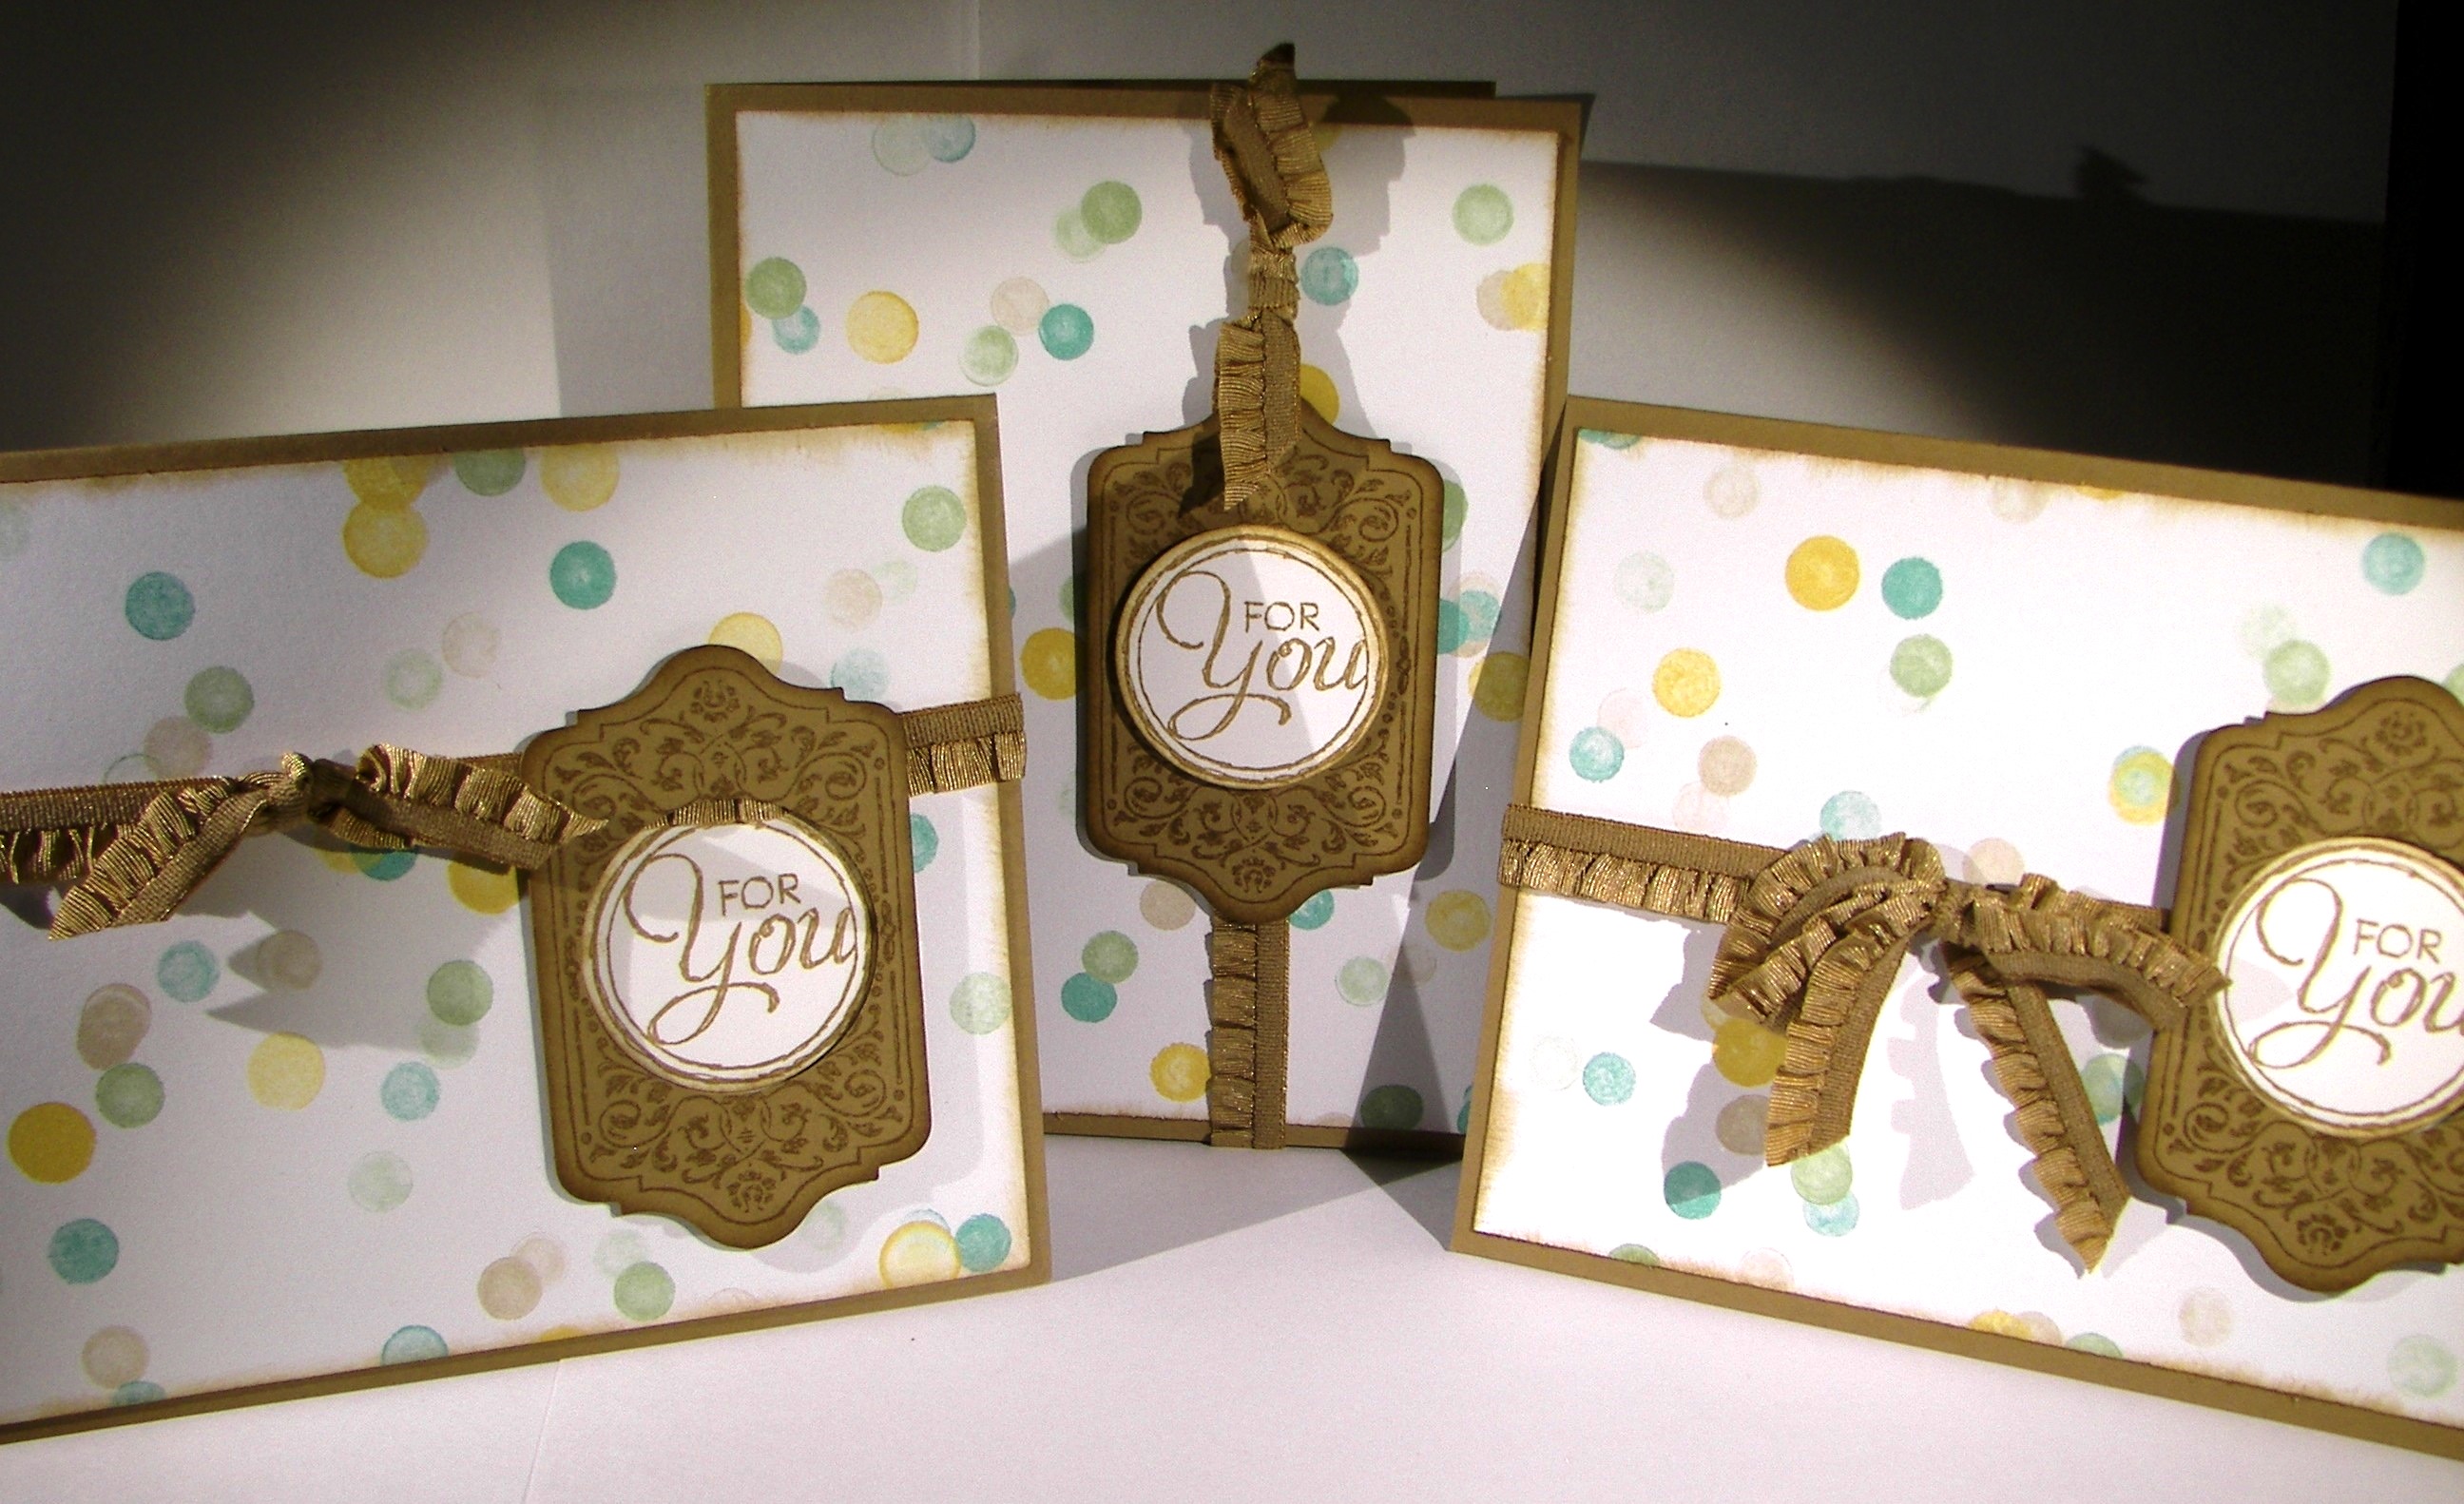
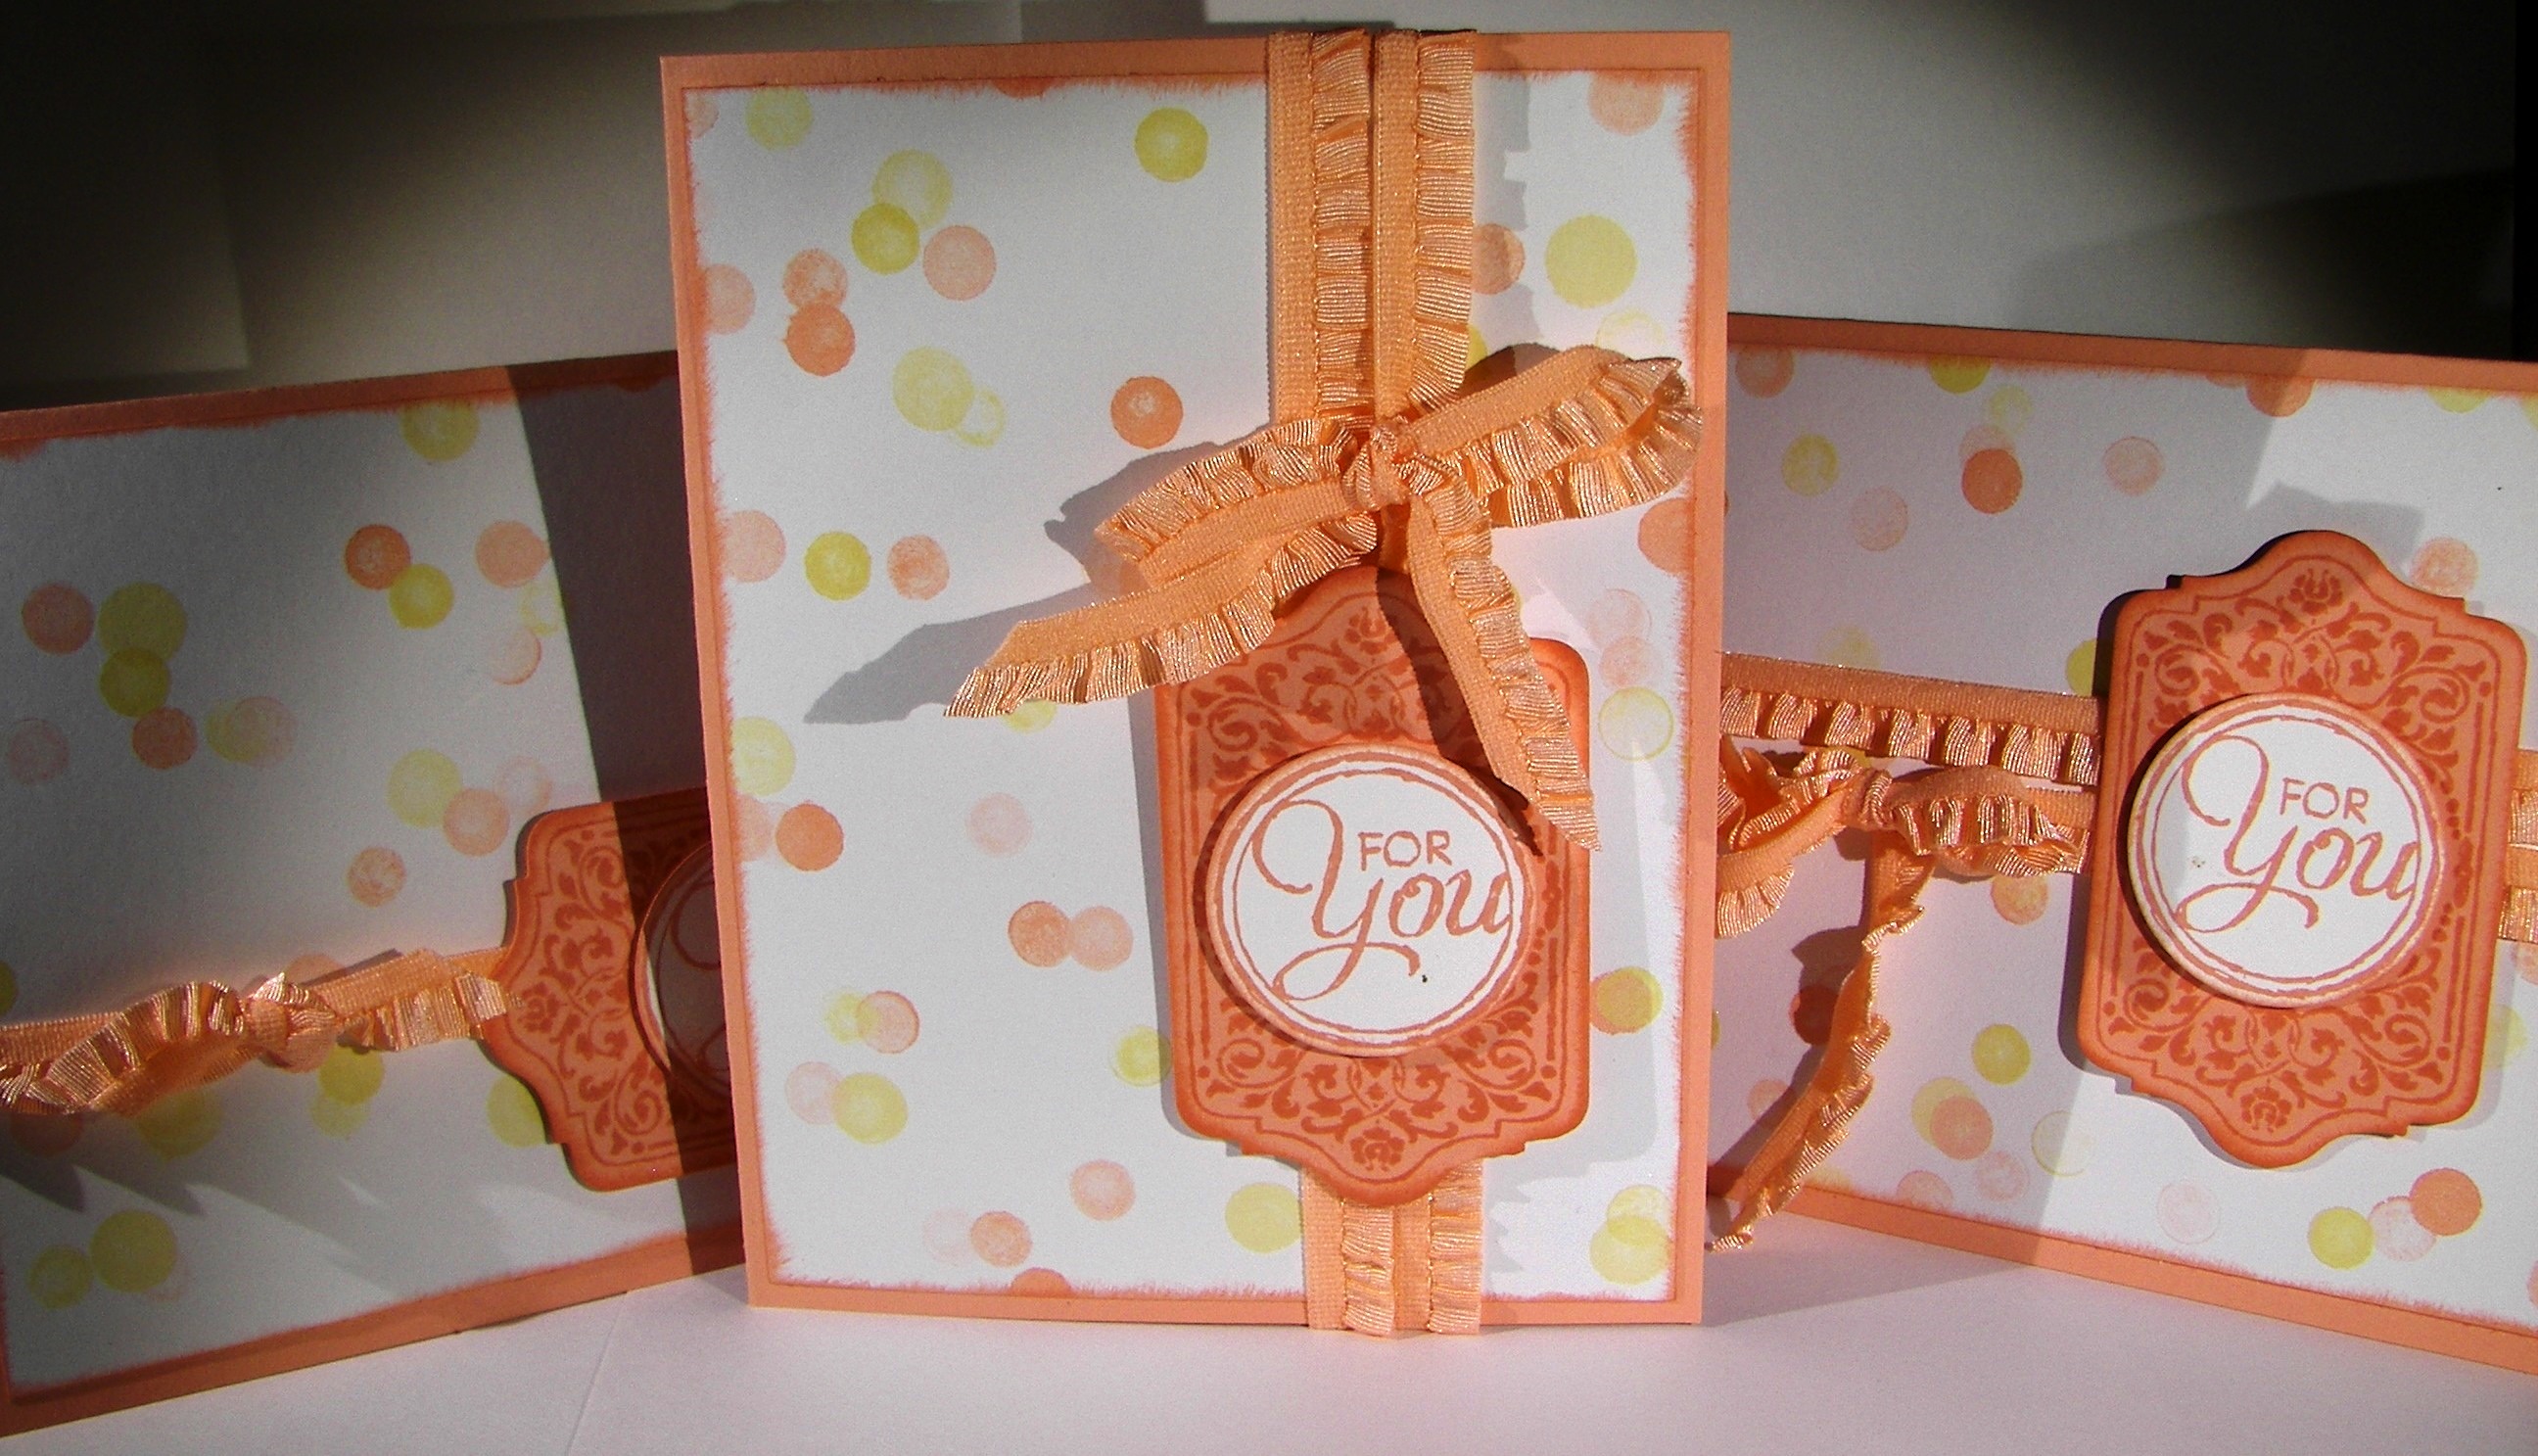
When you have paper as beautiful as the birthday bash set, you really want to showcase it.  I usually don’t cover it, but I felt the need to play with this awesome ribbon!  It is huge, soft, and full of color.  Too much fun.

Birthday Dash with Box Buddy

The card is a bit off normal size, but only a 1/2 inch shorter.  Yes, it will fit perfectly in my regular envelopes, no need to make a custom one.  The bit of extra space allows for that huge ribbon.  Perfect!

Birthday Dash with Box Buddy

Get out your pretty paper and put it to work for you.  This paper won’t be around much longer, retiring and all.  I might have to get a bit more, it makes such wonderful birthday cards.

Have a creative day!

Moana

Happy Heart Mini Treat Bag

Could this treat bag be any cuter?  I don’t know, maybe.  I did buy some chocolate to put inside, but forgot to take a photo with them included.  Ooops, but it will still get in there.  I am actually going to give it away today.

Happy Heart Mini Treat Bag

I used the framelit set to cut out the bag bits.  While I was working the big shot I went ahead and cut out the ‘for you’ sentiment from the same paper, calypso coral. I did some sponging, but knew I needed something more for the bag front.

Happy Heart Mini Treat Bag

I used the heart framelit from the same set on some of the coordinating washi sheets.  I had planned on sticking it directly to the paper, but the embossing changed that plan.  I left it on  the white background paper it came on and liked it.  I did punch a few hearts with the bitty heart punch and stuck them on.  But not til I had embossed the bag front with the happy heart folder.  Those little hearts fit in pretty darn good.  I used my stylus to help tuck them in just right.  Before I did, I used my brayer and inked over the embossed hearts to make them pop a bit.  I got a little messy, so I went with that and sponged a bunch to help balance it out.

Happy Heart Mini Treat Bag

I used the row of dots framelit, also in the same set, to make some sewing punches for my ribbon.  It wraps around the back, but laces in the front.  I put it in a bow and tied my tag on.  I did stick the tag with a dimensional to help it stay just right.  Now, to get the chocolate in and give it to my friend.  Should be fun!

Have a creative day!

Moana

Sassy Salutations with Flowering Flourishes

Let’s just say that my camera doesn’t always do me the best favors.  It is pushing ten years of heavy use, guess that is to be expected.  You get the idea though.

Sassy Salutations meets Flowering Flourishes

I was stumped for an idea, so I asked my youngest daughter for a little help.  All I asked her for was a color, something to get me started.  She said red, but not a love card.  I took her challenge and had fun with it.

Sassy Salutations meets Flowering Flourishes

I don’t normally work in red, but I do like the results.  I used two cut and ready card bases, retiring sad to say, for this set.  One for the card and the other for the box.  You could also make these from just one sheet.

Sassy Salutations meets Flowering Flourishes

I stamped on the velum with stazon and let it dry for a bit while I did the red stamping.  I hid my adhesive under the stamping and my embellishments.  Aren’t these just beautiful?  When they went on sale I broke down and bought a couple of containers.  So glad I did.  They are also retiring.

Sassy Salutations meets Flowering Flourishes

Even though my camera didn’t help out too much today, I think you get the idea.  Give yourself a challenge and see what happens.  You might be pleasantly surprised.

Have a creative day!

Moana

Adventure Awaits on Sea Street

I do enjoy it when a designer series paper set has a matching stamp set.  Everything just goes together that much better.  I thought this stamp from the Adventure Awaits set had the perfect sailor sentiment.  All kinds of happy here.

Adventure Awaits on Sea Street

I don’t know why I can’t just make one card, but I like everyone to have friends, even my crafting projects.  That sure does make extra stacks of cards to deal with.  I have taken to just giving people blank cards to play with.  It works for everyone.

Adventure Awaits on Sea Street

How about the cute little bag though.  It started out as a bag, I measured wrong, tried a box, then went bag to a modified bag.  What a busy bit of paper.

Adventure Awaits on Sea Street

Of course I had to do some inside stamping.  Those little flags are so adorable.  If I had more patience last night I would have colored them with markers, but I kept it one color for the sake of sanity.  Everyone needs some of that.

The designer paper is retiring, as well as the little oval punch I used to punch out my little anchor from the Sea Street set.  I use that punch a lot.  I will keep that one on hand for sure.  Too useful.

Have a creative day!

Moana

Ray of Sunshine CASE

What happened to yesterday?  Well, it was absolutely all over the place!  It started out with finishing up this batch of handouts for a church youth lesson, 32 of them to be exact.  I had to enlist some family help to get them done in time.  They really looked beautiful all splayed out on the dining table.

Ray of Sunshine

We were off to church and it was so lovely.  My lesson went really well, because I have a great group of young ladies that I get to work with.  I made sure to share the extras before I came home, no need to add to the large stack of blog projects.  We went up the hill to have dinner with my husbands parents, spending much needed time there.  Only to return home to remember a church girls camp meeting that I had indeed completely forgot.  What a busy day.

Ray of Sunshine

I did CASE myself on this one.  But I needed a sunrise background to match the phrase which went perfectly with the theme of my lesson.  Inking up all of those backgrounds can give your hand a bit of a cramp.  But since I was all over the place I didn’t have a chance to share them with you.

Ray of Sunshine

So, I missed a day, sorry about that.  It should be a bit more calm today, I hope.  Let’s hope work is reasonable.  Oh, and I get to pre-order today in the new Stampin’Up! catalog!  It doesn’t go live for another month, but that is a perk of being a demonstrator!

Have a creative day!

Moana

Guy Greetings Thank You

How do you say thank you to a man with a card?  Just like this.  Simple, a bit of elegance, and a touch of humor, but just a touch.

Guy Greetings

Denali requested a special manly thank you card for her prom dates father.  He is doing all of the driving for the two of them, neither one have a license, even as seniors, so they need a little help.  Hence, the thank you.  I thought that was adorable.

Guy Greetings

Also, it works for sharing with you today!  This set doesn’t seem to be carrying over to next year, so we have to say goodbye.  So sad, because it is a great manly set.  Well, I won’t stop using it.

Guy Greetings

This is a quick project day, because it is prom day!  When you have a young lady going to her first and only prom, you want to make it special.  There are still some things that have to be dealt with, like sharing some joy and some basic chores. Other than that, we are all about getting pretty.  Nails and hair are already done, so just enjoying the fun of makeup.  The next photos I take will be filled with a lovely young lady and her good friend.  Wheeeeee!

Have a creative day!

Moana

Mixed Bunches of Sassy Salutations

Well Good Morning!  Isn’t this just a huge ray of sunshine?  Bright, happy, sunny, and they make me smile.  What a great combo!

Mixed Bunches of Sassy Salutations

There is something about huge polka dots that just makes me smile.  After adding a smattering of flowers and an adorable greeting, all you need is someone wonderful to share them with.

Mixed Bunches of Sassy Salutations

Out of this set, what is retiring?  The paper of course.  Such a versatile set, I will miss it.  The angled tag topper punch.  I am glad it have it.  I love the curled and pretty ones, but sometimes you don’t want that.  And of course the flower stamp used.  It is from a set of designed flowers that also have center round stamps for layering and extra fun.  I make backgrounds out of those all of the time.  There is a coordinating punch for the flower that I didn’t use on this one.  I didn’t have crushed curry ribbon, but the hello honey was just right.  This particular ribbon is retiring, but the color will be with us for another year.  It is hard to tell in my photo, but the ribbon is just a shade or two darker.  And I love it!

Mixed Bunches of Sassy Salutations

These went together really fast.  The perfect example of simple stamping with coordinating products to give it the professional look we all love.

Have a creative day!

Moana

Petite Purse Retirement Party

Why is this little tiny purse all alone?  I wanted to showcase just it.  I have loved this die for so long now.  Admittedly, I am addicted to die cuts that make boxes and other such things.  However, this one has always been my favorite.

Petite Purse

I kept it very basic here, just showing off the adorable flowerpot dsp and only one little punch with a rhinestone.  Simple, but perfect.  Can’t you just see opening it up and finding a truffle?  Of course you can.

Petite Purse

I have changed out the top with other cutting or even removed it entirely and had an open container.  I have made different fancy handles, covered the top in little pearls or jems, or even smothered it button or butterfly closures.

Petite Purse

I am so glad these dies last so long.  This is one I have enjoyed and will keep in my collection for years to come.  Thanks Stampinup! for such a fun product!  What will you replace it with?  I wonder.

Have a creative day!

Moana

Clueless Thank You?

Just what is today’s odd card about?  It is truly a ‘clueless thank you’.  Not too long ago our church youth group had a large activity that was a living version of the game Clue.

Confetti Celebration

We had  a character that had been ‘kidnapped’ and had several ‘suspects’.  They were each in their own classroom throughout the church building. The kids were partnered up to visit the suspects gathering clues along the way.  The volunteer suspects were amazing and many of them went all out.  I love people!

Confetti Celebration

So, a proper thank you was in order.  I couldn’t just use a stamp to say what we needed.  I got on the computer and made something special.  I thought it was pretty darn clever.  I made a dozen of these and each one is filled with hand written notes from youth and leaders.  Doing good things feels good.

Confetti Celebration

I used the retiring paper set confetti celebration.  It goes wonderfully with basic gray.  I had to have a card that was attractive without being feminine.  Mission accomplished.  A little bit of bermuda bay ribbon brought just enough color in.

Have a creative day!

Moana

Geometrical Confetti Celebration Retirement Party

More retirement stuff?  Absolutely!  So, out of this project, what did I use that will be retiring?  It would be easier to share what isn’t.  That would be the whisper white paper and coordinating seam binding ribbon.  Yup, everything else is heading out.

Geometrical

When I bought this stamp set I admit it was for the sentiments.  Specifically, the cheer up buttercup one.  Totally worth it in my mind.  But I have gotten a little more attached to the funny little shapes.  It is nice to do something different once in a while.

Geometrical

This card set was made from four cut and ready card bases.  Three cards and one holder, and yes, the holder was made from a card base.  A little scoring, a little edgelit work, a little inking and there you have it.  Crazy, right?  I need to get the whole video thing going, you would like to see how easy that one is.  I surprised myself.

Geometrical

I am enjoying more and more making sets that I can use as gifts.  People love getting pretty things they can turn around and use.  I love the smile on their faces when they look at them.

Geometrical

Well, I had better get going.  I have a prom dress to add sleeves to.  That is okay, my sewing machine feels neglected when I paper craft so much.

Have a creative day!

Moana

Petite Pairs and Punches Retirement Party

Good morning to this retirement party!  Every time I get into one of those designer series paper stacks I get a surprise.  It is always something like, I don’t remember seeing this pattern, I should use this.  My poor brain.

Petite Pairs and Punches

I do really like this grouping here.  It is colorful but subtle at the same time.  Can you believe how many products will be retiring out of this?  The artisan label punch is one of my favorites.  It will stay in my stash for sure.

Petite Pairs and Punches

I also didn’t think to put this bright of a yellow with lost lagoon.  But I tried to use a daffodil delight card base to bring out the yellow, and it was too much.  Just a little bit then, not too much.

Petite Pairs and Punches

And to complete any card combo is a cute little bag.  This guy is made from one sheet of the stack.  A simple scoring, a bit of ribbon, and a flower from the other punching and it is just right.  And yes, a gift card will fit inside just right.  My cuteness must have an additional purpose other than being cute.  Who says that, right?  But it is true.

Petite Pairs and Punches

Have a creative day!

Moana

Blooming With Kindness Thank You Notes

A quick, but special, project graced my desk today.  I wanted to make special thank you cards for the young ladies that I teach in a church class.  They were to write about things that they were thankful for concerning our gospel lesson.  It was a really great experience for them.

Bloom With Hope

I only recently got this stamp set at my daughters request, so I have used it a lot.  I was so sad to see it put on the retirement list.  I have enjoyed every project though.

Bloom With Hope

I think this flower image would look stunning no matter what color I used.  It is just that lovely.  I decided to use early espresso so I could pair it with the retiring seam binding ribbon.  These have become my go to products.  Only positive thoughts here though.  I know something equally amazing will come our way.

Bloom With Hope

The card assembly was really quite simple.  Just a basic card cut to measure 8 1/2 x 5 1/2 and scored at 4 1/4.  A very vanilla single layer on top measuring 4 x 5 1/4 with a length of ribbon tied in a know.  I stamped full strength in the four corners and then stamped off once to do the gaps in between.  It gave it a bit of dimension and was super easy.

Have a creative day!

Moana

Retirement Party for Bloom With Hope

How did my morning get away from me?  Well, it goes along perfectly with the color choices for today’s projects.  These lovely cards had to wait for their retirement party until I had helped my oldest daughter.

Bloom With Hope

She is participating in a small business class that has a specific business competition today.  Her and another young lady were selected to represent their club and their school at this competition.  I just heard from her and they are finished presenting.  Just a few more and they will announce the winners.  How exciting is that?

Bloom With Hope

What is with the color choices then?  Their organization has these two colors, instead of strawberry slush it is a bit more magenta, but pretty close.  They were to dress exactly alike with these colors as their emphasis.  They look adorable!  So I thought I would use product with the same color choices.  Cool stuff there.

Bloom With Hope

I also dipped deep into a retired product from last year.  The coordinations line sure was a fun one, and I miss it.  However, I did get quite a bit of the paper when it hit the clearance racks.  As I have used down my stash of in colors, I have found myself out of a few, but have them in coordinations.  It works for me!

Bloom With Hope

If you find yourself in need of a few cards, why don’t you give these a try?  They actually went together pretty easily and they look great too!

Have a creative day!

Moana

Little Buddy Birthday and Petite Pairs Retirement Party

Well, after yesterday’s absolute shenanigans, I really wanted to keep it simple.  I think things went well enough.  These are two stamp sets that I will really miss, not to mention basic gray.

Little Buddy Birthday and Petite Pair

It is hard to tell in this photo, but I did stamp that adorable armadillo all over this basic gray paper.  The little lines of the stamp almost disappear, but not quite.  Perfect for a treat or a little gift card.

Little Buddy Birthday and Petite Pairs

I painted this adorable little guy with me aqua painter using basic gray, smokey slate, and a touch of blushing bride for his nose.  Really, how adorable.

Little Buddy Birthday and Petite Pair

I used one sheet of card stock for this trip.  I cut the paper to measure 5 x 8.5, just under  a half sheet, to make the little bag.  Then I took the 6 x 8.5 portion, turned it on its side and cut it in half so the two card bases measured 3 x 8.5 and then scored at 4 1/4.   The card fronts and inserts measure 4 x 2 3/4.

There, I even gave some measurements, I am trying to improve what I share.  One day at a time!

Have a creative day!

Moana

Chalk Talk Retirement Party

How about this for an overdone party.  I really should set some limits with myself, because seriously, six cards and two bags for one blog post is just a bit much.  But hey, it is a party right?

Chalk Talk

The designer paper I used was so fun.  I guess that is why I ended up with two sets, because each side of the paper was too cute.  I am used to having paper around for a catalog year, but I do tend to get attached to the colors.  I really did enjoy the 2013-2015 In Colors.

Chalk Talk

The stamp set Chalk Talk is retiring, but the framelit isn’t.  So, maybe a new set will be available?  We will have to wait and see.

Chalk Talk

For a little throw back I used the stretch ribbon from last years catalog.  It was really fun to play with.  This is a reminder to me to get the items I want that are retiring before they run out.

Chalk Talk

Well, I am running behind for sure with all my crafting.  Off to another adventure!

Have a creative day!

Moana

That’s the Ticket Retirement Party

What is with all of the product in this photo?  Well, I am beginning a series of posts that will last the next month.  It is a retirement party, and these products are invited.  I am trying to celebrate them, because I have had so much fun making beautiful projects with them.

That's the Ticket

When the new catalog comes out in June there will be tons of new product to oogle over.  But, some have to step aside to make room.  I really am bummed out about lots of them, but am trying to stay positive.  So, welcome to my party.

That's the Ticket

As you can tell, I still have babies on the mind.  Not for me, yikes!  Several of my friends are becoming grandmothers for the first time or enjoying the blessing of another grandchild.  It is infectious!

That's the Ticket

I used one sheet of wisteria wonder to make this trio.  I cut a large square 8 x 8 and used my gift box punch board.  I took the remaining strip, cut it in half and made two little gift cards to match.  Aren’t they adorable?  I chose the baby stamp from the stamp set and stamped tone on tone all over my paper before I folded it up.  Of course I had to sponge it a bunch.  Yummy.

That's the Ticket

All of the time I have used this ticket punch I have wondered how to incorporate the miniature tickets that punch out with the larger one.  I thought they fit perfectly below my favorite ribbon ever, weep weep, the lovely chevron ribbon.

With all that said, I love these products I have shown you.  Only a month left to get your own, unless they sell out sooner.

Have a creative day!

Moana

Sew You Paper Pumpkin Kit

What is this paper pumpkin kit thing?  It is my little bit of happy, that’s what it is.  As a demonstrator of Stampin’Up! I am the one doing the creative thinking, preparing and sharing of my work.  Well, this is what I give myself as a thank you.

Sew You

This is a subscription service that I love.  Each month I get a complete kit to make something so fun.  All I have to supply are scissors and some adhesive.  I really like having it just show up like a present or something.

Sew You

Sometimes I make it just like the directions, or sometimes I give it my own little touch.  Like these two cards.  I added a healthy dose of sponging to both of them.  The kit came with the yellow embroidery thread.  I liked it quite a bit.  But then I thought, what about other colors?

Sew You

Who doesn’t have a bunch of this running around their craft room, right?  So I got out some variegated green and paired it with wild wasabi ink.  Perfect fit.  This is only two of the eight cards that came with the kit.  There is a whole bunch of other stuff that it came with that I will find a use on other projects.  I liked adding my own ink colors to it instead.

I hope you don’t mind my little shortcut today, but I do enjoy my paper pumpkin!

Have a creative day!

Moana

Ray of Sunshine with Perfect Pennants

Color, color, and more color.  I obviously had color on the mind.  I have been wanting to make a card that felt like a sunrise.  This fit the need  nicely.

Ray of Sunshine with Perfect Pennants

It wasn’t easy for me to leave it alone with just ink and a sentiment, but I managed.  I have coordinating ribbon, but didn’t want to break up the colors.  My supporting committee backed me up and here they are.

Ray of Sunshine with Perfect Pennants

A friend of mine recently had an adorable little girl and I couldn’t wait to use this stamp for a baby card.  It feels like a warm cuddle, just like a baby.  Yummy.

Ray of Sunshine with Perfect Pennants

I took my inks and sponges and went to work.  I started at the bottom with crushed curry and sponged and swirled away.  I progressed across the card with the four different colors ending with night of navy on the top.  After the ink dried I stamped my sentiment where I wanted it to sit and embossed it with black powder.  I headed to the big shot and cut out my image.  Yes, that left a hole in my background piece.  But with my framed bit also done in night of navy, it was all covered up.  I just popped that up on dimensionals and called it done.  A great technique on both fronts.

Have a creative day!

Moana

You’re Wonderful

What is wonderful?  Mothers are!  My mother is wonderful.  My mother-in-law is wonderful.  Paper crafting for both of them makes all of us happy!

You're Wonderful

After workshop I tend to have a bit of an empty brain, so I wondered what I could come up with for today.  As I put away my  materials and tidied my desk I cam across a couple of cards that were part way through.  Instead of just putting away the components to become something else, I added to them and made this set.

You're Wonderful

I love sending my mother cards to use and love.  She sets up the ones I personally send her around her house as decoration.  How sweet is that?  I also keep my mother-in-law supplied in birthday cards.  She is so nice to remember literally everyone in her family on their birthday.  Even down to the great-grand-babies.  Such a kind woman.

You're Wonderful

So I try to live up to their great examples and share what I can.  This pretty set is made from sahara sand, whisper white, and the lovely something borrowed designer paper.  I stamped my sentiment from the You’re Wonderful photopolymer set.  It is so fun because you can change out the wording that nests in the banners.  So awesome!

You're Wonderful

And what set of mine would be complete without an adorable matching bag?  It was made from a card base that was cut at 4 1/4 x 11″.  Simple scoring, stamping tone on tone with a smaller flower image from the same set, and adorned with velum flowers and rhinestones.  As you can tell, I stamped my sentiment on velum as well.

Have a creative day!

Moana

Flowering Flourishes with French?

Saturday is usually my day to go all out with some totally extravagant project.  But today is workshop, so making sure I have everything just right takes priority.  I couldn’t not do something though.

Flowering Flourishes with French

Clean and simple cards may not be my strength, but I totally nailed this one!  I started out with the idea of stamping my background paper.  After the first two stamps up one side I fell in love.  I added one little flower in the top corner and stopped.  Such an interesting feeling.

Flowering Flourishes with French

I knew I needed a tiny sentiment, so I went on the prowl.  I came across a retired hostess set called Good Greetings.  I had earned a couple of free sets and put the wrong code in for one of them.  That was the french set.  But I couldn’t bring myself to exchange it.  And doesn’t it fit perfectly?  You know it does.

Flowering Flourishes with French

How did I choose these colors?  Well, I recently made an order to take advantage of that no shipping sale and stocked up on paper.  The heavy stuff for sure.  I added a few spools of cotton ribbon.  You guessed it.  Whisper white, blushing bride and island indigo.  There they sat it the box just telling me to do it.  Done.

Have a creative day!

Moana