Hello There Farewell

I have been trying to stay focused on this years catalog and finish it through, but the new product keeps on sneaking into my thoughts.  I thought this would be a fitting solution to all that is going on.

Hello There Farewell

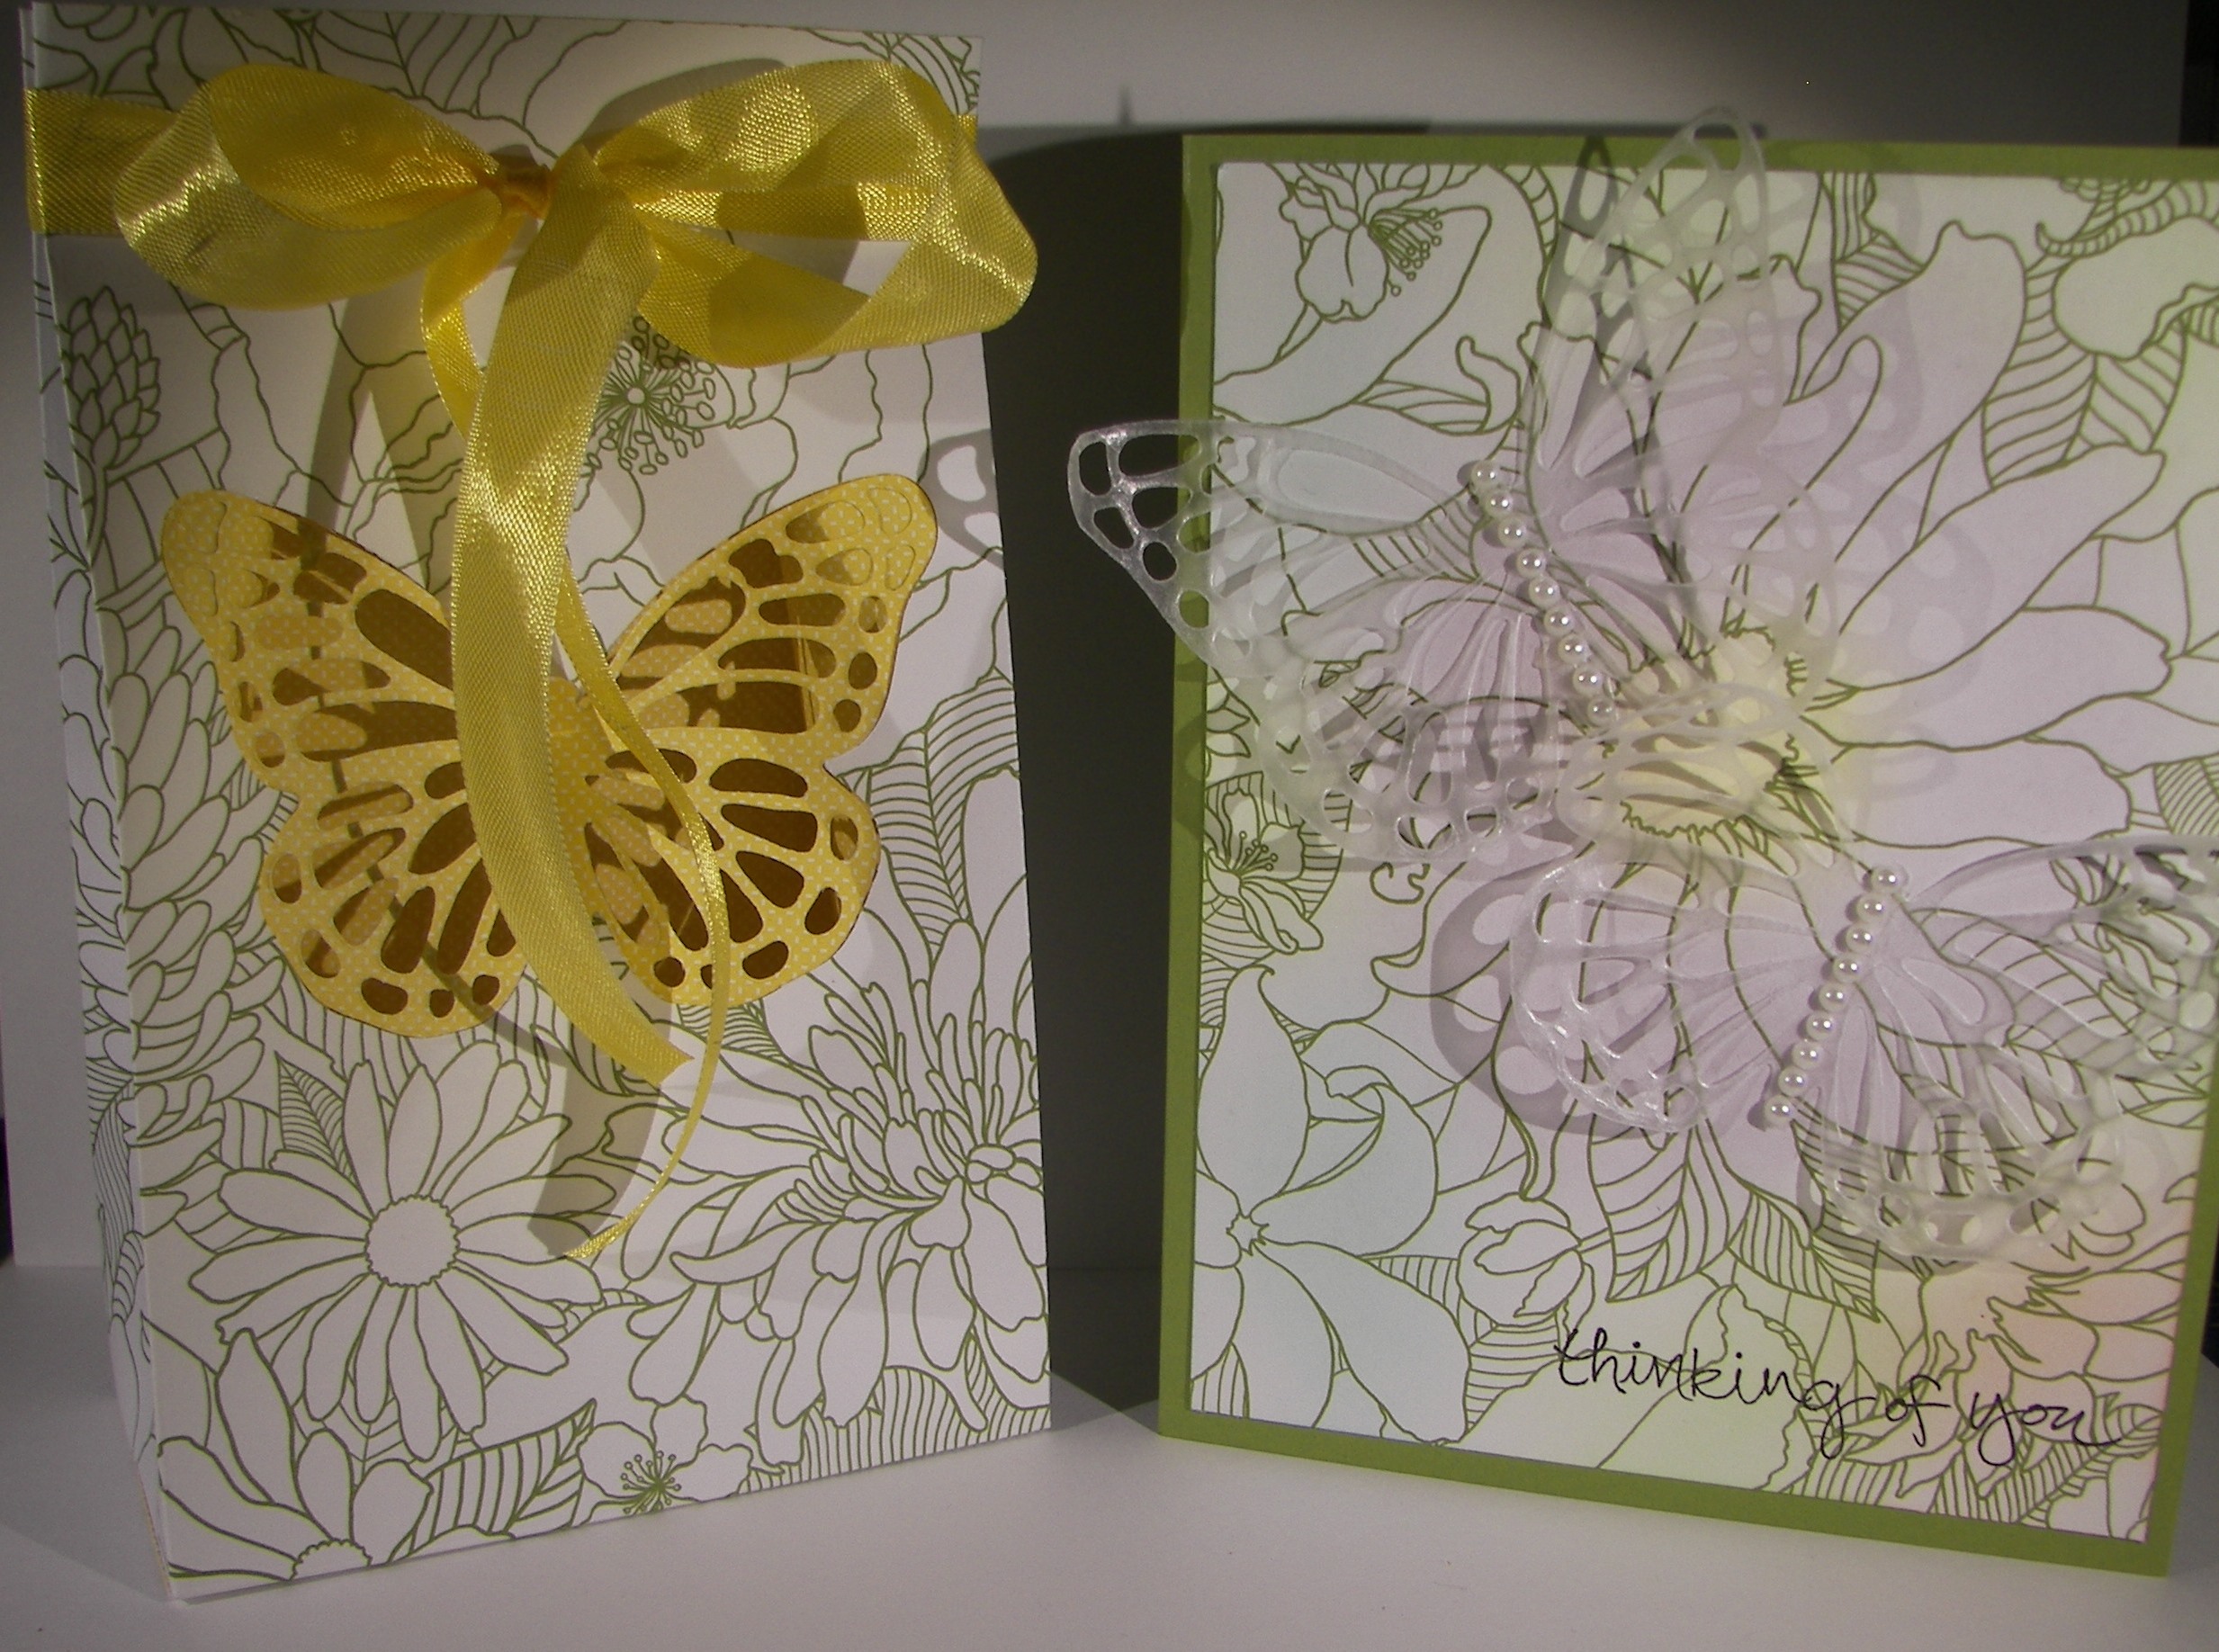
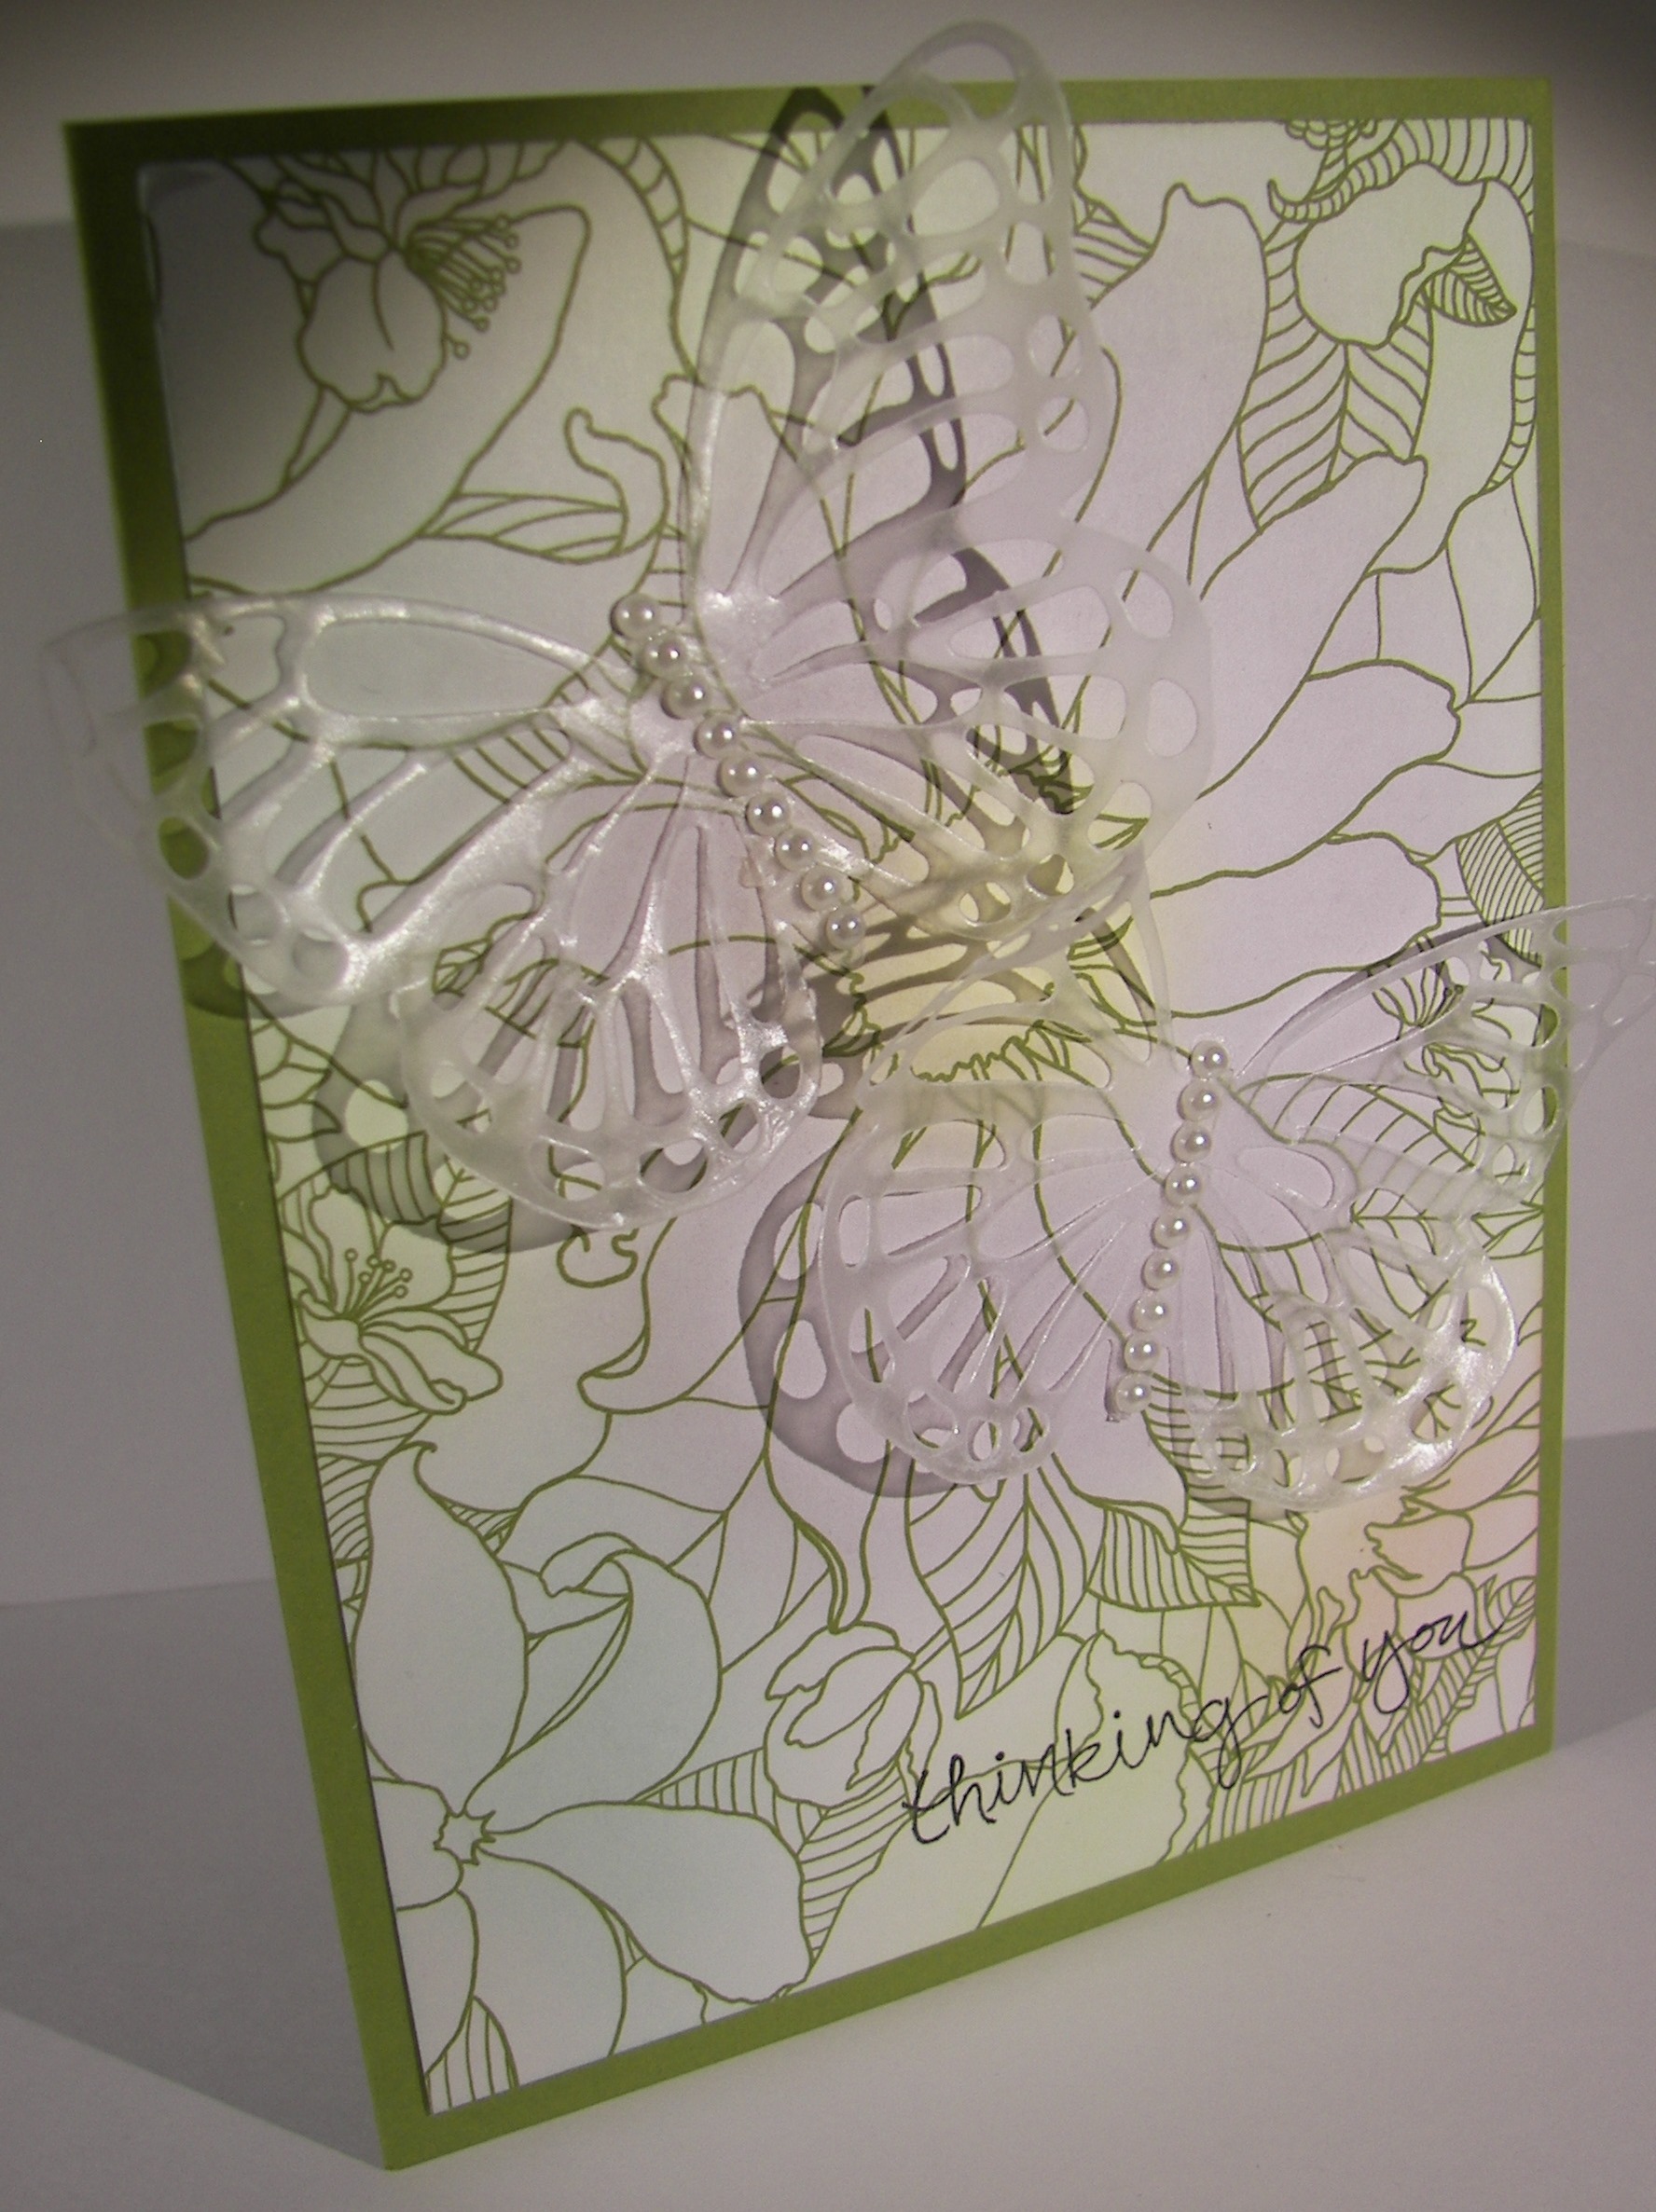
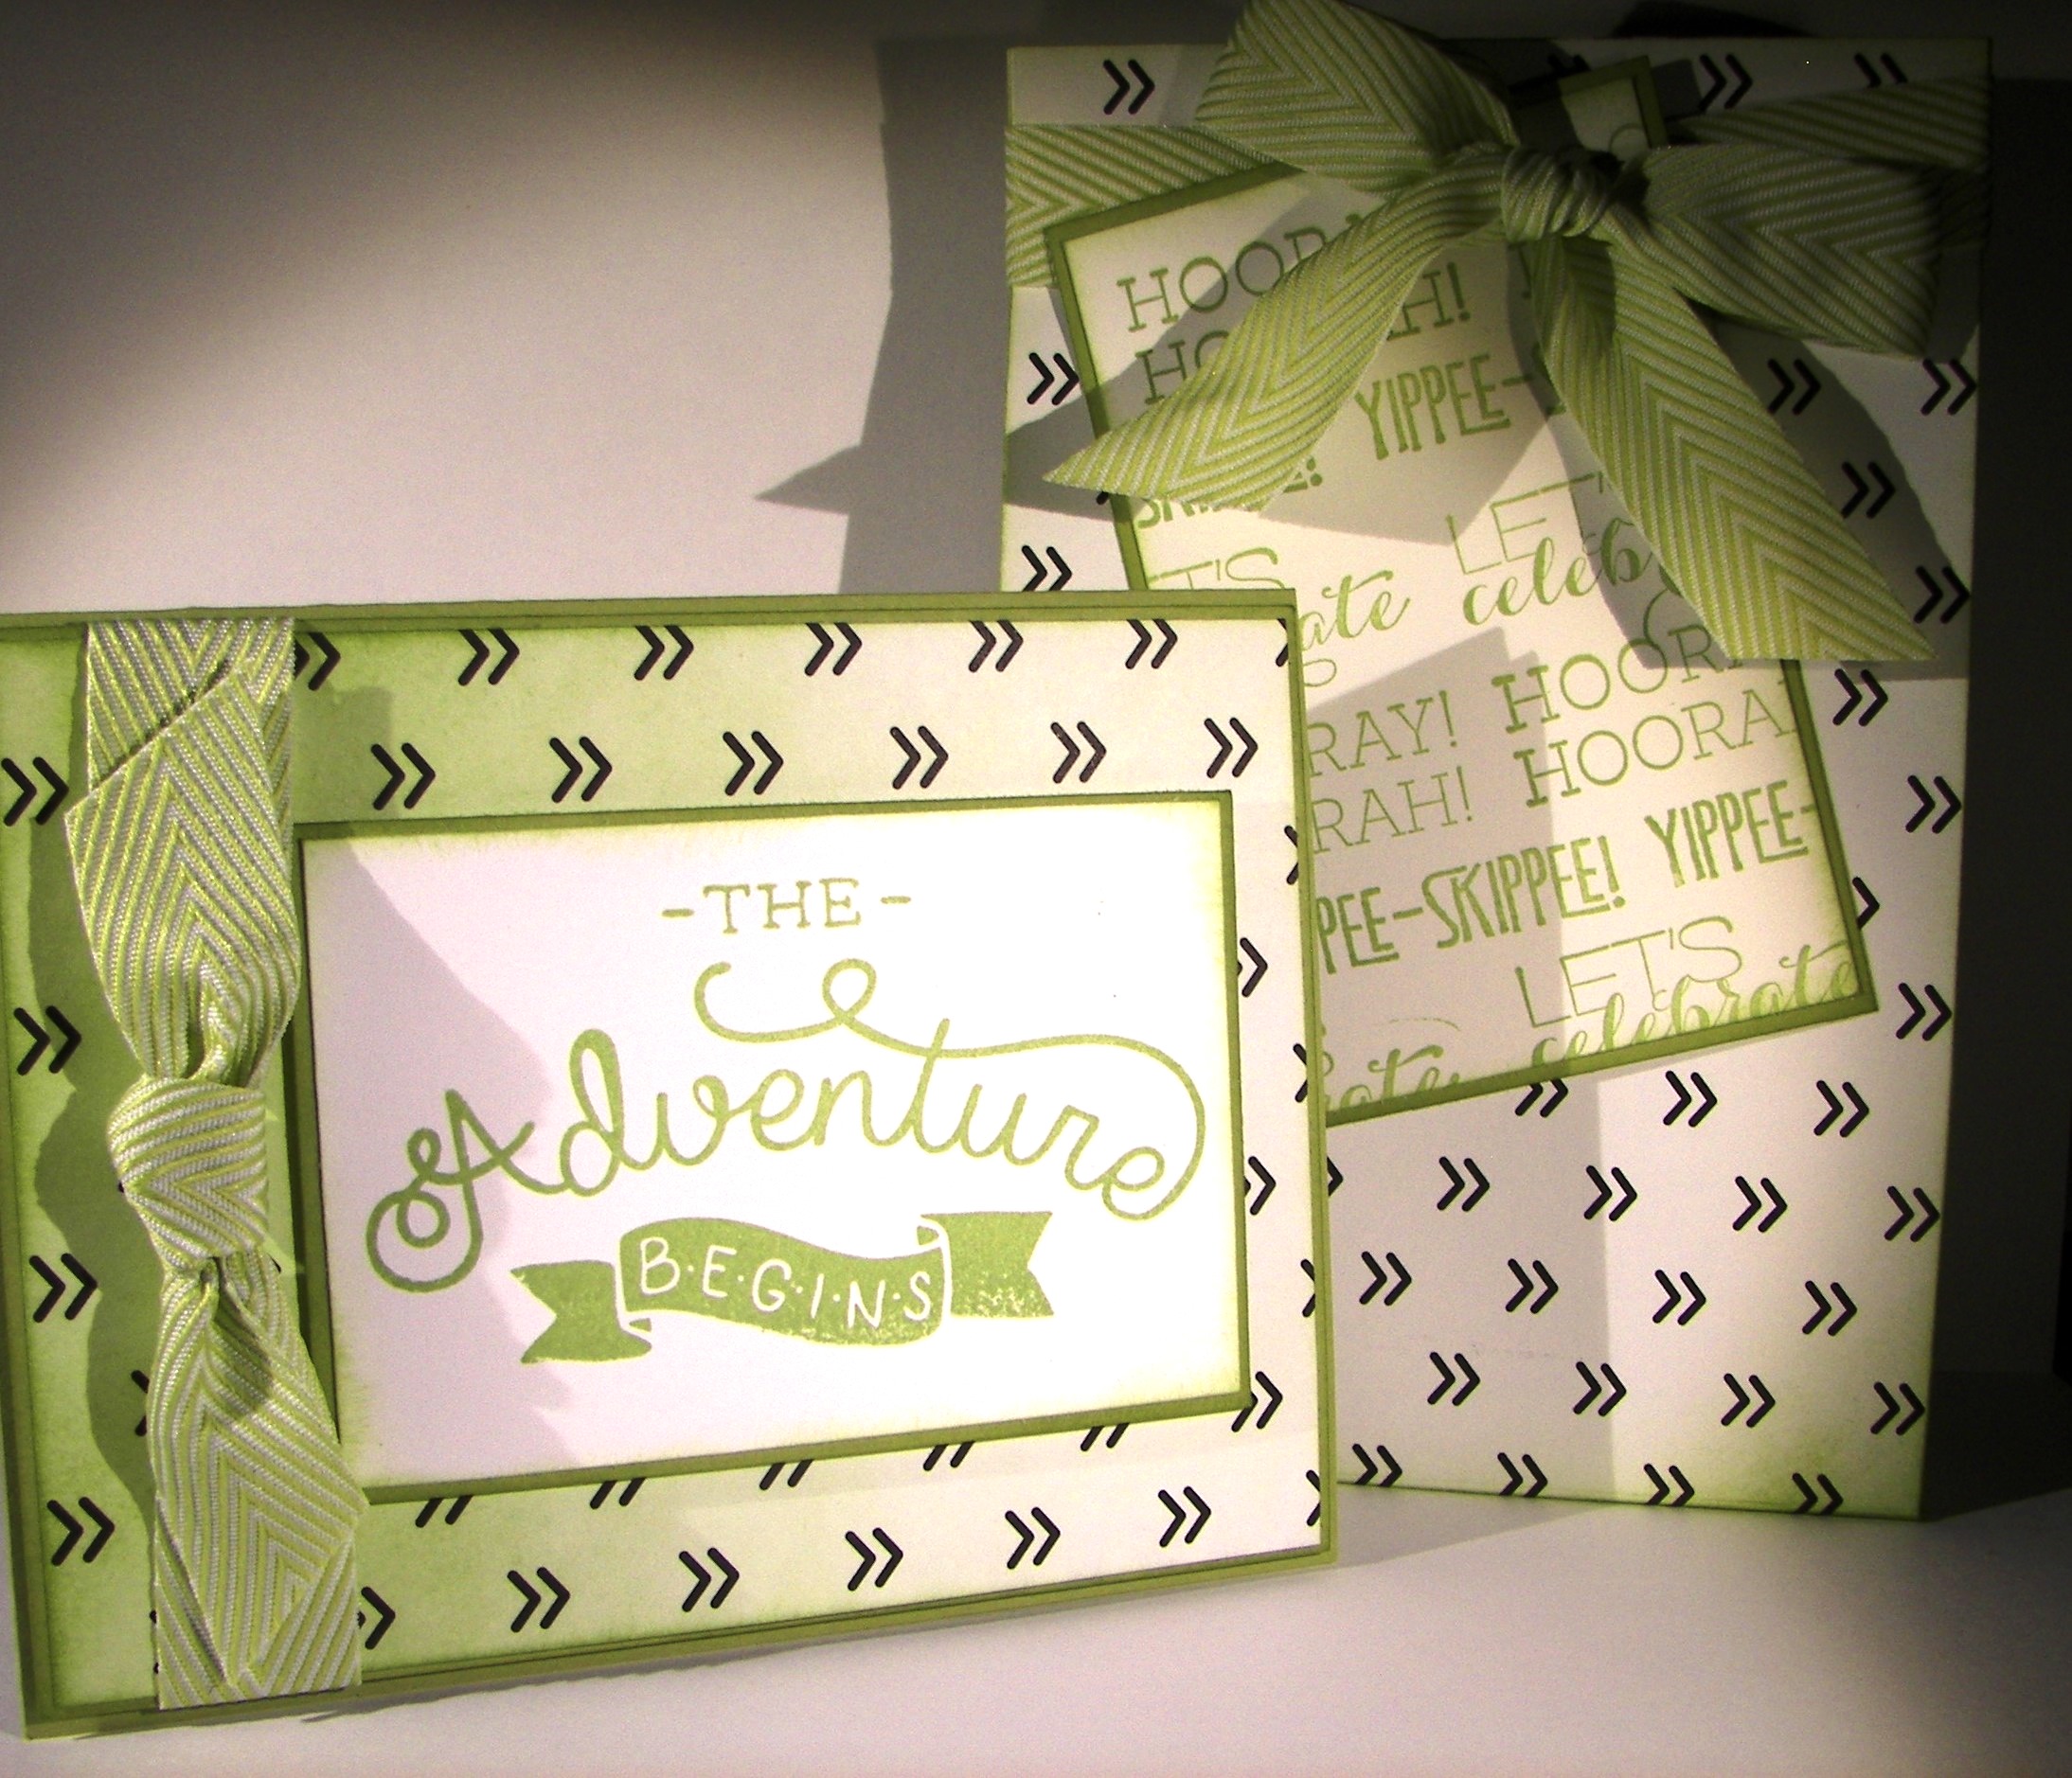
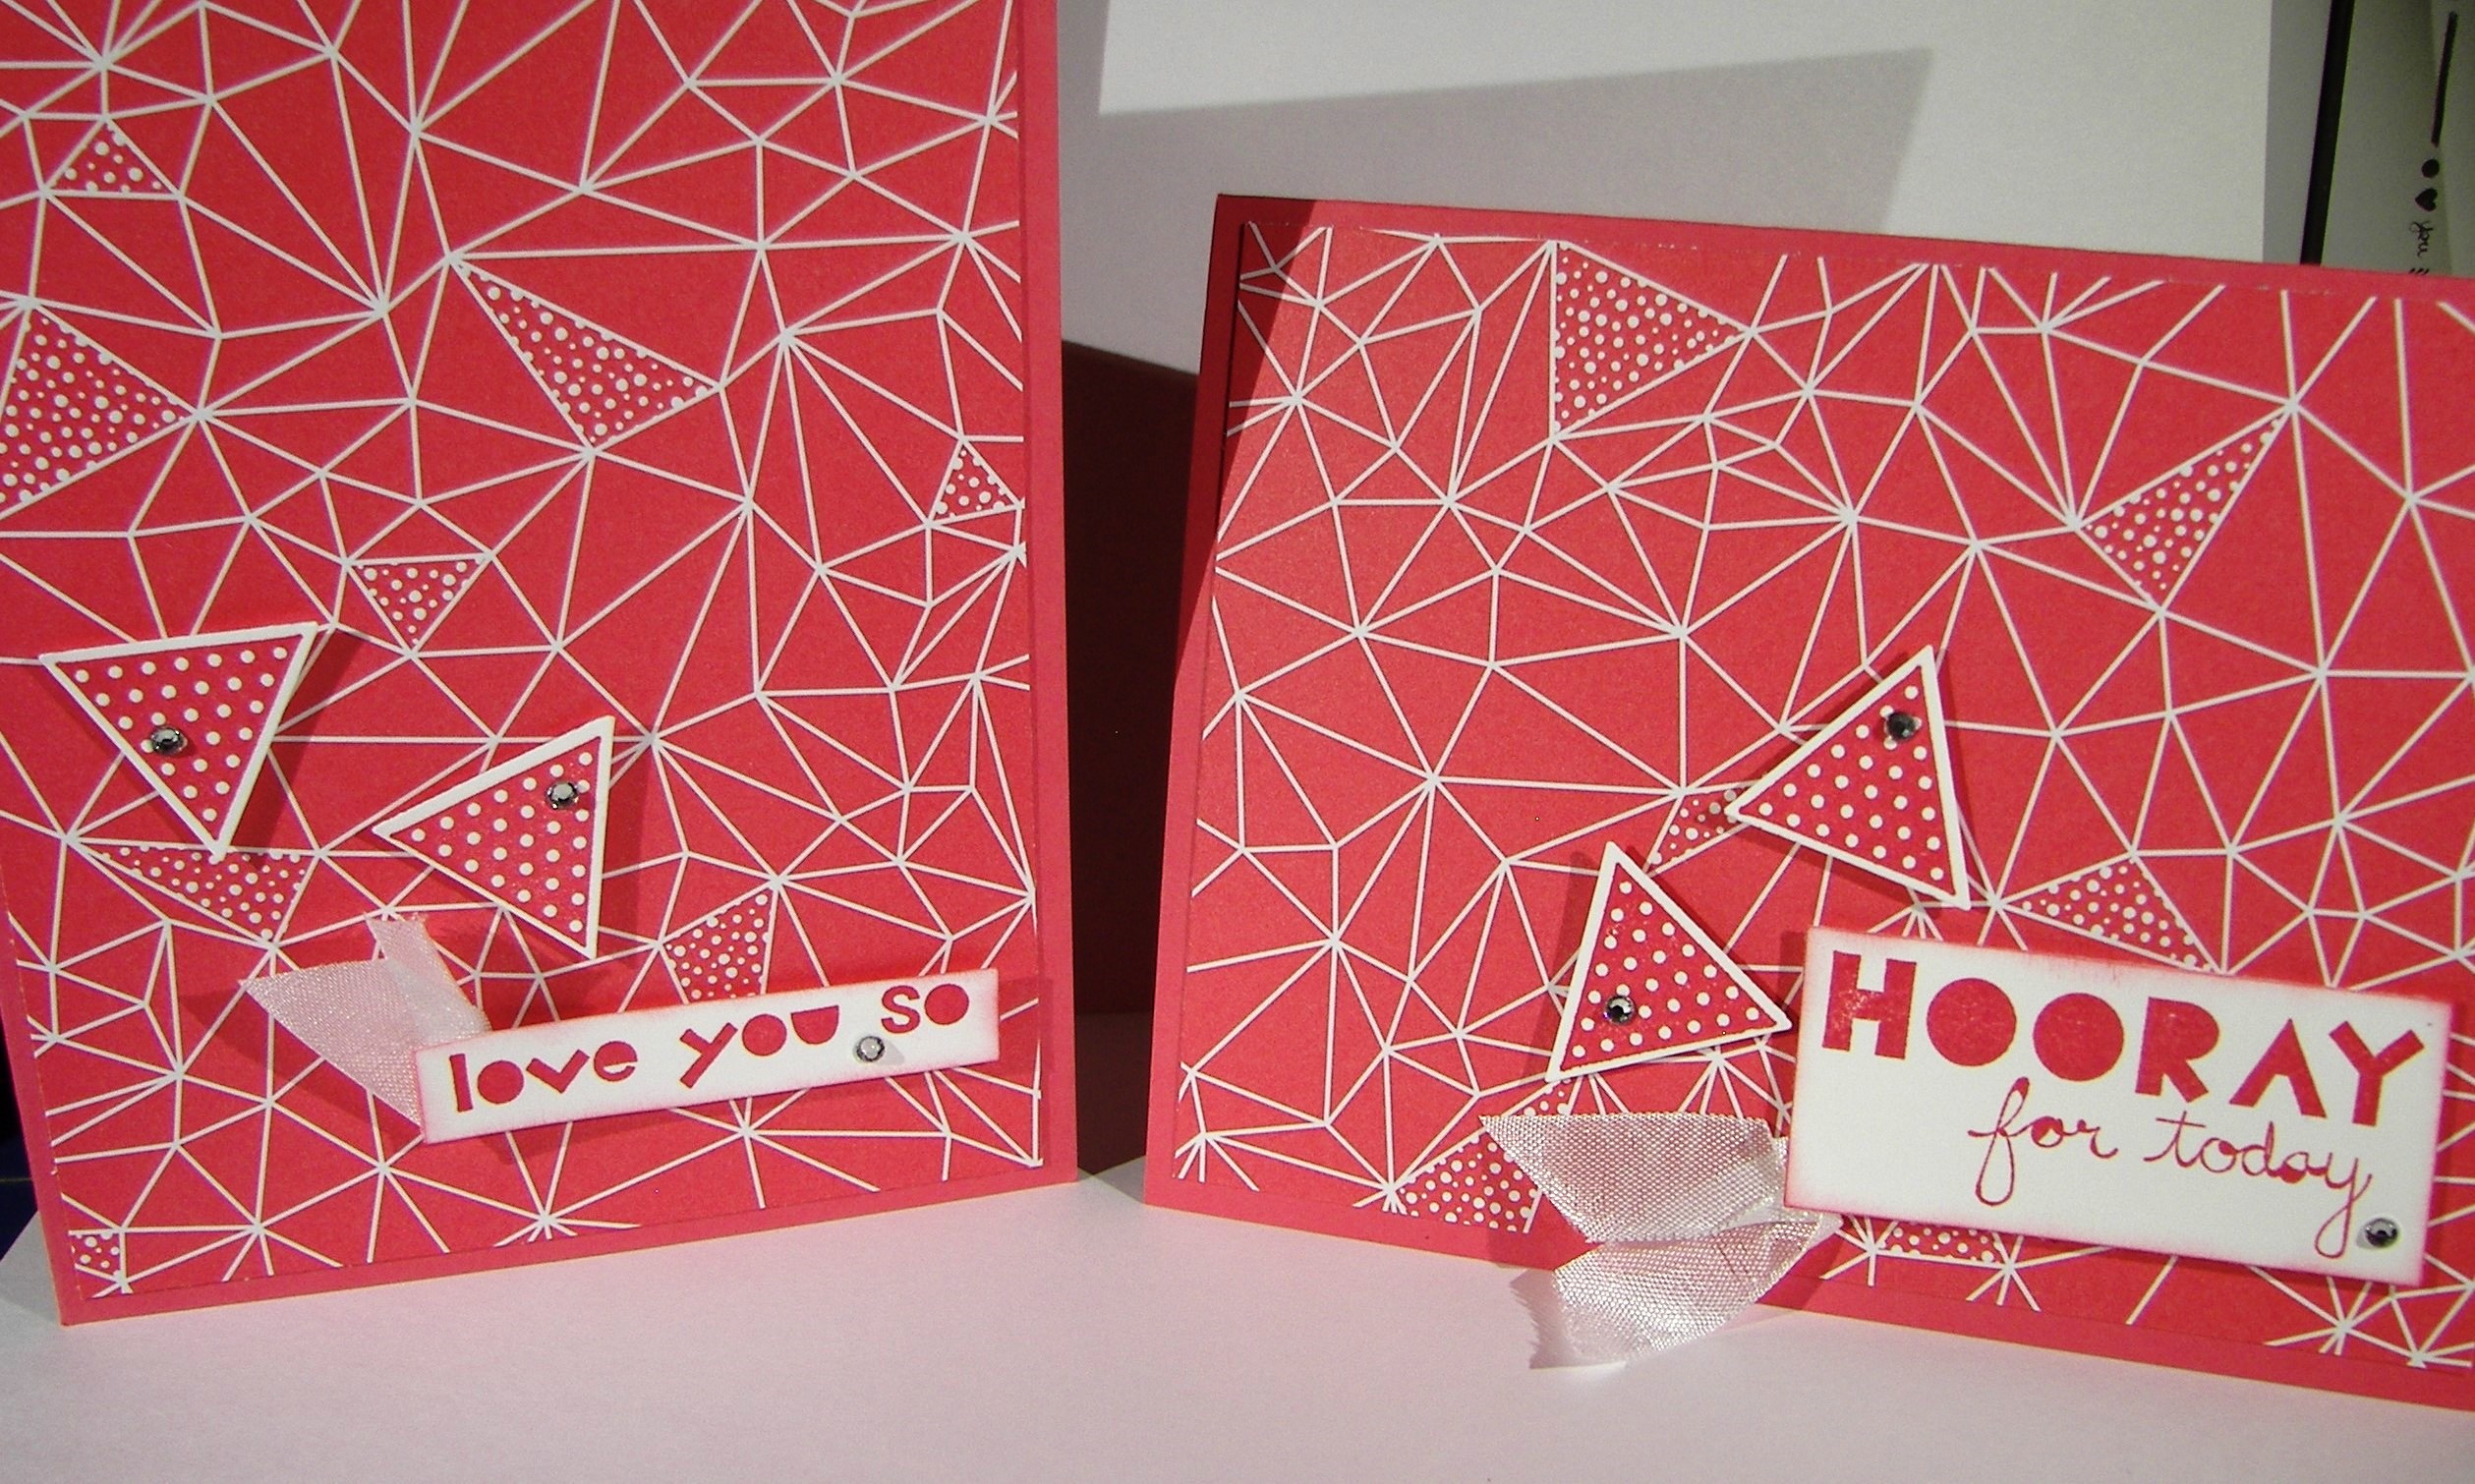
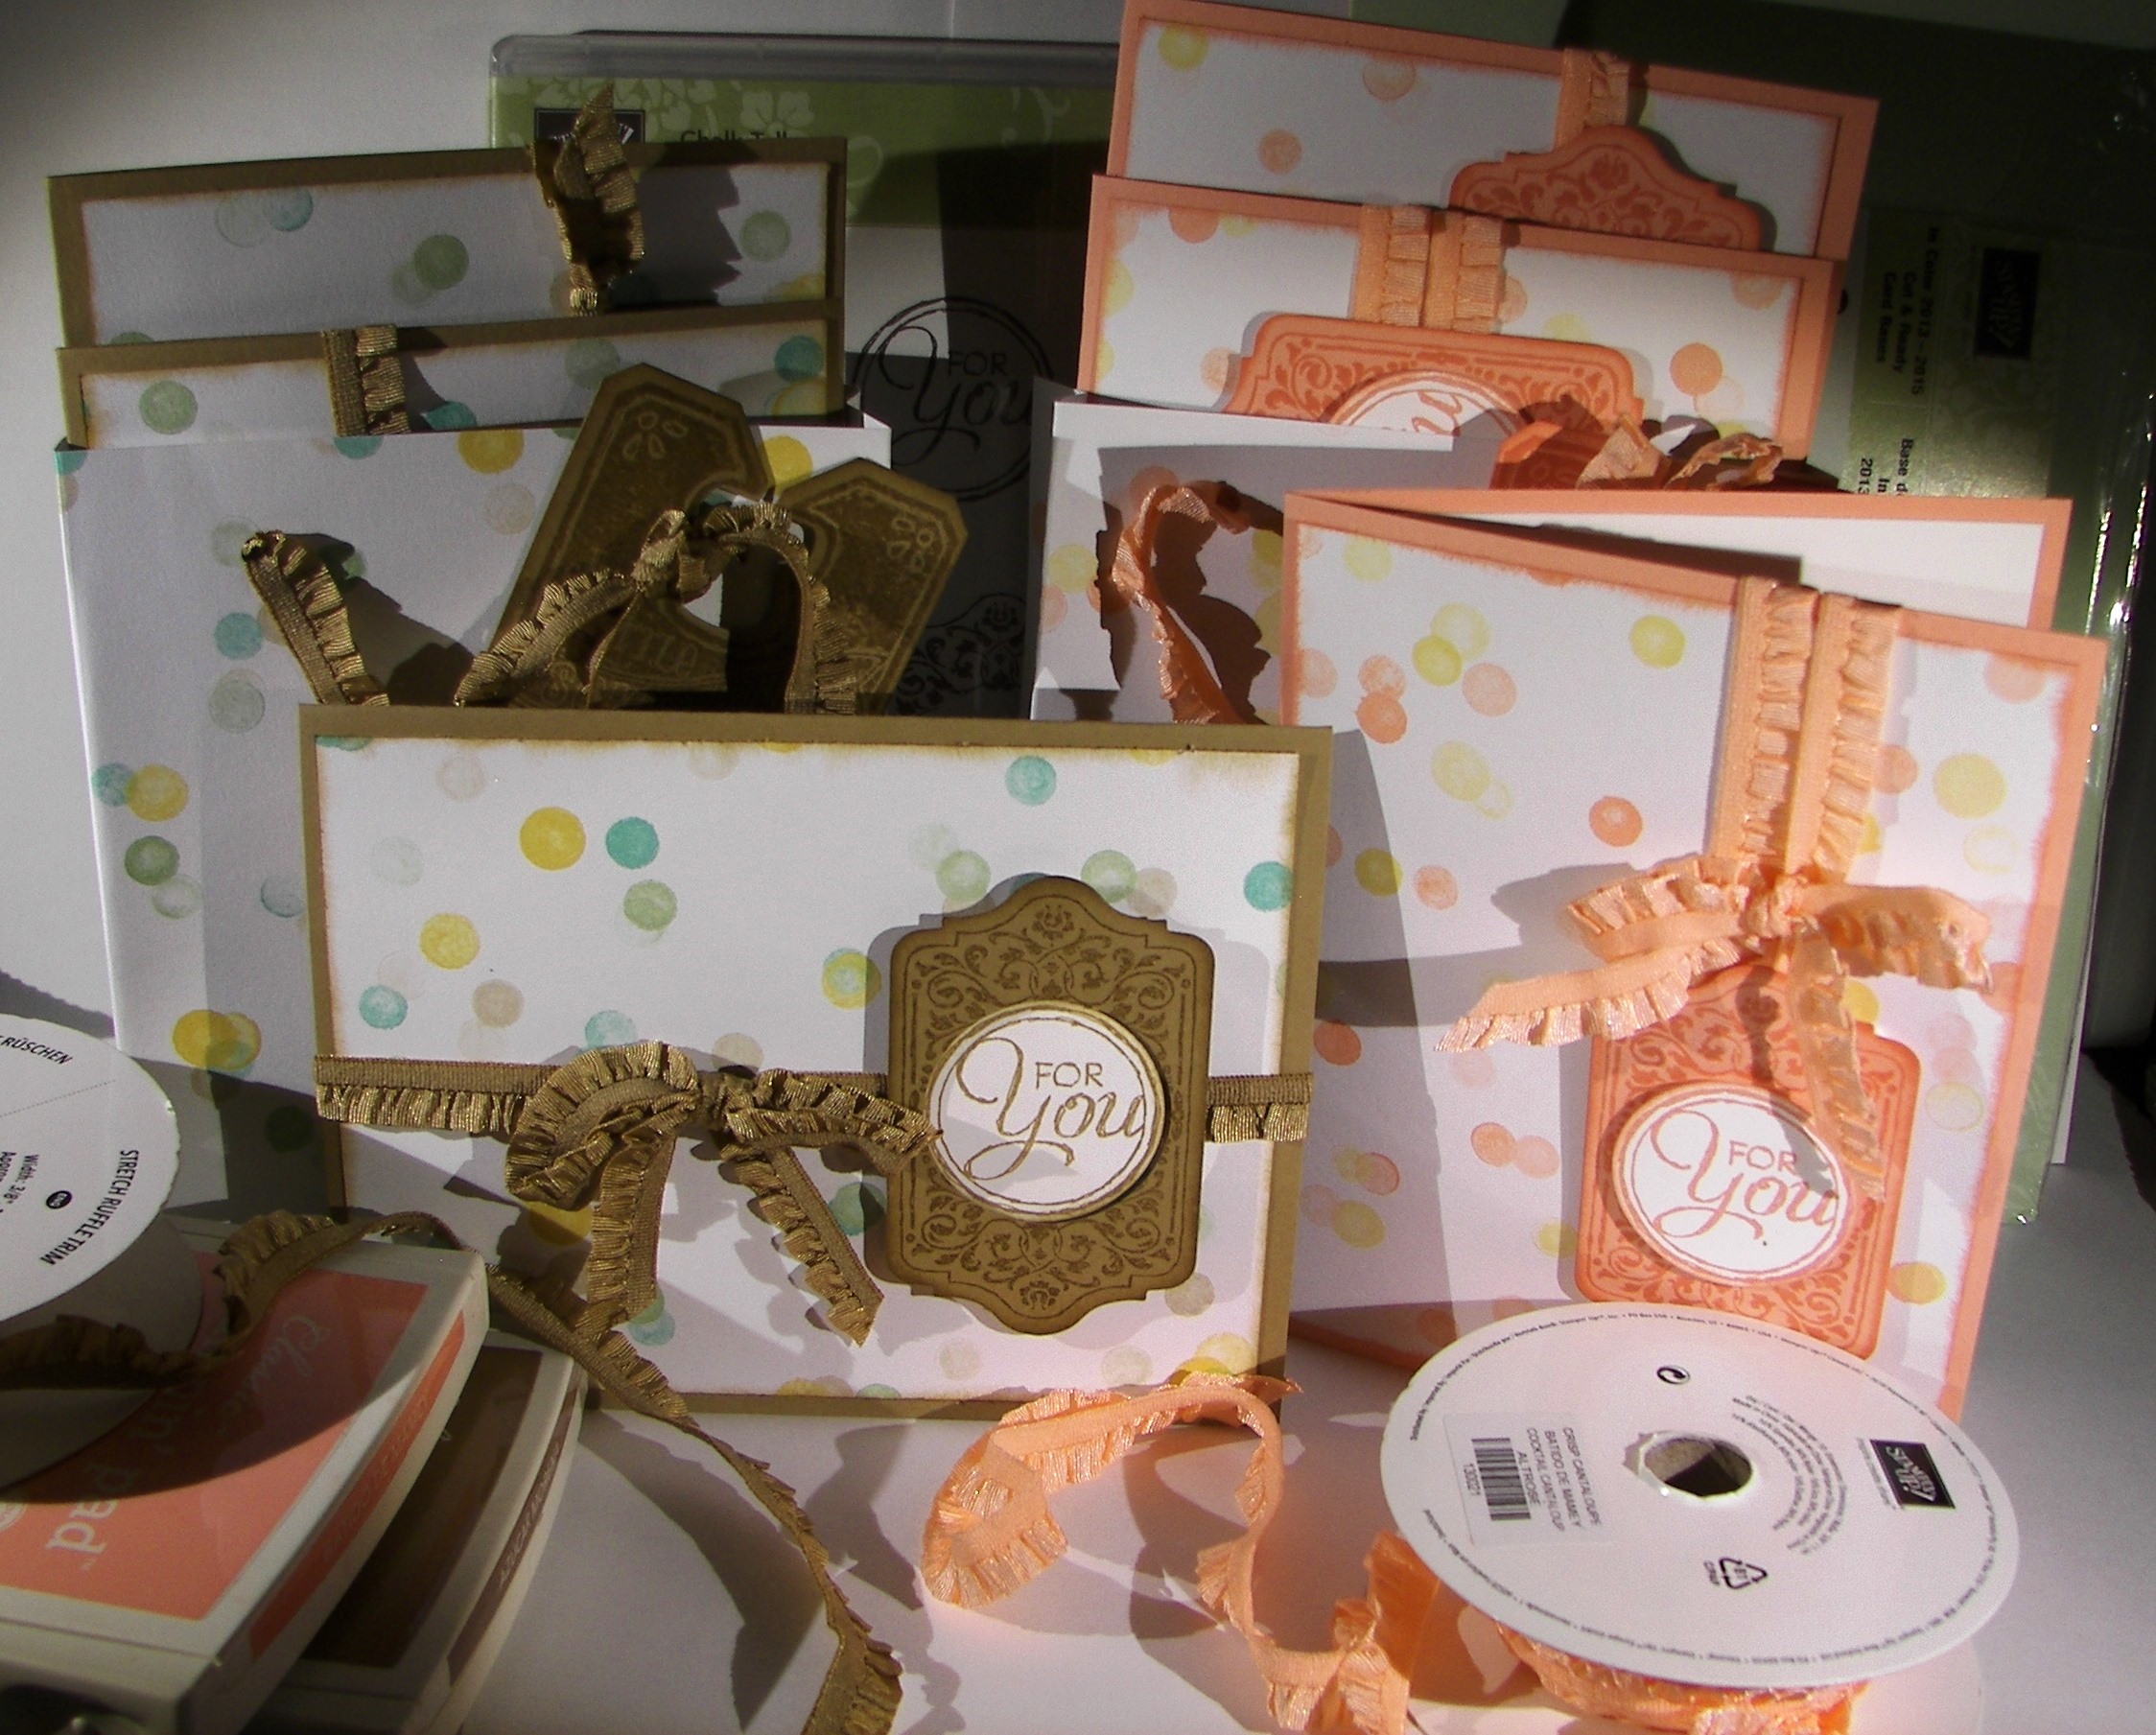
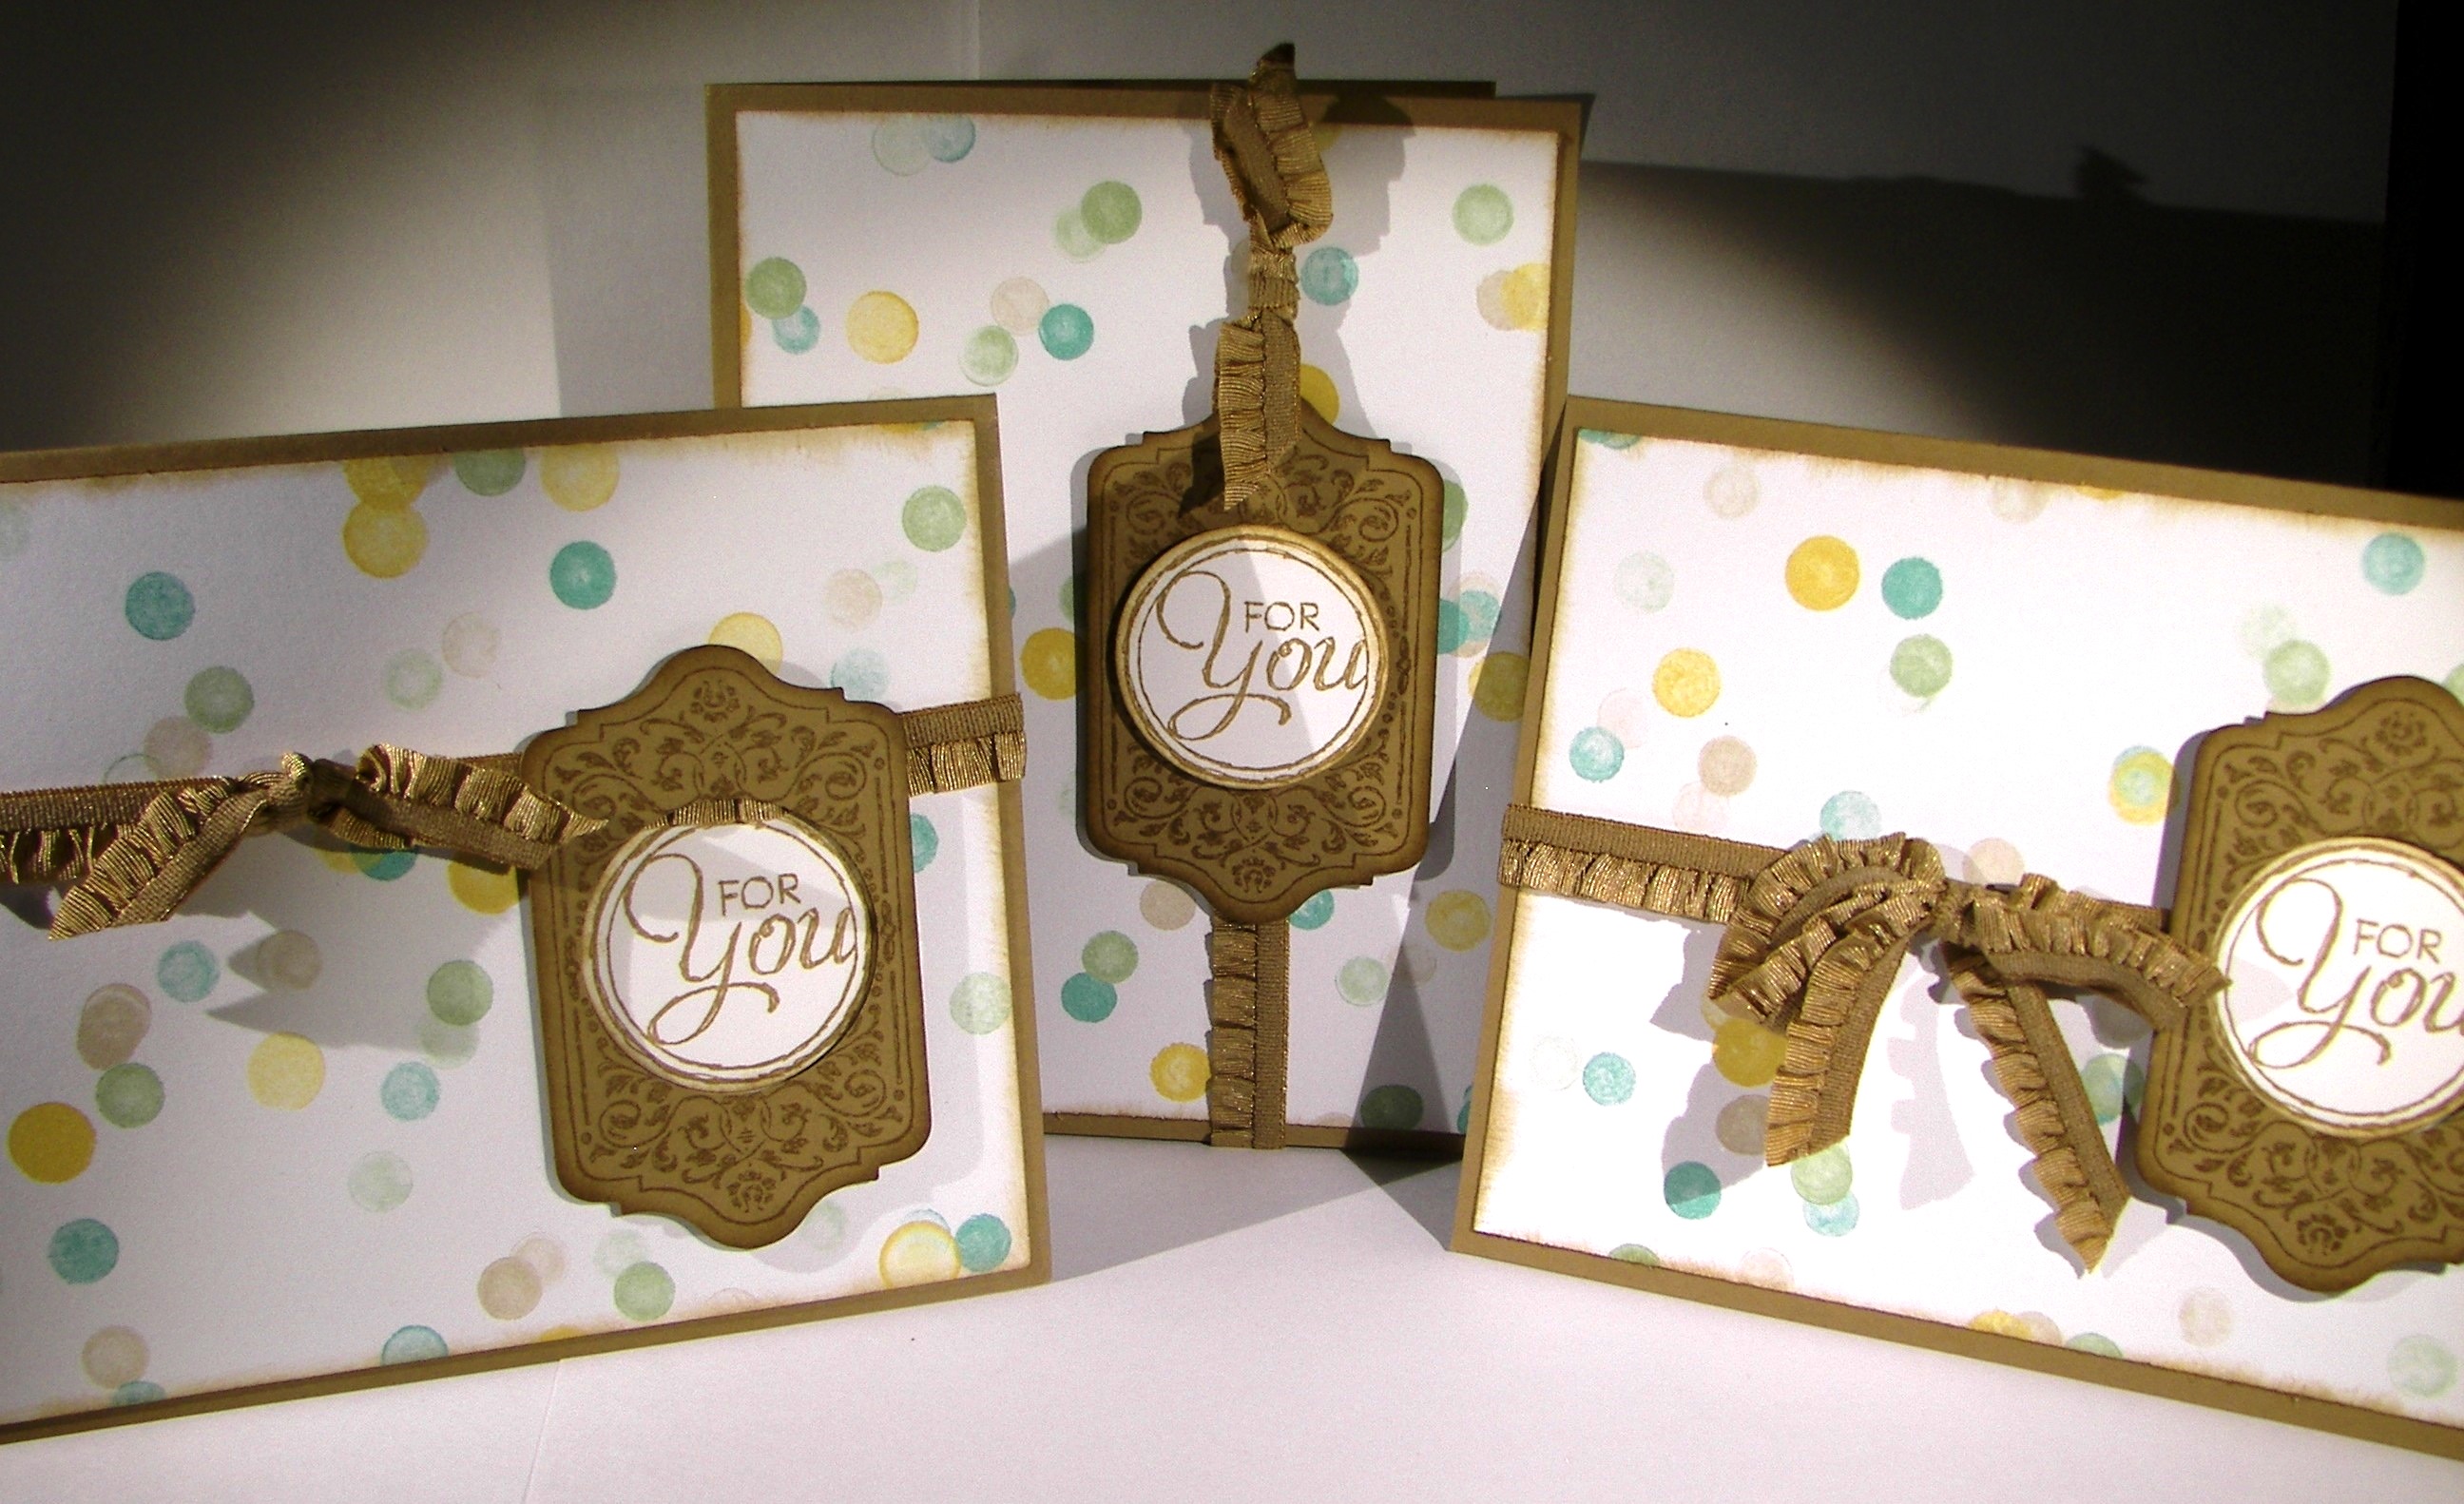
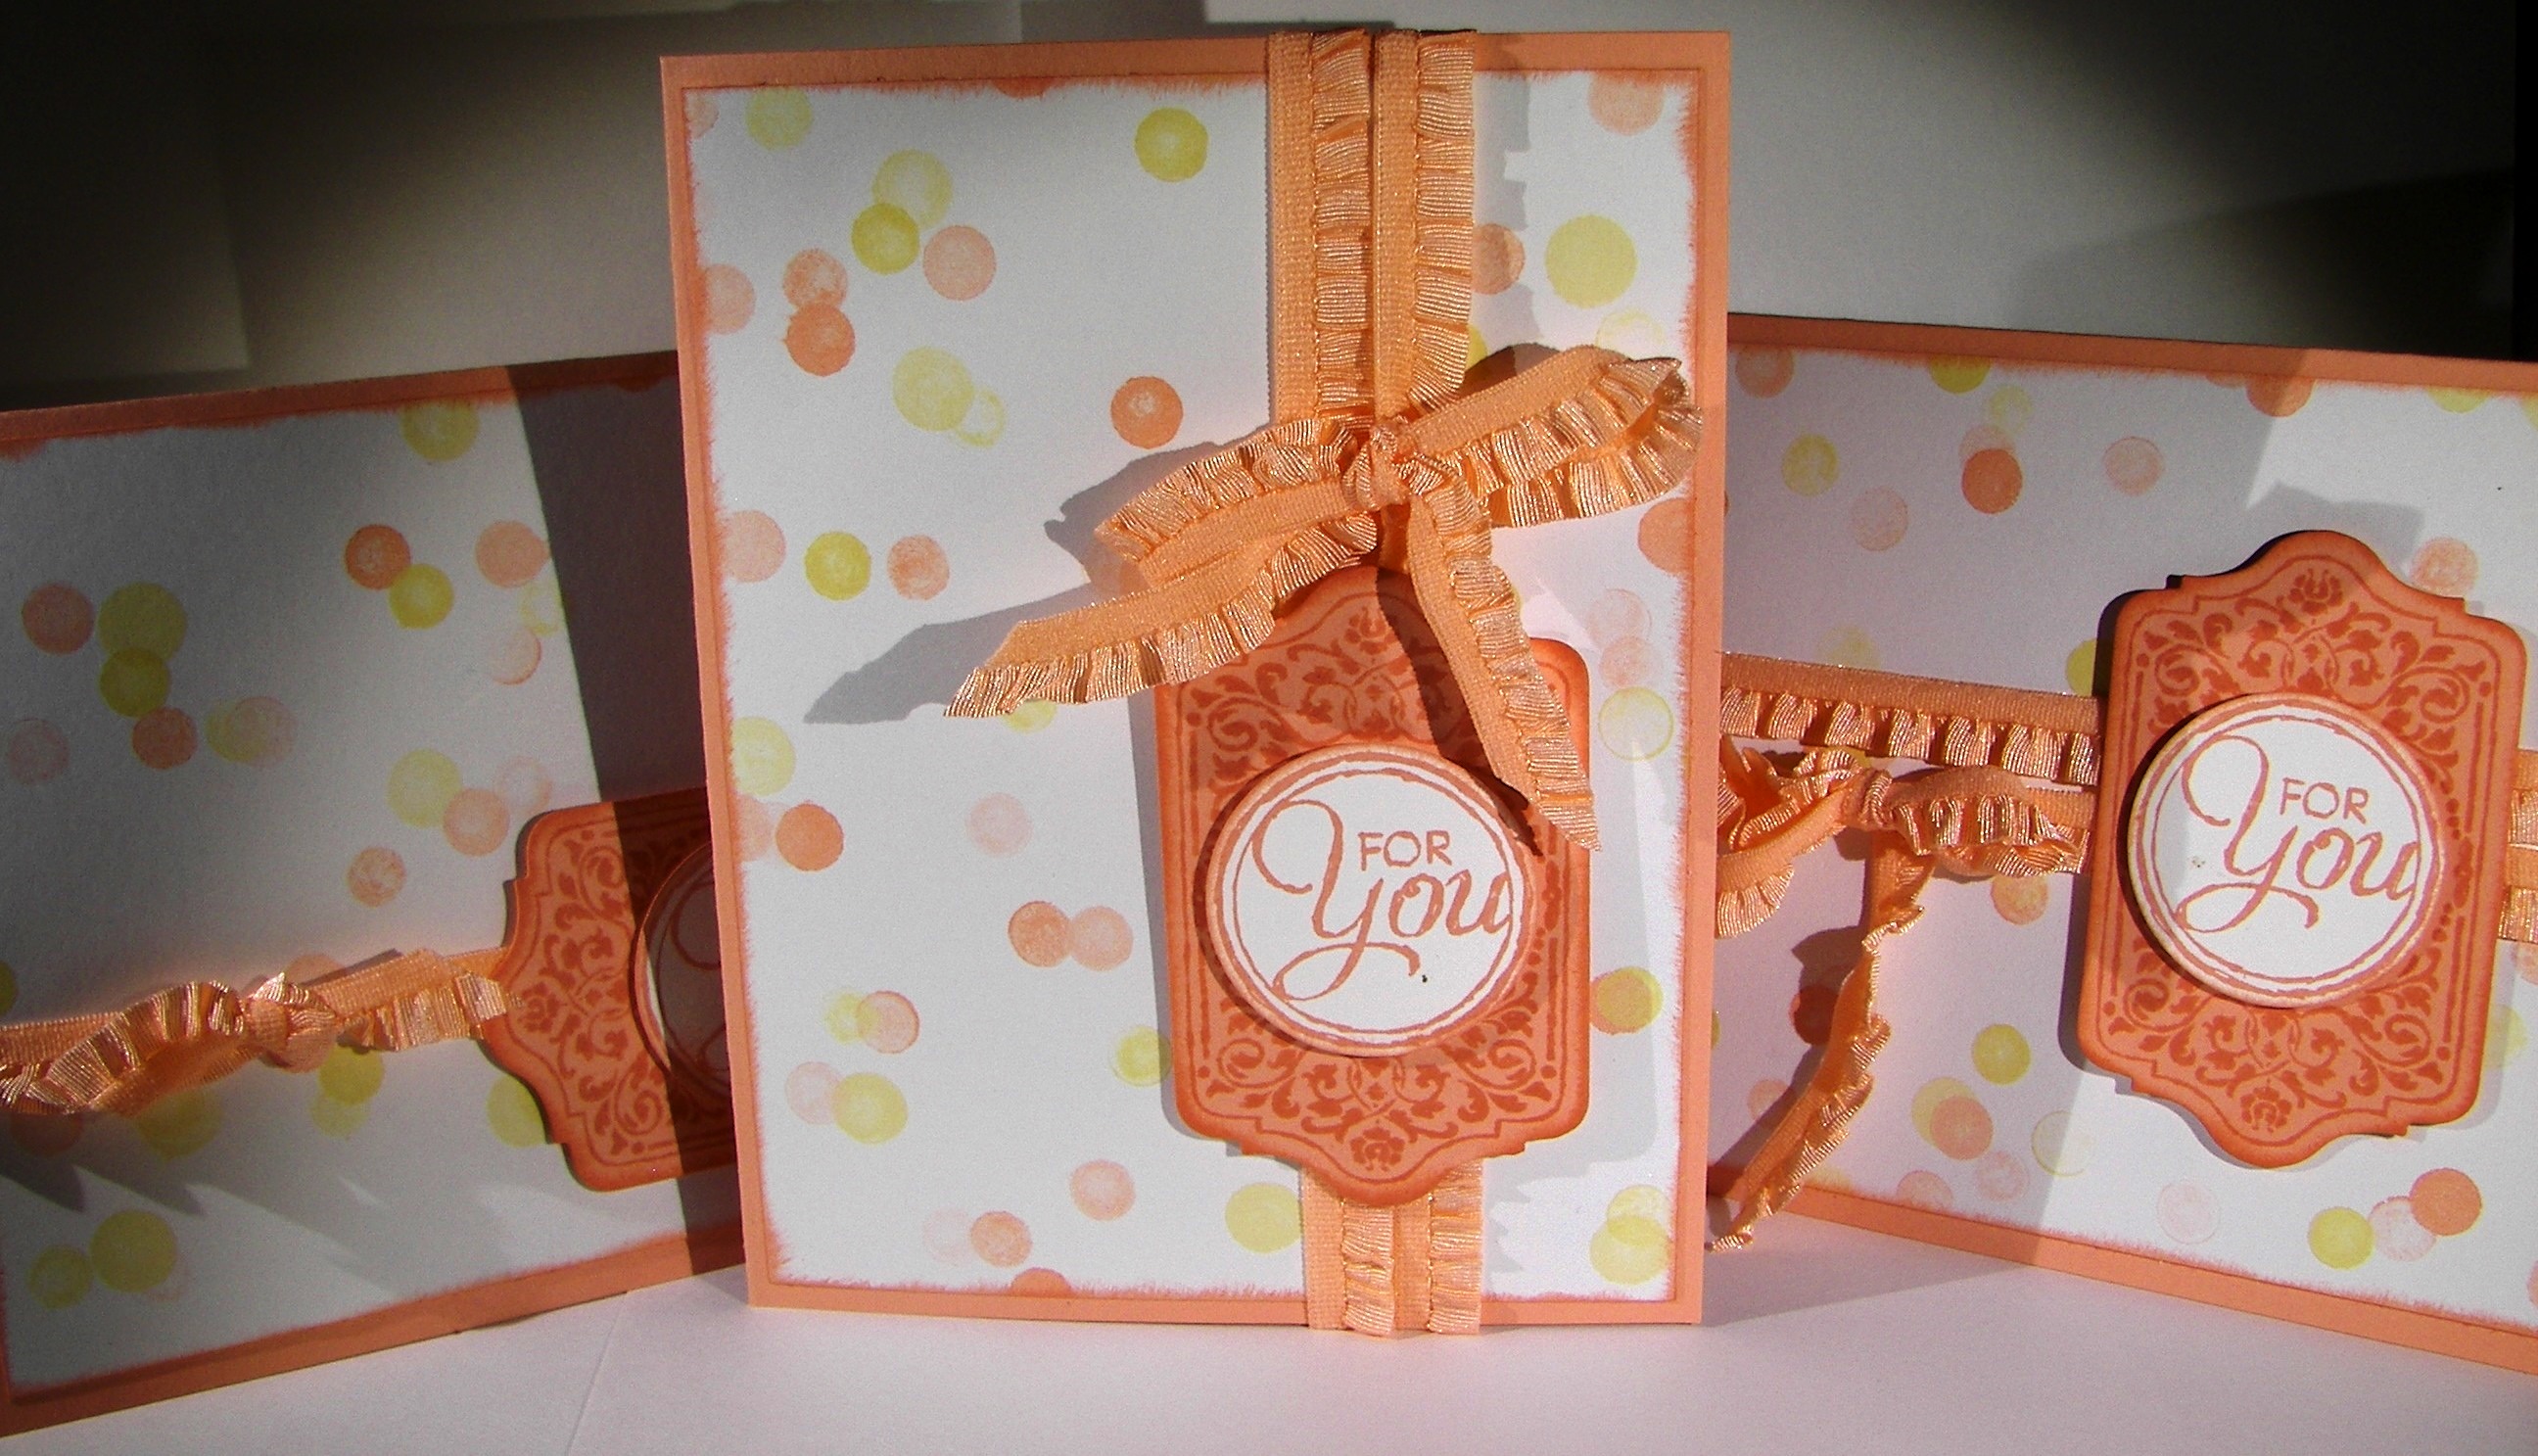
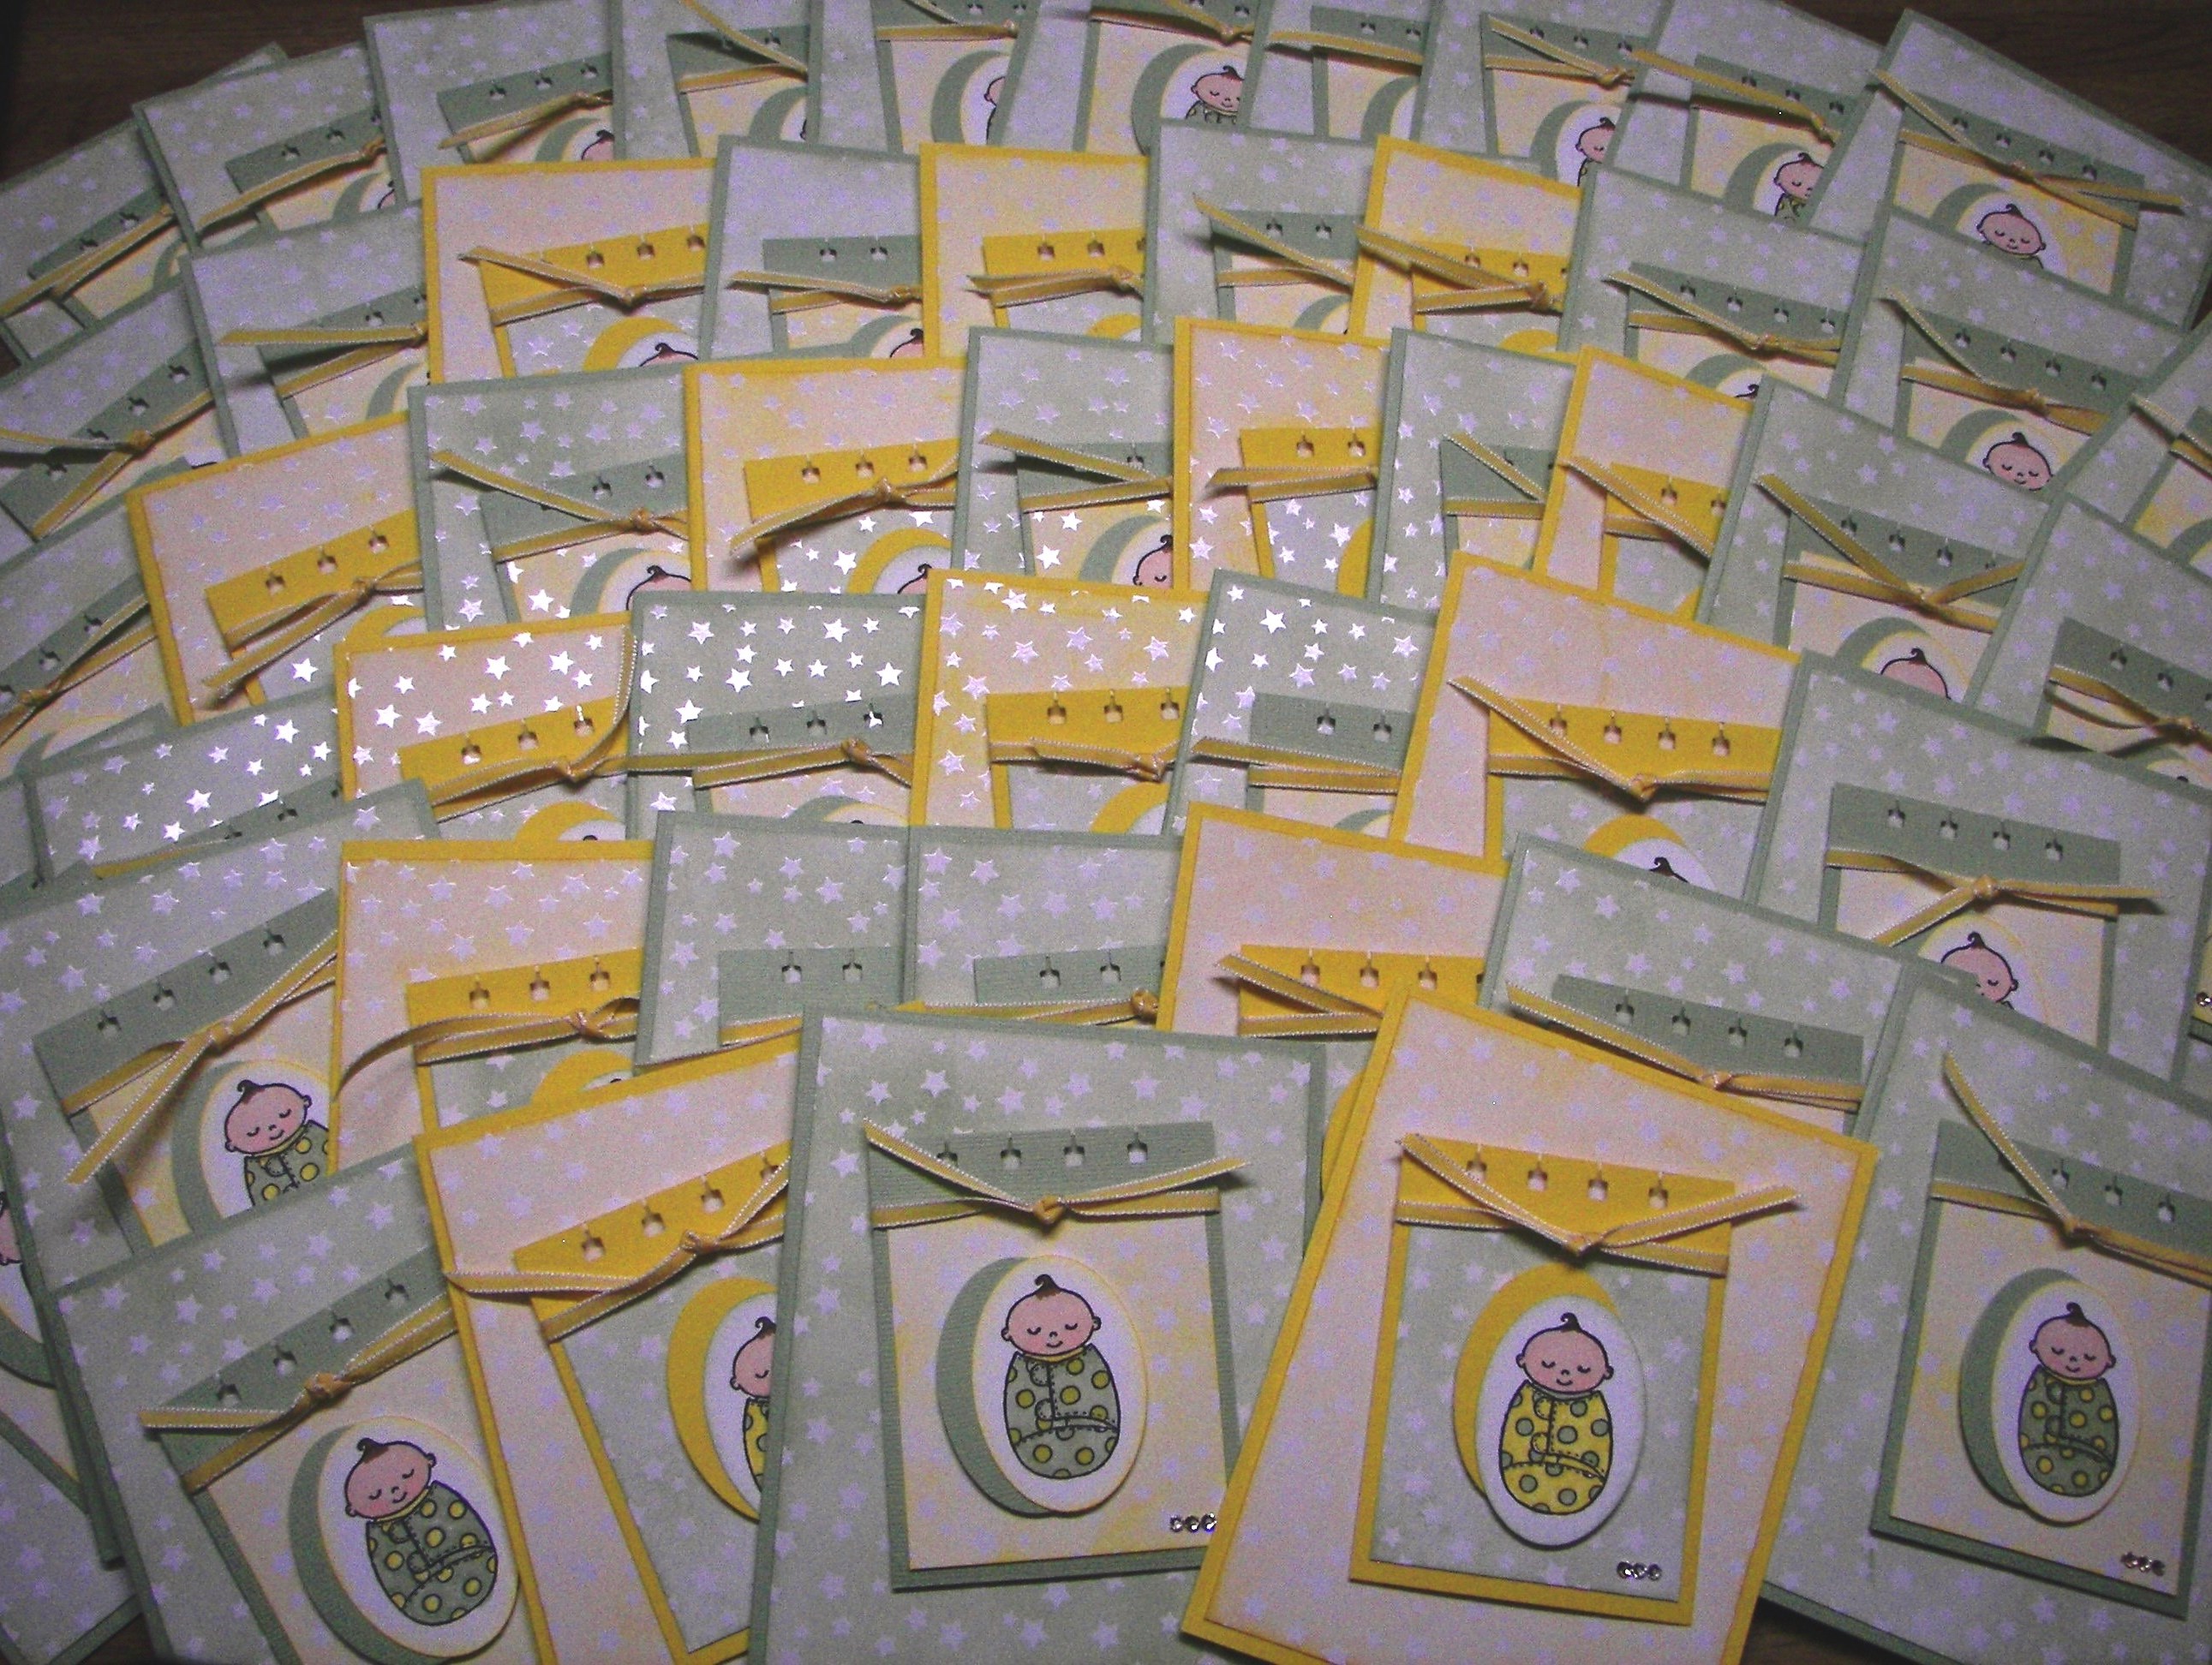
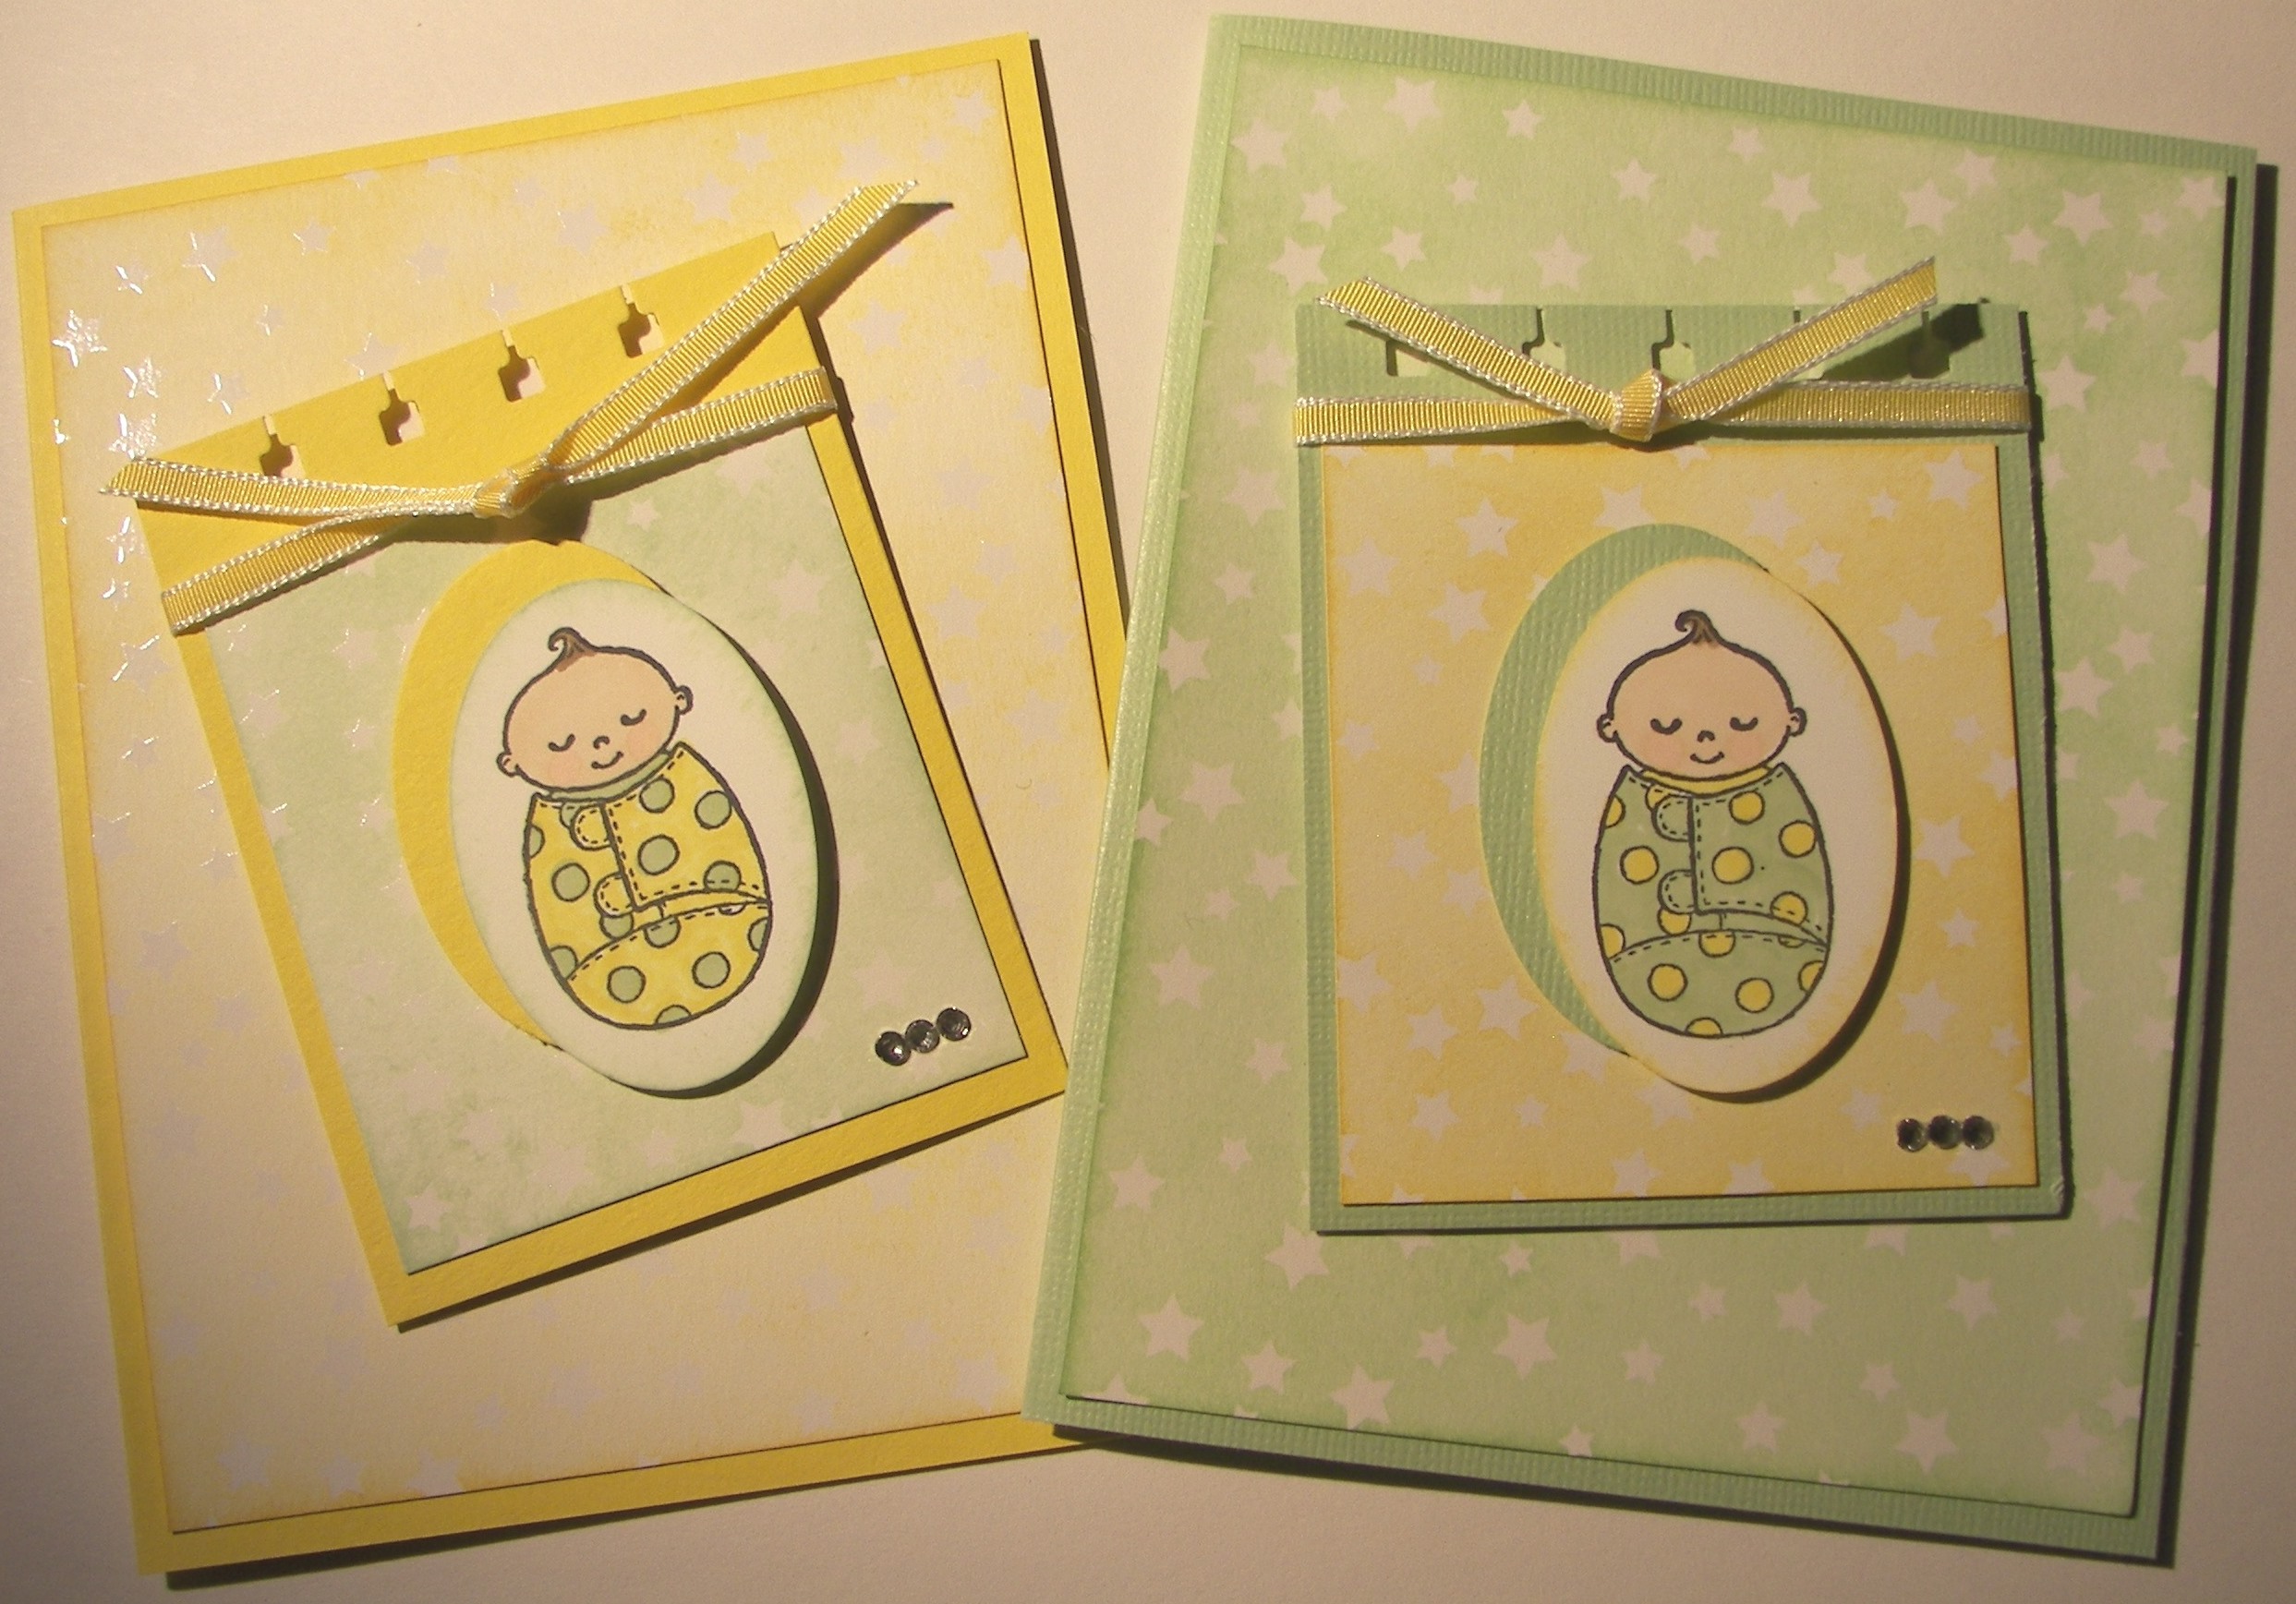
I like to make samples using the new in-colors for the season and send them along with the new catalog to my club ladies.  They love getting to see, and touch, some of the new product along with the catalog.

Hello There Farewell

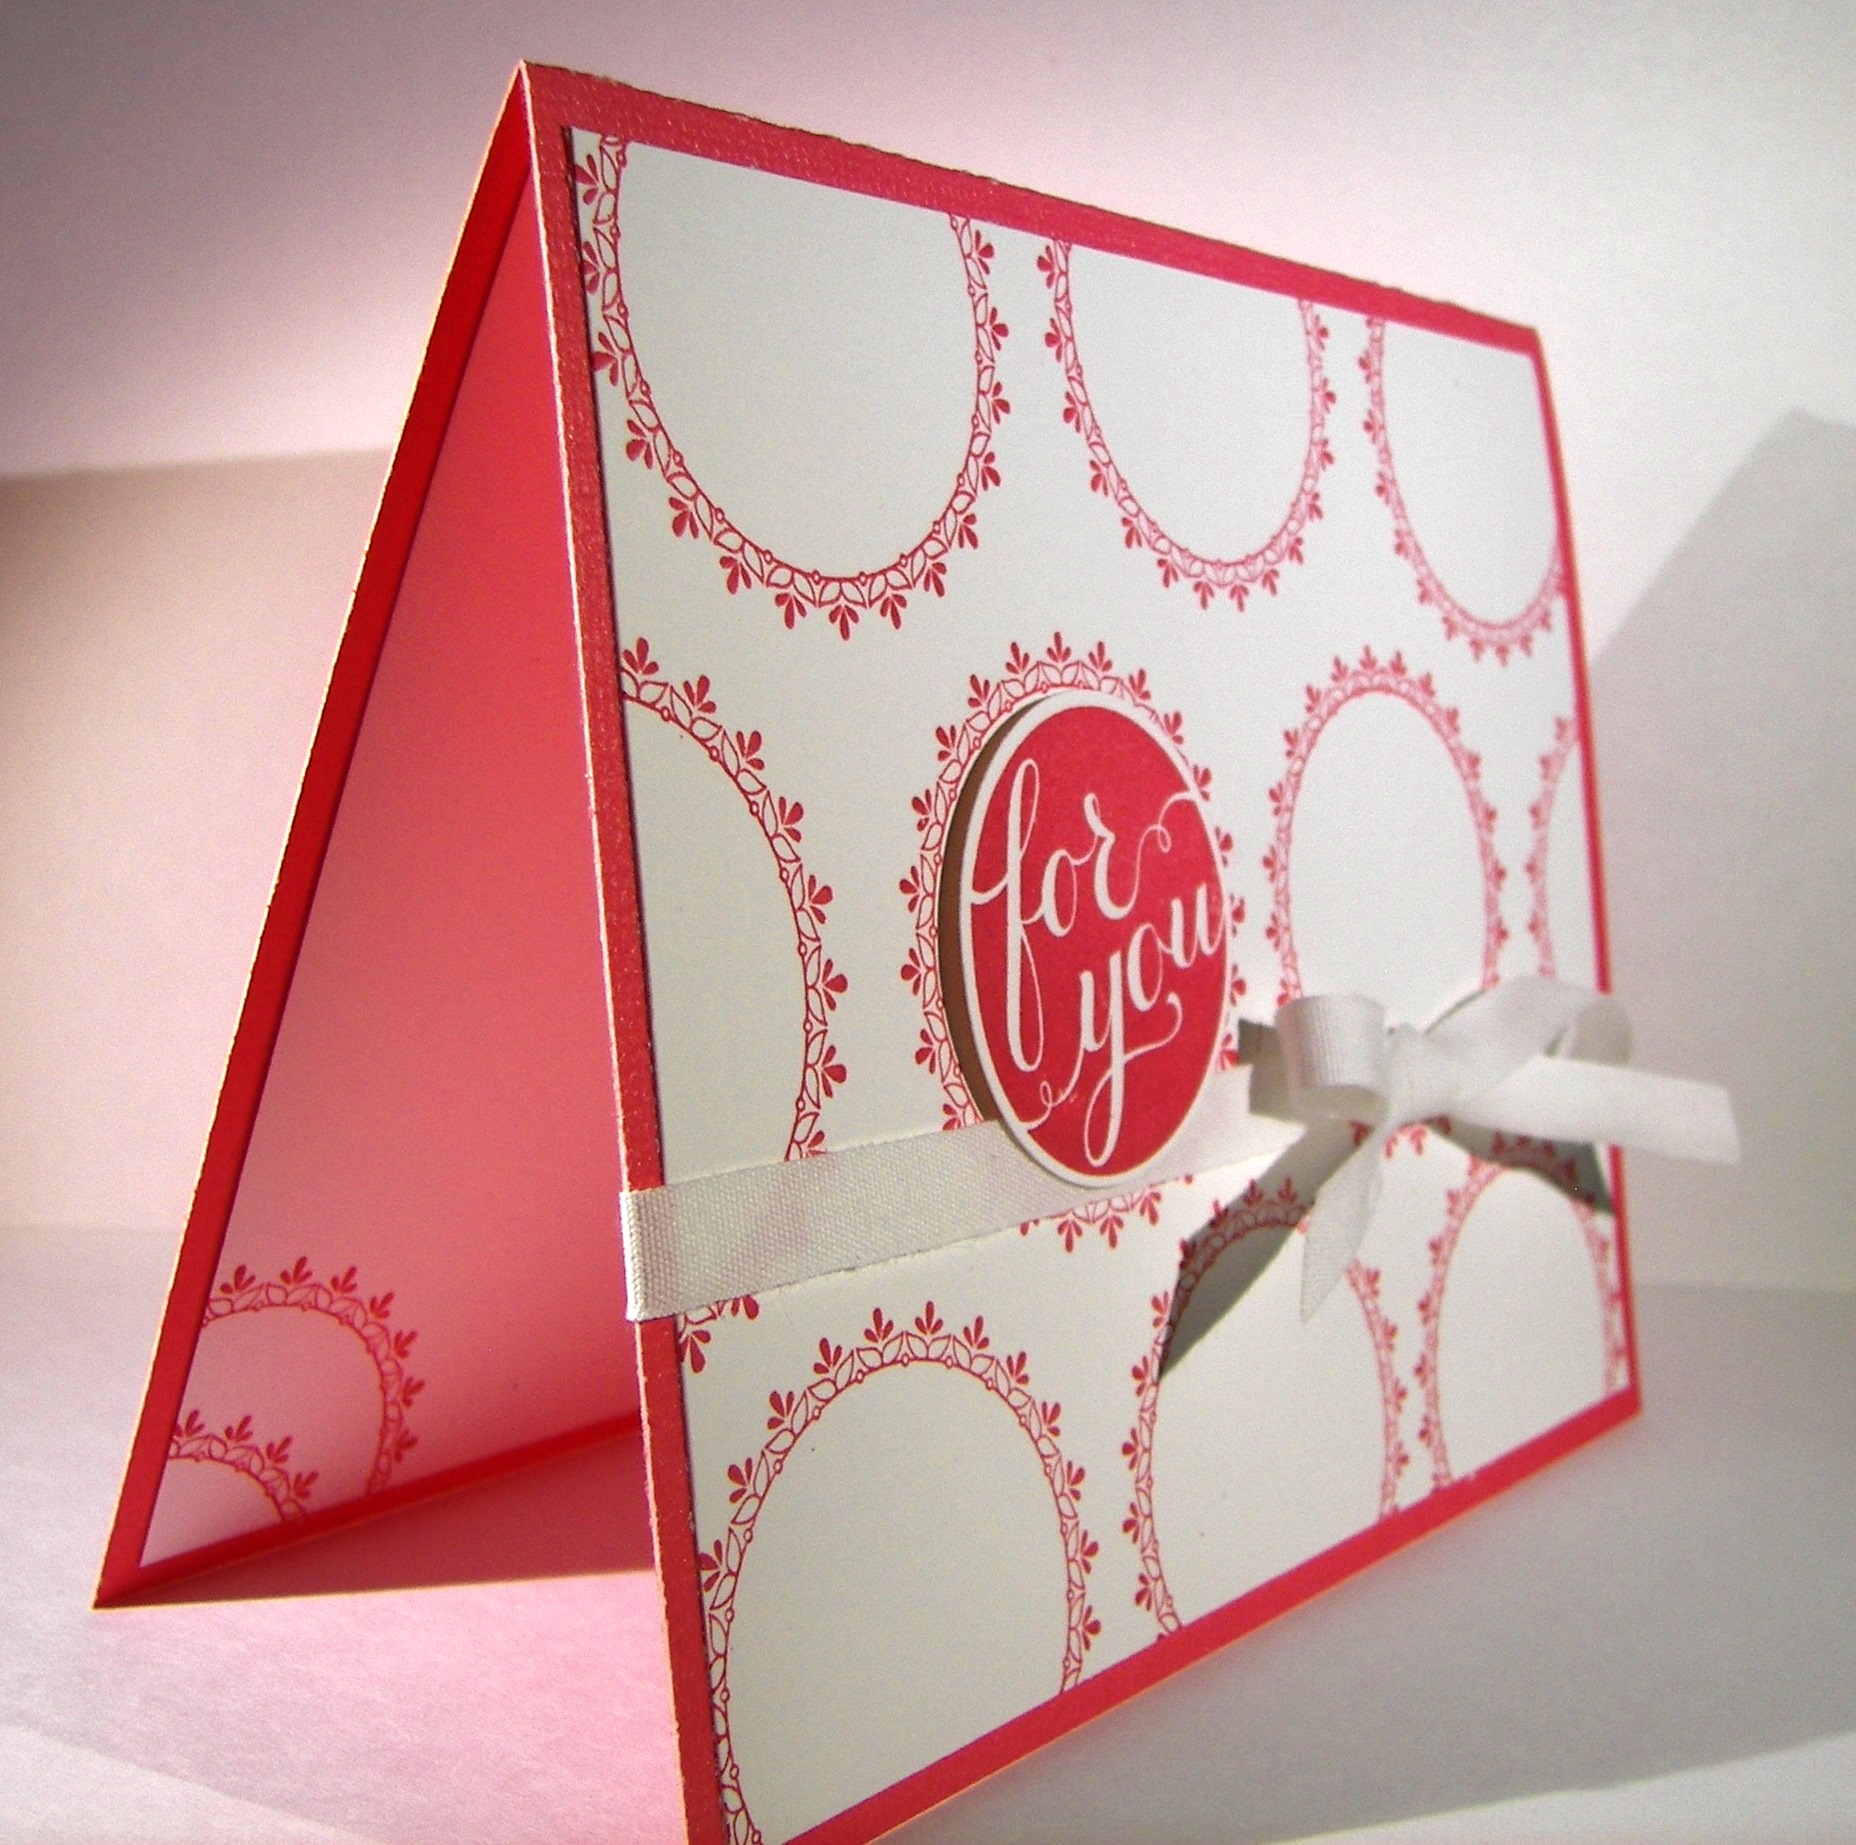
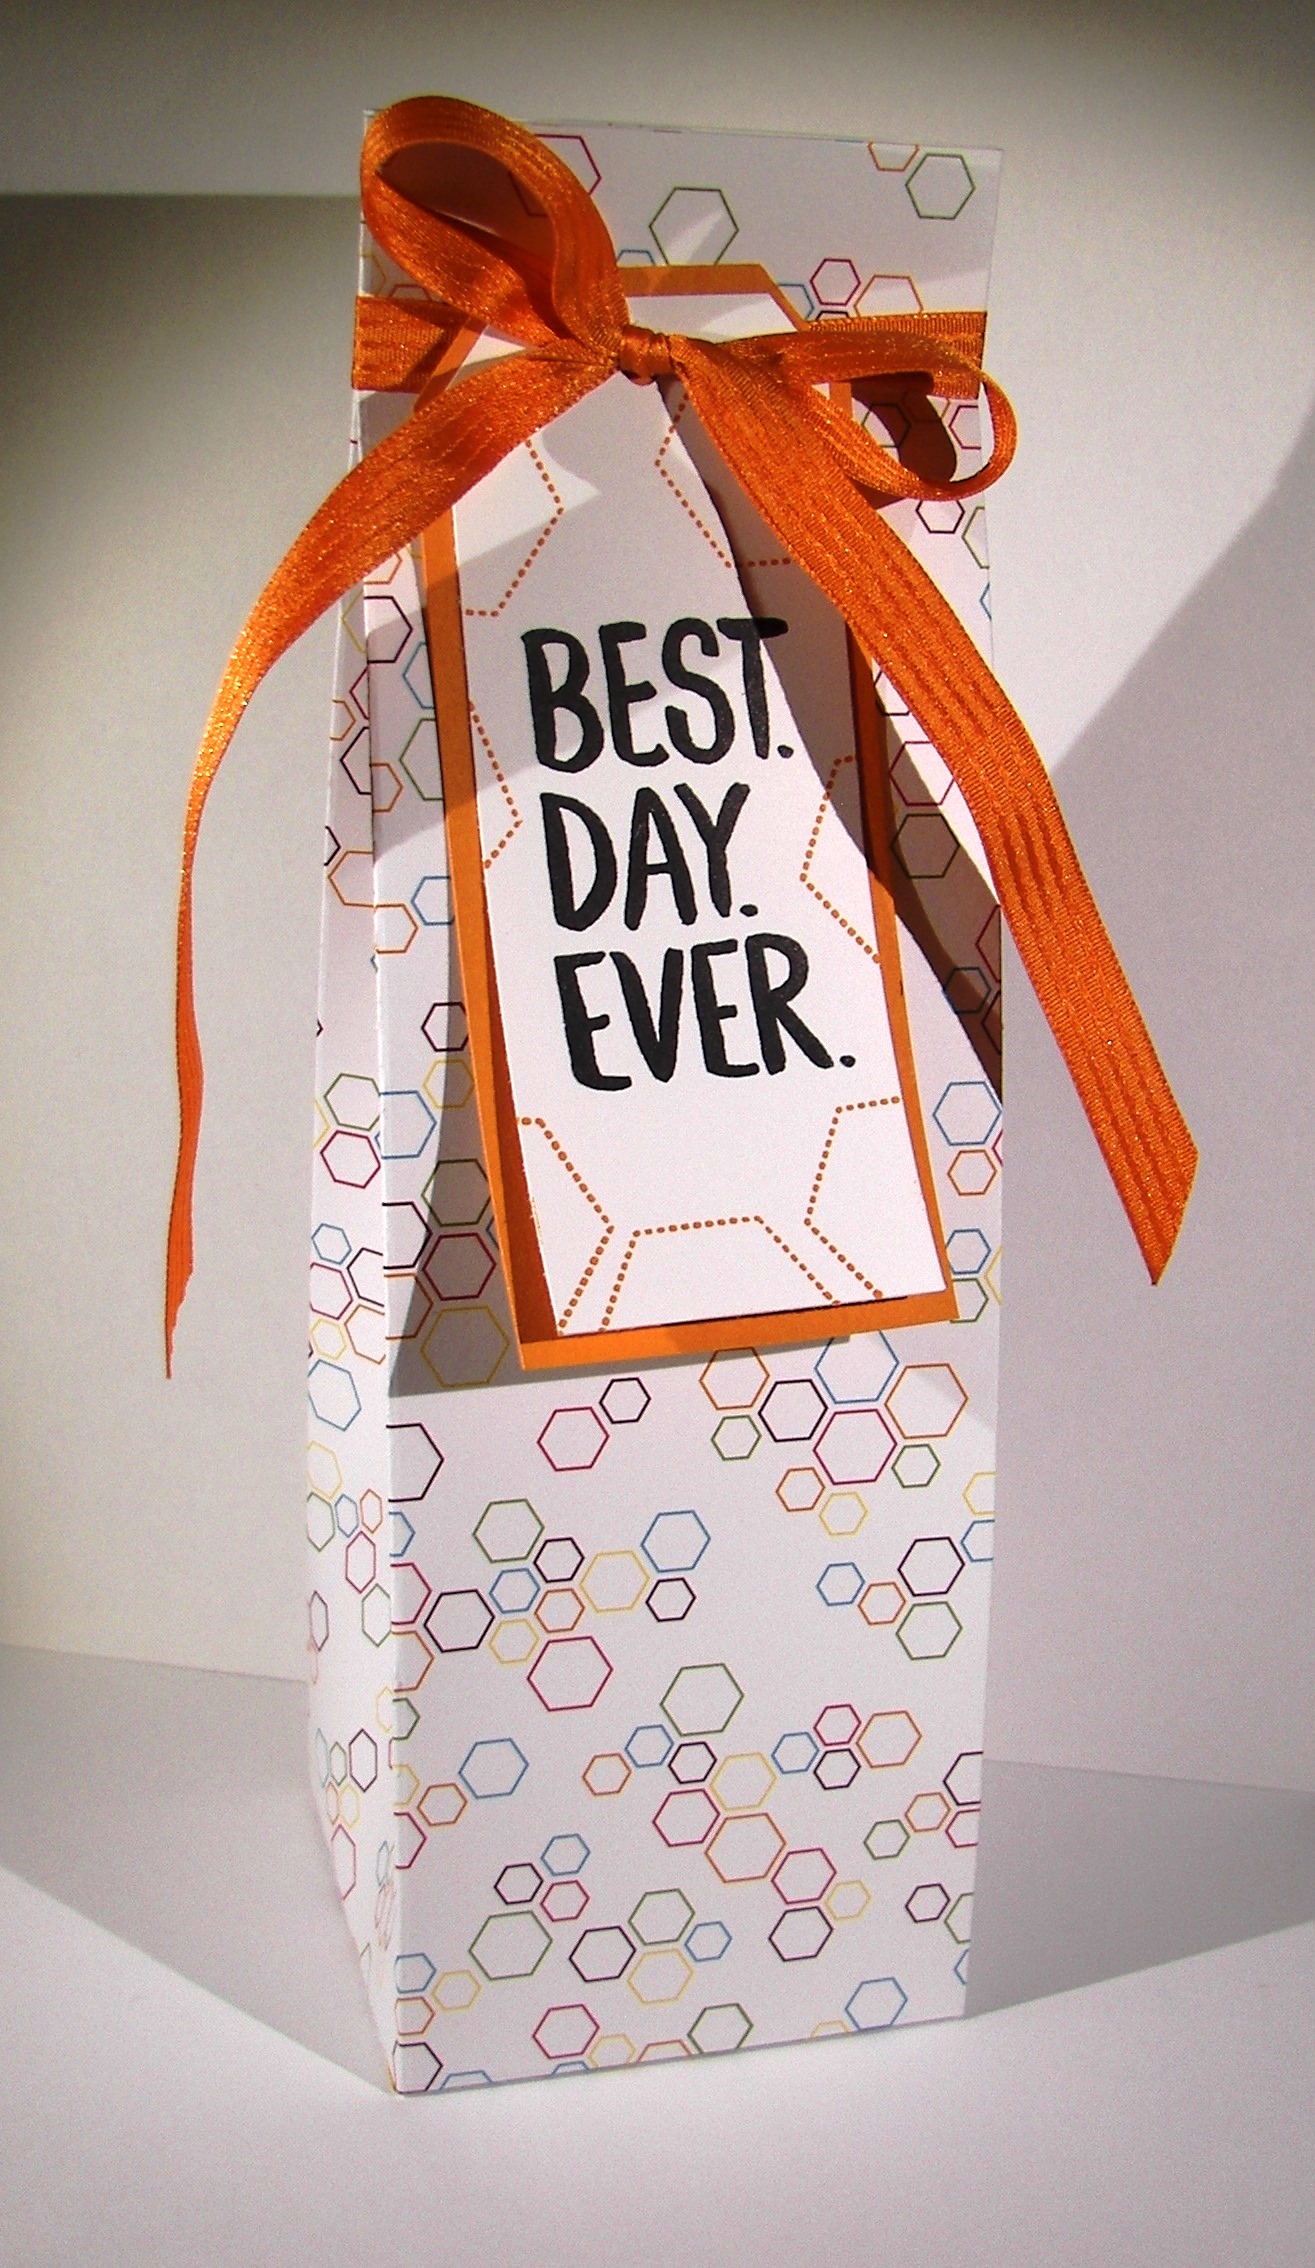
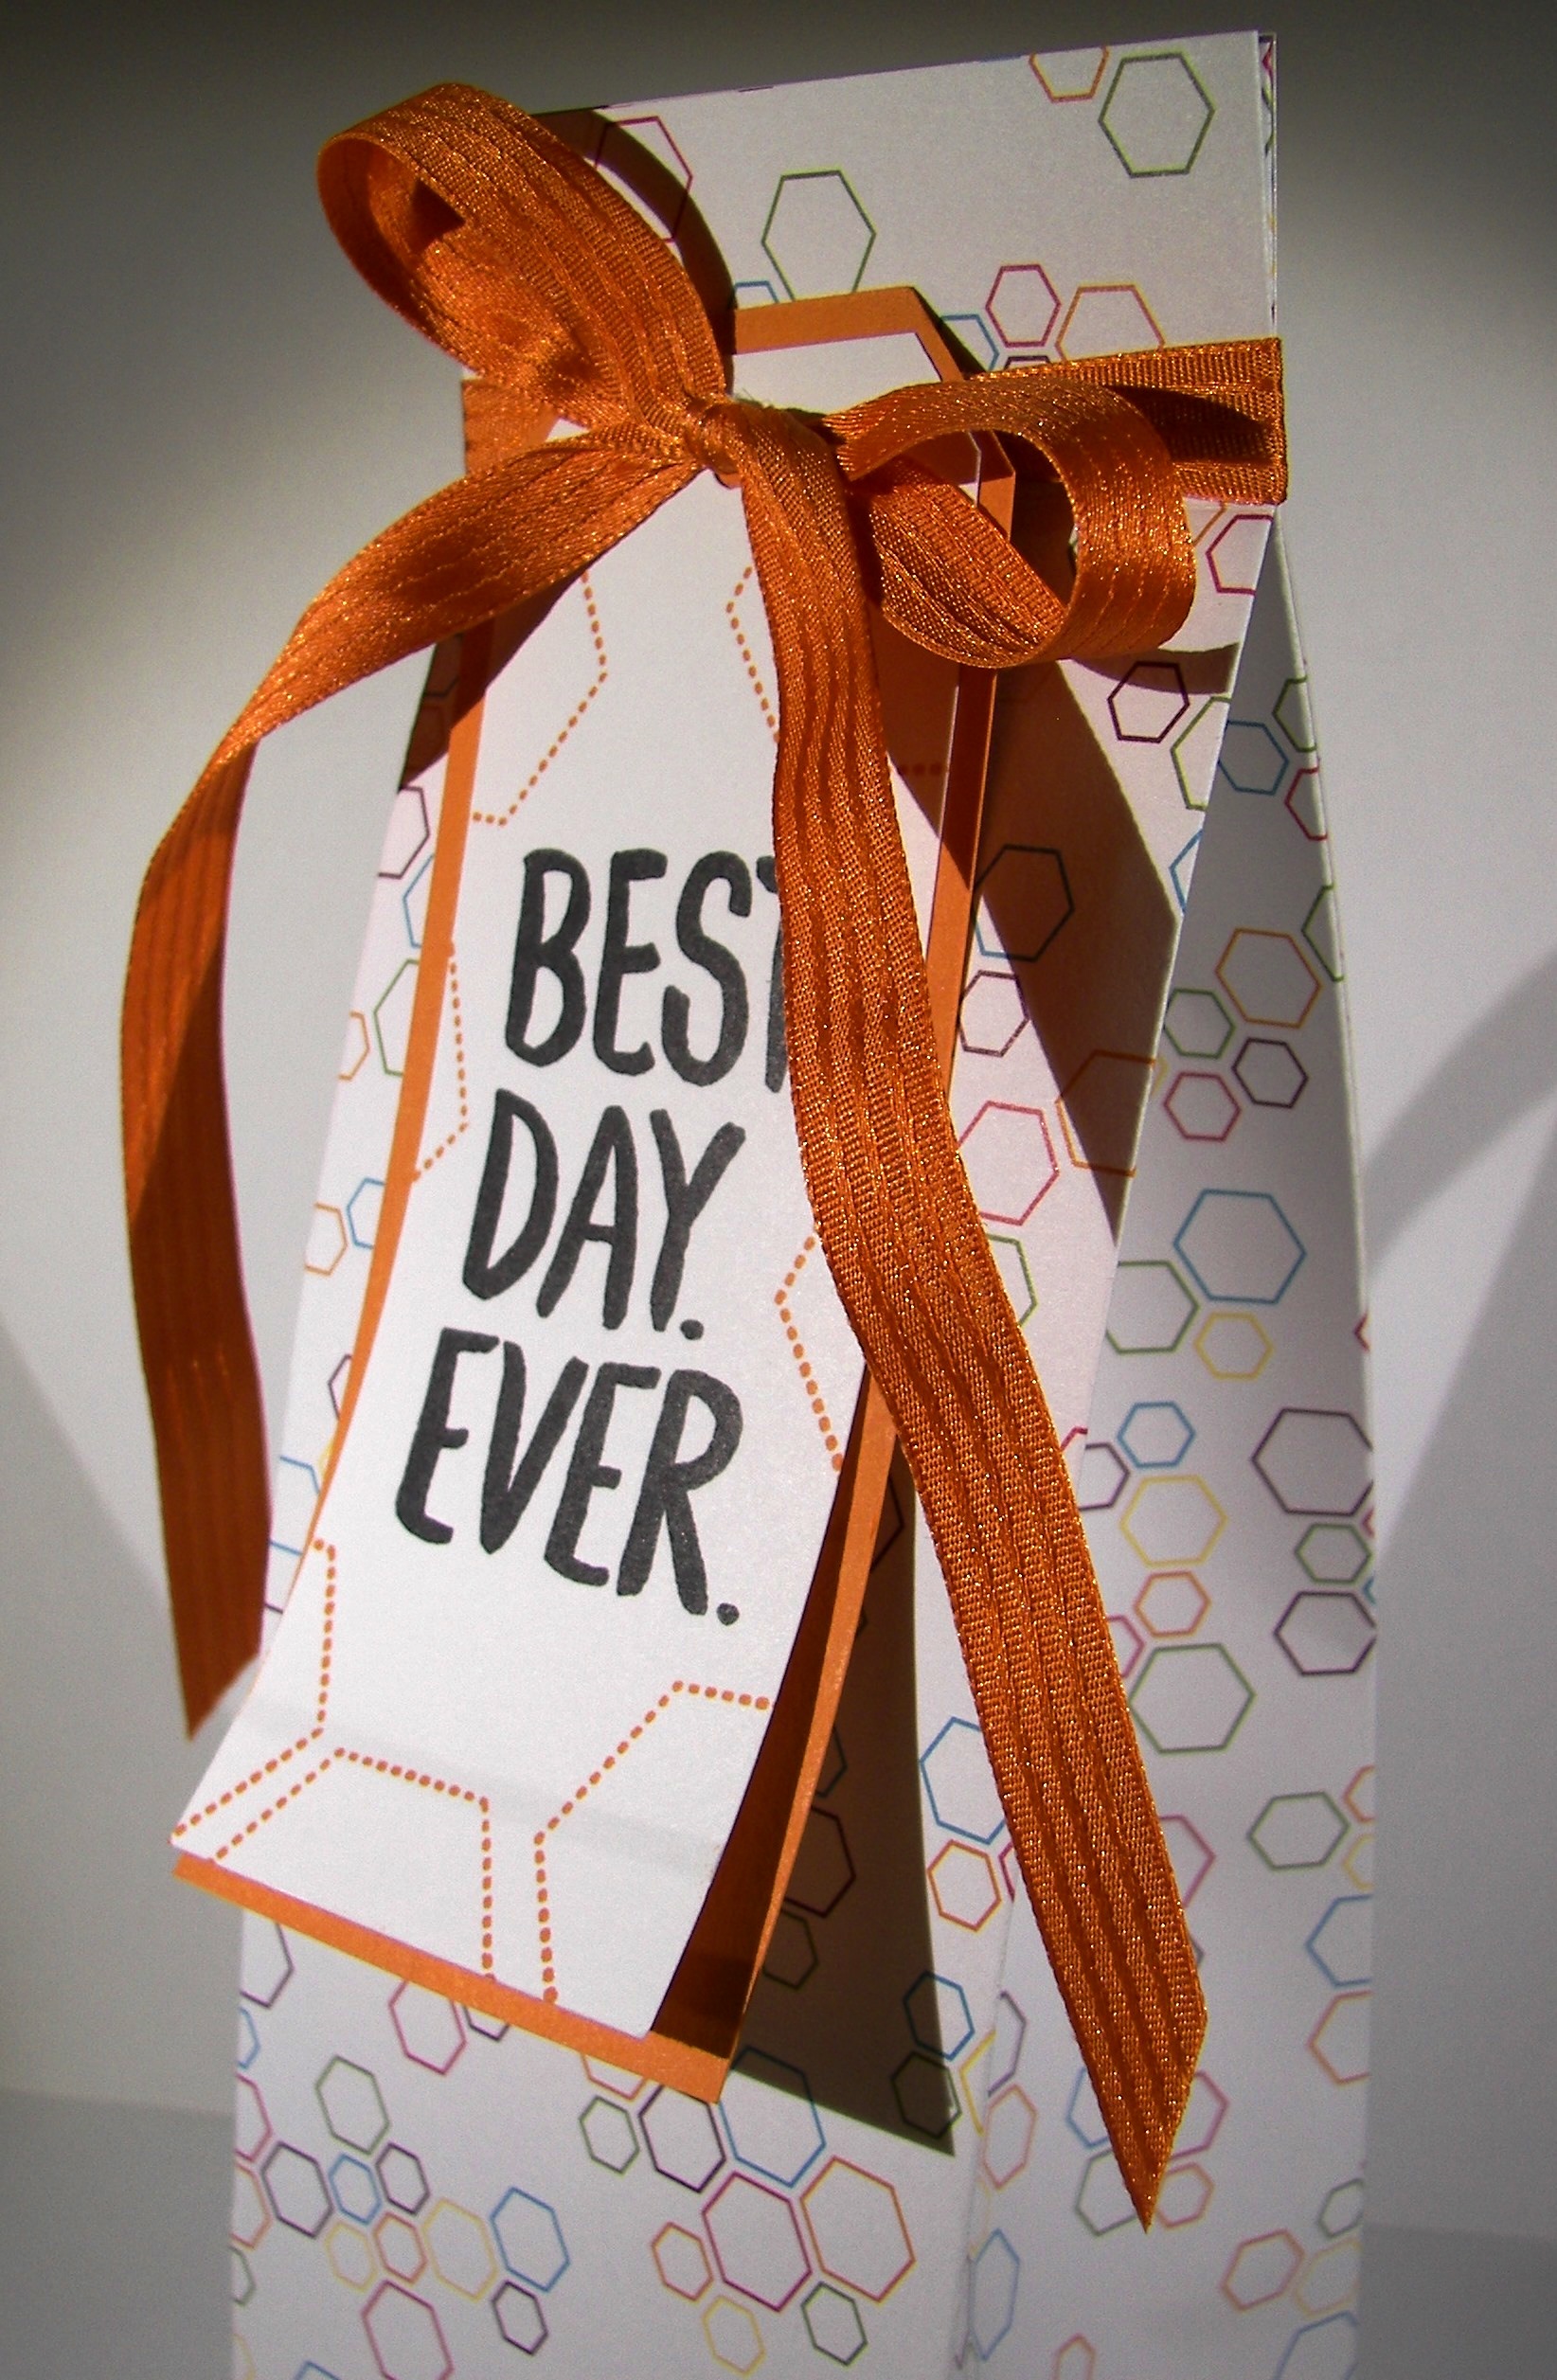
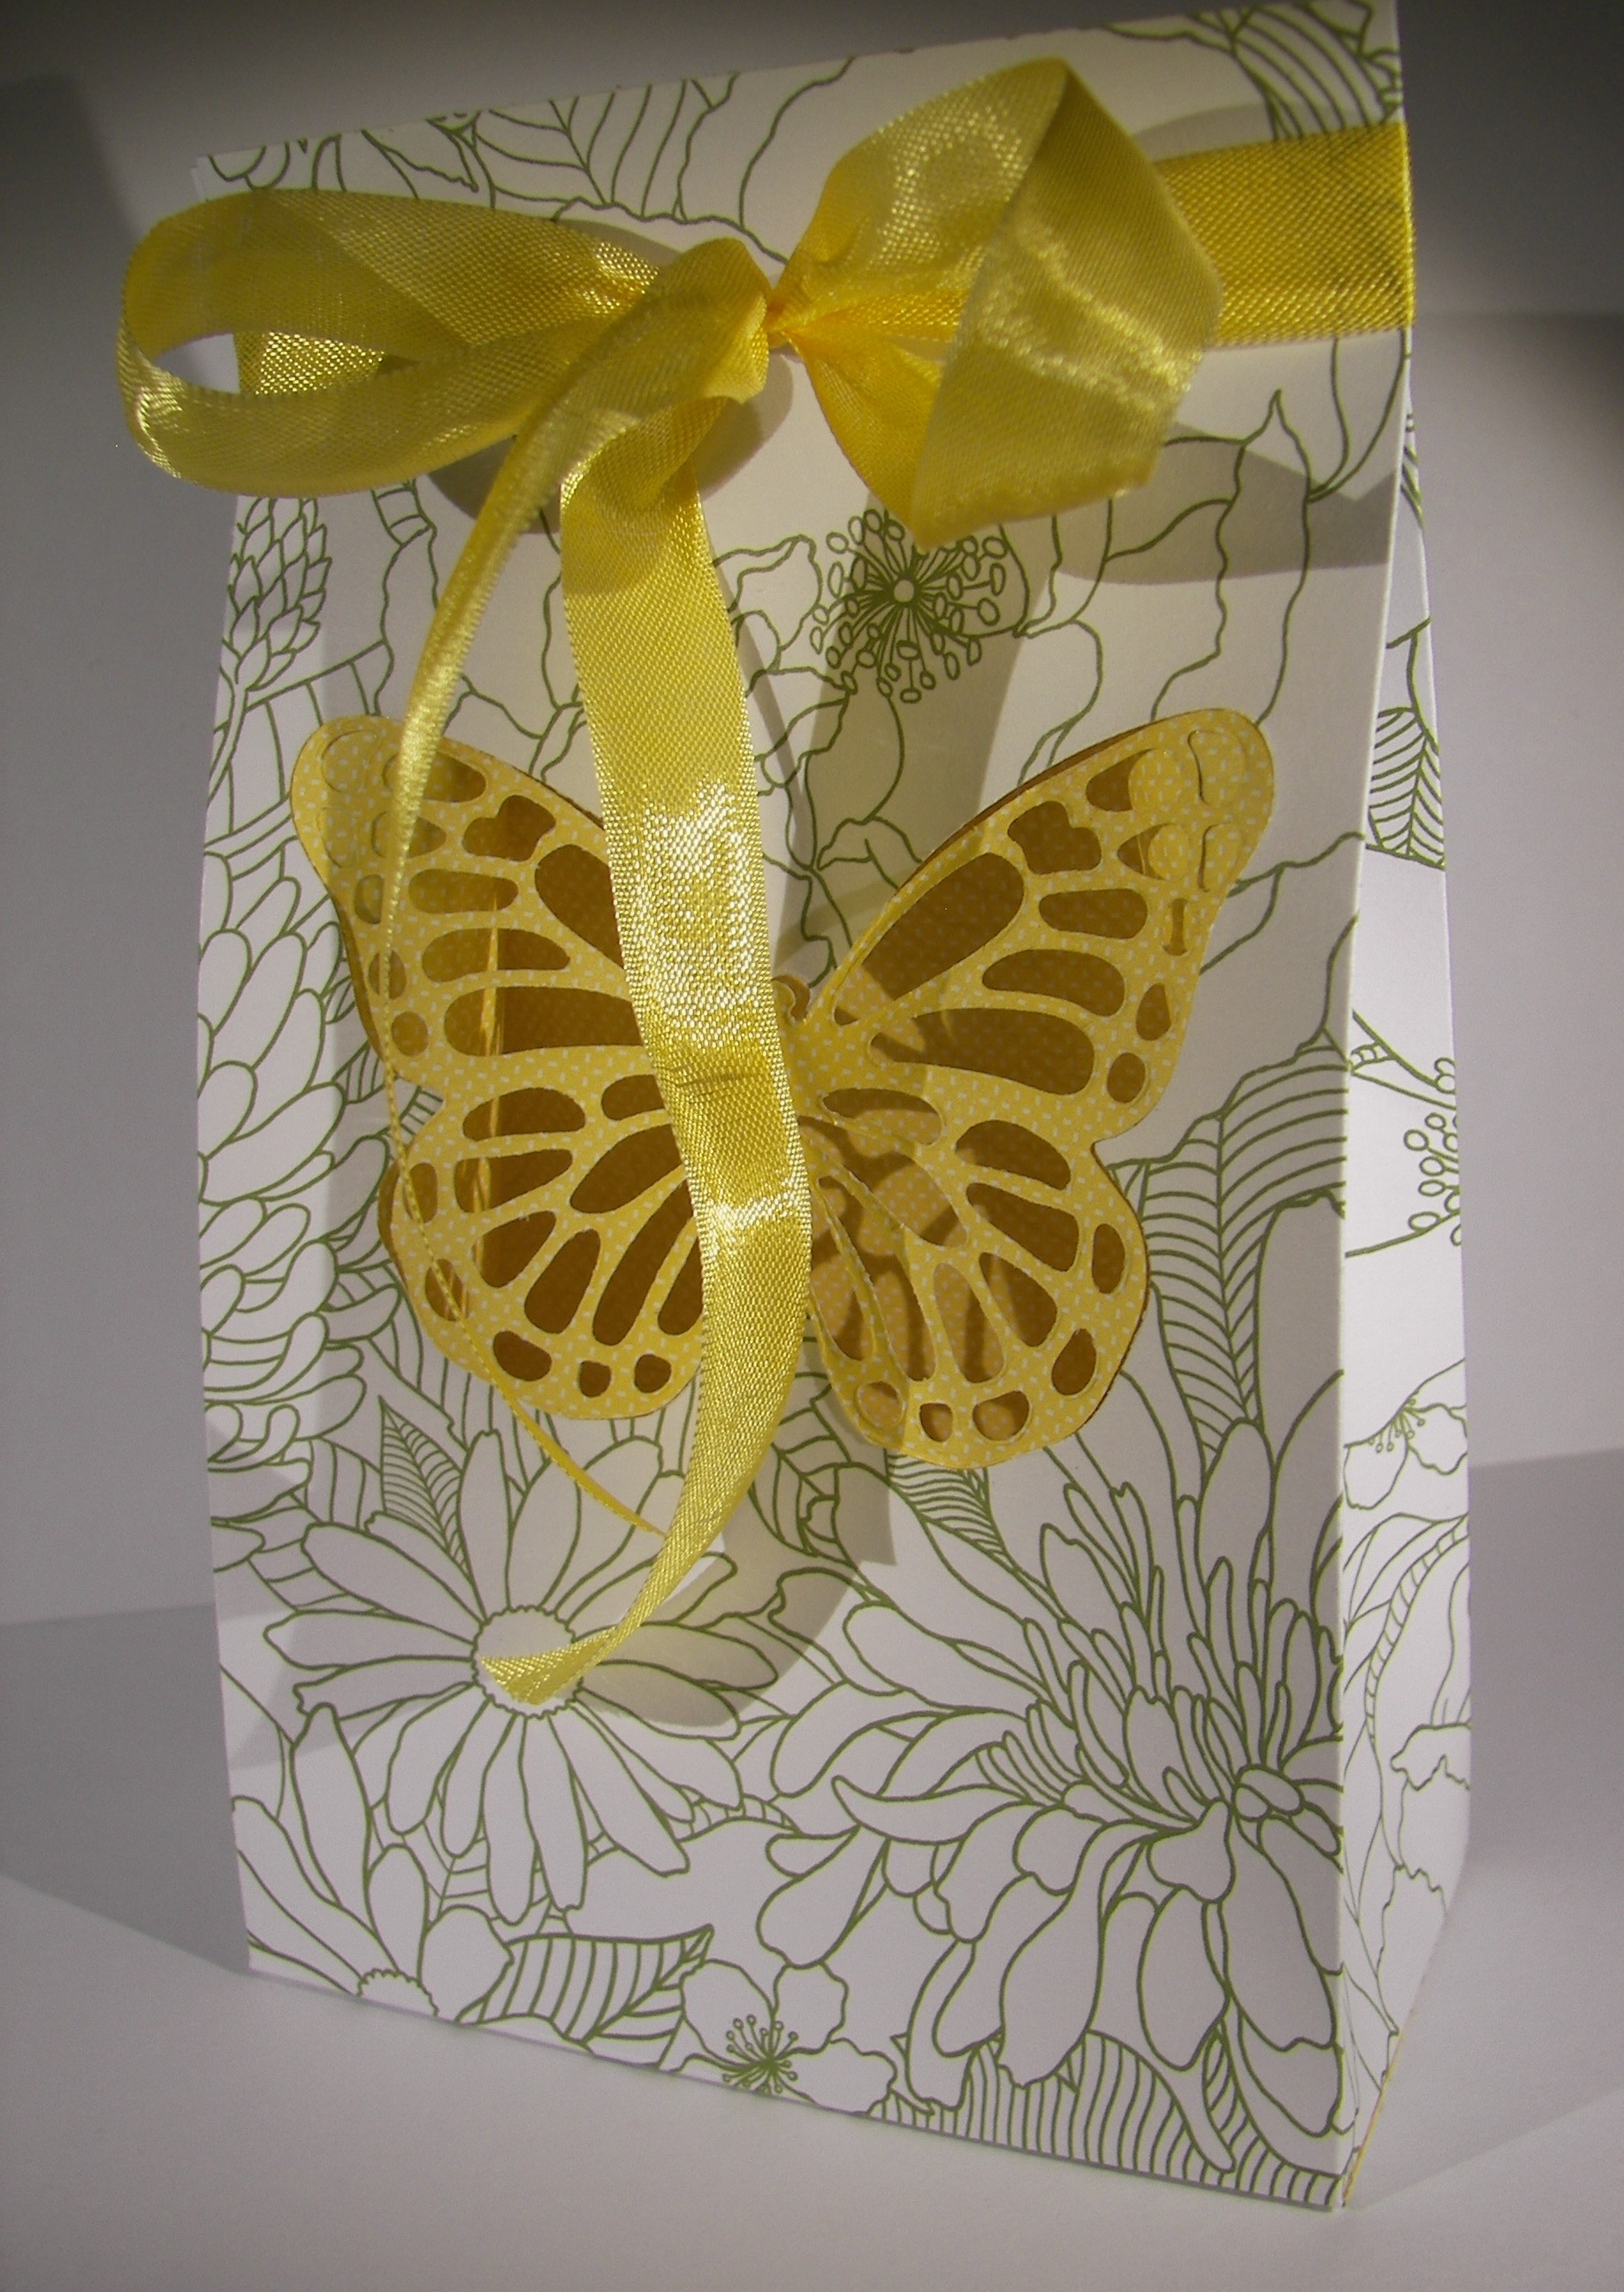
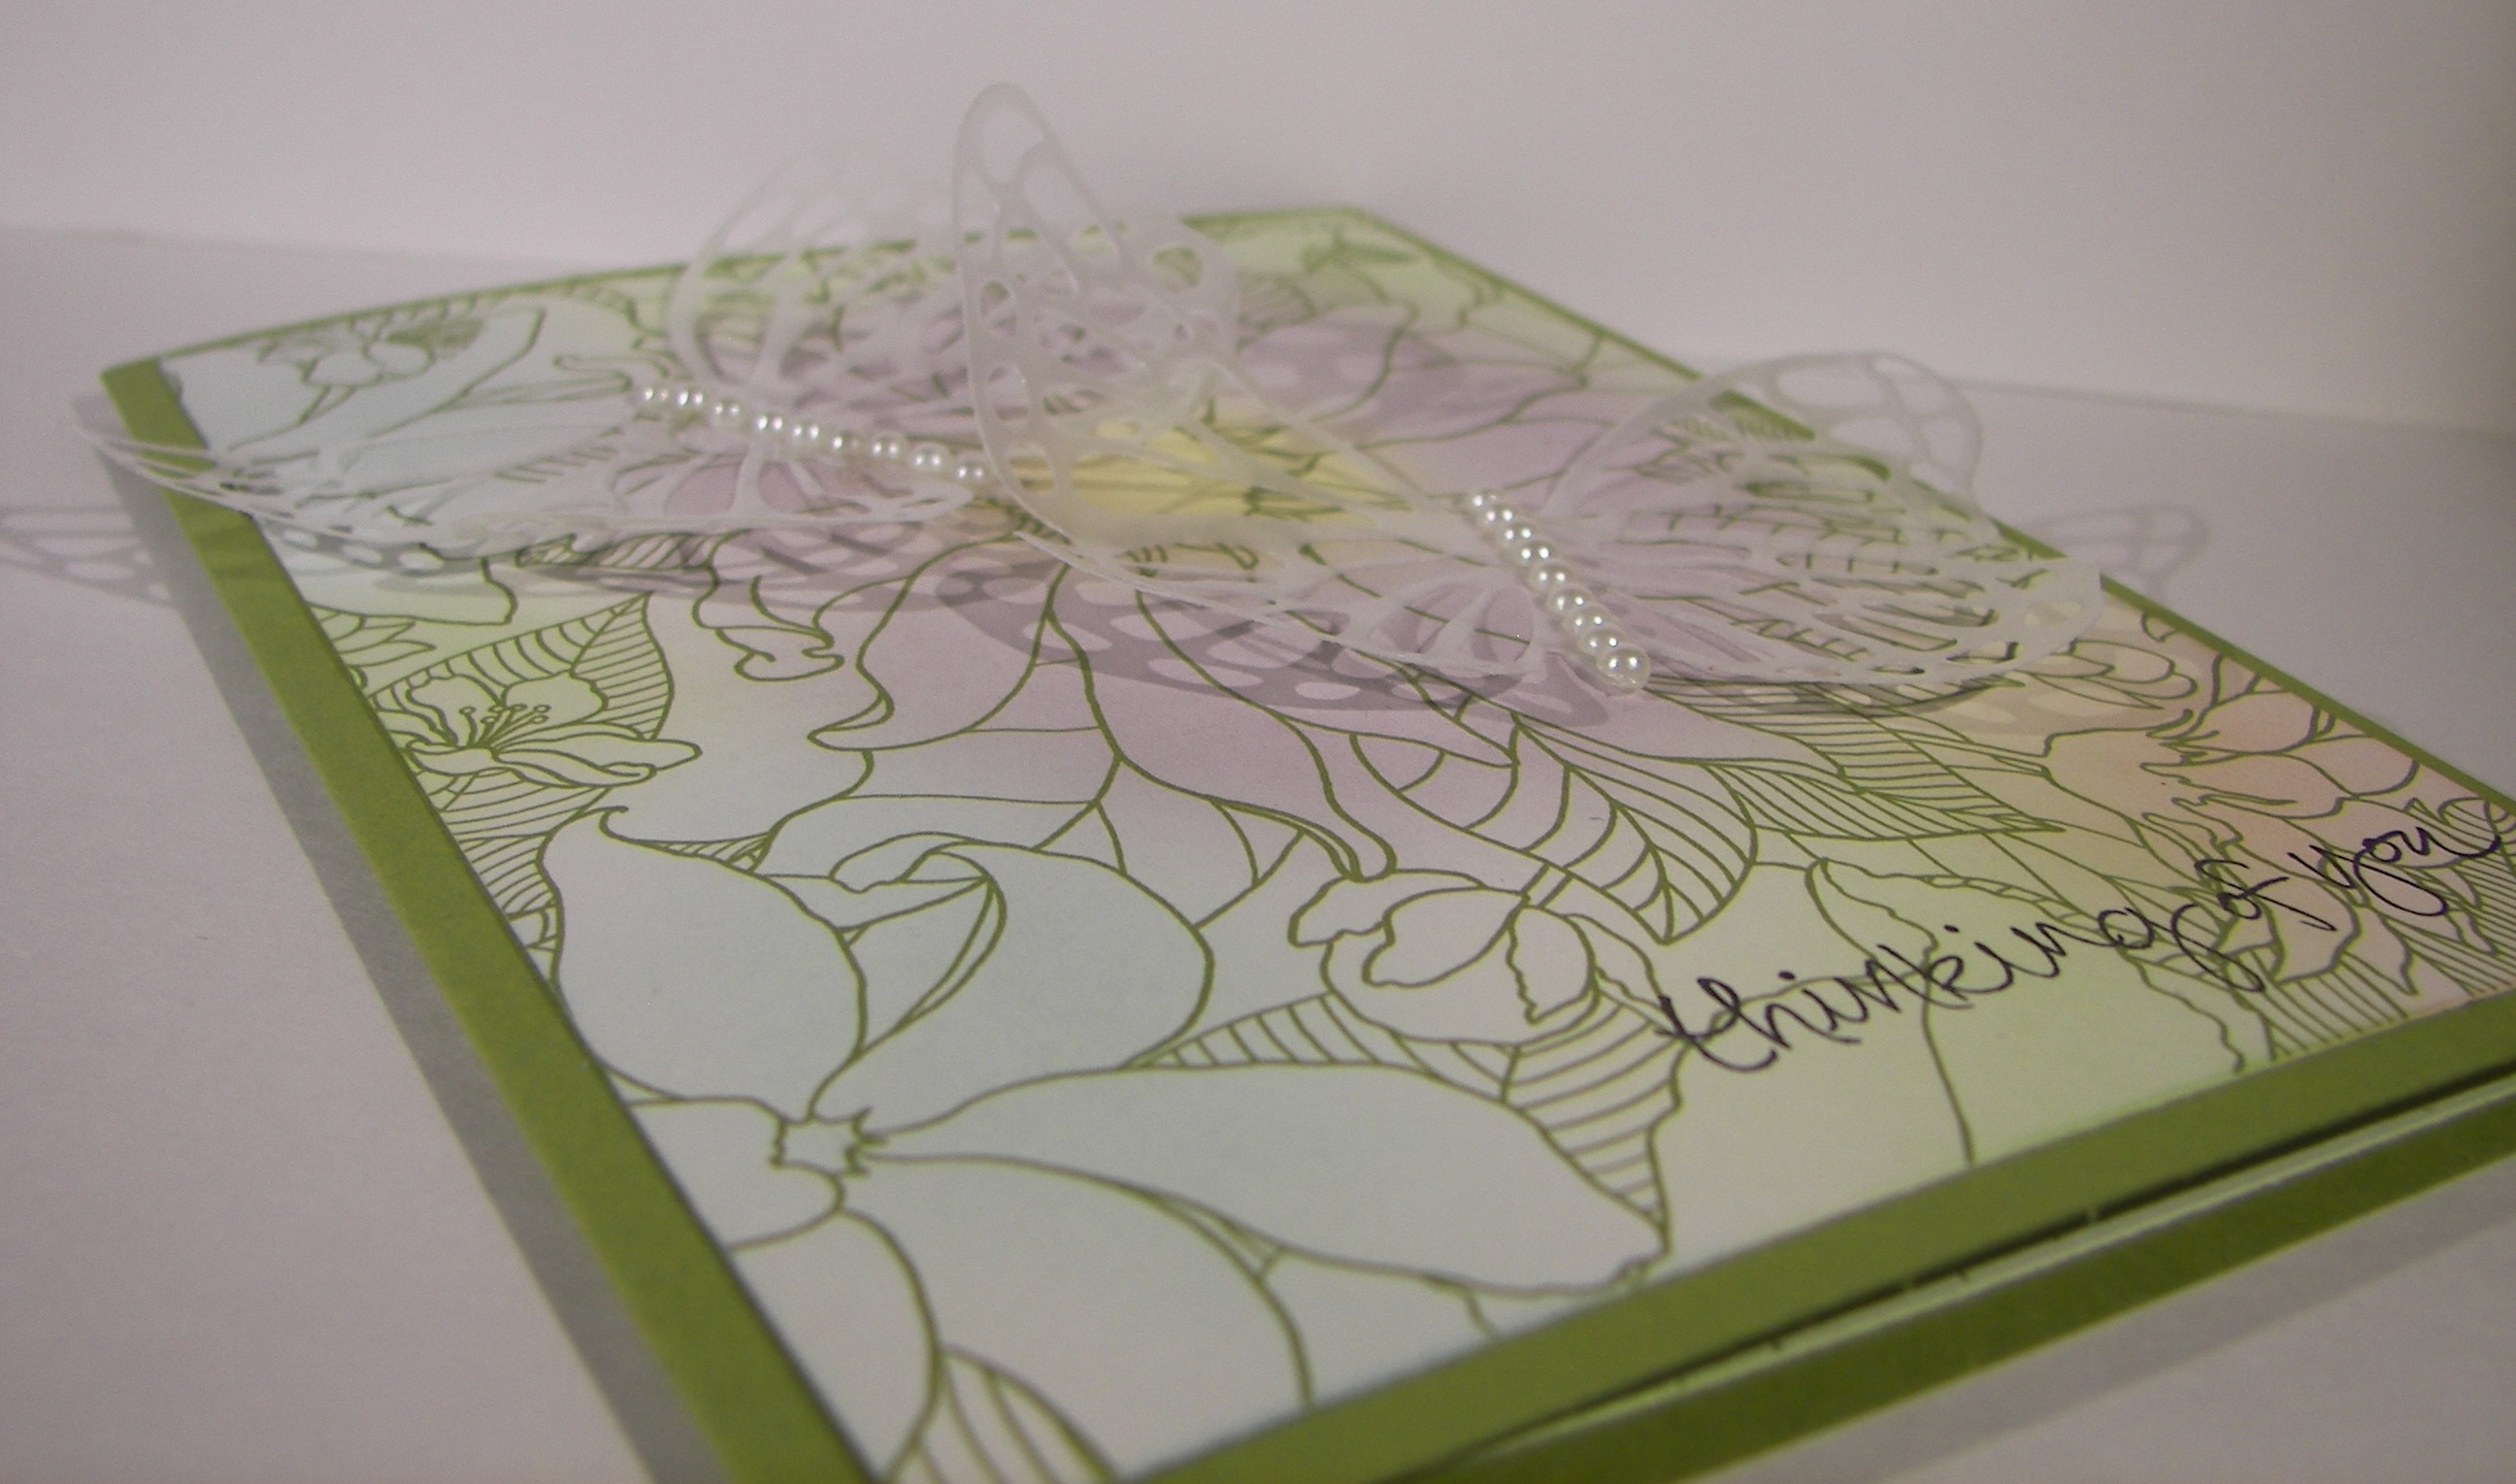
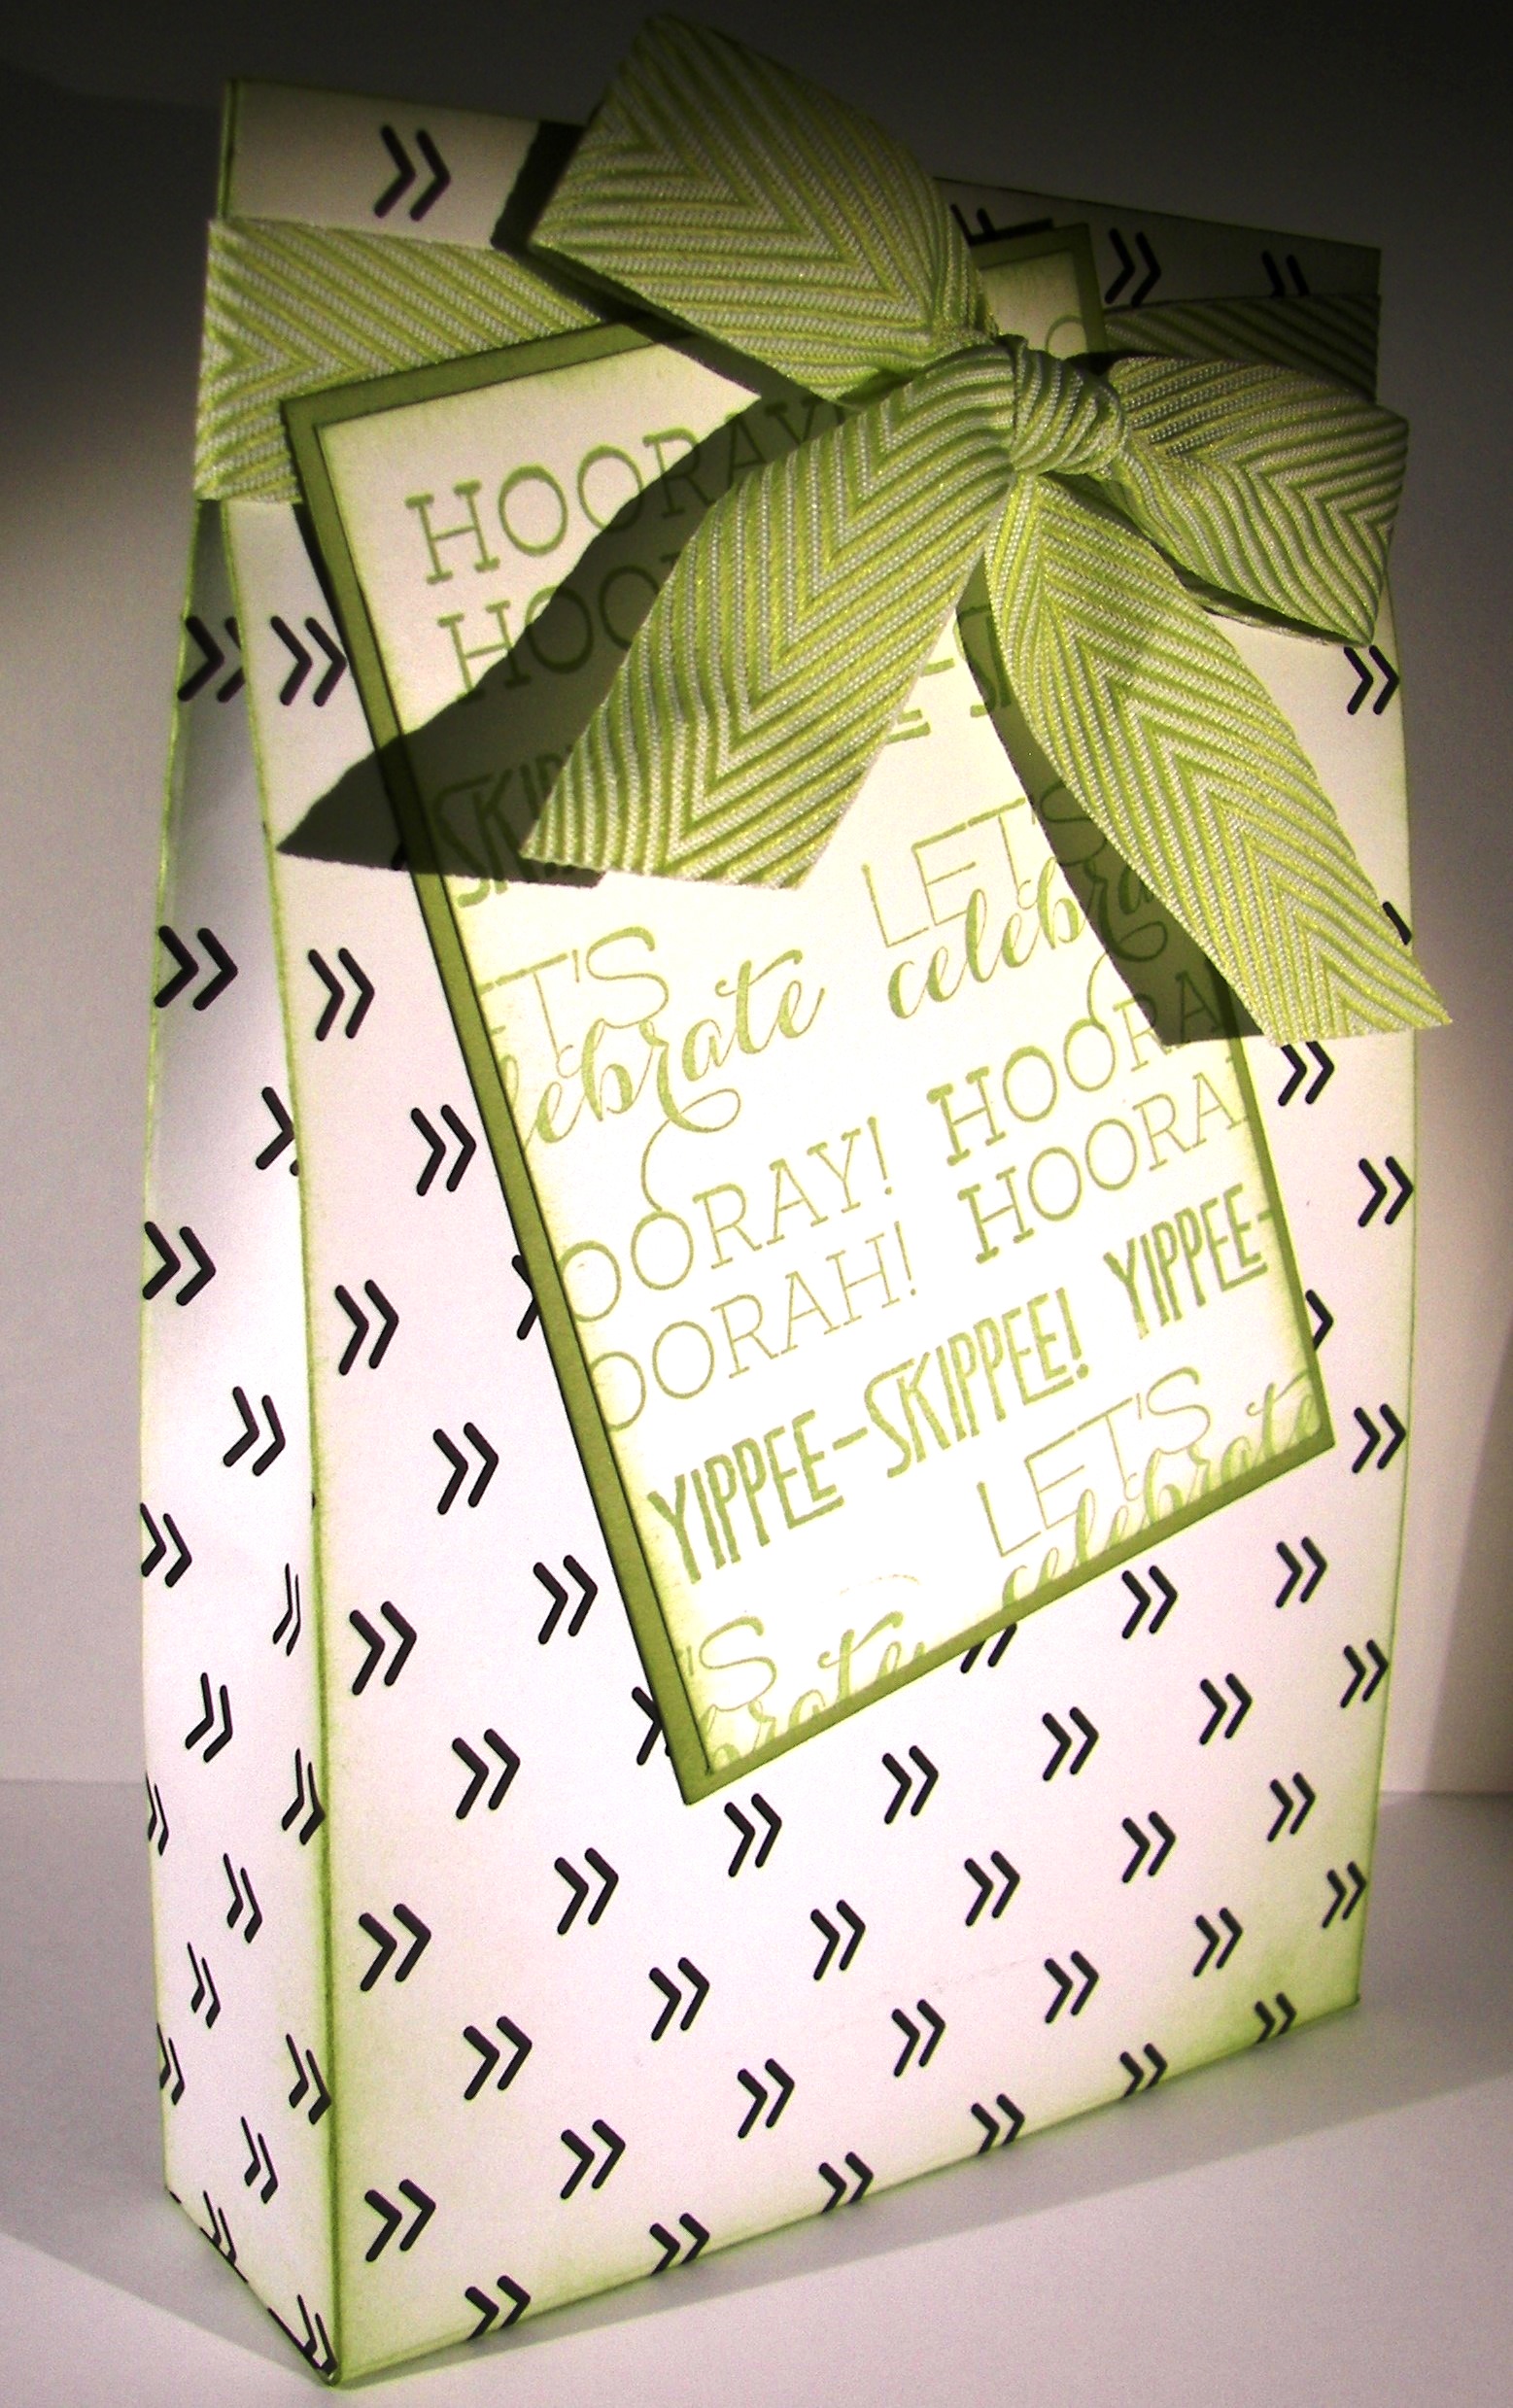
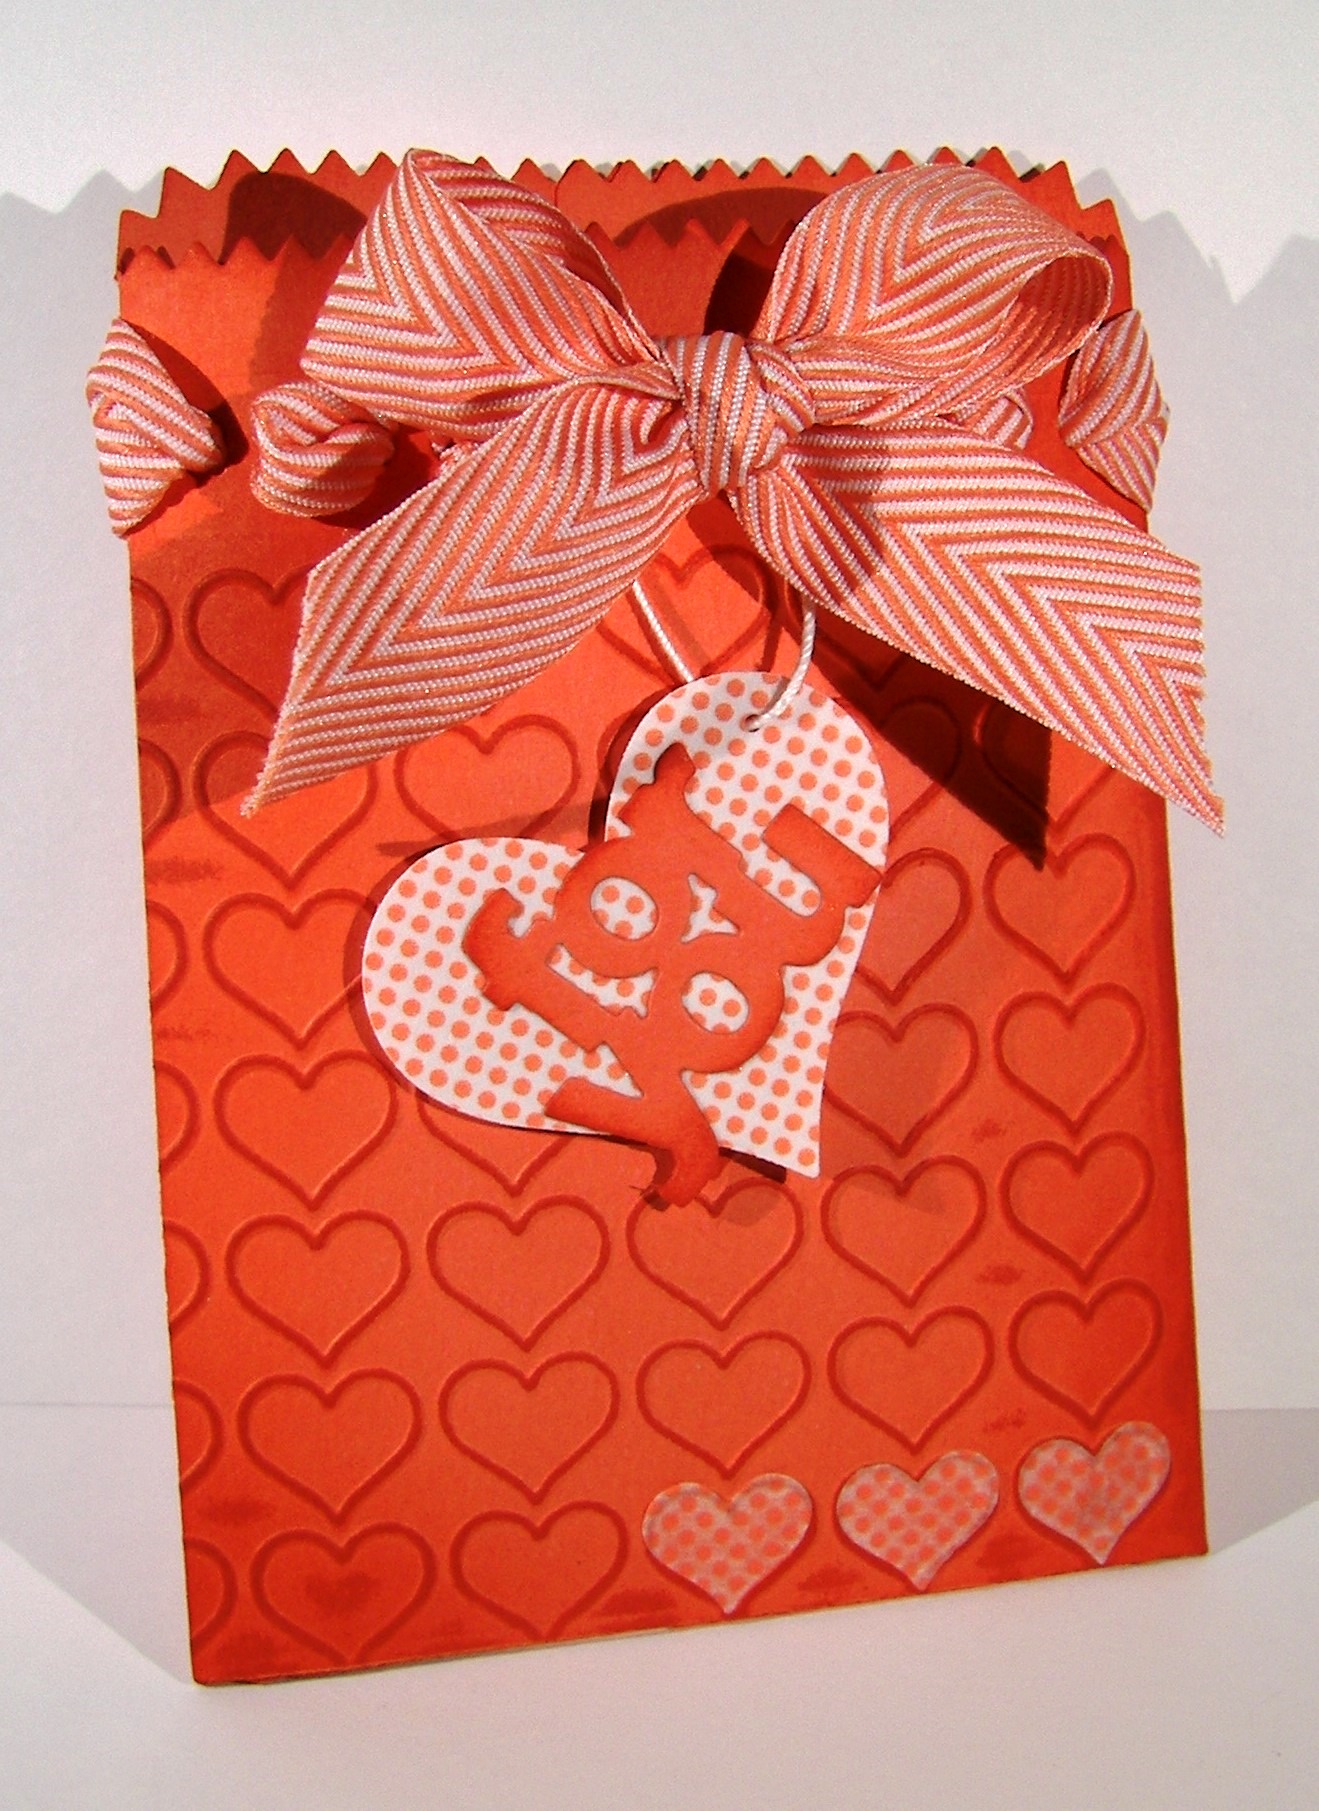
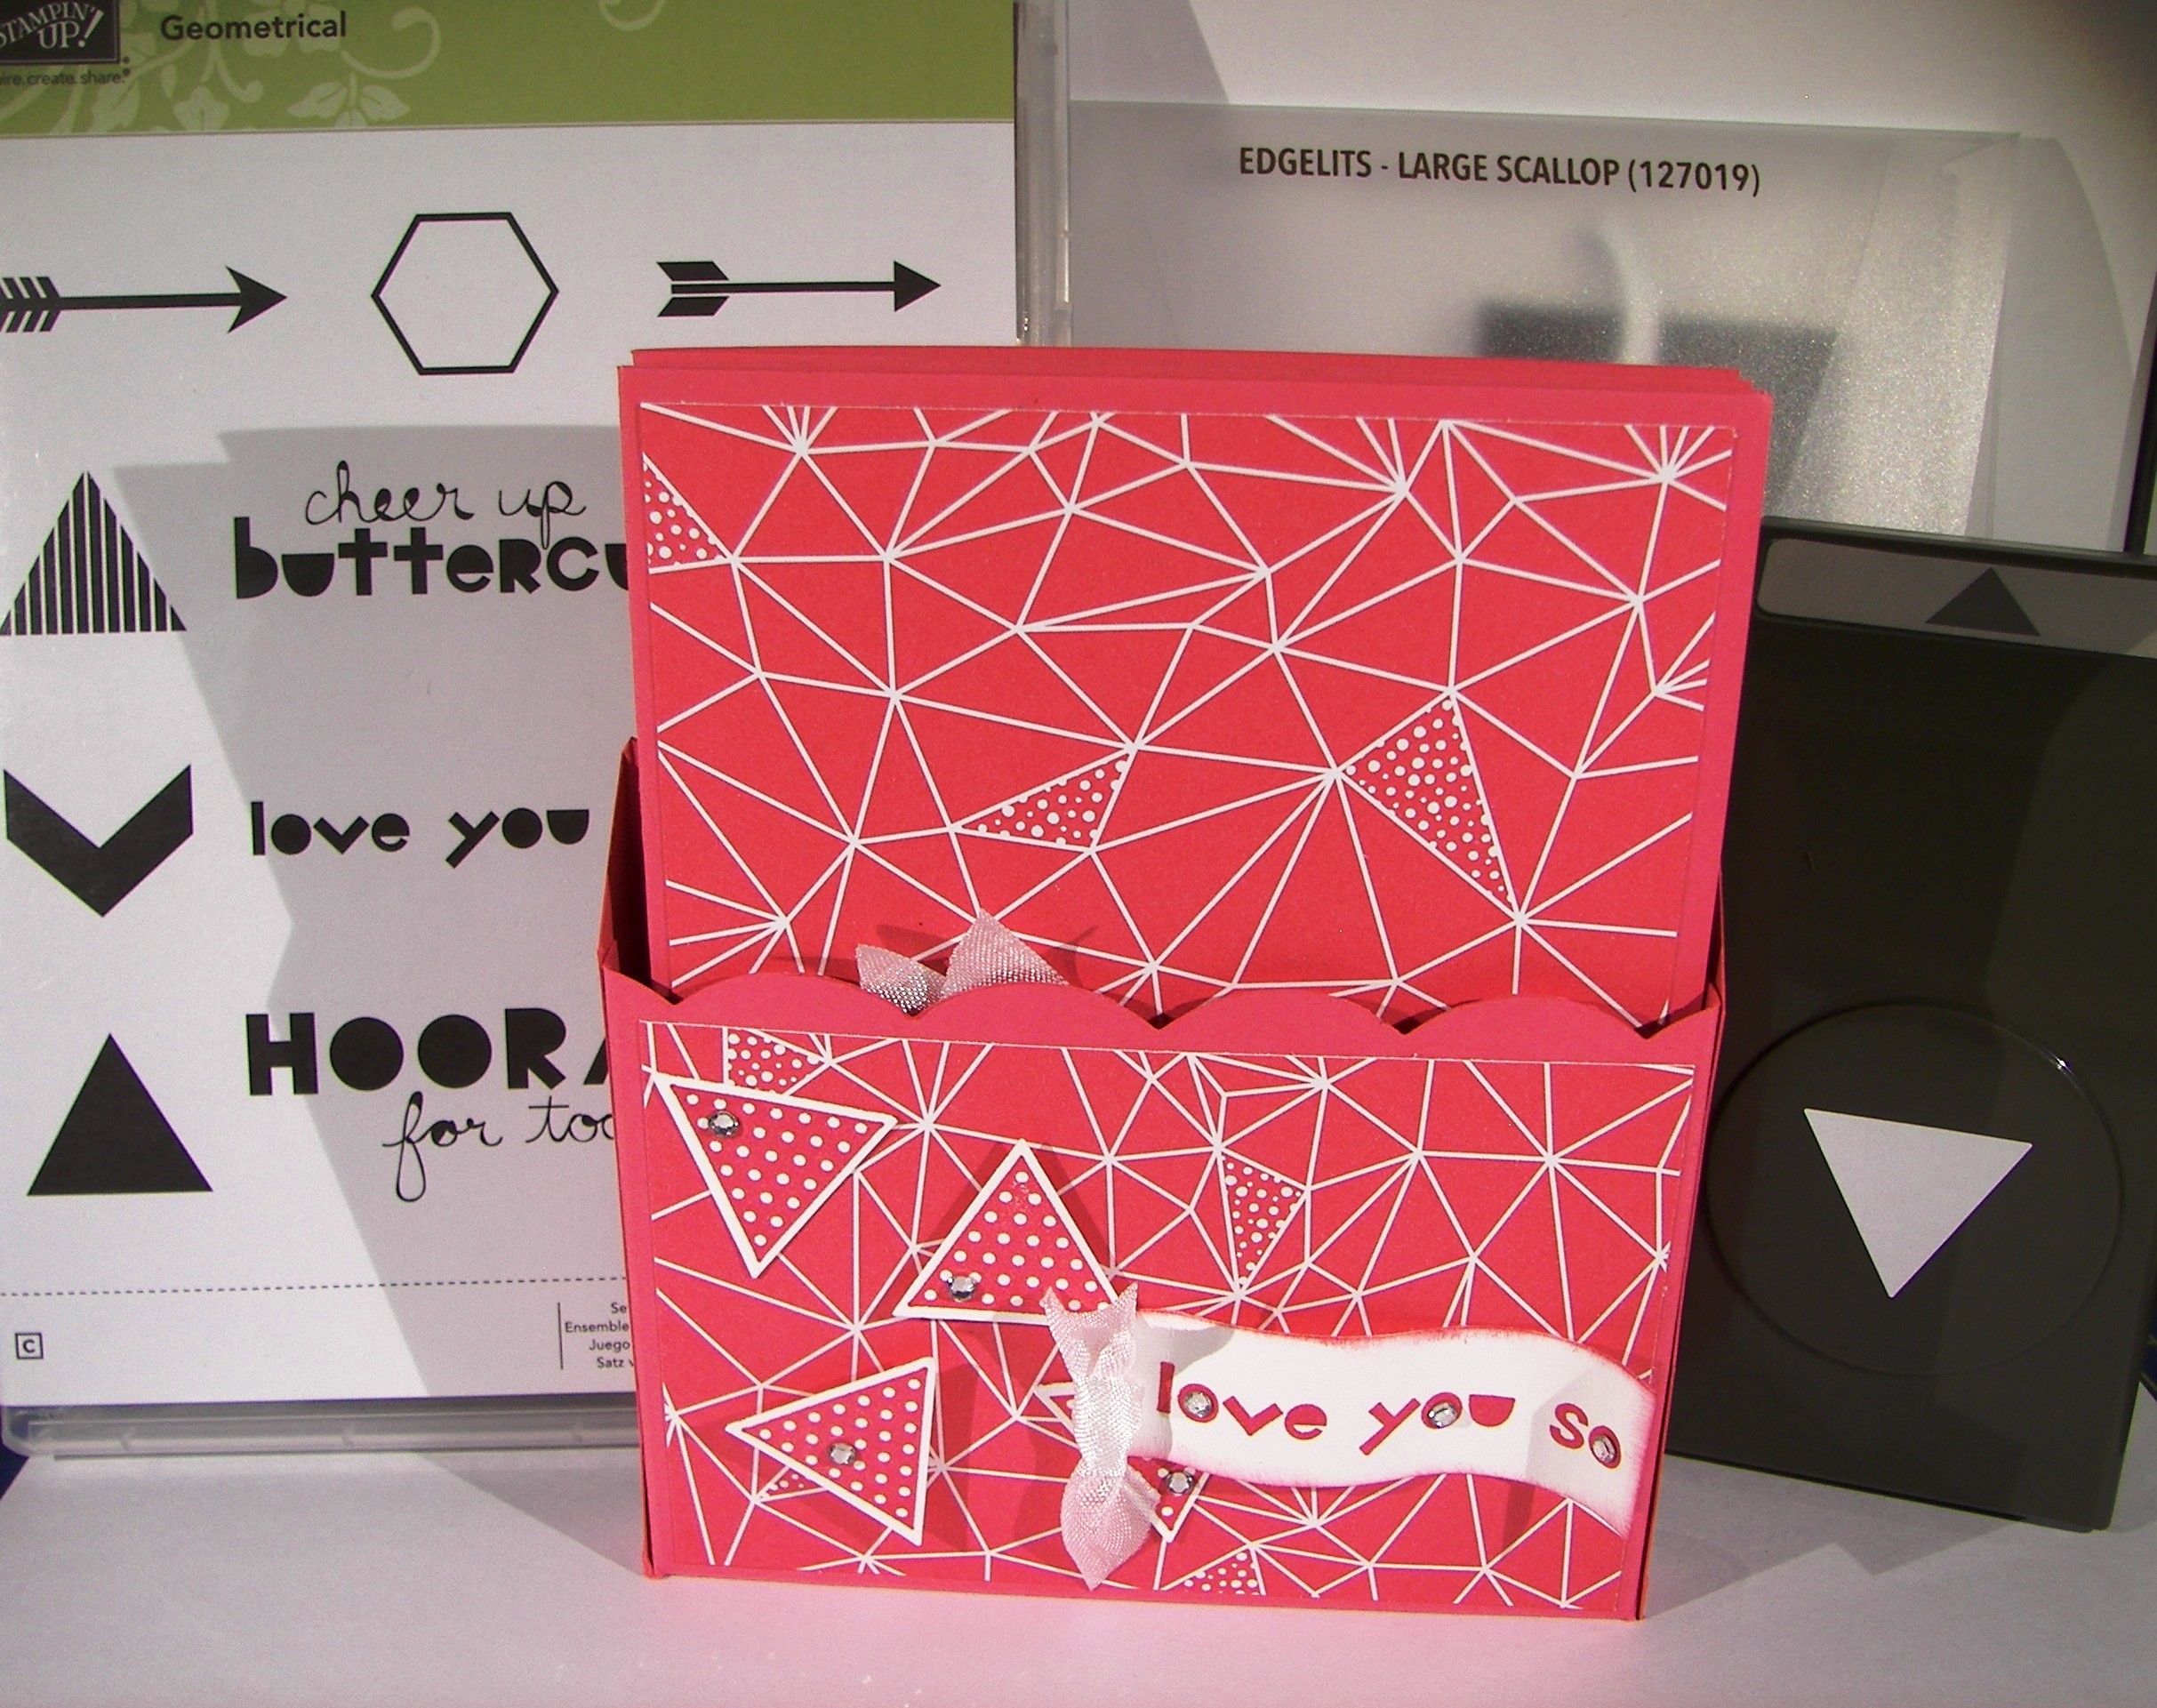
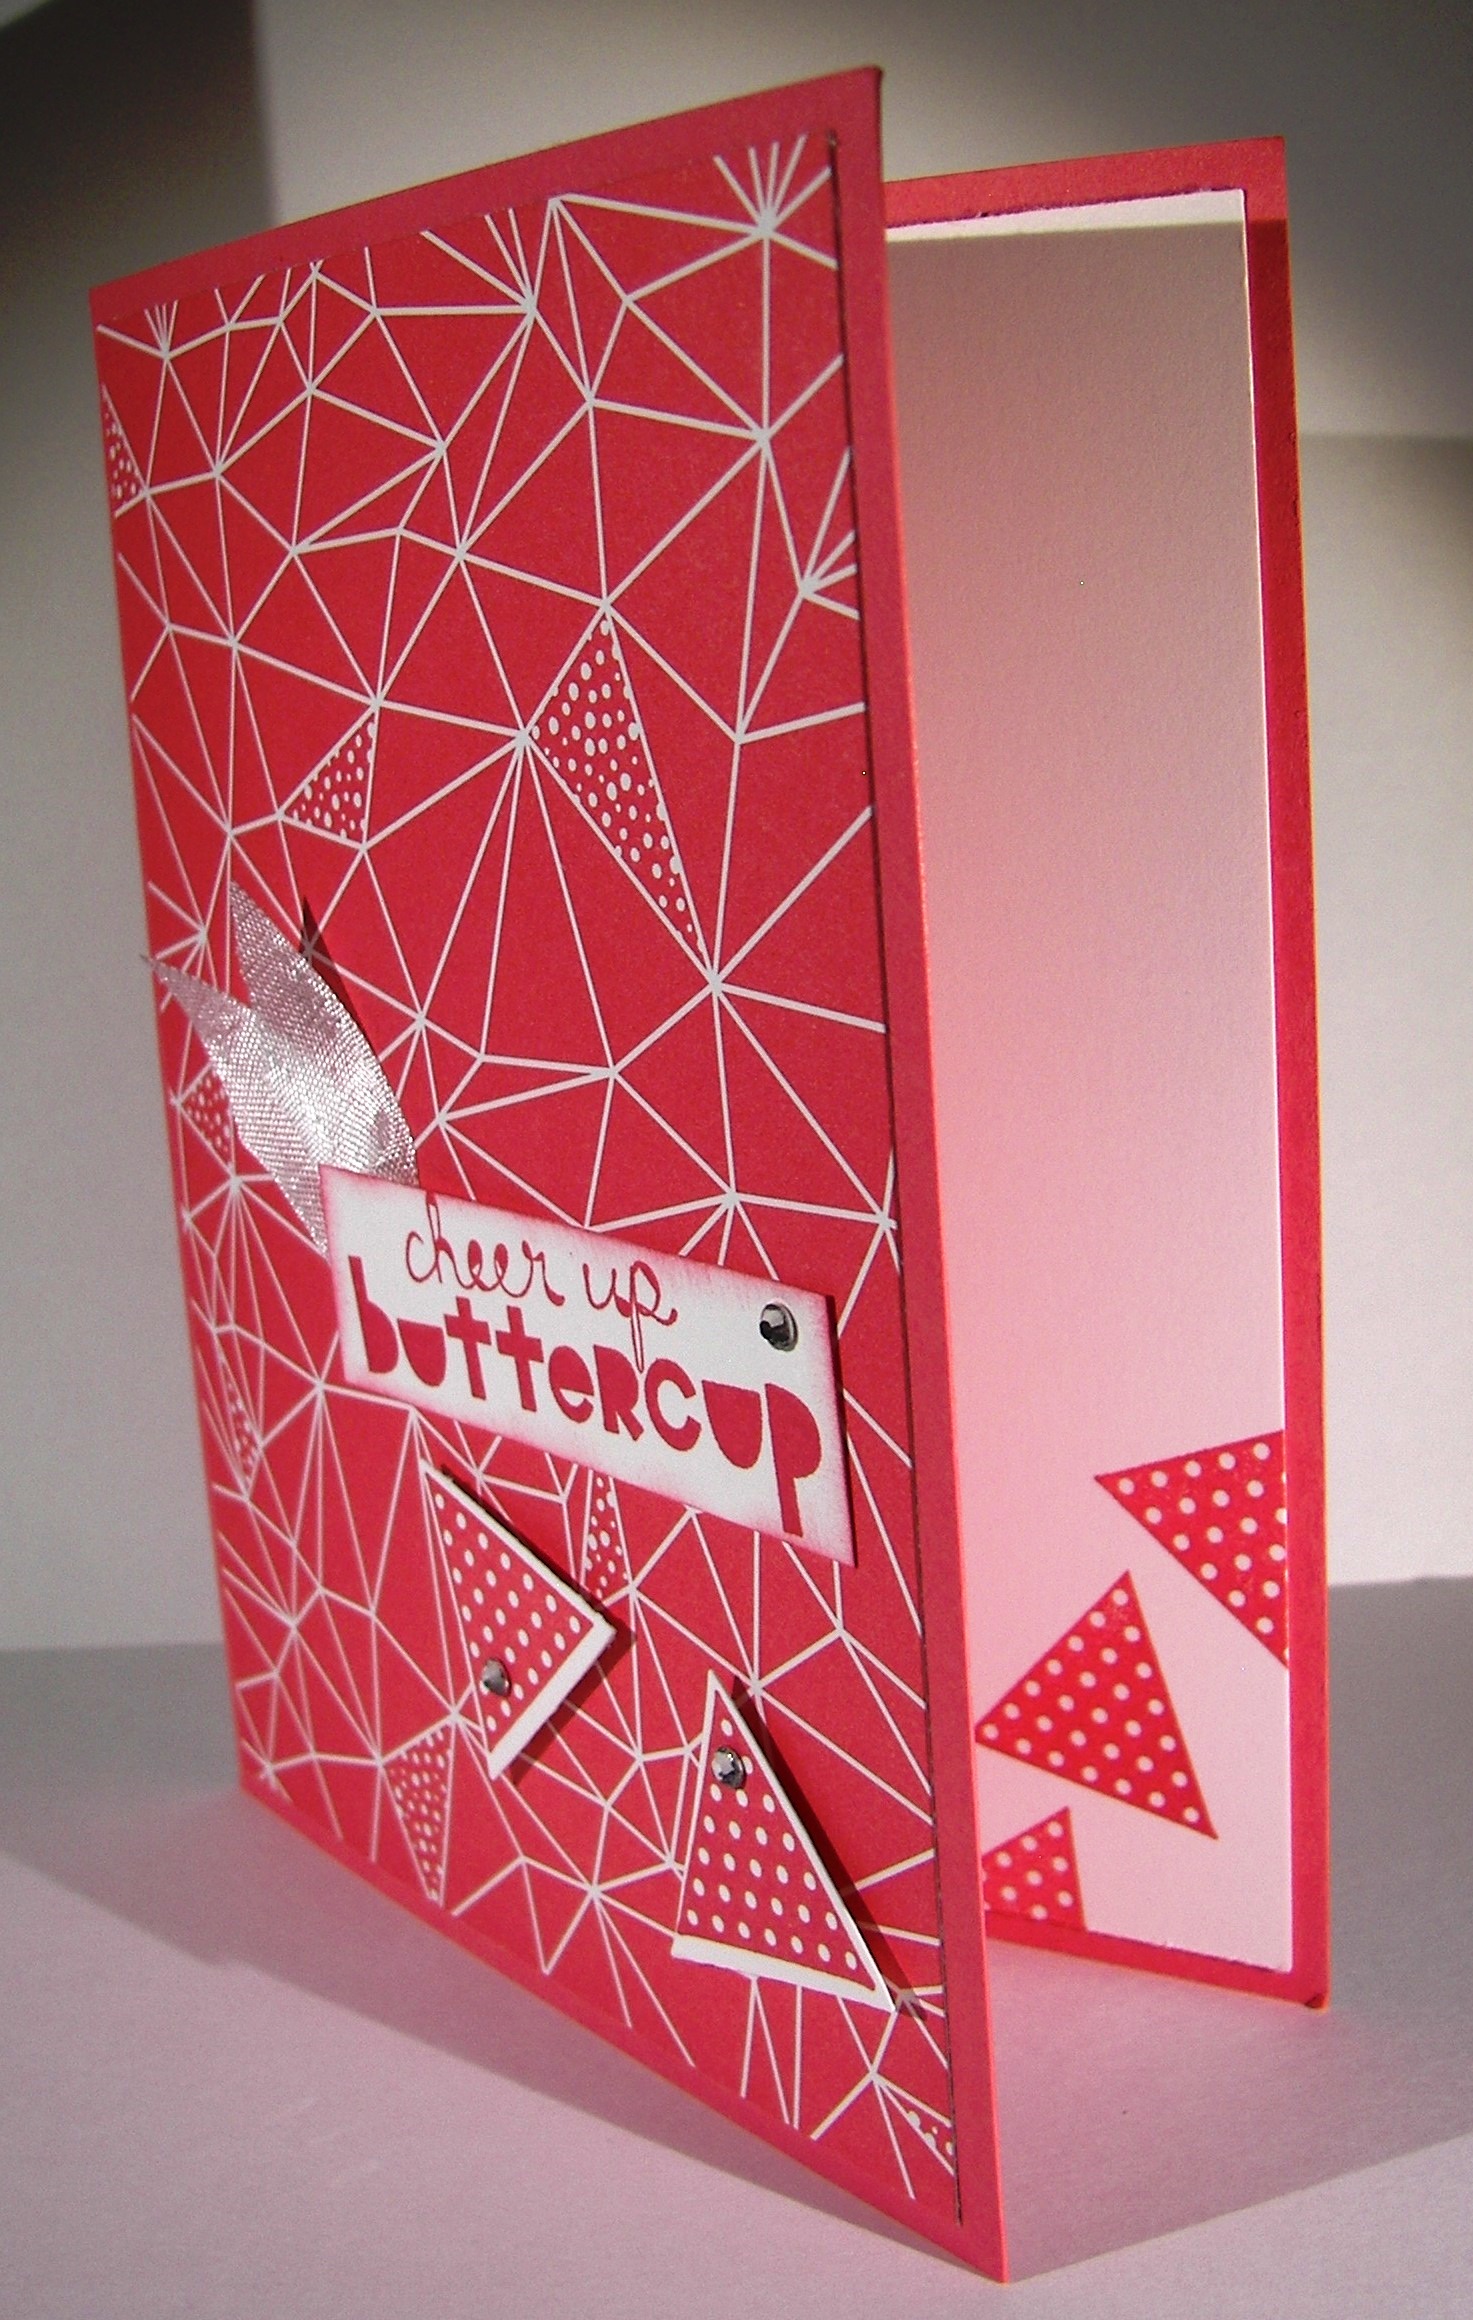
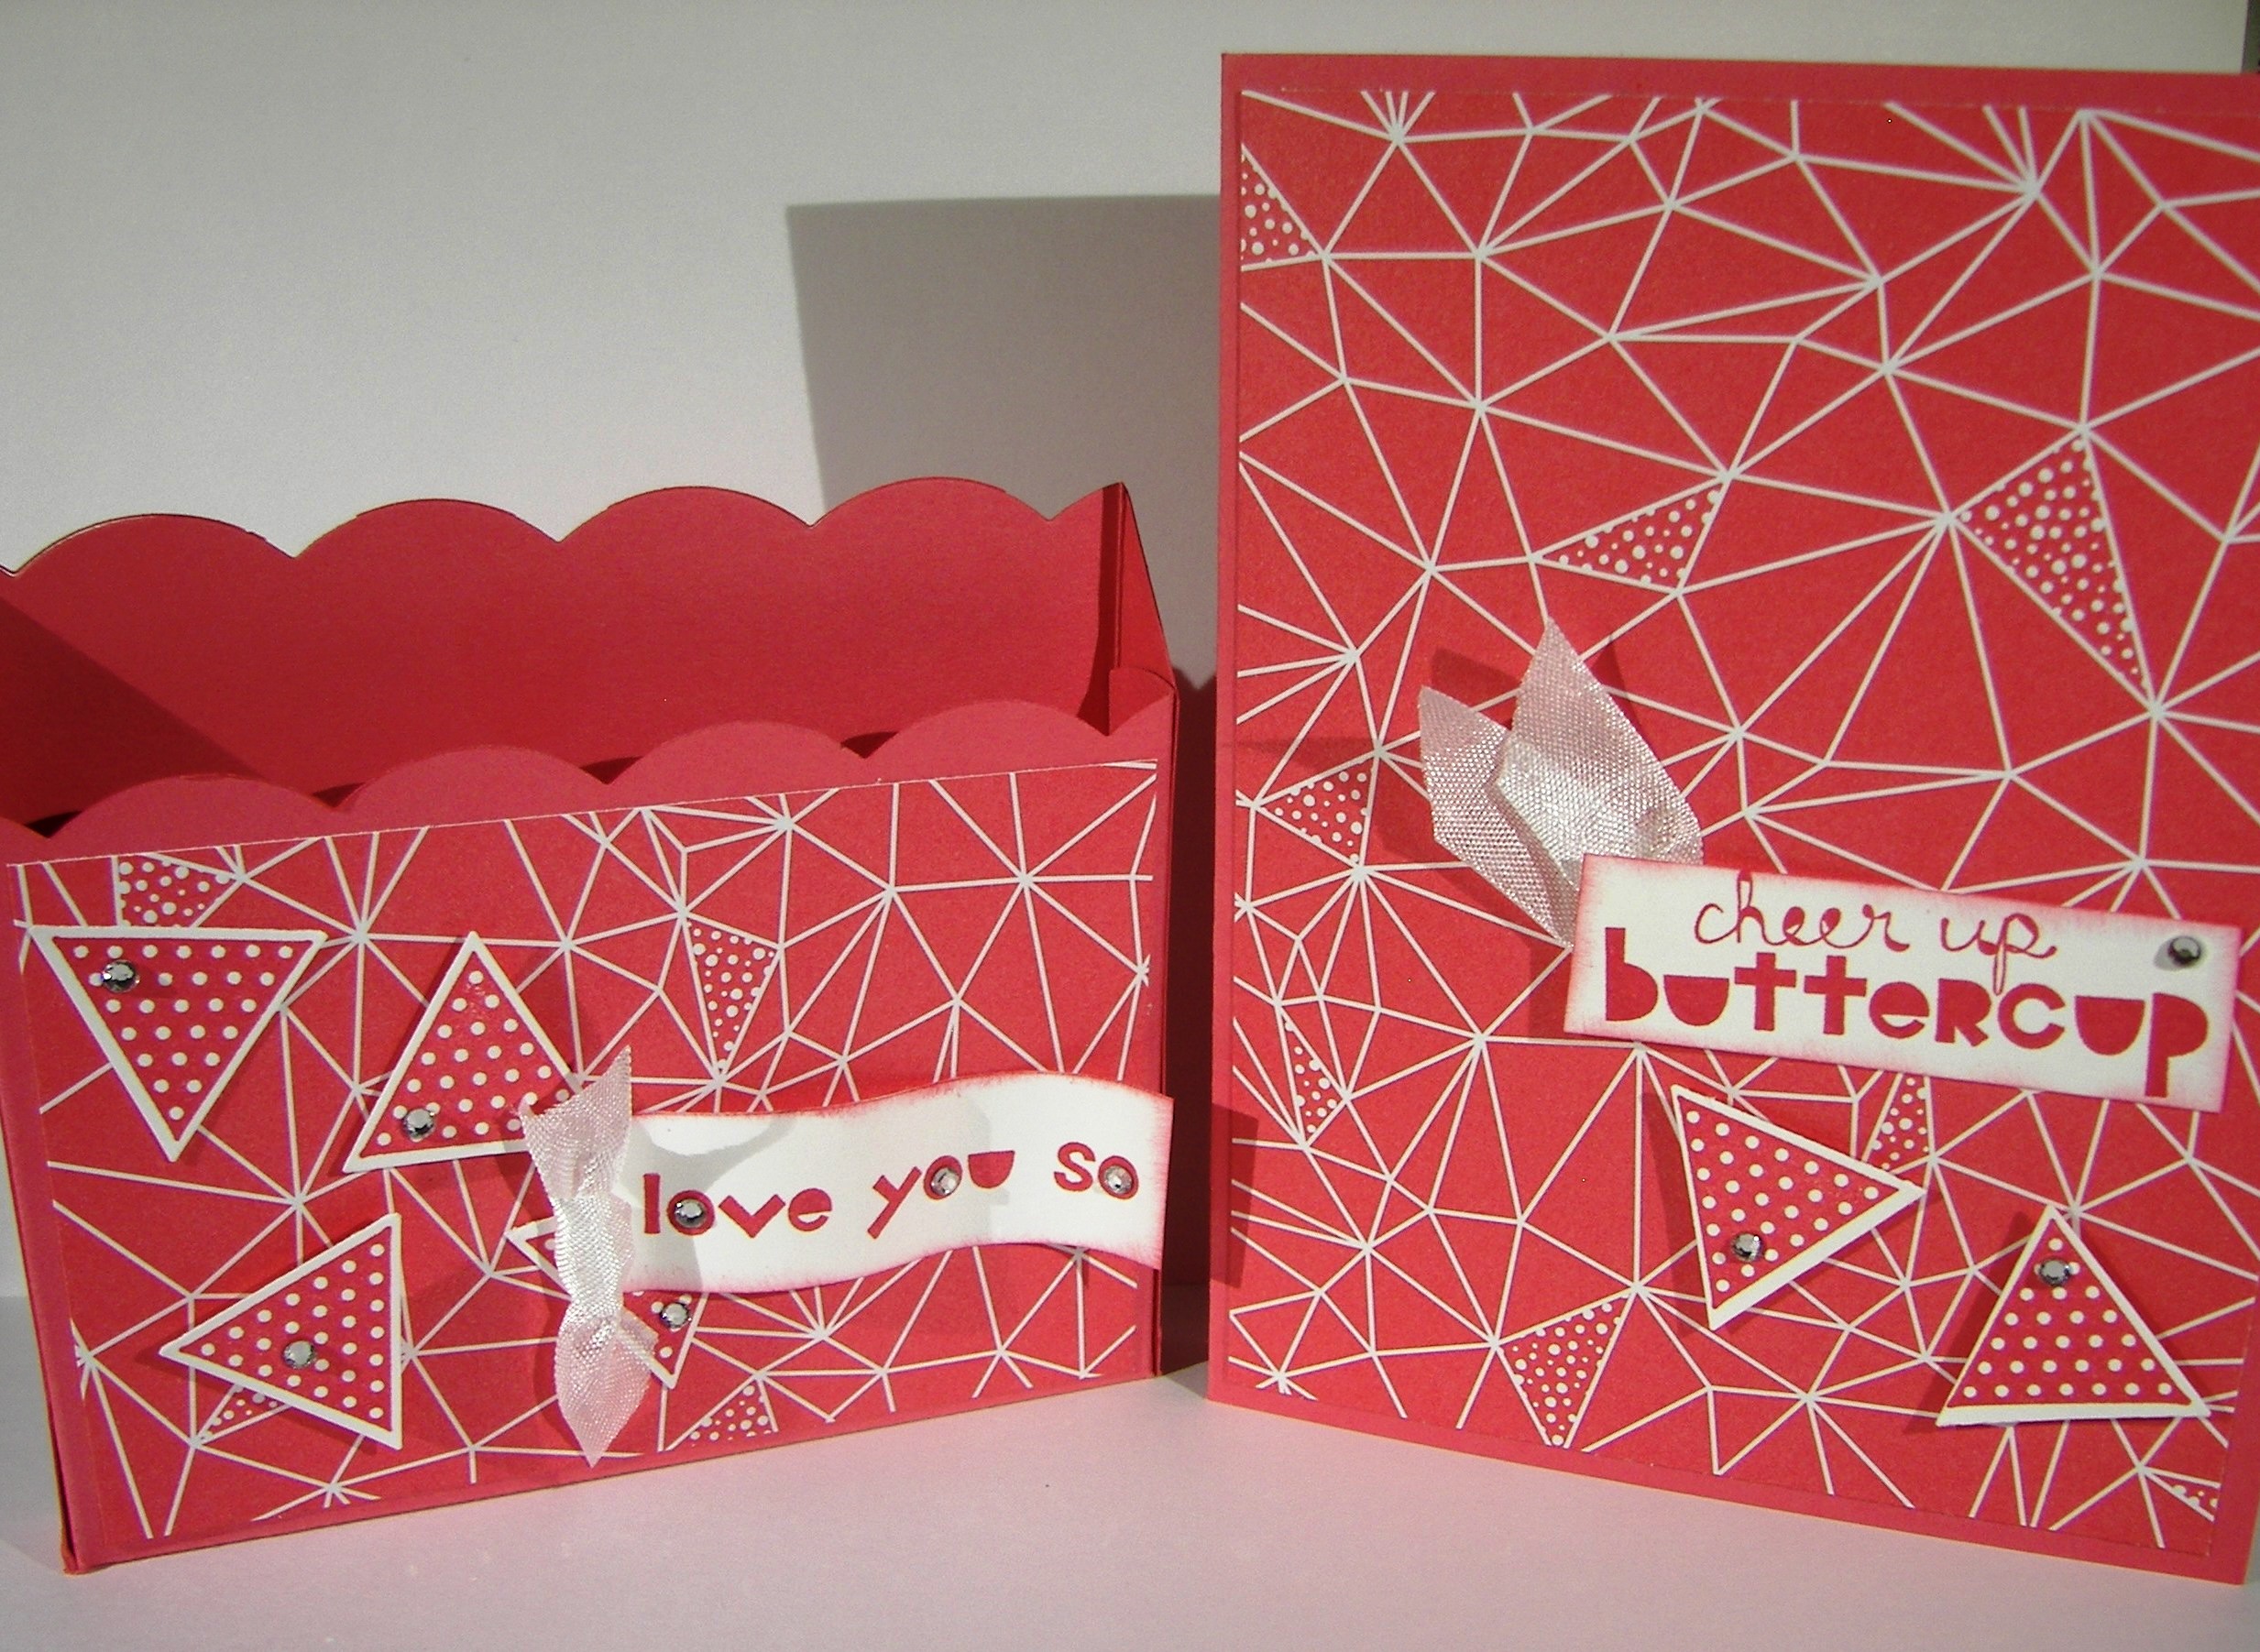
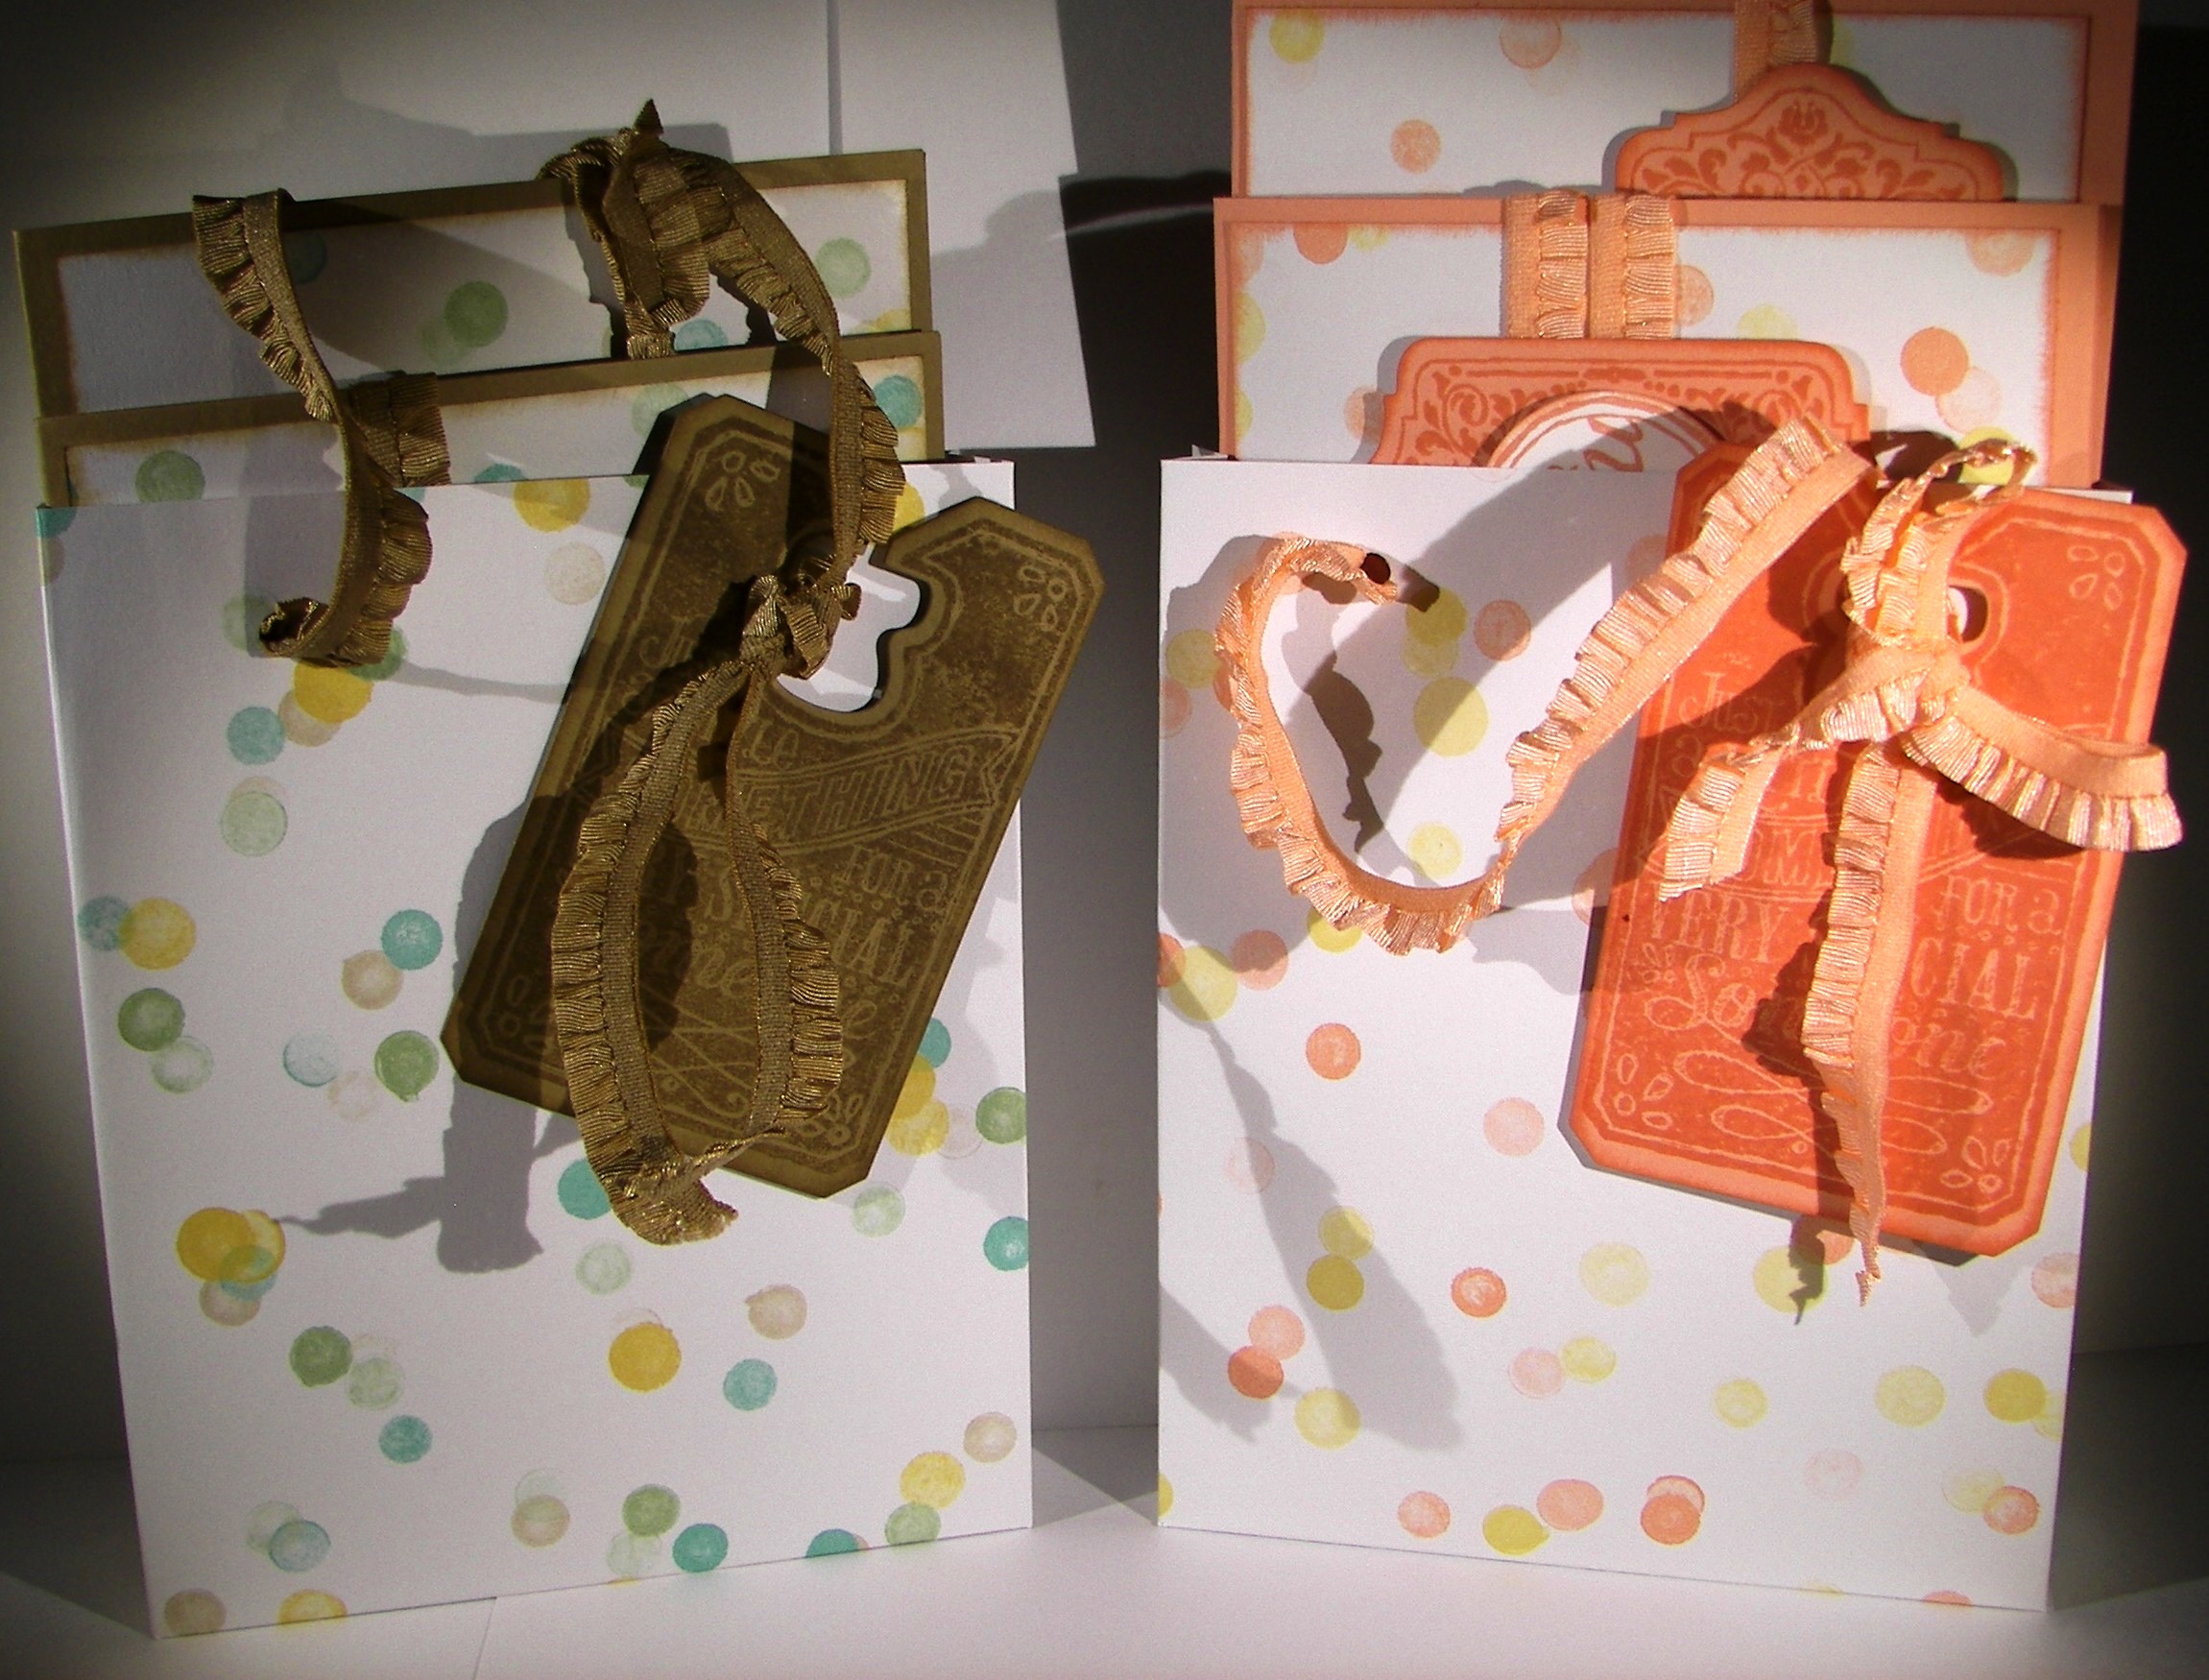
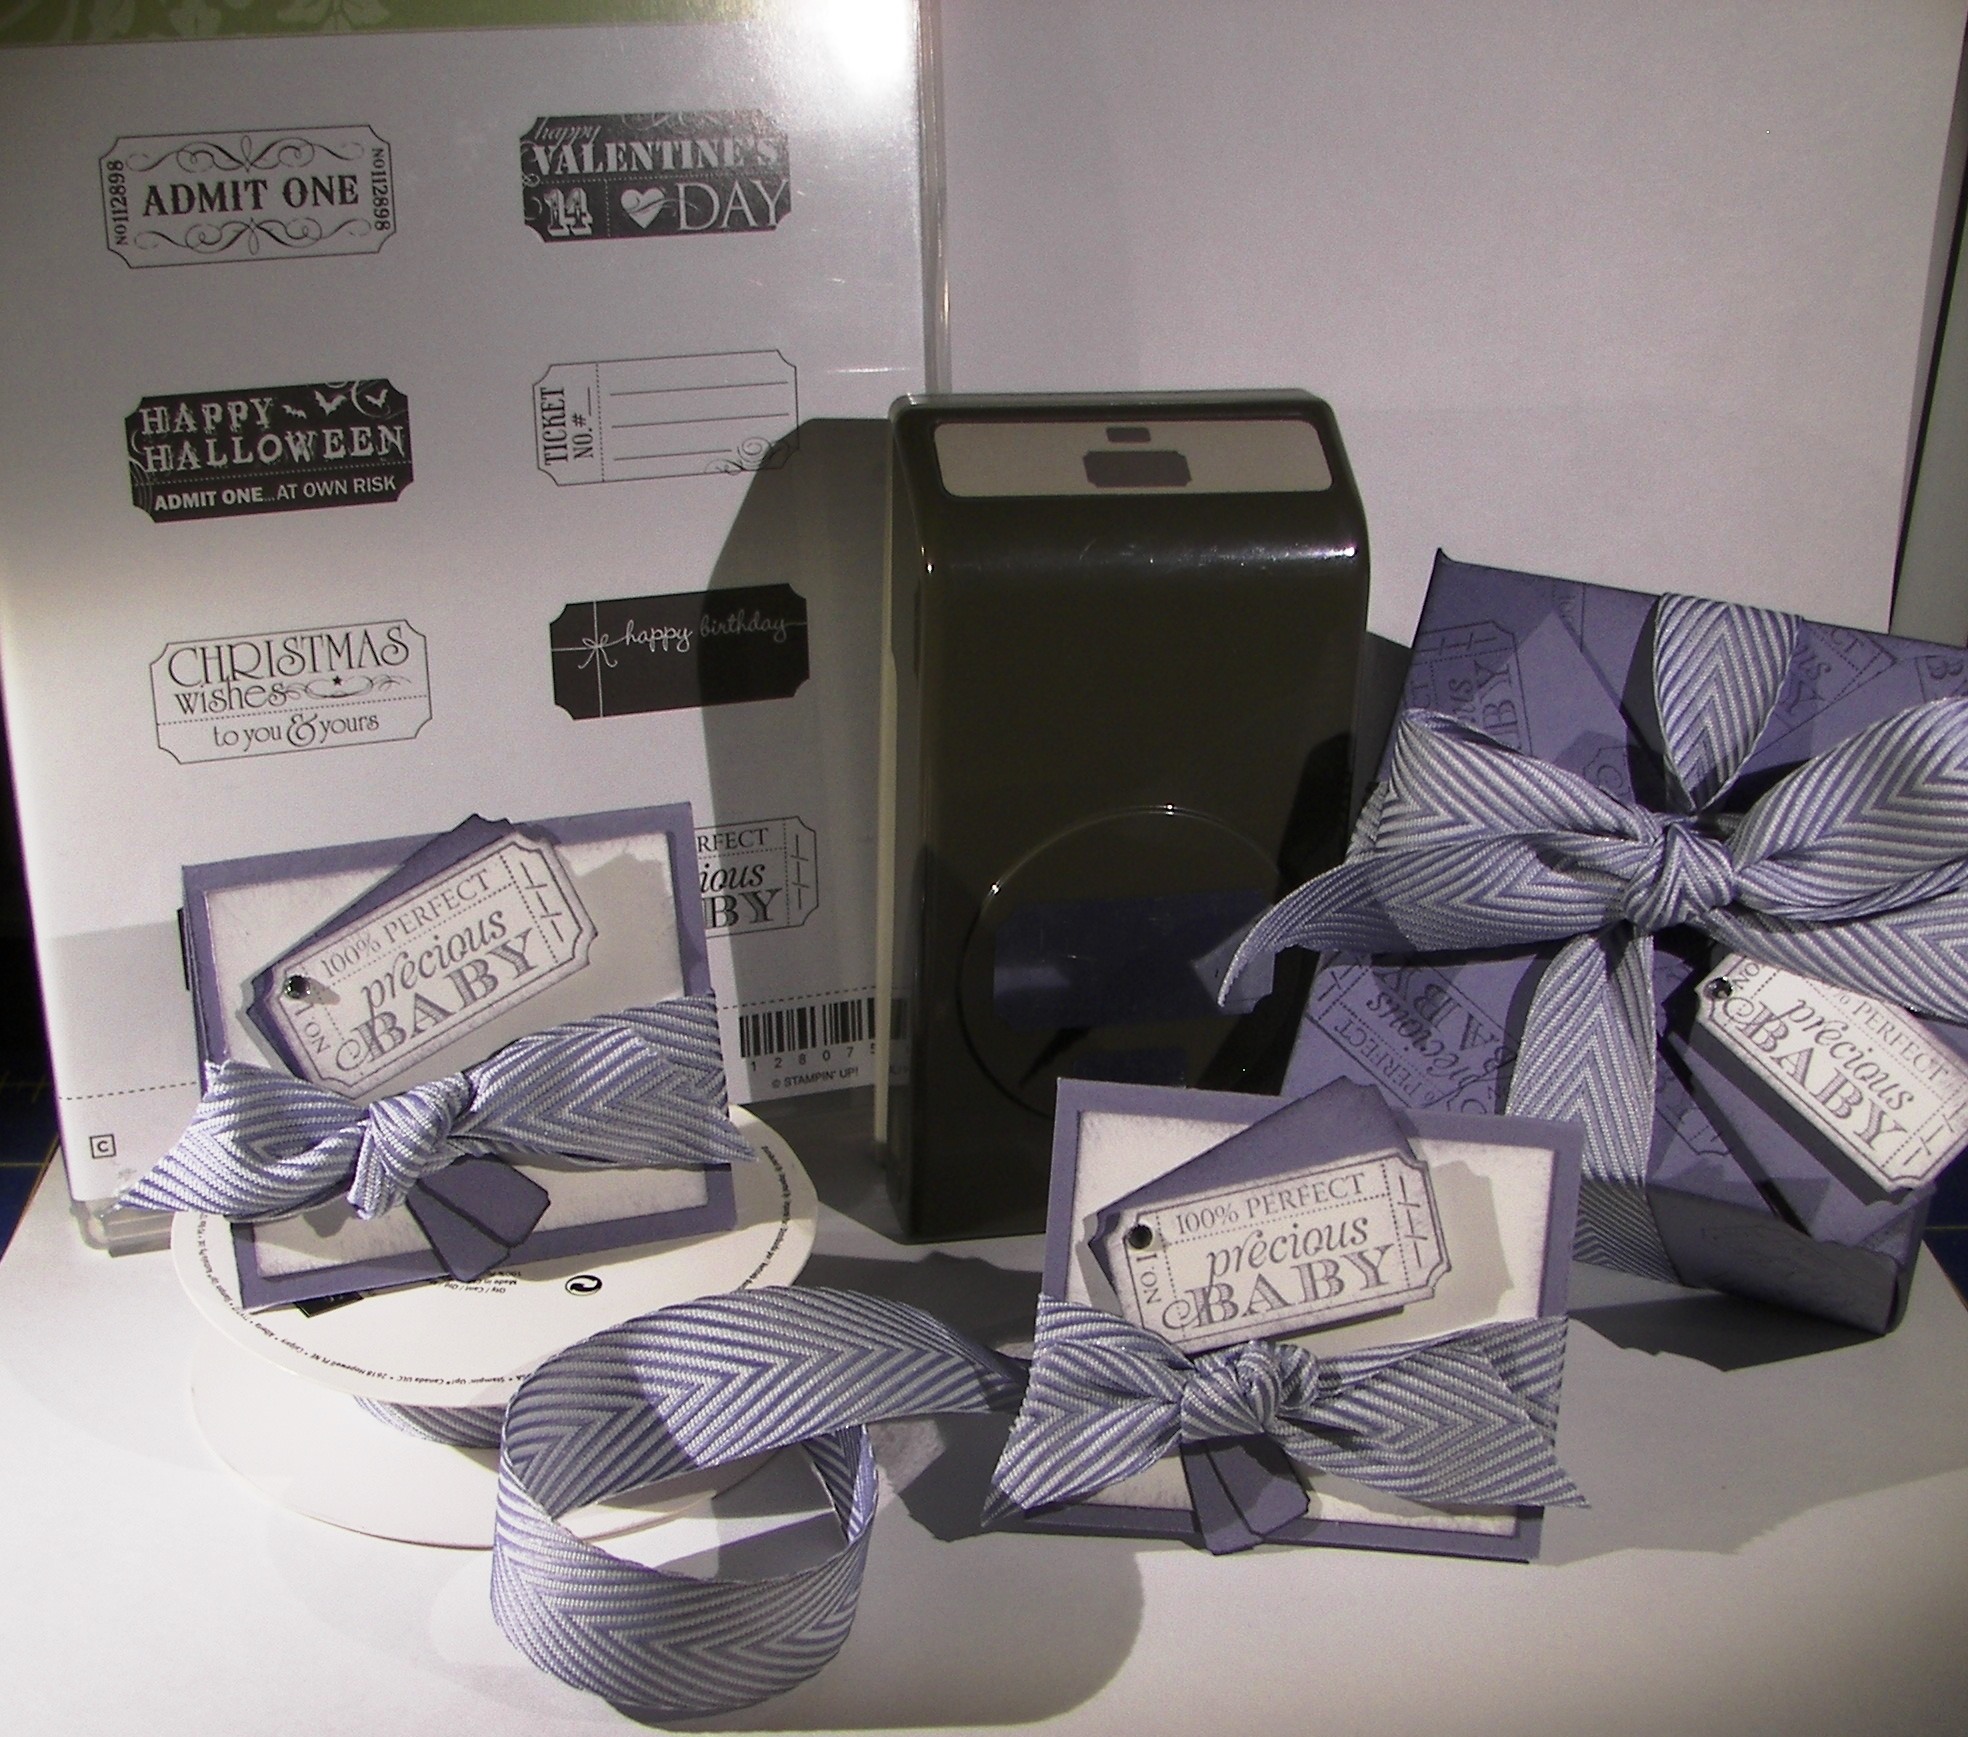
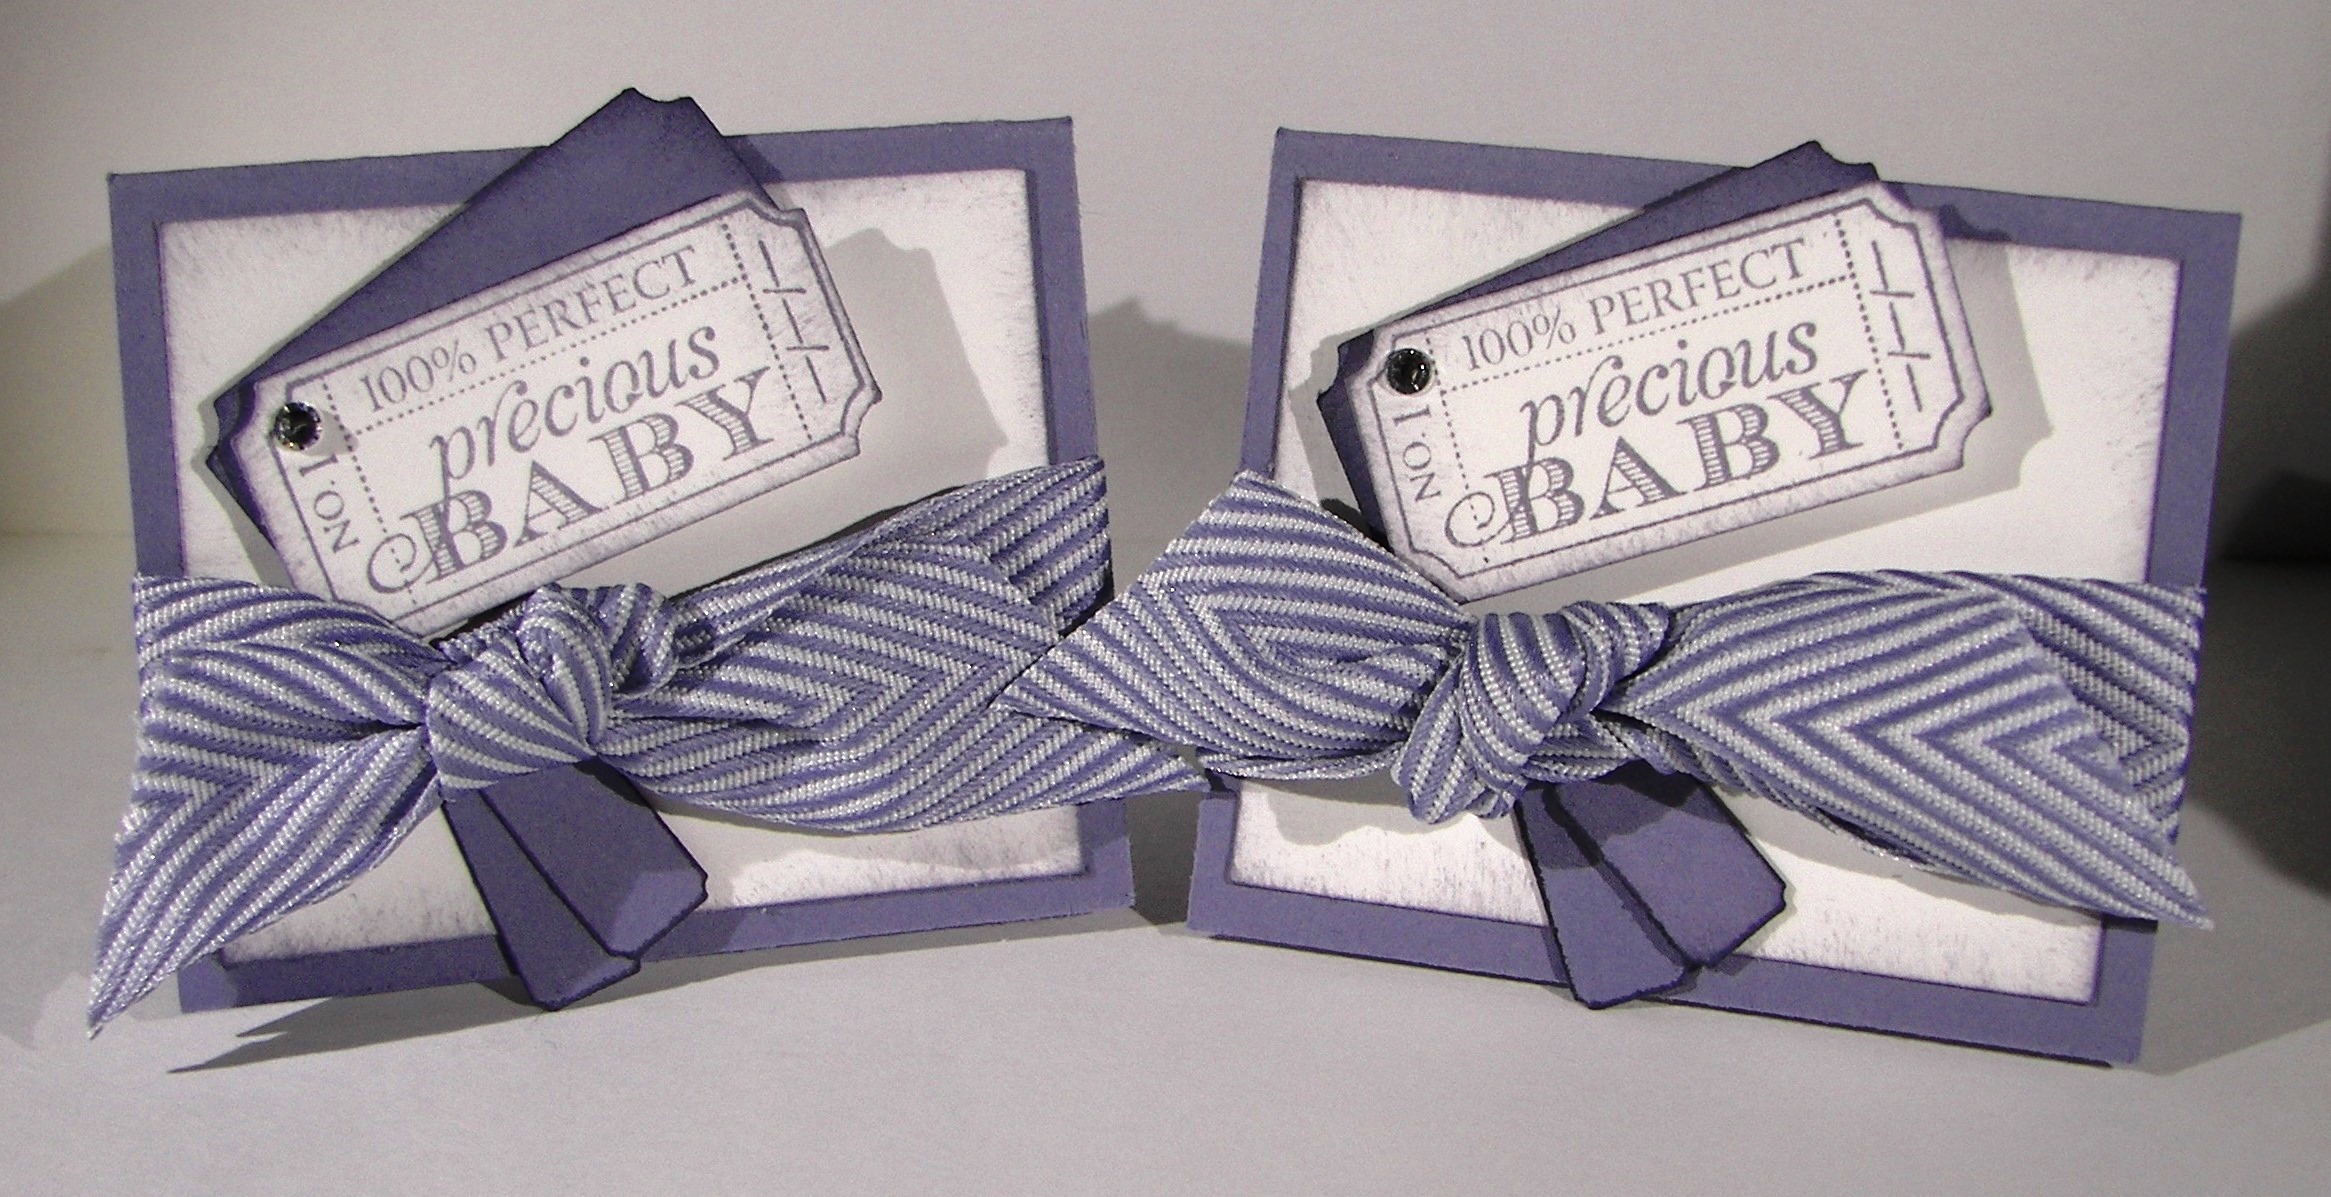
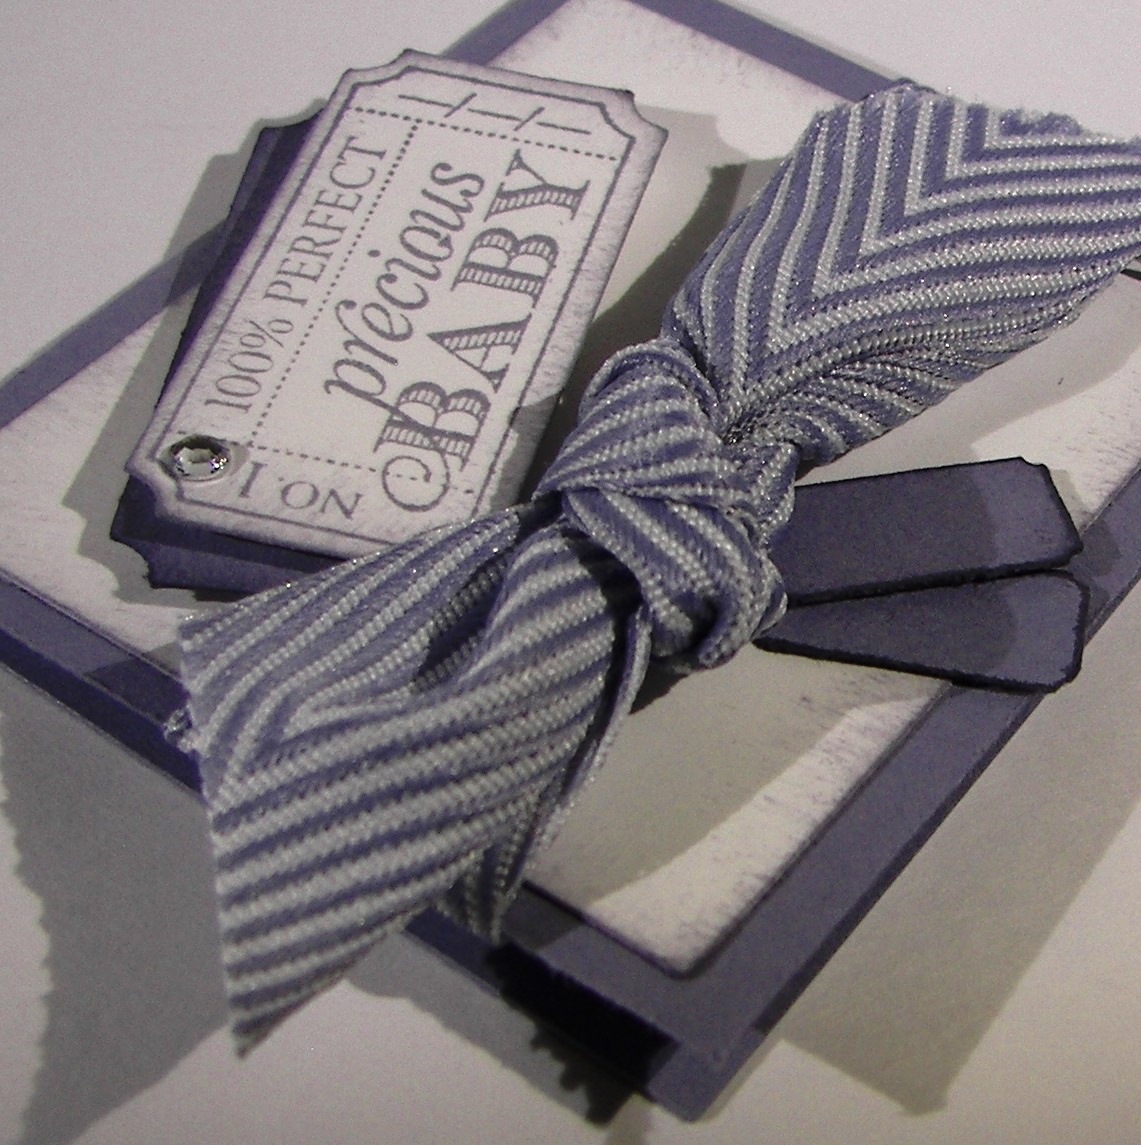
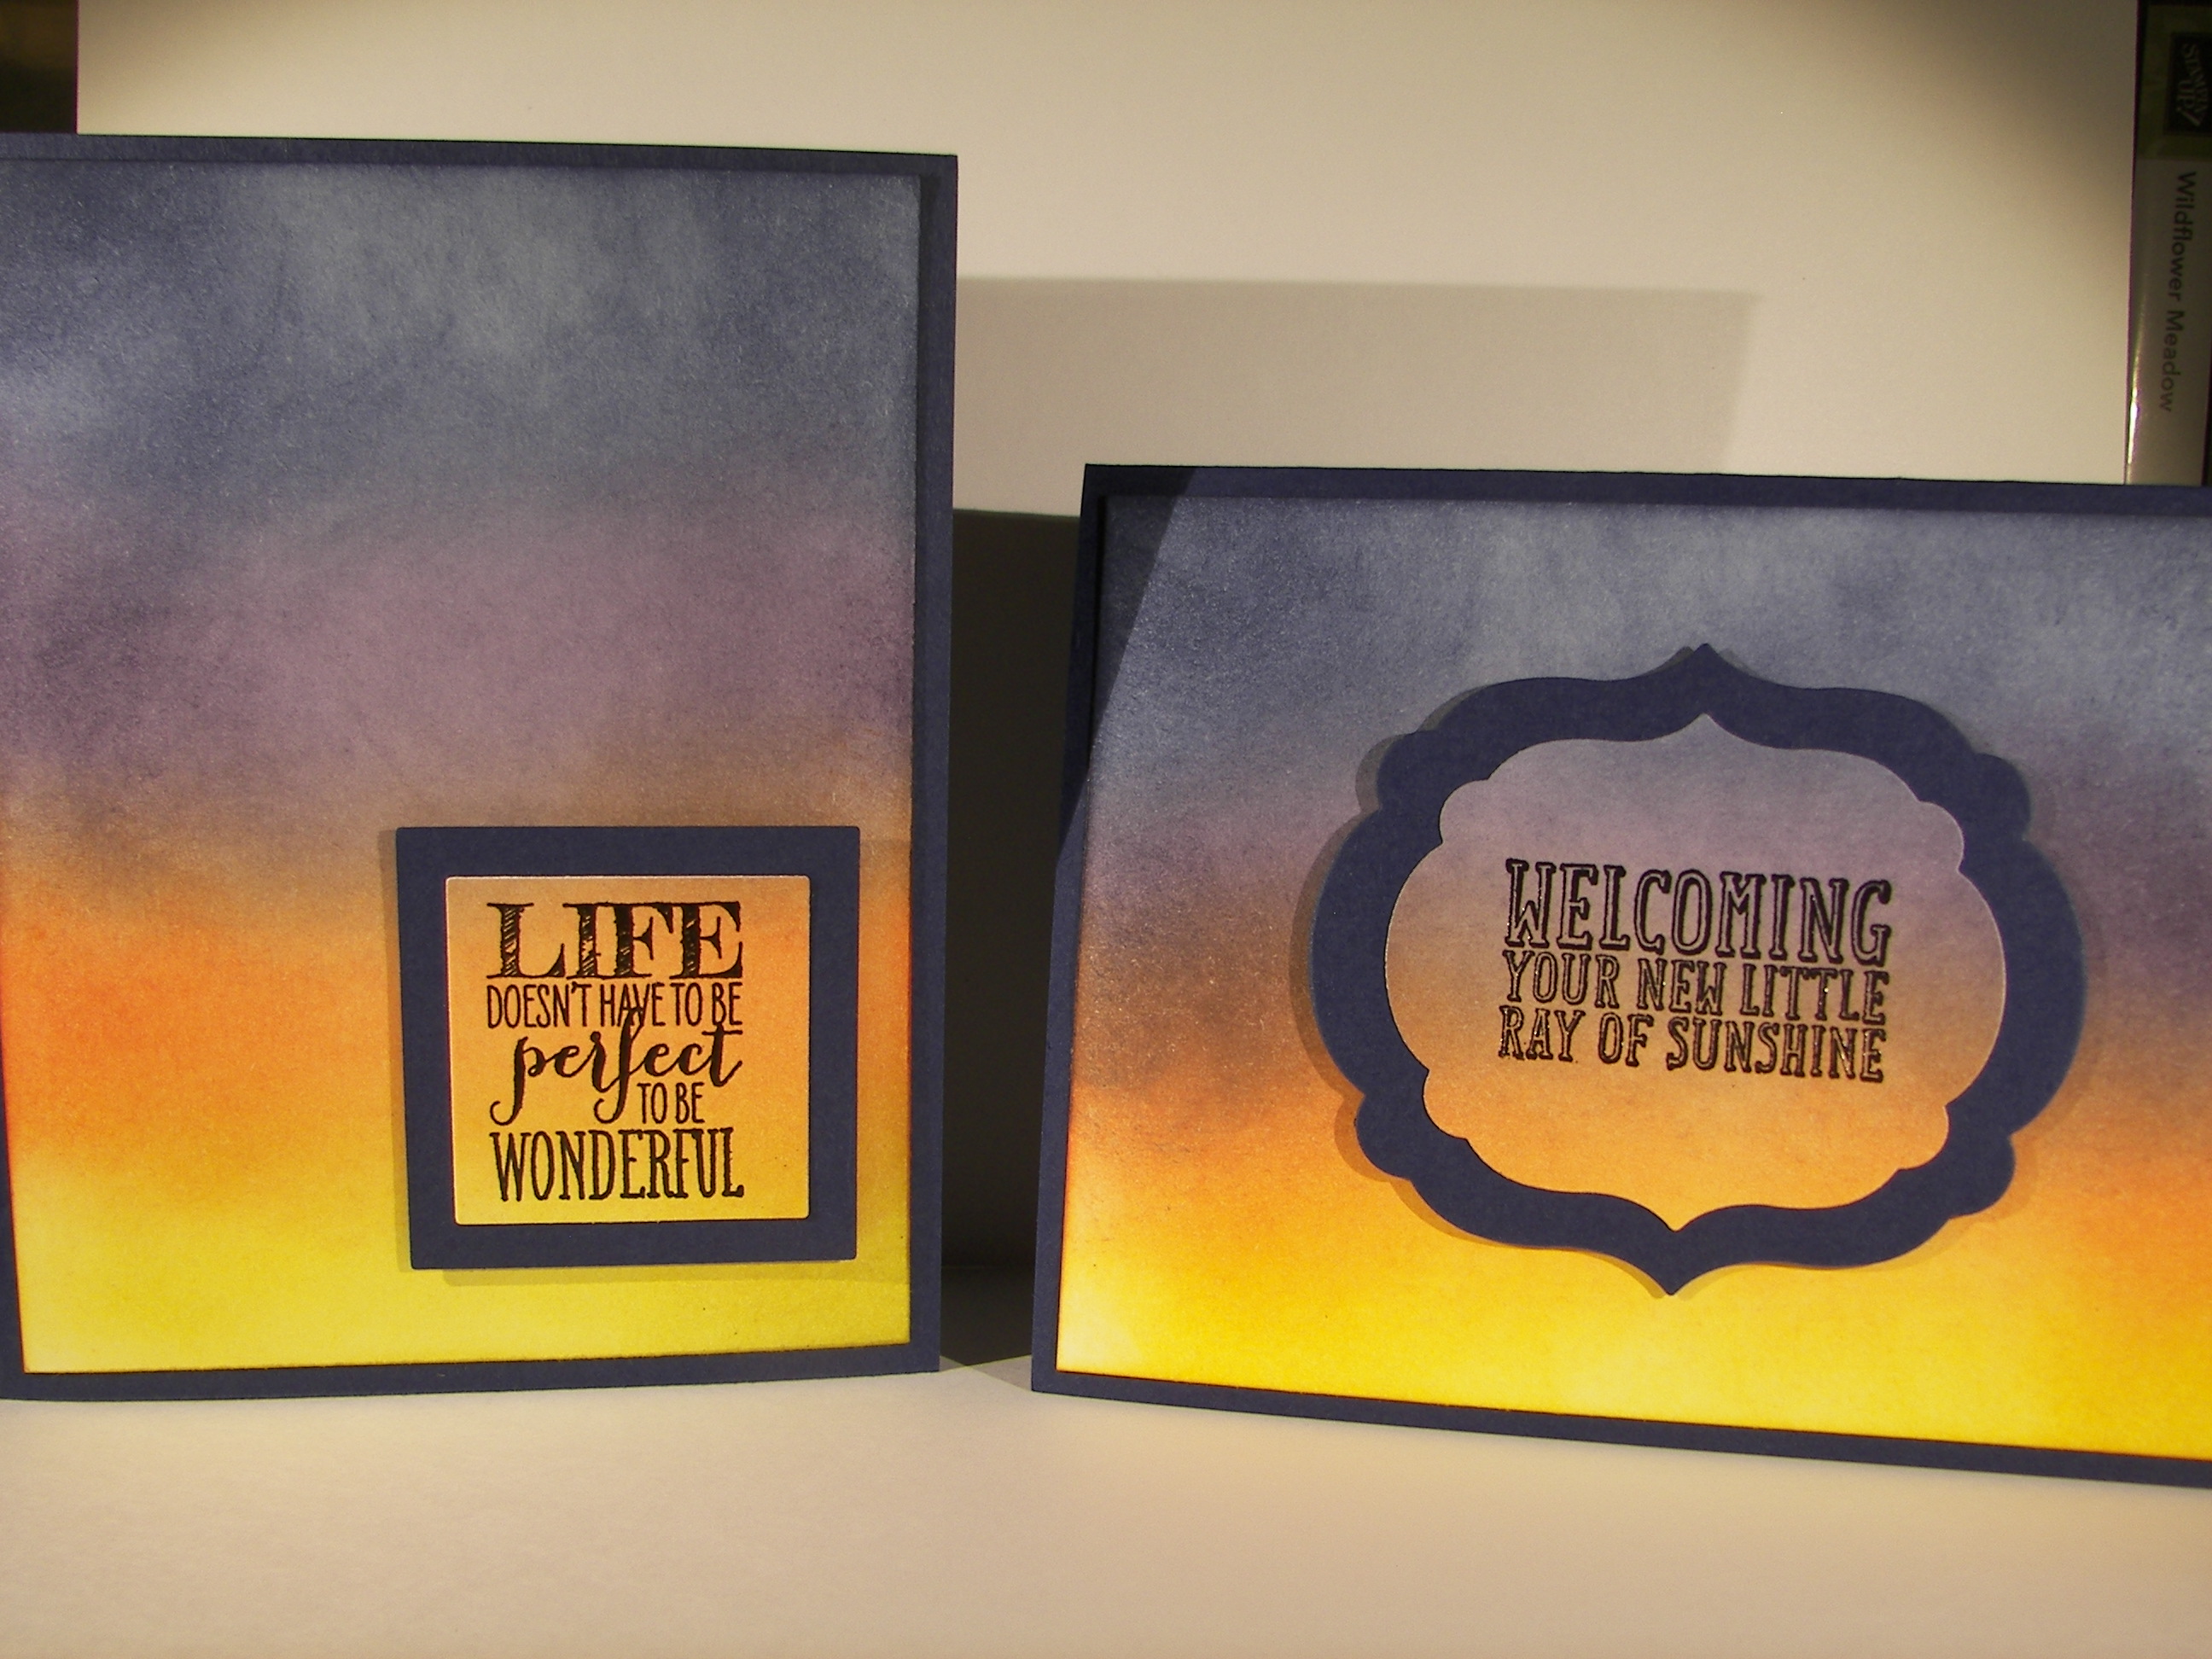
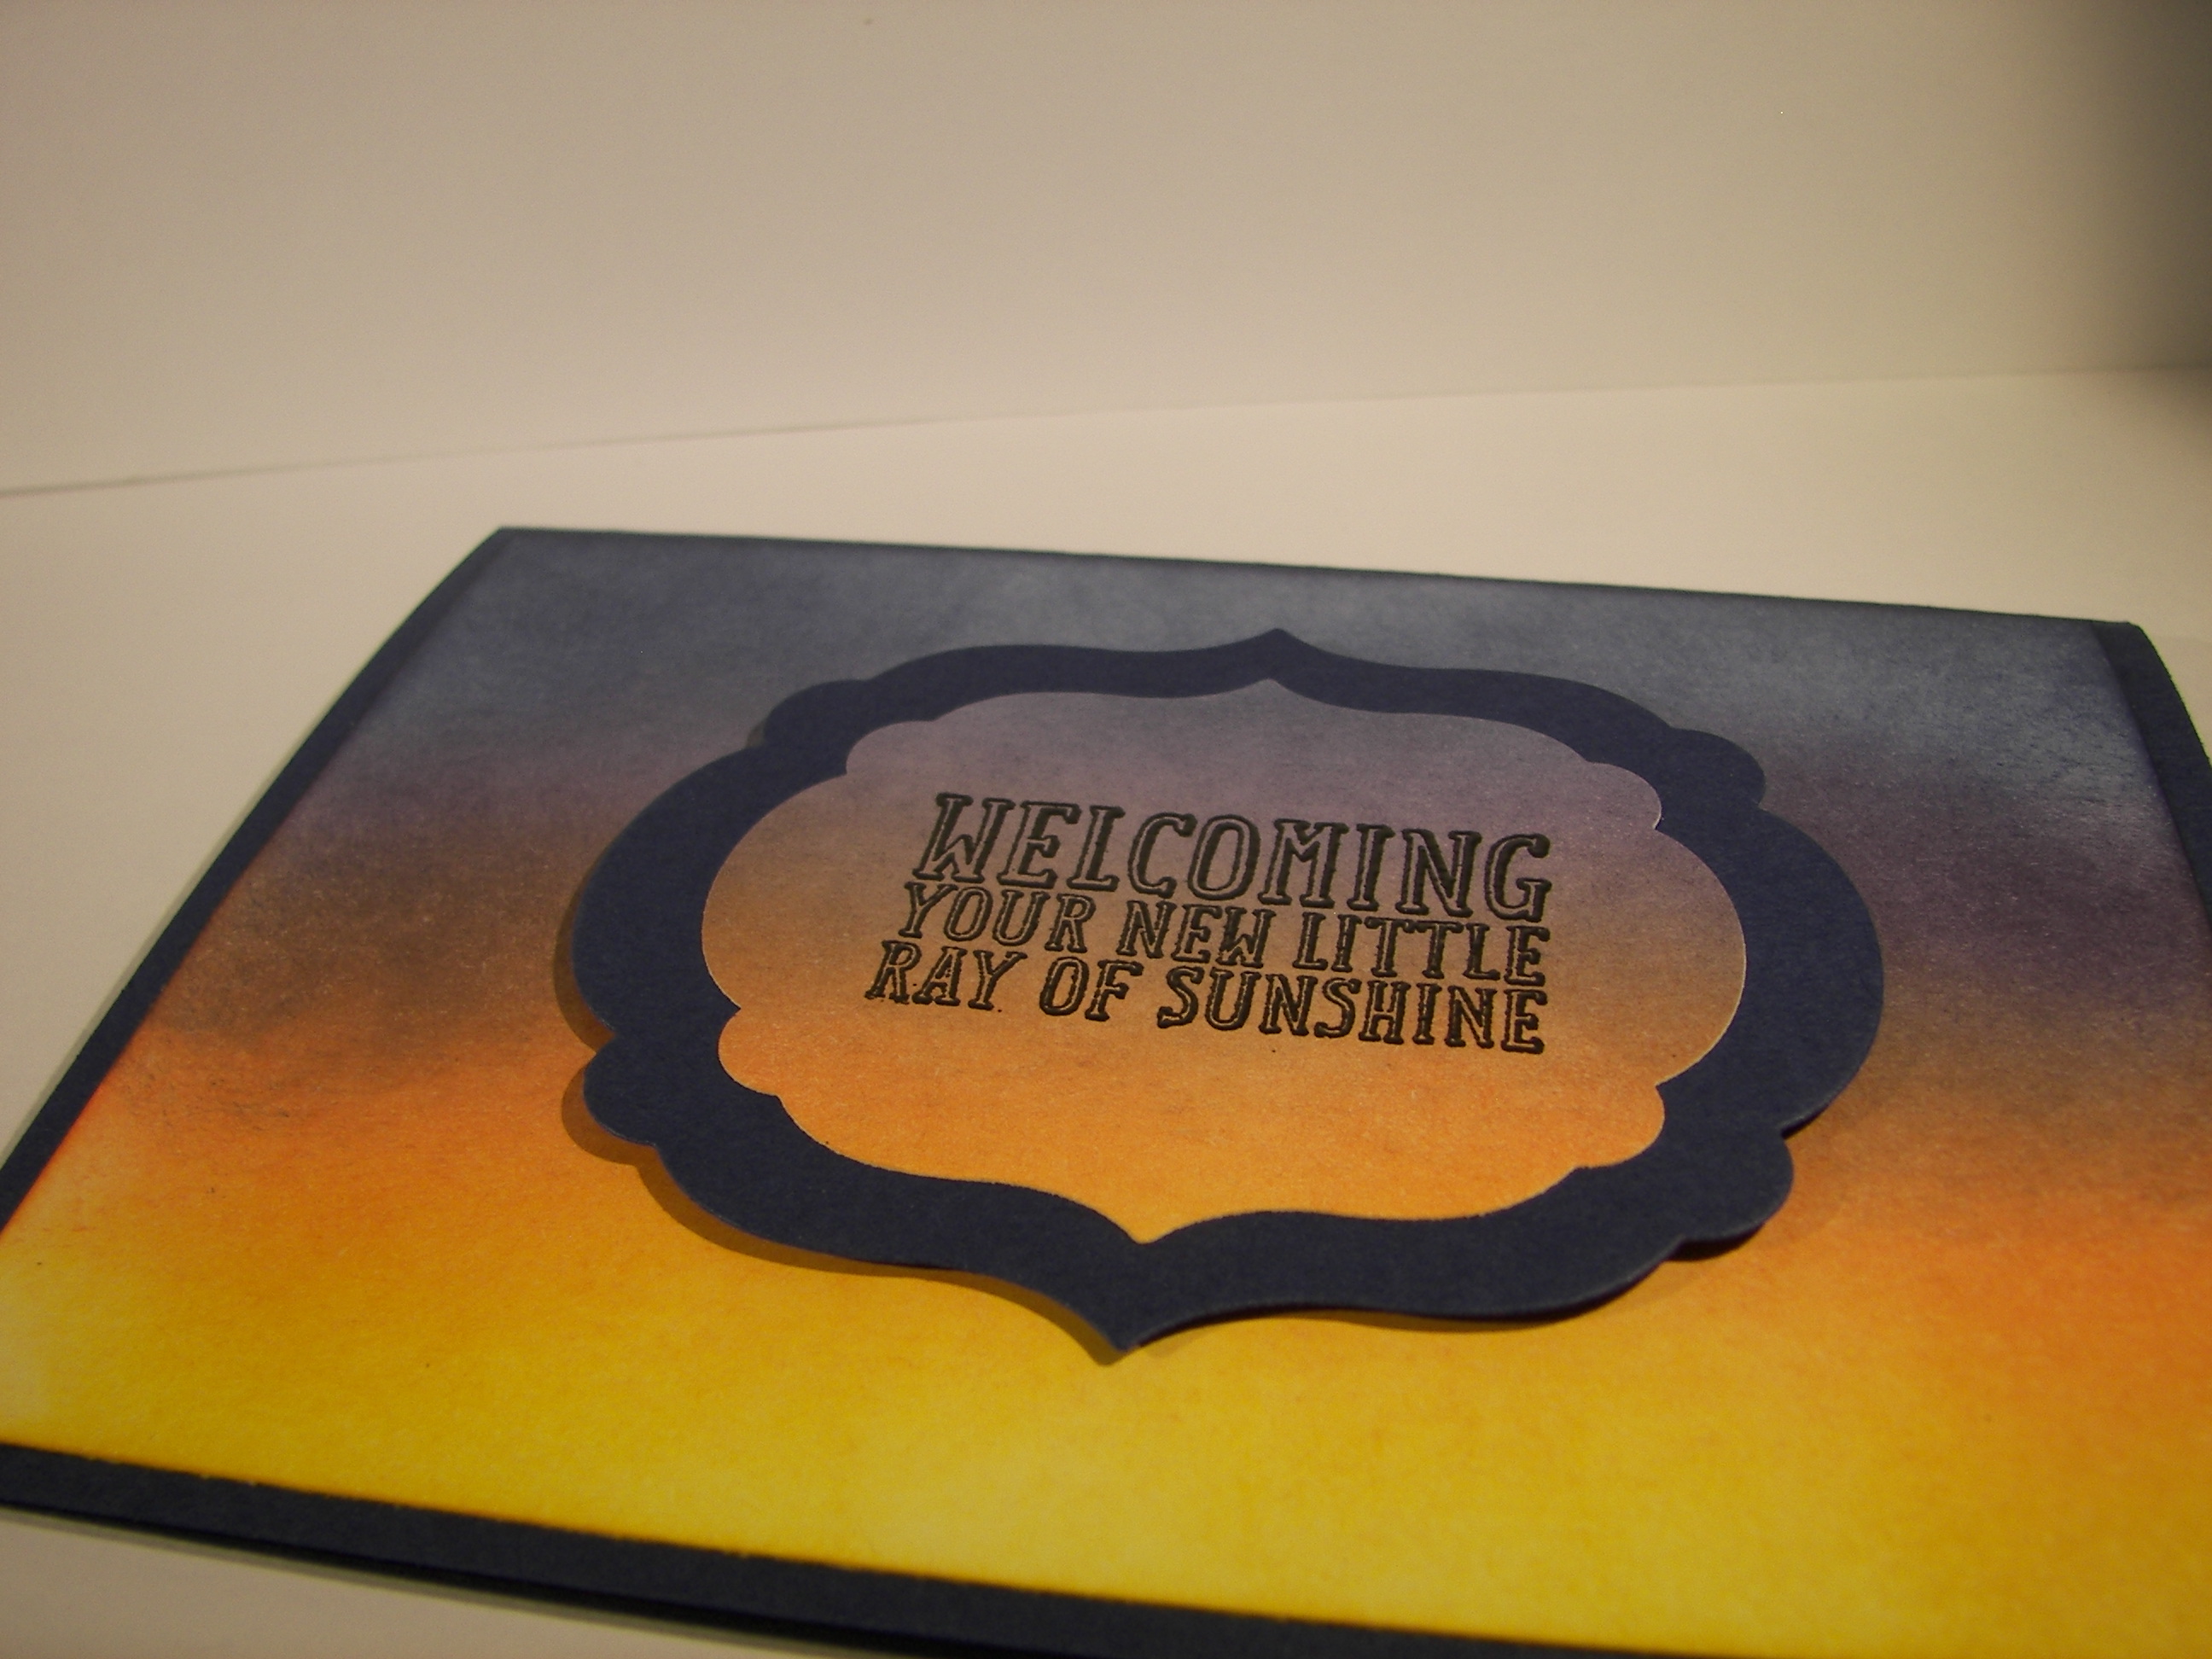
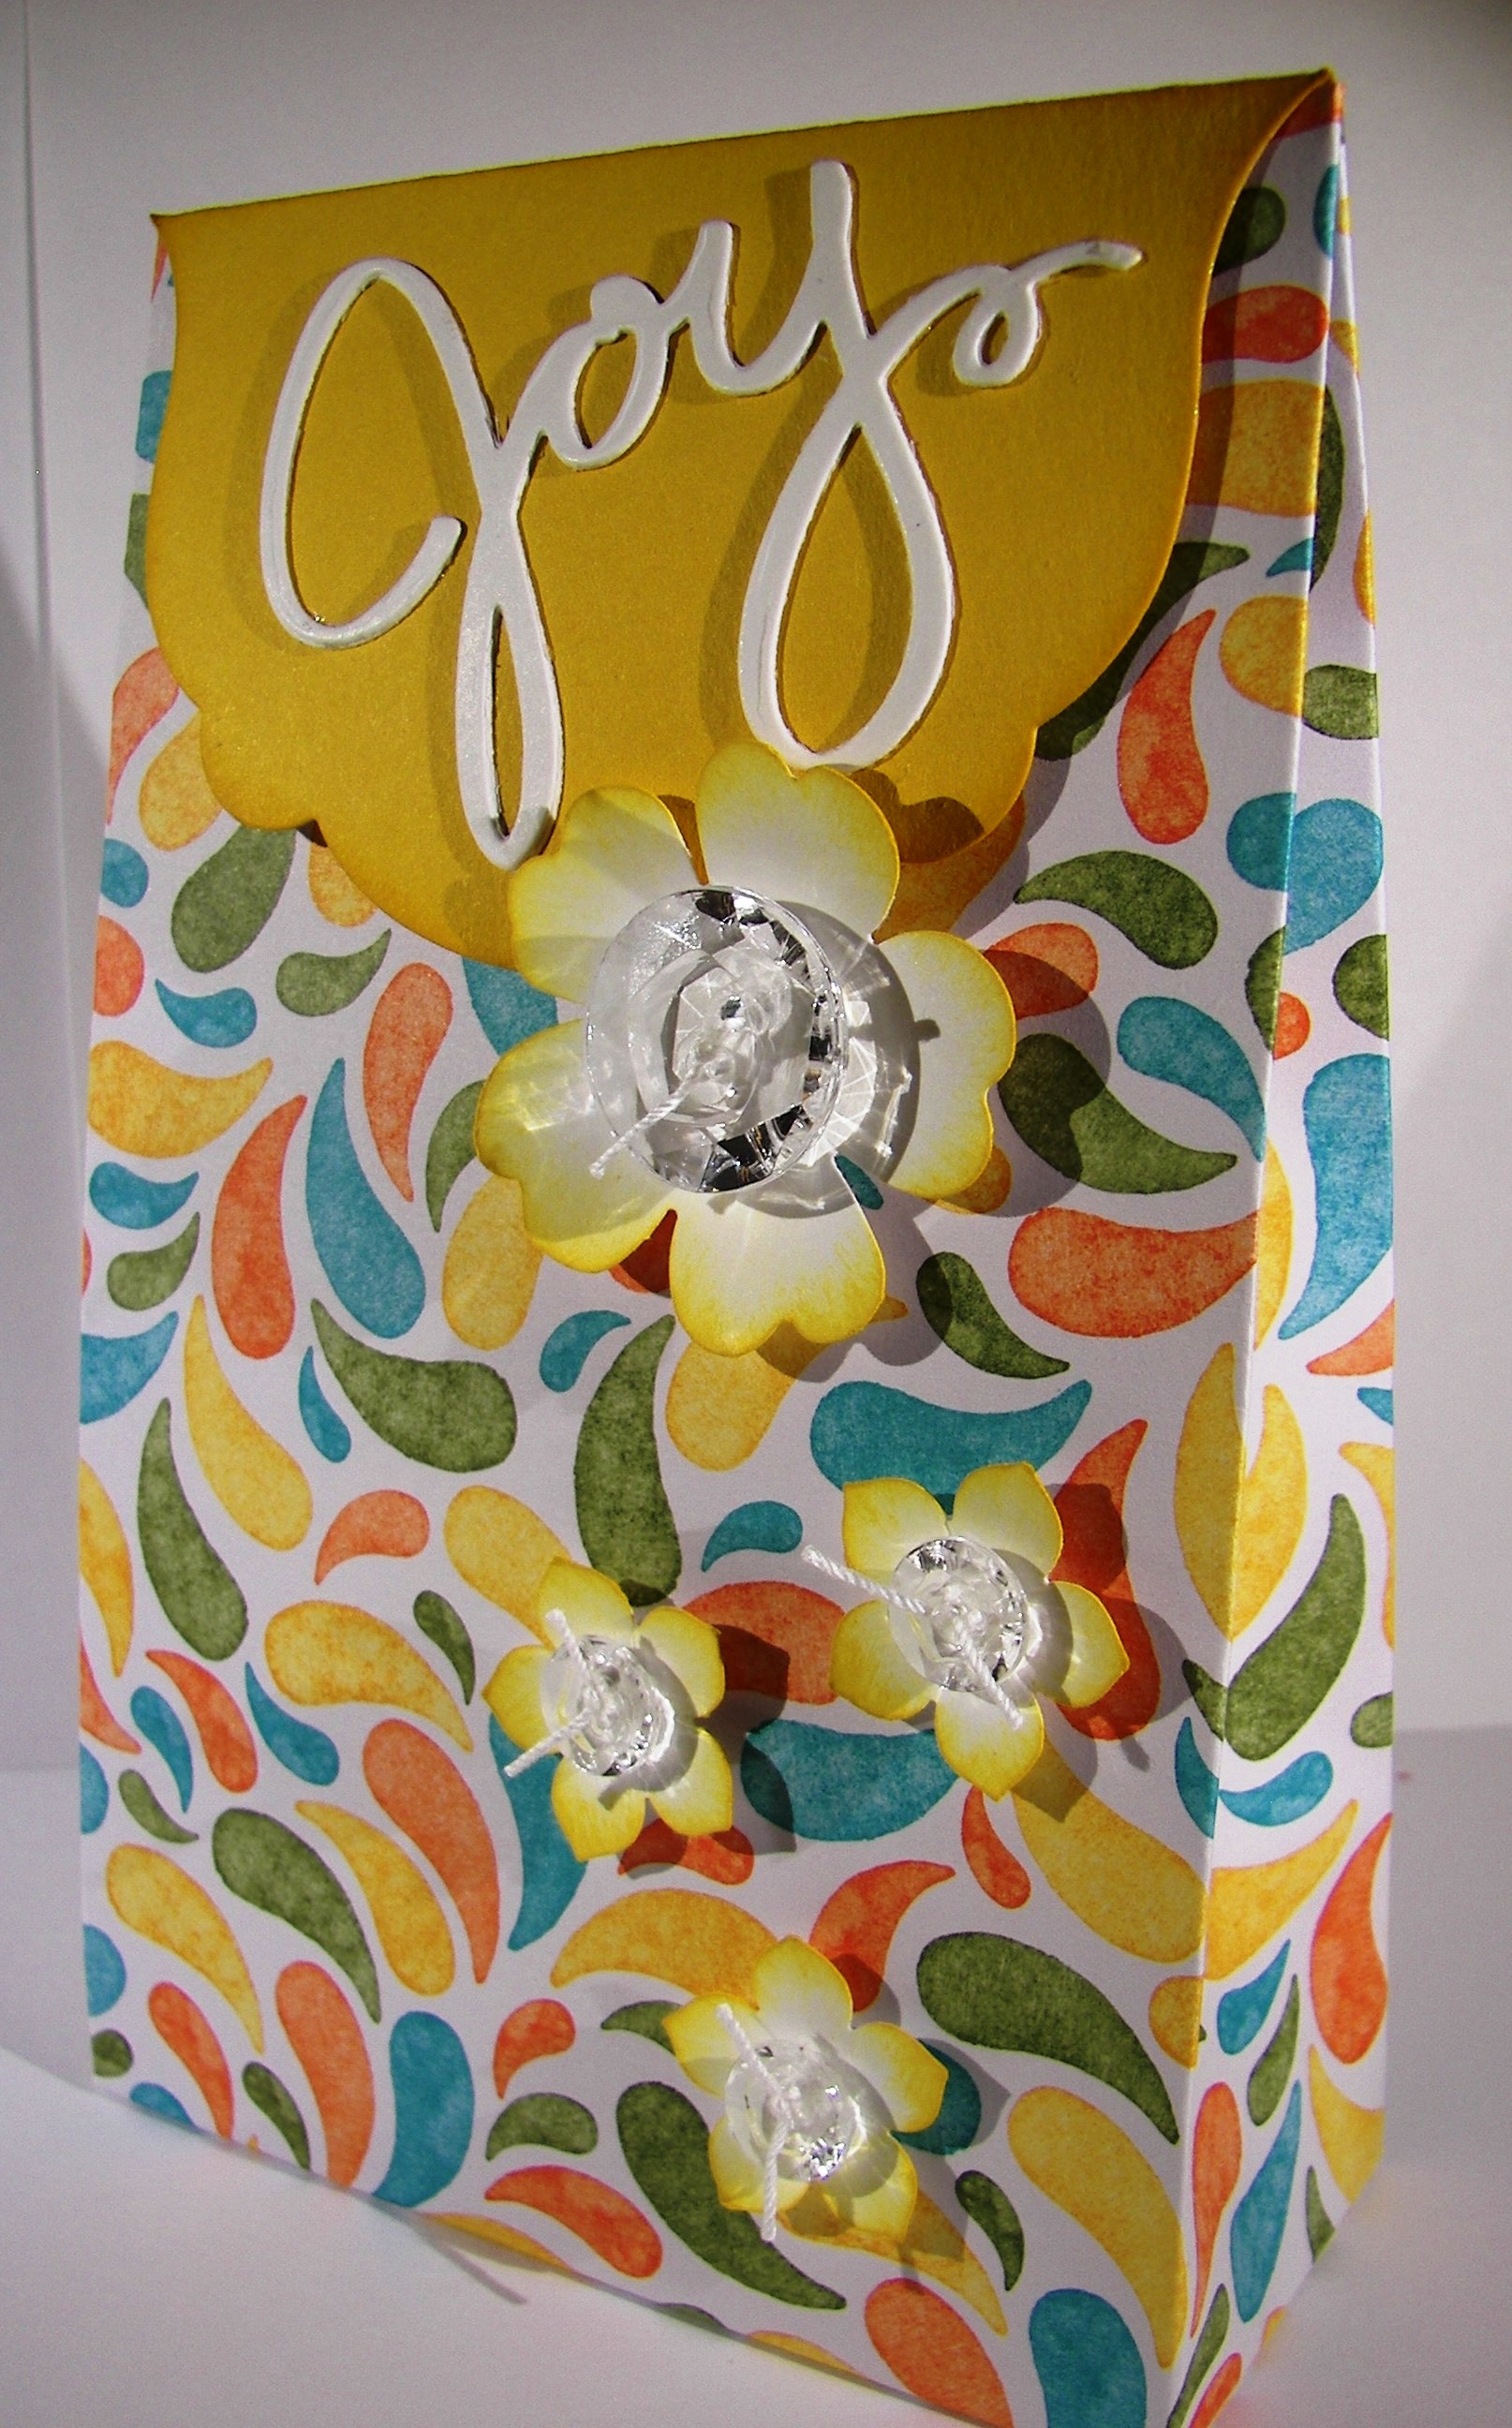
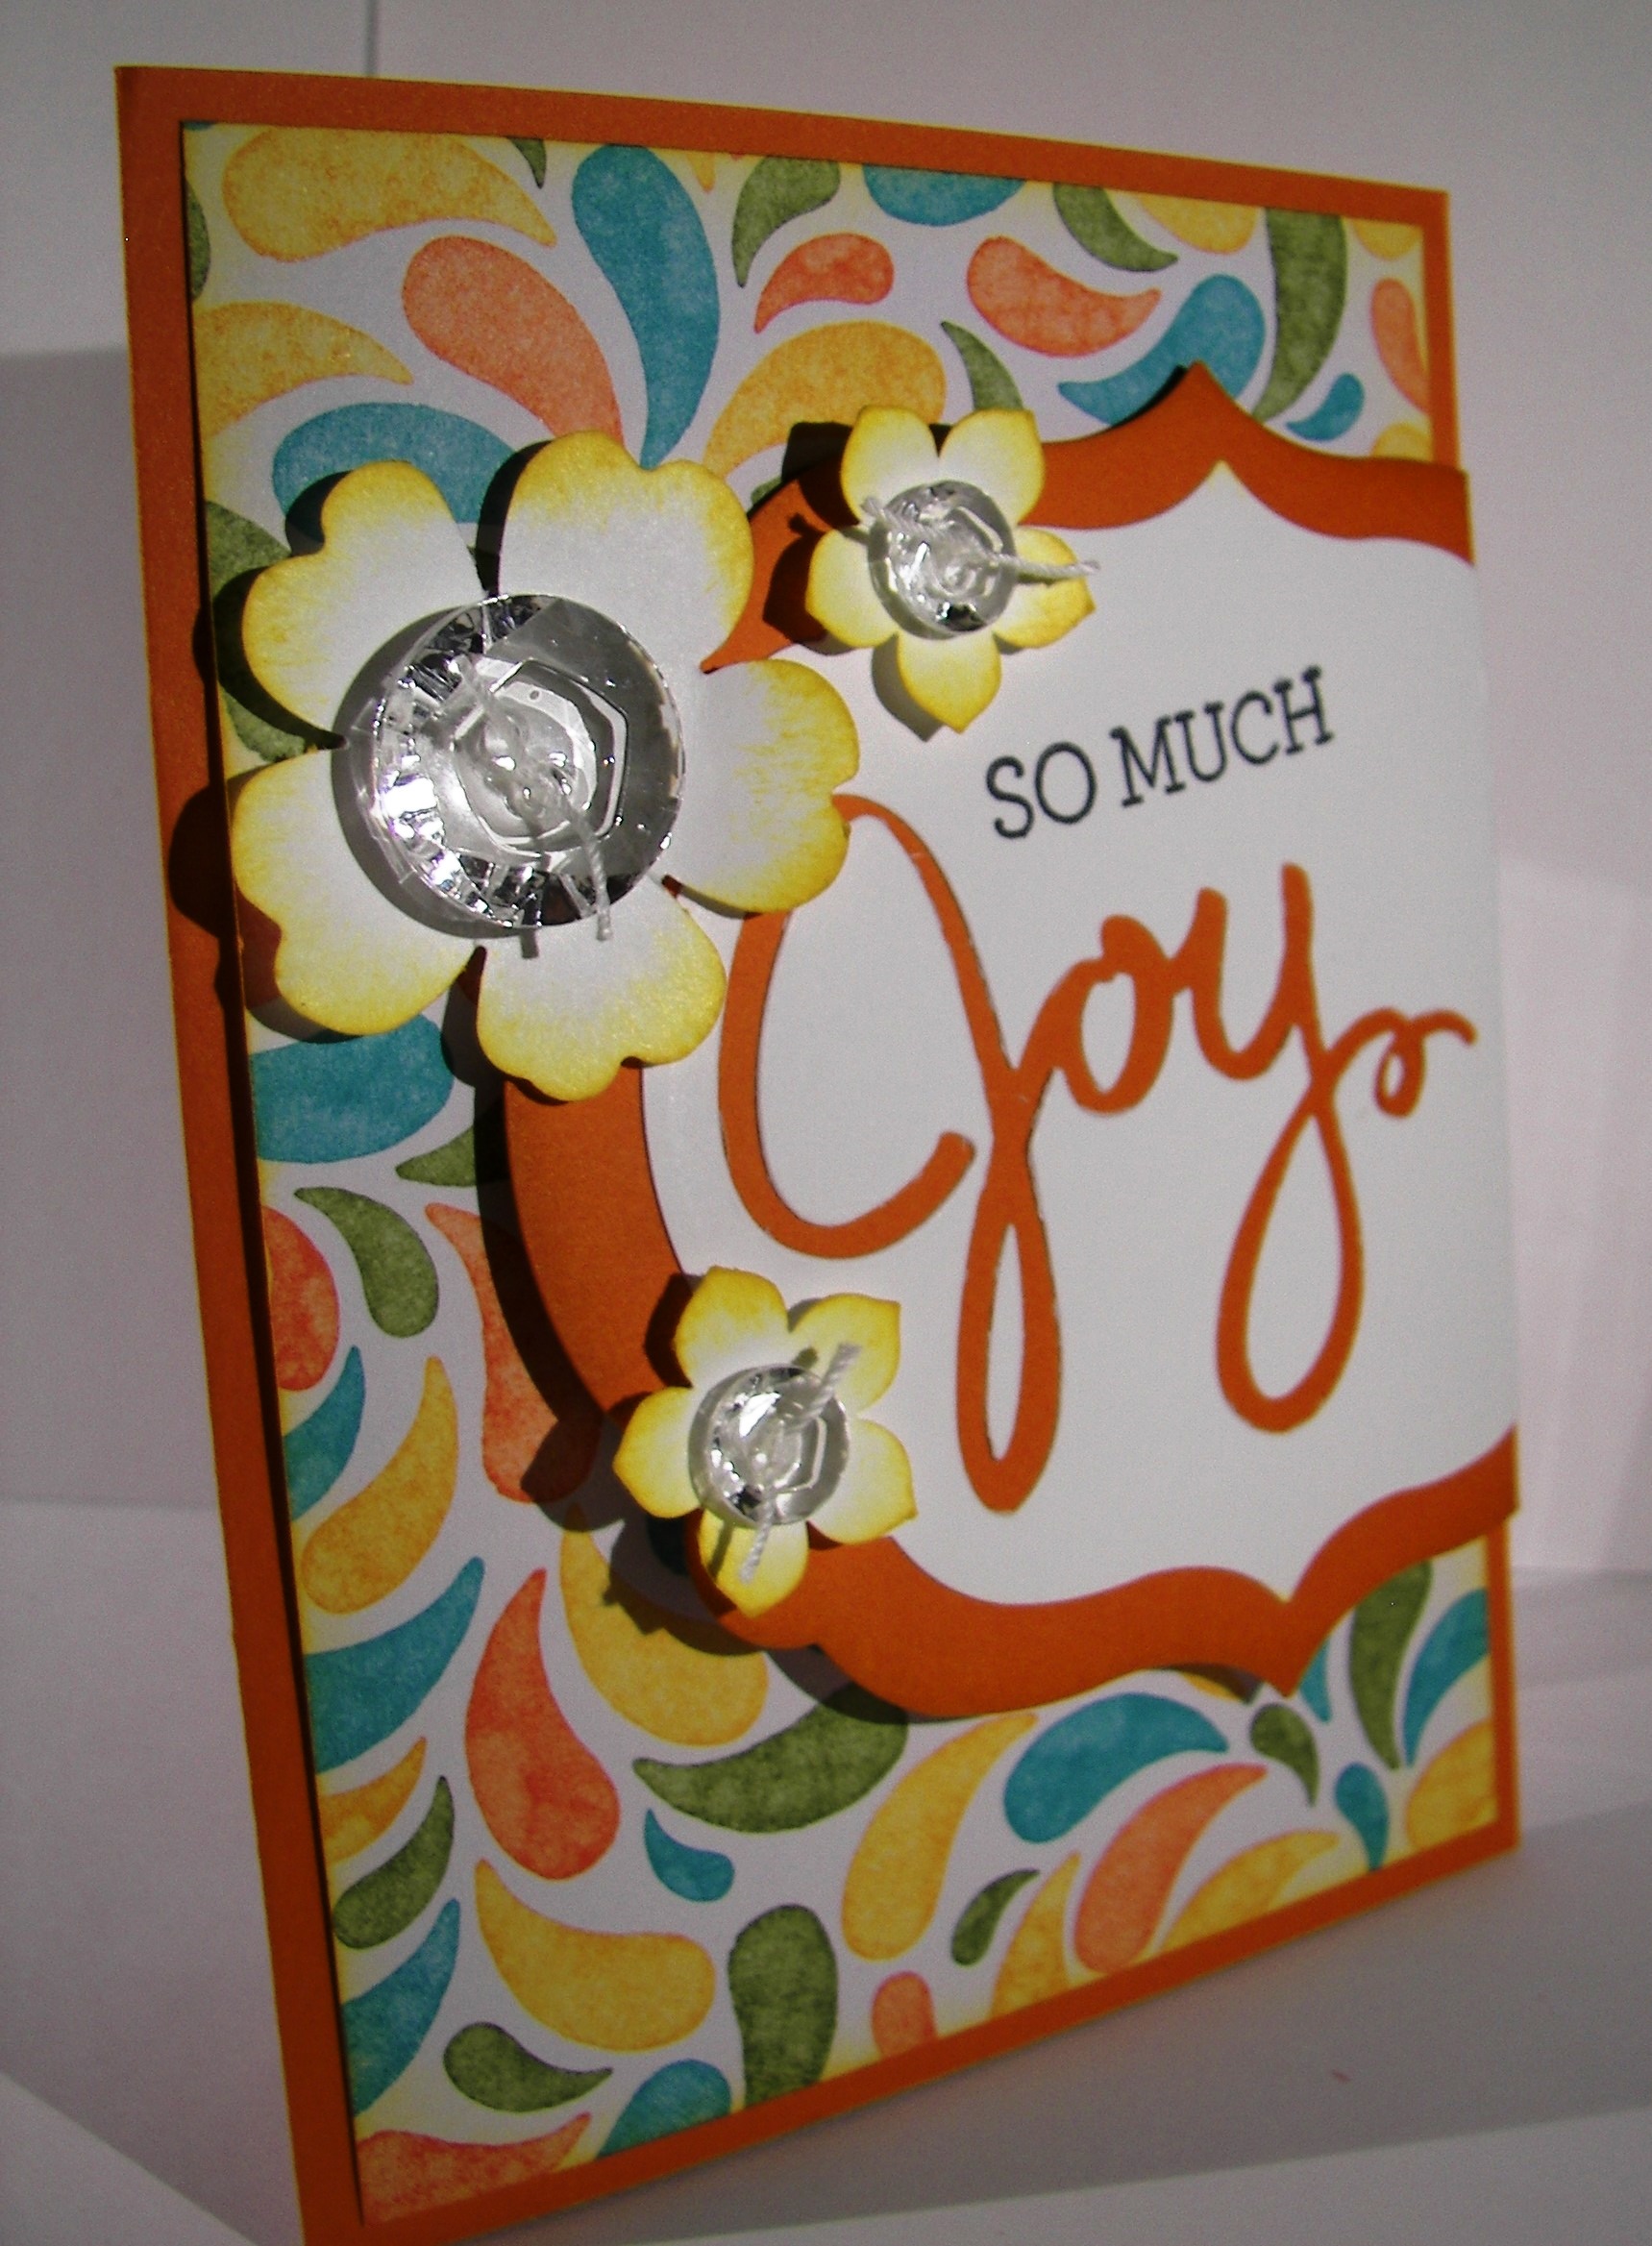
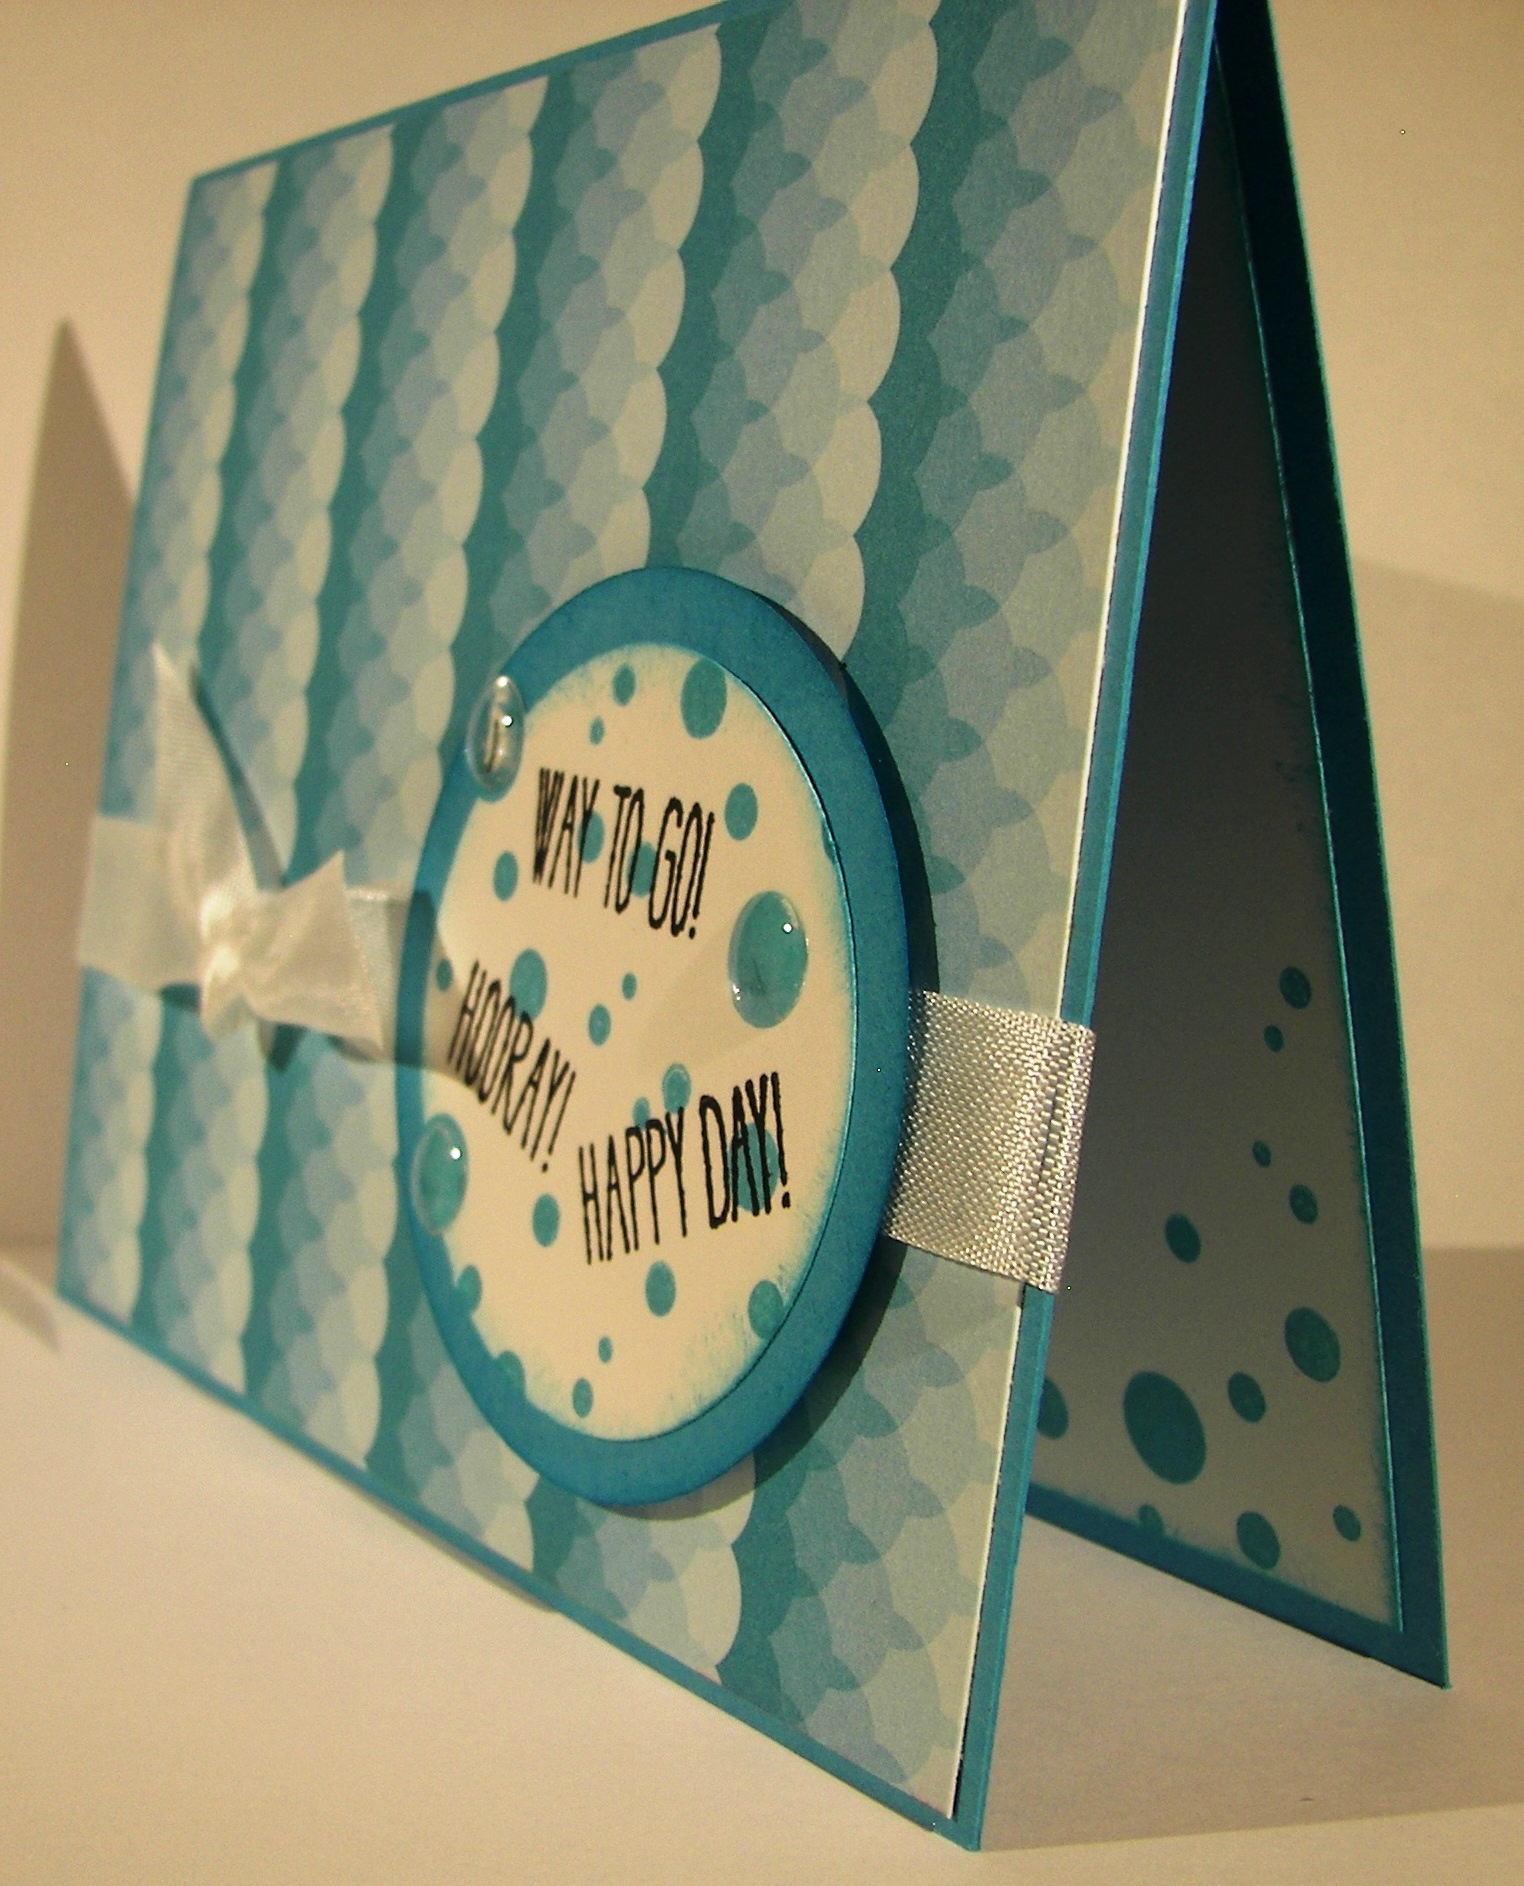
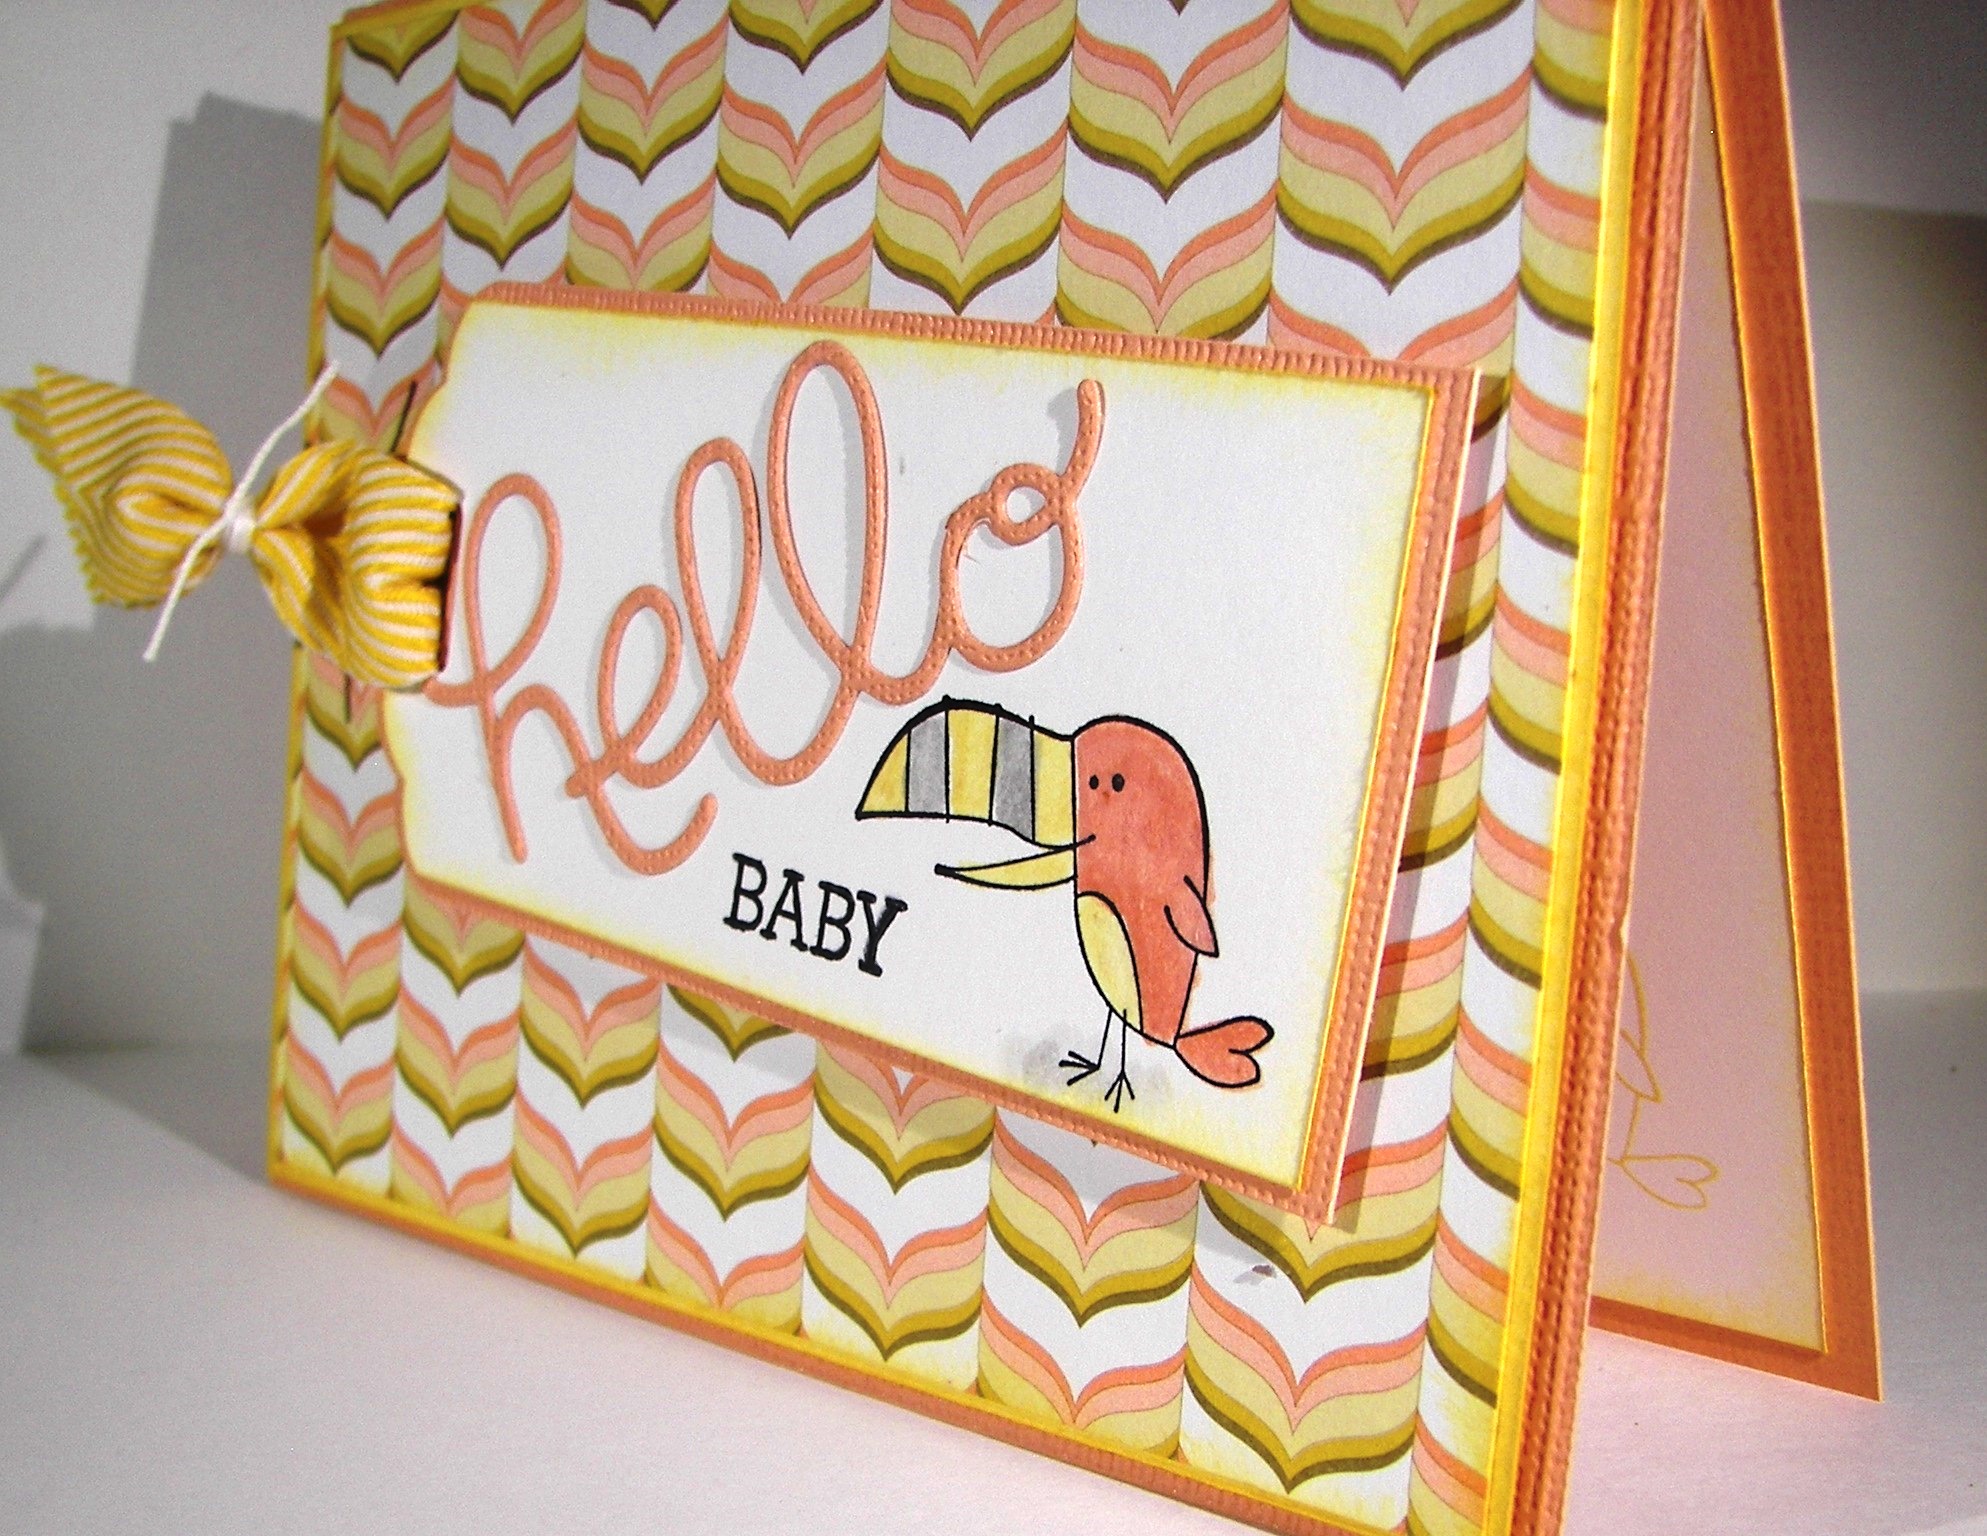
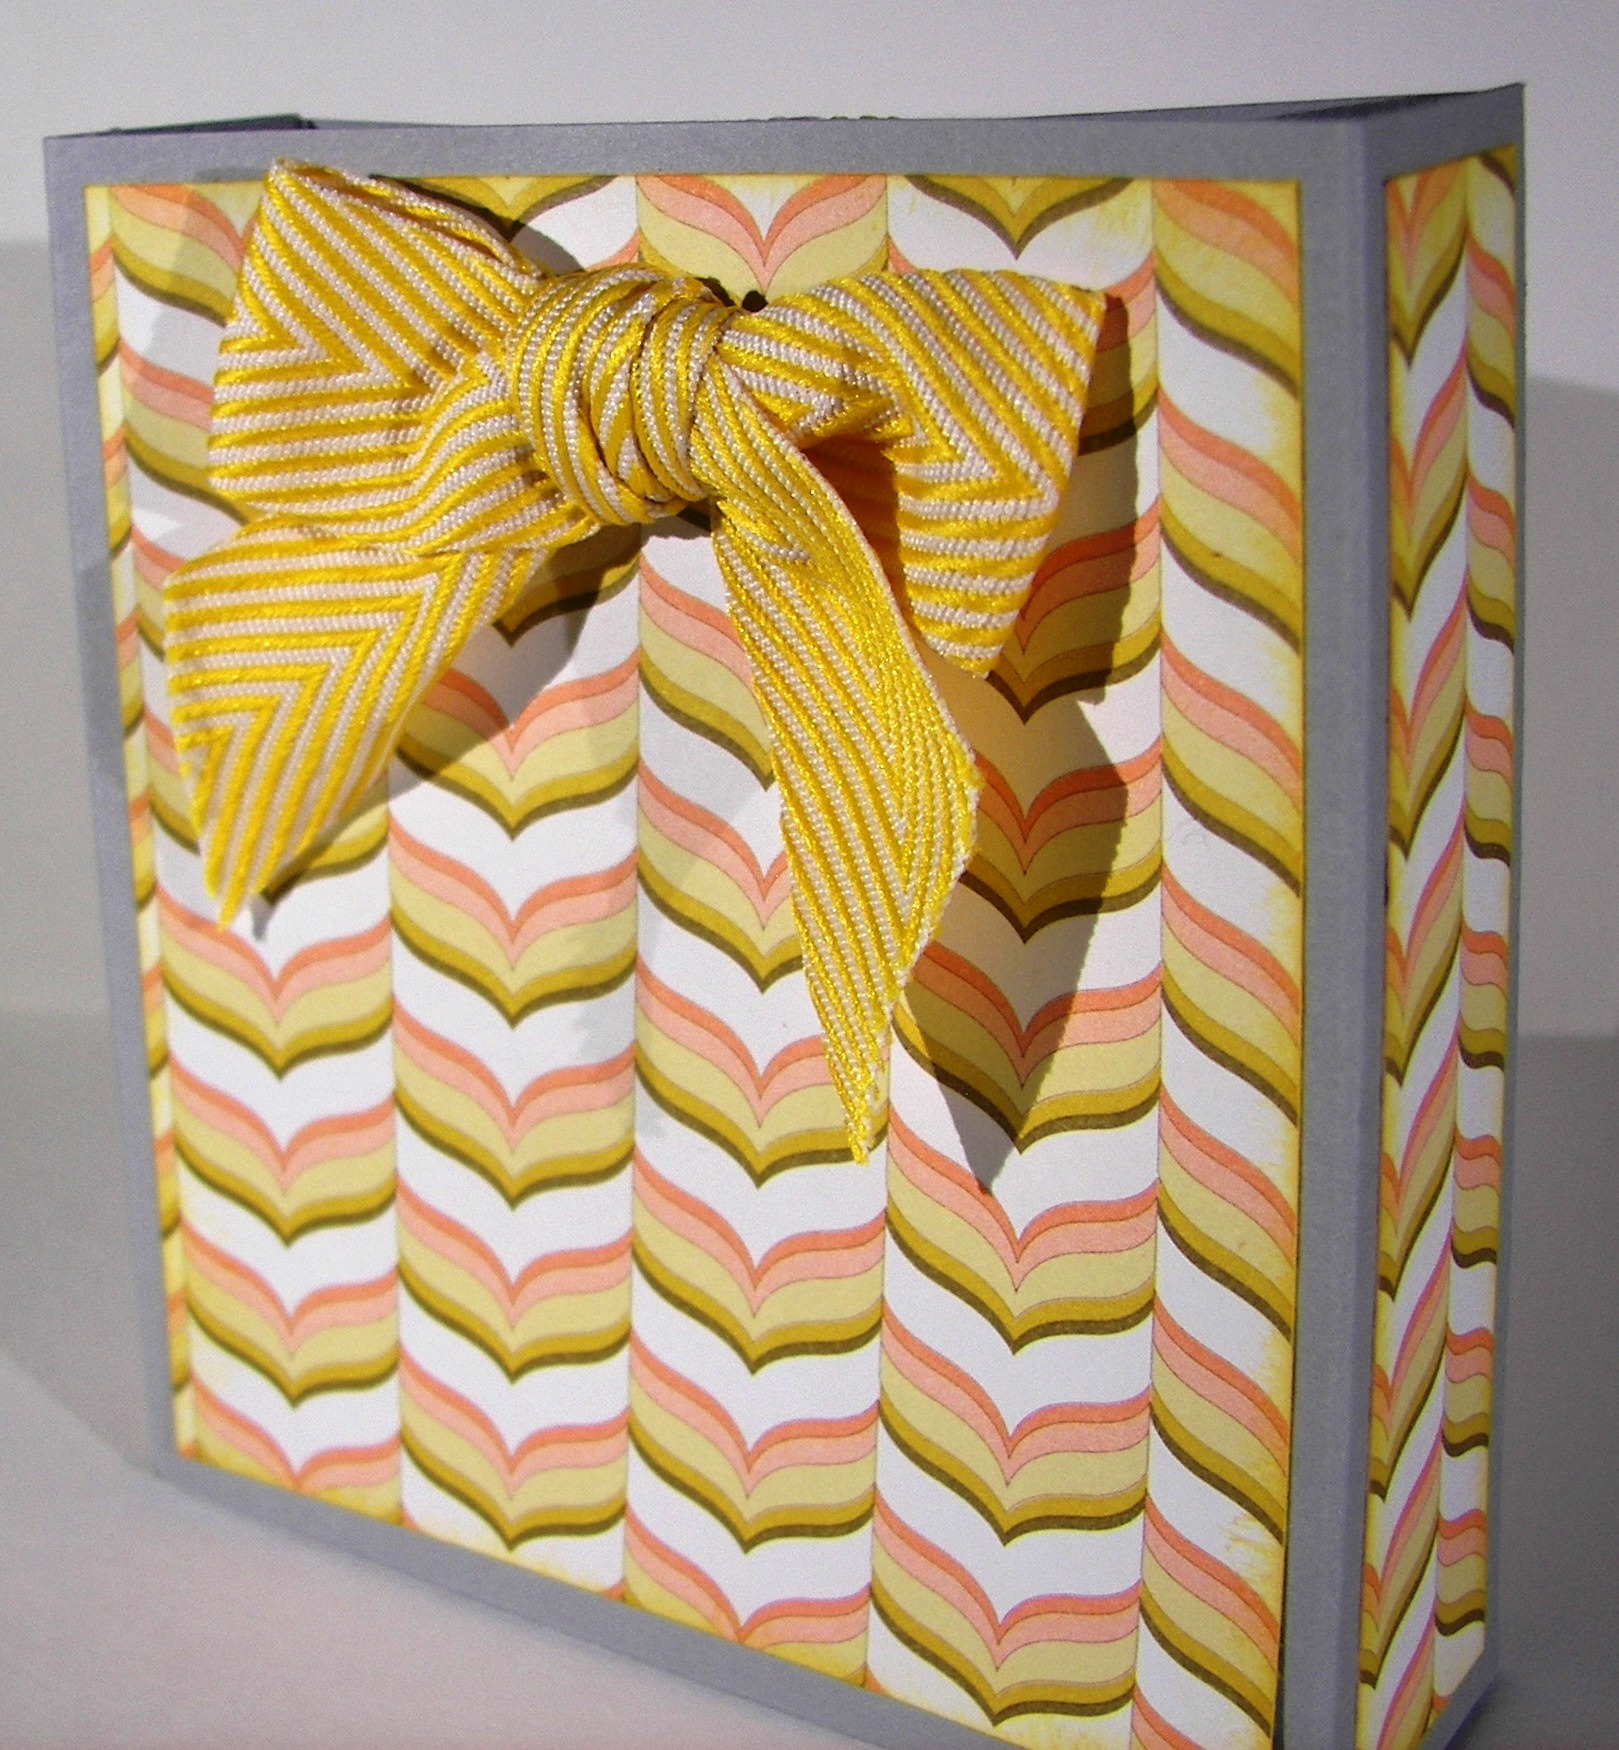
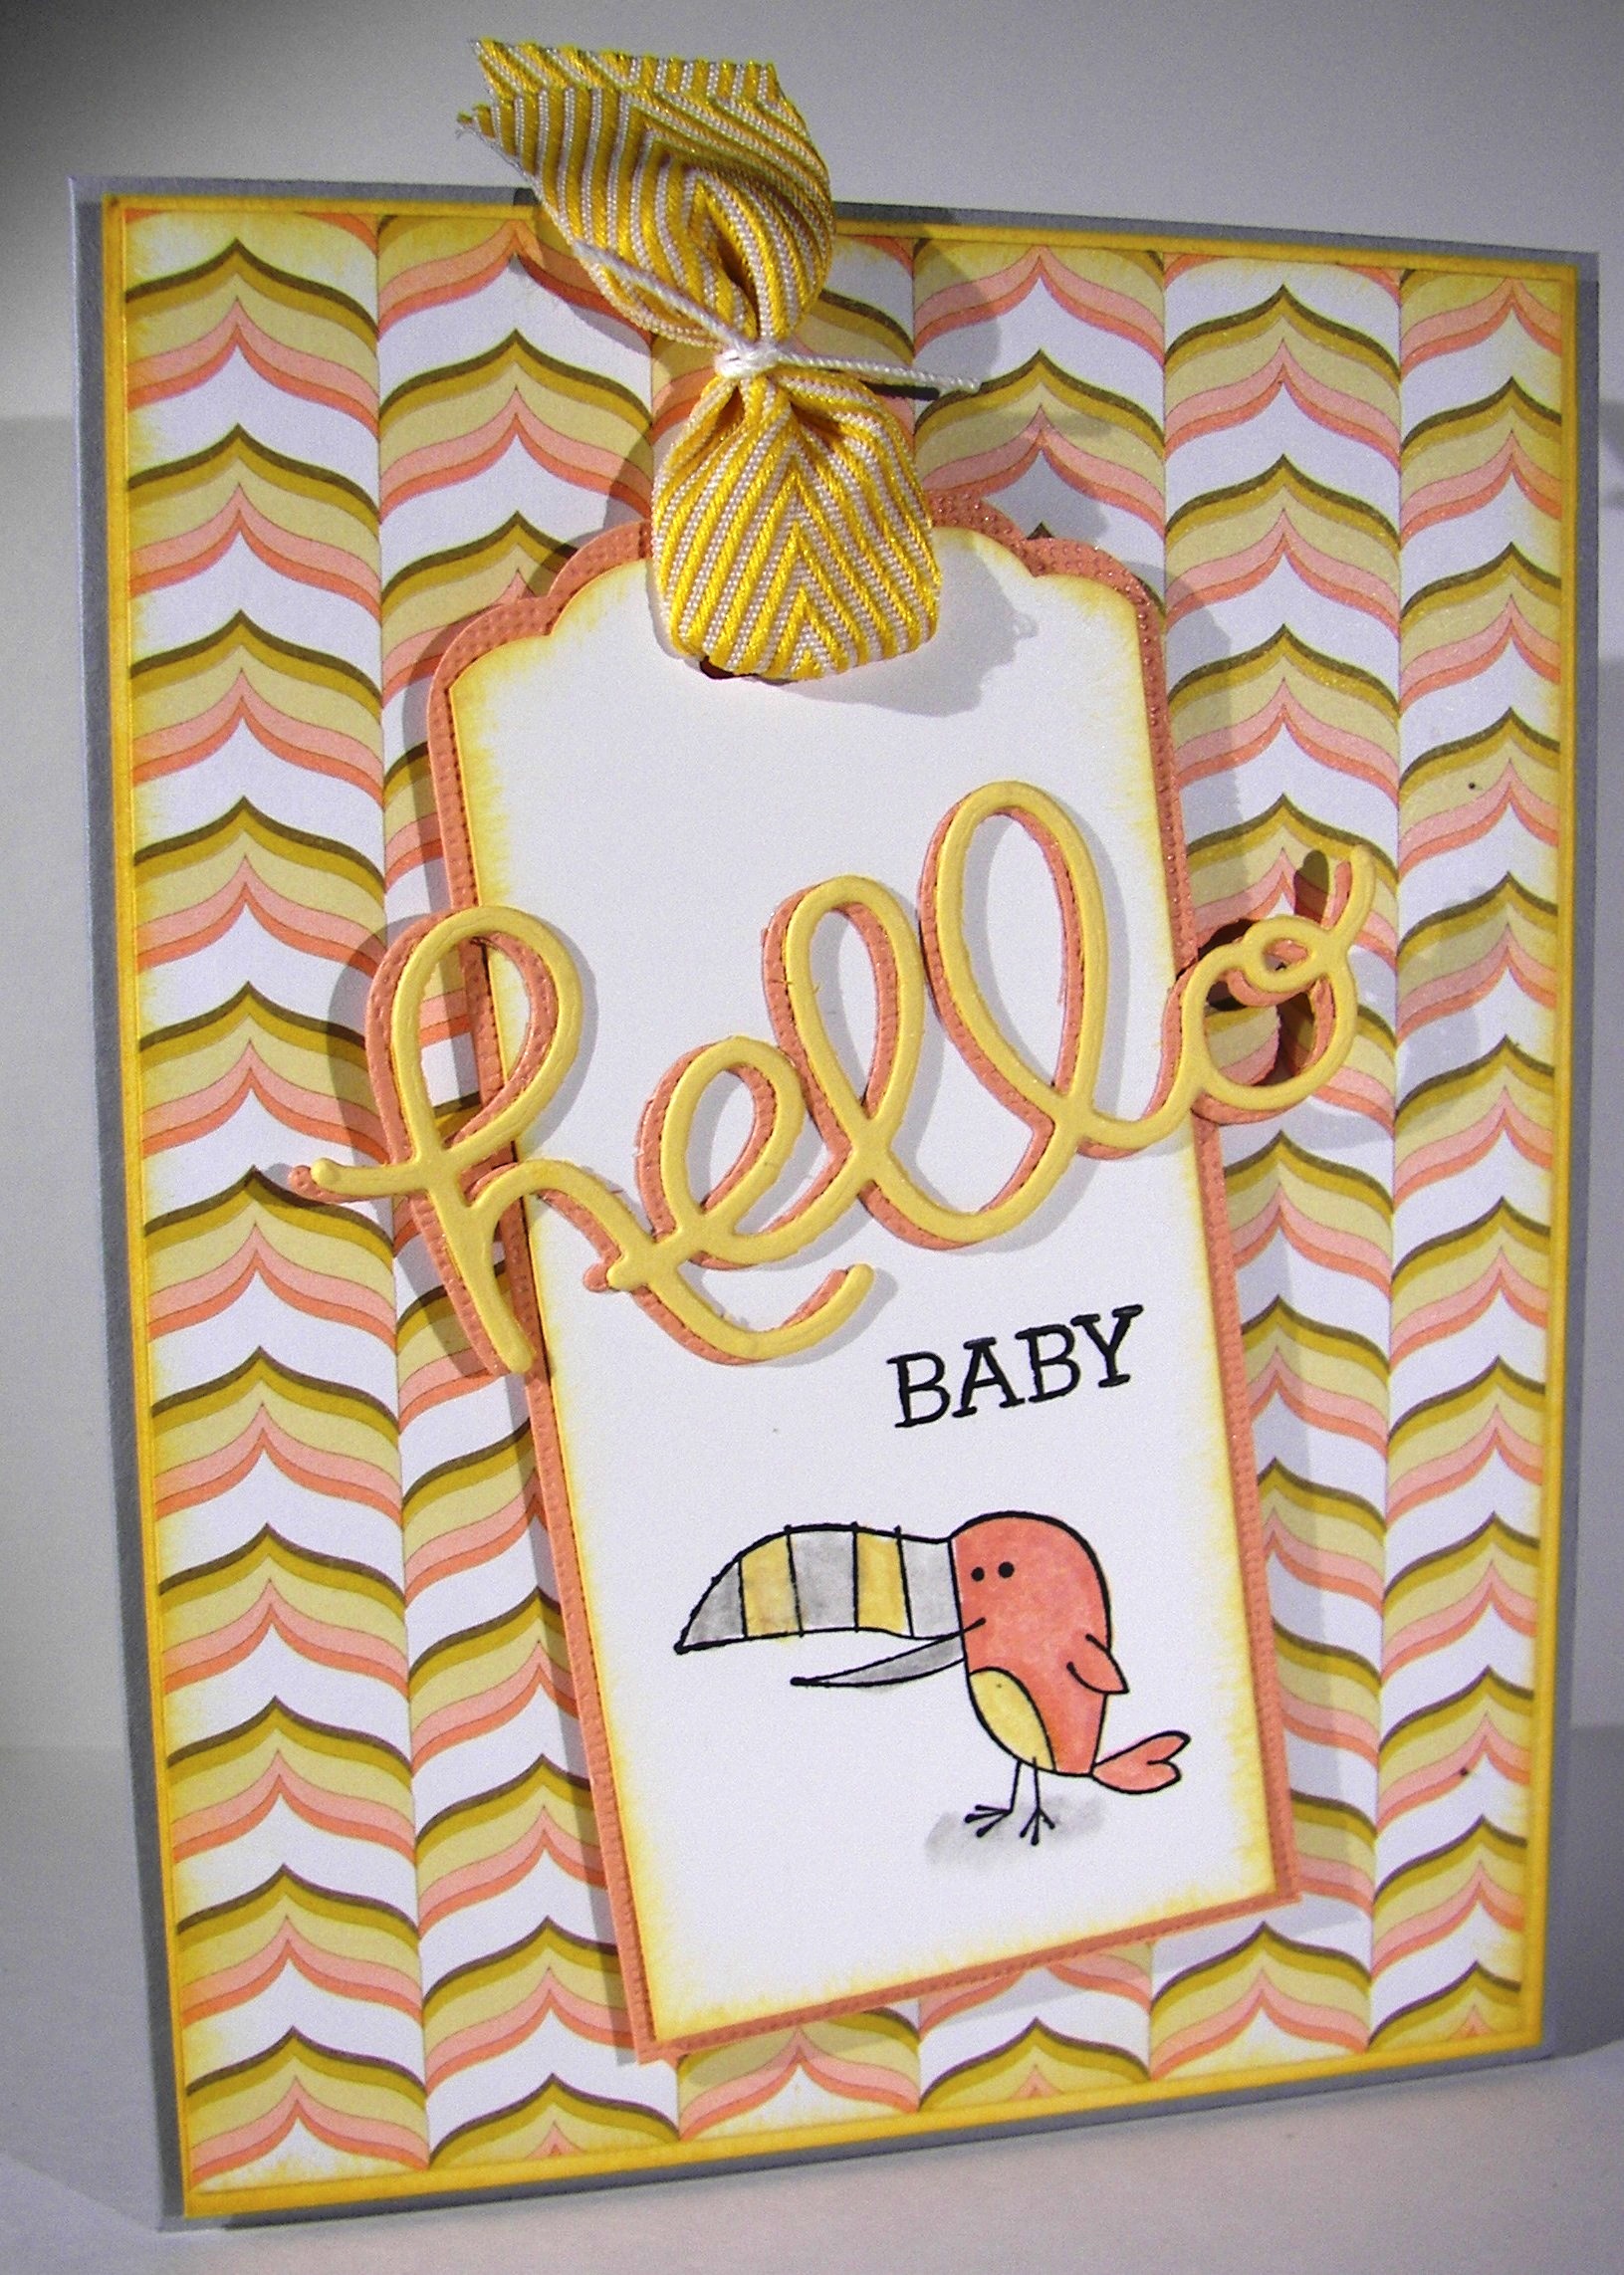
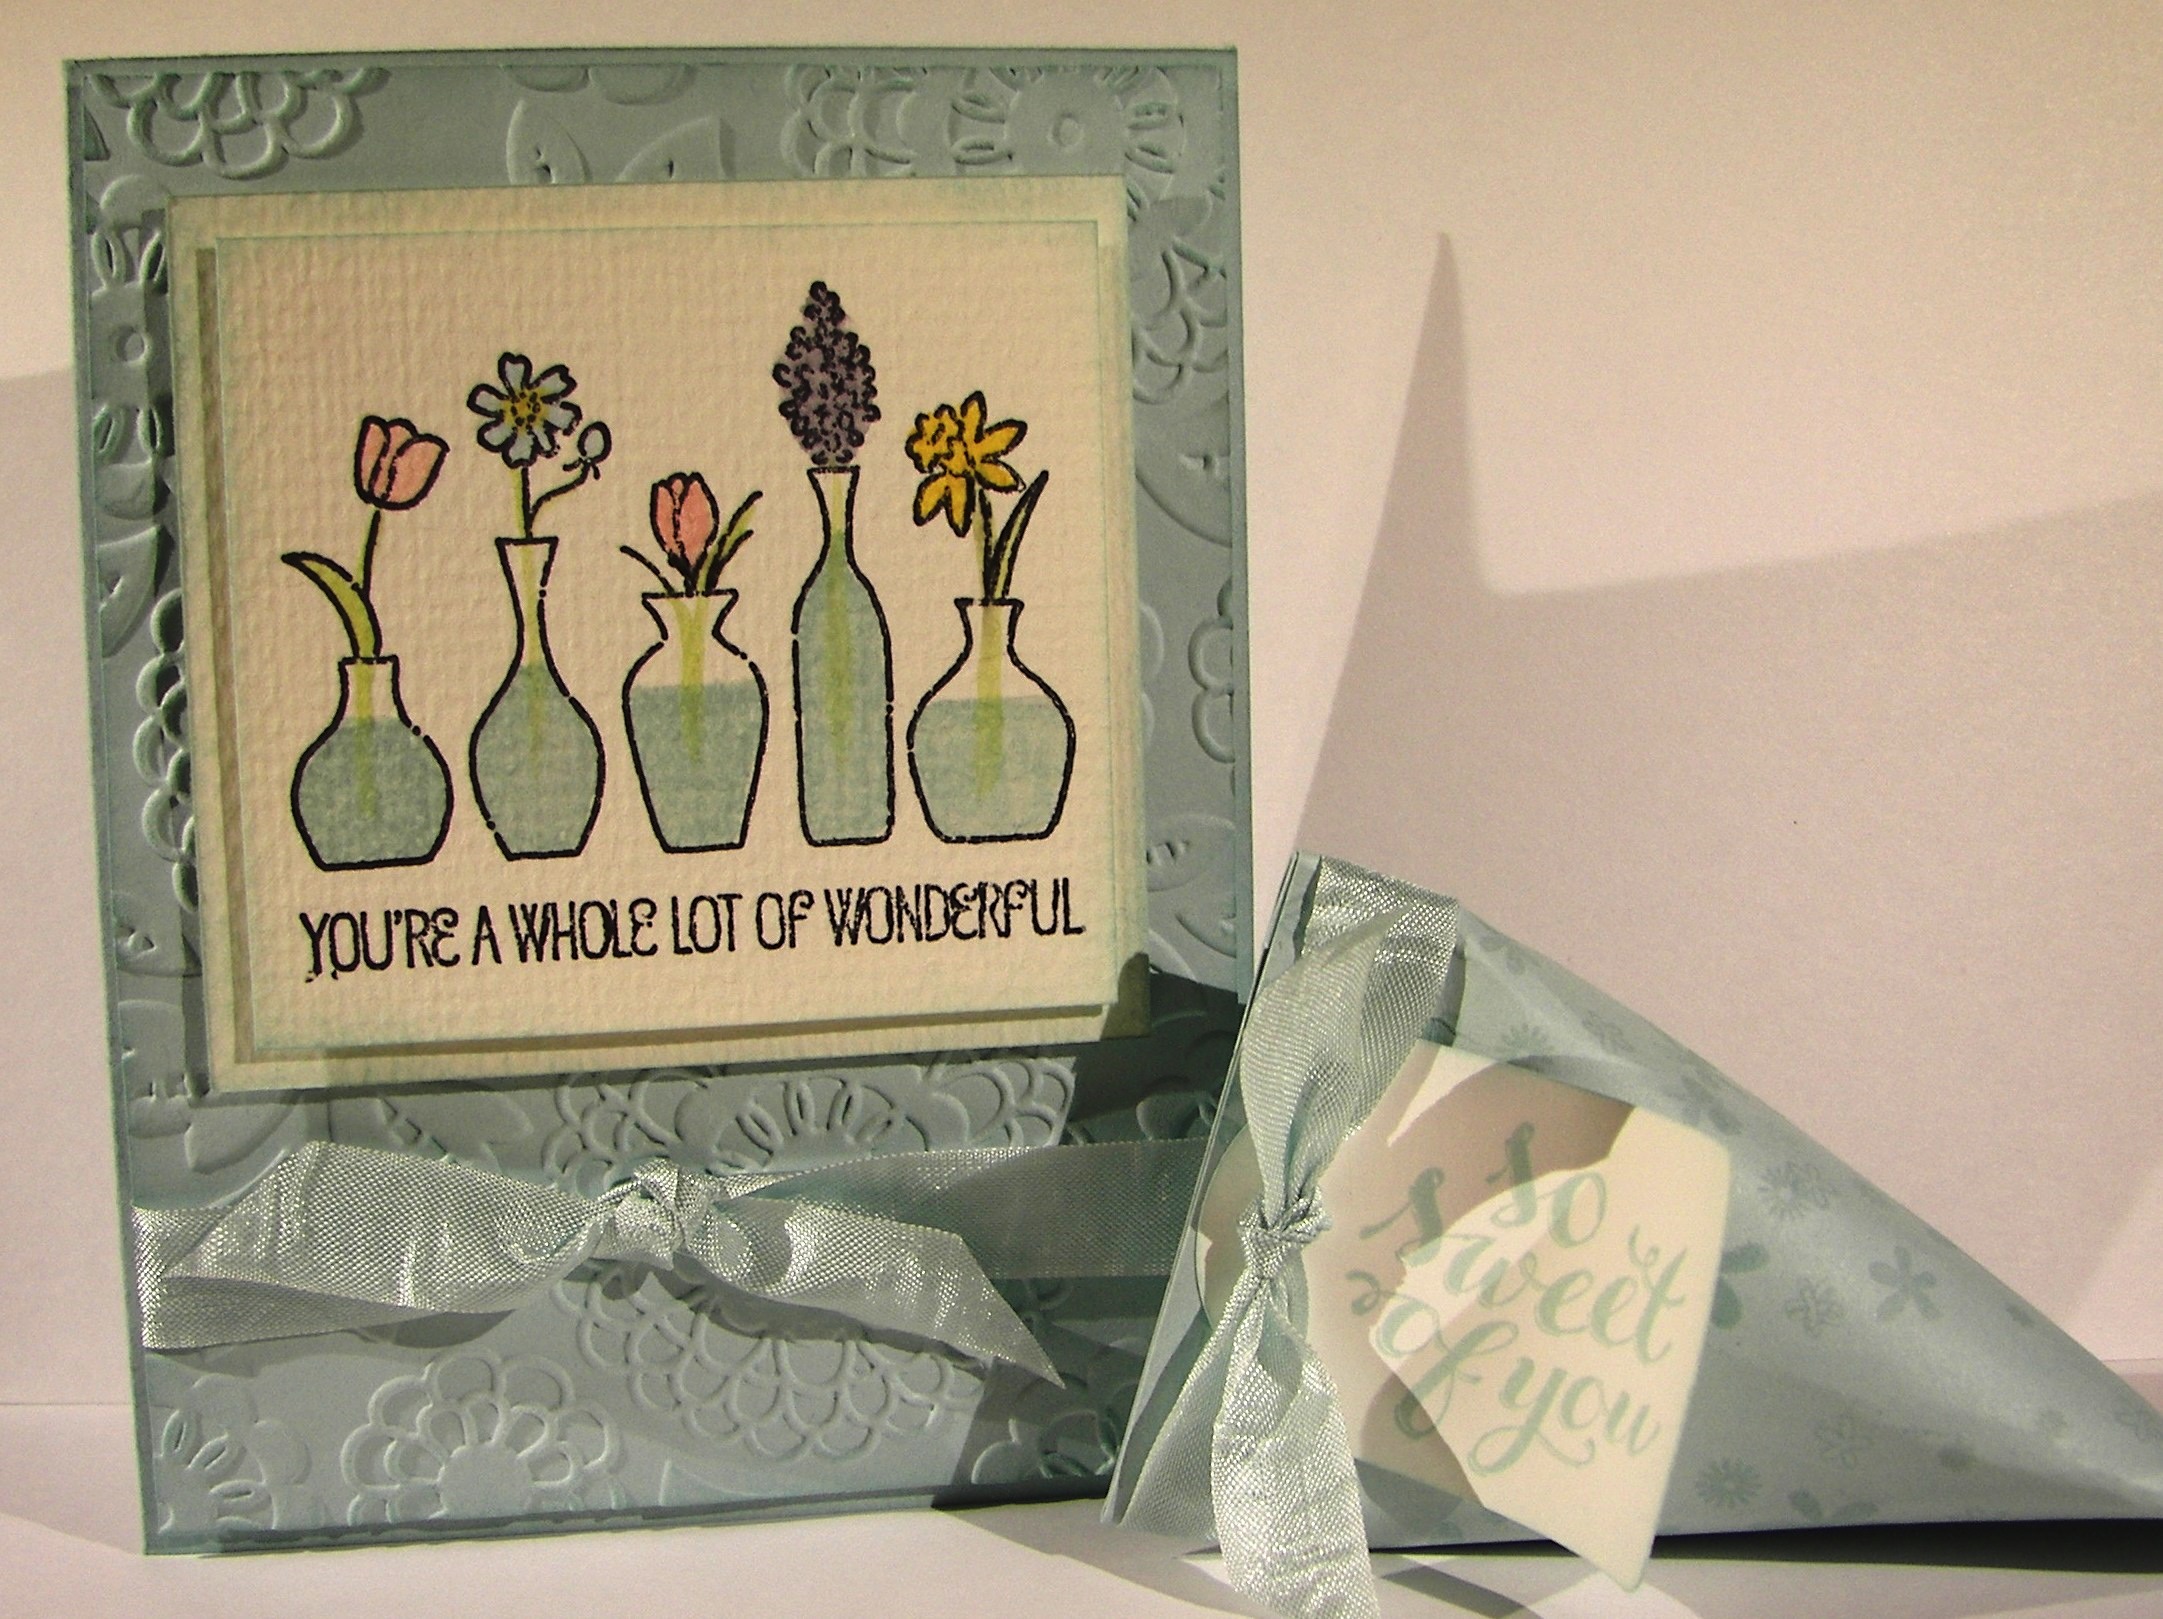
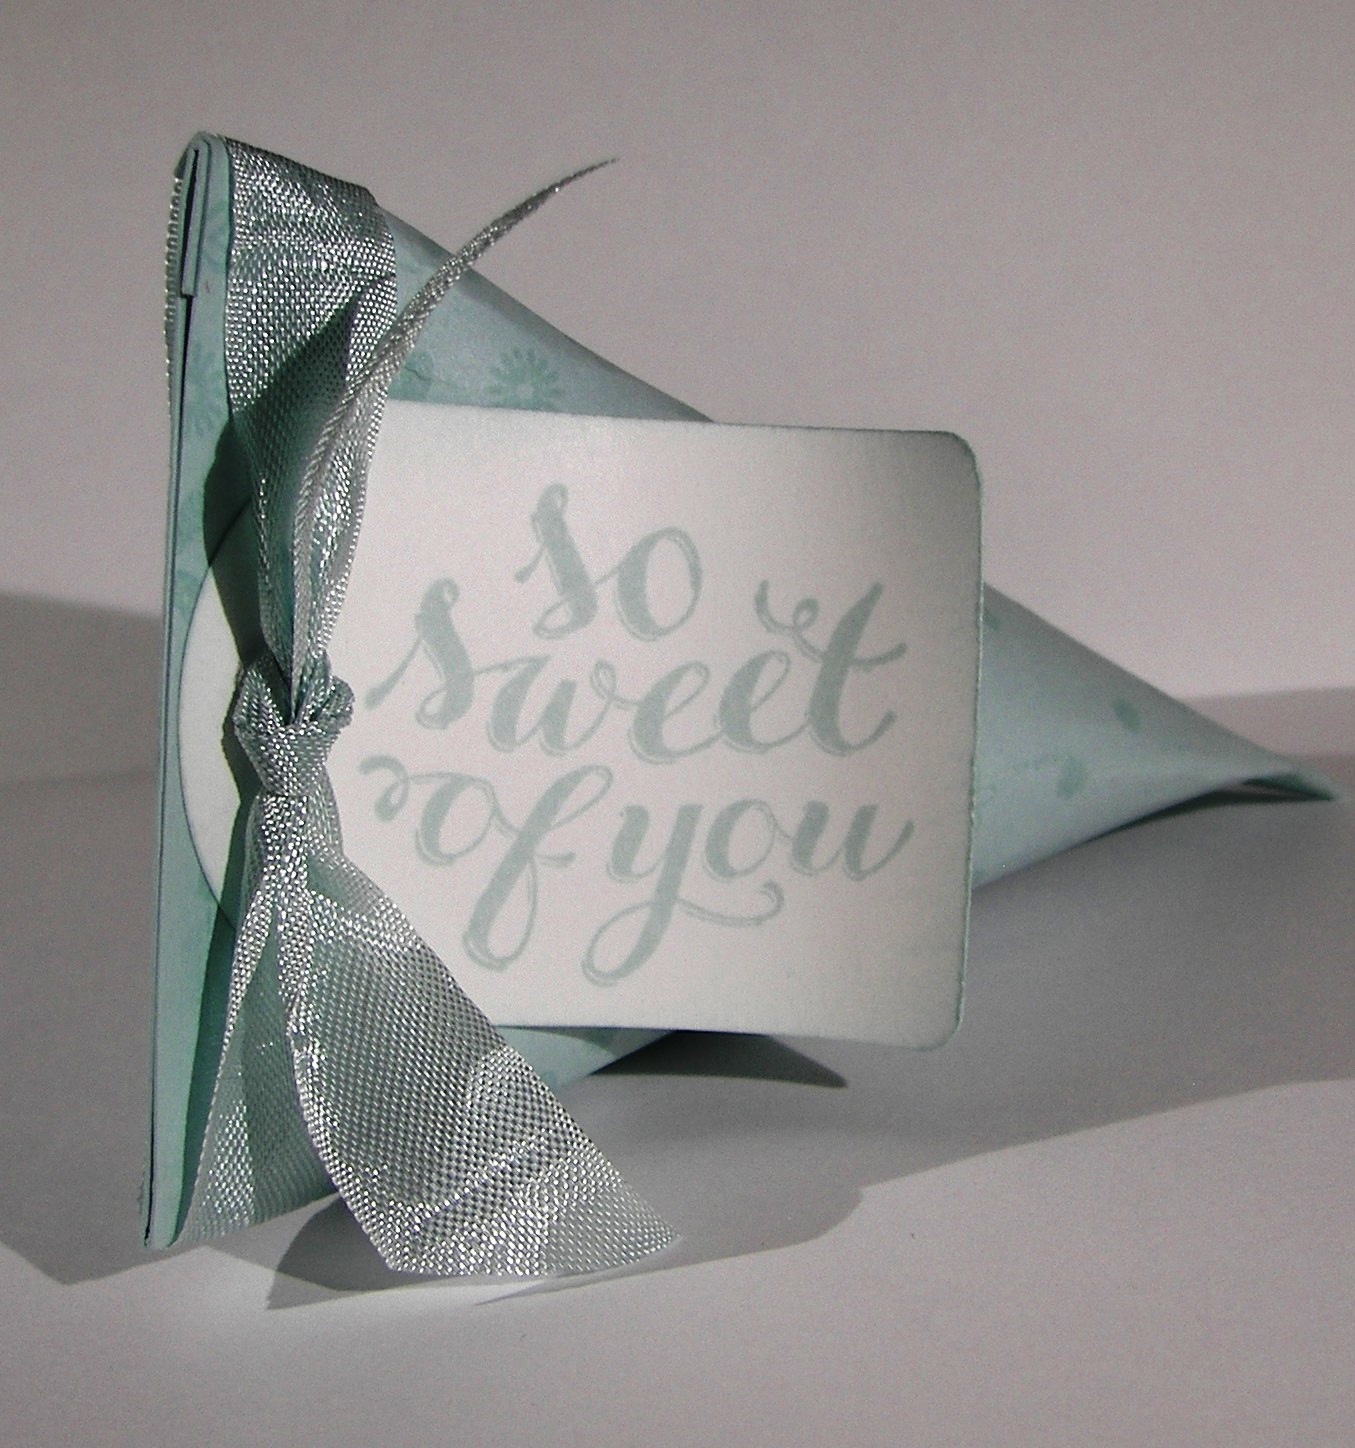
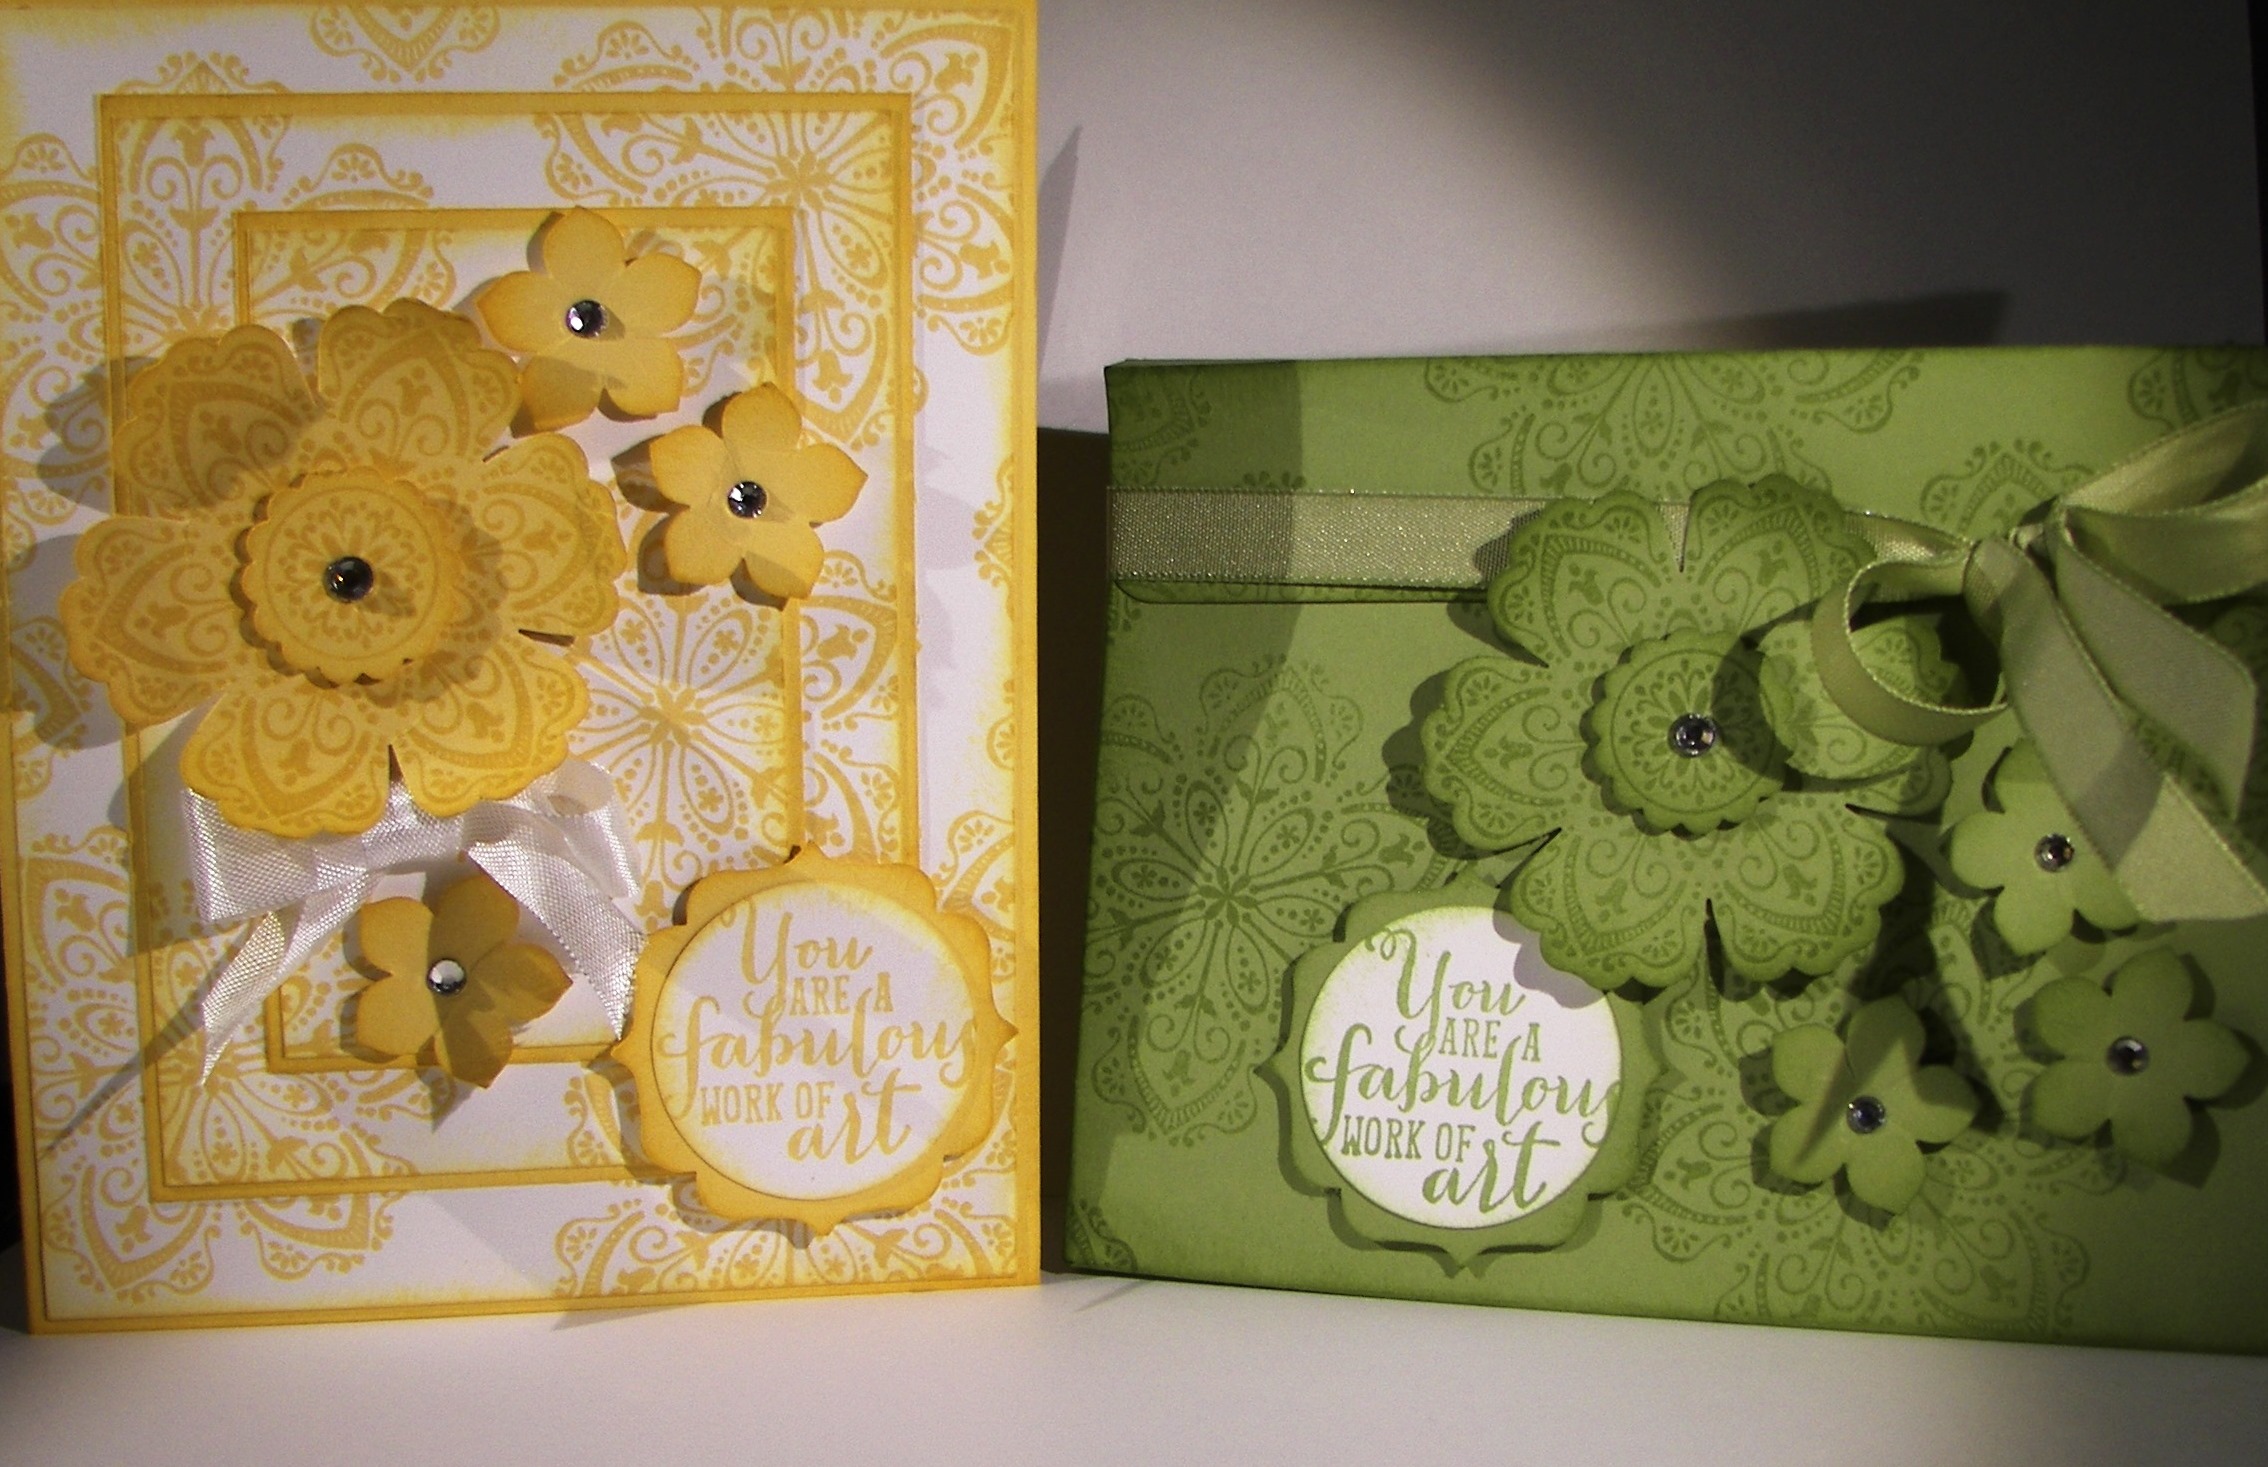
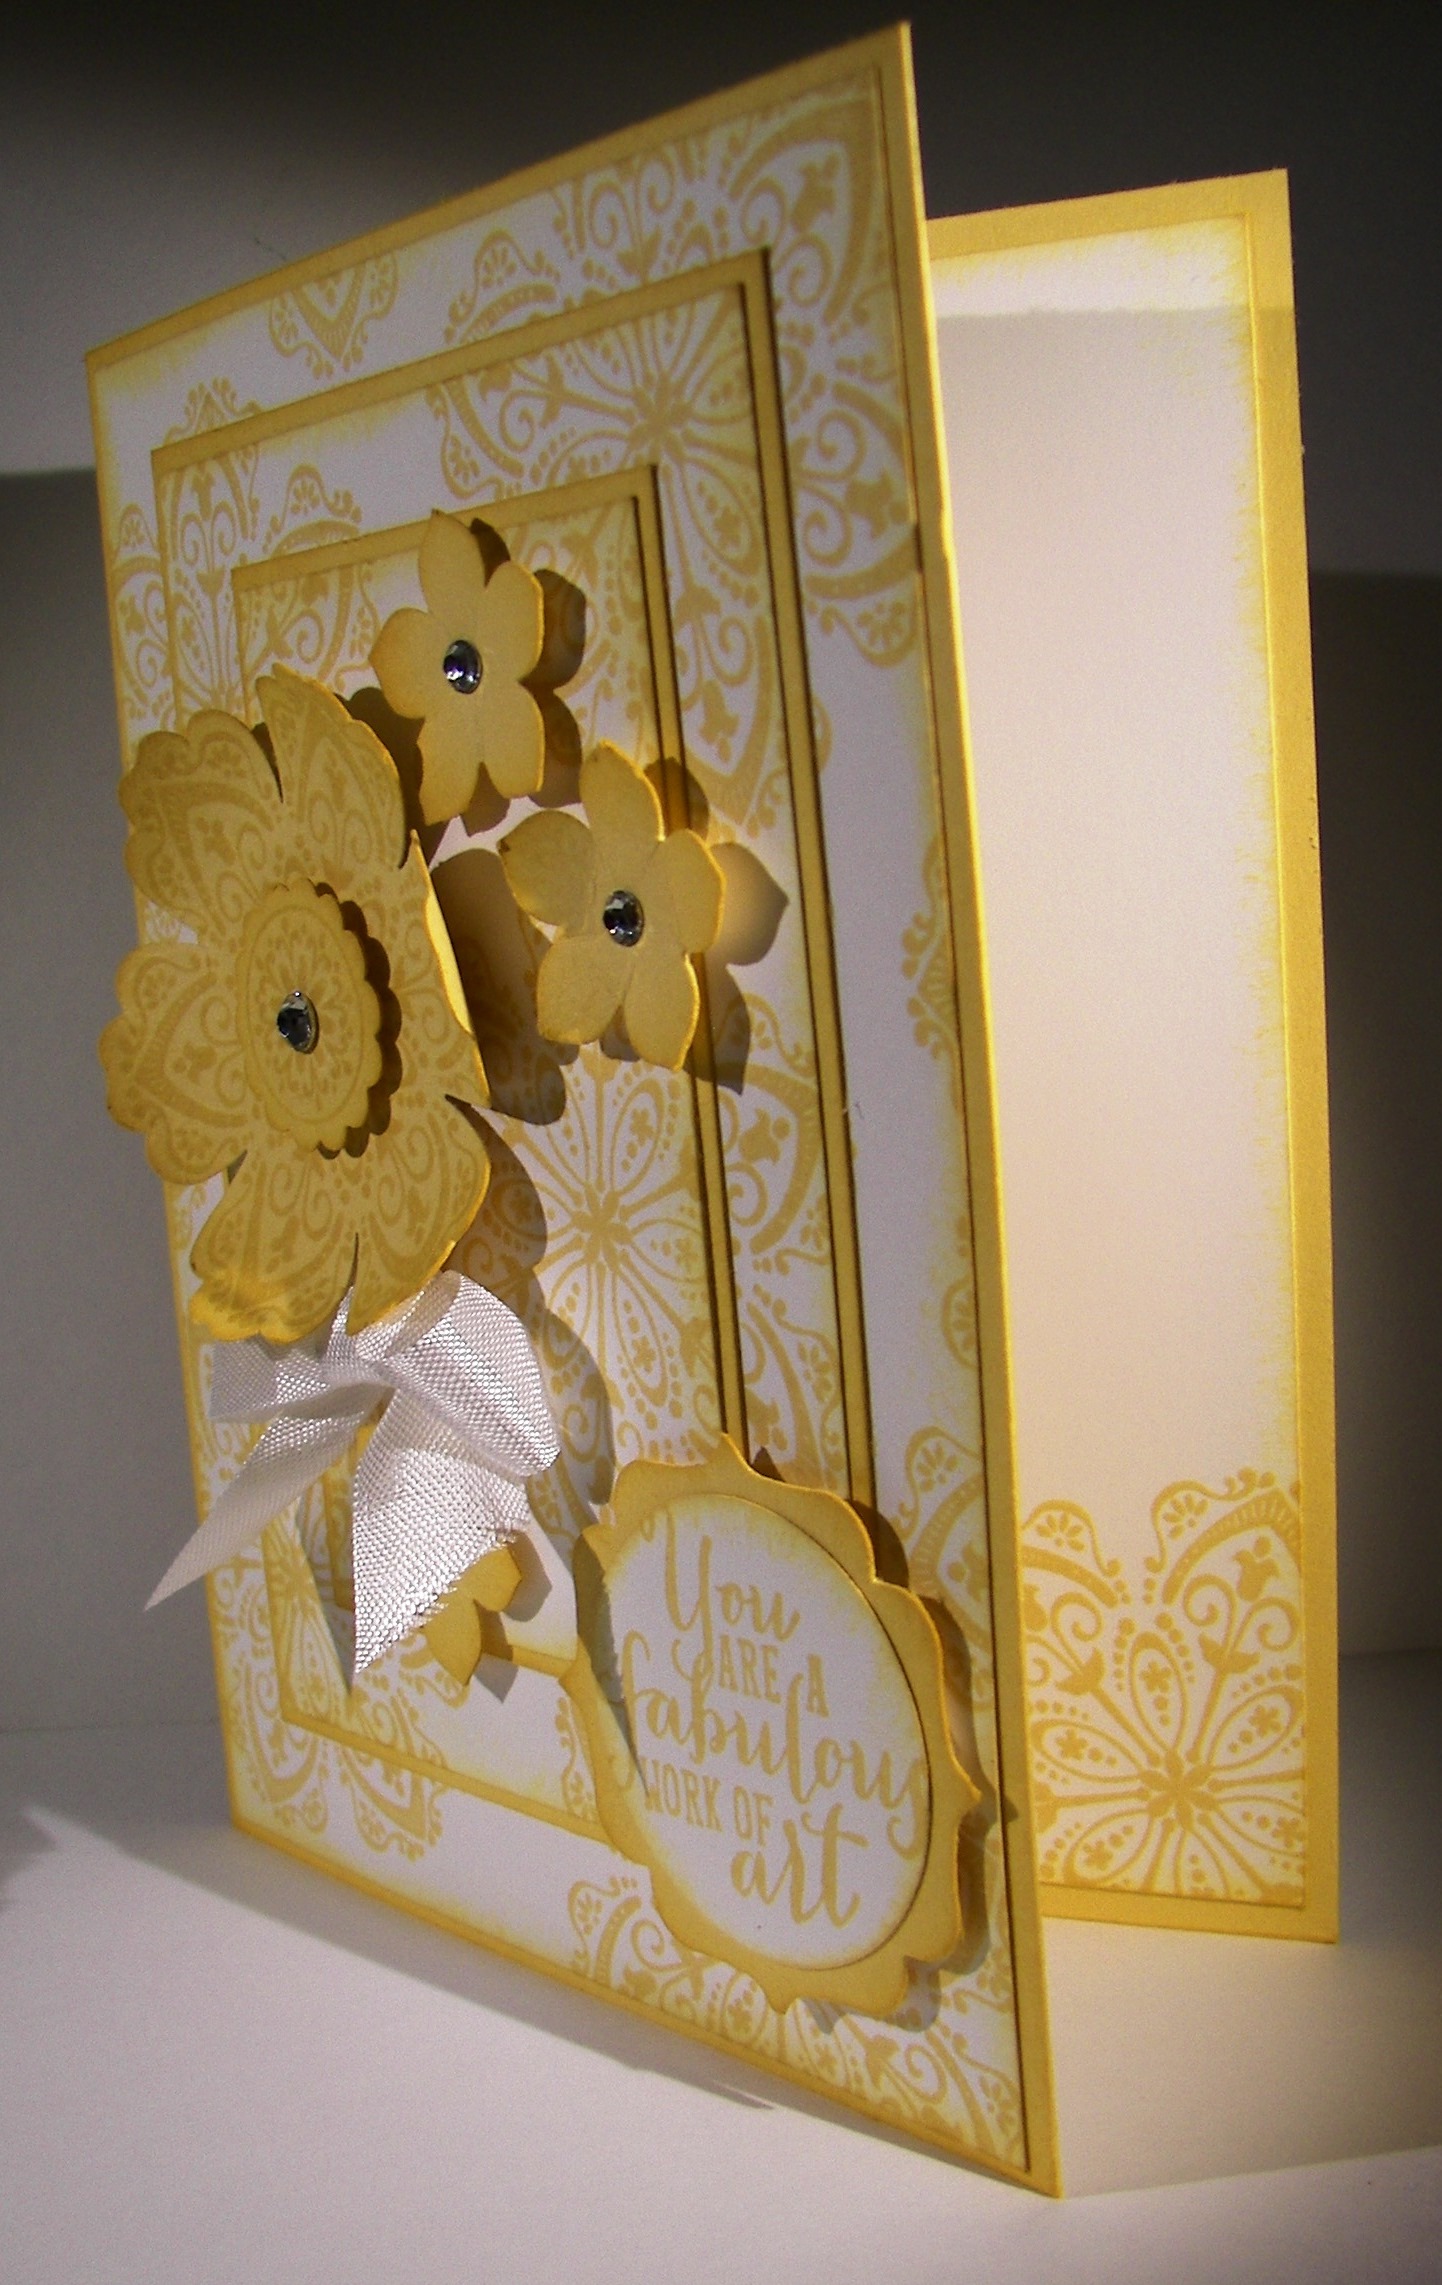
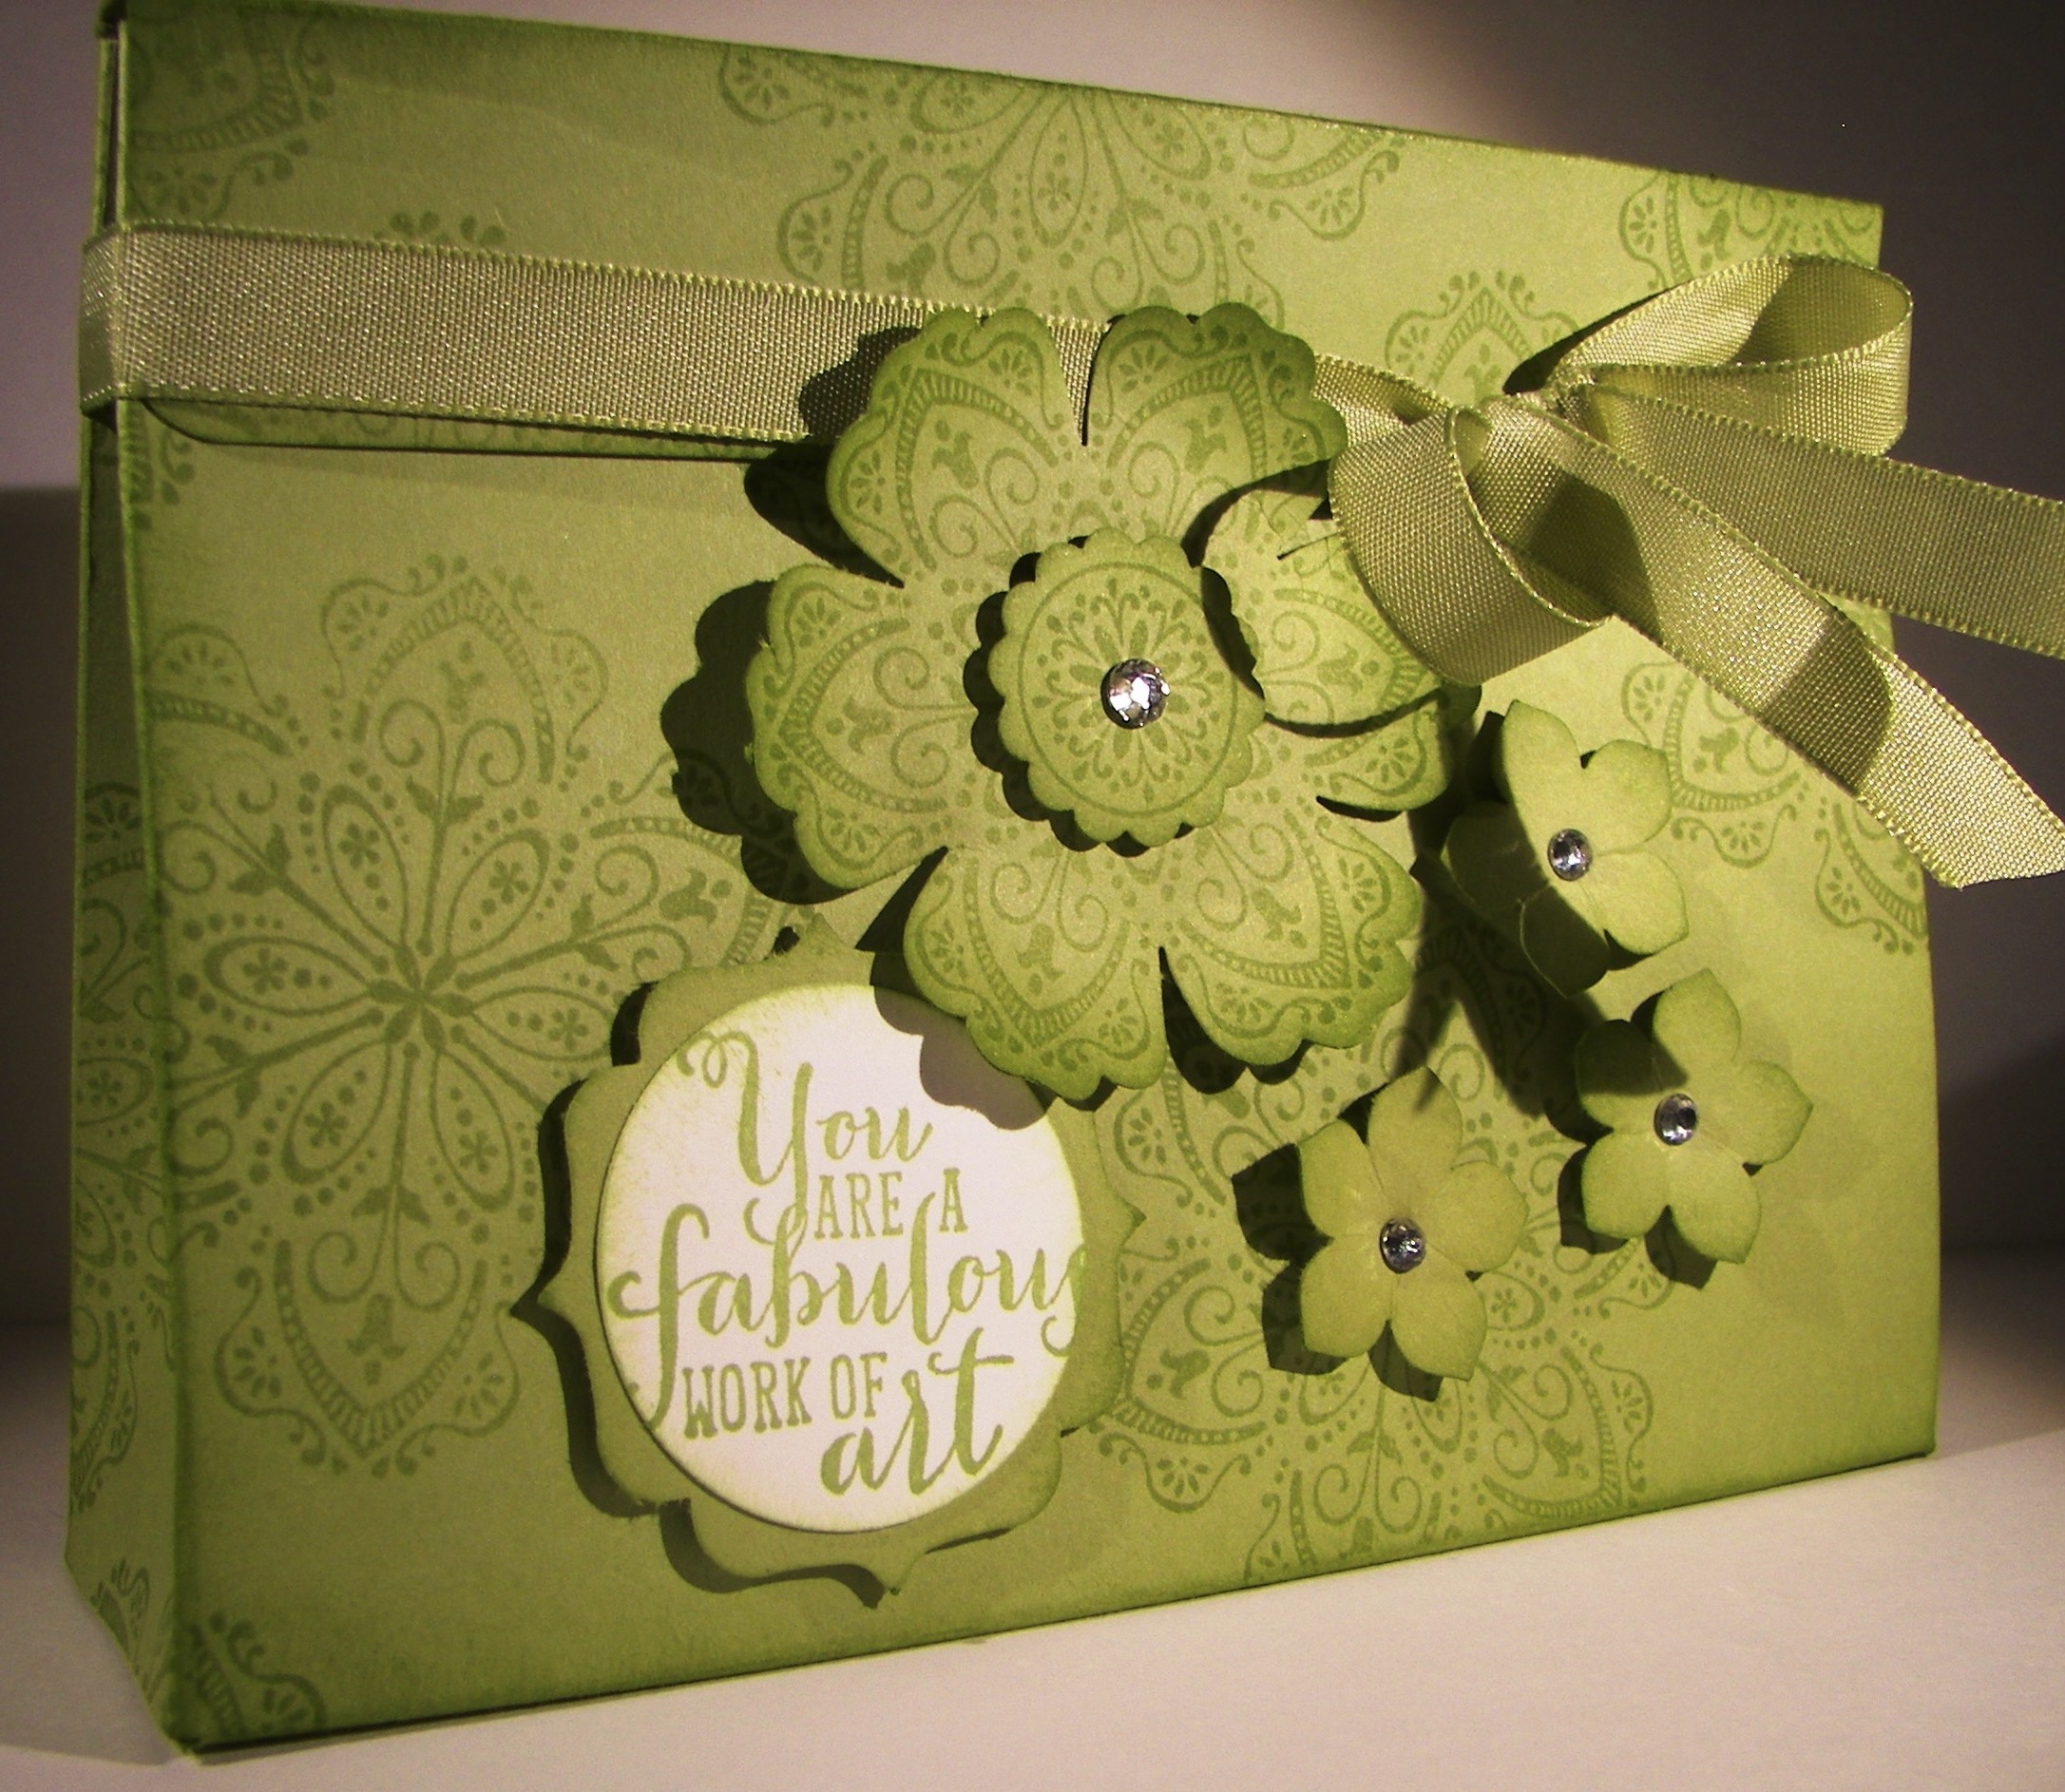
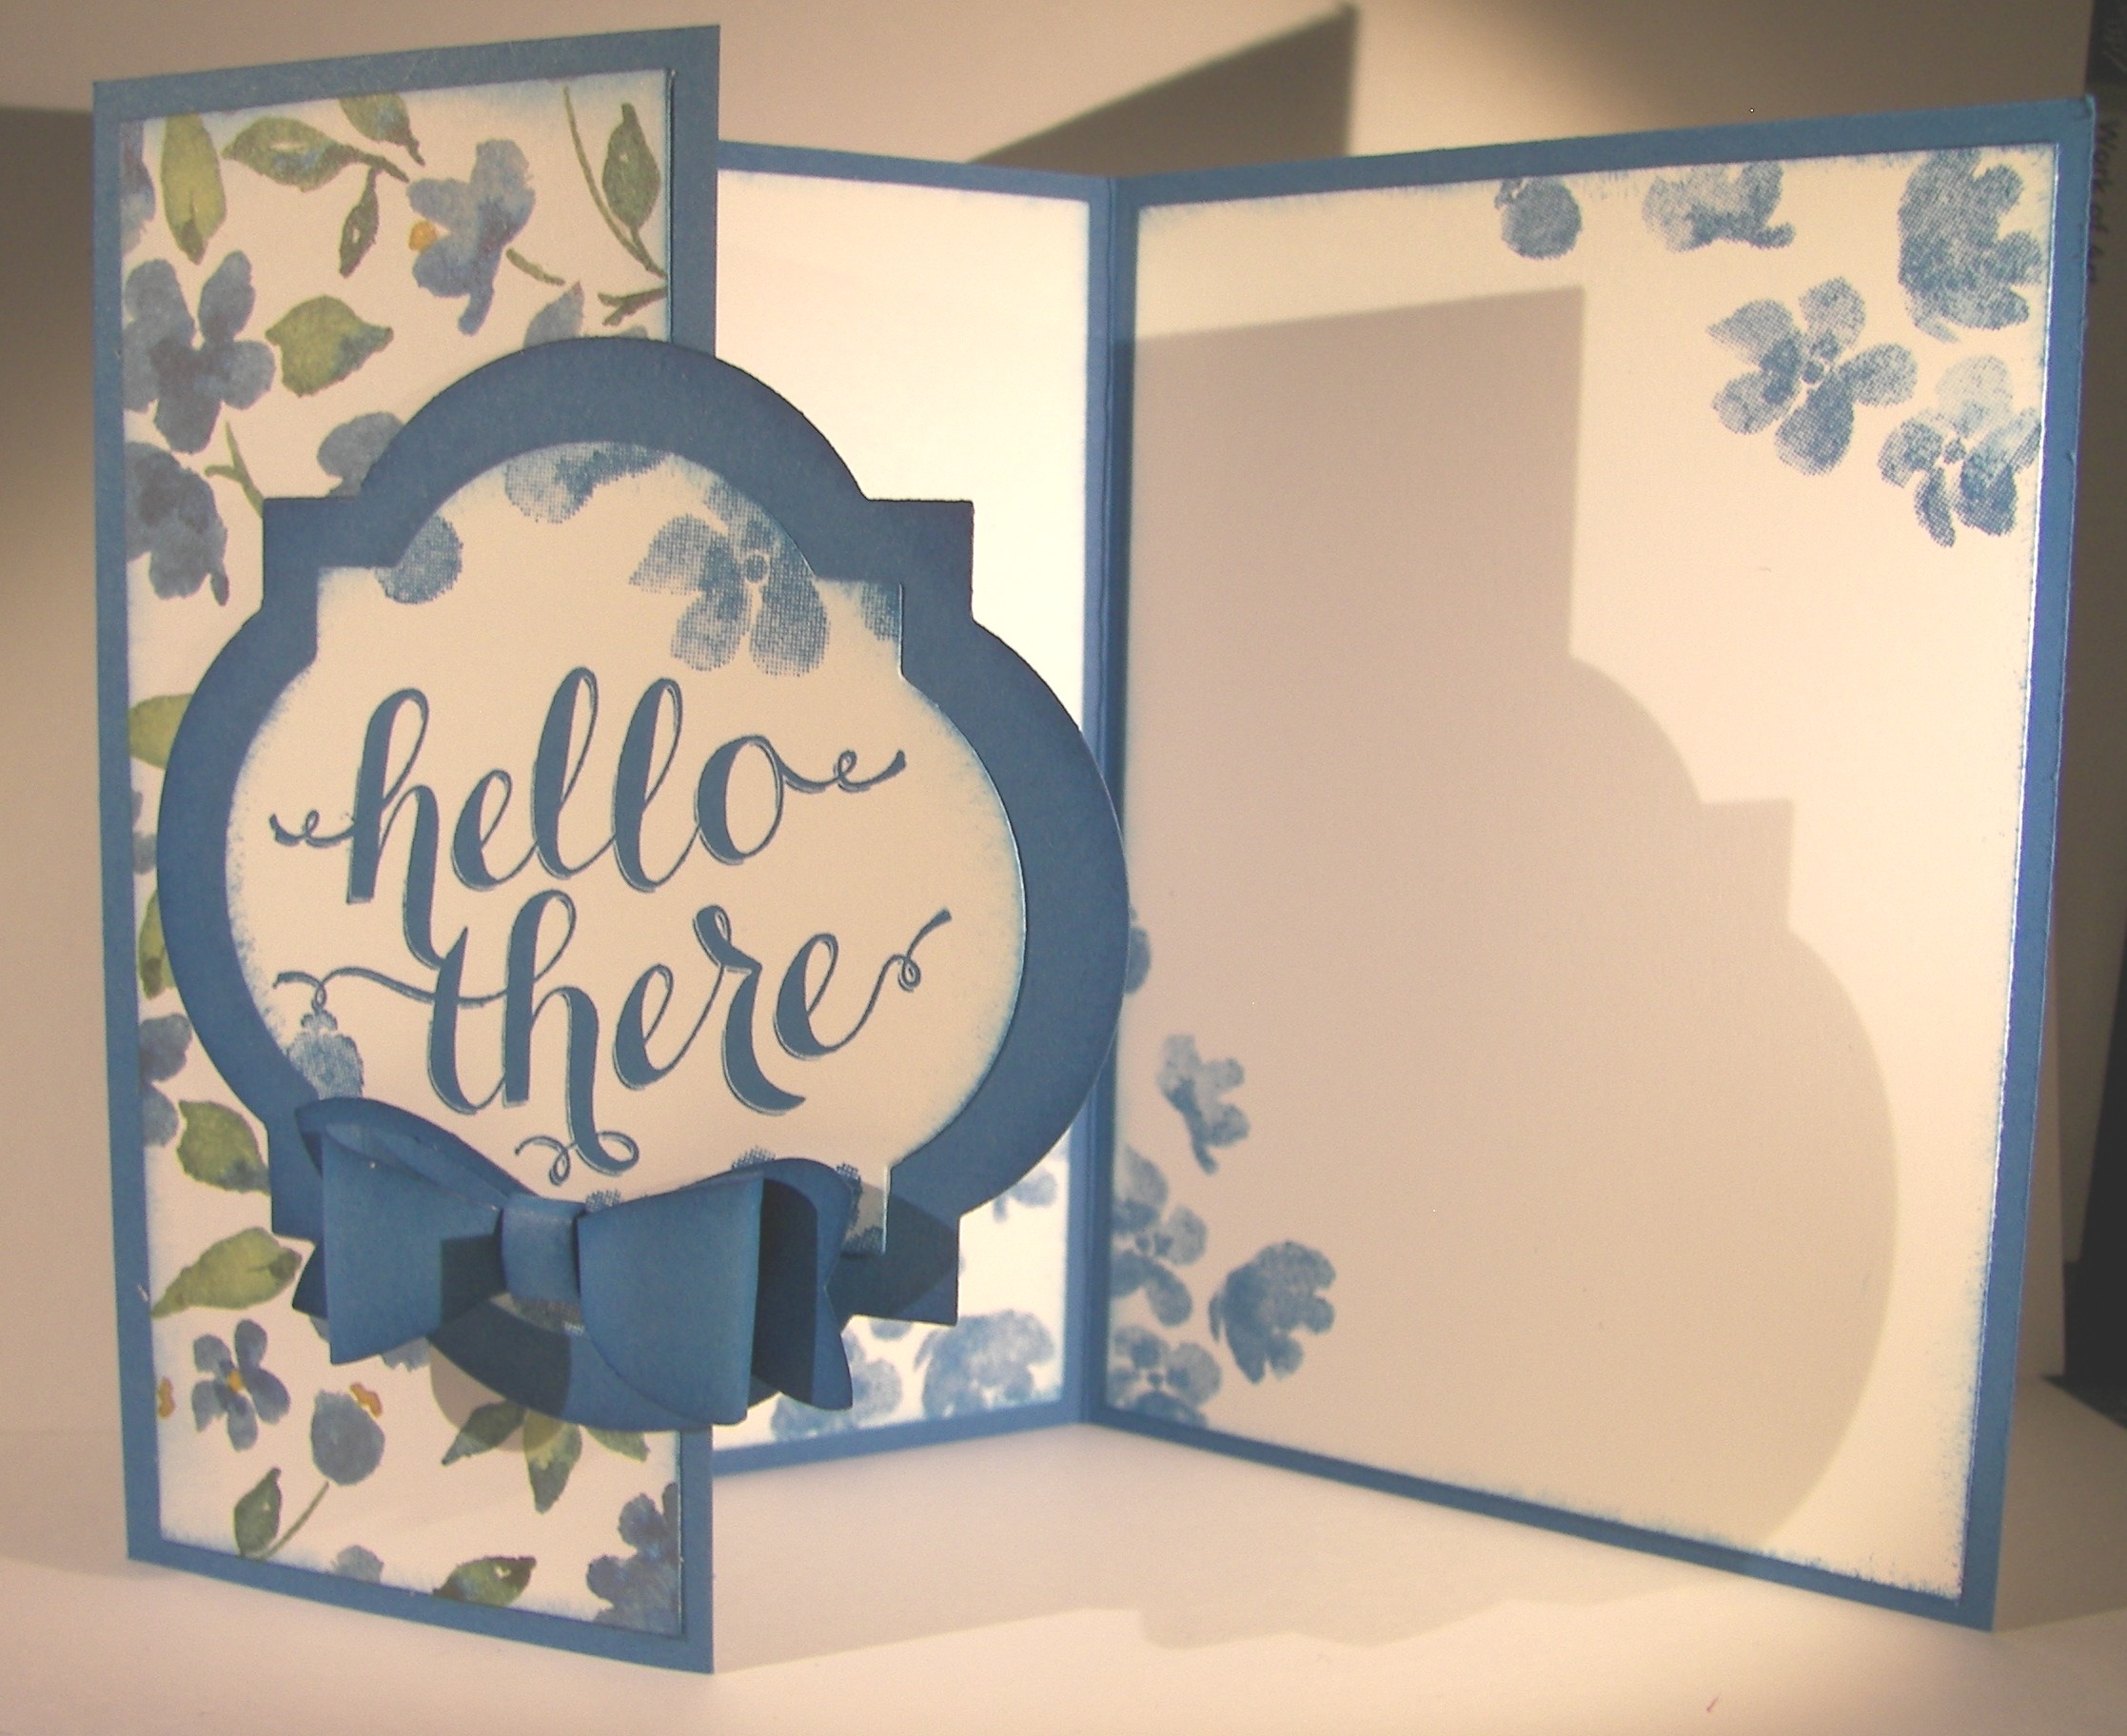
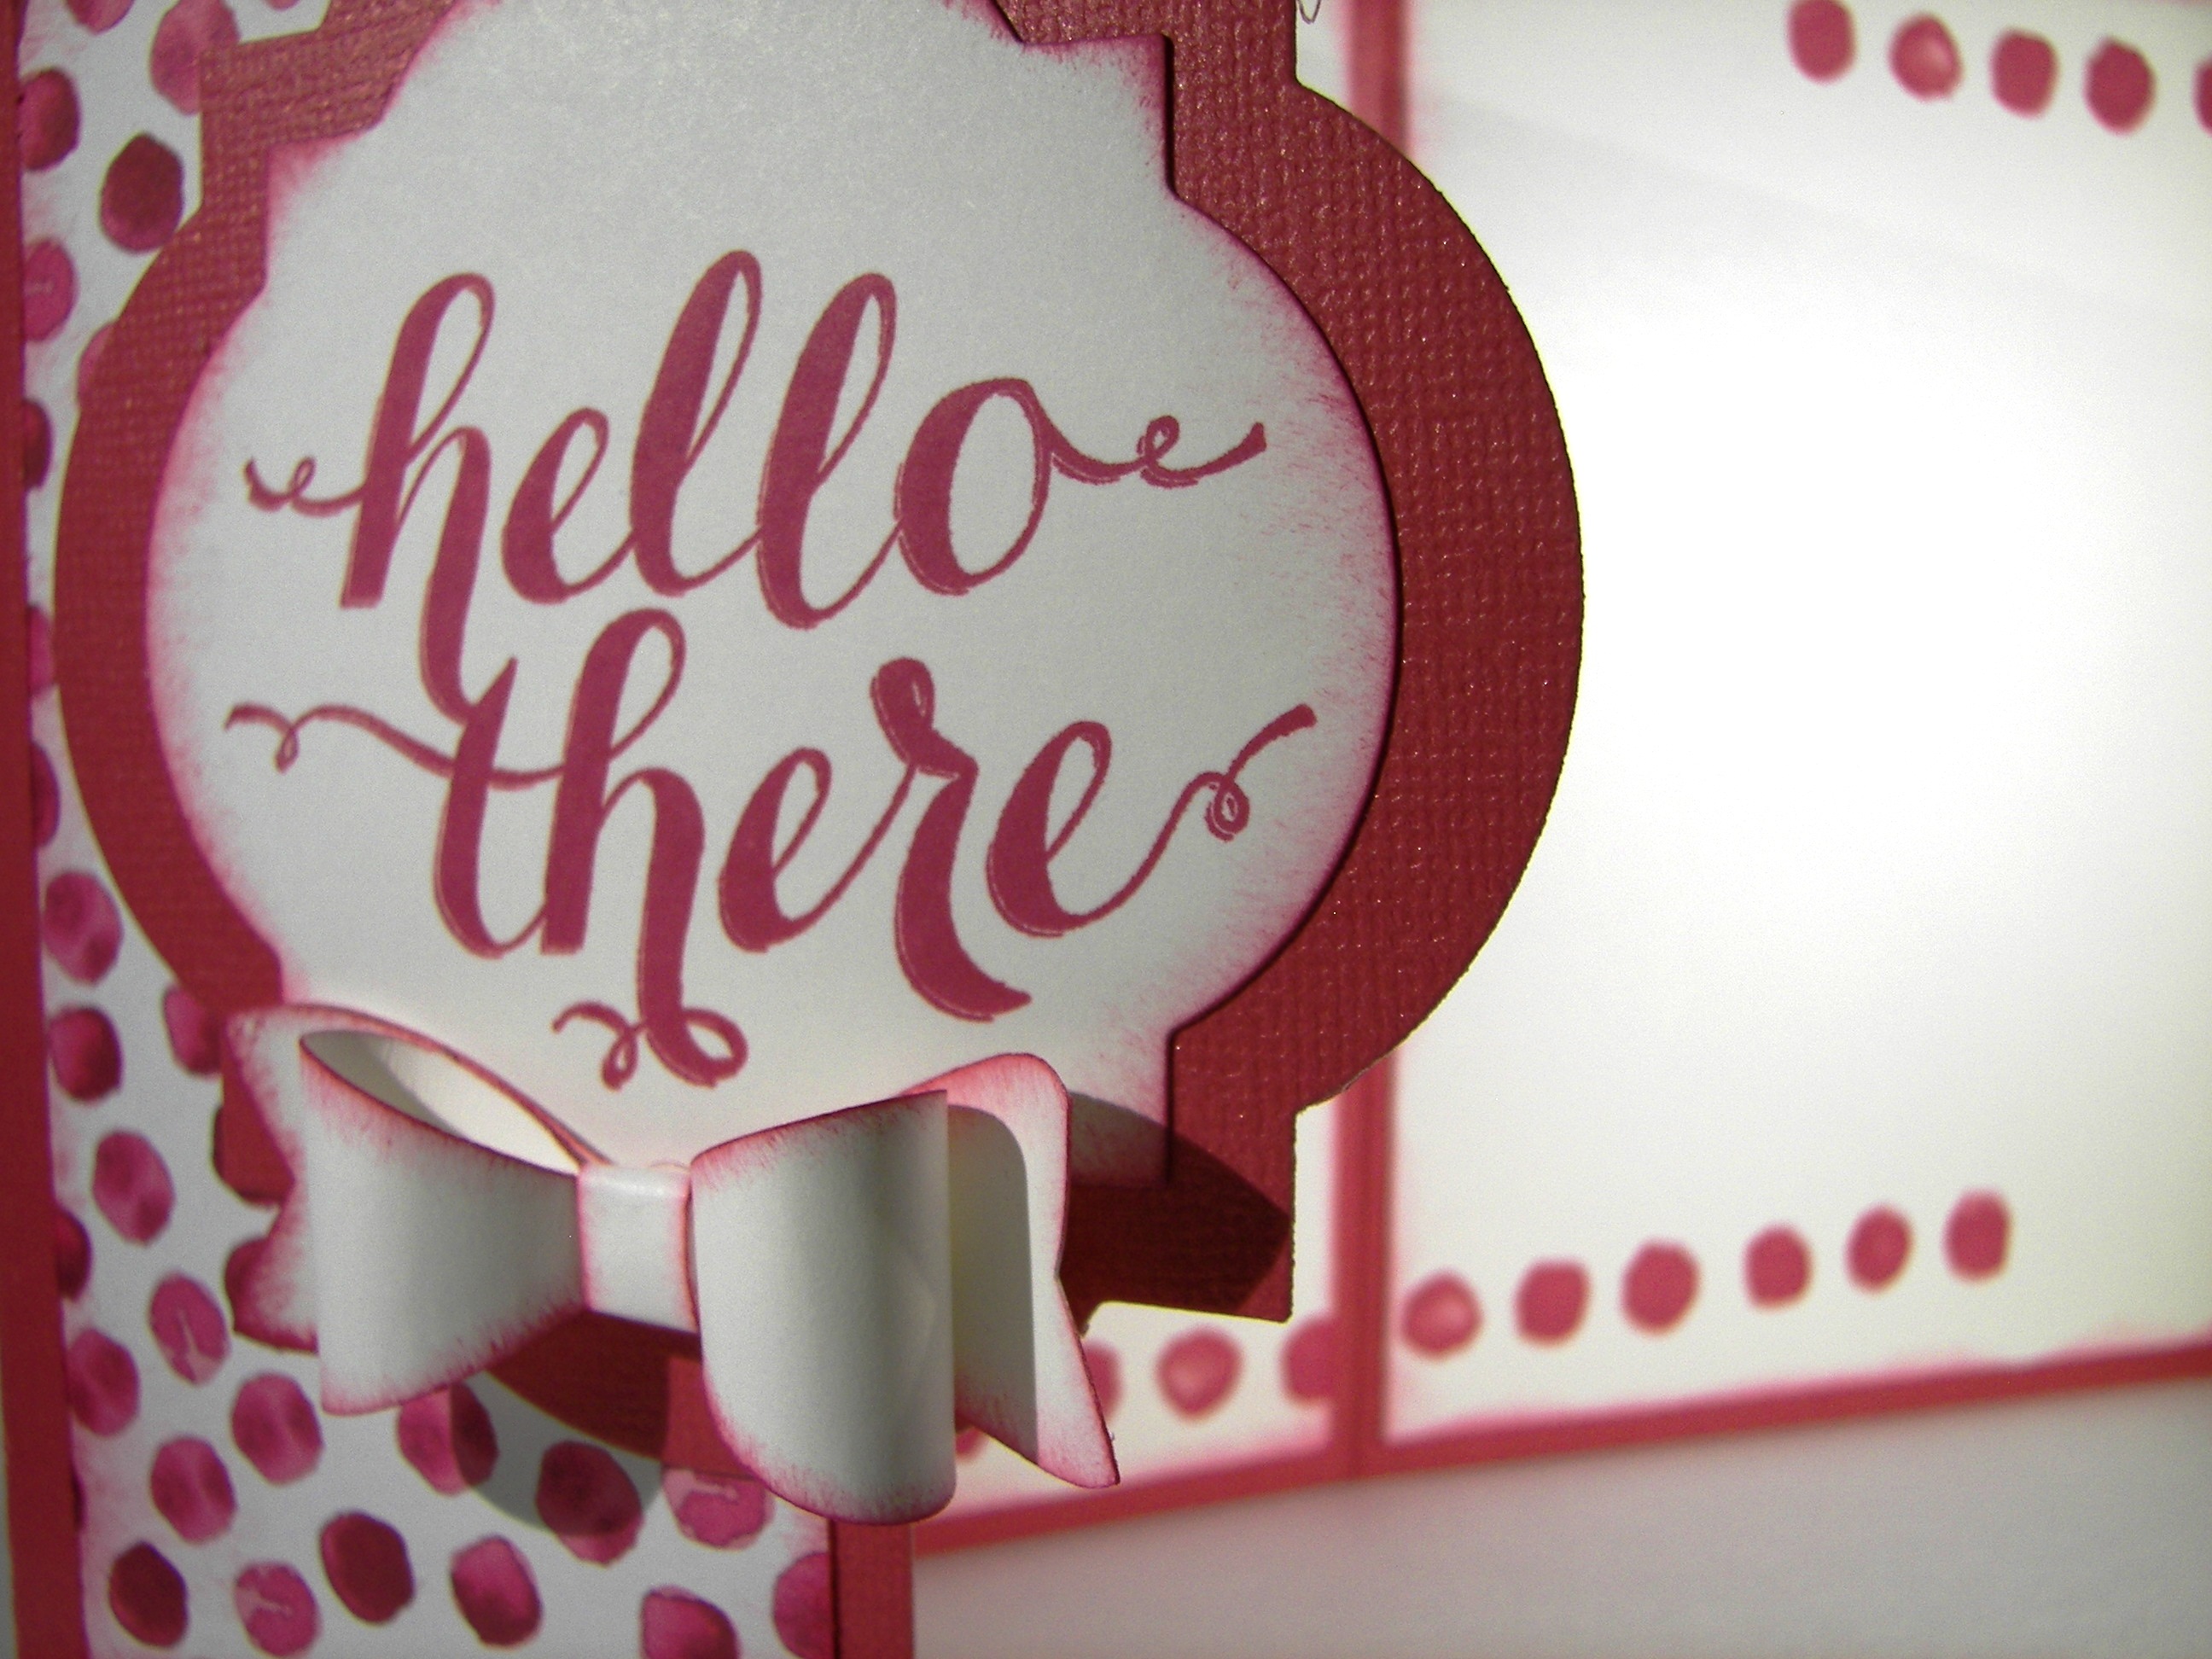
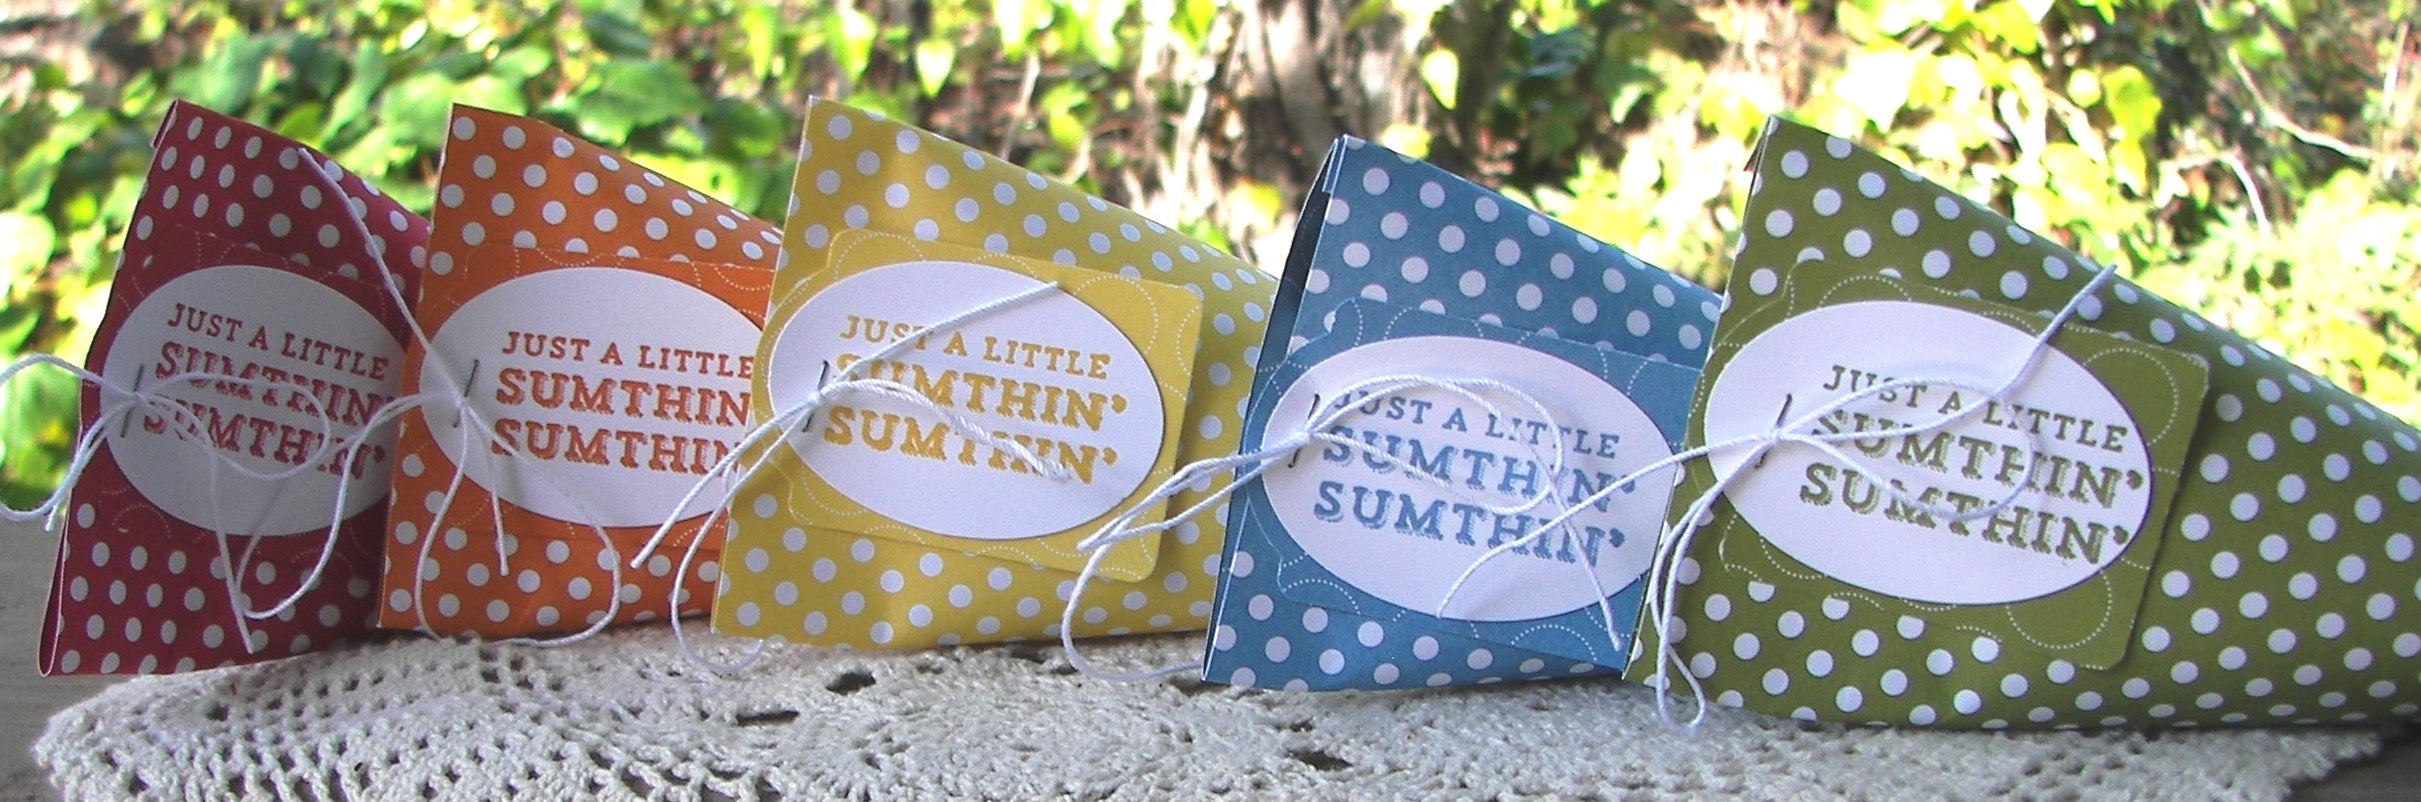
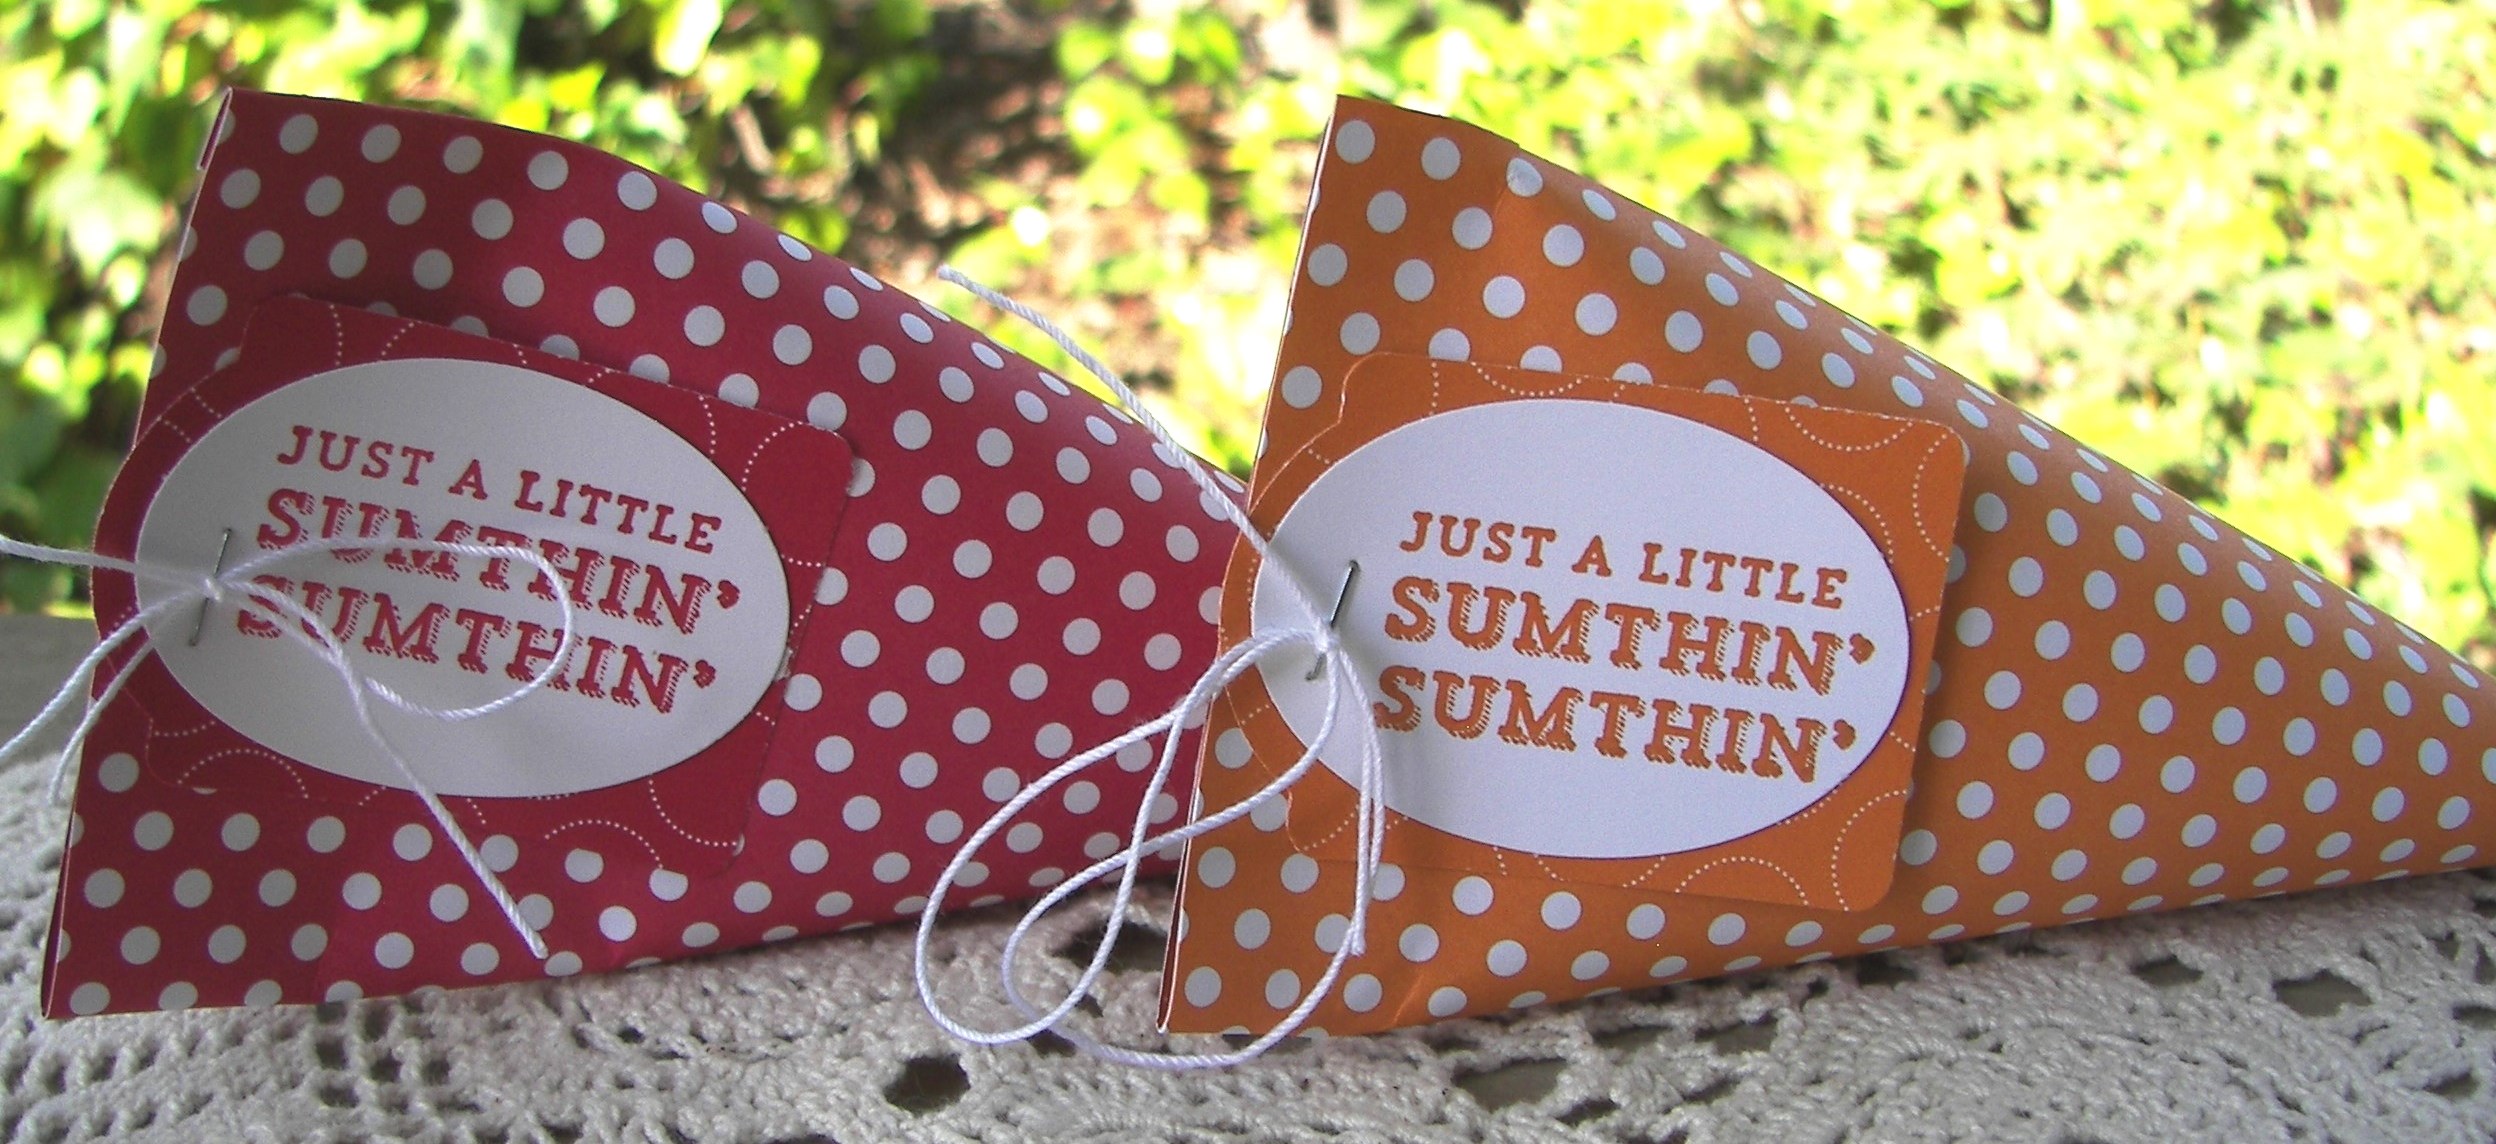
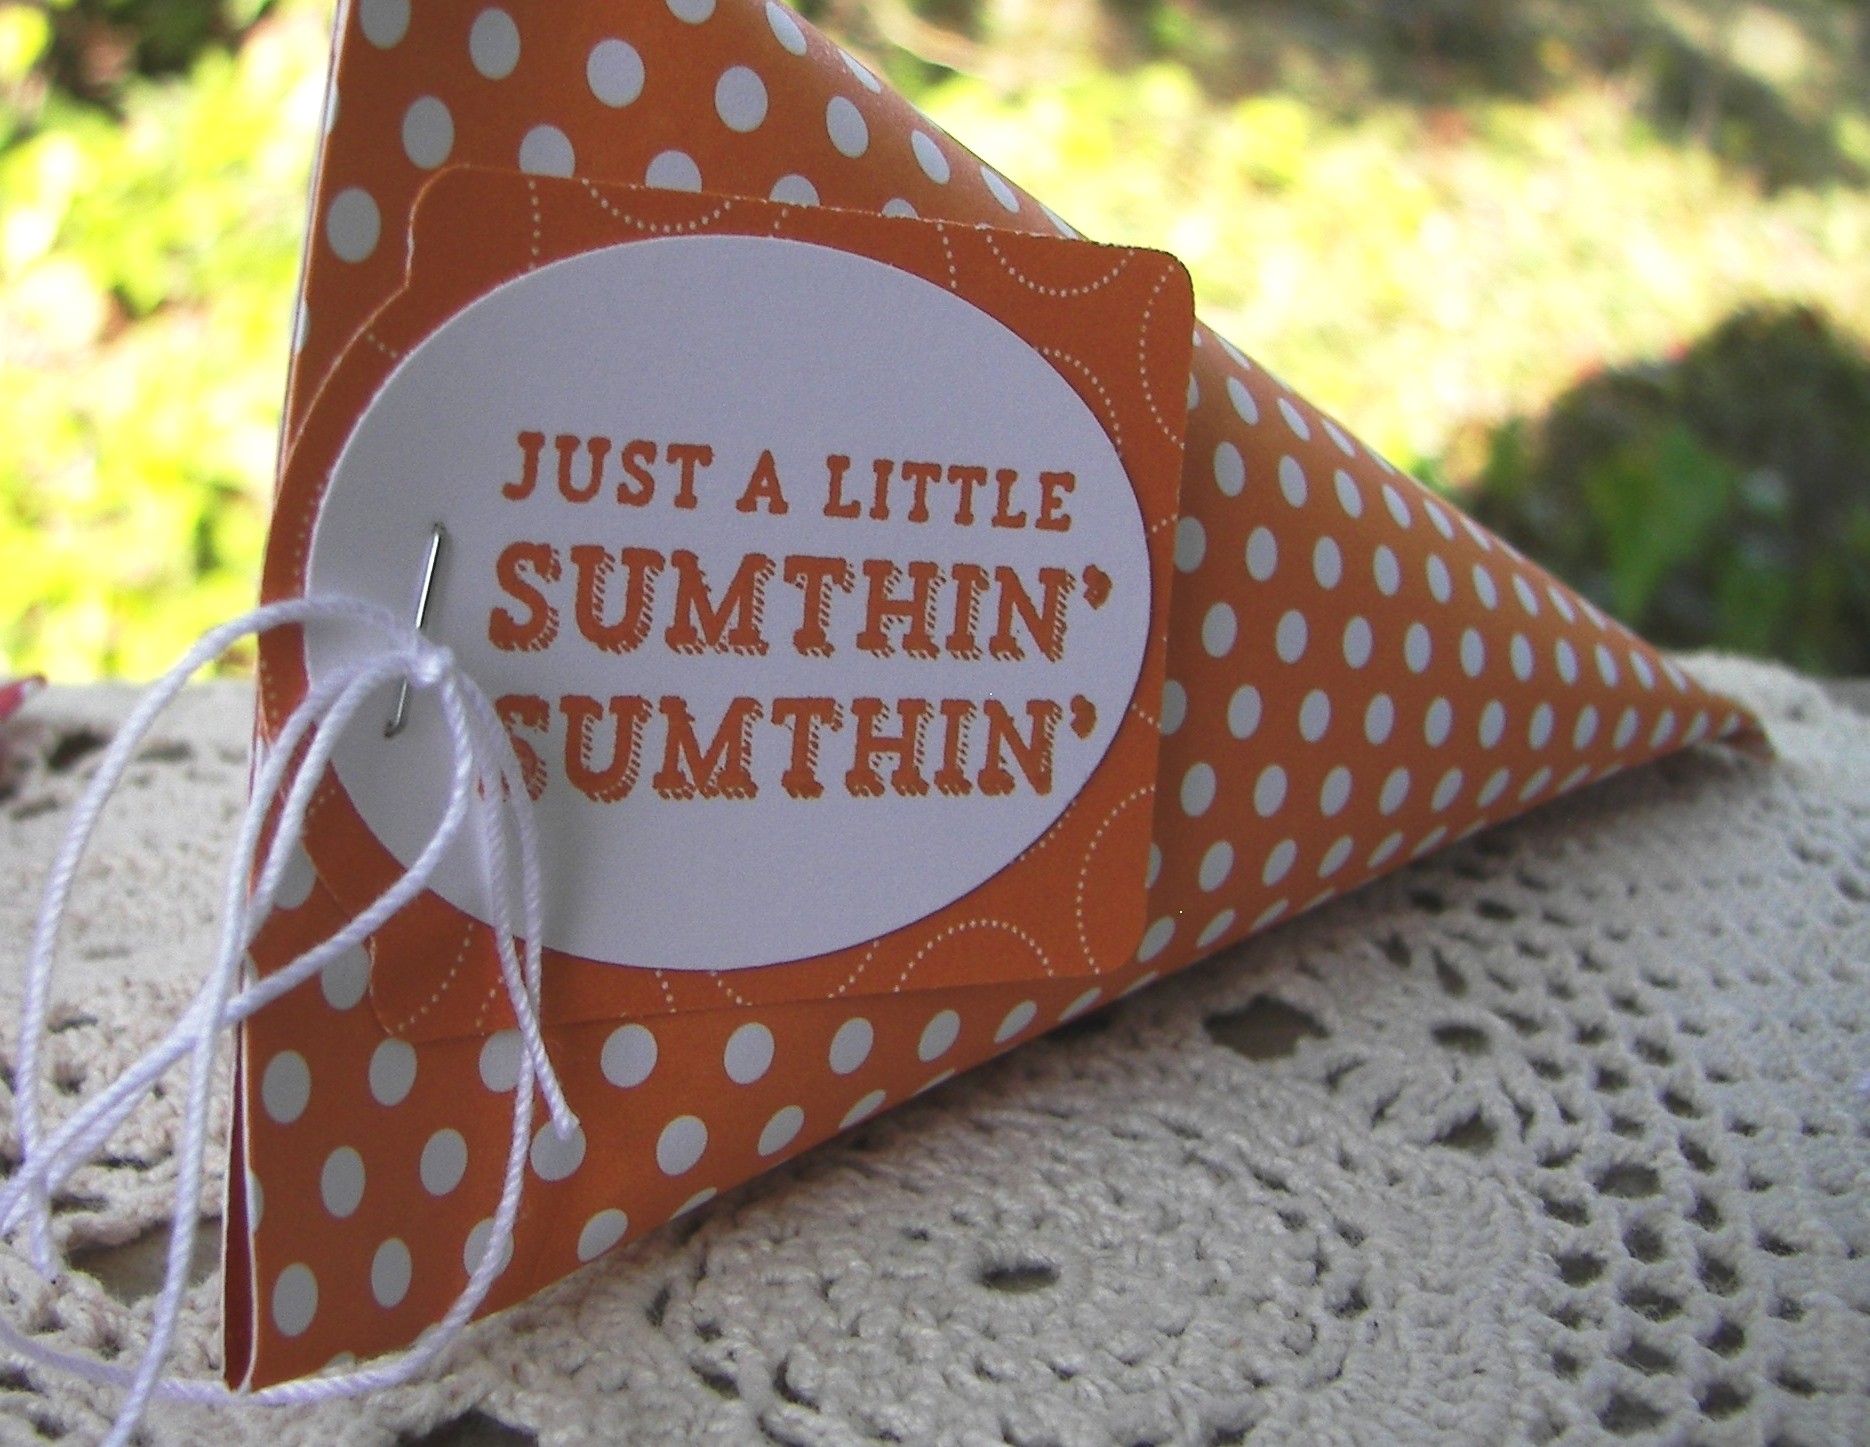
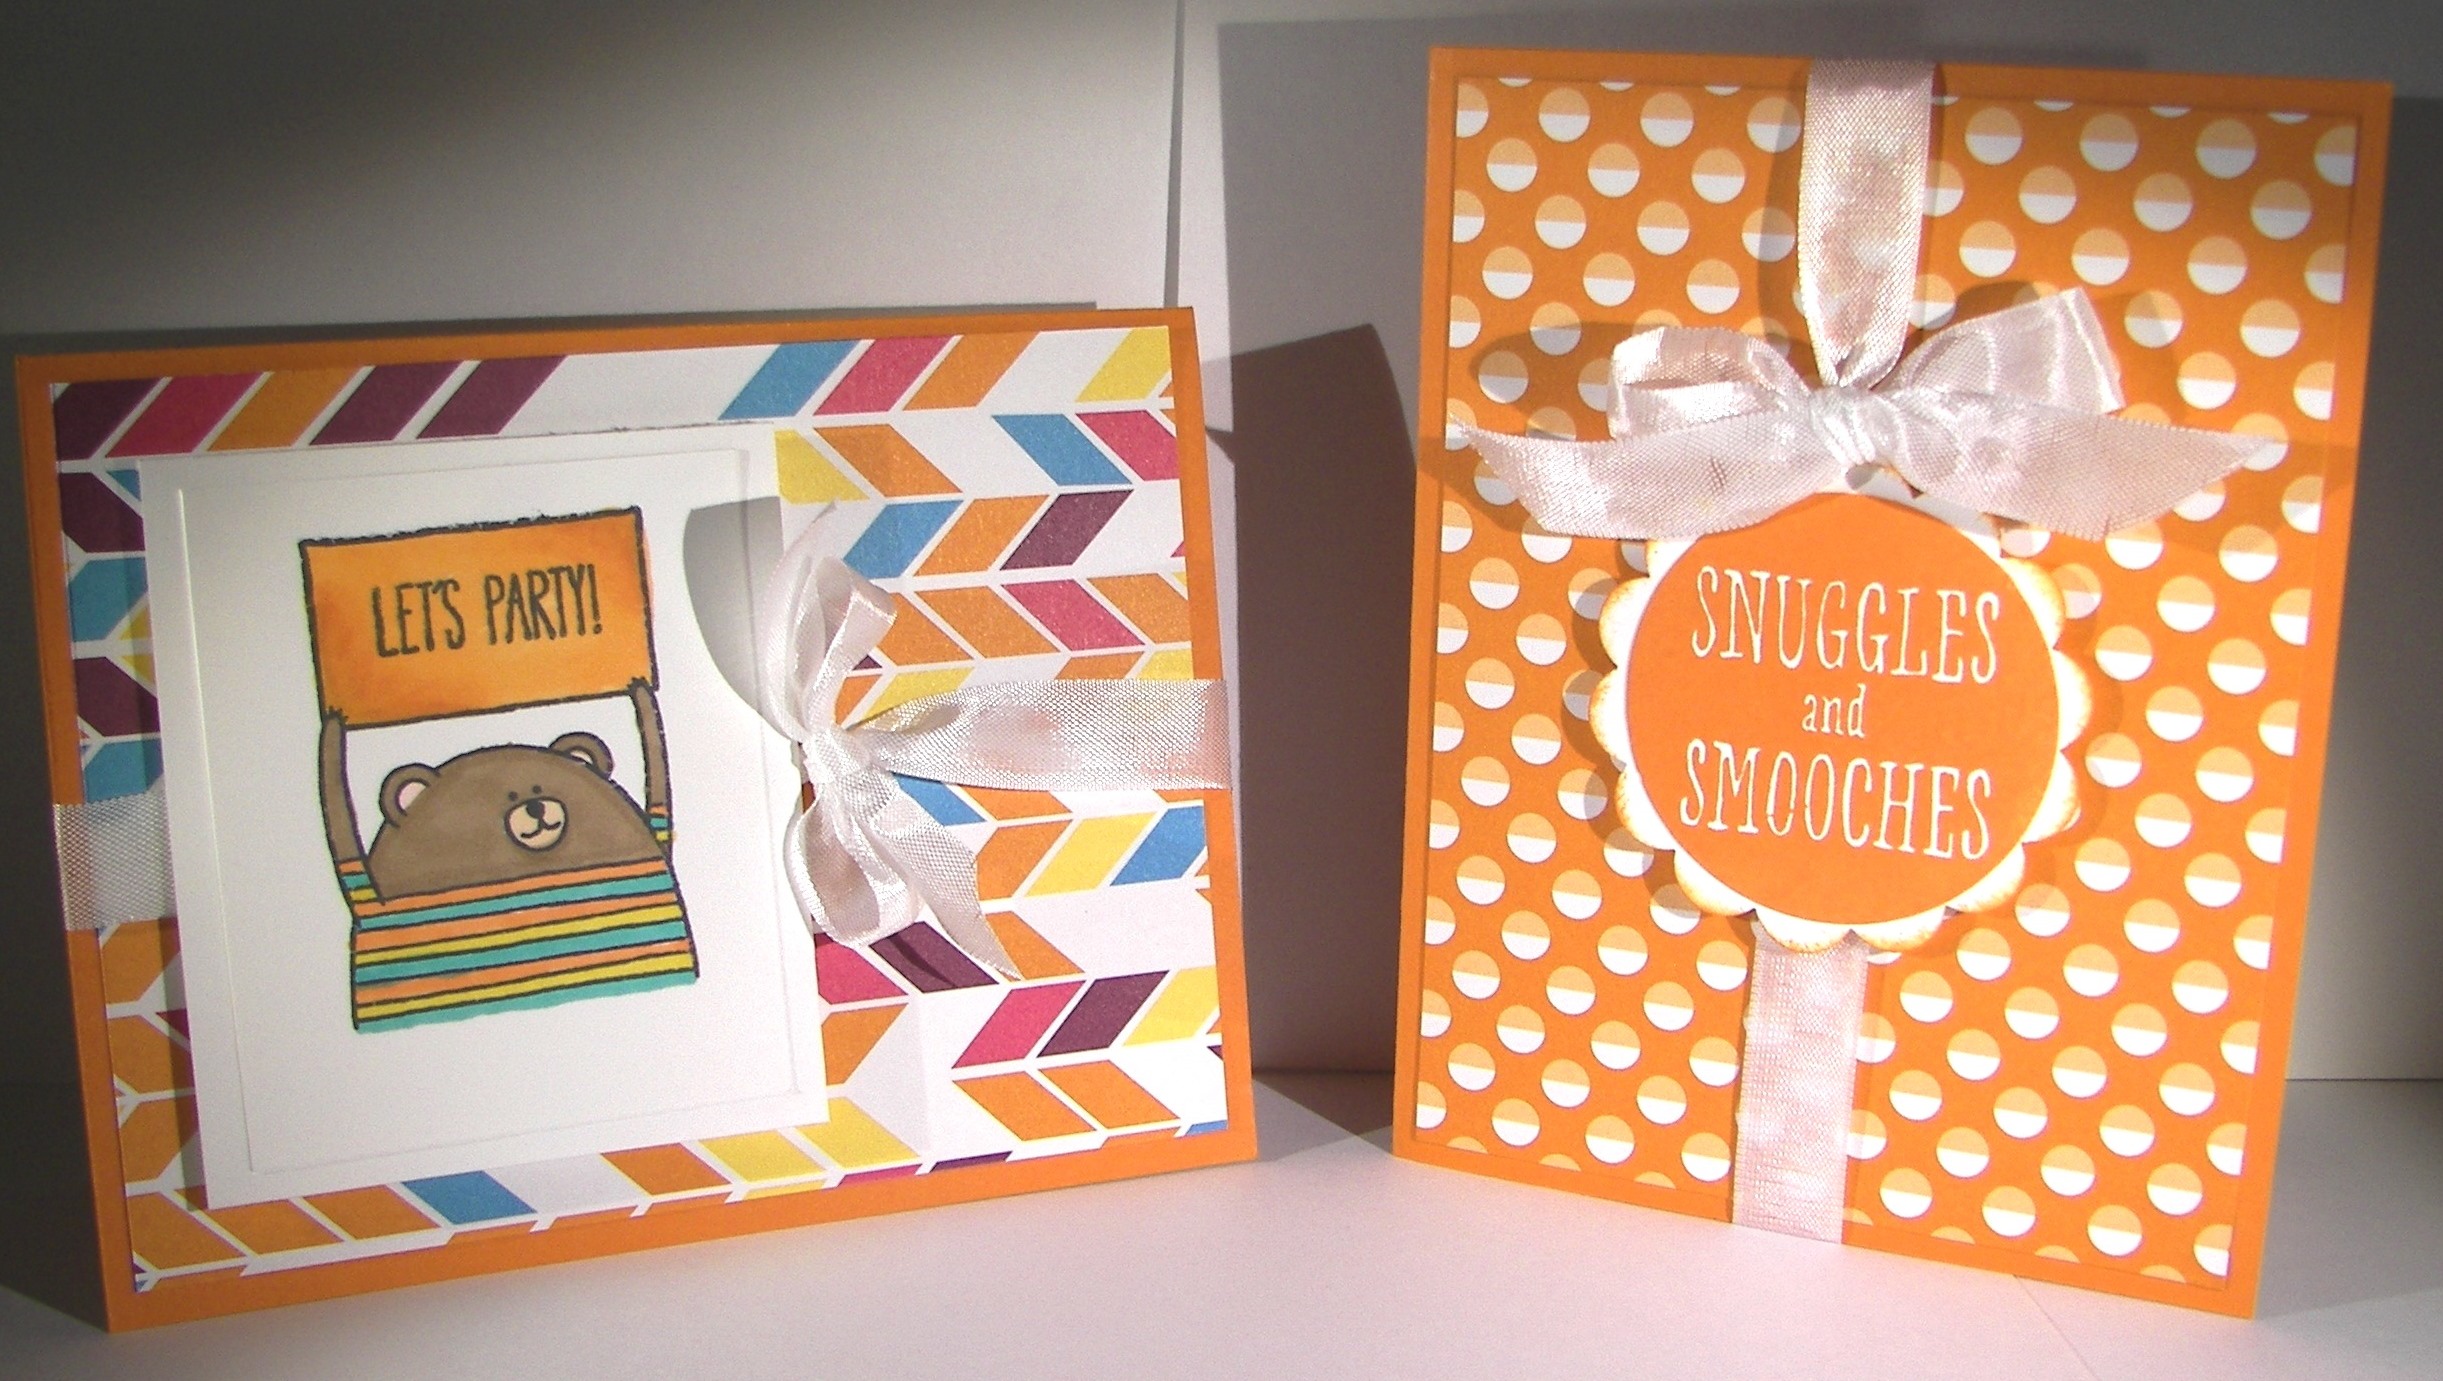
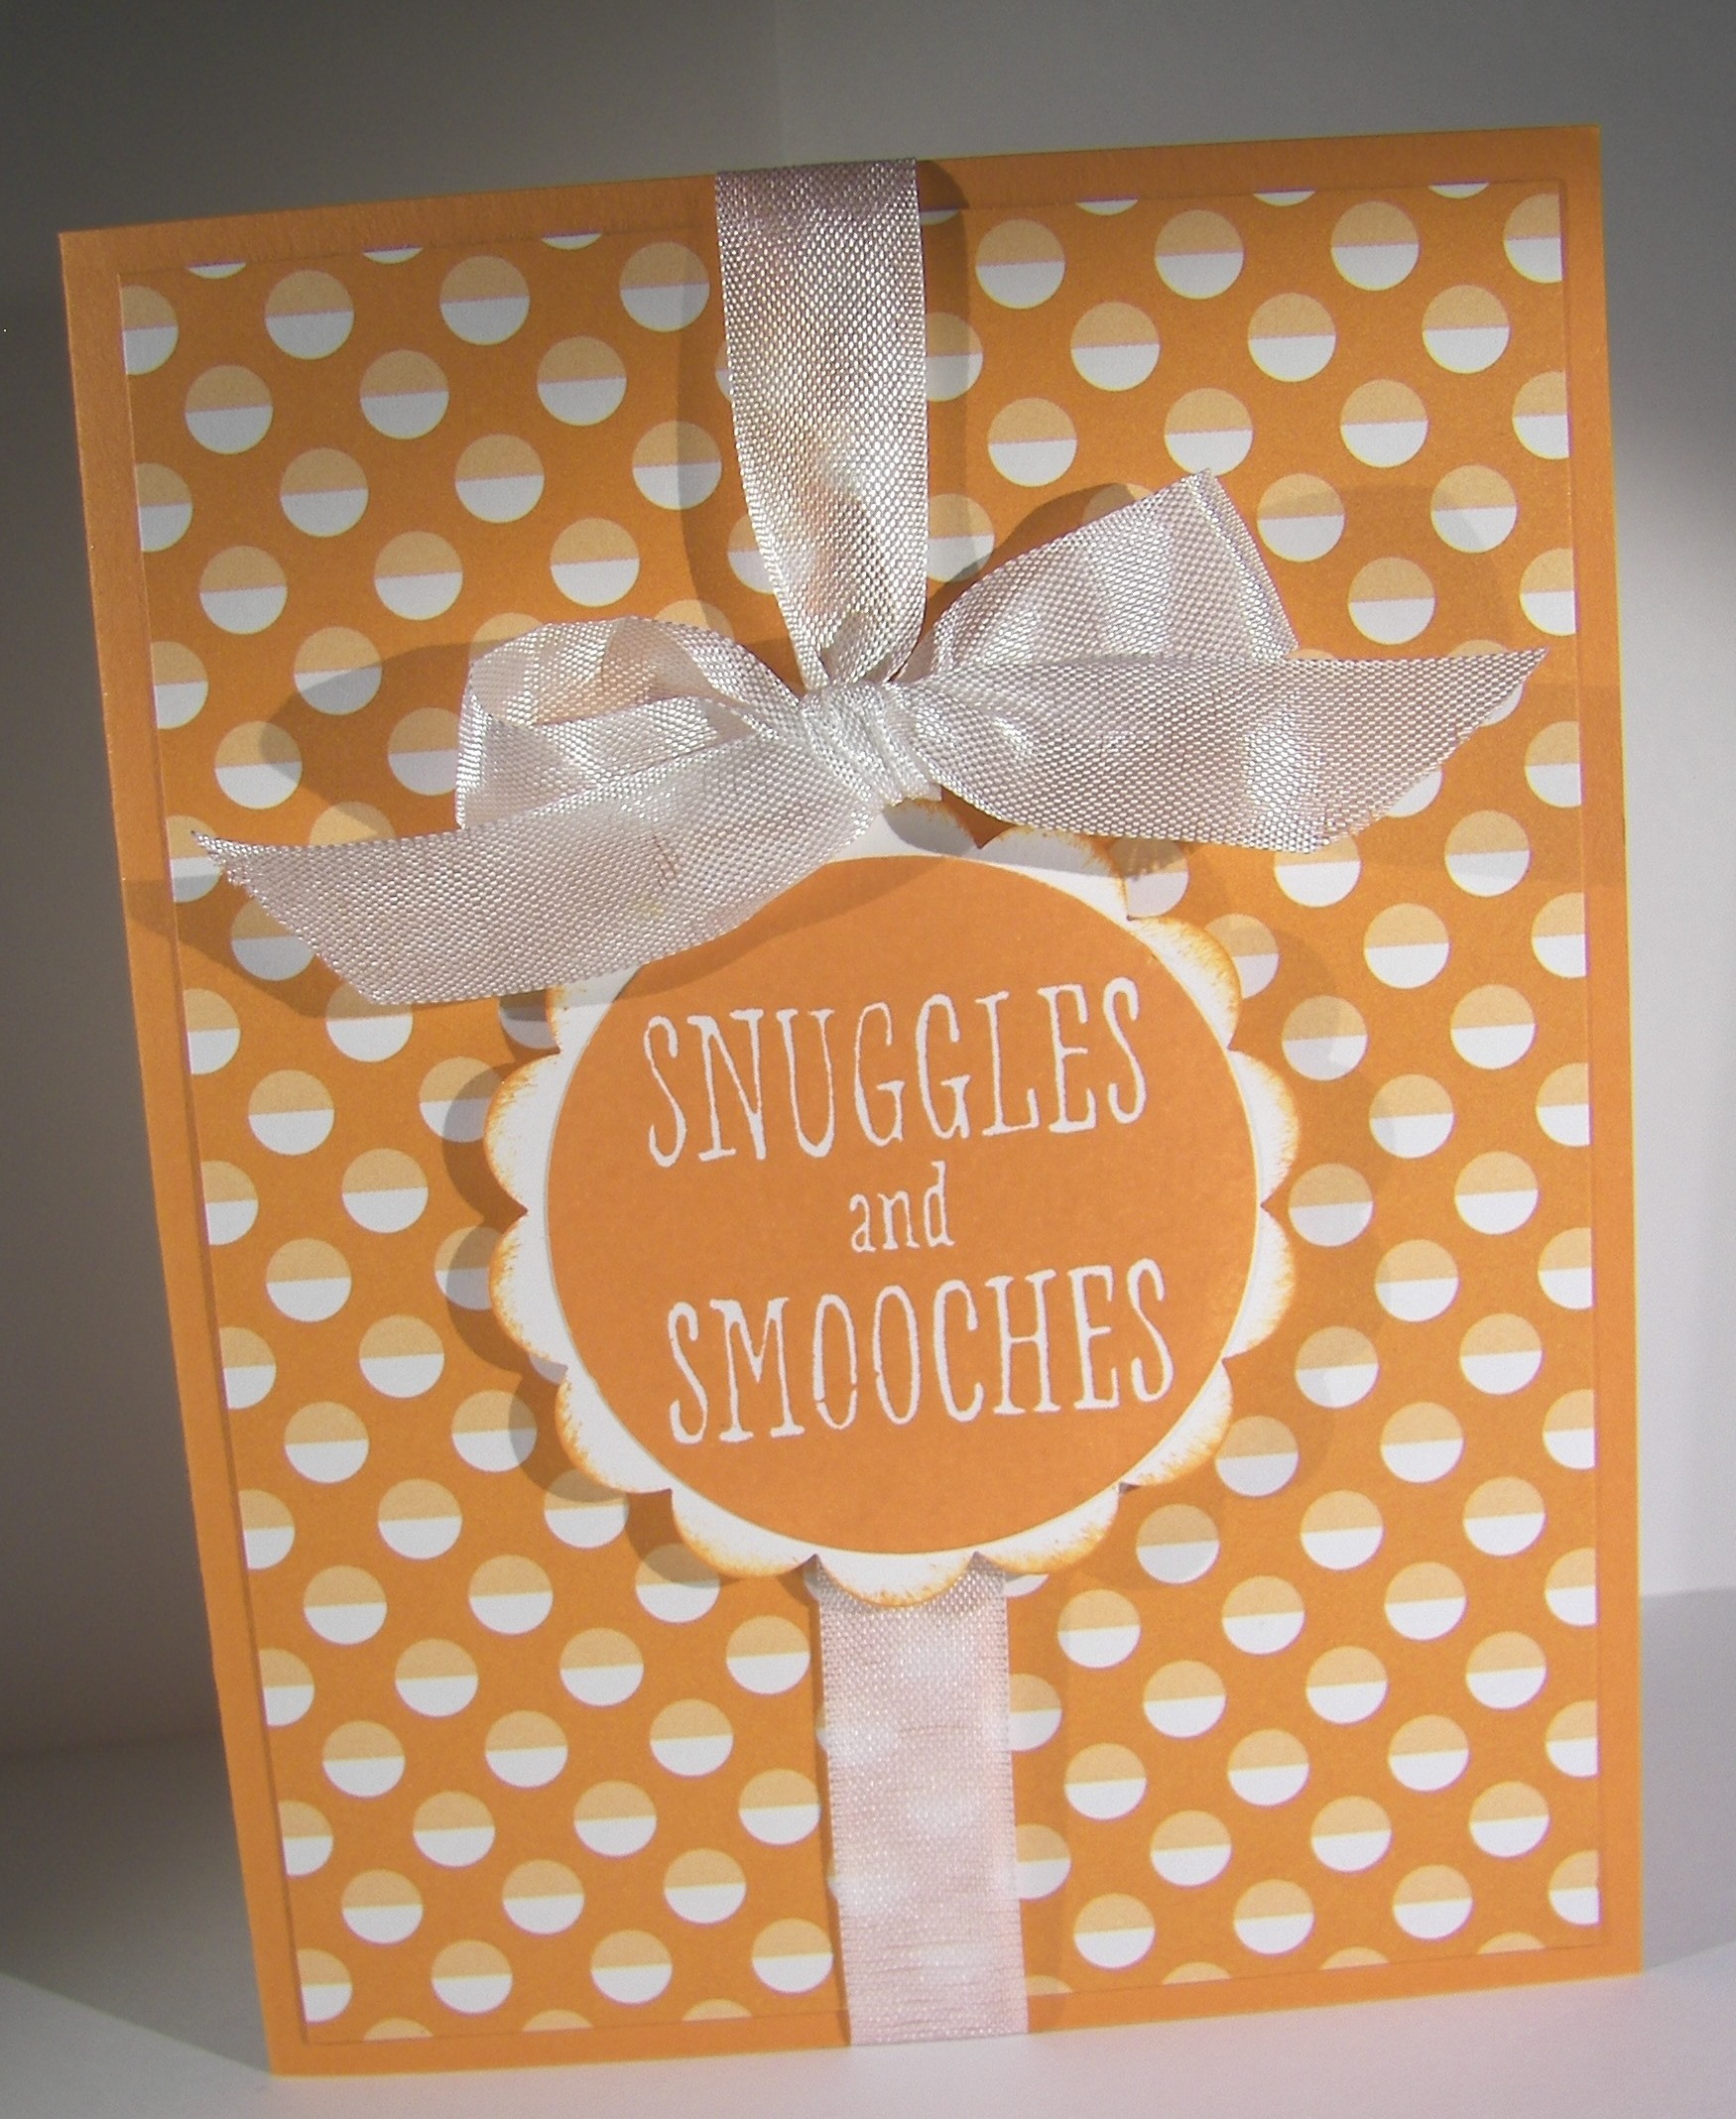
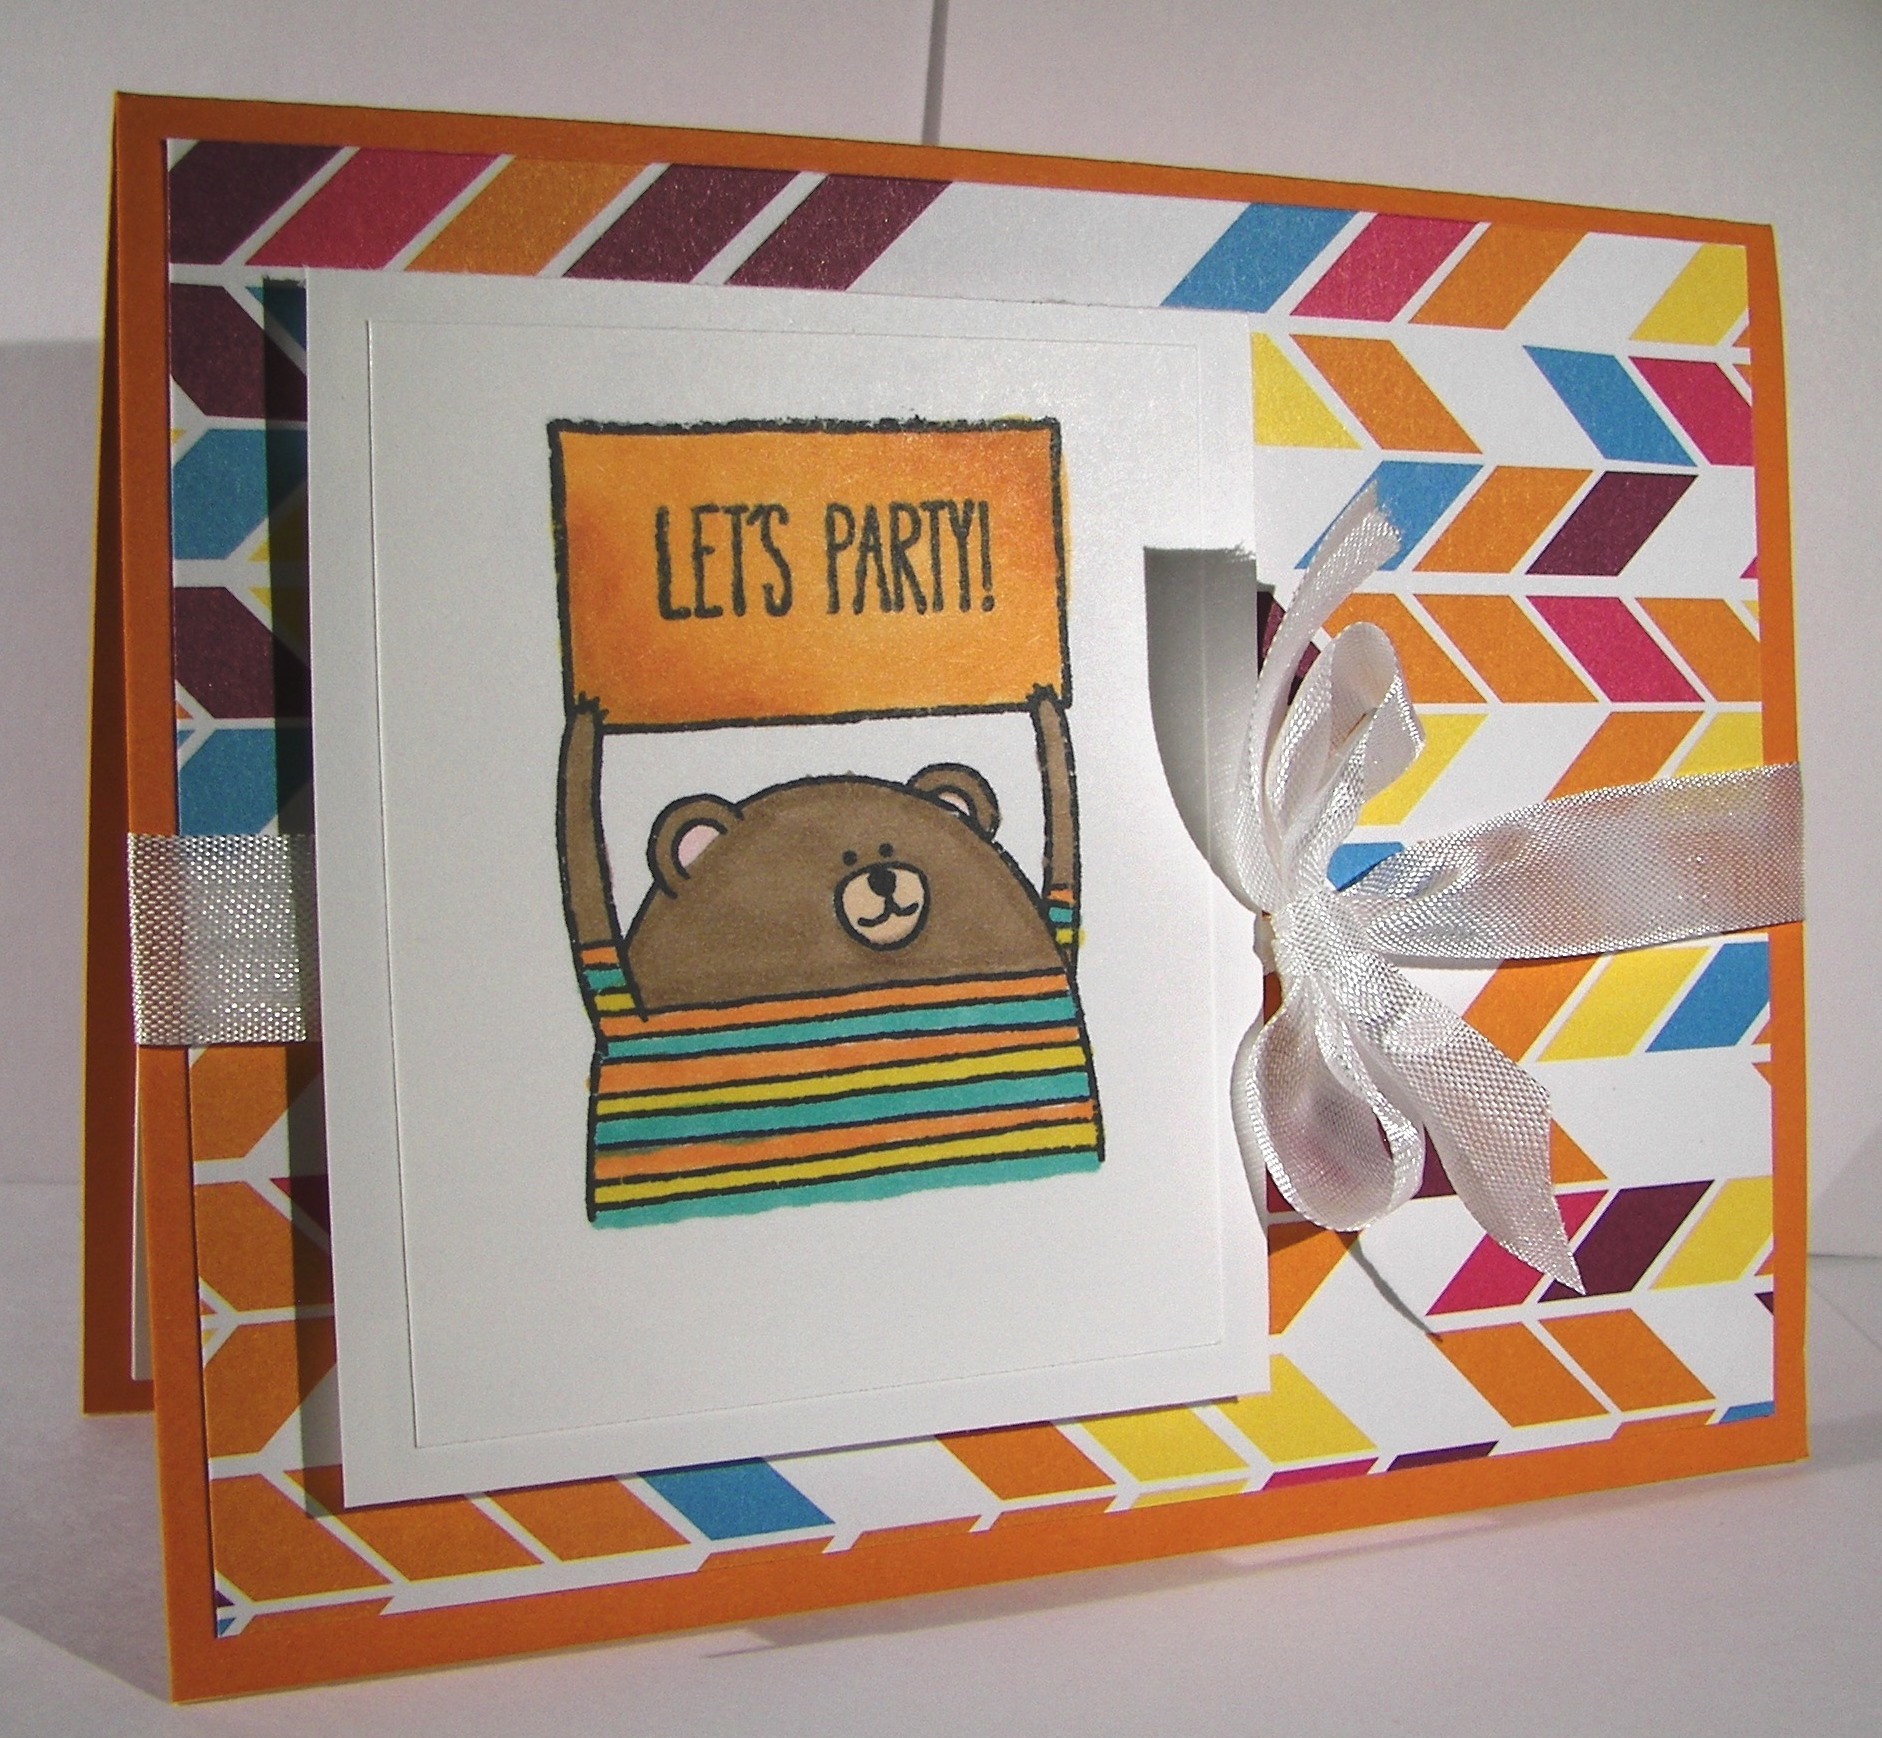
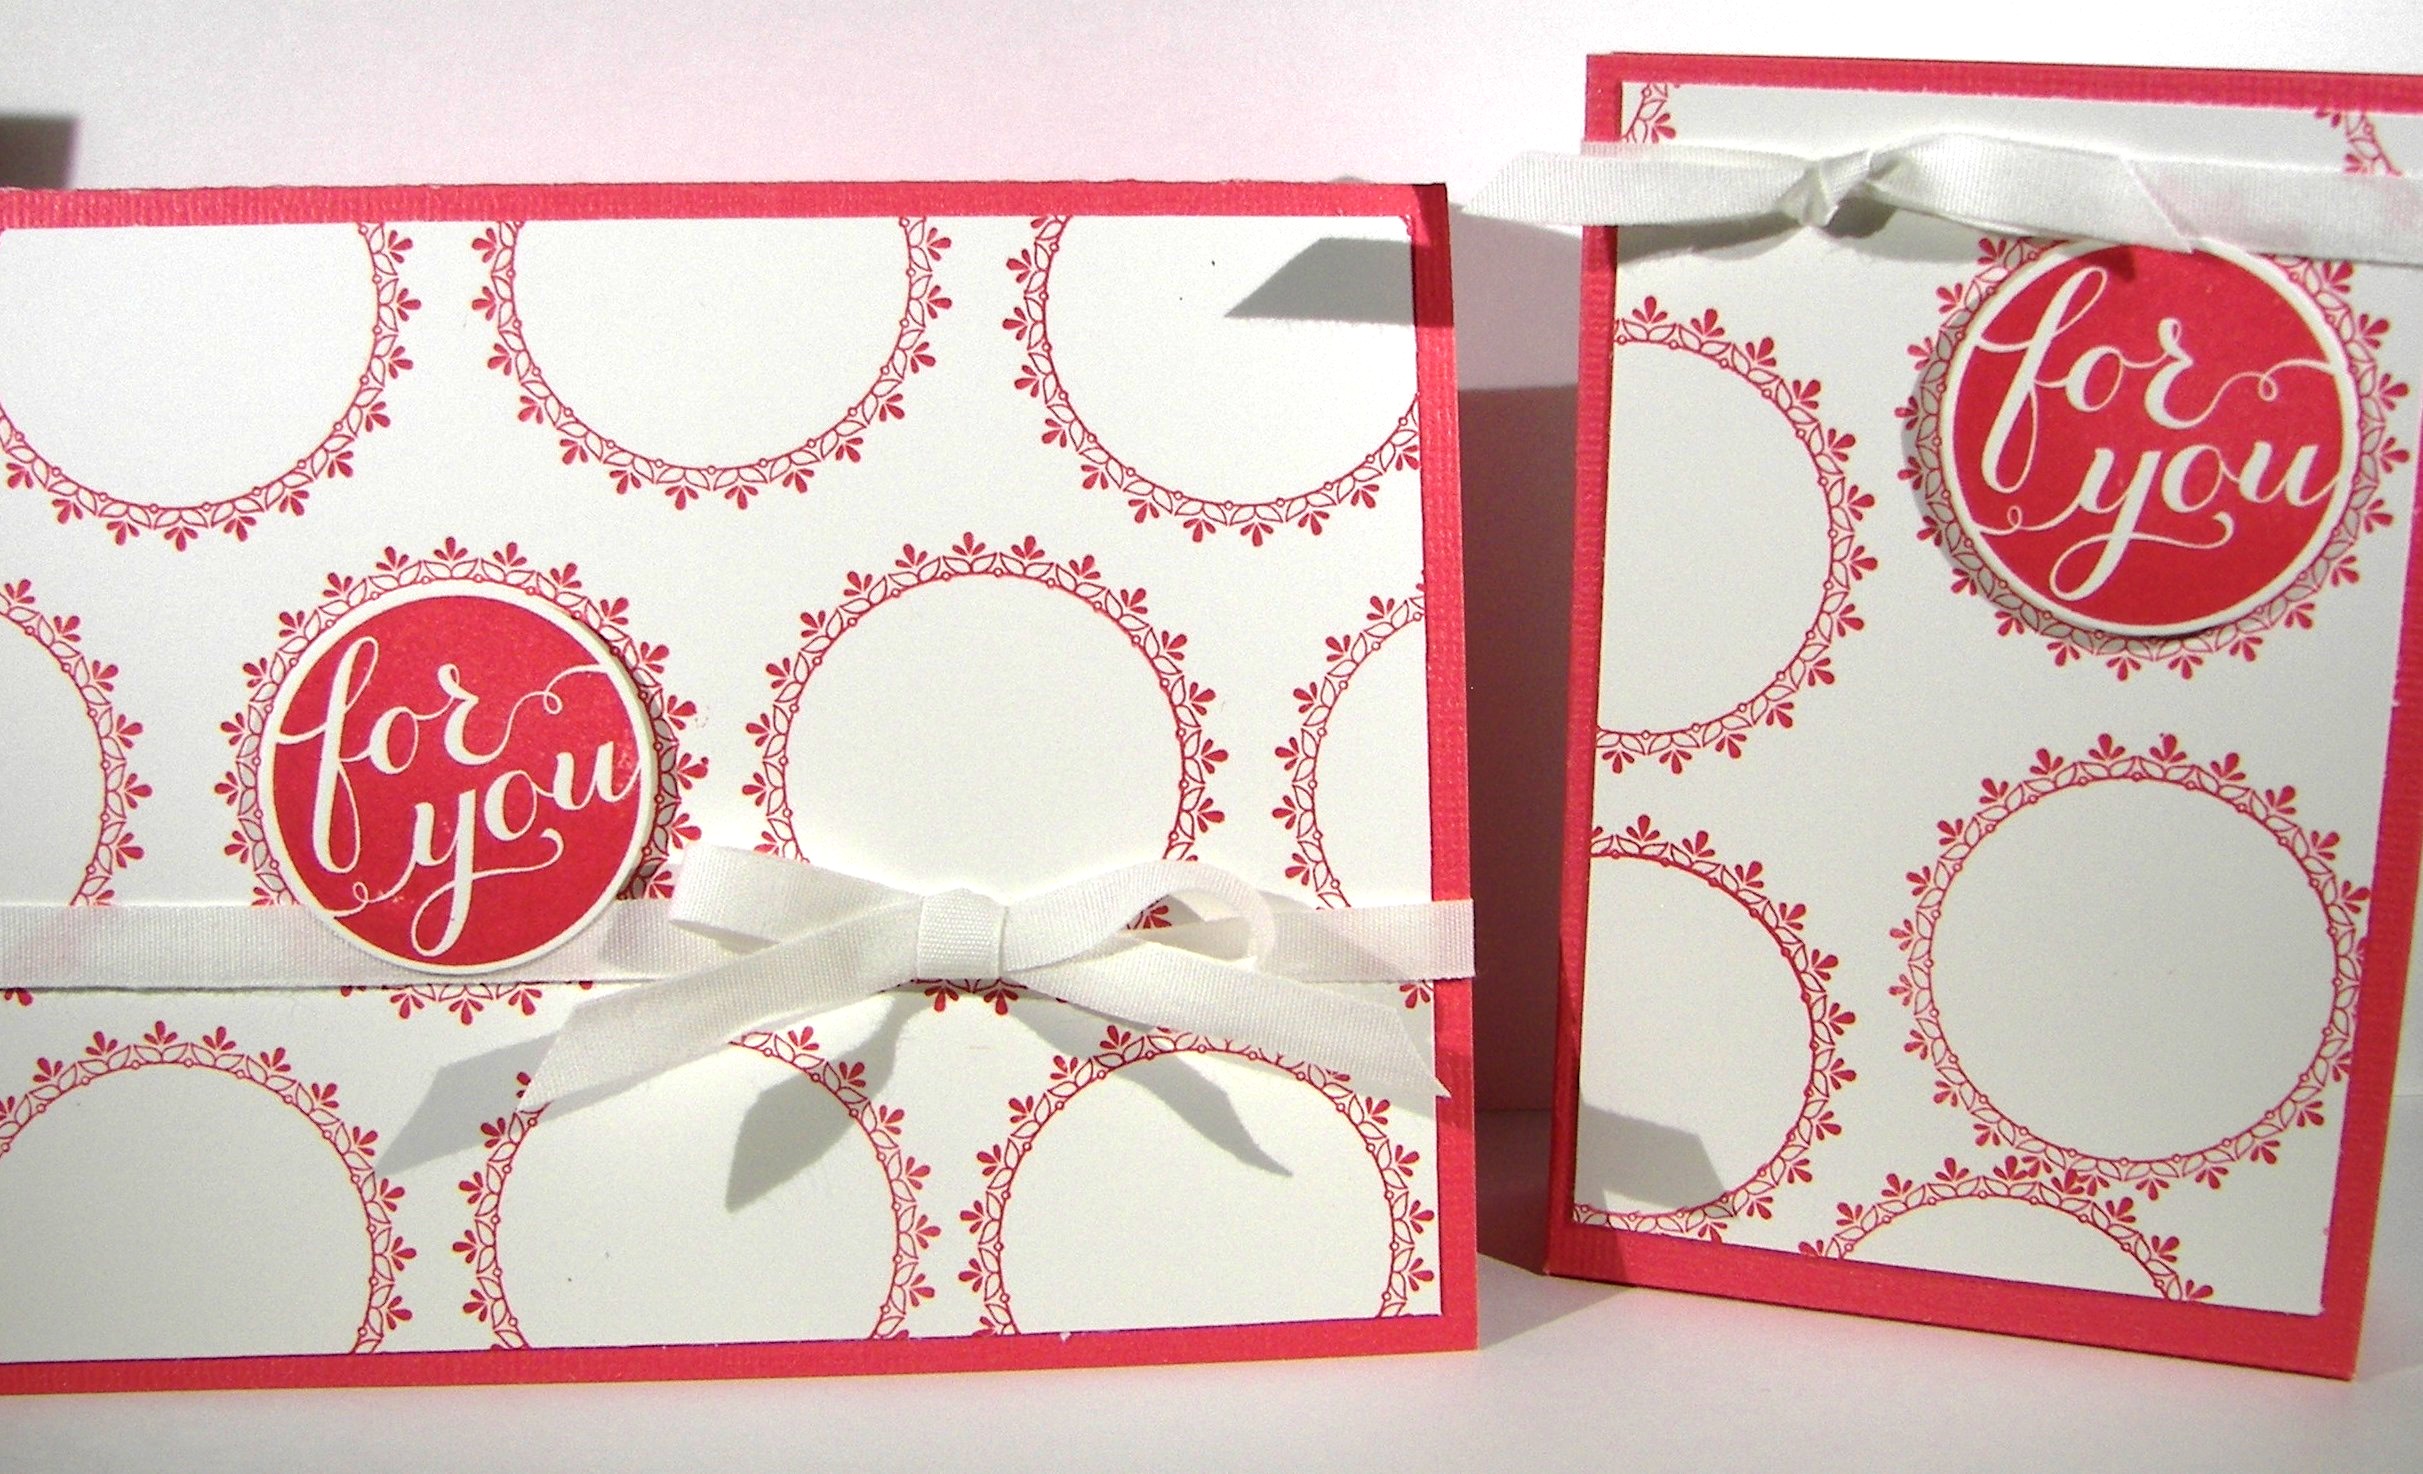
Last year I made a card in this format using tangelo twist as one of the five samples included.  I thought it fitting to make another with a companion gift bag, since I love that these days, with an in-color that is retiring.  Farewell to strawberry slush, and your four other friends.  I have loved using you!

Hello There Farewell

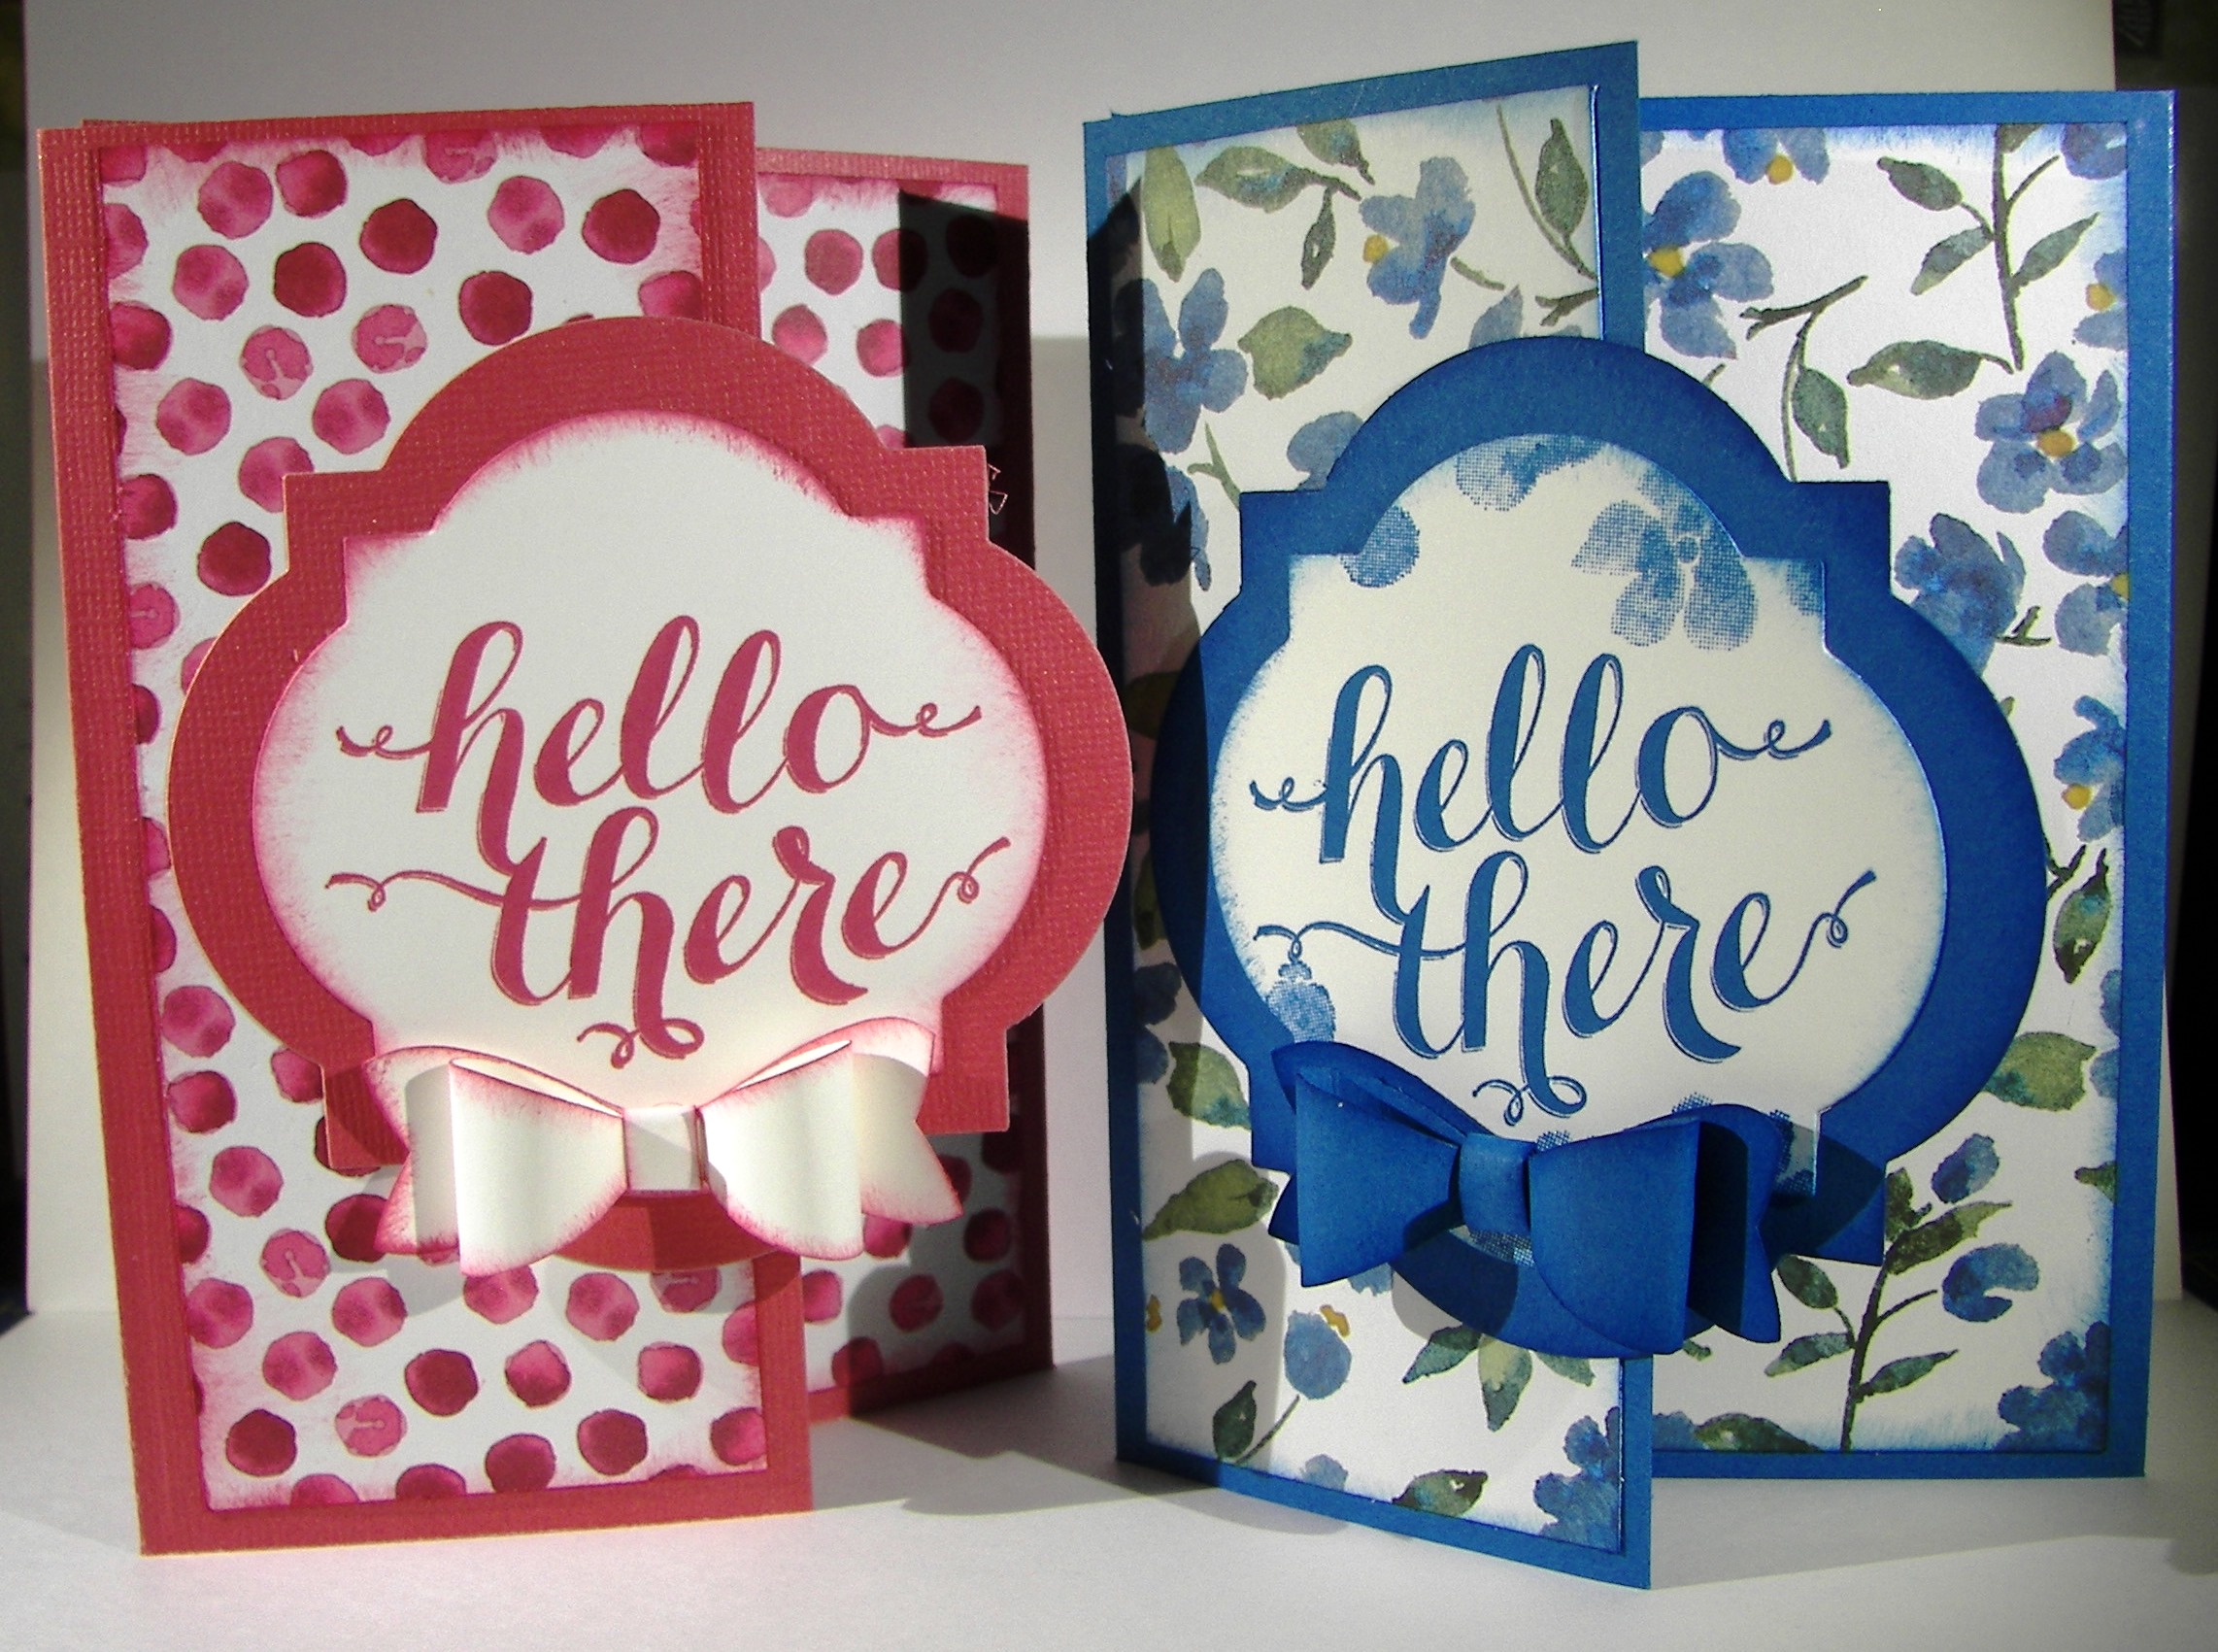
I have begun planning my new samples with the wonderful new in-colors.  I also got to pre-purchase some of the new host sets, perks of being a demonstrator, and they are lovely!  They will make some great gifts for my ladies.

Have a creative day!

Moana

Sweet Taffy Gift Bag

How about a huge bag made from awesome paper?  Sounds like the perfect thing to me.  It wasn’t hard to decide which paper to use, but which stamp would go best on the tag.

Sweet Taffy Gift Bag

I knew it had to be bold and long.  But I didn’t want the reader to turn sideways to read it.  So I had to dig into my sale-a-bration stash and use this beauty.  I have used this one like crazy.

Sweet Taffy Gift Bag

I used the dotted hexagon stamp from the six-sided sampler set to coordinate with the paper.  I thought it paired wonderfully.  The bow does make it a bit more feminine, but if had put it in a knot it would be great for a guy as well.  Good stuff there.

Just how big is the bag?  I used a whole 12 x 12 sheet to make this one.  I measures nearly 3 x 3 at the base and goes up to 9″ to the top.  Plenty of space to put in a light gift or two, maybe even a stash of taffy?

Have a creative day!

Moana

Park Lane Duo

I started this set yesterday morning, got stumped, fussed last night, and finally fixed it this morning.  I kept trying to put the yellow butterfly on the card front.  Yes, the one I inlaid back into the gift bag I cut it from.  Strange how things come together better when you give your creativity a break to refocus.

Park Lane Duo

I colored the paper with my ink sponges.  I didn’t want a lot of exact color, just subtle hints.  So I just used the sponges with leftover ink already on them.  It did the job just right.  Of course my photos make it hard to see, but I love the effect.

Park Lane Duo

When you use delicate die cuts it helps tremendously to sandwich wax paper in between the layers.  The paper just pops out then.  I decided to use the wax paper ones as well.  I didn’t want to cover up the coloring and the yellow butterfly just took over.

Park Lane Duo

After I swapped things around I fell in love.  I attached my wax paper butterflies with some folded glue dots and then ran a string of basic pearls down the body.  It gave such a delicate finish.

Park Lane Duo

One quick stamp from the Sheltering Tree set and the card was done.  No ribbon, no other extras, just some light color and transparent butterflies.  Since they are so thin, the move when the card does.  Beautiful.

Get out there and have a creative day!

Moana

Adventure Awaits Gift Set

I made this lovely set for a baby shower I went to today.  Don’t you think motherhood is one of the great adventures in life?  It will be her first, so it is definitely an adventure.

Adventure Awaits Gift Set

I have used three of my favorite stamp sets to complete this project.  And yes, all three are retiring.  I will be using them regardless.  When I find sentiment sets that say just what I want, I have a hard time letting go.  The new catalog has some fun options, but I can’t share them just yet.  It goes live on June 2nd.  Wheee!!!

Adventure Awaits Gift Set

I am realizing more and more how my camera is giving up on me.  Sorry for the photo quality, but for now it will have to do.  My main color really is pear pizzazz, really.  I sponged my background paper to give it an ombre look that is so awesome with these patterns.  I had to use my yummy chevron ribbon as well, and am truly sad that it is retiring.  It is so great to work with.  No whining, right?

Adventure Awaits Gift Set

When I finished the two sets of cards I was giving as the actual gift, they didn’t fit in my first bag.  So I had to make another, get a bit creative, and pair them together.  It worked out great!  This bundle has 14 cards and envelopes in total!  The ladies loved it, especially my friend.

Adventure Awaits Gift Set

I think everyone should have beautiful cards to give away, especially as special thank notes.  That is why I love to gift these.

Have a creative day!

Moana

Happy Heart Mini Treat Bag

Could this treat bag be any cuter?  I don’t know, maybe.  I did buy some chocolate to put inside, but forgot to take a photo with them included.  Ooops, but it will still get in there.  I am actually going to give it away today.

Happy Heart Mini Treat Bag

I used the framelit set to cut out the bag bits.  While I was working the big shot I went ahead and cut out the ‘for you’ sentiment from the same paper, calypso coral. I did some sponging, but knew I needed something more for the bag front.

Happy Heart Mini Treat Bag

I used the heart framelit from the same set on some of the coordinating washi sheets.  I had planned on sticking it directly to the paper, but the embossing changed that plan.  I left it on  the white background paper it came on and liked it.  I did punch a few hearts with the bitty heart punch and stuck them on.  But not til I had embossed the bag front with the happy heart folder.  Those little hearts fit in pretty darn good.  I used my stylus to help tuck them in just right.  Before I did, I used my brayer and inked over the embossed hearts to make them pop a bit.  I got a little messy, so I went with that and sponged a bunch to help balance it out.

Happy Heart Mini Treat Bag

I used the row of dots framelit, also in the same set, to make some sewing punches for my ribbon.  It wraps around the back, but laces in the front.  I put it in a bow and tied my tag on.  I did stick the tag with a dimensional to help it stay just right.  Now, to get the chocolate in and give it to my friend.  Should be fun!

Have a creative day!

Moana

Mixed Bunches of Sassy Salutations

Well Good Morning!  Isn’t this just a huge ray of sunshine?  Bright, happy, sunny, and they make me smile.  What a great combo!

Mixed Bunches of Sassy Salutations

There is something about huge polka dots that just makes me smile.  After adding a smattering of flowers and an adorable greeting, all you need is someone wonderful to share them with.

Mixed Bunches of Sassy Salutations

Out of this set, what is retiring?  The paper of course.  Such a versatile set, I will miss it.  The angled tag topper punch.  I am glad it have it.  I love the curled and pretty ones, but sometimes you don’t want that.  And of course the flower stamp used.  It is from a set of designed flowers that also have center round stamps for layering and extra fun.  I make backgrounds out of those all of the time.  There is a coordinating punch for the flower that I didn’t use on this one.  I didn’t have crushed curry ribbon, but the hello honey was just right.  This particular ribbon is retiring, but the color will be with us for another year.  It is hard to tell in my photo, but the ribbon is just a shade or two darker.  And I love it!

Mixed Bunches of Sassy Salutations

These went together really fast.  The perfect example of simple stamping with coordinating products to give it the professional look we all love.

Have a creative day!

Moana

Geometrical Confetti Celebration Retirement Party

More retirement stuff?  Absolutely!  So, out of this project, what did I use that will be retiring?  It would be easier to share what isn’t.  That would be the whisper white paper and coordinating seam binding ribbon.  Yup, everything else is heading out.

Geometrical

When I bought this stamp set I admit it was for the sentiments.  Specifically, the cheer up buttercup one.  Totally worth it in my mind.  But I have gotten a little more attached to the funny little shapes.  It is nice to do something different once in a while.

Geometrical

This card set was made from four cut and ready card bases.  Three cards and one holder, and yes, the holder was made from a card base.  A little scoring, a little edgelit work, a little inking and there you have it.  Crazy, right?  I need to get the whole video thing going, you would like to see how easy that one is.  I surprised myself.

Geometrical

I am enjoying more and more making sets that I can use as gifts.  People love getting pretty things they can turn around and use.  I love the smile on their faces when they look at them.

Geometrical

Well, I had better get going.  I have a prom dress to add sleeves to.  That is okay, my sewing machine feels neglected when I paper craft so much.

Have a creative day!

Moana

Chalk Talk Retirement Party

How about this for an overdone party.  I really should set some limits with myself, because seriously, six cards and two bags for one blog post is just a bit much.  But hey, it is a party right?

Chalk Talk

The designer paper I used was so fun.  I guess that is why I ended up with two sets, because each side of the paper was too cute.  I am used to having paper around for a catalog year, but I do tend to get attached to the colors.  I really did enjoy the 2013-2015 In Colors.

Chalk Talk

The stamp set Chalk Talk is retiring, but the framelit isn’t.  So, maybe a new set will be available?  We will have to wait and see.

Chalk Talk

For a little throw back I used the stretch ribbon from last years catalog.  It was really fun to play with.  This is a reminder to me to get the items I want that are retiring before they run out.

Chalk Talk

Well, I am running behind for sure with all my crafting.  Off to another adventure!

Have a creative day!

Moana

That’s the Ticket Retirement Party

What is with all of the product in this photo?  Well, I am beginning a series of posts that will last the next month.  It is a retirement party, and these products are invited.  I am trying to celebrate them, because I have had so much fun making beautiful projects with them.

That's the Ticket

When the new catalog comes out in June there will be tons of new product to oogle over.  But, some have to step aside to make room.  I really am bummed out about lots of them, but am trying to stay positive.  So, welcome to my party.

That's the Ticket

As you can tell, I still have babies on the mind.  Not for me, yikes!  Several of my friends are becoming grandmothers for the first time or enjoying the blessing of another grandchild.  It is infectious!

That's the Ticket

I used one sheet of wisteria wonder to make this trio.  I cut a large square 8 x 8 and used my gift box punch board.  I took the remaining strip, cut it in half and made two little gift cards to match.  Aren’t they adorable?  I chose the baby stamp from the stamp set and stamped tone on tone all over my paper before I folded it up.  Of course I had to sponge it a bunch.  Yummy.

That's the Ticket

All of the time I have used this ticket punch I have wondered how to incorporate the miniature tickets that punch out with the larger one.  I thought they fit perfectly below my favorite ribbon ever, weep weep, the lovely chevron ribbon.

With all that said, I love these products I have shown you.  Only a month left to get your own, unless they sell out sooner.

Have a creative day!

Moana

Ray of Sunshine with Perfect Pennants

Color, color, and more color.  I obviously had color on the mind.  I have been wanting to make a card that felt like a sunrise.  This fit the need  nicely.

Ray of Sunshine with Perfect Pennants

It wasn’t easy for me to leave it alone with just ink and a sentiment, but I managed.  I have coordinating ribbon, but didn’t want to break up the colors.  My supporting committee backed me up and here they are.

Ray of Sunshine with Perfect Pennants

A friend of mine recently had an adorable little girl and I couldn’t wait to use this stamp for a baby card.  It feels like a warm cuddle, just like a baby.  Yummy.

Ray of Sunshine with Perfect Pennants

I took my inks and sponges and went to work.  I started at the bottom with crushed curry and sponged and swirled away.  I progressed across the card with the four different colors ending with night of navy on the top.  After the ink dried I stamped my sentiment where I wanted it to sit and embossed it with black powder.  I headed to the big shot and cut out my image.  Yes, that left a hole in my background piece.  But with my framed bit also done in night of navy, it was all covered up.  I just popped that up on dimensionals and called it done.  A great technique on both fronts.

Have a creative day!

Moana

So Much Joy

There is so much joy in every day life, why not in our cards and paper projects too?

So Much Joy

When I saw this weeks specials on the Stampin’Up! site I knew I had to break out some tools and make something special with them together.  Both framelits shown here plus the large pansy punch are all on sale.  Plus a few other goodies that I don’t have, yet.  I love a good sale!

So Much Joy

I grabbed a piece of paper from the birthday bash set to set the color stage and gave it some friends with crushed curry and tangelo twist.  Good friends.  I knew I wanted to make a gate fold card and decided to anchor the fold with a flower.  Since it was going to be layered, I knew it needed some strength.

So Much Joy

Enter the awesome huge designer vintage faceted buttons.  They are so fabulous!  Just when you think you couldn’t possibly use a button that large, bam!  The perfect choice!

So Much Joy

Lots of sponging, some glue dots, and a few dimensionals and here is another great set!  I love it when everything comes together to create beauty like this.

Have a creative day!

Moana

Cheerful Critters Party

There are never enough birthday cards to be made, never.  Sometimes I just dip into my stash of designer paper, pick a sheet, and get working from there.

Cheerful Critters Party

That is exactly where these two came from.  Of course I love the Cheerful Critters stamp set.  I know I teased it at first, but I have fallen in love with it every time I use it.  Really, how cute are these guys!

Cheerful Critters Party

I absolutely love my inside stamping to coordinate with the my card front.  It makes me very happy.  To the point that I have a hard time leaving the inside blank.  Kind of like doing your hair.  Everyone can make the front look nice, but the back needs just as much attention, or so my brain says.

Cheerful Critters Party

I had a fun time using my stampin’ write markers on this guy.  I have such confidence issues with them and making it look smooth.  But I have to say, this one didn’t turn out too bad.  Maybe I can do it after all.

And let me just say one more time, the perpetual birthday calendar stamp set is so absolutely wonderful.  I use those little guys all of the time.  Since they are designed to accent different months of the year, they go with everything.  How perfect is that!

Have a creative day!

Moana

Crazy About You Little Birthday Buddy

This is one of the times where you don’t even have to think about coordination much at all.  I wanted some chevrons in a baby card.  Done.  Pull the matching colors and some awesome tools and there you have it!

Crazy About You Little Birthday Buddy

A girlfriend had asked about baby shower invitations with some of these components and I made some demos.  They decided to do something different with photographs and never got to see these.  So, I got to have the design fun and get to use the projects myself.  Sounds like a win to me.

Crazy About You Little Birthday Buddy

This little matching bag is not quite the size of the matching card, but it is so precious.  Just right for a tiny gift and a gift card.  What more could you ask for?

Crazy About You Little Birthday Buddy

I think the little characters in the Little Birthday Buddy set are so adorable.  I had fun coloring this toucan with the coordinating ink colors using blending pens.  You always have the right marker color with those awesome tools.

Crazy About You Little Birthday Buddy

Day one of the Utah trip has begun nicely.  I got a surprise visit from my niece and got to shower my mother with beautiful cards.  Awesome.  Now I get to help her get caught up on her paper pumpkin kits.  Also awesome!

Have a creative day!

Moana

Hello There Vivid Vases

Good Morning!  Saturdays are busy, so I don’t always get to post first thing.  But it is still technically morning, so it counts.  And what a lovely morning it has been.

Hello There Vivid Vases

I had an itching to water color.  The vivid vases stamp is simple, but gives a lot of opportunity to play.  And play I did.  I actually had out seven different inks if you can image it.  I love color!  Especially when it is subtle like in this project.

Hello There Vivid Vases

I just got my colors out and an aqua painter.  Enough said.  I stamped my image in stazon on water color paper and then got painting.  I used soft sky as my main color because it was the color of the water in my vases.  It turned out so lovely.

Hello There Vivid Vases

I had some extra paper from the sheet I cut into, so I turned it into a matching sour cream treat container.  Just right for sure.

Hello There Vivid Vases

I also got to showcase the lovely lace embossing folder.  Isn’t it so beautiful?  I finished off both projects with coordinating seam binding ribbon.  I love that stuff.  I think I actually have all of the colors.  That is unusual for me, I am more selective than that.

Have a super creative day!

Moana

Mixed Bunch Work of Art

I have Easter on the brain and these are the colors that keep coming to mind.  So saffron and pear pizzazz.  They are so lovely together.  This might suggest I am ready for Easter.  Ooops, I am not.  I still have a bit of time though.

Mixed Bunch Work of Art

So, are you a card person, a bag or box person, or do you need a matching set?  I keep going back and forth.  But I do like a bag that is beautiful enough to be a card as well.  This bag is big enough to hold a nice gift for sure.  Almost too big for candies.  Wait, is there a bag too big for candies?

Mixed Bunch Work of Art

I used the same stamp to decorate each piece to tie the set together.  But, since they have the same sentiment, I wouldn’t use them together.  They just coordinate nicely.

Mixed Bunch Work of Art

Either way, I enjoyed making them.  I also hadn’t had the work of art set out for a while.  That one just begs for a quiet afternoon to play with it.  When does that happen anymore?

Mixed Bunch Work of Art

Well, I am off with my girls to enjoy our first day of spring break.  Shopping and nails then lunch.  Wonderful for sure!

Have a creative day!

Moana

Hello There Painted Petals!

Bringing together my favorites once again.  This whole painted blooms and painted petals brings me so much joy.  Pairing it with this beautiful hello there phrase makes it work!

Hello There Painted Petals!

I think I could use the painted petals suite exclusively for some time without getting bored.  Maybe that should be a challenge for me.  Just how many different things can I make, while having them look different, from the same set.  I like it!

Hello There Painted Petals!

Of course the paper I am showing here is either side of the same sheet.  Yup, awesomeness on both sides!  I just love that!

Hello There Painted Petals!

And my little punch buddy.  That bow builder makes anything look wonderful.  I even have a couple made up that just sit on my desk.  They are adorable even all by themselves.  What a treat!

Have a creative day!

Moana

Wildflower Meadow Watercolor

How about waking up to a ray of sunshine?  This feels like a spring sunrise.  The kind you wish you could get lost in, or just put on pause so you can stay there.

Wildflower Meadow

I was sulking over my blendabilities tragedy and wanted to play with color.  So I pulled out some watercolor paper and decided to make a mess.  I picked my colors, mushed some ink from my pads onto wax paper, sprayed them with water and started putting my paper on it to make patterns.  Those colors were too dark, so I switched to the ones you see.  Soft sky, daffodil delight and blushing bride.  I repeated the process and the colors were just right.  I dried it with my heat gun because I have no patience, sheesh…

Wildflower Meadow

I then stamped the wildflower meadow stamp in black stazon and went for it.  I love the texture that shows through the ink.  I finished it off with a tiny stamp from the Tap Tap Tap set to just say “hi”.  I used the tiny oval to punch it out, inked it and backed it with another oval punched in daffodil delight.

Wildflower Meadow

A healthy smattering of basic pearls and a big hug in seam binding ribbon and this guy was ready.  I raised it up on dimensionals and called it done.  Kind of simple, but has lots of interest at the same time.  Give it a try!

Have a creative day!

Moana

Bundled Baby Shower Invitations

Do you remember this one?  It was one of the choices for a baby shower invitation. So, today isn’t a new project, just a whole slew of them with another color option.

Bundles Baby

This is what fifty of these bad boys look like.  Kind of impressive.

Bundled Baby

I used up all of my pistachio pudding paper and had to dip into a little so saffron.  I think it worked out pretty nice.  The biggest work portion was all of the inking on that awesome star embossed sale-a-bration paper.

Bundled Baby

They are ready for delivery and my fingers are ready for a rest.  Enough said.

Have a creative day!

Moana

Just a Little Sumthin’ Sumthin’

Today is all about quick and simple.  I was able to attend a girls camp planning meeting last night and of course I had to have something to share with the girls.  Imagine this set times four.

Sumthin' Sumthin'

It only took about an hour to whip up twenty handouts!  How about that!  I got into my stash of retired designer series paper and pulled out these awesome colors.  I cut the squares 6×6, put adhesive on two perpendicular sides, rolled into a tube and squished one end together.

Sumthin' Sumthin'

Fill with candy and staple shut!  Really, it was just about that simple.  I used the other side of the paper to give a more solid pattern to frame my stamped phrase.  It was so quick.

Sumthin' Sumthin'

It makes people feel special when they know you made them something, even a little something like this.  What a great use of awesome products, right?

Have a creative day!

Moana

Cheerful Critters with Snuggles & Smooches

Working with pretty paper is always a ton of fun.  I decided to pick out a sheet of designer series paper and go for it.

Let's Party Snuggles and Smooches!

This paper is from the Sweet Taffy set.  The whole pack is really fun, exciting, and full of bold color.  You are seeing both sides of one sheet today.

Let's Party Snuggles and Smooches!

That is probably my greatest frustration with some of the paper packs.  Which side do you love more?  Well, today I used both.  I made a card for each side.  Aren’t they fun?

Let's Party Snuggles and Smooches!

The stamping was pretty basic and the layering was simple too.  Sometimes that is just all you need.  I really wanted to enjoy the paper though.

Let's Party Snuggles and Smooches!

Of course, if you know me well, you know that orange is my favorite color.  When I get asked that question I always clarify with, “Yes, orange, like a pumpkin orange.” Too much fun there!

Have a creative day!

Moana