Timeless Elegance Gift Box…Thing

This morning caught me a bit off guard.  Way too much to do and never enough time.  But as always, things come together in the end and everyone gets their needs met.  This little blog of mine often has to wait its turn, and it never even complains, how nice.

Timeless Elegance Gift Box...Thing

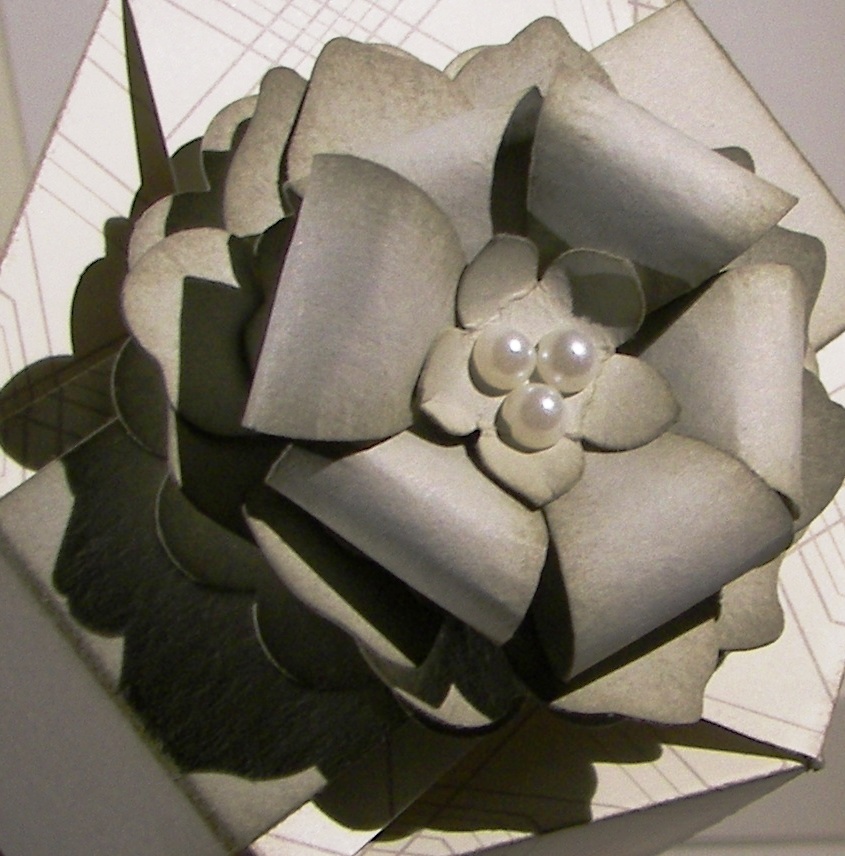
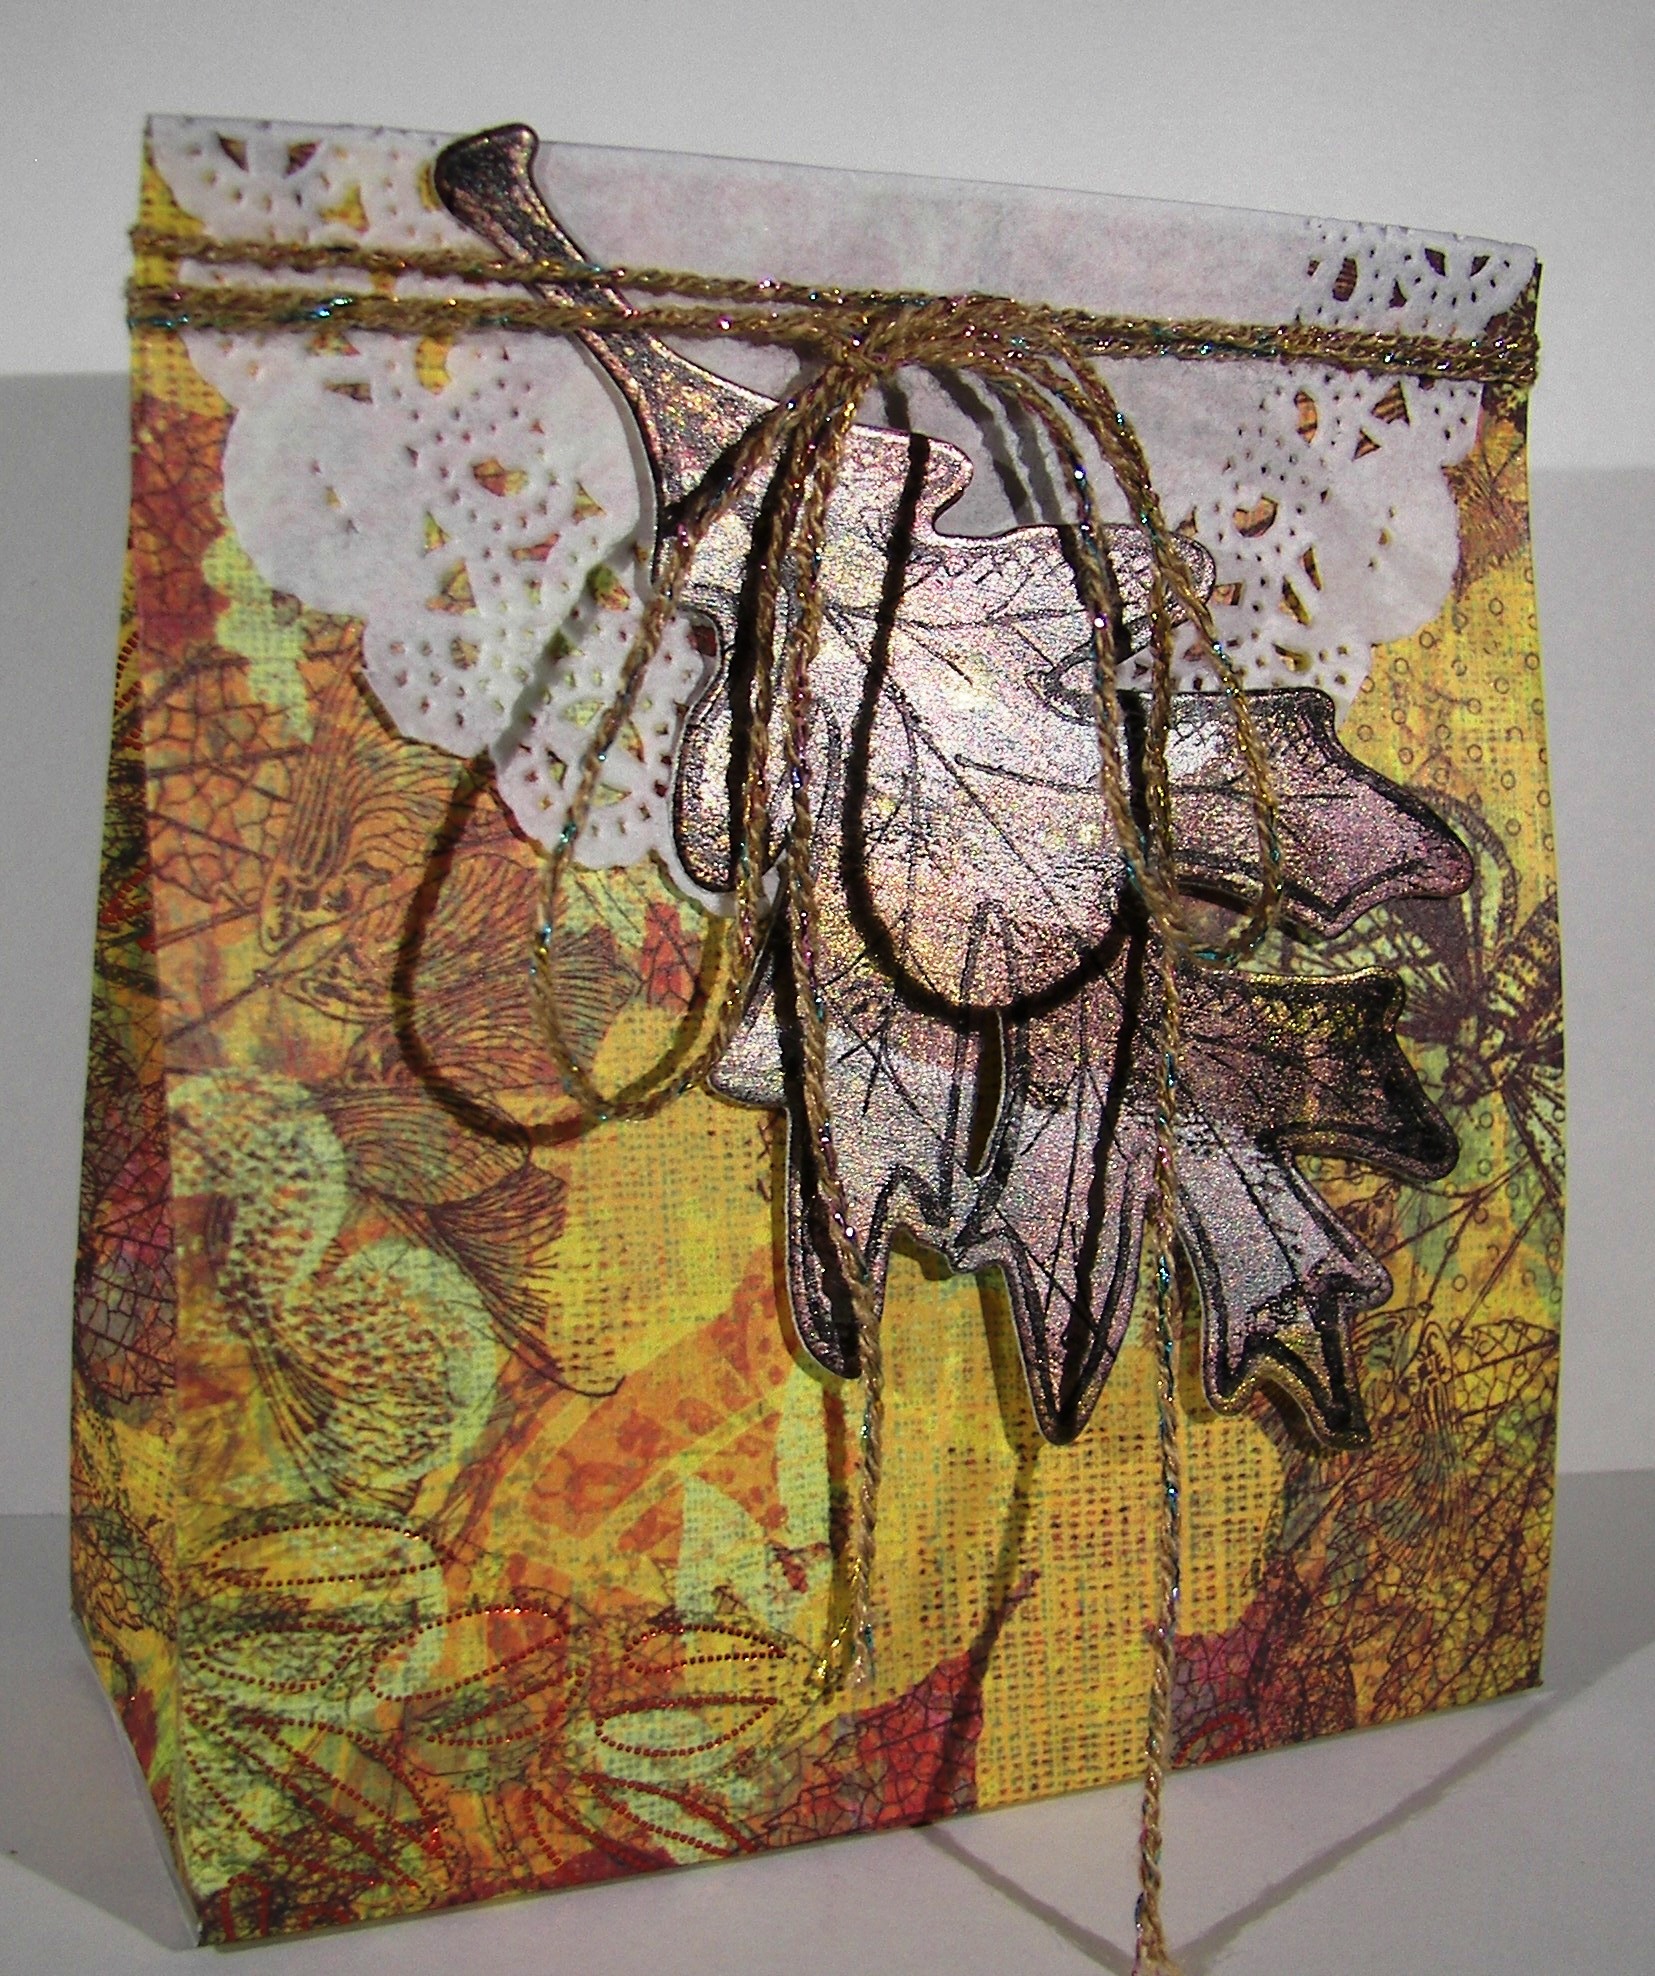
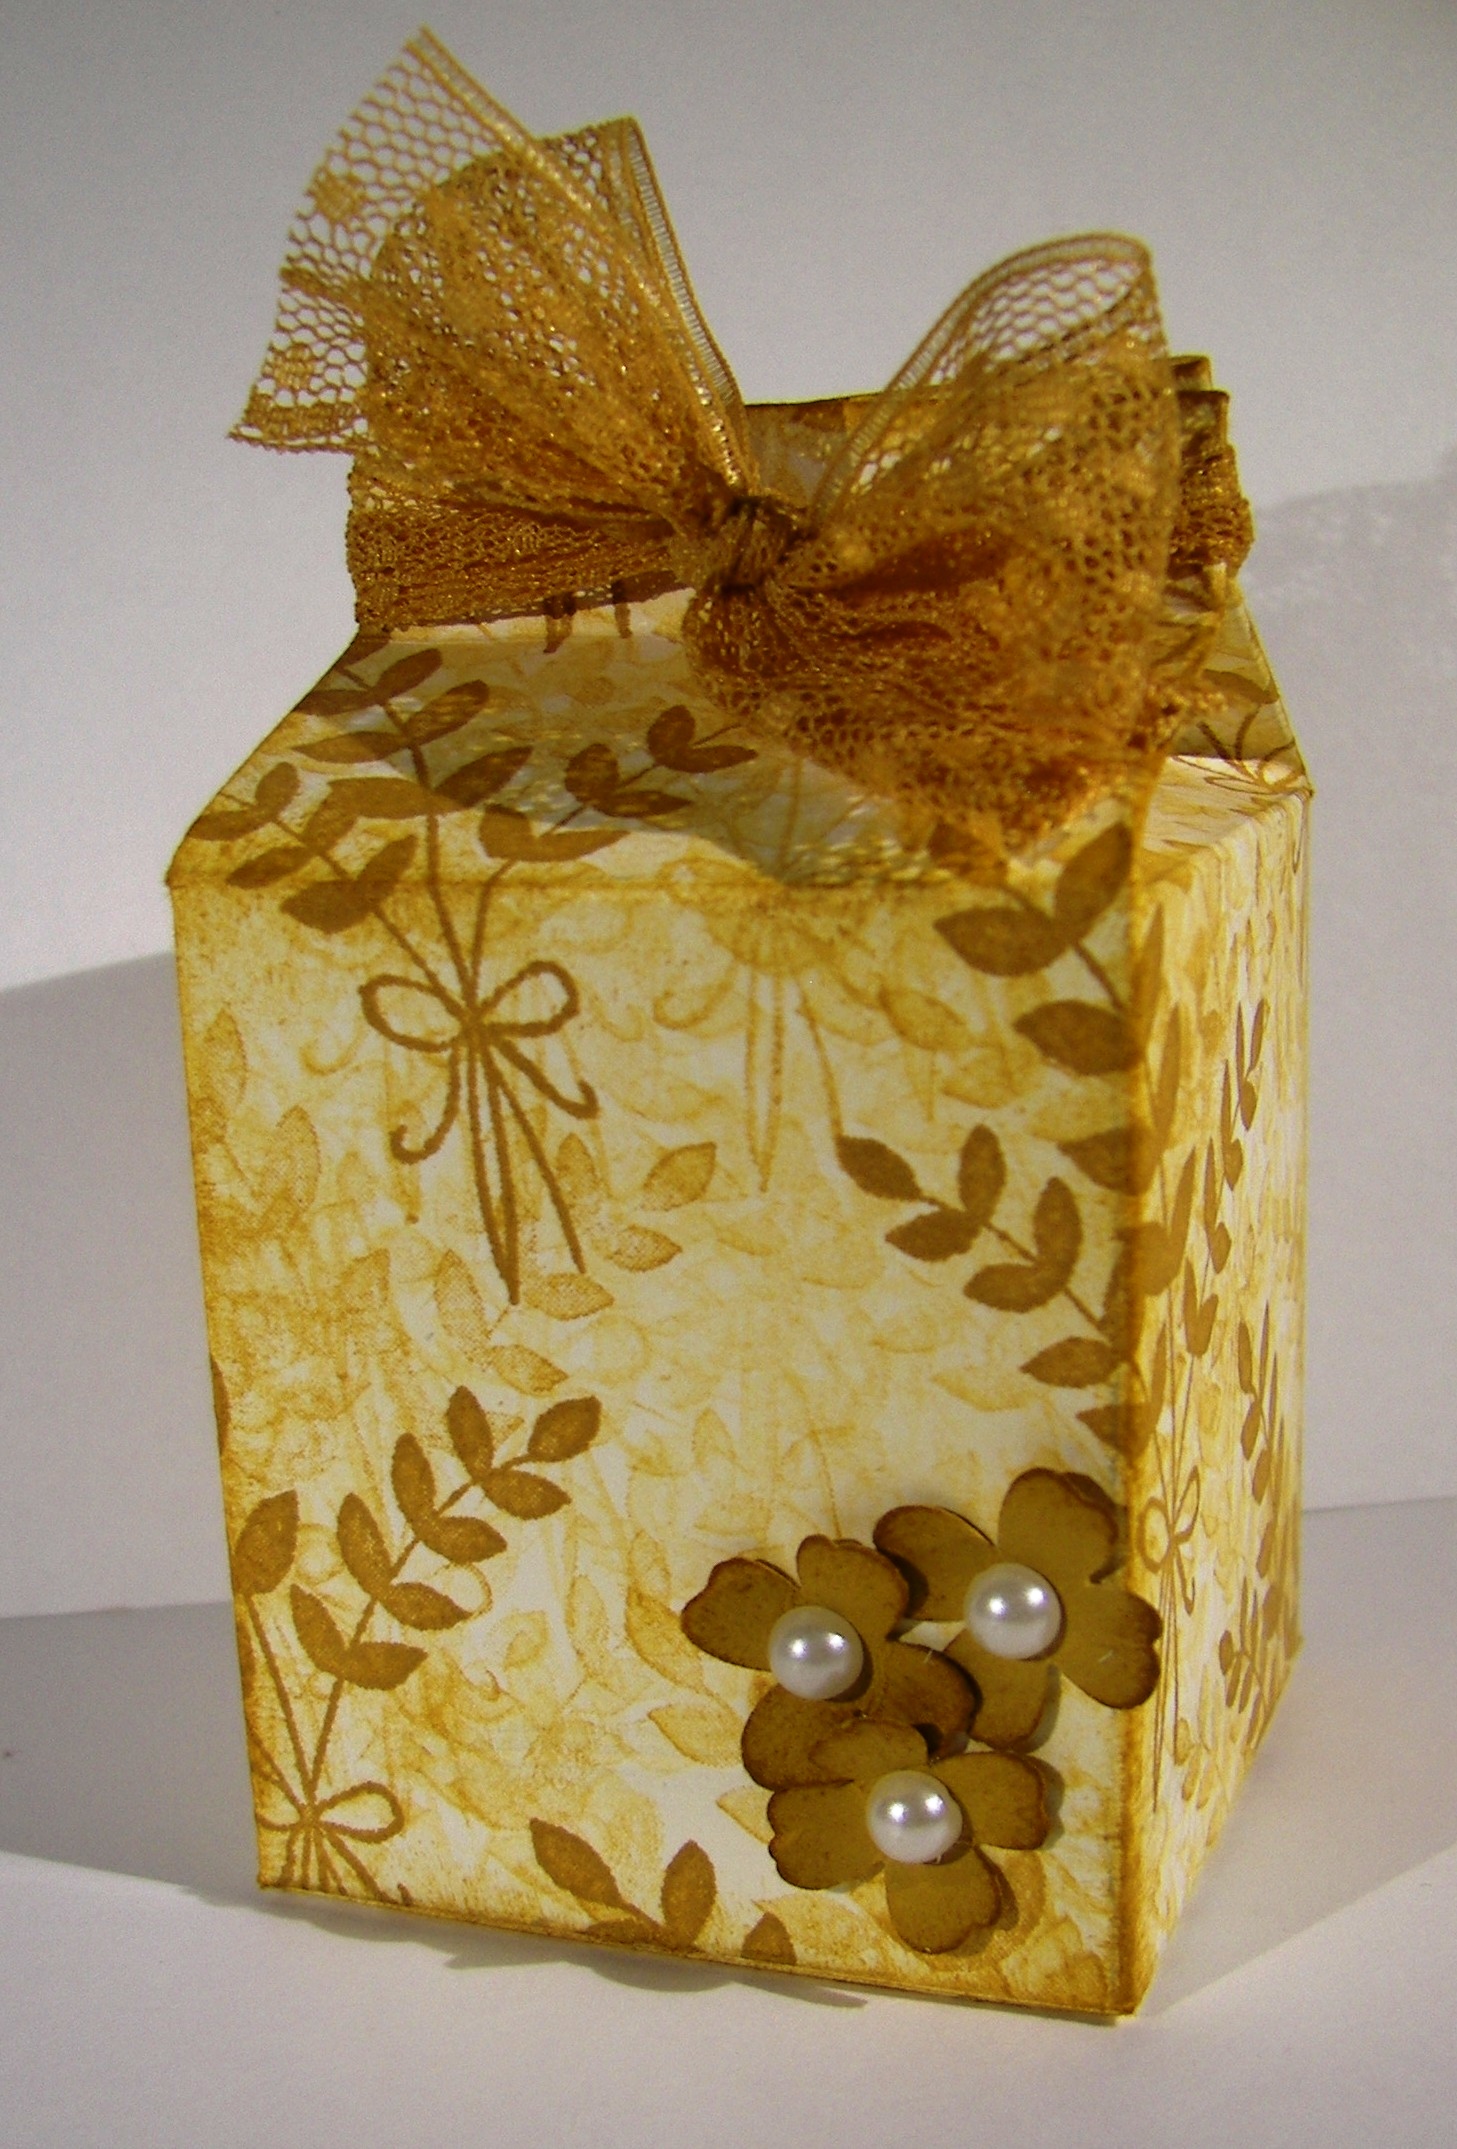
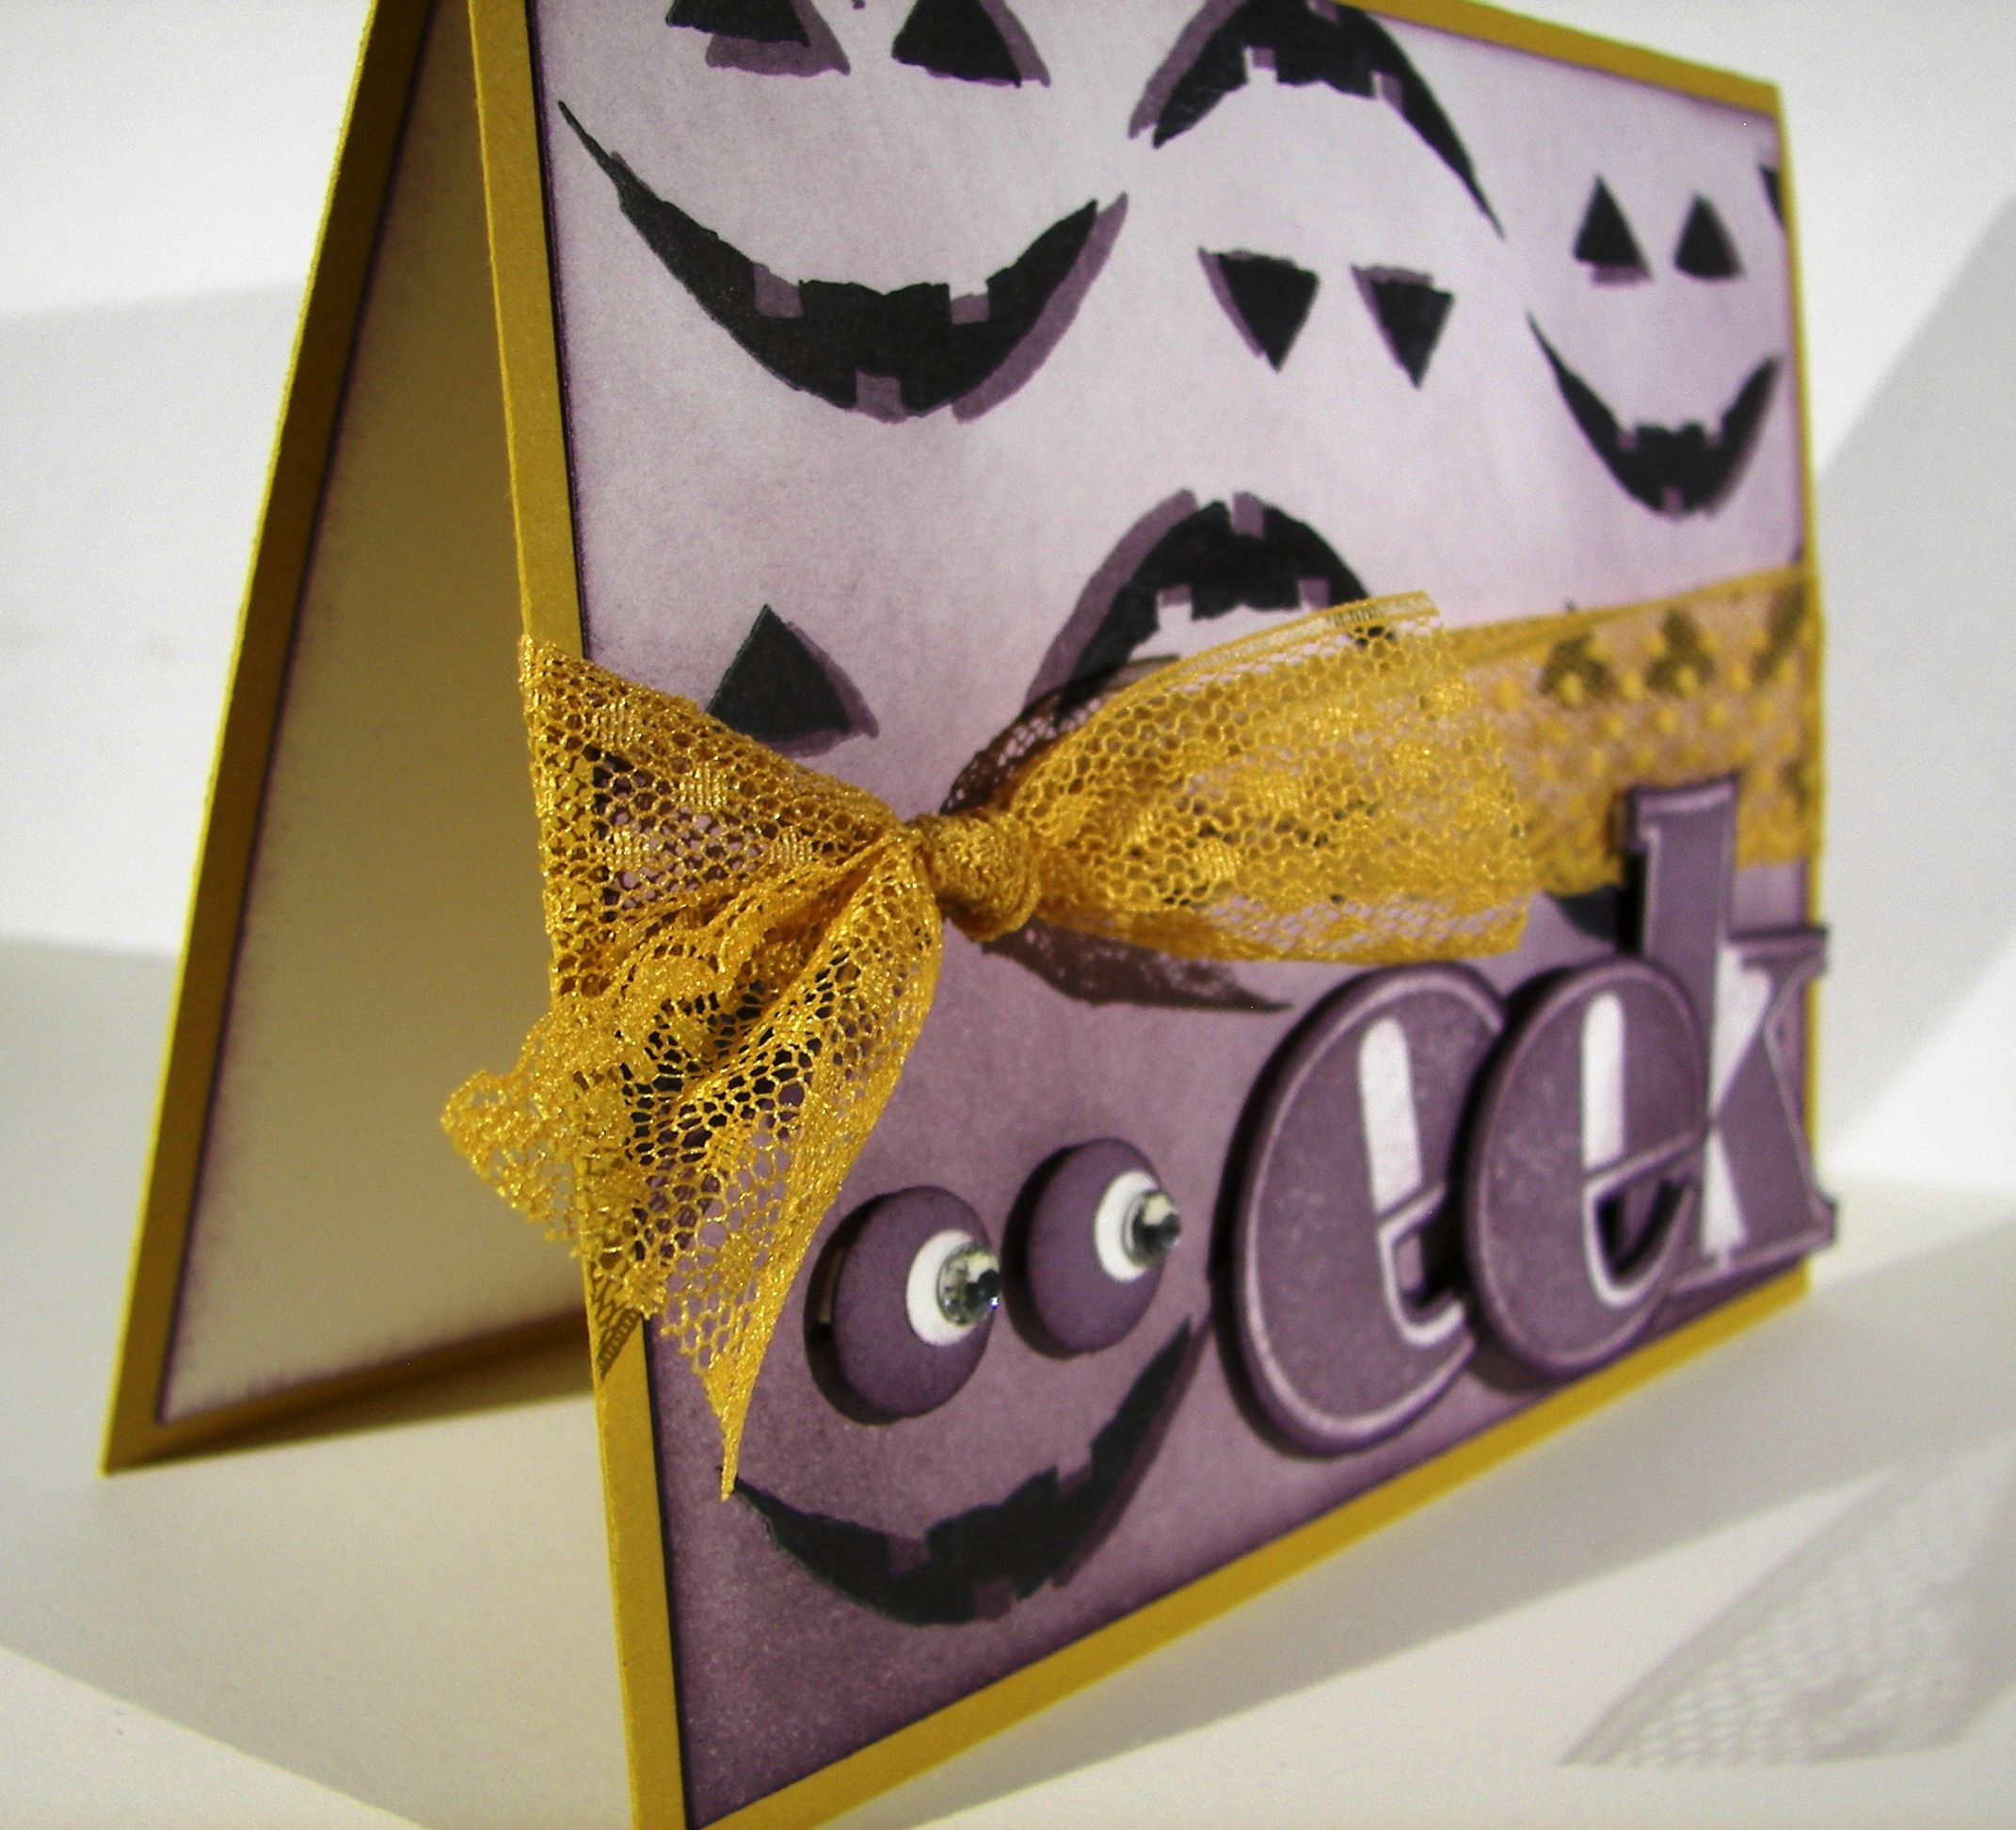
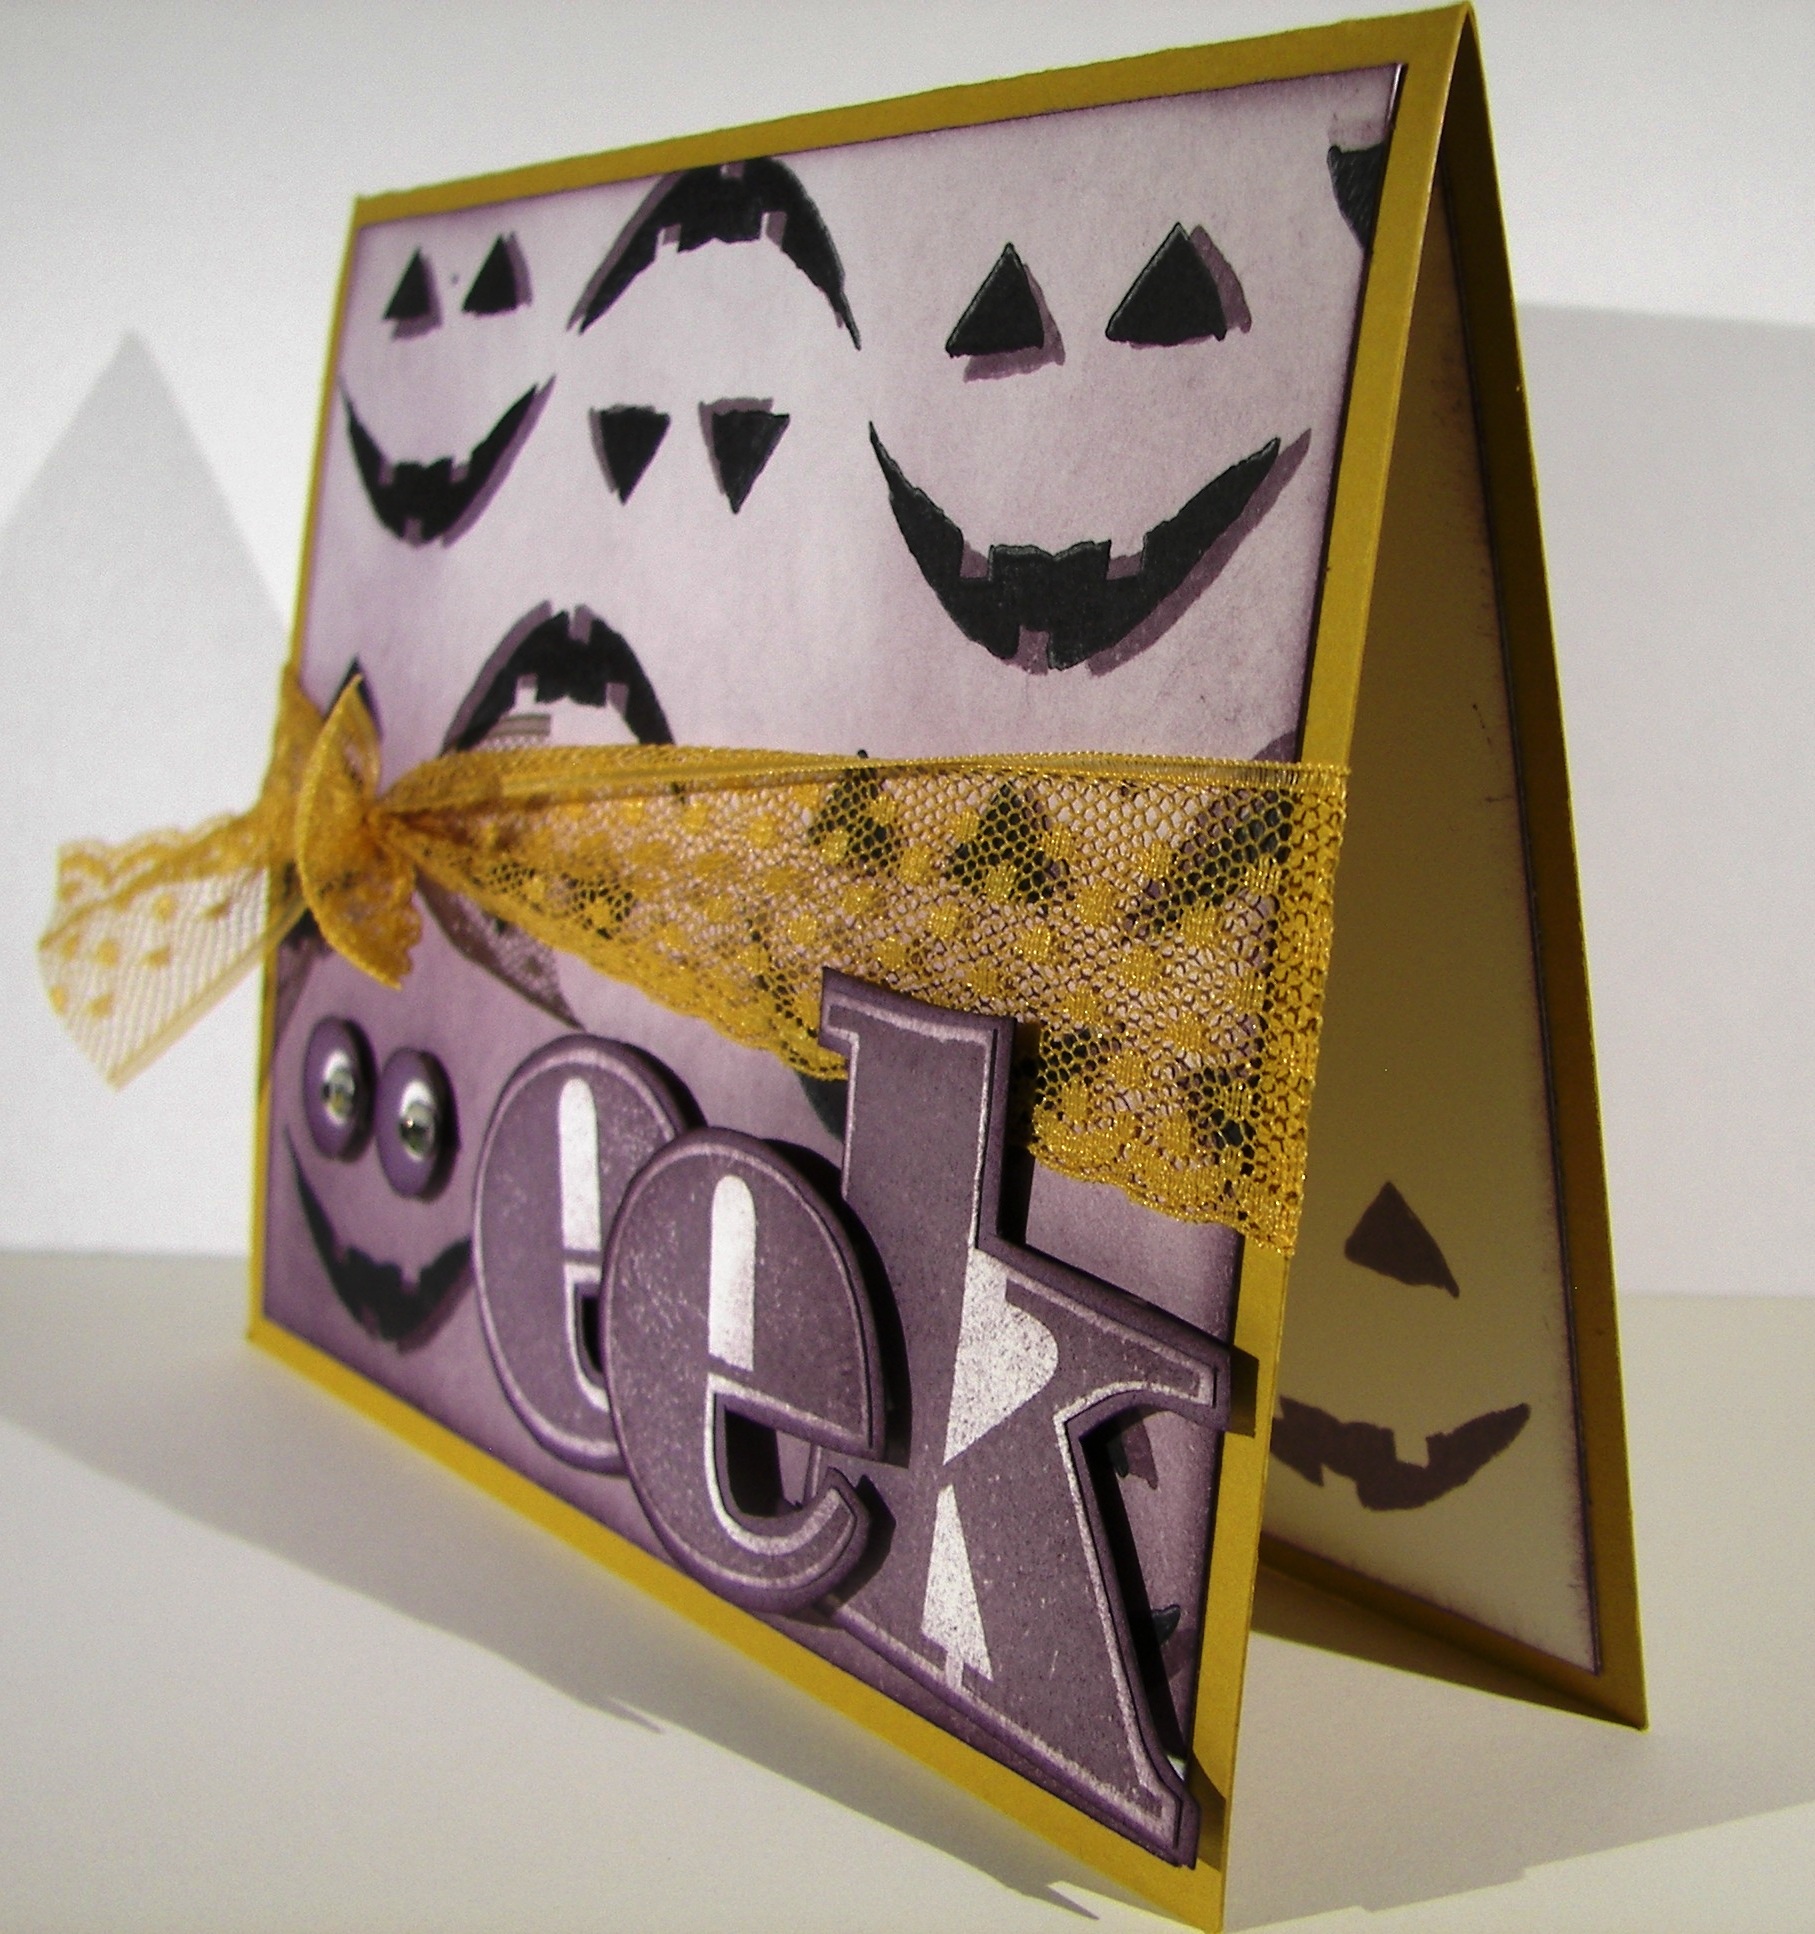
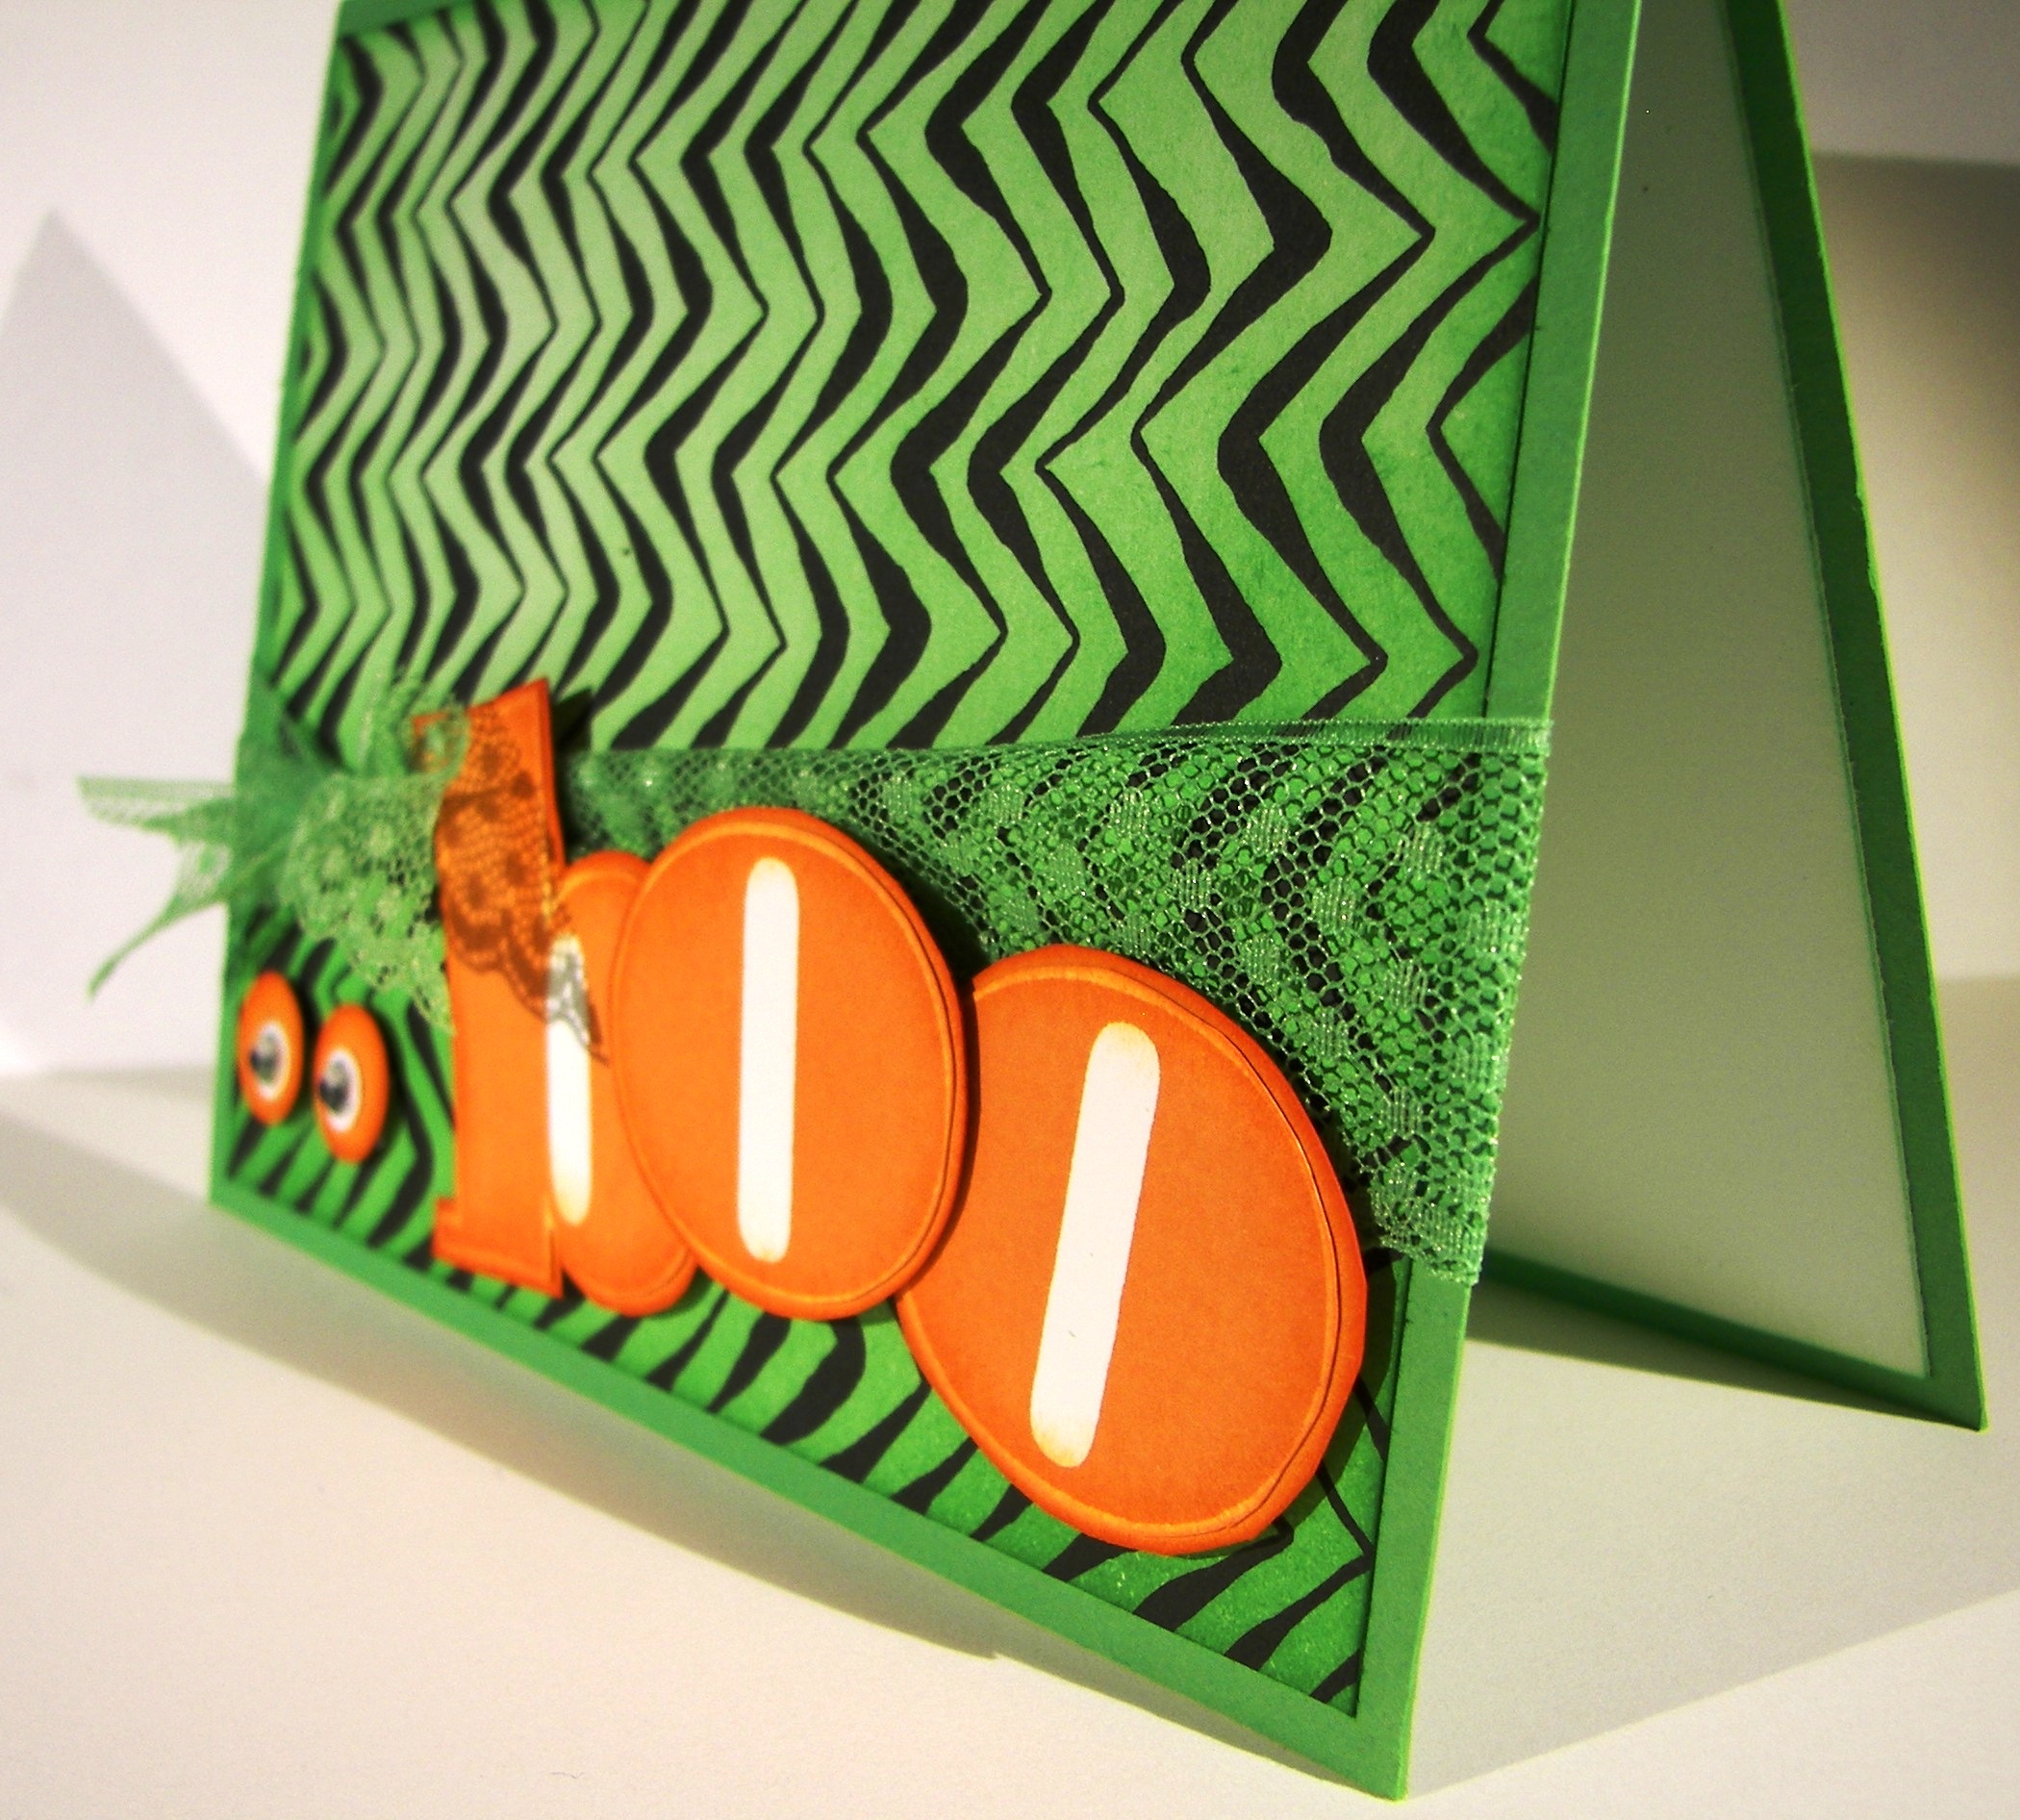
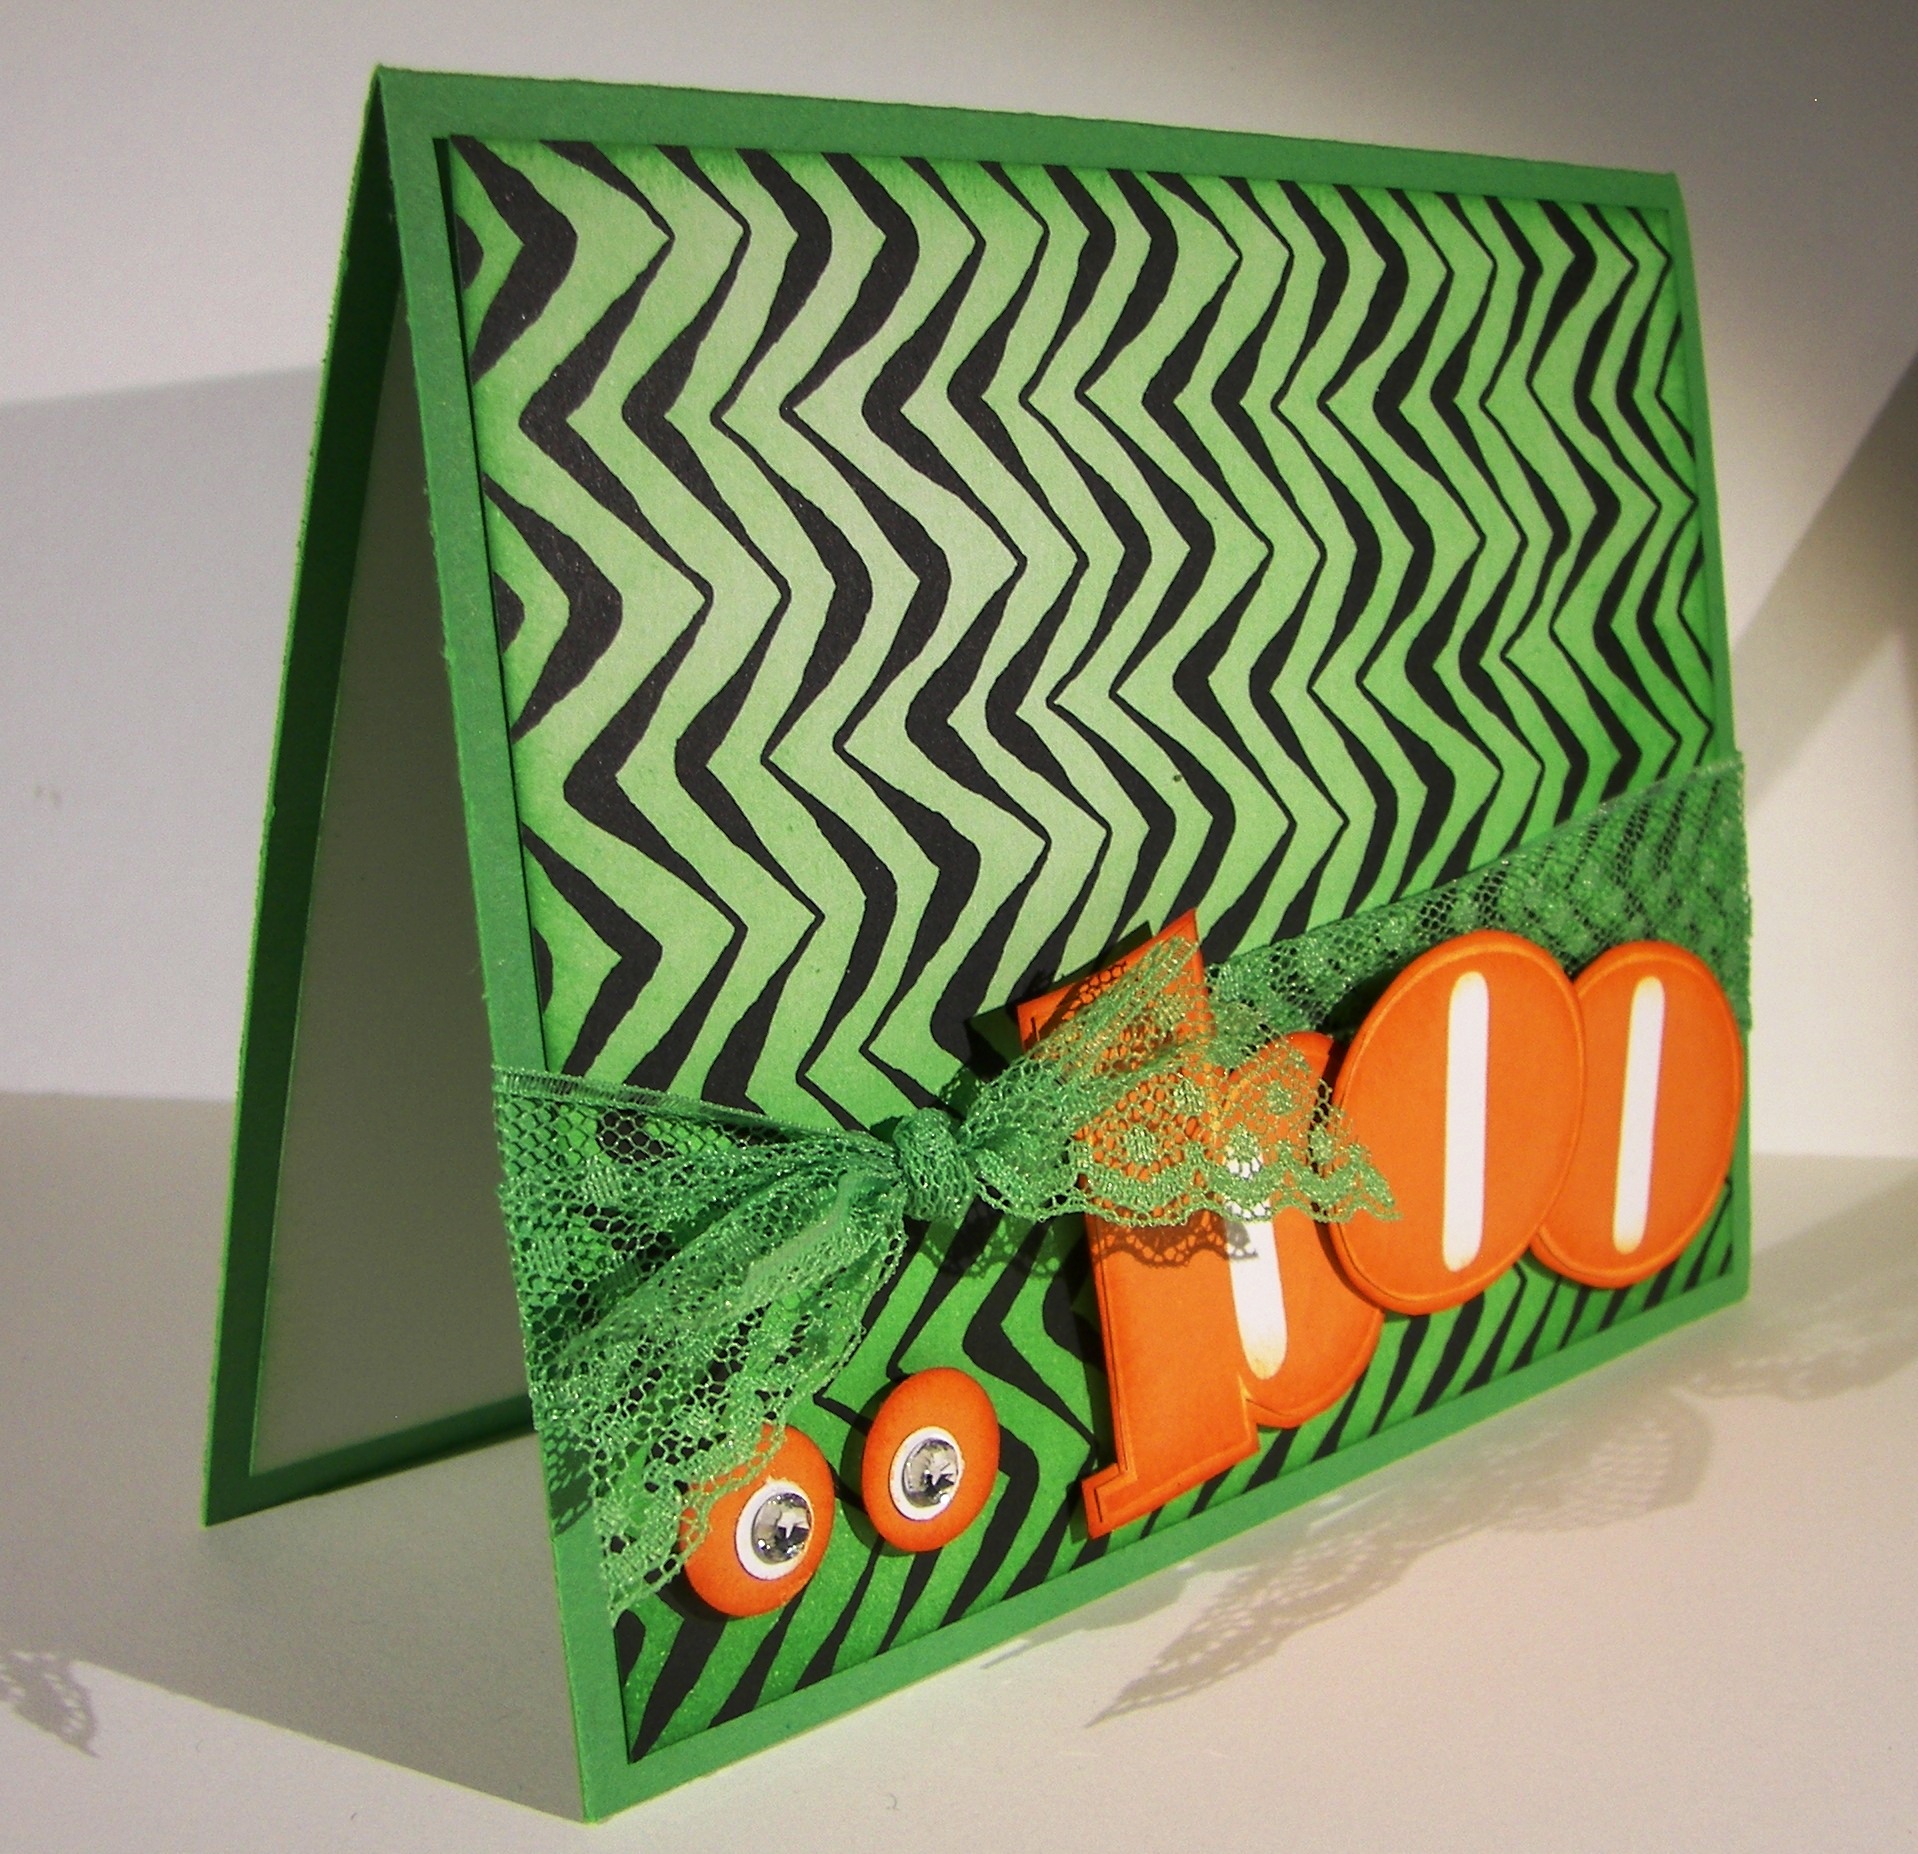
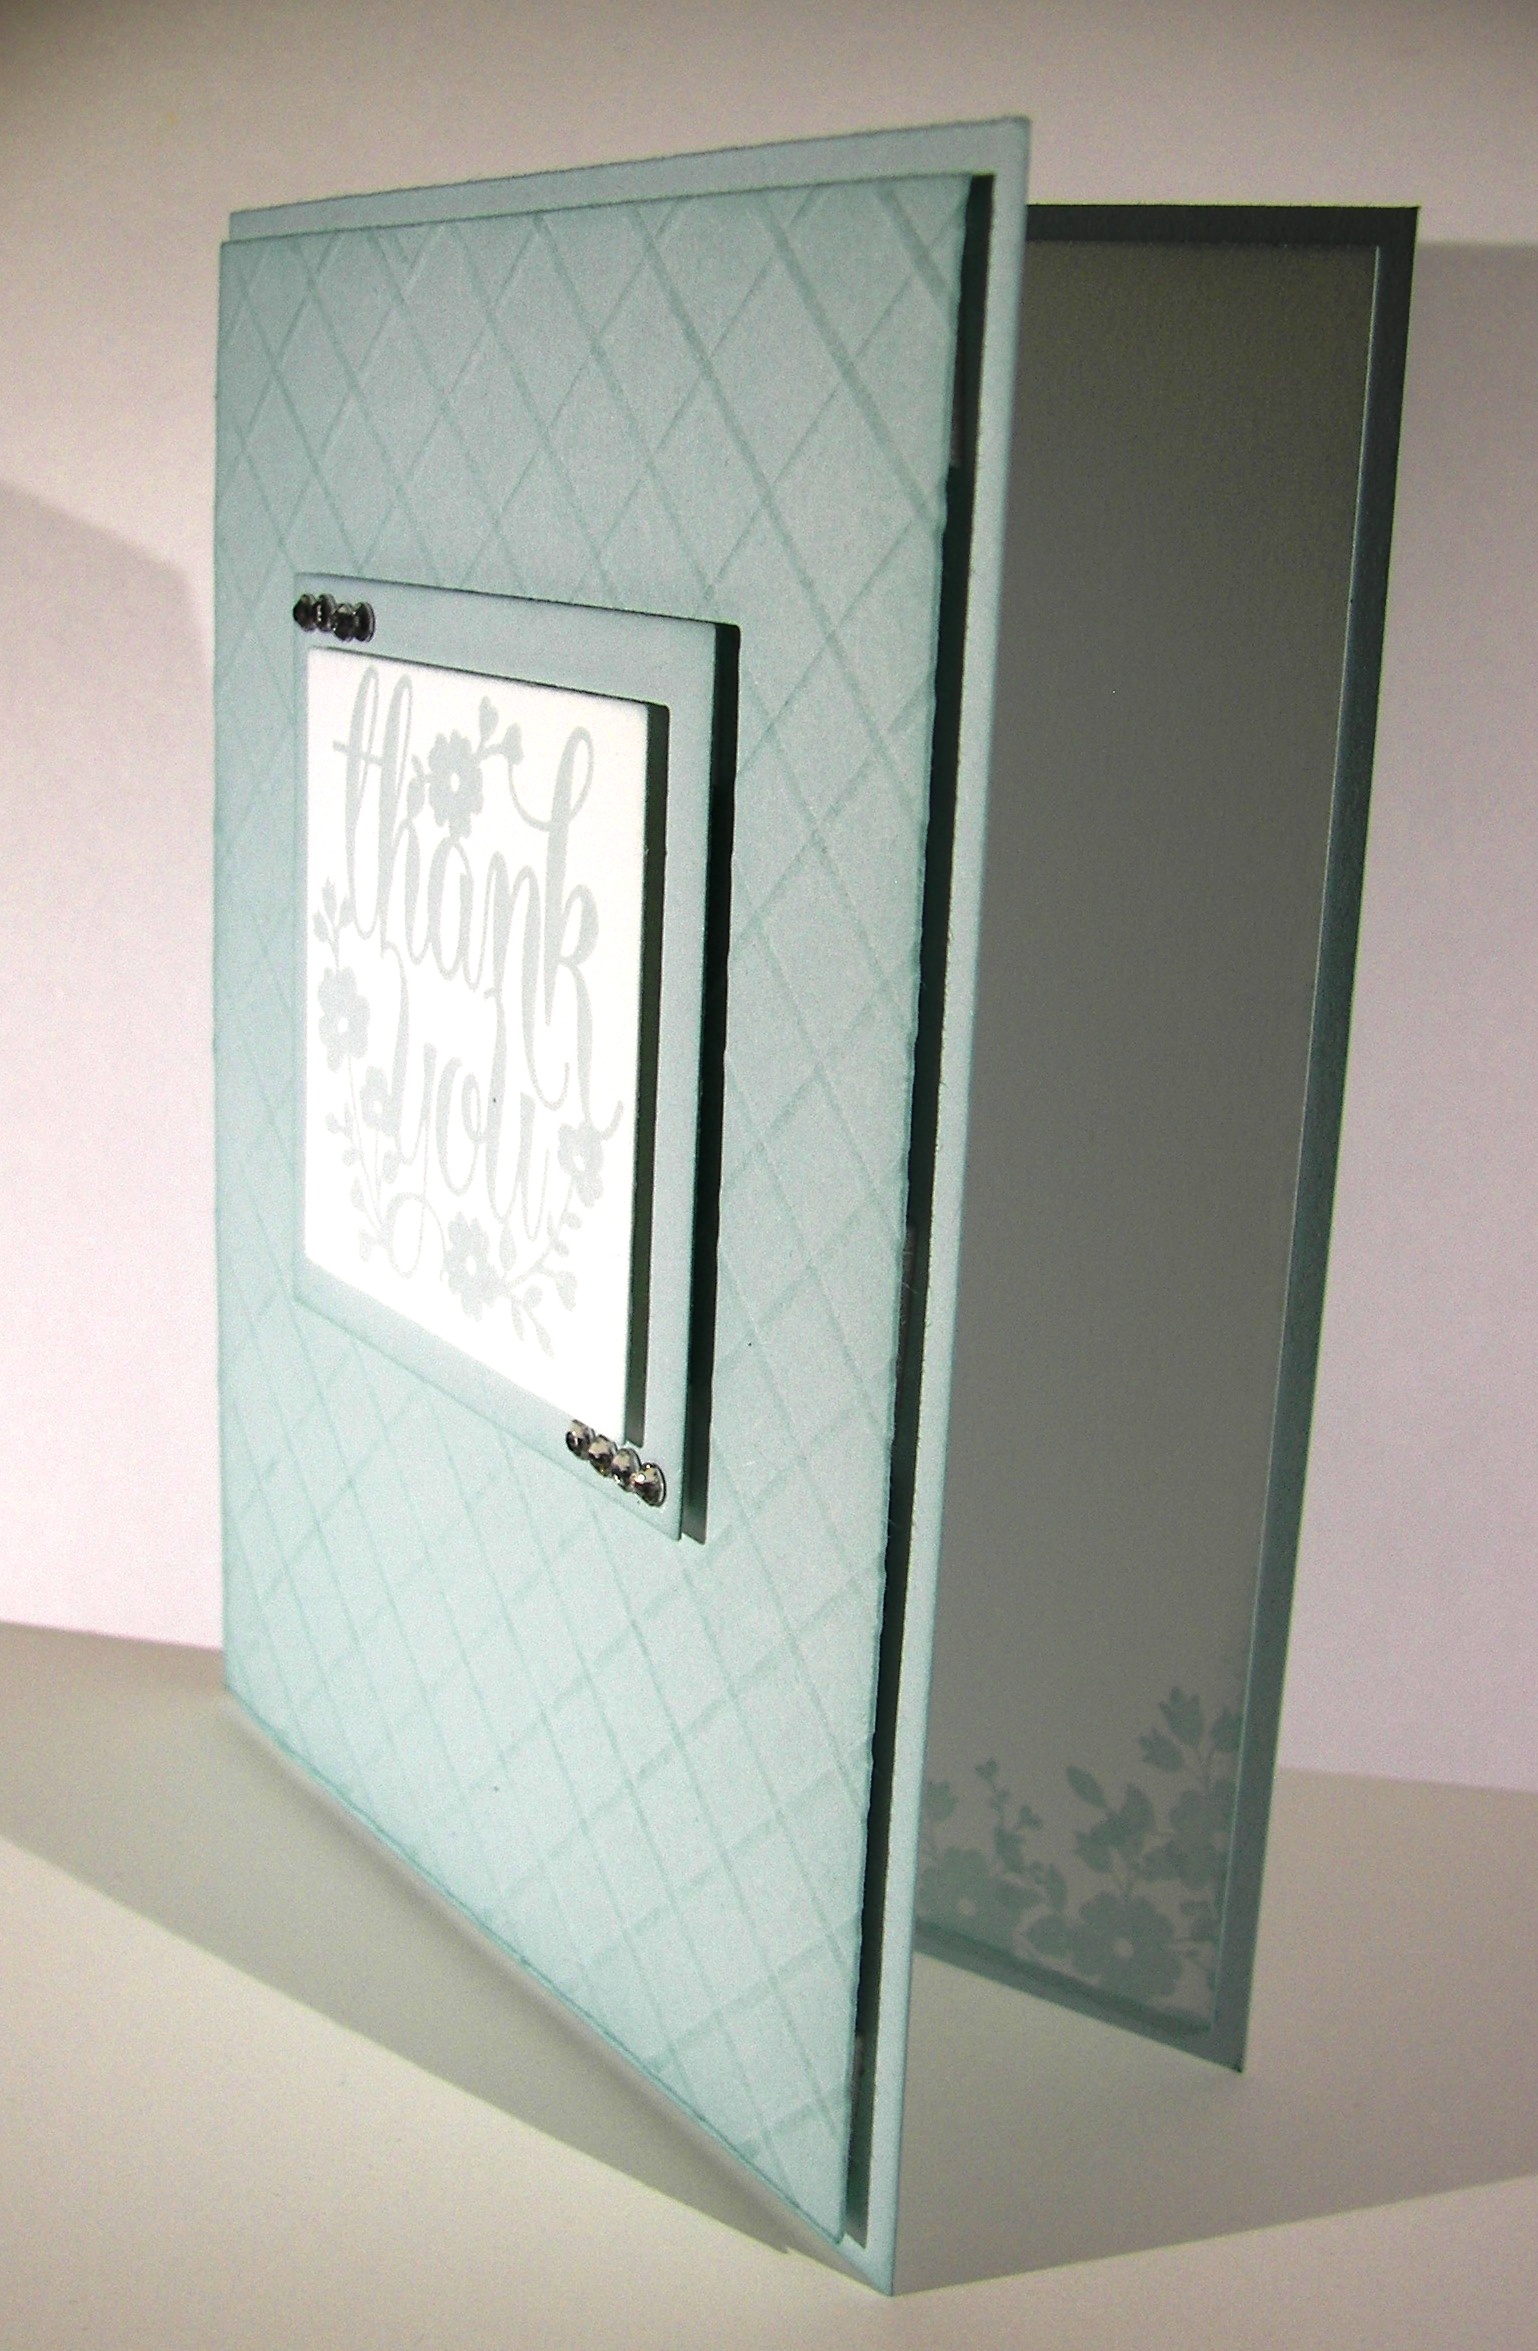
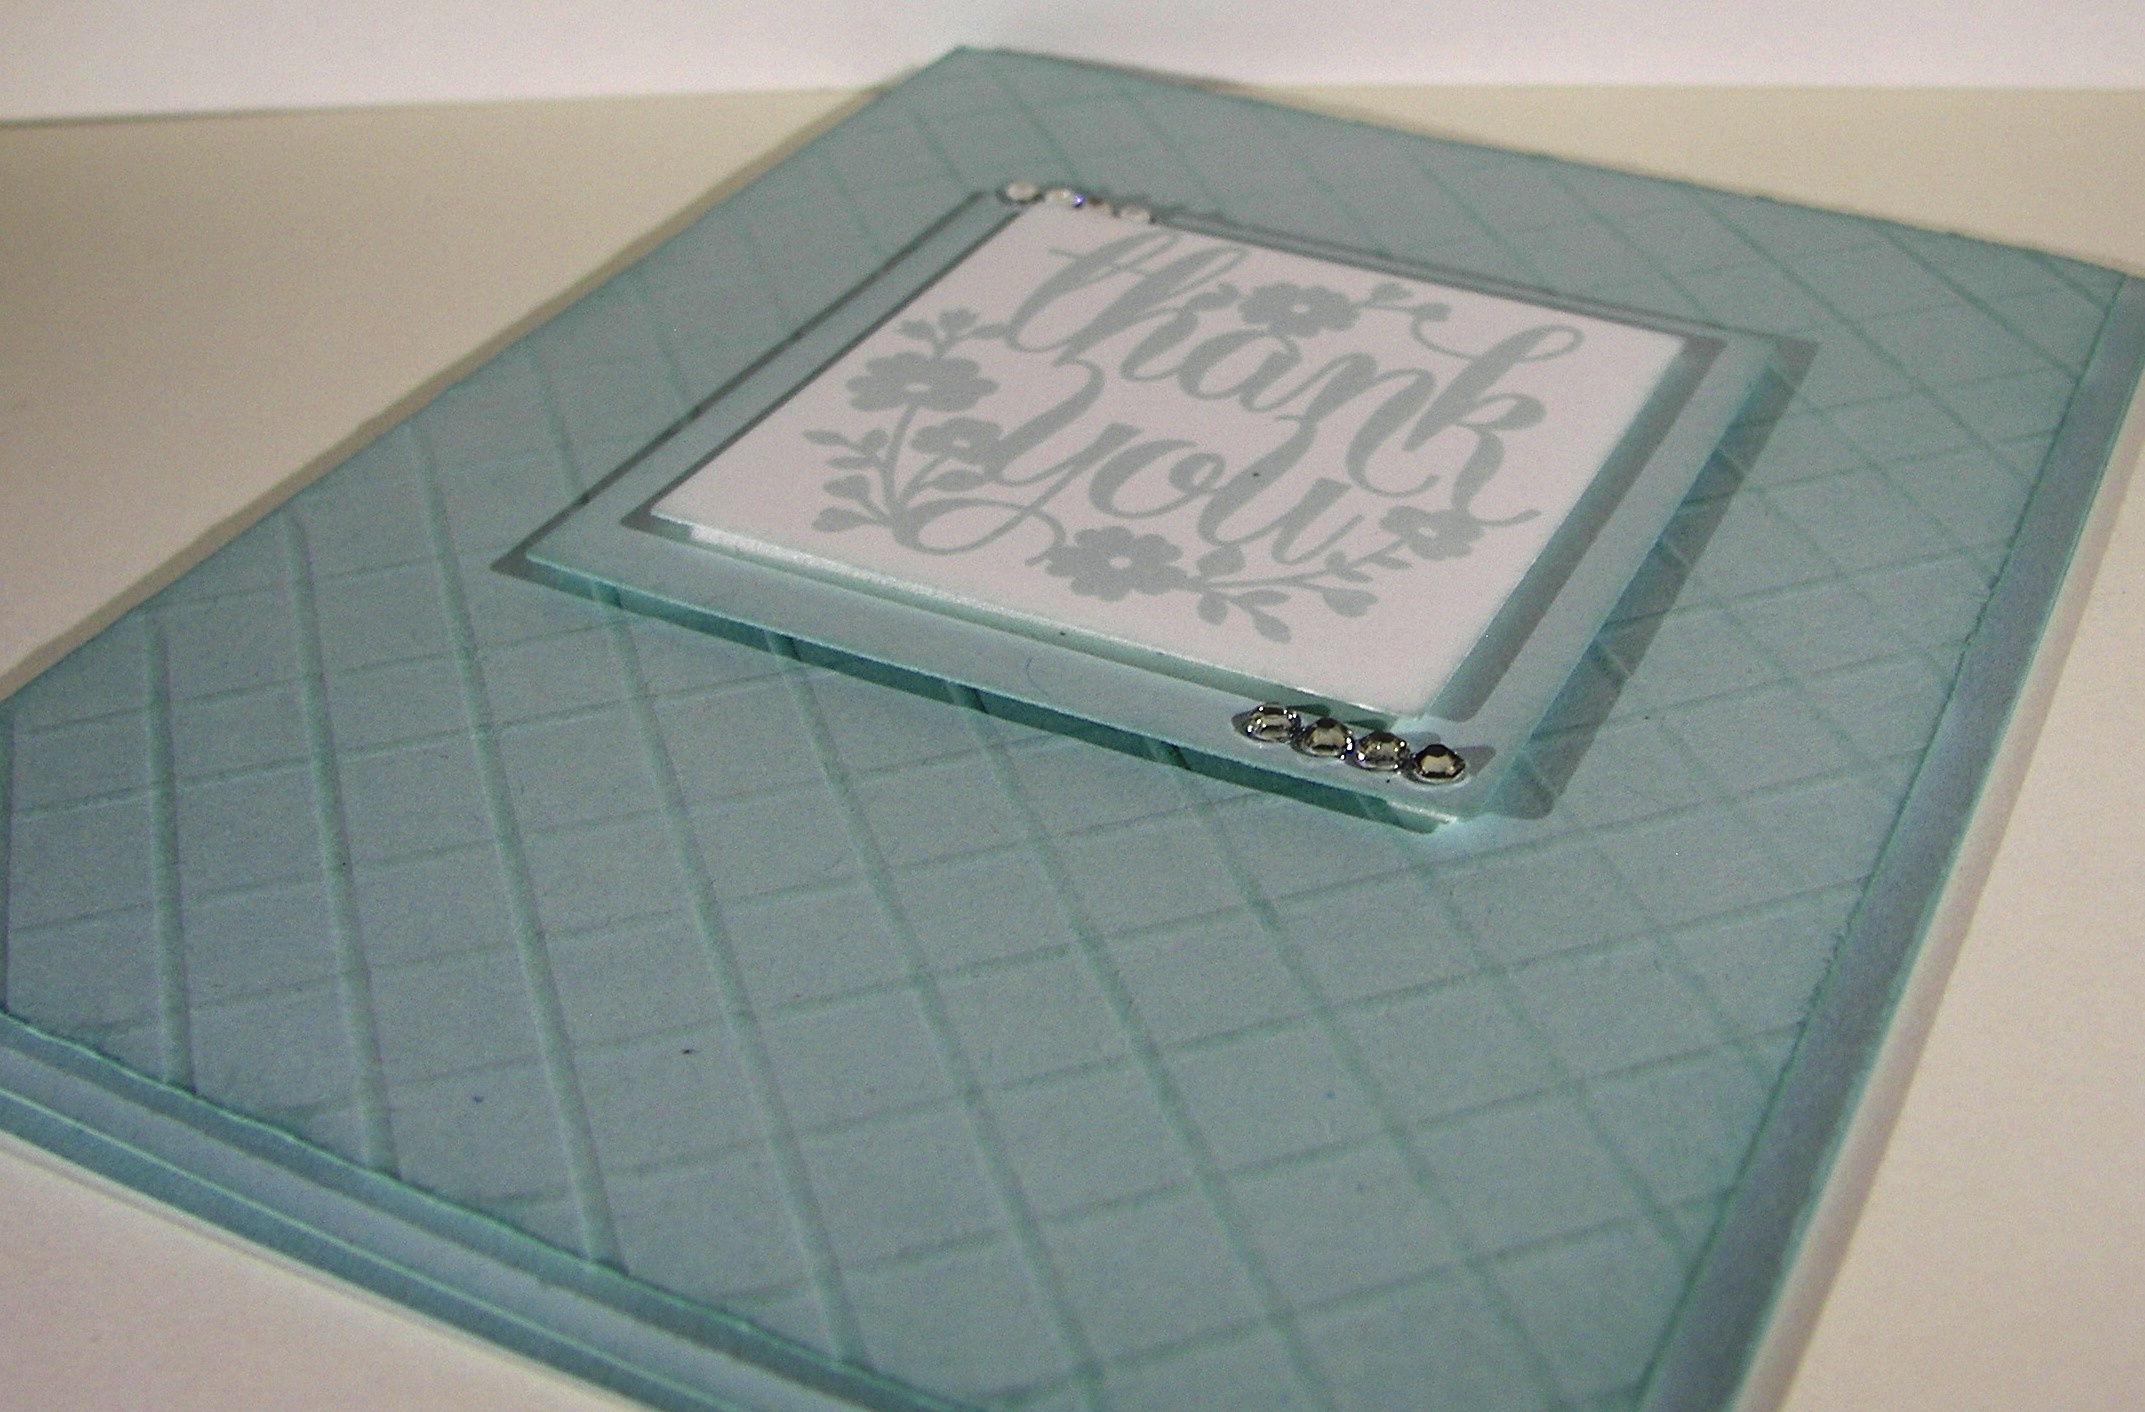
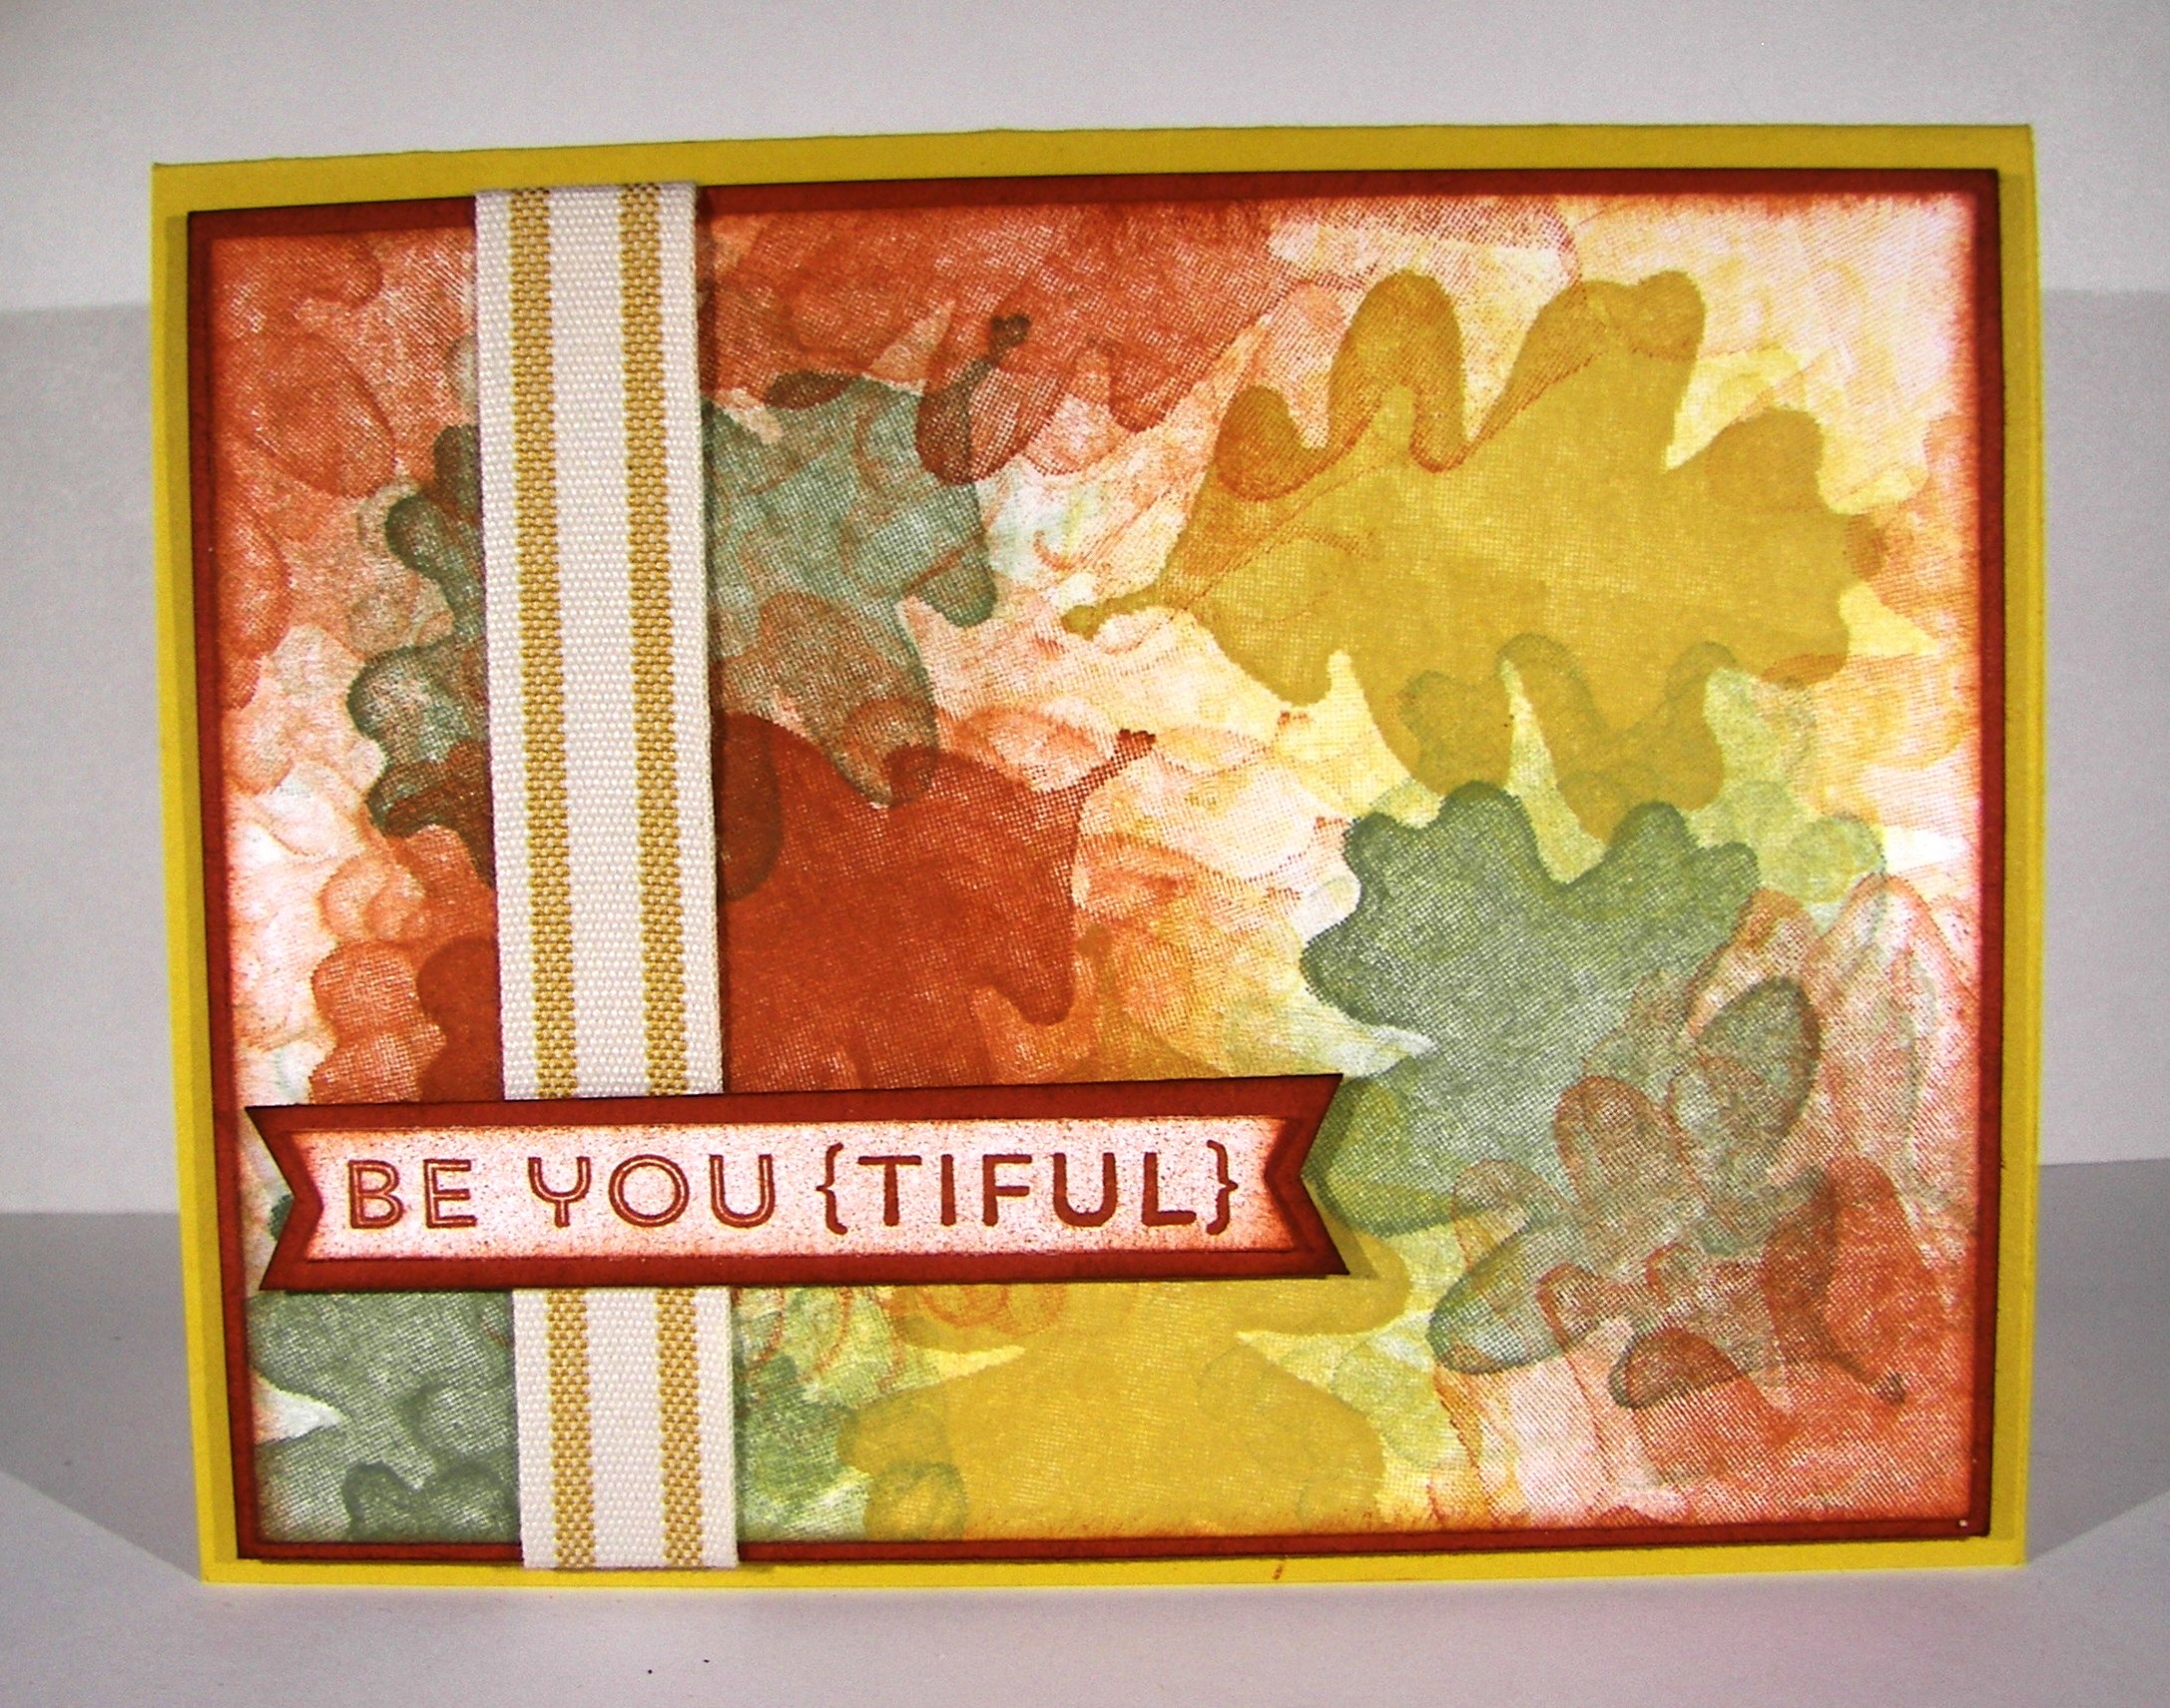
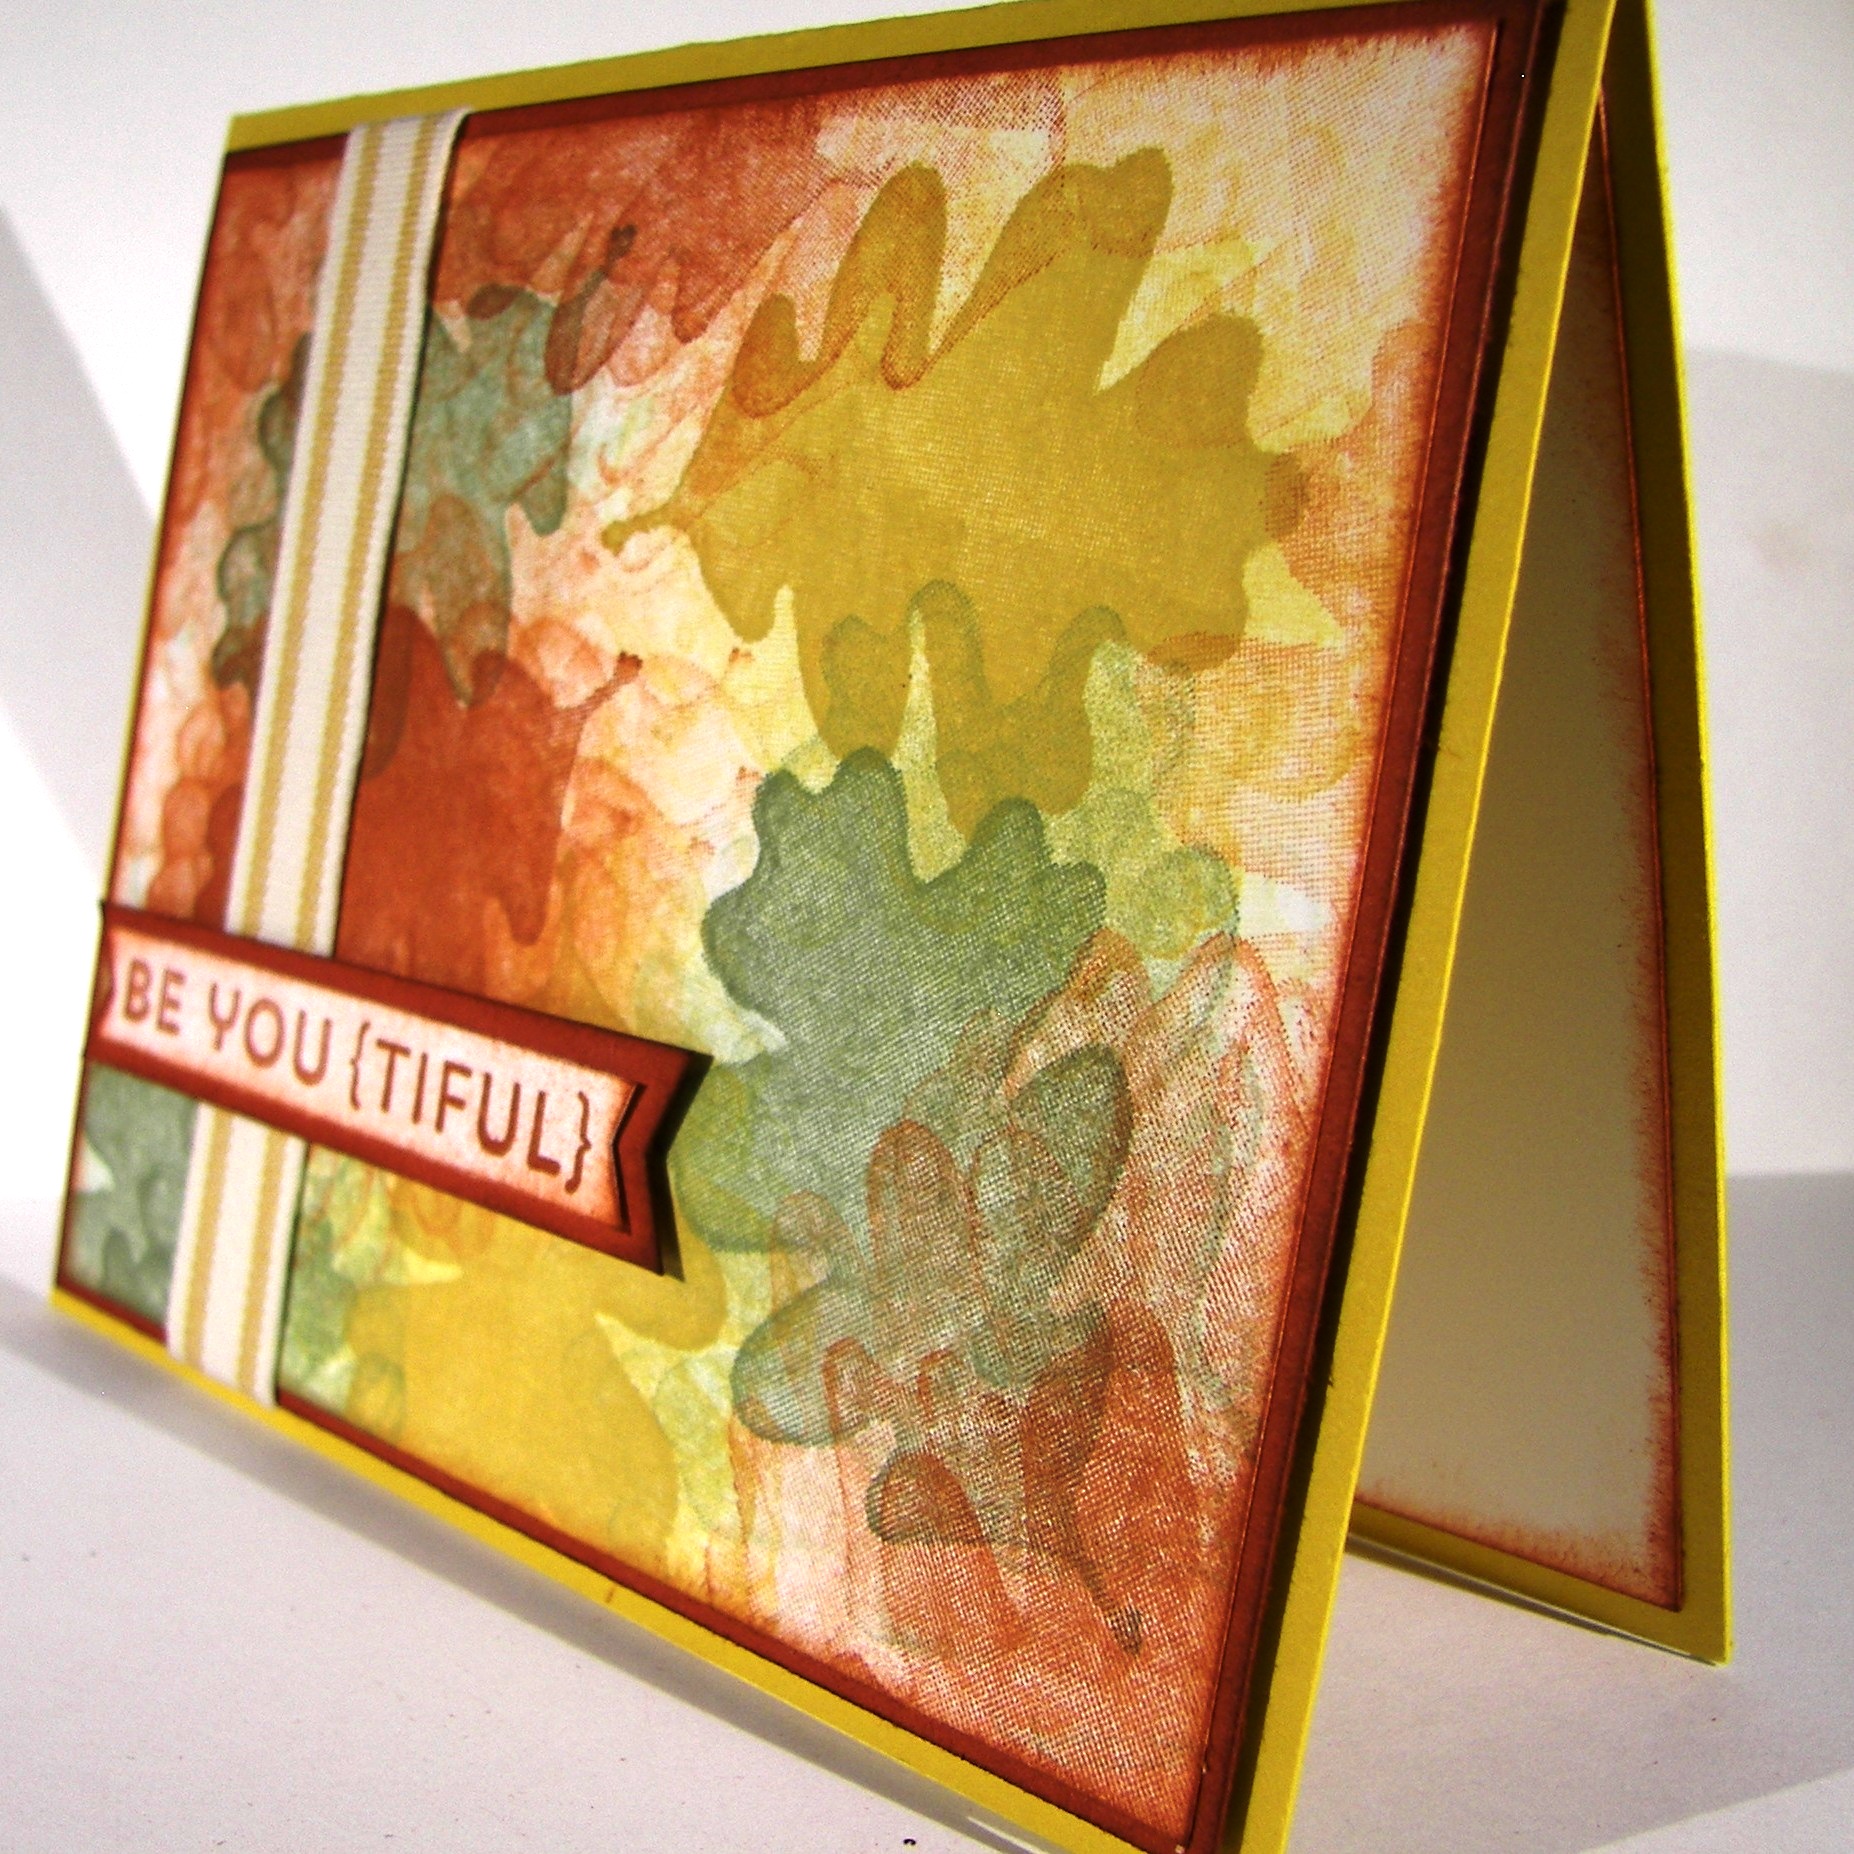
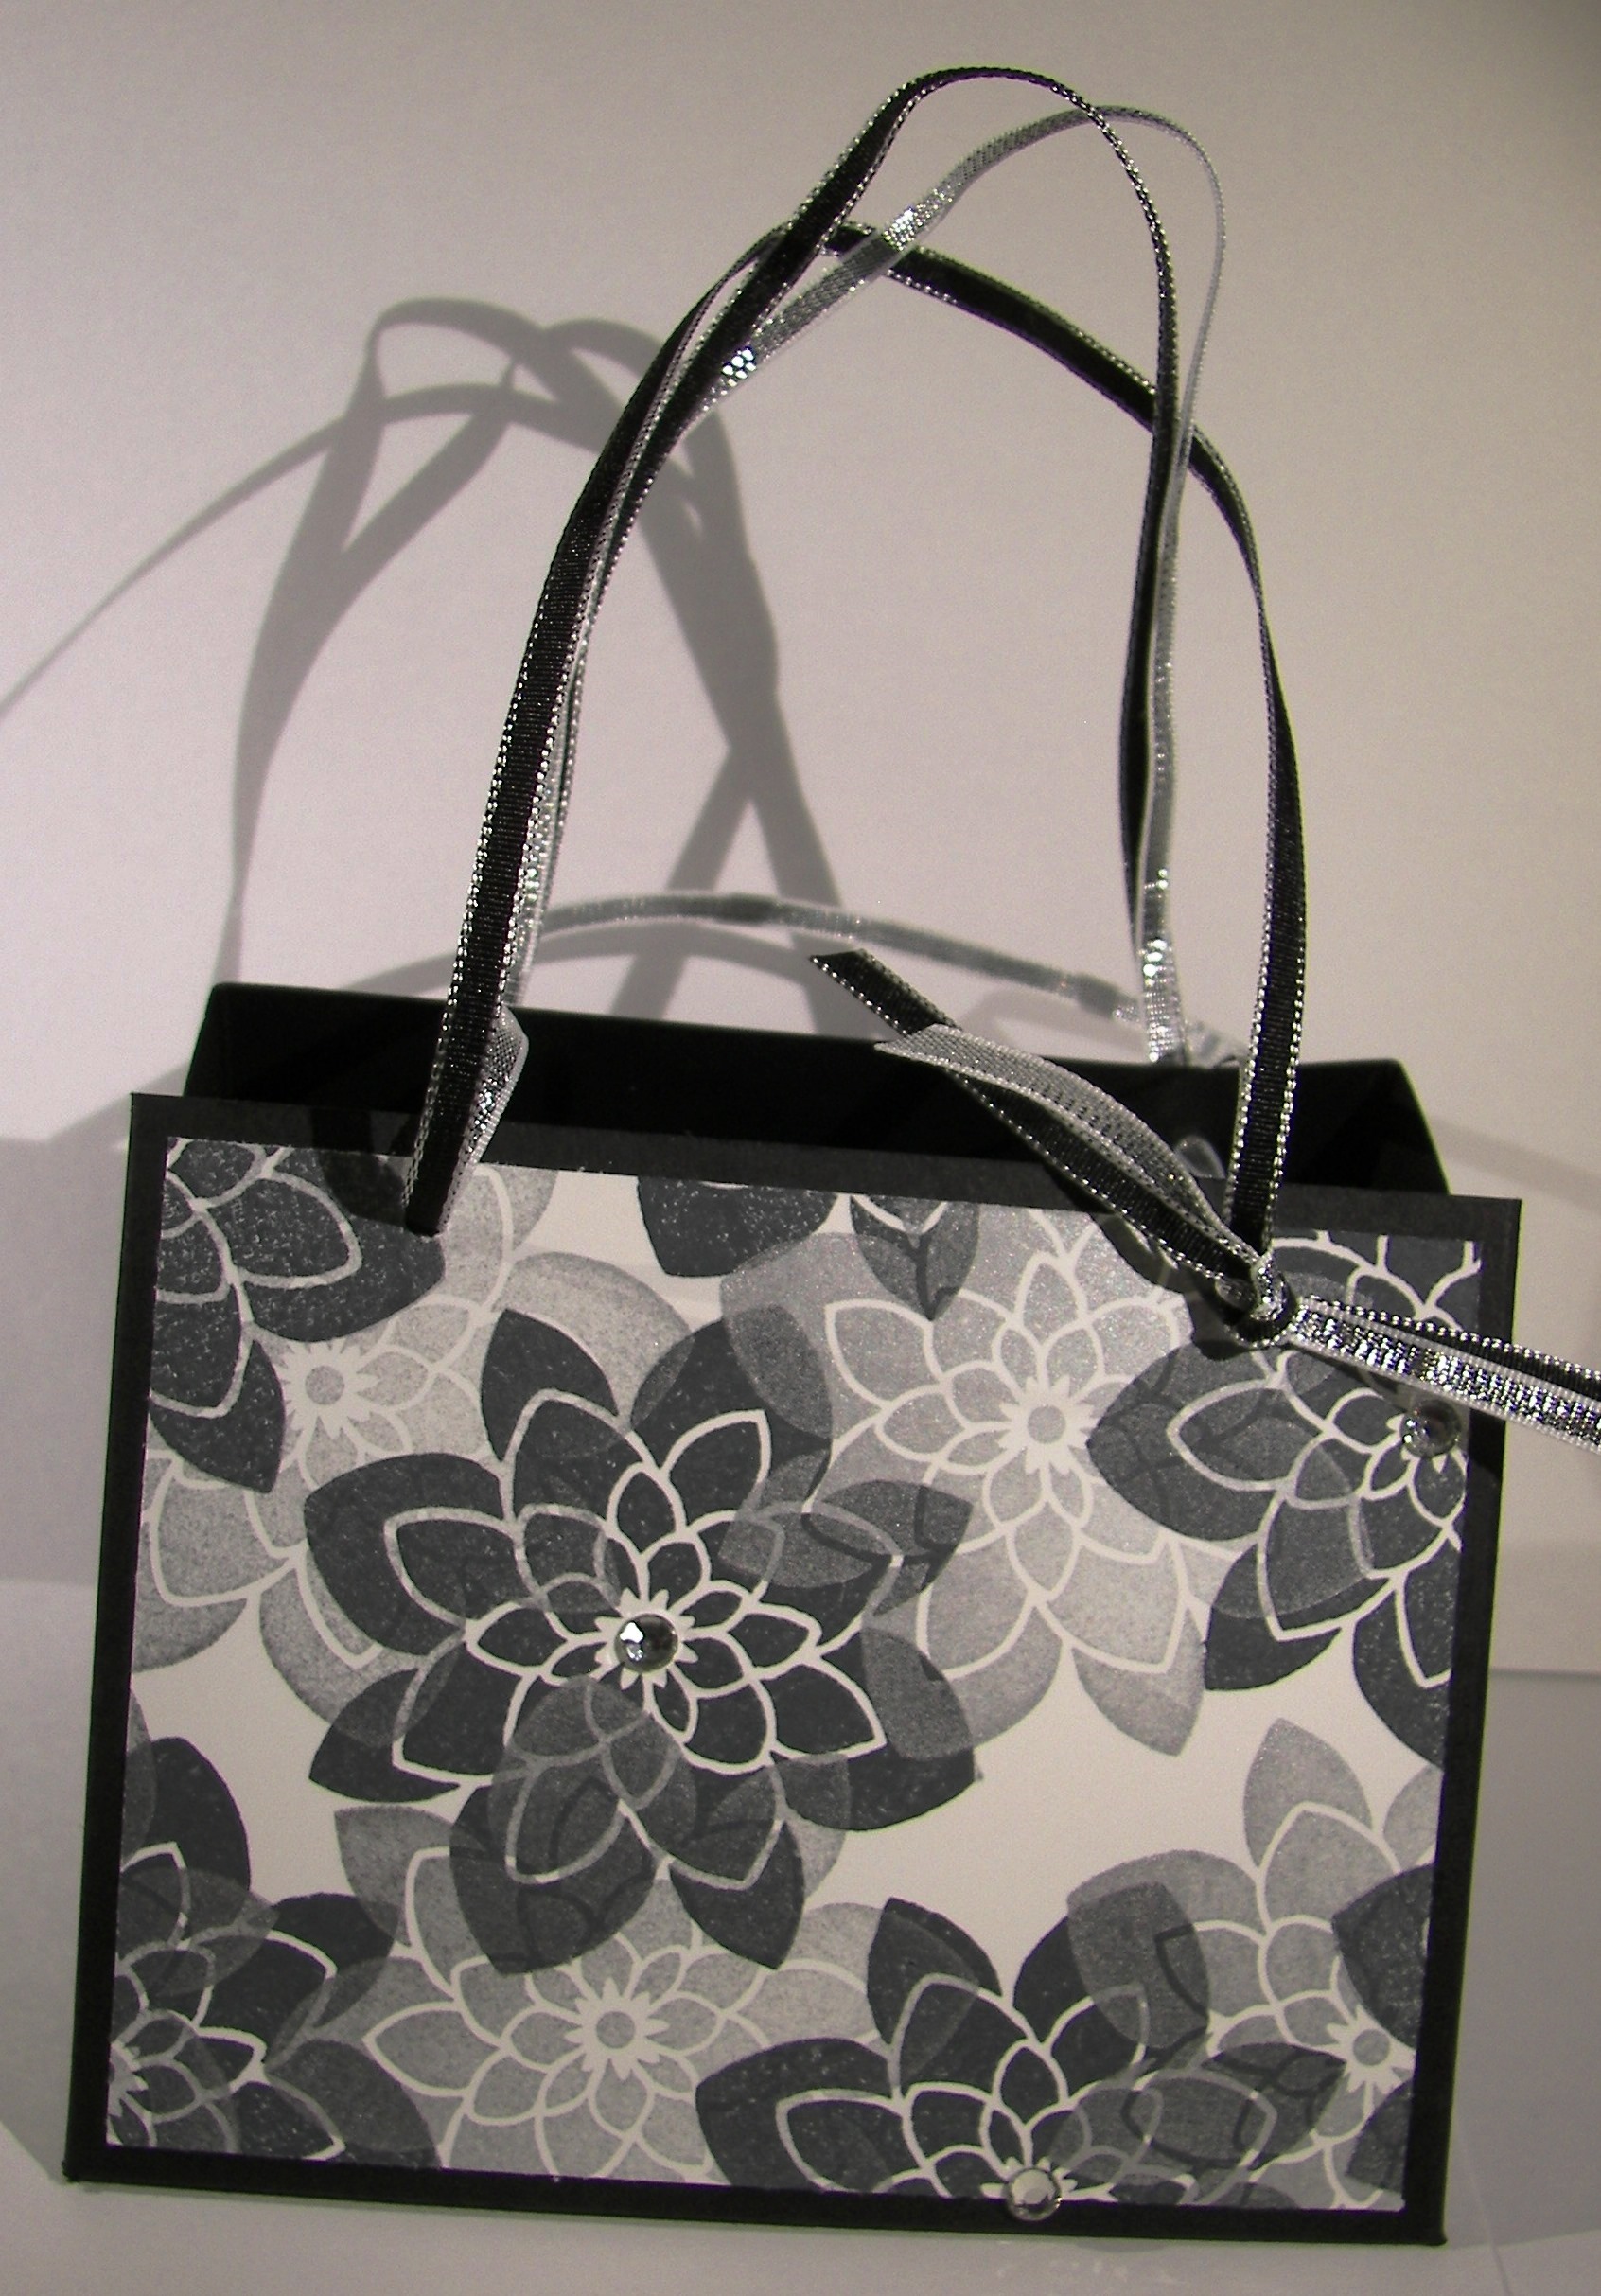
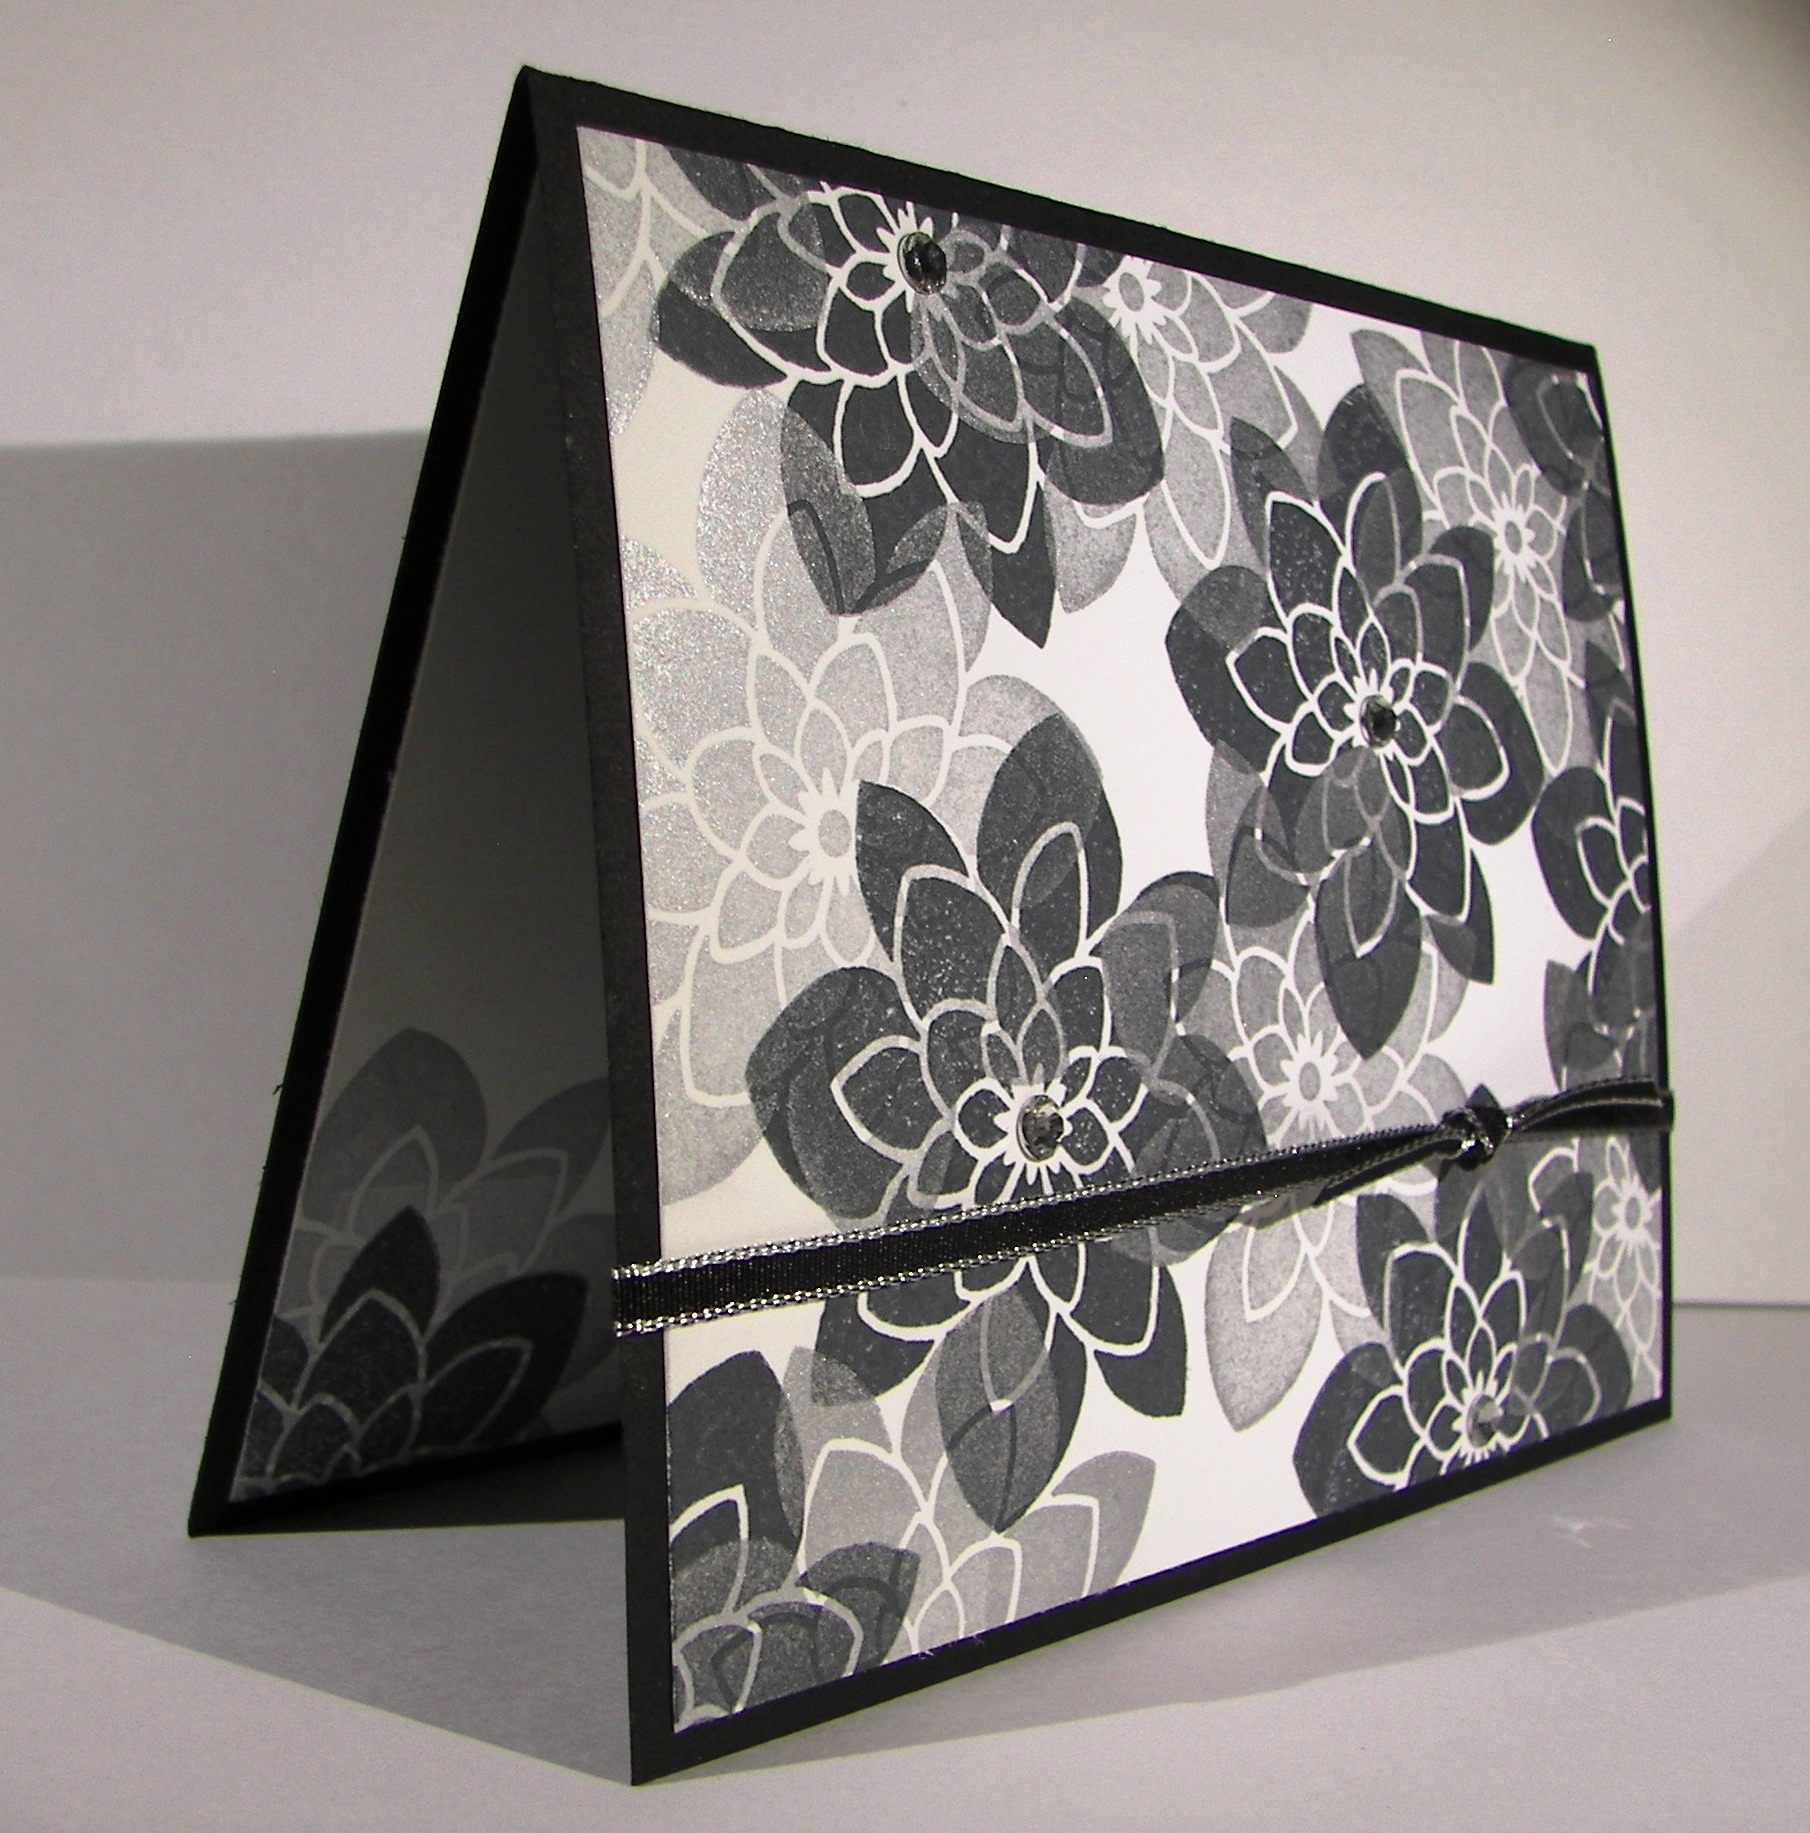
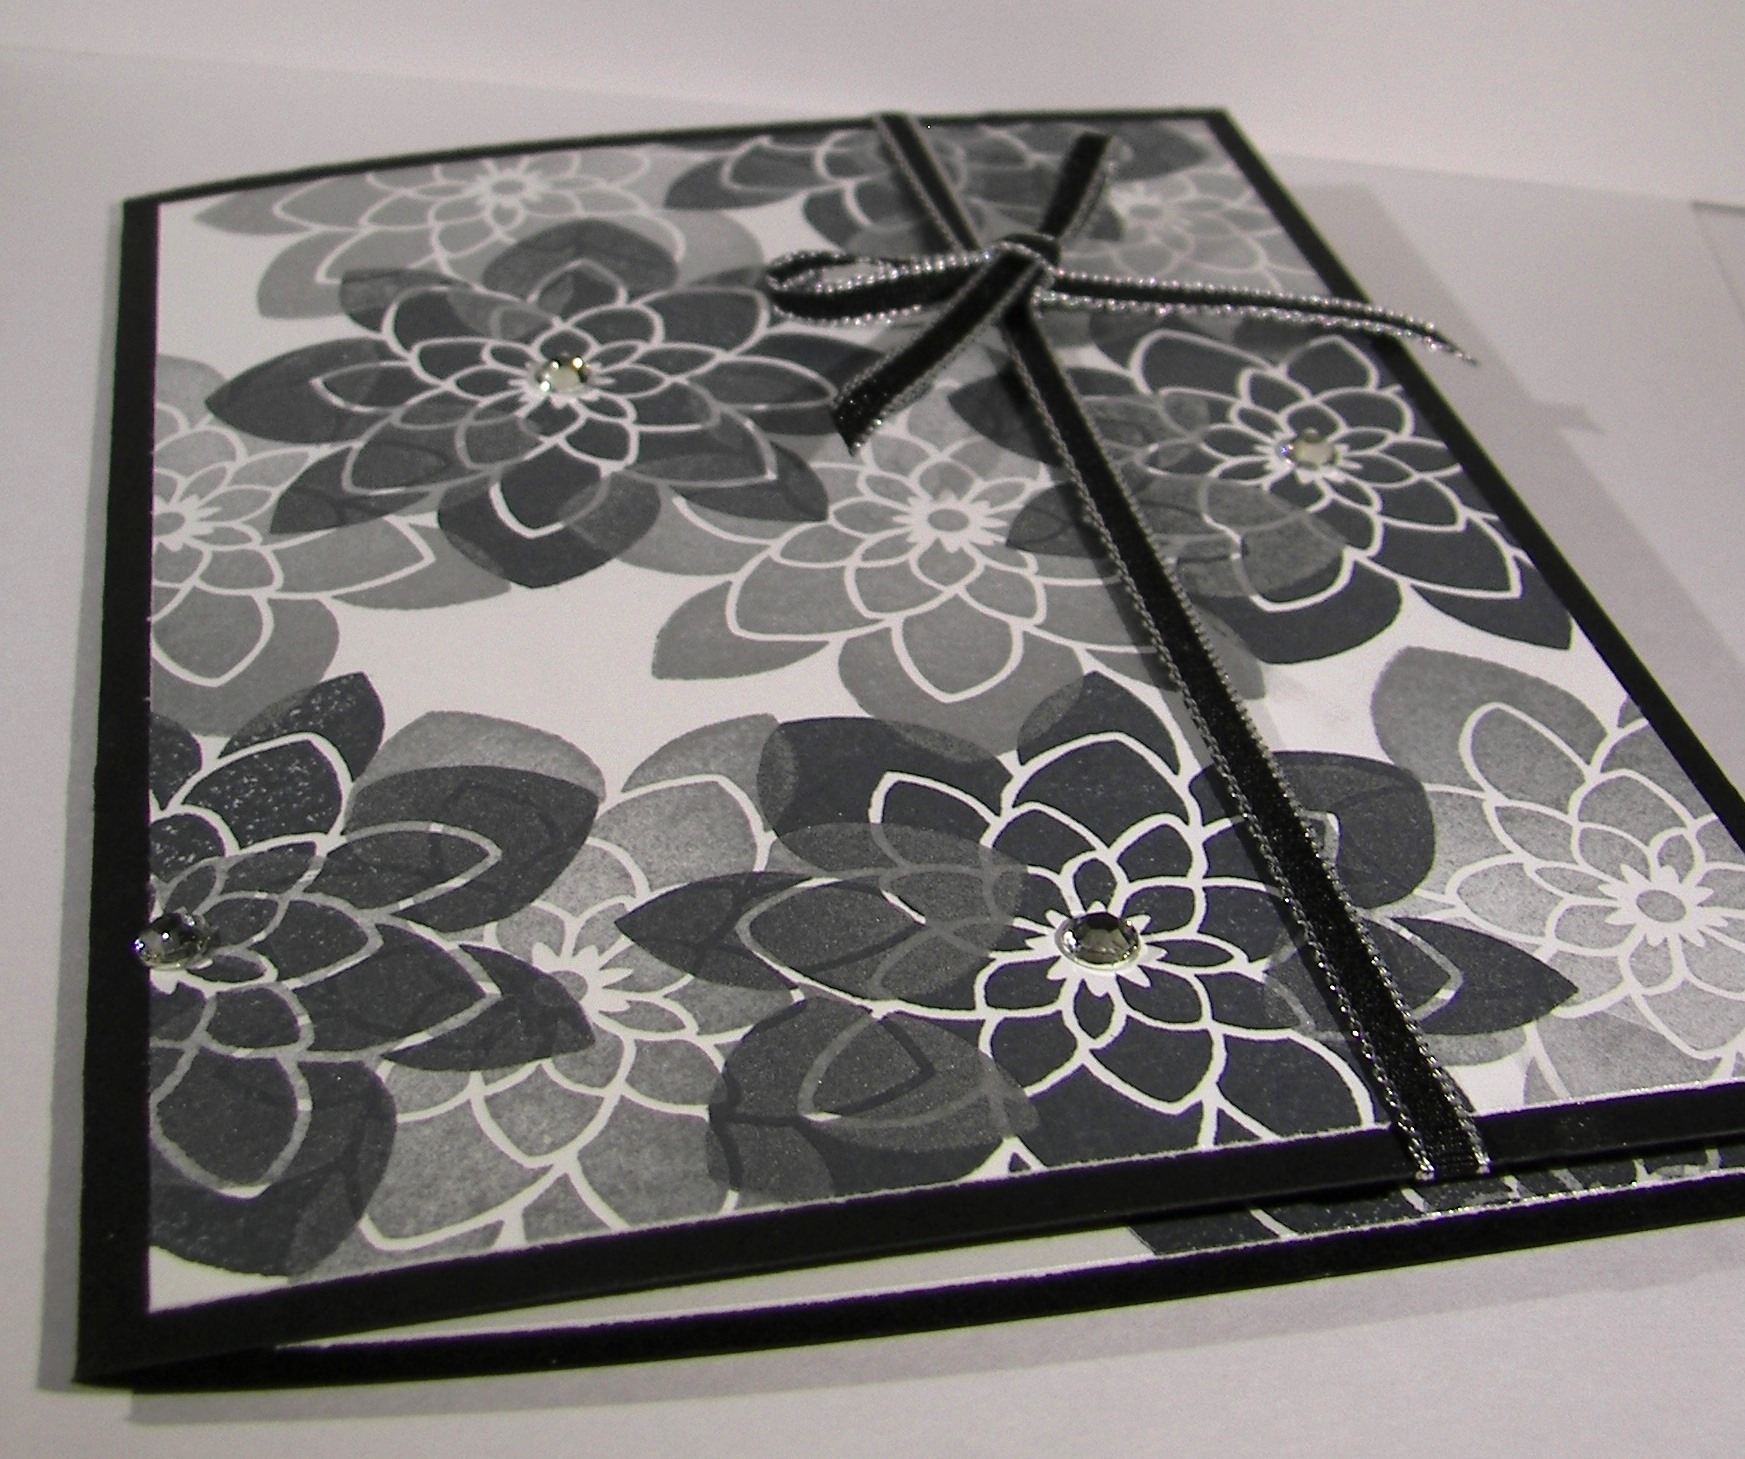
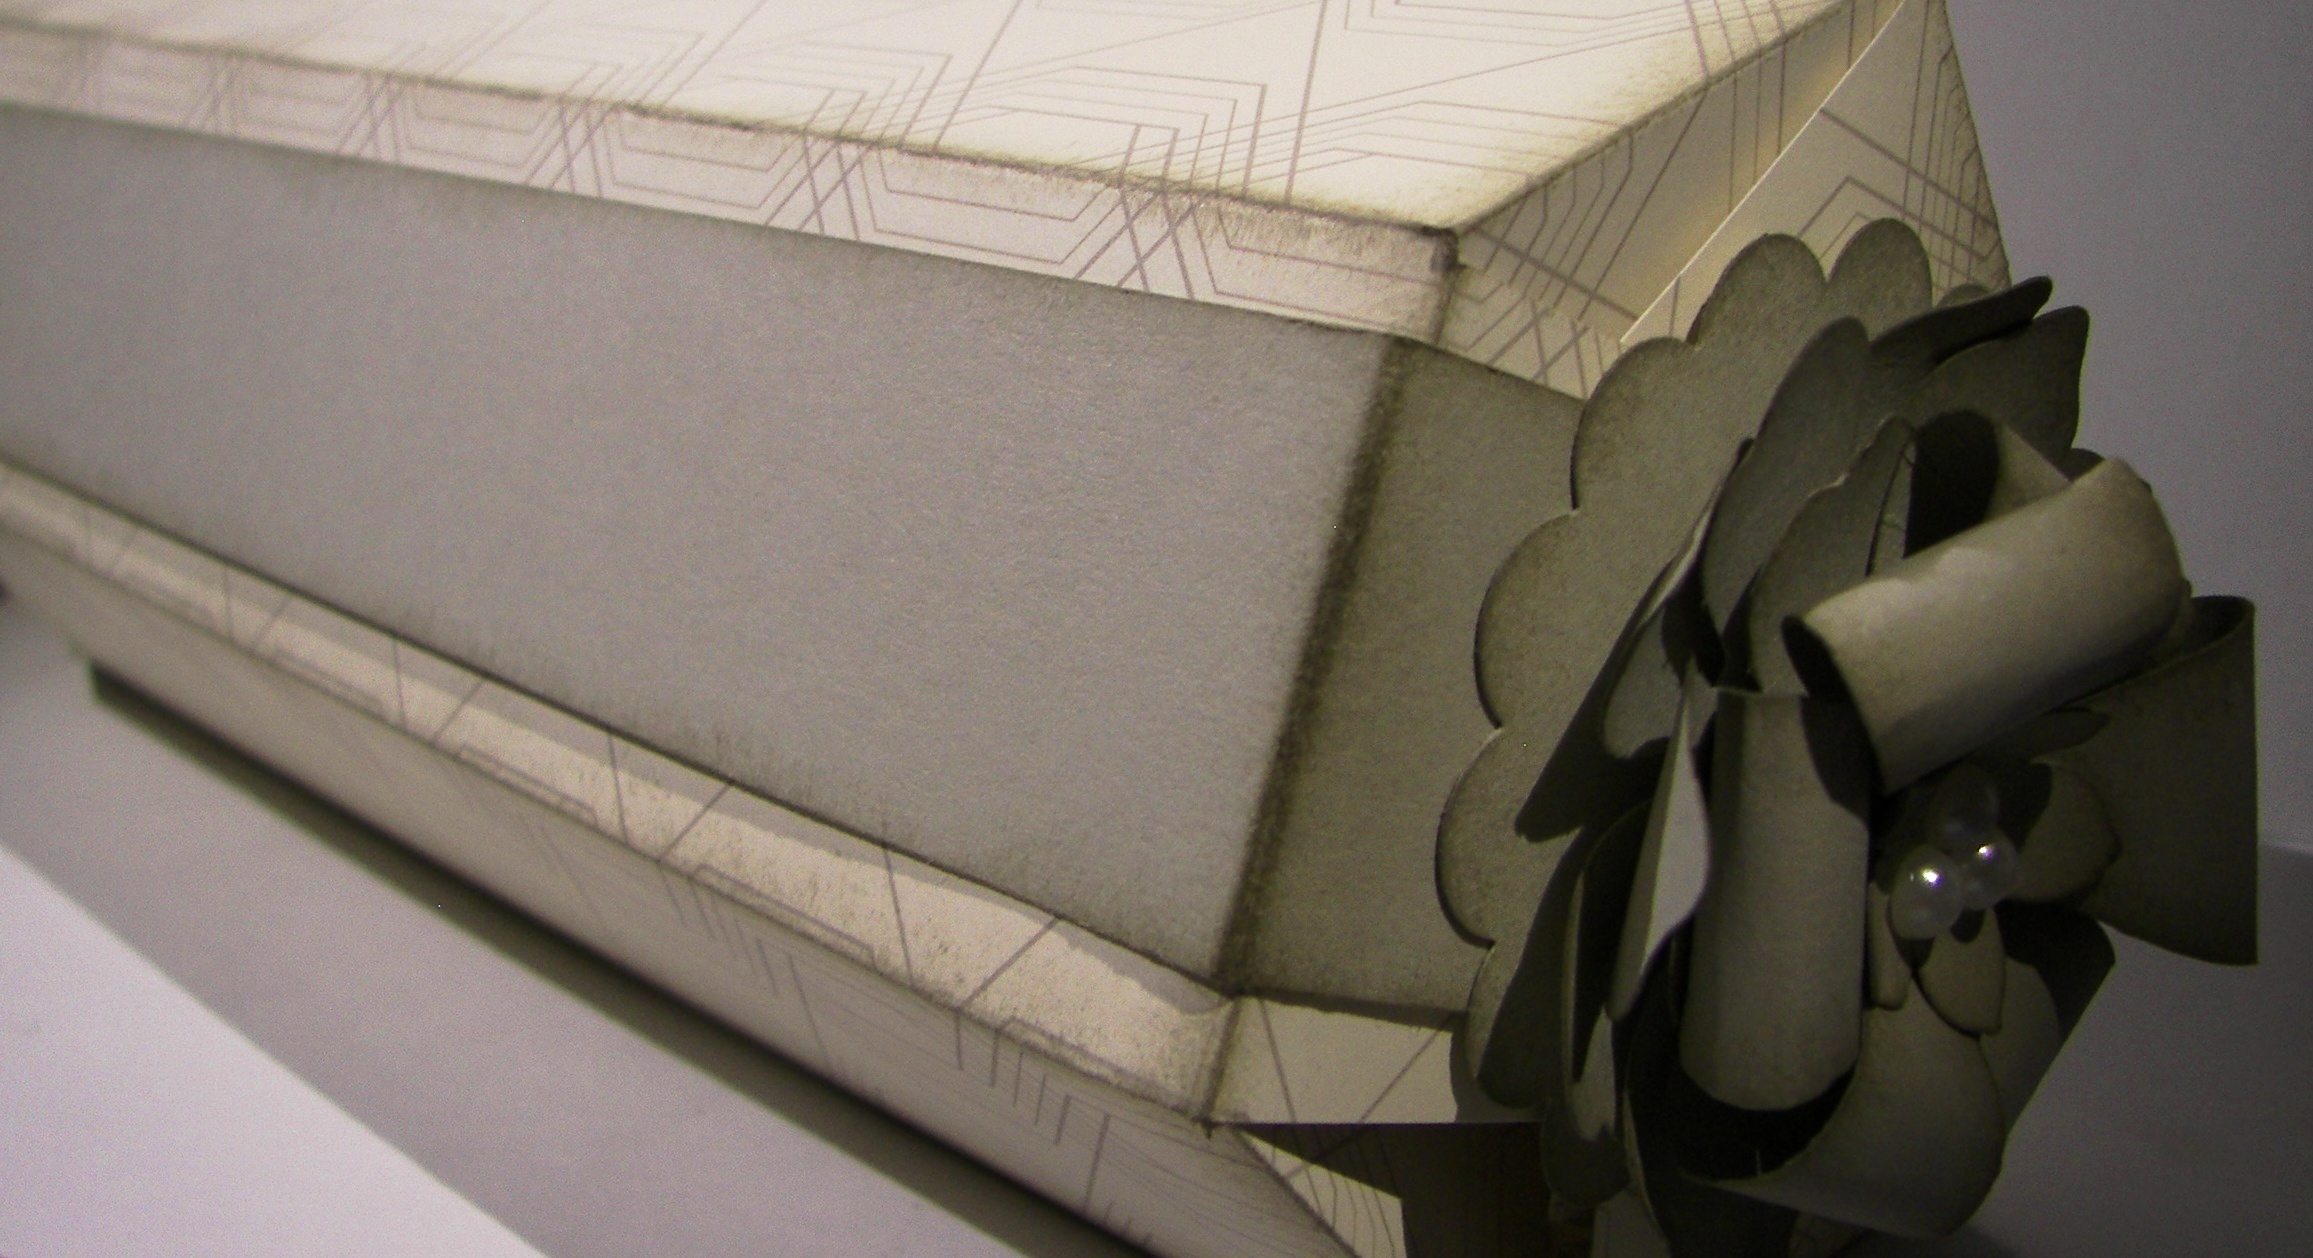
I am not sure what to make of this kind of box thing I came up with.  I wanted to use the dsp, but to be honest, it isn’t sturdy enough for the height I had it have.  But I was determined, so it still happened.  I made up the topper as I went.  Boy, did I use a lot of punches.  So glad I have so many to choose from.  I like how it looks though.

Timeless Elegance Gift Box...Thing

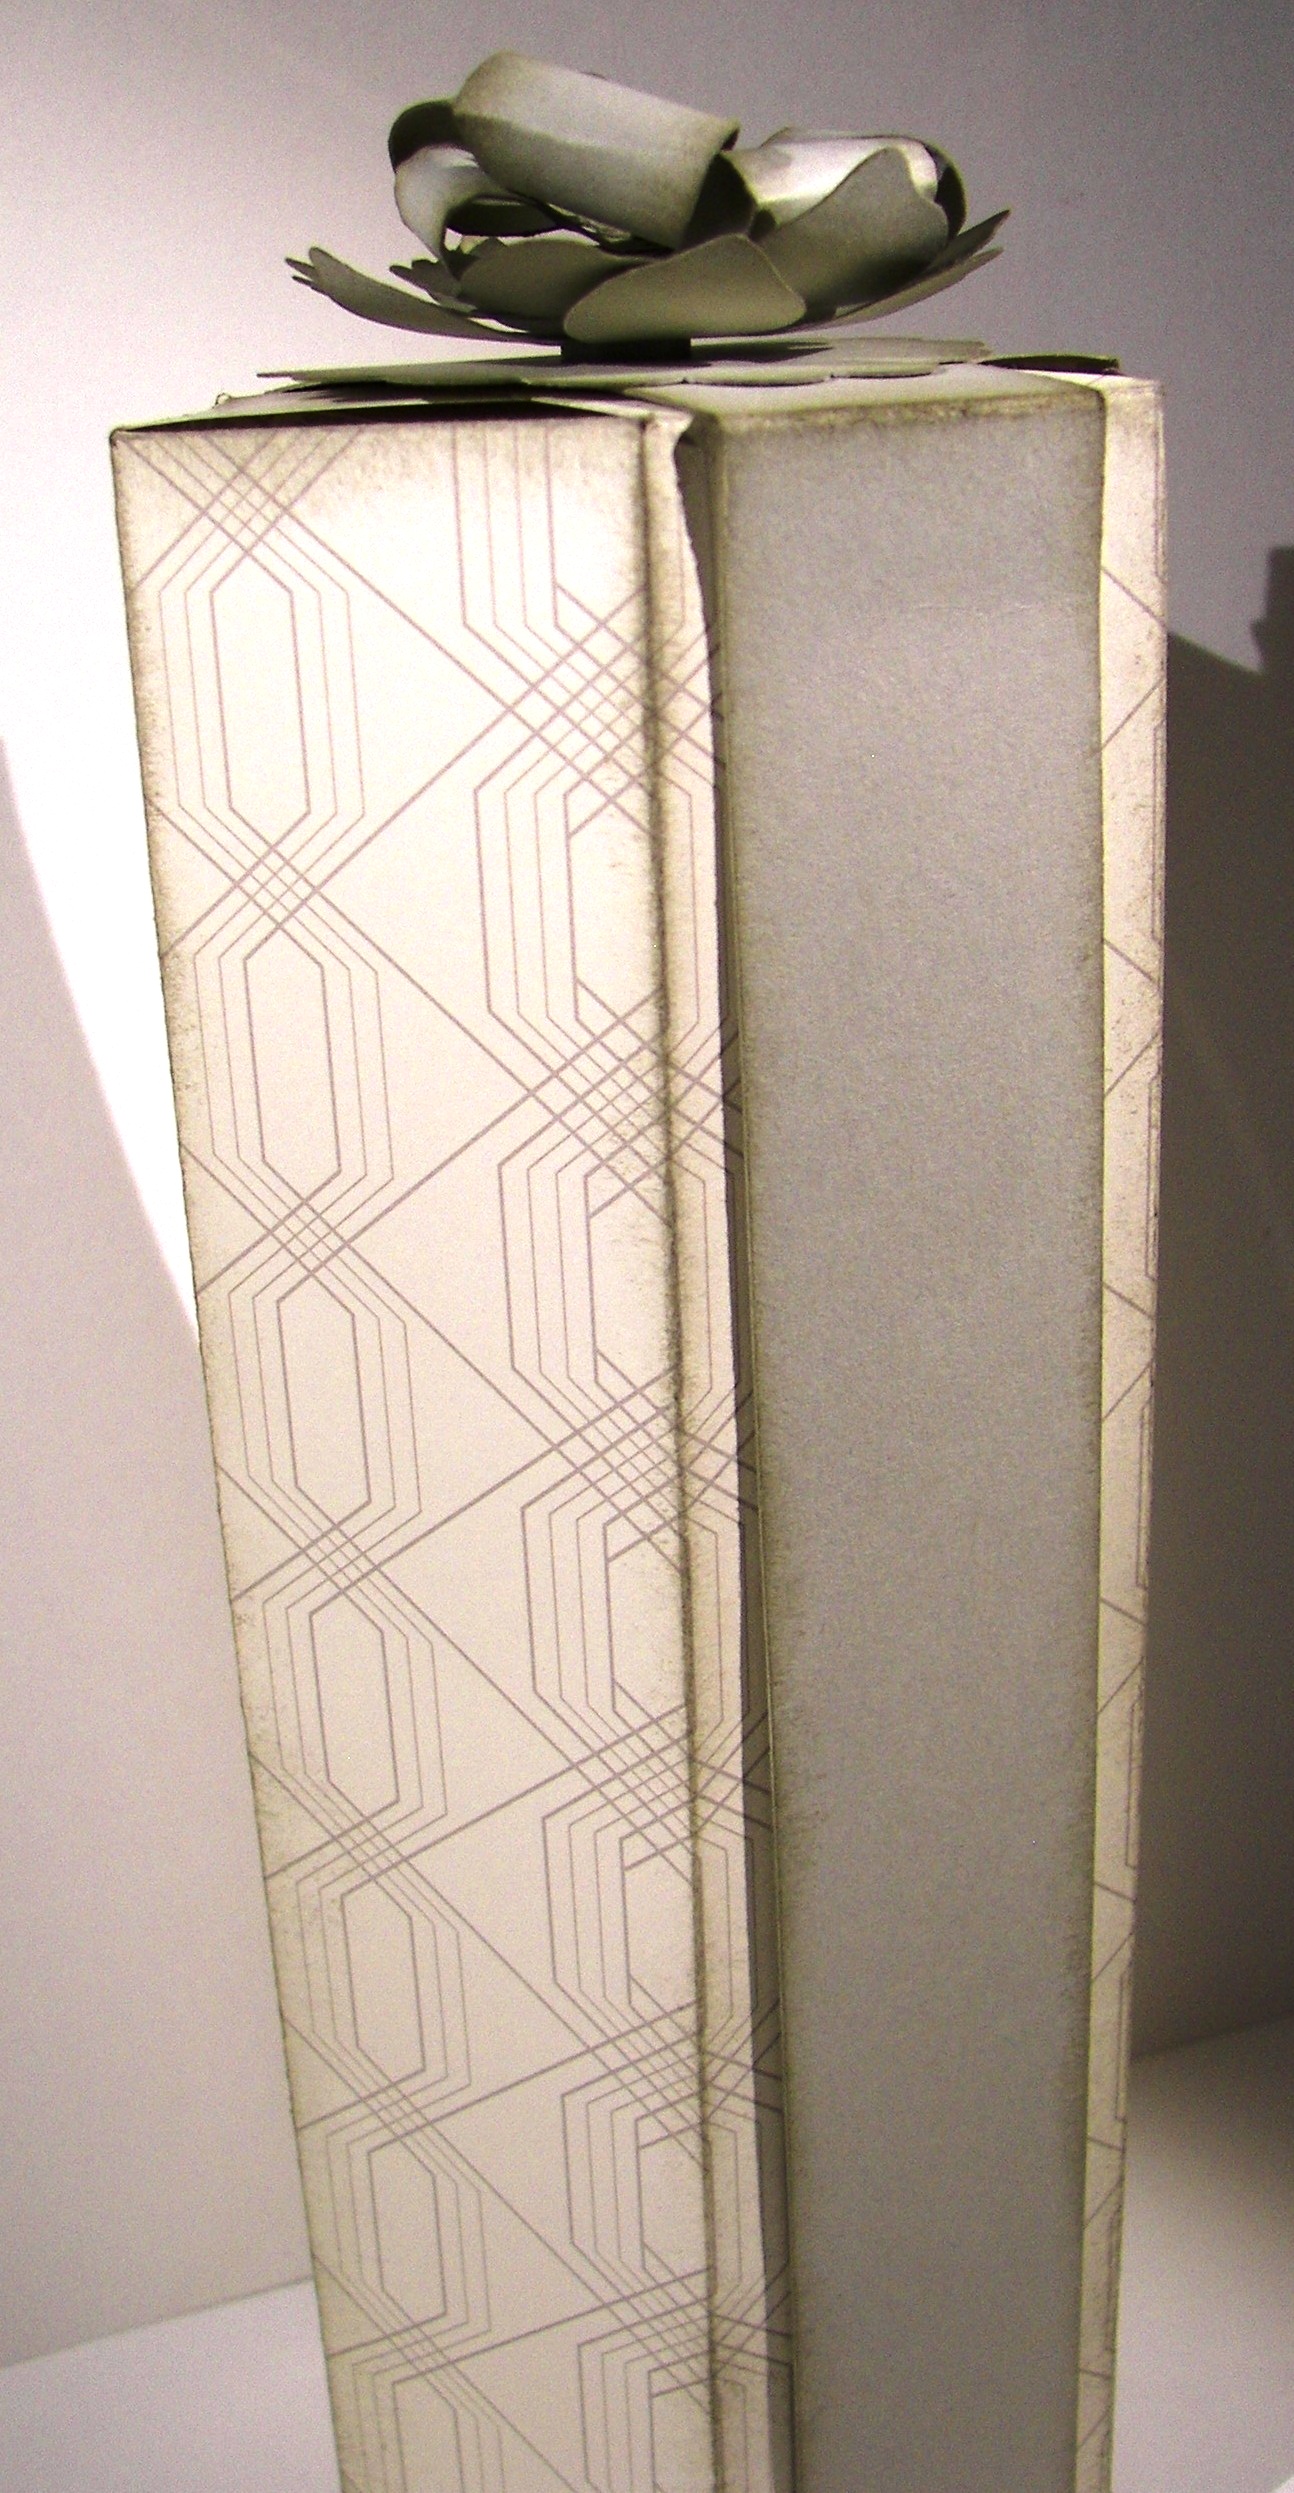
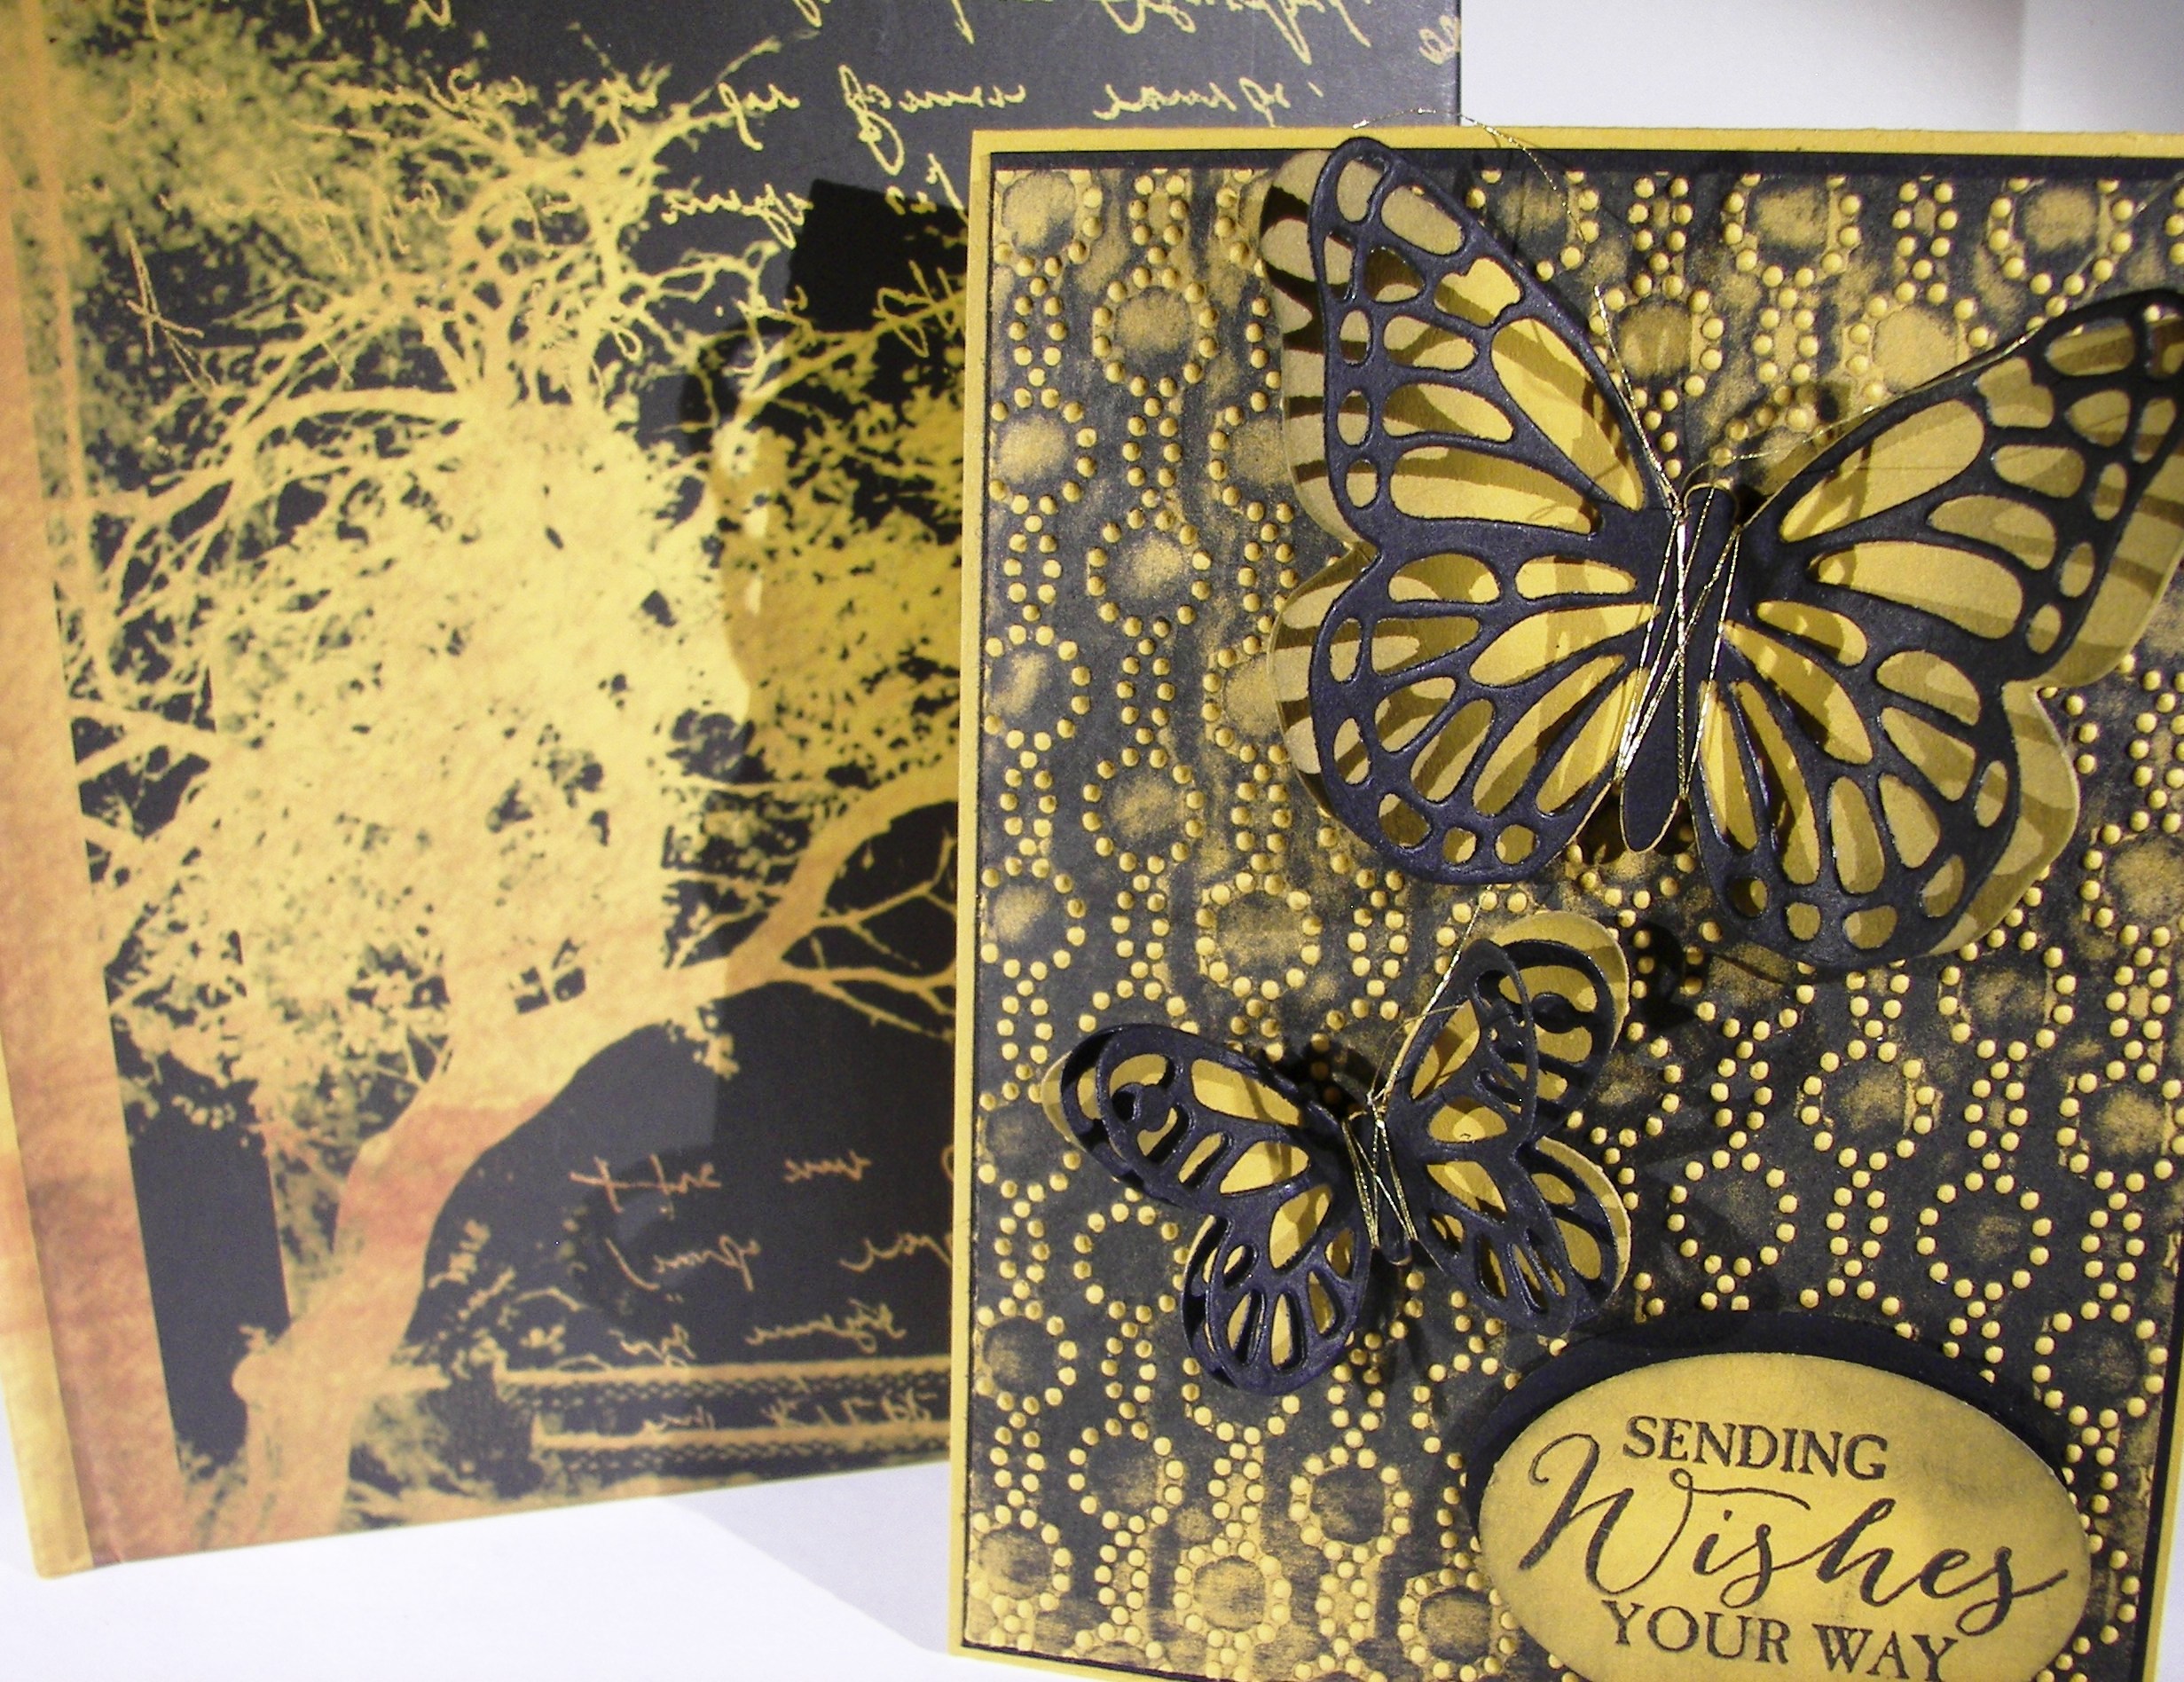
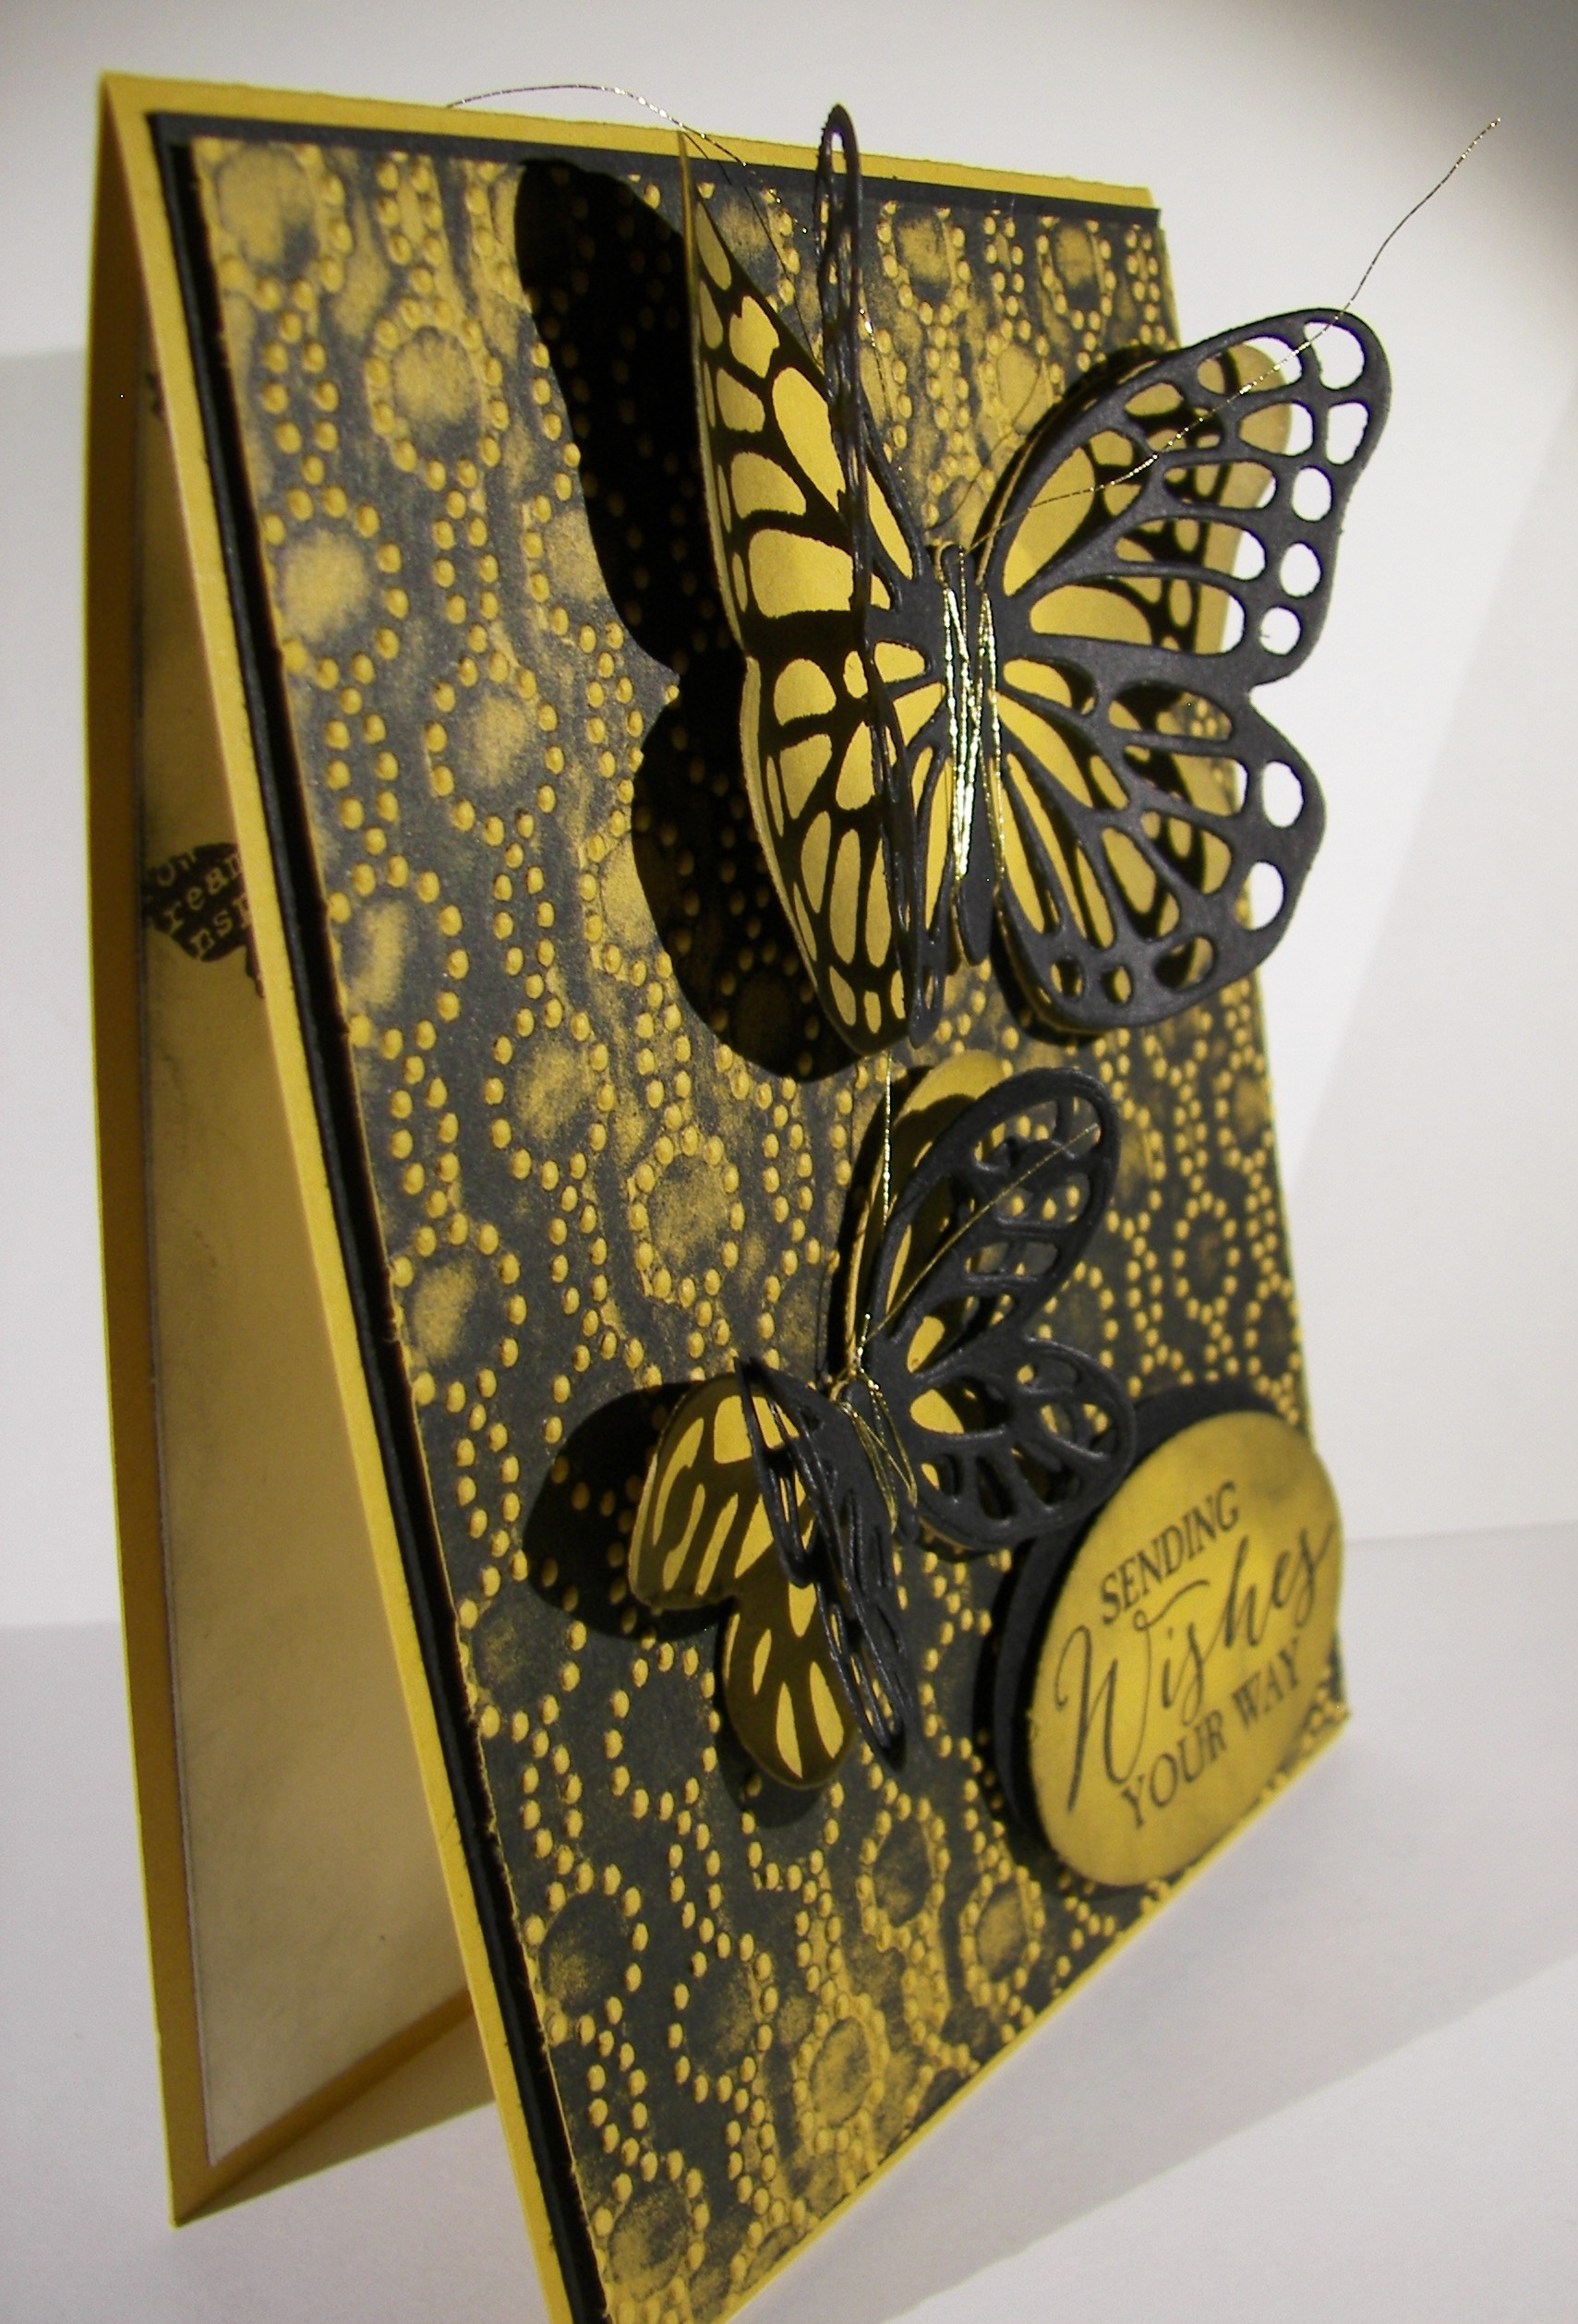
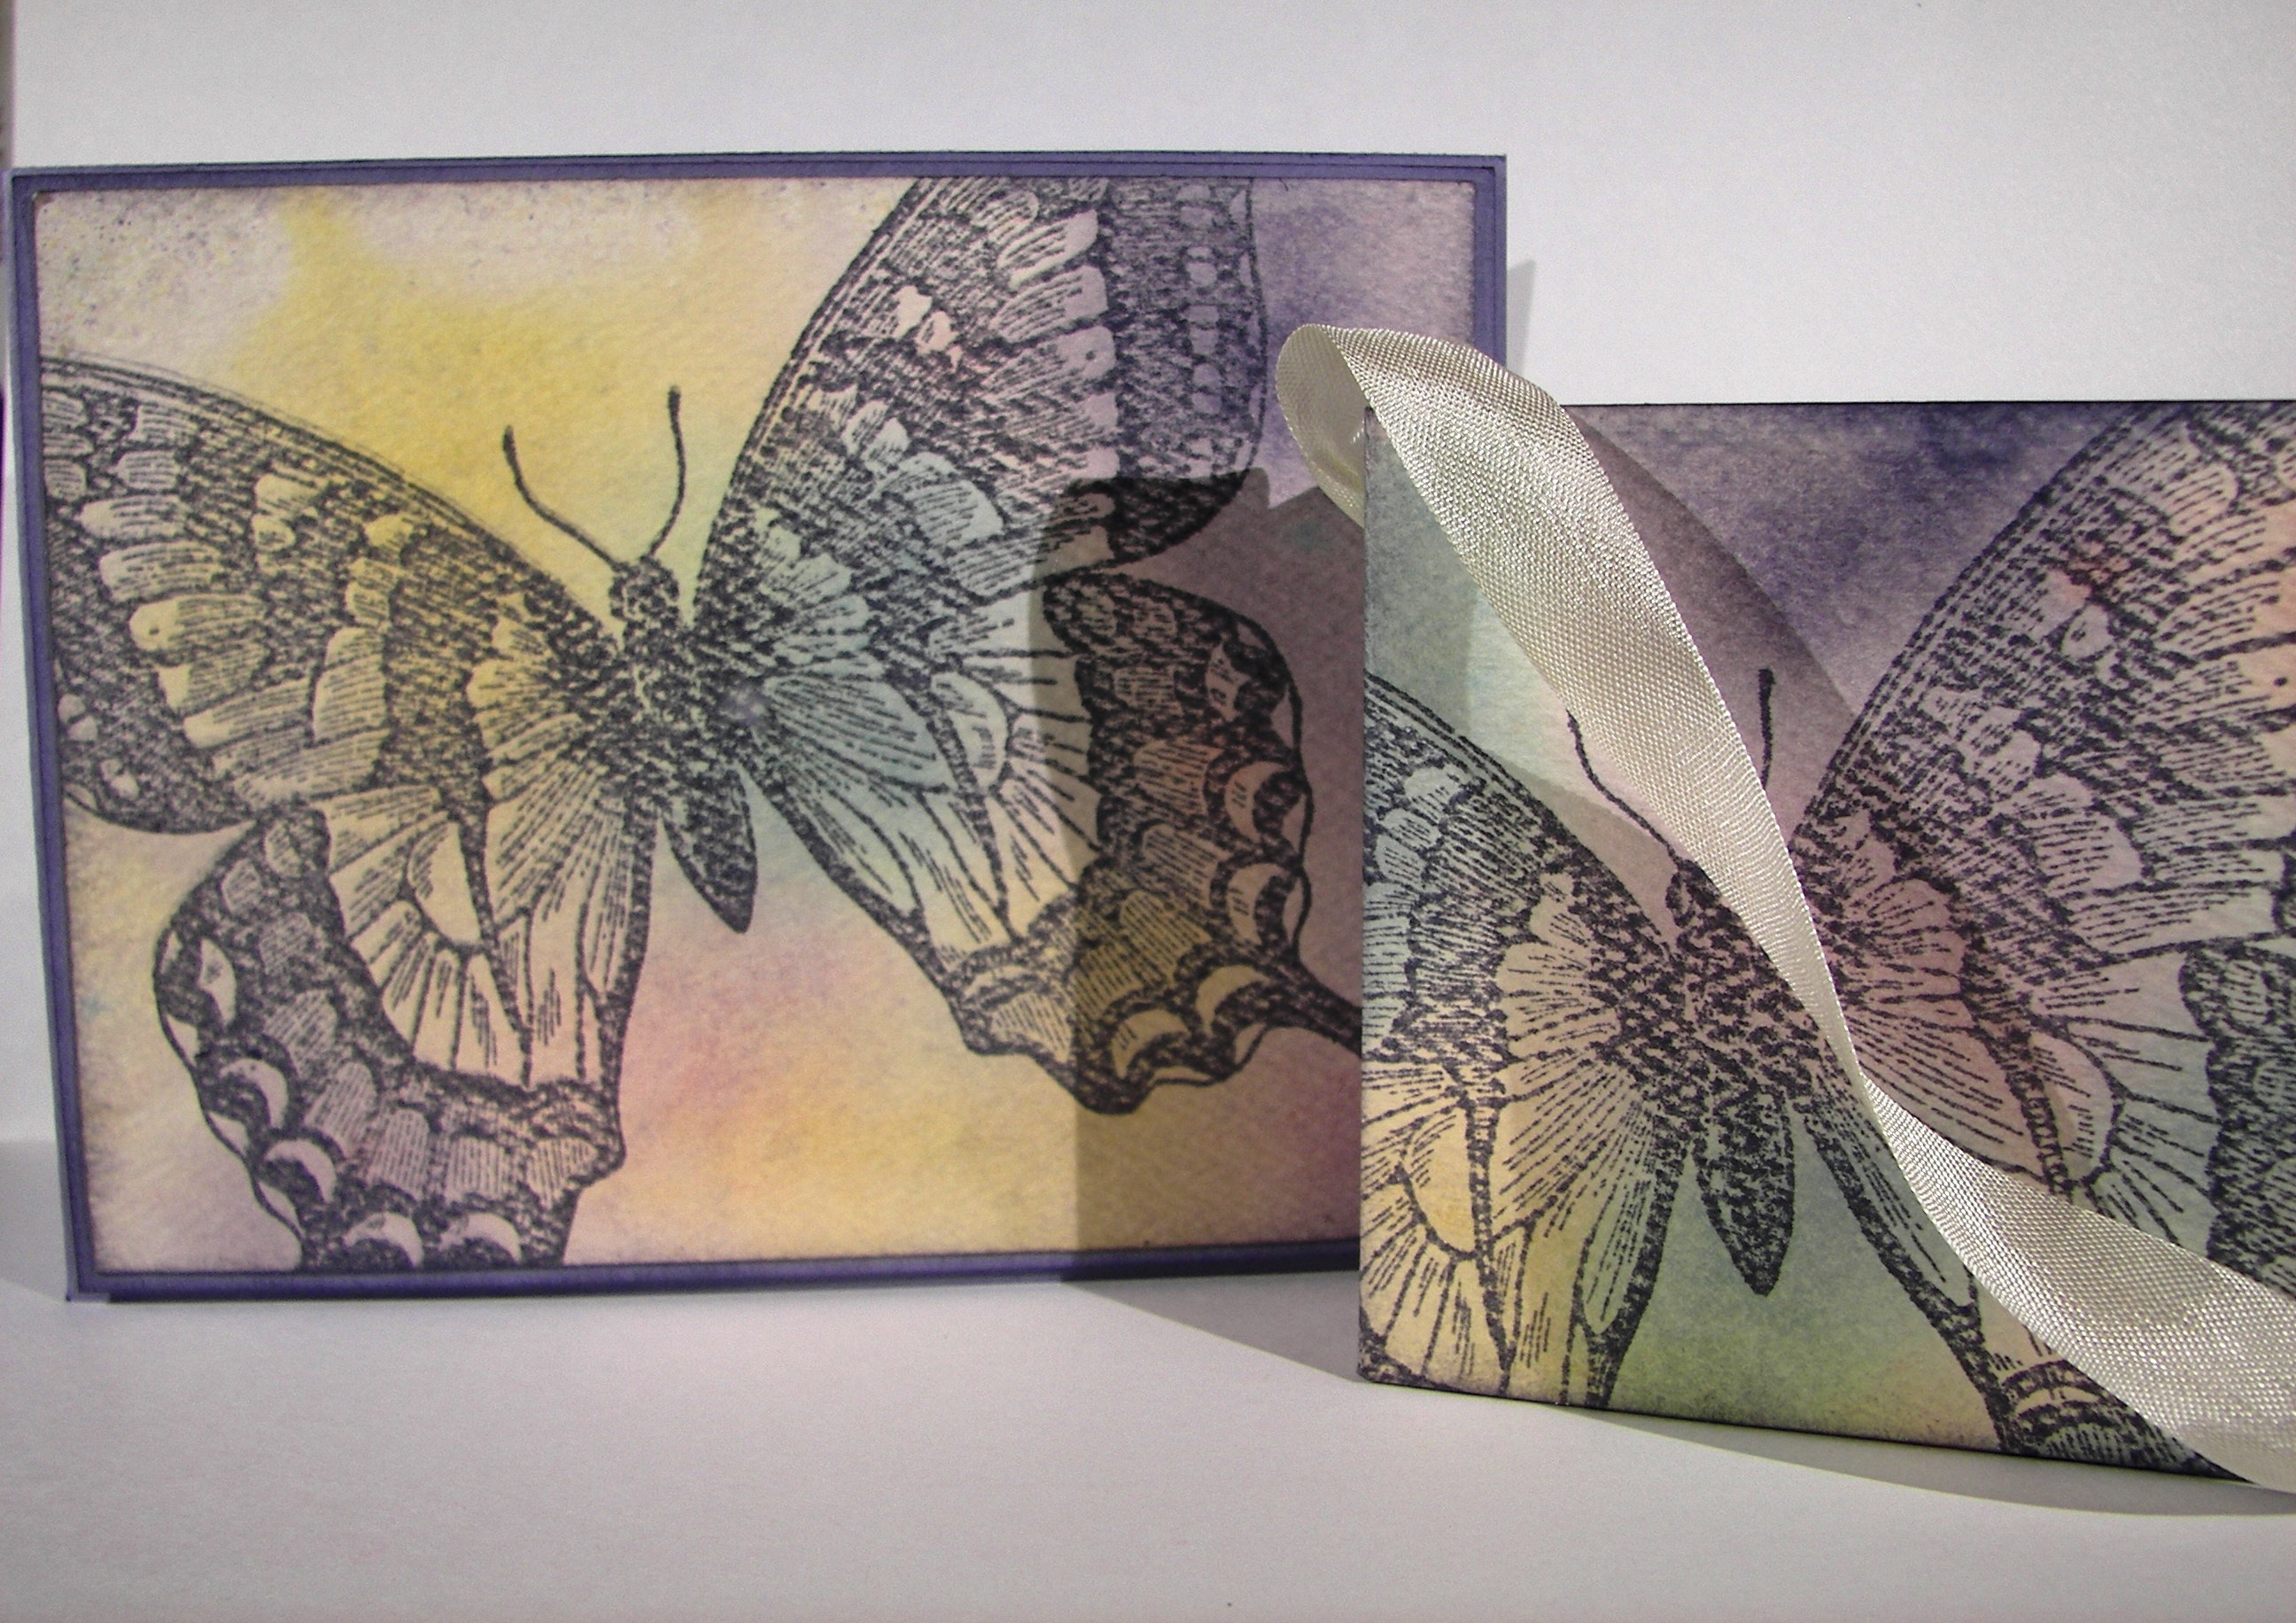
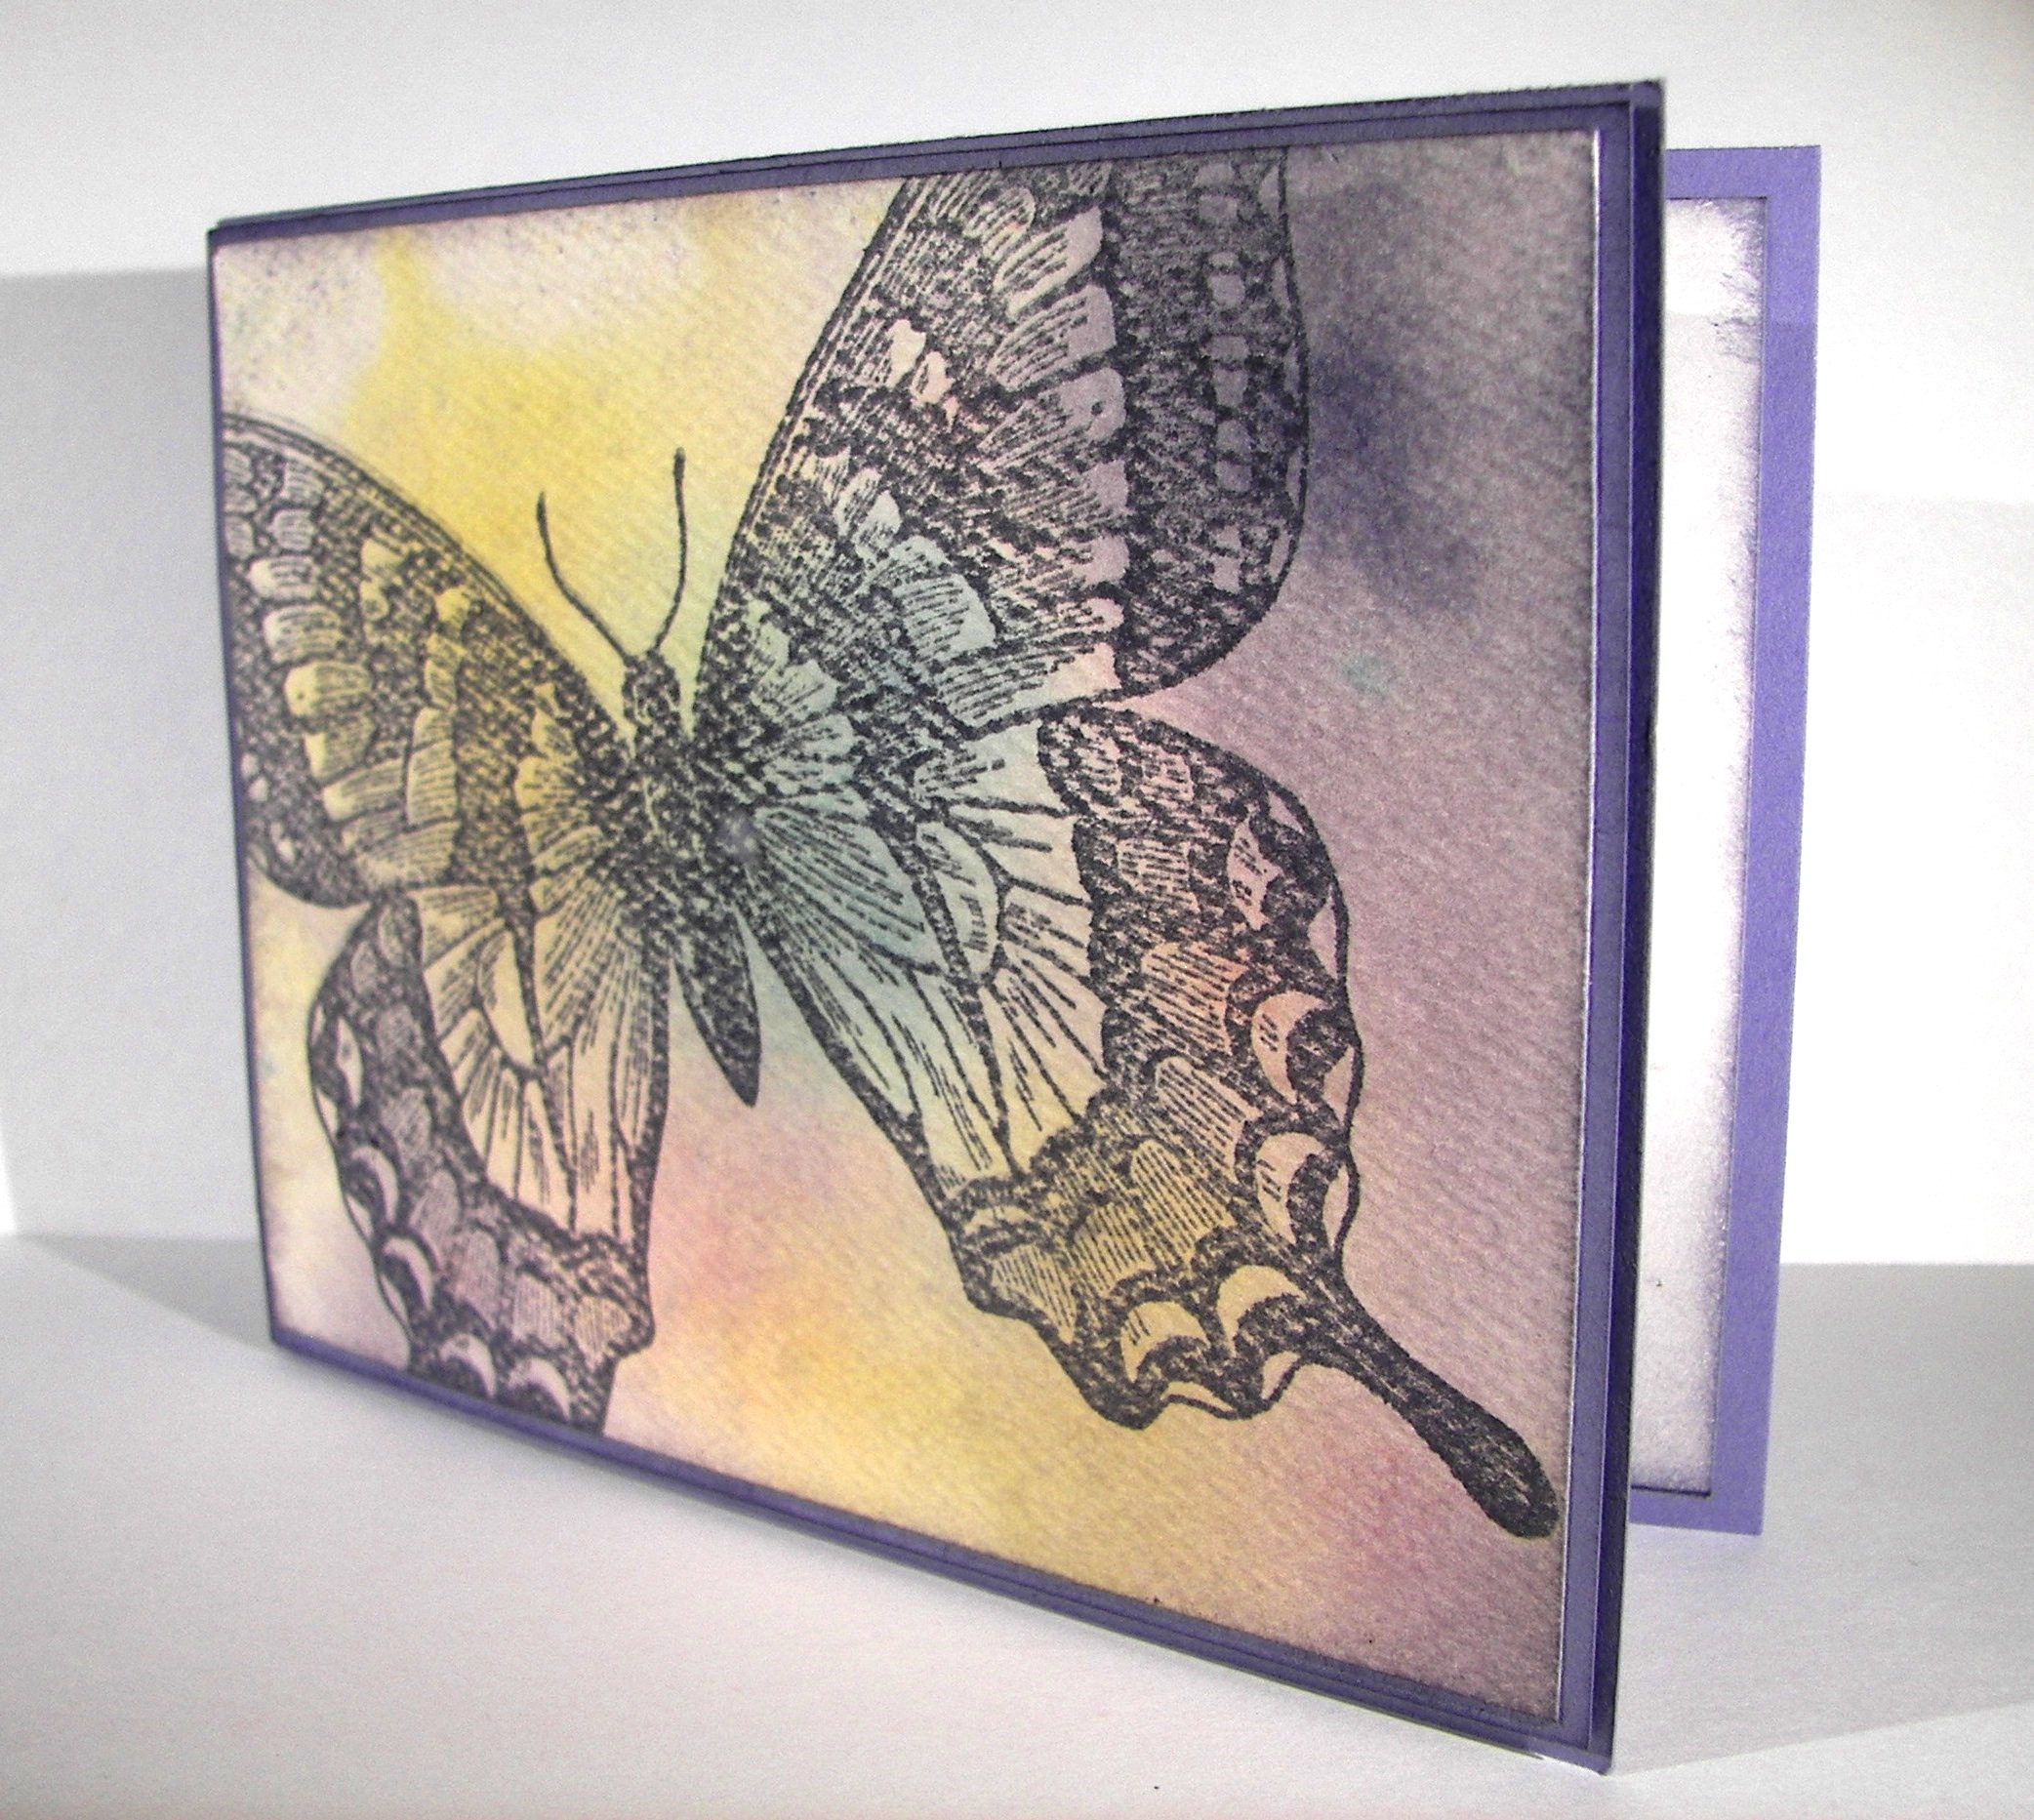
I used a full sheet of the dsp.  The box ended up about 8 1/2″ tall.  The band I made used two strips of paper 1 1/4″ x 10″ and I experimented a bit on the scoring to make it fit.  Only took two times.  I hid those on the bottom.  Lots of sponging all the way around really make it look nice.  I sealed up the bottom with tear n tape and left the top open to put stuff inside.  As I said, it will have to be light because the paper won’t handle much.  The band does give it extra structure though.  Give it a try!

Timeless Elegance Gift Box...Thing

Have a creative day!

Moana

Christmas Lighthearted Leaves

What a crazy morning!  However, slow and steady wins the race, right?  Like I said earlier in the week, I planned on casing myself from another project that looked like Christmas to me.  Here it is, my ‘Believe’ card.

10-19

As I stamped these leaves last time I kept thinking about mistletoe.  Of course, by the time I got done painting all the leaves green, I kept thinking of seaweed.  So now I want to do an ocean project.  What a great stamp set, right?

10-19 (1)

I painted the ‘berries’ real read and went with cucumber crush for my green.  It is such a fun, bright green.  When I trimmed my cardstock down I was left with a few narrow strips and decided to put them to work.  I thought about using some quilling techniques, but kept it simple instead.  I did decorate one of the leaf images with rhinestones for a little bling and loved how it turned out.  So, just like all of the other retailers out there, I have made some Christmas happen before Halloween.  It was fun though, definitely fun.

10-19 (2)

Have a creative day!

Moana

Happy Birthday Workshop!

Yesterday was just too busy, but wonderful at the same time.  I had the opportunity to throw a workshop for a bunch of ladies, which was fantastic! The workshop was actually the cover for the real surprise party though.  Worked like a charm!

10-18 (3)

These three projects were the fun distraction for all to enjoy.  I had done all of the prep work so it could get finished super fast.  Couldn’t keep dinner waiting too long after all.

10-18 (1)

Also, there were going to be many there that hadn’t done much crafting and it had to be fun, not frustrating.  The gal that the party was for is one of my regular workshop members, so she got through super fast and got to chat with all of her friends.  How convenient that they were all there.

10-18 (2)

We were all more than excited as the surprise was revealed.  Cheers all around and boy, did her face get super red!  It went great with her huge grin!  A fun part for her is that if people wanted to give a gift, they were encouraged to donate to her Stampin’Up! shopping spree!  What fun that will be.

  10-18

Have a creativc

Gather Sunshine

It started with one stamp, ‘gather’, from the Seasonal Snapshot 2015 set.  I love it, just love it.  Then I began rooting around for word stamps or images that would go with it.

Gather Sunshine

I pulled out Crazy About You, because it has all of those phrases and word sets.  There it was, sunshine.  I immediately went to the Kinda Eclectic set because of the beautiful sunburst in it.  Great combo going on for sure.

Gather Sunshine

I wanted more than one yellow tone going on, so I have three.  The sunburst and the card base are So Saffron.  The base of ‘gather’ was done in Daffodil Delight and layered over in Hello Honey.  Sunshine was stamped in stazon and the inks were put away.  The paper layering is simple with a double layer of smooth whisper white put up on dimensionals.  No ribbon, nothing else, just clean and simple.  Not my usual style, but I rather like it.

Gather Sunshine

Have a creative day!

Moana

You’ve Got This

Sometimes simple words are all you have, and sometimes that is all you need.  That is just how I feel this morning.

You've Got This

I took my time painting this lovely flower with a few of my favorite inks.  I stamped the flower in almost artichoke and did light water coloring to get the base down.  I added cajun craze but kept it light the first time through.  Adding more water helped to do a little blending, but I didn’t want too much of that.  I like that two colors together can create a third unexpected surprise.  In person, you can see the blended areas have nearly a cherry cobbler tone.  Cool, right?  I thought so too.

You've Got This

The entire image was accented in gold encore ink, still using the aqua painter.  That really creates a fun look and is surprisingly easy to control.  One simple sentiment in black stazon ink with a little gold metallic thread and this simple card was done.  Well, I did have to stamp inside as well.  I stamped off twice before I placed the stamp on the inside paper.  Nice and light.  And look, absolutely no sponging!  Crazy.

You've Got This

Have a creative day!

Moana

Lovely Amazing You

While sitting next to my youngest daughter, trying to keep her awake to finish homework, I thought I would complete my project for the next day.  Good idea, right?  I pulled two stamp sets I hadn’t used in a while and asked her for a color idea.  She said dark blue, so I went with Night of Navy.  The card began.

Lovely Amazing You

She wasn’t having the best of evenings and her older sister came to the rescue, even though she is out of state attending university.  I do think that technology can interfere with real personal relationships, but this was perfect.  The infamous ‘snapchat’ was just the thing.  The sad faces turned to happy and then on to absolutely silly.  And that is how I chose my sentiment.  Thank you my sweet daughter for being the best big sister ever.

Lovely Amazing You

The brayer was still out from workshop so I let it give me my background on the large polka dot embossing folder.  Kind of artsy looking, even if I didn’t keep it perfectly clean.  I then decided to do a lot of sponging to disguise some of that, can’t hide it all, and also sponged lightly all over the paper.  Nice.

Lovely Amazing You

The little notebook sheet was created with a stamp from the Tap Tap Tap set, offset on some Night of Navy cardstock, raised up on dimensionals and embellished with basic rhinestones.  I even used the 1/16″ hand held punch and punched actual holes over the stamped ones.  Pretty cute.  I finished off the project with a bow of seam binding ribbon and decided I loved it!

Have a creative day!

Moana

For All Things

It can be hard to get even the simple things done when you don’t quite feel yourself.  That is why today’s project is super simple, just what I needed.

For All Things

I started with a half sheet of very vanilla cardstock and scored every 2″ on the 8.5″ side which left me a 1/2″ edge to seal the box together.  I also scored along the length at 2″ to make the bottom, and at 3/4″ at the top and then 1″ over from there.  I know I am not very exact at sharing my measurements, but it works out I promise.  Oh, I did do my stamping before I scored, forgot to mention that.

For All Things

I have held the box together using the tear n tape adhesive.  I do like that stuff, easier to work with than sticky strip.  The flaps are folded together and adhered with the same and then I got to sponging.  All the edges and even on these bitty little flowers.  I love that look!  I put the largest basic pearls inside each flower and grabbed for a scrap of ribbon.  The dotted lace trim has a good bit of stretch to it, so it is held on just by that.  Not a glue dot or anything.  That makes it easy to use and re-use.  A simple bow and it was all done!

For All Things

Have a creative day!

Moana

I Cased Myself! Eeeek!

I have the pleasure of hosting a card workshop for my club this weekend and decided I would use yesterday’s project as one of our projects.  I do like to give them choices and encourage a bit more creativity, so I cased myself to give them another choice.  Too fun I must say.

I Cased Myself!  Eeeek!

Same kind of layout as yesterday, but I made my background paper instead of using designer series paper.  Choices, like I said.  And I love to encourage people to use their stamps differently.  This qualifies for sure.

I Cased Myself!  Eeeek!

I used the pumpkin face from the seasonal stamp set Sparkly Seasons.  That is one diverse set, absolutely love it!  I stamped the faces alternate directions using black stazon first.  Then I went back over them to create a shadow/3D look.  It turned out fun.  I will use that technique again for sure.

I Cased Myself!  Eeeek!

When I put the eyes on I placed them over the pumpkin eyes and got a mouth out of it.  So cute.  Then I had the eyes turned to face the word eek and the card was done.  I did use the same pumpkin face for a bit of echo stamping inside.  Just right if you ask me.

Have a creative day!

Moana

Larger Than Life Boo

Halloween doesn’t have to always be about scary things.  Sometimes it can give you the feel of the holiday and be totally adorable at the same time.  Kind of like a few sweet children all dressed up singing “Trick-or-Treat” at your door.  Just too cute.

Larger Than Life Boo

The project began with a sheet of the Go Wild DSP stack.  I knew I wanted to sponge it up with a faded look so I looked for patterns that had more white than black.  This pattern was perfect.  I swirled and swirled until it looked the way I wanted and then sponged around the edges some more.  No layering, just adhered it straight to the card base.

Larger Than Life Boo

These Larger Than Life Alphabet & Numbers stamps really make me happy.  The only thing that would make me happier is having coordinating framelits.  But, that is not the case.  You guessed it, I actually did fussy cutting, twice!  Once for the letters and once again when I layered them up on more paper.  Where is my brain?  It had to be done, so I suffered.  My least favorite crafty task next to cleaning up.

Larger Than Life Boo

I touch of Dotted Lace Trim added such a soft touch.  Left the bow off and just did a simple knot.  I made some little eyes using the 1/2″ circle punch, punched circles using the 1/4″ circle hand held punch, and centered them with the largest size of basic rhinestones.  I sponged those pumpkin pie eyes and raised them up on dimensionals.  I also raised up my word ‘boo’ with dimensionals, but used a double stack on the center ‘o’ to make it stand out even more.  End result, adorable Halloween card, just adorable.

Have a creative day!

Moana

A Whole Lot of Lovely

Today is quite the contrast to yesterdays color scheme.  But I certainly am all over the place in regular life, so why should my crafting be any different.  Makes sense enough to me.

A Whole Lot of Lovely

I have wanted to try this technique for ages but have never sat down to actually do it. I saw a card that did this as a lattice background for a lovely floral collection and saved the image for later.  That was two phones ago, and I have long since lost that image, but not in my mine.  

A Whole Lot of Lovely

I used my simply scored set and diagonal plate to make these lines.  If you look closely you will see all of my errors, but it was my first time trying.  I tried to keep my score lines 1/2″ apart, but didn’t get them exact every time.  The look turned out though, and you get the idea.

A Whole Lot of Lovely

Some simple stampin, layering everything up on dimensionals, a couple of strings of basic rhinestones, and a healthy dose of sponging helped to finish it off. I of course had to stamp and sponge the inside to make it almost as lovely as the front, they need to coordinate.

Have a creative day!

Moana

Journal Inspired Butterfly Basics

My husband bought this pretty journal and I immediately took it to my desk to stare it down.  I just knew there was a card in there somehow.  Well, after sharing swaps for nearly two weeks my creative bug was on high alert.  I sat down last night and gave myself some time to go at it.  And I did.

Journal Inspired Butterfly Basics

Isn’t is uncanny how close the colors are?  I guess that is why I migrated to it.  I have other off market stamps that might have gotten closer to the tree, but I really wanted to get my brain in gear for workshop this weekend.  I couldn’t be happier with the end result.

Journal Inspired Butterfly Basics

The borders are a narrow 1/8″, my favorite.  I bravely opened up my new elegant dots embossing folder and rubbed Stazon all over one side and then ran it through the  big shot.  I loved the result, and most of the ink came off.

Journal Inspired Butterfly Basics

I used lots of butterfly framelits and layered everybody up.  The smaller one has two black die cuts over the delightful dijon layer.  Light sponging made everything look a little grungy and tied it together.  There is a little stamping inside, as well as more sponging.  I used plenty of glue dots to hold the butterflies together and layered like crazy with dimensionals.  So fun!

Have a creative day!

Moana

For All Things and Flower Patch

While enjoying a long and lovely visit with my daughter this morning, fall came up.  It is her favorite season of the year.  She is getting excited because where she is attending university fall has begun.  The temperatures, the colors, the smells, she loves it all.  So, together we created this card.  What a fun way to stay connected.

For All Things and Flower Patch

The card is made from a Hello Honey card base, layered with a Cajun Craze framed stamped card front.  I used the leaf stamp from the For All Things set to create the paper.  One full ink stamp and then several others around it until the ink runs out.  I did this using Cajun Craze, Hello Honey and Almost Artichoke.  Such a great trio.

For All Things and Flower Patch

A quick stamp from the Flower Patch set for the sentiment and it was nearly done.  I adhered a strip of the new Striped Cotton Ribbon and layered my sentiment with a bit of color.  The Bitty Banner Punch helped me get the banner edges and it was all done.  Well, I did have to sponge nearly everything of course.

For All Things and Flower Patch

Have a creative day!

Moana

Swallowtail Watercolor

The only thing I could think about was getting out my Swallowtail stamp.  I love this huge guy.  I had visions of a muted but colorful butterfly on watercolor paper.  Well, it took a few tries before I didn’t hate what I was doing.  Sometimes my vision and my technique process don’t connect.  Then something new comes up.

Swallowtail Watercolor

I took a piece of watercolor paper and spritzed it heavily with water.  I then applied drops of ink randomly, focusing on one color at a time.  I used my spritzer to dilute the ink drops further and helped them spread out more.  I ended up with four colors.  I put my heat gun to it until it was nice and dry.

Swallowtail Watercolor

I really had my heart on using black stazon for the butterfly, but that just wasn’t looking right.  I switched it up and stamped it in wisteria wonder.  That gave the perfect look.  I think because the ink is water based and could be loaded up heavier gave a better impression on this type of paper.  Not sure exactly, but it sounds good.

Of course I had to make a little bag.  The need to make matching sets is so strong sometimes.  When you see a card or a bag on this blog by themselves, you know I had to tell myself to just walk away.  This time, it had to be done.

Swallowtail Watercolor

I actually love it so much, I can see myself making a large set of these for a gift for someone.  They are truly all occasion, not a sentiment to be found.  That also took great self control.  Not to mention how badly I wanted to add basic pearls.

Swallowtail Watercolor

I have gone on and on, but I wanted to give more detail today.  You should really give this one a try.  It is so liberating and actually, quite simple.

Have a creative day!

Moana

Ray of Sunshine with Perfect Pennants

Color, color, and more color.  I obviously had color on the mind.  I have been wanting to make a card that felt like a sunrise.  This fit the need  nicely.

Ray of Sunshine with Perfect Pennants

It wasn’t easy for me to leave it alone with just ink and a sentiment, but I managed.  I have coordinating ribbon, but didn’t want to break up the colors.  My supporting committee backed me up and here they are.

Ray of Sunshine with Perfect Pennants

A friend of mine recently had an adorable little girl and I couldn’t wait to use this stamp for a baby card.  It feels like a warm cuddle, just like a baby.  Yummy.

Ray of Sunshine with Perfect Pennants

I took my inks and sponges and went to work.  I started at the bottom with crushed curry and sponged and swirled away.  I progressed across the card with the four different colors ending with night of navy on the top.  After the ink dried I stamped my sentiment where I wanted it to sit and embossed it with black powder.  I headed to the big shot and cut out my image.  Yes, that left a hole in my background piece.  But with my framed bit also done in night of navy, it was all covered up.  I just popped that up on dimensionals and called it done.  A great technique on both fronts.

Have a creative day!

Moana

Crazy About You With Elegance

“When you feel terrible, can you still create something beautiful?”  That is what I asked myself last night.  I had an endodontist appointment yesterday that I thought was headed one way and took another.  So, I wasn’t feeling very creative.

Crazy About You with Elegance

Or so I thought.  I knew black was my base, I had been wanting to make something with black for several days.  But the flower I wanted to stamp with I had just used and didn’t want to just create another card in another color.  I pulled the Crazy About You set out and picked this flower out of it.

Crazy About You with Elegance

I was reaching for my momento tuxedo black ink when I saw the silver.  I thought it could be cool to layer the stamping.  Was I right or what?

Crazy About You with Elegance

I love how this turned out.  I did learn, and please trust me on this one, that you have to clean your stamp after each layering stamp.  I stamped in silver first and let them dry for a while.  I went back in with the black, but it was picking up silver and then I was putting it back into the pad and getting silver in it.  Not fun.  So I ended up cleaning the stamp after each black flower was stamped.  Not too tiring, but necessary.  And yes, my ink pad survived nicely.

Crazy About You with Elegance

I placed just a few of the large basic rhinestones in the centers of the black flowers. It is kind of hard to tell with my photos, but they are the perfect touch.  I added a touch of ribbon and left the sentiment out of it.  They turned out very elegant.  My matching gift bag has an angled purse look to it, and I absolutely love it.

Sorry for the long post, I was apparently feeling a bit chatty.

Have a creative day!

Moana

Trust God

Whenever I teach a church lesson I make special handouts that go along with the topic being taught.  When I am creating something I have the best thoughts come along.  Kind of like thinking in the shower for some people.  For me, it is working in my studio.

Trust God

So, yesterday I had the opportunity to speak along side my husband during what we call Sacrament Meeting, or the main congregational service.  I spoke on charity.  Even though I had no intention of making a handout for hundreds of people, I still needed that thinking time.  This is what I came up with.

Trust God

I went to two of my favorite stamp sets of all time.  Lovely as a Tree, who doesn’t own that one by now, and of course Trust God.  They really speak for themselves.  I made this using early espresso for my base and layered with almost artichoke.  I wasn’t sure what technique I would be using, I didn’t plan on water coloring, which is why I have very vanilla involved here.

Trust God

It didn’t curl too much when I took the aqua painter to it.  I would have done better with water color paper, but I still like the results.  I painted the trees with almost artichoke to match the card, did the water in a very diluted marina mist, and finished the sky with soft sky.

I did joke a bit in my talk about having to make a handout, and yes, I did have it with me and showed it over the pulpit.  Those that know me well surely understood.  I do really take my creativity with me everywhere.

Have a creative day!

Moana