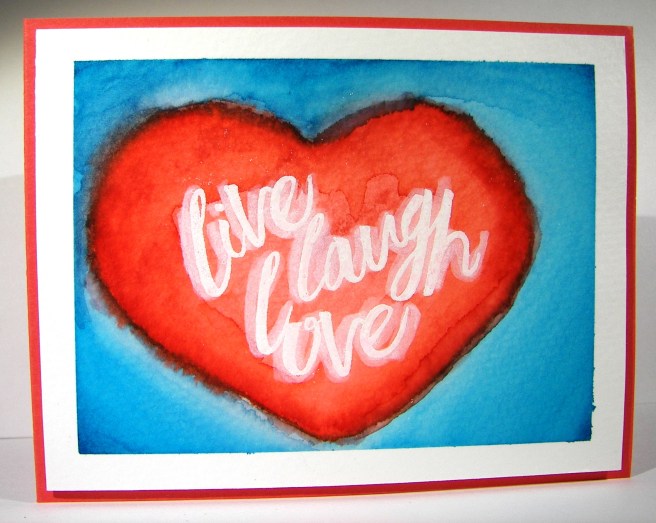
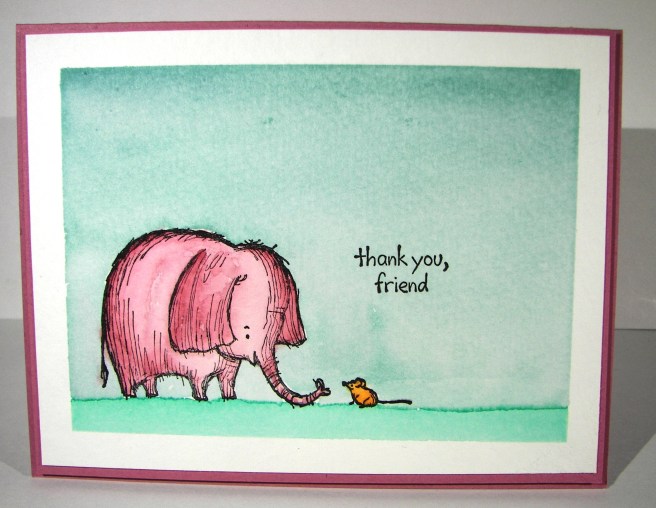
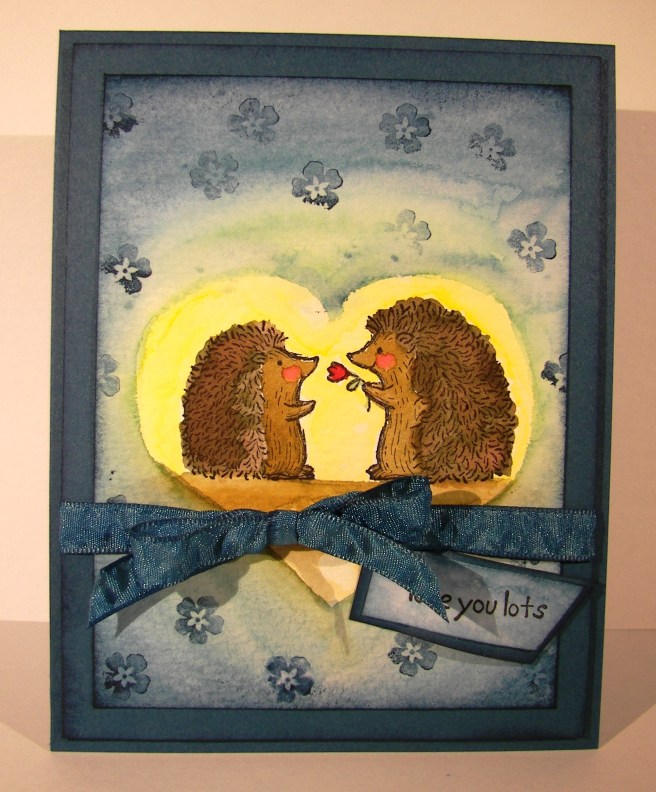
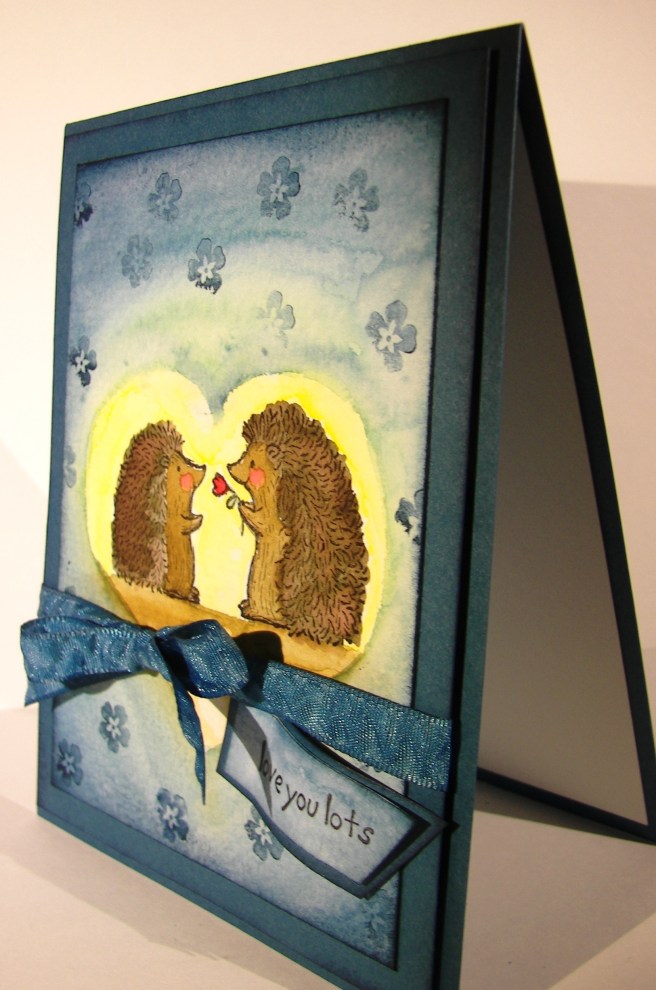
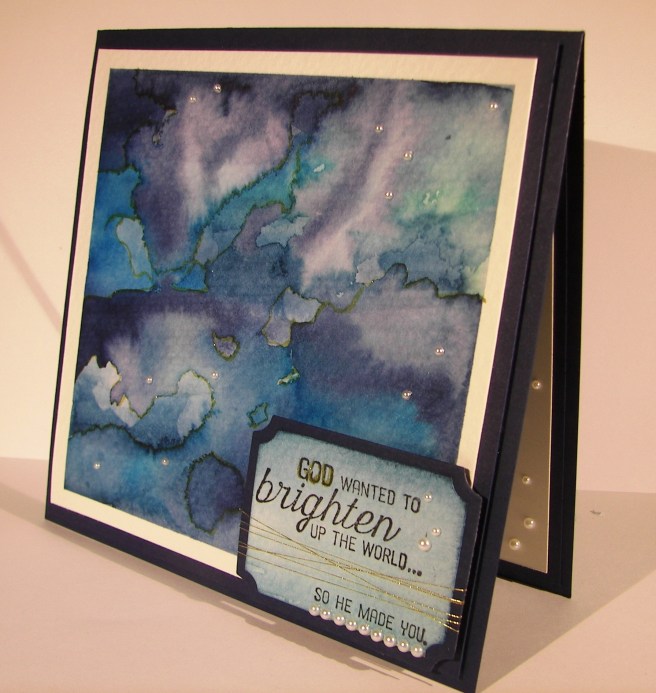
This particular project went through a few different phases. This is how it started out, all about blue. I had the ocean on my mind and gave it a try. I had intended on using a new embossing folder after I water colored, but to be honest, I forgot once I got all this going.
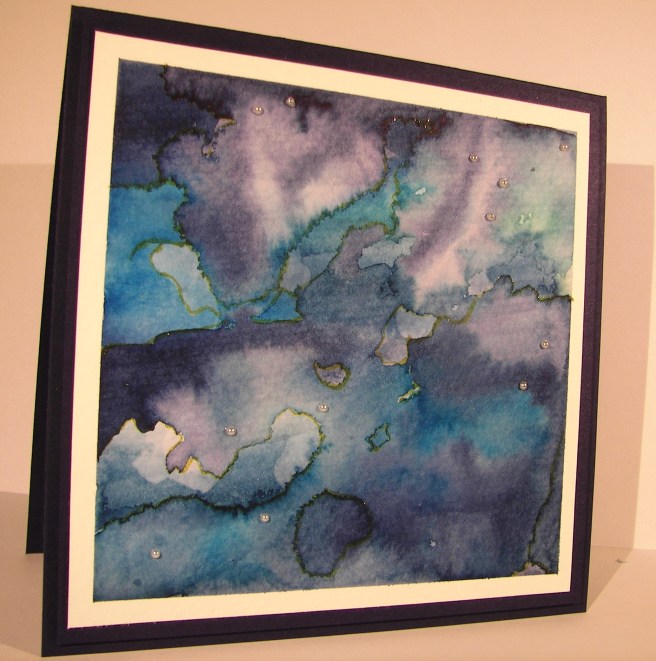
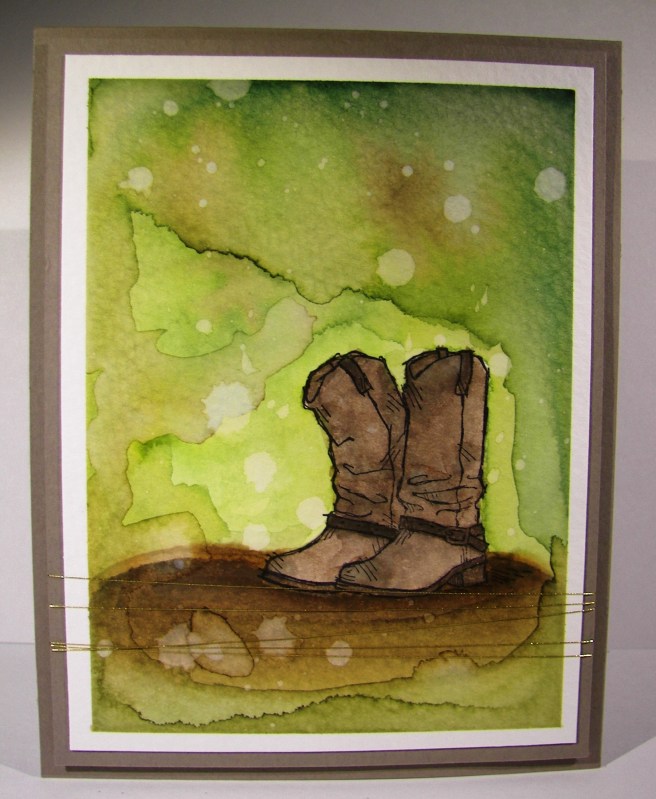
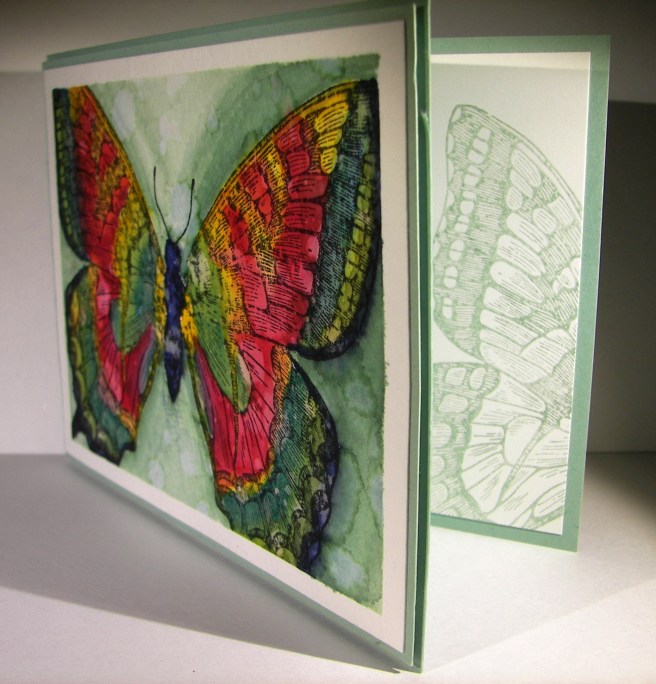
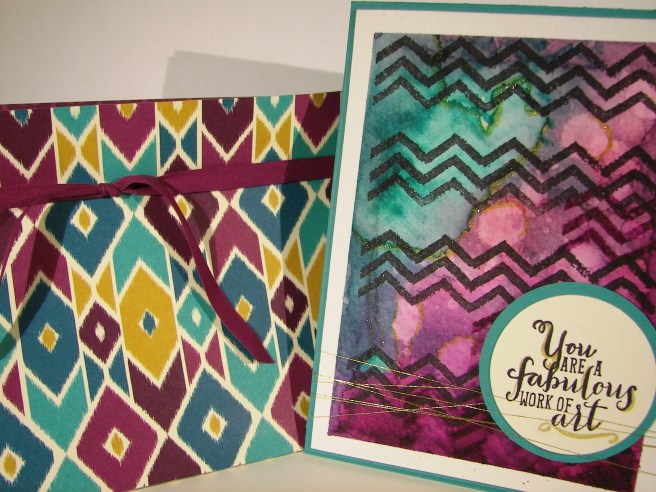
After I painted with all of the blue inks I have I did some detail work using my gold wink of stella. I focused on some of the watermarks and edges of color. The look it creates is really awesome. It is tricky to know when to stop because it is so much fun. Mission accomplished here for sure.
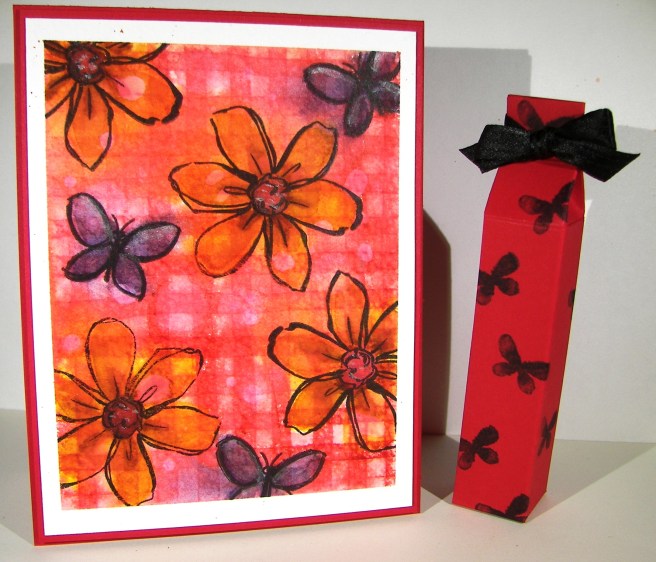
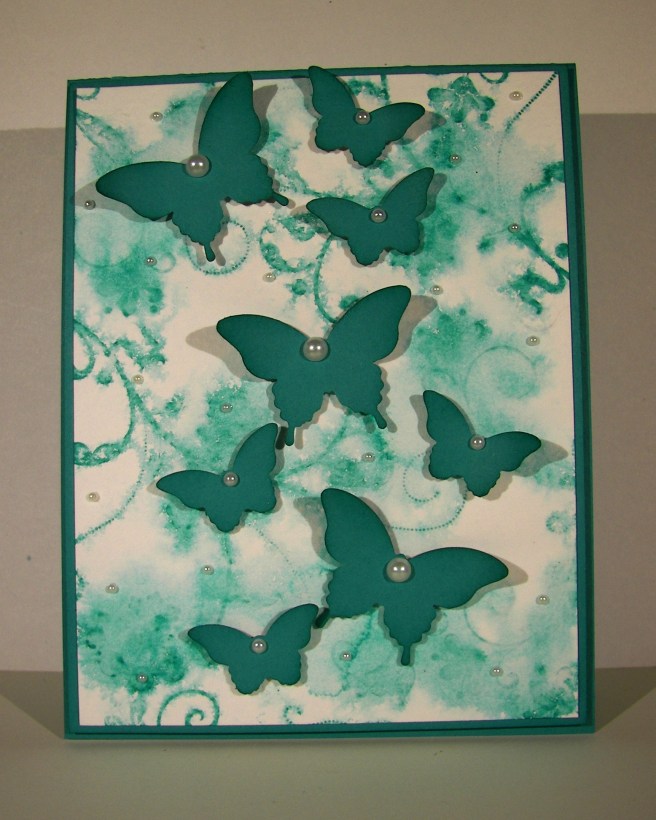
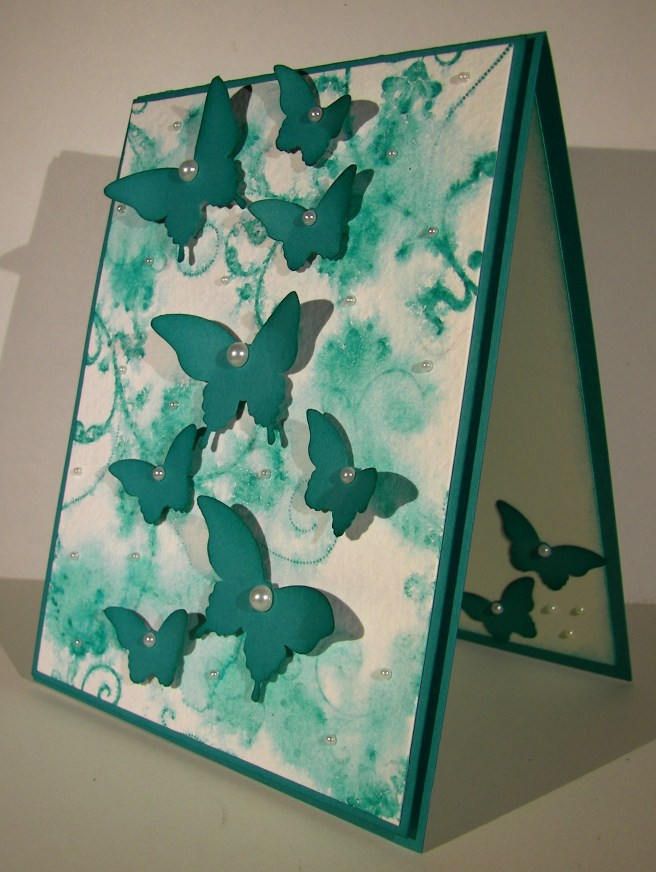
The next step was to add a special tag. This one got a bit out of control and went to a busy style that really isn’t my own. However, I decided to leave it and see how it balanced out with the huge butterfly addition I had in mind. I water colored large areas of paper to provide both my tag area as well as the butterflies. It is much easier to paint whole sheets instead of small specific die cuts.

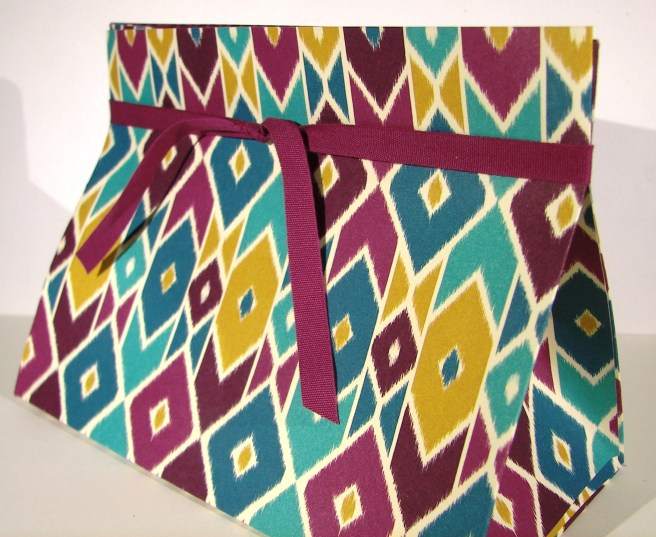
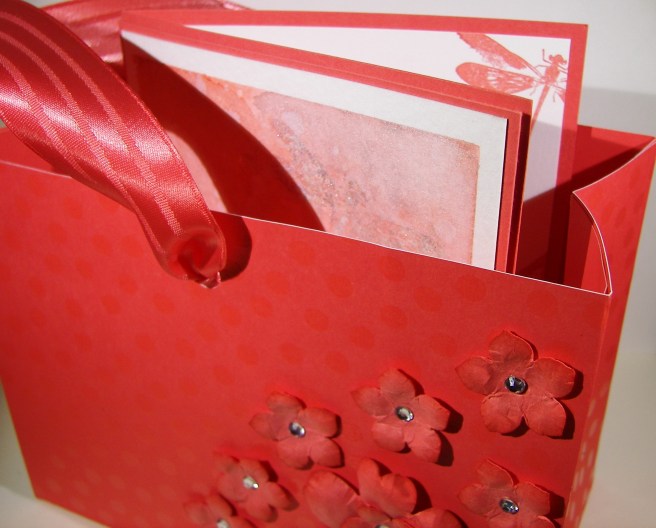
When this butterfly combo came along I really began to wonder just what I was up to. I think that is because I love decorative painted backgrounds so much I rarely cover them up. They are such great all occasion cards, but I pushed forward. I did edge the butterflies with the wink of stella, which of course you cannot see in these photos. It is there though, and it looks so pretty. You can see it better in the lead featured image which is much more close up. Basic pearls, gold metallic thread with a little more patience and this project was finally finished. It measures 5 1/2 x 5 1/2 plus the butterfly hanging off the edge. A custom envelope will definitely be in order here.
Have a creative day!
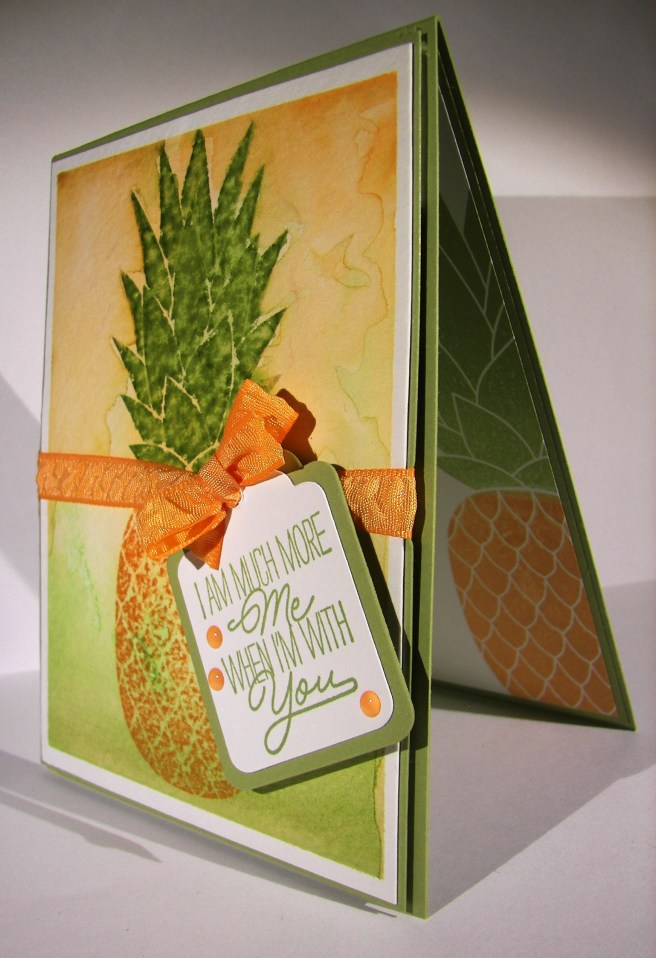
Moana