Banner Blessings Gift Set – Thanks

Another wonderful day with many adventures ahead.  I feel so blessed and grateful to be able to spend time here with my children.  How fortunate I am to have a husband that allows me to do so.

Banner Blessings Gift Set - Thanks

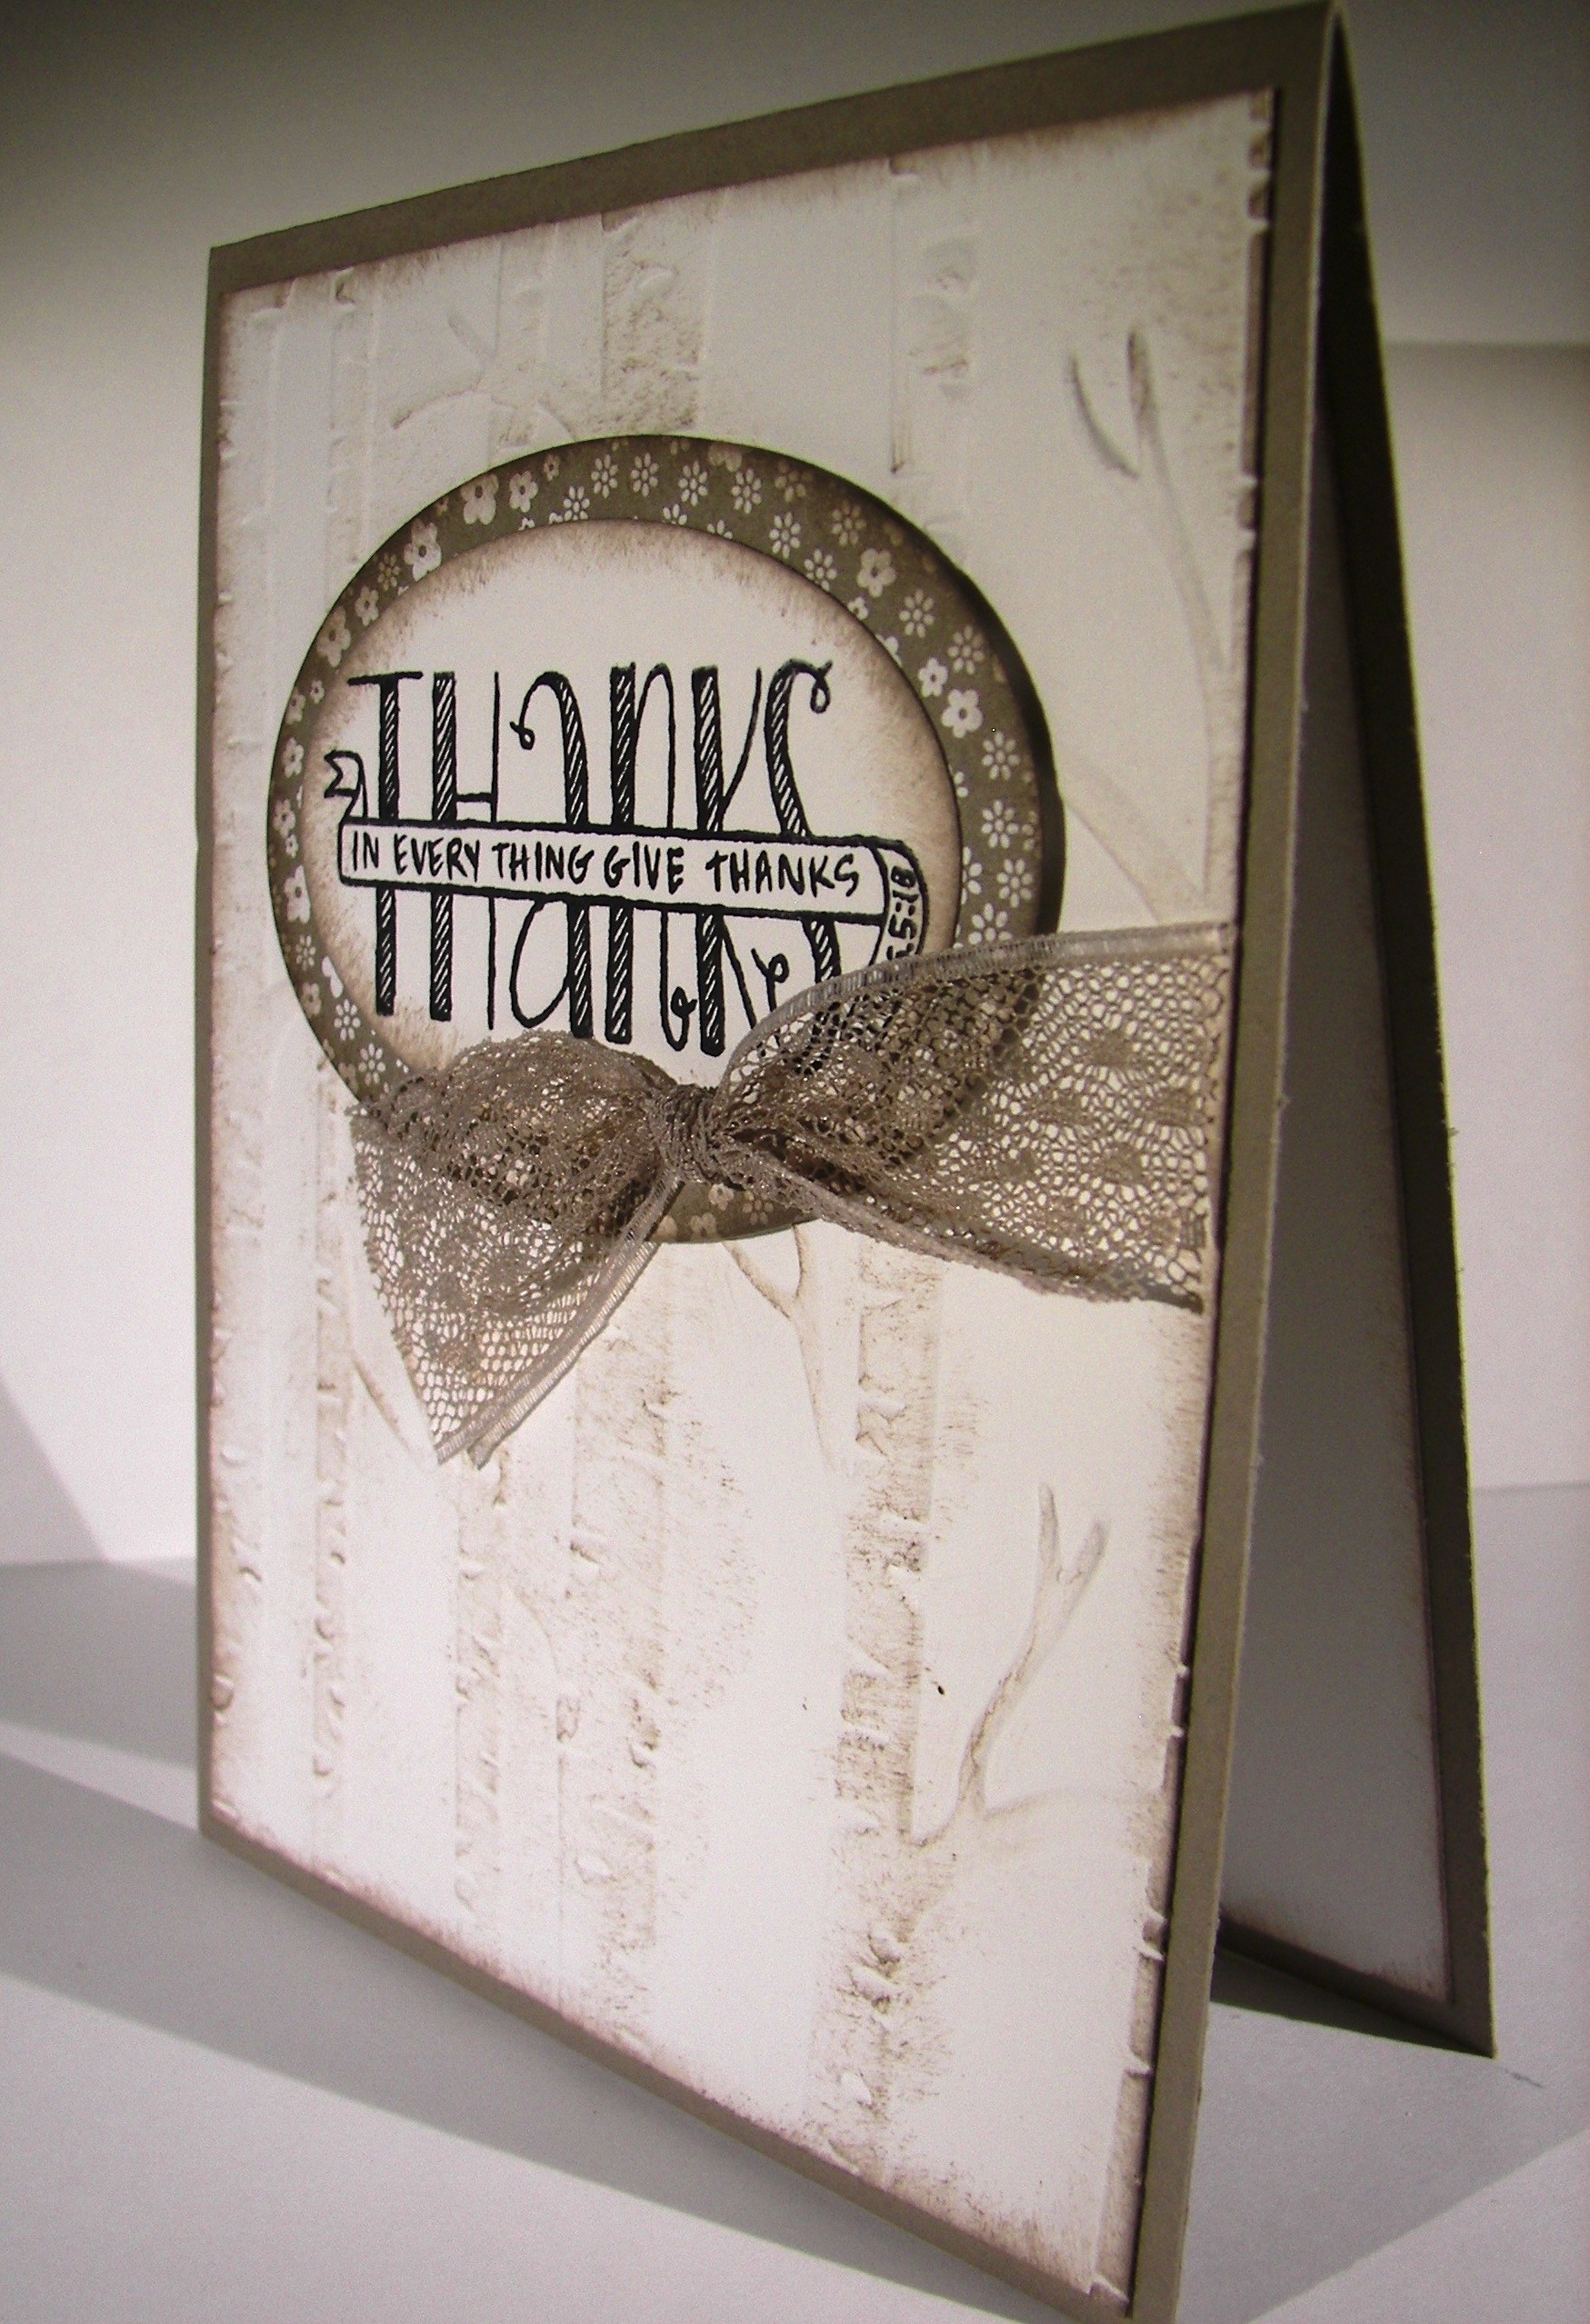
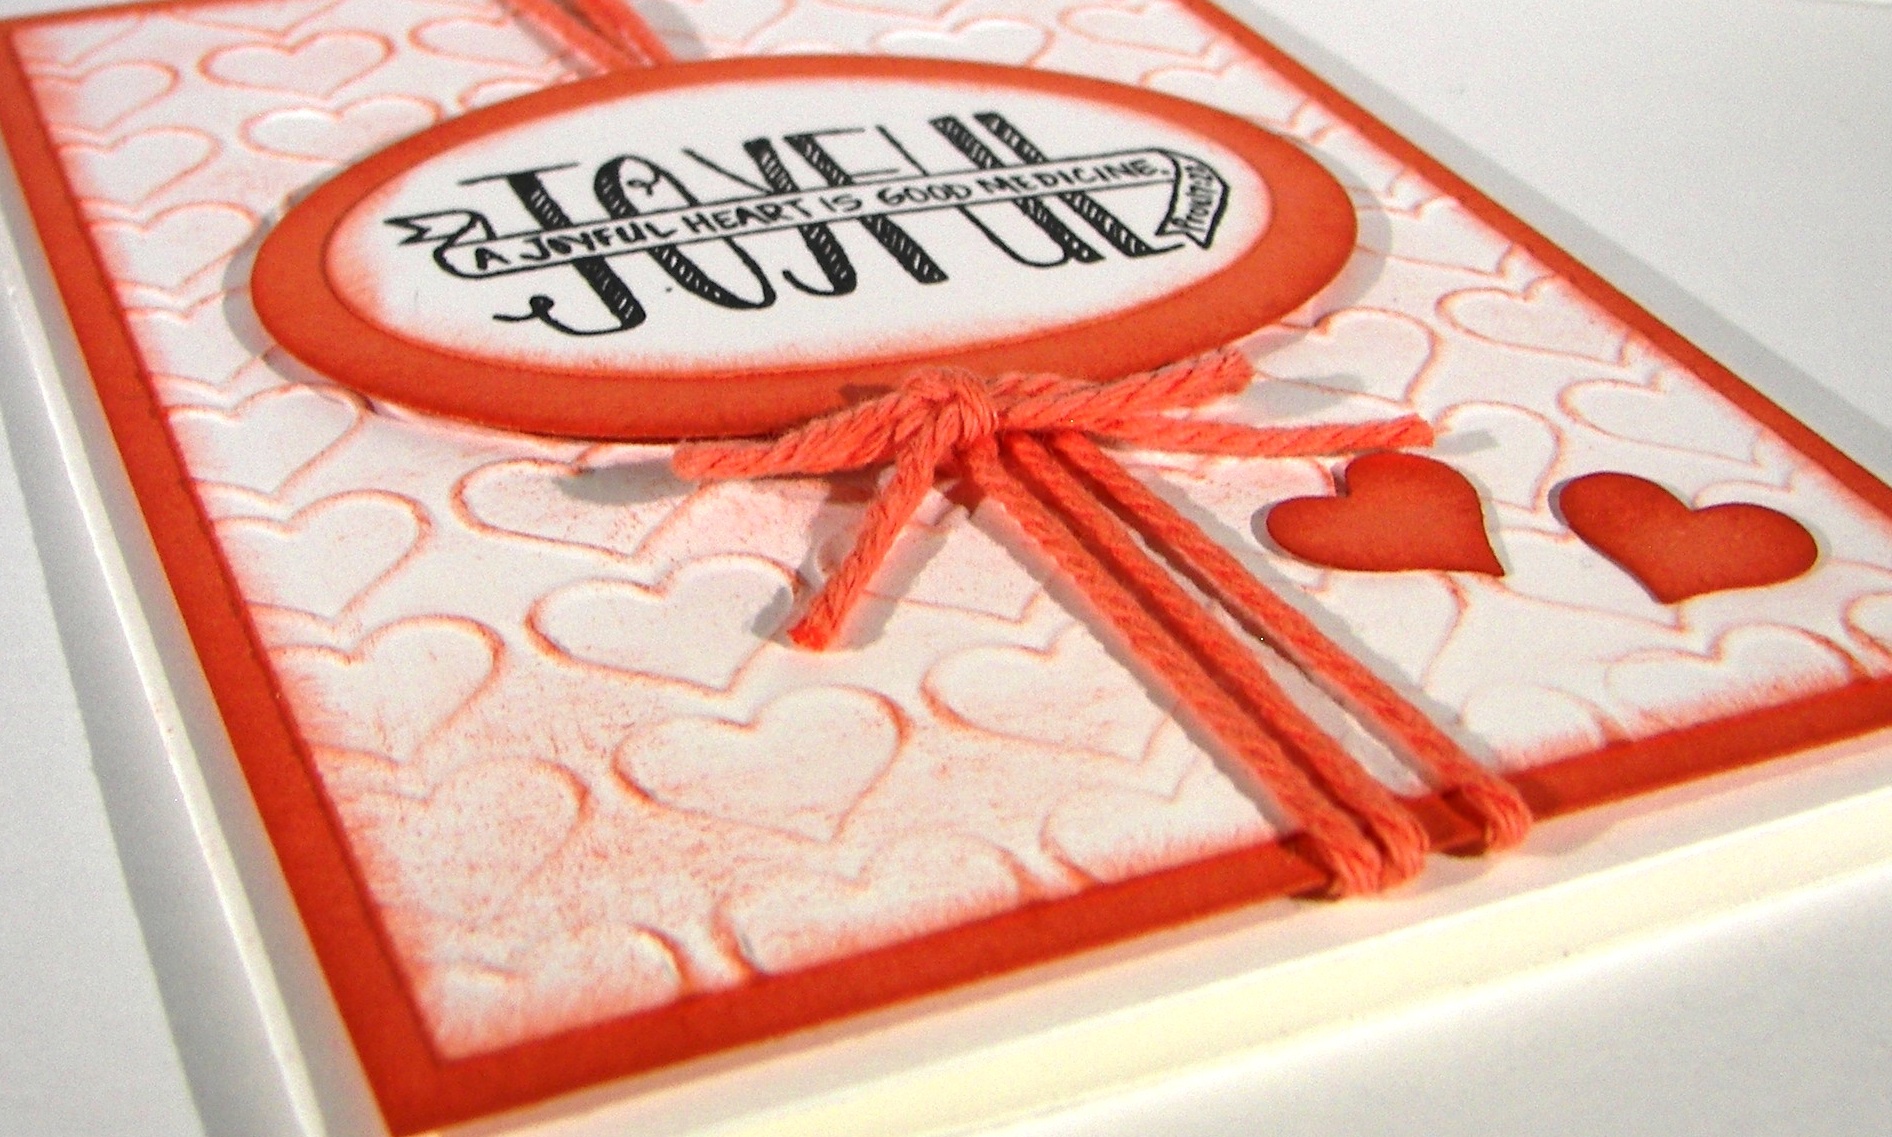
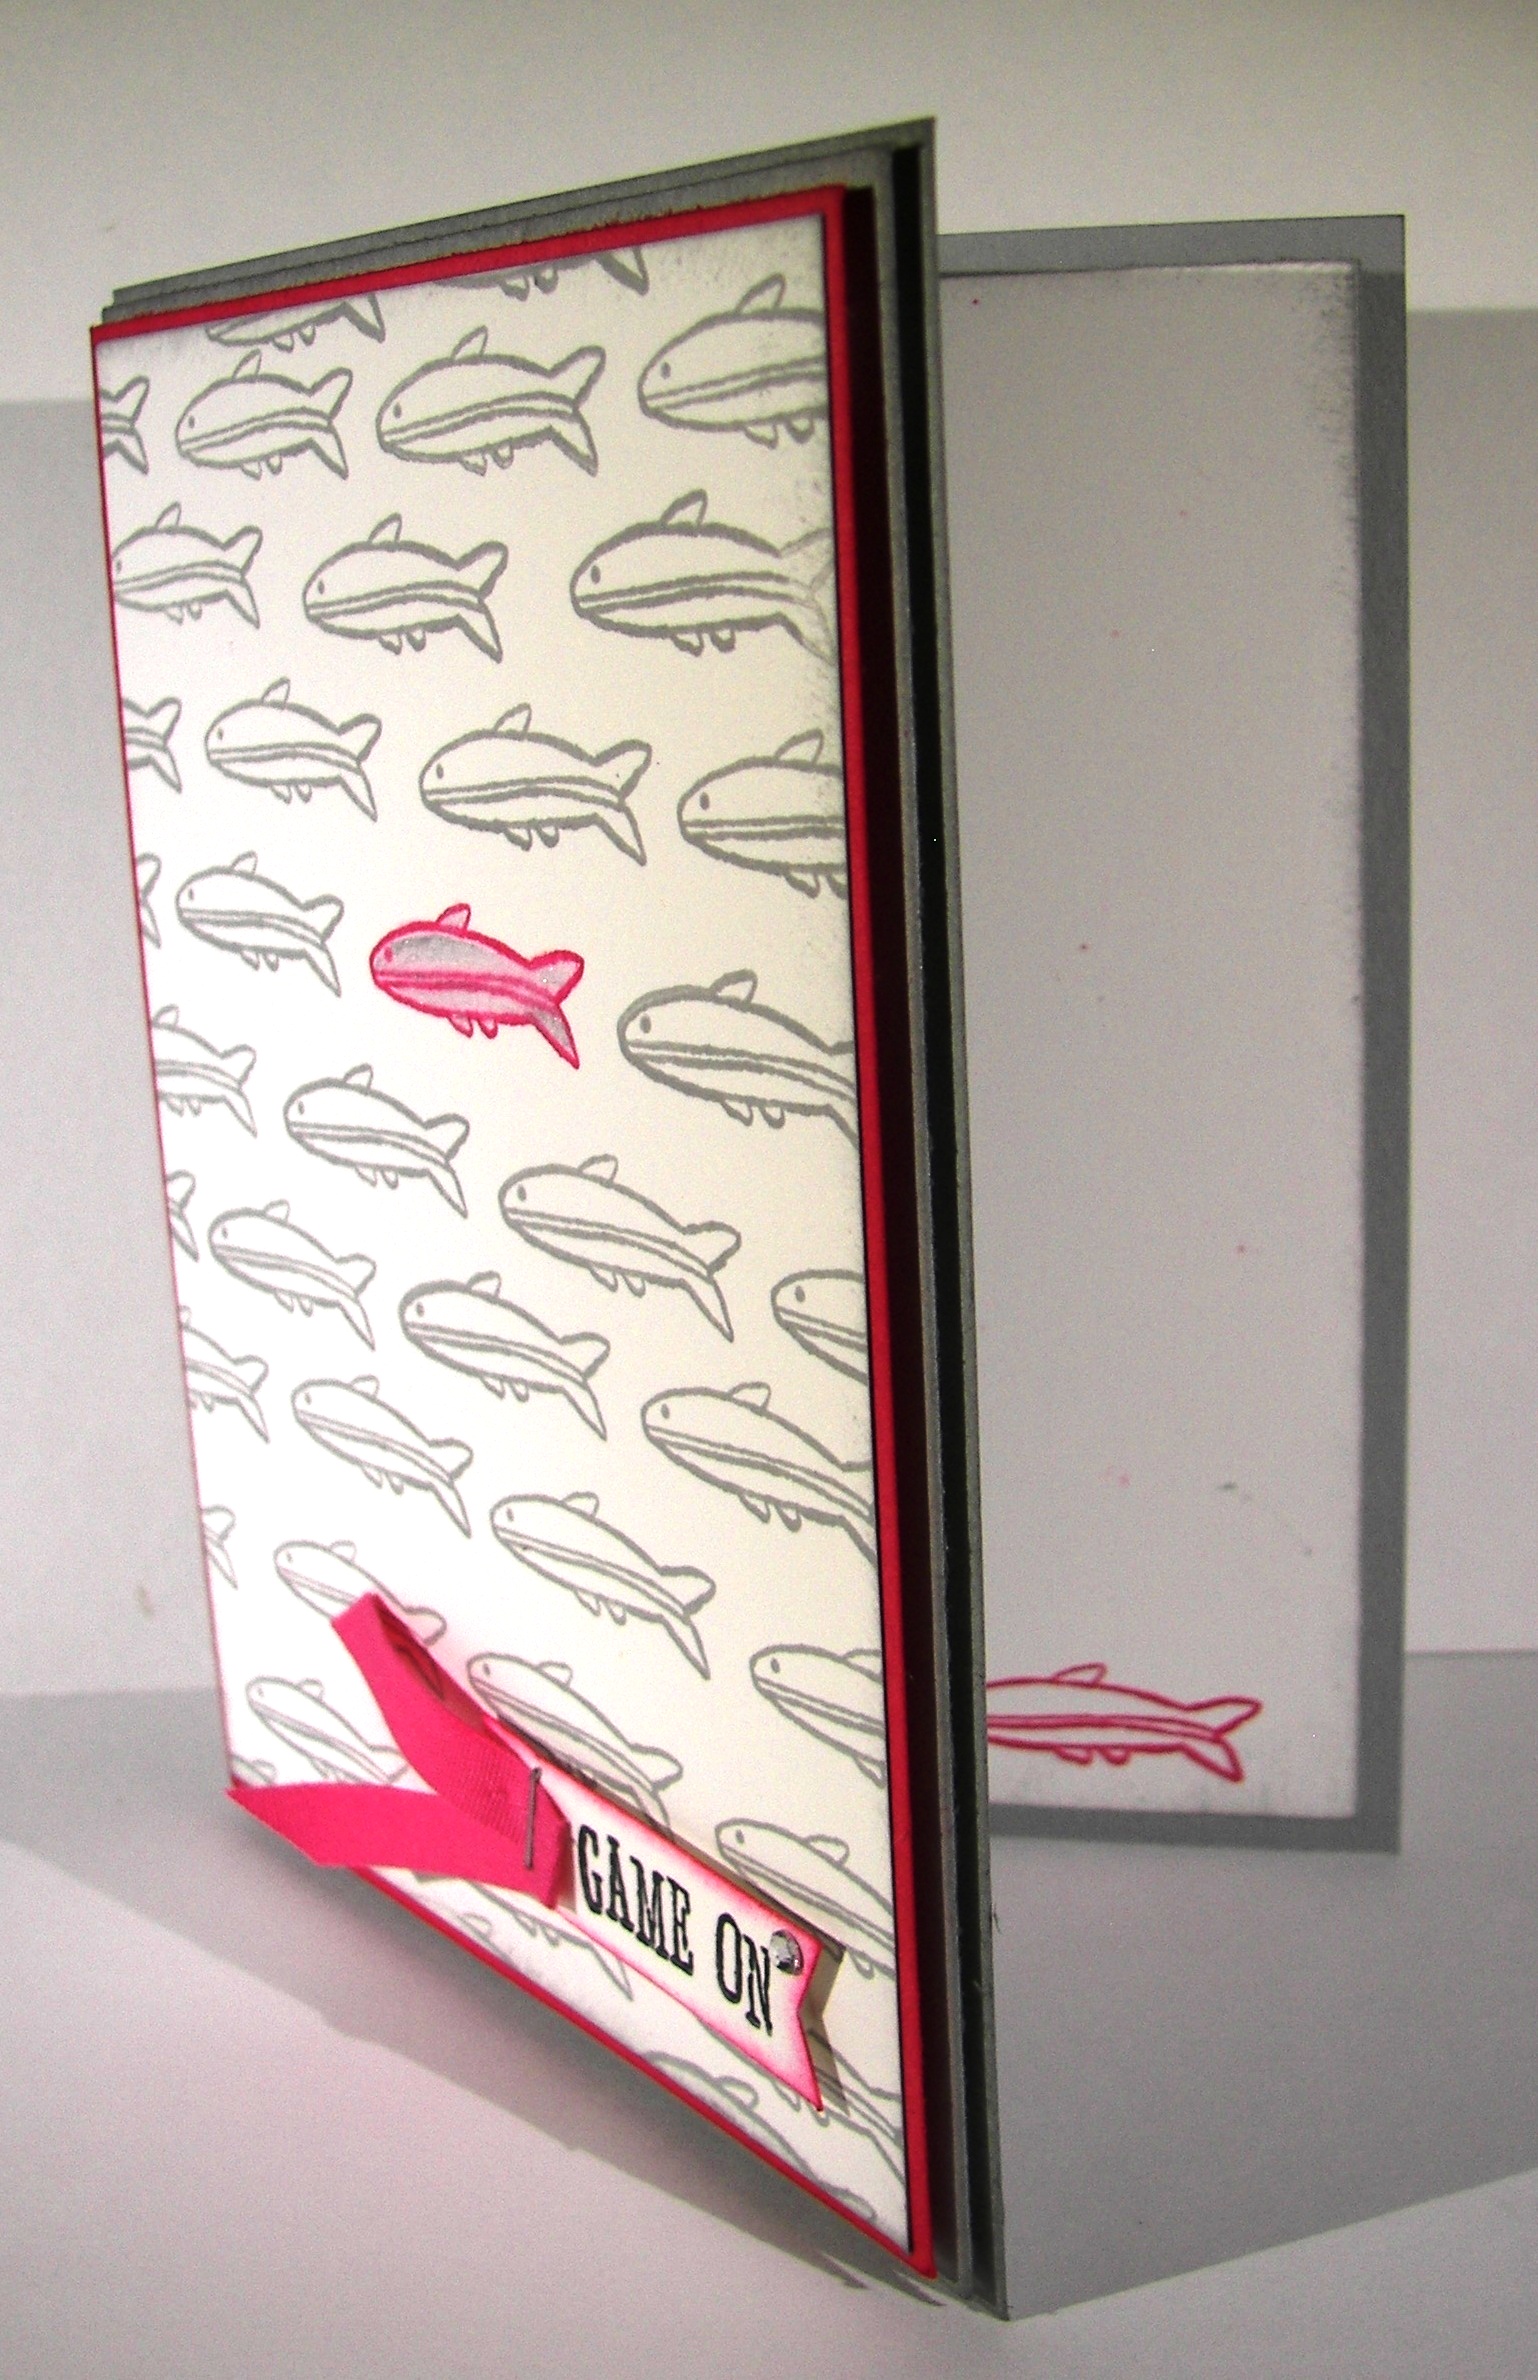
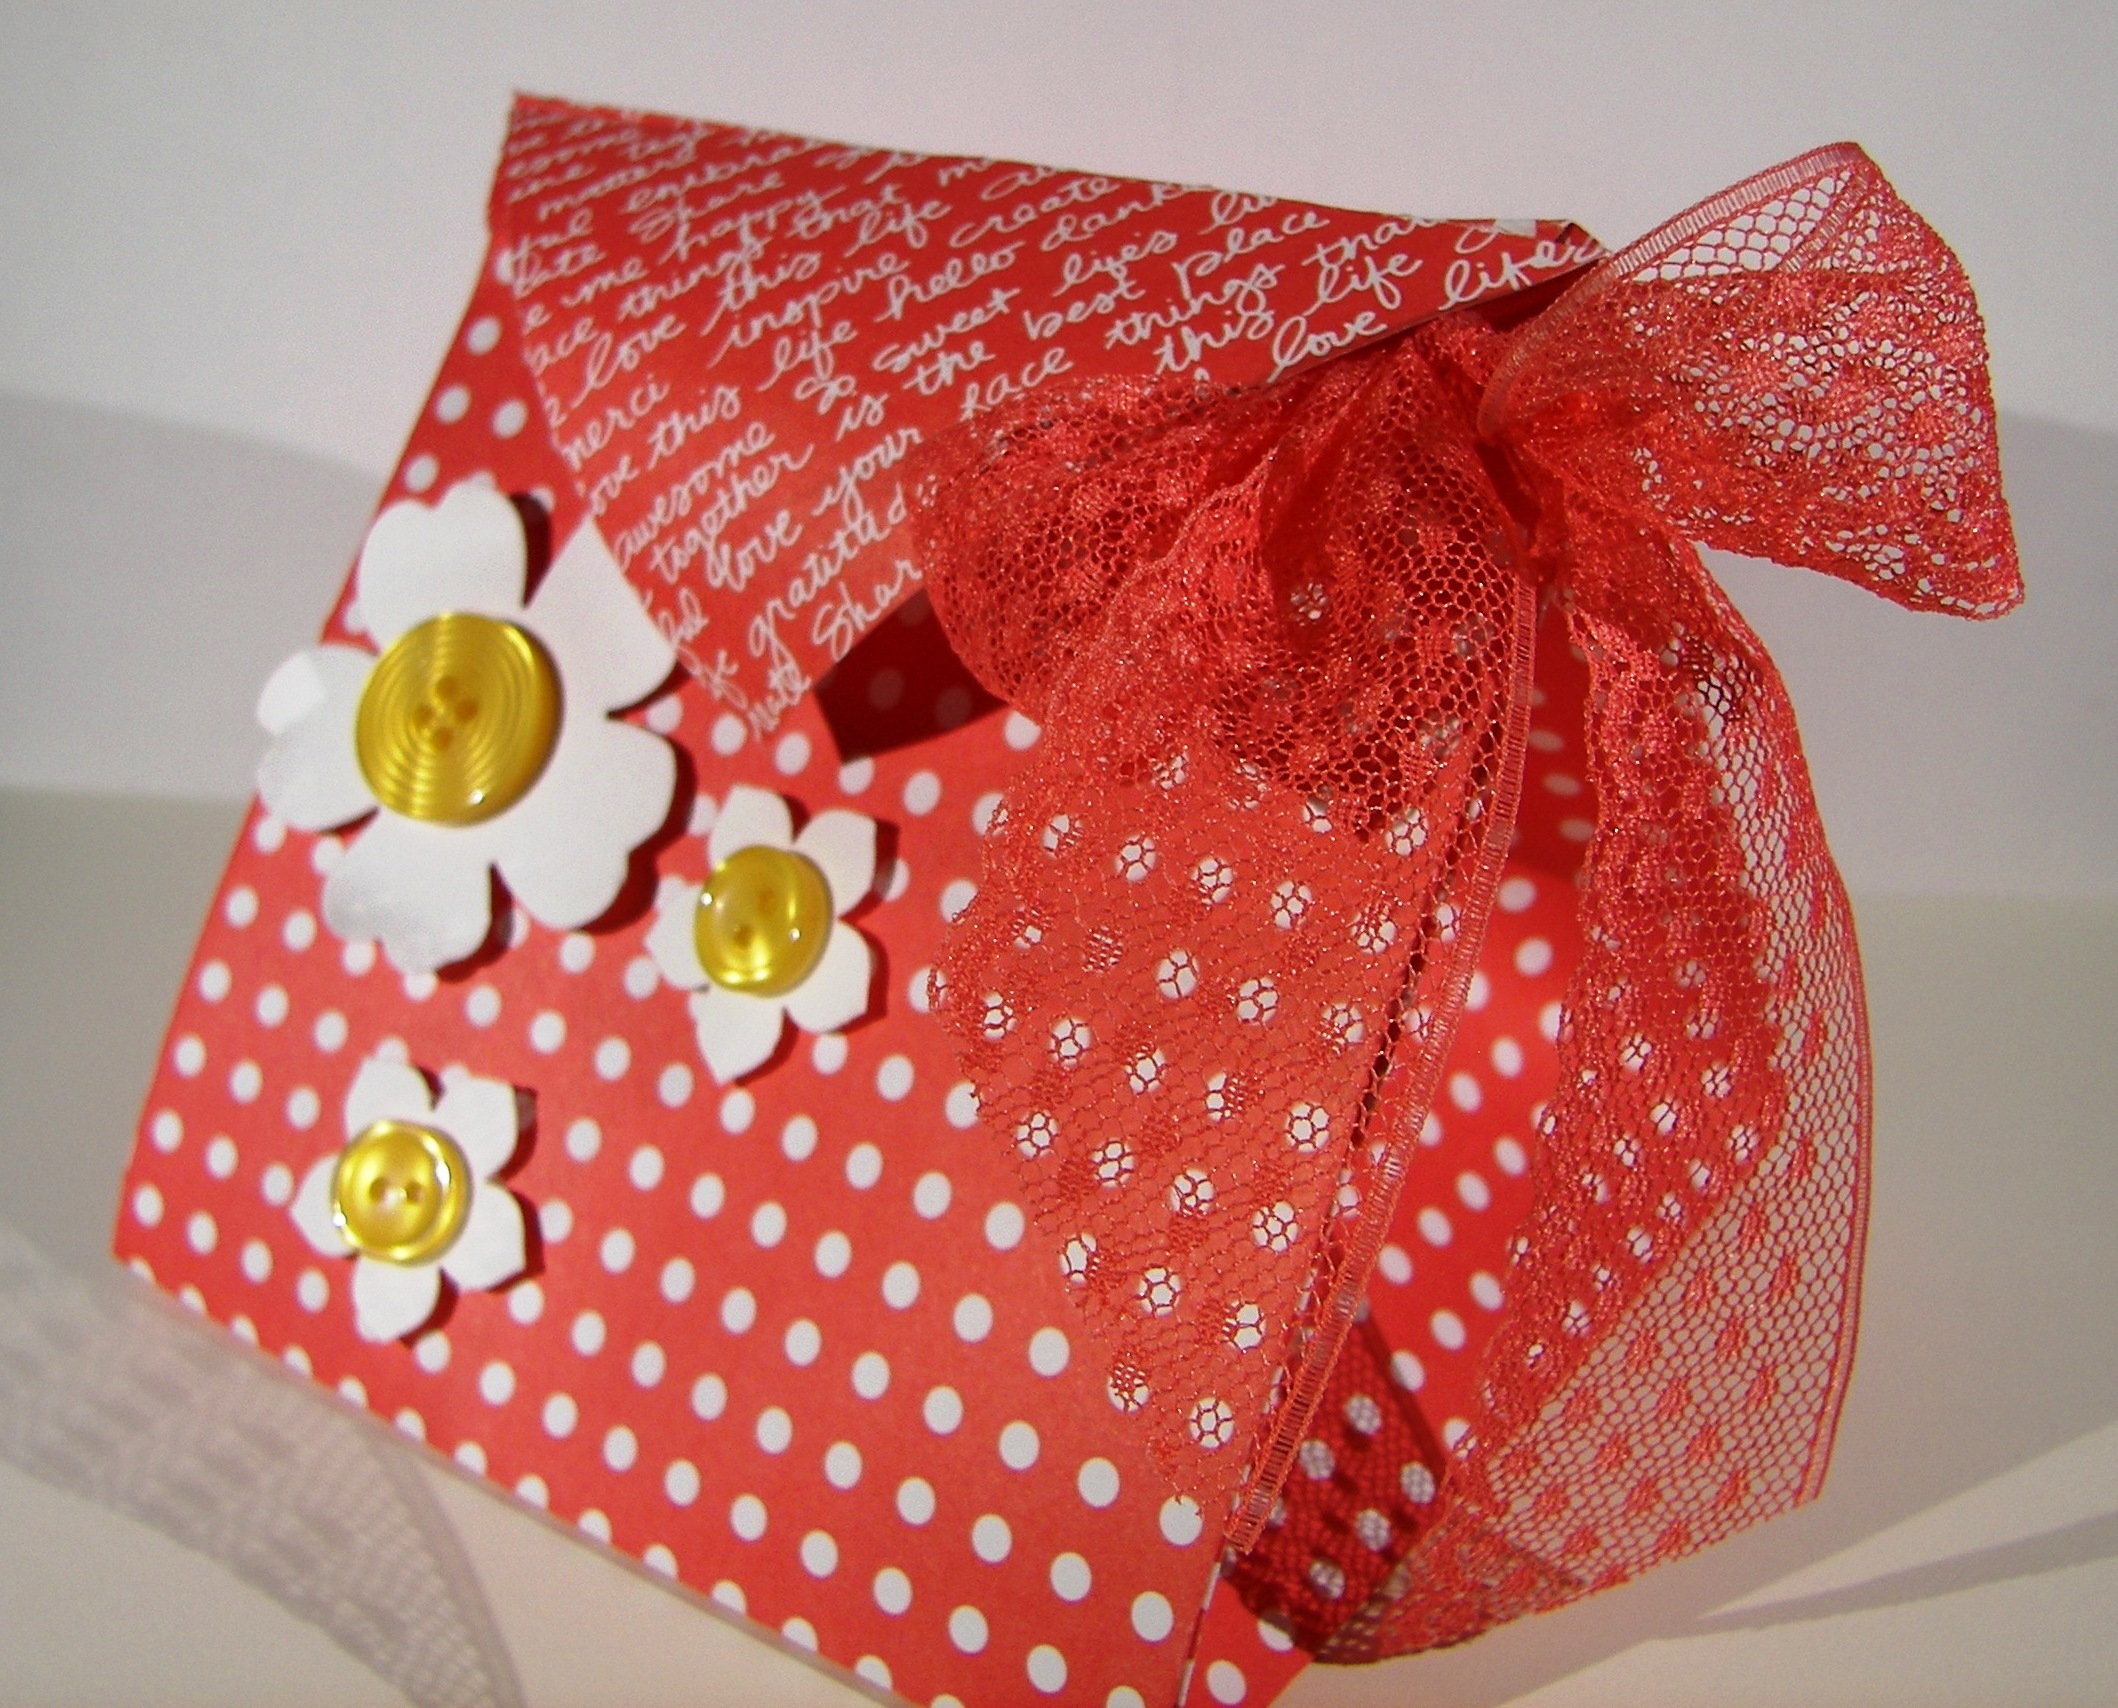
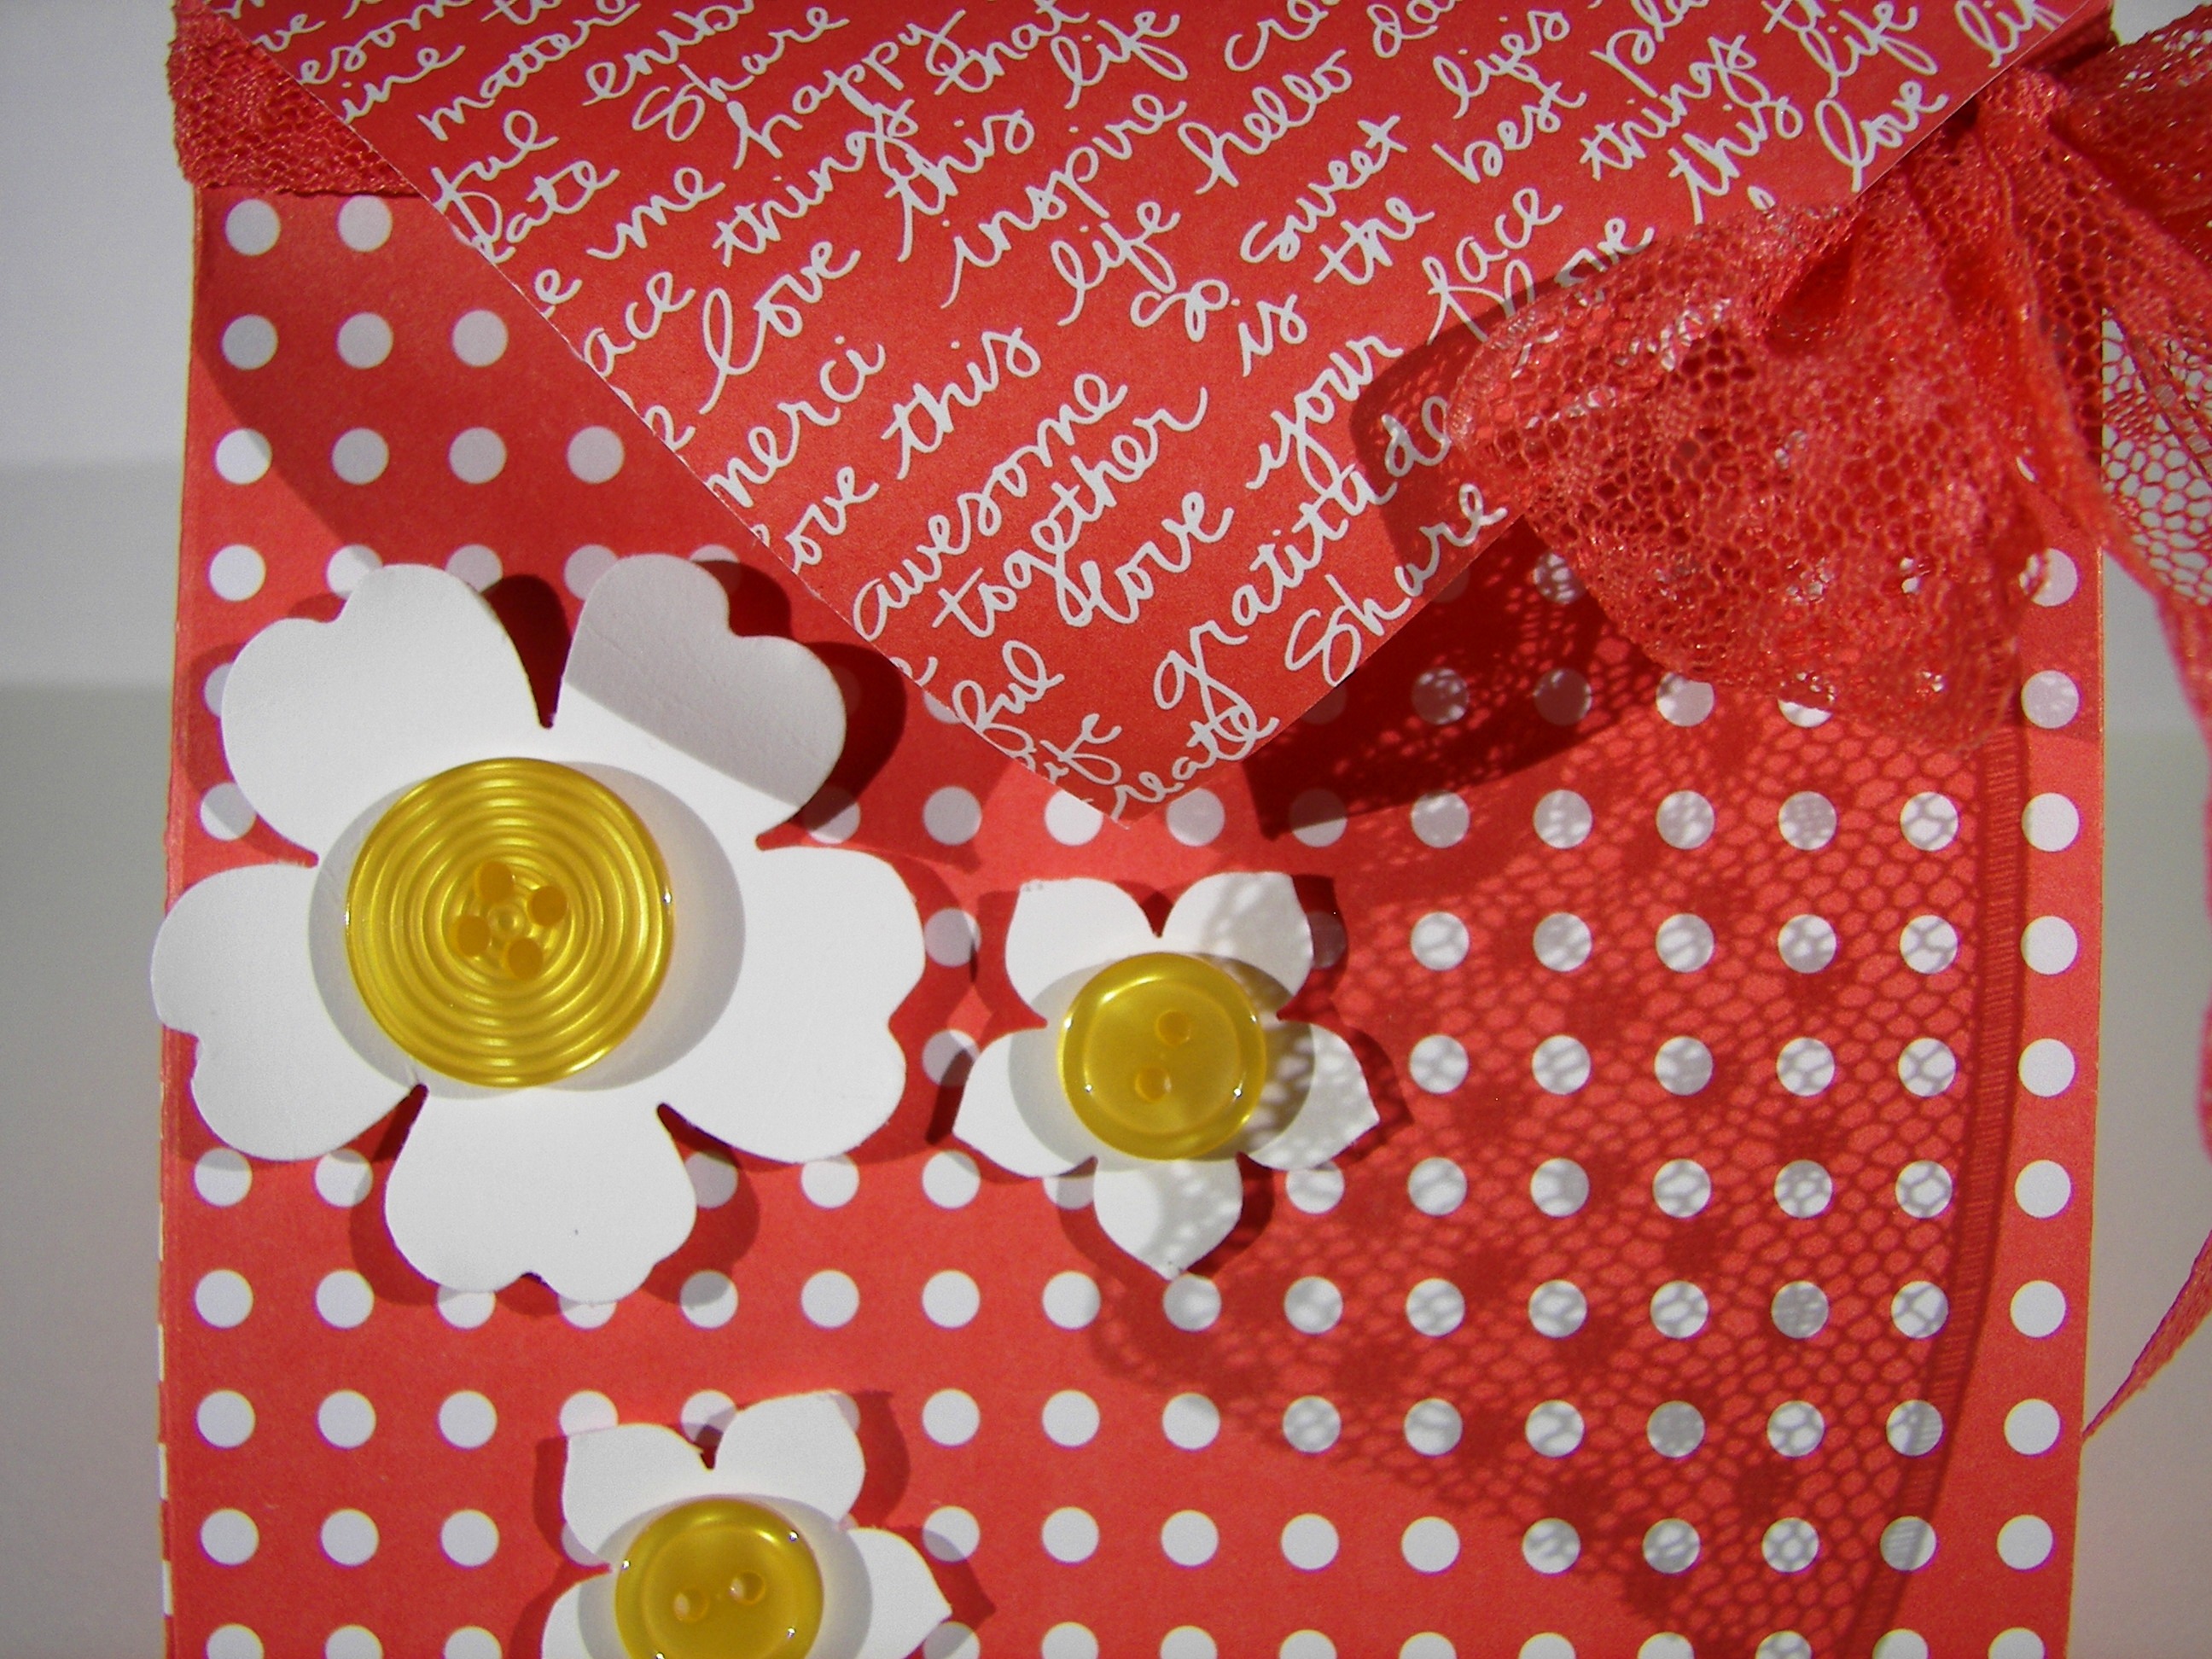
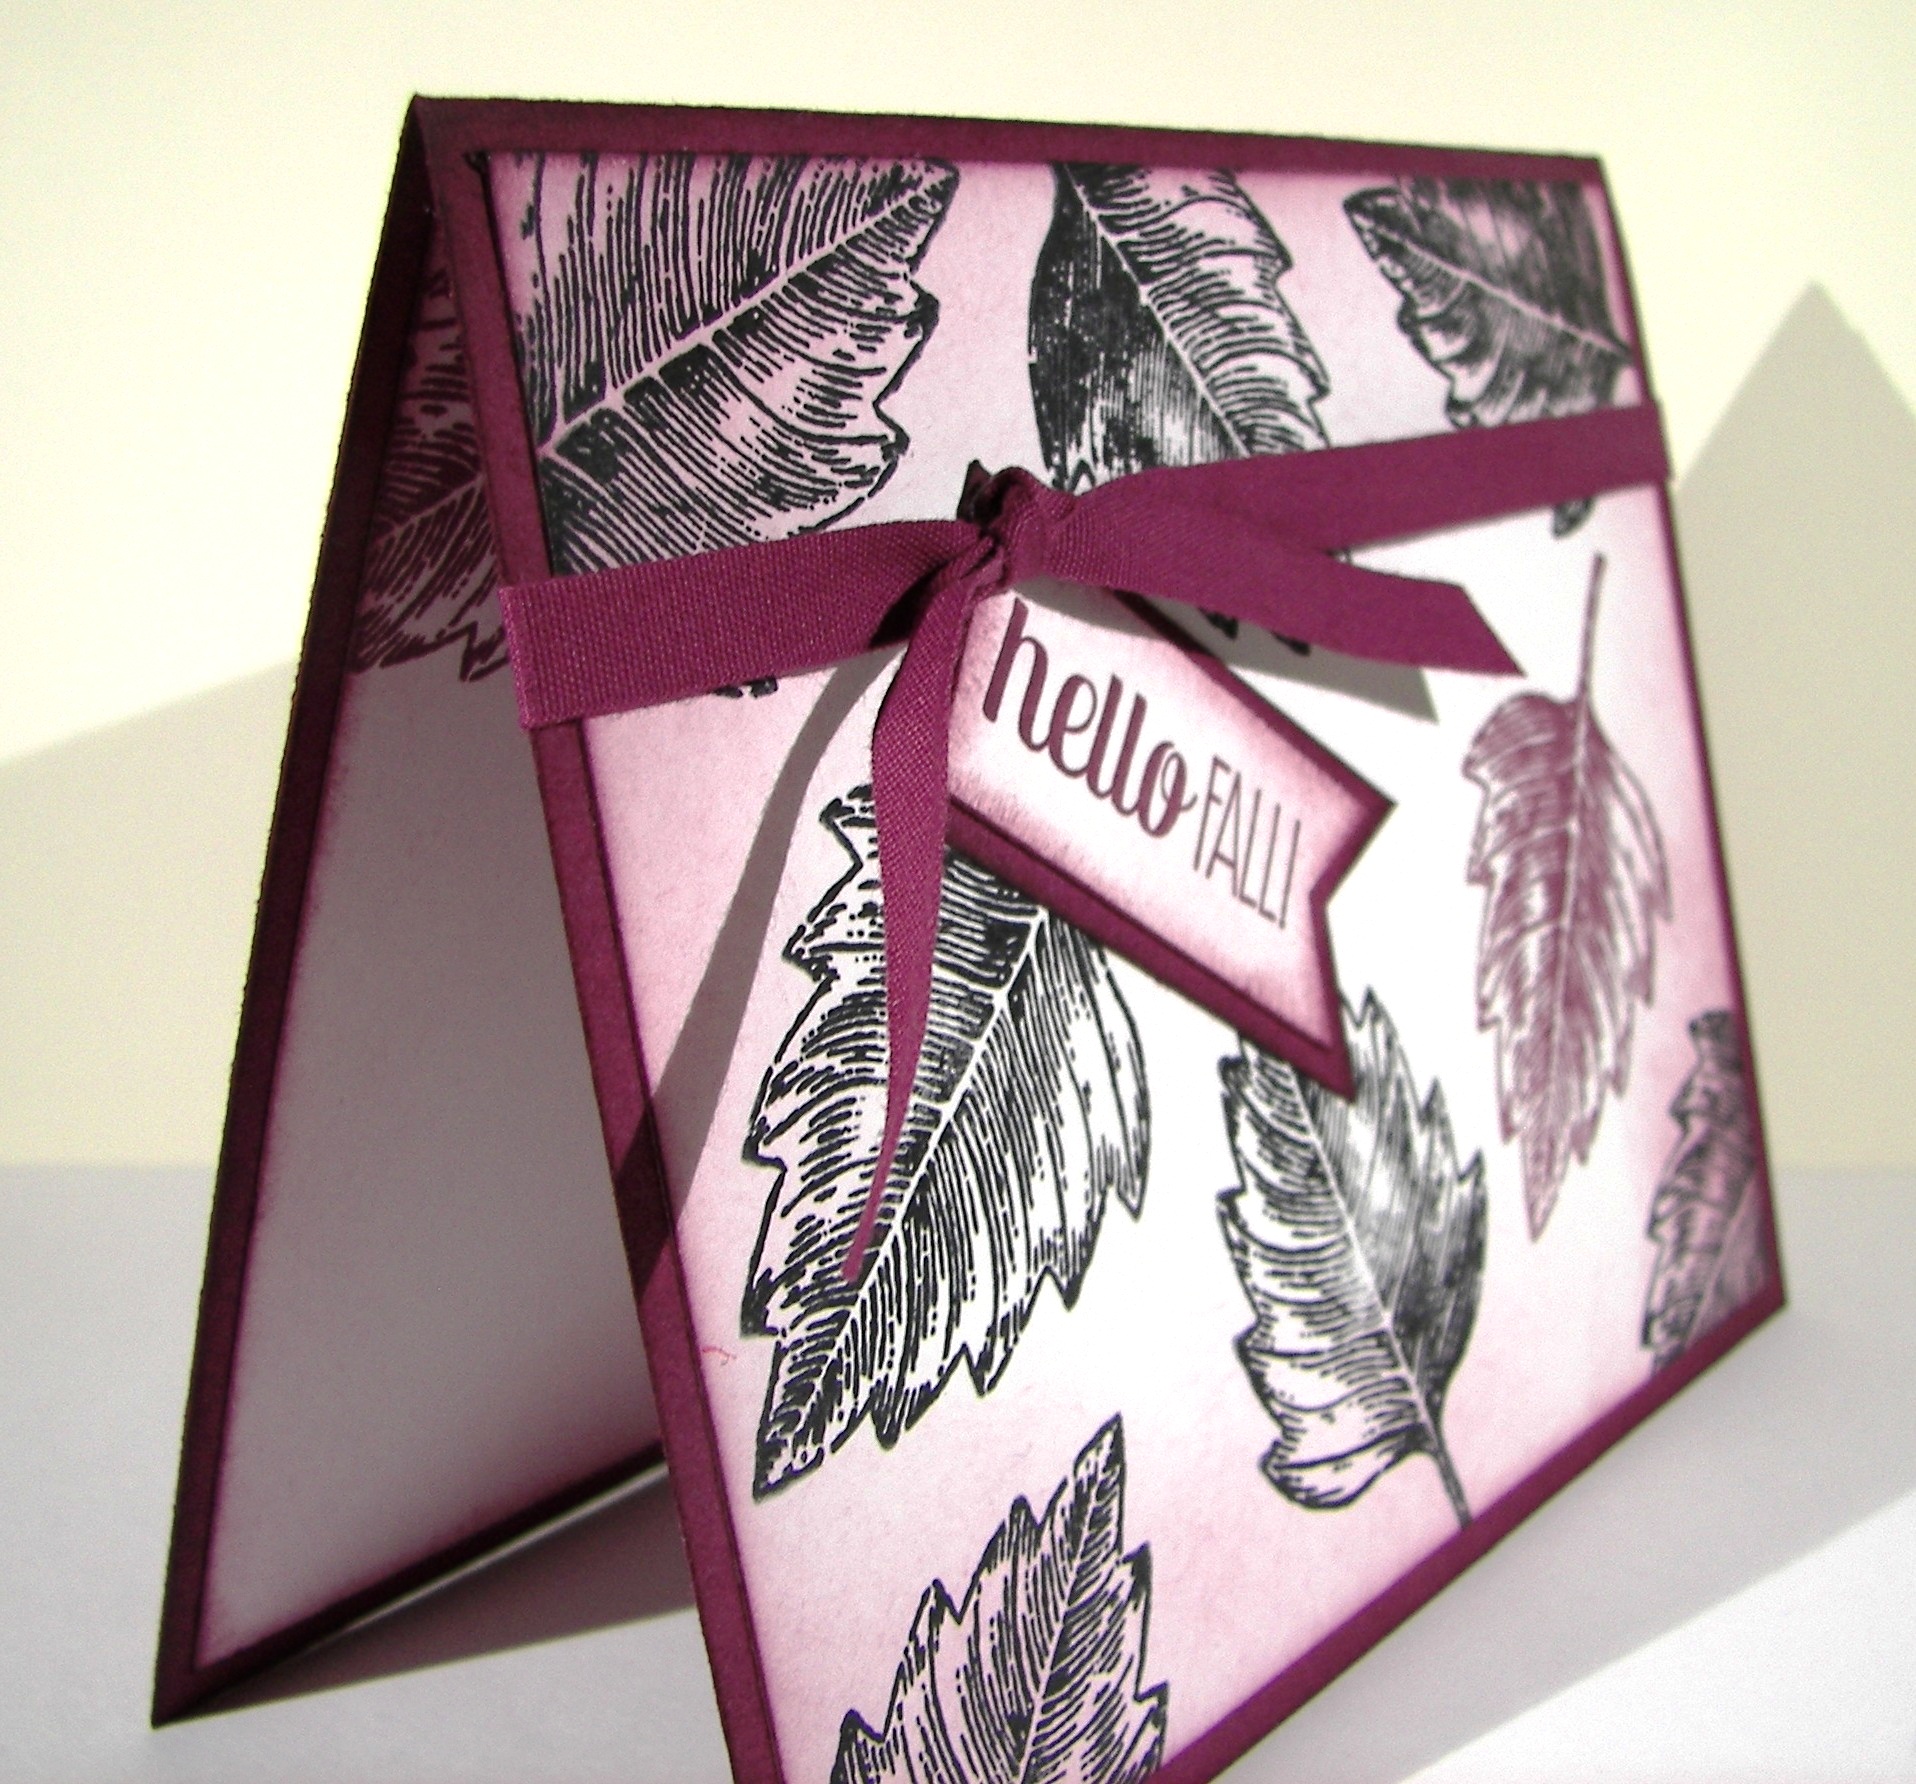
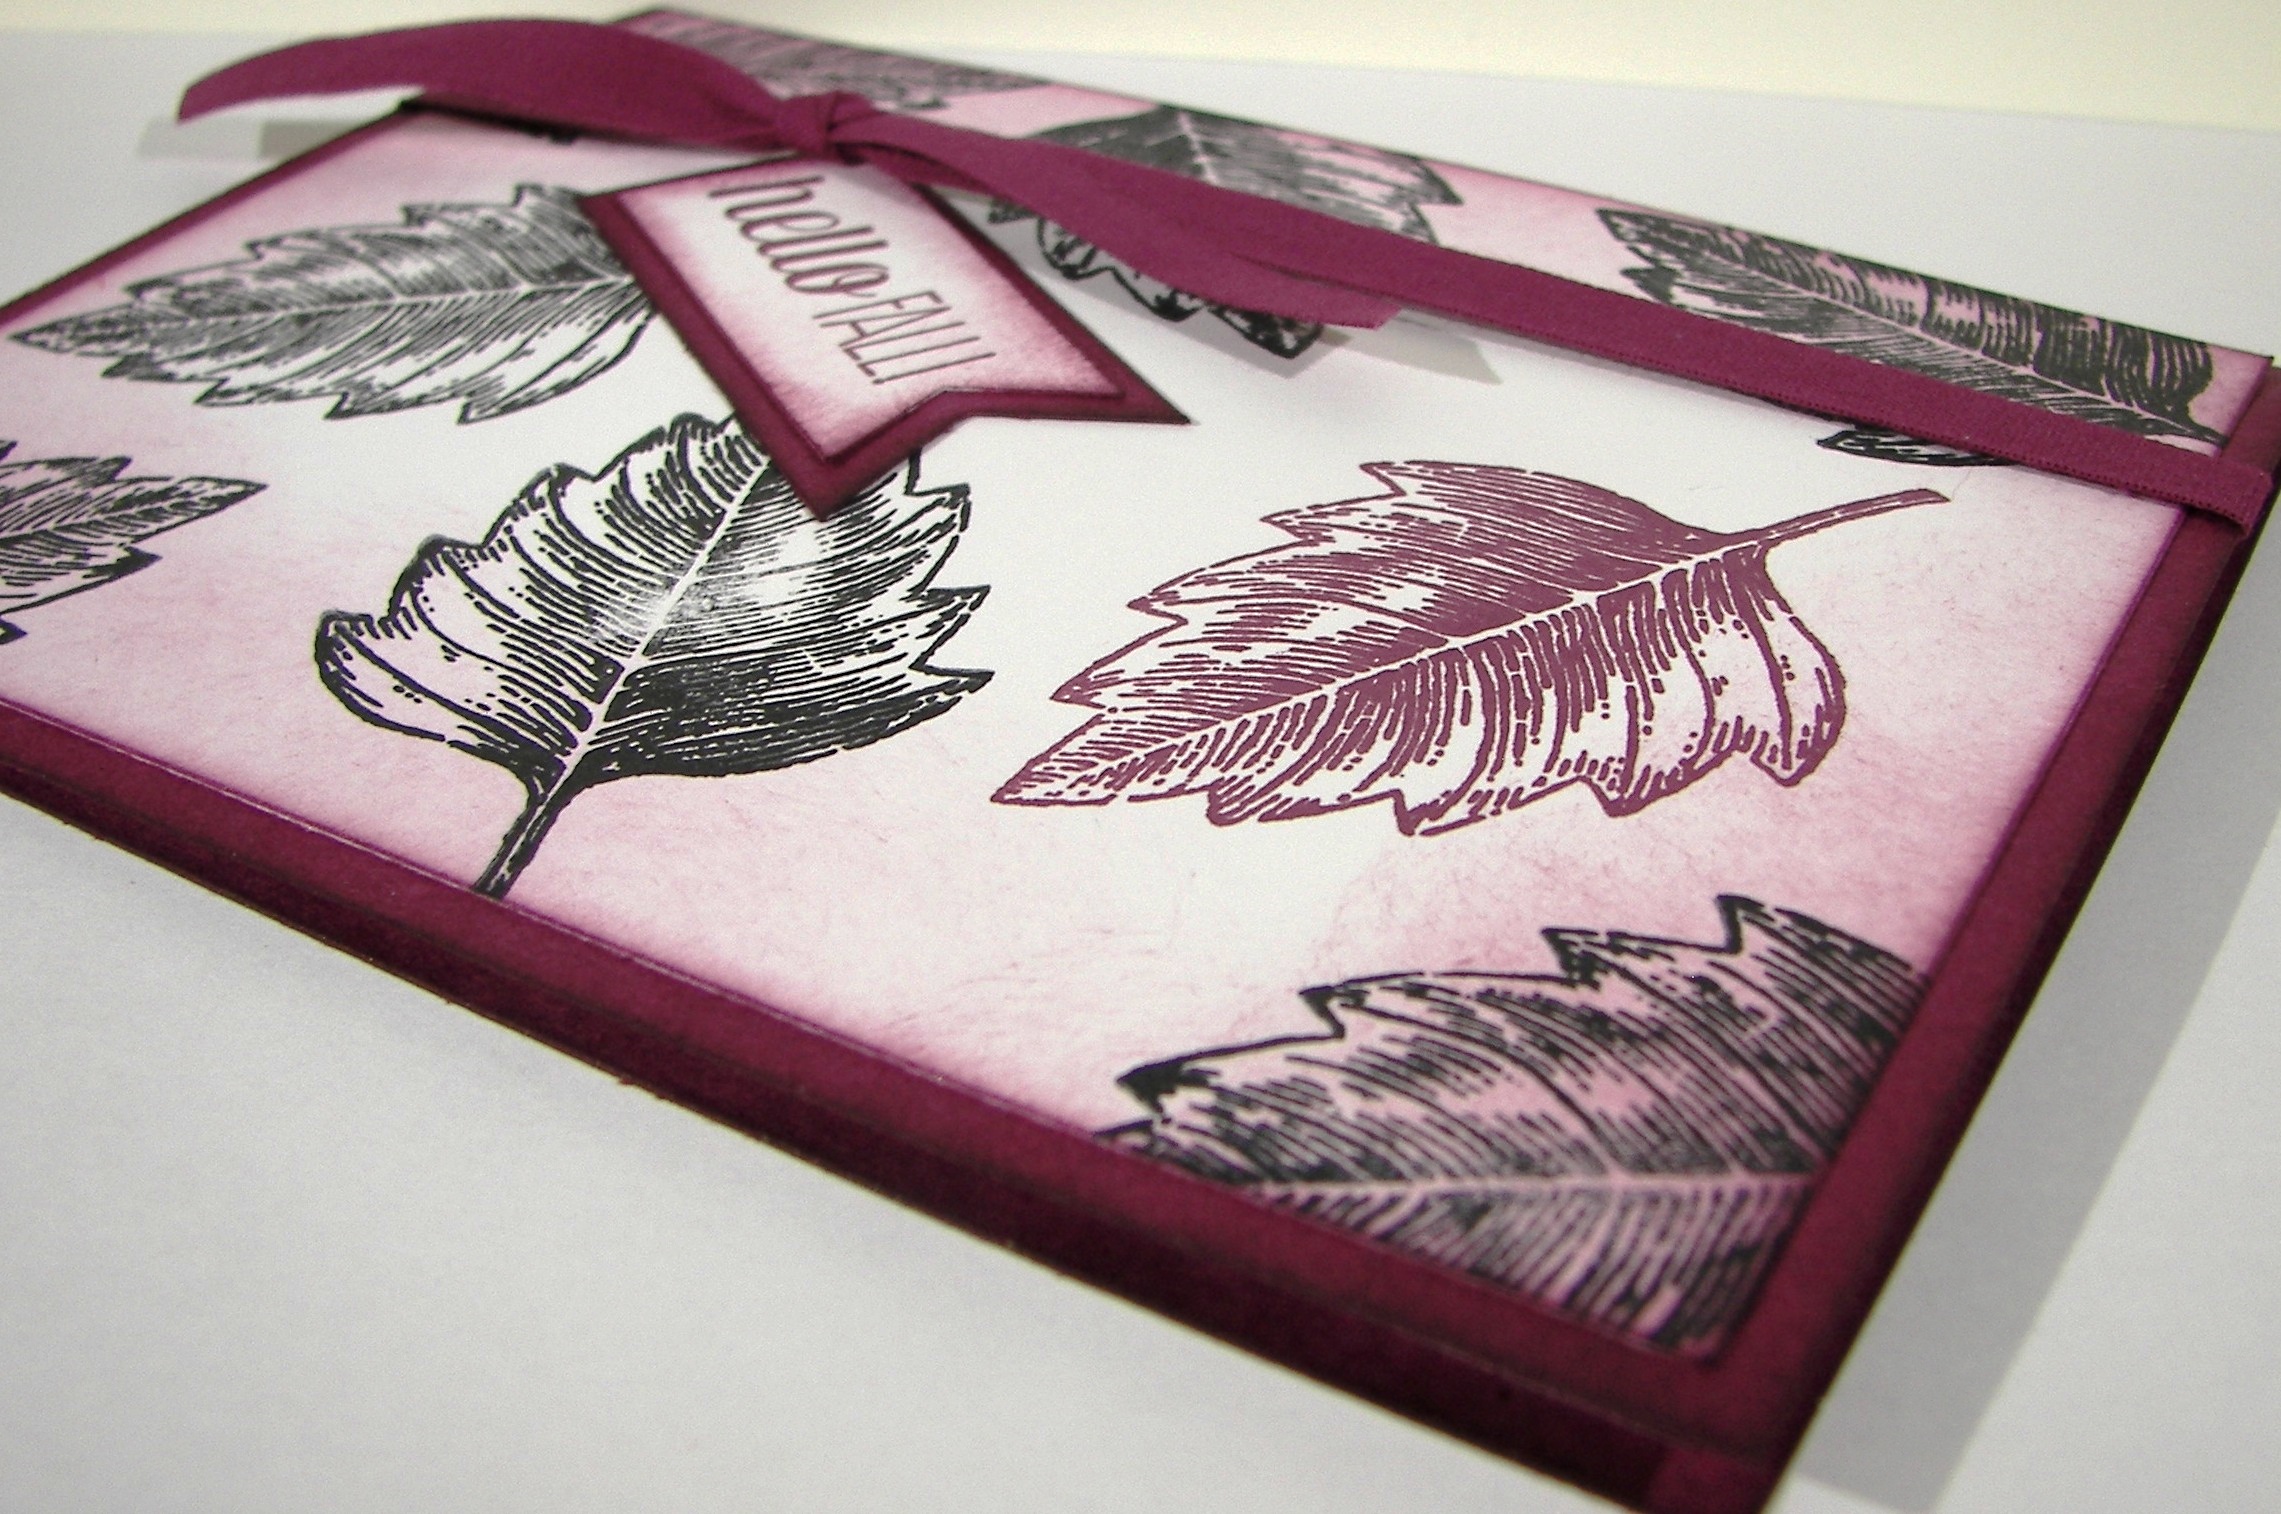
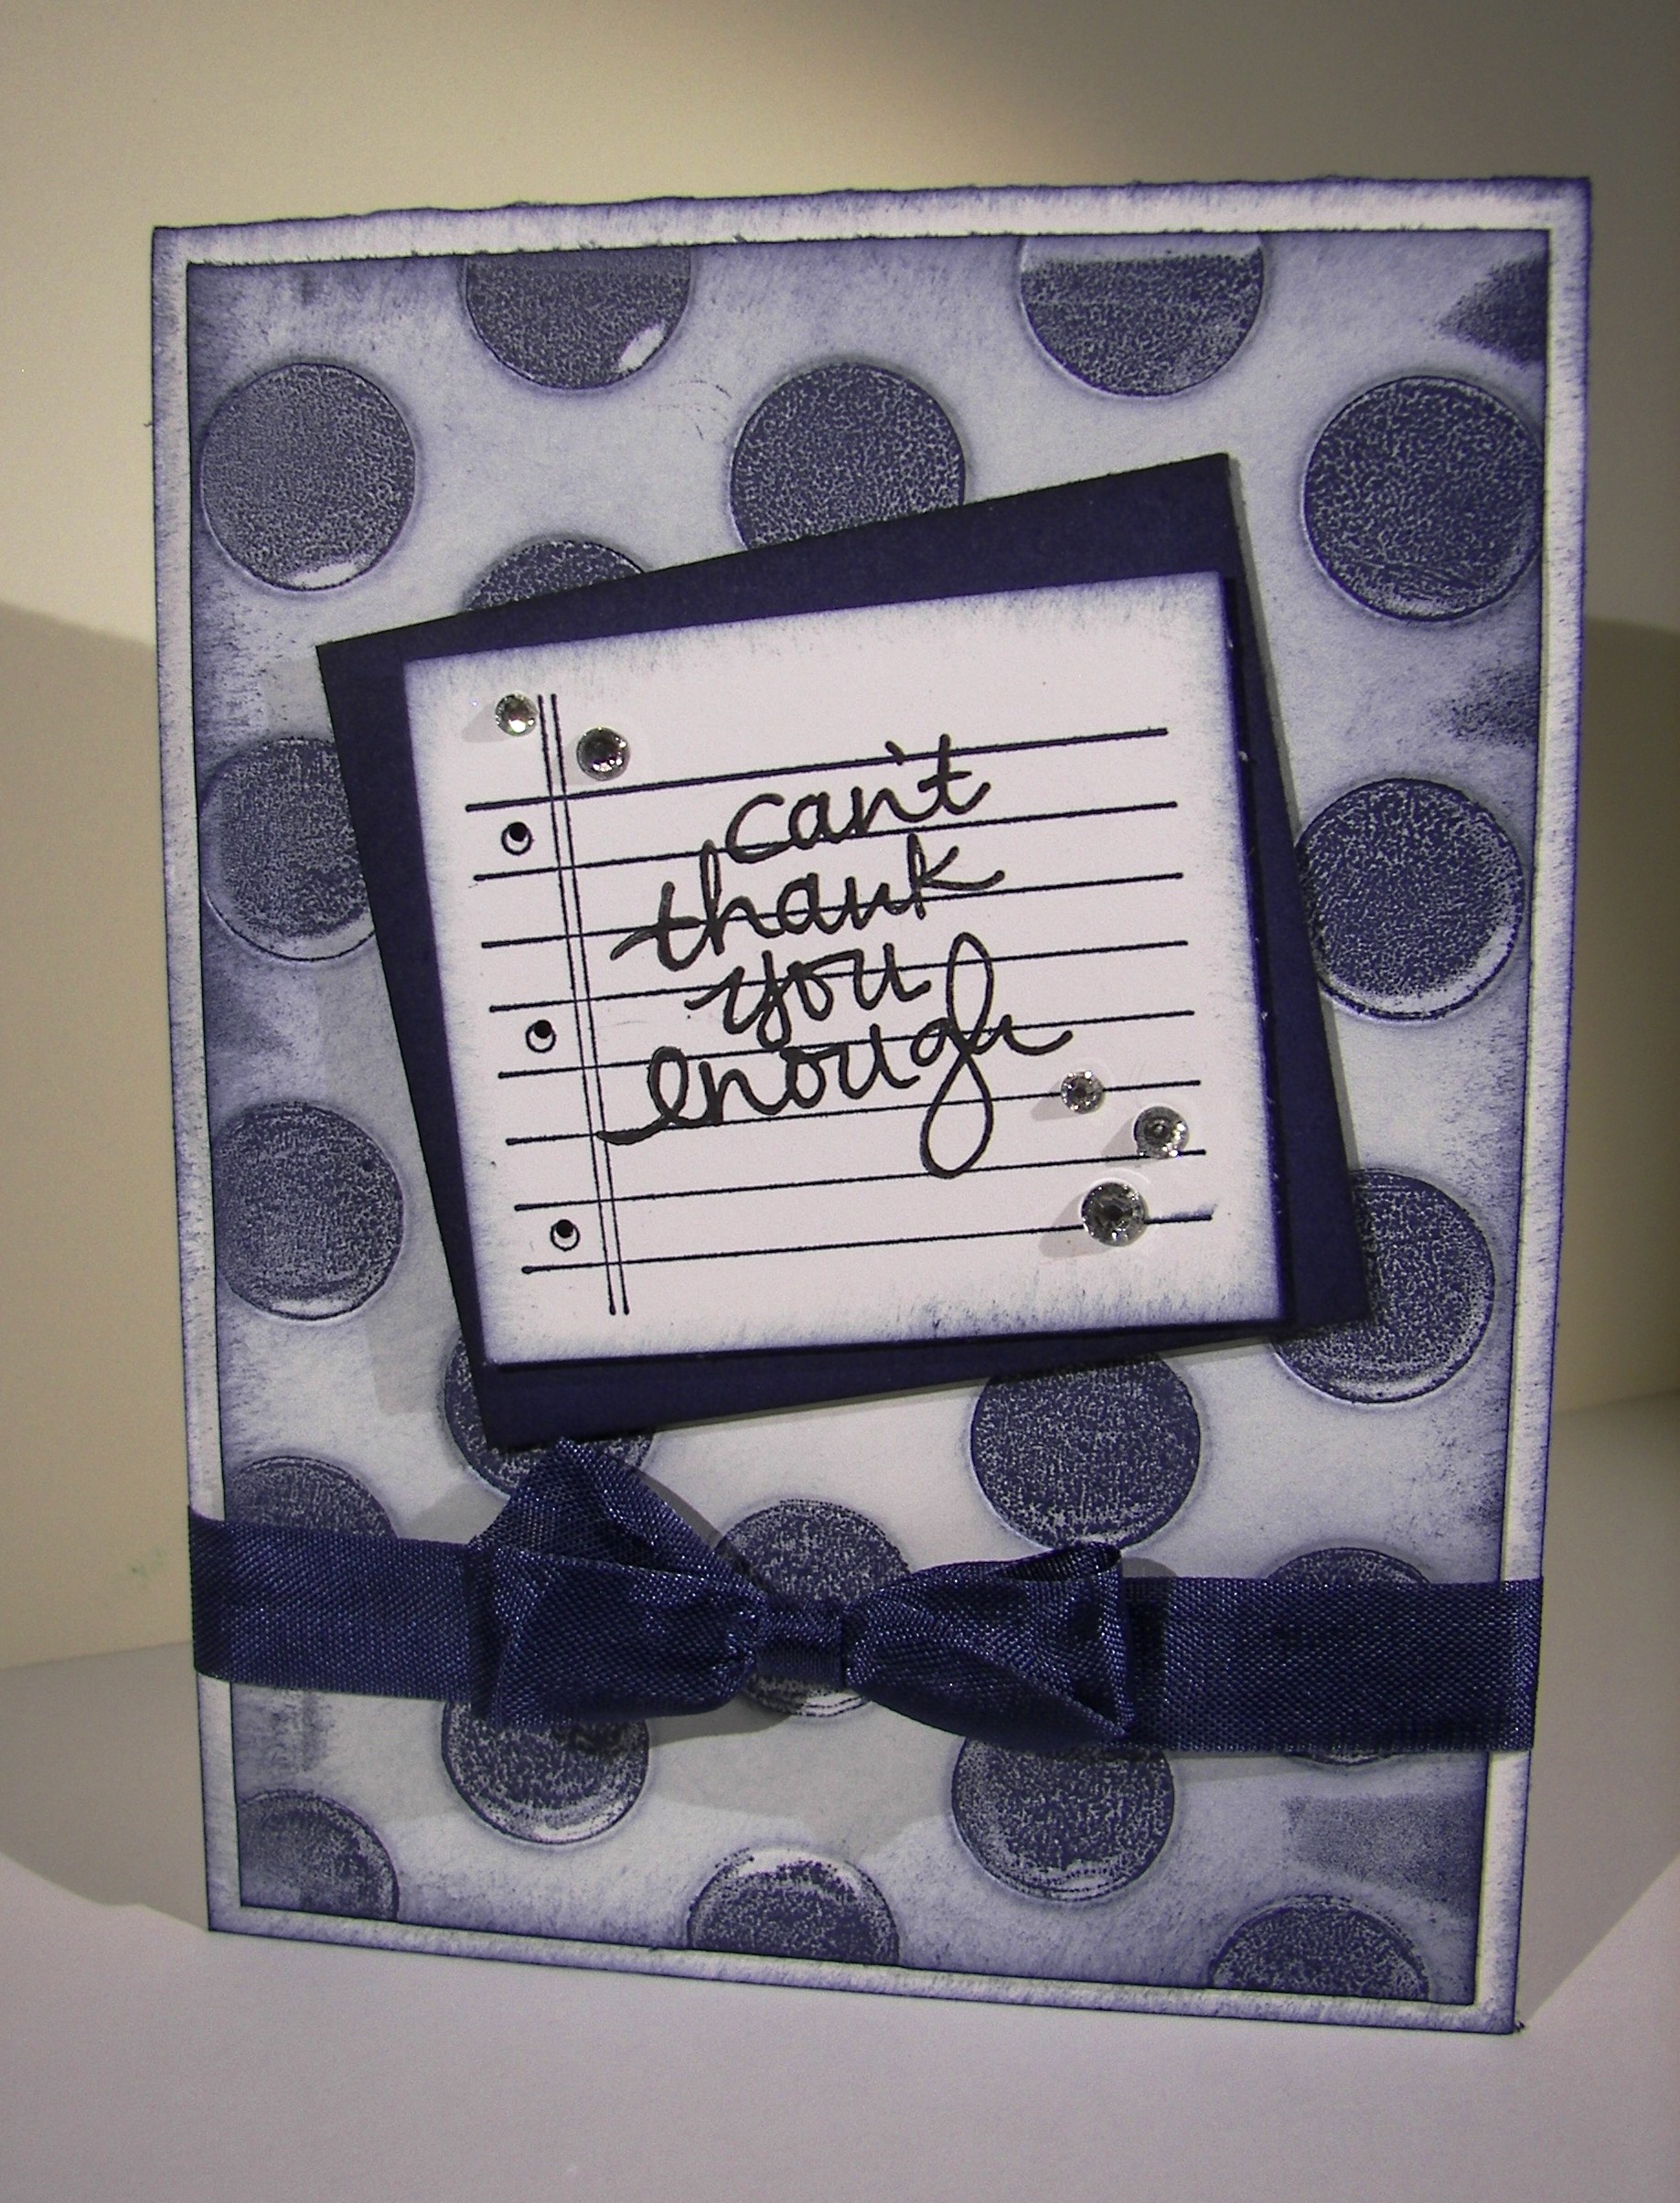
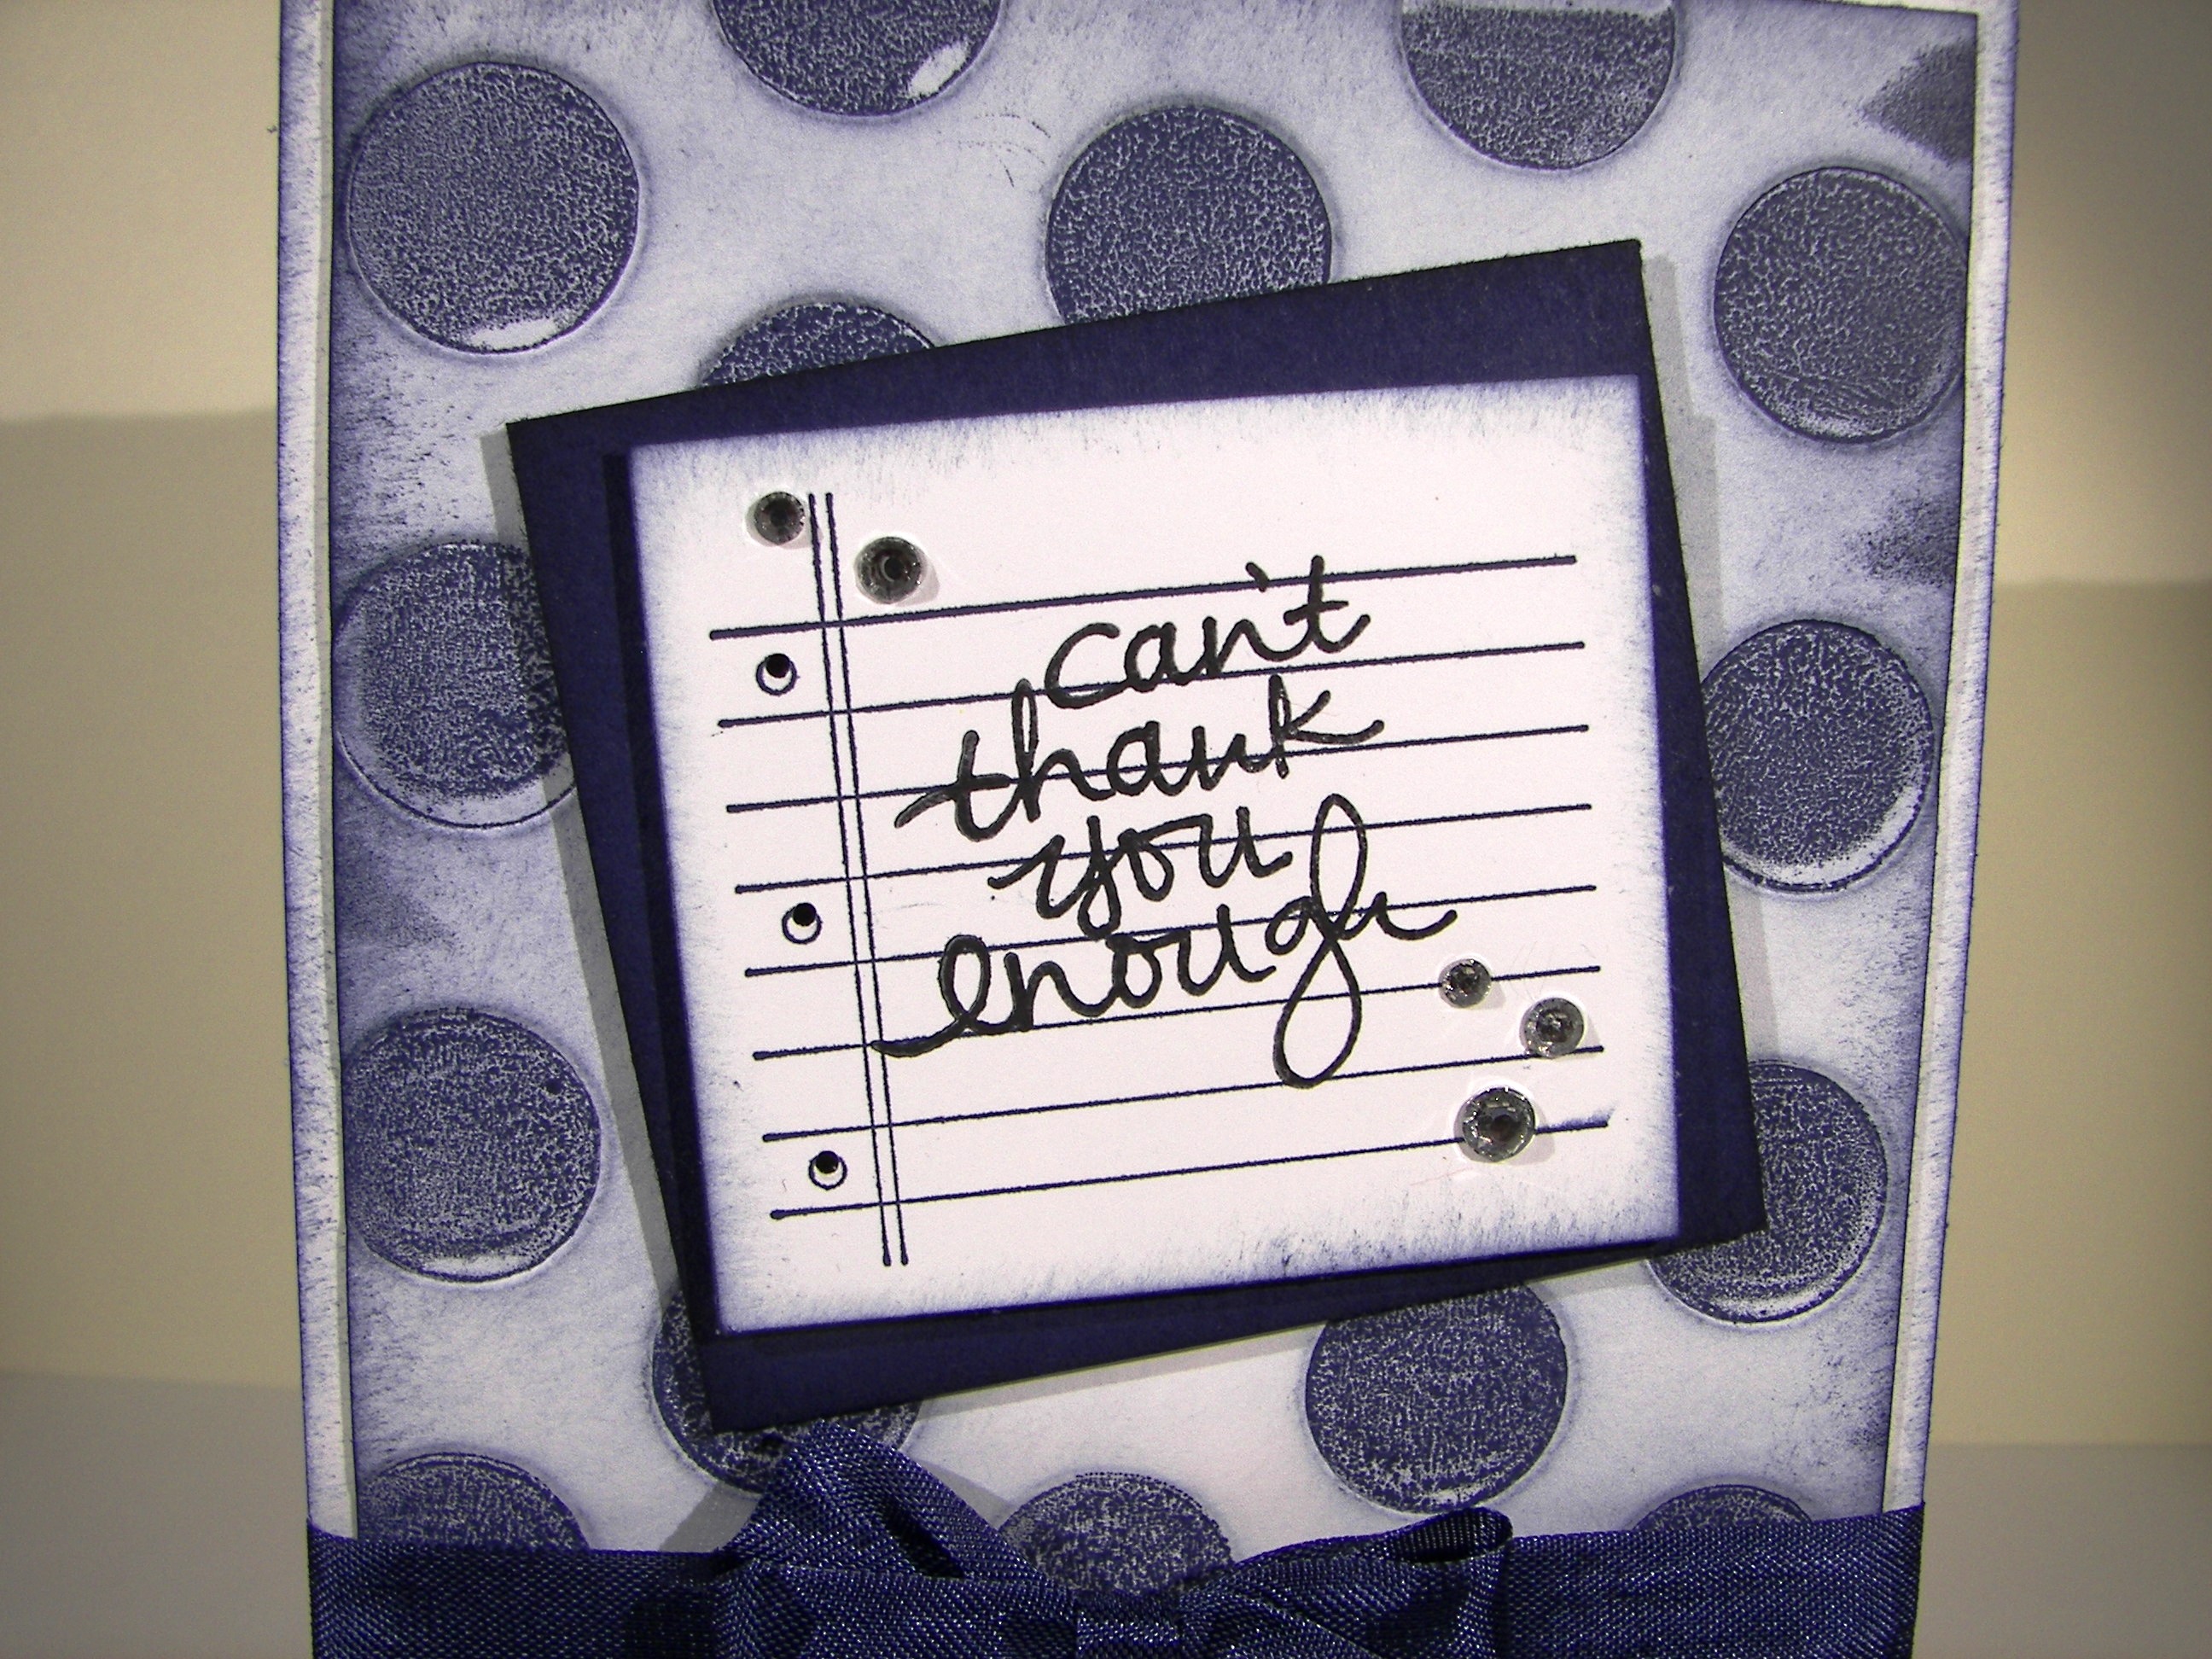
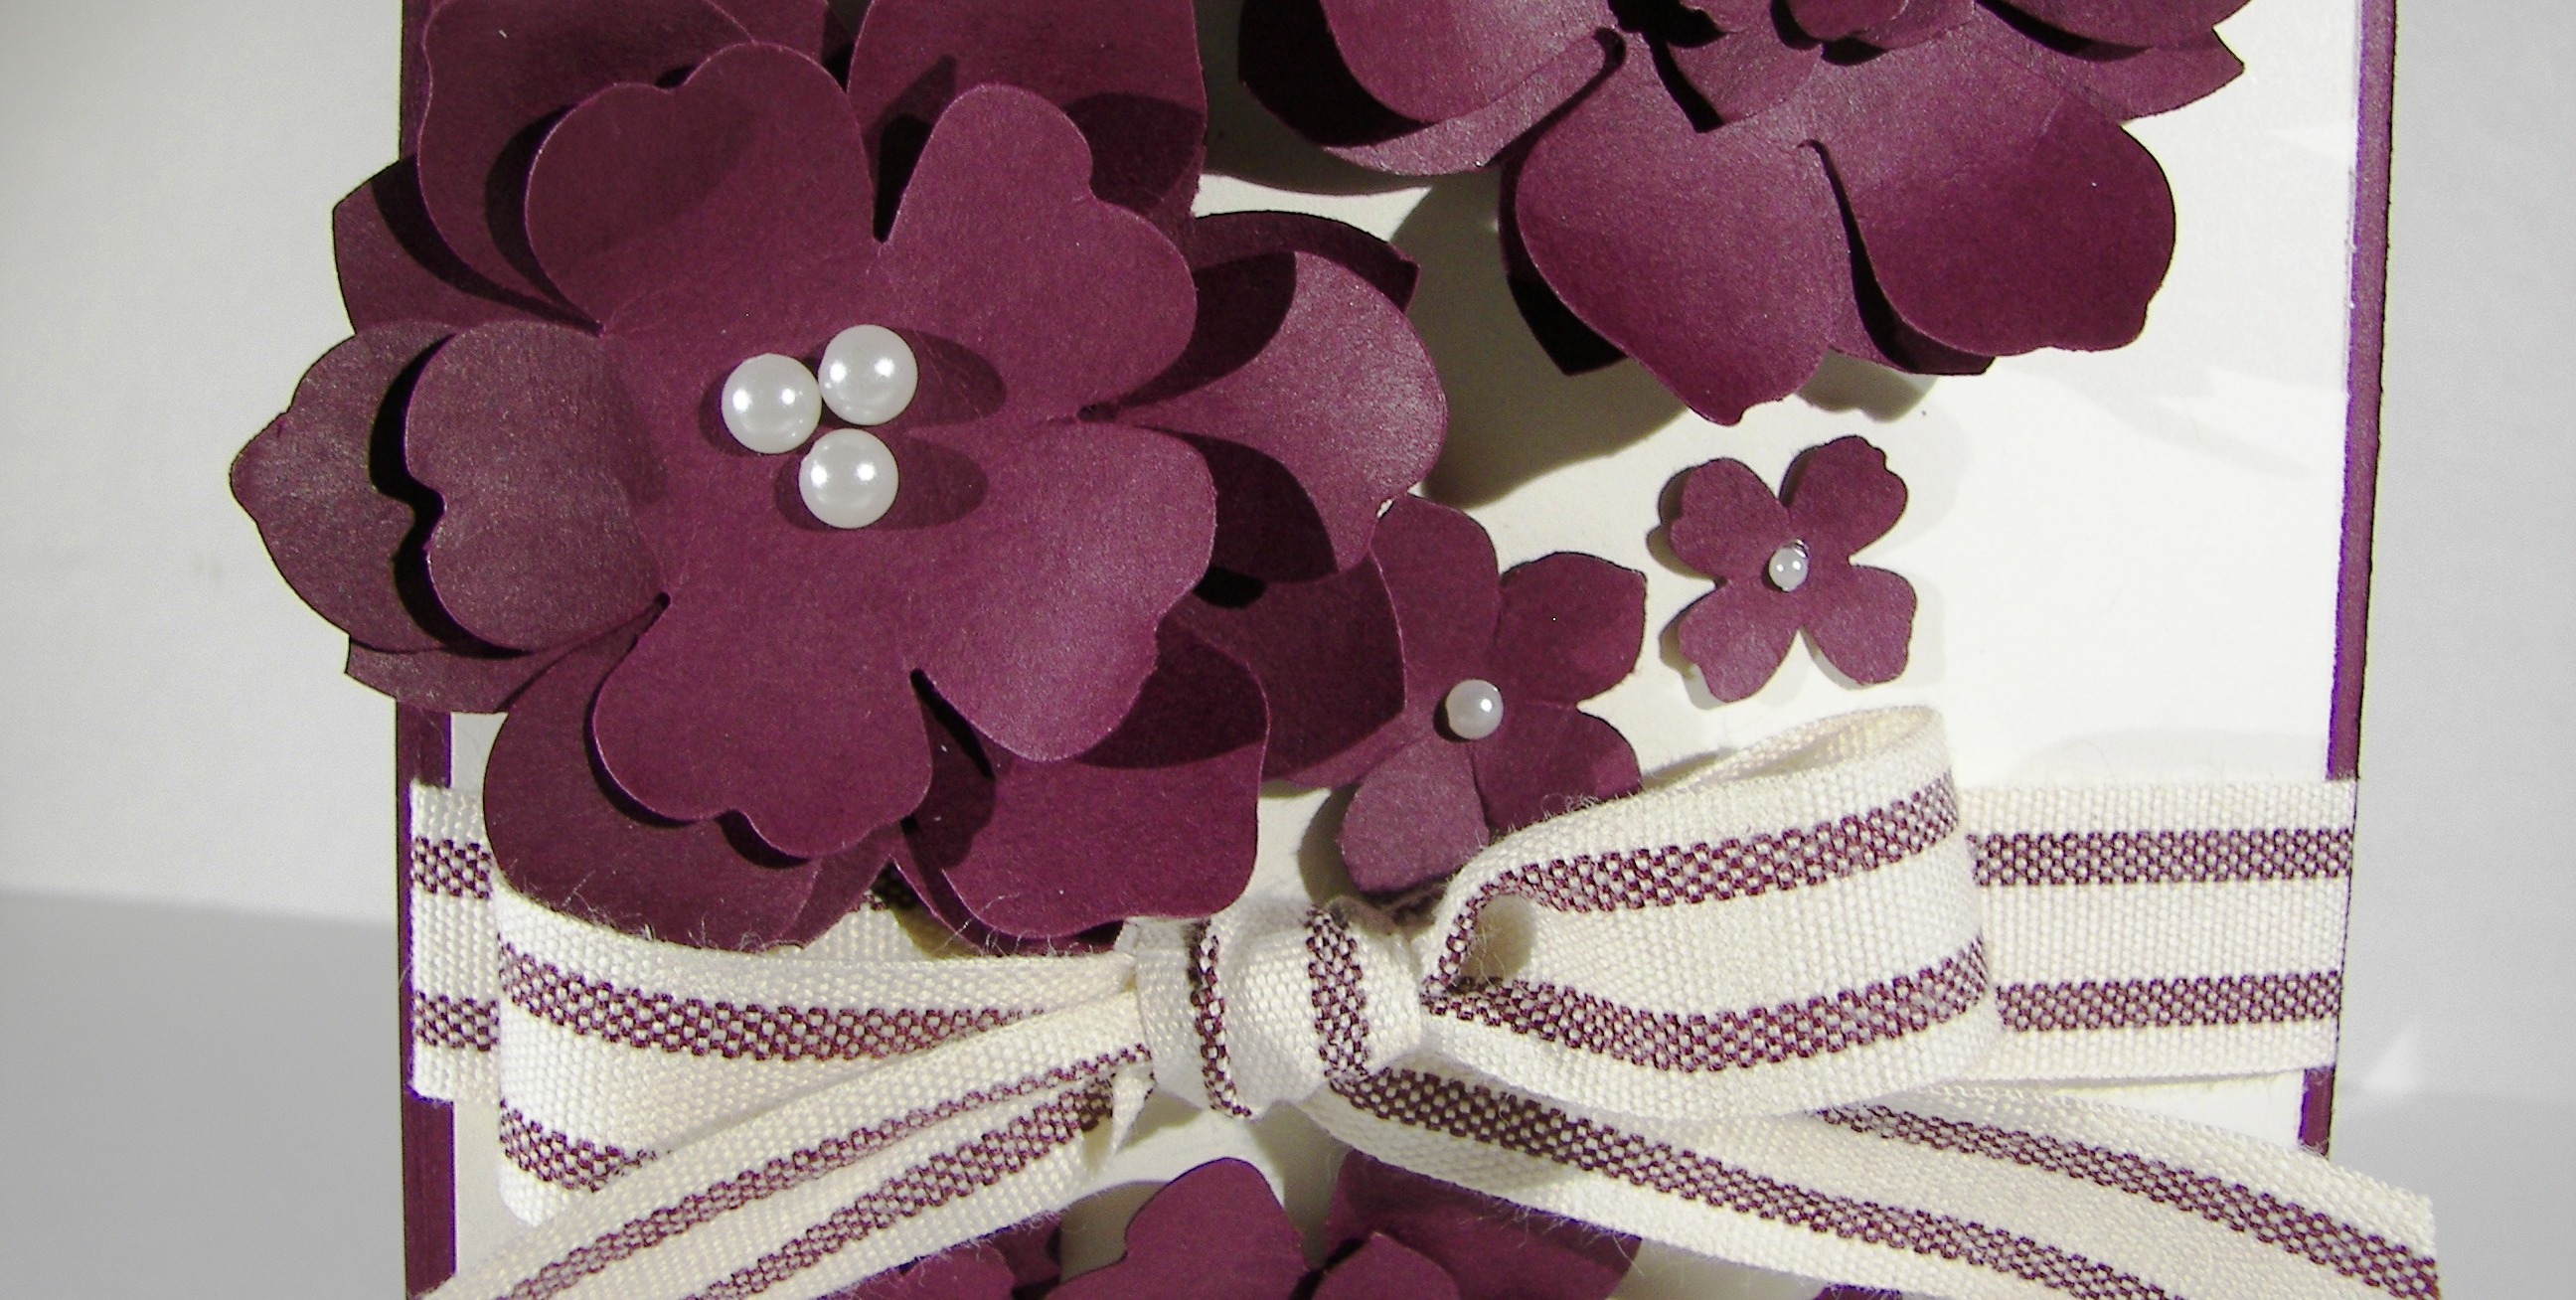
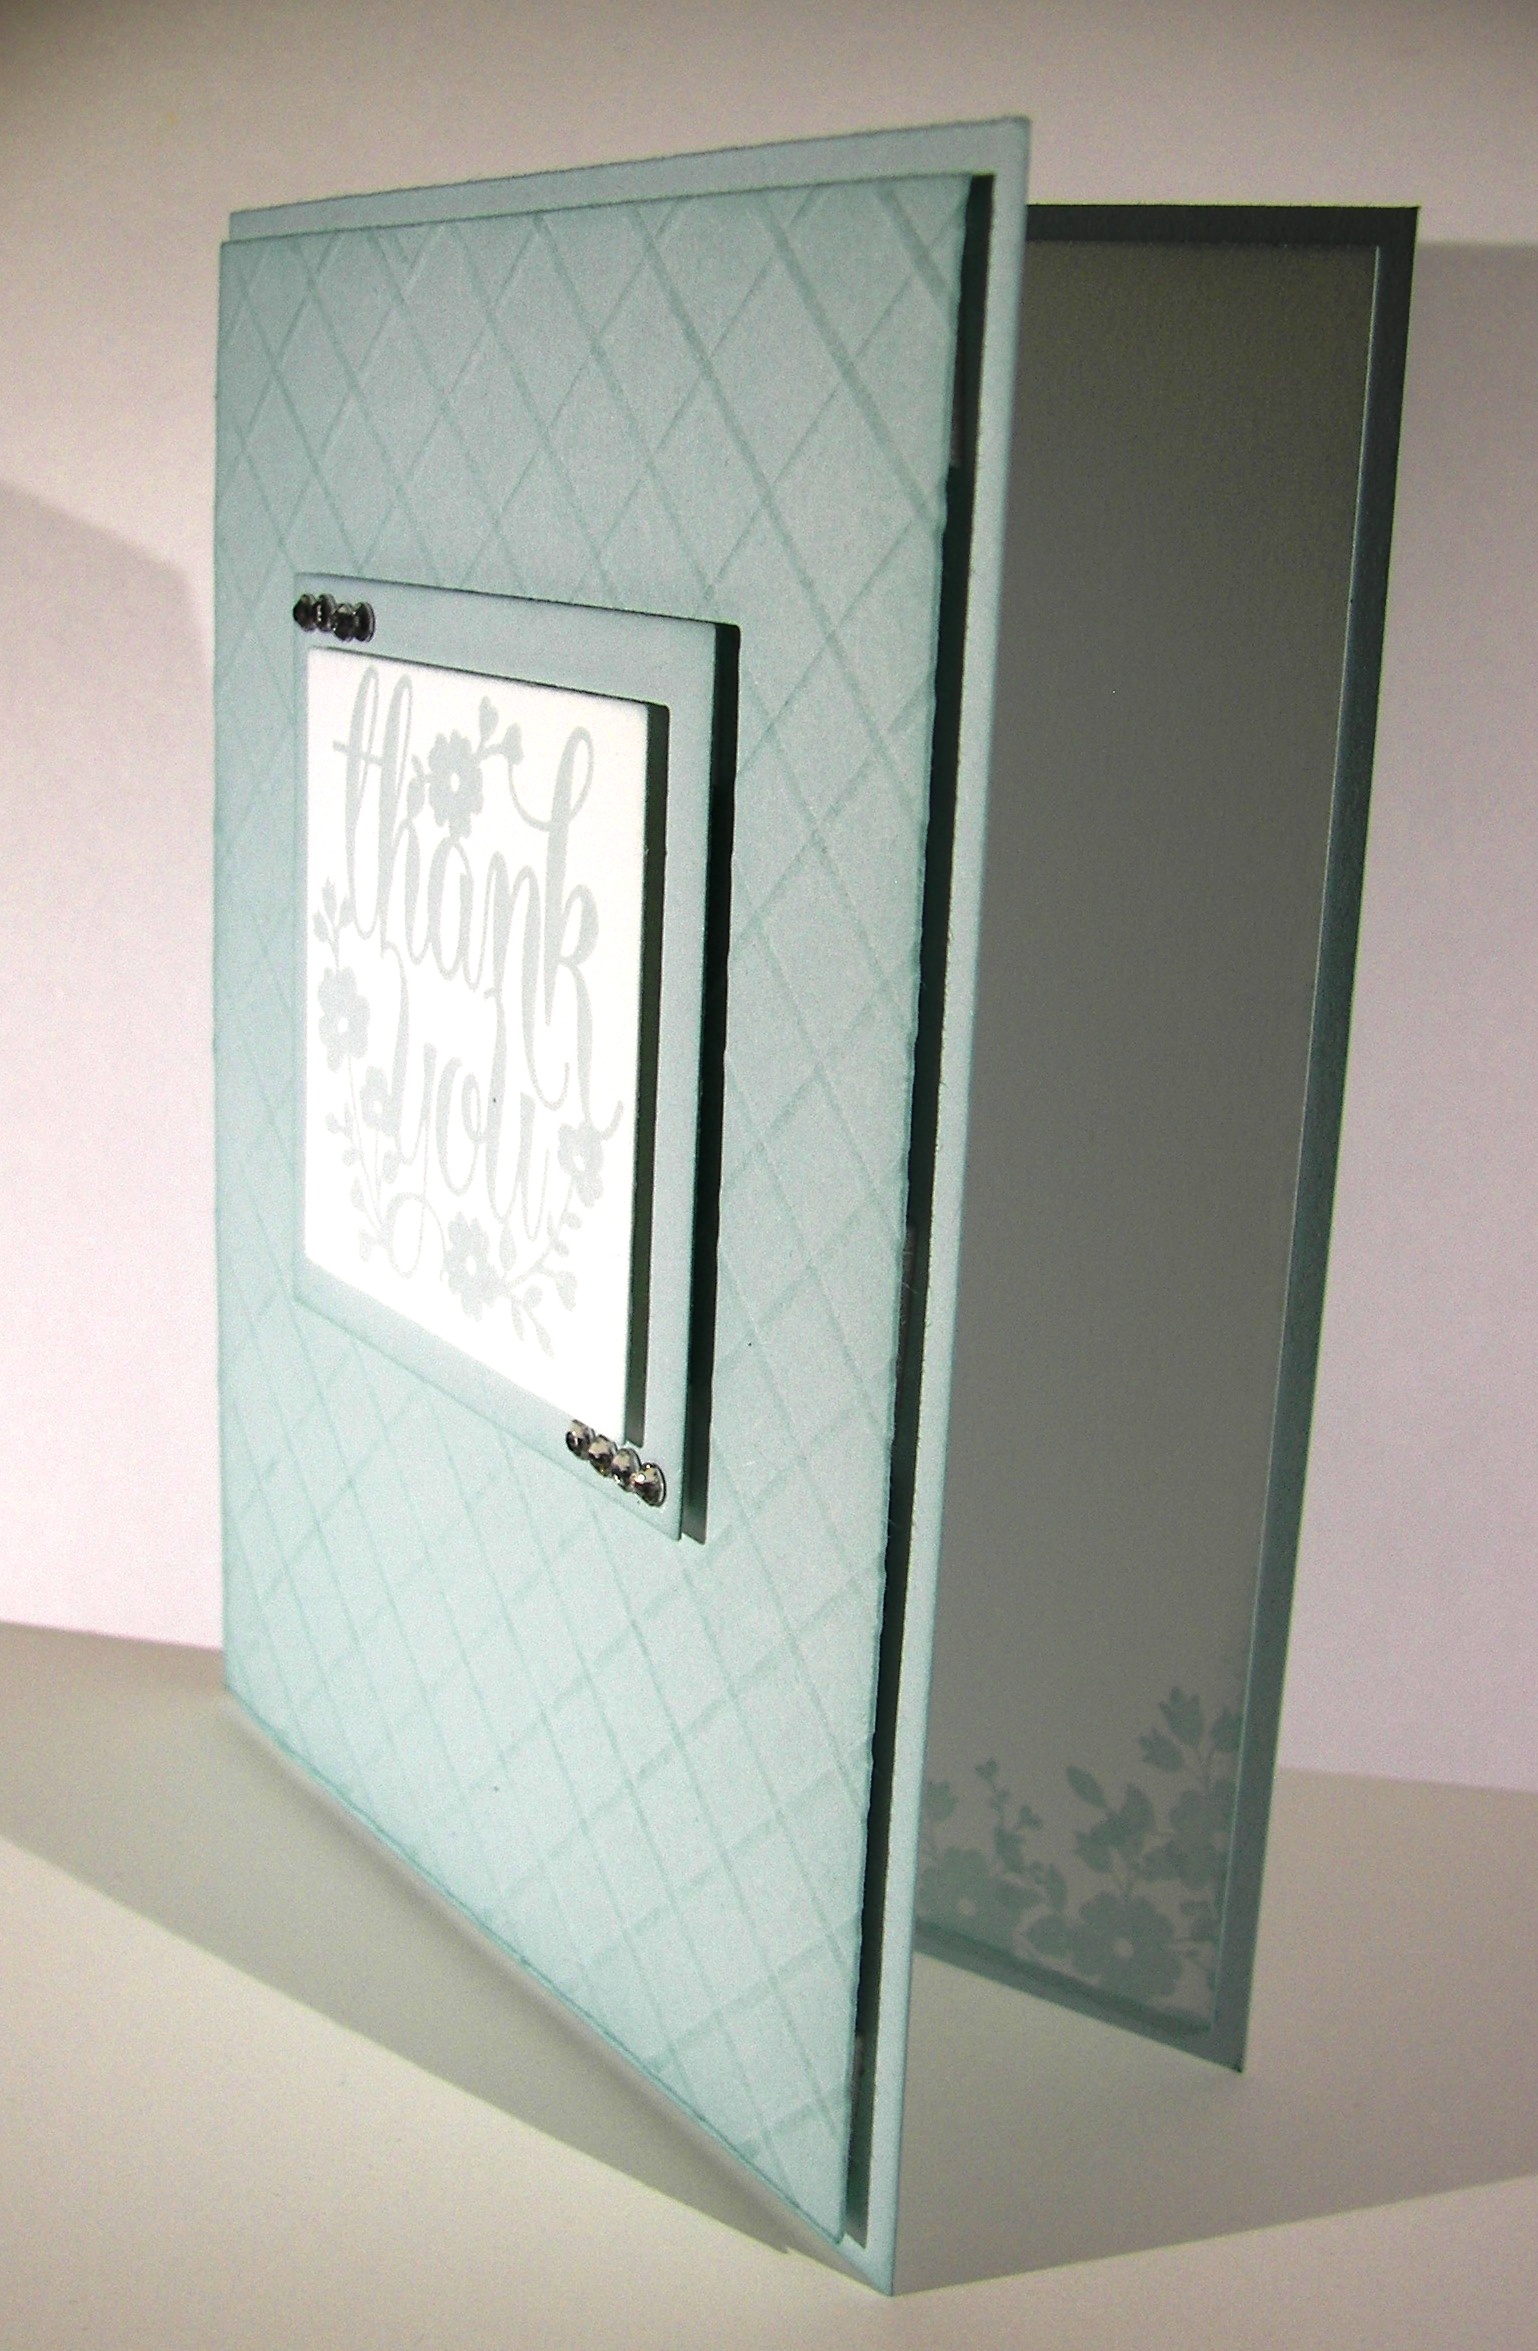
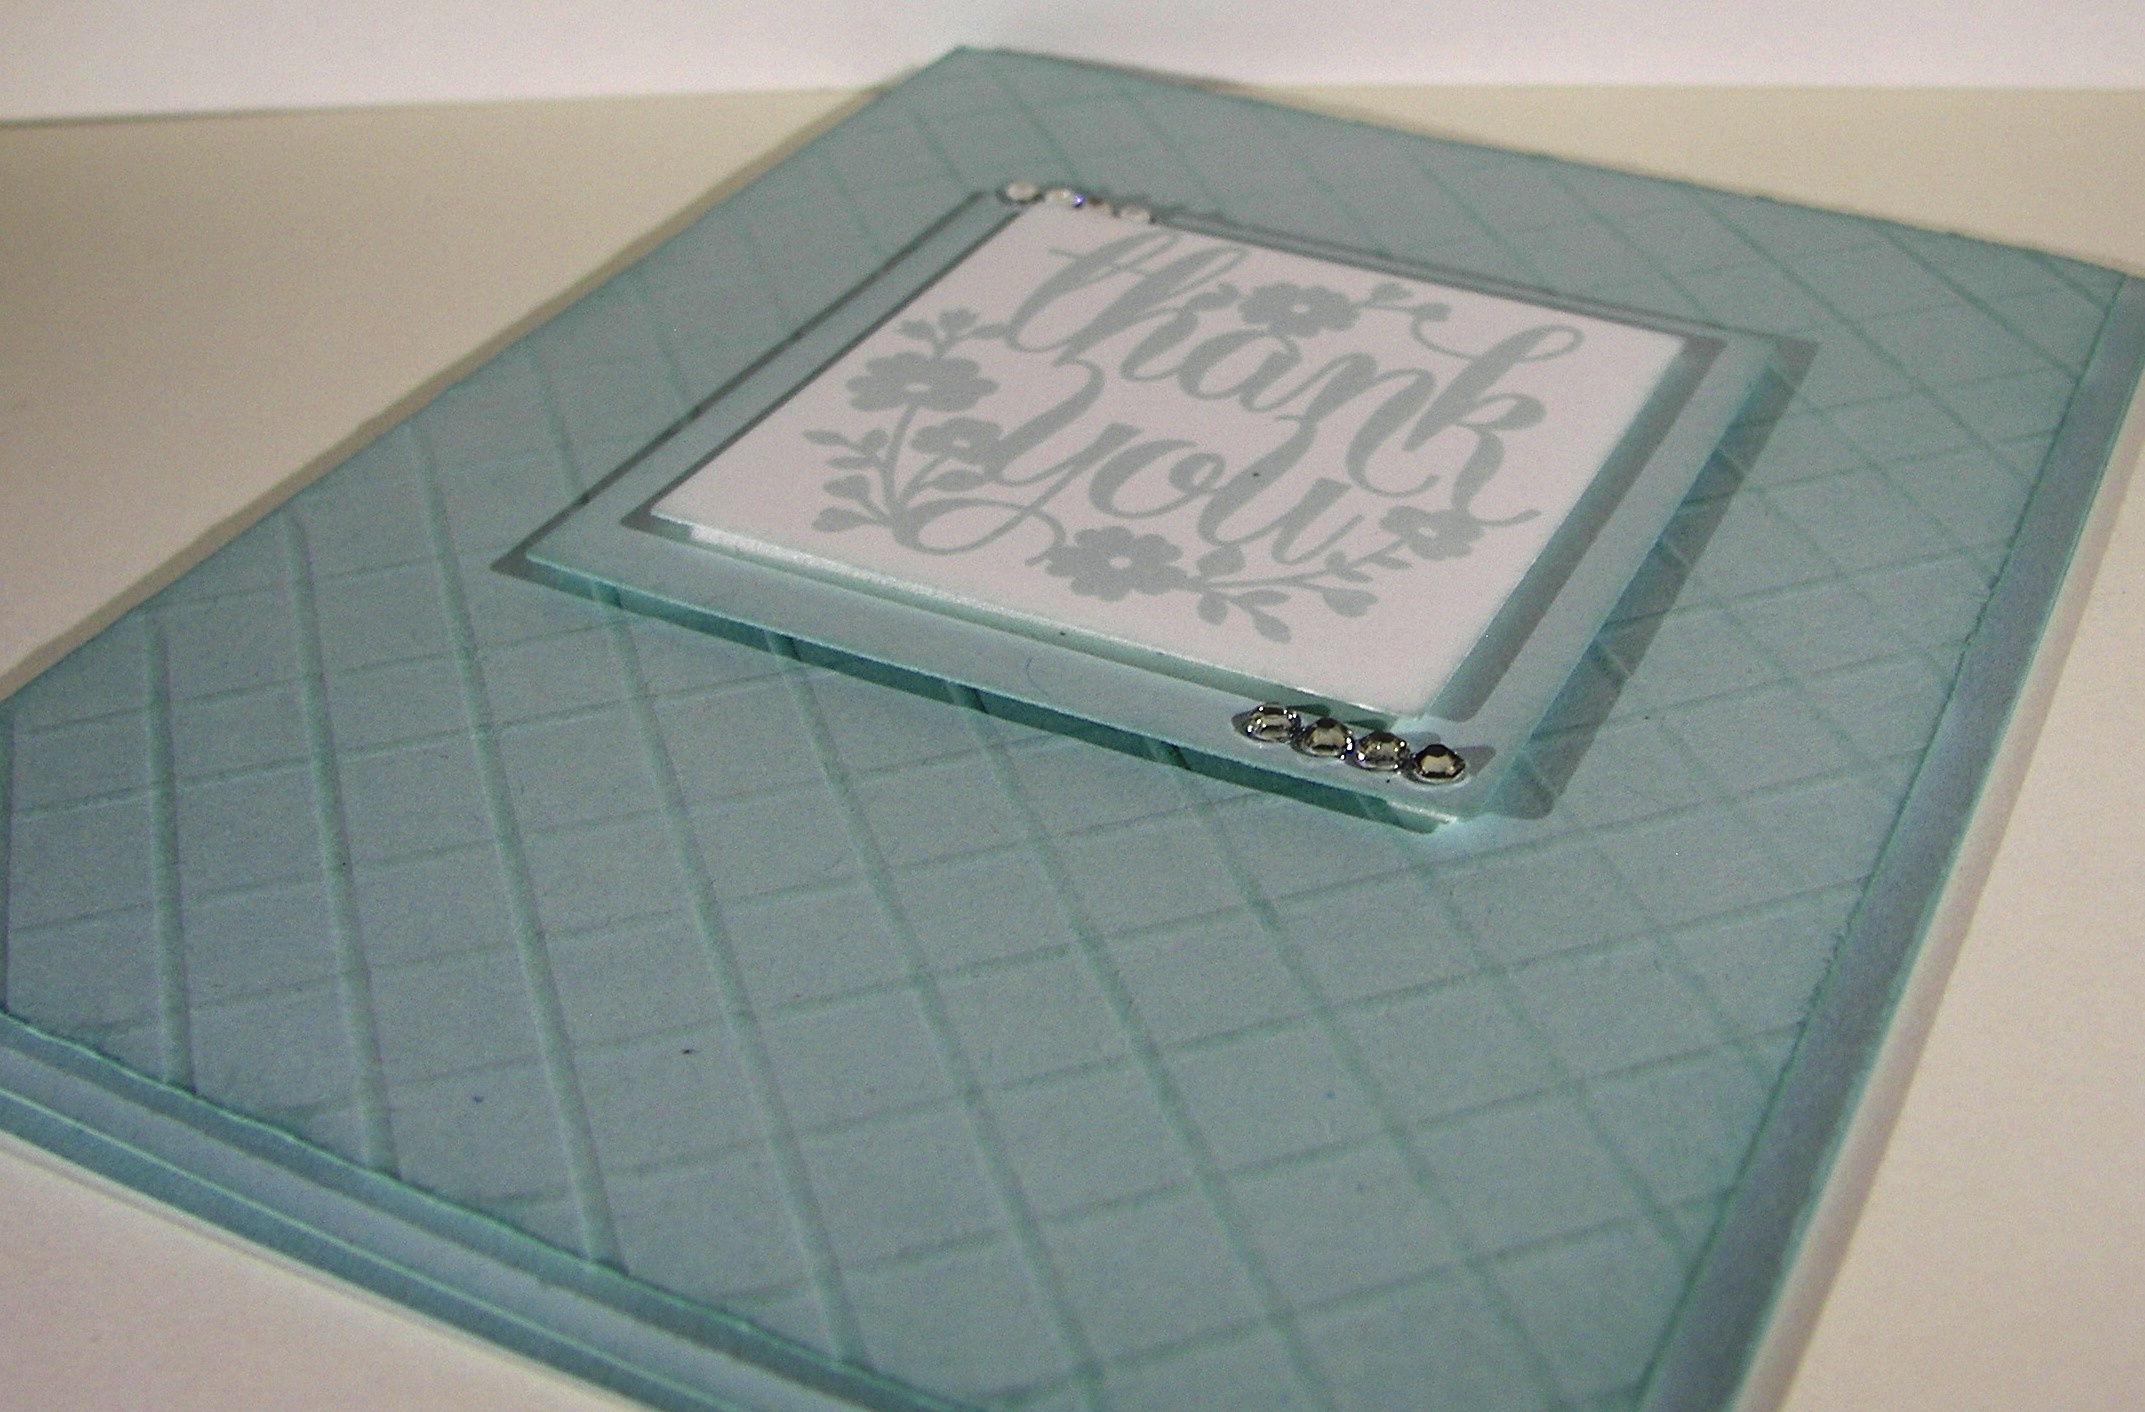
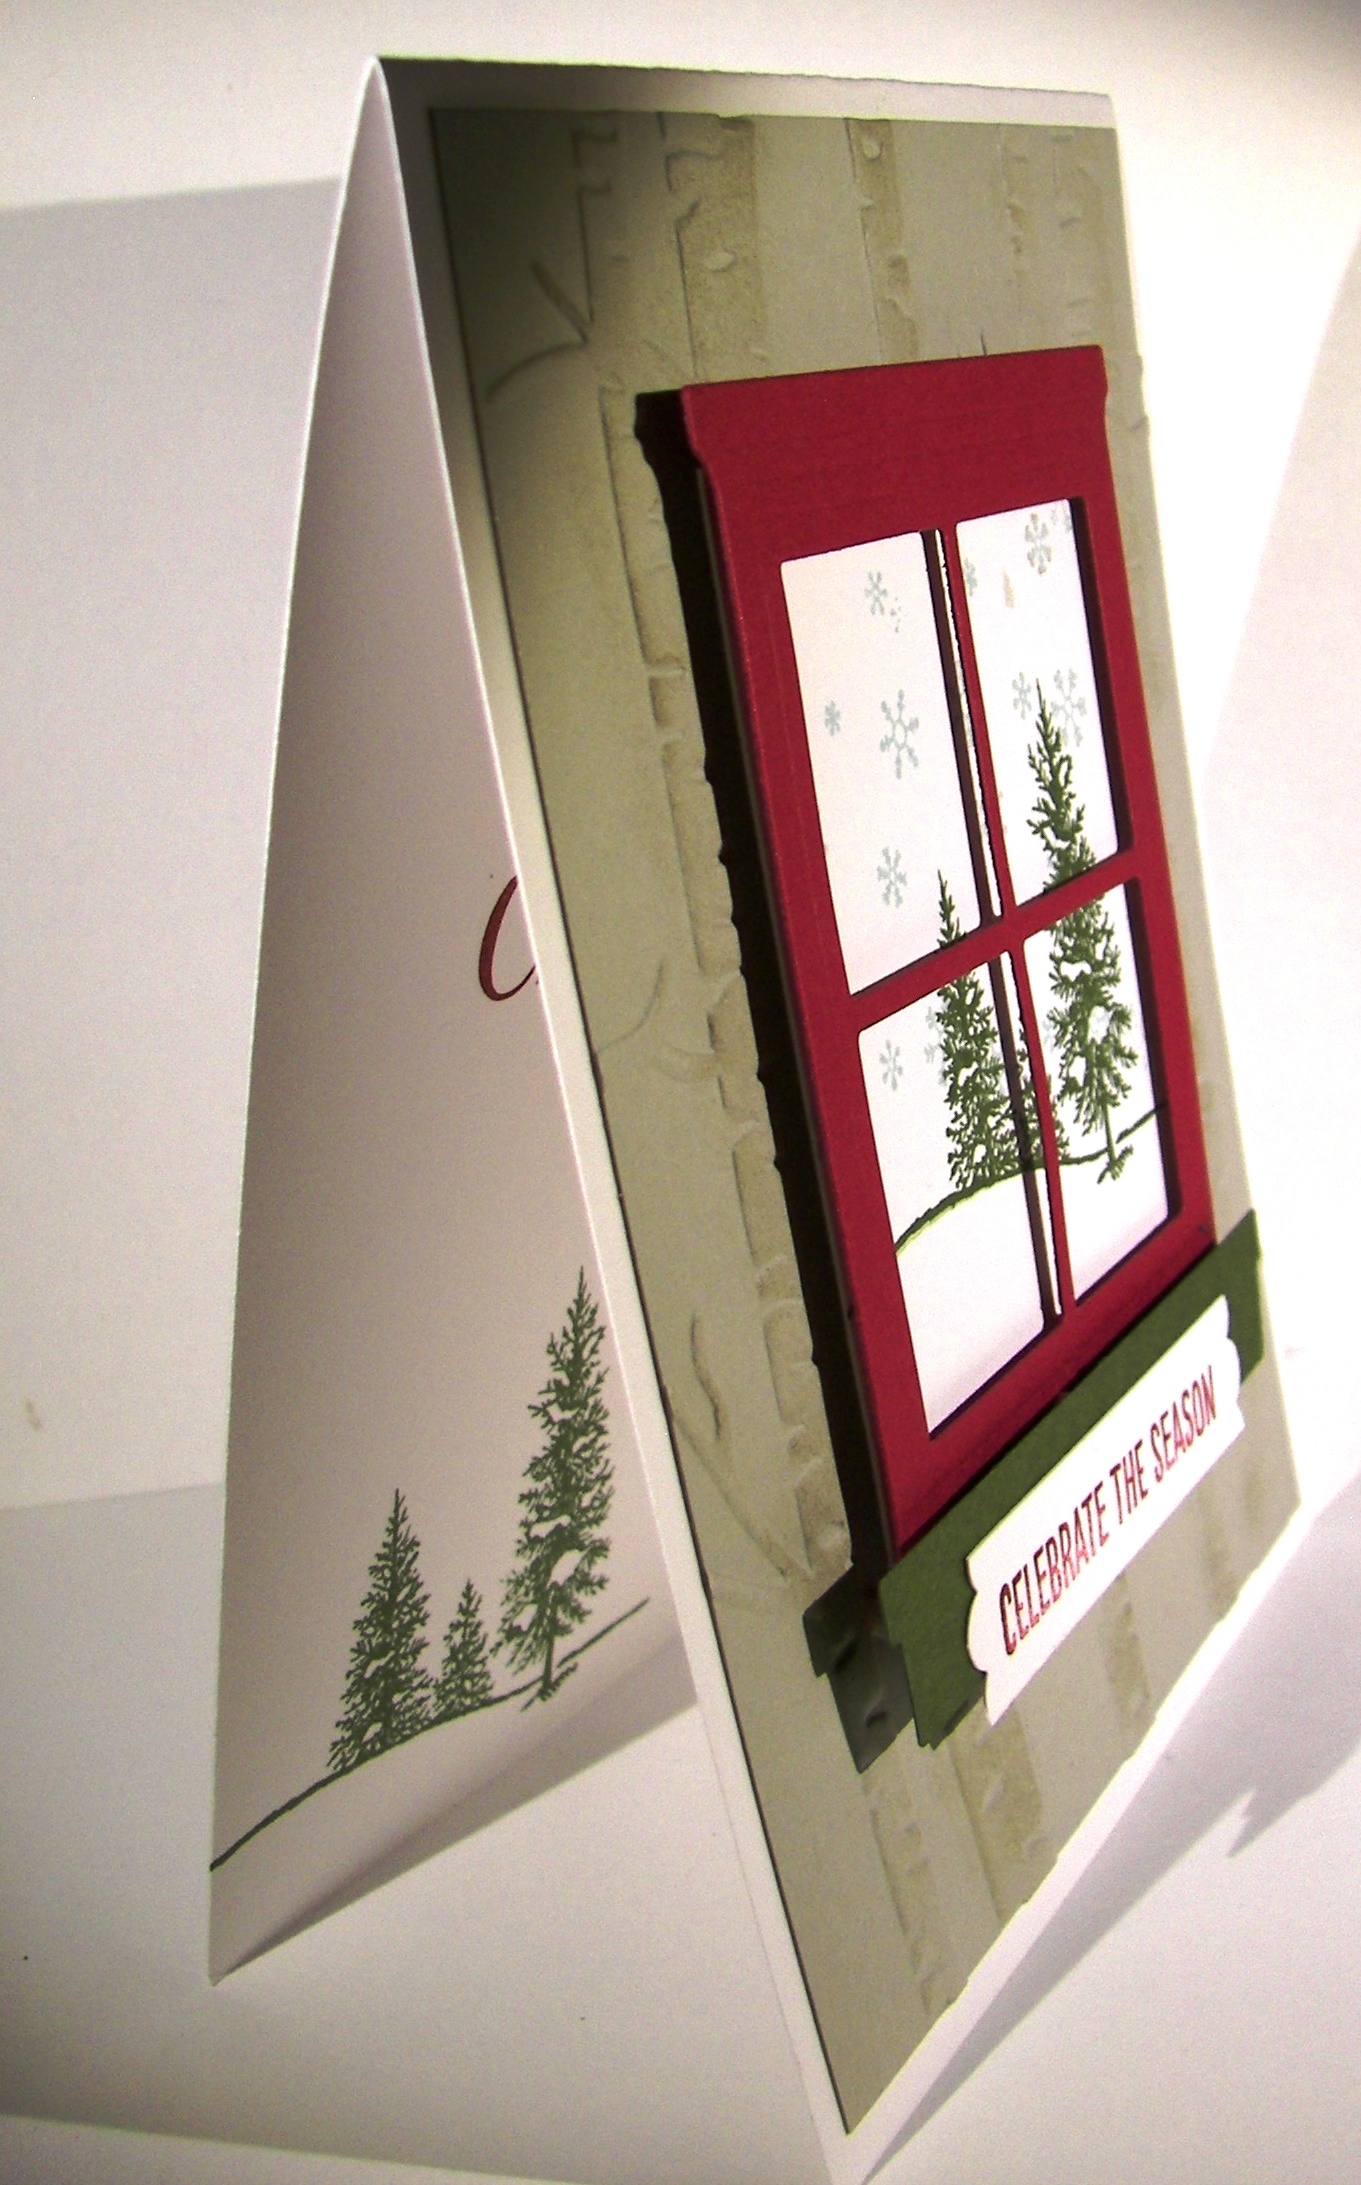
This lovely card came together pretty darn quick. A few simple layers with my favorite sponging left it nearly done.  I wanted to use the trim without covering up the beautiful embossing from my favorite embossing folder.  I think everyone should have this one. It is so great to have a tool like this that can be used in so many ways.  So I just attached a simple knot of trim instead of a card front wrap.

Banner Blessings Gift Set - Thanks

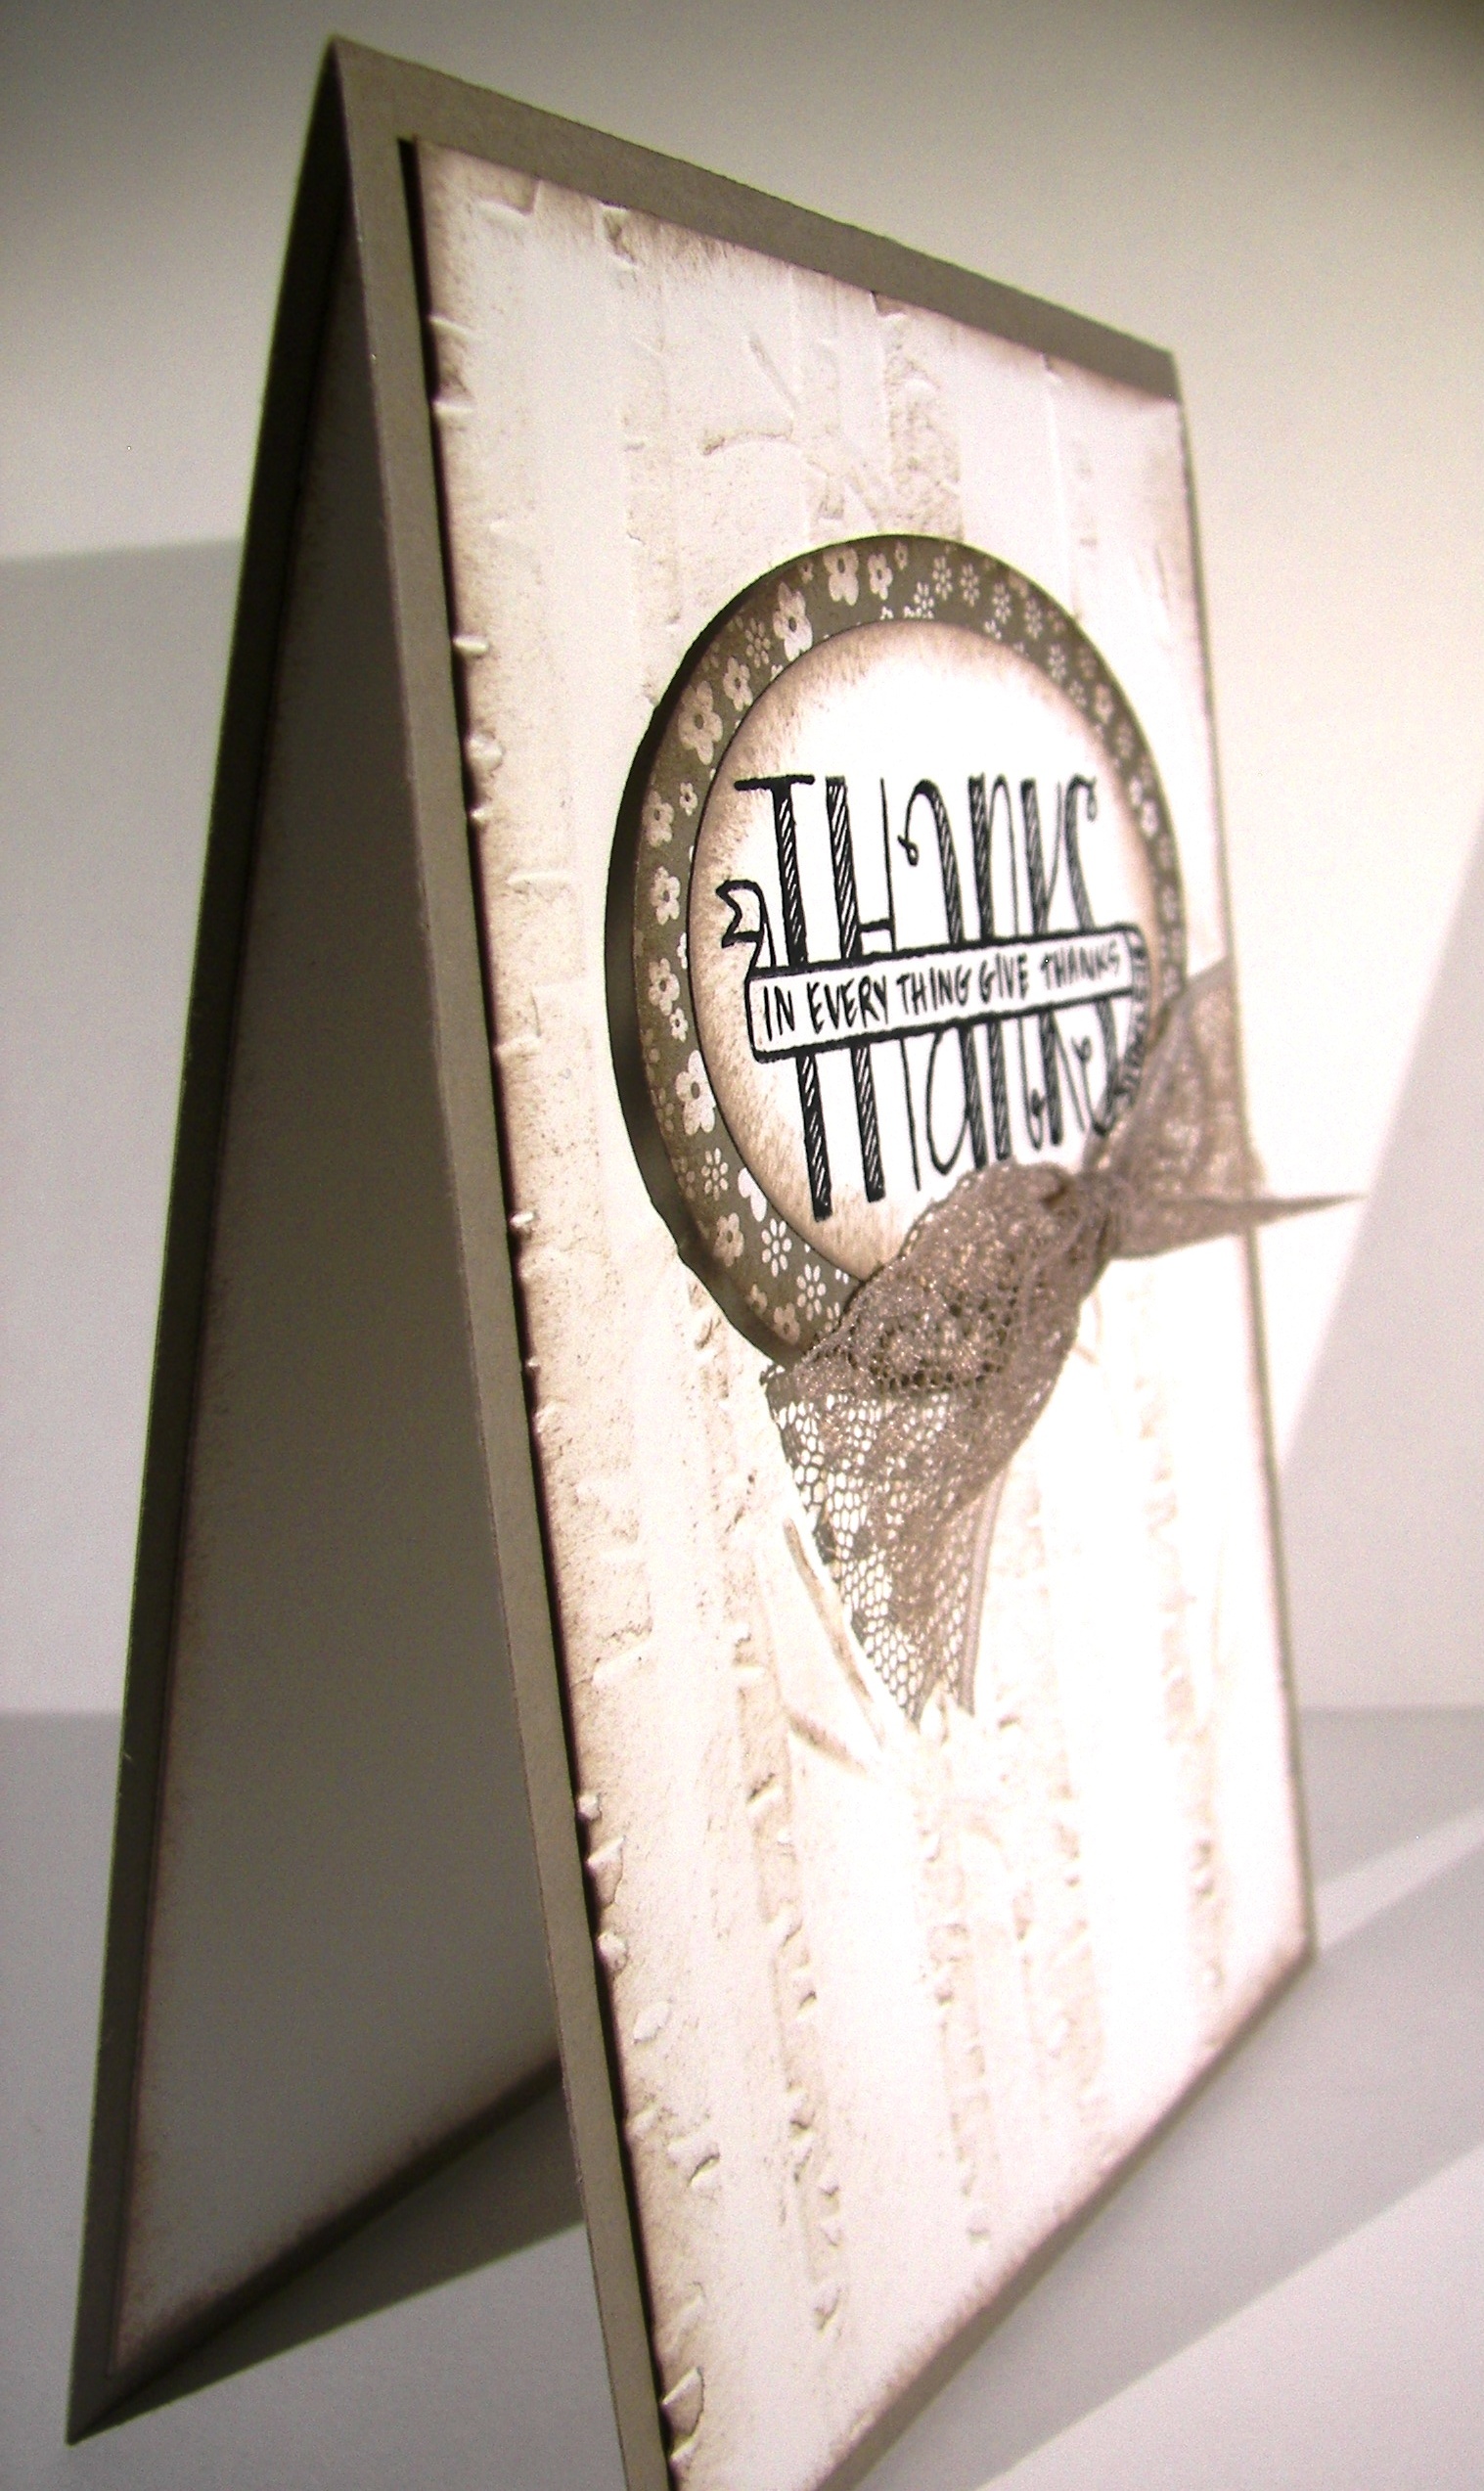
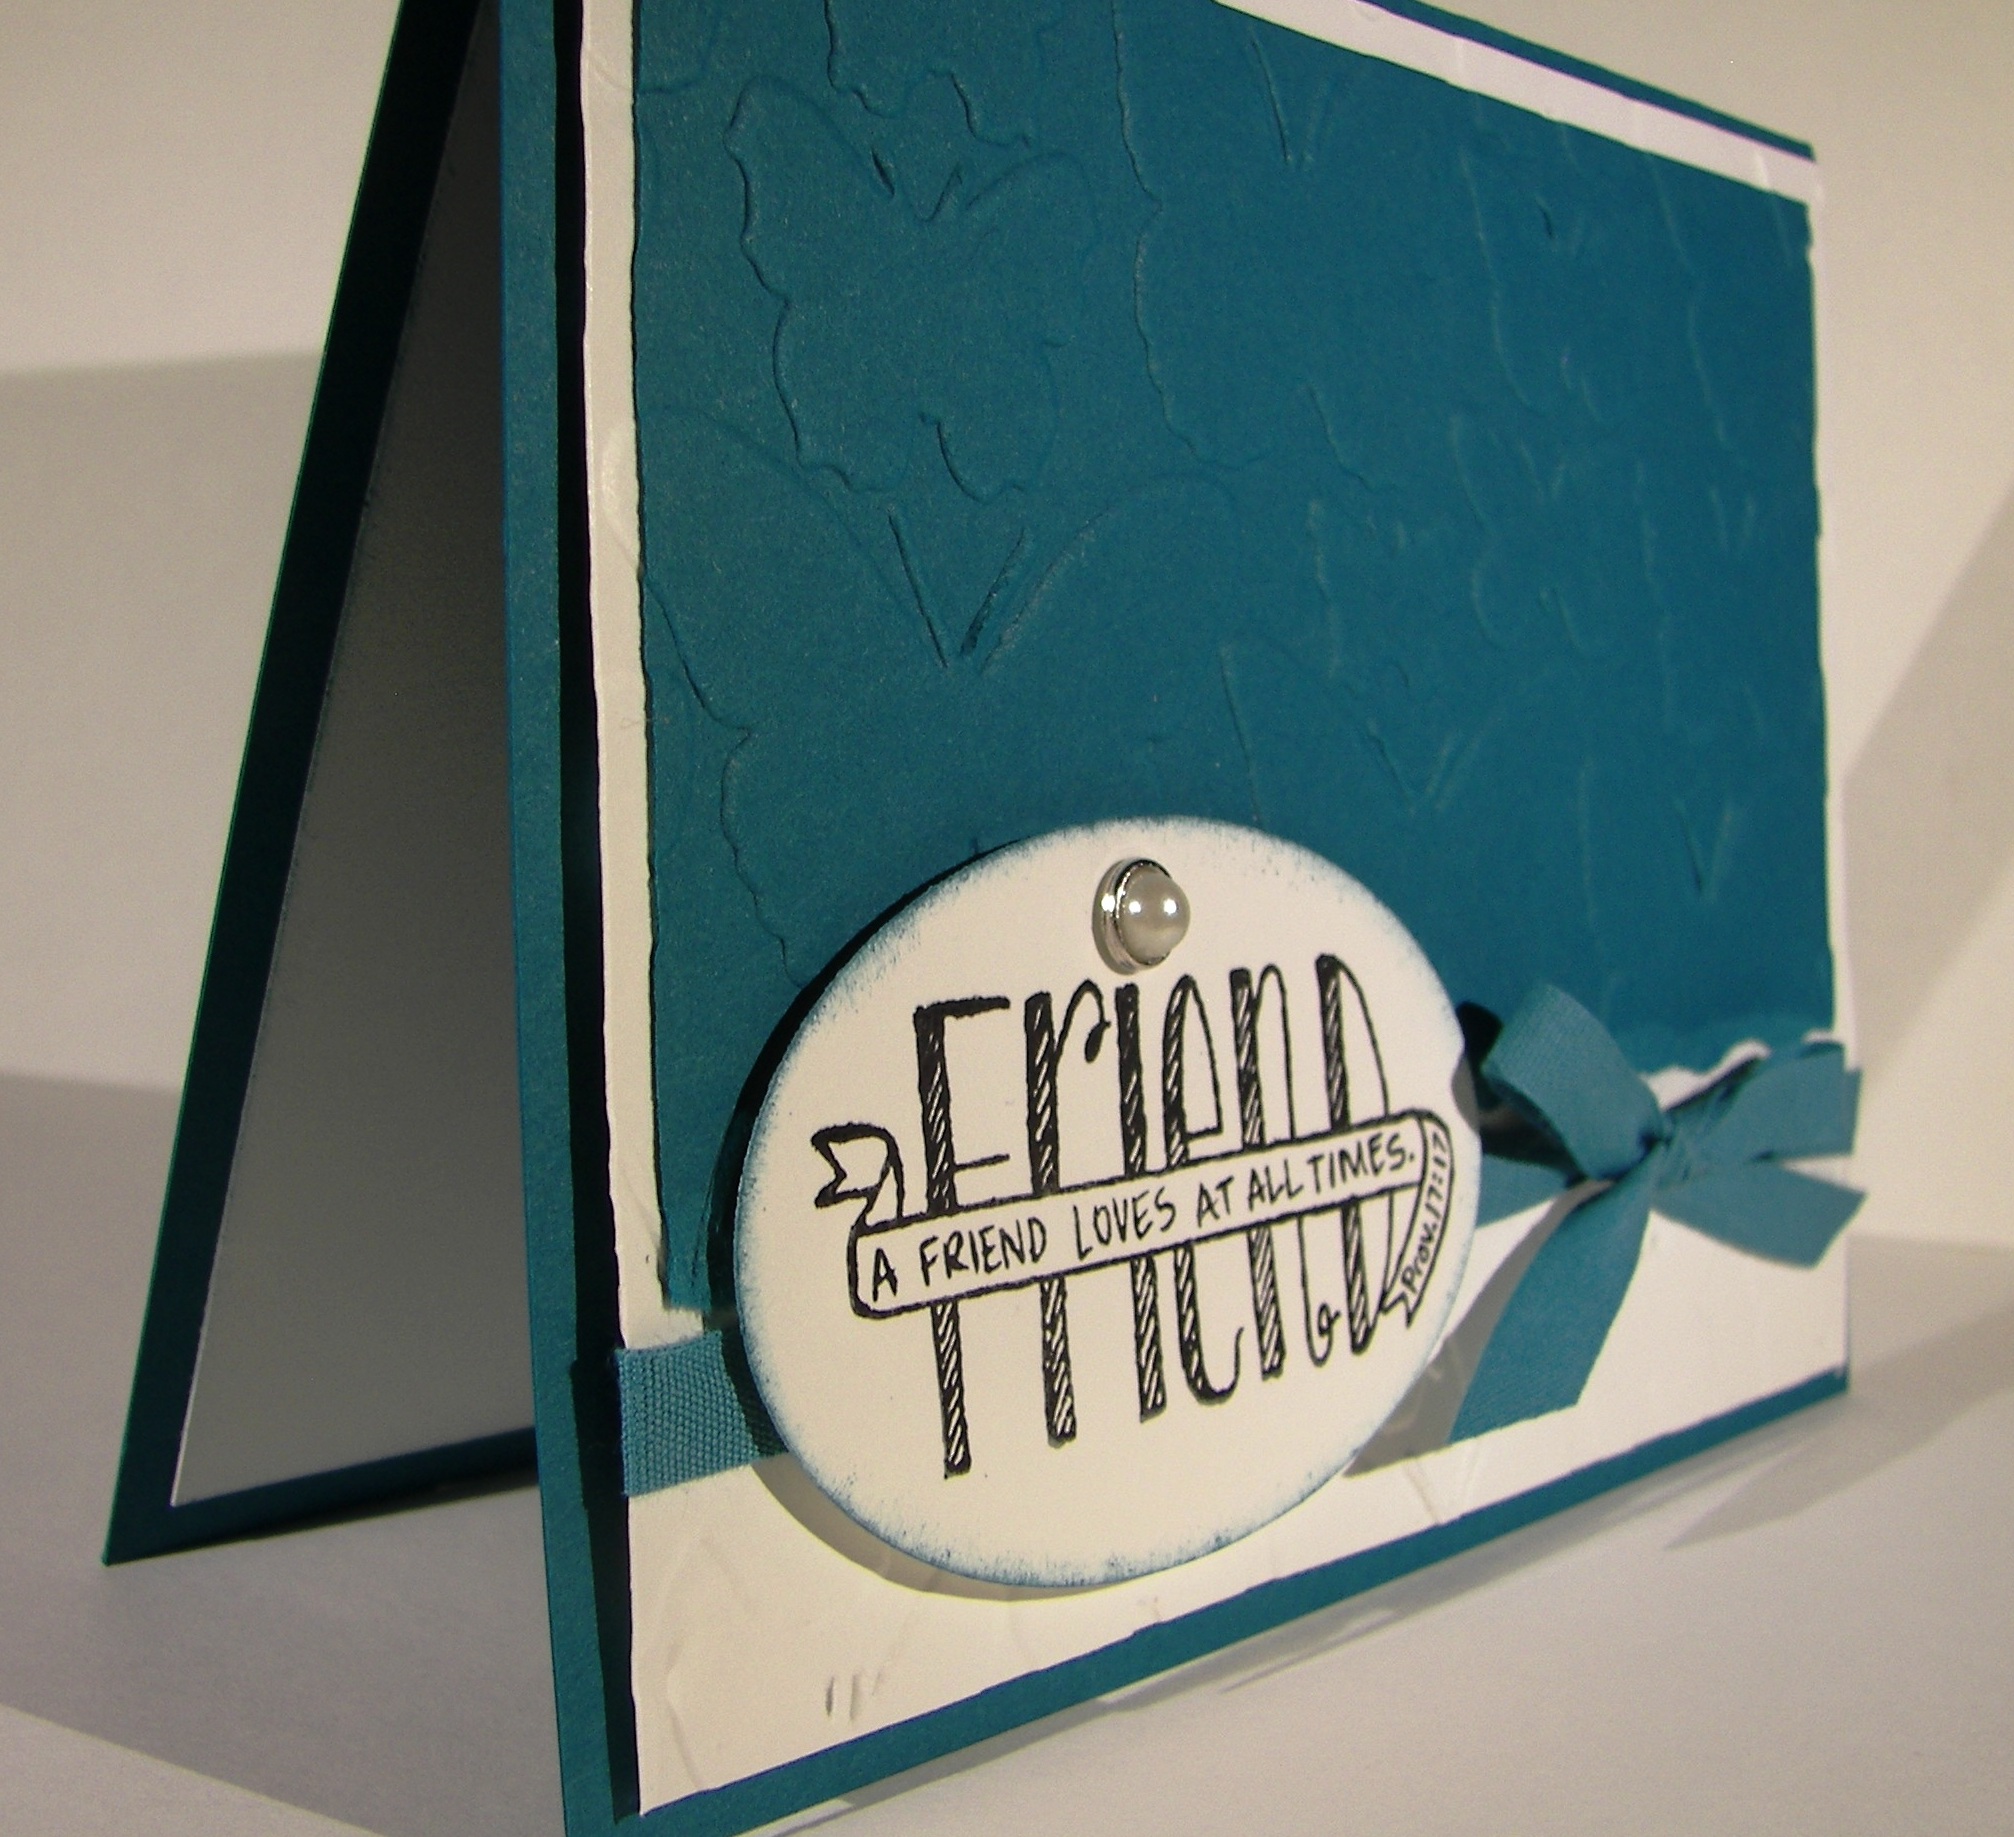
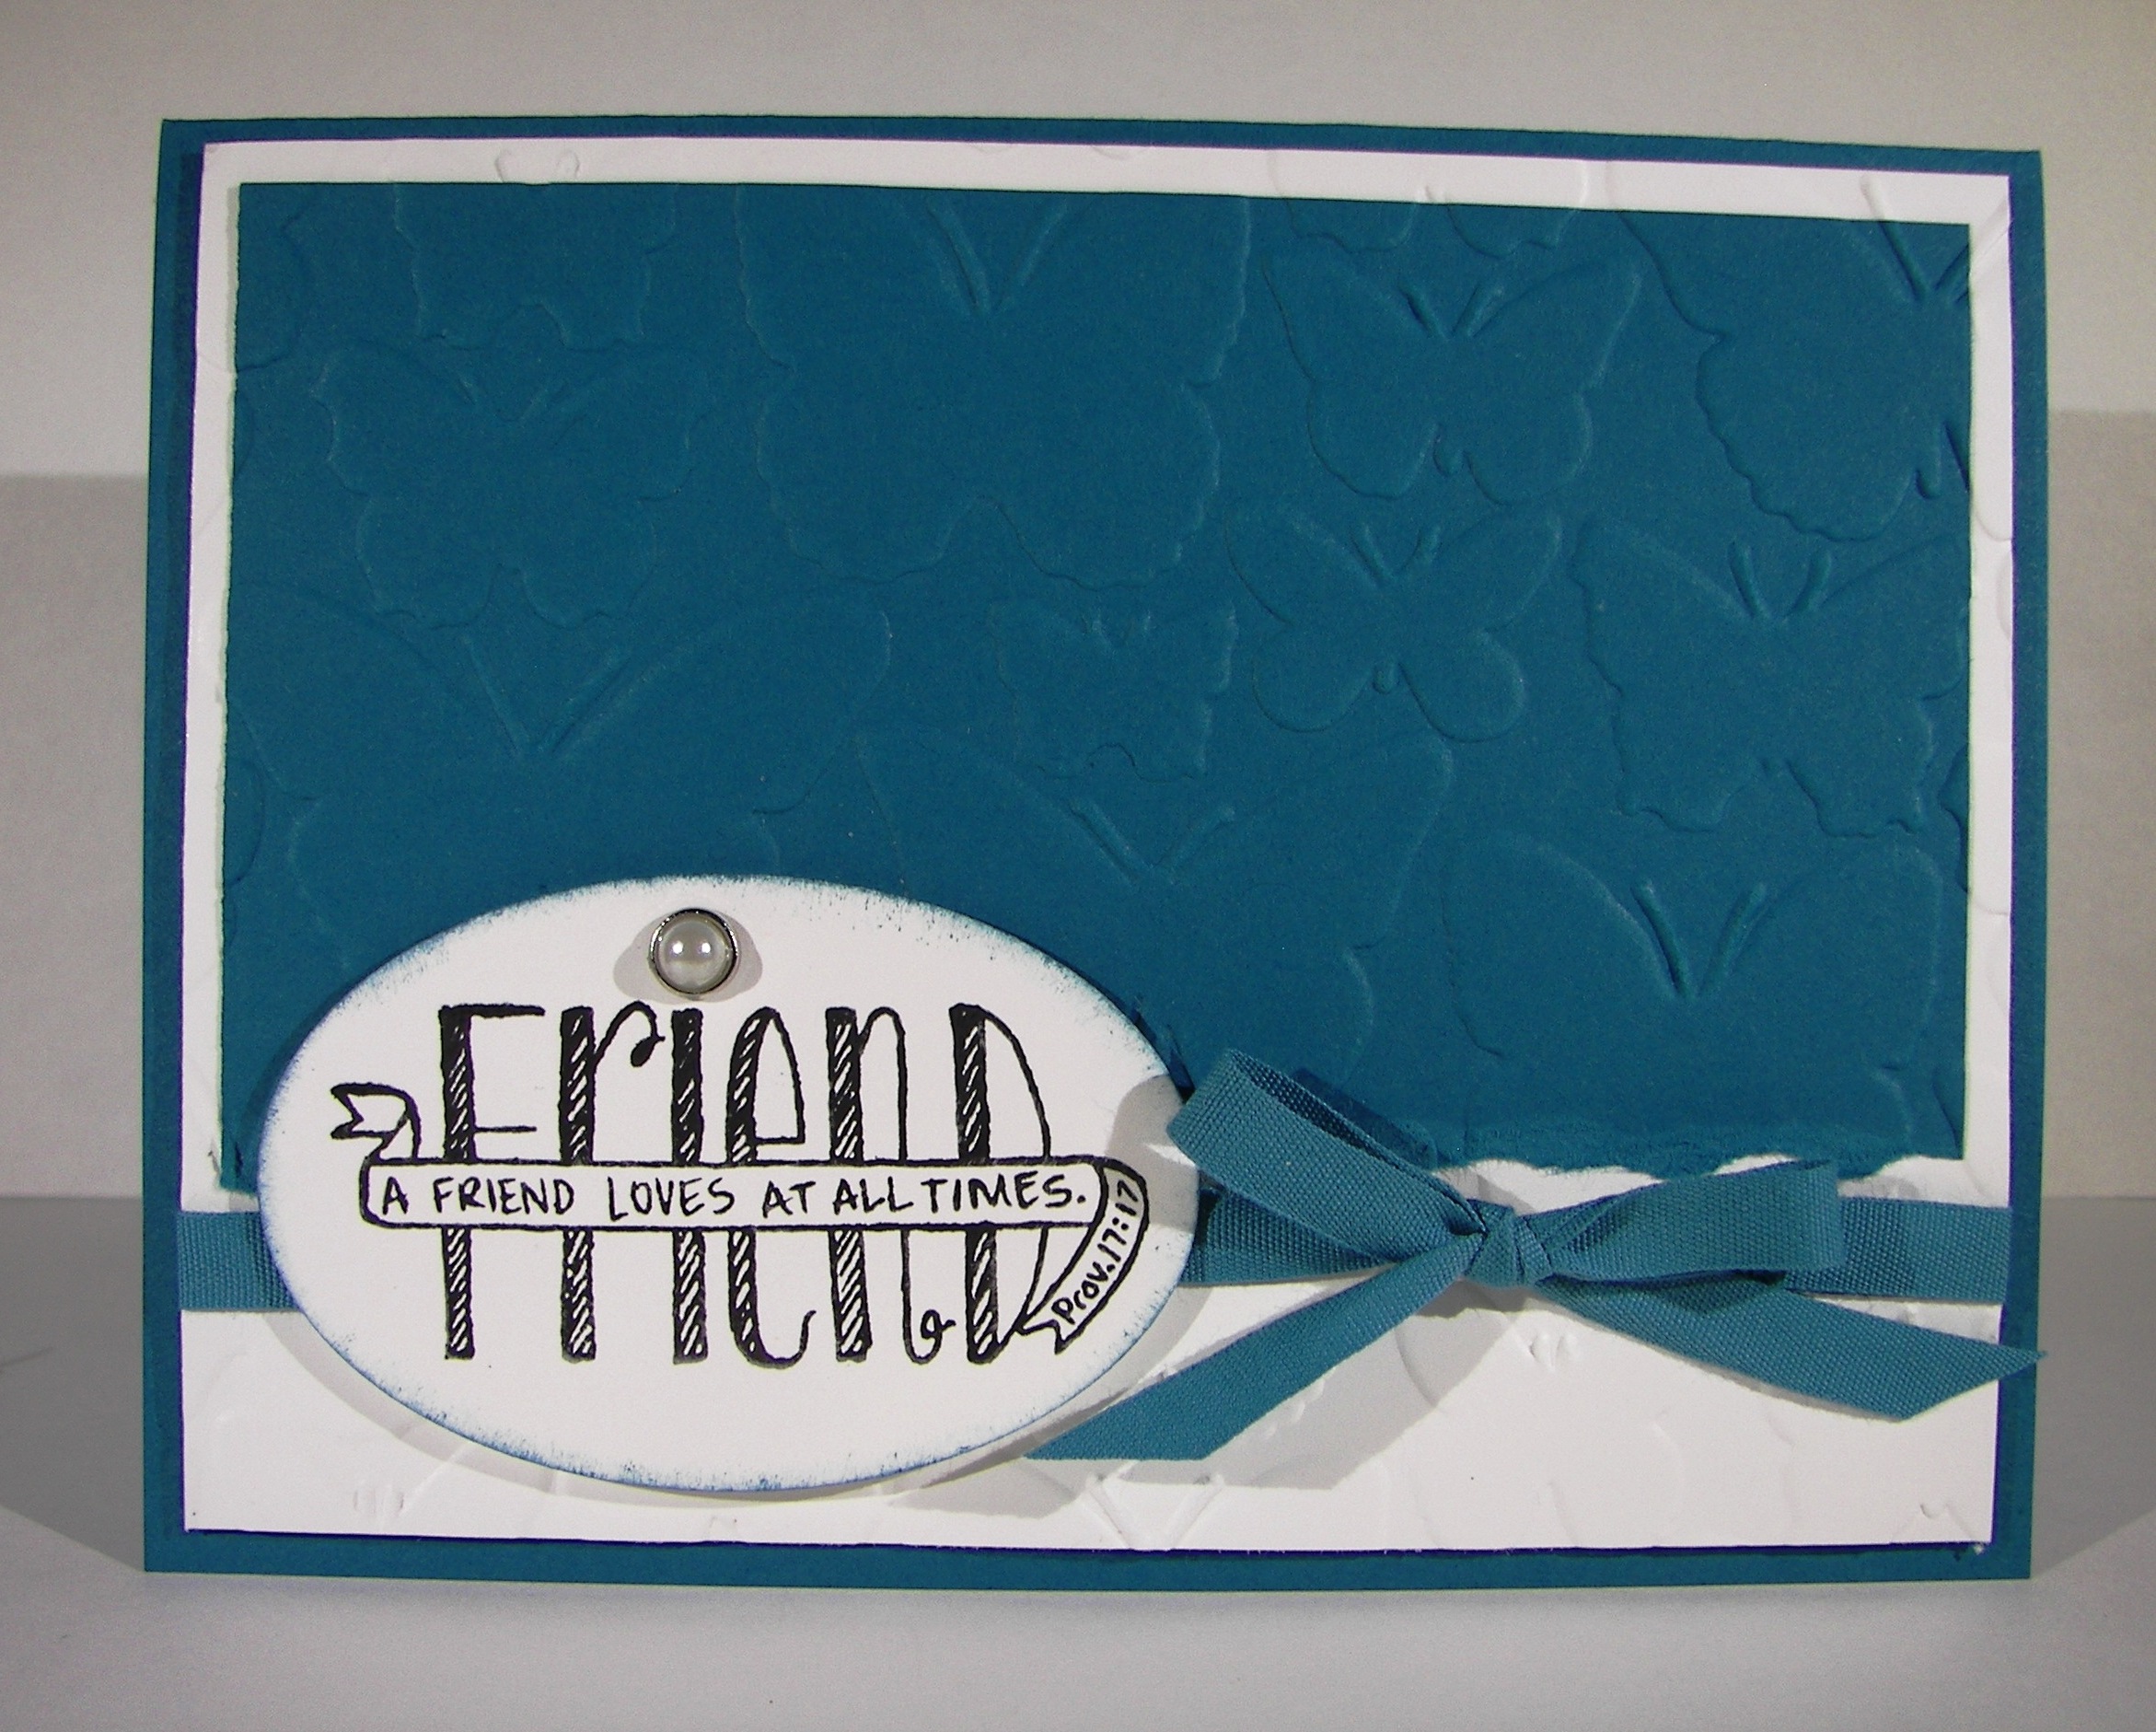
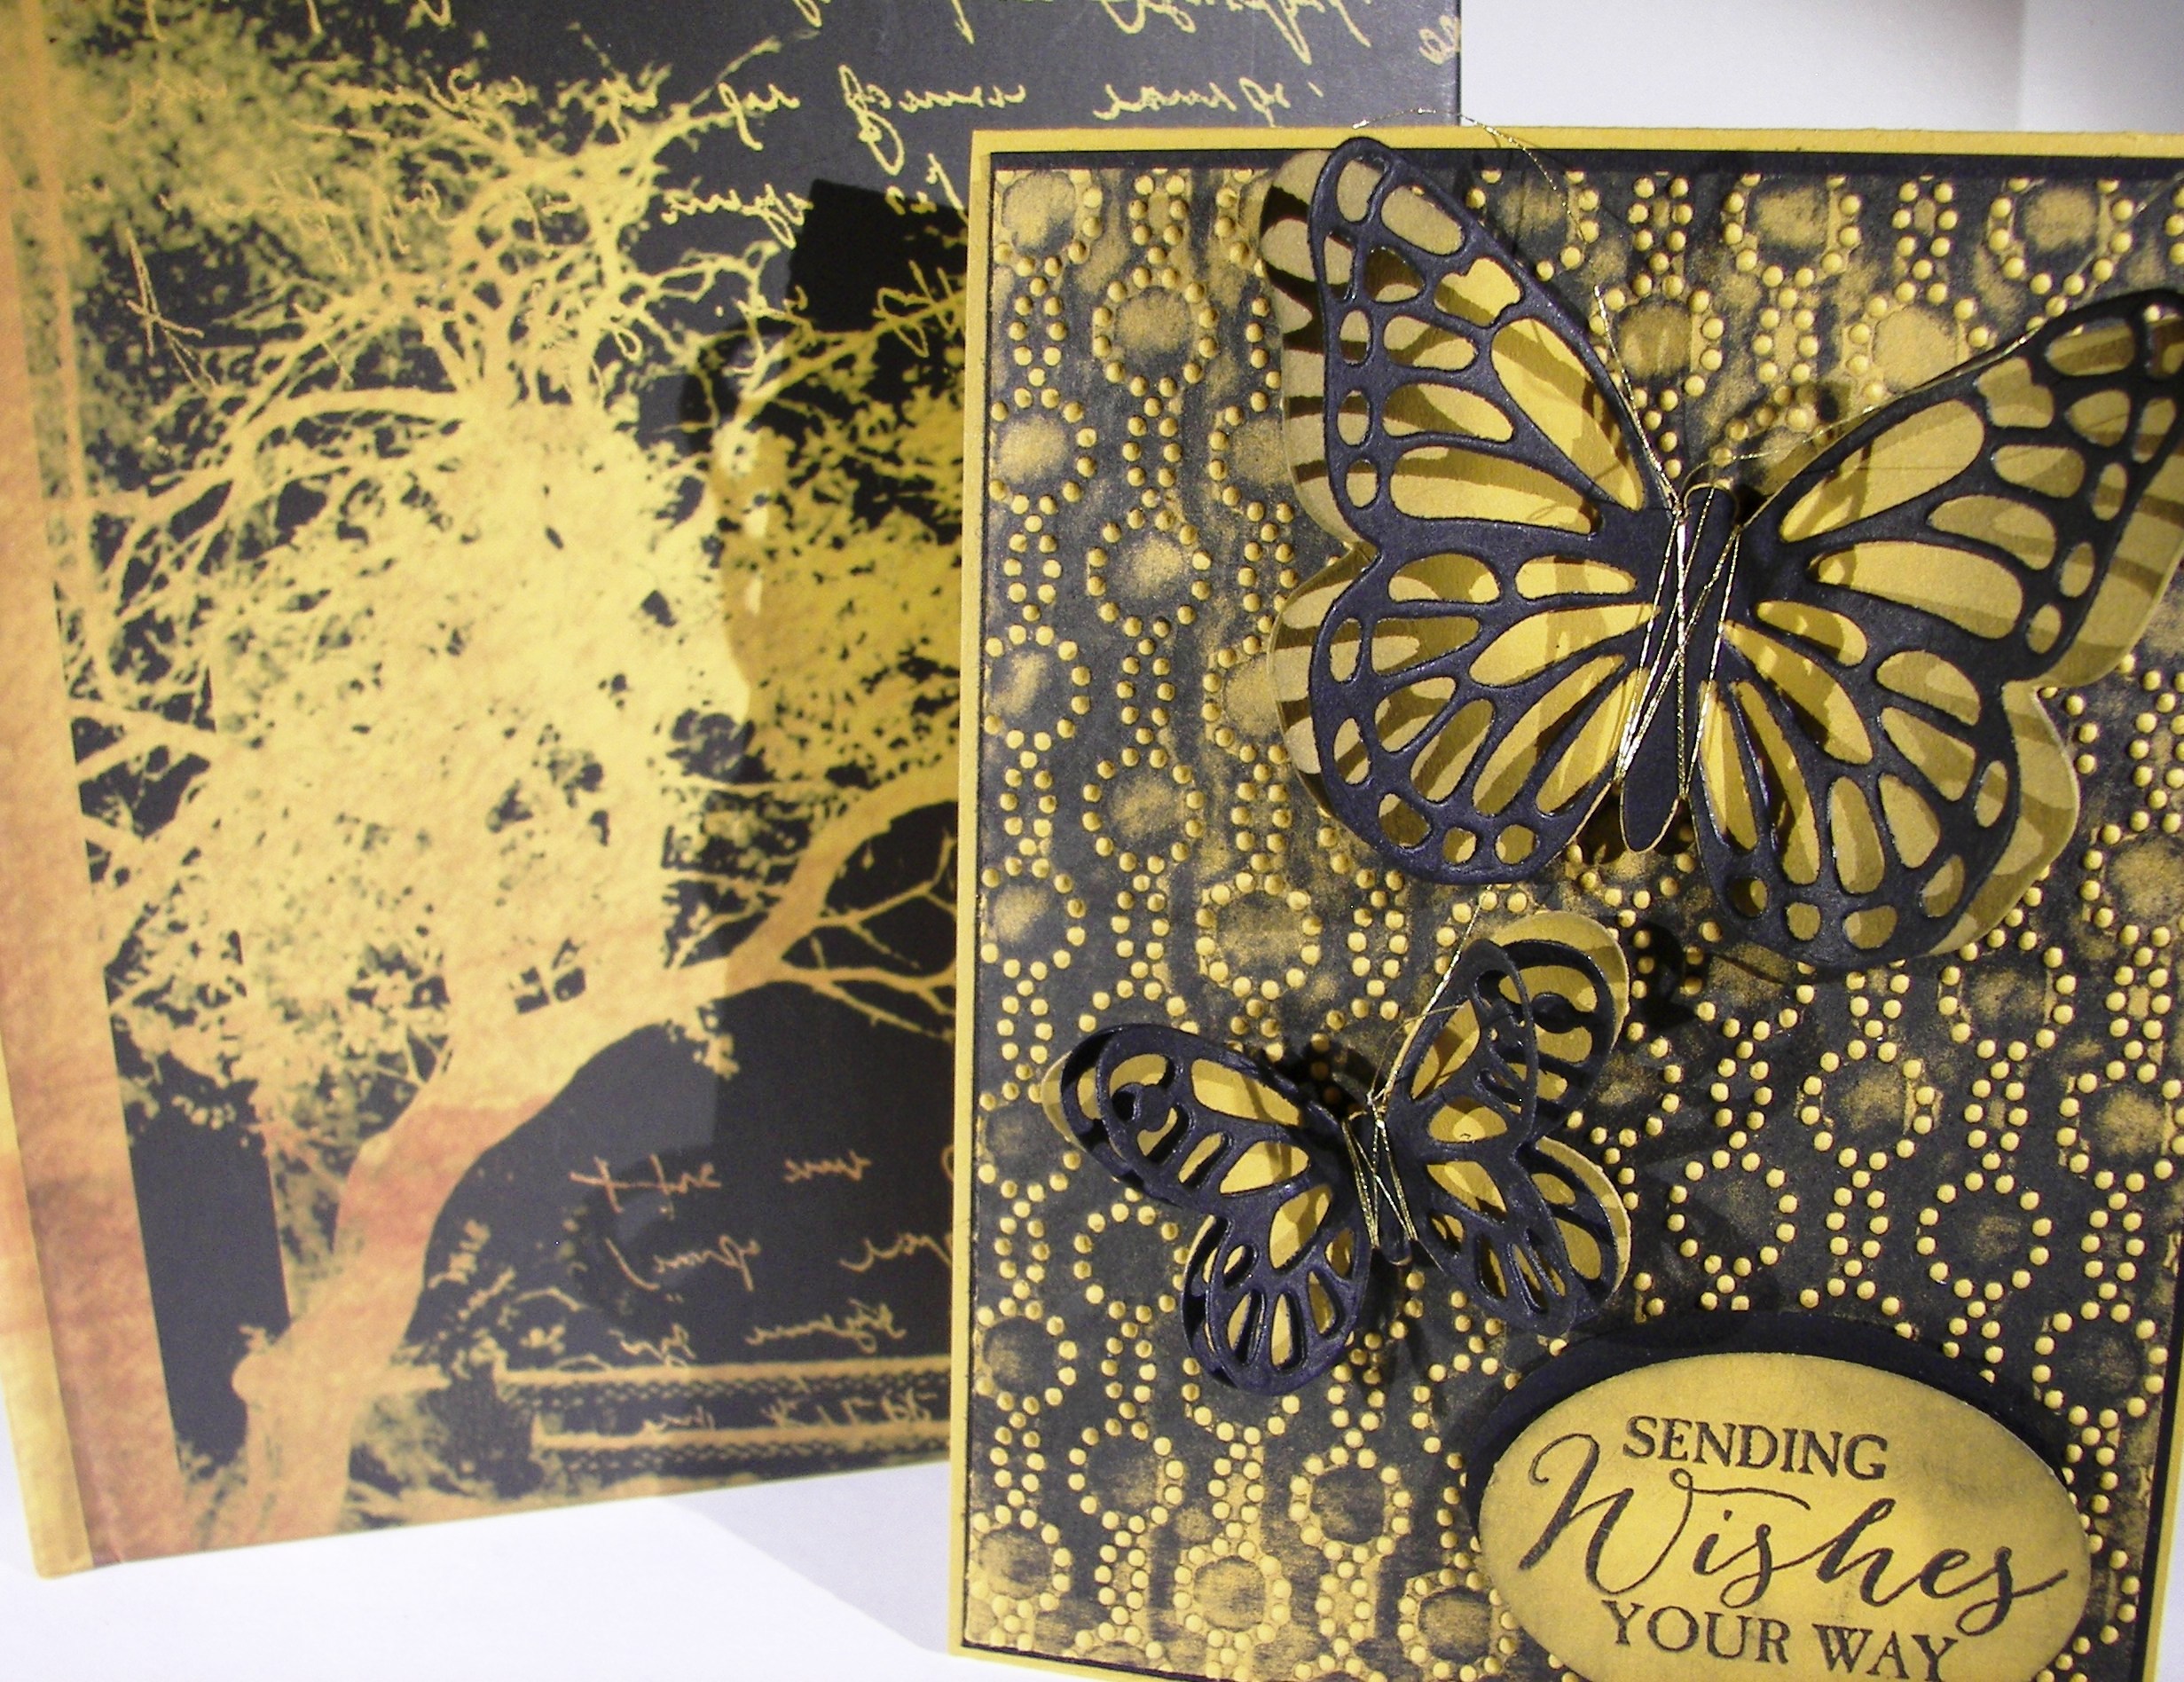
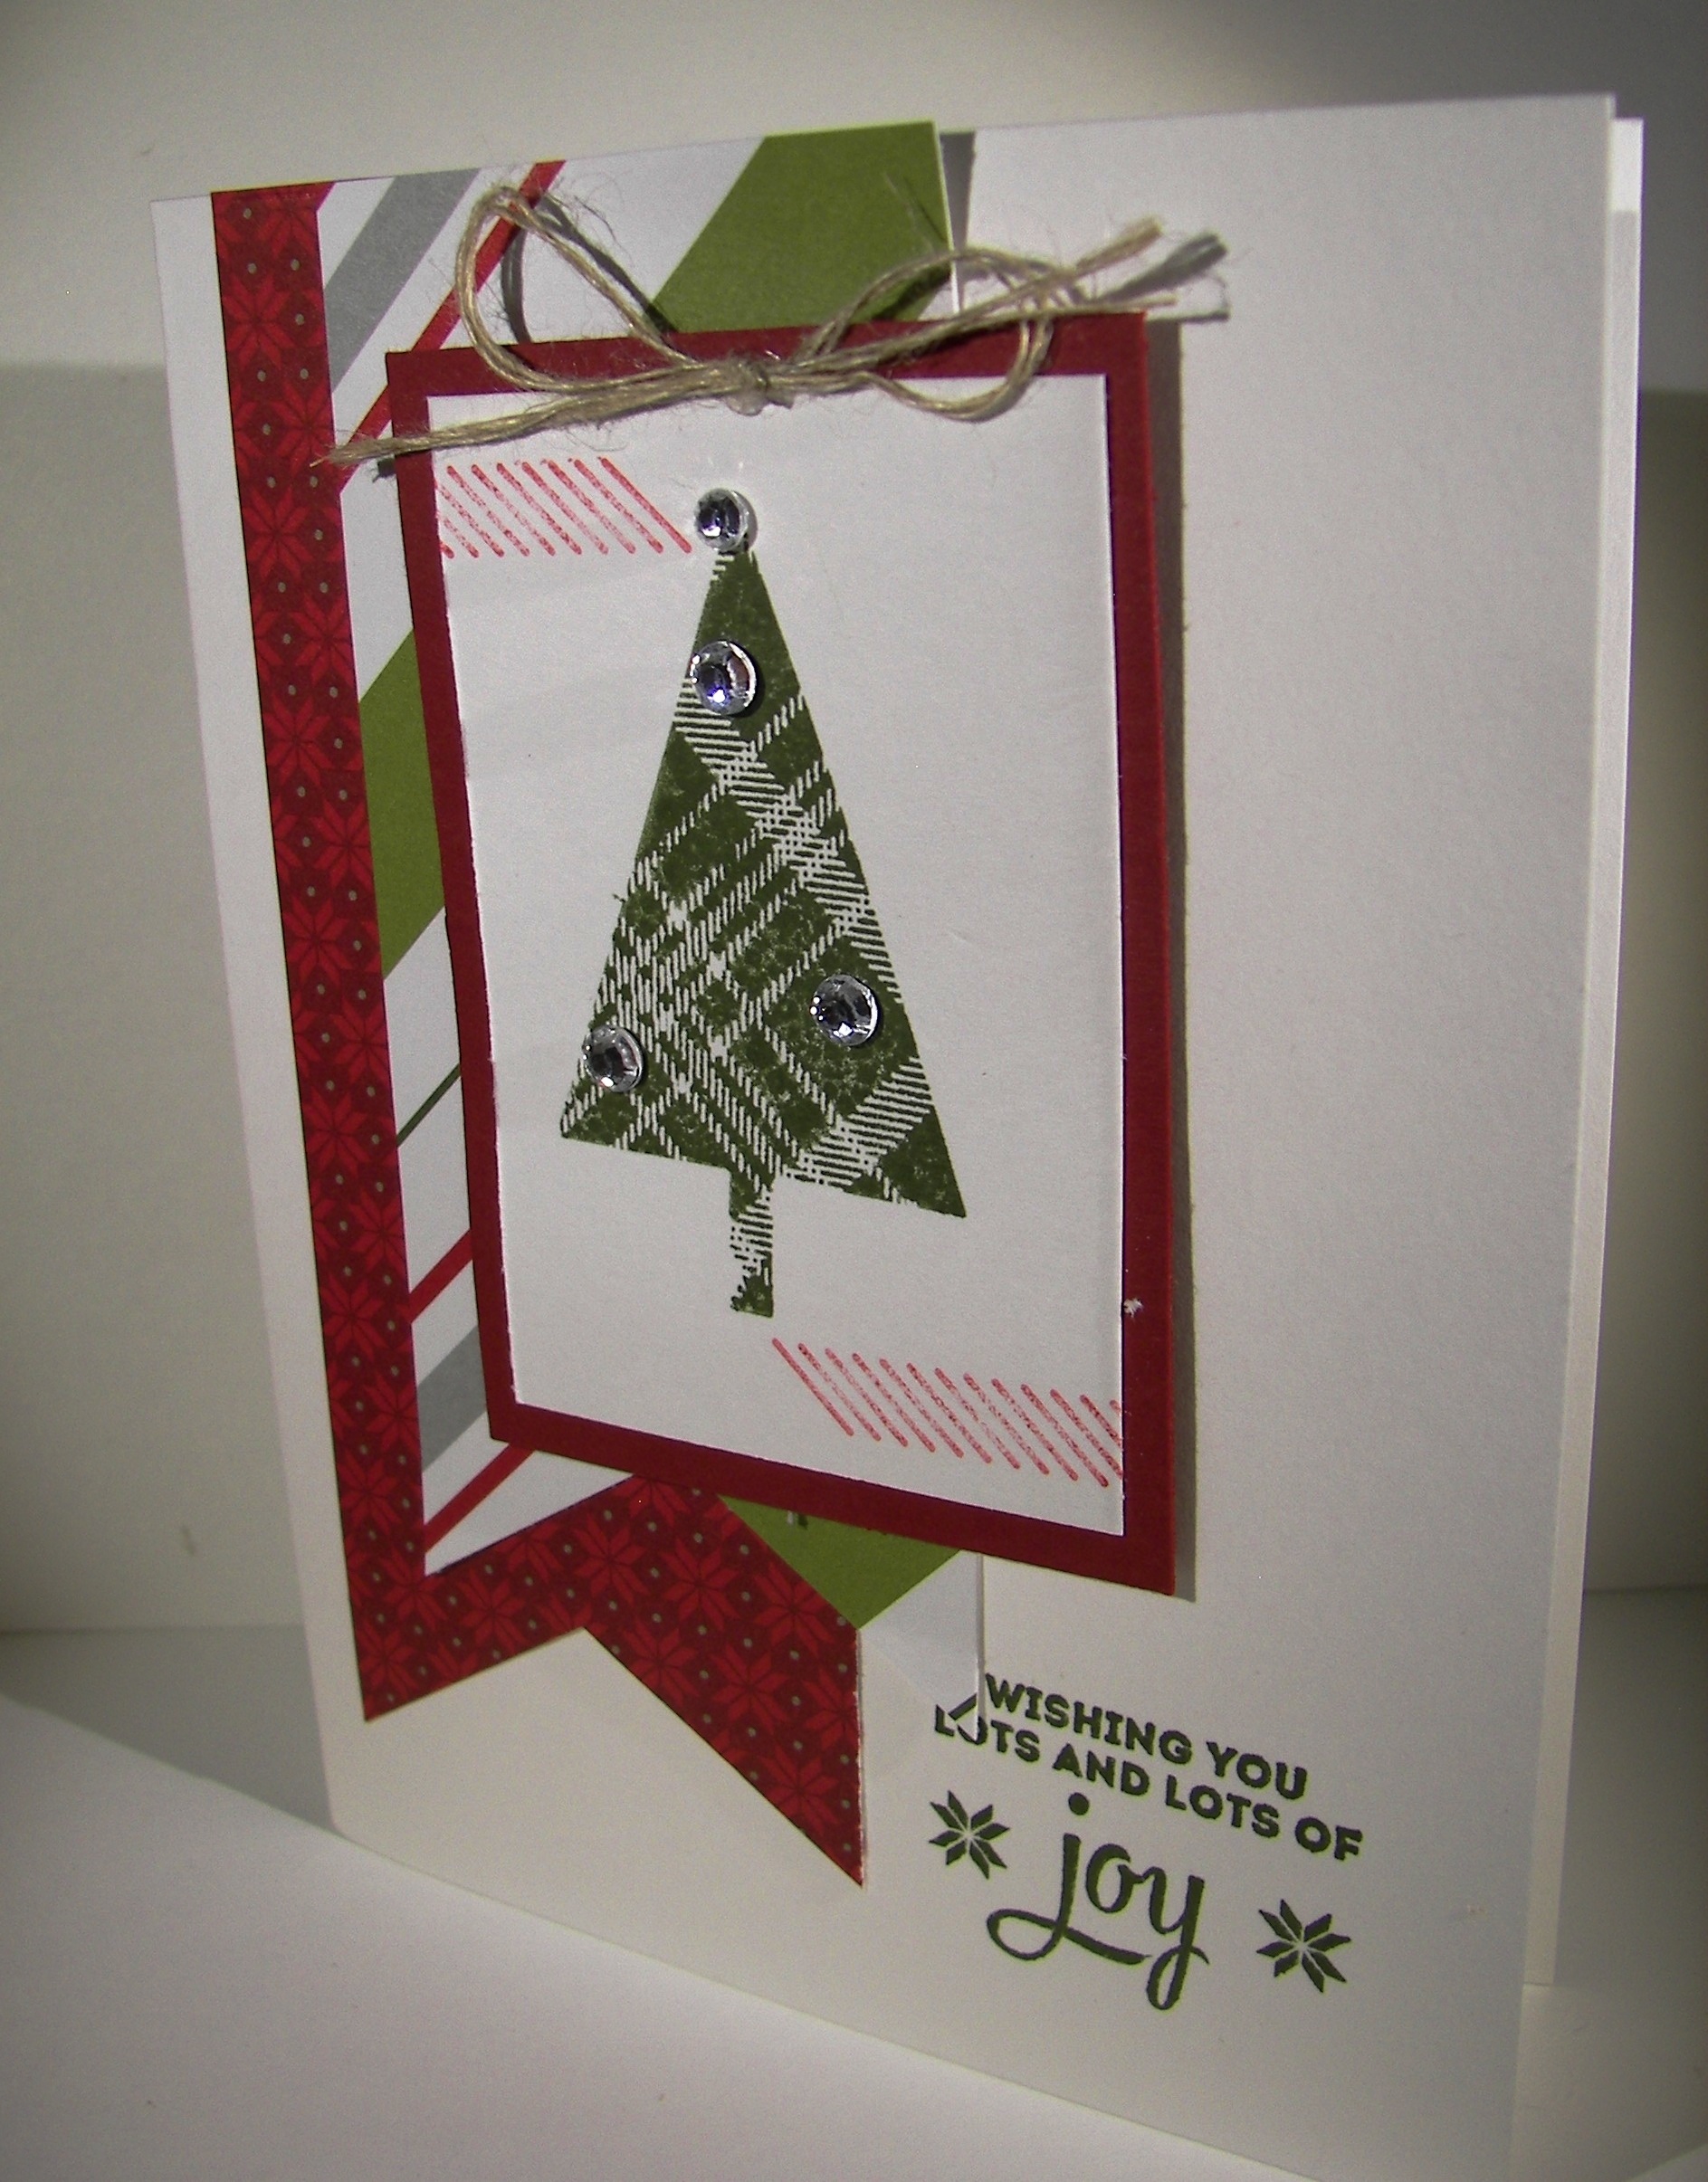
I chose the pattern of the DSP with the tiny flowers.  It went better with the nature look of the trees.   A touch of dimensional a went with the sentiment layer only.  Simple to make and easy to mail.  Sounds like a win to me.

Banner Blessings Gift Set - Thanks

Have a creative day!

Moana

Banner Blessings Gift Set – Joyful

I get to be out of town this weekend and enjoy some time with my two children away at school. Utah is so pretty this time of the year, the rain is making it even better.

Banner Blessings Gift Set - Joyful

This is the second card in the gift set I made for my daughter. Bright and cheery for sure. The color scheme certainly does go with the word joyful.  I love this stamp set.  Very inspiring and the writing style is awesome.

Banner Blessings Gift Set - Joyful

The card base is the heavy whisper white. Love having something this heavy to work with. I stayed away from white cards, but not any more.  I enjoyed sponging  the front to bring out the heart detail. A couple of hearts punched on the front and inside to coordinate.  Second card in the series is done. Wait til you see the gift box.

Banner Blessings Gift Set - Joyful

Have a creative day!

Moana

Banner Blessings Gift Set – Friend

The morning took off without me, and there was nothing I could do about it.  This has sat at my computer waiting for me to take a lunch.  Well, never happened.  How about a tiny break?  Works for me.

Banner Blessings Gift Set - Friend

This is the first card of a set of four with a coordinating gift box.  It was so fun to make.  I actually made it for a special someone and I can’t wait to deliver it.  Should be tomorrow!

Banner Blessings Gift Set - Friend

I attached the island indigo torn card stock to the thin whisper white before I ran it through the fluttering embossing folder.  Everything got done at once.  The sentiment was stamped in black stazon and sponged a bit with coordinating ink.  I love the cotton ribbon, it makes such cute bows.  The inside stamping is actually negative punching.  I punched a butterfly or two from the white insert and revealed the card base.  Simple and very effective!  So fun.  Those pretty pearl accents.  I could really get used to those.  I had it dot the “i”, even though it wasn’t needed, I wanted to use one and it fit the image.  A bit of dimensionals and this card was done!

Banner Blessings Gift Set - Friend

Have a creative day!

Moana


Dazzling Diamonds Dragonfly

I liked the randomness of picking one single stamp and designing a project around it.  Today was just the beautiful dragonfly from the Awesomely Artistic stamp set.  My favorite image honestly.  I wish I had more.

Dazzling Diamonds Dragonfly

The new DSP pack patterns sure are awesome.  I had a hard time deciding which side to use.  I usually enjoy the patterns, but can see myself making gift sets with all of the different papers here.  Total coordination really makes me very happy, even within a gift set.

Dazzling Diamonds Dragonfly

It isn’t always easy to get decent photos of my work.  The ladies in my club often tell me how much better they look in person.  Isn’t that true of so many things though?  But the dazzling diamond dragonfly here needed to be angled a bit for you to really see it.  I wasn’t sure how happy I would be with it on whisper white, but I love it!

Dazzling Diamonds Dragonfly

Have a creative day!

Moana


Gather Sunshine

It started with one stamp, ‘gather’, from the Seasonal Snapshot 2015 set.  I love it, just love it.  Then I began rooting around for word stamps or images that would go with it.

Gather Sunshine

I pulled out Crazy About You, because it has all of those phrases and word sets.  There it was, sunshine.  I immediately went to the Kinda Eclectic set because of the beautiful sunburst in it.  Great combo going on for sure.

Gather Sunshine

I wanted more than one yellow tone going on, so I have three.  The sunburst and the card base are So Saffron.  The base of ‘gather’ was done in Daffodil Delight and layered over in Hello Honey.  Sunshine was stamped in stazon and the inks were put away.  The paper layering is simple with a double layer of smooth whisper white put up on dimensionals.  No ribbon, nothing else, just clean and simple.  Not my usual style, but I rather like it.

Gather Sunshine

Have a creative day!

Moana

Thoughts & Prayers

I took a day away to recover from a great birthday celebration for my youngest.  I can’t believe she is 15 already.  Family first, so it was all about her.  Even so, some things still have to get going.  These projects were made to give to the young women I taught a Sunday lesson.  There were fourteen of them all together and they looked wonderful.

Thoughts & Prayers

I usually share current product, but made an exception for these.  The paper is retired from last year and the heavy bakers twine is from the last sale-a-bration.  The stamps, doilies and punches are current though.  I do love how things coordinate together so nicely though, very satisfying.

Thoughts & Prayers

Setting a piece of paper on my score board is so liberating.  A little bit of math and you are off and running.  I cut the 12 x 12 sheets in half and went for it.  They came together rather quickly and the girls really enjoyed them.  I love to make things for people, I truly do.

Thoughts & Prayers

Have a creative day!

Moana

You’ve Got This

Sometimes simple words are all you have, and sometimes that is all you need.  That is just how I feel this morning.

You've Got This

I took my time painting this lovely flower with a few of my favorite inks.  I stamped the flower in almost artichoke and did light water coloring to get the base down.  I added cajun craze but kept it light the first time through.  Adding more water helped to do a little blending, but I didn’t want too much of that.  I like that two colors together can create a third unexpected surprise.  In person, you can see the blended areas have nearly a cherry cobbler tone.  Cool, right?  I thought so too.

You've Got This

The entire image was accented in gold encore ink, still using the aqua painter.  That really creates a fun look and is surprisingly easy to control.  One simple sentiment in black stazon ink with a little gold metallic thread and this simple card was done.  Well, I did have to stamp inside as well.  I stamped off twice before I placed the stamp on the inside paper.  Nice and light.  And look, absolutely no sponging!  Crazy.

You've Got This

Have a creative day!

Moana

Game On Dear Heart

I absolutely love, love, love making my own paper with unique stamps.  Most of the time my friends can’t even place which stamp set it came from.  I have overlooked several stamps myself.  Example, look at this cute little fish!

Game On Dear Heart

Sometimes we feel like we don’t fit in, but I feel like that is a beautiful thing.  I made this card with that theme in mind.  He is stamped in melon mambo, water colored a bit, and water colored again with silver encore ink.  Everything is lightly sponged and there are plenty of dimensionals here.

Game On Dear Heart

The sentiment was stamped on a little scrap, punched with the bitty banner punch on one end, and given a bit of ribbon on the other.  How easy is it to just staple some ribbon on.  Some cards need just that, a little different look.  And of course this is layered up as well.  Did you see the little fish repeated inside?

Game On Dear Heart

Have a creative day!

Moana

Floral Gift Bag

The seasons are all backwards, so why not create a spring themed gift bag!  Seems kind of silly to really feel like fall might have arrived, then summer heat, then what.  Who knows, so I will craft what I like, and I like this.

Floral Gift Bag

One whole sheet of 12 x 12 dsp went into this bag.  The dots are too much cuteness, so they had to be out front.  I wasn’t feeling a particular stamp, so I curled a couple of flaps over to show the writing side.  This paper pack is so adorable.  A bunch of bright and happy paper going on.

Floral Gift Bag

The diagonal scoring plate is what helped this box happen.  I scored on the 3″ marker, on the diagonal, on each corner.  It worked out pretty darn good.  I don’t always feel confident my scoring is accurate when using the diagonal plate, but when putting the bag together, my sides and corners matched up.  Go me!

Floral Gift Bag

A few punches from the heavy whisper white cardstock and regal buttons for centers made the embellishments I wanted.  The bag was sealed, but not sealed, with a stretch of dotted lace trim.  It is stretched around the top, under the front and back flaps, and then tied in a bow.  Just untie it and the bag will flop open.  Easy to use and re-use.  My kind of bag.

Have a creative day!

Moana

Vintage Leaves

What happens to some mornings, I really don’t know.  Just when you think you might get a break here or there, it just doesn’t happen.  But I made it here, finally.

Vintage Leaves

I have taken my time in using this new set, Vintage Leaves, but am totally ready to go now.  I only used one leaf today.  I wanted to focus on color as much as detail and thought if I had too may patterns and colors it might get lost.  Rich Razzelberry was my focus, and this was totally what I wanted it to look like.

  Vintage Leaves

I stamped several of the same leaf in black Stazon and left space for just one rich razzelberry one.  So simple.  I used a second stamp set, For All Things, for the sentiment.  It was layered flat with a banner of coordinating cardstock.  I touched it up with a strand of cotton ribbon and called it good.  I really did love how this turned out.

Vintage LEaves

Have a creative day!

Moana

Lovely Amazing You

While sitting next to my youngest daughter, trying to keep her awake to finish homework, I thought I would complete my project for the next day.  Good idea, right?  I pulled two stamp sets I hadn’t used in a while and asked her for a color idea.  She said dark blue, so I went with Night of Navy.  The card began.

Lovely Amazing You

She wasn’t having the best of evenings and her older sister came to the rescue, even though she is out of state attending university.  I do think that technology can interfere with real personal relationships, but this was perfect.  The infamous ‘snapchat’ was just the thing.  The sad faces turned to happy and then on to absolutely silly.  And that is how I chose my sentiment.  Thank you my sweet daughter for being the best big sister ever.

Lovely Amazing You

The brayer was still out from workshop so I let it give me my background on the large polka dot embossing folder.  Kind of artsy looking, even if I didn’t keep it perfectly clean.  I then decided to do a lot of sponging to disguise some of that, can’t hide it all, and also sponged lightly all over the paper.  Nice.

Lovely Amazing You

The little notebook sheet was created with a stamp from the Tap Tap Tap set, offset on some Night of Navy cardstock, raised up on dimensionals and embellished with basic rhinestones.  I even used the 1/16″ hand held punch and punched actual holes over the stamped ones.  Pretty cute.  I finished off the project with a bow of seam binding ribbon and decided I loved it!

Have a creative day!

Moana

For All Things

It can be hard to get even the simple things done when you don’t quite feel yourself.  That is why today’s project is super simple, just what I needed.

For All Things

I started with a half sheet of very vanilla cardstock and scored every 2″ on the 8.5″ side which left me a 1/2″ edge to seal the box together.  I also scored along the length at 2″ to make the bottom, and at 3/4″ at the top and then 1″ over from there.  I know I am not very exact at sharing my measurements, but it works out I promise.  Oh, I did do my stamping before I scored, forgot to mention that.

For All Things

I have held the box together using the tear n tape adhesive.  I do like that stuff, easier to work with than sticky strip.  The flaps are folded together and adhered with the same and then I got to sponging.  All the edges and even on these bitty little flowers.  I love that look!  I put the largest basic pearls inside each flower and grabbed for a scrap of ribbon.  The dotted lace trim has a good bit of stretch to it, so it is held on just by that.  Not a glue dot or anything.  That makes it easy to use and re-use.  A simple bow and it was all done!

For All Things

Have a creative day!

Moana

Floral Frenzy

After a huge workshop I usually just take a break from my desk, but yesterday was different.  I got back home and found myself drawn into a project that was clean and full of floral punches.  No stamping at all.

Floral Frenzy

I think I just needed to make something in a calm setting away from the frenzy.  It can get a bit wild with too many people, especially with new stampers.  I think it is time to split the group.  We will have to see. 

Floral Frenzy

There isn’t even any ink here at all.  No sponging or a sentiment either.  Very clean and simple, with a ton of flowers, my favorite.  Kind of like my comfort craft.  All this card is about is punches, punches and more punches.  Five different flowers all layered about with basic pearls to finish them off.  I used the striped cotton ribbon because I wanted it to physically stand out as much as the flowers would.  Bows and flowers and now I feel better.

Floral Frenzy

Have a creative day!

Moana

I Cased Myself! Eeeek!

I have the pleasure of hosting a card workshop for my club this weekend and decided I would use yesterday’s project as one of our projects.  I do like to give them choices and encourage a bit more creativity, so I cased myself to give them another choice.  Too fun I must say.

I Cased Myself!  Eeeek!

Same kind of layout as yesterday, but I made my background paper instead of using designer series paper.  Choices, like I said.  And I love to encourage people to use their stamps differently.  This qualifies for sure.

I Cased Myself!  Eeeek!

I used the pumpkin face from the seasonal stamp set Sparkly Seasons.  That is one diverse set, absolutely love it!  I stamped the faces alternate directions using black stazon first.  Then I went back over them to create a shadow/3D look.  It turned out fun.  I will use that technique again for sure.

I Cased Myself!  Eeeek!

When I put the eyes on I placed them over the pumpkin eyes and got a mouth out of it.  So cute.  Then I had the eyes turned to face the word eek and the card was done.  I did use the same pumpkin face for a bit of echo stamping inside.  Just right if you ask me.

Have a creative day!

Moana

Larger Than Life Boo

Halloween doesn’t have to always be about scary things.  Sometimes it can give you the feel of the holiday and be totally adorable at the same time.  Kind of like a few sweet children all dressed up singing “Trick-or-Treat” at your door.  Just too cute.

Larger Than Life Boo

The project began with a sheet of the Go Wild DSP stack.  I knew I wanted to sponge it up with a faded look so I looked for patterns that had more white than black.  This pattern was perfect.  I swirled and swirled until it looked the way I wanted and then sponged around the edges some more.  No layering, just adhered it straight to the card base.

Larger Than Life Boo

These Larger Than Life Alphabet & Numbers stamps really make me happy.  The only thing that would make me happier is having coordinating framelits.  But, that is not the case.  You guessed it, I actually did fussy cutting, twice!  Once for the letters and once again when I layered them up on more paper.  Where is my brain?  It had to be done, so I suffered.  My least favorite crafty task next to cleaning up.

Larger Than Life Boo

I touch of Dotted Lace Trim added such a soft touch.  Left the bow off and just did a simple knot.  I made some little eyes using the 1/2″ circle punch, punched circles using the 1/4″ circle hand held punch, and centered them with the largest size of basic rhinestones.  I sponged those pumpkin pie eyes and raised them up on dimensionals.  I also raised up my word ‘boo’ with dimensionals, but used a double stack on the center ‘o’ to make it stand out even more.  End result, adorable Halloween card, just adorable.

Have a creative day!

Moana

A Whole Lot of Lovely

Today is quite the contrast to yesterdays color scheme.  But I certainly am all over the place in regular life, so why should my crafting be any different.  Makes sense enough to me.

A Whole Lot of Lovely

I have wanted to try this technique for ages but have never sat down to actually do it. I saw a card that did this as a lattice background for a lovely floral collection and saved the image for later.  That was two phones ago, and I have long since lost that image, but not in my mine.  

A Whole Lot of Lovely

I used my simply scored set and diagonal plate to make these lines.  If you look closely you will see all of my errors, but it was my first time trying.  I tried to keep my score lines 1/2″ apart, but didn’t get them exact every time.  The look turned out though, and you get the idea.

A Whole Lot of Lovely

Some simple stampin, layering everything up on dimensionals, a couple of strings of basic rhinestones, and a healthy dose of sponging helped to finish it off. I of course had to stamp and sponge the inside to make it almost as lovely as the front, they need to coordinate.

Have a creative day!

Moana

Journal Inspired Butterfly Basics

My husband bought this pretty journal and I immediately took it to my desk to stare it down.  I just knew there was a card in there somehow.  Well, after sharing swaps for nearly two weeks my creative bug was on high alert.  I sat down last night and gave myself some time to go at it.  And I did.

Journal Inspired Butterfly Basics

Isn’t is uncanny how close the colors are?  I guess that is why I migrated to it.  I have other off market stamps that might have gotten closer to the tree, but I really wanted to get my brain in gear for workshop this weekend.  I couldn’t be happier with the end result.

Journal Inspired Butterfly Basics

The borders are a narrow 1/8″, my favorite.  I bravely opened up my new elegant dots embossing folder and rubbed Stazon all over one side and then ran it through the  big shot.  I loved the result, and most of the ink came off.

Journal Inspired Butterfly Basics

I used lots of butterfly framelits and layered everybody up.  The smaller one has two black die cuts over the delightful dijon layer.  Light sponging made everything look a little grungy and tied it together.  There is a little stamping inside, as well as more sponging.  I used plenty of glue dots to hold the butterflies together and layered like crazy with dimensionals.  So fun!

Have a creative day!

Moana

Final Holiday Swap Share

I have thoroughly enjoy sharing some of my favorite swaps, but I am ready to get back to creating some of my own work.  It is nice to step away from your own style and see product through someone else’s eyes though.  I have two of the stamp sets used here and didn’t see these options at all.

Final Holiday Card Swaps

I also tend to purchase to the likes of my club members so that they can work with product they are more interested in.  Makes good business sense.  Letting myself experience it differently gave me permission to try different things. Some I liked, and others gave me relief that it wasn’t money poorly spent.

Final Holiday Card Swaps

I do love Christmas and all of the fun, love and sparkle that comes along with it.  It will be a bit of a challenge to not go directly there with my projects.  However, it does frustrate me to go shopping in September and be overwhelmed with all of the holiday items to purchase.  So, I will do my best to go through each one patiently and enjoy myself.

Final Holiday Card Swaps

Now I get to enjoy getting ready for my own card workshop this weekend.  My ladies are so going to enjoy looking at all of these swaps.   Fun, fun, fun!

Have a creative day!

Moana

Planning Ahead for Christmas

These cards feel like such a cozy Christmas, don’t you think?  We are making plans for a sunny holiday this year, but peeking out a window to a snowy scene is more than inviting.

Planning Ahead for Christmas

This window framelit set is sure to be one of my favorites.  Peeking through the window, could this snowman be any cuter?  I don’t think so.

Planning Ahead for Christmas

I love inside stamping.  It makes the card feel so much more complete.  Sometimes we need a place to write a nice long note, but other times it is just wishing someone a happy day, or a happy holiday.

Planning Ahead for Christmas

Most people enjoy displaying their holiday cards as part of their seasonal decorations.  These two swaps would definitely be a welcome addition to anyone’s Christmas decorations.

Have a creative day!

Moana

Too Early for Christmas?

Well, it may be too early for Christmas, but not if you are a card maker.  Getting your holiday cards in progress is the only way to get them out on time.  I actually know a lady who has 160 people on her list and they all get a hand made card.  Yes, she has already begun.

Too Early for Christmas?

If you had a list that long, clean and simple is the way to go.  Just like these two swaps.  My Christmas cards tend to have a bit more going on, but their simplicity is quite lovely.

Too Early for Christmas?

I think I do prefer the white card to the gray, not entirely sure why, but I do.  Perhaps it is the banner layering, or how cute that tree is with the plaid and few ornament rhinestones.

Too Early for Christmas?

I love that this tree punch carried over.  I get to use it for another fun season of holiday stamping.  I haven’t even thought about my own holiday cards.  Oooops.

Have a creative day!

Moana