Enjoy Your Special Day

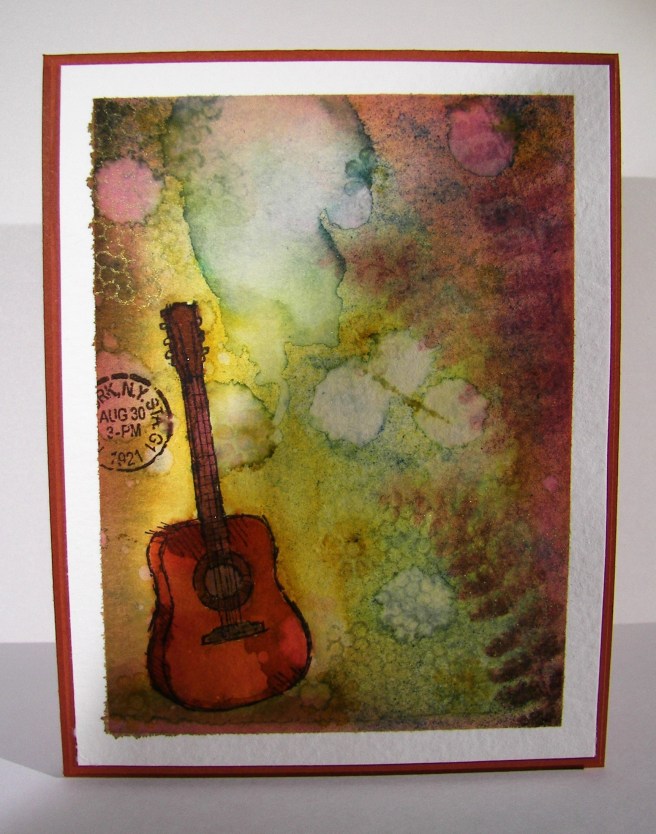
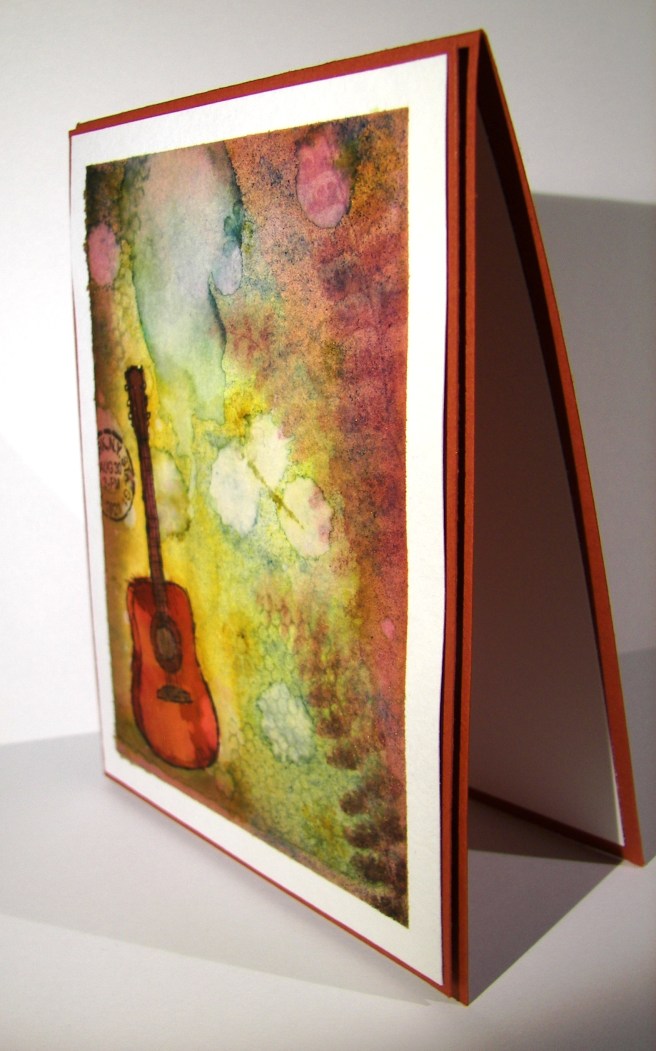
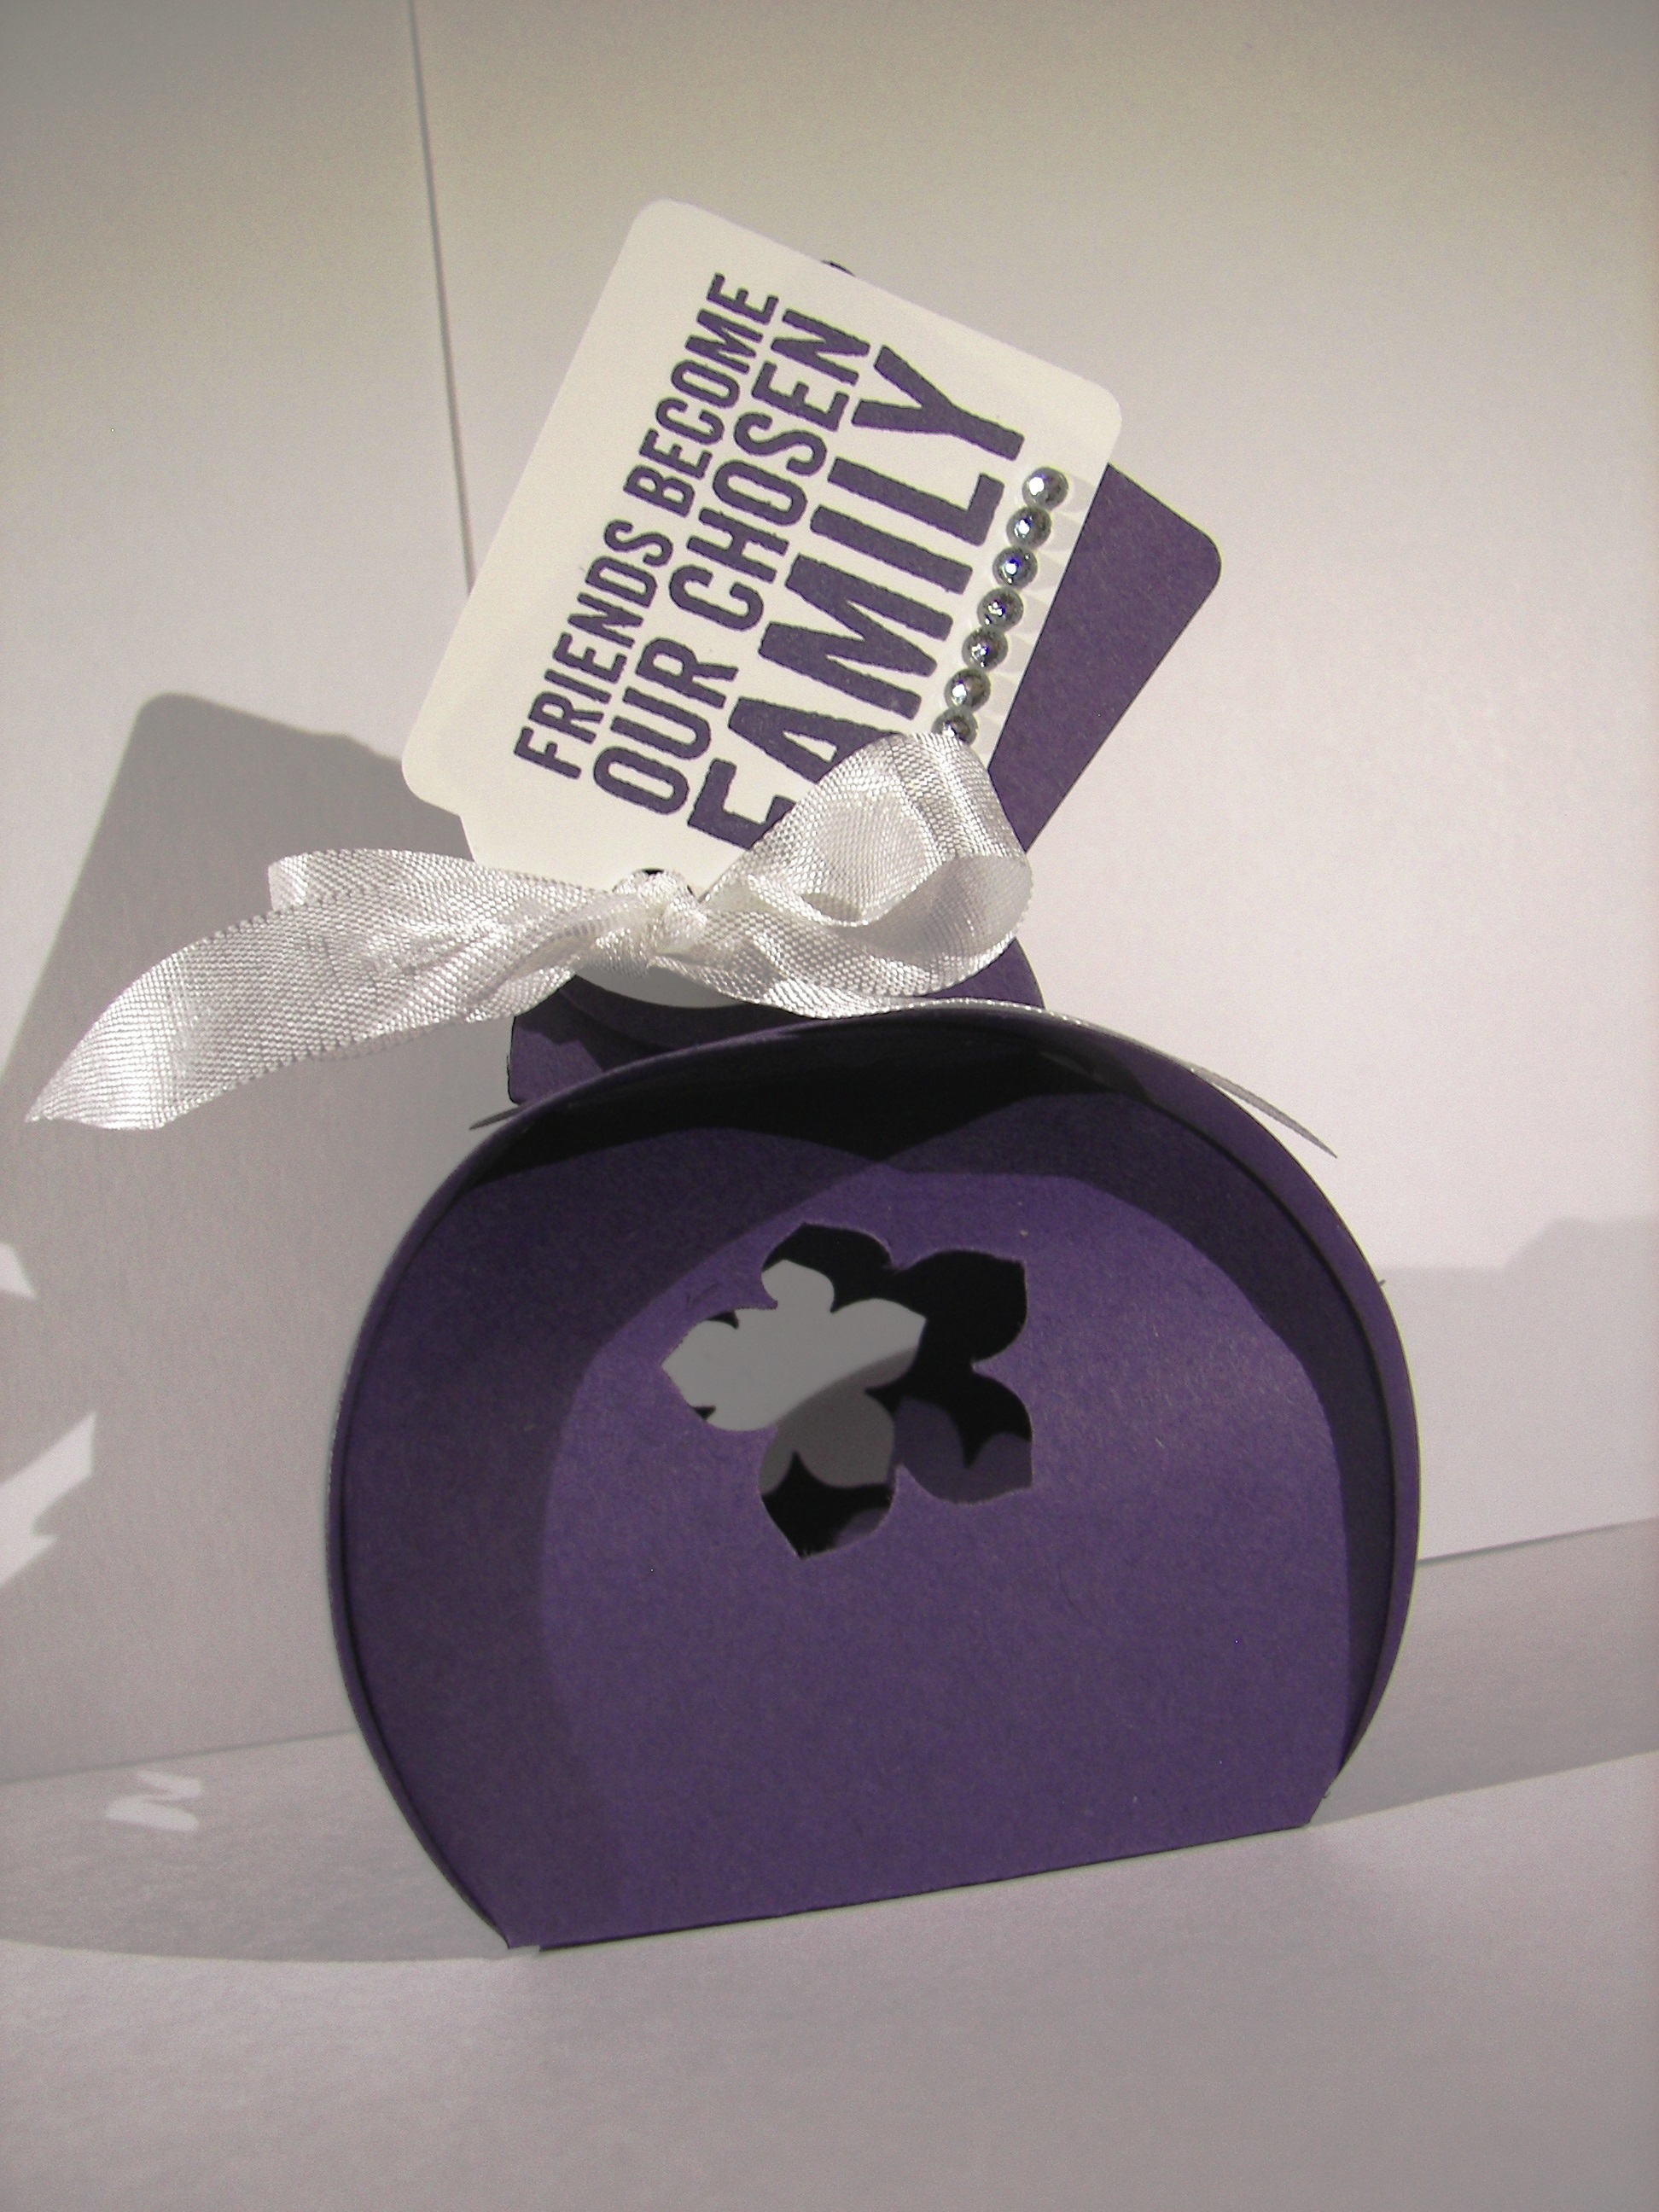
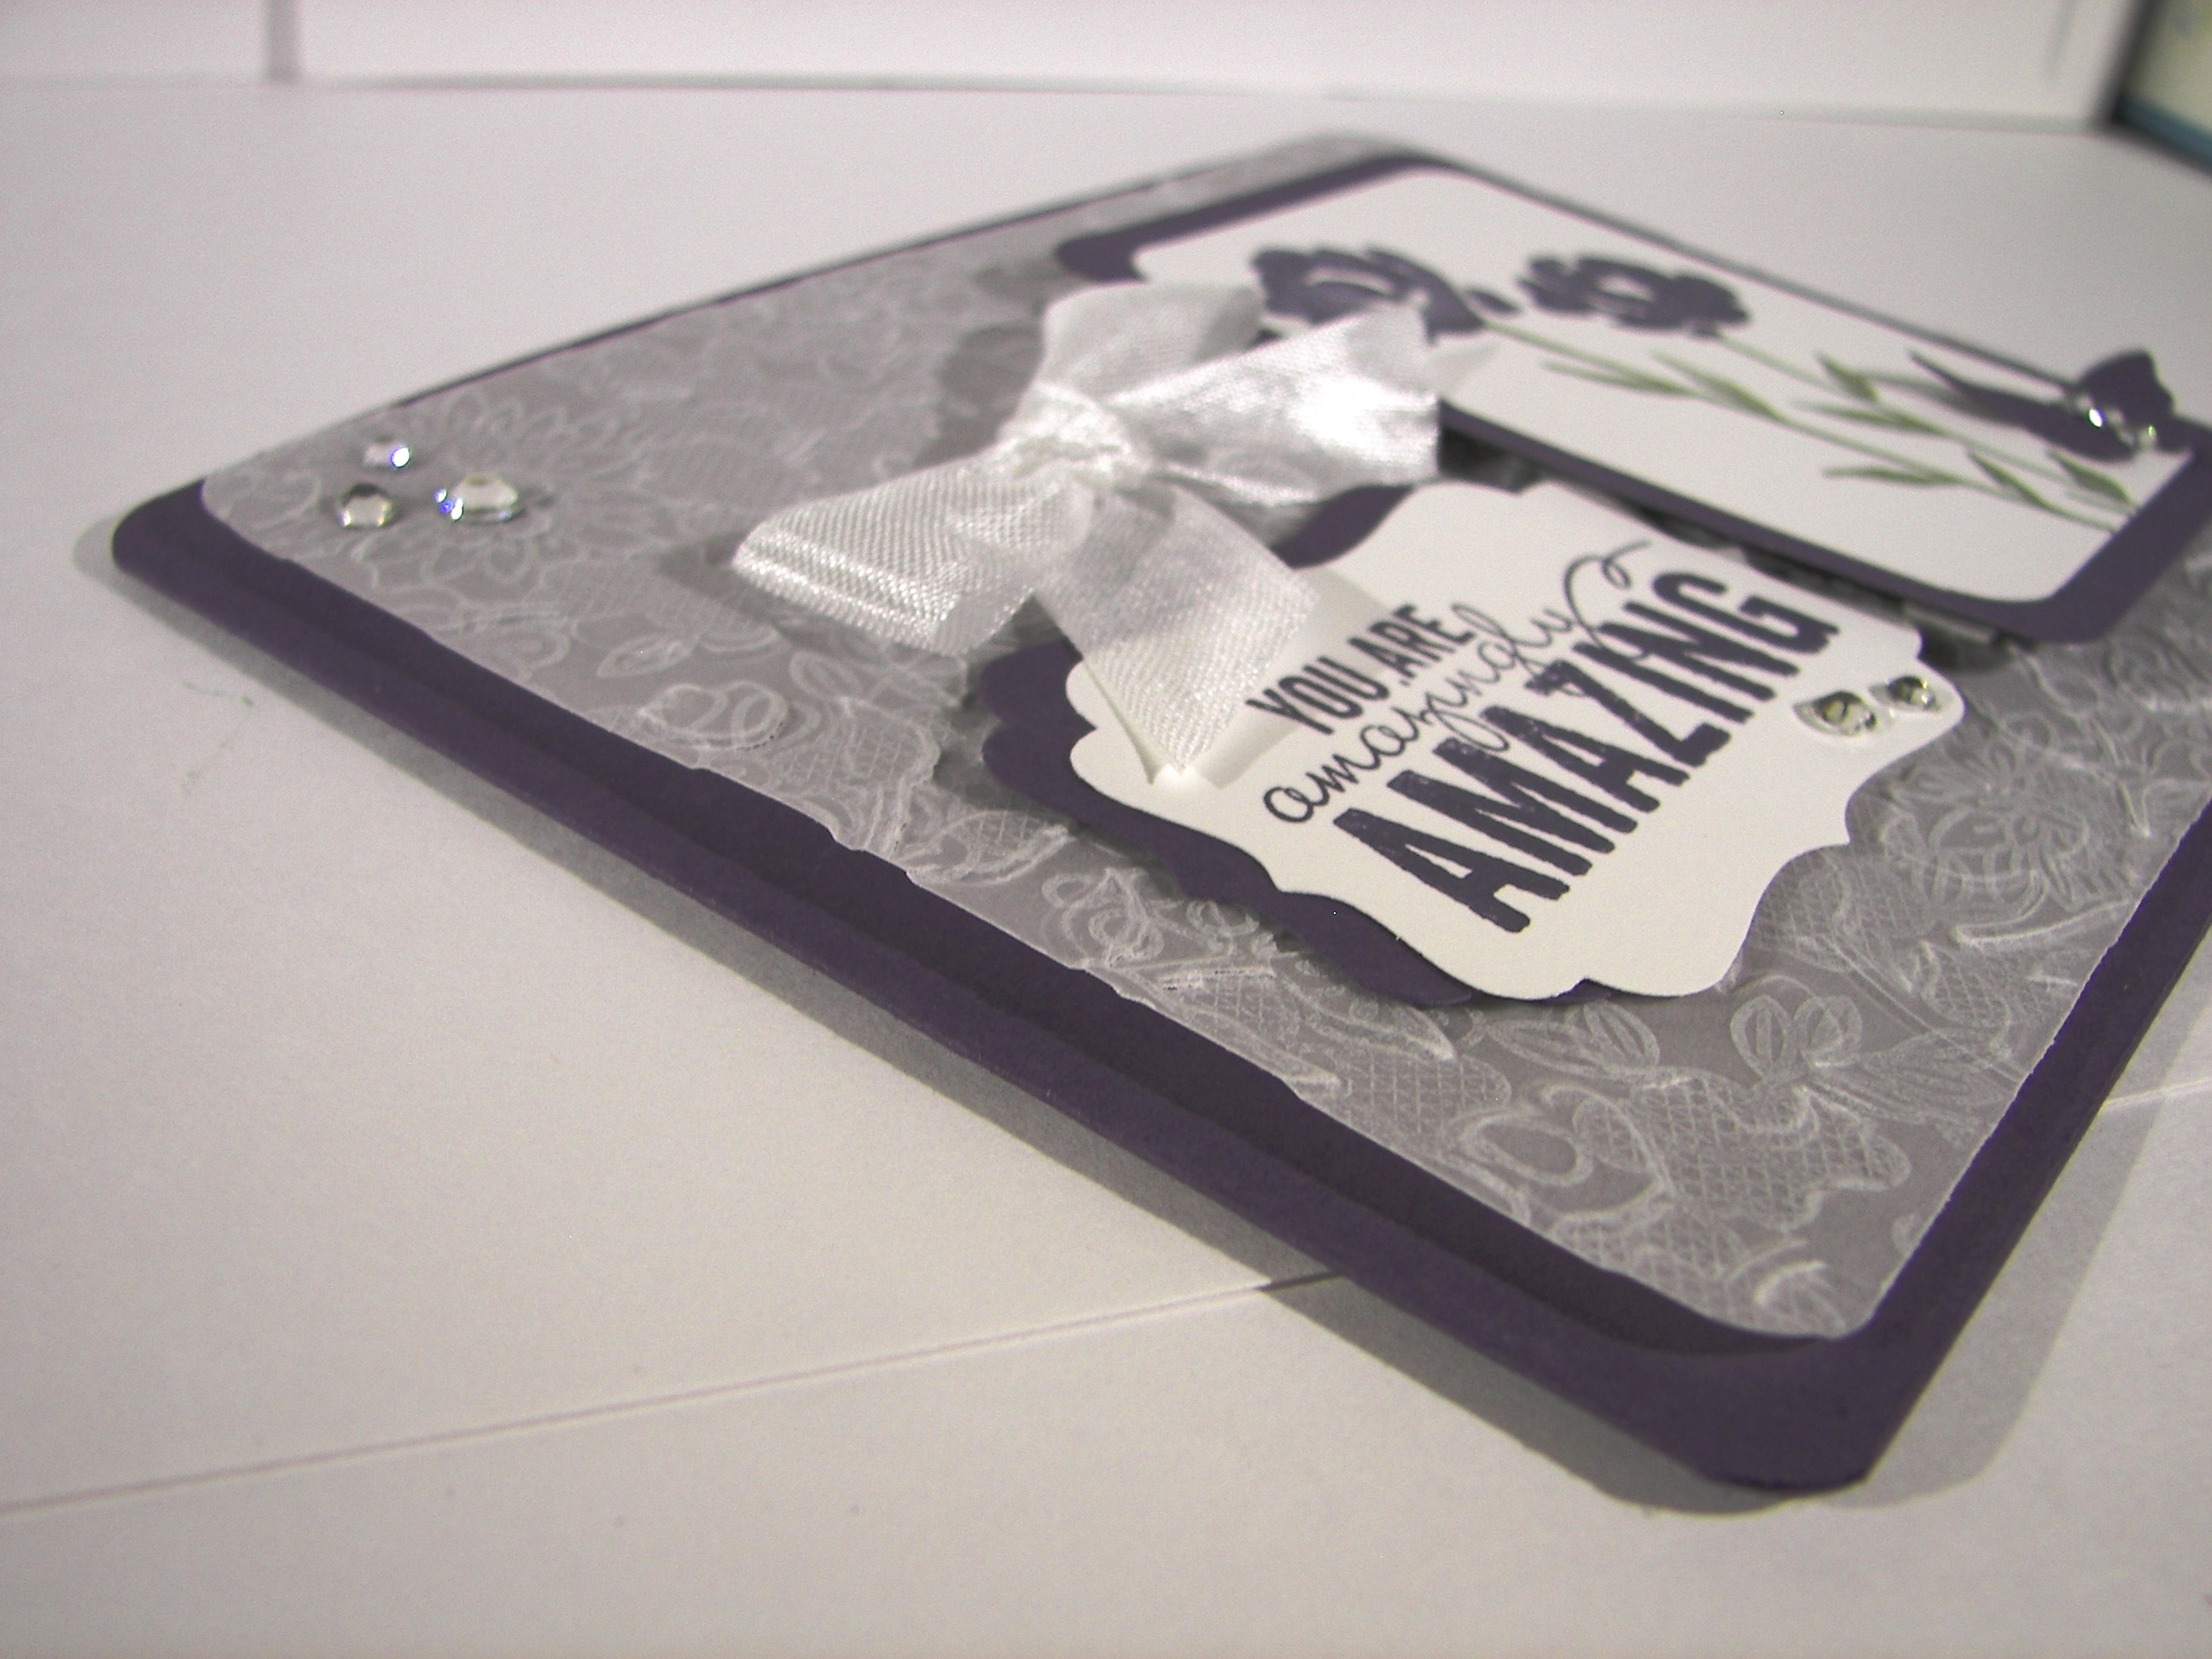
With all of the crazy flood problems and evacuation orders in our area (Northern California), writing this blog almost seemed silly.  But, instead of constantly worrying, I thought I would try to do something a bit more productive.  This project was actually for Saturday, but I never seem to be able to get a blog in on workshop day.  Just a bit much for a Saturday morning I think.  So here you go!

2-13-4

The ladies sure did love making these.  I was kind and did the die cutting for them, but that was just so the big shot would be available for the hot air balloon birthday card.  That was blogged the other day, and they loved it too!  I know how to challenge them, make them a bit crazy, and help them have a wonderful creative time.

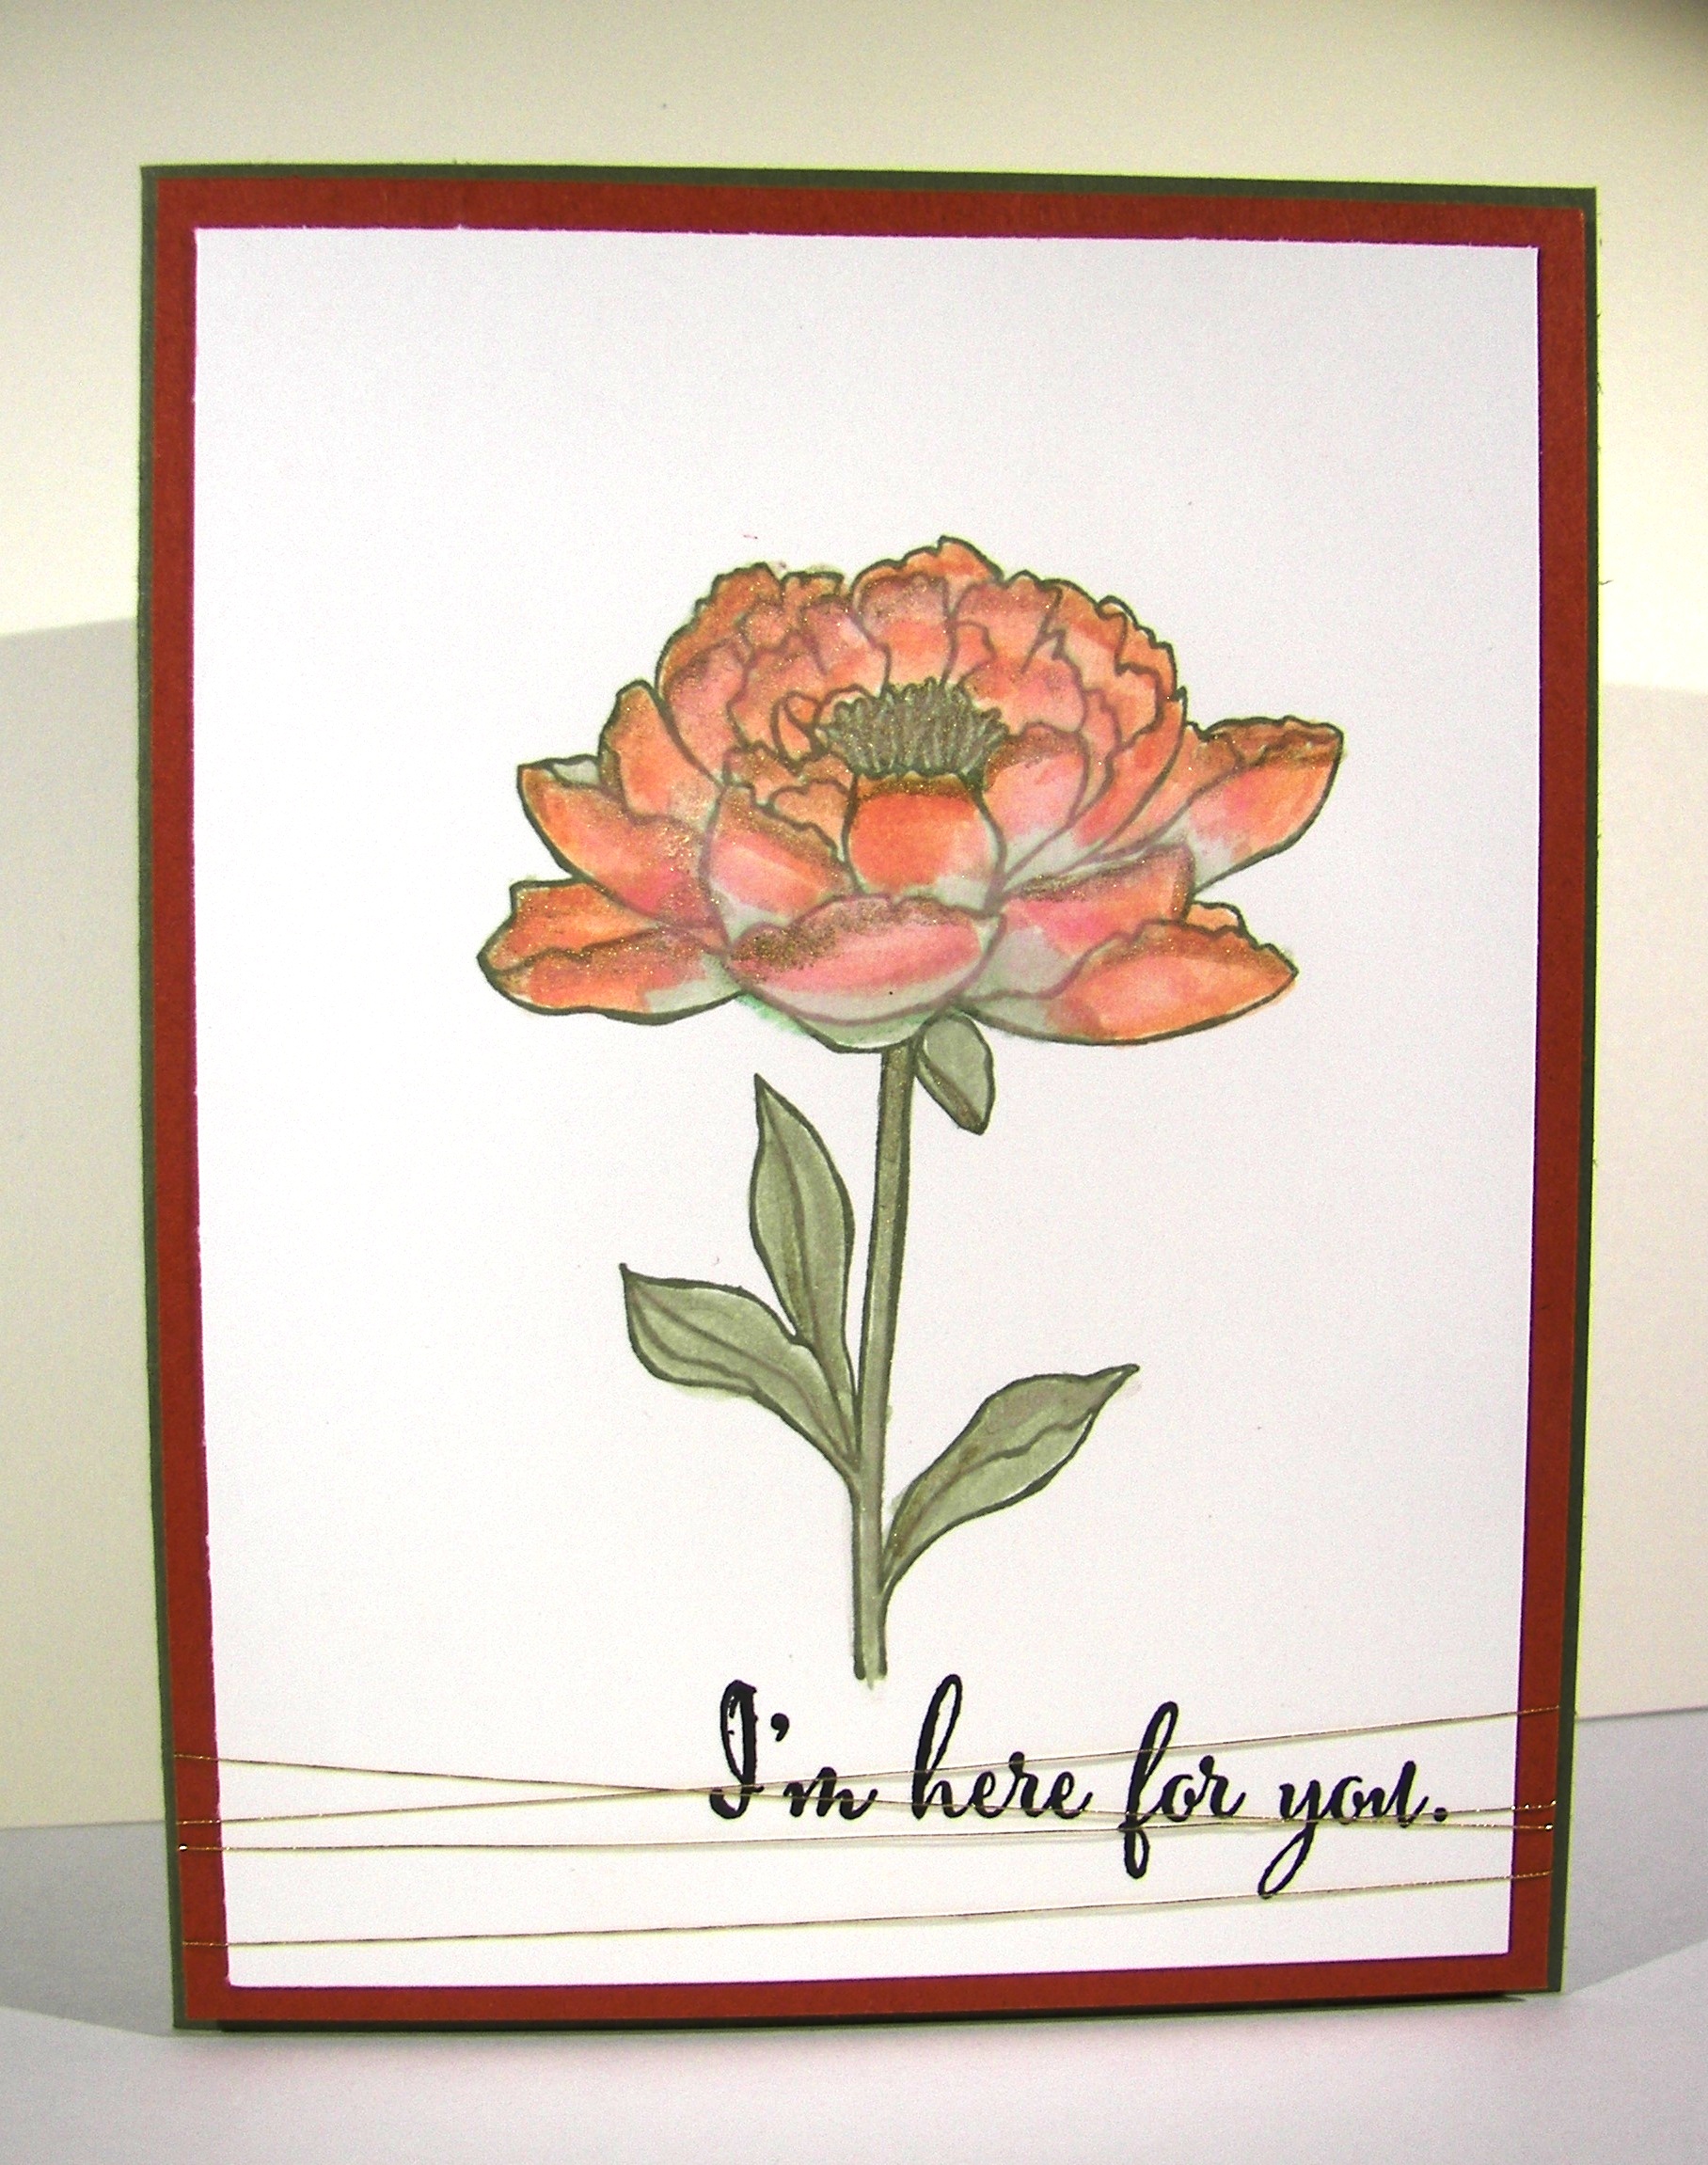
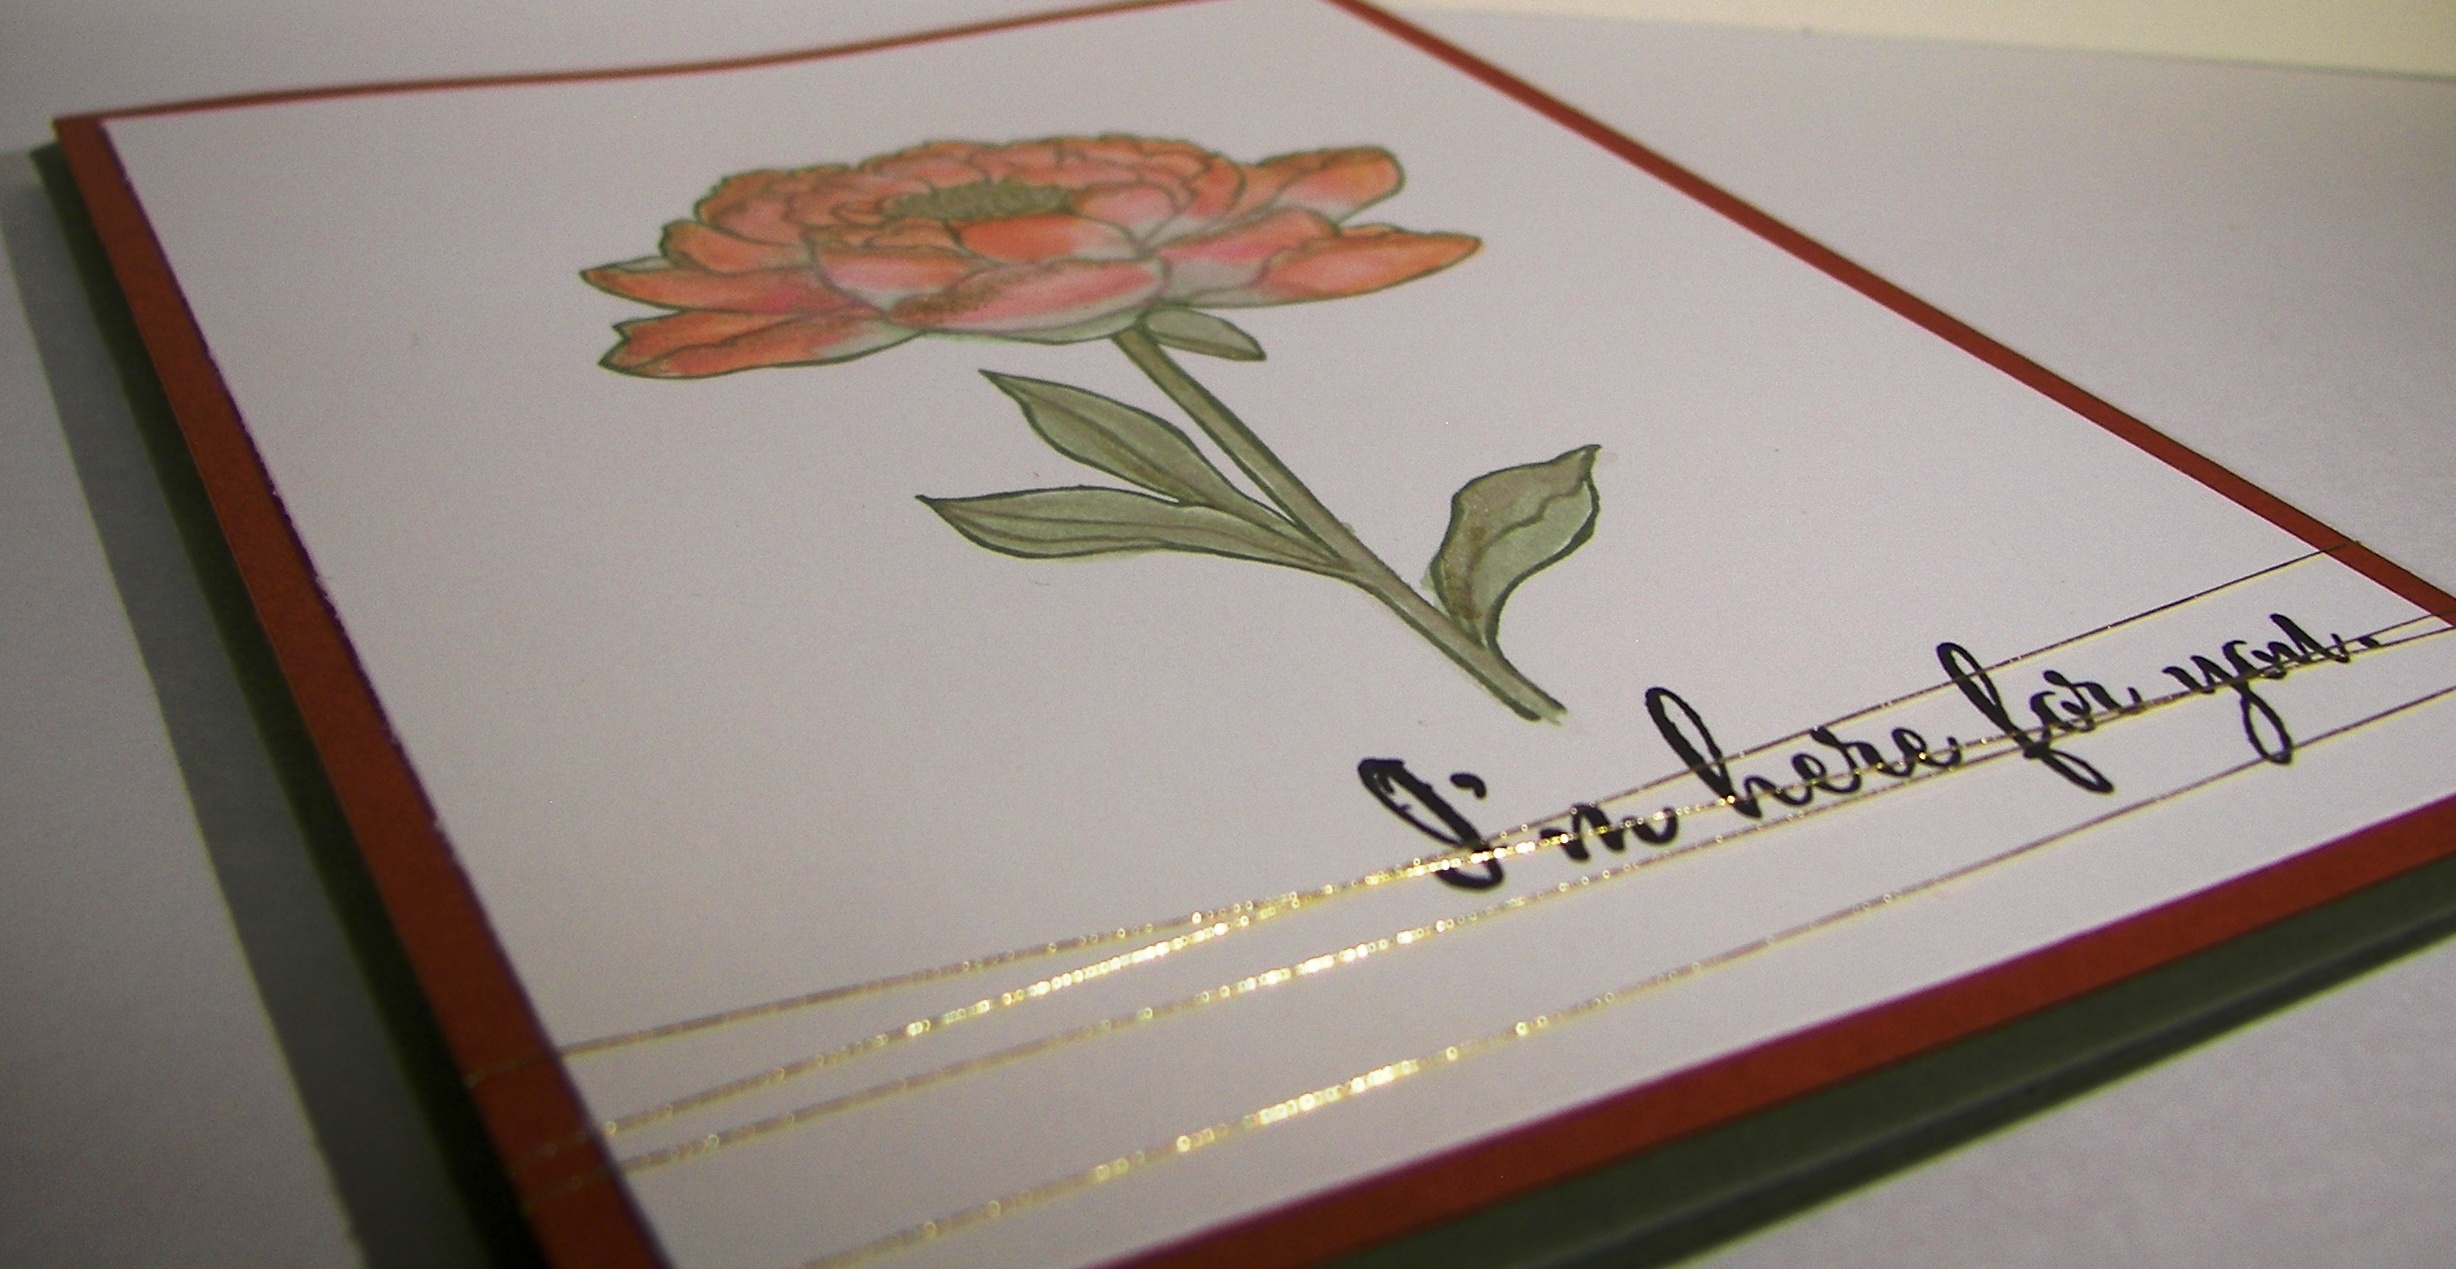
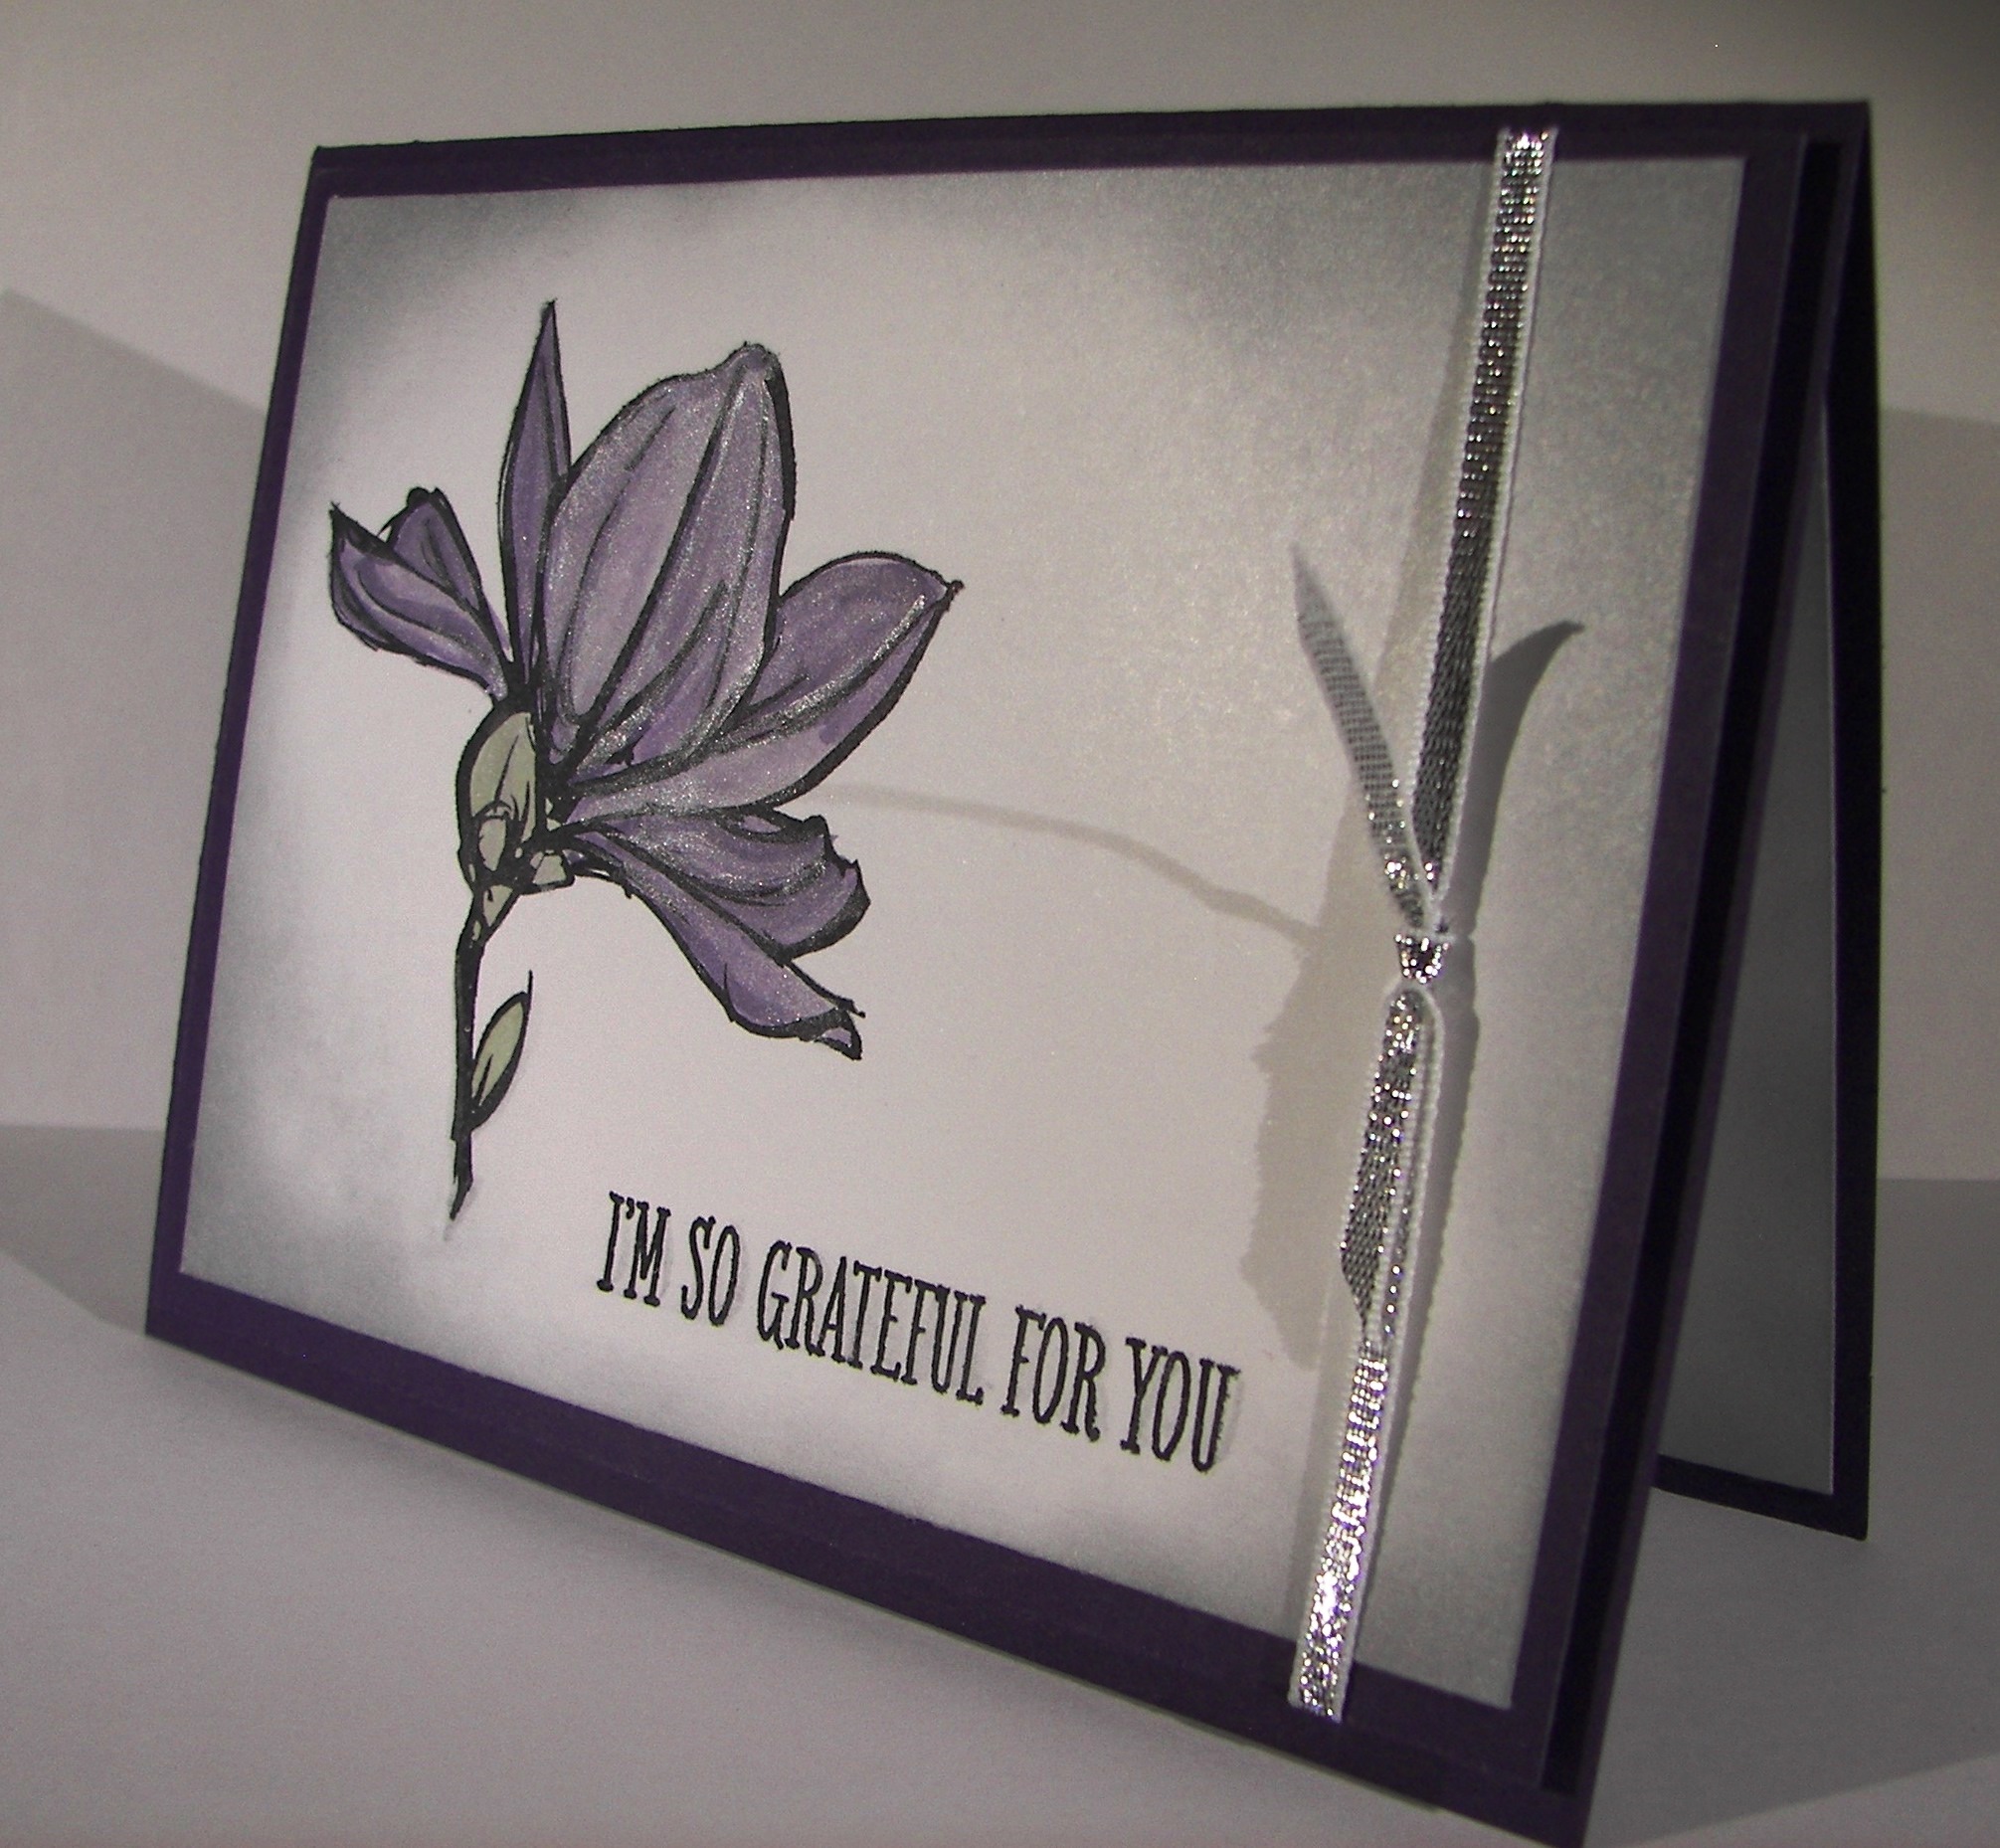
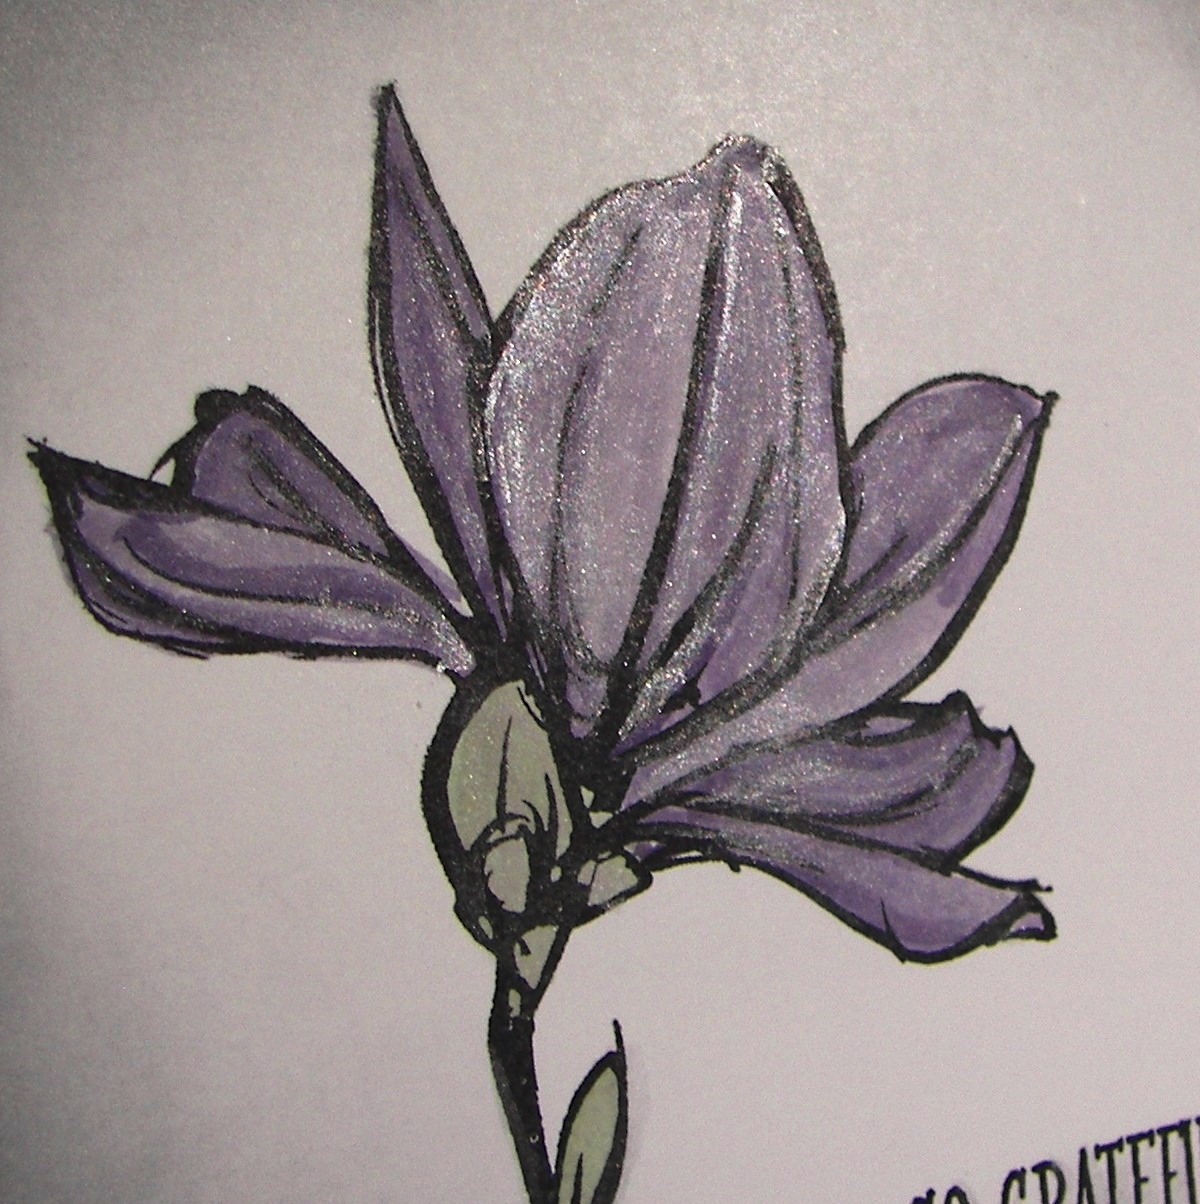
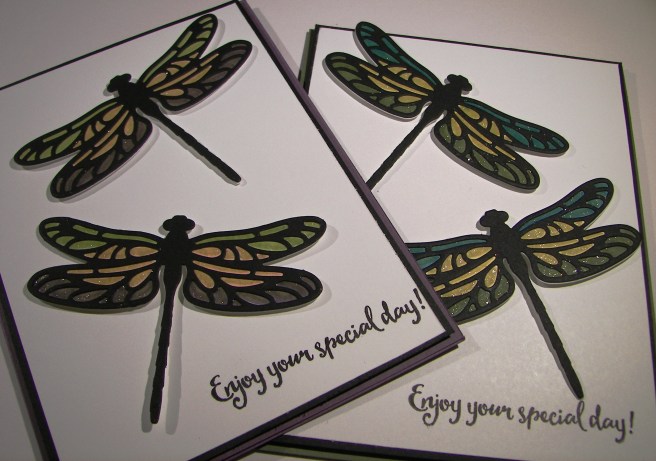
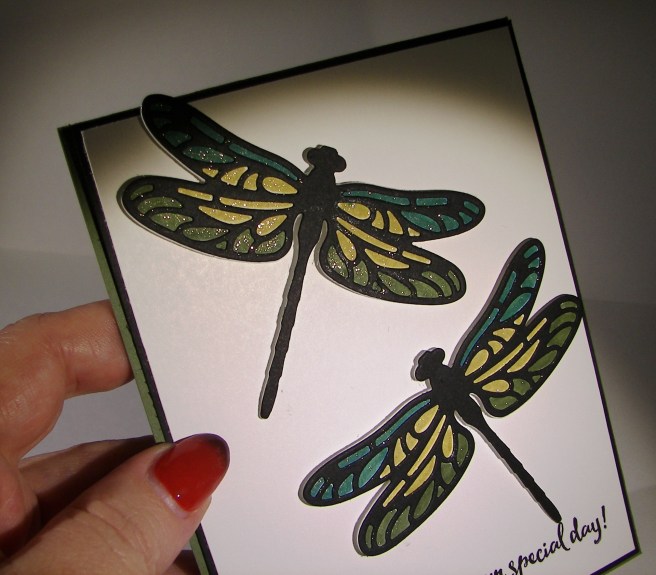
This project idea came from another Stampin’Up! demonstrator, who got it from one of her friends.  Either way, Dawn’s Stamping Thoughts is the inspiration behind this project.  She used different colors and the white wink of stella covering the entire dragonfly, so only a tiny touch different. I added a bit of inside stamping.

2-13-1

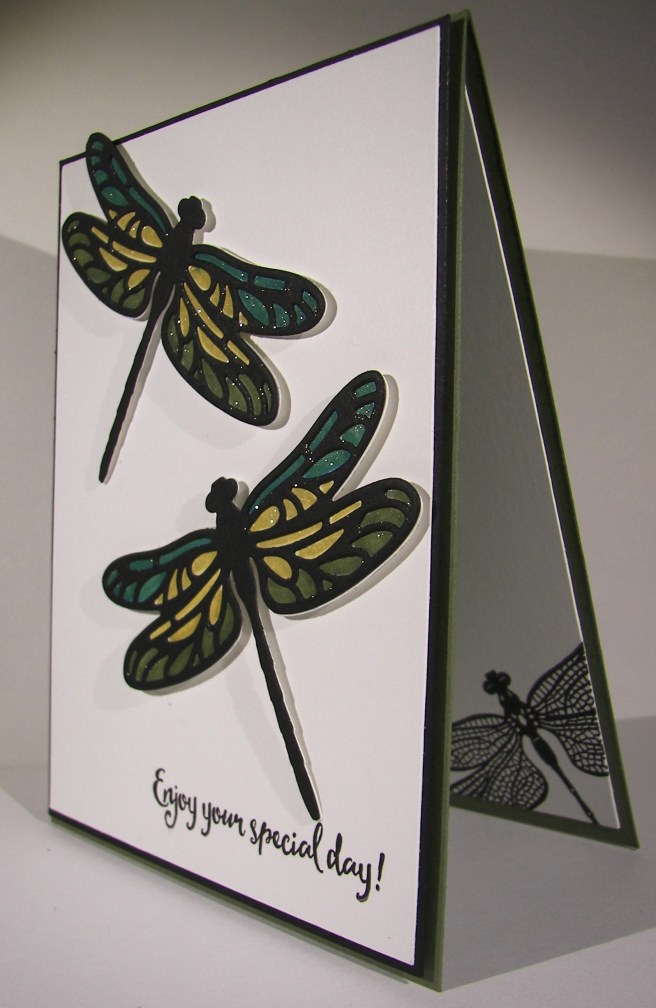
It looks so much more complicated than in really is.  The back piece of the dragonfly was die cut from whisper white and the detailed overlay from basic black.  They were glued together and the sections were colored in with the brush end of the marker.  I then went over all of the sections with gold wink of stella.  How easy is that!  It is so beautiful in person. I tried to get an angled photo just right to show off the shimmer, but it is so hard to capture those tiny little glimmers.  You really have to try it out.

2-13-3

Have a creative day!

Moana

Thank You Very Much

Holiday weekends offer a lot if you are willing to enjoy.  I love the extra time to sort through all of life’s adventures and endless “to do” lists.  But it is also a time to pace yourself and reflect.  This project offered me that time.

1-16

I started with the idea of more precise painting, but quickly learned that it had other things in mind.  Since I have such a hard time waiting for much of anything, my colors couldn’t stay still.  So I went with it and created a much more fluid and dreamy look.  You can tell from the warp of the side of the paper just how much water went into this project.  I had fun though, and it was truly relaxing.

1-16-1

The sentiment was stamped on very vanilla and cut out using one of the dies from the Bunch of Banners framelits set.  I love the crisp edges of a die cut.  The inside stamp was another image from the same stamp set.  This particular set isn’t available for regular purchase, but at a reduced price when you host a workshop.  Sounds like a win win to me!

Have a creative day!

Moana

Thoughtful Branches Thankyou

This card comes from a limited time stamp and framelit bundle.  There are many options within, all kinds of trees and fun things, but this is why I bought mine.  I love hydrangeas so much.  I am so going to enjoy this set.

8-9

I put a new stamp pad to use.  Stampin’Up! has produced a few ombre pads, this one in particular is rich razzleberry.  I am usually a bit more traditional, wanting more self control over the colors I use.  But this was pretty darn fun.  I like how it turned out and I am glad I bought them.  I wanted the color to bleed some, so I spritzed the flower with water after it was die cut.  It softened the color without compromising the ombre effect.

I painted another piece of water color paper with almost artichoke and used the stem die cut.  I didn’t have to add any color afterwards, it turned out nice.  I knew I would be working in water color paper, so I made both flower parts and the card front from the same paper. That way the ink would react the same and have a uniform look.  The background was done with a light wash in crushed curry.  No distressing, just painting.

I stamped the sentiment directly to the card front and called it good.  I did layer it up on another piece of almost artichoke paper for a bit of interest and to help control curling of the card front.

8-9 (1)

Have a creative day!

Moana

Country Basics

This particular project really made me slow down and think.  My usual haphazard color selection just didn’t work out, as you can tell from the huge collection of colors I have listed. This might be the most color I have used on one project.  It ended up kind of cool in the end, but not sure what it will end up serving as.

7-18

One single stamp was the beginning, just the guitar.  The rest of the images were at the end and quite an afterthought to be honest.  I painted the guitar with cajun craze and the color adventure began.  I had thought it would have been fun to sew metallic thread in the guitar string area, but when I spent so much time on the painting I really wanted to walk away. Maybe next time.

Even though it can be a bit frustrating, it is also quite relaxing to work like this.  It also helps a lot with patience.  I know that if I just stick with it, eventually it will come together. Then, the next project doesn’t seem so daunting, because look at what I managed to pull out of the trash bin!

7-18 (1)

I left it clean of sentiment and all other embellishments.  The images speak for themselves and that guitar, I love that guitar.

Have a creative day!

Moana

Fear Not

This was something new for me.  I knew I wanted to have water colored bookmarks, but thought it would be smarter to make one large background piece and then trim it down to the sizes I needed.  Such a large piece of blank paper.  It was a bit overwhelming for some time.  Like the stamp says, fear not.

7-17 (1)

After a while I felt a little more comfortable, but not all the way there.  Distressing such a large piece was kind of confusing.  I stuck with it, dried it and took it to the cutting board. When they were smaller I knew they would be wonderful.  The edges got a gentle sponging along with light stamping from the same set.

Then a quick layering on elegant eggplant cardstock, the main color I painted with, and some new solid bakers twine to coordinate and it was all done.  These will be wonderful to share with the young women I teach.  Love those girls.

7-17 (2)

Have a creative day!

Moana

We’ll Weather This Together

A project can go through several phases, and some can be unexpected.  The original vision kind of got lost somewhere along the way, had some confusion, but ended up reasonably pleasing.  These ladybugs though, too much love there.

6-22

My daughters have a canvas in their bedroom that inspired this little card.  I was looking at it recently and thought of the new stamp and framelit set that could help me create my own version.  I pulled some of my favorite pastel colors for the background and started the process.  The more colors I use the longer it takes me to become satisfied with how they blend and flow together.  I went through this one three different times and then once more when I added in the yellow around my little bugs.

6-22 (1)

I water colored on a scrap piece a mix of pool party and blushing bride.  The umbrella was then cut out and hit again with more blushing bride.  The clouds and raindrops were cut from areas that just had pool party.  And yes, I did glue all of those parts down, even those little drops.  I love the dimension the thick water color paper gives to them. Before I stamped my sentiment I added a touch of wink of stella to the clouds and raindrops.  All the pieces were layered together and put in place.  And before the blog had even been finished I was able to use it to brighten someones day.  Wonderful.

Have a creative day!

Moana

Tap Tap Tap into Retirement

Well, it has begun.  The retirement list has been published and I can start getting sad over some of my favorites.  This has been one of them.  I love the images, but really love the little tap tap tap tap stamp.  It is so adorable.  Some stamp sets I just keep because they make me smile, and I love to smile almost as much as making someone else smile.

4-20

This project was created with a few techniques.  I stamped my little typewriter  in cajun craze first, then did a bunch of stamping all around the base image with almost artichoke first and then moved on to delightful dijon.

When that was done I got out my sponge and went at the edges.  I aged the entire background by swirling around and around focusing on the edges to make them darker.  I added a little extra sponging around the edge to really darken it up.  I did the same on the inside, but left the center light for easy writing.

4-20 (2)

I stamped my front piece with cajun craze and then sponged in three different areas to keep the colors blended, but still very separate.  I fussy cut it, layered it to some more card stock, sponged that too and put it up on dimensionals.  I did a single wrap of striped cotton ribbon sticking it down with glue dots on the front and back.  The background piece was placed on another sheet of card stock with a tiny border and then layered it up again on even more dimensionals.  Love those guys, they make me so happy.

I don’t normally show the entire inside of a card, but it turned out so awesome that I had to. I thought it was nice enough it could be a card front all by itself.  Not today, but I gave an extra peek just for fun.

4-20 (1)

Have a creative day!

Moana

You’ve Got This

Sometimes simple words are all you have, and sometimes that is all you need.  That is just how I feel this morning.

You've Got This

I took my time painting this lovely flower with a few of my favorite inks.  I stamped the flower in almost artichoke and did light water coloring to get the base down.  I added cajun craze but kept it light the first time through.  Adding more water helped to do a little blending, but I didn’t want too much of that.  I like that two colors together can create a third unexpected surprise.  In person, you can see the blended areas have nearly a cherry cobbler tone.  Cool, right?  I thought so too.

You've Got This

The entire image was accented in gold encore ink, still using the aqua painter.  That really creates a fun look and is surprisingly easy to control.  One simple sentiment in black stazon ink with a little gold metallic thread and this simple card was done.  Well, I did have to stamp inside as well.  I stamped off twice before I placed the stamp on the inside paper.  Nice and light.  And look, absolutely no sponging!  Crazy.

You've Got This

Have a creative day!

Moana

Thankful Swaps

I have been out of town this last weekend and it is nice to be home for lots of reasons.  I did love my trip, seeing my daughter and son at university is just fantastic!  Something about your own space though, just feels cozy.

Thankfuln Swaps

I also discovered that I am not the best blogger on my iPad.  They were pretty basic, but I managed.  I was honestly just too tired yesterday and had tons more standing in line waiting to be tended.  Day survived.

Thankfuln Swaps

There were several fall themed swaps I wanted to share as well.  I had recently ordered this stamp and framelit set but haven’t gotten to play with it just yet.  So it was nice to play at the demonstrator workshop event.  Working through someone else’s vision is different, but entertaining.

Thankfuln Swaps

While it is fun to share these swaps, I am getting anxious to dig back into my supplies and create.  Especially with some of the new treasures.

Have a creative day!

Moana

For All Things and Flower Patch

While enjoying a long and lovely visit with my daughter this morning, fall came up.  It is her favorite season of the year.  She is getting excited because where she is attending university fall has begun.  The temperatures, the colors, the smells, she loves it all.  So, together we created this card.  What a fun way to stay connected.

For All Things and Flower Patch

The card is made from a Hello Honey card base, layered with a Cajun Craze framed stamped card front.  I used the leaf stamp from the For All Things set to create the paper.  One full ink stamp and then several others around it until the ink runs out.  I did this using Cajun Craze, Hello Honey and Almost Artichoke.  Such a great trio.

For All Things and Flower Patch

A quick stamp from the Flower Patch set for the sentiment and it was nearly done.  I adhered a strip of the new Striped Cotton Ribbon and layered my sentiment with a bit of color.  The Bitty Banner Punch helped me get the banner edges and it was all done.  Well, I did have to sponge nearly everything of course.

For All Things and Flower Patch

Have a creative day!

Moana

I’m So Grateful For You

After yet another awesome summer concert I am super exhausted!  So I asked my daughter this morning what color she thought this flower would be.  She talked about purple, orange or yellow.  I thought about tropical, but went with elegant eggplant.

I'm So Grateful For You

It is hard to tell, but there is silver ink painted over the purple.  Of course I had to get out my trusty aqua painter for all three ink colors I used.  Totally love that thing!

I'm So Grateful For You

There was a heavy amount of sponging as well.  I loved the sentiment, but it was the second half of the front sentiment and it was basically a dangling participle.  So, I just didn’t ink up the ‘and’ and the beginning.  Perfect!

I'm So Grateful For You

I may have been half asleep for this project, but it turned out really wonderful.  It is great when I get to sit back and be impressed with myself.  A job well done.

Have a creative day!

Moana

Guy Greetings


Can this set get any more masculine?  I didn’t think so.  I have to admit, I bought this stamp set entirely for these three stamps.  Which is a bit excessive, but I loved them so much it didn’t matter.  The rest of the set is super as well, but these are my favorites.

Guy Greetings

I know this has a Father’s Day look to it, but that isn’t who I had in mind when I made them.  Actually, it was my husband.  I did learn a lot from my dad, but when it comes to working with tools, that would be my husband.  He has taught me so much and is endlessly patient with my questions.  So fun.

Guy Greetings

I kept these pretty darn simple.  I did like how when I put the sentiment on point they reminded me of caution signs.  I wanted the tangerine tango more narrow to match the narrow background boarder, so I tried something out.  After I cut out the tangerine tango square, I put it back on the cutting plate, and put the framelit on again but shifted it up at a diagonal.  So I was cutting an L shape away.  It worked out the first time.  I could have done more to match the 1/8th” boarder, but went with it.

Guy Greetings

I used some dimensionals on the almost artichoke one and left the tangerine tango flat.  Just some variety there.  Of course I had to stamp on the inside and distress it all the way around.  Tools aren’t tidy after all.

Have a creative day!

Moana

Painted Petals with Elegant Eggplant

I sat down to work on this blog project with only one thing in mind, purple.

Painted Petals

I am totally feeling it.  I haven’t used elegant eggplant in ages.  I think it could have easily been a year.  For shame…

Painted Petals

The painted petals stamp set is such a useful set.  The sentiments, all three shown here, are wonderful.  The flowers have so many options.   The additional graphic elements really give a lot of interest.  I wonder how many projects I could make with just this set.  That thought just sent my mind spinning.

Painted Petals

It seems I can’t make a card these days without a matching bag or box.  It makes for a really busy desktop.  I obviously need to give more of this away.

Painted Petals

The background is cardstock velum stamped with white stazon using lovely lace and then I embossed it.  Sometimes the double treatment is necessary.

Painted Petals

I hope you feel inspired to get out there and have a creative day!

Moana

Lovely As a Tree

These lovely cards were actually my handout for a church lesson I taught yesterday morning.  I have the privilege of teaching a young women’s class for girls from the ages of 16-18.  They are such an amazing group.

Lovely As a Tree

Our topic was “Why Do We Need Adversity”.  Good question right?  An object lesson that was in the talk I used spoke of a young sapling tree standing alone in the wind and how trees in that situation grow deep roots, thicker bark, and ways to be more flexible in order to survive.  It was so perfect for today’s times.

Lovely As a Tree

So, when I planned this handout, I knew the beautiful oak tree was the perfect subject.  How symbolic of standing the test of time, a strong beautiful tree.

Lovely As a Tree

I put this together using almost artichoke, saraha sand, and very vanilla paper.  I stamped in momento ink and used a sentiment from a Tim Holtz collection.  I loved the touch of the embossing folder bringing out the tree theme even more and finished it off with a wooden oak leaf element.  Great right?  The layout could hold many options. There seems to be a need for masculine styled cards in my collection more often than not.  You should try this out!

Have a creative day!

Moana

Trust God

Whenever I teach a church lesson I make special handouts that go along with the topic being taught.  When I am creating something I have the best thoughts come along.  Kind of like thinking in the shower for some people.  For me, it is working in my studio.

Trust God

So, yesterday I had the opportunity to speak along side my husband during what we call Sacrament Meeting, or the main congregational service.  I spoke on charity.  Even though I had no intention of making a handout for hundreds of people, I still needed that thinking time.  This is what I came up with.

Trust God

I went to two of my favorite stamp sets of all time.  Lovely as a Tree, who doesn’t own that one by now, and of course Trust God.  They really speak for themselves.  I made this using early espresso for my base and layered with almost artichoke.  I wasn’t sure what technique I would be using, I didn’t plan on water coloring, which is why I have very vanilla involved here.

Trust God

It didn’t curl too much when I took the aqua painter to it.  I would have done better with water color paper, but I still like the results.  I painted the trees with almost artichoke to match the card, did the water in a very diluted marina mist, and finished the sky with soft sky.

I did joke a bit in my talk about having to make a handout, and yes, I did have it with me and showed it over the pulpit.  Those that know me well surely understood.  I do really take my creativity with me everywhere.

Have a creative day!

Moana