Bloomin’ Love

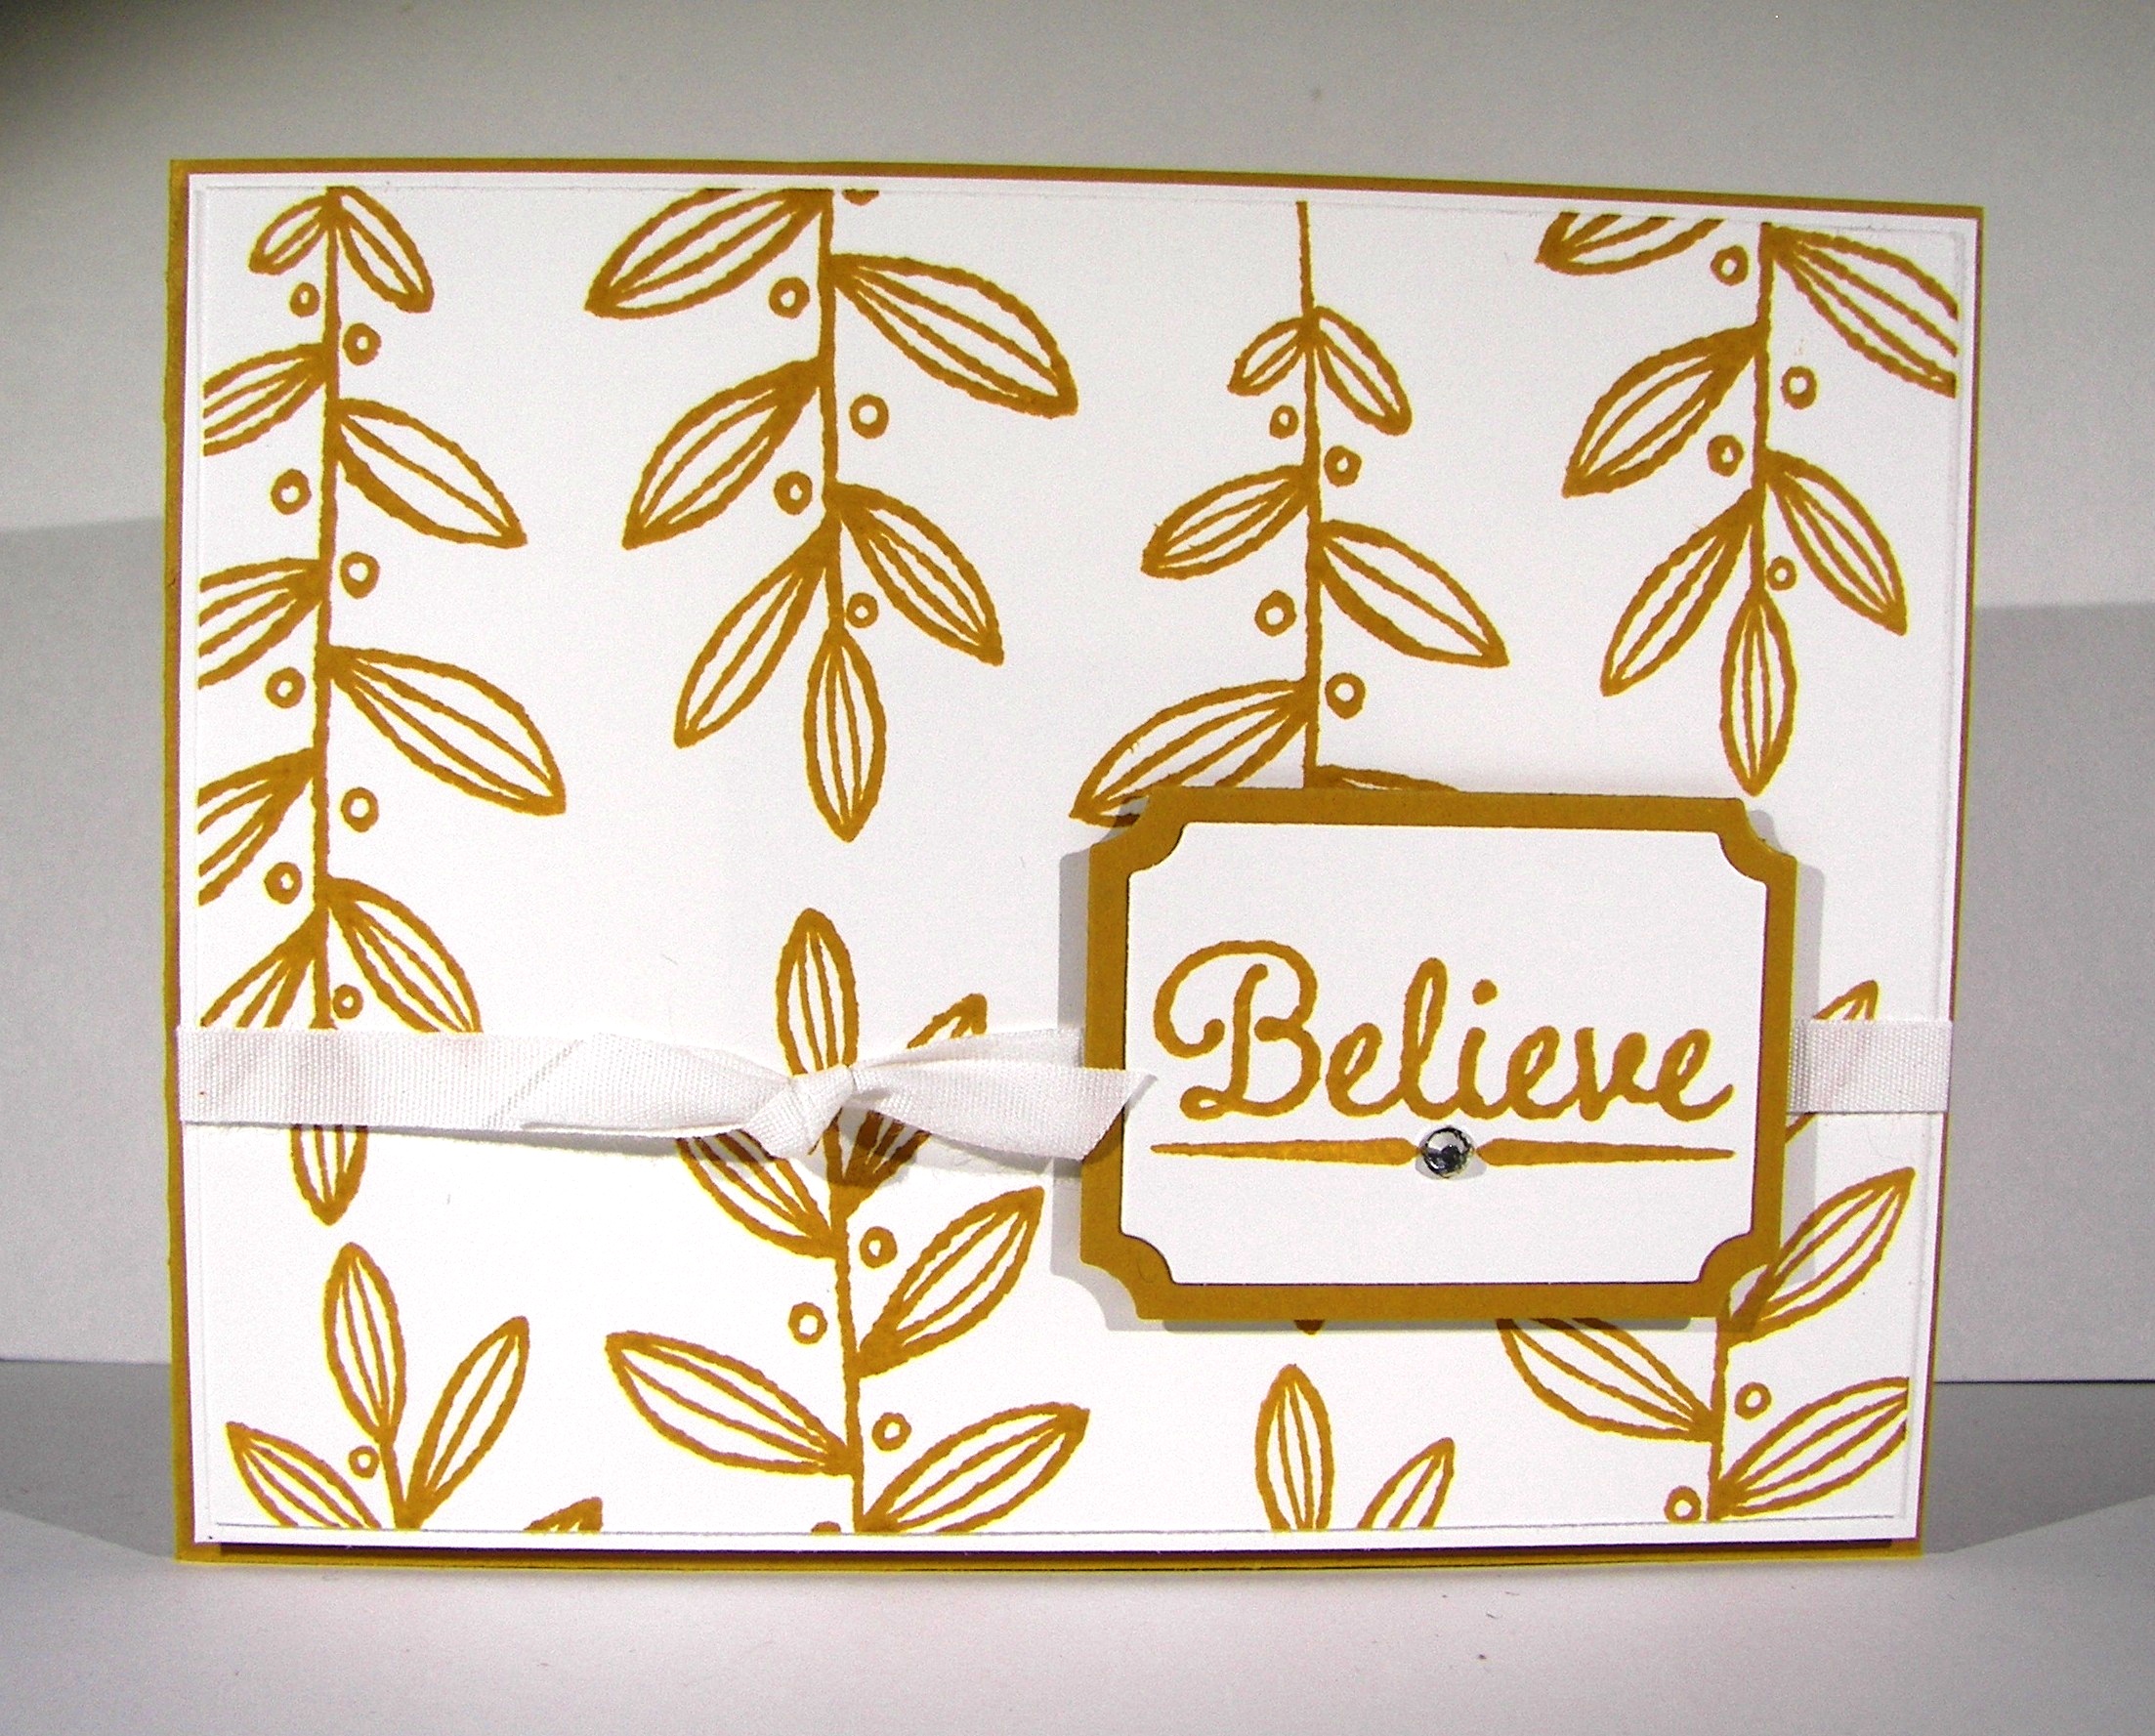
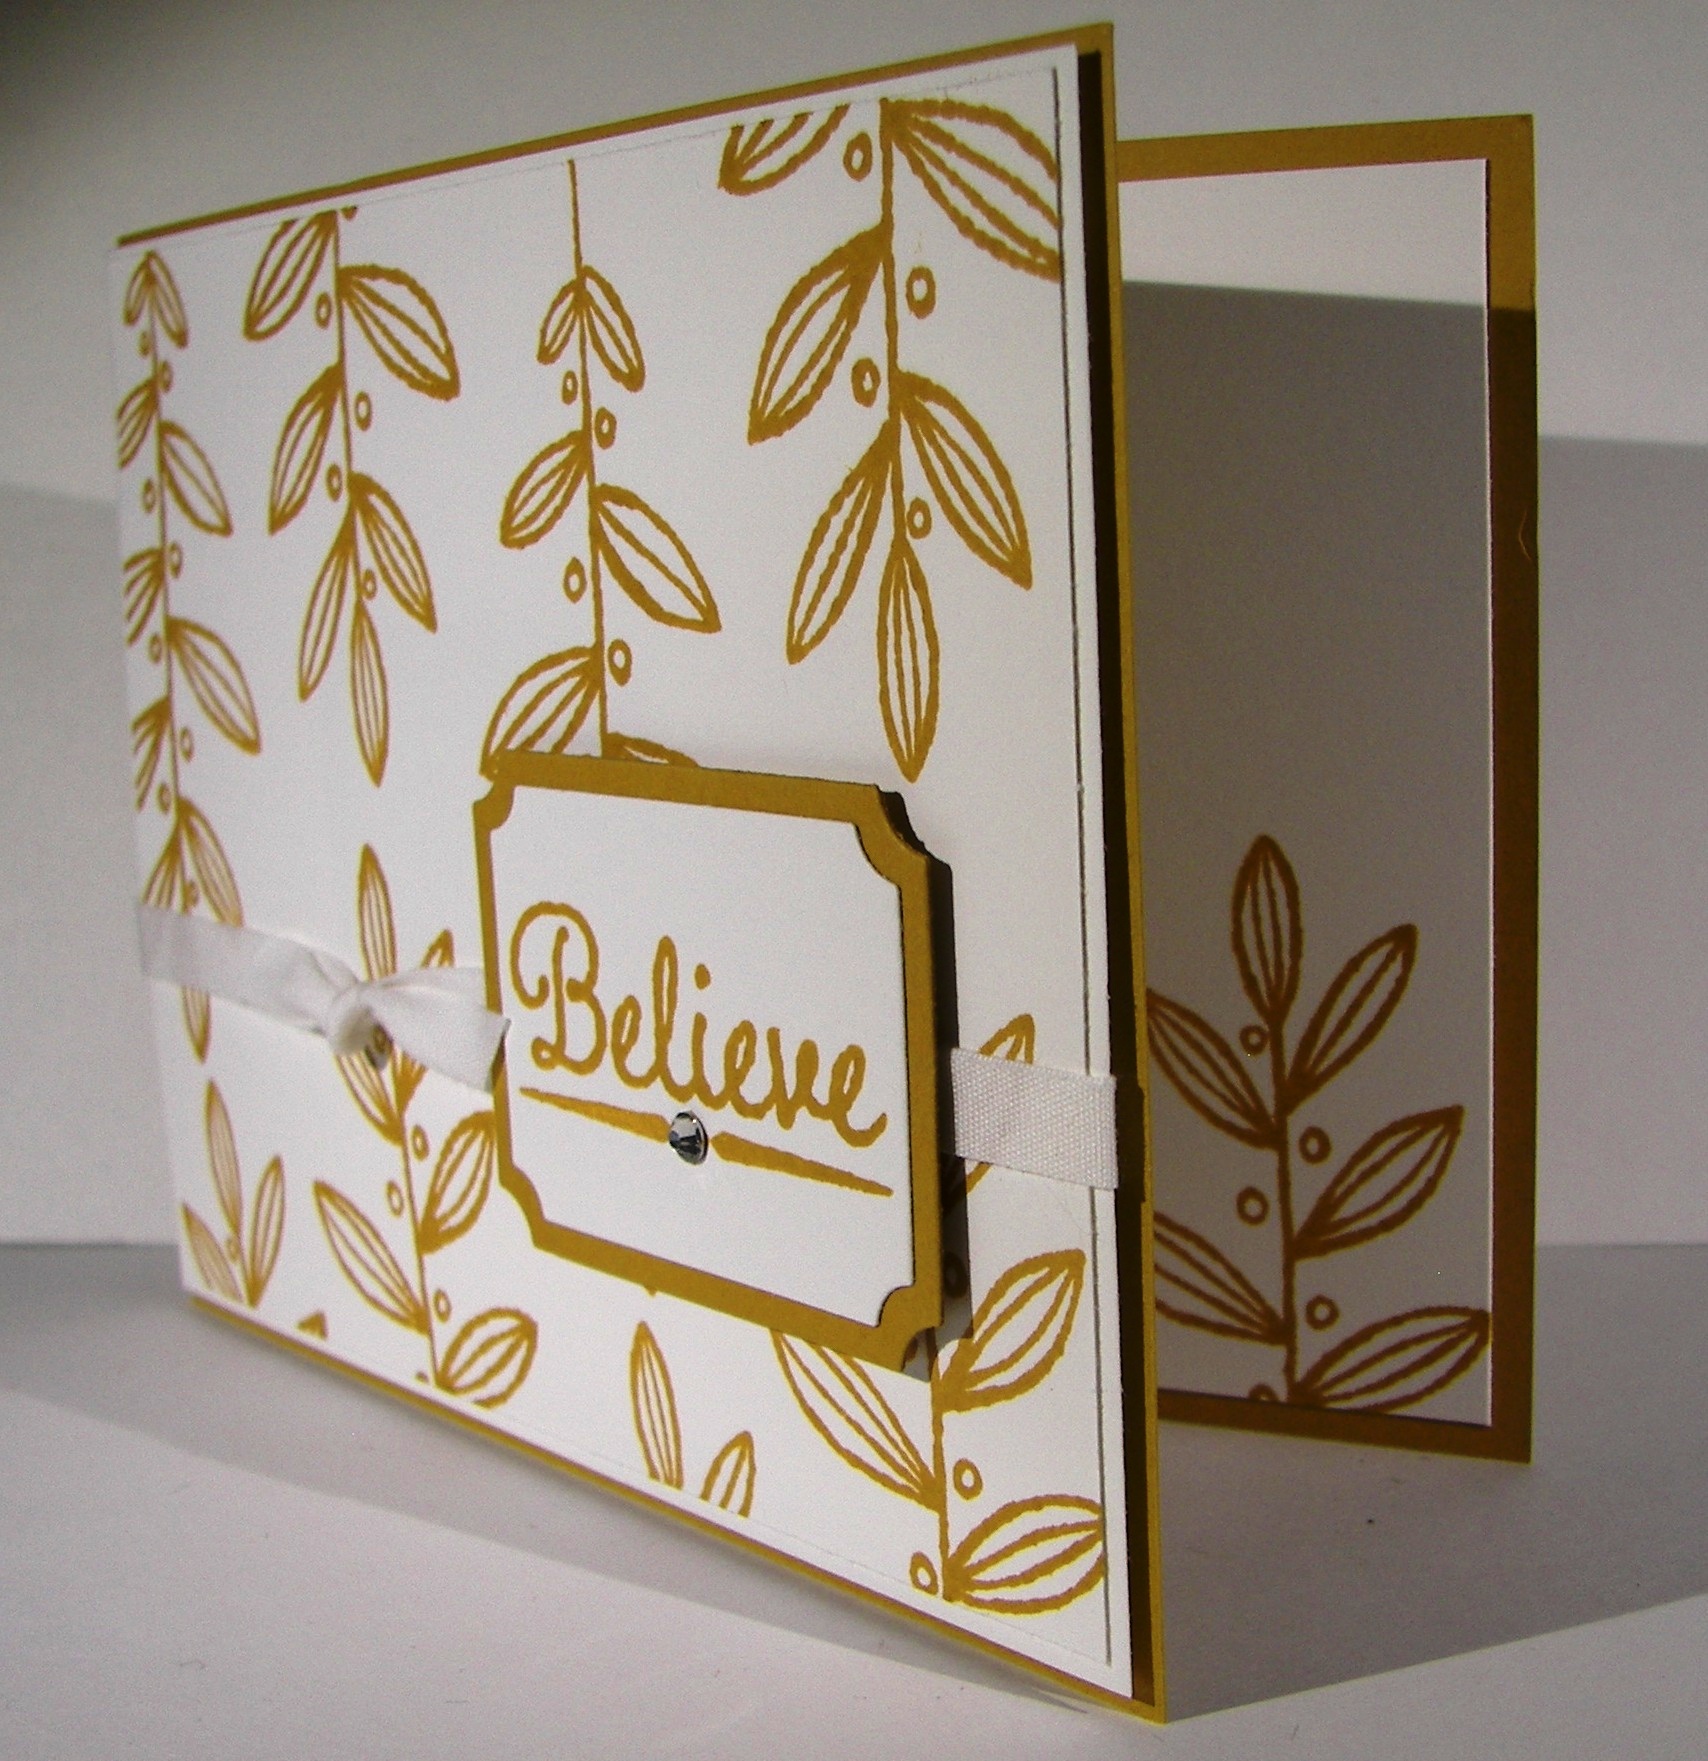
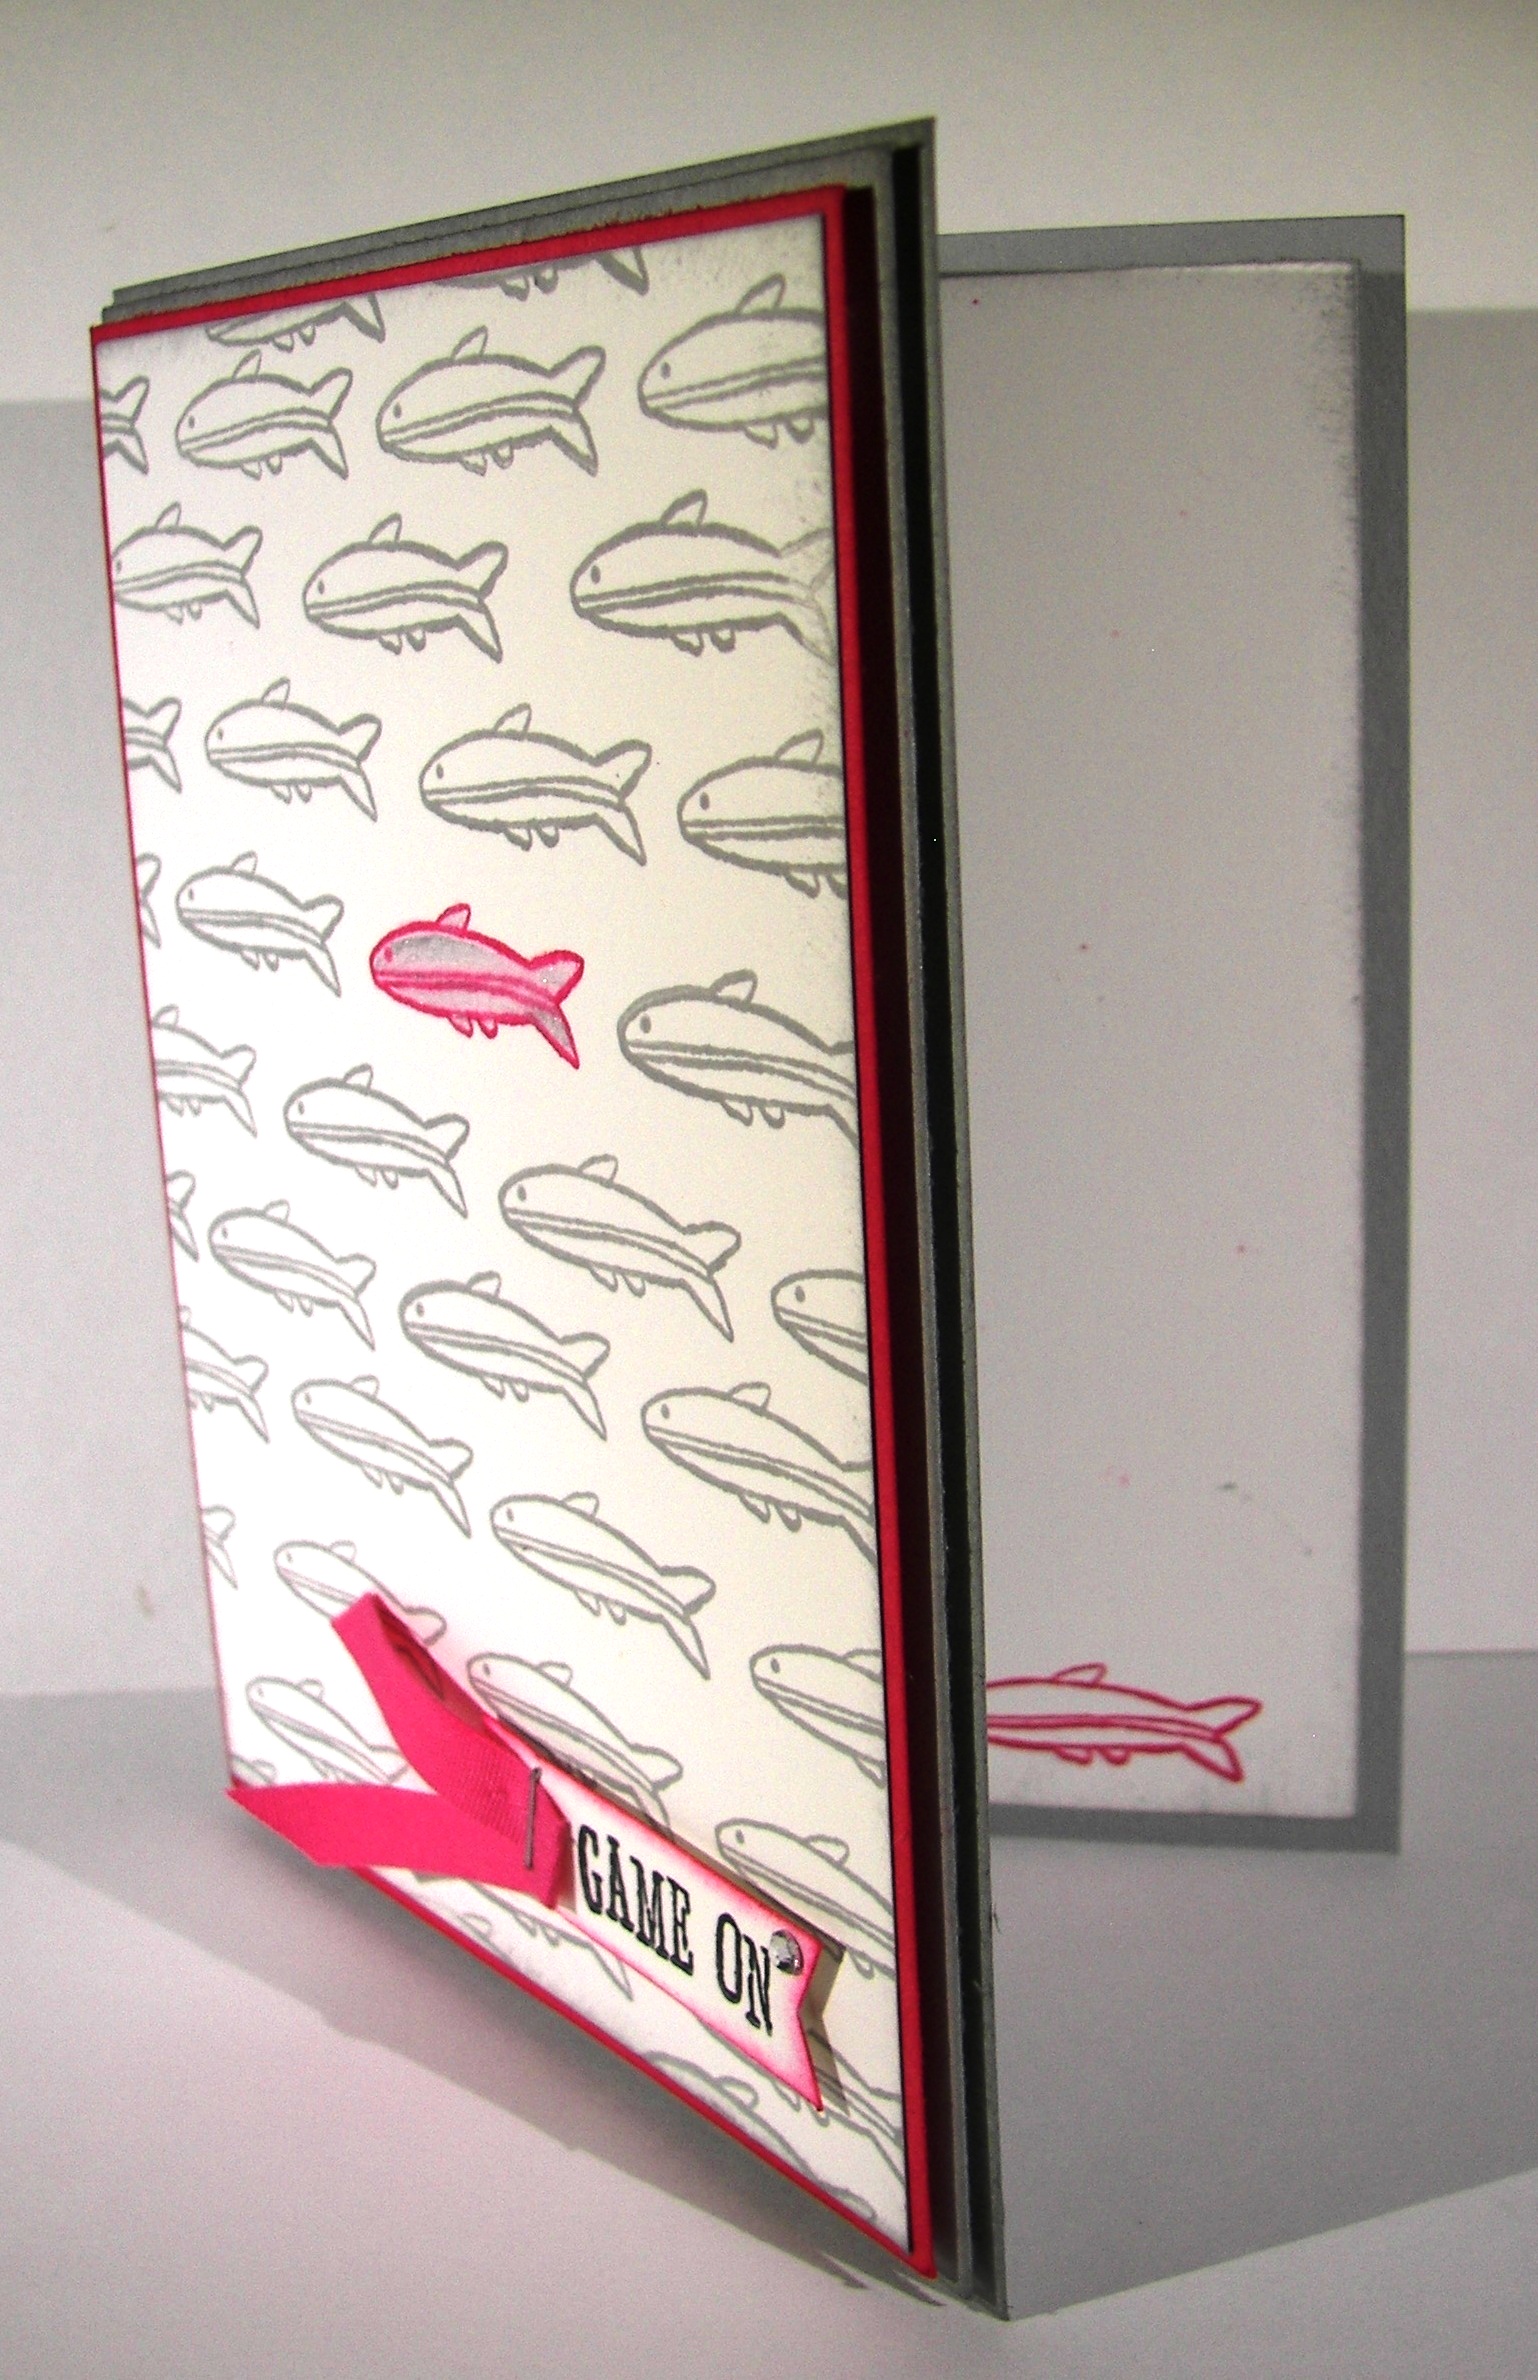
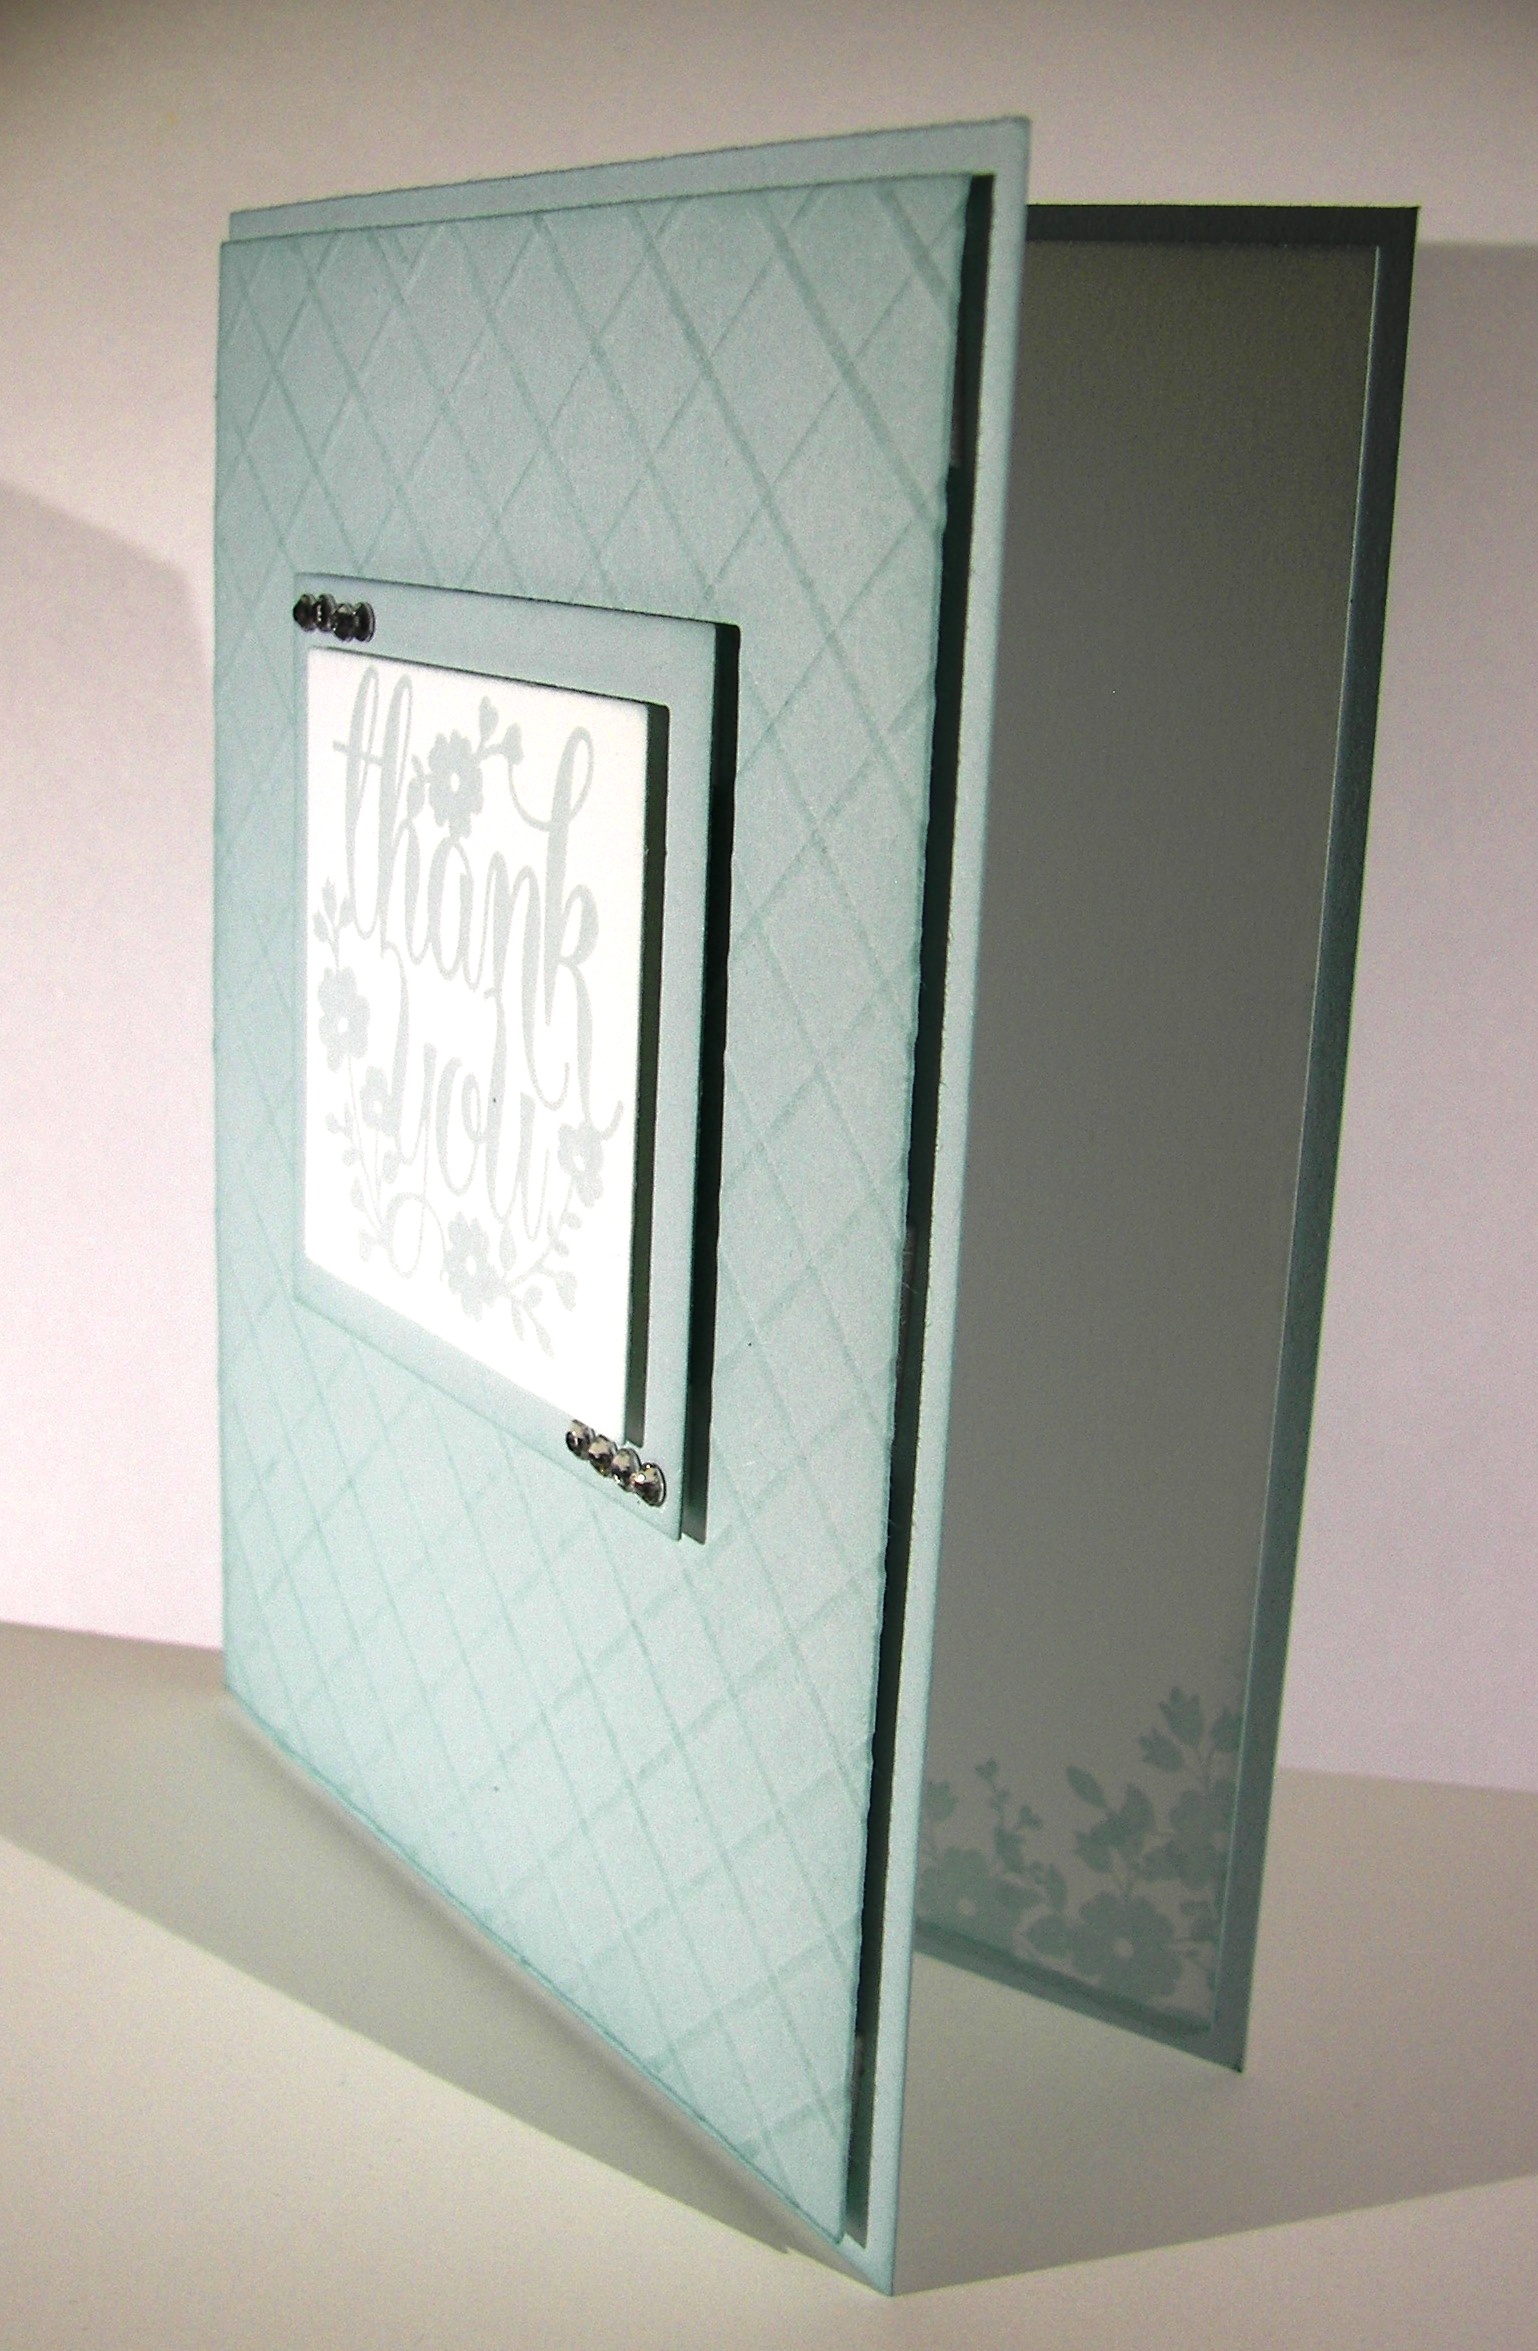
I do enjoy making something special by request.  It isn’t always easy to start, but once you do, the ideas just begin flowing.  This is my first go at a bridal shower invite.

1-25

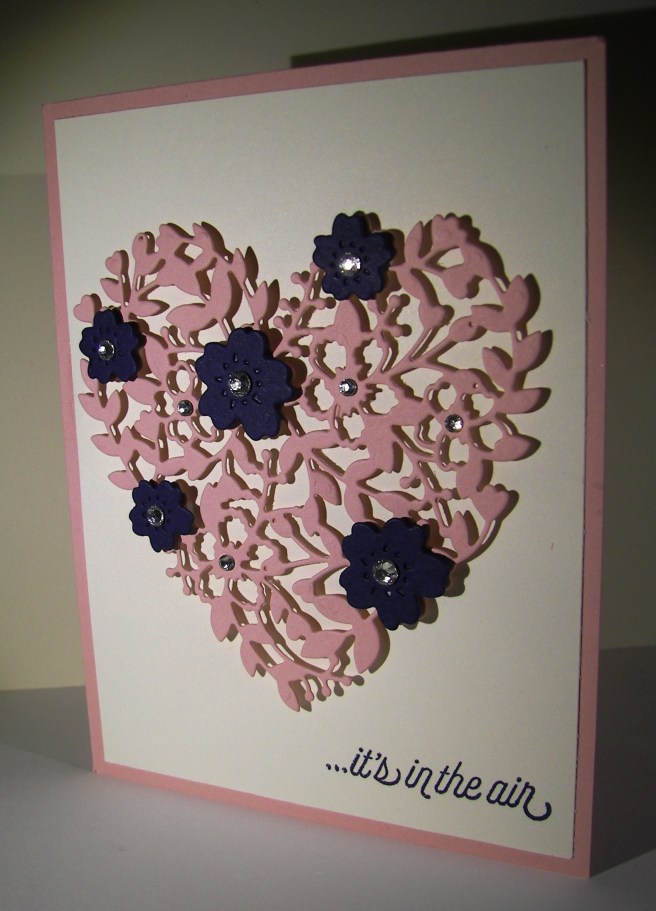
The brides colors are a blush pink and navy blue.  My blue looks a bit royal purple here, but it is a deep navy.  How about this lovely framelit die cut?  I thought I might go a bit bonkers trying to get it all detailed out, but I managed.  I am not always the most patient one, but this die requires it.  I had to put it through the big shot back and forth several times to get all of the cuts done.  It was worth the fussing though.  The detail is amazing.

1-25 (1)

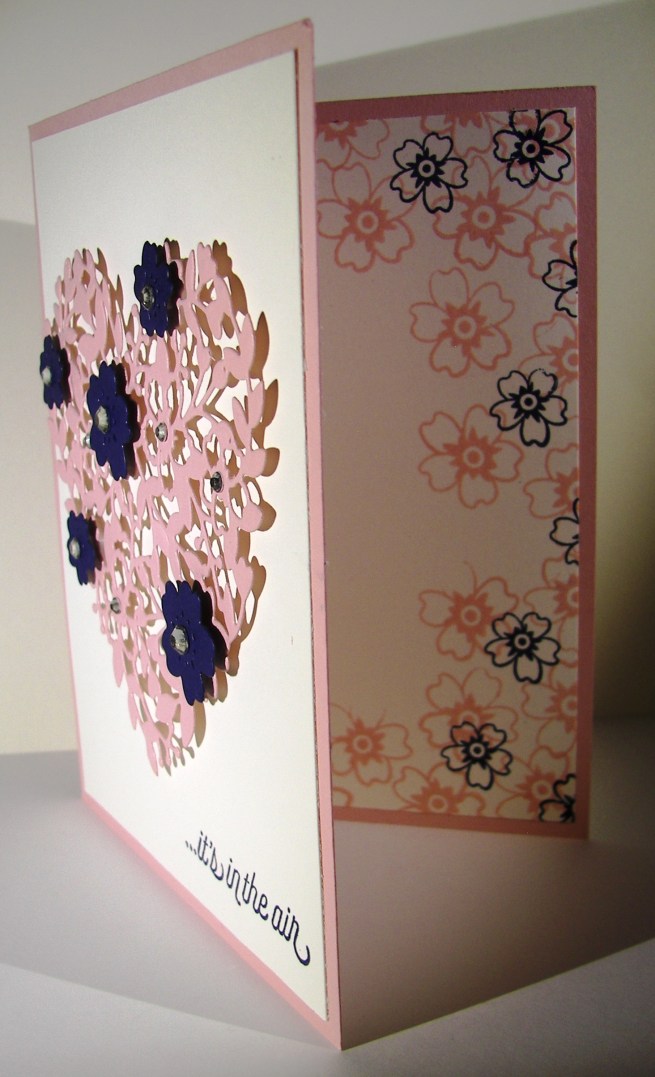
I might have gotten a bit carried away on the inside stamping.  I was chatting while I stamped and before I knew it, it had gotten pretty busy.  If this one ends up being the choice, we might have to print the details on velum to be an overlay.  That would be pretty though too.  Love is definitely in the air.

1-25 (2)

Have a creative day!

Moana

Hello Little Sunshine

It is so wonderful to have stamp sets that speak to you.  I literally would say this phrase over and over to my children when they were little.  Now that they are much older, it still manages to sneak in for a tender moment or two.

Hello Little Sunshine

When I started making the background for the card by just stamping off as I went along, I knew I needed to make a coordinating gift bag.  That little sunshine stamp is so adorable.  I could see myself sneaking it in lots of places.  And to top it off, the Hello stamp set is a free one during Sale-a-bration!  Free is nice, but free and adorable is not a common thing.

Hello Little Sunshine

A tall slender gift bag was in order today.  I was feeling like a different gift option, but of course I could totally see a big yummy candy bar going inside.  How about a fat quarter of fabric instead?  Yes, my quilting friends would totally agree with that one.  Maybe I could find some sunshine paper too?  Or stamp some to match?  A project and a gift, sounds great!

Hello Little Sunshine

Have a creative day!

Moana

Botanical Gardens Designer Vellum Stack

It is so nice to be able to sit and create something beautiful.  Some people have their best thinking moments in the shower, well, mine is at the craft table.  Now, if I could just figure out how to get more working space in my area, that would be wonderful.  I’ll have to get back to you on that one.

Botanical Gardens Designer Vellum Stack

This vellum paper though.  It comes in eight different patterns and you get three sheets of each in the stack.  And yes, it is only available during Sale-a-bration and is only a free item.  With a $50 purchase, you might choose this one as your gift.

Botanical Gardens Designer Vellum Stack

The card itself is quite simple.  I cut both my vellum and the card front sheet at 4 x 5 1/4″ and layered them together with glue dots.  I covered my glue with basic rhinestones, and then I went a little crazy and there you have it.  I then added a wrap of satin ribbon with a lovely bow on the front.  That front is layered on to the card base with lots of dimensionals and I called it done.

Botanical Gardens Designer Vellum Stack

Have a creative day!

Moana

Oh, Hello 2016

It would appear I have taken a few days off, and I guess I did.  I worked ahead to be out of town and still blog, but didn’t have quite the time to get back to it when I got home.  Sometimes life just has to happen, and it was so much fun!

Oh, Hello 2016

This card is just cuteness overload!  I am absolutely in love with this little chick, aren’t you?  It comes from a free set that is only available during Sale-a-bration.  It is a free gift option when you buy $50 of product.  No problems here, I love free!

Oh, Hello 2016

I snatched a tiny stamp from December’s Paper Pumpkin kit that says 2016.  It works with the calendar kit, but is just what I needed for this card.  Kind of like the year 2016 was there before I realized it.  I do think this chick will find its way on everything I can think of.  I have tons of other new product to play with, but nothing this cute.  Oh how I do love cute!

Oh, Hello 2016

Have a creative day, what’s left of it.

Moana

Wonderful Wreath Noel Set

I certainly am in the mood for Christmas cards that is for sure.  I am also working towards a goal though.  The other day I blogged about a service project I was involved in.  There turned out to be twenty four advent gifts to share.  I thought it would be appropriate for the young women who had worked so hard on them should write a personal Christmas card to accompany the gift.  So, I need several cards.

Wonderful Wreath Noel Set

I am notorious for a matching gift bag though.  I love putting a treat or two in a little bag and sharing it, so I call this a win.  How simple is this card though?  A simple layering of designer velum on a card front made just smaller than the base, love my 1/8″ narrow borders.  It was accented with a single strip of ribbon that I didn’t even make a bow or knot or anything!  Unheard of really.

Wonderful Wreath Noel Set

The Wonderful Wreath framelit set has this lovely ‘Noel” die in it that was just perfect.  Blackberry bliss is one of those colors that goes in almost any season, but Christmas is a good one most certainly.  Glue dots were hidden behind the silver dots so the adhesive wouldn’t show.  I used tombo on the ‘Noel” and it stayed put quite nicely.  On to the next project!

Wonderful Wreath Noel Set

Have a creative day!

Moana

Sparkly Seasons Ballerina

Doesn’t everyone get enchanted with a pretty snow globe?  This particular stamp set has a few options to make one happen, but this pretty ballerina might be my favorite.  She is so delicate and lovely.

Sparkly Seasons Ballerina

The base is stamped in sahara sand and the globe is in soft sky.  That is also the card base and background color. I stamped her in sahara sand as well to give a hint of skin color without having to make it happen.  I did water color her tutu and slippers though, couldn’t resist that.  Her hair just had a touch of marker coloring.

Sparkly Seasons Ballerina

I stamped the ‘sparkle’ inside the globe with versa mark ink and then covered it with dazzling diamonds.  Loved it.  But I needed more.  So I used the 2-way glue pen to color a layer around the bottom of the globe and used more dazzling diamonds.  I liked that a lot better.  Of course I had to put a bunch of rhinestones around as well.  Sparkle means sparkle.  I even put a few inside.

Sparkly Seasons Ballerina

Have a creative day!

Moana

Elegant Butterfly

Butterflies, butterflies, and more butterflies.  There are a bunch going on here, but one in particular started it all.  You might not realize it, but I played quite a bit with this little butterfly.  Lots of detailing and working it with a stylus.

Elegant Butterflies

Sometimes the attention to detail makes all the difference.  My daughter made a good observation.  She said it would be really pretty if it were glass or something so it could be a necklace charm.  I have to agree, it would be lovely.

Elegant Butterflies

I do rather enjoy working with colors that are so not of the current holiday.  Nothing more entertaining than making a spring card in late fall, or a fun Christmas project in the middle of July.  Something different to expect.

Elegant Butterflies

Have a creative day!

Moana

Sweet Hauntings

I was pretty darn excited to get this stamp set and even more to put it to work.  These bottles, they really make me laugh!  I normally don’t purchase Halloween sets because of the limits of use.  This one, I know I will be having fun with it all year long.

Sweet Hauntings

Picking the color pallet was the easy part, some of my favorites for sure.  I love fall and all of the colors that live there.  Creating my own patterns for background paper is one of my favorite parts.  I would love this in whole sheets.  Hmmmmm, perhaps that will be a fun activity later on.  I stamped each bottle again so they could be fussy cut and layered up.  Those fun little bottles, love them!

 Sweet Hauntings

Lots of sponging on the vanilla paper.  Early espresso gives a great vintage look, which is just what I needed.  I sponged everything, lots, even the ribbon.  It gave it  a great grungy look.  I did echo stamping on the inside as well, can’t get enough of these bottles.  Did you notice the tiny little rhinestones I put on the skull bottle stopper?  Way beyond fun!

Sweet Hauntings

Have a creative day!

Moana

Christmas Lighthearted Leaves

What a crazy morning!  However, slow and steady wins the race, right?  Like I said earlier in the week, I planned on casing myself from another project that looked like Christmas to me.  Here it is, my ‘Believe’ card.

10-19

As I stamped these leaves last time I kept thinking about mistletoe.  Of course, by the time I got done painting all the leaves green, I kept thinking of seaweed.  So now I want to do an ocean project.  What a great stamp set, right?

10-19 (1)

I painted the ‘berries’ real read and went with cucumber crush for my green.  It is such a fun, bright green.  When I trimmed my cardstock down I was left with a few narrow strips and decided to put them to work.  I thought about using some quilling techniques, but kept it simple instead.  I did decorate one of the leaf images with rhinestones for a little bling and loved how it turned out.  So, just like all of the other retailers out there, I have made some Christmas happen before Halloween.  It was fun though, definitely fun.

10-19 (2)

Have a creative day!

Moana

Lighthearted Leaves

I fell in love with this stamp set from the moment I saw it.  The images from Lighthearted Leaves are absolutely wonderful.  Artsy enough to get your attention, but not so simple as to be boring.  Such a nice balance.  I think I will case myself and make a Christmas version of this project.  I see mistletoe.

Lighthearted Leaves

I can also see an ocean theme.  The leaves kind of remind me of sea kelp and could be holding little fishies somewhere.  I do love an optional stamp set.

 Lighthearted Leaves

The layering is simple here.  Narrow borders help to not distract from the thin lines of the designs.  All around, I am very happy with how this turned out.  using the tags & labels framelits also make me happy. Subtle touches of color to accent the sentiment without taking over.  Just enough room to have a simple bit of ribbon and one little rhinestone in the center.  How perfect is that.  What more do you need than to ‘believe’?

Lighthearted Leaves

Have a creative day!

Moana

Birthday Jar Wishes That Last

It isn’t my usual project to share, but I do make these particularly often.  The idea is lovely and I get to put a lot of retired product to good use.  I do hate to ignore it, so I thought I would share  a way to use it differently.

Birthday Jar Wishes That Last

I bought some of those washi sheets having no idea what I would do with them.  Until this fun series of projects came about.  I work with the young ladies in my church, along with several other ladies, and we come together as a team in a large variety of events from large to small and everything in between.  Of course we celebrate birthdays!  And that is what this is.

Birthday Jar Wishes That Last

I decorate jars and vases with washi paper punches to the mood I am in.  Sometimes I use framelits, or punches, or both.  I have a large collection of last springs sale-a-bration ribbon, so it always goes together.  You know how I love to coordinate as much as possible.  So these jars are created for each young lady or woman in our group.  We all then write inspirational wishes, birthday wishes, and just kind words in general to fill the jar.  Then, the recipient can read them all at once, or read them one at a time, or open them over time when a bad day happens and they need a pick me up.  Something sweet for whenever you want them.  So, try something different with the awesome product you have, either current or retired, it is all wonderful!

Birthday Jar Wishes That Last

Have a creative day!

Moana

Game On Dear Heart

I absolutely love, love, love making my own paper with unique stamps.  Most of the time my friends can’t even place which stamp set it came from.  I have overlooked several stamps myself.  Example, look at this cute little fish!

Game On Dear Heart

Sometimes we feel like we don’t fit in, but I feel like that is a beautiful thing.  I made this card with that theme in mind.  He is stamped in melon mambo, water colored a bit, and water colored again with silver encore ink.  Everything is lightly sponged and there are plenty of dimensionals here.

Game On Dear Heart

The sentiment was stamped on a little scrap, punched with the bitty banner punch on one end, and given a bit of ribbon on the other.  How easy is it to just staple some ribbon on.  Some cards need just that, a little different look.  And of course this is layered up as well.  Did you see the little fish repeated inside?

Game On Dear Heart

Have a creative day!

Moana

Lovely Amazing You

While sitting next to my youngest daughter, trying to keep her awake to finish homework, I thought I would complete my project for the next day.  Good idea, right?  I pulled two stamp sets I hadn’t used in a while and asked her for a color idea.  She said dark blue, so I went with Night of Navy.  The card began.

Lovely Amazing You

She wasn’t having the best of evenings and her older sister came to the rescue, even though she is out of state attending university.  I do think that technology can interfere with real personal relationships, but this was perfect.  The infamous ‘snapchat’ was just the thing.  The sad faces turned to happy and then on to absolutely silly.  And that is how I chose my sentiment.  Thank you my sweet daughter for being the best big sister ever.

Lovely Amazing You

The brayer was still out from workshop so I let it give me my background on the large polka dot embossing folder.  Kind of artsy looking, even if I didn’t keep it perfectly clean.  I then decided to do a lot of sponging to disguise some of that, can’t hide it all, and also sponged lightly all over the paper.  Nice.

Lovely Amazing You

The little notebook sheet was created with a stamp from the Tap Tap Tap set, offset on some Night of Navy cardstock, raised up on dimensionals and embellished with basic rhinestones.  I even used the 1/16″ hand held punch and punched actual holes over the stamped ones.  Pretty cute.  I finished off the project with a bow of seam binding ribbon and decided I loved it!

Have a creative day!

Moana

I Cased Myself! Eeeek!

I have the pleasure of hosting a card workshop for my club this weekend and decided I would use yesterday’s project as one of our projects.  I do like to give them choices and encourage a bit more creativity, so I cased myself to give them another choice.  Too fun I must say.

I Cased Myself!  Eeeek!

Same kind of layout as yesterday, but I made my background paper instead of using designer series paper.  Choices, like I said.  And I love to encourage people to use their stamps differently.  This qualifies for sure.

I Cased Myself!  Eeeek!

I used the pumpkin face from the seasonal stamp set Sparkly Seasons.  That is one diverse set, absolutely love it!  I stamped the faces alternate directions using black stazon first.  Then I went back over them to create a shadow/3D look.  It turned out fun.  I will use that technique again for sure.

I Cased Myself!  Eeeek!

When I put the eyes on I placed them over the pumpkin eyes and got a mouth out of it.  So cute.  Then I had the eyes turned to face the word eek and the card was done.  I did use the same pumpkin face for a bit of echo stamping inside.  Just right if you ask me.

Have a creative day!

Moana

Larger Than Life Boo

Halloween doesn’t have to always be about scary things.  Sometimes it can give you the feel of the holiday and be totally adorable at the same time.  Kind of like a few sweet children all dressed up singing “Trick-or-Treat” at your door.  Just too cute.

Larger Than Life Boo

The project began with a sheet of the Go Wild DSP stack.  I knew I wanted to sponge it up with a faded look so I looked for patterns that had more white than black.  This pattern was perfect.  I swirled and swirled until it looked the way I wanted and then sponged around the edges some more.  No layering, just adhered it straight to the card base.

Larger Than Life Boo

These Larger Than Life Alphabet & Numbers stamps really make me happy.  The only thing that would make me happier is having coordinating framelits.  But, that is not the case.  You guessed it, I actually did fussy cutting, twice!  Once for the letters and once again when I layered them up on more paper.  Where is my brain?  It had to be done, so I suffered.  My least favorite crafty task next to cleaning up.

Larger Than Life Boo

I touch of Dotted Lace Trim added such a soft touch.  Left the bow off and just did a simple knot.  I made some little eyes using the 1/2″ circle punch, punched circles using the 1/4″ circle hand held punch, and centered them with the largest size of basic rhinestones.  I sponged those pumpkin pie eyes and raised them up on dimensionals.  I also raised up my word ‘boo’ with dimensionals, but used a double stack on the center ‘o’ to make it stand out even more.  End result, adorable Halloween card, just adorable.

Have a creative day!

Moana

A Whole Lot of Lovely

Today is quite the contrast to yesterdays color scheme.  But I certainly am all over the place in regular life, so why should my crafting be any different.  Makes sense enough to me.

A Whole Lot of Lovely

I have wanted to try this technique for ages but have never sat down to actually do it. I saw a card that did this as a lattice background for a lovely floral collection and saved the image for later.  That was two phones ago, and I have long since lost that image, but not in my mine.  

A Whole Lot of Lovely

I used my simply scored set and diagonal plate to make these lines.  If you look closely you will see all of my errors, but it was my first time trying.  I tried to keep my score lines 1/2″ apart, but didn’t get them exact every time.  The look turned out though, and you get the idea.

A Whole Lot of Lovely

Some simple stampin, layering everything up on dimensionals, a couple of strings of basic rhinestones, and a healthy dose of sponging helped to finish it off. I of course had to stamp and sponge the inside to make it almost as lovely as the front, they need to coordinate.

Have a creative day!

Moana

Let It Snow

I know it is only the beginning of  September, but I do love seasonal cards, especially winter scenes and Christmas.  Not to mention that the Stampin’Up! holiday catalog goes live today.  So much fun!

Let It Snow

I have used several new products in today’s project.  New stamp set, new framelit set, new embossing folder and then comes a new card.  How cute is this little snowman?

Let It Snow

I stamped the image where I wanted it along with the sentiment.  Then I embossed the card front.  At first I wanted to have all the snowflakes sky blue and thought to use the brayer.  But I decided to be more selective and yes, I did water color select flakes.  It didn’t take that long, really.  The effect is nice.

Let It Snow

I had an extra ‘snow’ die cut from Saturday’s event project and knew just where to use it.  Actually, that is what started the card out.  I added in a little silver metallic threat and layered it all up on dimensionals.  Just my speed.

Have a creative day!

Moana

Grateful

It isn’t very often you get to design a special card like this one.  Tomorrow will be me and my husbands 25th wedding anniversary and I feel truly grateful for every day we have loved together.

Grateful

I didn’t want to use a traditional ‘anniversary’ stamp or theme.  That isn’t how I feel.  I feel gratitude.  Having a lasting marriage isn’t the norm these days and I feel very fortunate to be among those who get to celebrate like this.  Hence the grateful sentiment.

Grateful

This card was made with the ever so lovely heavy weight whisper white cardstock.  I love that stuff like crazy.  Especially when embossed.  It handles the embossing folders so much better.  Look at that texture!  The flowers are my favorite, like always.  They were attached with glue dots and given a basic rhinestone center.  Just right.  Now, about the grateful phrase.  That thinlit will be available for order on September 1st, but since I am a demonstrator I got to get in on the pre-order during August.  Such a fun perk.  So, you can get to it too, soon.

Grateful

I wanted it to be dimensional a bit, so I used glue dots on it too.  I rolled a glue dot up a bit and stuck it on thicker parts of the word.  I ended up using four dots all together and it turned out great.

Have a creative day!

Moana

All About Sugar and No Bones About It

When you get asked for a birthday card for a little boy, don’t you just think of dinosaurs?  This fun card could be for folks of all ages.  You know, the cards that tease you about being older than a dinosaur, or a fossil in this case.

All About Sugar and No Bones About It

I gave warning that I would be into this set like crazy, and I love every chance I get to use it.  I have a few more children’s birthday cards to make and I think they will all have a dinosaur on them.  Tee hee.

All About Sugar and No Bones About It

The card itself is very simple.  Narrow borders layered together with some very simple stamping.  I only used three stamps for this card.  I think it looks like this dinosaur is smiling.  I digress…

All About Sugar and No Bones About It

Simple stamping, basic color pallet, sponging on the edges and a touch of ribbon.  Keeping open spaces on a project isn’t my strength, but when I manage it, I realize that I really do like it.  I just forget.

Have a creative day!

Moana

Hello You

How do you decide what to work with?  Today, I went with my skirt as inspiration.  While I am not wearing black and white zebra stripes with butterflies, the colors are right on.  I could hold it on display and coordinate so nicely.  I love how it turned out.

Hello You

I have to admit, this is the first time I have used my file tab edgelits and I have had them for a long time.  I wanted to use them, just in a different way.  The paper helps out a lot here, and I like them vertical instead of horizontal the way a file folder would normally look.  Mission accomplished.

Hello You

In order to coordinate the inside with the outside, I took the small butterfly stamp from Kinda Eclectic and stamped away.  It makes me so happy to have the inside match the front.    The card actually is quite simple, with patterned paper like this you do have to have some limits, just some.

Hello You


Have a creative day!

Moana