Cucumber Crush Party

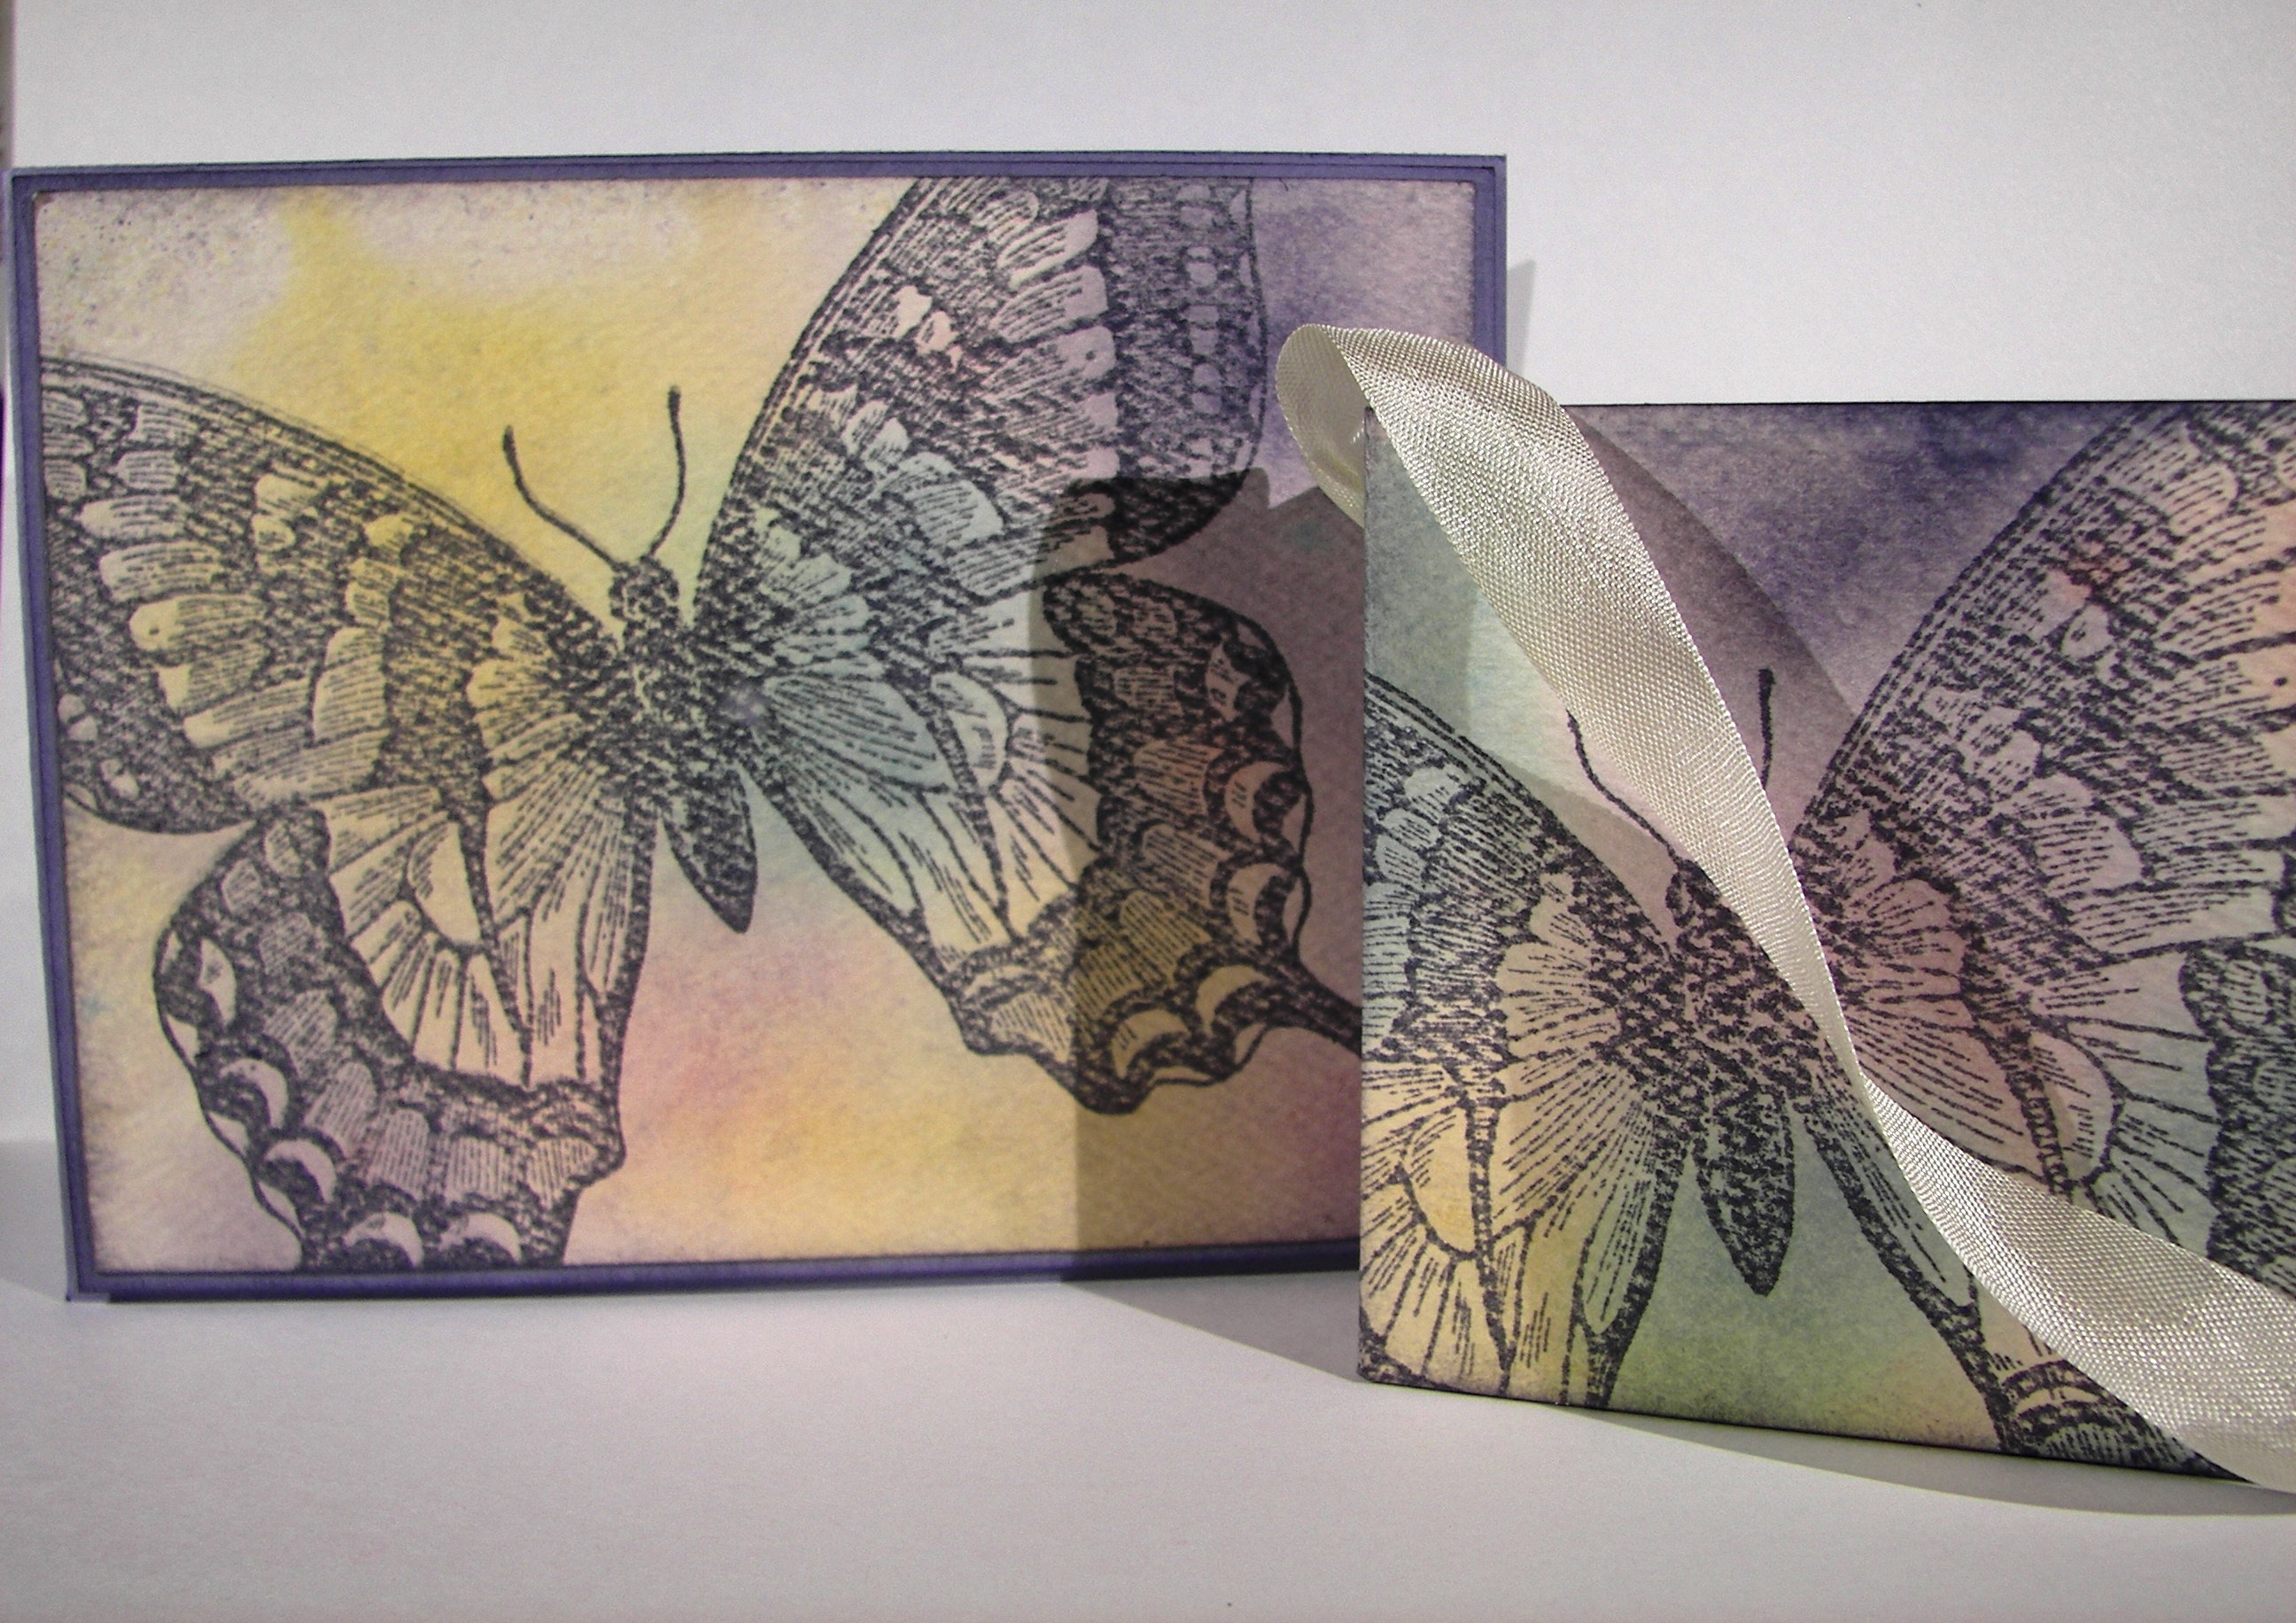
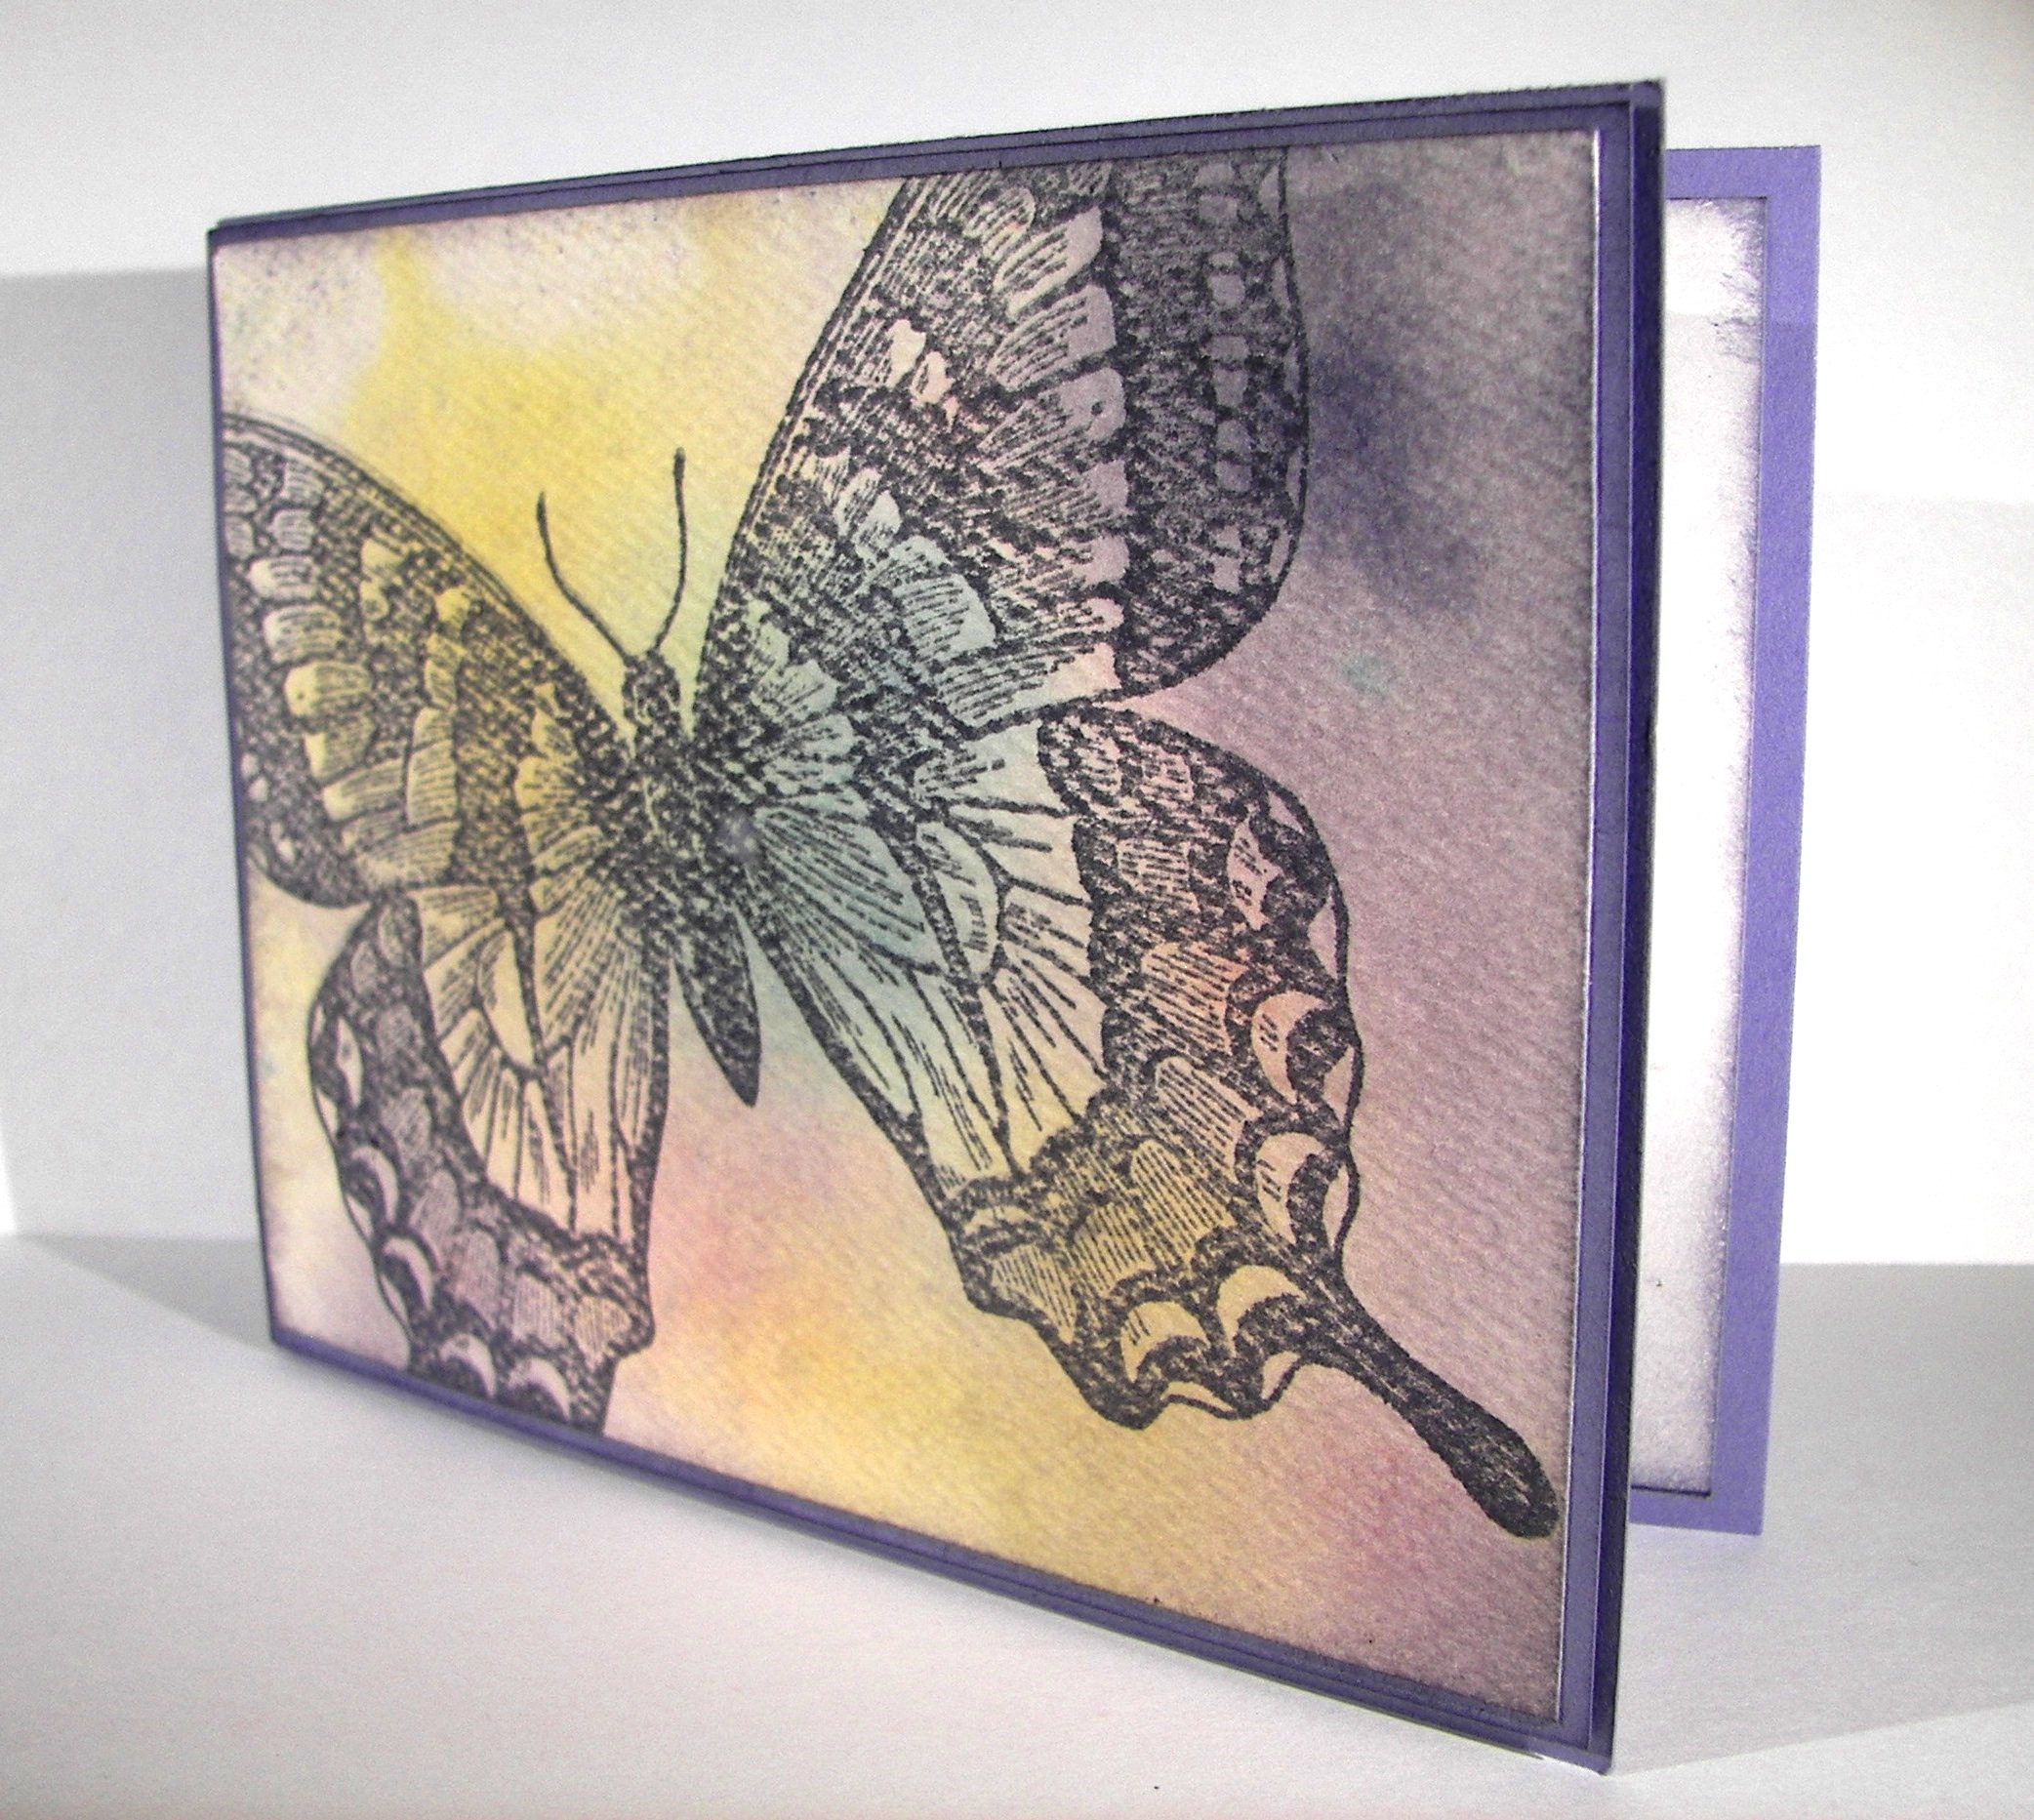
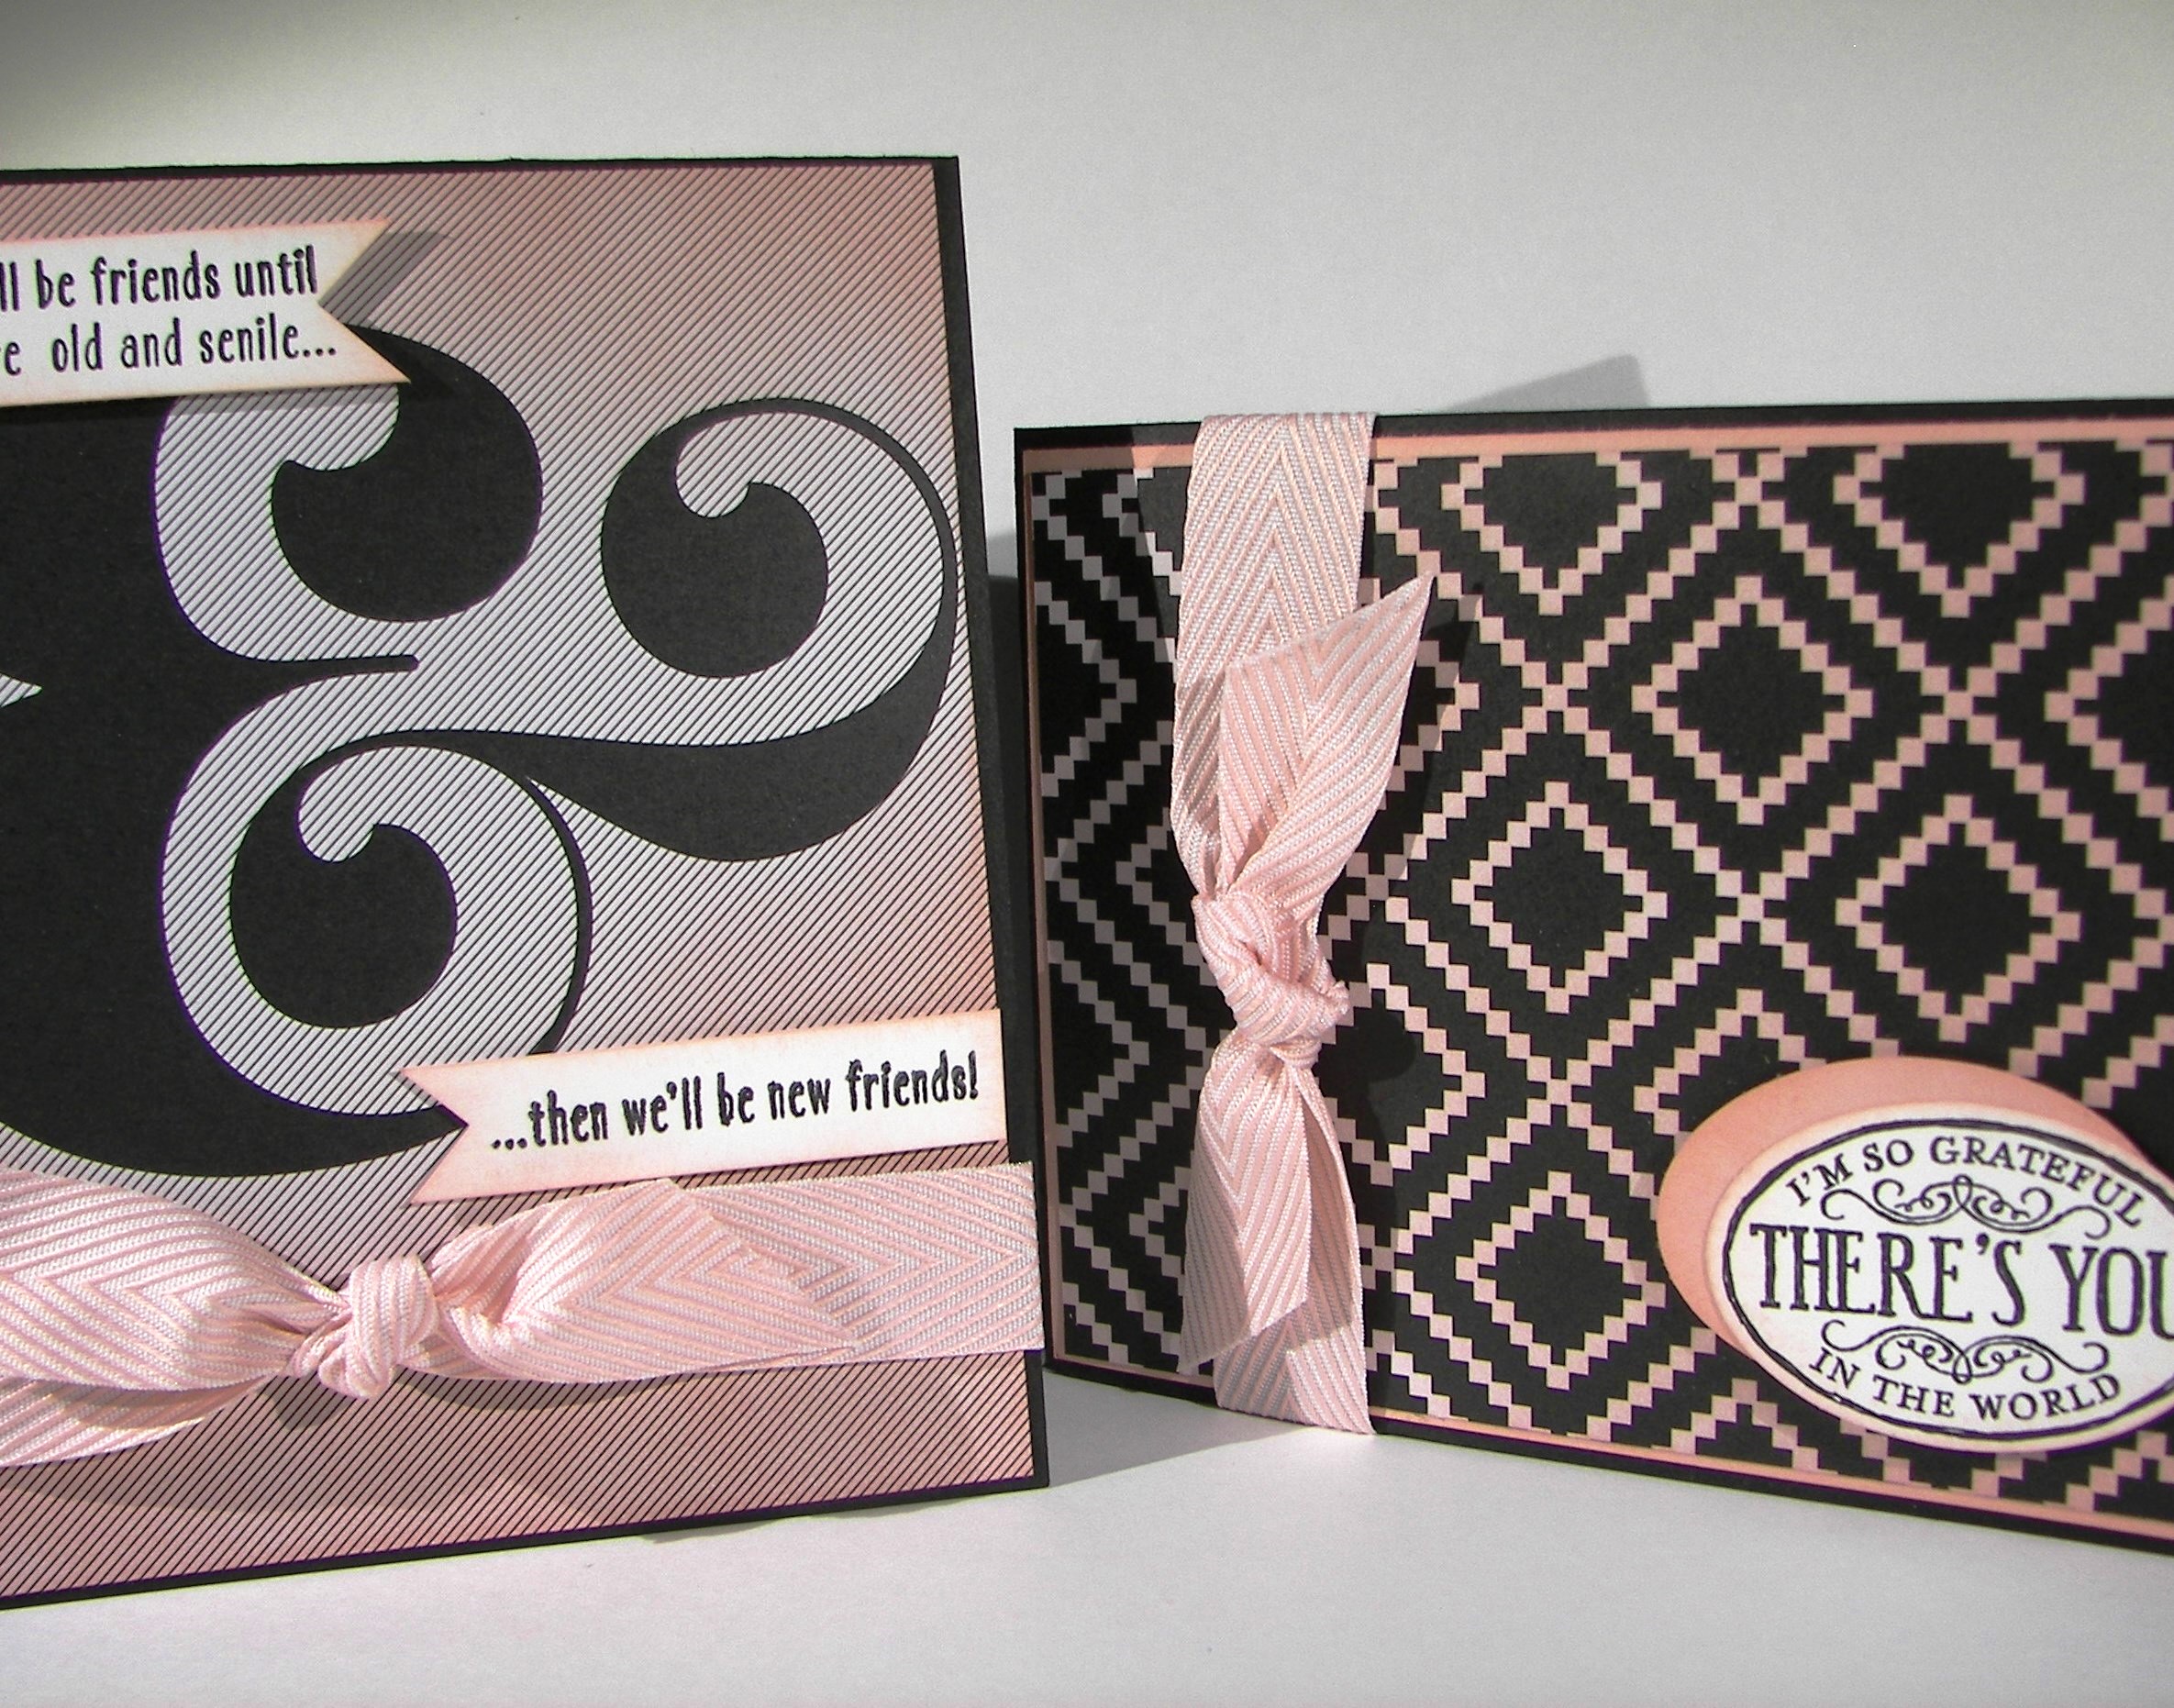
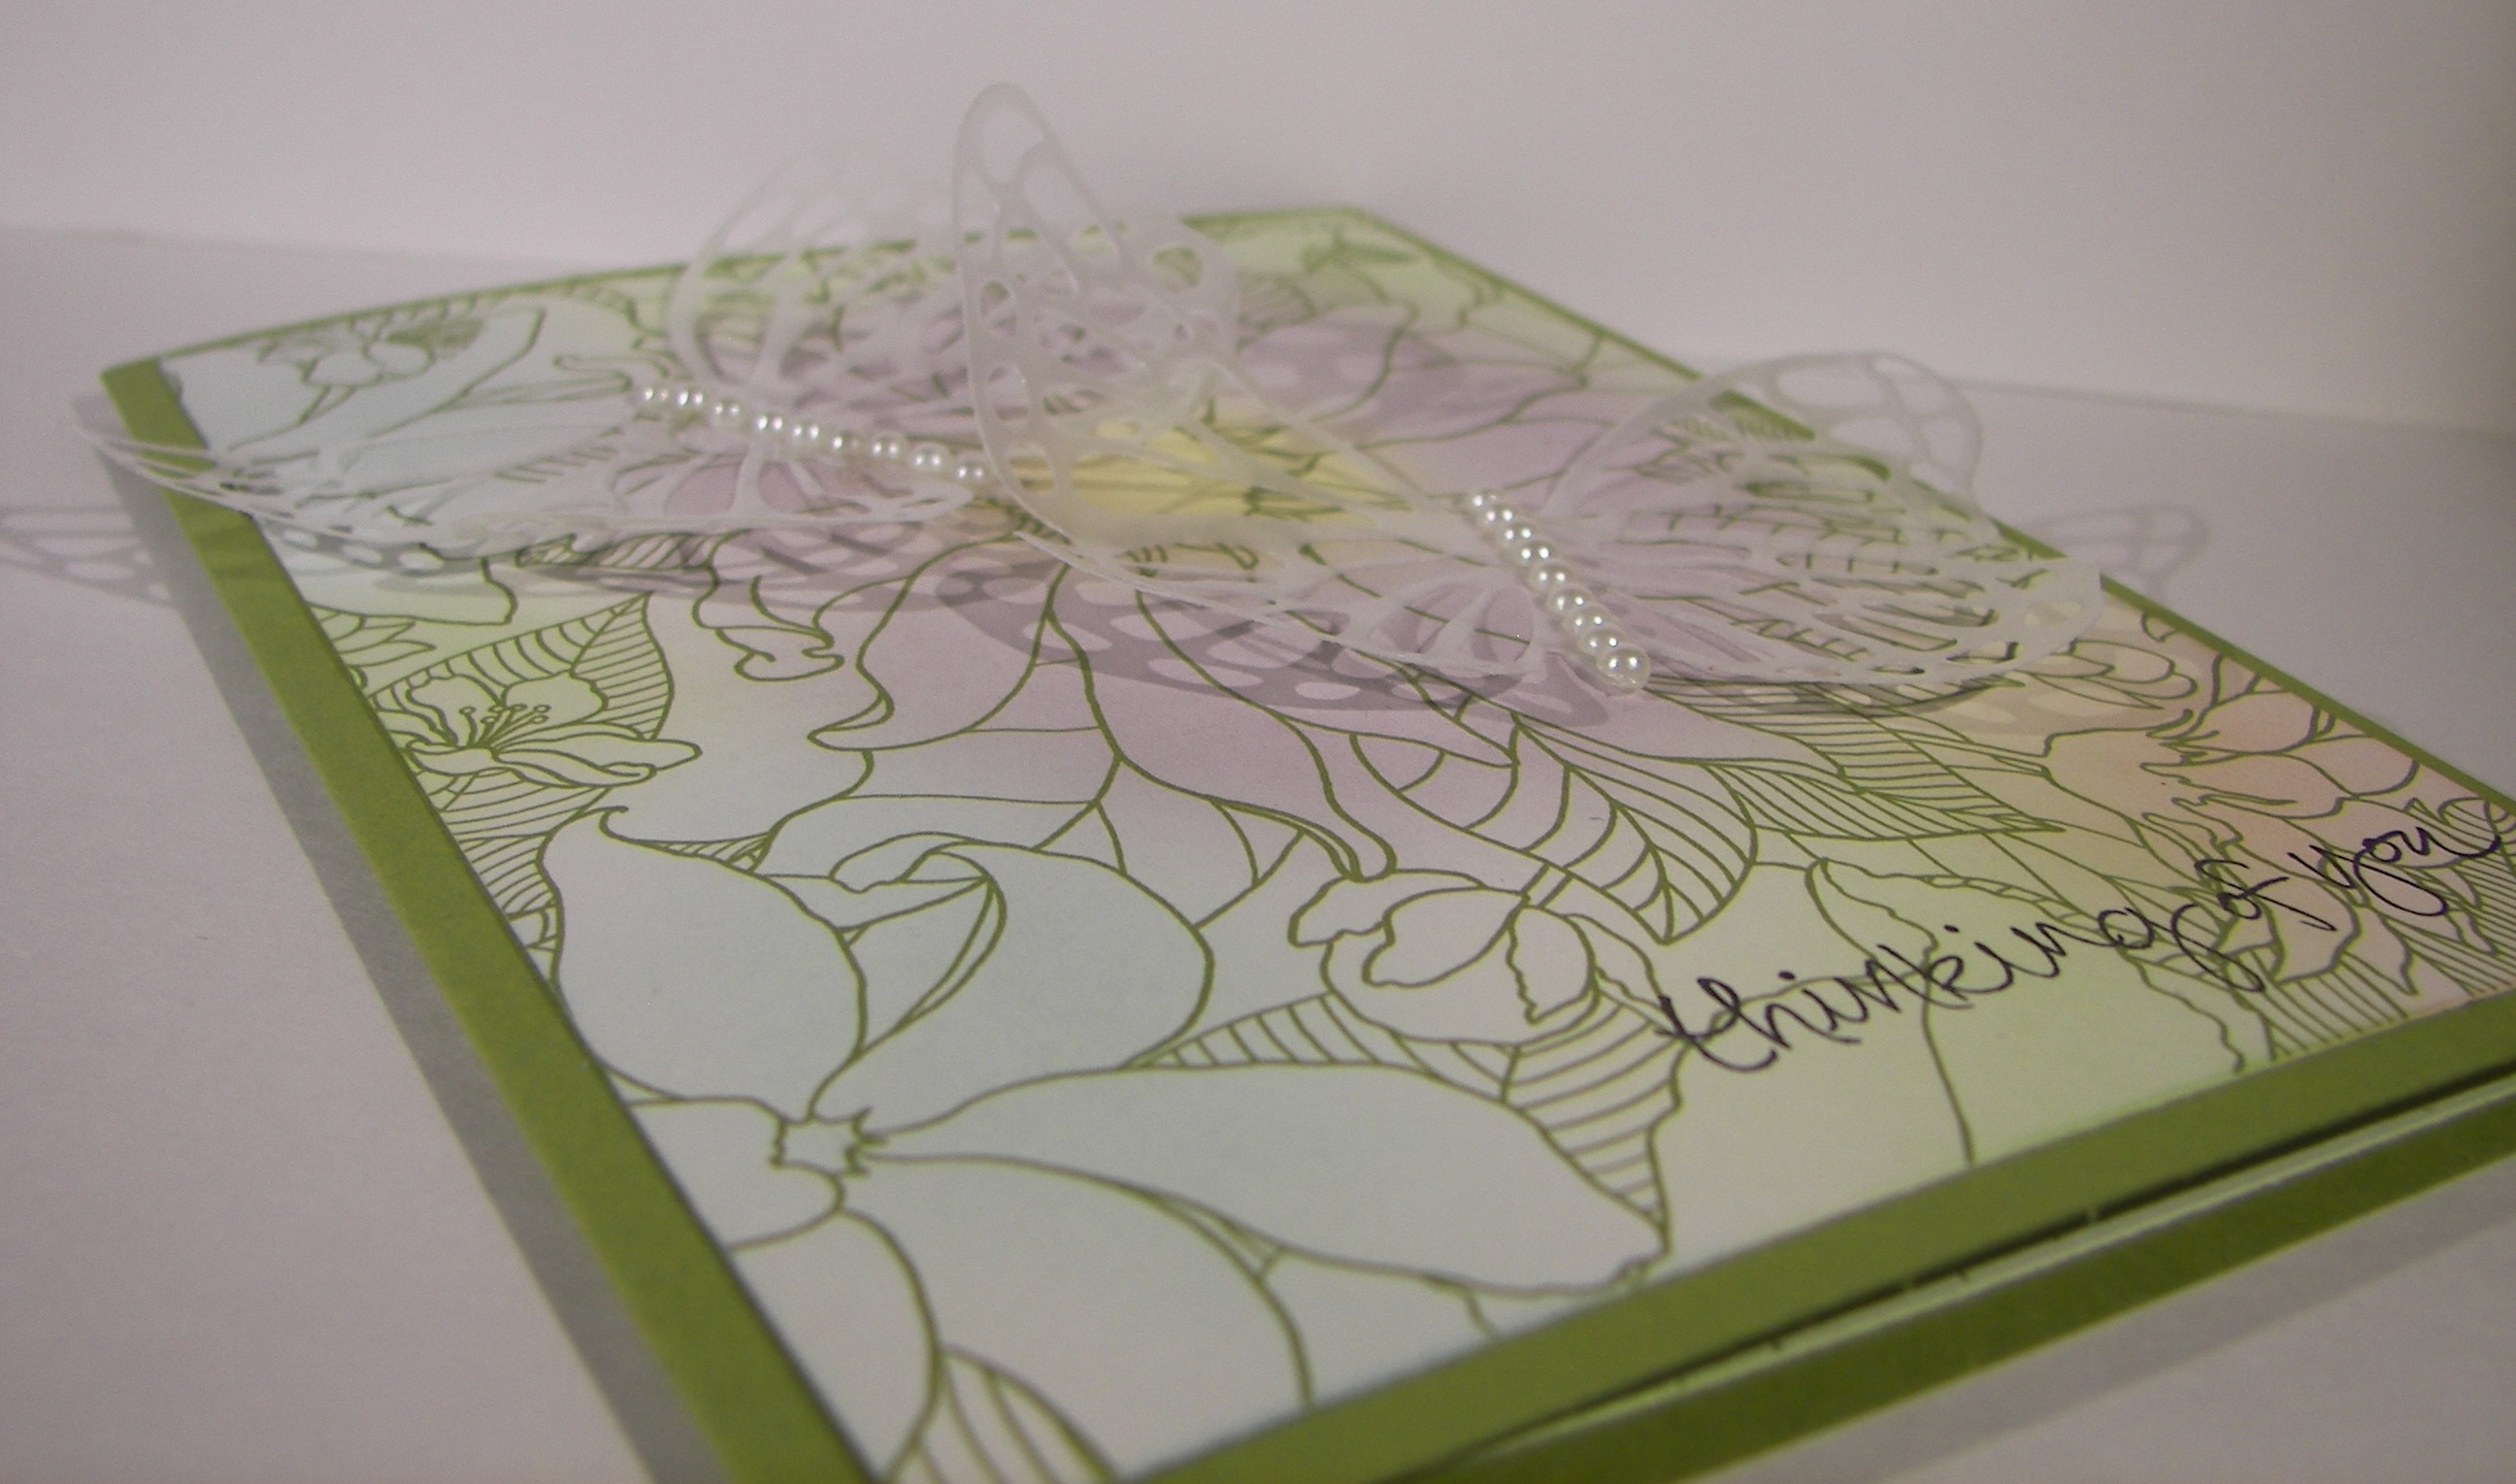
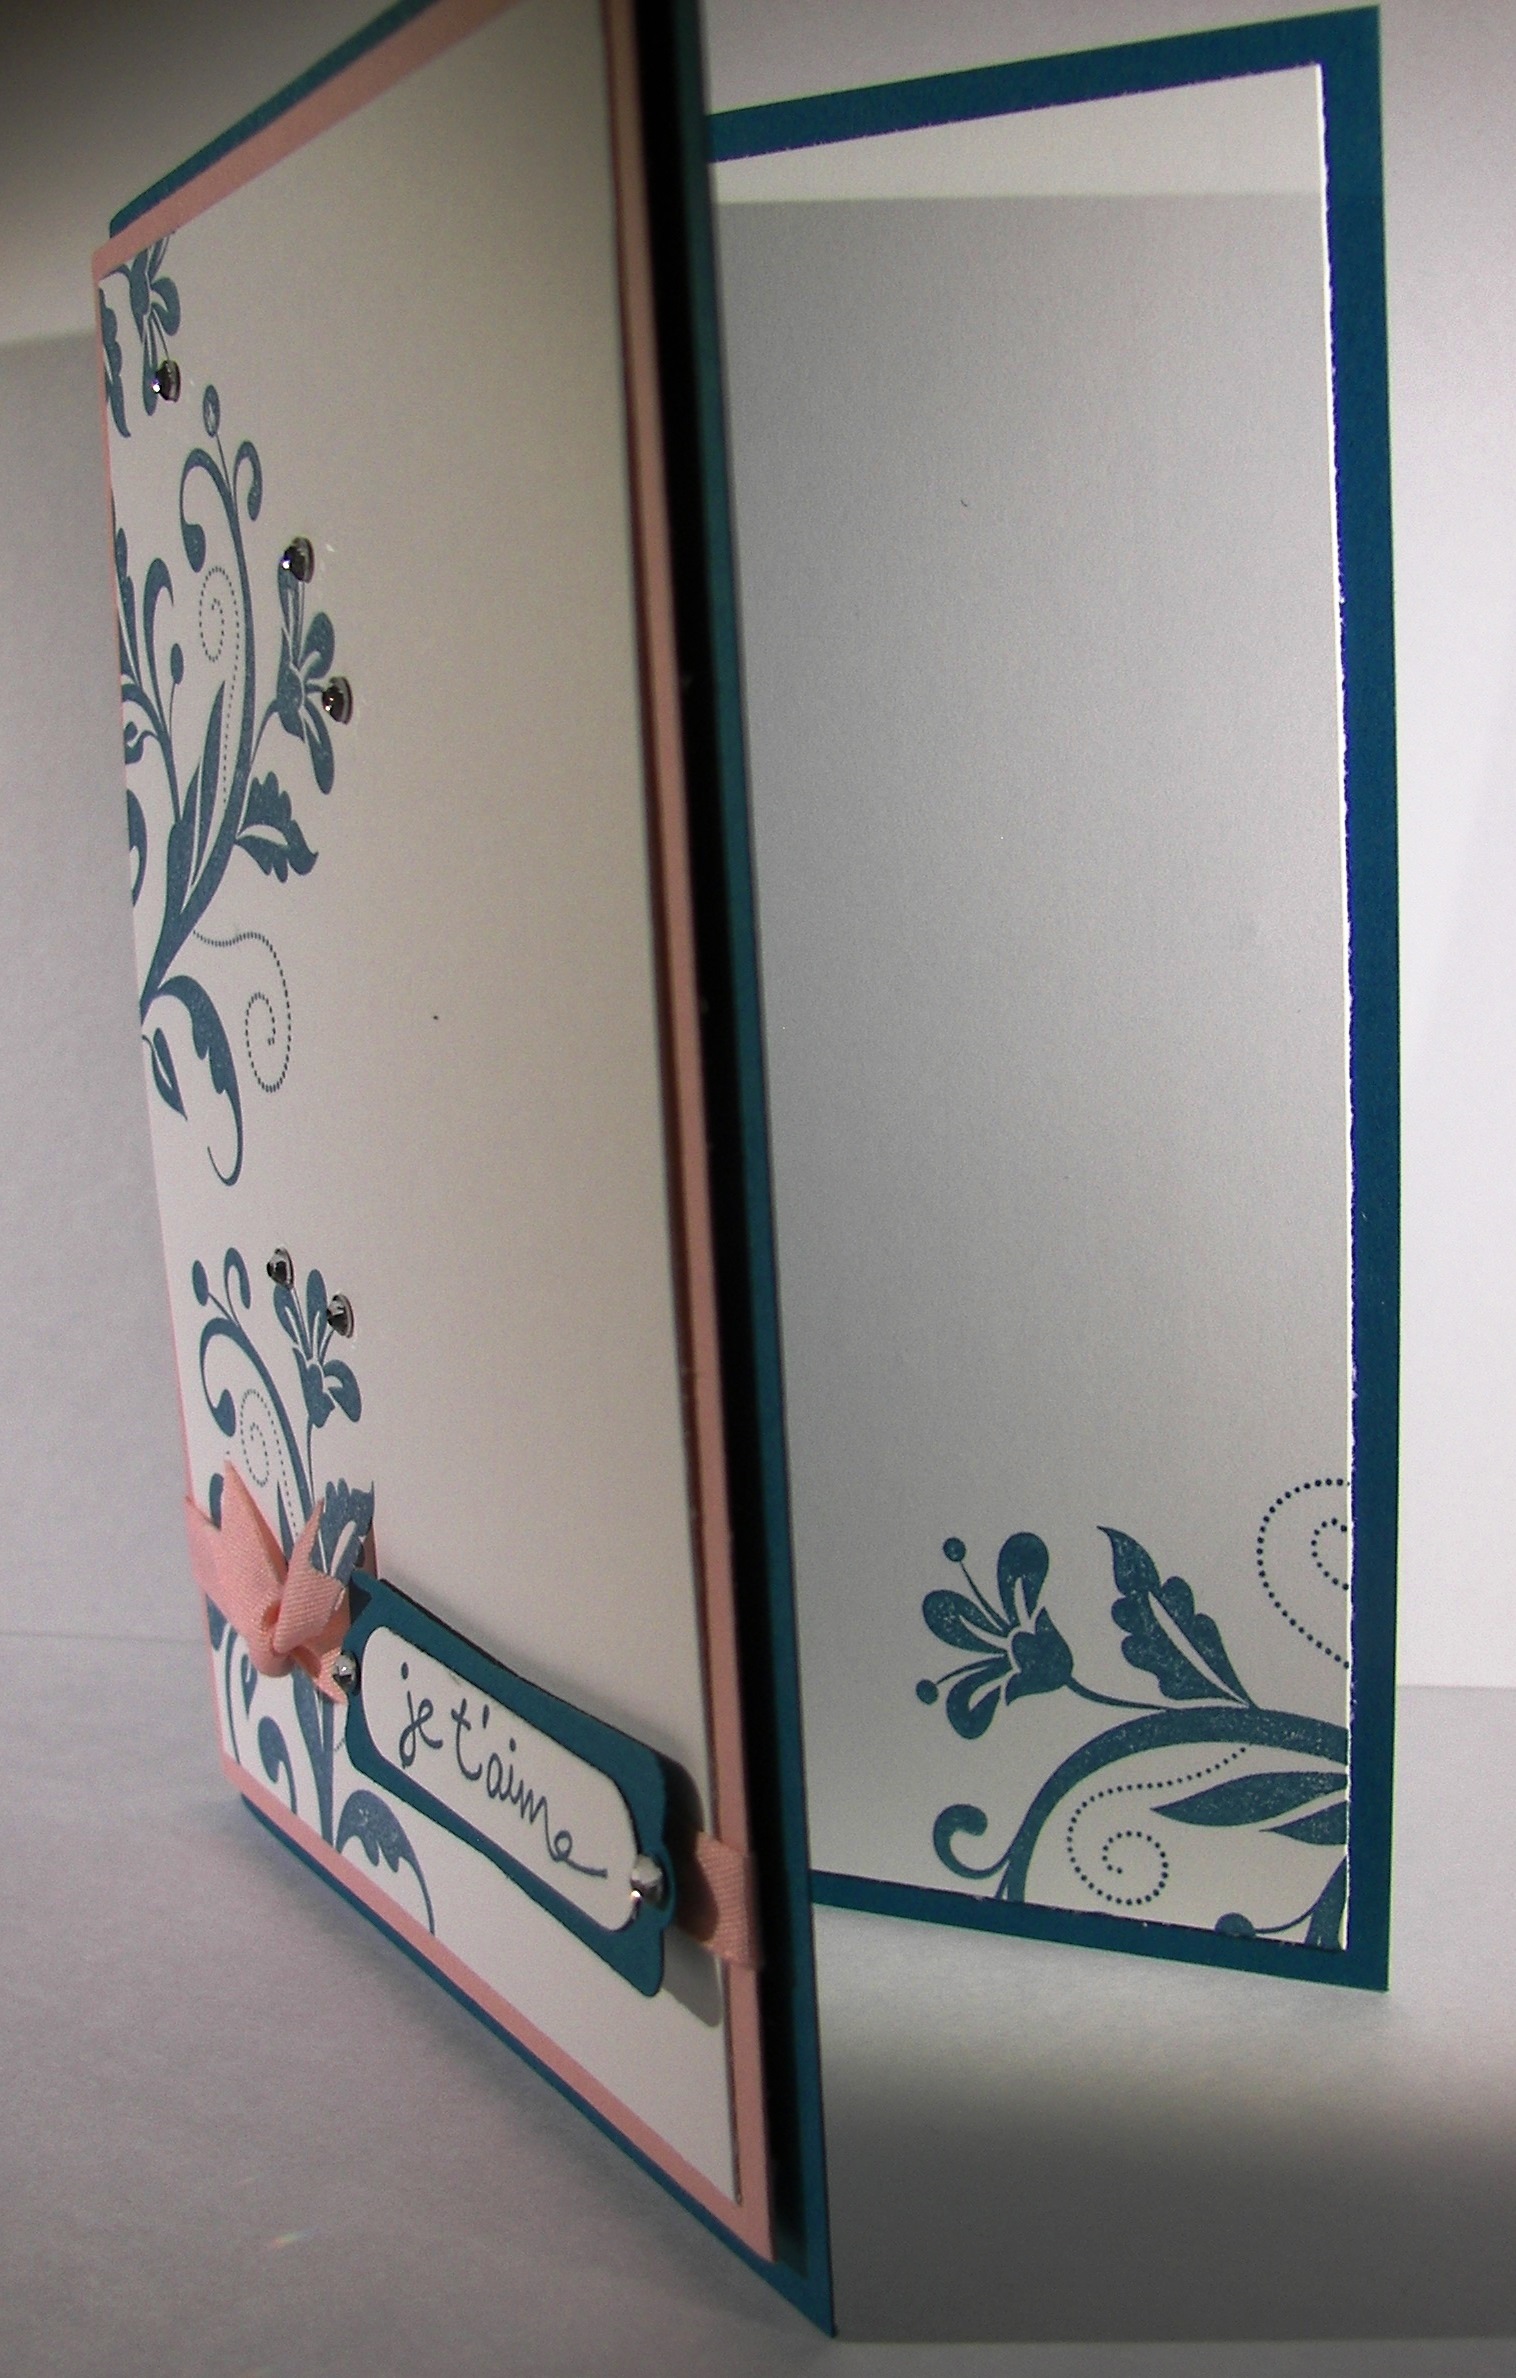
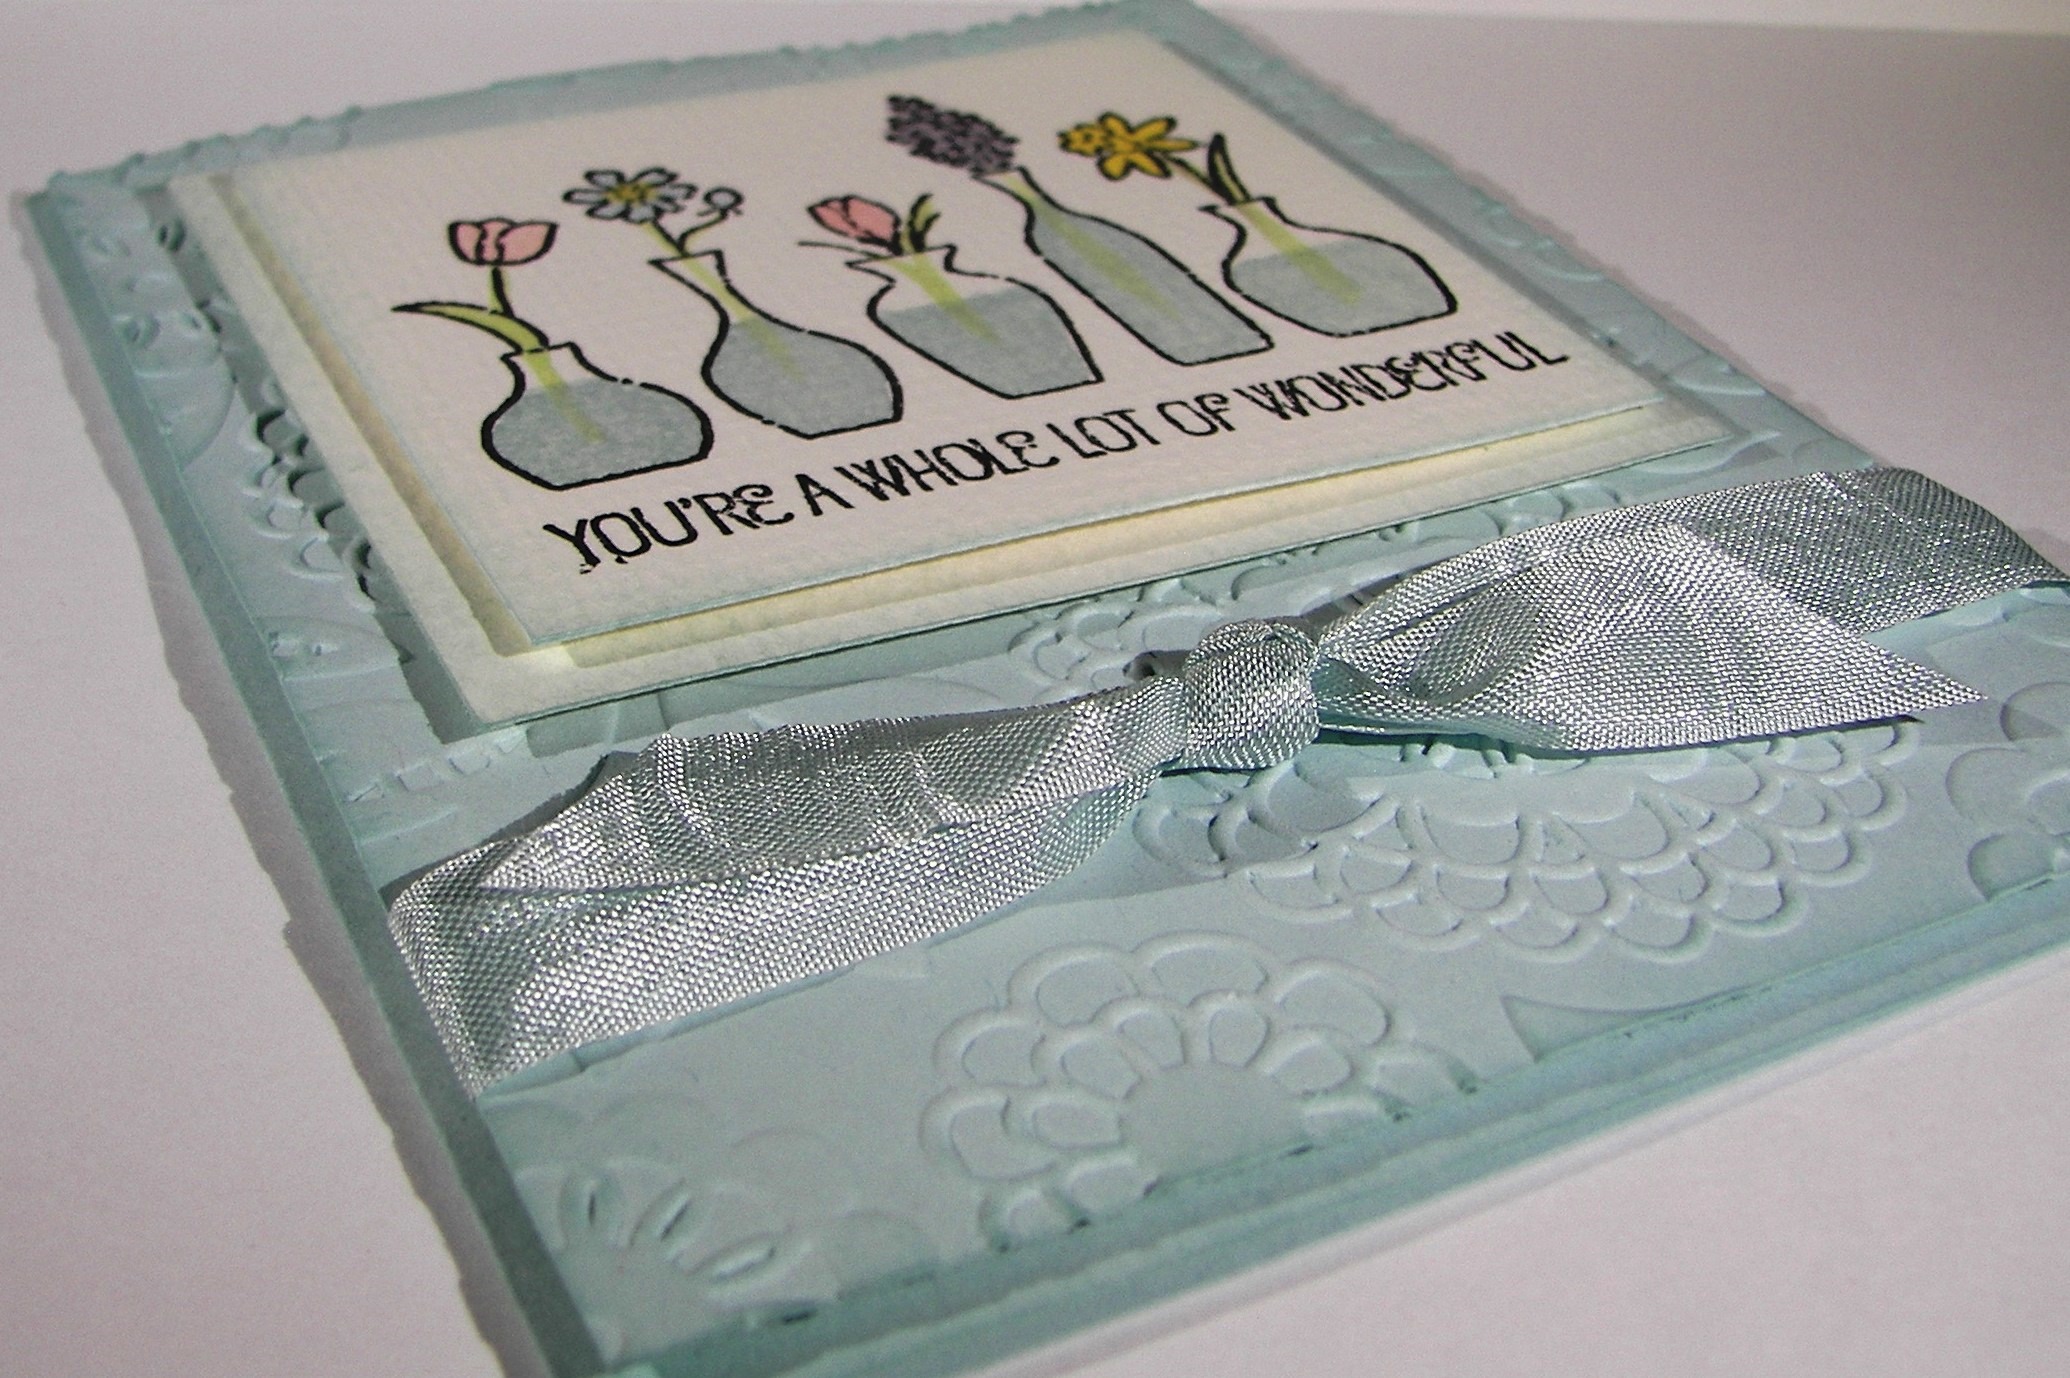
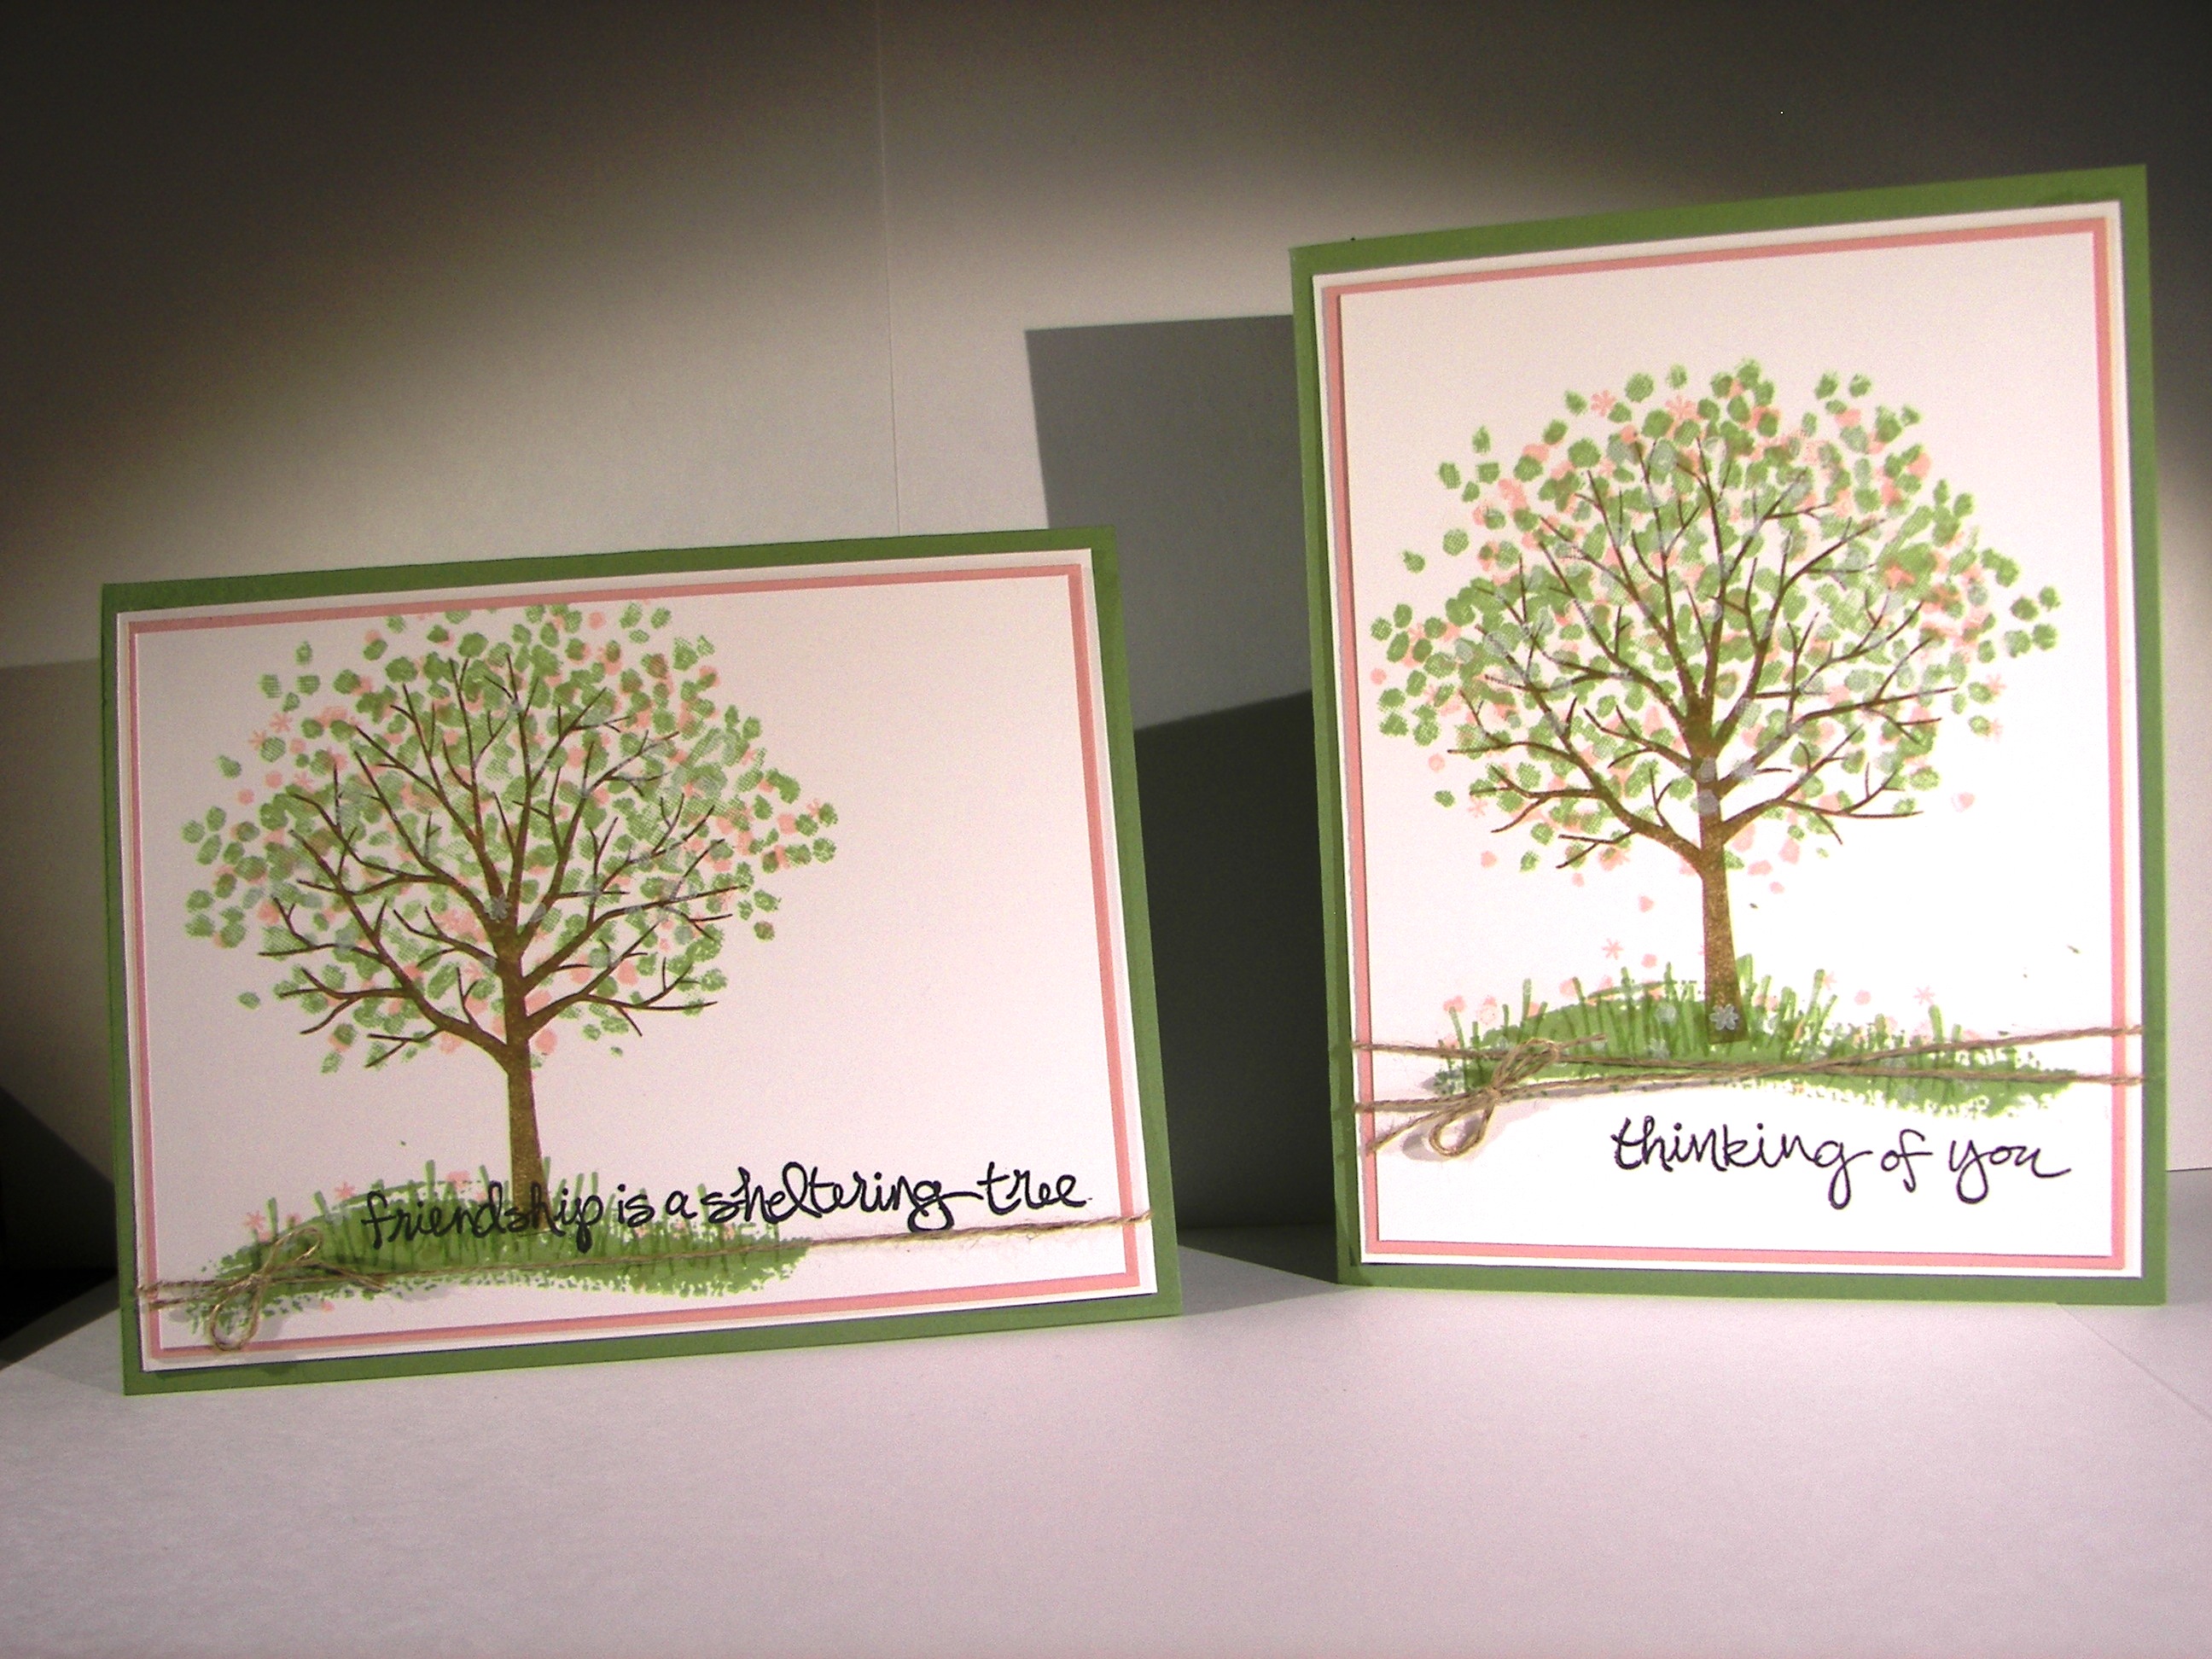
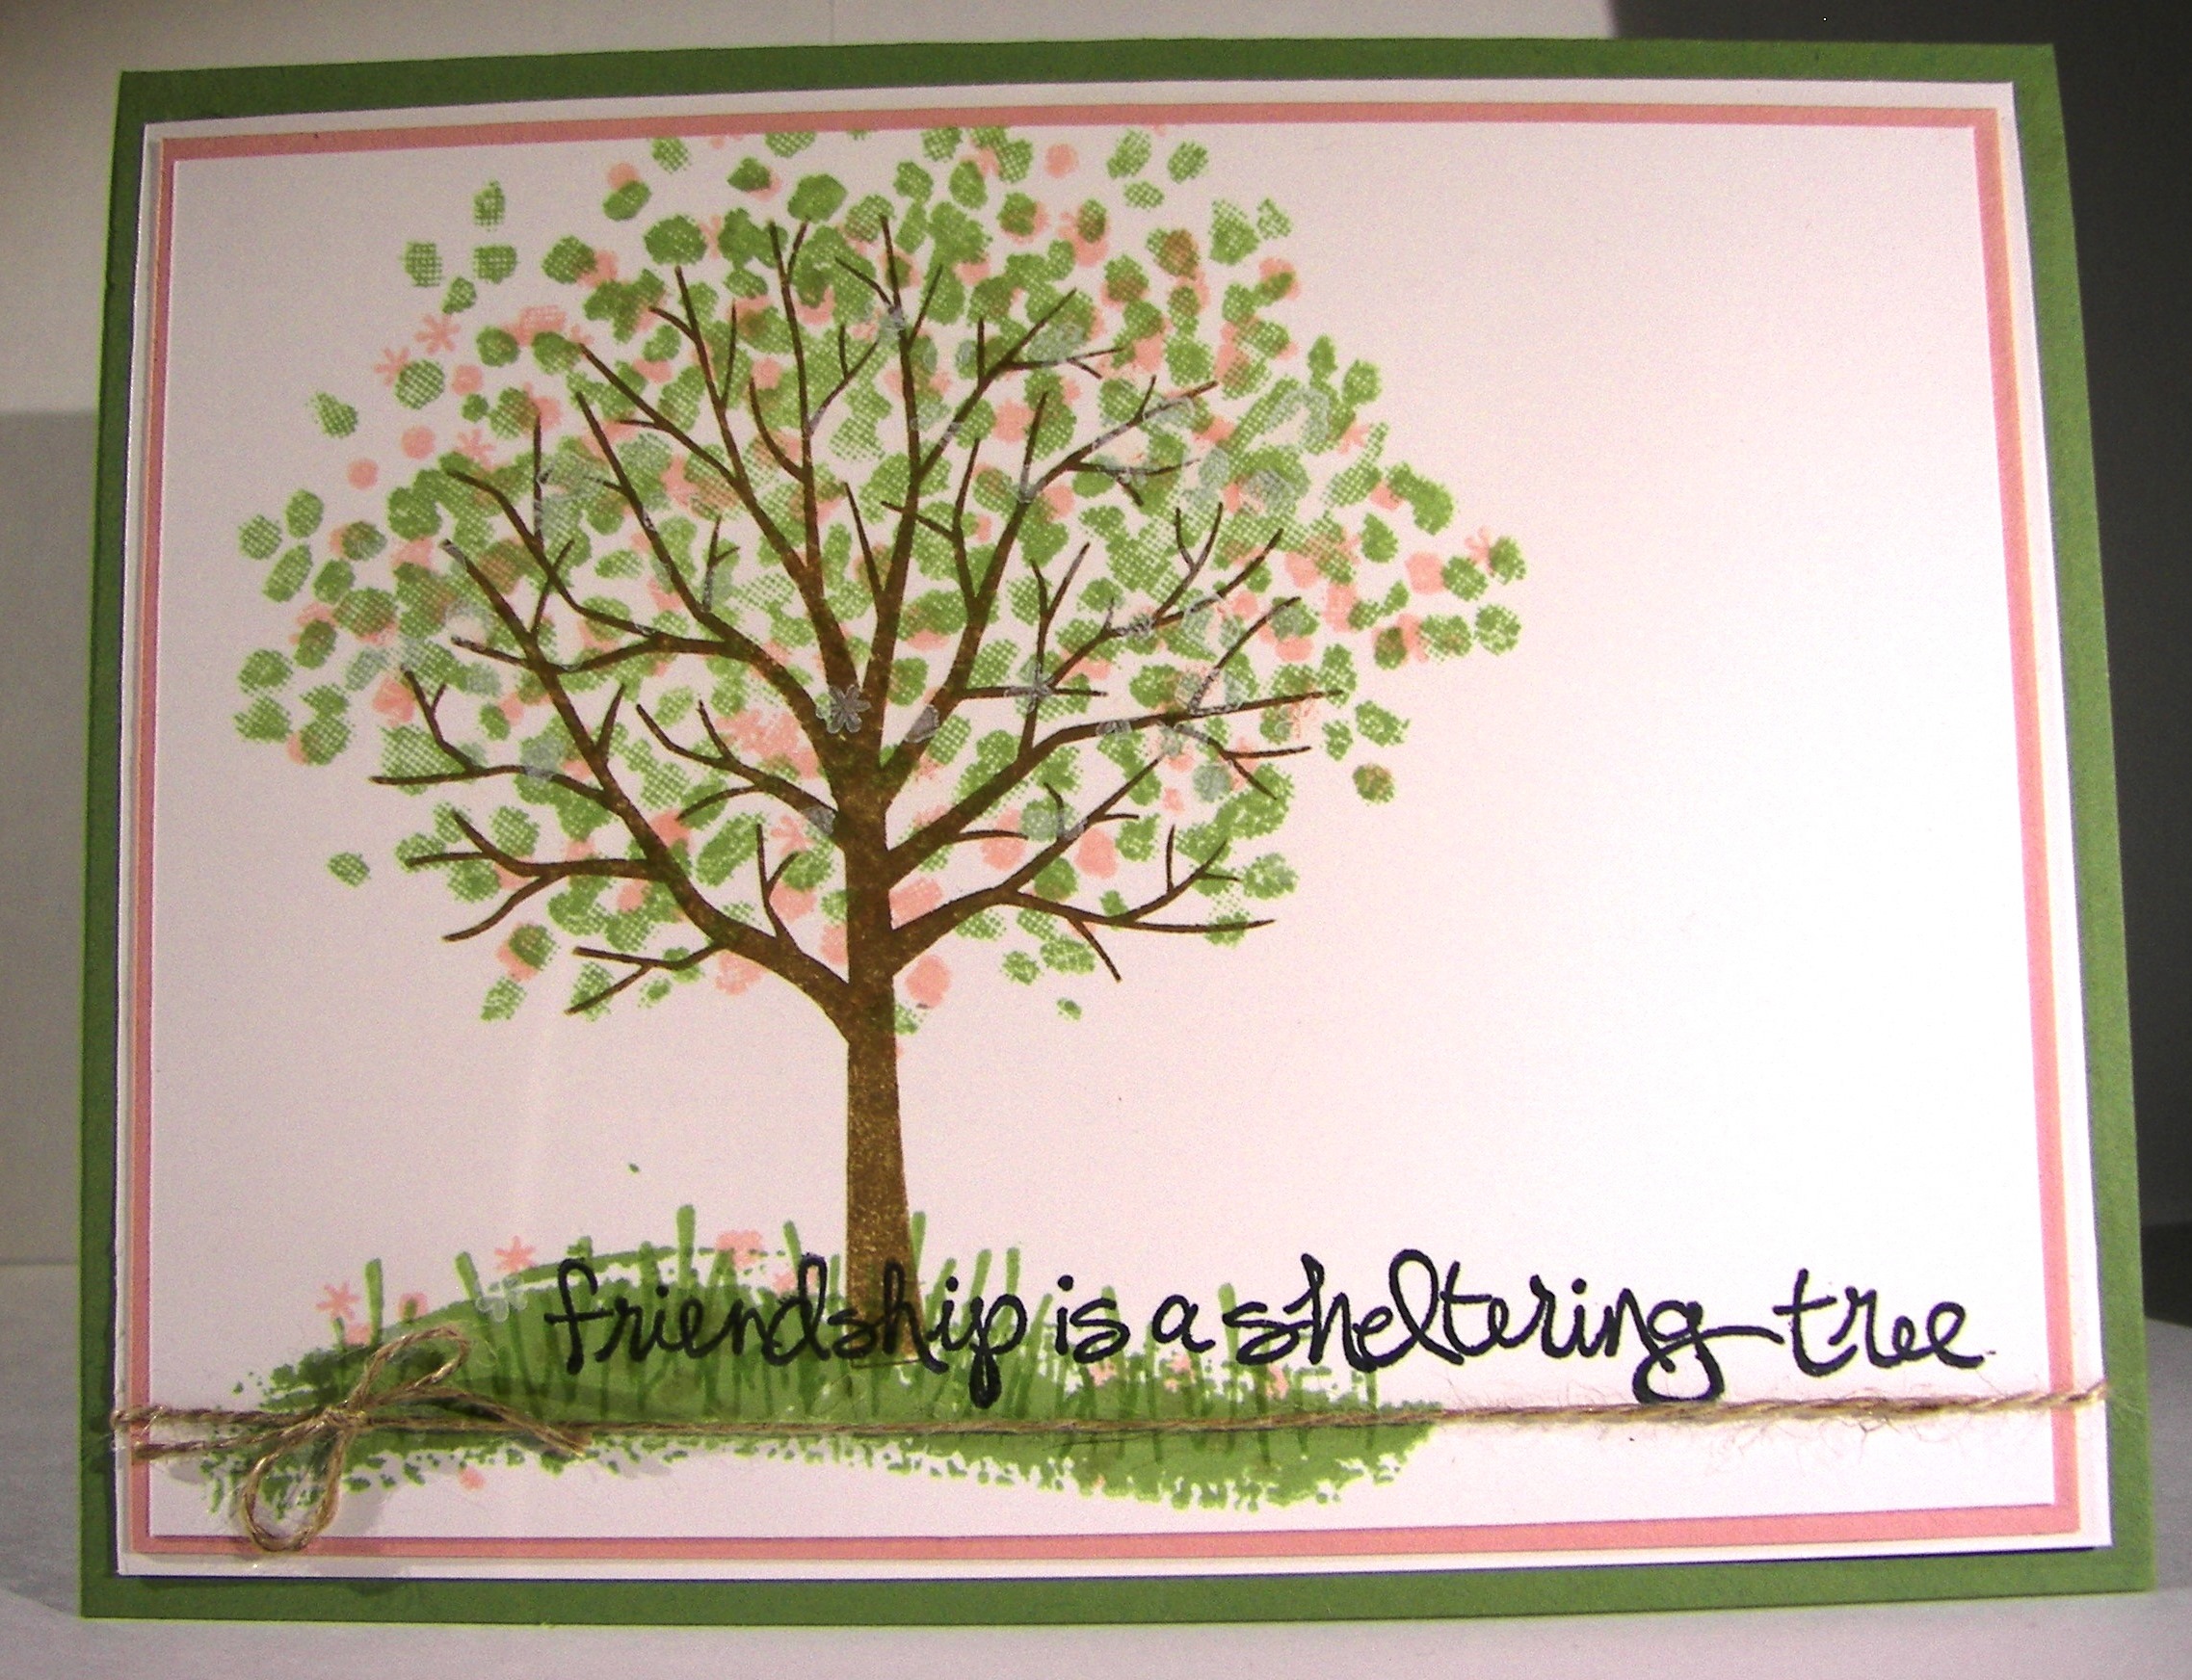
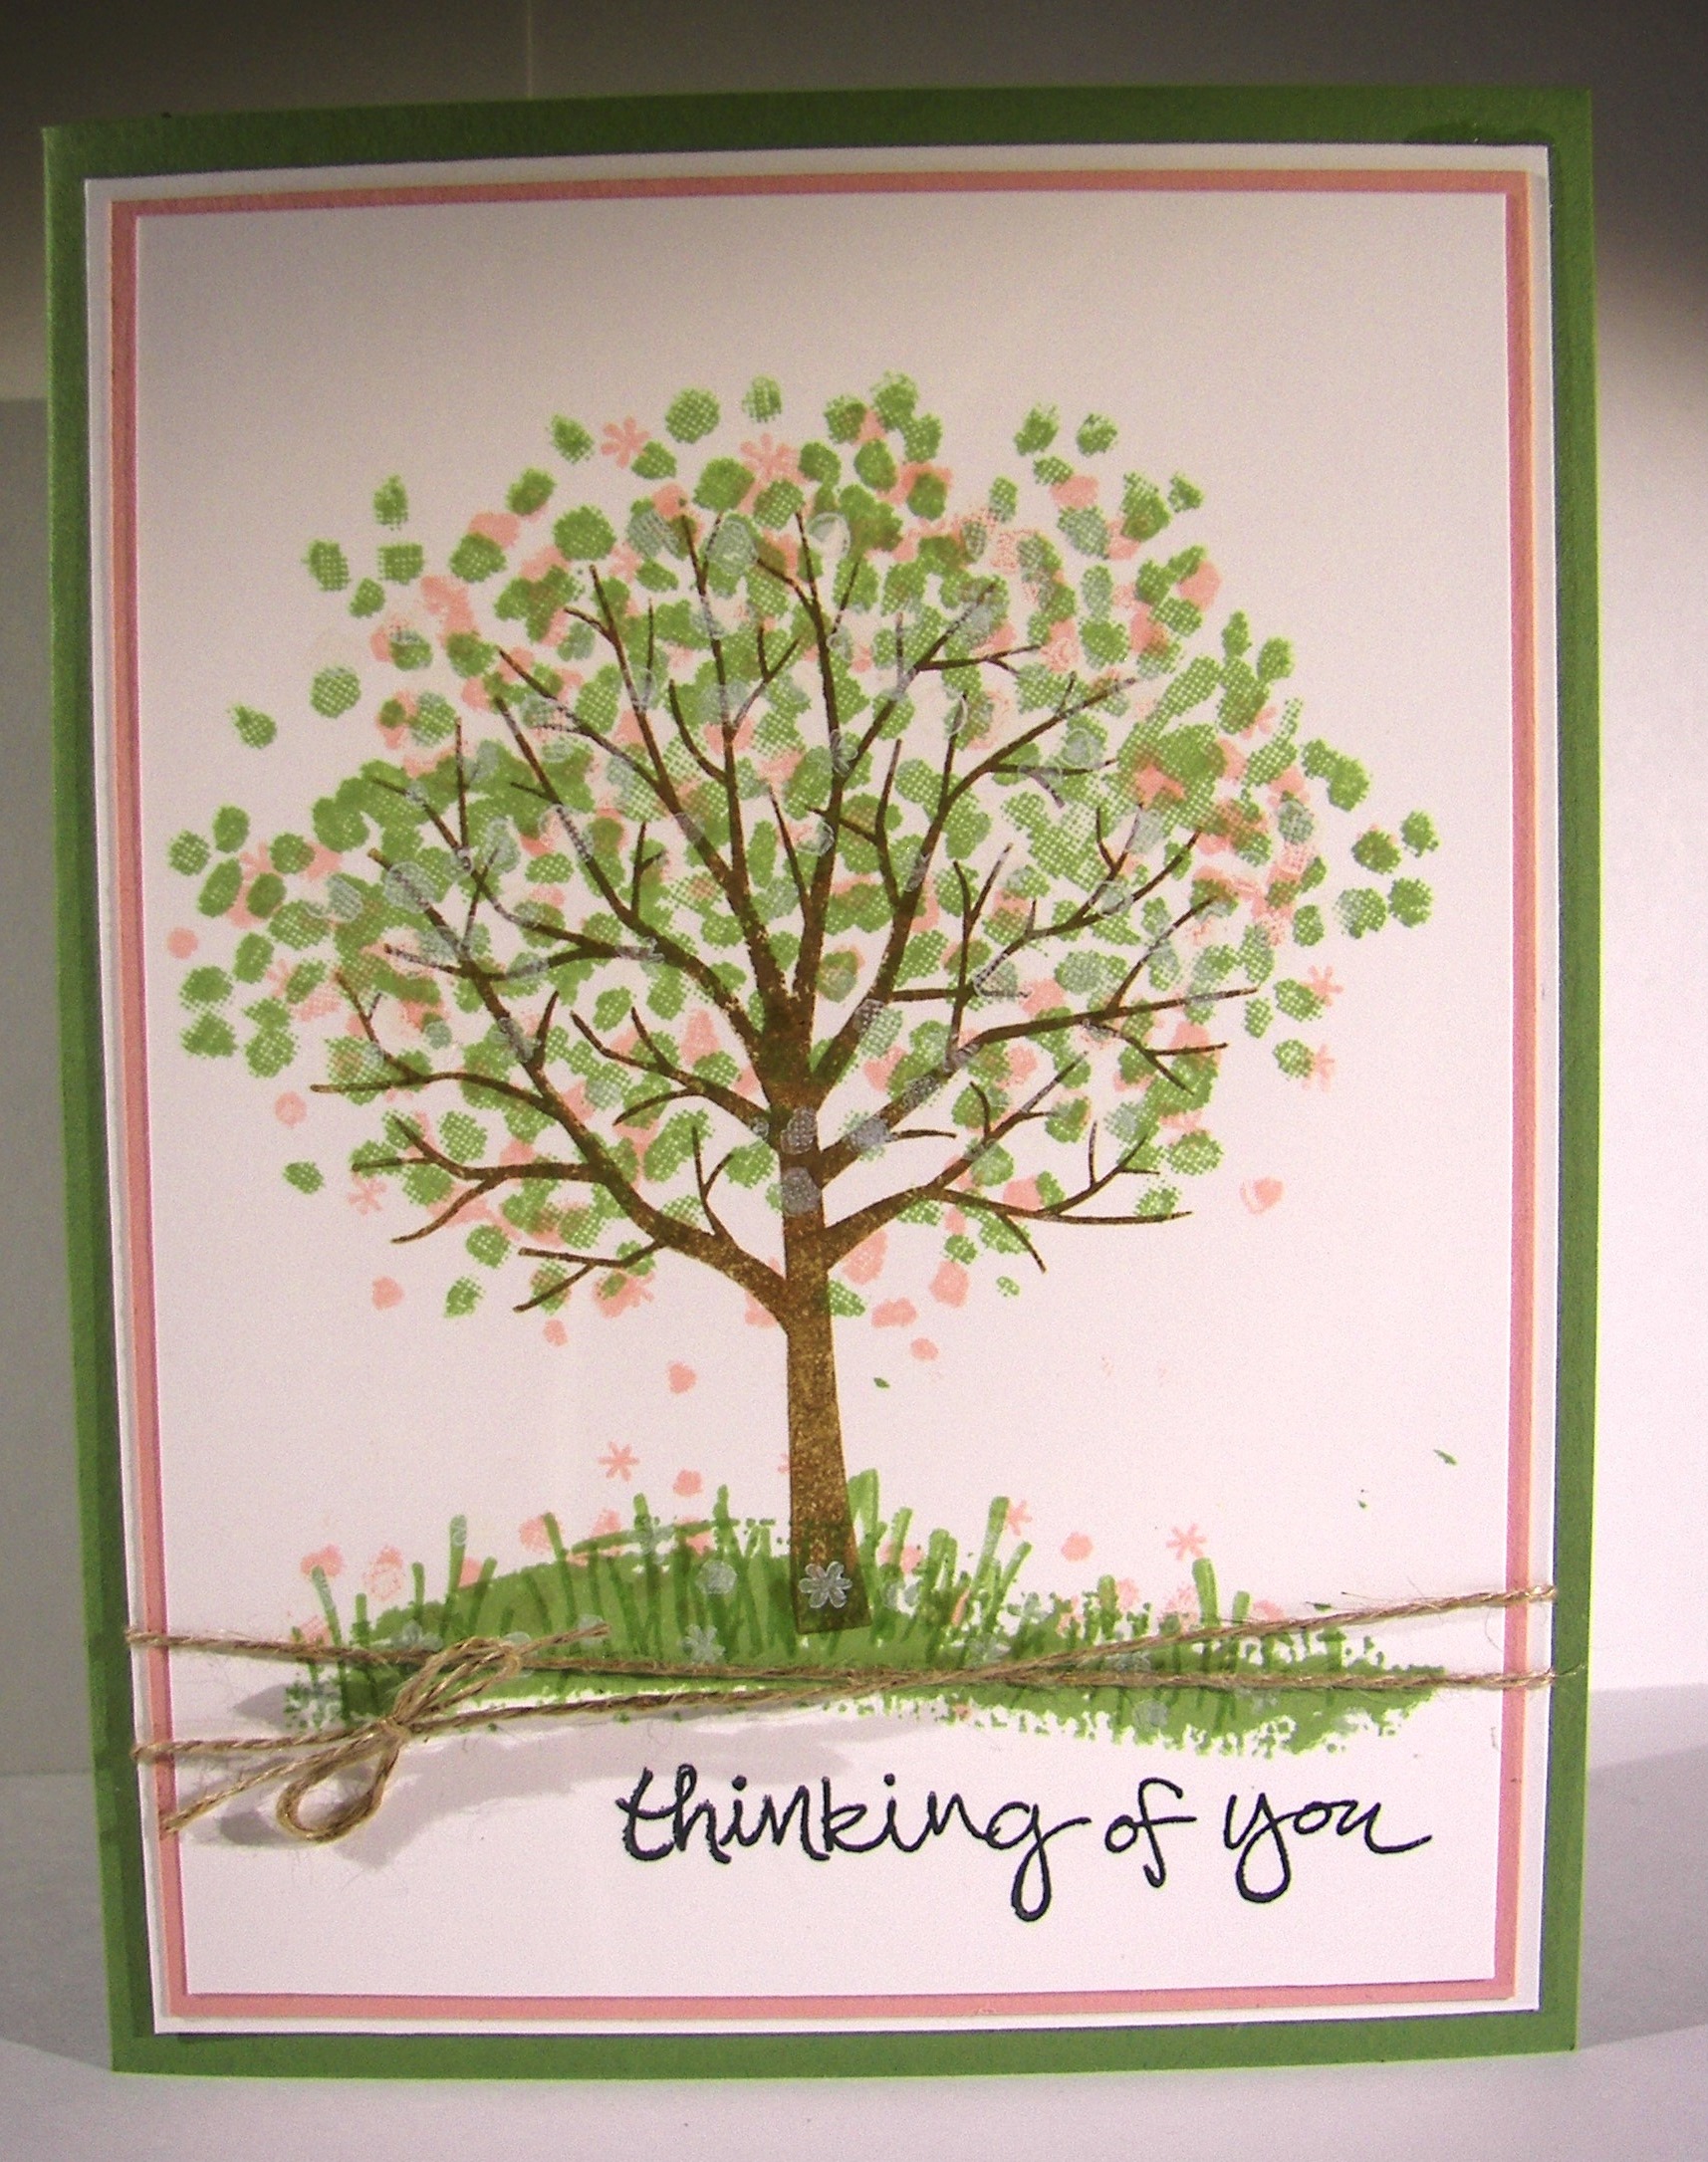
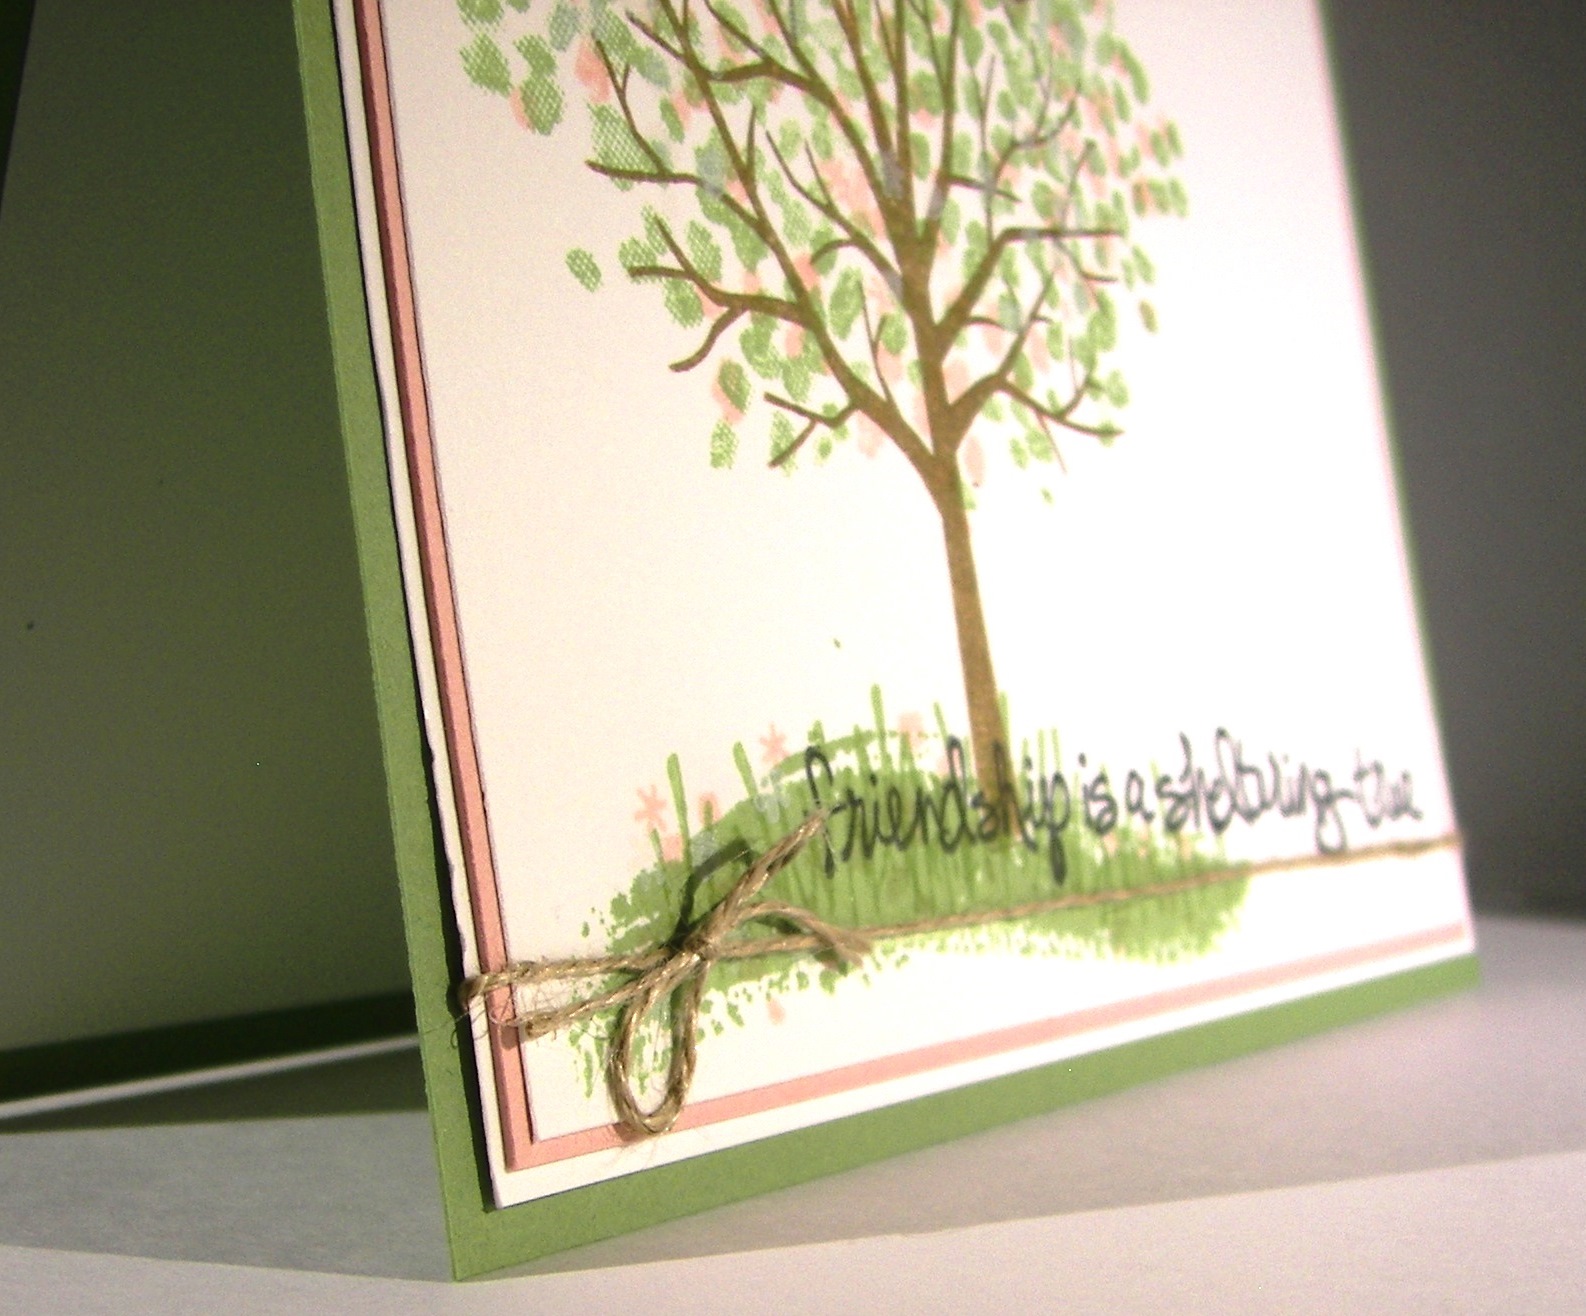
Getting back into the groove can be a bit slow at first.  I also gave myself a challenge this morning by making cucumber crush my main color.  We haven’t become friends just yet, so I thought we needed some together time.  I helped it find a friend in blushing bride, and I like how it worked out.

Cucumber Crush Party

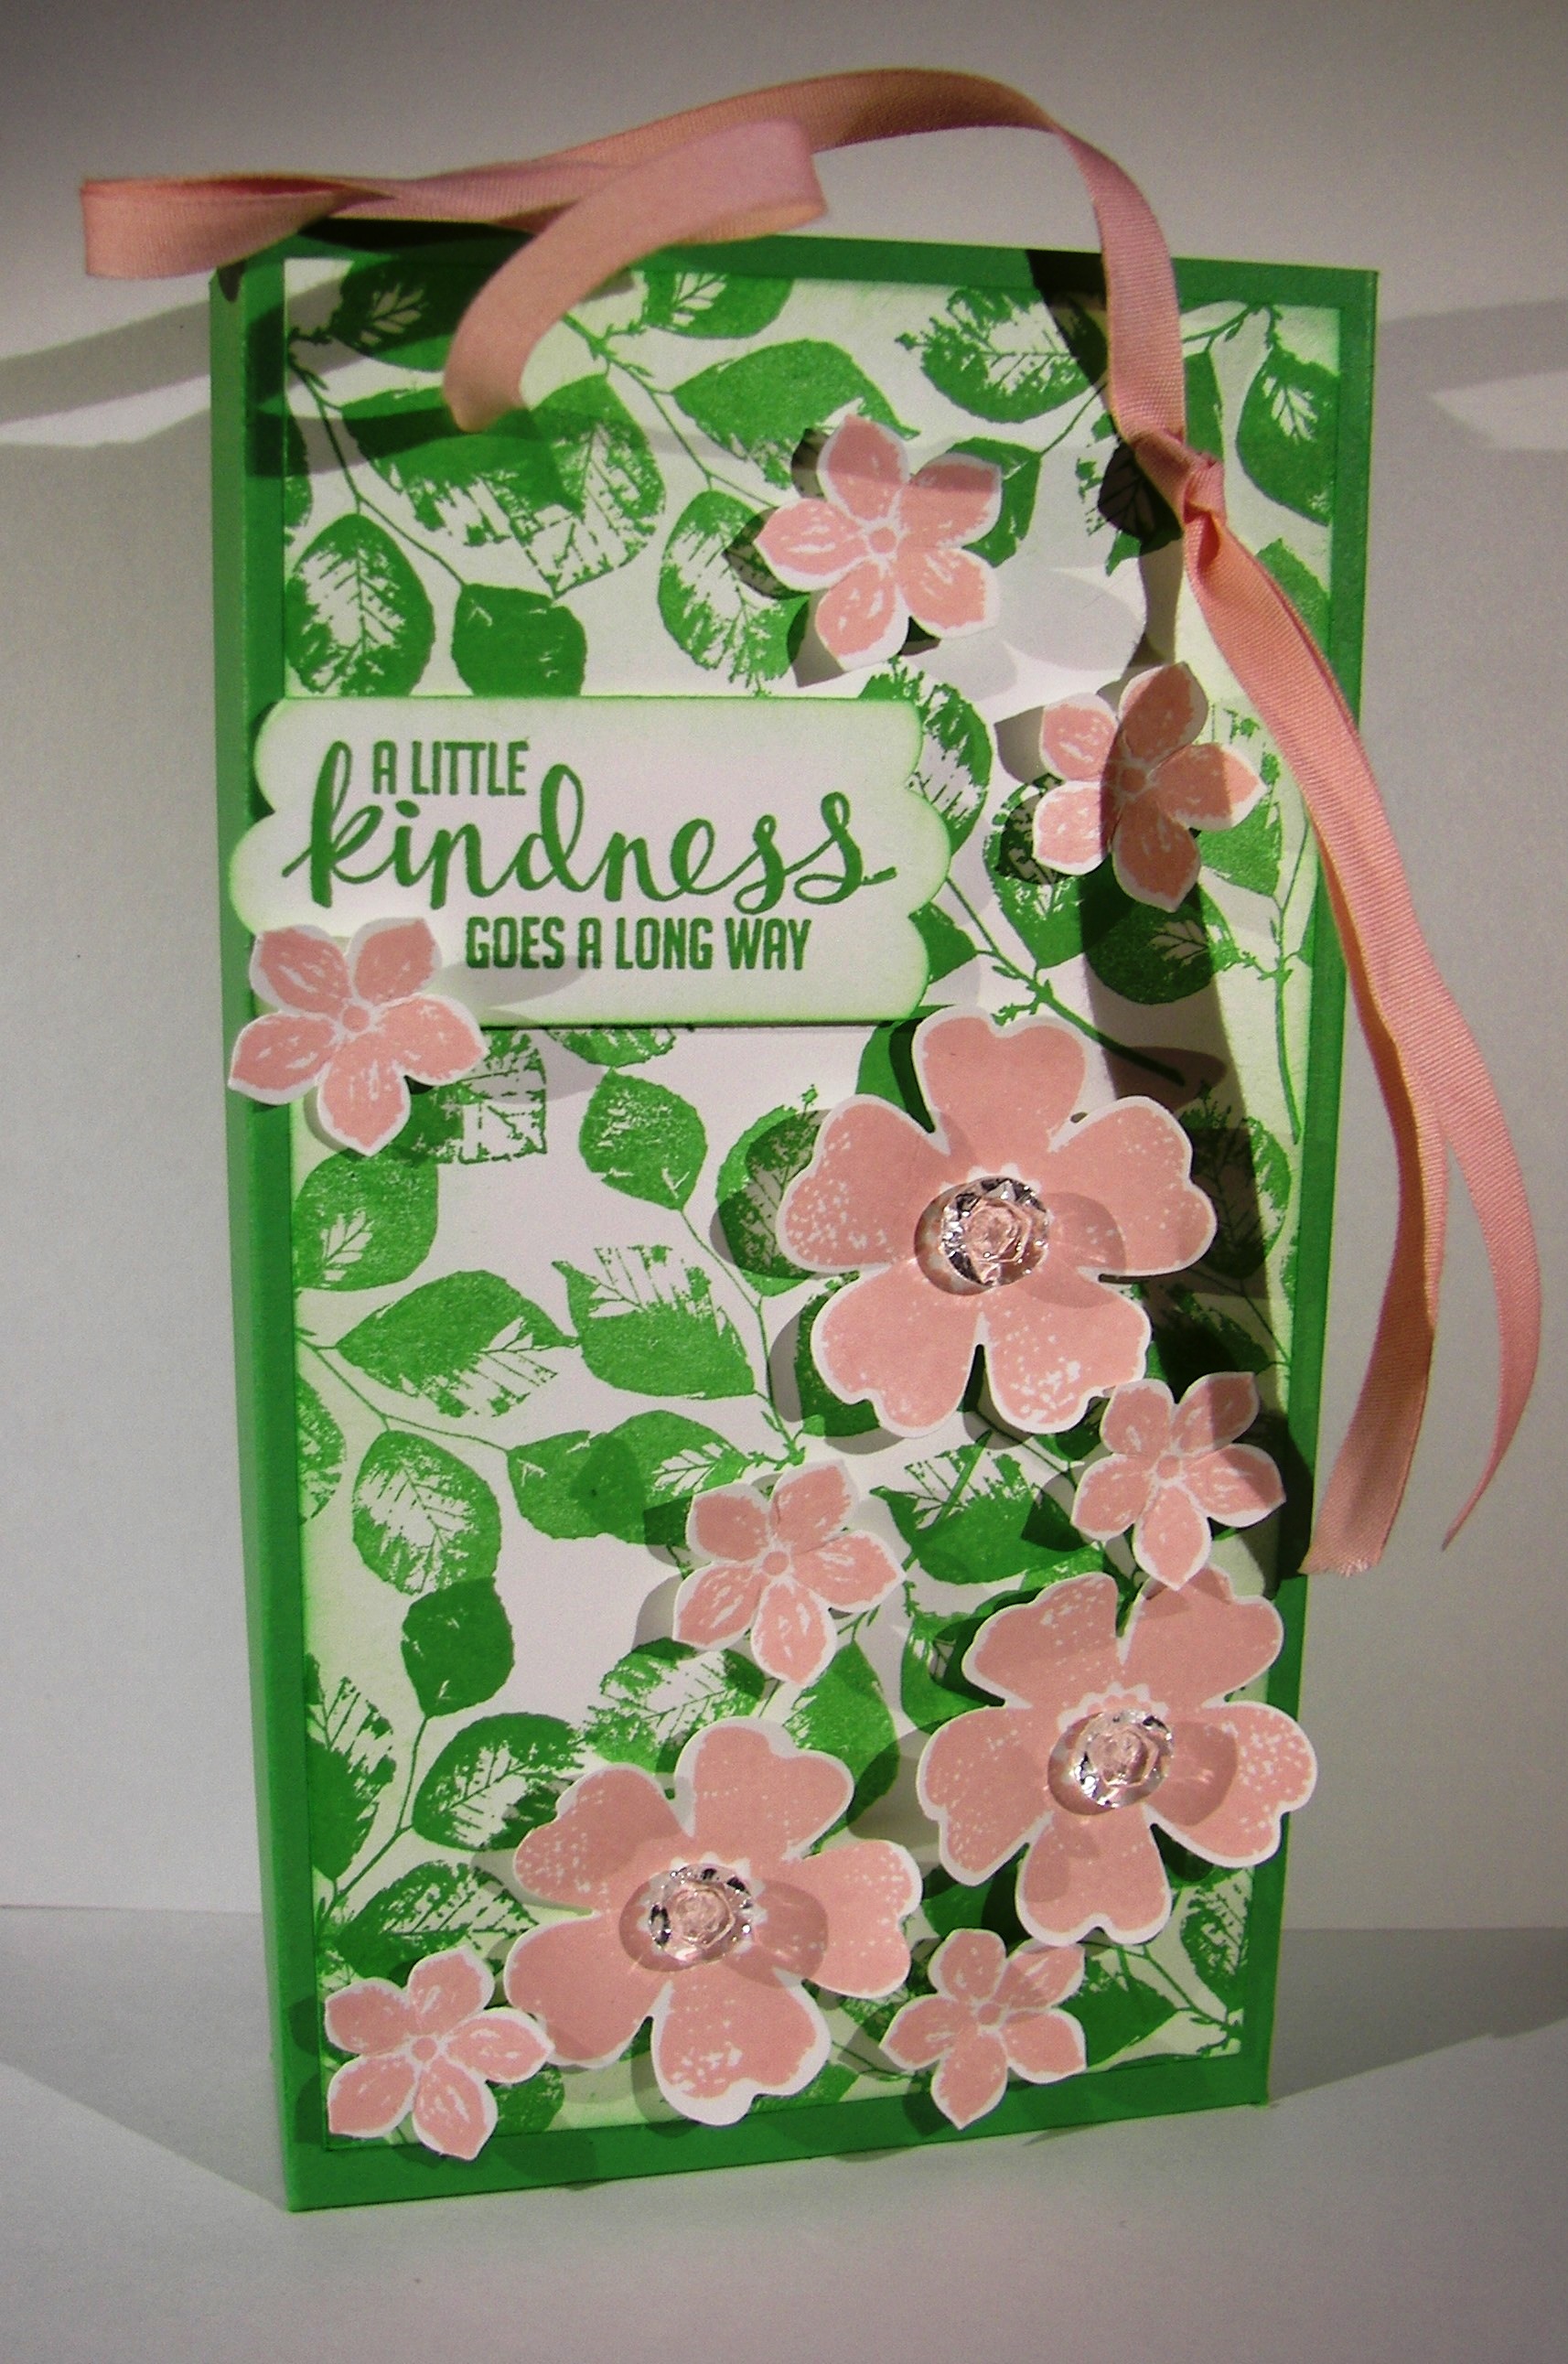
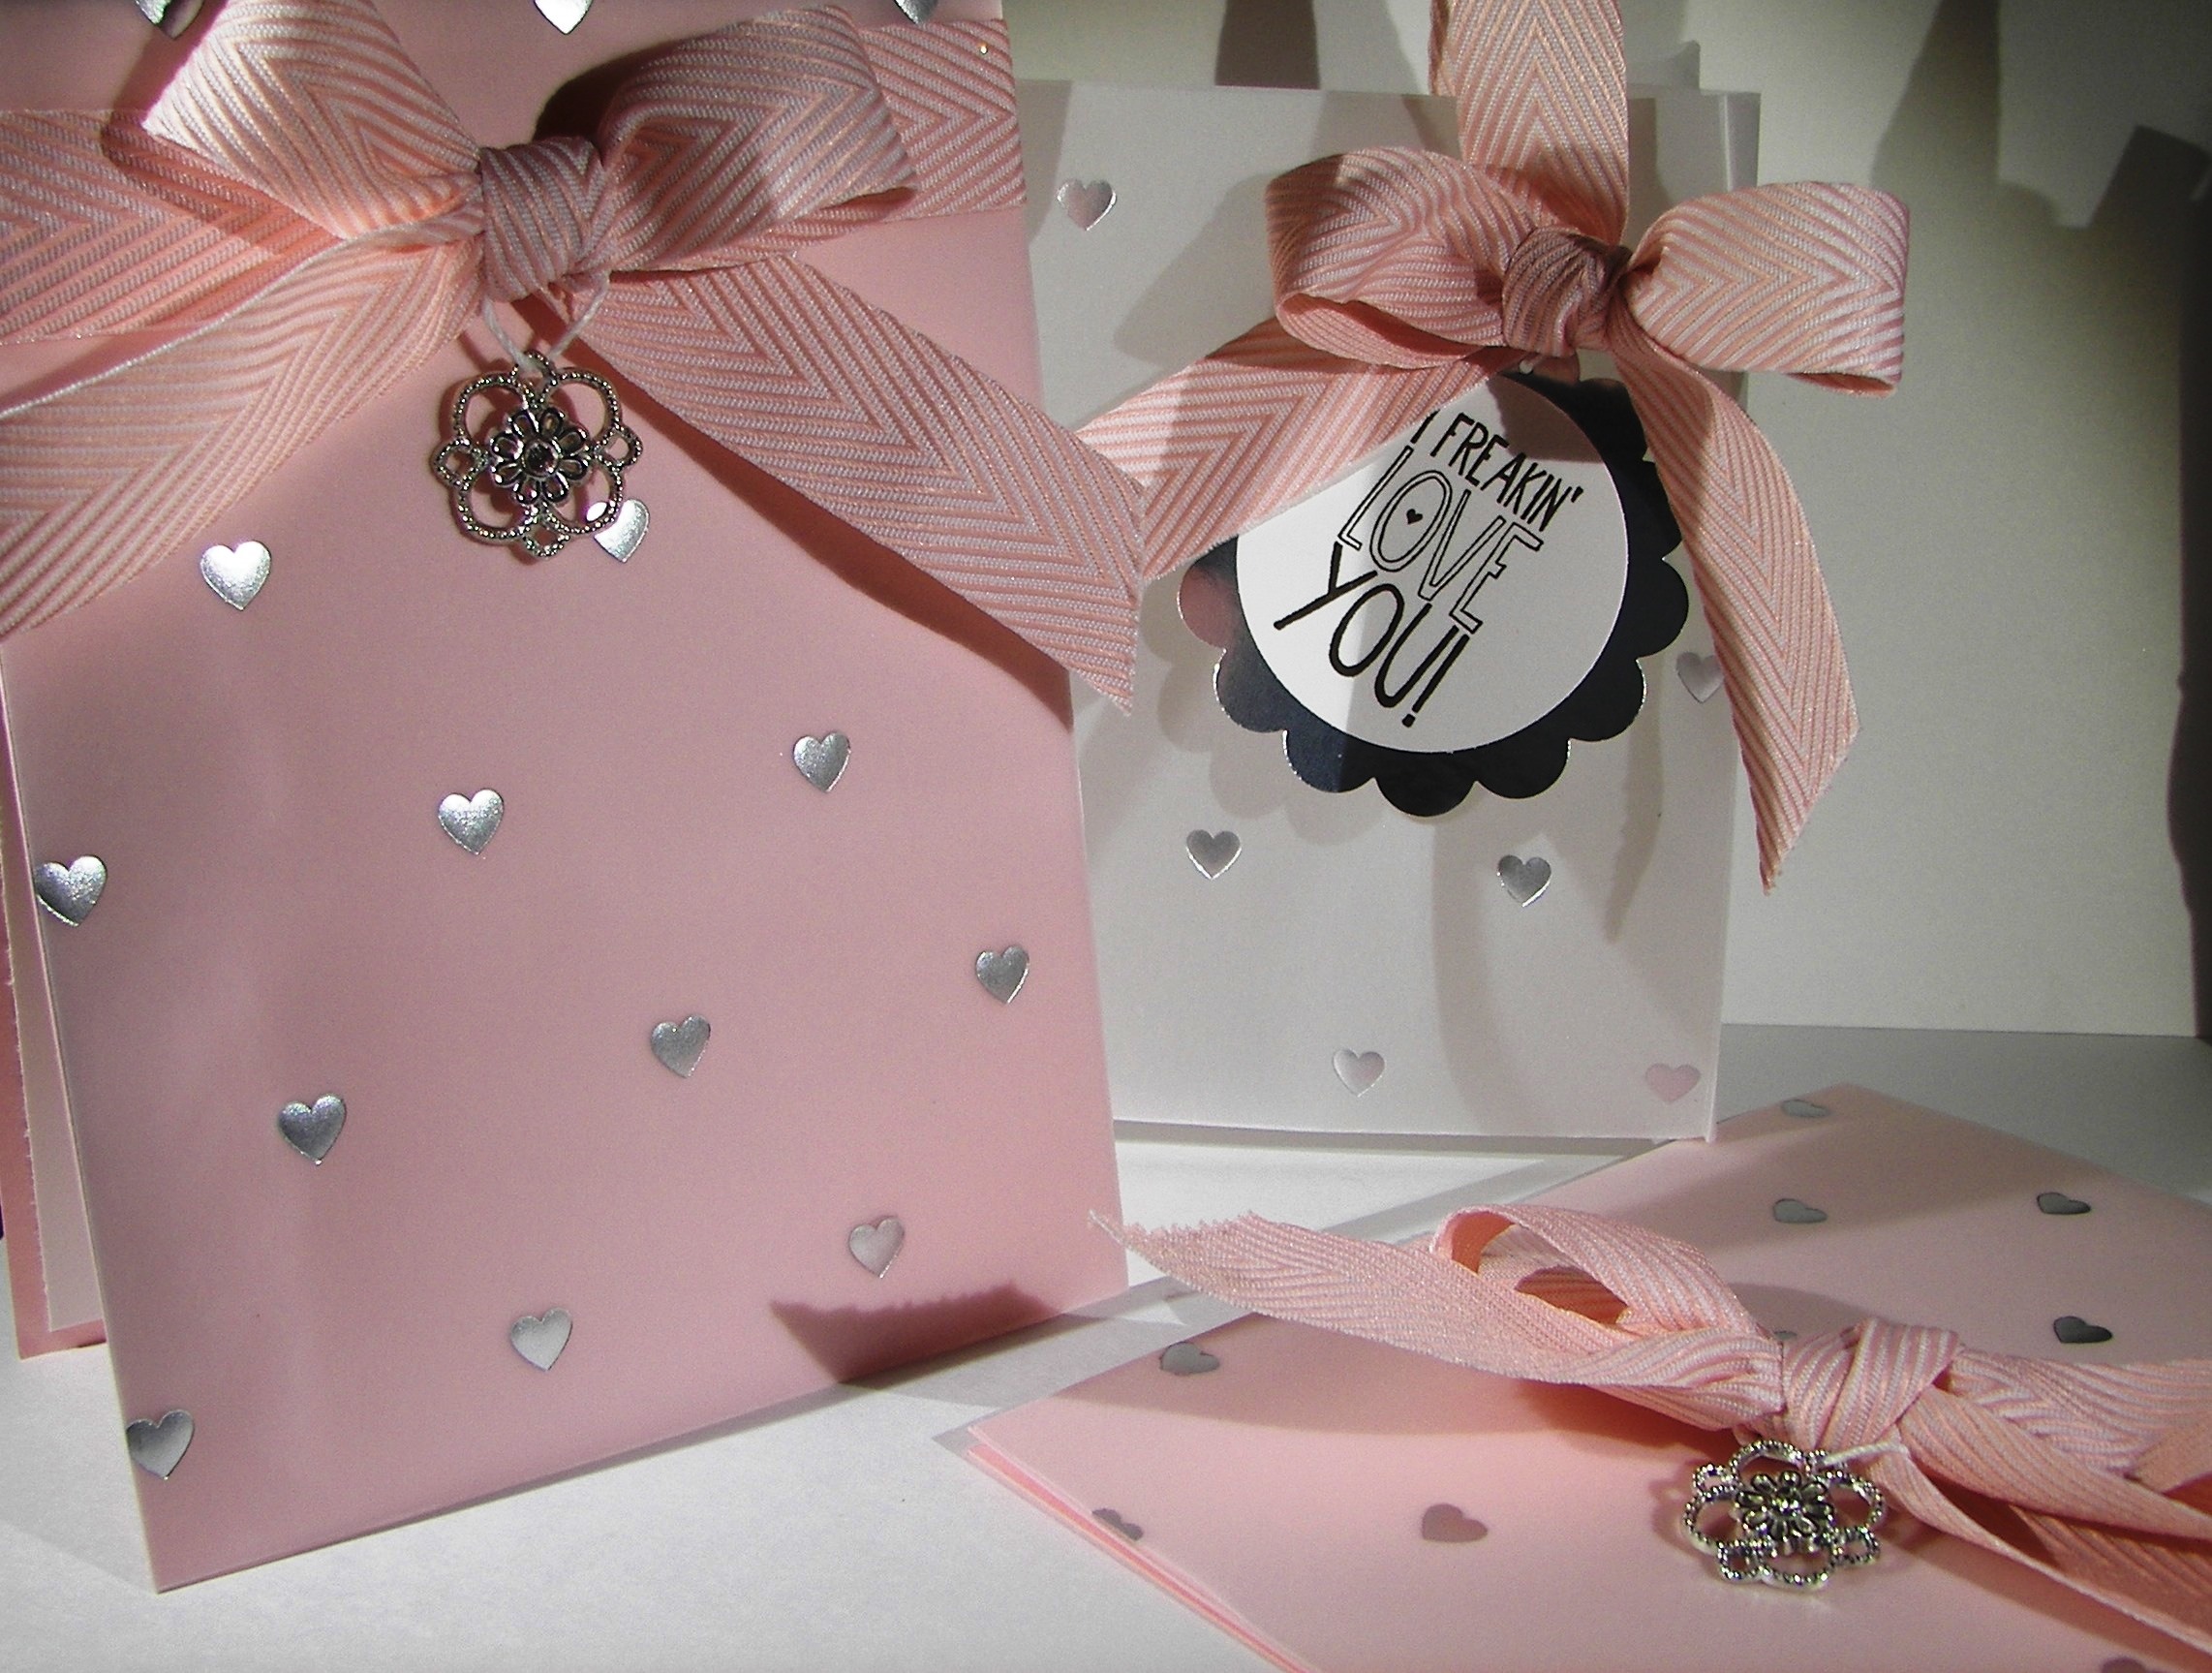
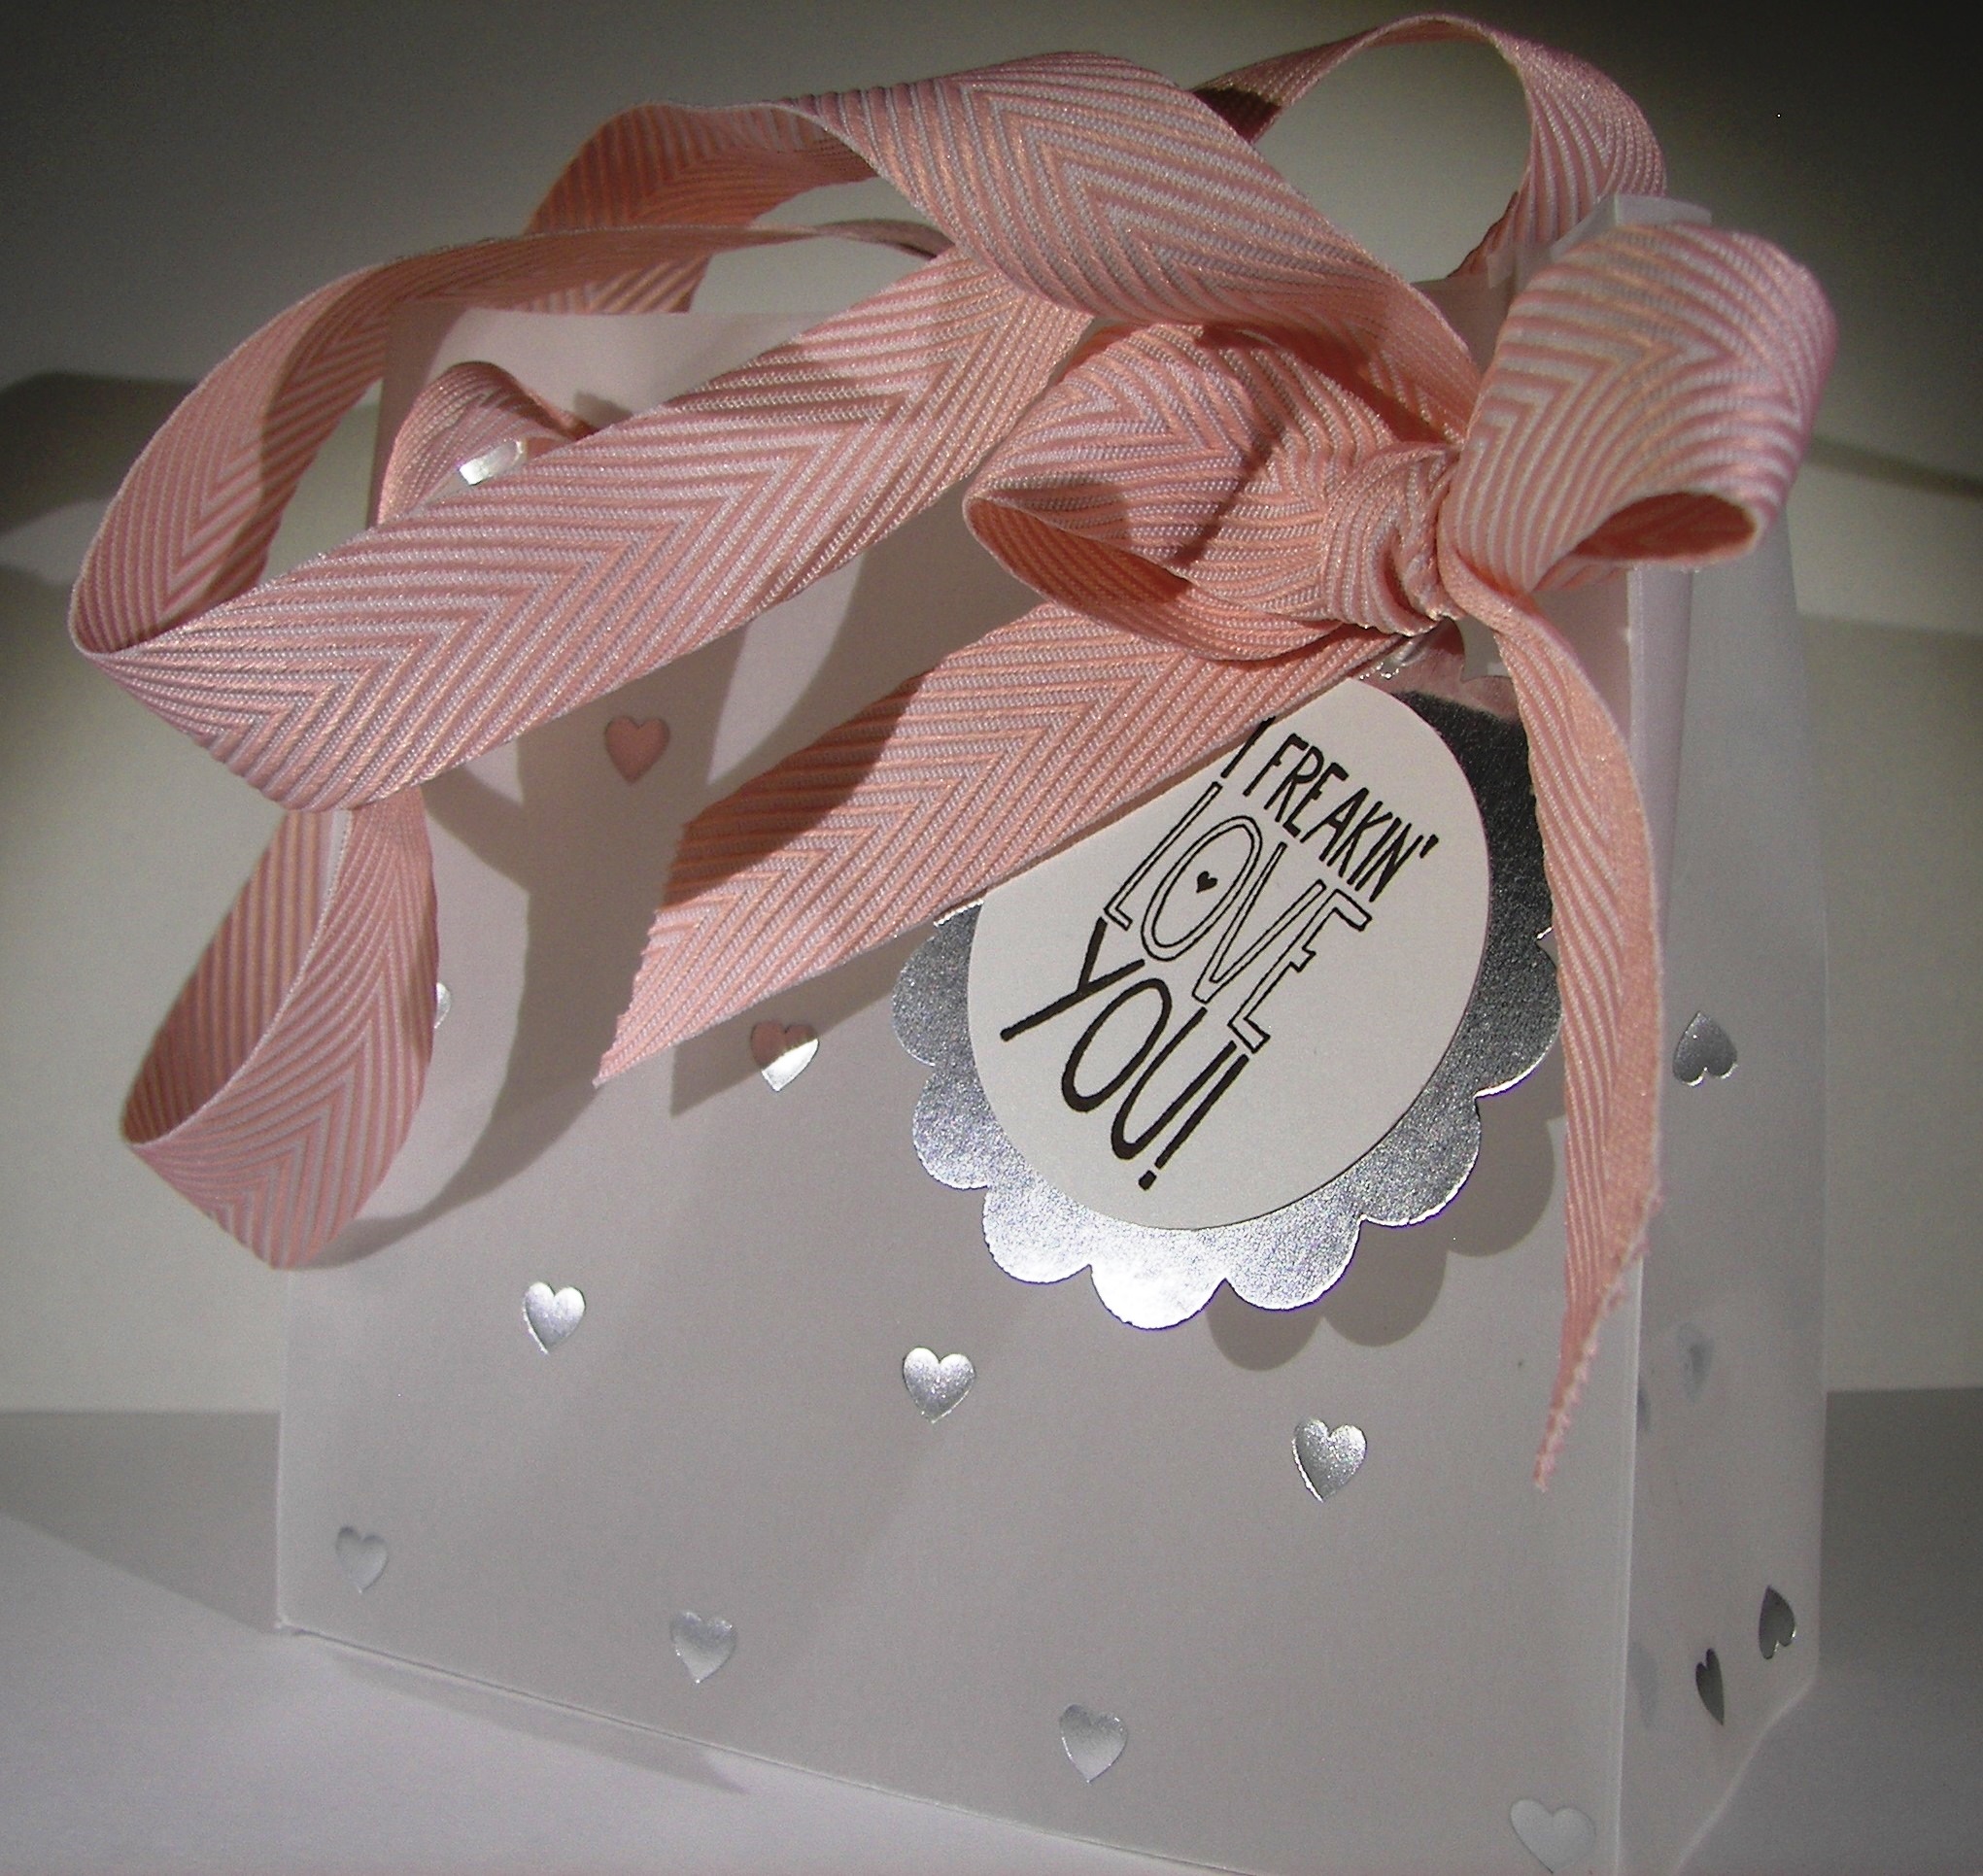
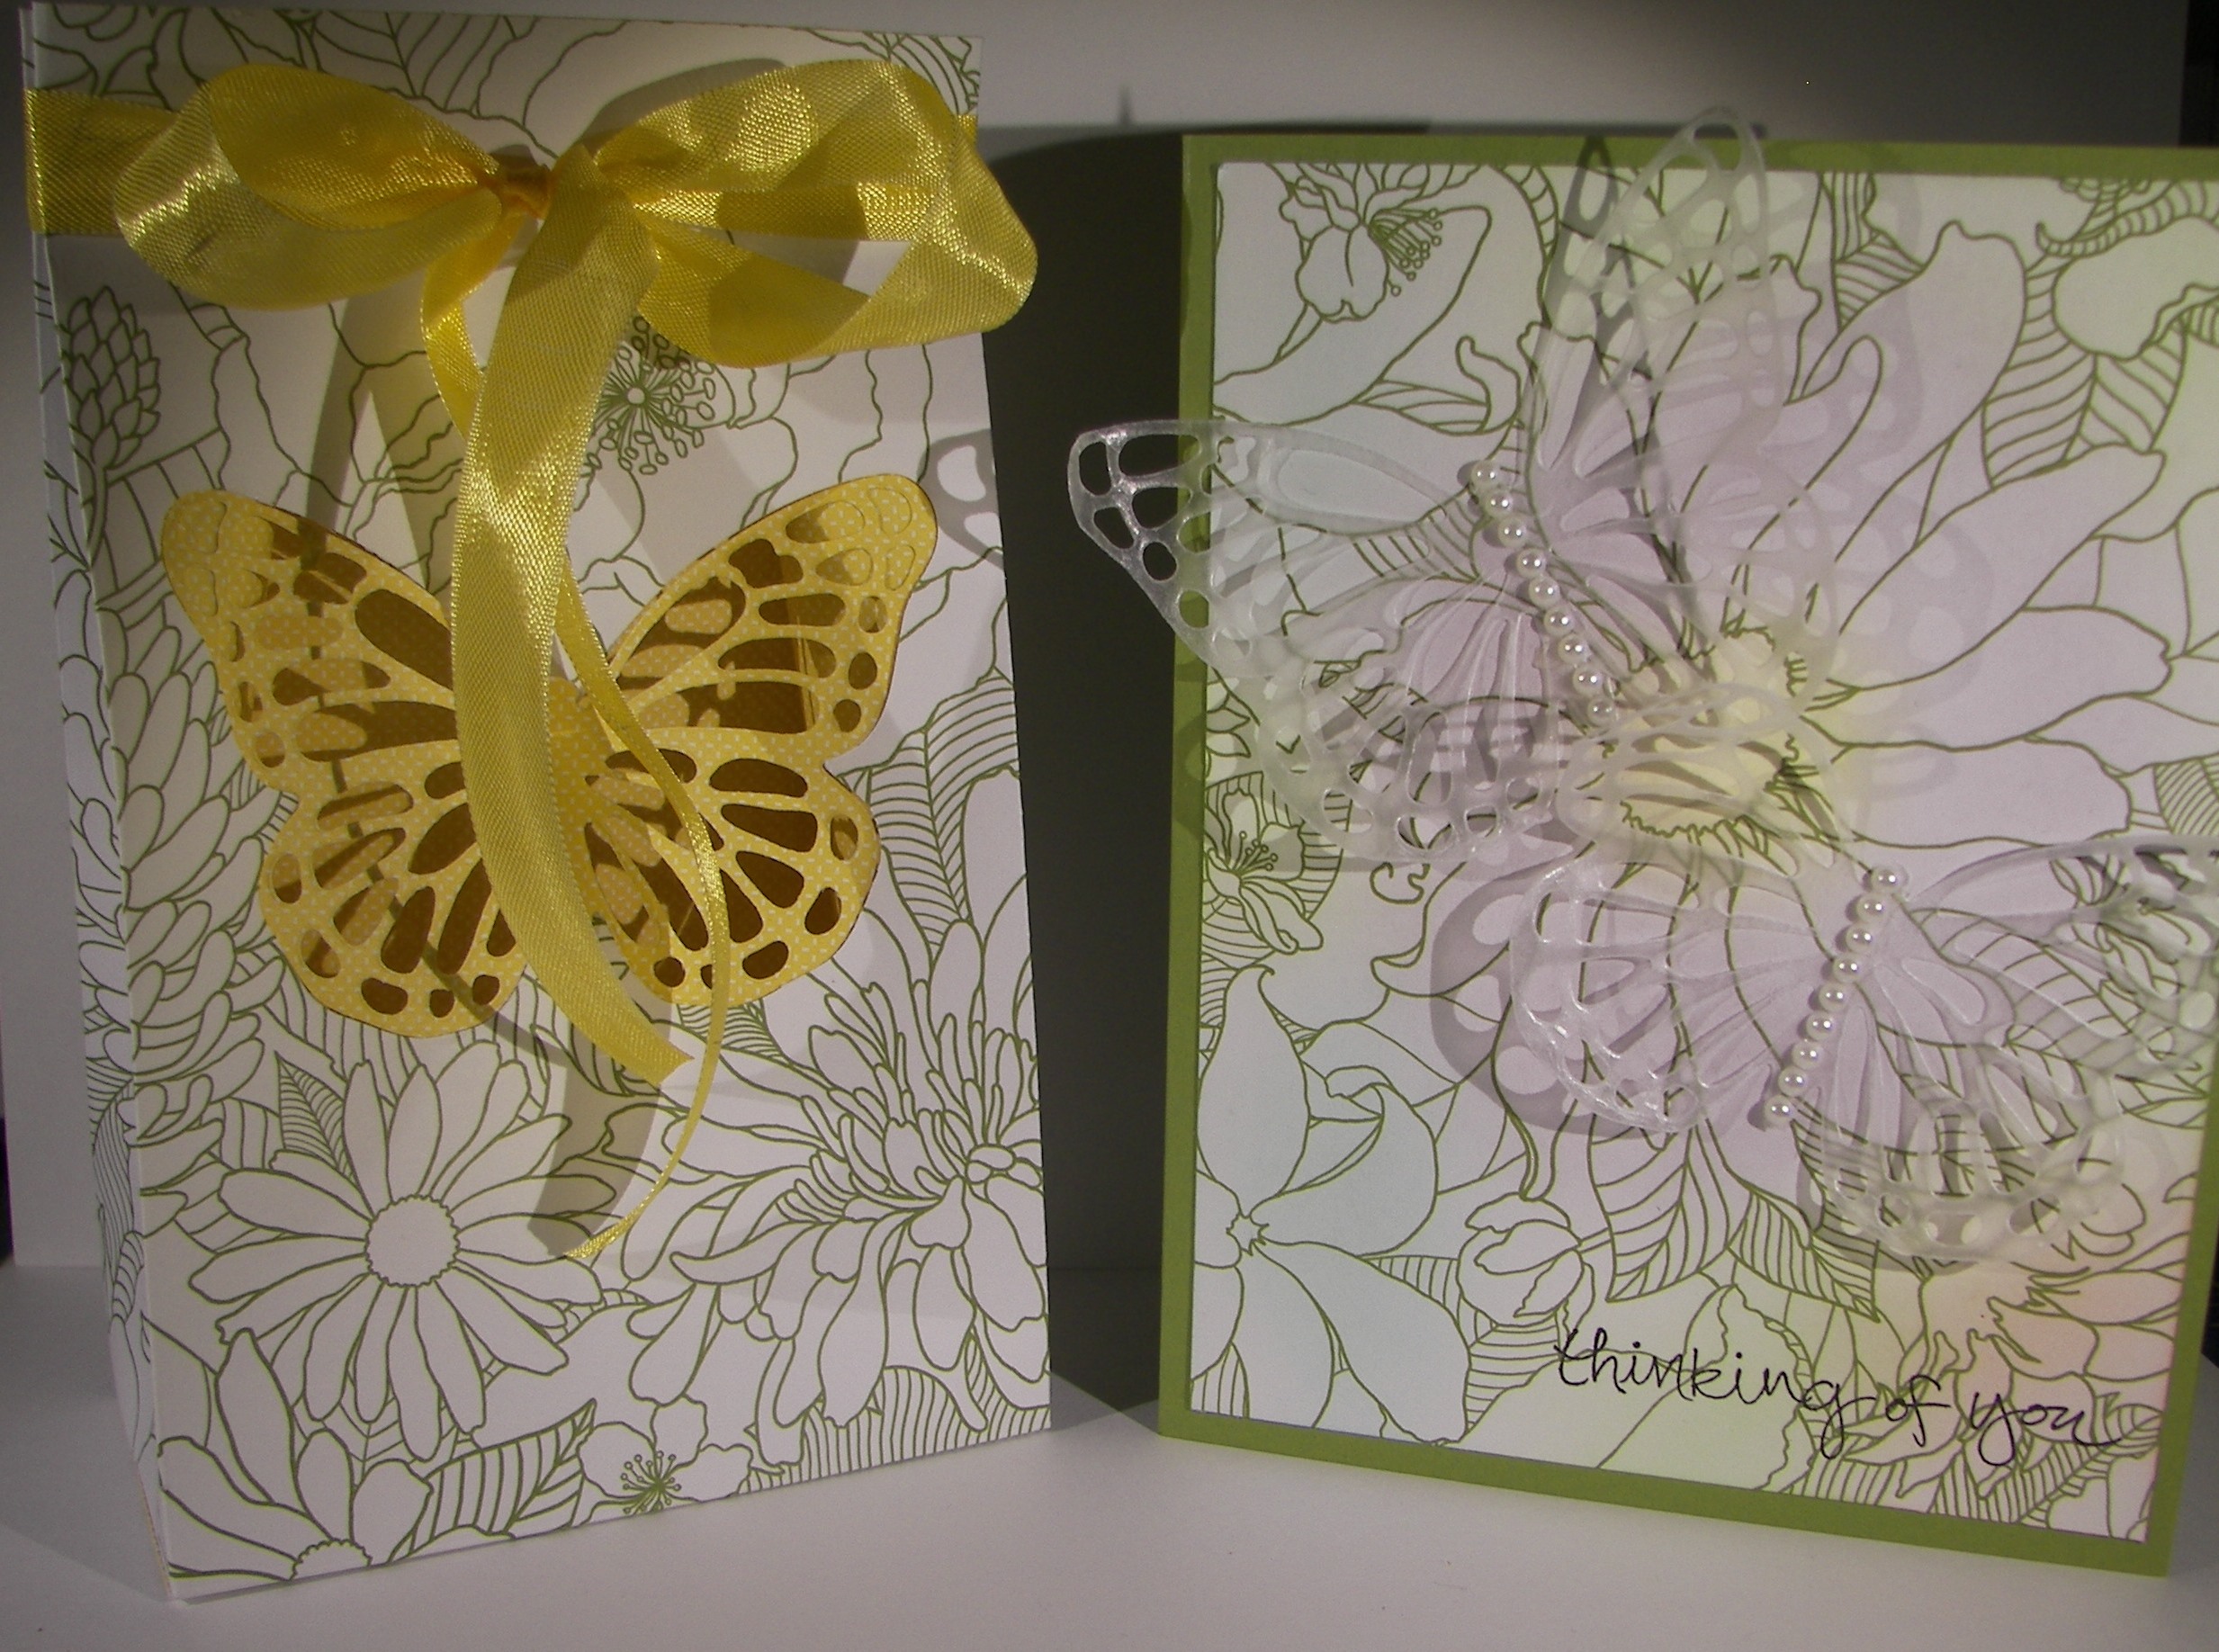
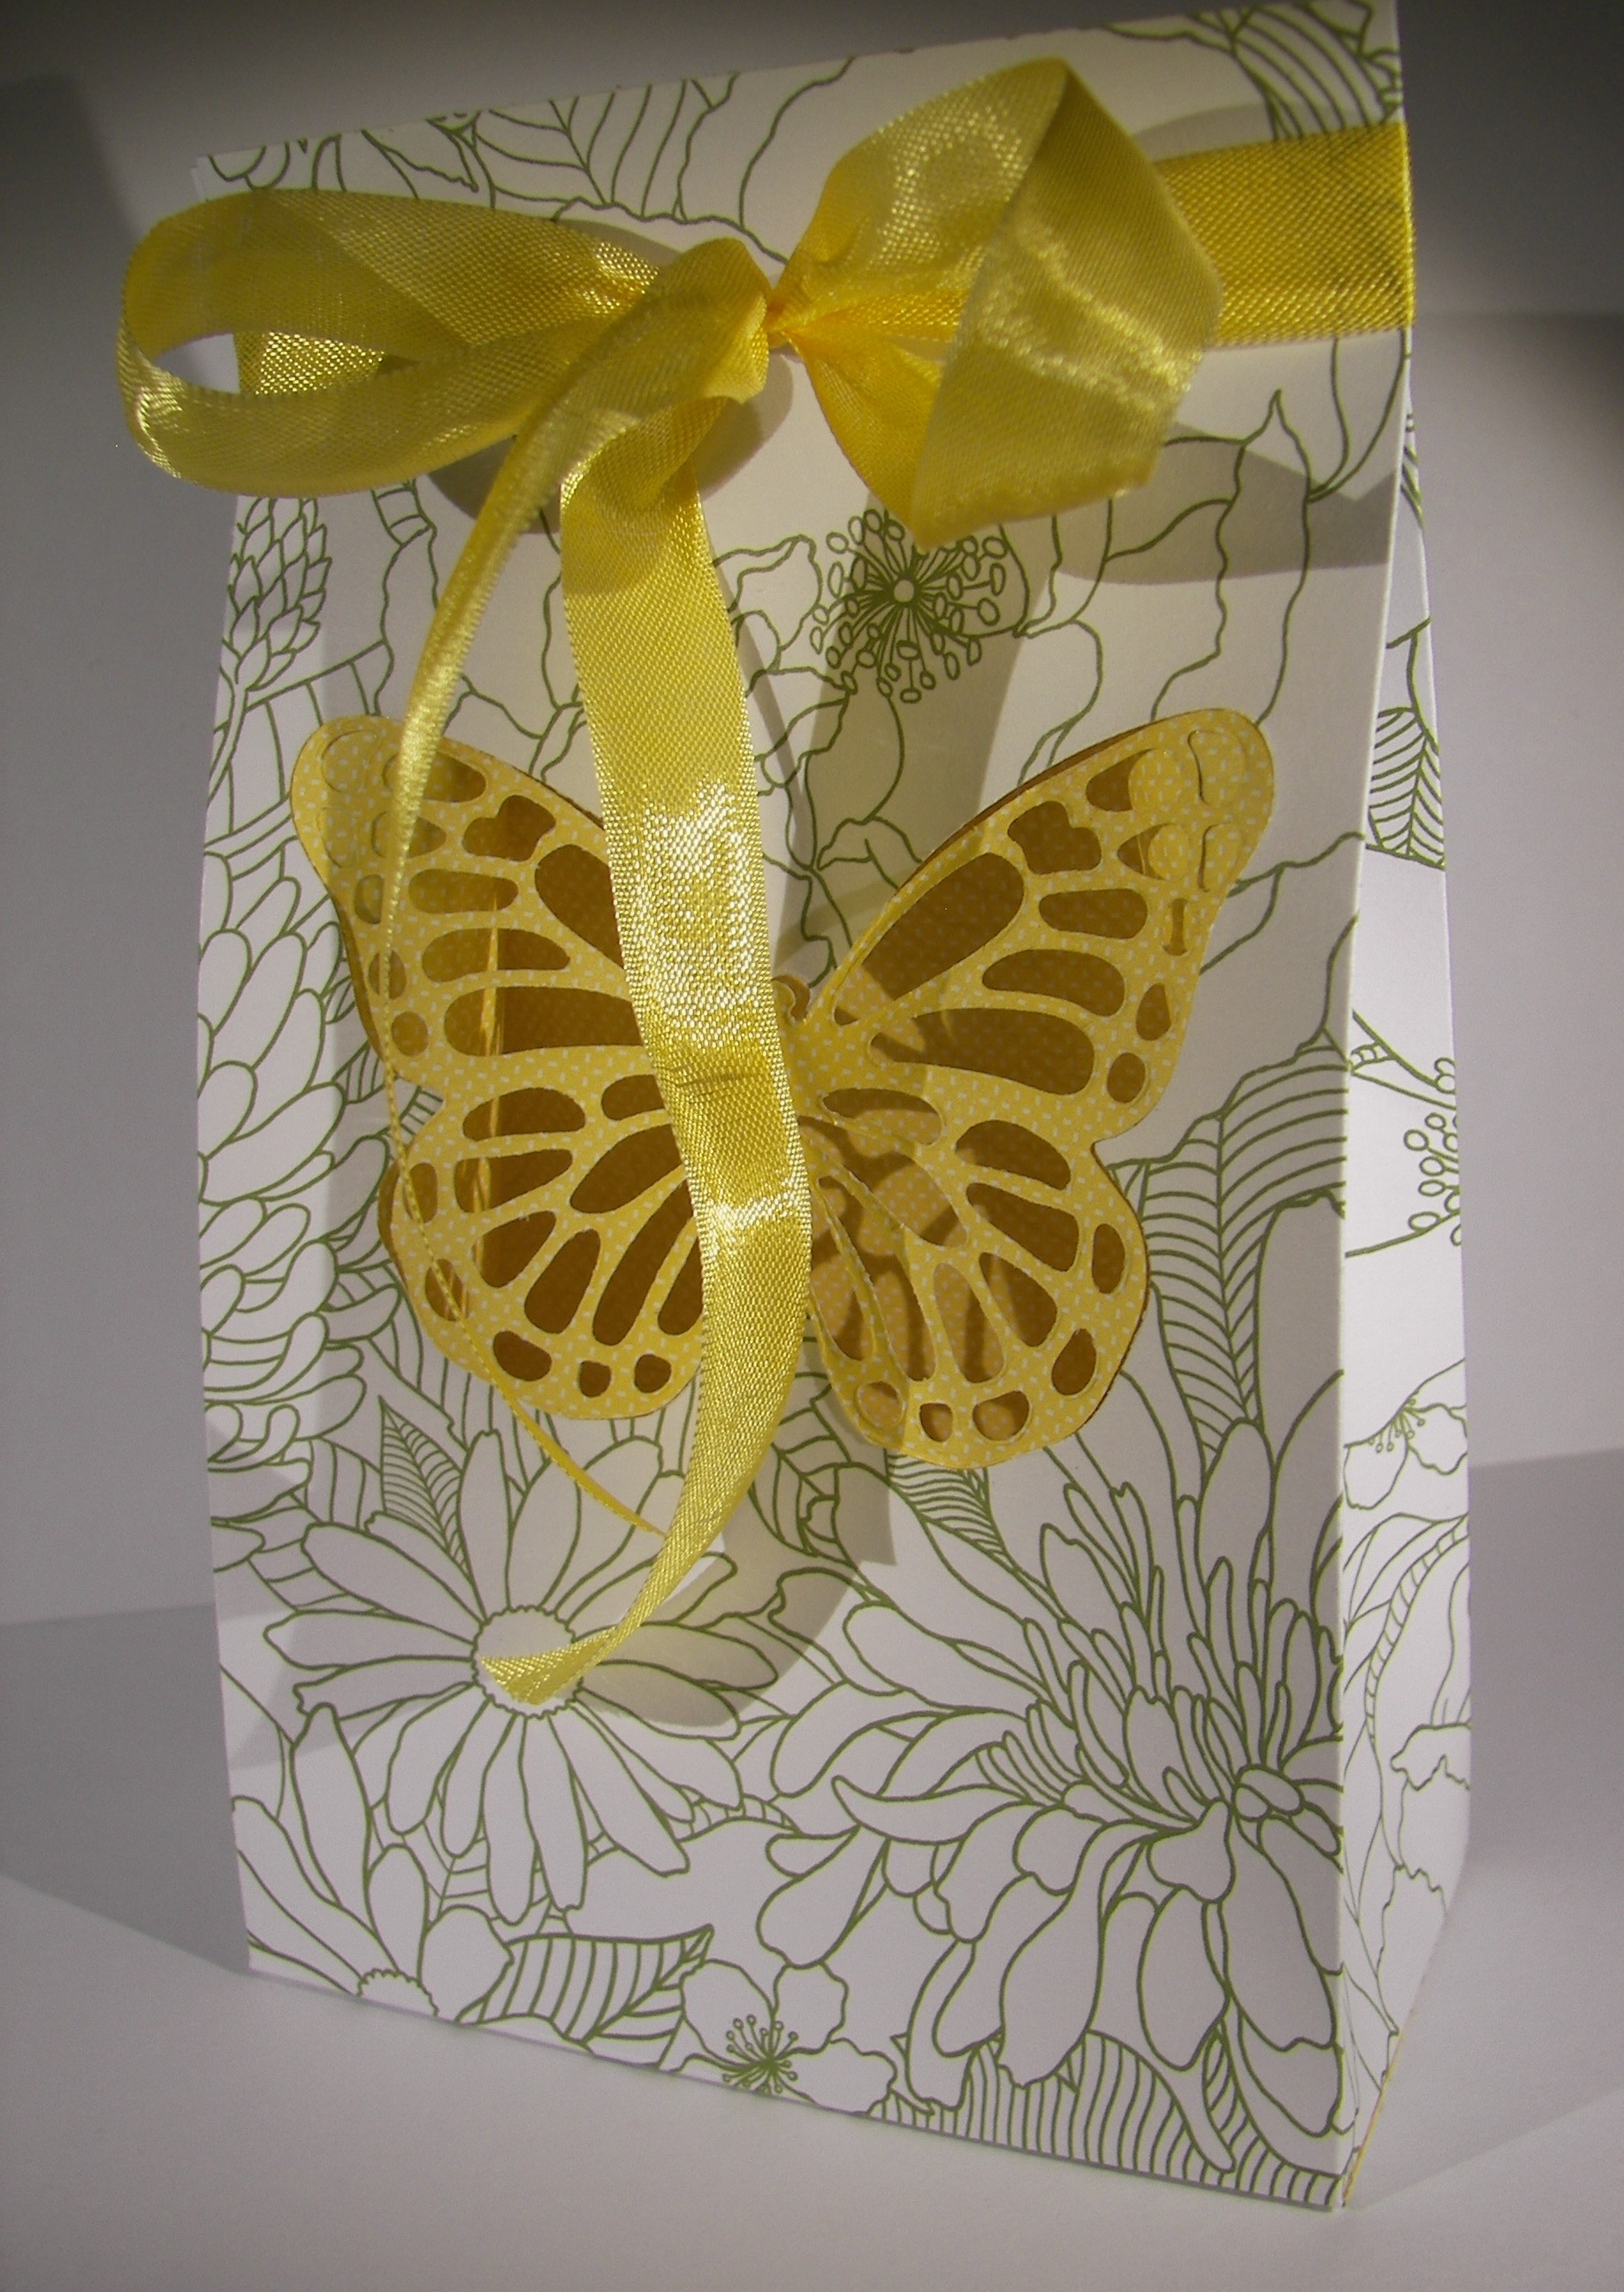
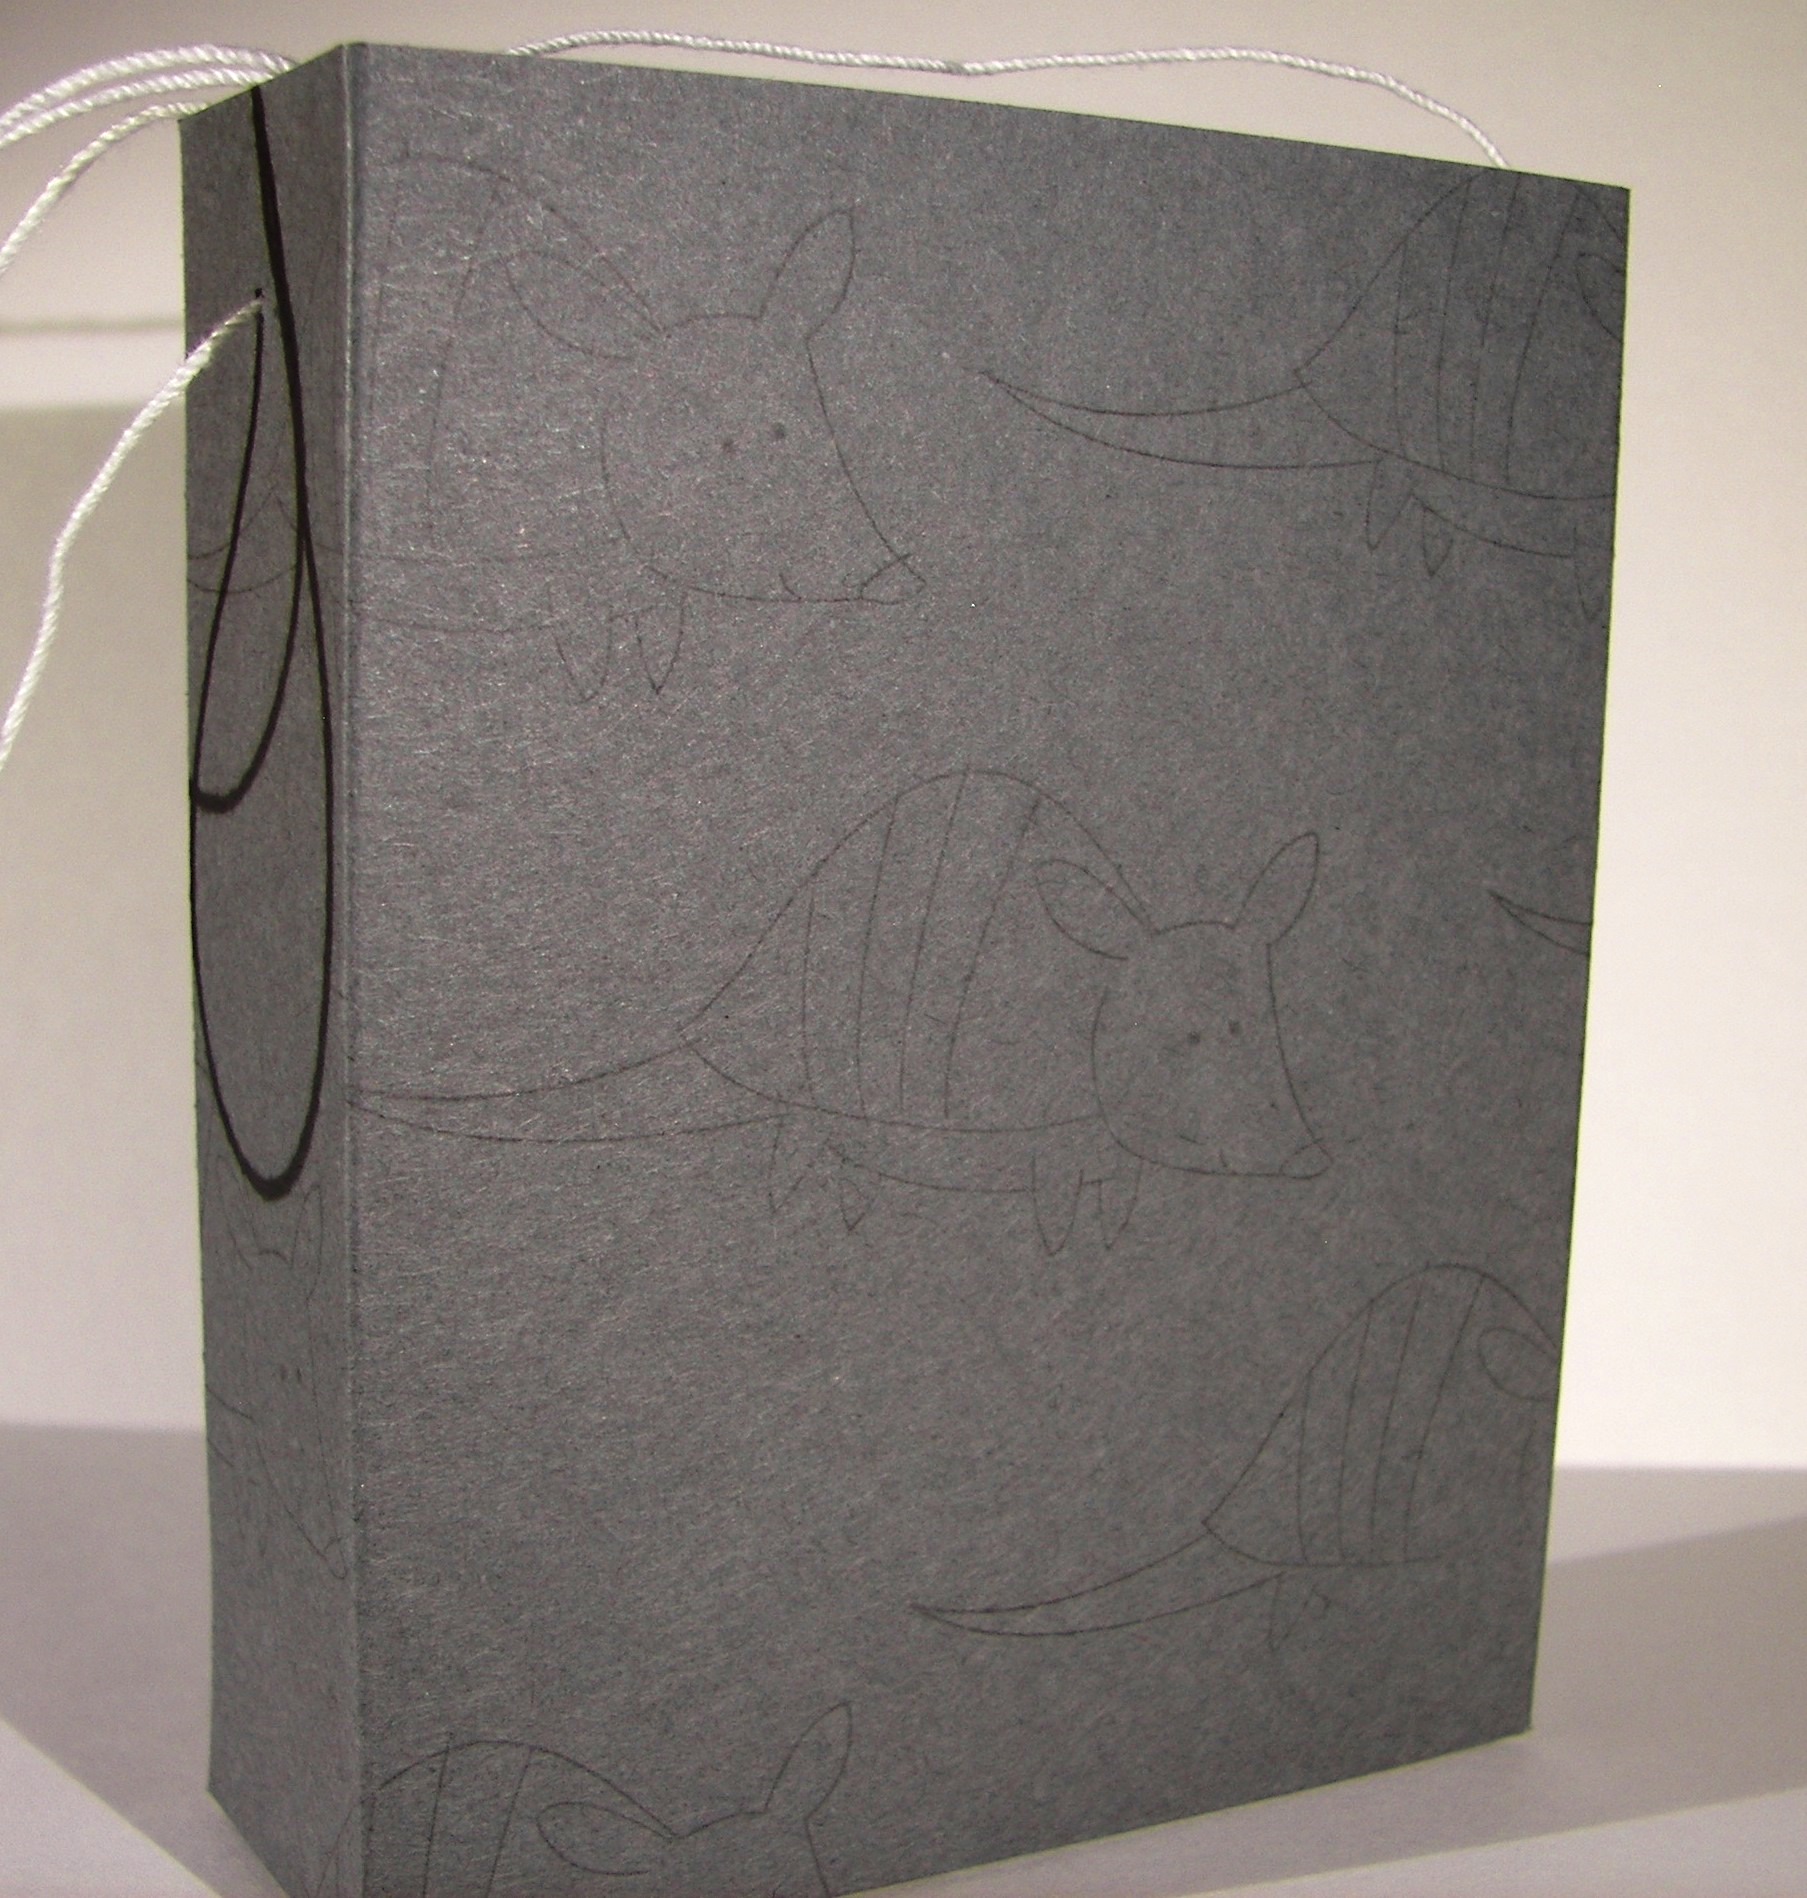
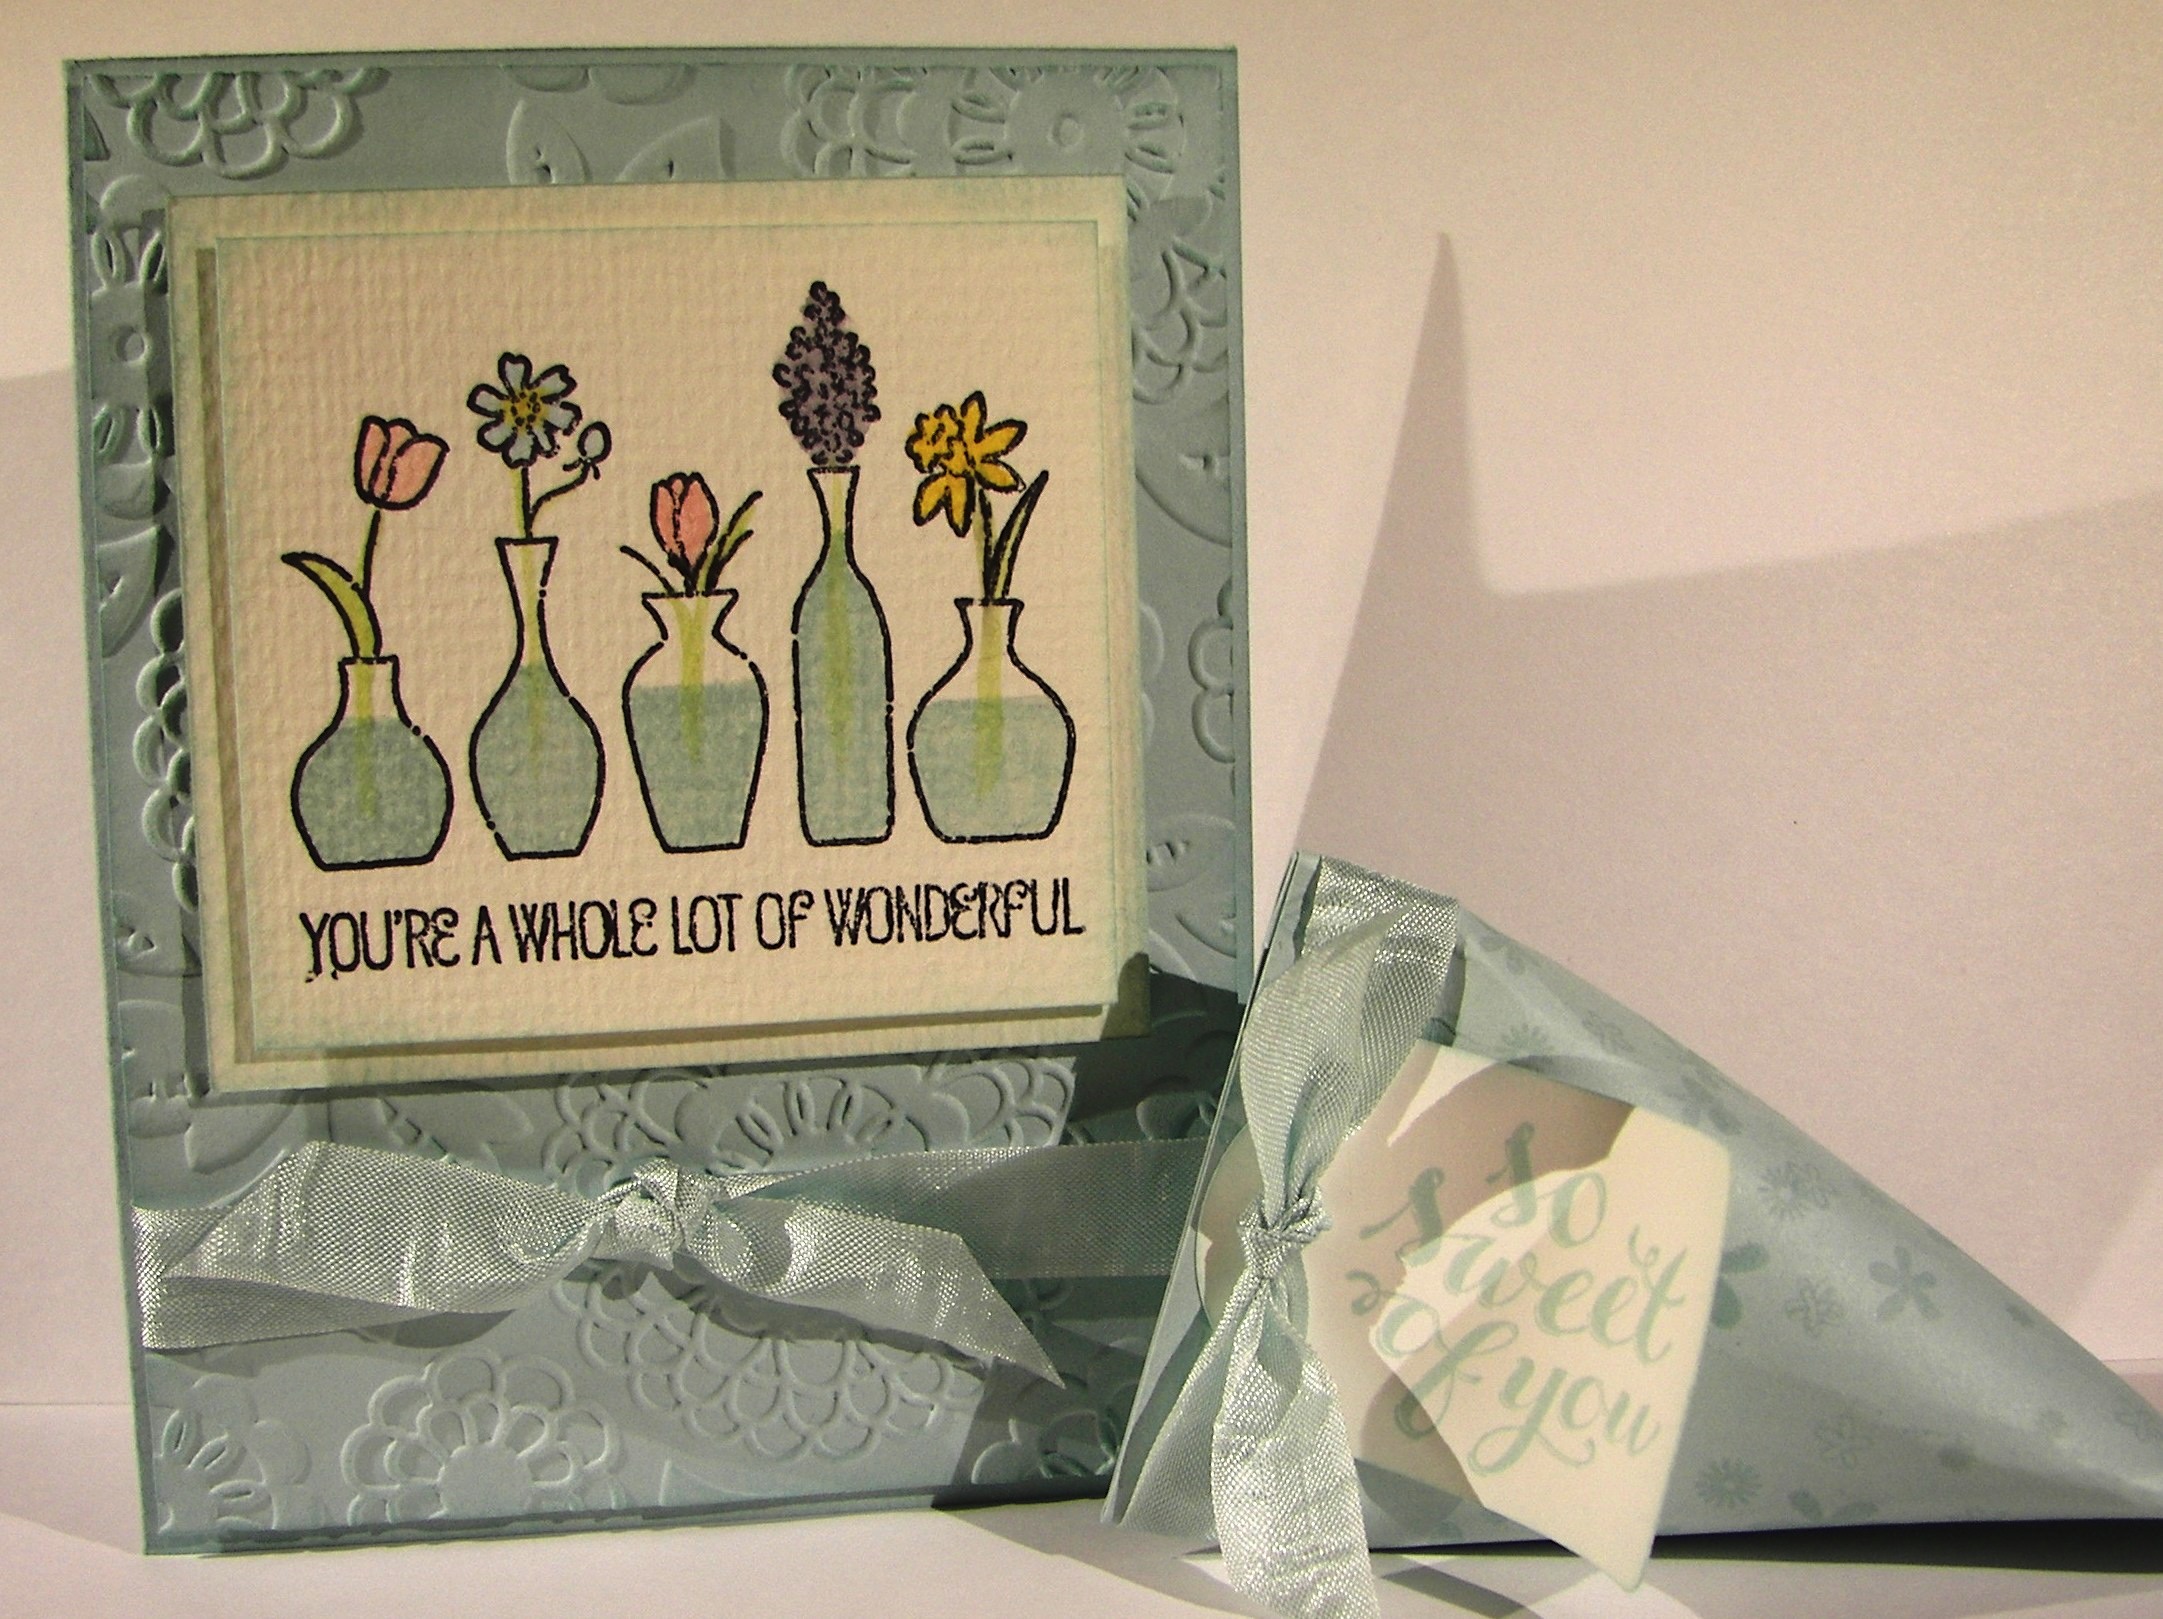
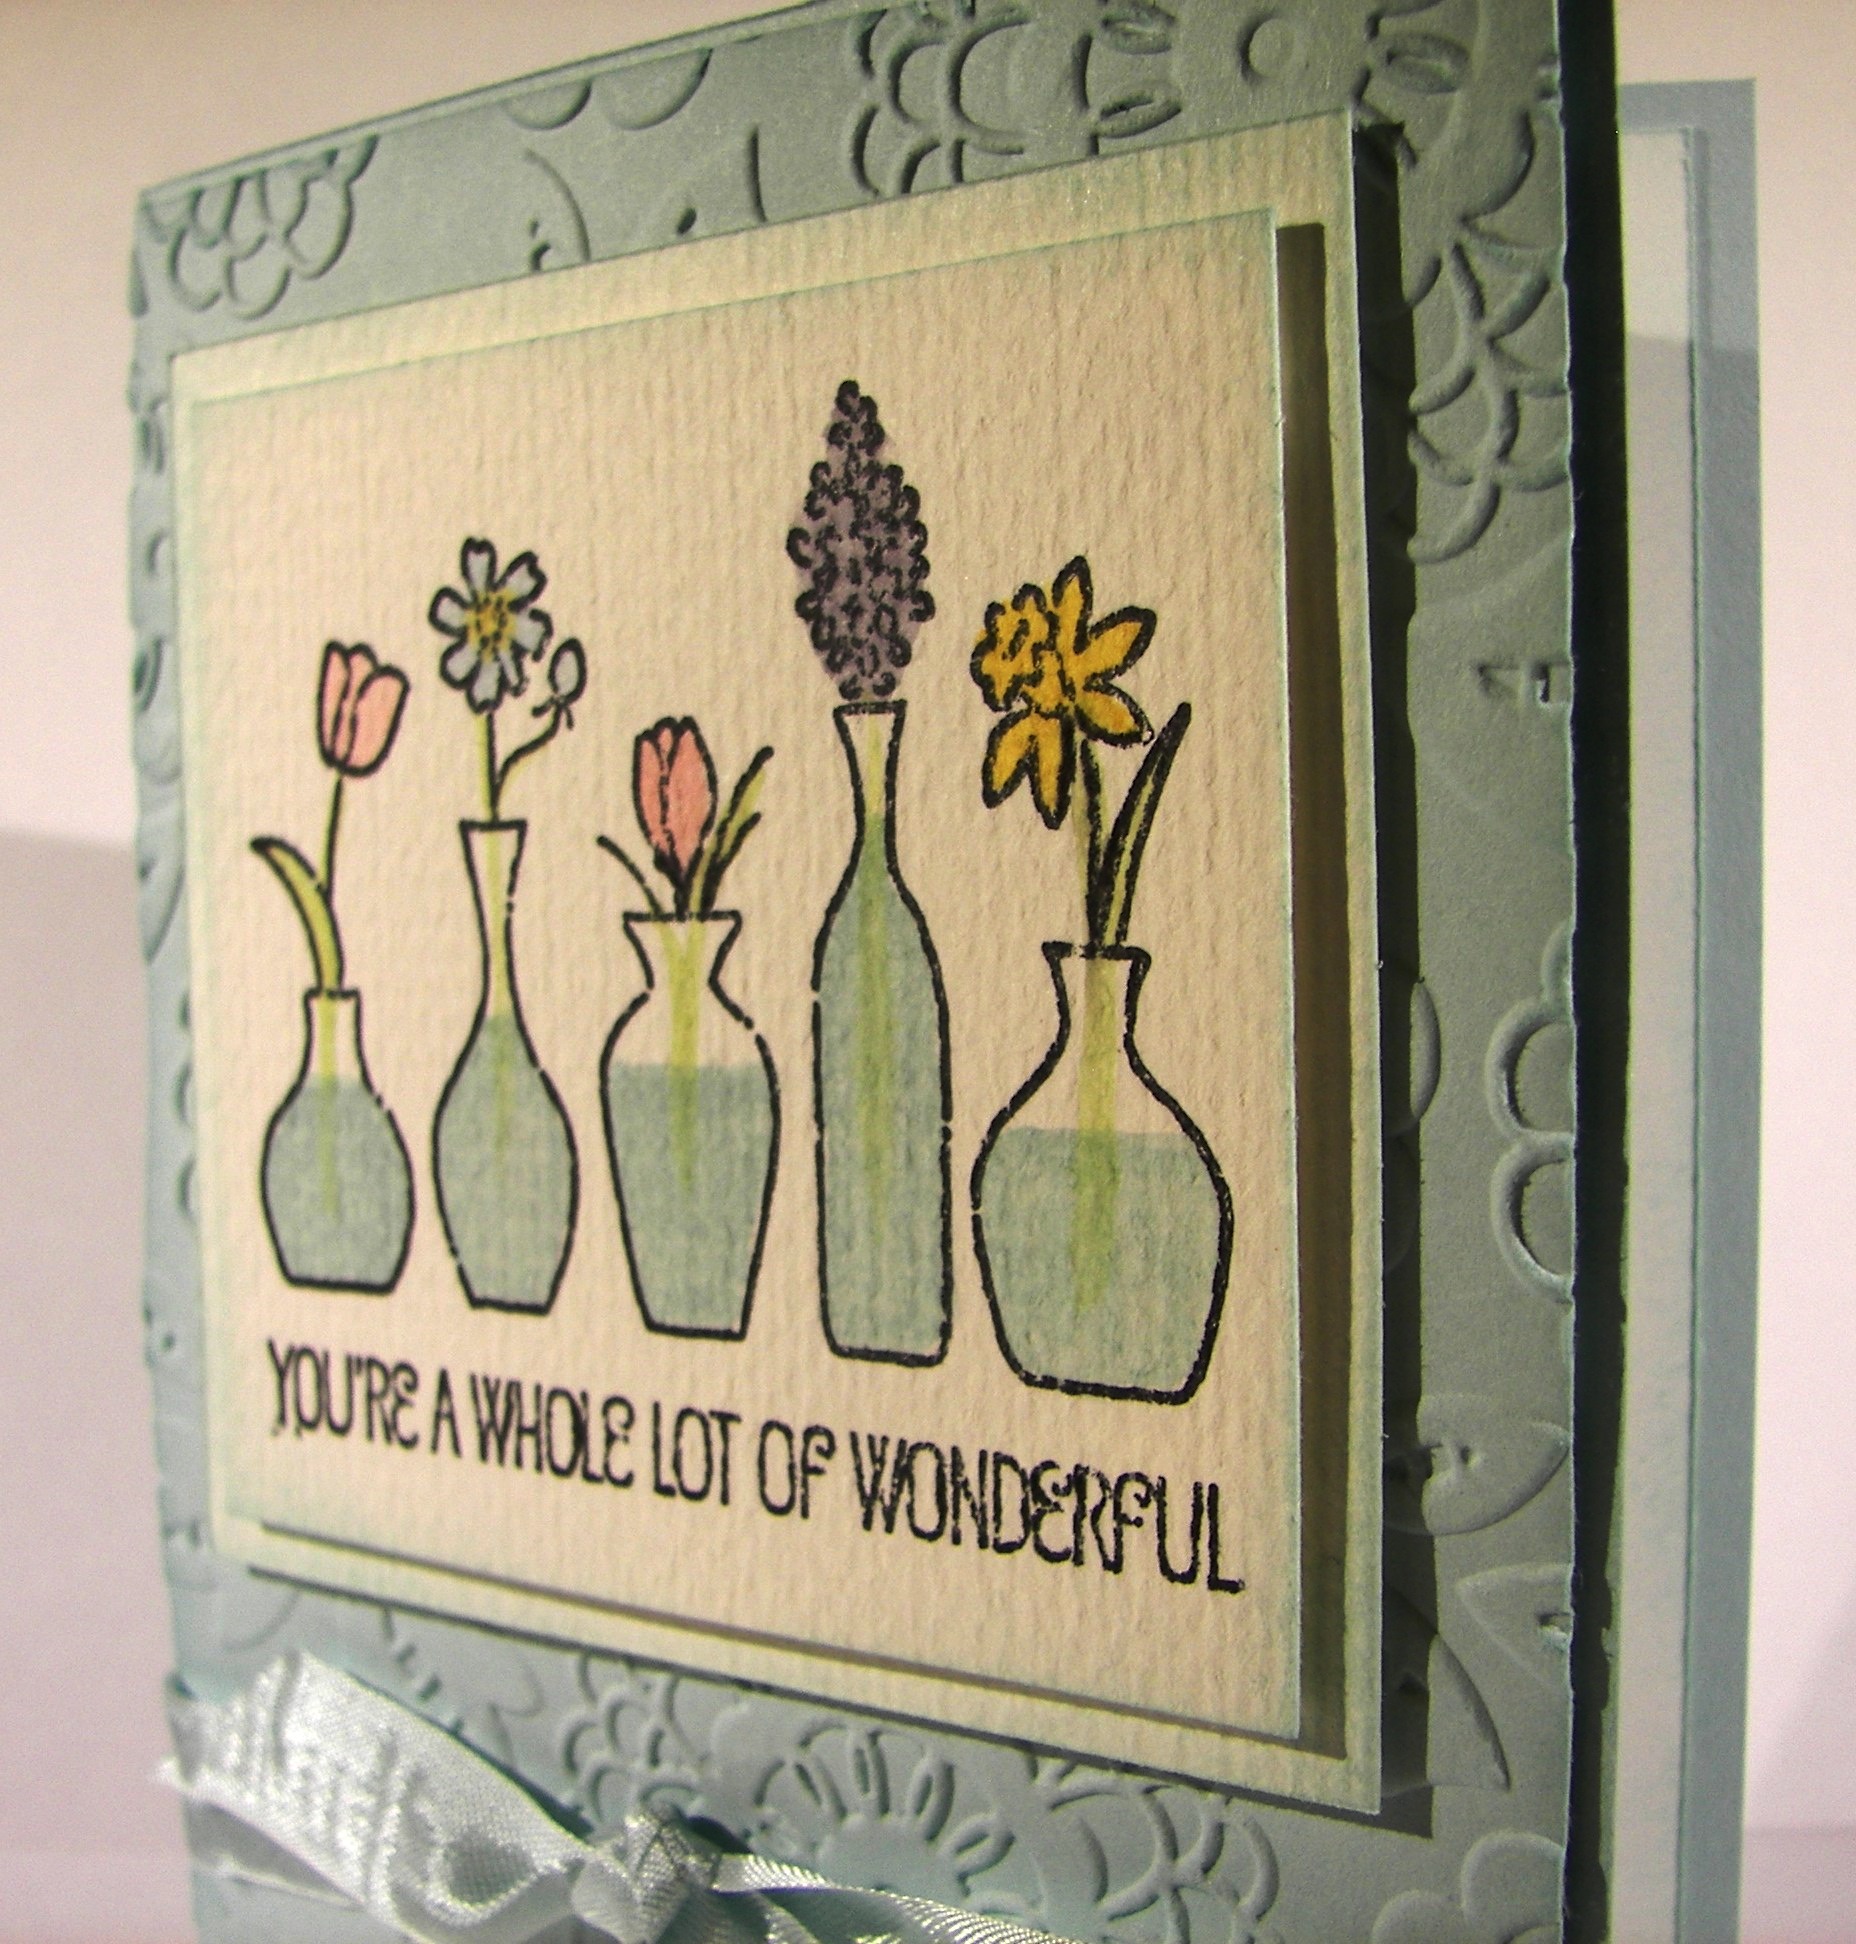
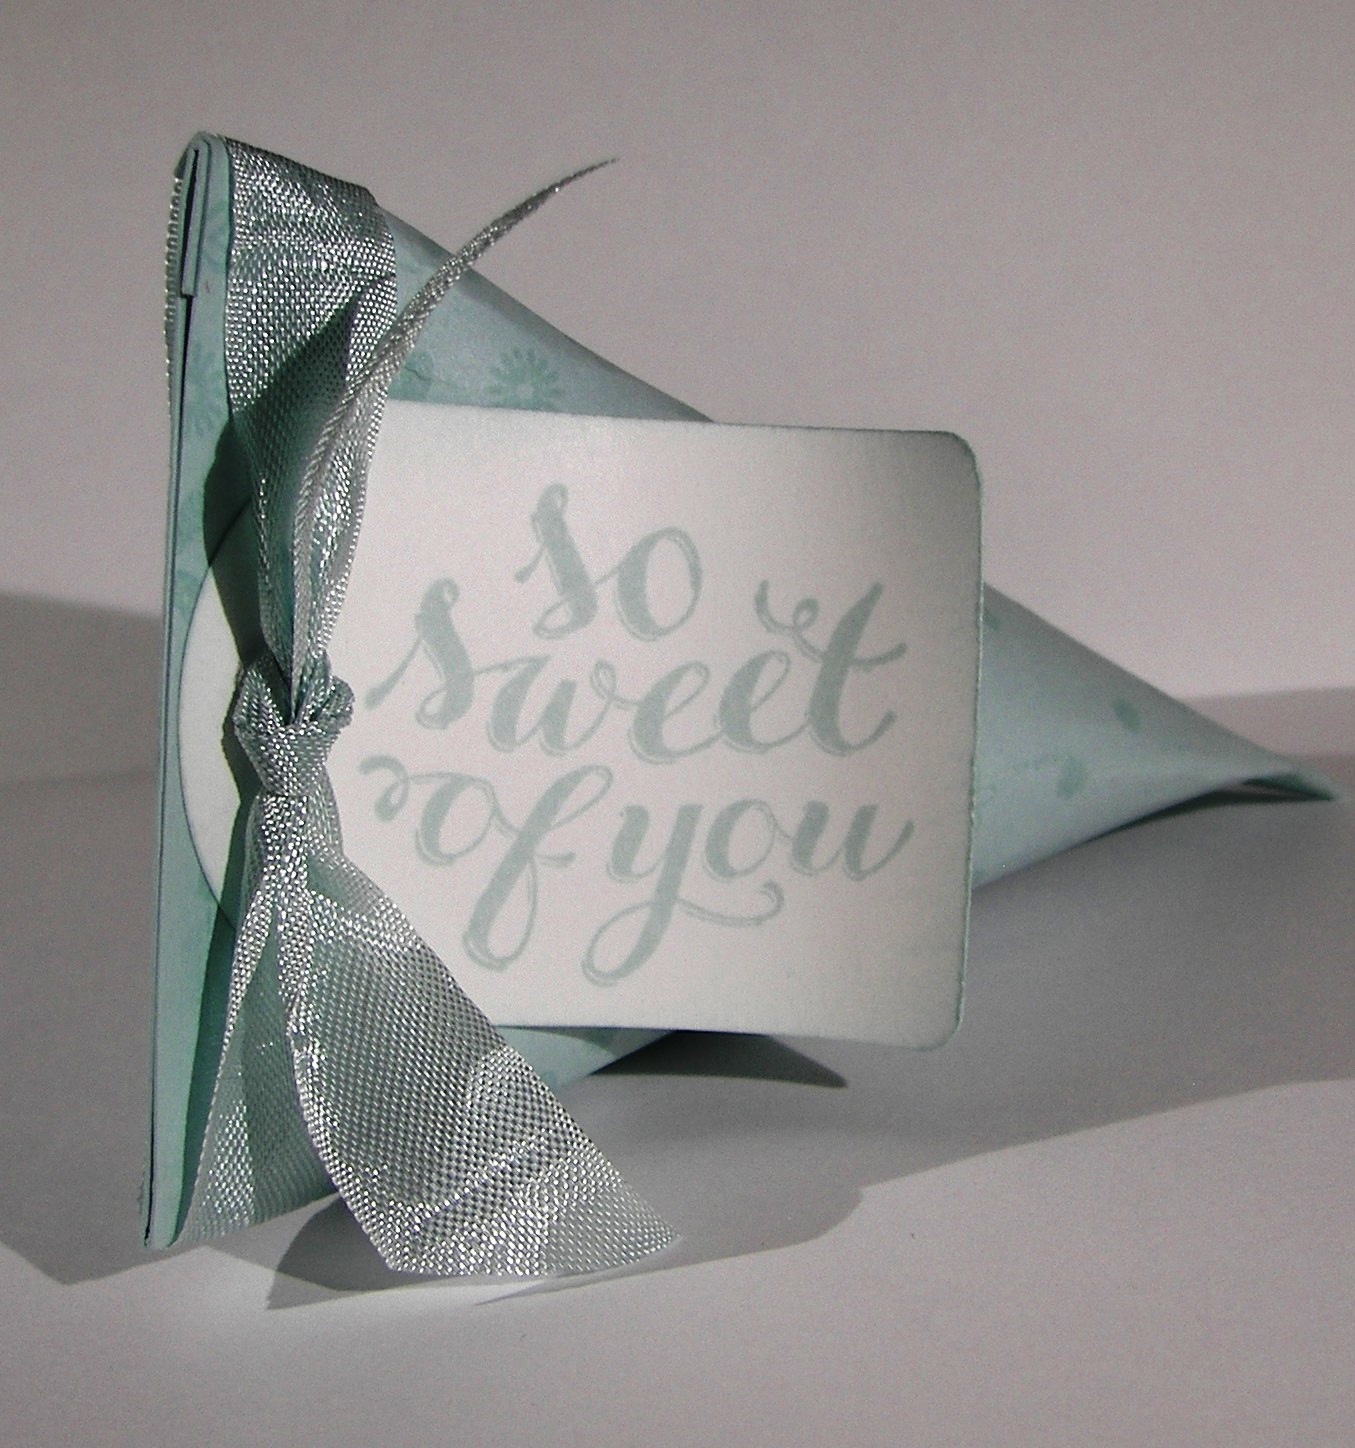
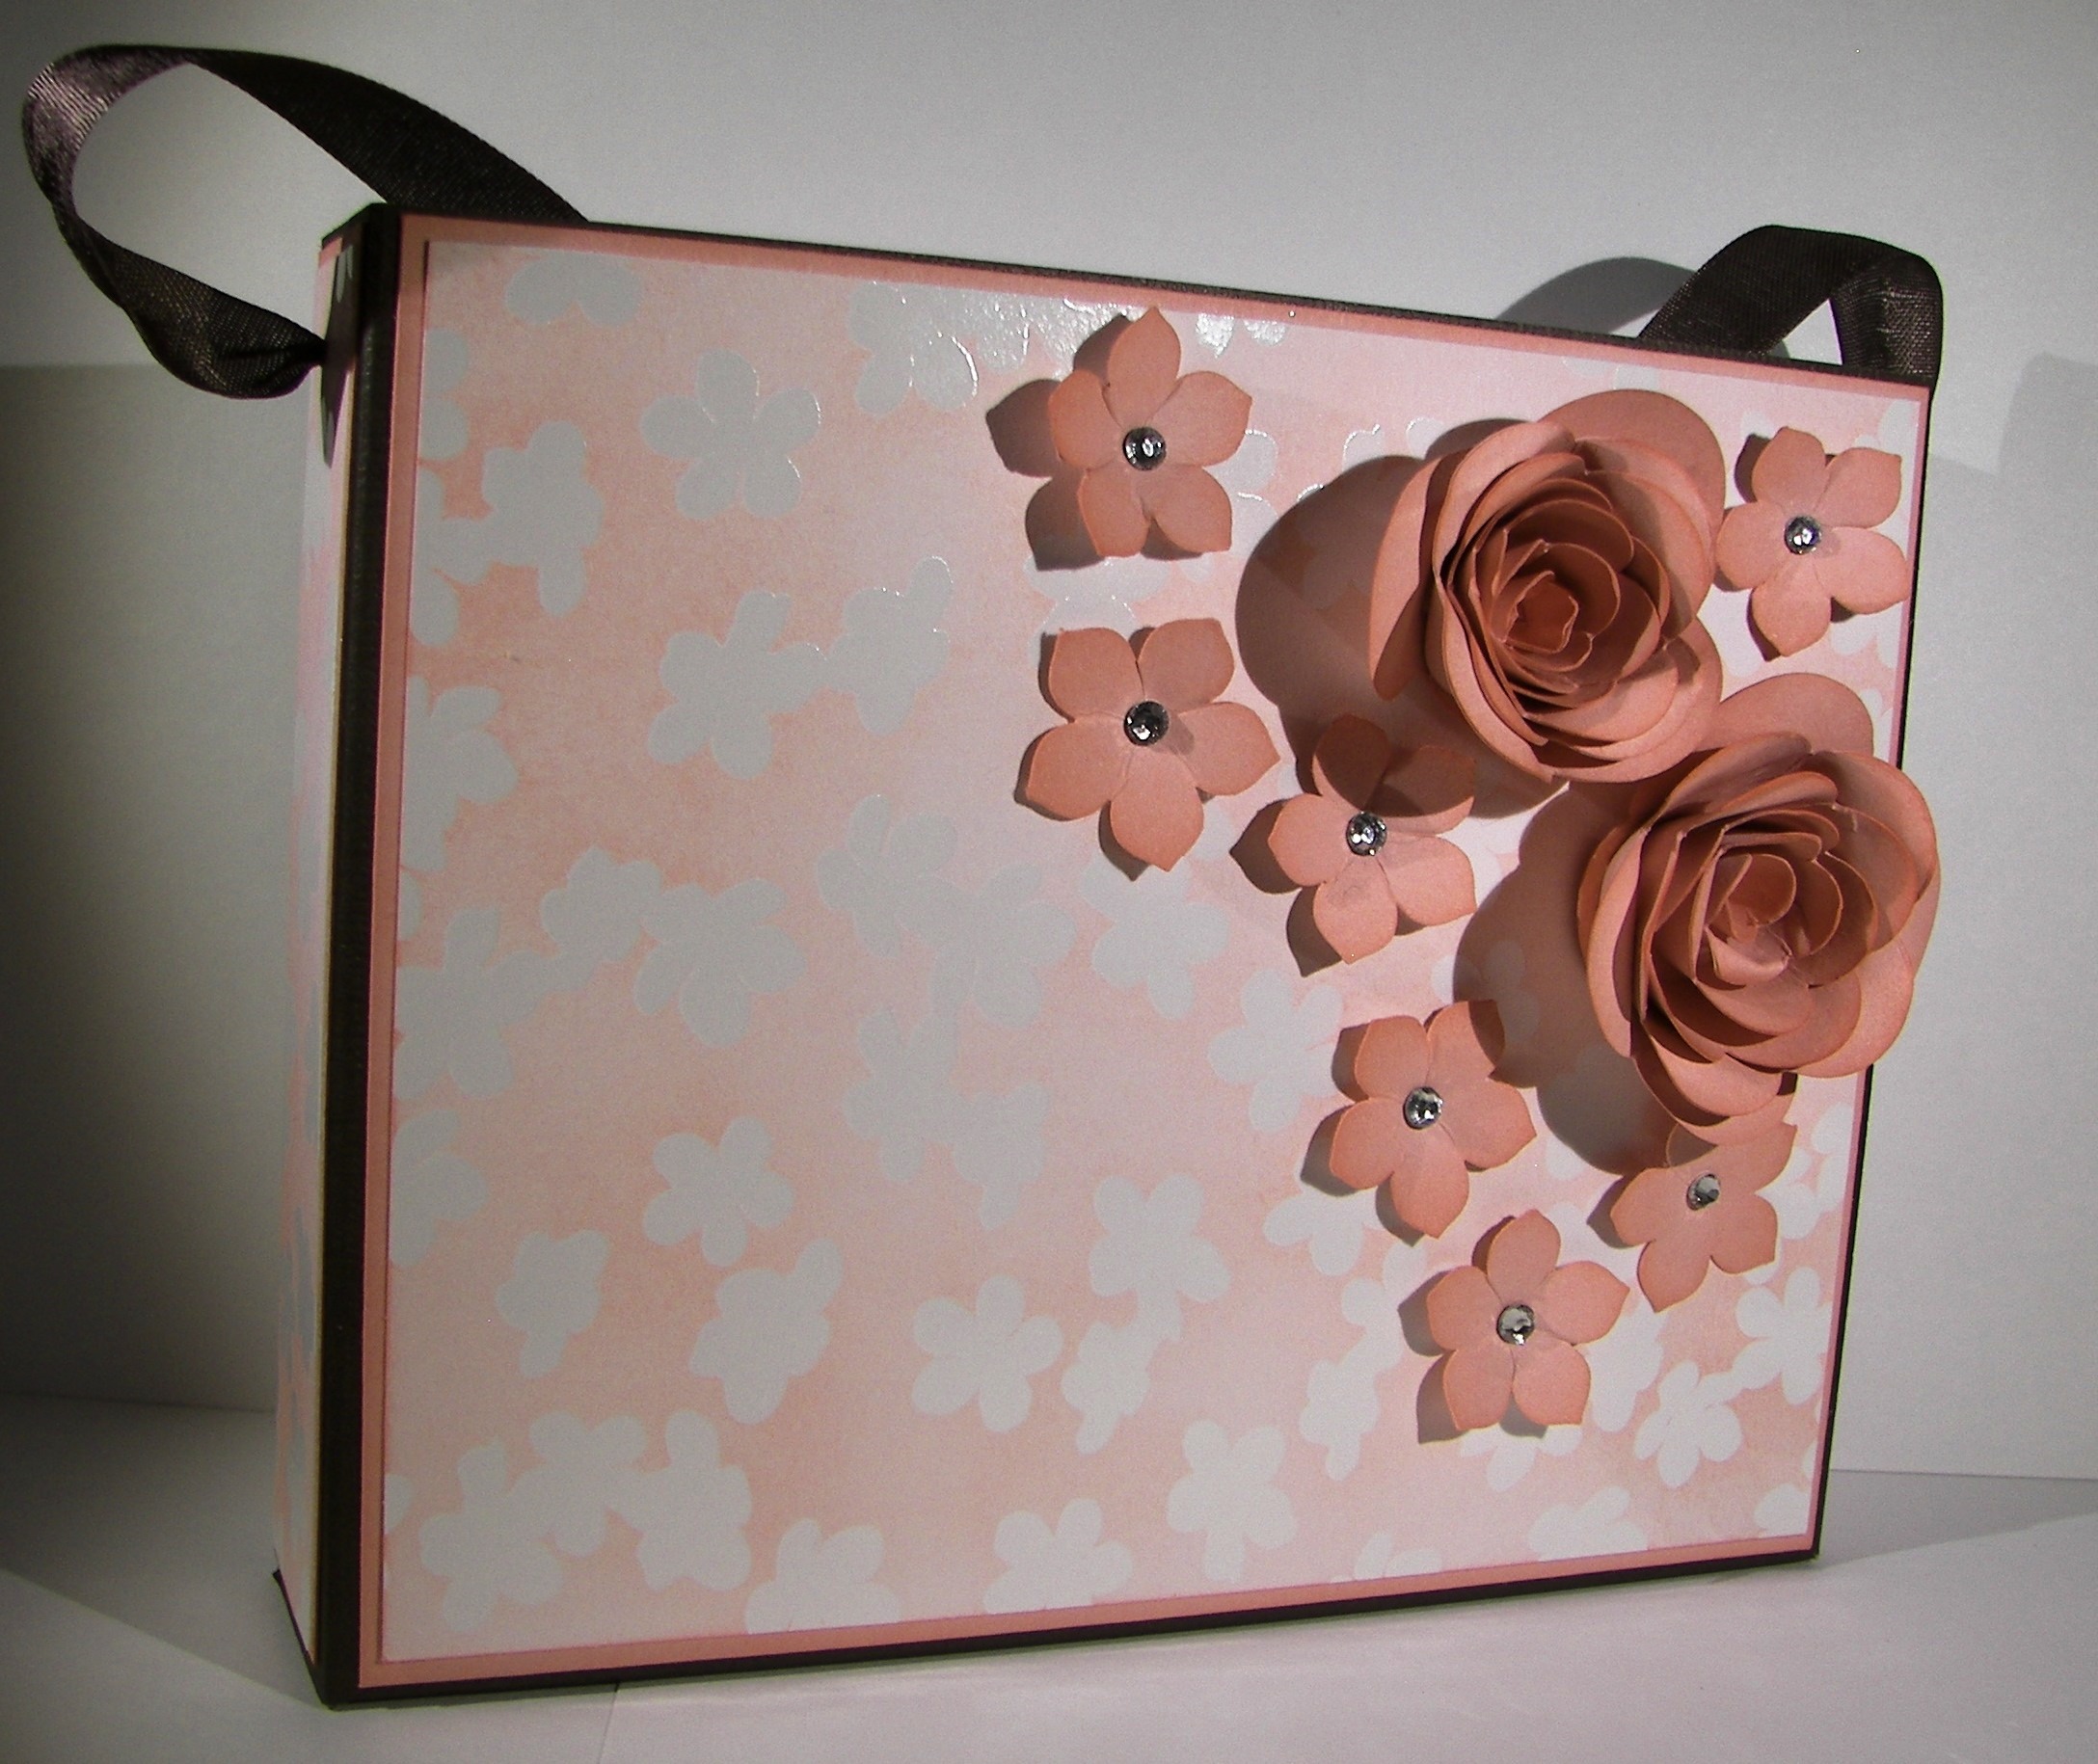
I used a full sheet to make this pretty gift bag.  I stamped the background paper with the fun leaf from the Kinda Eclectic set.  Loved it.  I used it full strength some, but mostly stamped it off once first.  I like how different this color looks at different strengths.

Cucumber Crush Party

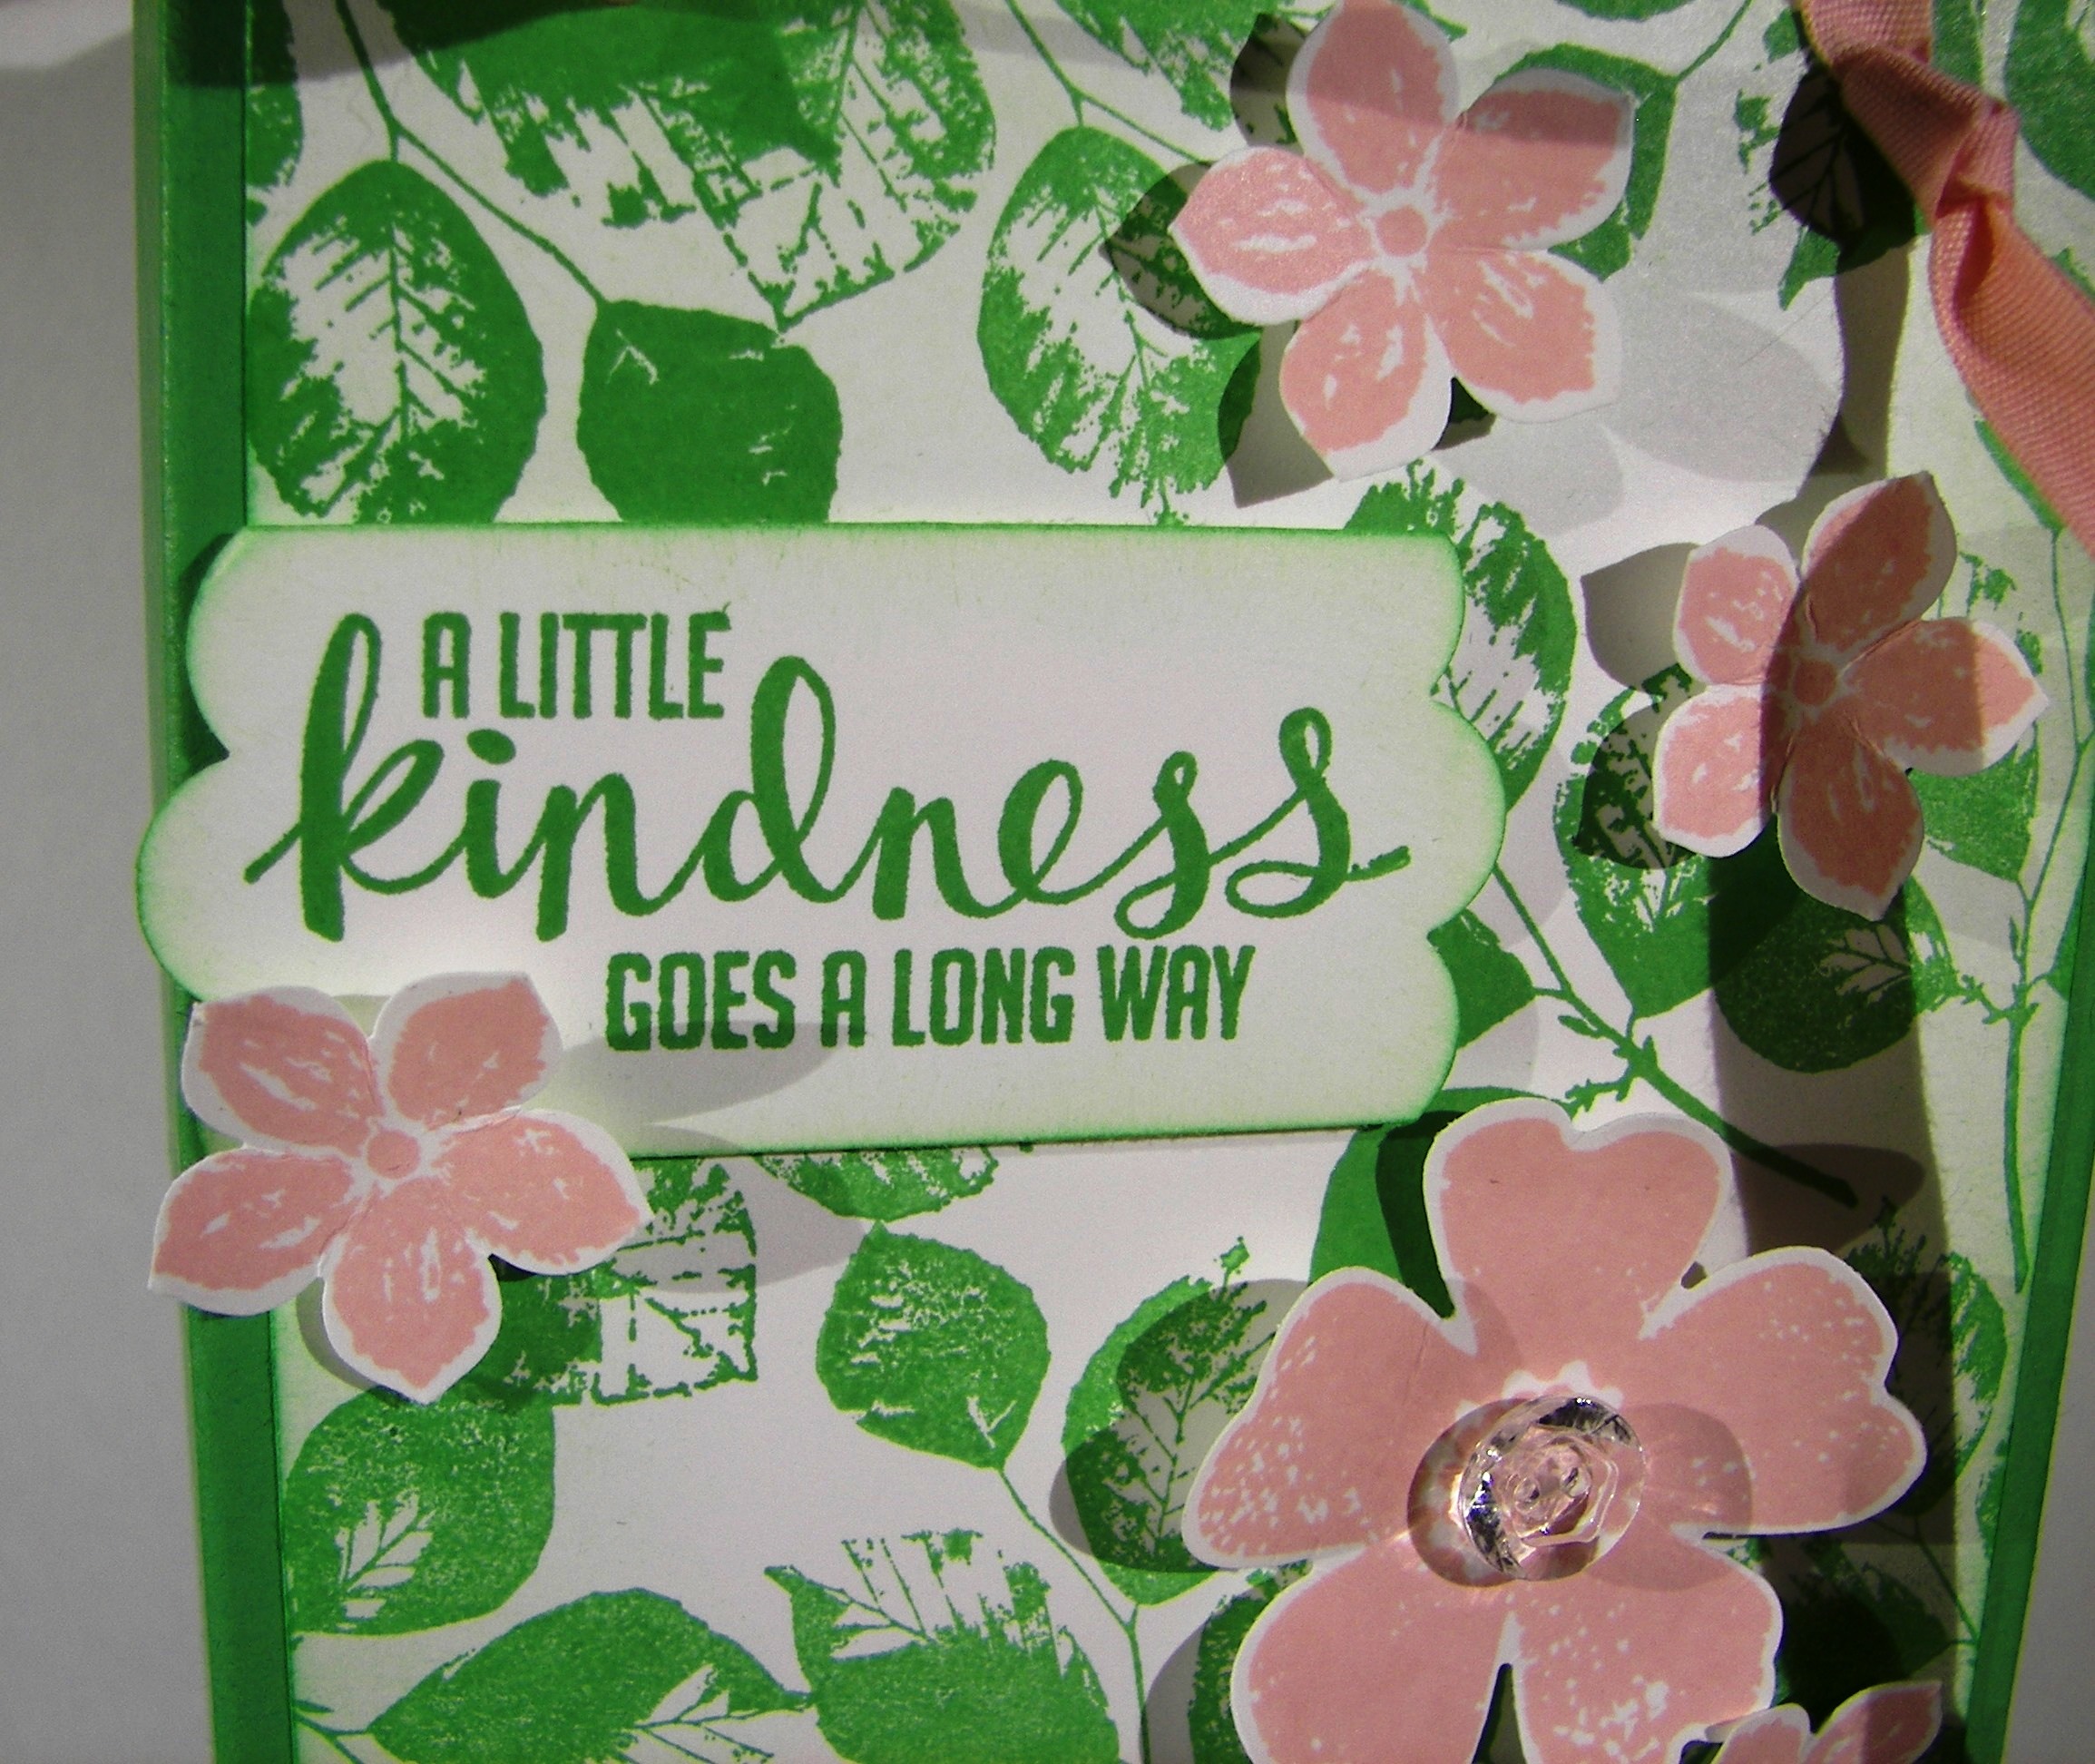
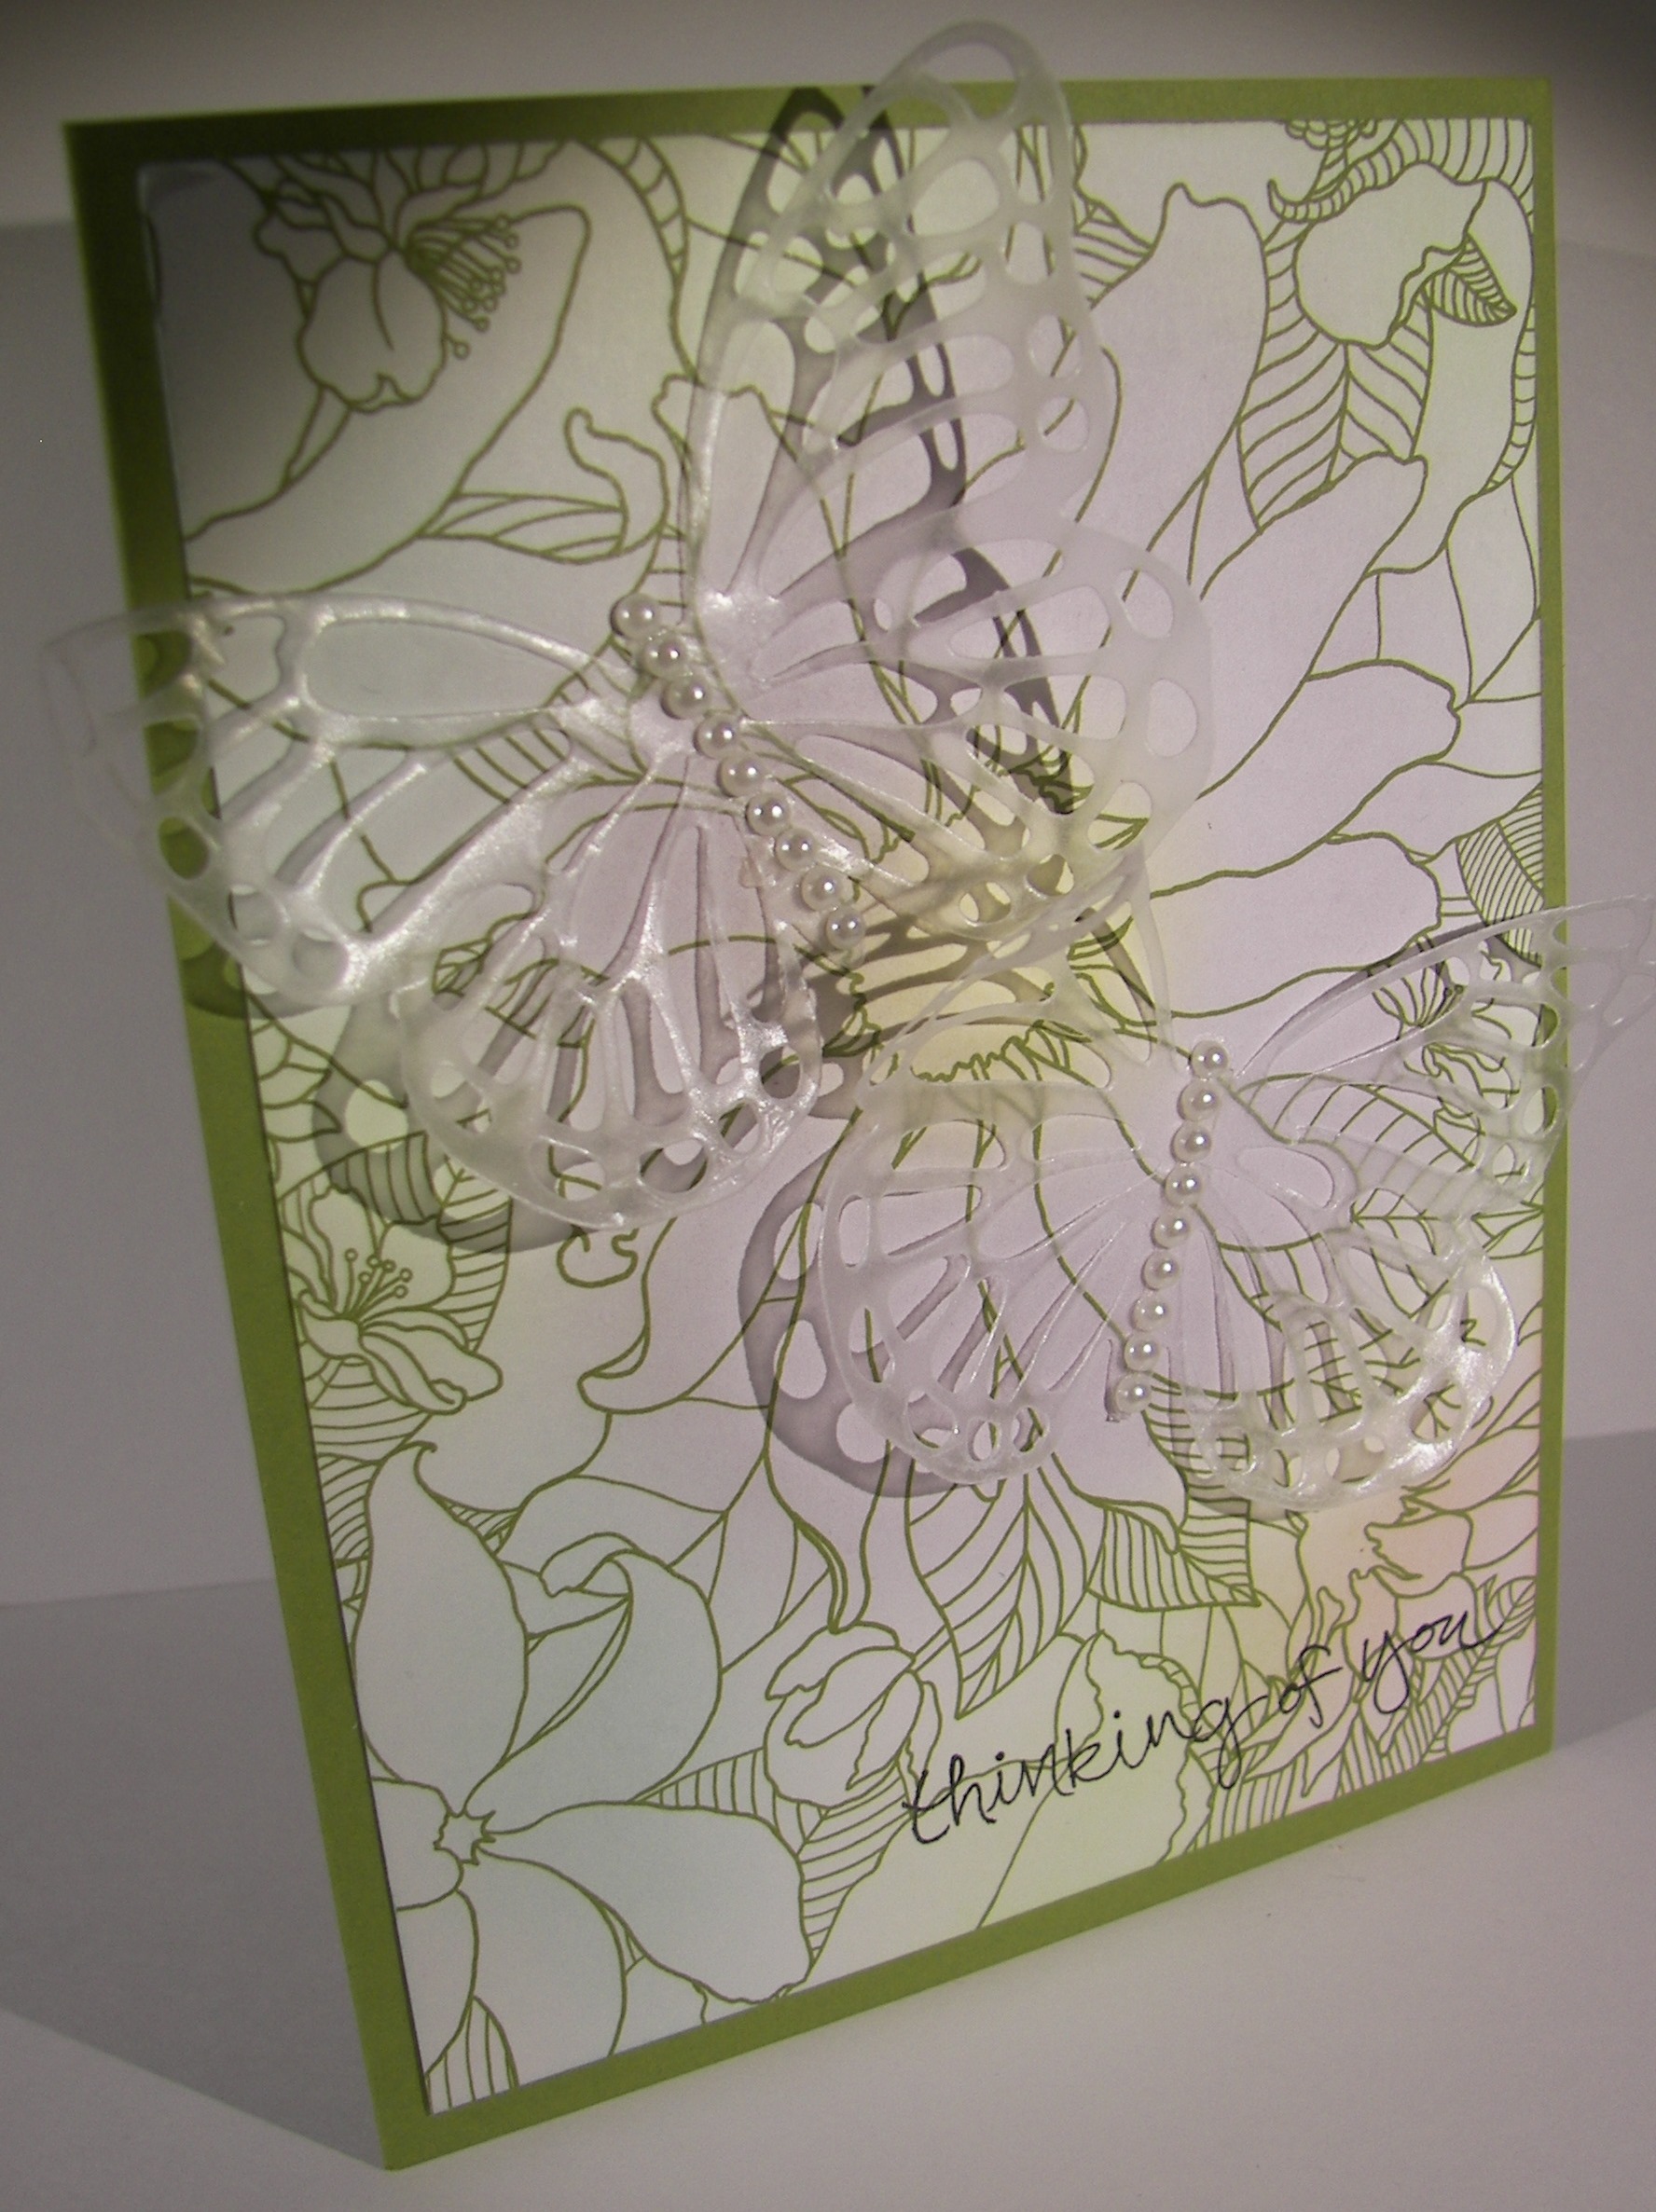
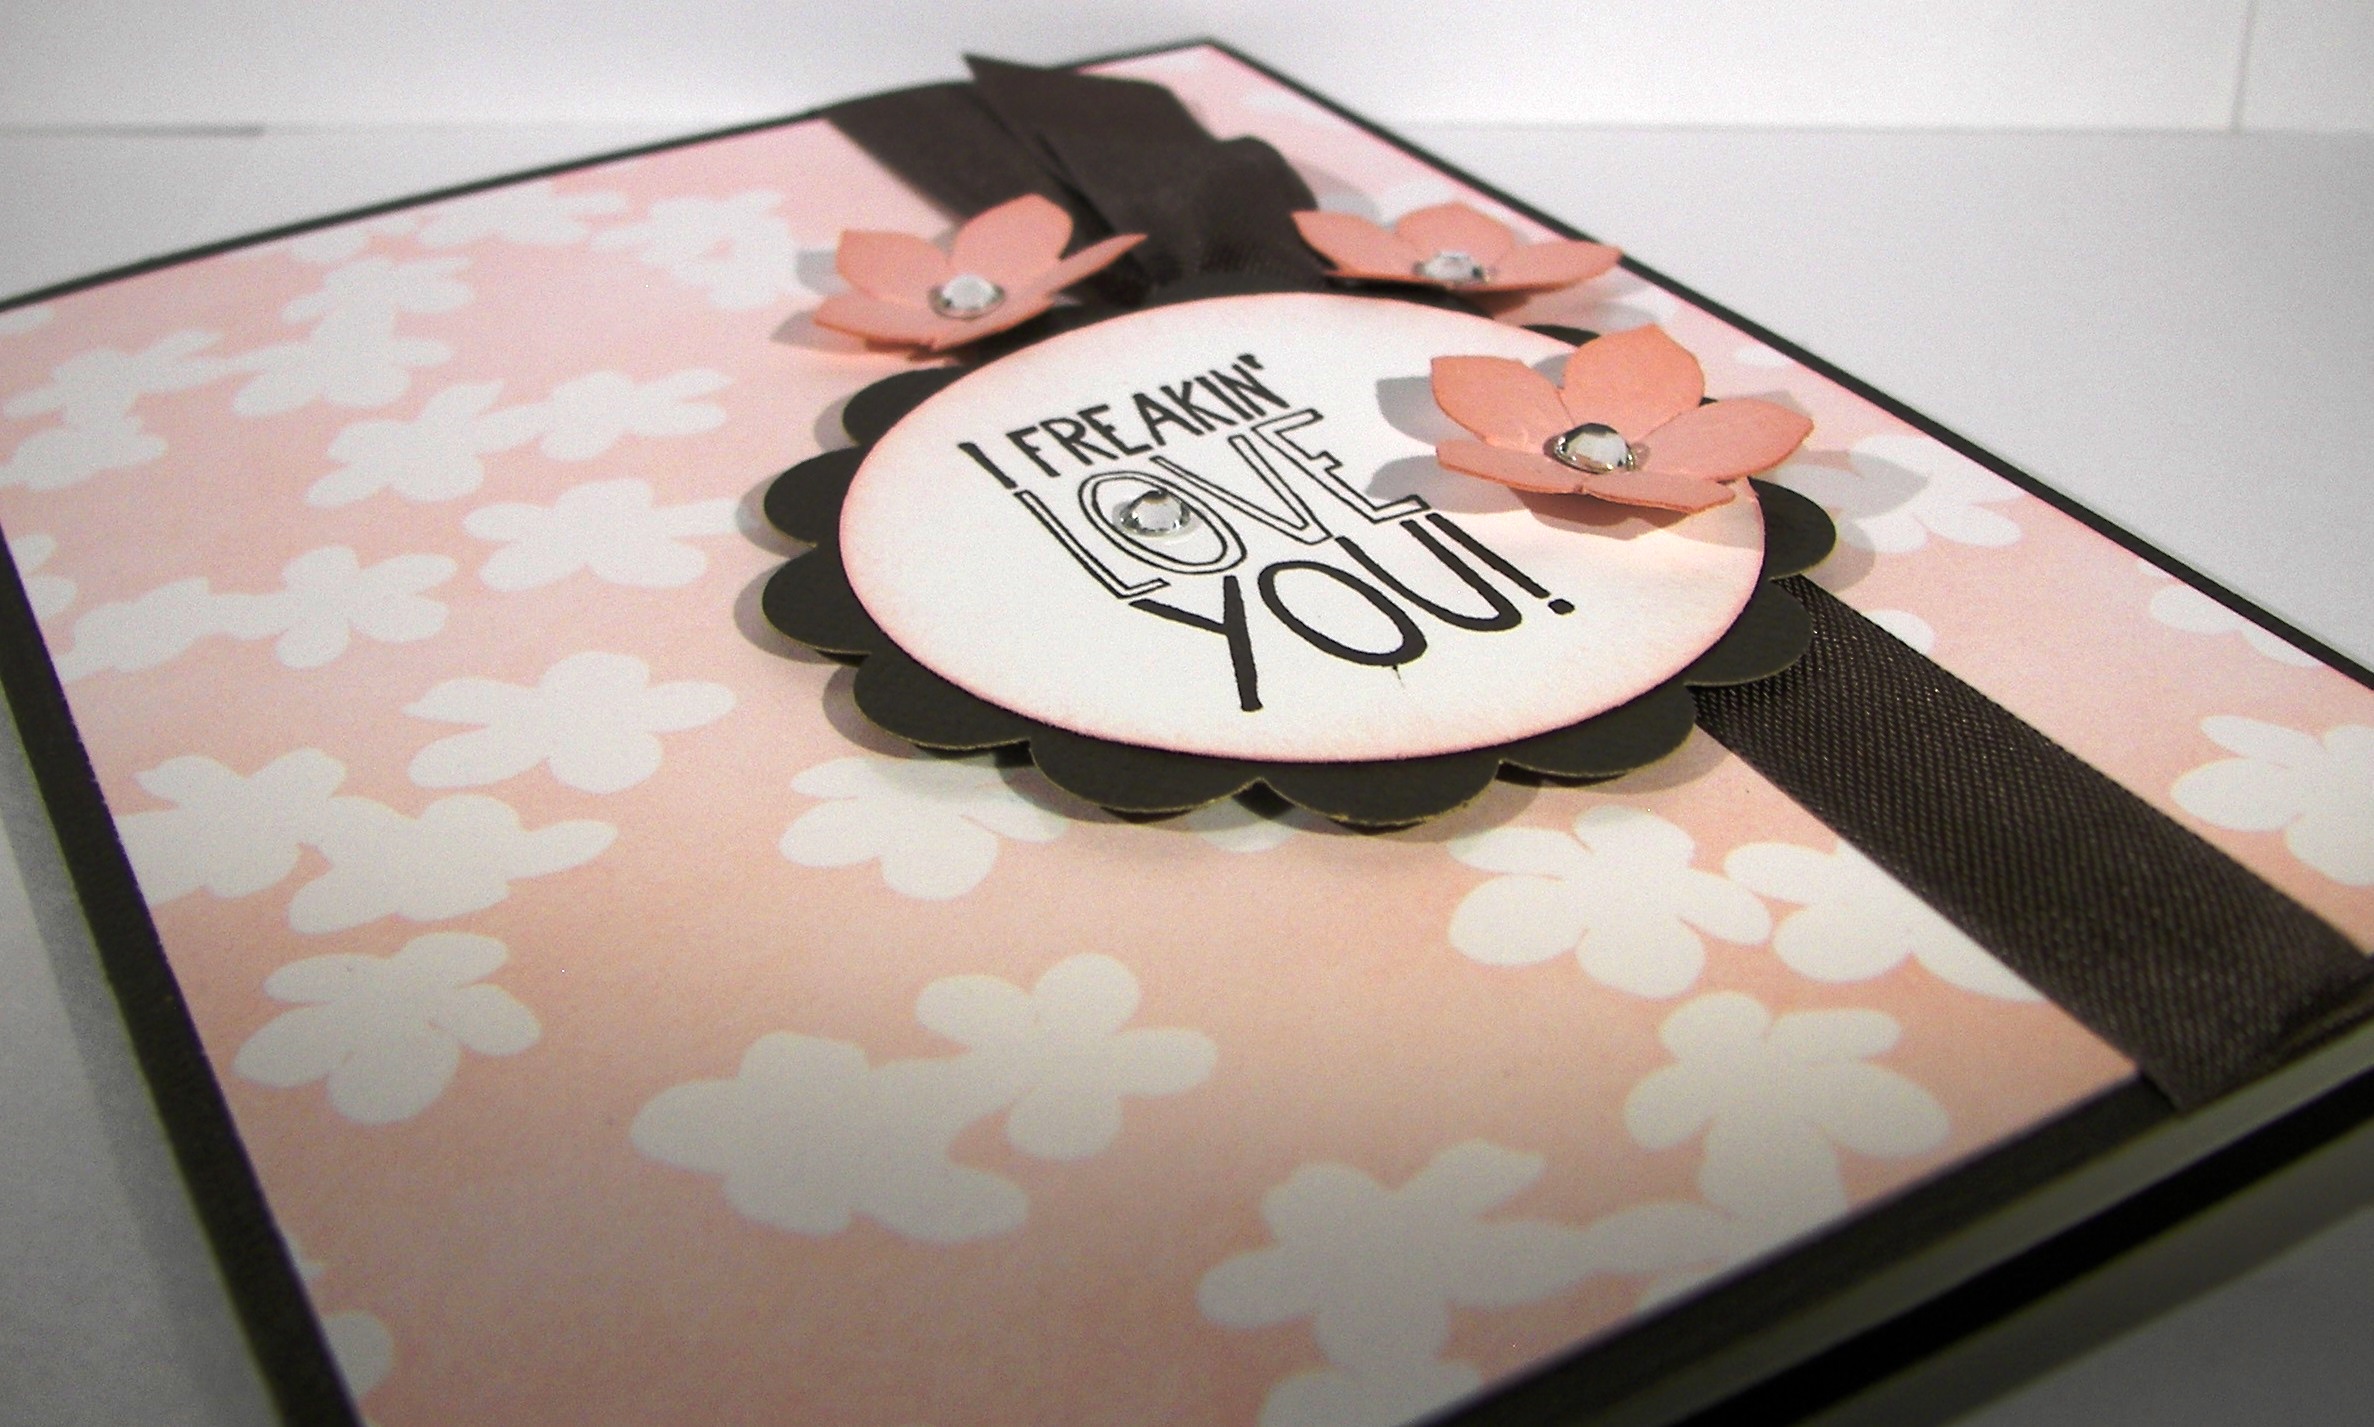
I sometimes stop myself from using flowers, because I feel like I really get them everywhere.  I just love flowers!  So, I didn’t hold back at all here.  I usually stamp off blushing bride, but it needed to be strong to work with this fun green.  The combo is full of life.  I think a yellow would have paired nicely, but I had to stop somewhere.

Cucumber Crush Party

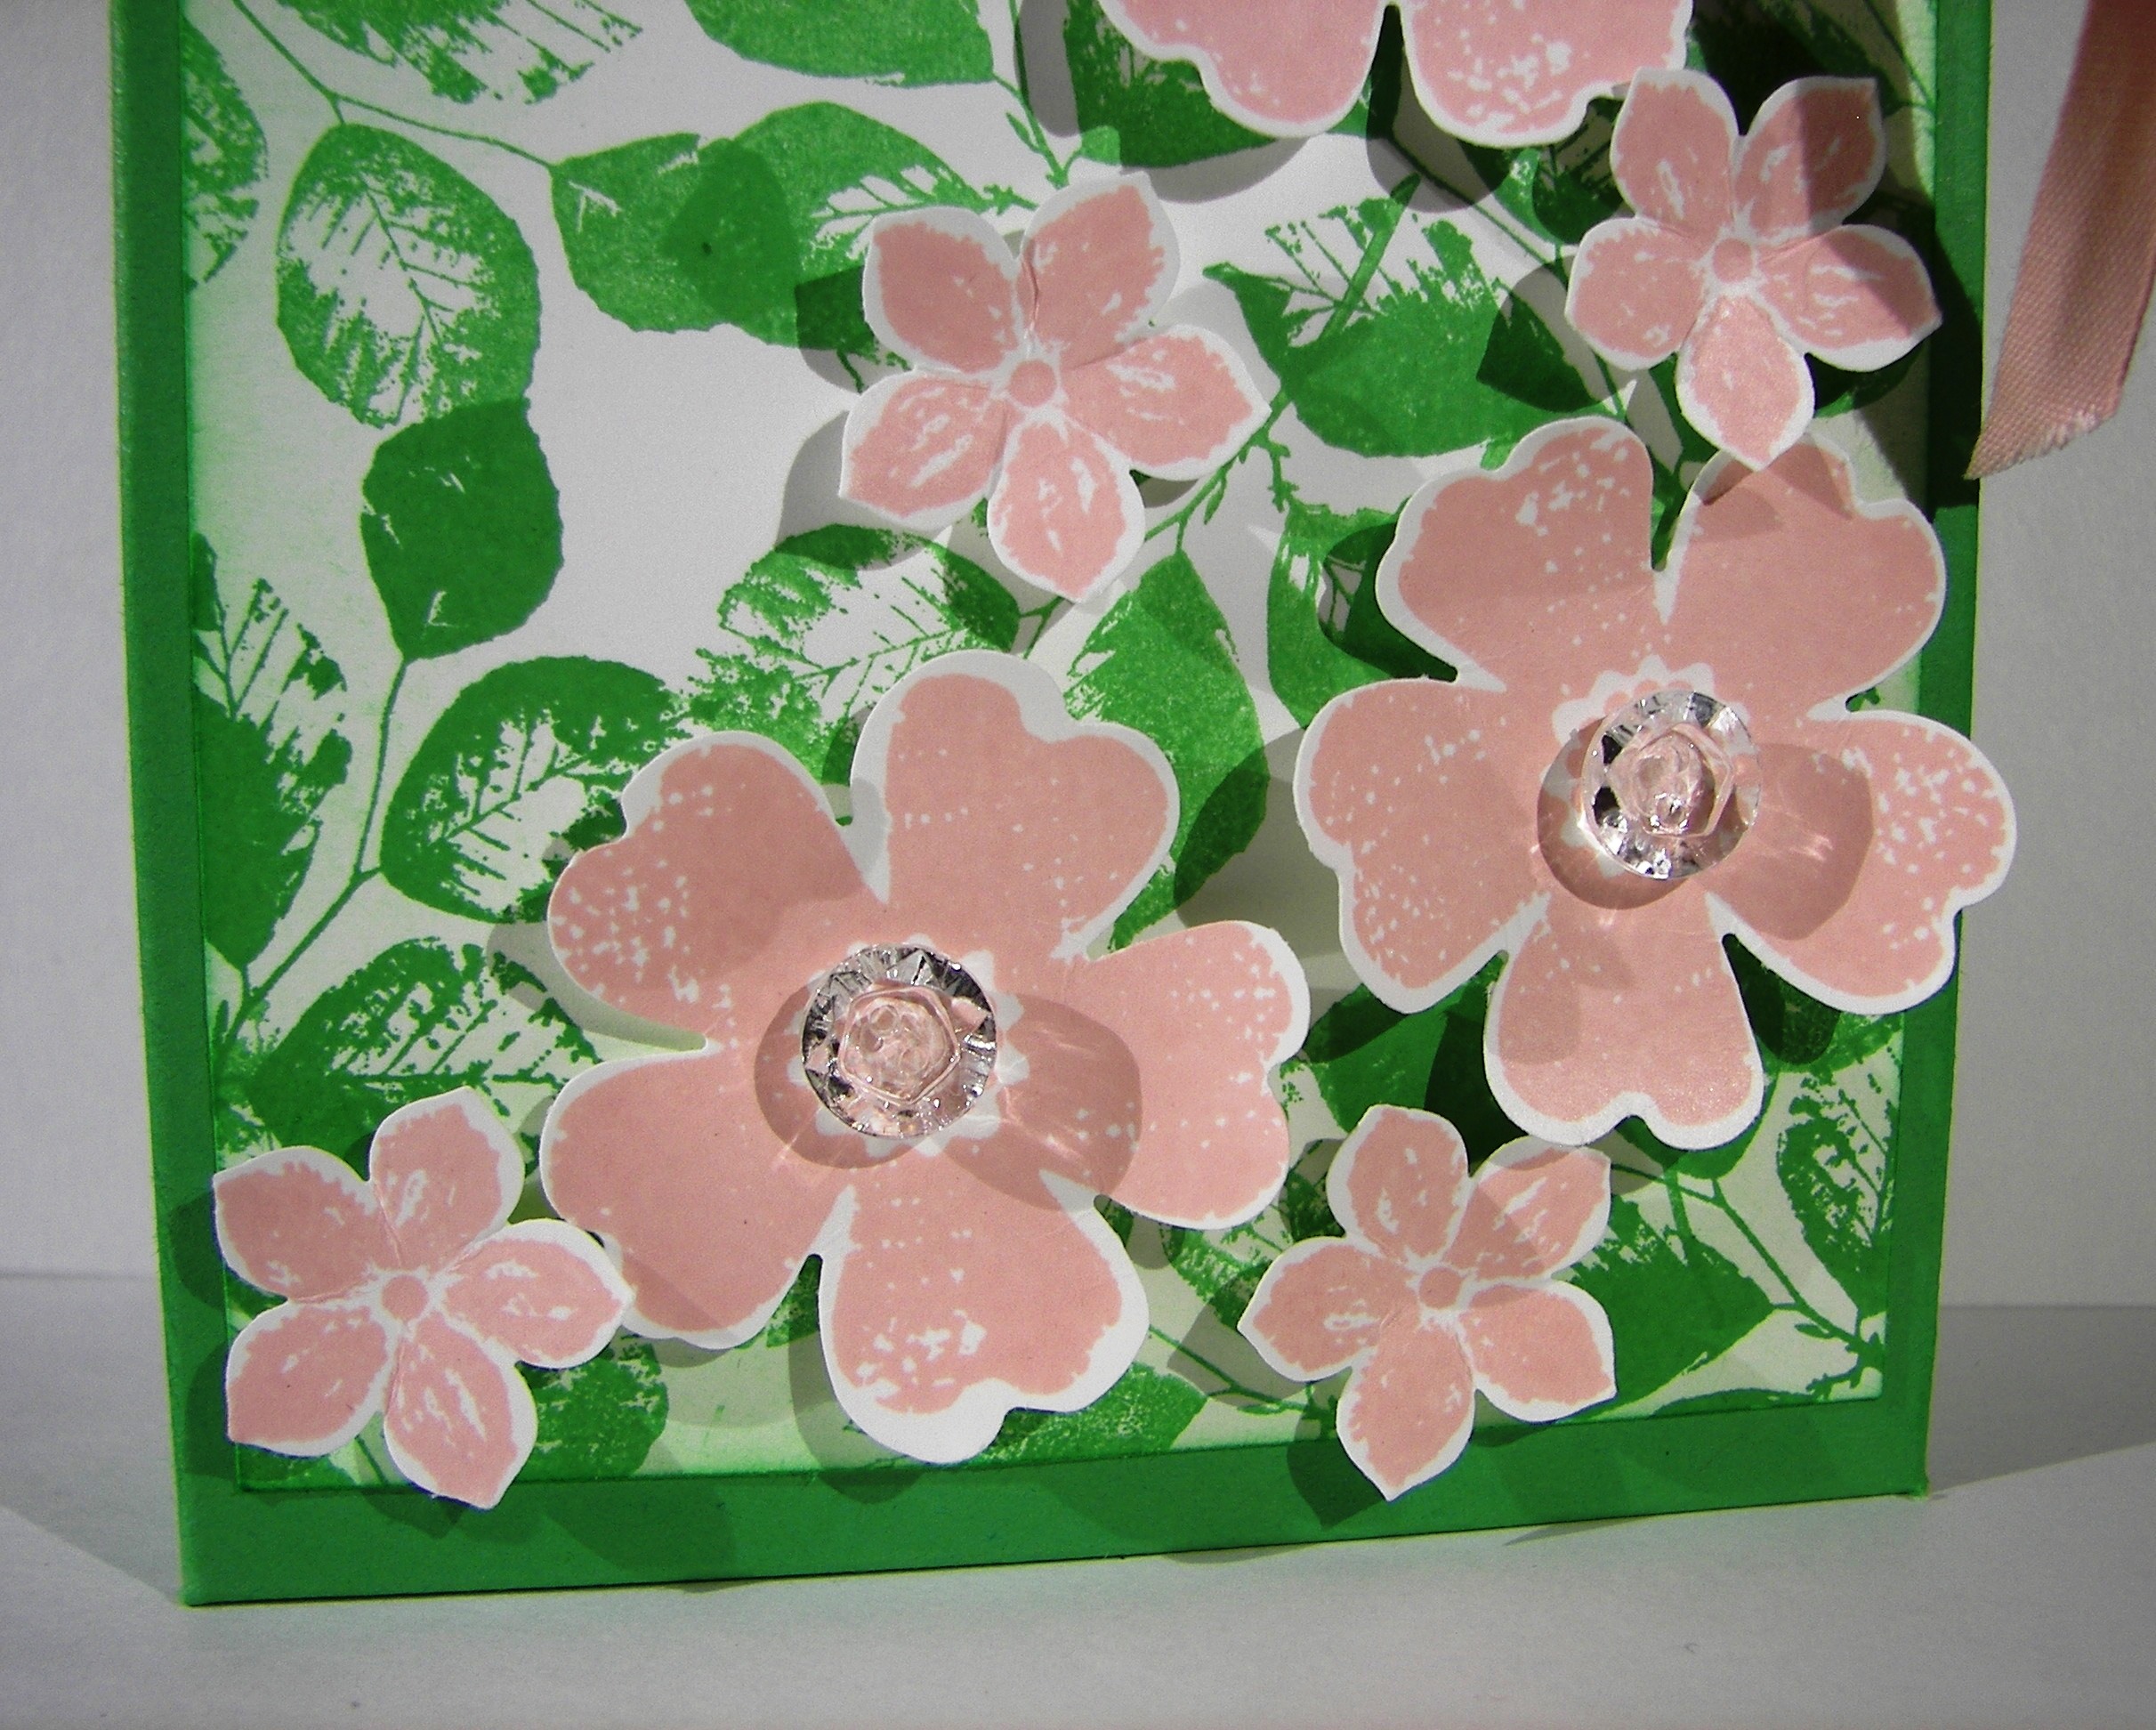
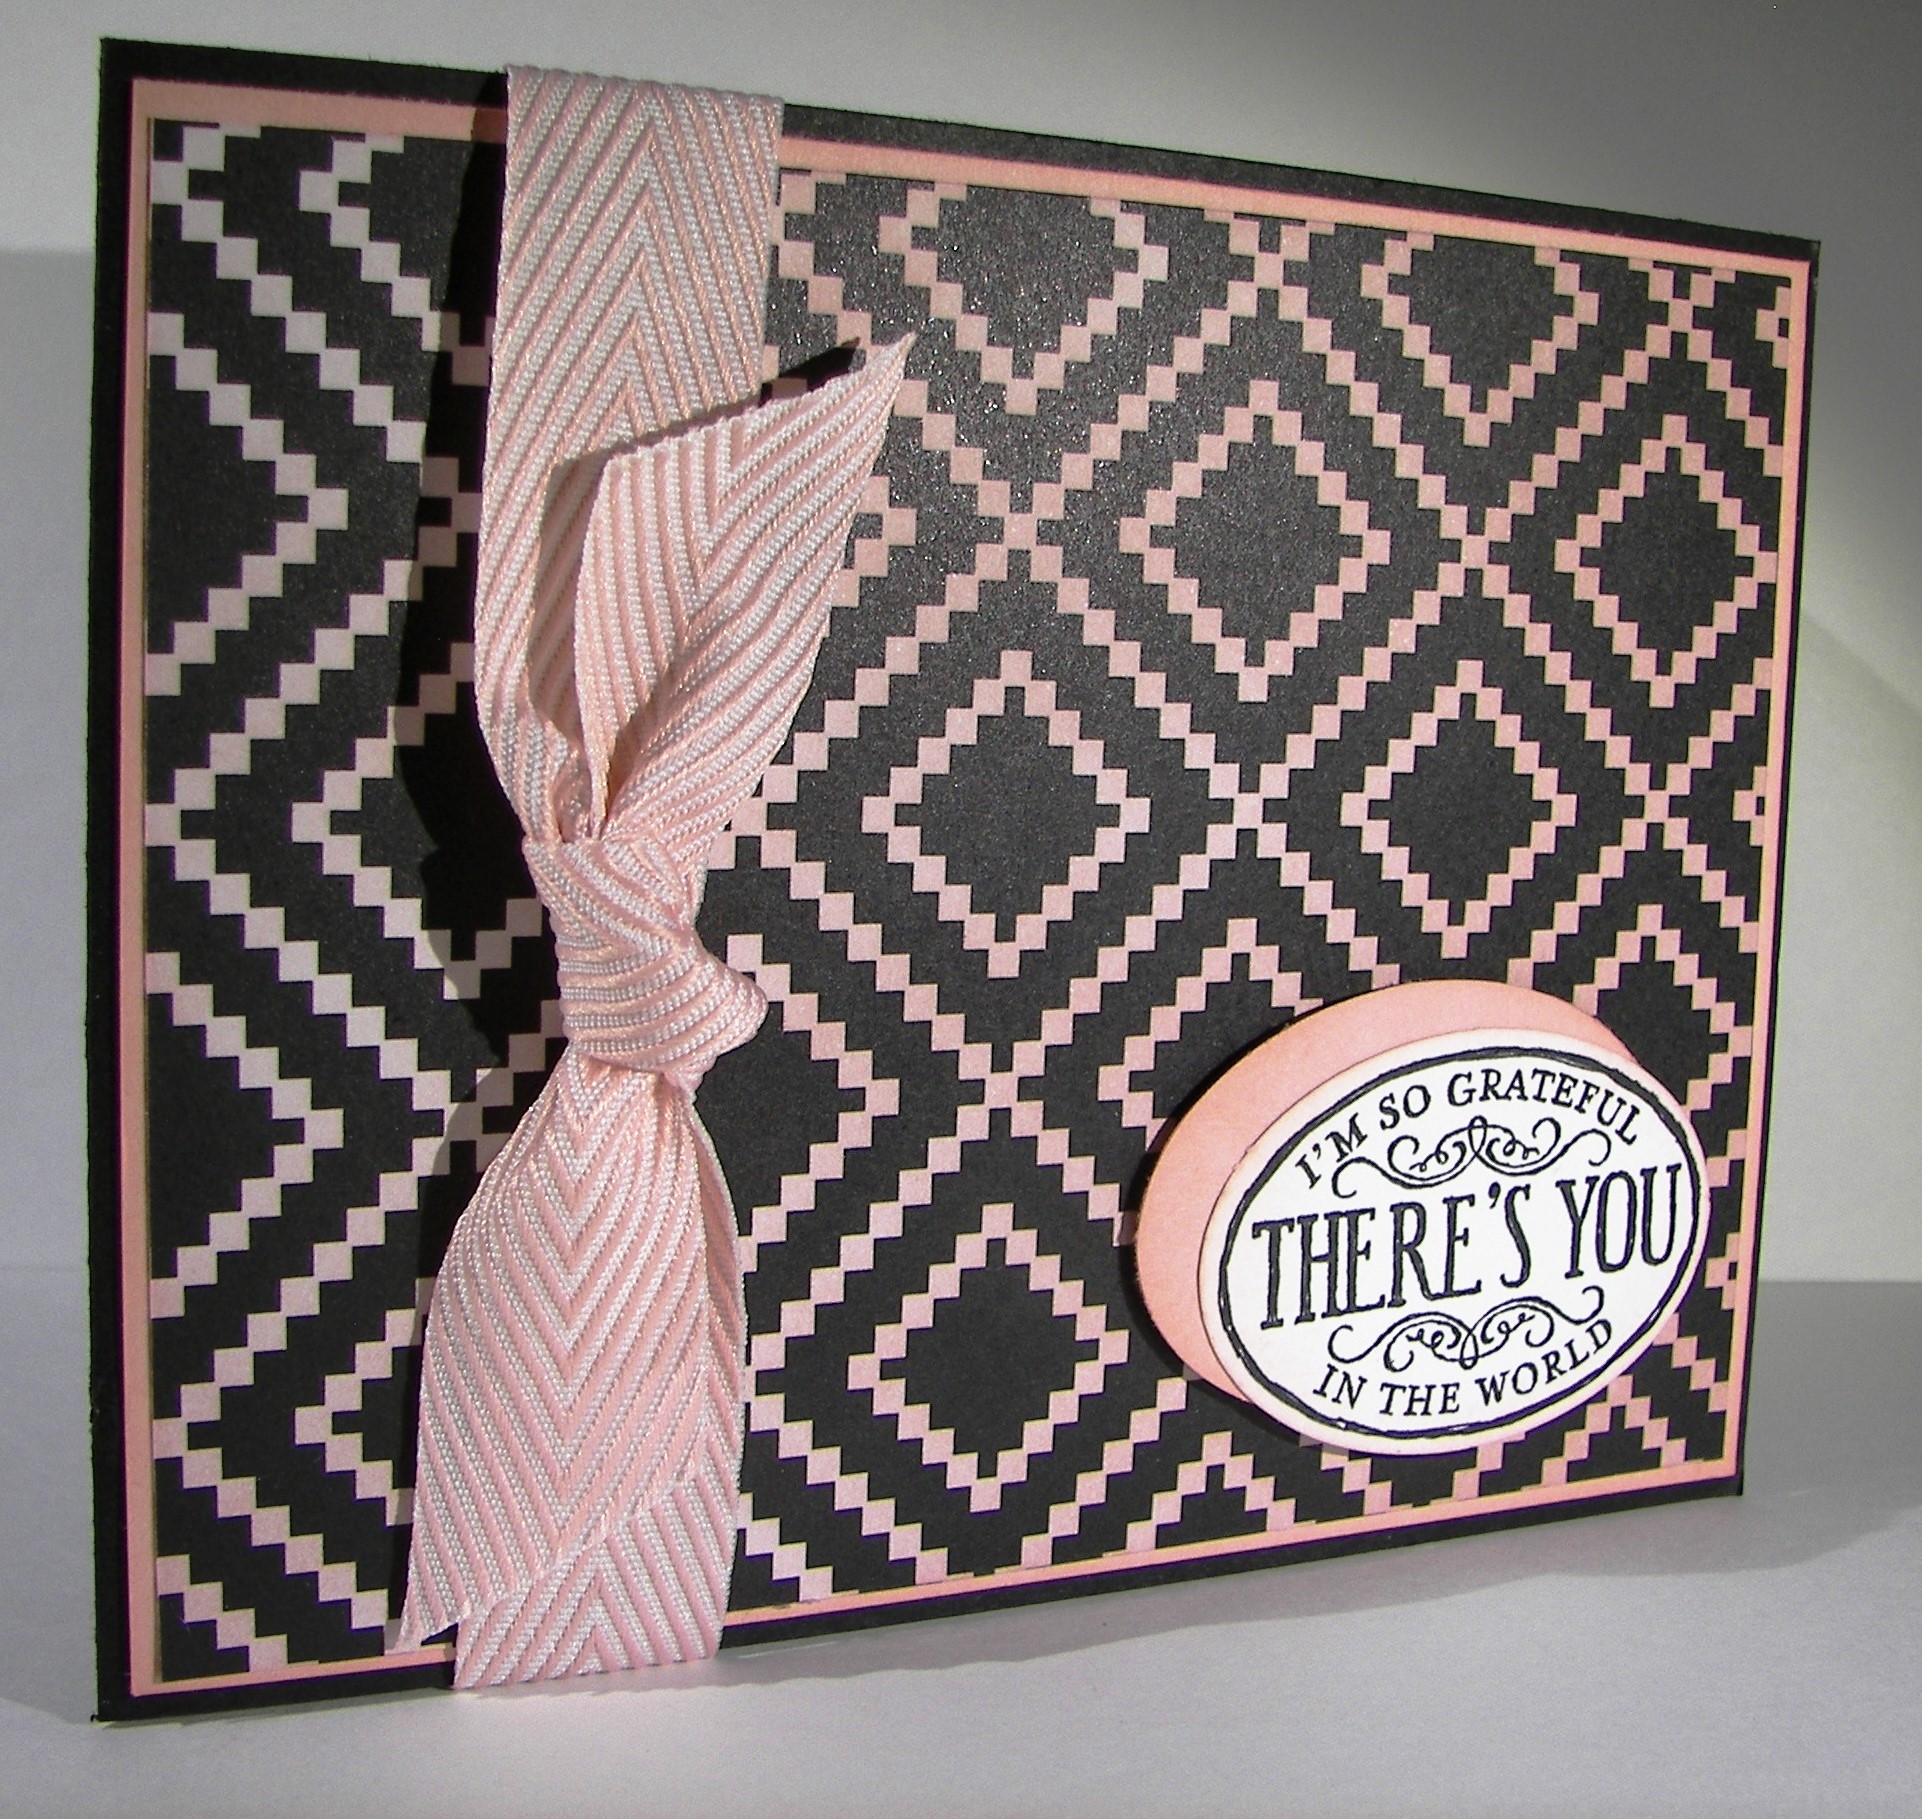
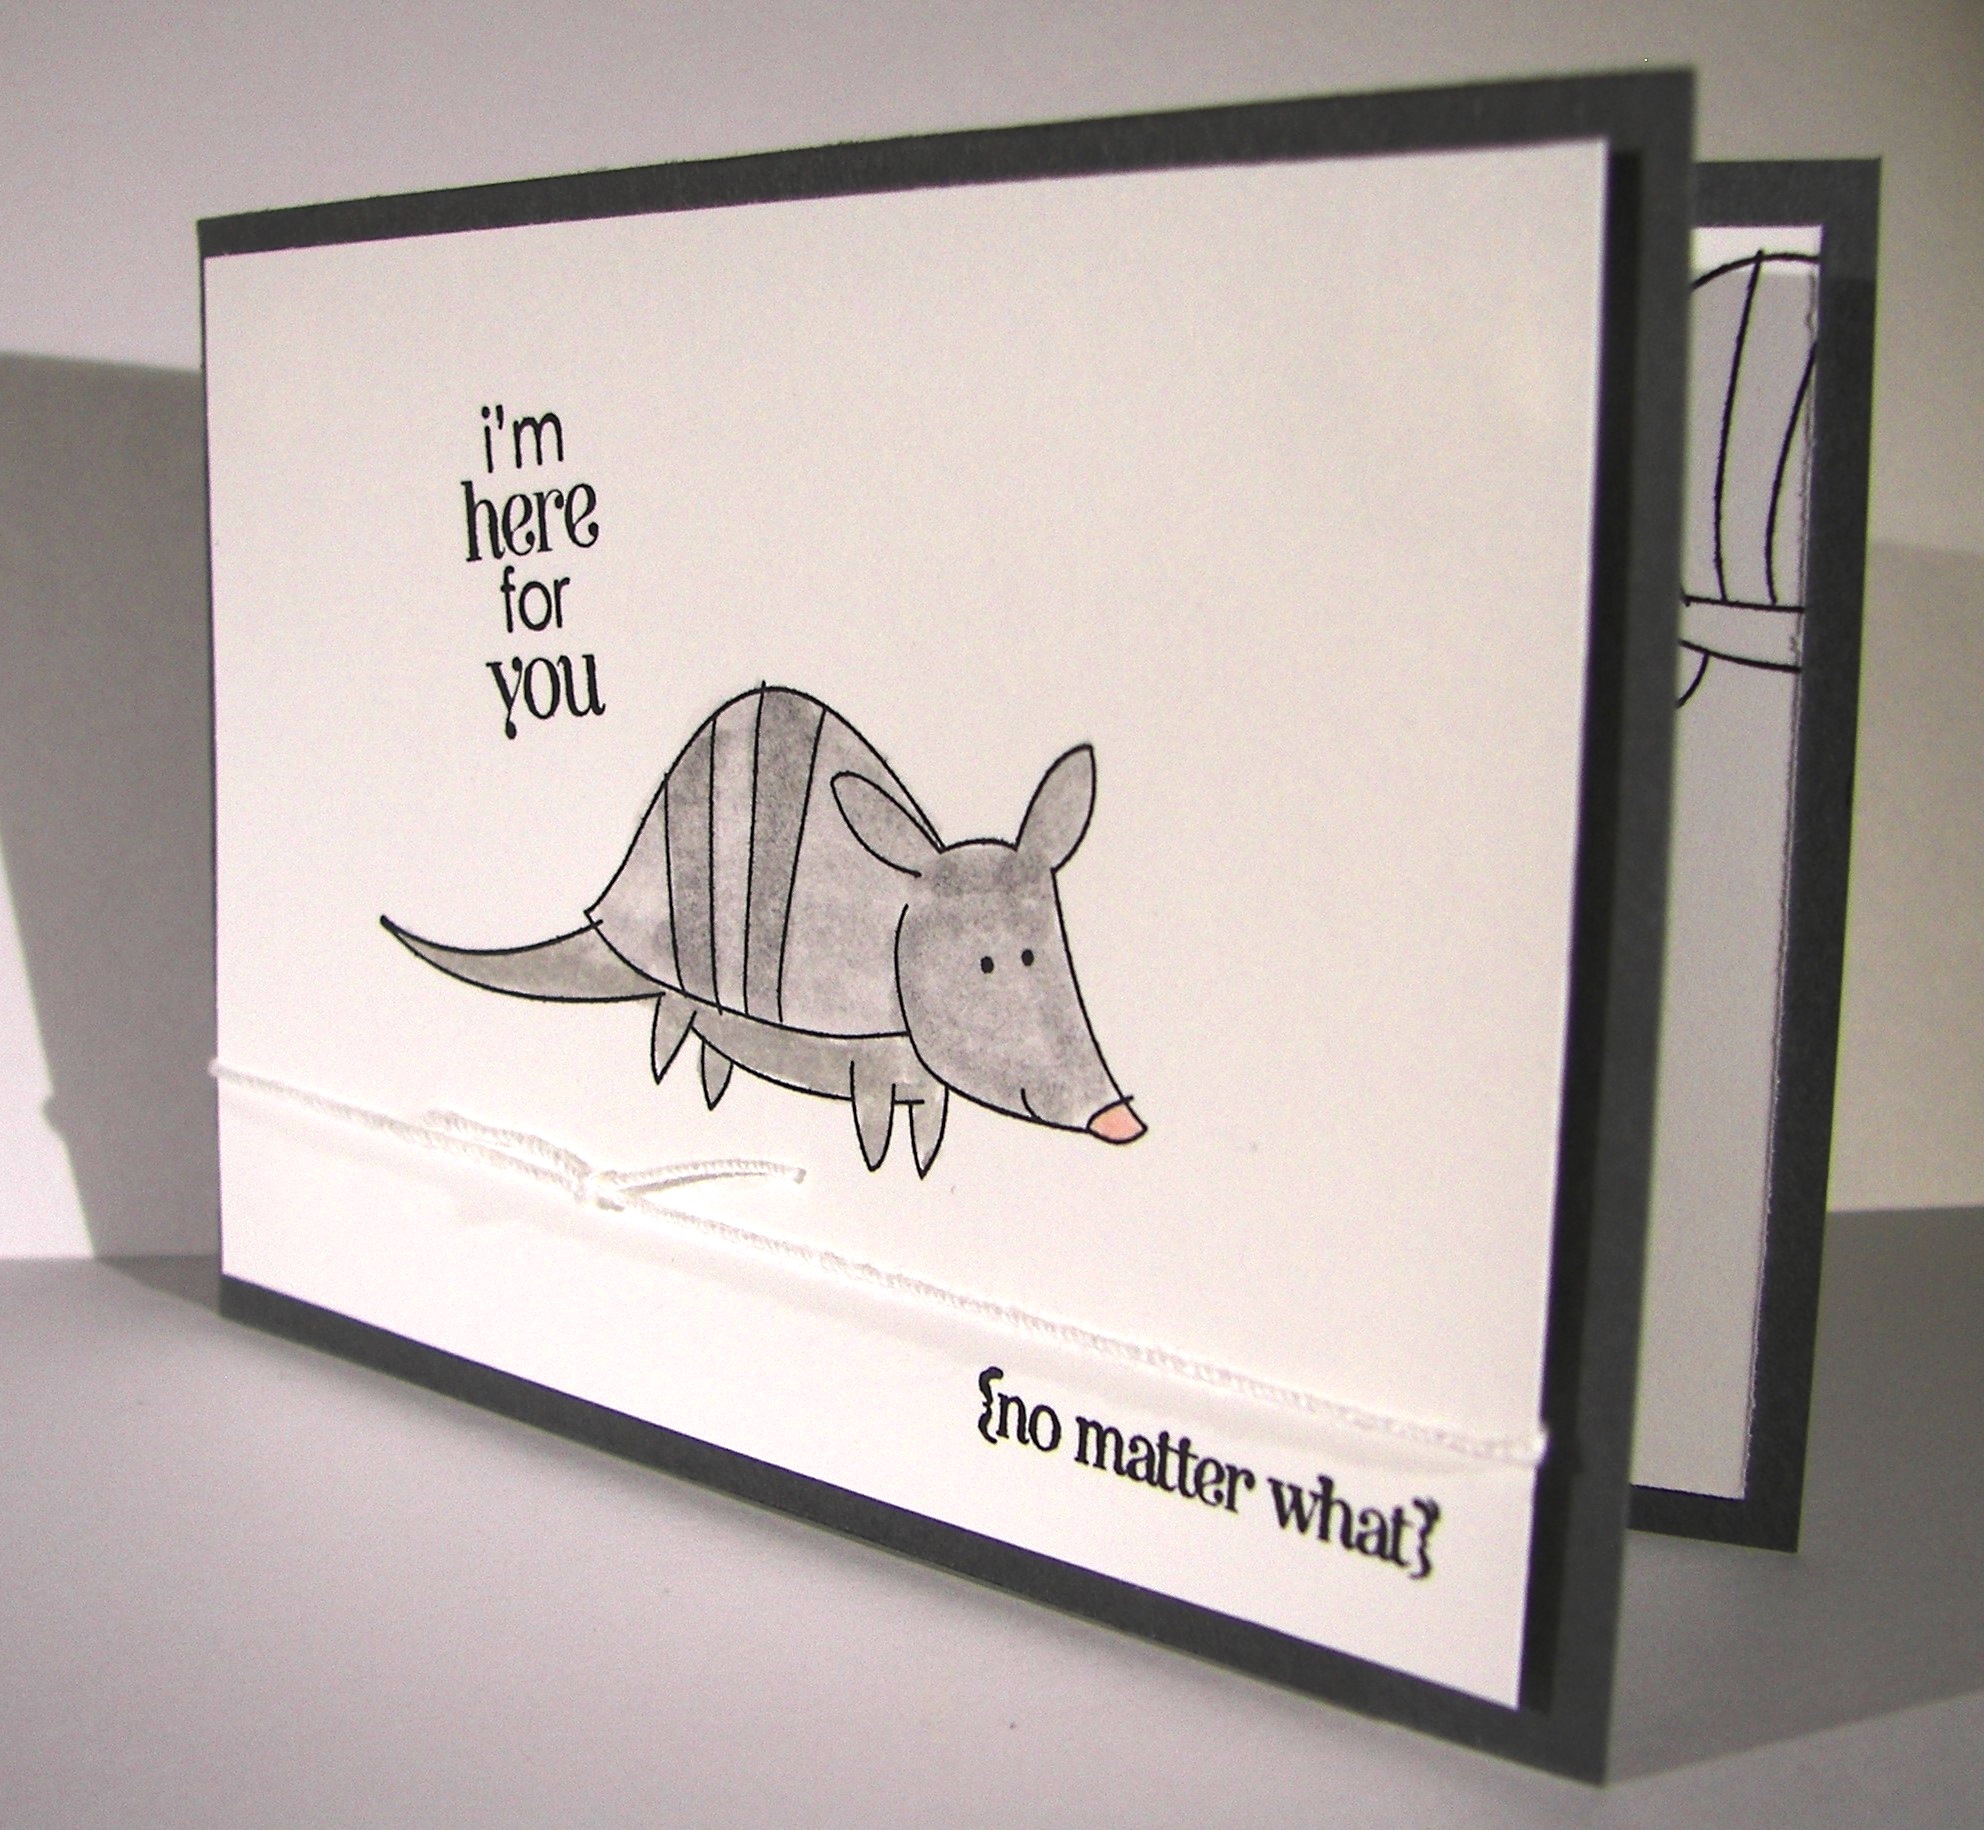
These pretty clear faceted buttons are so fun to use.  It helped me finish up this gift bag nicely.  Sometimes I go overboard on bling, but not today.  I wasn’t sure when I started this project, but I love how it ended up.

Have a creative day!

Moana

Yippee-Skippee in Love!

There are times when how I feel just saturates what I create.  Today’s project set is a perfect example of that.

Yippee-Skippee in Love

Last night I finished a lovely book in a series I had previously enjoyed.  I am a middle school librarian, so I have the perfect excuse to revel in young adult literature.  Who am I kidding, I would read it regardless.  I have always enjoyed reading what my children do and visa versa.

Yippee-Skippee in Love

Love, true love, is an obvious theme here.  Even though the series continues and I have to wait for the next novel, I was left all emotional and girlie and super in love.  Hence, the color choices and such.

Yippee-Skippee in Love

I used a whole sheet of 12 x 12 silver foil velum here.  Two card fronts and a lovely bag.  I poured out the chevron ribbon, because I love it so, and added a few elegant embellishments.  I knew these cards could be for a variety of occasions, so I left the sentiment off the front.  I will stamp the inside with just the right thing when I put them to work.

Yippee-Skippee in Love

I might have to fill the bag with truffles or something lovely and give it to my husband.  That sounds just right.

Have a creative day!

Moana

Swallowtail Watercolor

The only thing I could think about was getting out my Swallowtail stamp.  I love this huge guy.  I had visions of a muted but colorful butterfly on watercolor paper.  Well, it took a few tries before I didn’t hate what I was doing.  Sometimes my vision and my technique process don’t connect.  Then something new comes up.

Swallowtail Watercolor

I took a piece of watercolor paper and spritzed it heavily with water.  I then applied drops of ink randomly, focusing on one color at a time.  I used my spritzer to dilute the ink drops further and helped them spread out more.  I ended up with four colors.  I put my heat gun to it until it was nice and dry.

Swallowtail Watercolor

I really had my heart on using black stazon for the butterfly, but that just wasn’t looking right.  I switched it up and stamped it in wisteria wonder.  That gave the perfect look.  I think because the ink is water based and could be loaded up heavier gave a better impression on this type of paper.  Not sure exactly, but it sounds good.

Of course I had to make a little bag.  The need to make matching sets is so strong sometimes.  When you see a card or a bag on this blog by themselves, you know I had to tell myself to just walk away.  This time, it had to be done.

Swallowtail Watercolor

I actually love it so much, I can see myself making a large set of these for a gift for someone.  They are truly all occasion, not a sentiment to be found.  That also took great self control.  Not to mention how badly I wanted to add basic pearls.

Swallowtail Watercolor

I have gone on and on, but I wanted to give more detail today.  You should really give this one a try.  It is so liberating and actually, quite simple.

Have a creative day!

Moana

Stacked With Love

Today is all about the paper.  The stacked with love dsp set is often overlooked in my stash.  One side is Valentine’s Day, and awesome at that.  The other is all of these really cool black and white themed prints. So functional.

Stacked With Love

However, I like to soften the look with sponging ink all around.  I did an ombre effect across the diamond pattern.  It is heaviest at the right where I placed the sentiment.  I so love when a stamp has a coordinating punch.  Just yummy.

Stacked With Love

I hadn’t known what to do with this pattern.  It stumped me.  When I put the Just Kidding sentiments to work, I wish I had tons of this sheet.  There is four of each pattern in the stack, but not enough.  I love this card.  Luckily I have an embossing folder with a similar image.  It is retiring, but I have mine.  So exciting!

Stacked With Love

I also like how I sponged around the image to draw additional attention to it.  A simple but effective technique.

Have a creative day!

Moana

Park Lane Duo

I started this set yesterday morning, got stumped, fussed last night, and finally fixed it this morning.  I kept trying to put the yellow butterfly on the card front.  Yes, the one I inlaid back into the gift bag I cut it from.  Strange how things come together better when you give your creativity a break to refocus.

Park Lane Duo

I colored the paper with my ink sponges.  I didn’t want a lot of exact color, just subtle hints.  So I just used the sponges with leftover ink already on them.  It did the job just right.  Of course my photos make it hard to see, but I love the effect.

Park Lane Duo

When you use delicate die cuts it helps tremendously to sandwich wax paper in between the layers.  The paper just pops out then.  I decided to use the wax paper ones as well.  I didn’t want to cover up the coloring and the yellow butterfly just took over.

Park Lane Duo

After I swapped things around I fell in love.  I attached my wax paper butterflies with some folded glue dots and then ran a string of basic pearls down the body.  It gave such a delicate finish.

Park Lane Duo

One quick stamp from the Sheltering Tree set and the card was done.  No ribbon, no other extras, just some light color and transparent butterflies.  Since they are so thin, the move when the card does.  Beautiful.

Get out there and have a creative day!

Moana

Little Buddy Birthday and Petite Pairs Retirement Party

Well, after yesterday’s absolute shenanigans, I really wanted to keep it simple.  I think things went well enough.  These are two stamp sets that I will really miss, not to mention basic gray.

Little Buddy Birthday and Petite Pair

It is hard to tell in this photo, but I did stamp that adorable armadillo all over this basic gray paper.  The little lines of the stamp almost disappear, but not quite.  Perfect for a treat or a little gift card.

Little Buddy Birthday and Petite Pairs

I painted this adorable little guy with me aqua painter using basic gray, smokey slate, and a touch of blushing bride for his nose.  Really, how adorable.

Little Buddy Birthday and Petite Pair

I used one sheet of card stock for this trip.  I cut the paper to measure 5 x 8.5, just under  a half sheet, to make the little bag.  Then I took the 6 x 8.5 portion, turned it on its side and cut it in half so the two card bases measured 3 x 8.5 and then scored at 4 1/4.   The card fronts and inserts measure 4 x 2 3/4.

There, I even gave some measurements, I am trying to improve what I share.  One day at a time!

Have a creative day!

Moana

Flowering Flourishes with French?

Saturday is usually my day to go all out with some totally extravagant project.  But today is workshop, so making sure I have everything just right takes priority.  I couldn’t not do something though.

Flowering Flourishes with French

Clean and simple cards may not be my strength, but I totally nailed this one!  I started out with the idea of stamping my background paper.  After the first two stamps up one side I fell in love.  I added one little flower in the top corner and stopped.  Such an interesting feeling.

Flowering Flourishes with French

I knew I needed a tiny sentiment, so I went on the prowl.  I came across a retired hostess set called Good Greetings.  I had earned a couple of free sets and put the wrong code in for one of them.  That was the french set.  But I couldn’t bring myself to exchange it.  And doesn’t it fit perfectly?  You know it does.

Flowering Flourishes with French

How did I choose these colors?  Well, I recently made an order to take advantage of that no shipping sale and stocked up on paper.  The heavy stuff for sure.  I added a few spools of cotton ribbon.  You guessed it.  Whisper white, blushing bride and island indigo.  There they sat it the box just telling me to do it.  Done.

Have a creative day!

Moana

Hello There Vivid Vases

Good Morning!  Saturdays are busy, so I don’t always get to post first thing.  But it is still technically morning, so it counts.  And what a lovely morning it has been.

Hello There Vivid Vases

I had an itching to water color.  The vivid vases stamp is simple, but gives a lot of opportunity to play.  And play I did.  I actually had out seven different inks if you can image it.  I love color!  Especially when it is subtle like in this project.

Hello There Vivid Vases

I just got my colors out and an aqua painter.  Enough said.  I stamped my image in stazon on water color paper and then got painting.  I used soft sky as my main color because it was the color of the water in my vases.  It turned out so lovely.

Hello There Vivid Vases

I had some extra paper from the sheet I cut into, so I turned it into a matching sour cream treat container.  Just right for sure.

Hello There Vivid Vases

I also got to showcase the lovely lace embossing folder.  Isn’t it so beautiful?  I finished off both projects with coordinating seam binding ribbon.  I love that stuff.  I think I actually have all of the colors.  That is unusual for me, I am more selective than that.

Have a super creative day!

Moana

Yippee-Skippee! for Sale-a-bration!

Today is the last day of Sale-a-bration.  So sad, but happy because of all of the beautiful and fun products I have been able to enjoy.  I thought I would celebrate by giving myself a gift.

Yippee-Skippee! for Sale-a-bration

I started out with this gift bag in mind.  I took a whole sheet of Irresistibly Yours DSP and sponged it like crazy with blushing bride.  It was so beautiful just sitting there on my desk.  When I cut the large pieces I needed for the bag I had a good portion left.

Yippee-Skippee! for Sale-a-bration

So, of course I had to make a set of cards to go along.  The Yippee-Skipee! stamp set is chuck full of wonderful sayings, six all together.  A great set to have, really.  I have used it like crazy.

Yippee-Skippee! for Sale-a-bration

All I knew when I sat down is the color scheme and the designer paper.  I was more than pleased when they all came together.  The cards all fit so nicely inside the gift bag.

Yippee-Skippee! for Sale-a-bration

My Denali said that set spoke of lovely rich chocolate.  So perhaps I will have to find just the right one to complete it.  I really love this set.  I love that I do this!

Have a creative day!

Moana

Wildflower Meadow Watercolor

How about waking up to a ray of sunshine?  This feels like a spring sunrise.  The kind you wish you could get lost in, or just put on pause so you can stay there.

Wildflower Meadow

I was sulking over my blendabilities tragedy and wanted to play with color.  So I pulled out some watercolor paper and decided to make a mess.  I picked my colors, mushed some ink from my pads onto wax paper, sprayed them with water and started putting my paper on it to make patterns.  Those colors were too dark, so I switched to the ones you see.  Soft sky, daffodil delight and blushing bride.  I repeated the process and the colors were just right.  I dried it with my heat gun because I have no patience, sheesh…

Wildflower Meadow

I then stamped the wildflower meadow stamp in black stazon and went for it.  I love the texture that shows through the ink.  I finished it off with a tiny stamp from the Tap Tap Tap set to just say “hi”.  I used the tiny oval to punch it out, inked it and backed it with another oval punched in daffodil delight.

Wildflower Meadow

A healthy smattering of basic pearls and a big hug in seam binding ribbon and this guy was ready.  I raised it up on dimensionals and called it done.  Kind of simple, but has lots of interest at the same time.  Give it a try!

Have a creative day!

Moana

Sheltering Tree

Spring is in the air and blossoms are all over my fruit trees.  I thought I would try to re-create that with my maiden voyage of this beautiful stamp set.  It worked.

Sheltering Tree

I tried  to add more interest with white stazon flowers in the trees, but my color pallet was too light and they were kind of lost.  Seeing them in person makes it easier that through a photo.  I thought I could color with some blendabilities over the stazon parts, but decided against it.

Sheltering Tree

The card base is wild wasabi with whisper white and blushing bride layers.  To keep the boarders nice and tidy I adhered them with tombo multipurpose glue so I could wiggle them in just the right place.  I love the skinny boarders, but they can be a bit tricky.

Sheltering Tree

It needed some kind of embellishment, but it had to be subtle.  The linen thread became the perfect choice and finished it off perfectly.

Sheltering Tree

Now, with these cards looking so happy and ready to go, I wish I had a bunch more to send to all my dear friends.

Have a creative day!

Moana