You’re So Fancy

Did I take a day off yesterday?  Well, yes I did.  My daughter and I had a serious movie fest to take care of, and it was fantastic.  My baby is almost 16 and I need to make the most of these fun times together.  Besides, who doesn’t love a Lord of the Rings Fest? (We already had started with a Hobbit Fest earlier on… tee hee!)

8-11

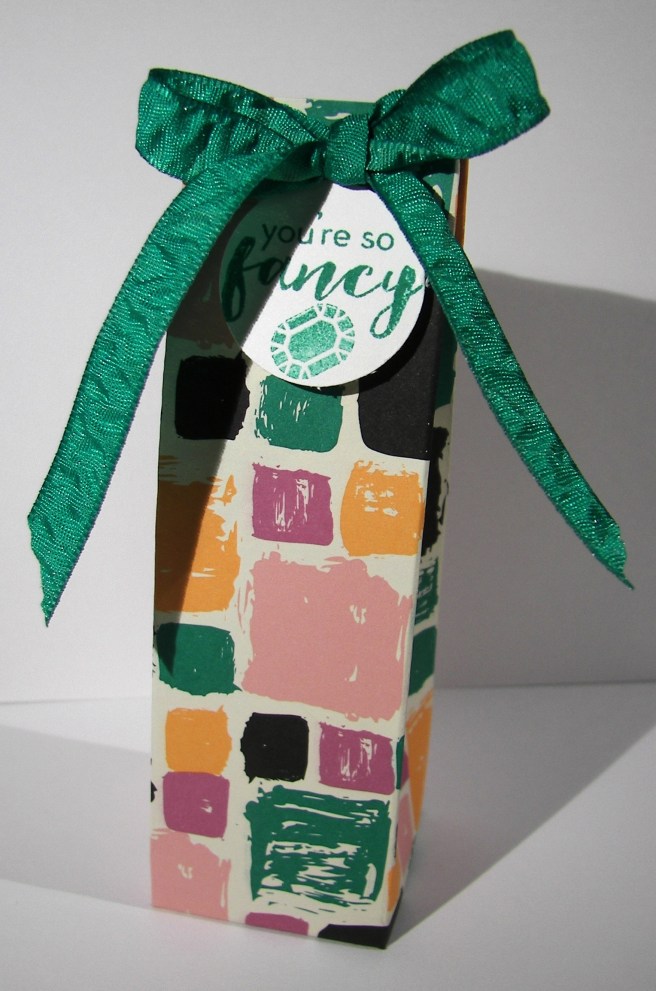
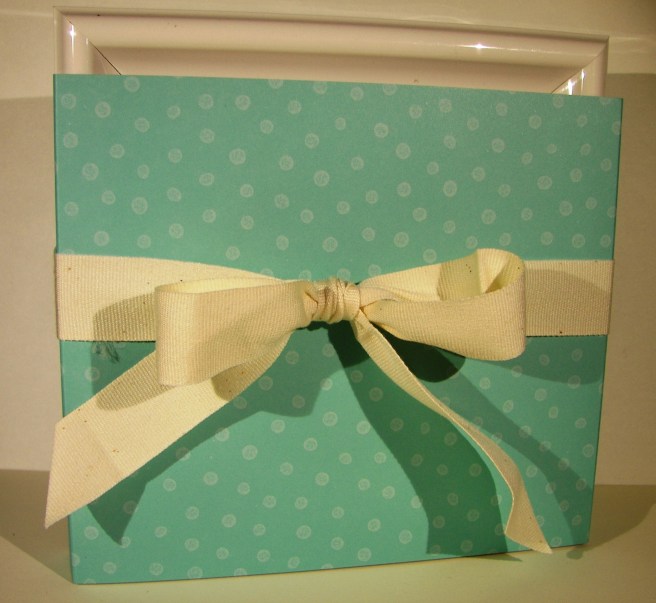
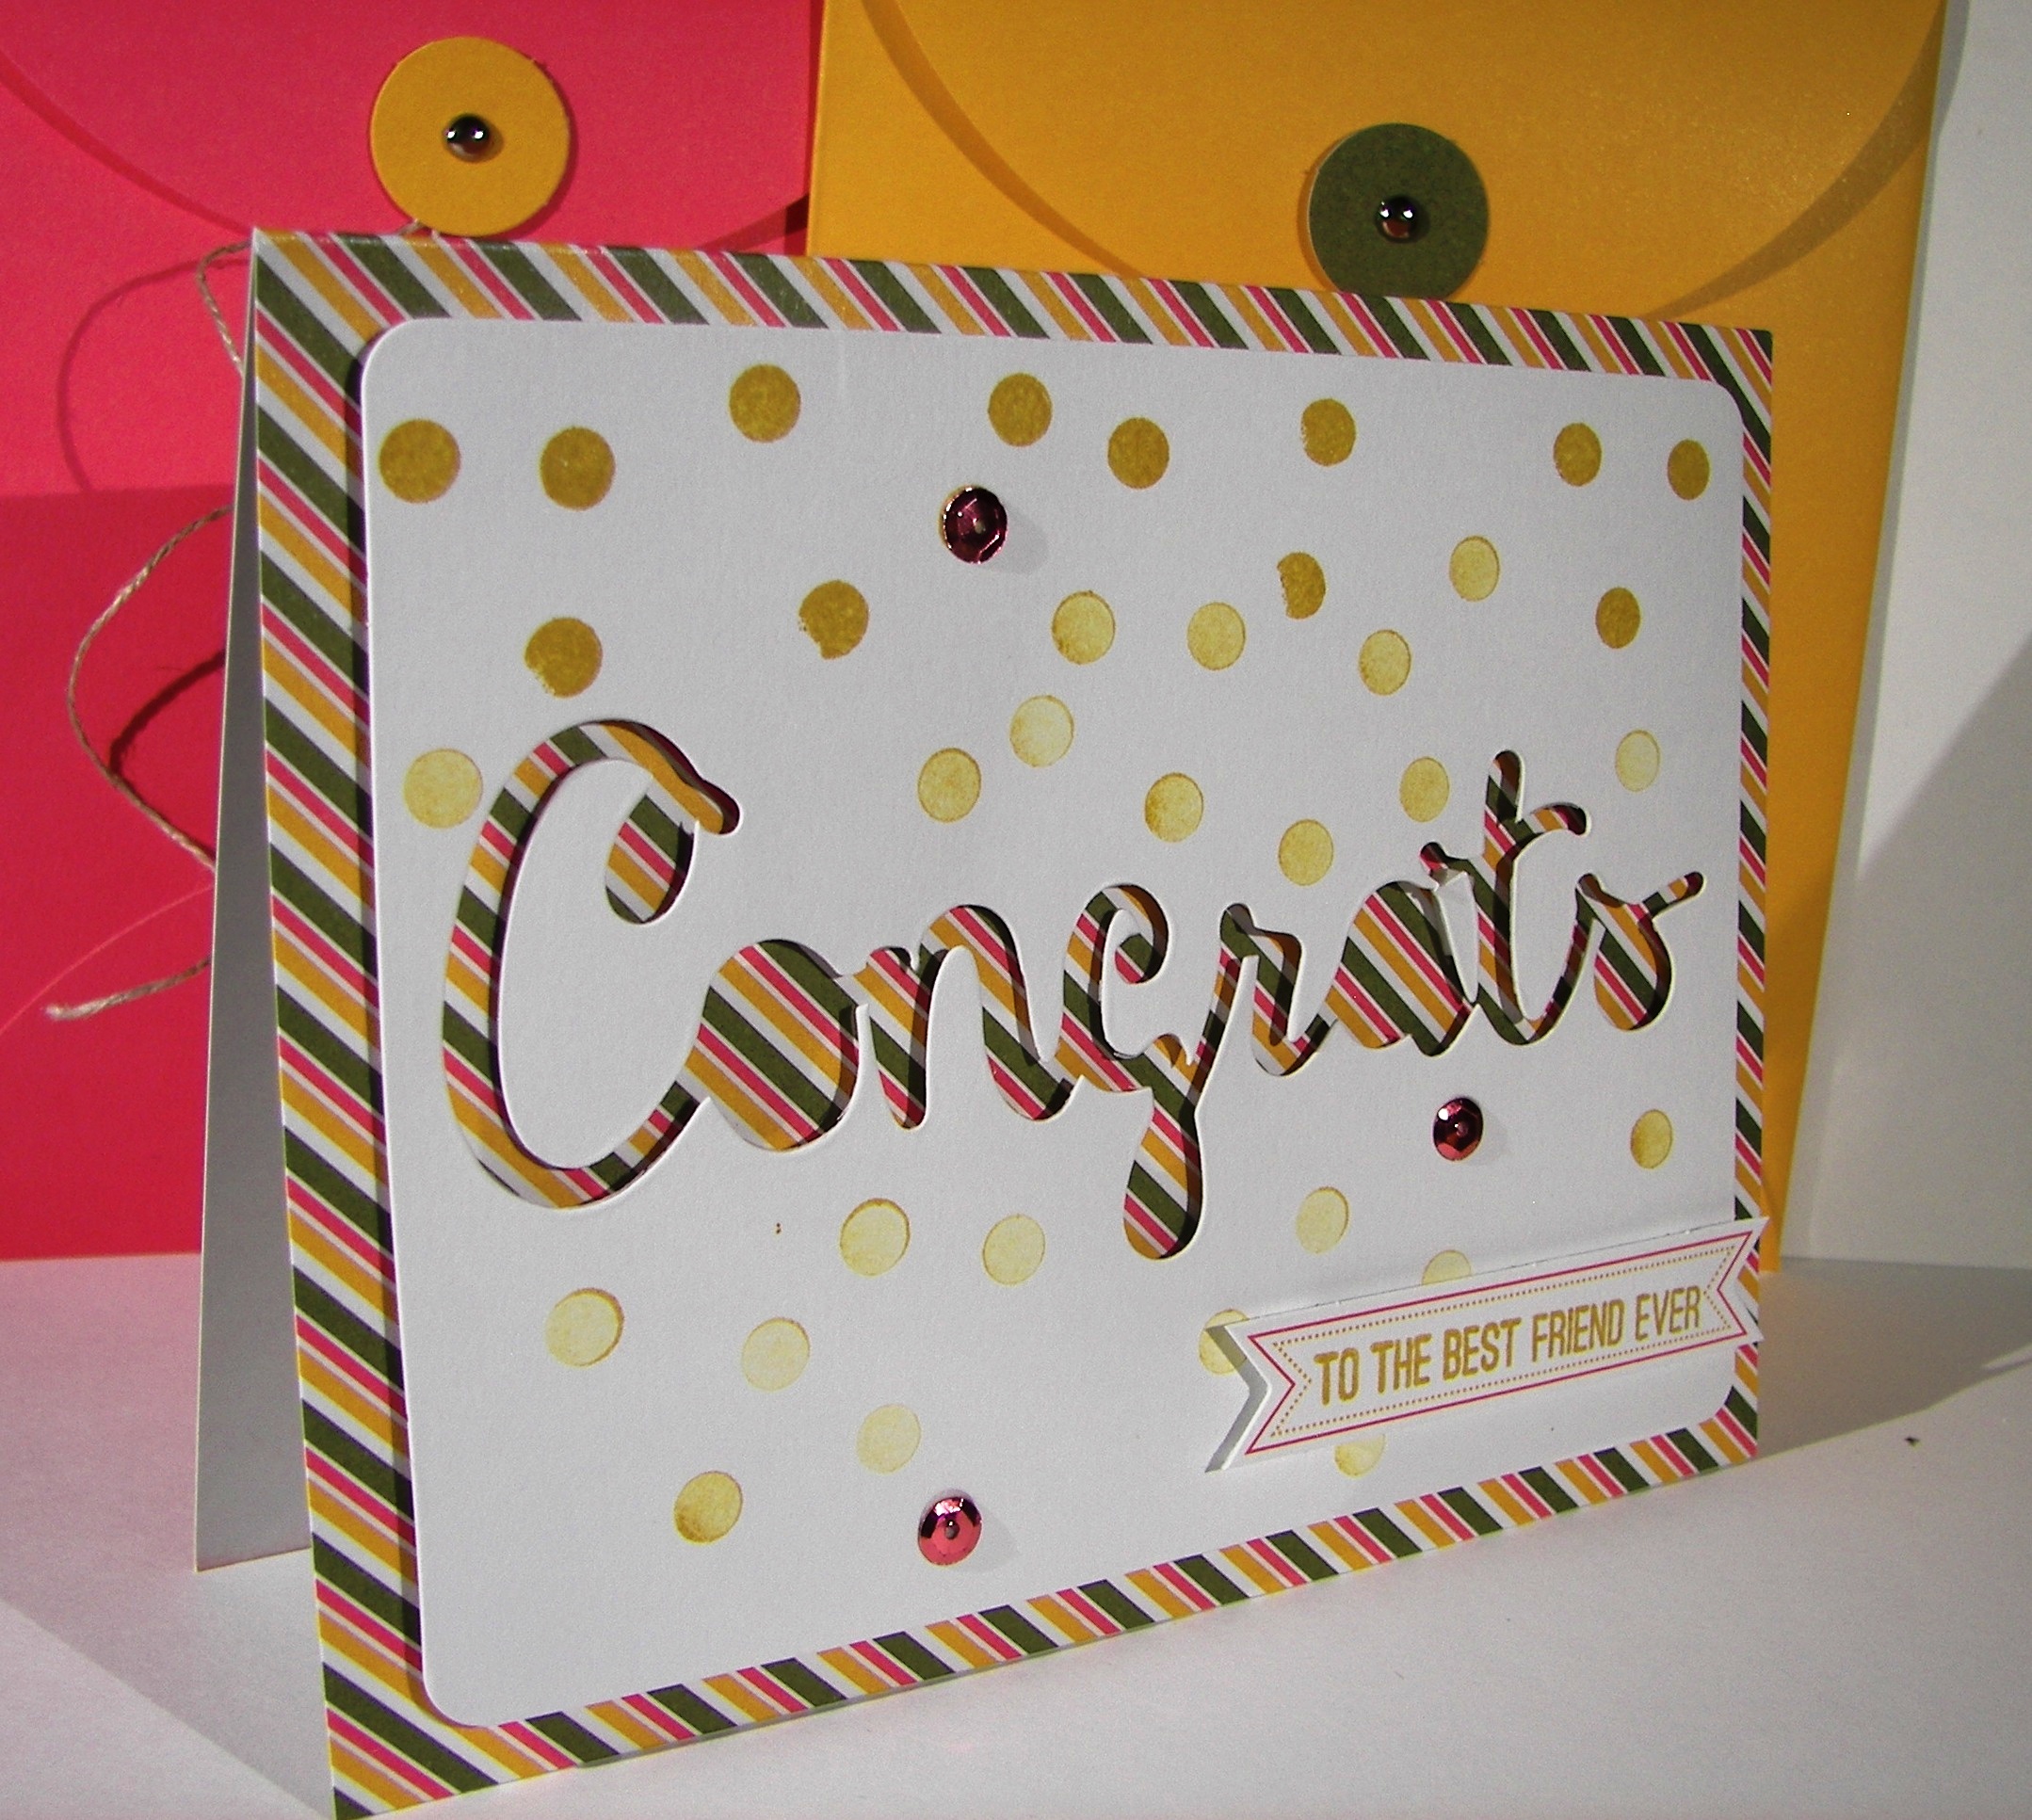
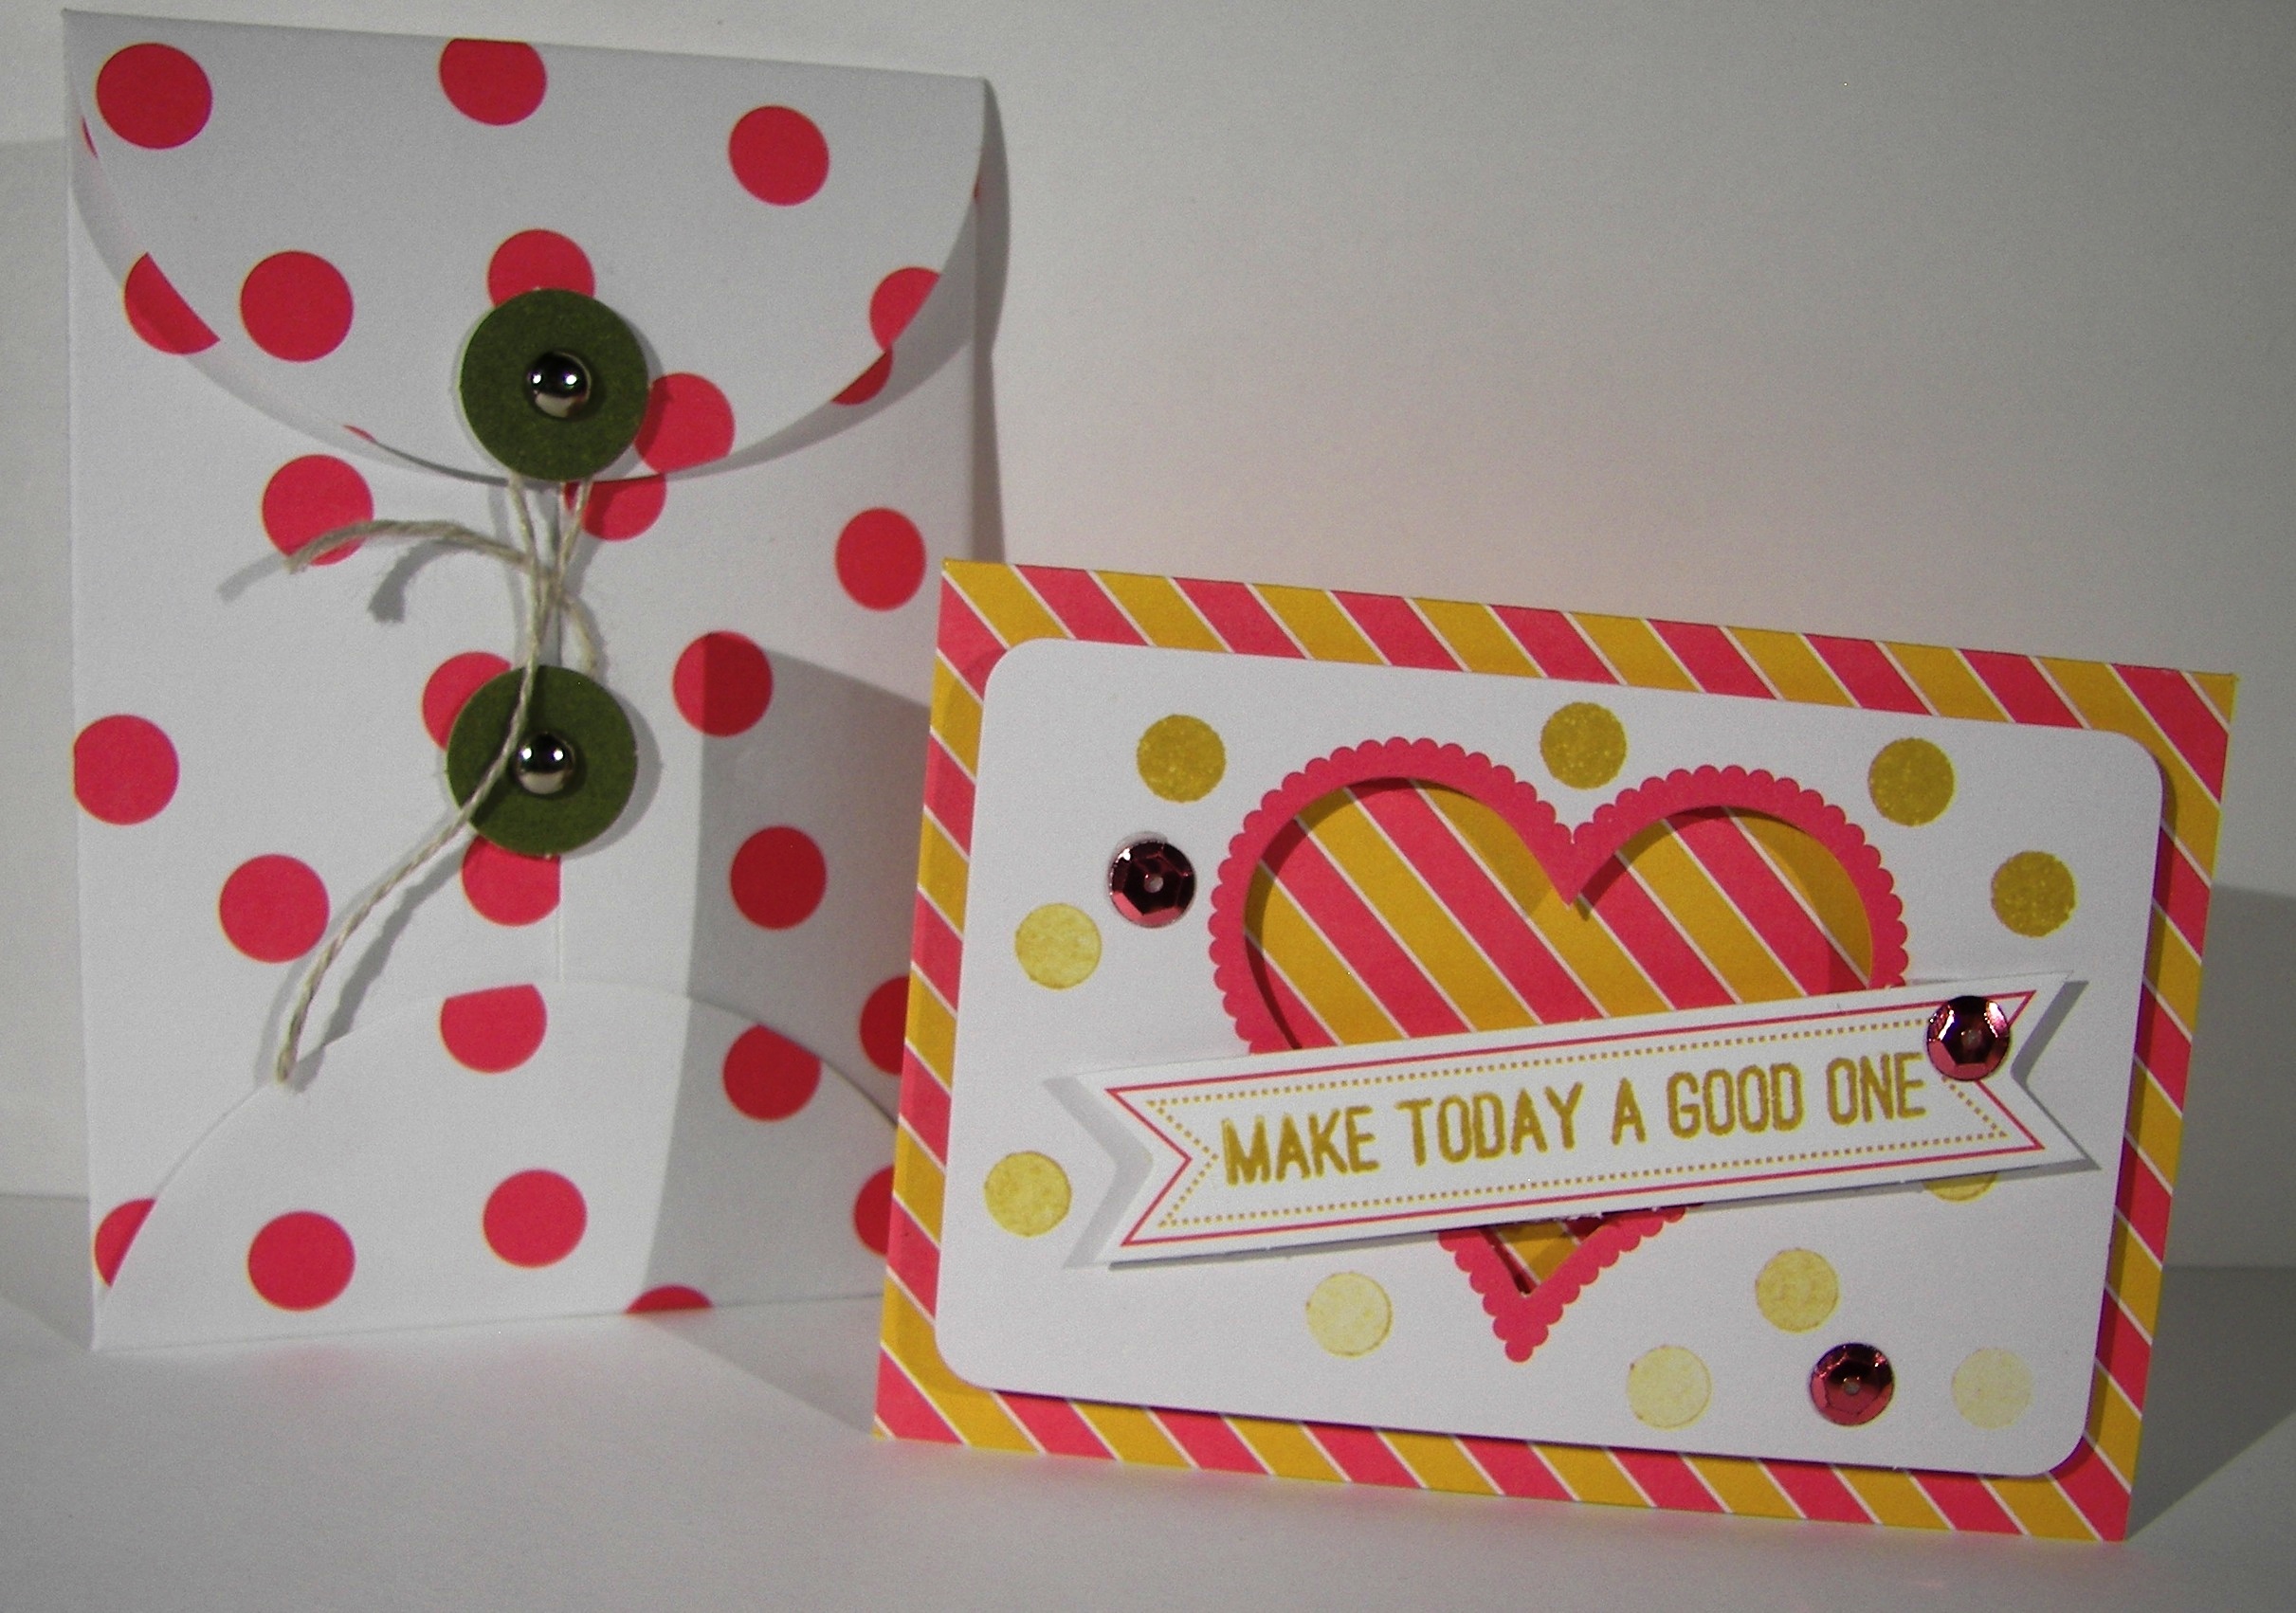
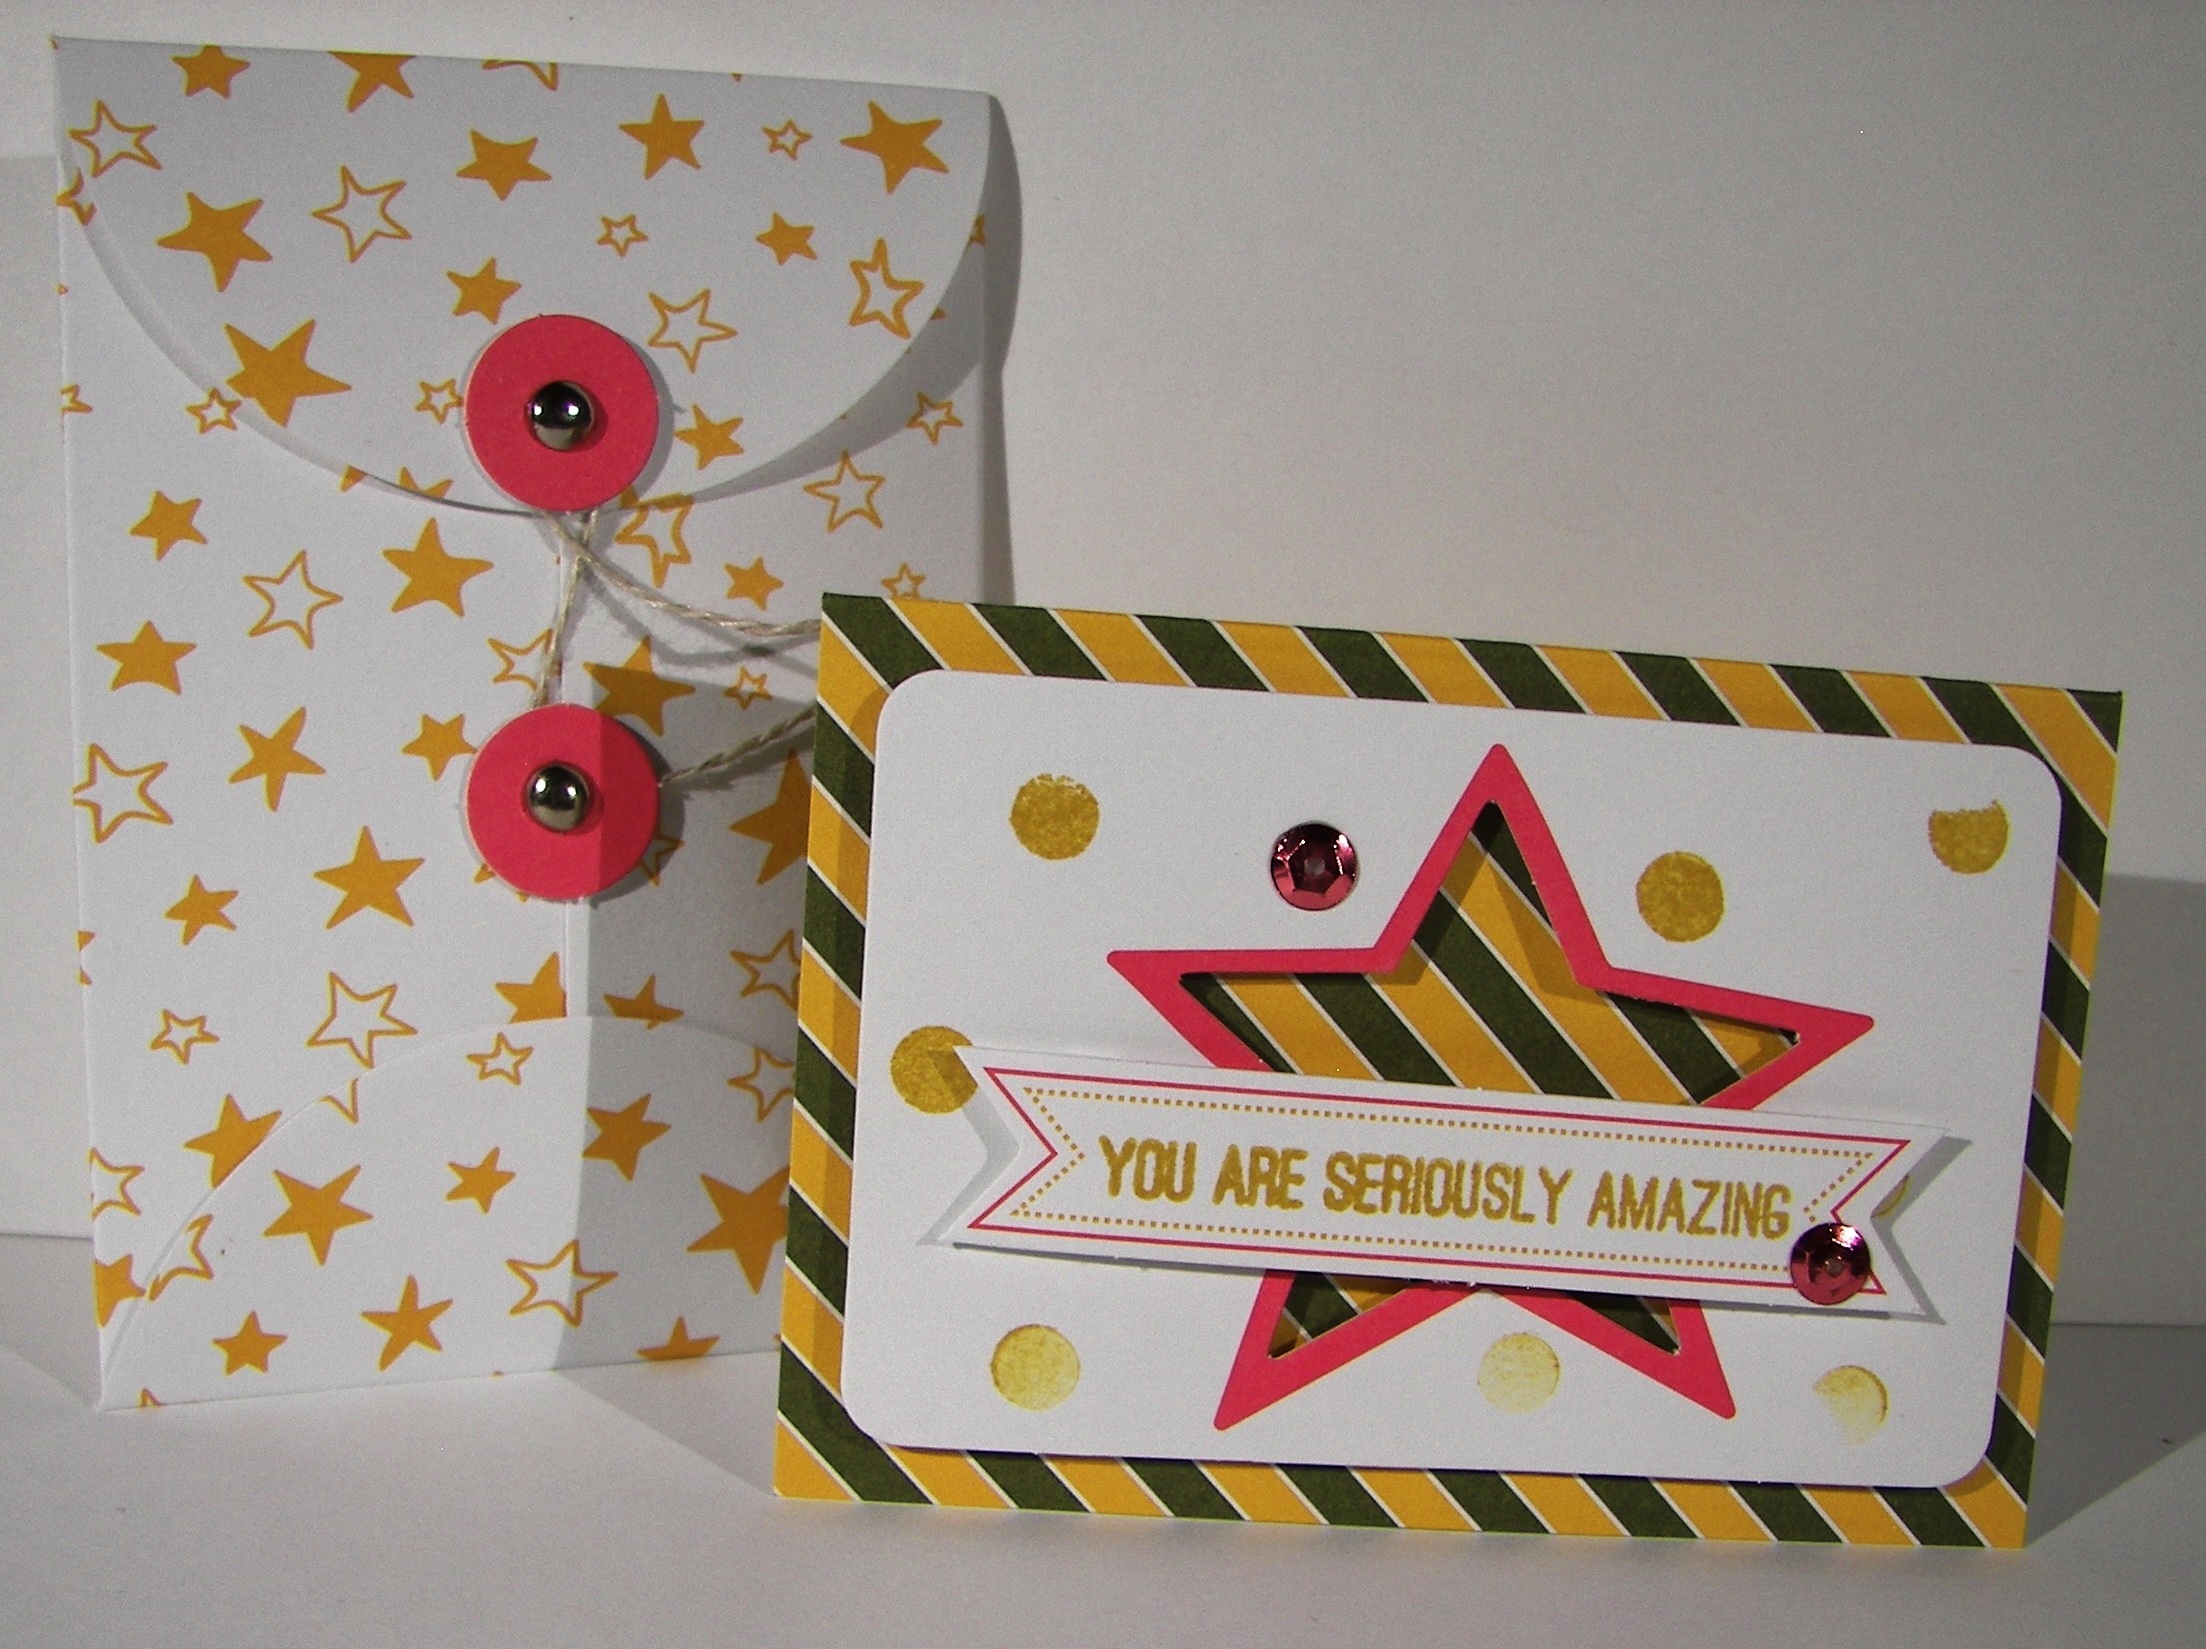
This simple little gift bag turned out better than I thought.  The bold stack the paper comes from is taking a while to grow on me.  So I thought I would make a bag that would show a small amount of pattern at a time.  Well, instead of being pleased how it balanced out, I decided this brick pattern is all right!  Good thing there are four pages of each pattern so I can go back and try my hand at something else.

Lots of treats will fill this little number up, or maybe even a nail polish or two.  It would be a fun thing to find in a lunch box for back to school too.  Wow, that is just next week.  Okay, here we go!

Have a creative day!

Moana

You Are My Everything

There are days when I really don’t know what I want to make, but that isn’t today and it shows.  When I know who I am creating for it shines through.  The awesome extra free stamp set in this months paper pumpkin kit had the stamps I had to use.  How beautiful are they?  Well, I will be using them excessively I am sure.

4-17

I knew I wanted to make a card for my husband with the two stamps  that share the phrase ‘You Are My Everything’.  It couldn’t be more perfect.  Once I knew that I knew the color pallet I needed and the medium as well.  Blues and water coloring are the perfect combination for him.

The technique of water coloring really doesn’t have a lot of guidelines.  I do start with a wet masked surface.  Then I begin to add and take away color, dry and wet again sprinkle and dab, and color all over again.  It is more of keep going til you get the results you want than a step by step process.  So much fun, really.

Then I stamped the large flower in bermuda bay, once stamped off first, here and there.  I added a fern stamp a few times, full strength not stamped off.  Then finished with the two stamps that make the sentiment.  I did a little echo stamping to coordinate the inside with the card front.  To complete the project I layered the art onto another piece of bermuda bay card stock and wrapped it several times in silver metallic thread.  Then up on dimensionals for a little extra style and sit back to enjoy the view.  I do love this card.  I think it looks like a beautiful batik fabric I would love to own and sew with.

4-17 (1)

Have a creative day.

Moana

Mother’s Day Take Two

Earlier in the year I made a couple of cards with this darling little chick from a sale-a-bration stamp set.  I instantly fell in love.  So did my mother.  I decided she needed to have one of her own and not just a card.

4-12 (1)

A prior paper pumpkin kit had this frame along with pretty little things to make a wonderful decorative gift.  I couldn’t make it for my own mother since she gets the same kits each month and I didn’t want to give her something she already had.  It sat upon the shelf for some time.  Until last night when I needed it, the frame that is.  I also used the wrapping cardstock and ribbon to go around it.  Now I will send it away for an early mother’s day gift.  She will be super excited.

The little chick was stamped in black stazon on a 4 x 4″ sheet of water color paper.  I started pulling ink pads until I had everything painted just like I wanted.  I did use my heat tool a few times along the way to set color when I wanted to layer another.  The yellows I let all blend together without worry.  But I wanted the cheeks to stay pink and tried to keep the beak a little more under control.  The shadow needed to be dried before the background was applied, but that is about it.  After I put a touch of marina mist for blue eyes I used wink of stella to give them some sparkle.  Just a fun little project to make my mom smile.  So fun.

4-12

Have a creative day.

Moana

Paper Pumpkin Re-Make

What says thank you better than a big bar of chocolate?  A really pretty bar of chocolate with a coordinating card, that’s what!  I really like how this Paper Pumpkin set got used  so differently than I normally do.

Paper Pumpkin Re-Make

I have mentioned my teacher aides before and how awesome they are.  The holidays are the perfect time to share that gratitude.  Especially when they feel special and others get to see that too.  Okay, they are teenage boys that love to feel awesome and oh so cool.  This works very well, just like they do.

Paper Pumpkin Re-Make

I used the card base to wrap over my vanilla cardstock and it fit around so nicely.  I was able to give it nice little scores and get two swipes of fast fuse to keep this together.  After a hefty wrapping of ribbon, I know it is so secure.  These holly leaves and little adhesive backed berries are so adorable though.  I could definitely get into a die cut to make more of these.  I will have to look around for one.

It is fun to go to work when you have this kind of joy to share.  Besides, today is the last day of school before a very nice and long three week break.  Phew!

Paper Pumpkin Re-Make

Have a creative day!

Moana

Paper Pumpkin Makes Me Smile!

While I was visiting my children and parents during the Thanksgiving break I had a little fun with my November Paper Pumpkin kit.  My mother and I love to craft, differently mind you, but love it still the same.  So we sat down and did half of our kits together.  It was so much fun.

Paper Pumpkin Makes Me Smile!

Yes, this is only half.  The kit came with materials to make ten cards, two different designs.  I just loved them.  I usually don’t share these unless I do something different than the kit suggests, but it was the time spared that was the fun share.  My favorite part of crafting in any form is sharing it.

Paper Pumpkin Makes Me Smile!

And when you have kits as adorable as these, it is easy to share more than you might think.  These will be going to some special people, but not until they get some candy to go with them.  I will blog that part tomorrow.  I am going to turn the other five cards into candy bar wraps for the gift part and give them with these cards.  Fun stuff, right?  See you tomorrow then!

Paper Pumpkin Makes Me Smile!

Have a creative day!

Moana

Seriously Amazing

You will have to indulge me one more day of paper pumpkin projects.  This is the other portion of my paper crafting fun day.

Seriously Amazing

These I made very traditional, just like the directions.  It was still super fun and I was much happier with the results than I thought I would be.  Sometimes simplicity can be so beautiful!

Seriously Amazing

How about tiny ones too?  Wouldn’t these be great for gift cards?  I think so too.  I don’t see these as either masculine or feminine, just fun.  So, that means good for either and makes them that much more awesome!

Seriously Amazing

All of these and the kit is only half used.  Yup, I get to make two more large ones and two more small ones.  And, of course I get the totally cute stamps to add to my stash.

Seriously Amazing

All of these fun cards have been added to the card file.  I so love having just the right card right when I need it.  I totally have helped out more than one friend in a bind too.  Share when you can, right?  Of course!

Have a creative day!

Moana

Thanks A Latte

Well then, how about these precious little cups!  Last Saturday a good friend of mine came over to paper craft with me and we just got out several of my paper pumpkin kits and went to work.  Some were partials and some were unopened, sorry to say.  Busy crafter here.

Thanks A Latte

But this one is actually the current July kit.  By itself it is absolutely adorable.  I really let myself play on this one.  The instructions showcase simple stamping and there you go, totally adorable.  I had to watercolor.

7-27

After making a lovely little wisteria wonder cup and a little plant set I knew I wanted to do more.  The next cup I took the flowering stamp, it could be a plant but I made them flowers, that would have been the plant growing out of the cup.  I created a pattern on the cup with it, colored them with markers, and then went to town with my aqua painter.  The cup is a little more than an inch square.

7-27 (2)

The new flowers were punched with the floral punch from the itty bitty accents punch pack and the stems were from variegated embroidery floss.  A bit tricky to put together, but lovely at the end.

If you have ever thought about a paper pumpkin subscription, just look at how much fun you can have with them!  There was enough material to make eight cards in this kit, plus totally adorable envelopes.  And, I now have the so cute stamps that came with.

Have a creative day!

Moana