You’re a Whole Lot of Lovely

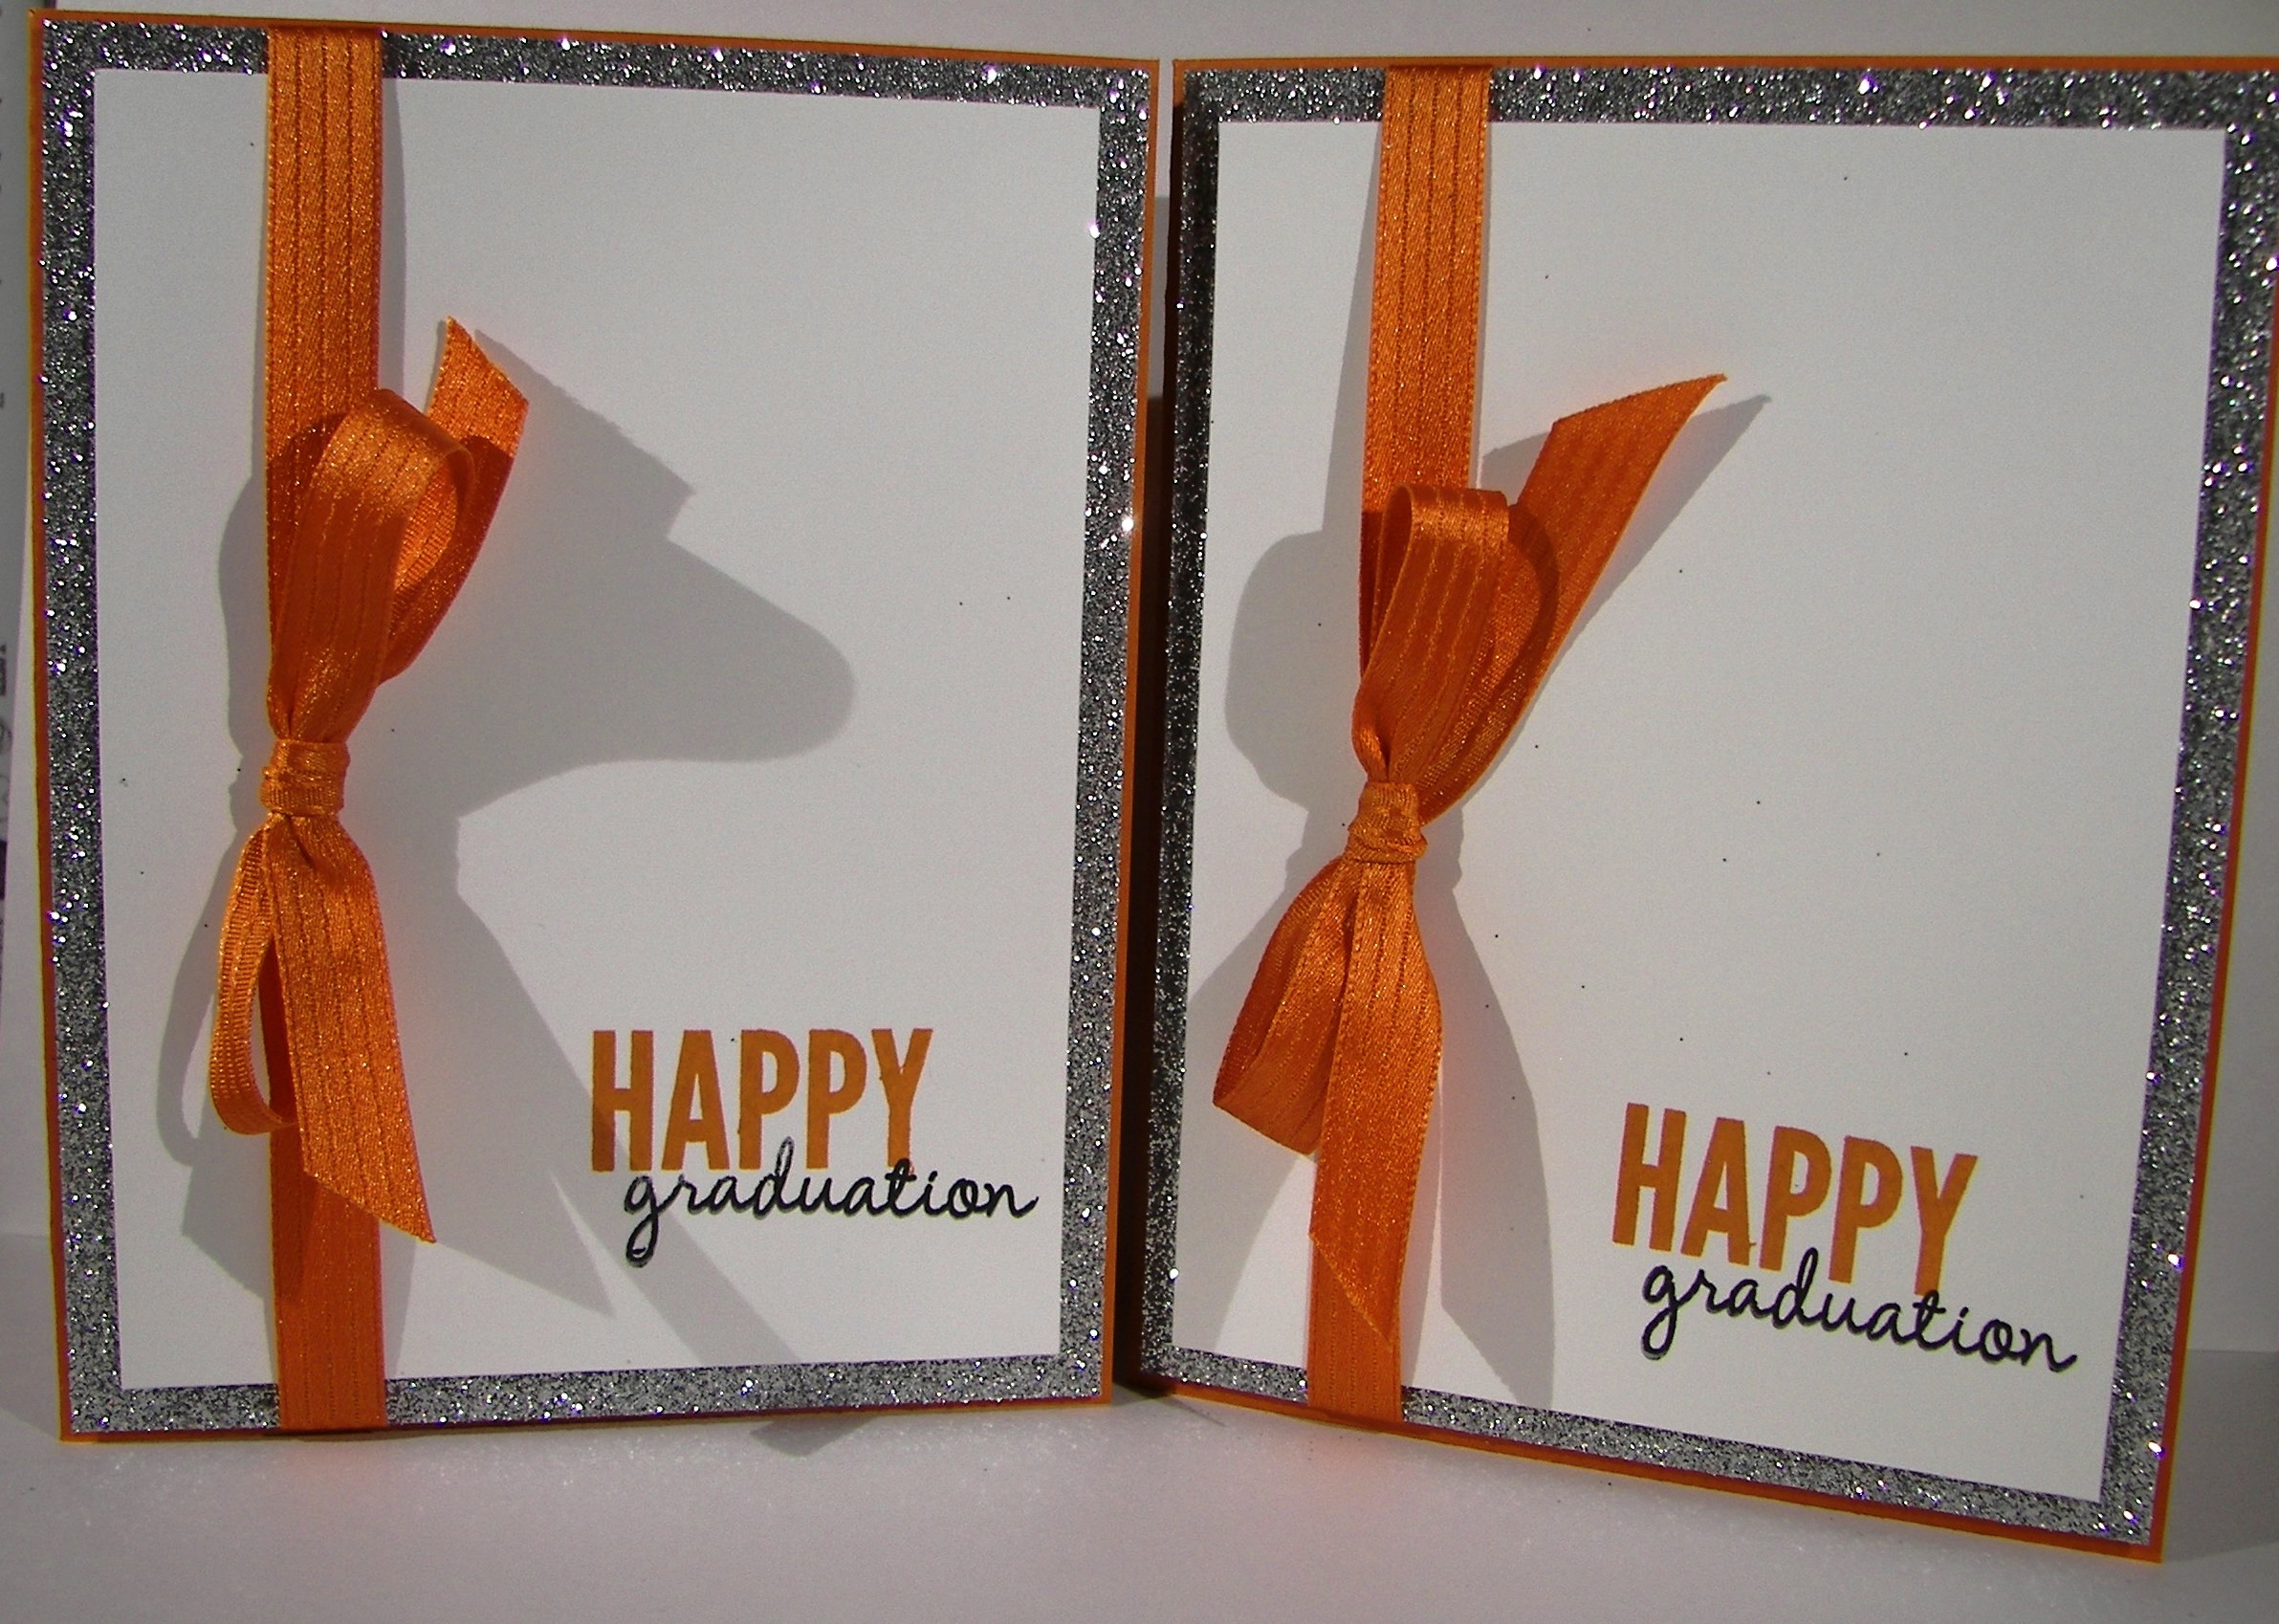
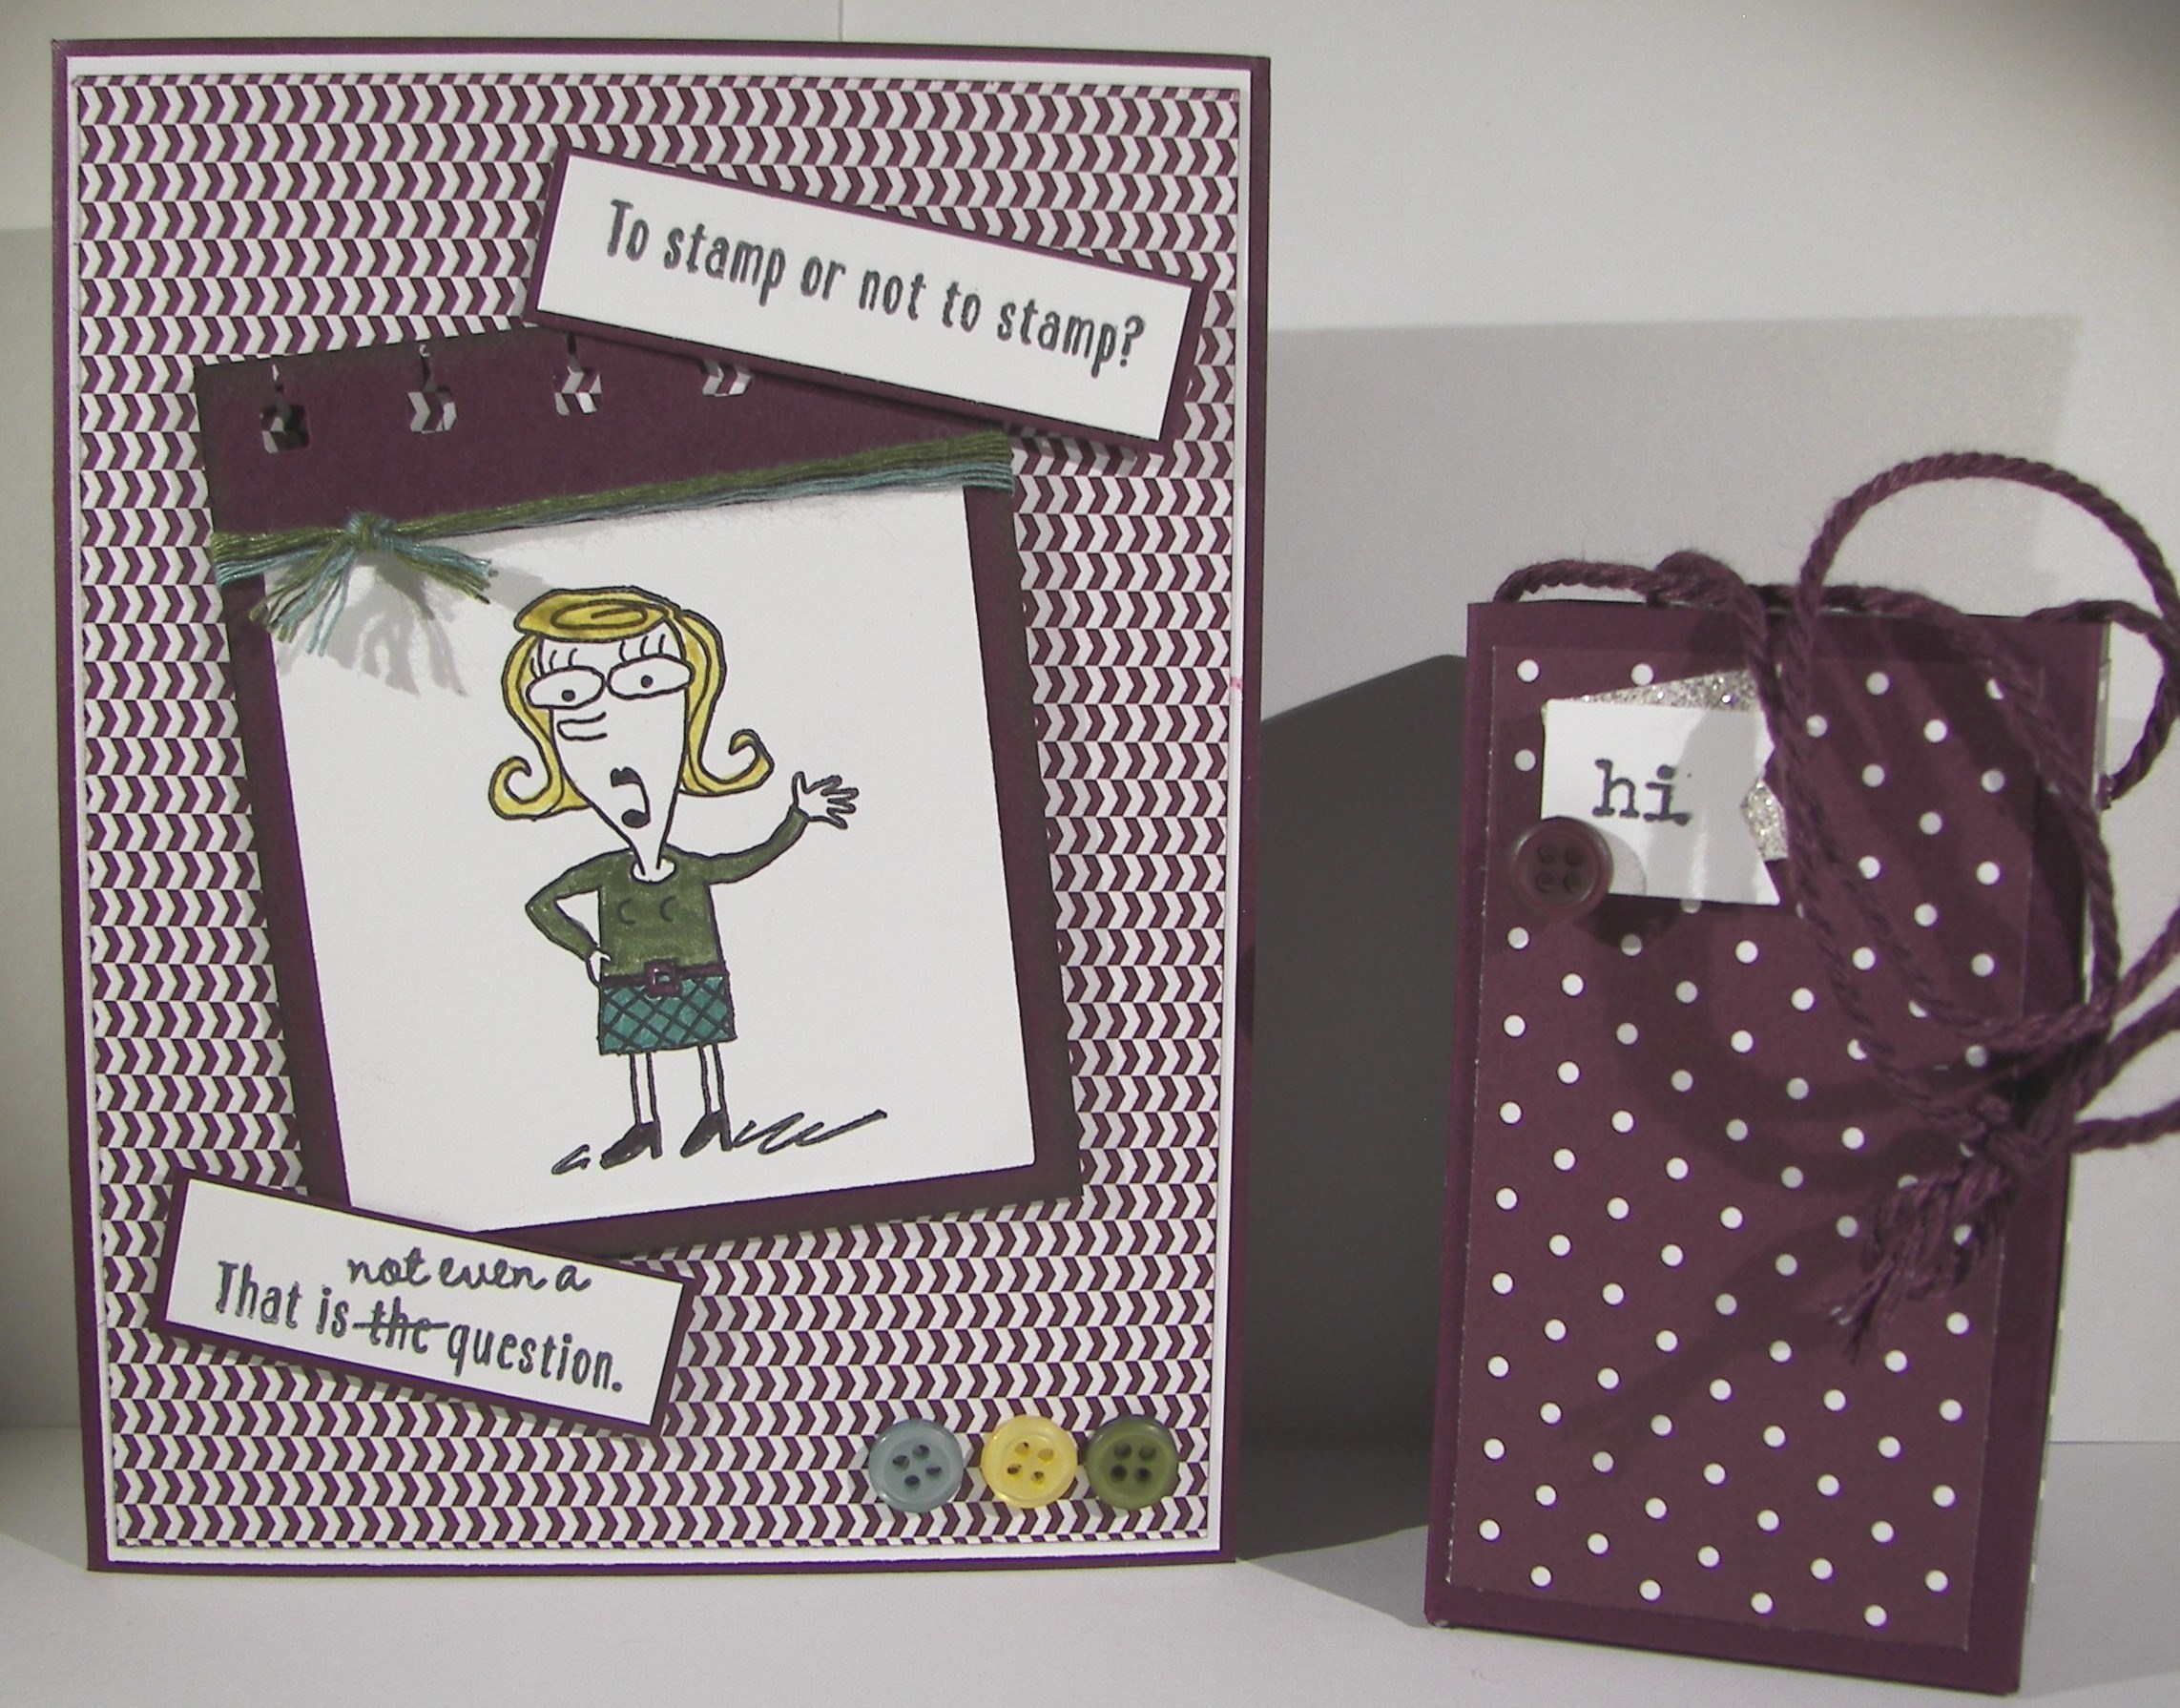
When I was cleaning up my desk I came across several kits left over from workshops that hadn’t been filed away.  Usually I just break down the kits and put the supplies back. This one had the stamping, punching and they were layered together.  So I thought I would make something with them.

2-9

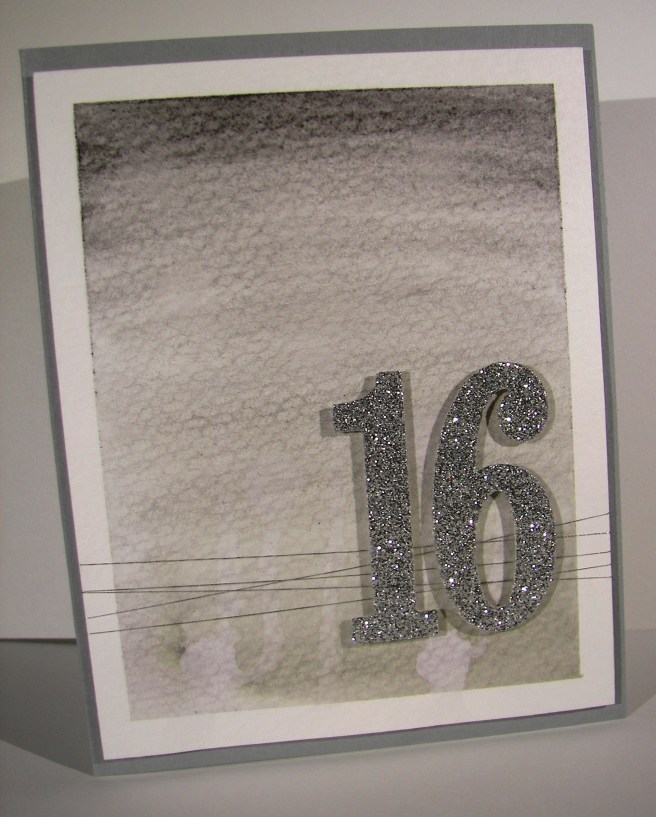
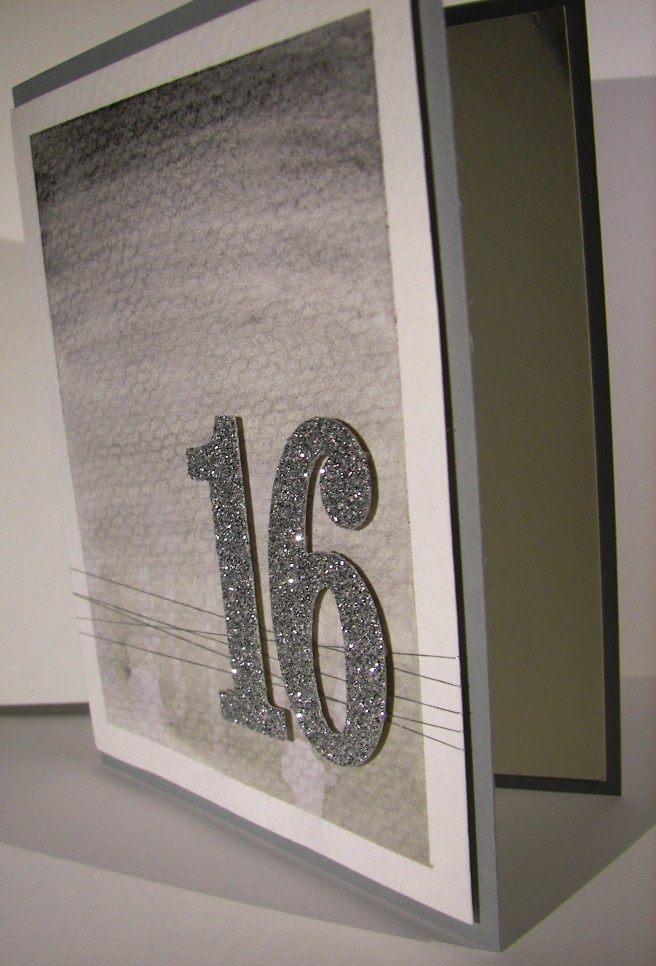
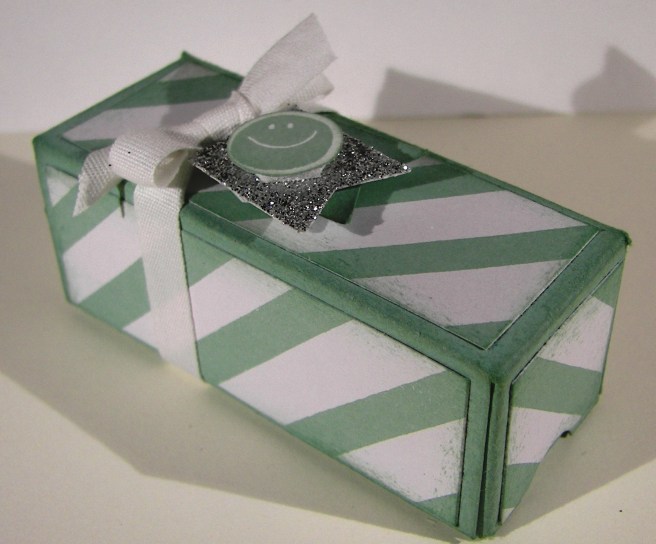
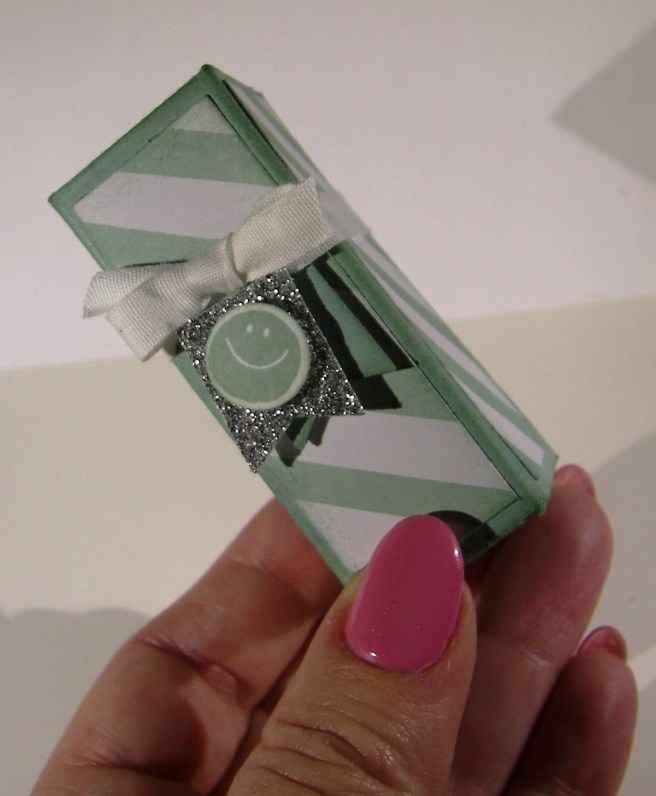
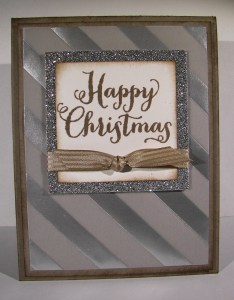
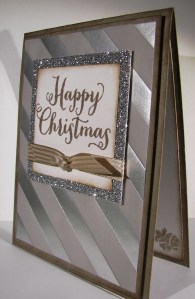
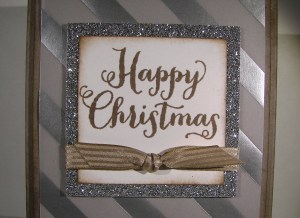
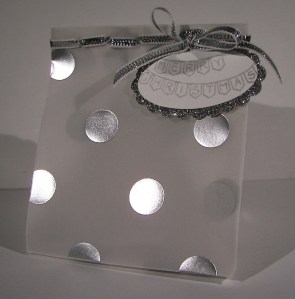
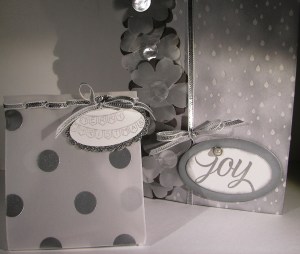
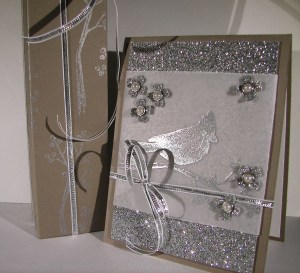
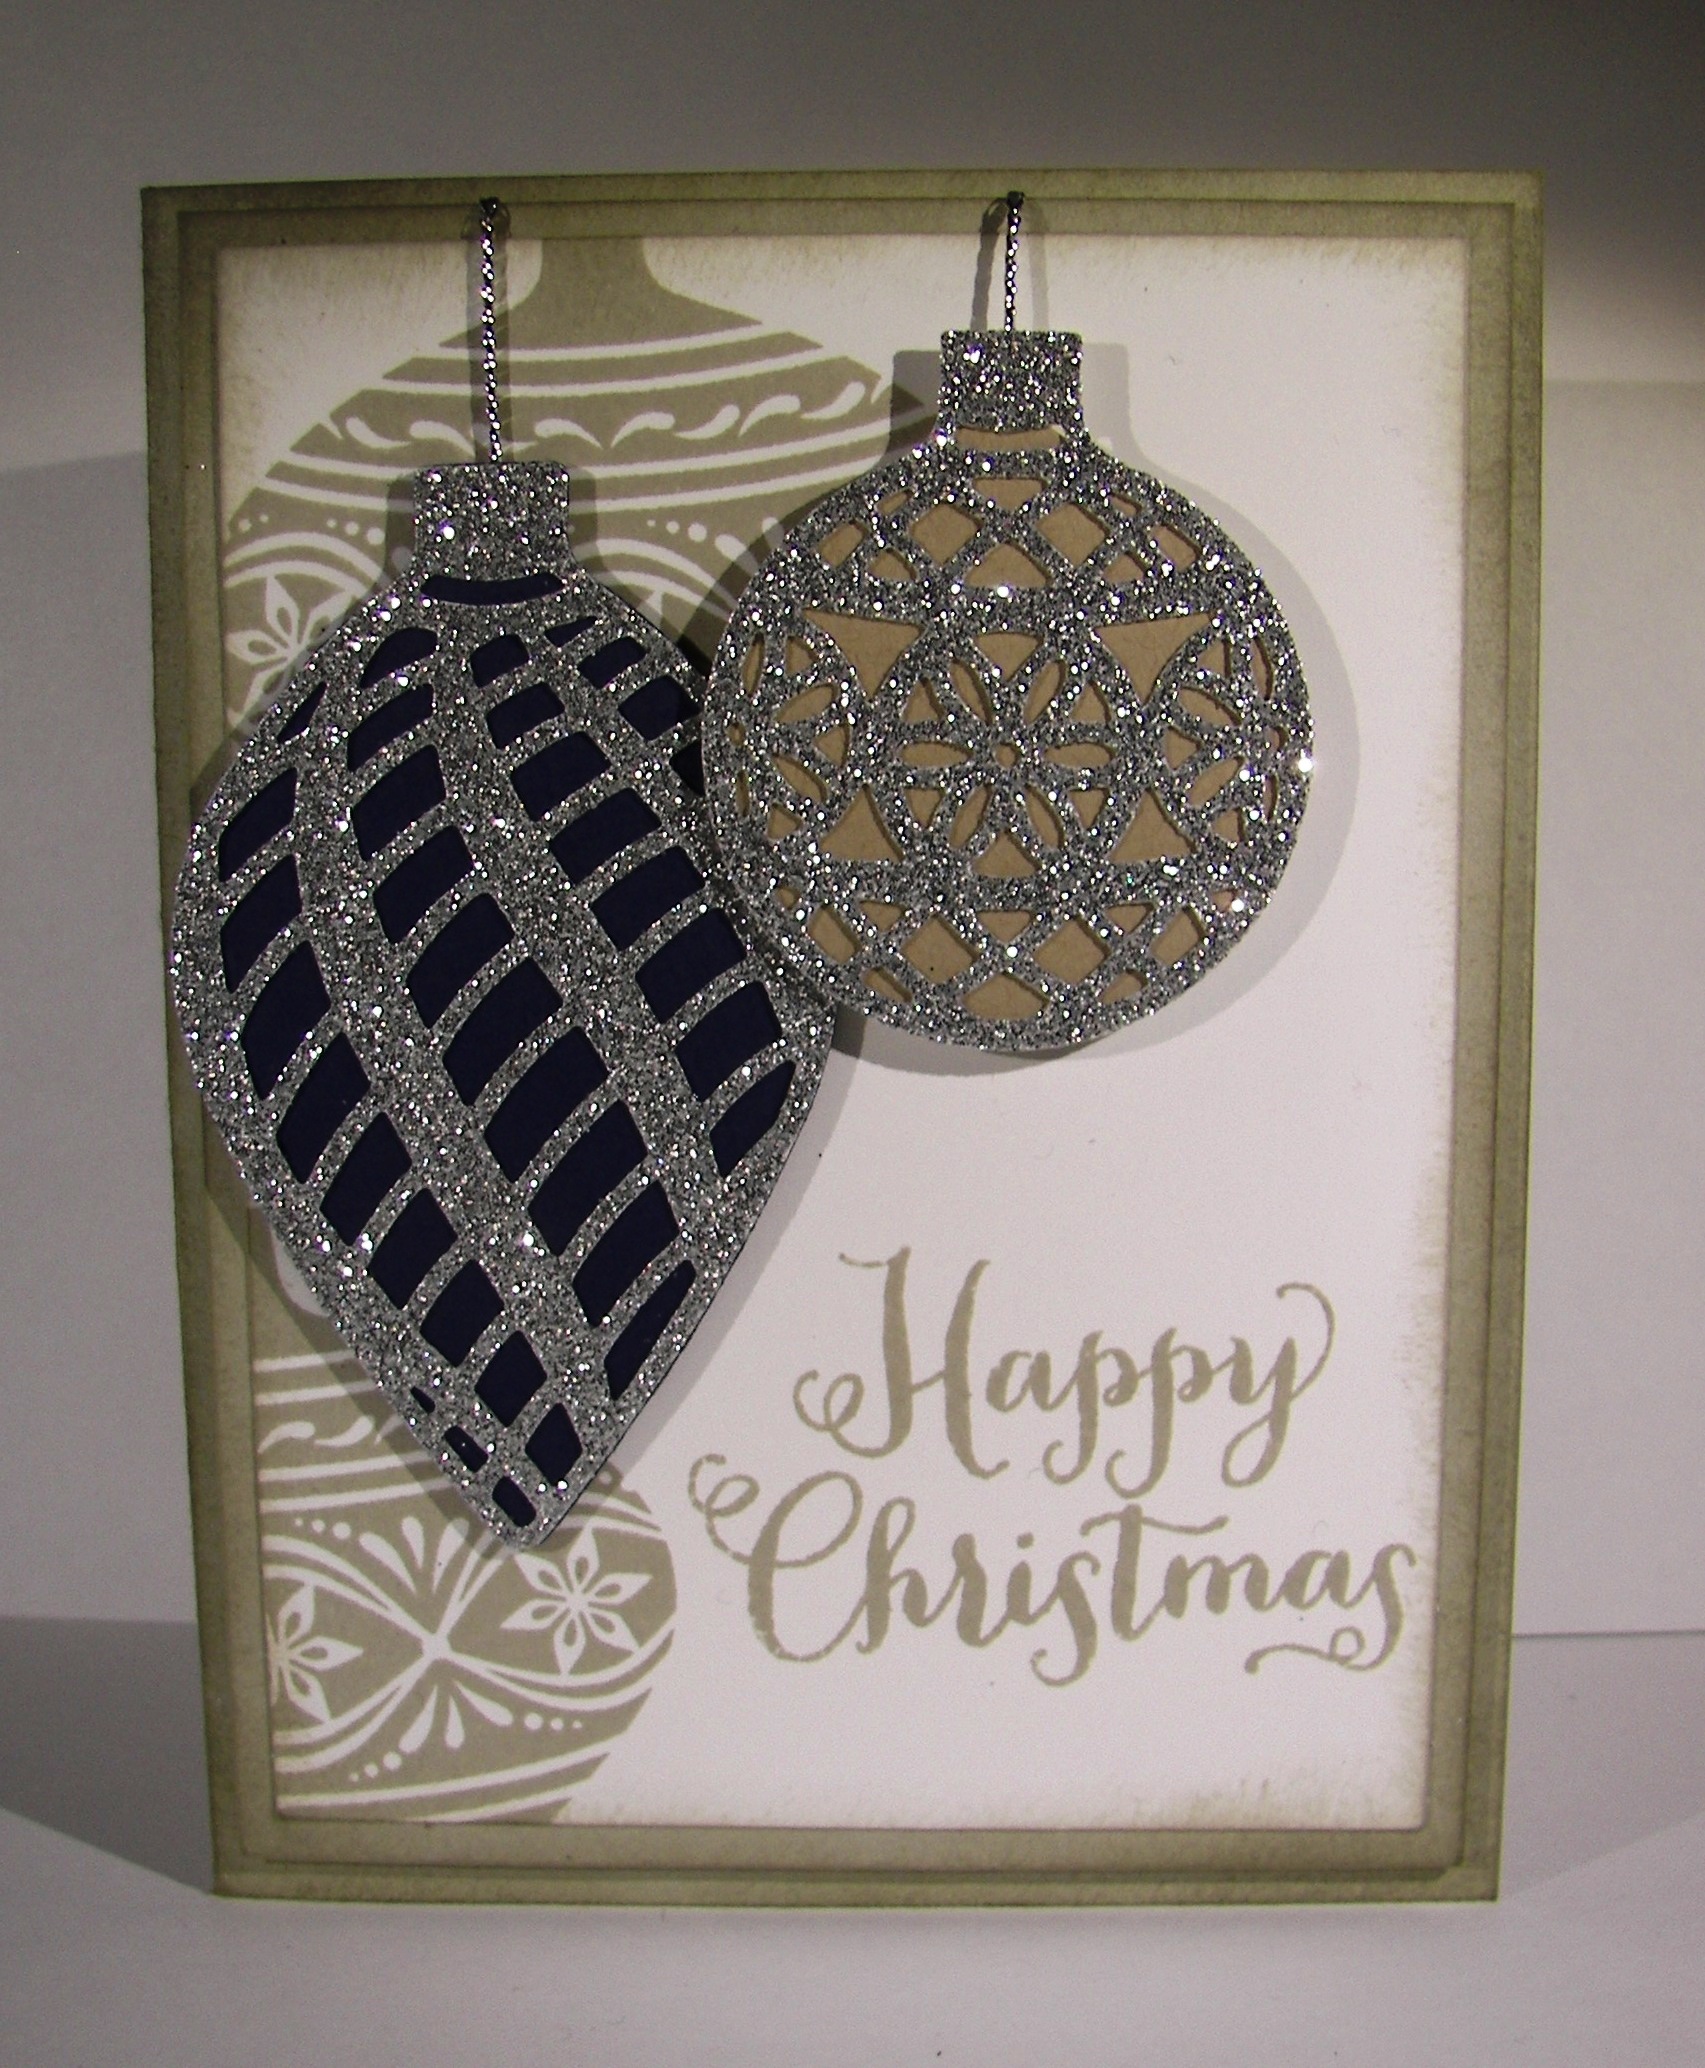
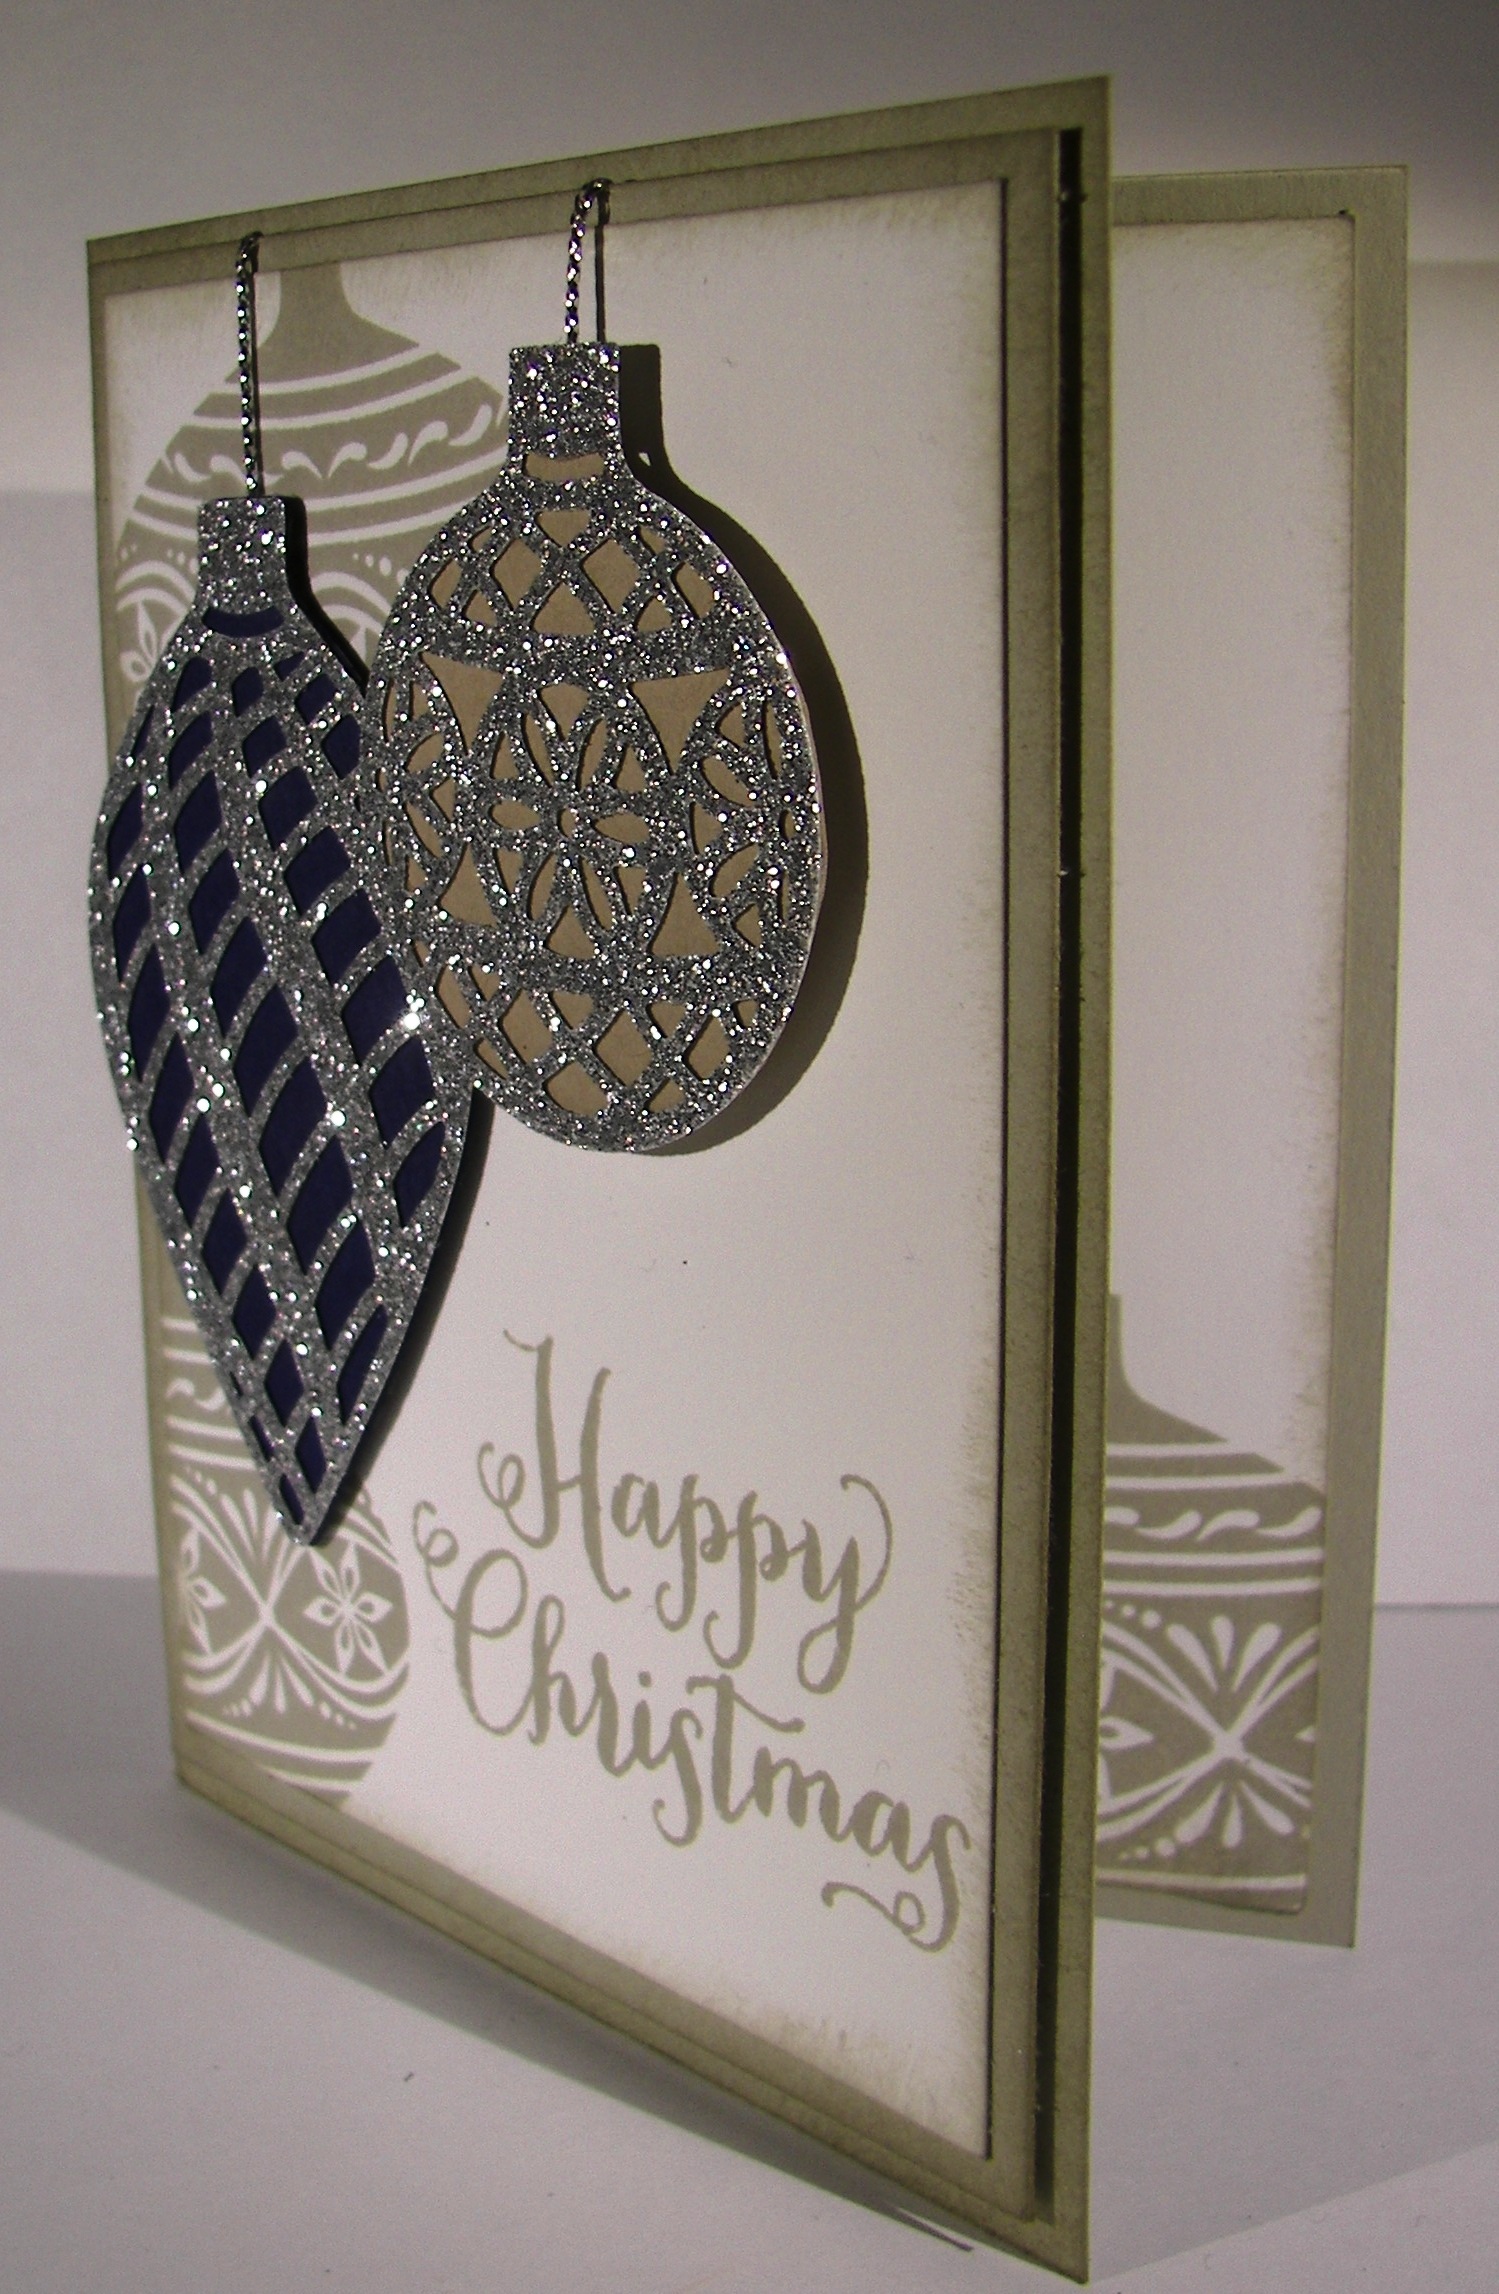
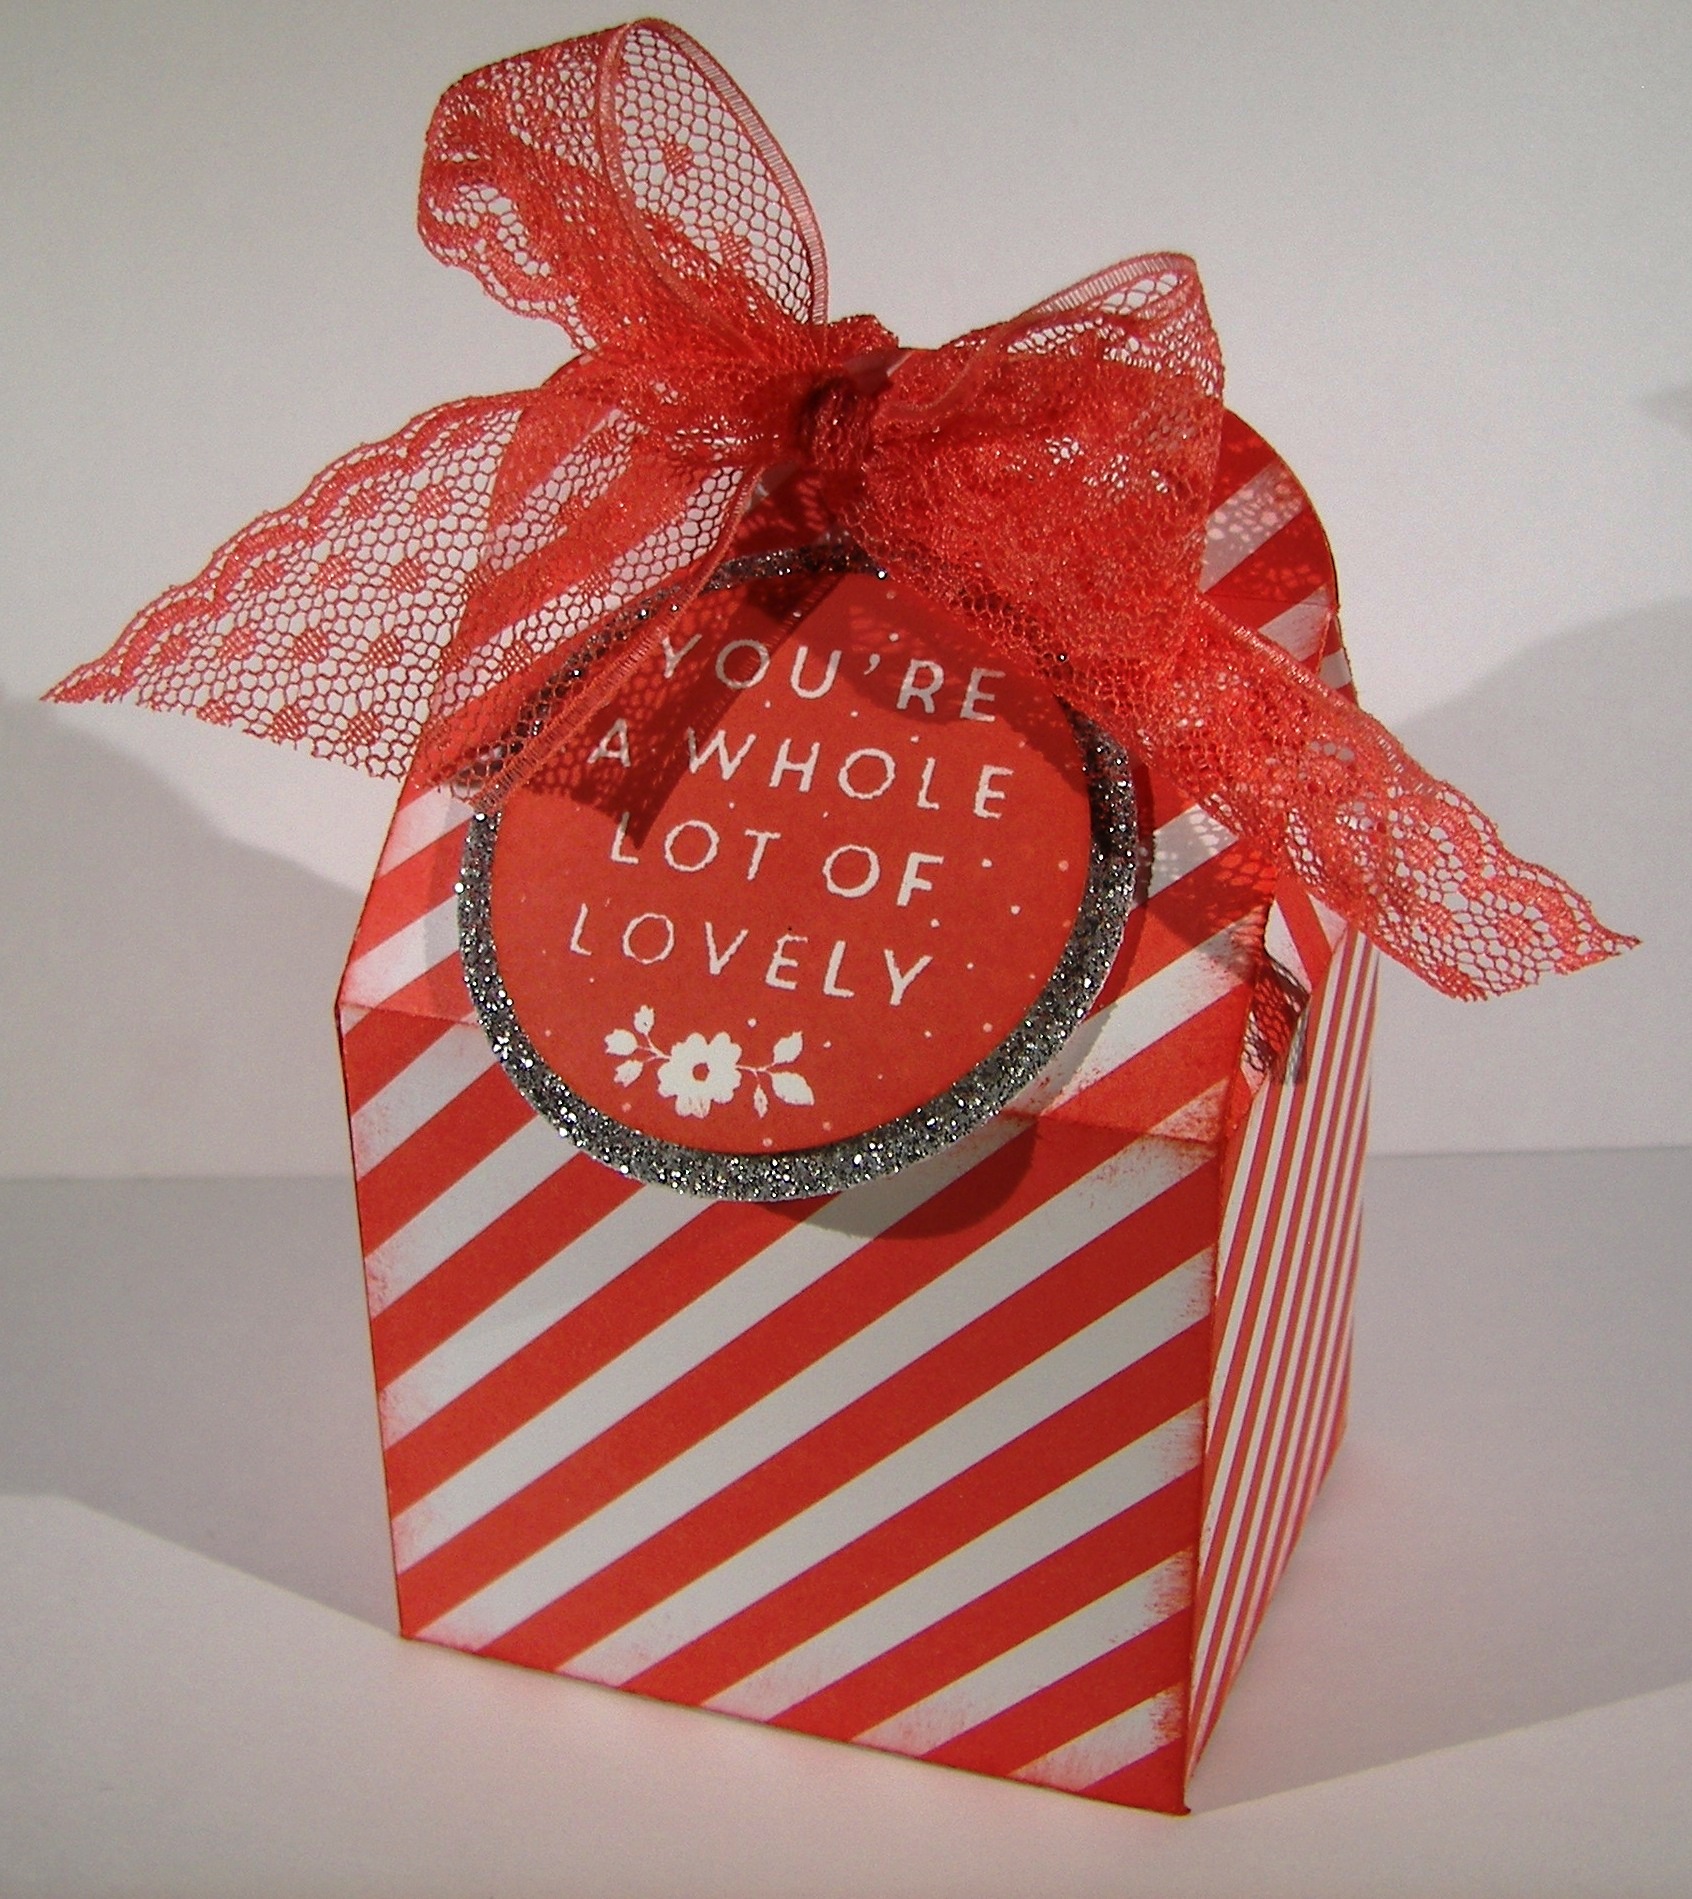
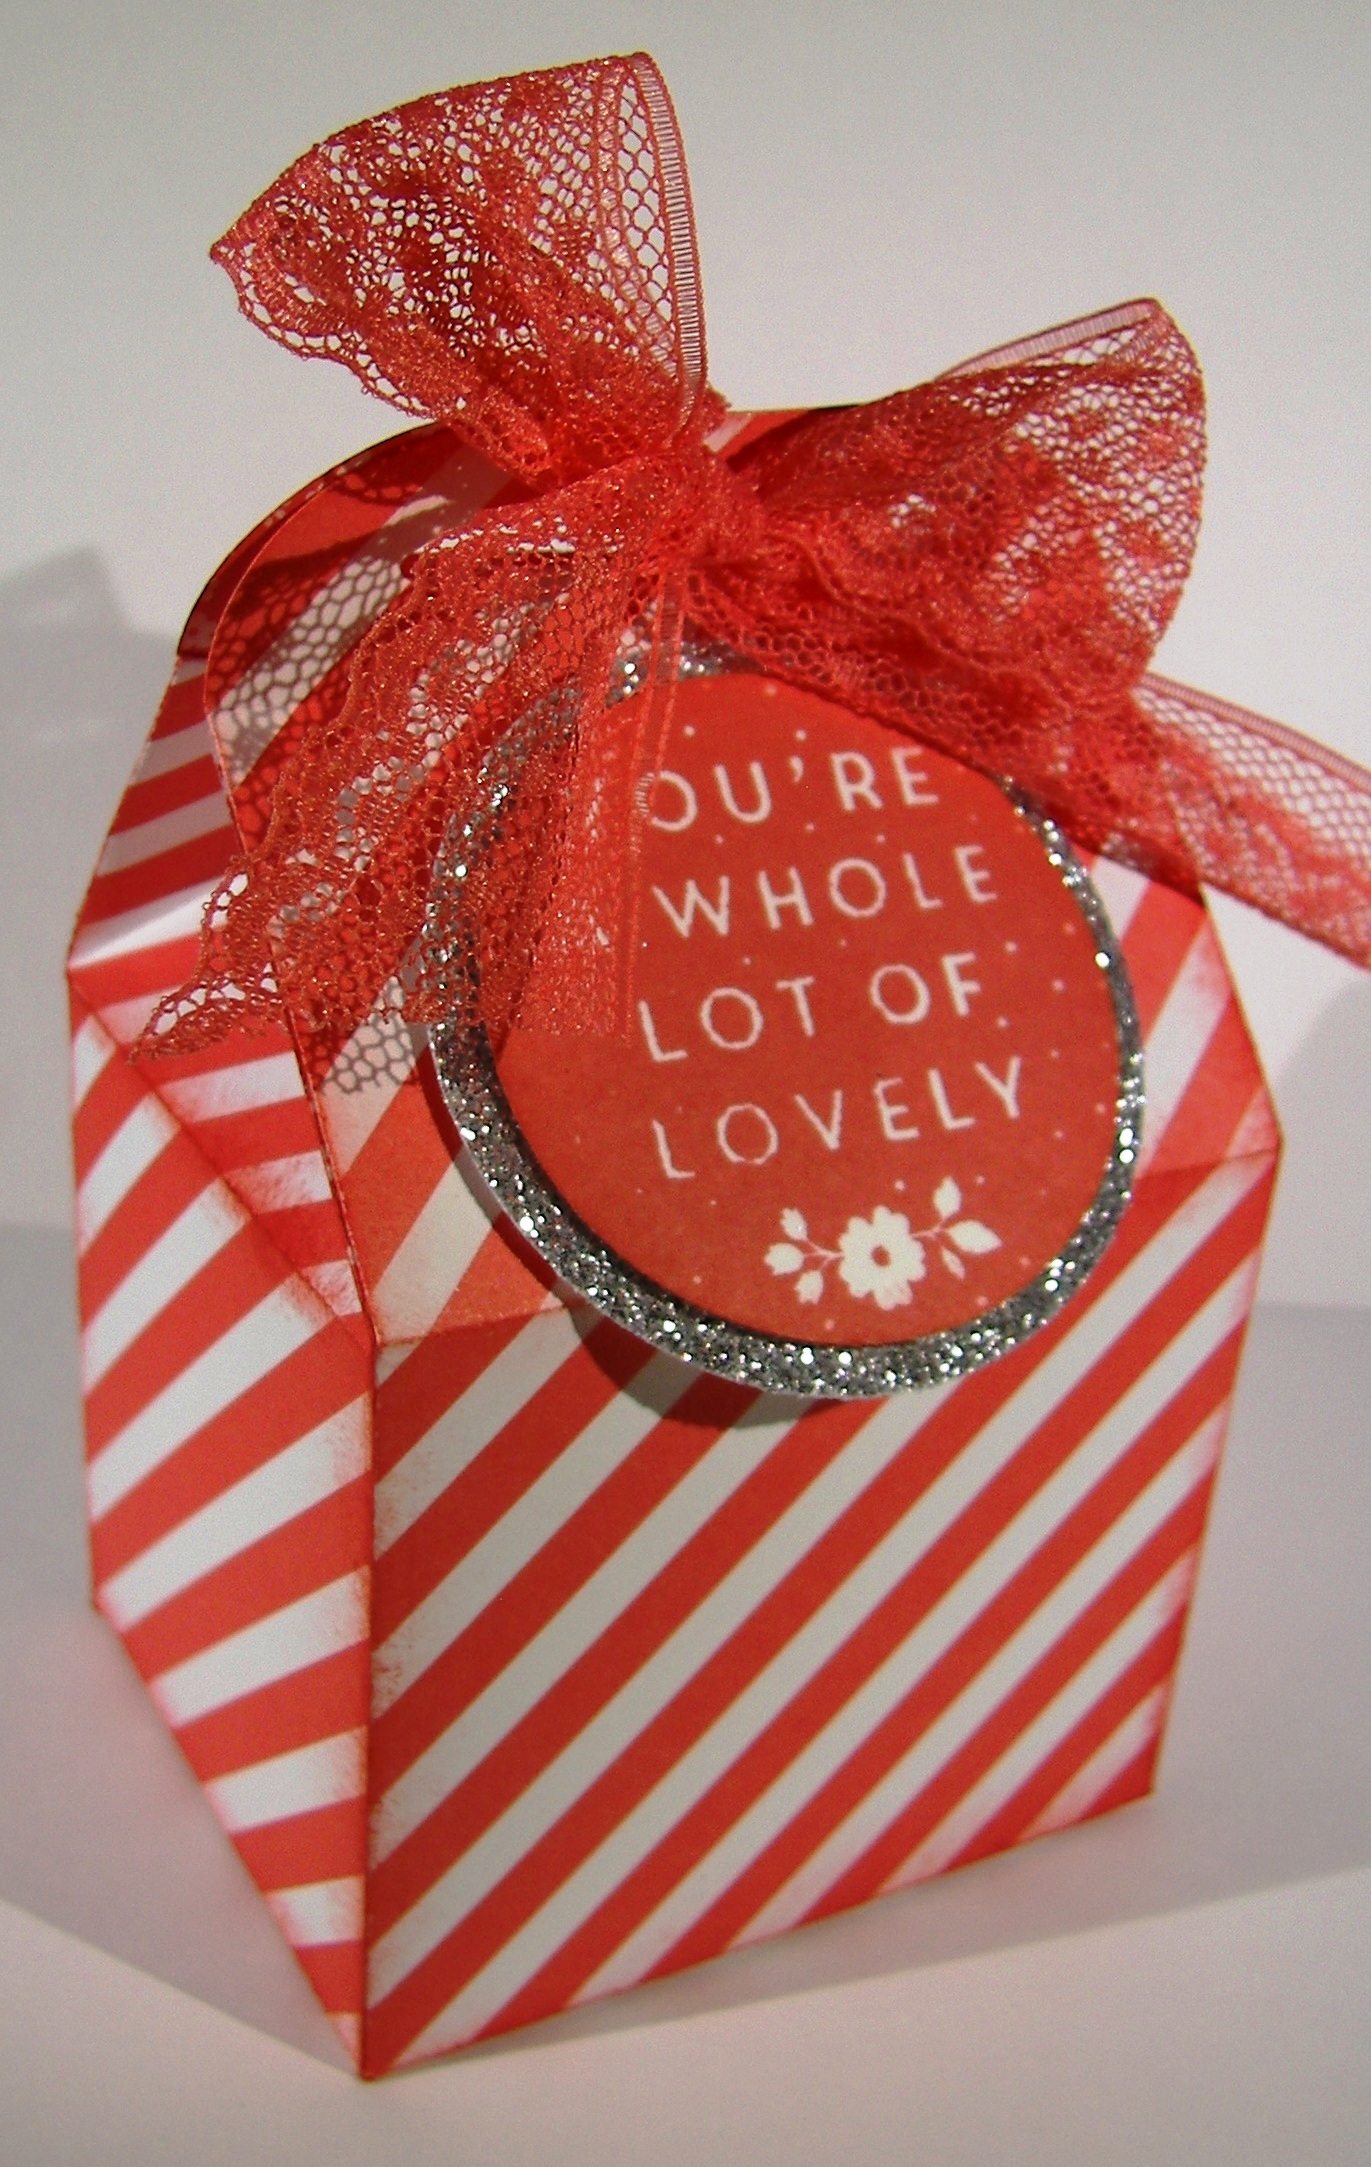
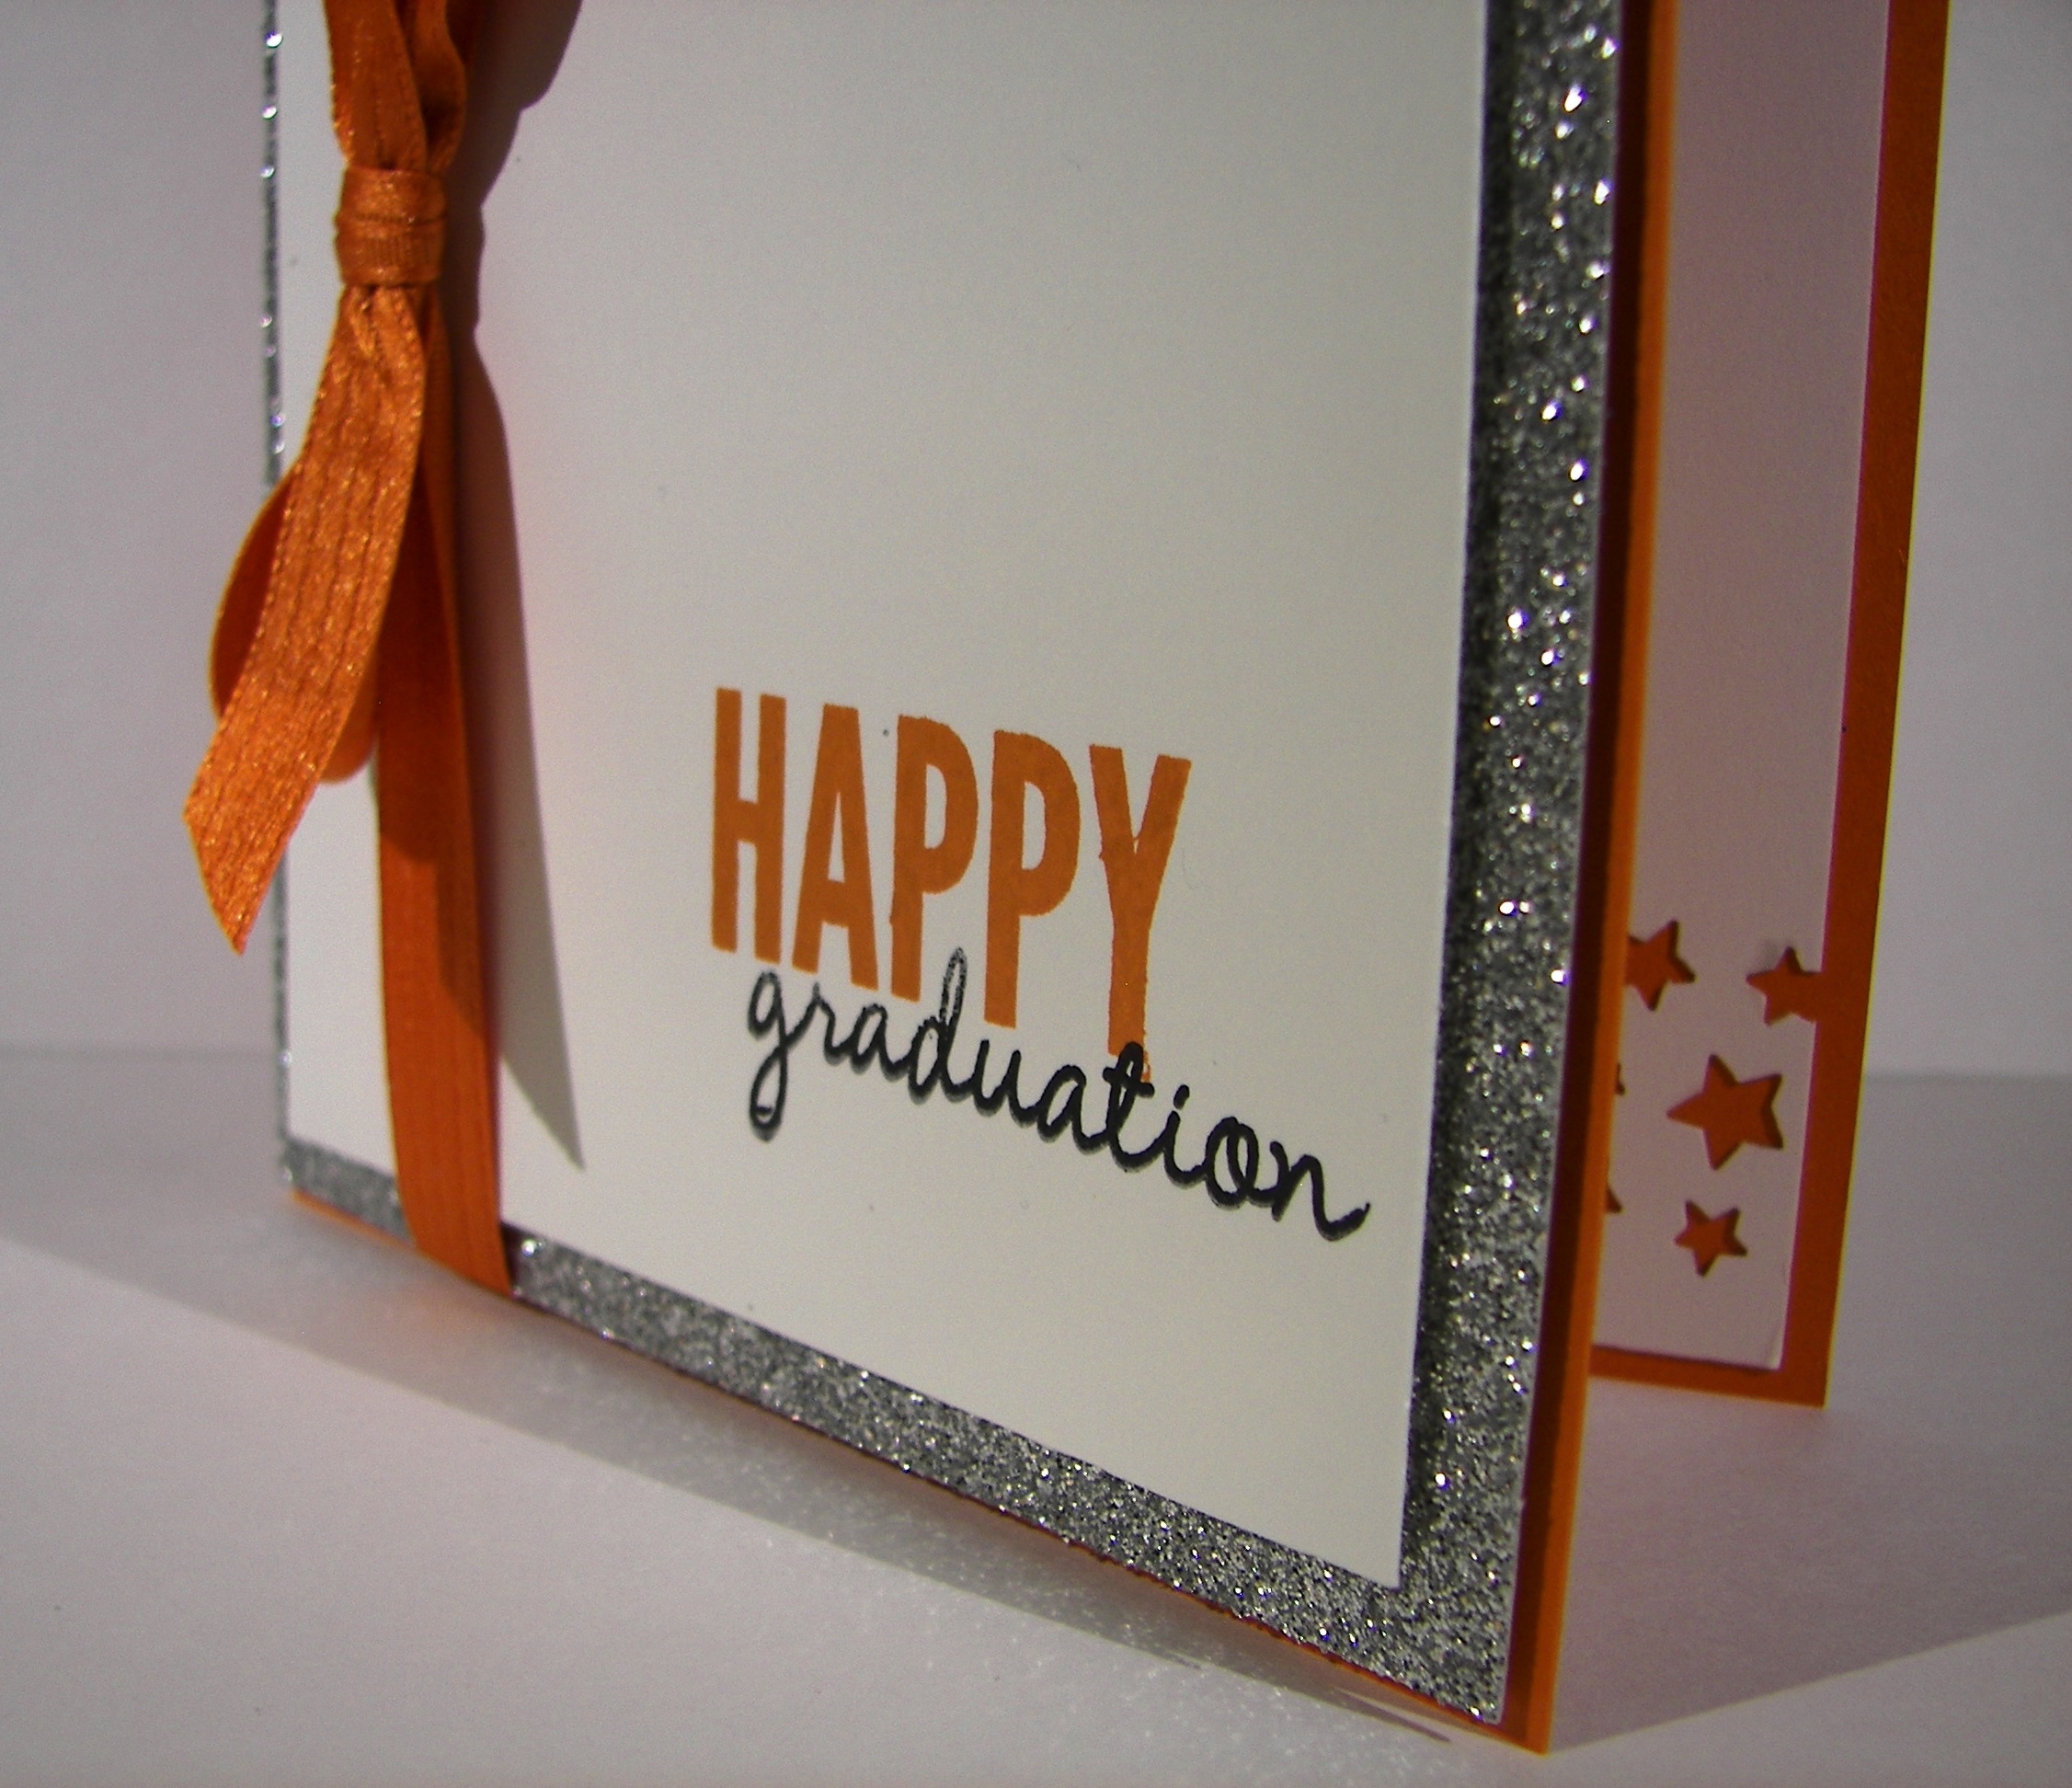
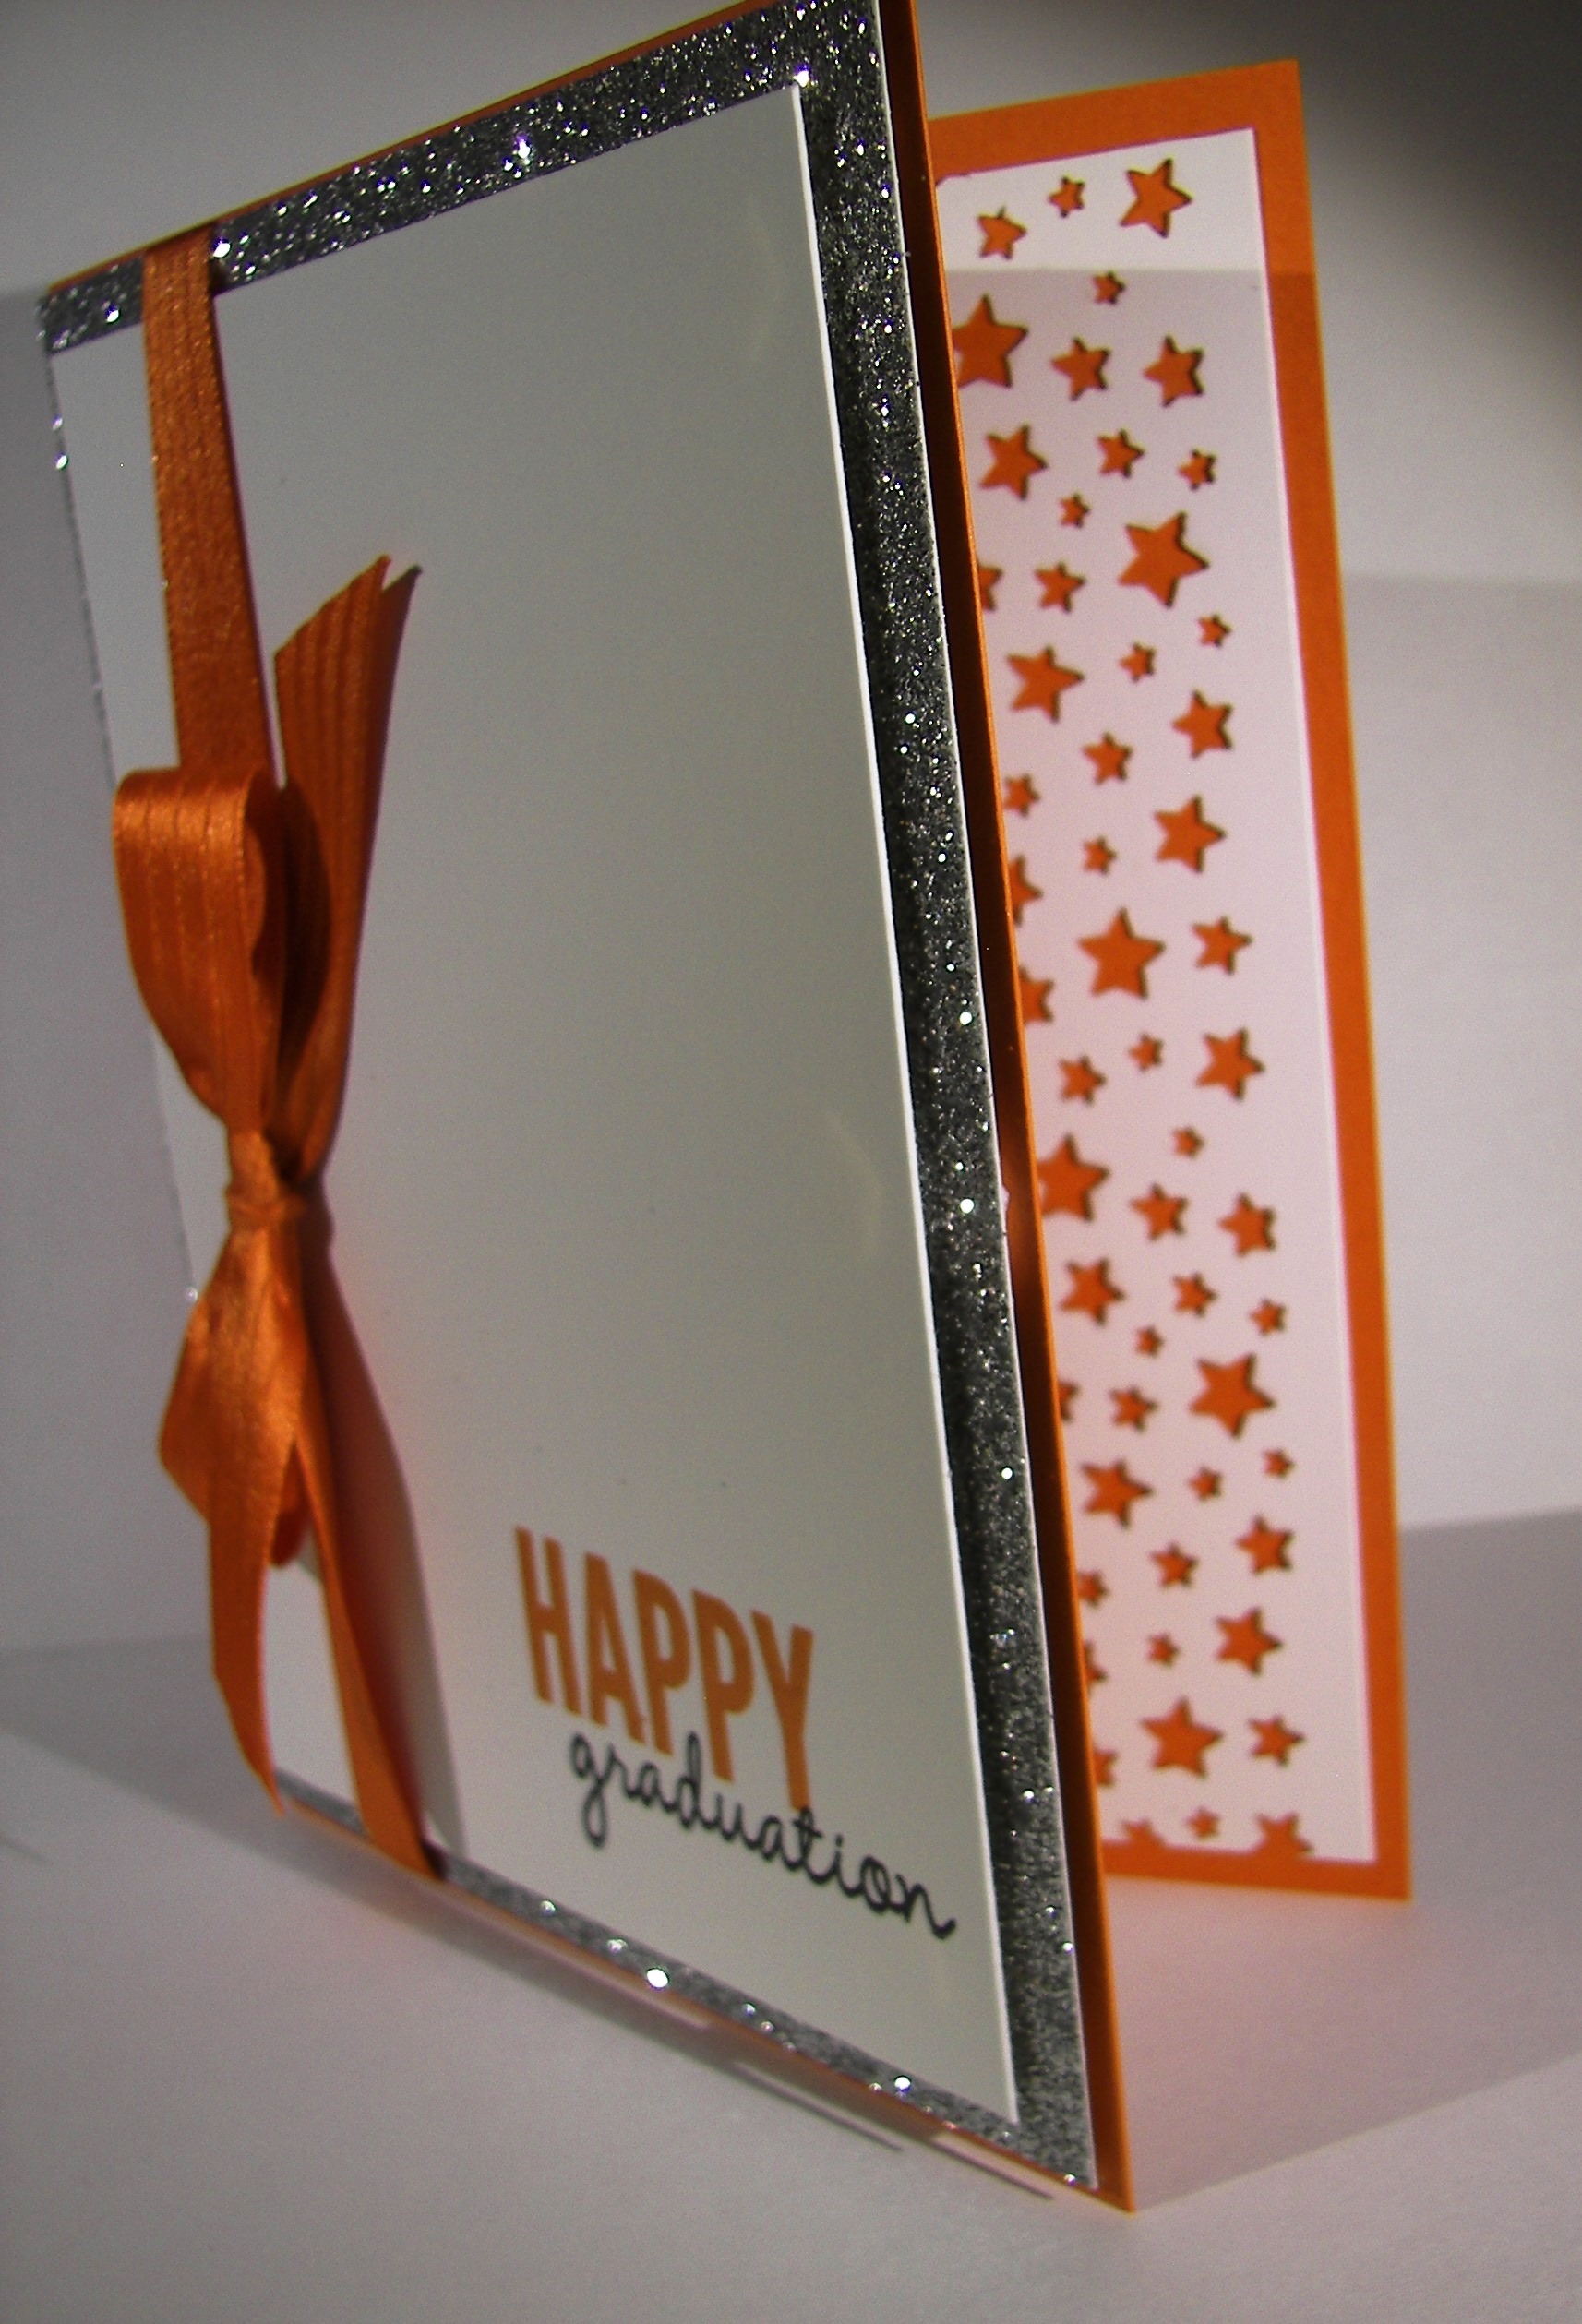
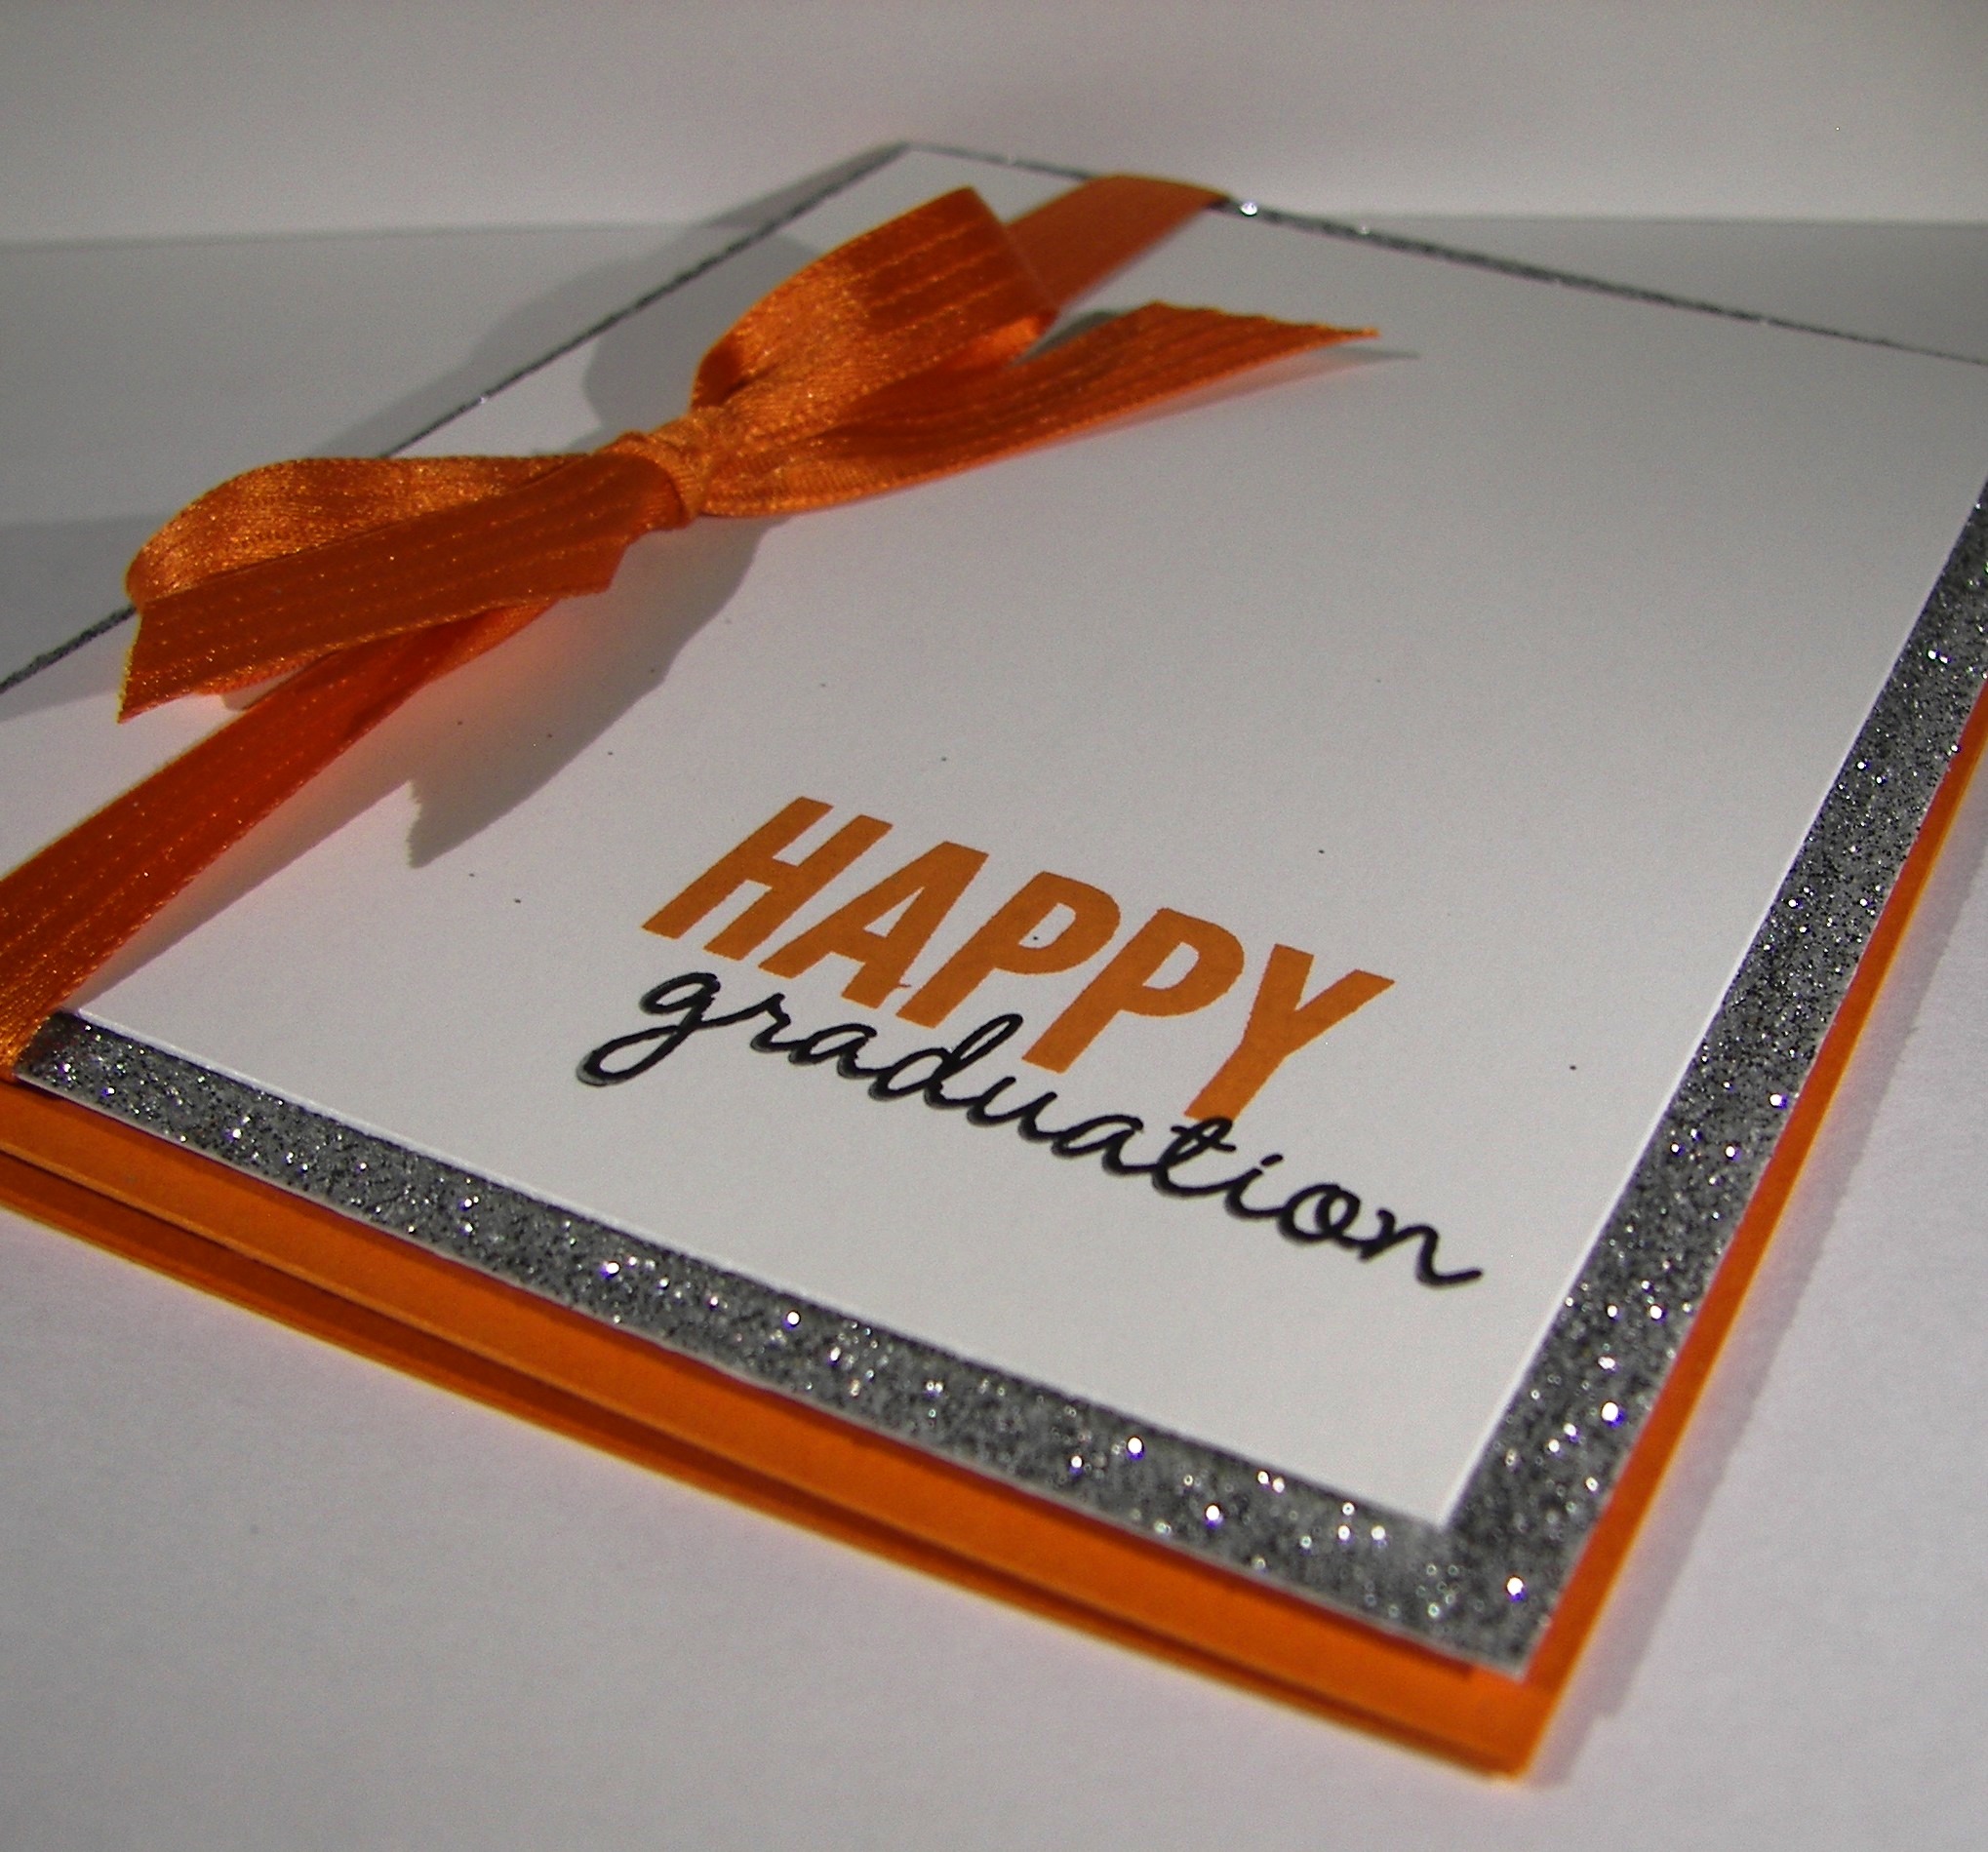
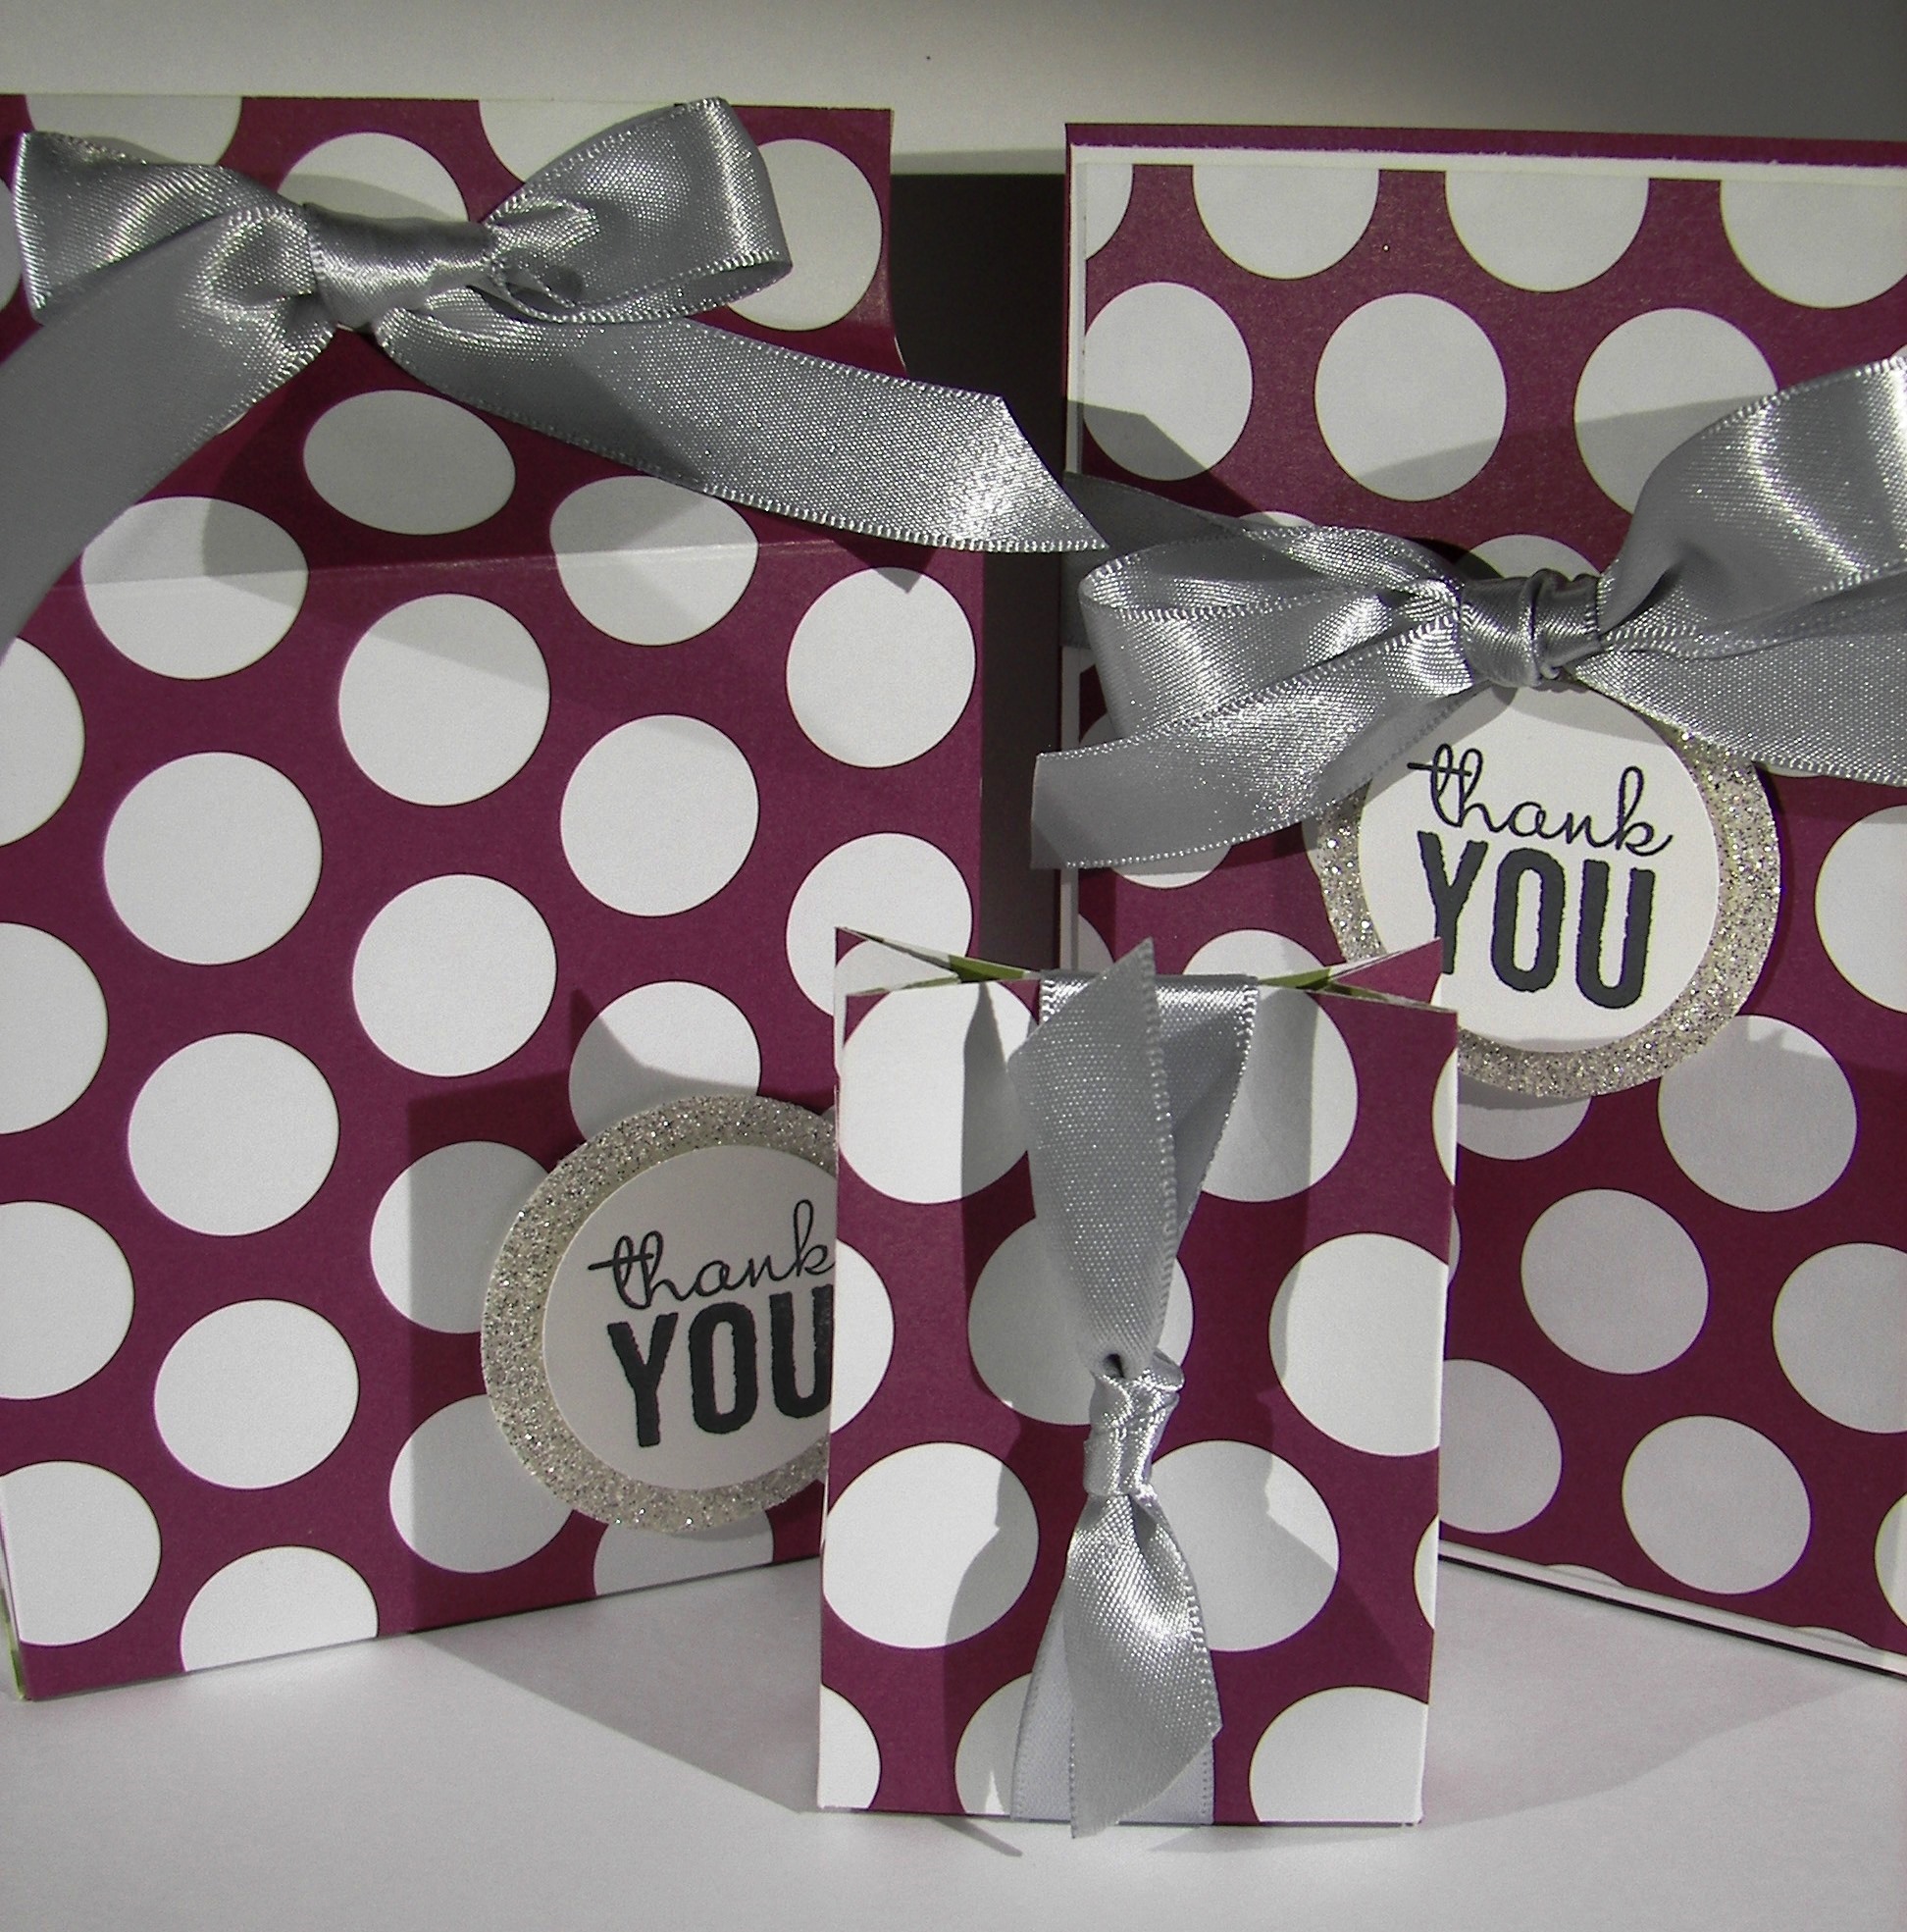
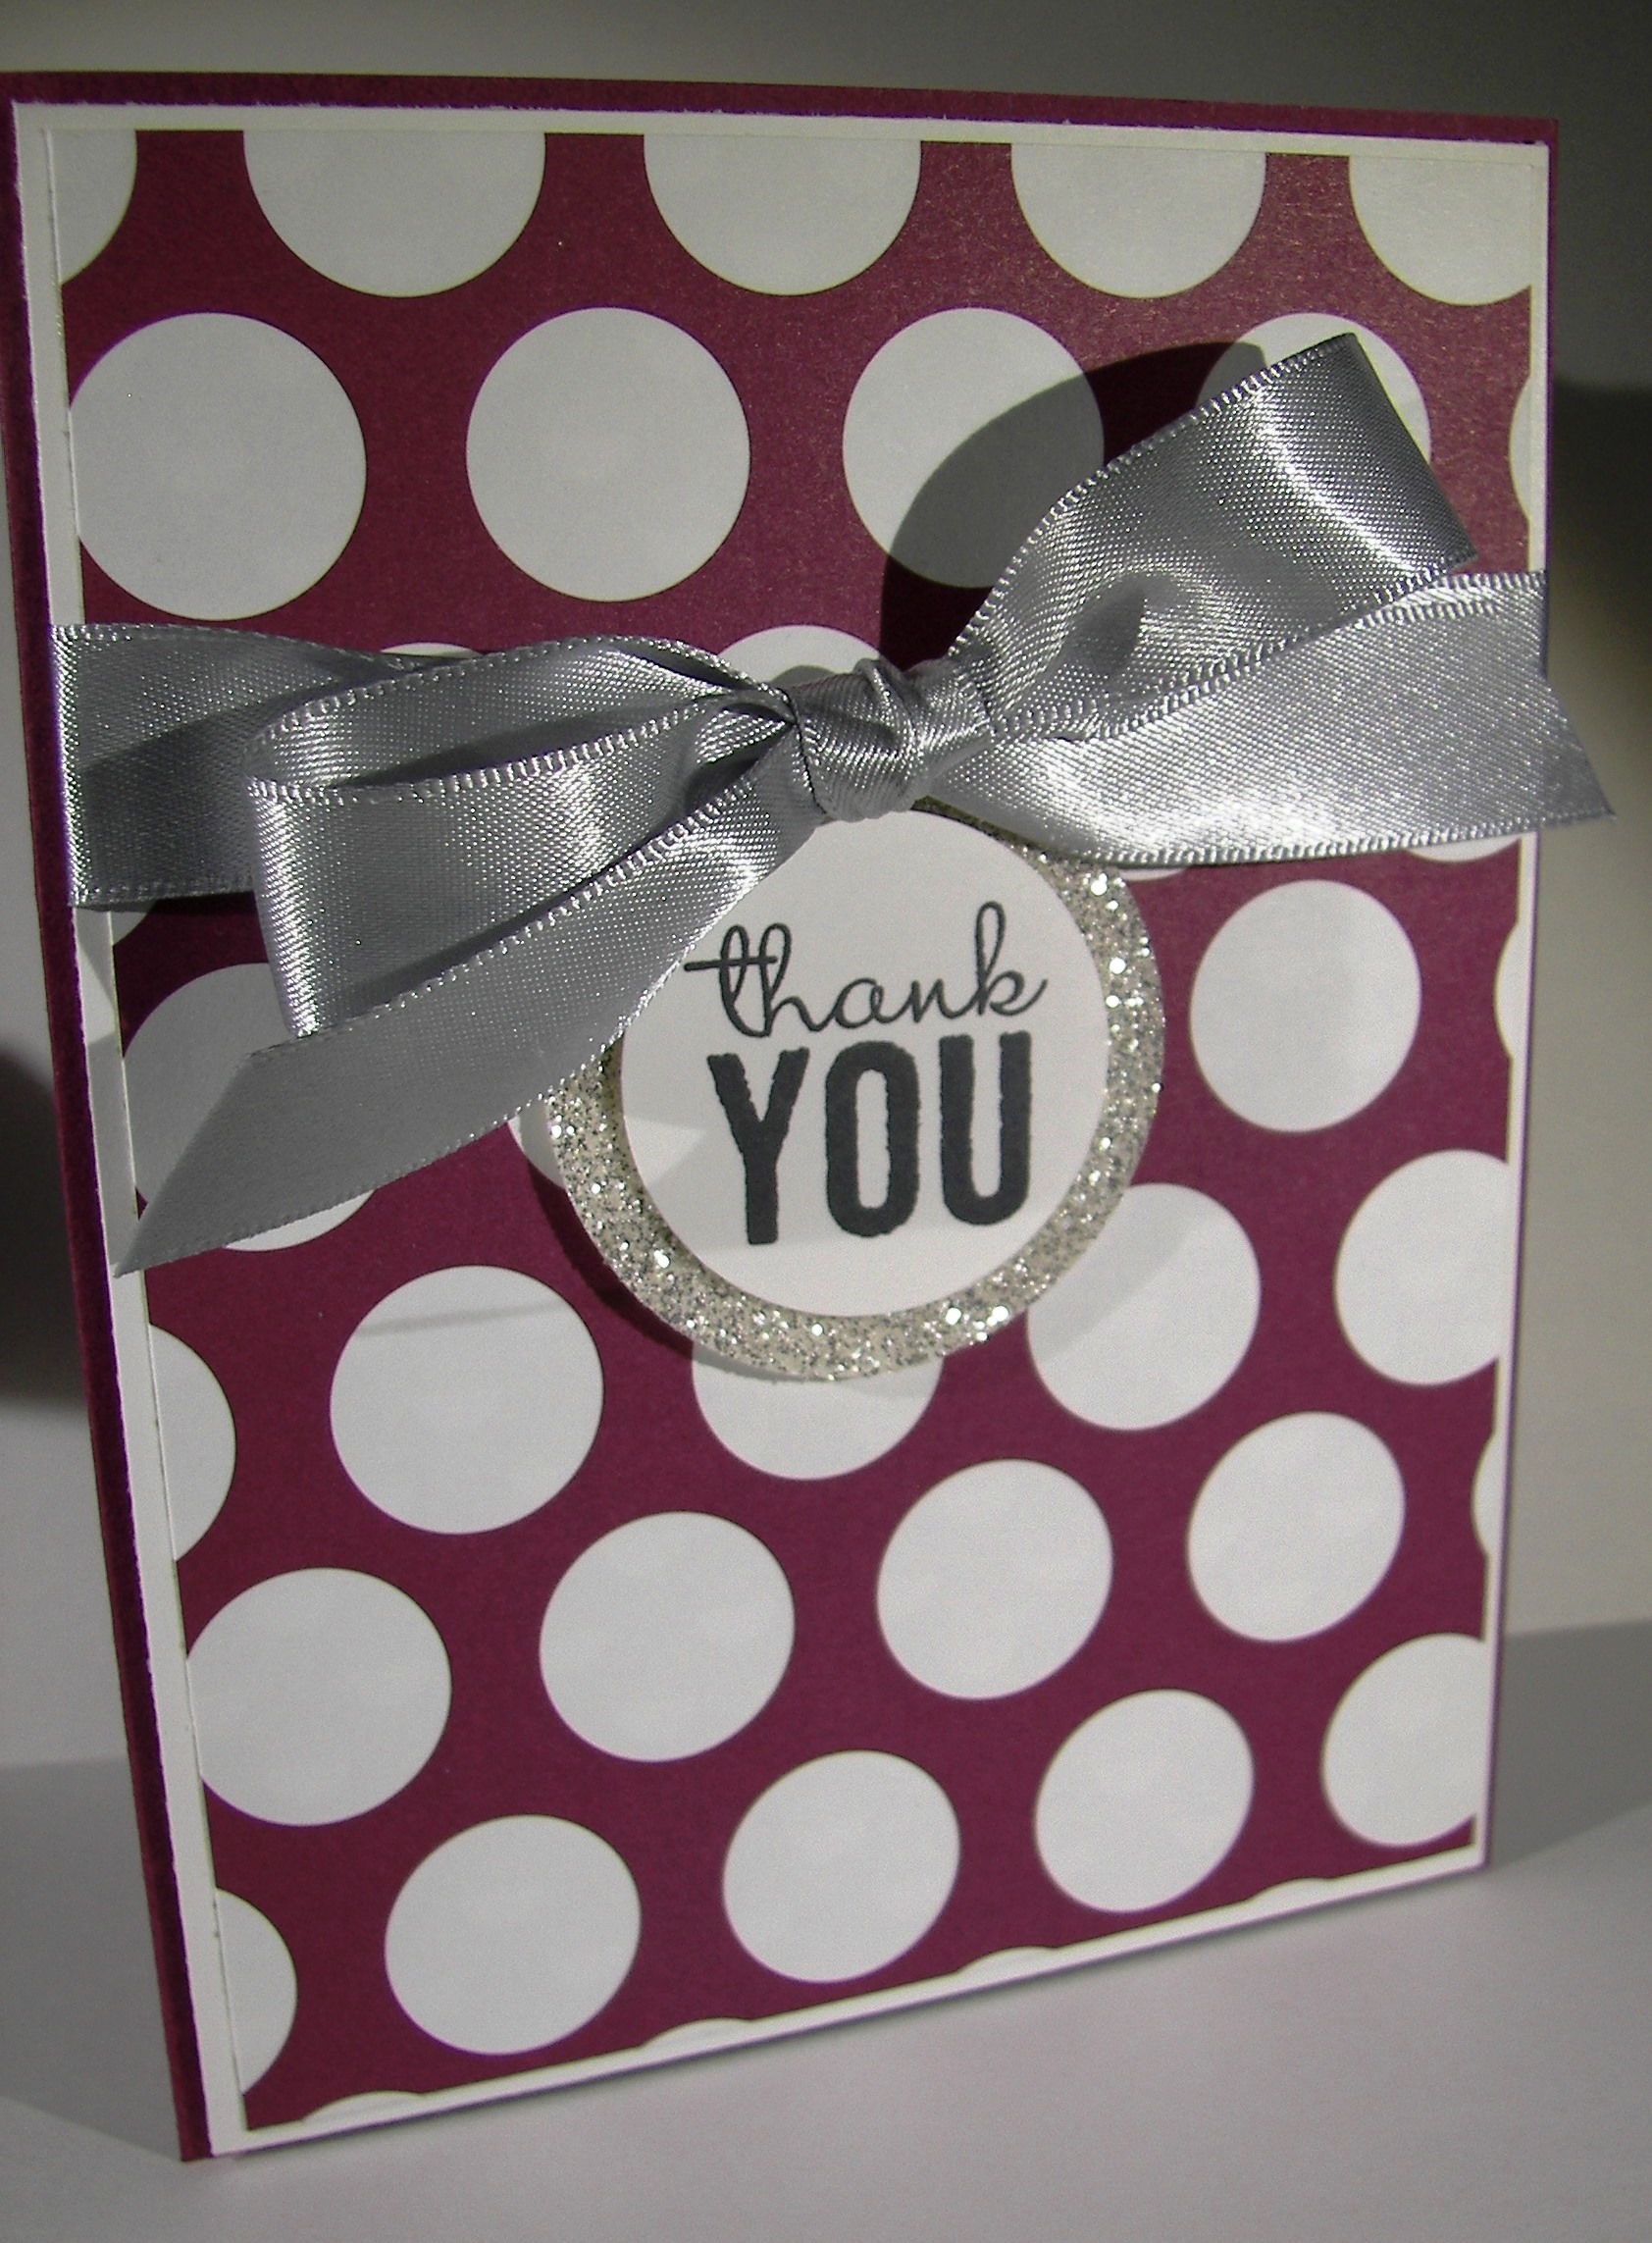
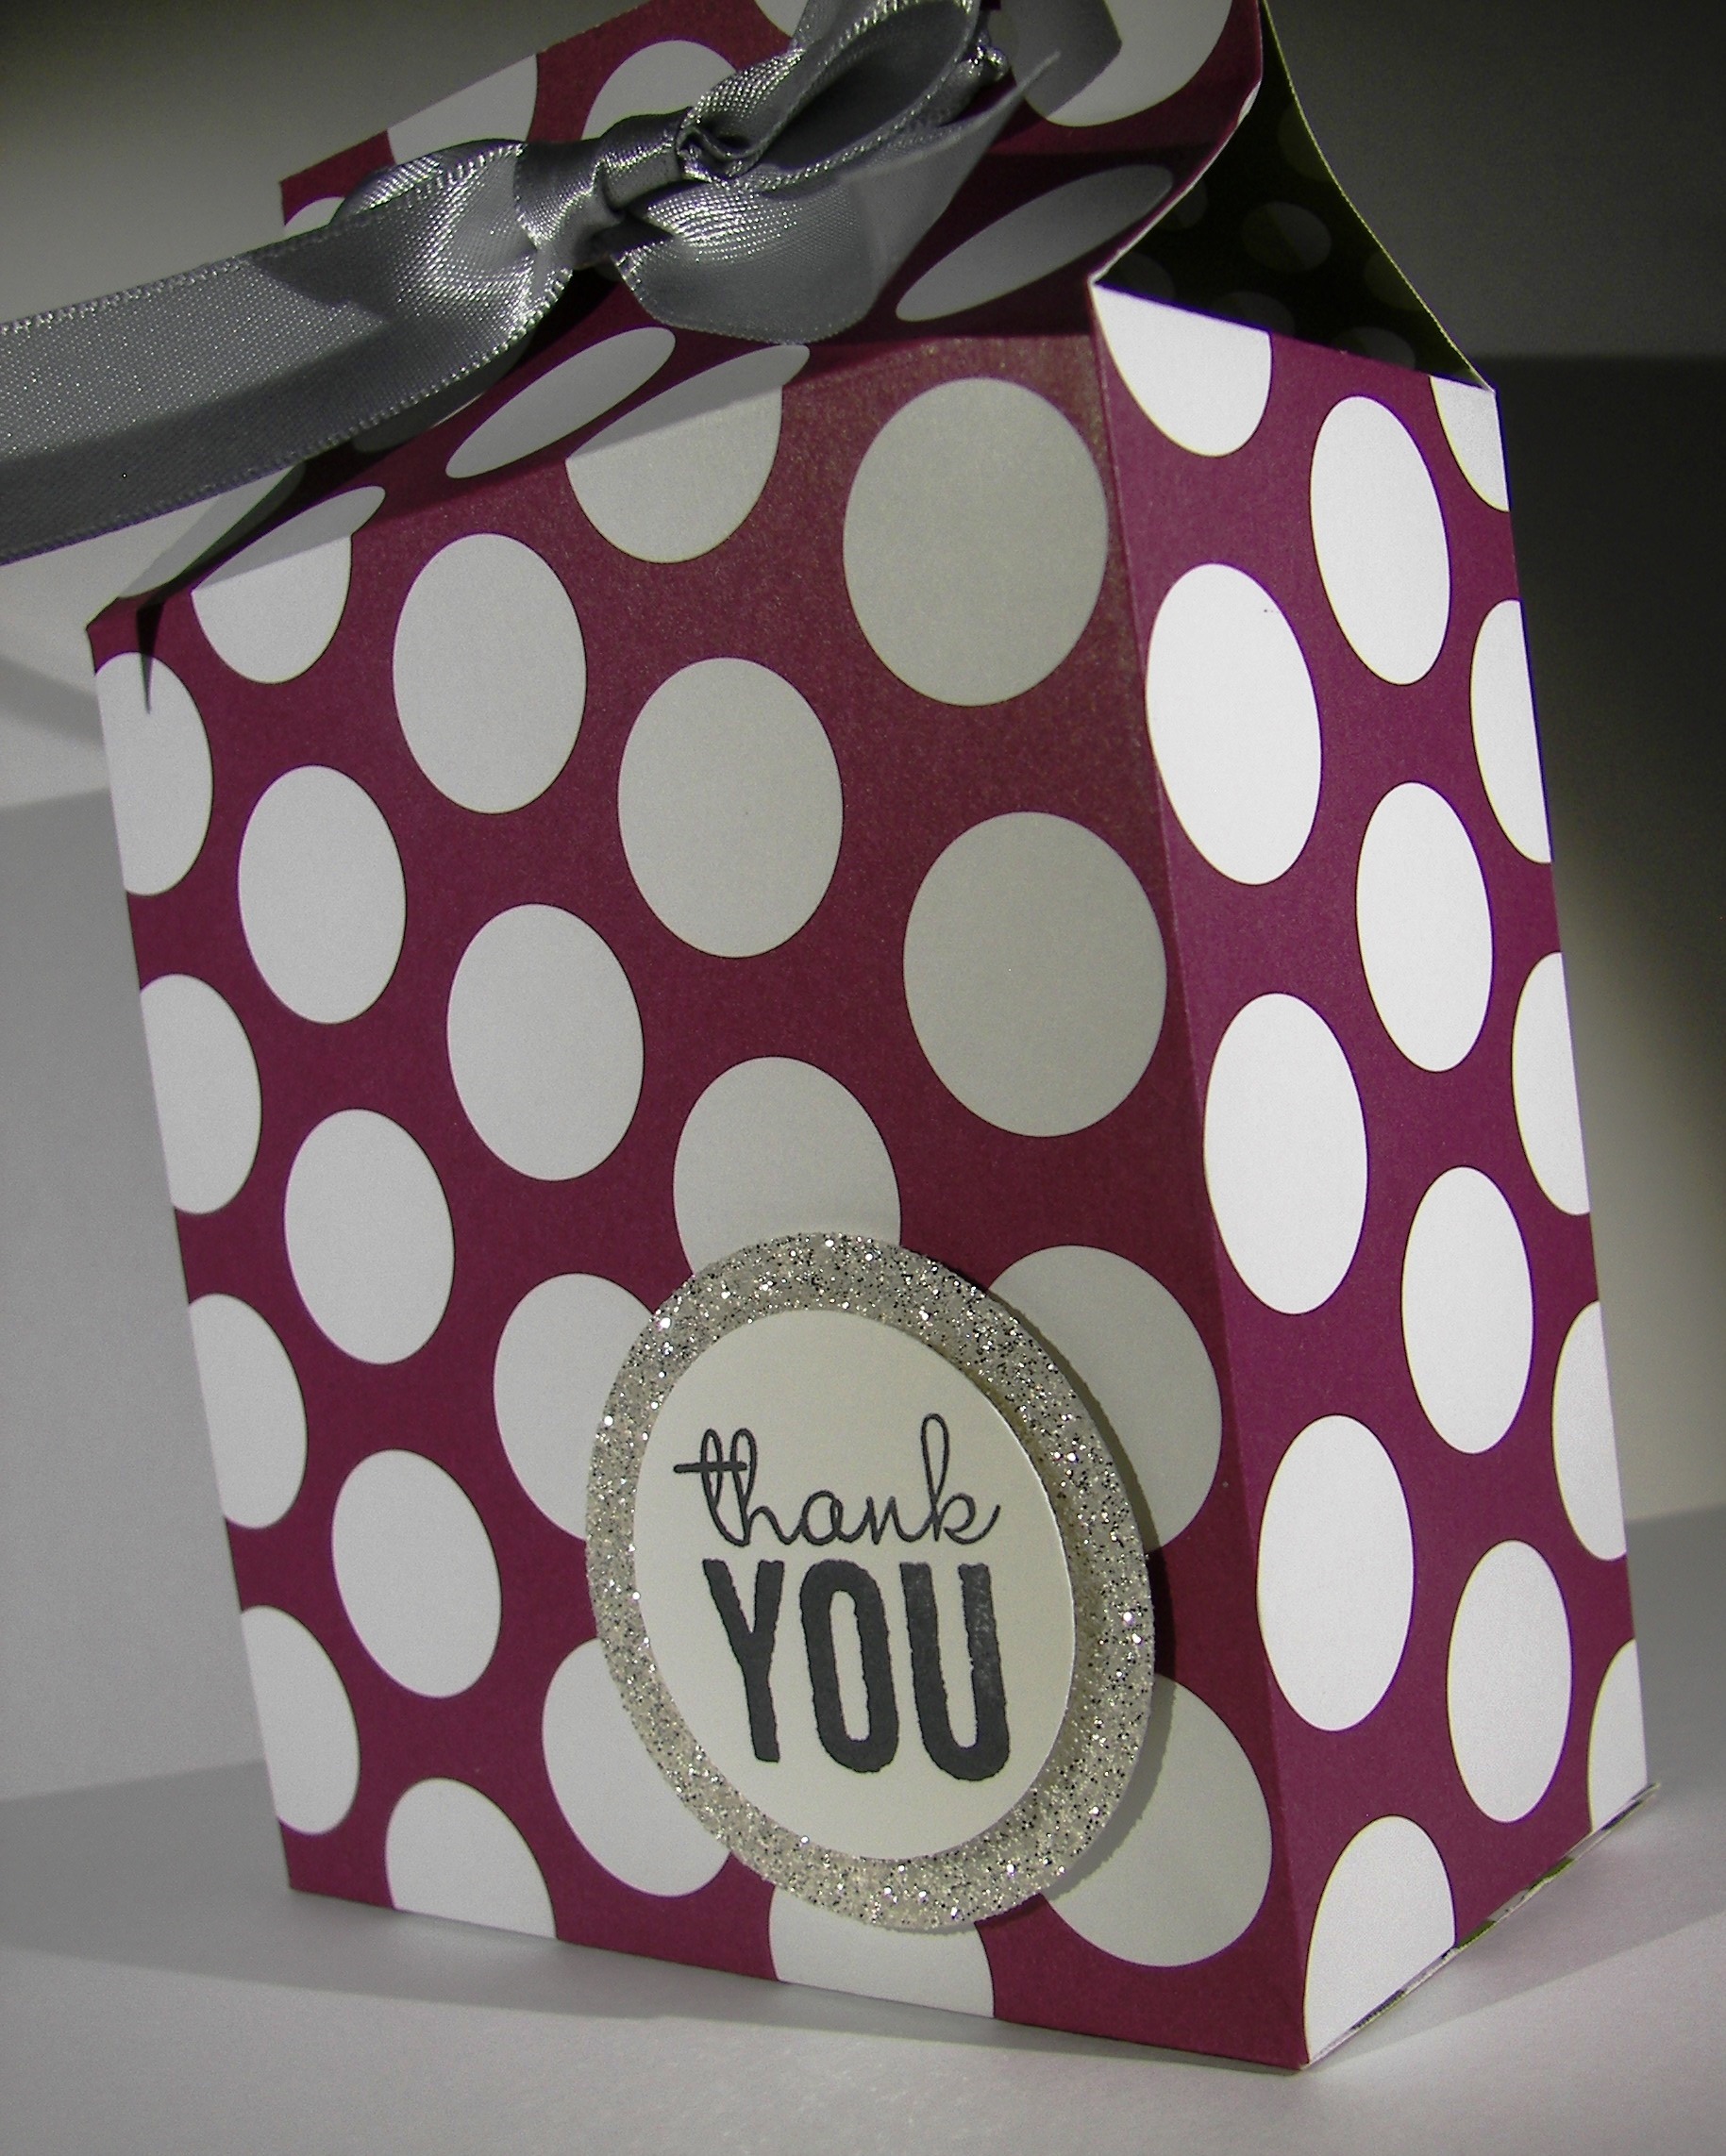
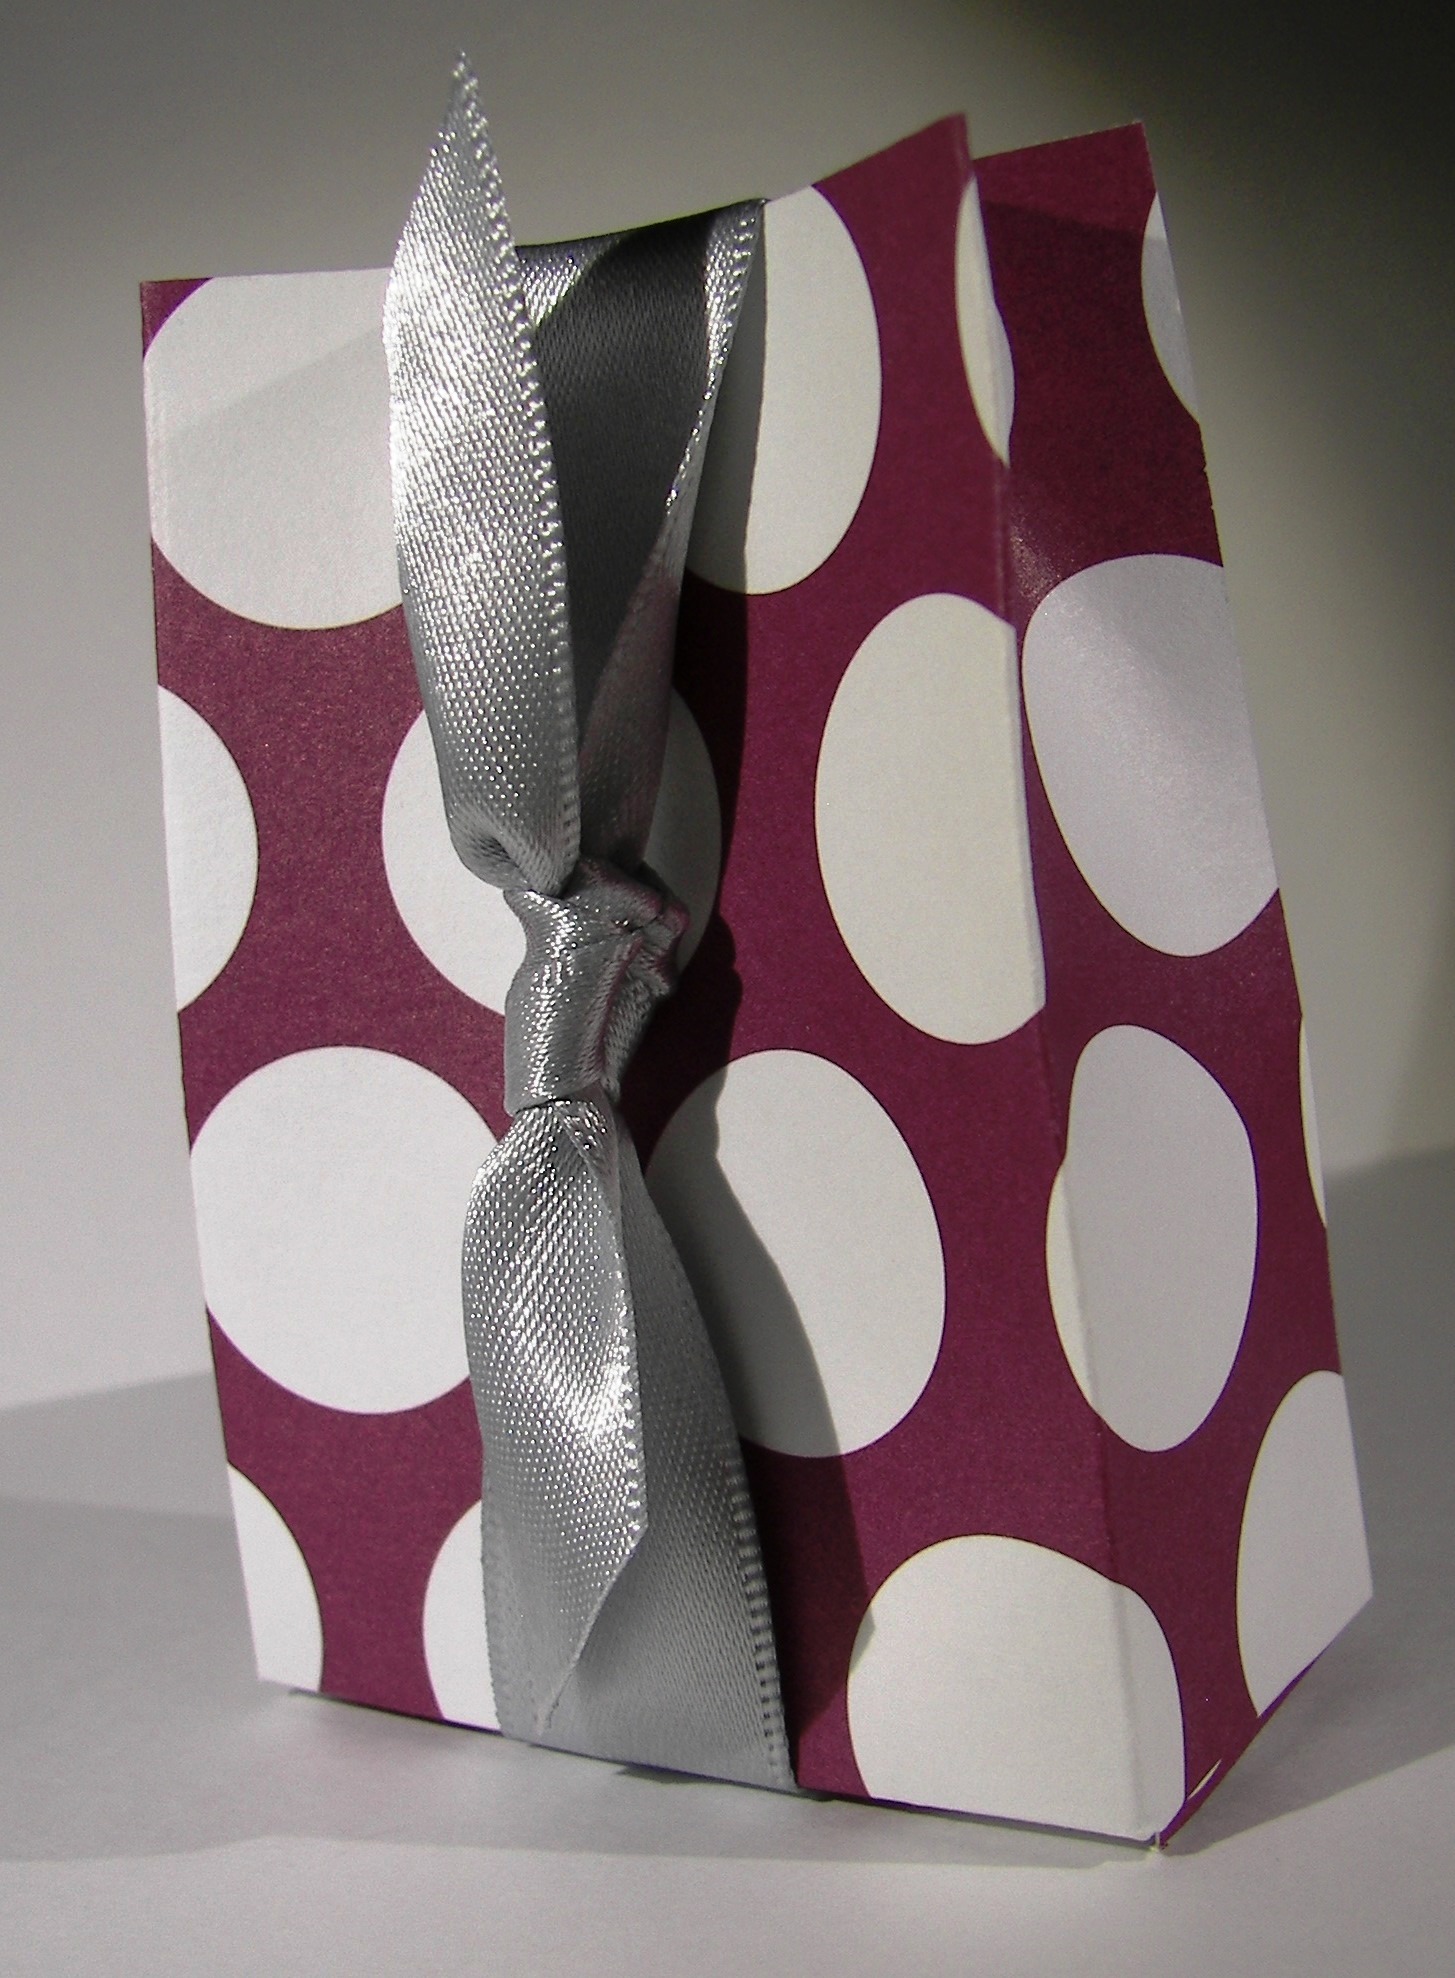
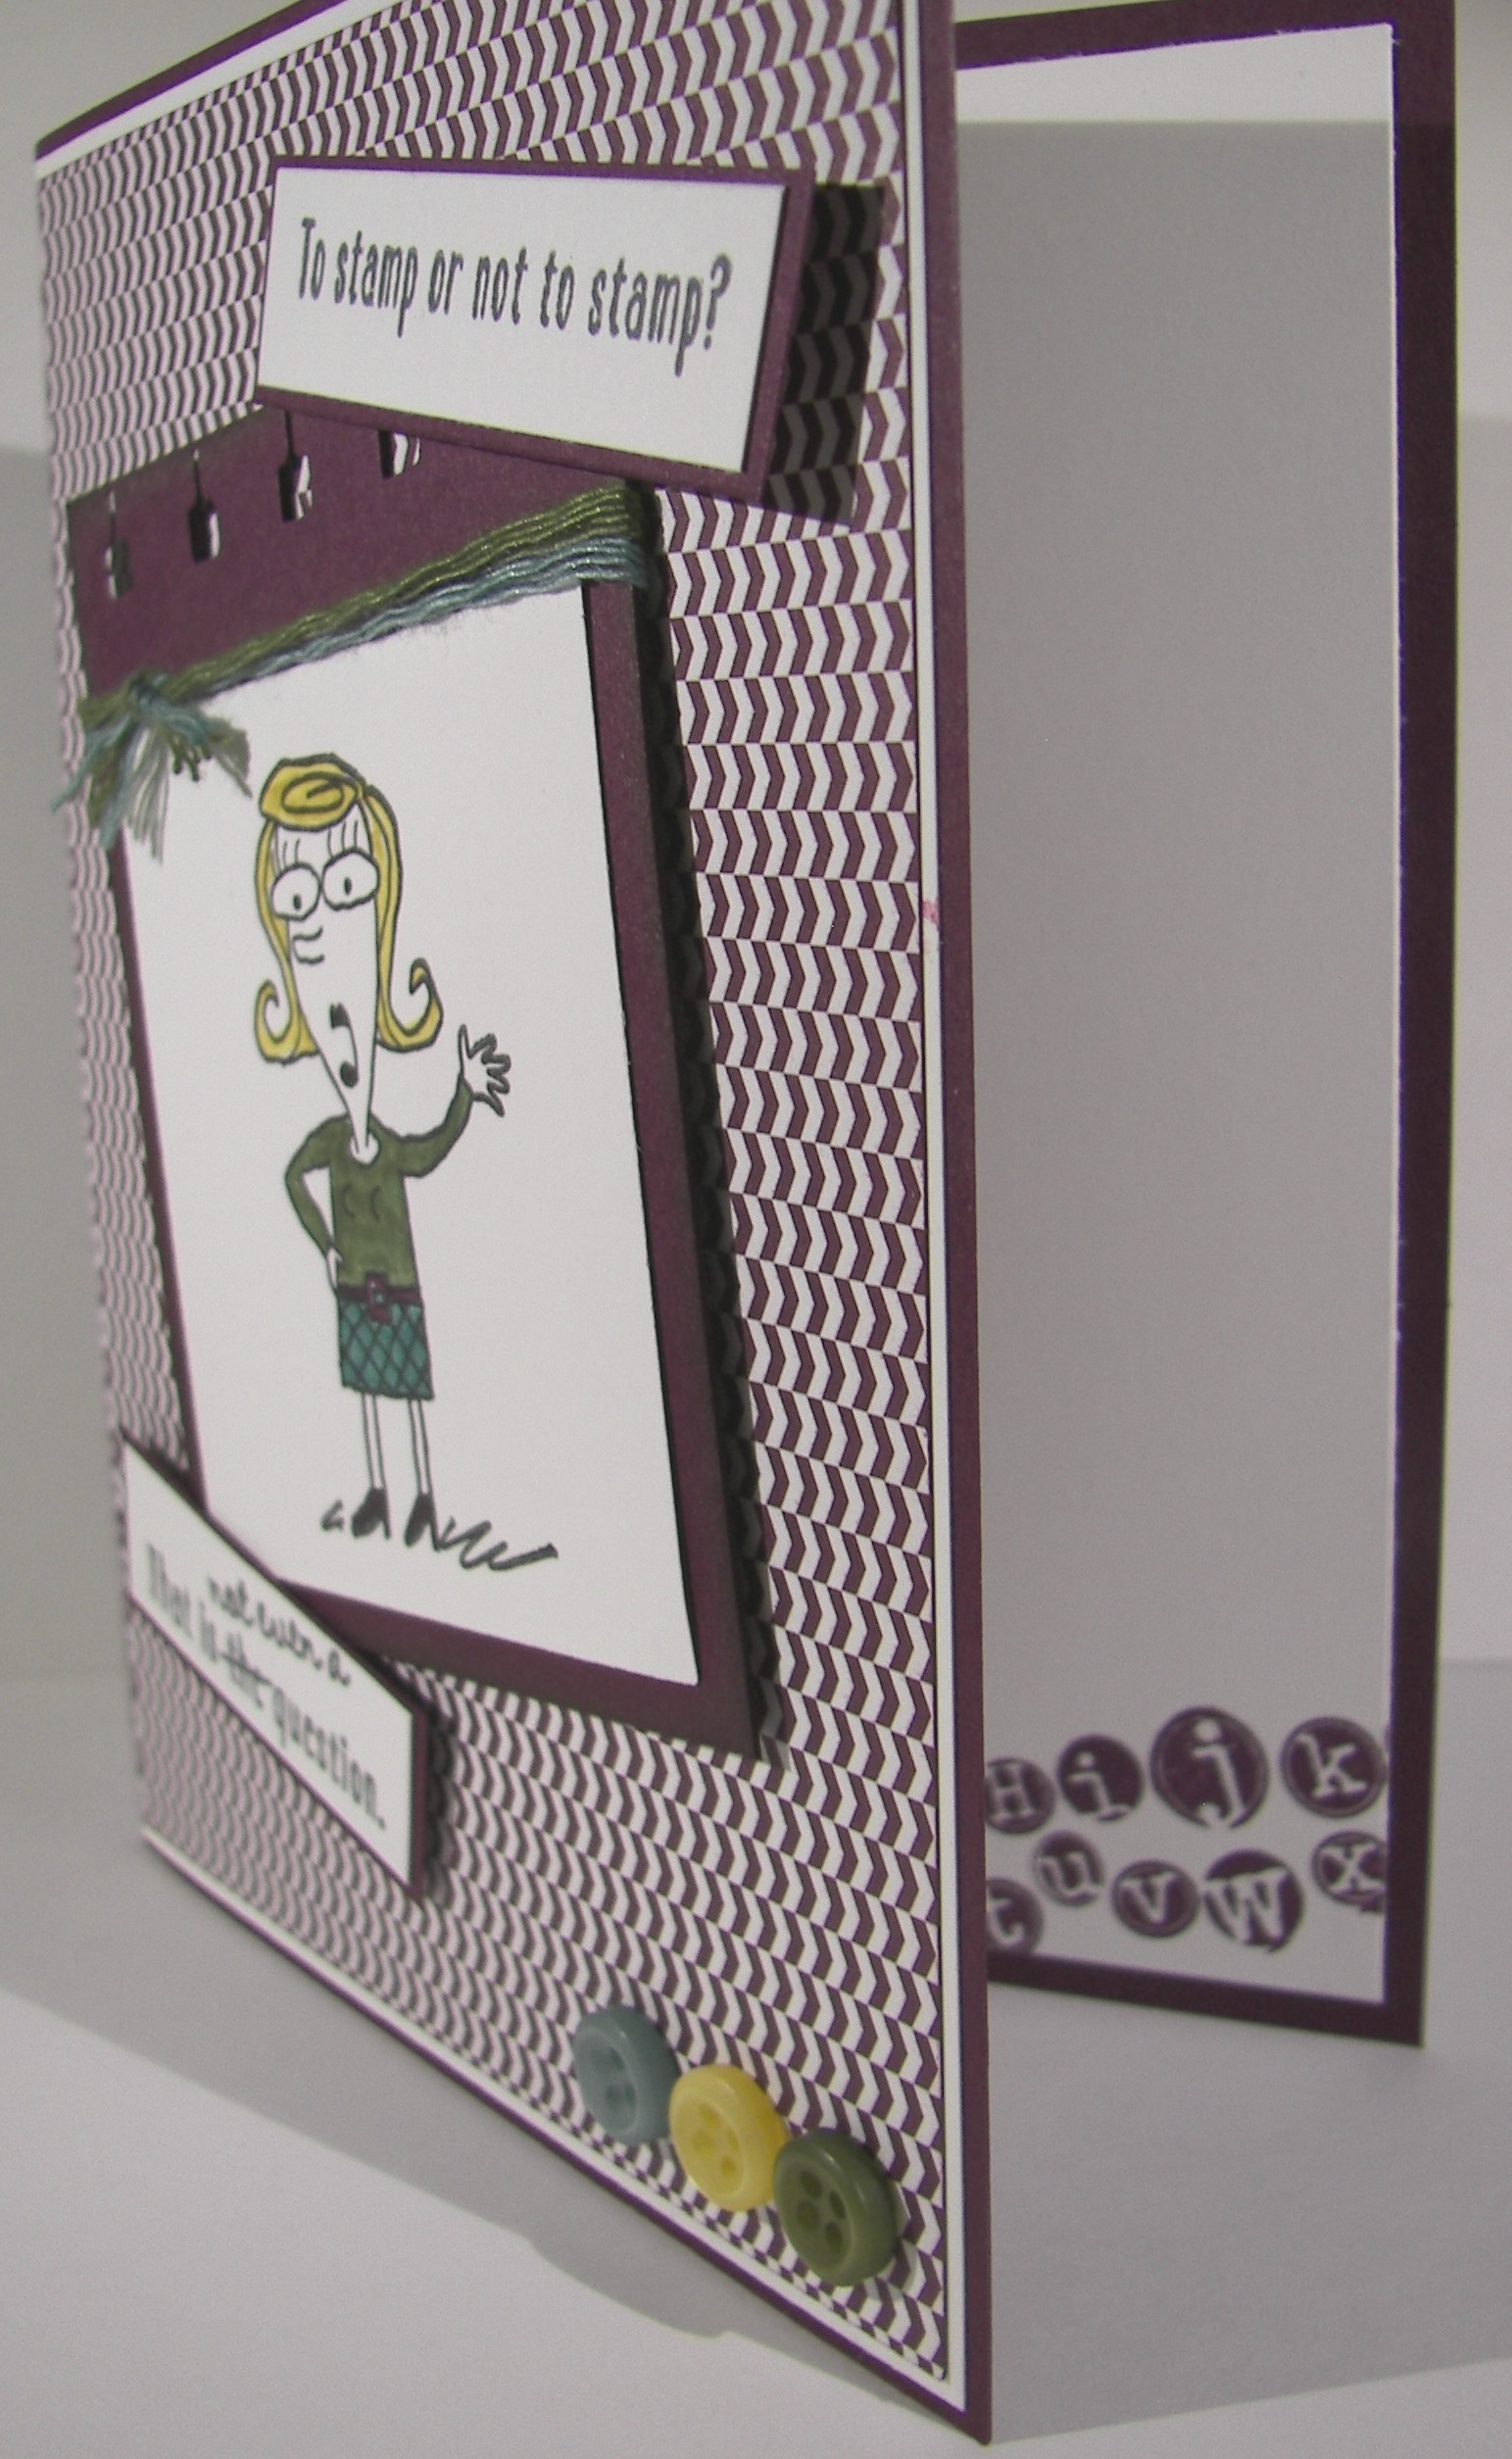
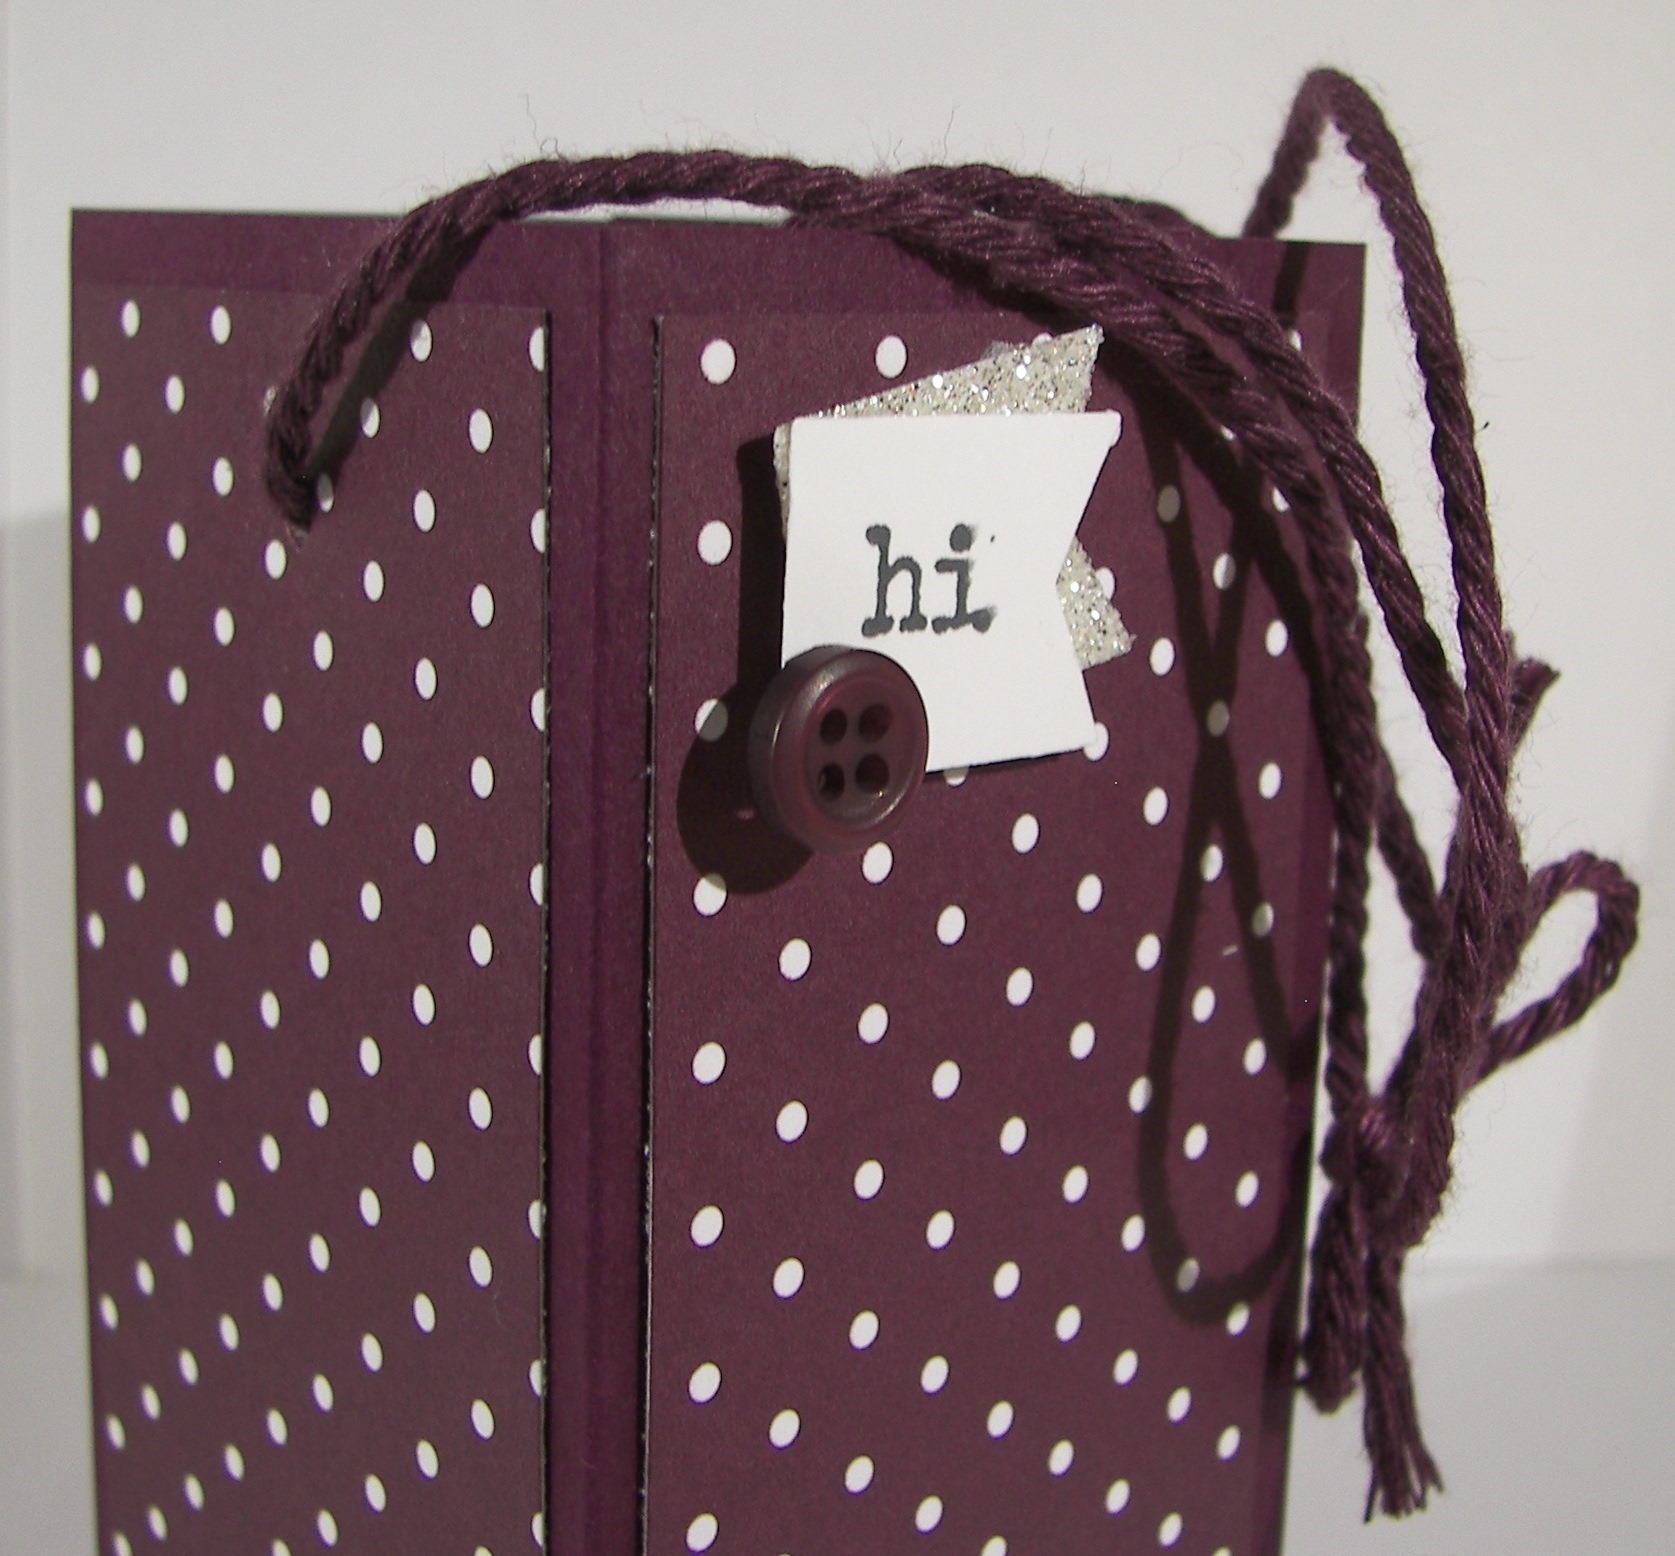
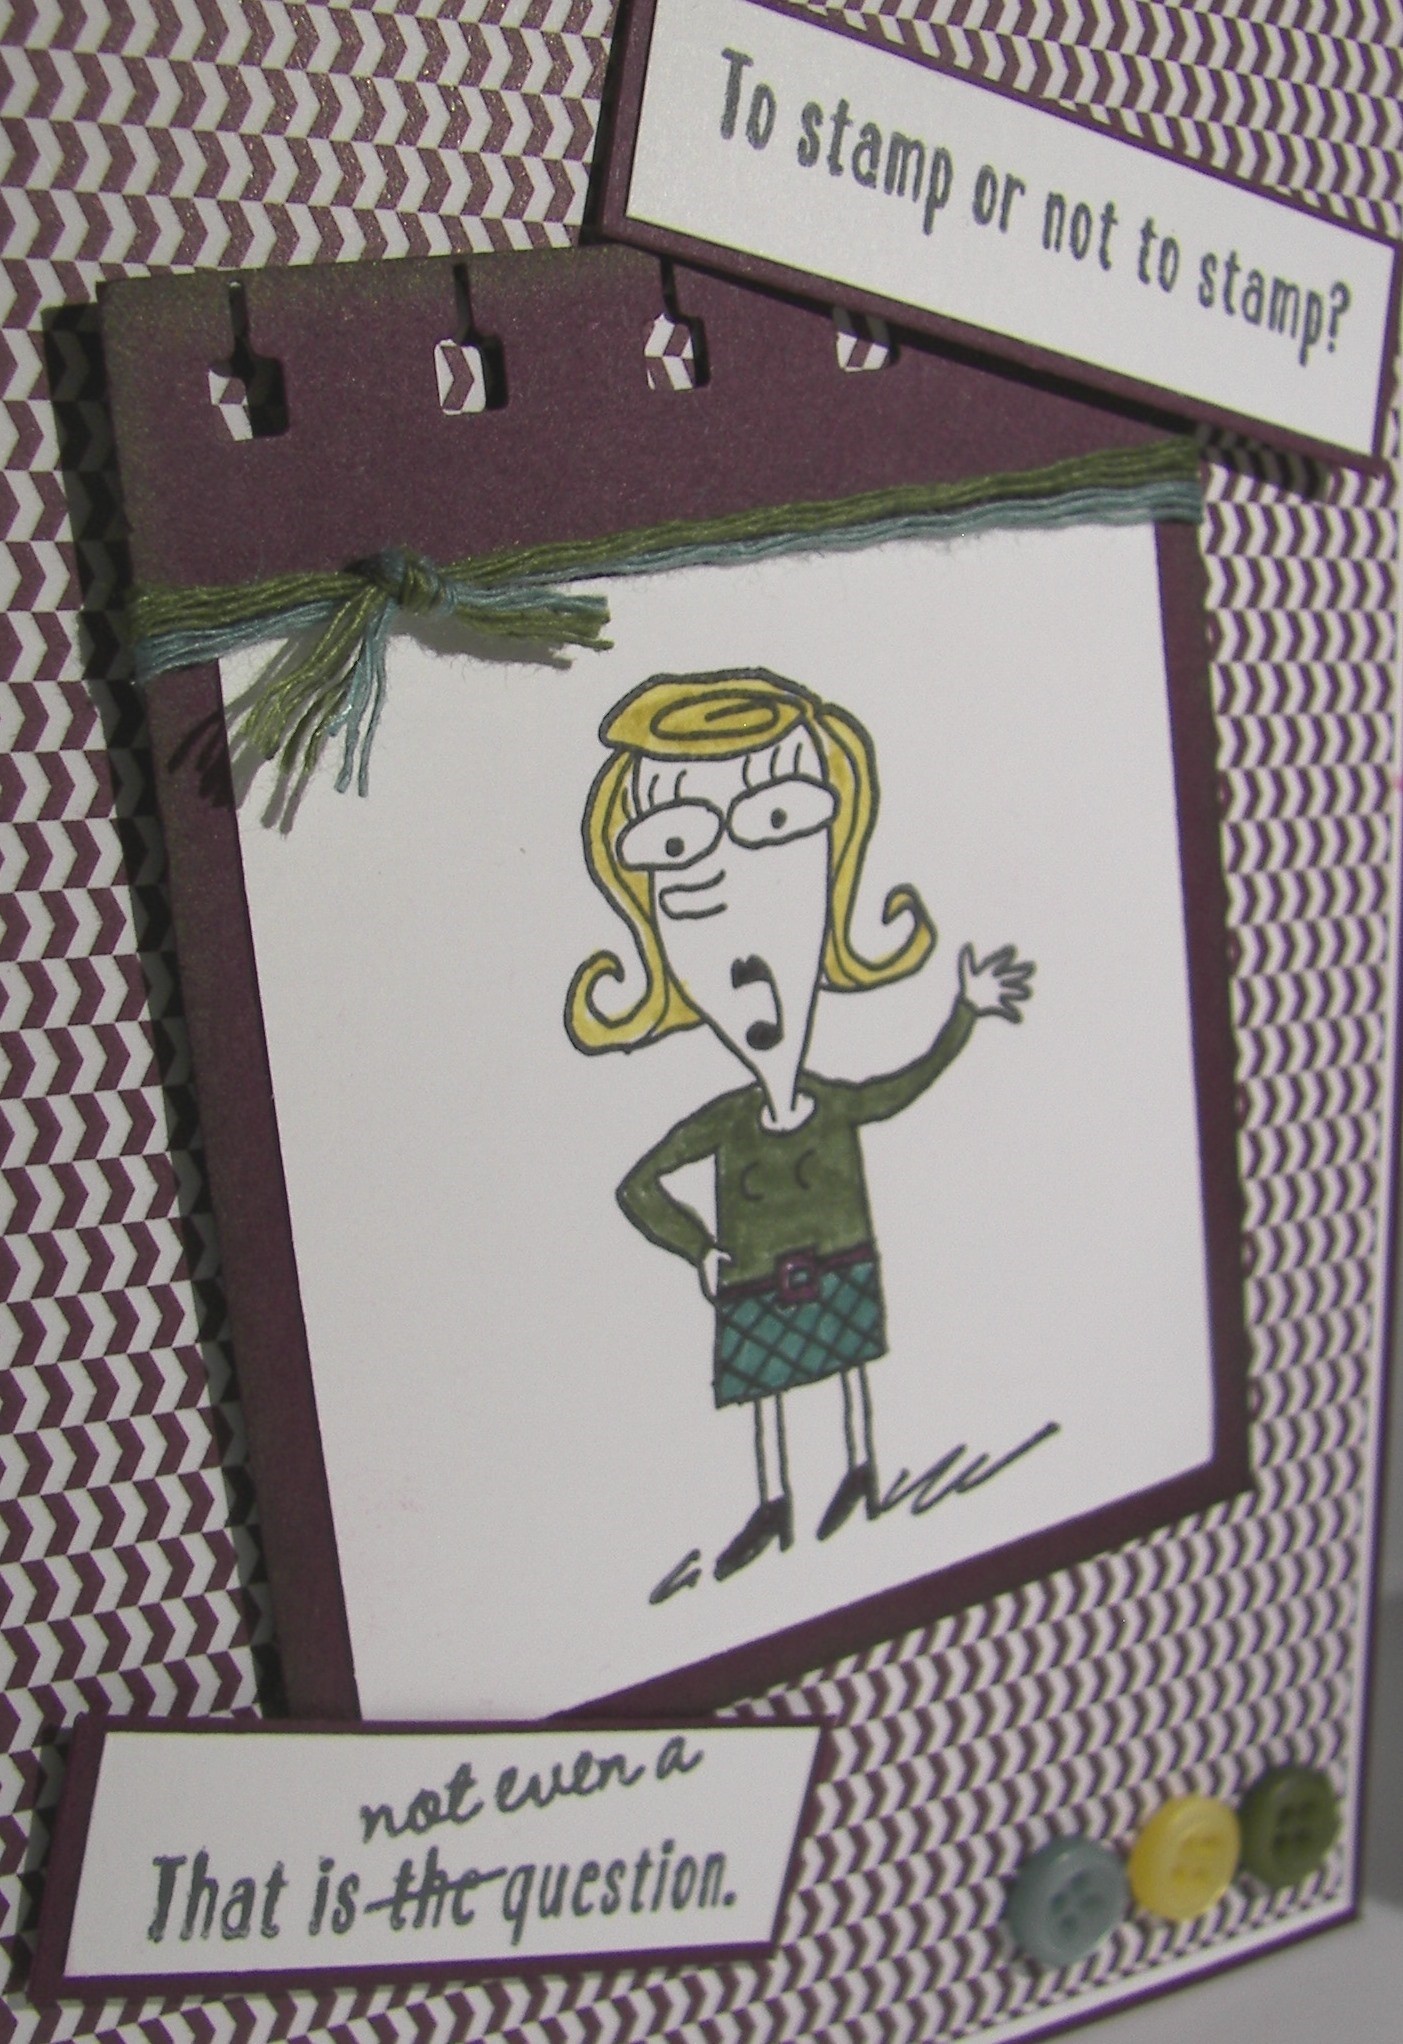
I do not remember what the original kit was at all.  It had two pieces of 6 x 6 paper, ribbon, and the stamped embellishment.  So, I decided to not bother looking it up on my blog and make something new. My go to projects are cards with matching tiny gift bags. Mission accomplished and kit used up.  I still don’t know what the other one was, but I am quite happy with this little number.

2-9 (3)

Have a creative day!

Make 16 Shine

Turning 16 can be exciting, or overrated, take your pick.  I know a young lady who is excited for lots of reasons, but hesitant as well.  She worries a bit much sometimes.  She loves gray and it is so beautiful on her.  Just like 16 will be.  This card is for her.

2-2

I masked a piece of cold press water color paper and did a wet wash using smokey slate and basic gray.  I just kept adding color until I was happy.  Patience wasn’t on my side, so  the heat gun got to work to dry it.  I wanted a few distress areas so I dripped some water on, let it activate the color, let it run a bit and daubed it up.  Just right.

The new Large Numbers Framelits Dies are so fantastic.  They are huge!  Sparkle was necessary, so silver glimmer paper was the perfect choice.  Before placing the numbers, I wrapped some silver metallic thread several times around the card front for just a touch of ribbon.  I wasn’t some, but not a distraction from the huge 16 just shining there.  The edges of the dimensional sheets fit perfectly behind the numbers so I didn’t have to get all tricky with cutting just the right size.  How great is that!  Of course the card front was attached with a bunch of dimensionals as well.

2-2 (2)

Have a creative day!

Moana

Oh Hello Baby Box…

When something is this tiny, all you can do is giggle.  Especially when you are greeted by an adorable little smiley face that is just large enough to fit inside a 1/2″ circle punch.  The ribbon is just 1/4″ wide.  I absolutely adore tiny things.

1-23

This is made entirely from my to be filed scraps on the side of my desk.  Just like the flowers from my last project.  I guess if I keep pulling from there I won’t have anything to file back.  There is a thought.  I am hoping to spend some time cleaning up a bit today.

The dimensions of this box are 1″ x 1″ x 3 1/4″.  How about that?  I wasn’t sure if the striped dsp would match up okay, but it did pretty darn good.  I tried to save on dsp and cut only a strip off the end to snip up into place.  If I had cut a square and then my strips they would have lined up better, but I chose to save the dsp.

A double layer of the bitty banner punch with one tiny little stamp.  The image is from the Hello free Sale-a-bration set.  As I have said before, I love it when a stamp fits into a punch.  Makes my life easy and keeps the images super clean.

I thought about putting candies inside, switched to a chapstick, but I think I could even put a lovely lipstick inside.  I will have to see what I get up to on this one.  Love it though!

1-23 (1)

Have a creative day!

Moana

Happy Christmas Exchange

I usually don’t get the chance to blog on a workshop morning, but since we are doing things a little differently, my morning is a bit different.

Happy Christmas Exchange

For today’s workshop, my club ladies are each sharing a project and making a kit for everyone to complete.  This is my contribution.  It does need to be simple, the prep work done, and the project should be able to be completed in 5-10 minutes.  We then get to come home with several different projects and my ladies get a chance to show off their skills too!  I call that a win.

Happy Christmas Exchange

This project is all about simple layering with 1/4″ borders, two stamps, two different sized square framelits and a touch of ribbon.  Oh, and sponging please, plenty of sponging.  Really, it should be pretty satisfying.

We are also doing a little gift exchange and I am bringing my big bin of retired product that is their own little clearance rack.  I drag that out every 3-4 months after I add a bit here and there into it.  This will be our third year doing this, and I think it is a tradition here to stay.

Happy Christmas Exchange

Have a creative day!

Moana

White Christmas

I had intended on making a matching bag for yesterday’s card, but I spent so much time on the card I had to call it and move on.  Yet the large piece of velum was still waiting for me to finish it up.  I made an effort or two.

White Christmas

My original plan didn’t work because I didn’t punch my holes along the bag top evenly and the ribbon stitching looked horrible.  I cut off the top and tried again.  There were improvements, but it is still uneven.  It did look really nice with the card, but this is like the Where’s Waldo of crafting goofups to be honest.  Can you find them all?

White Christmas

How about this obvious one.  I was chatting to my daughter and not paying attention to my scoring and the measurements got off.  You don’t waste foil velum though, so I continued on.  That is when I goofed up the hole punching the first time, and a bit again on the second time.  I didn’t bother putting treats inside because I don’t know if I can let this goof off the desk.

But, the set does look nice even if I made mistakes.  I always tell my ladies that there are no mistakes, only opportunities.  I don’t know about this one, maybe an opportunity to learn from my mistakes?

White Christmas

Have a creative day!

Moana

Glittering Holidays

After nearly a two week run of a clean and simple holiday gift set I have been more than ready to make something fabulous.  That is exactly what I did, if that sounds a bit showy, well, just look at it!  I have been planning it all week.

Glittering Holidays

I really just had the flowers in mind and knew they should go on top of a box.  So, to get my brain going, I picked some paper, ink and a stamp and got to work.  The paper alone was just lovely.  I stamped in a way to further elongate the tall box I had in mind.  I really wanted it to be about the flowers.  I did have to use my hot glue gun to keep these guys in order.  After they were assembled I attached them to each other.  The ribbon is threaded between them to hold them on top, so they are not attached otherwise and can be used again.

Glittering Holidays

The box is just scored every two inches for the side measurements and the same for the top and bottom.  Simple there for sure.  I closed the bottom, but just folded the top in place.  I am so going to use this for a wonderful gift, so I needed to get back inside.  Not just for a blog post, nope.

Glittering Holidays

My husband actually designed the card for me.  We chatted while he drove to work and he did a great job with the stamp choices I must say.  I stamped in silver ink and heat embossed in clear to give it an extra shine.  So pretty.  I added flowers with metal rimmed pearls in the centers and added a thin ribbon to finish it off.  The ribbon also helped tie the gift box in as a set.

Glittering Holidays

Have a creative day!

Moana

Embellished Ornaments

This started out as a pretty darn good morning, but I am having quite the head cold, so my time management isn’t the best.  I think I am going in kind a slow motion mode.  The results still show nicely though, don’t you think?

Embellished Ornaments

New product, new product, new product!  I so enjoy working with new product!  Today was the first time for three different newbies to my collection.  Two stamp sets and one framelit set.  They are sure to get a lot of use this holiday, for sure.

Embellished Ornaments

My photos don’t let you know very well, the colors look off, but I am working with Sahara Sand and Not Quite Navy.  The ornament on the left is backed with a deep navy blue and it looks so pretty.  The smaller ornament is backed with Crumb Cake just to give a better contrast.  The stamping is all done in Sahara Sand, as well as the sponging.  I used the new gold cording to “hang” the ornaments and it worked great.  I have been waiting to use this set, and it was so worth it.  Be patient, you will be seeing it a lot.

Embellished Ornaments

Have a creative day!

Moana

A Whole Lot of Lovely Baker’s Boxes!

I tried to not purchase this particular die cut, but I fell in love with it at a workshop.  I guess that isn’t too different from the ladies I teach in my workshops.  It works for me because I just love this box!

A Whole Lot of Lovely Baker's Boxes!

This adorable box came together so quickly.  The set comes with several other dies to accent or accessorize how you like.  More than enough choices.  I just chose one of my favorite combinations of circle punches with a simple stamp framed with glimmer paper.  How absolutely lovely, right?

A Whole Lot of Lovely Baker's Boxes!

One little glue dot just below the handle was all I needed to keep the top snug to add my favorite dotted lace trim with a big bow.  I moved into my favorite sponging party and did it up right.  Simple yet so adorable.   Hope this little project finds you in a good mood and ready to try your own.

A Whole Lot of Lovely Baker's Boxes!

Have a creative day!

Moana


Celebrate Today – Happy Graduation!

Yup, today is the big day!  Our Denali is graduating!  How exciting!  Glitter, or shall I say glimmer paper, is definitely in order.  I don’t use this very much, but this more than called for it!  I even managed to make these without her seeing.  She might have been distracted, since it is the last day of school, and all they do this morning is practice the ceremony.  To be honest, she is so ready to be done.

Celebrate Today - Happy Graduation!

Even so, celebration time is here.  We have family in town, a dinner planned, and a special gift or two.  Now, if the planets can only align, it might all come together.  This card is a perfect start though.

Celebrate Today - Happy Graduation!

My card base is tangelo twist, with a full layer of silver glimmer paper, and a card front in whisper white.  I kept it very clean, just about the sentiment here.  You know how hard that is for me, but I did it!

Celebrate Today - Happy Graduation!

I used the confetti star boarder to give the inside a bit of bling.  I love how that looks.  Still plenty of room to write, a fun look, and maintains the clean style.

Celebrate Today - Happy Graduation!

I know the ribbon is retired, but it matches and I had to match.  I am glad that there are other colors of this satin stitched ribbon in the new catalog.  It is so lovely to work with.  Off to get many other things done.  I took the last day of school off, how selfish right?  Not really, family first.

Have a creative day!

Moana

Flowerpot Painted Petals Trio

Sometimes when you draw a blank, you still come out on top.  I was sure I had crafters block yesterday.  So I sat and read a novel instead.  When I made myself go back and sit down I decided to pull out a sheet of designer series paper and just design a bag and call it good.  As soon as I had this sheet of paper on my desk my brain got busy.  Cool right?

Flowerpot Painted Petals

I hadn’t paired this ribbon with rich razzelberry yet and I wish I would have.  They look great together!  And then a bit of glimmer paper to frame a tiny sentiment and we are off and running.

Flowerpot Painted Petals

I trimmed off a 4″ section from the whole 12 x 12 for a card front.  When I finished the other cut to give me the 4 x 5 1/4″ front I needed I was left with a choice.

Flowerpot Painted Petals

Make a second card, put the remainder back with its set, or make another tiny bag to go along.  The tiny bag won.  What a cute little baby bag.

Flowerpot Painted Petals

This set went together really quickly.  That is what happens when you have great product.  Just a little bit of stamping, some creasing, adhesive here and there and a ribbon on top.  I went to bed with a smile for sure.

Have a creative day!

Moana

Just Kidding, Tap Tap Tap

I can’t even tell you how much this stamp set makes me laugh.  Stampin’ Up! comes out with new photopolymer stamp sets during the year and their themes are all over the place.  You need to look up this set and get ready to laugh.

Just Kidding

I think this set would be perfect to share a little gift with a crafting buddy or two.  I could put tons of little goodies in the gift bag.  One of my favorite things.

Just Kidding

This spiral border punch I used is so much fun.  I have to be careful, or all of my projects are going to get that look.  Do you ever fall in love with a product and just want to go crazy with it?

Just Kidding

These tiny little buttons are part of a free gift with purchase set.  They come along with the little twines you see on top of the tag.  I pulled apart the strands for a lighter look.  They come in all five colors, five yards each, and a collection of these little buttons.  They are so sweet.

Just Kidding

I think this will be project number two for workshop tomorrow.  I picked the first one from a prior project and I will post the third in the morning.  They are a fun mix for sure.

Have a creative day!

Moana