Sparkly Seasons Ballerina

Doesn’t everyone get enchanted with a pretty snow globe?  This particular stamp set has a few options to make one happen, but this pretty ballerina might be my favorite.  She is so delicate and lovely.

Sparkly Seasons Ballerina

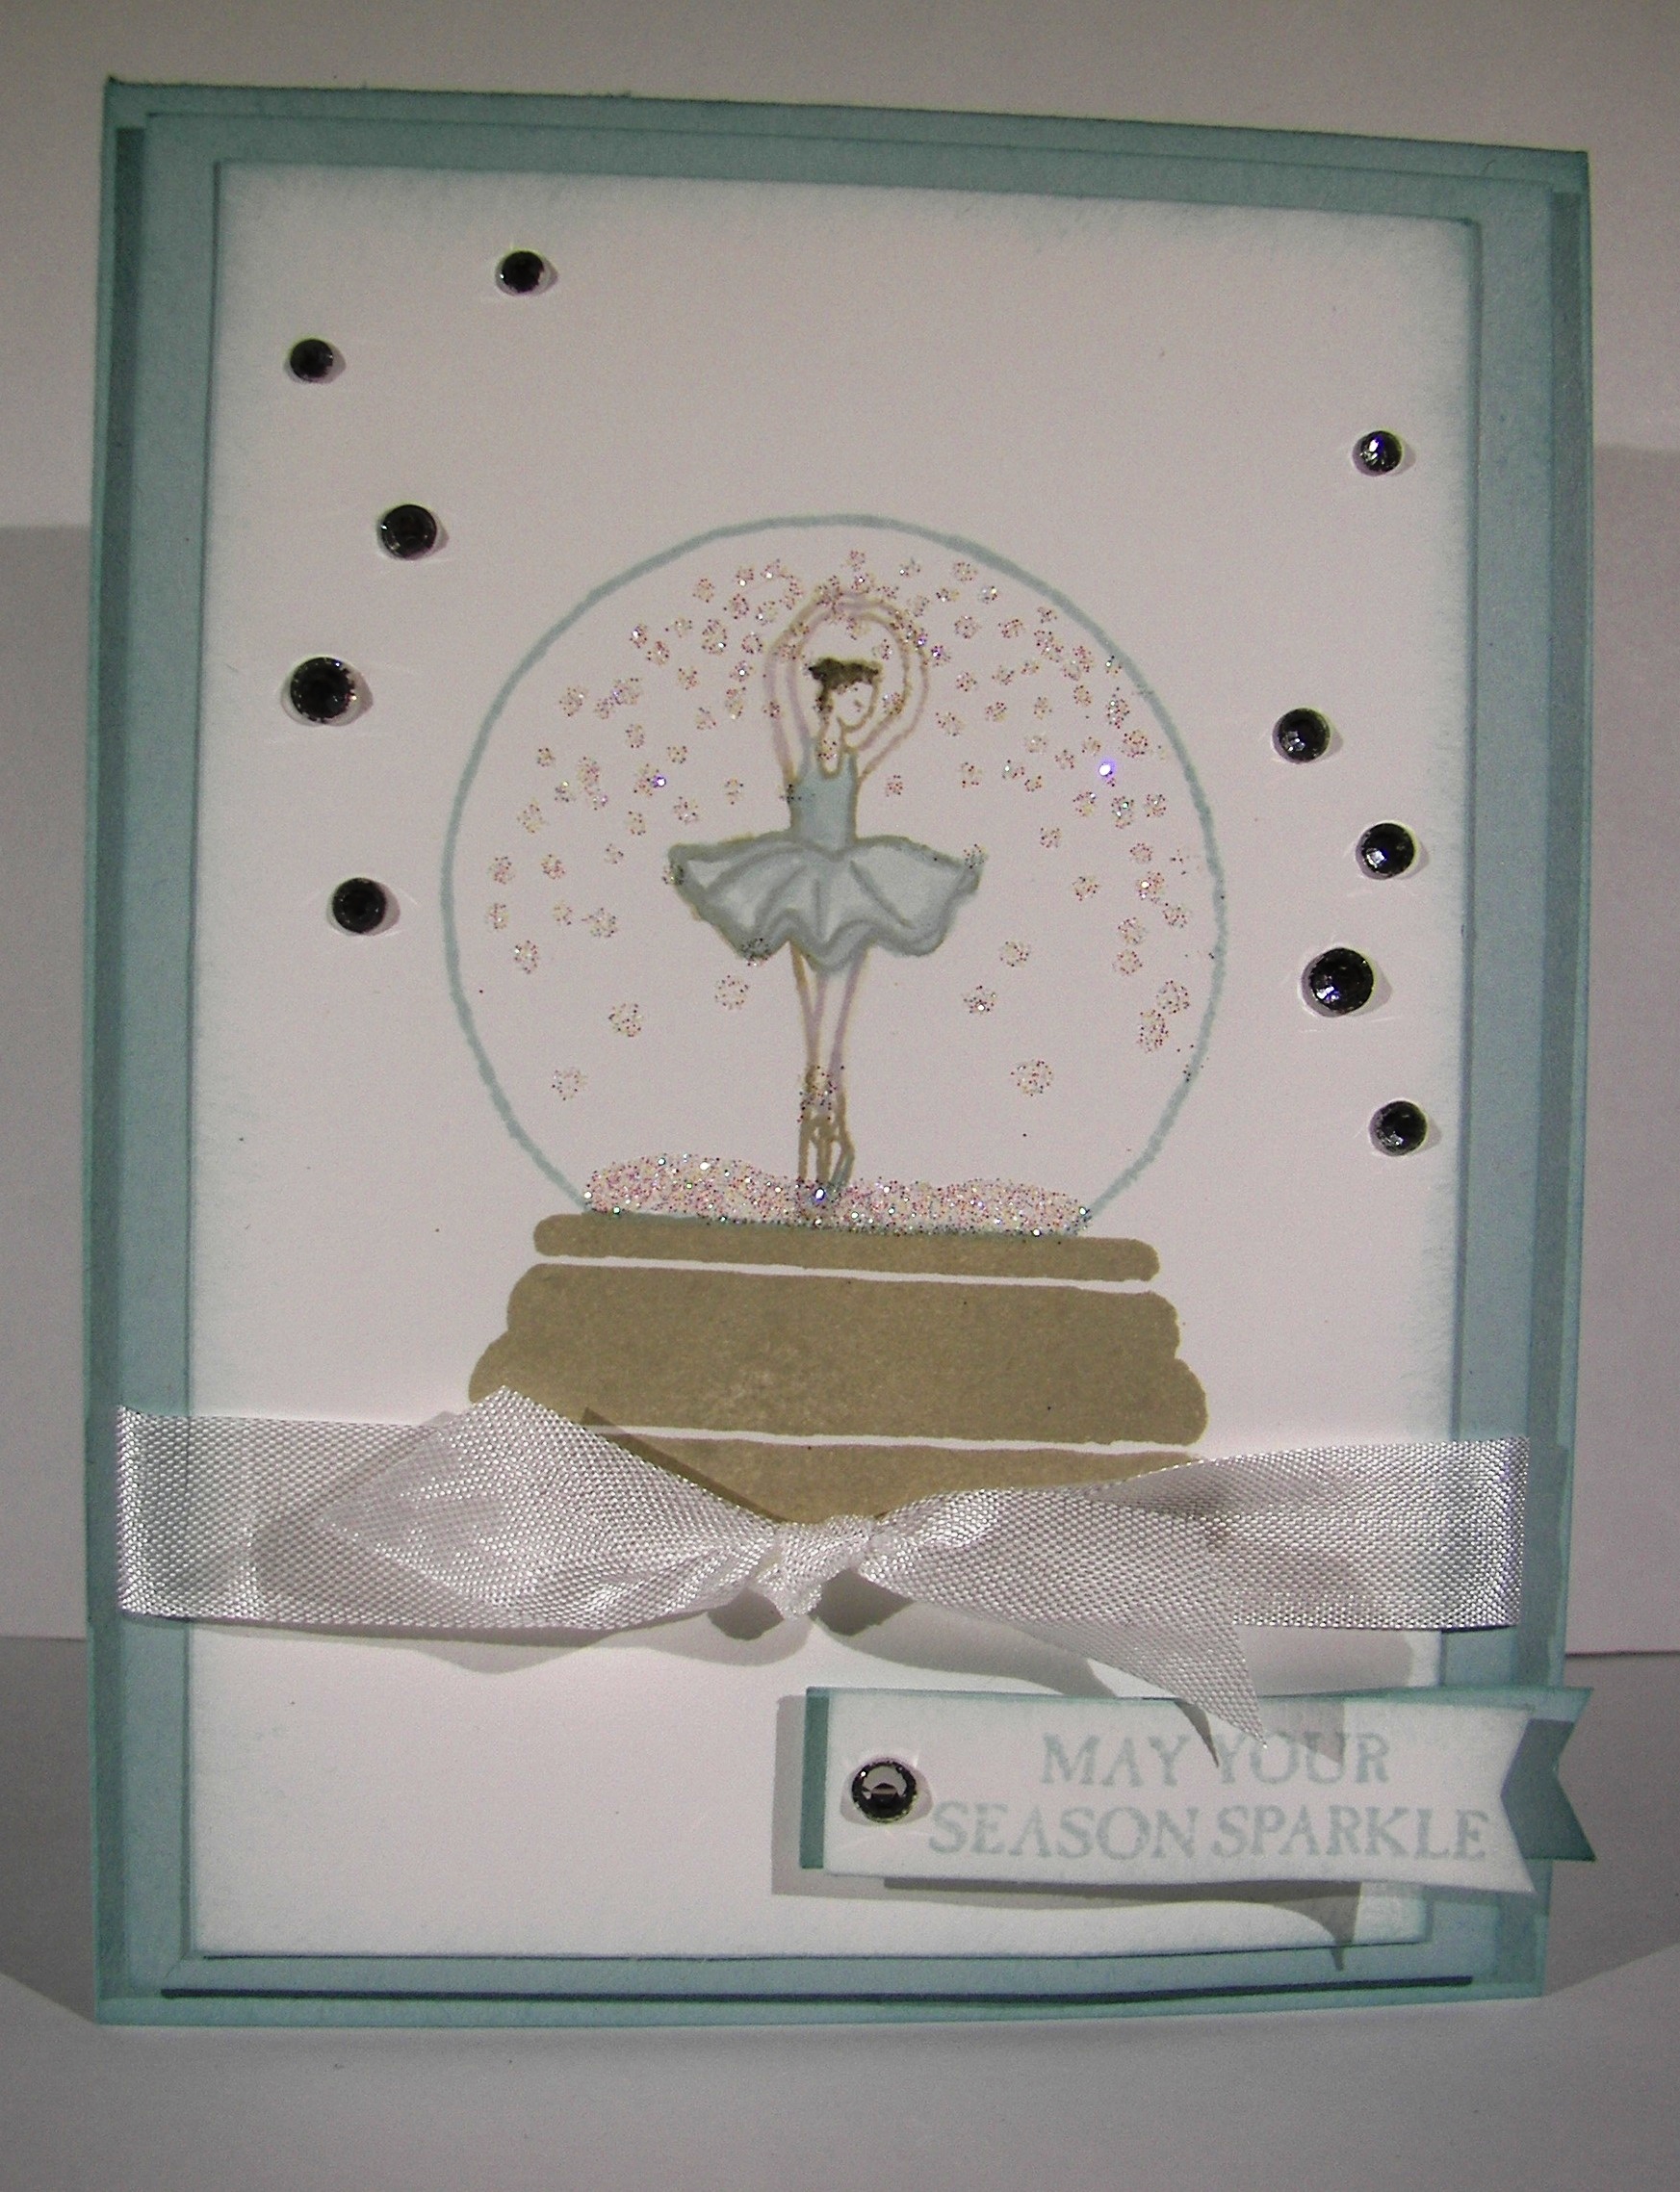
The base is stamped in sahara sand and the globe is in soft sky.  That is also the card base and background color. I stamped her in sahara sand as well to give a hint of skin color without having to make it happen.  I did water color her tutu and slippers though, couldn’t resist that.  Her hair just had a touch of marker coloring.

Sparkly Seasons Ballerina

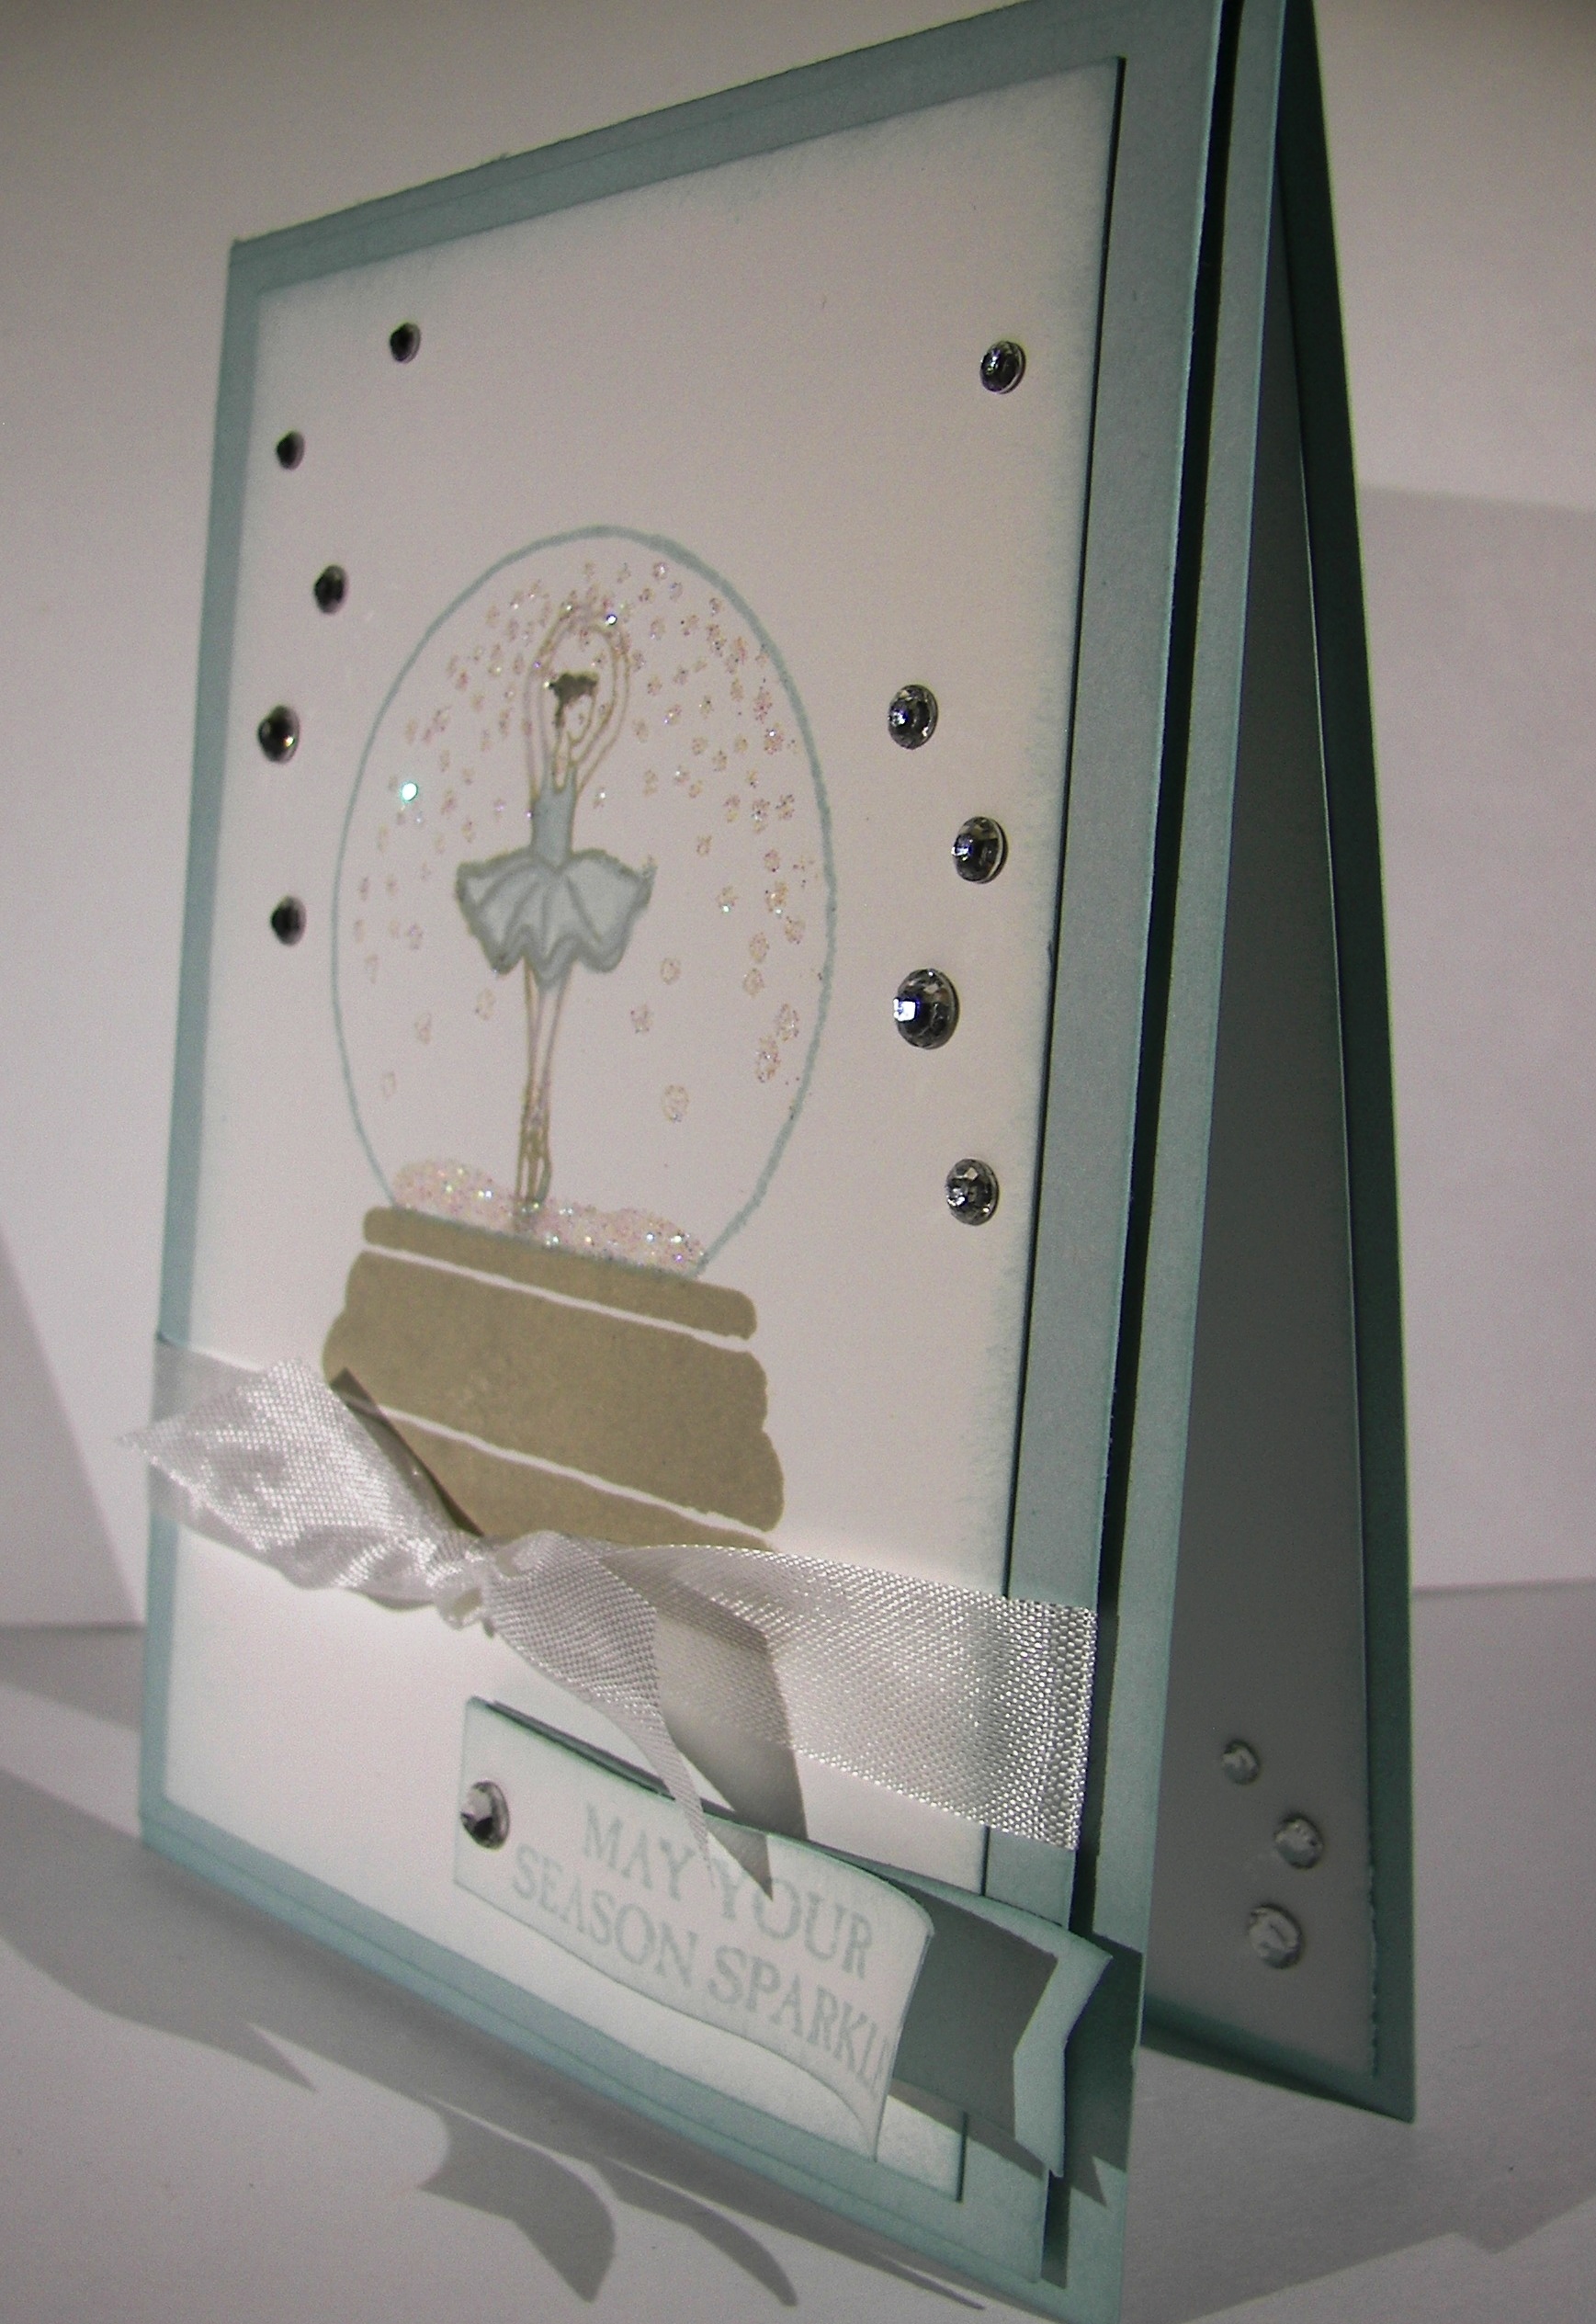
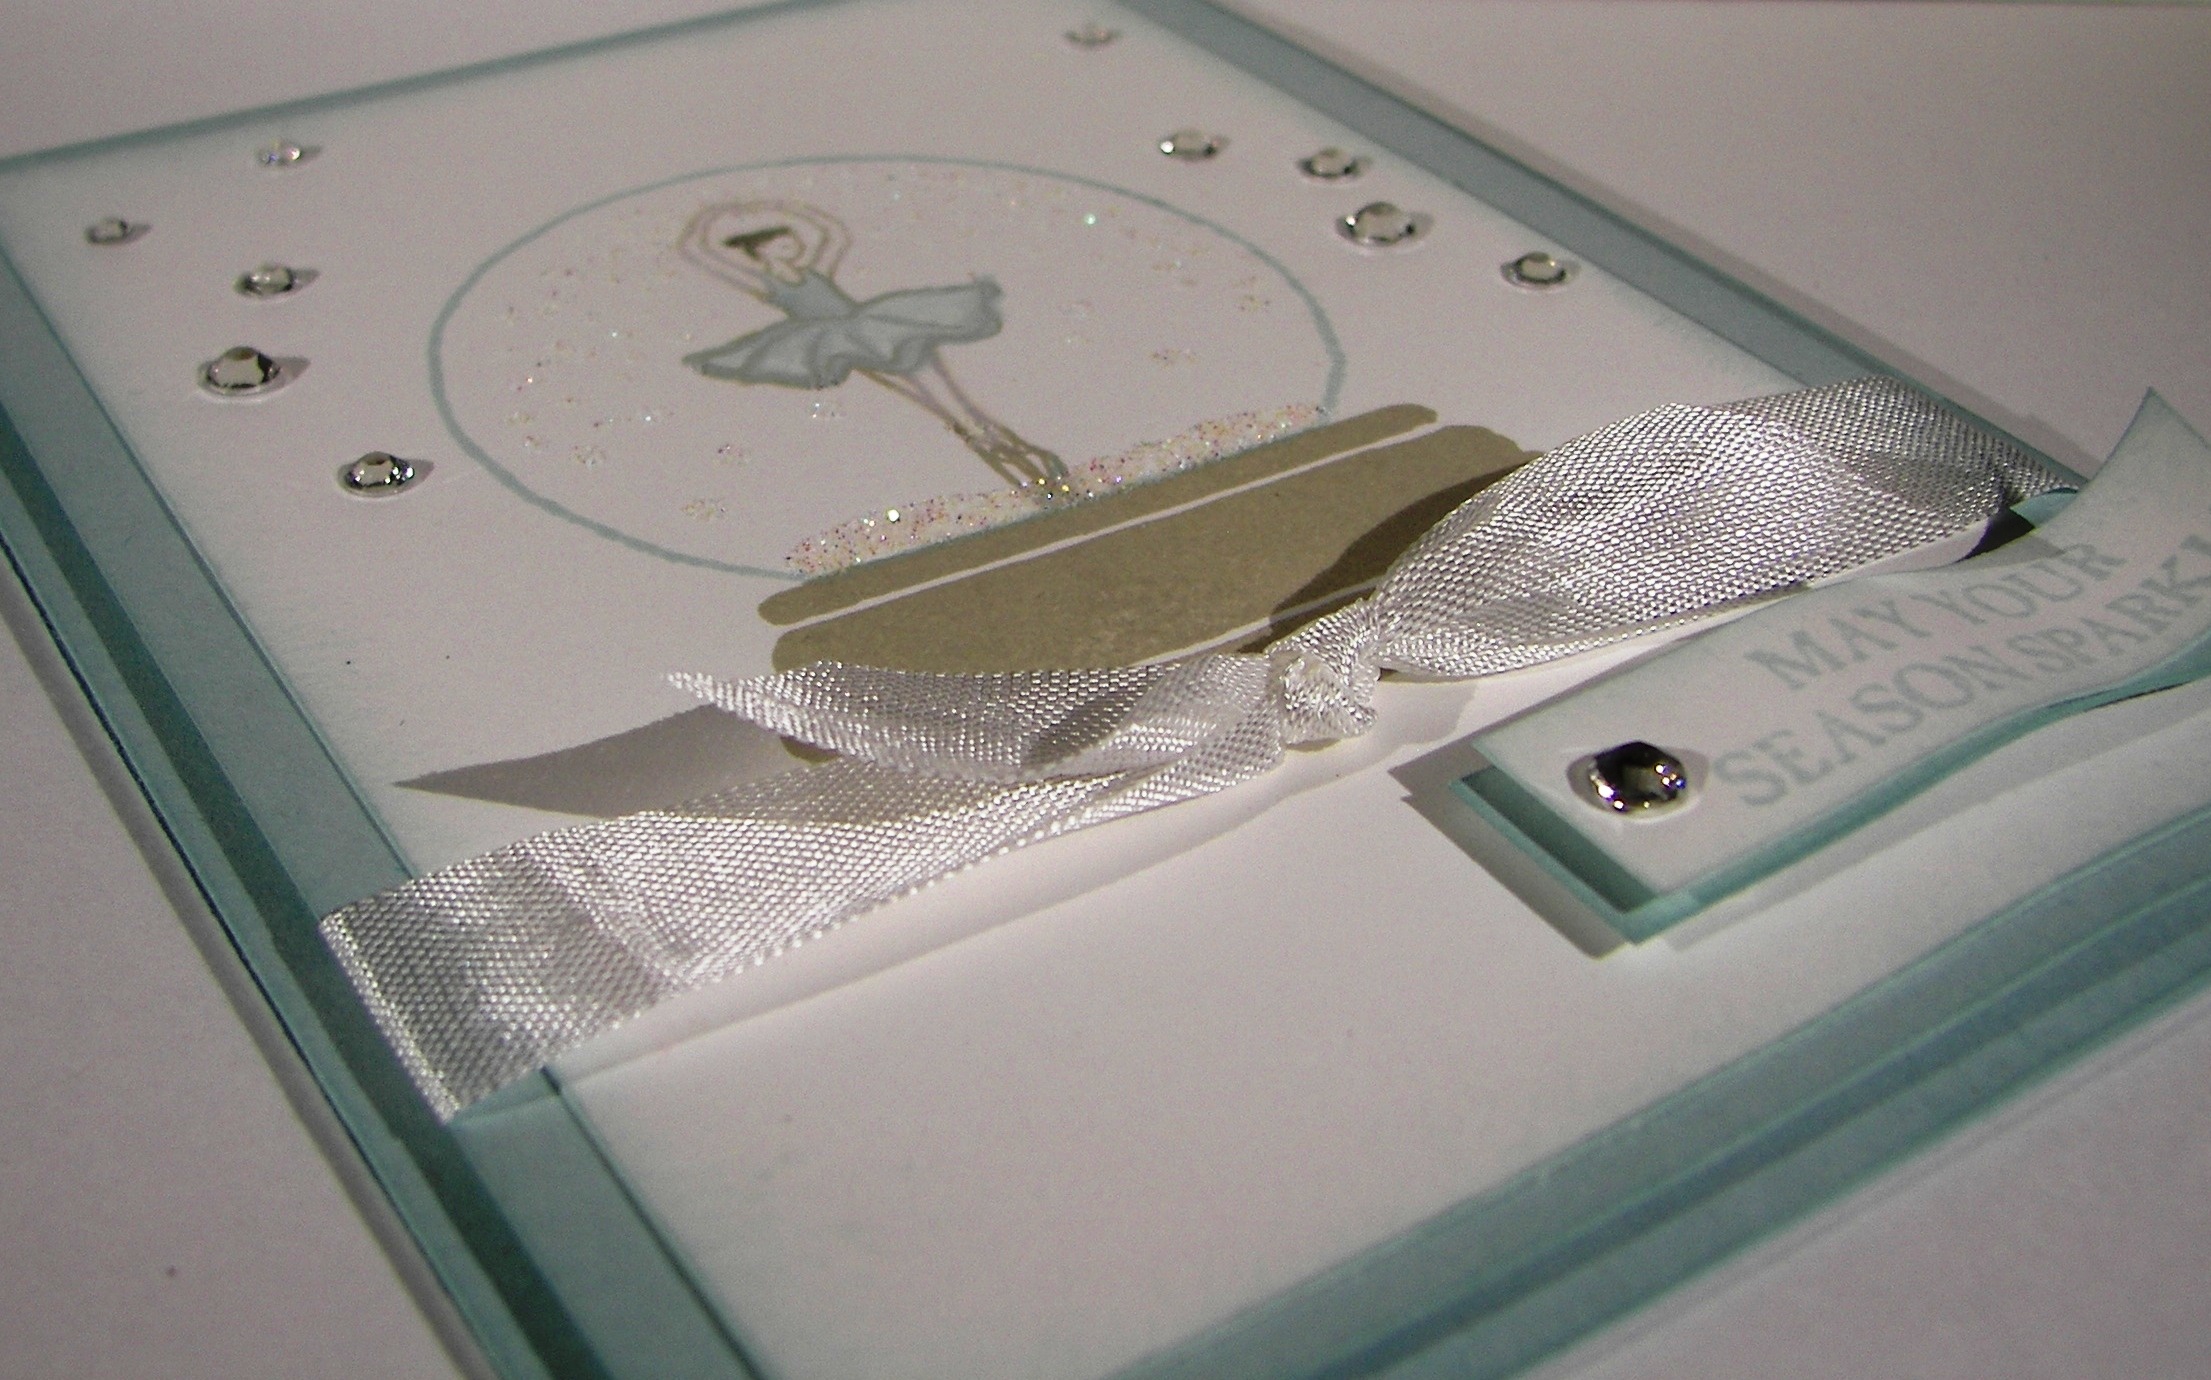
I stamped the ‘sparkle’ inside the globe with versa mark ink and then covered it with dazzling diamonds.  Loved it.  But I needed more.  So I used the 2-way glue pen to color a layer around the bottom of the globe and used more dazzling diamonds.  I liked that a lot better.  Of course I had to put a bunch of rhinestones around as well.  Sparkle means sparkle.  I even put a few inside.

Sparkly Seasons Ballerina

Have a creative day!

Moana

Sparkly Seasons Pumpkin Patch

It may not look very busy, but these little pumpkins almost did me in.  I nearly got to the point of just showing you how frustrated I was and that there was not much to show for it.  Then I thought about iridescent ice, and the world came together.

Sparkly Seasons Pumpkin Patch

I love that stuff.  It can make the most simple things look almost magical.  I used three different framelits for my pumpkins and got to work.  I used a large stylus to create grooves and texture to the surface, but from the back side.  It really broke down the fibers a lot.  Then I began to water color streaks to give dimension.  That didn’t do a whole lot.  Then I spritzed water and swiped ink on with my finger.  It got better.  Then I sponged with pumpkin pie and added early espresso too.  At that point they looked okay, but still kind of sad.

Sparkly Seasons Pumpkin Patch

That is when I tried the iridescent ice.  I daubed the whole surface with versamark and sprinkled on the powder.  I only used one coating and thought that would be enough.  It was just right.  I did sponge a bit more with early espresso afterwards.  I layered the pumpkins together using dimensionals, with the stems too, and wrapped them all in linen thread.  I wanted to leave it then, but decided on a simple word phrase.  And there you go!

Sparkly Seasons Pumpkin Patch

Have a creative day!

Moana

Treats for My Boys

More little thank you treats for my wonderful TA’s.  They put up with a lot, even getting bored when I make them just sit and do homework when things are caught up.  Who doesn’t like a little treat now and again, right?

Treats for My Boys

I absolutely love this embossing folder with the retired coordinations paper.  I think they missed their calling together.  I have a ton of the early espresso coordinations paper from when it was retired and put into the clearance rack.  I think I will just make lots of fun things with these two products.

Treats for My Boys

Funny little floating heads, or moons, or pumpkins or whatever you want to call them.  They are adorable and they look great.  I really think these bags are great.  They came together really quick with scoring, folding, and sponging.  Just my kind of fun.

Treats for My Boys

Have a creative day!

Moana

I Cased Myself! Eeeek!

I have the pleasure of hosting a card workshop for my club this weekend and decided I would use yesterday’s project as one of our projects.  I do like to give them choices and encourage a bit more creativity, so I cased myself to give them another choice.  Too fun I must say.

I Cased Myself!  Eeeek!

Same kind of layout as yesterday, but I made my background paper instead of using designer series paper.  Choices, like I said.  And I love to encourage people to use their stamps differently.  This qualifies for sure.

I Cased Myself!  Eeeek!

I used the pumpkin face from the seasonal stamp set Sparkly Seasons.  That is one diverse set, absolutely love it!  I stamped the faces alternate directions using black stazon first.  Then I went back over them to create a shadow/3D look.  It turned out fun.  I will use that technique again for sure.

I Cased Myself!  Eeeek!

When I put the eyes on I placed them over the pumpkin eyes and got a mouth out of it.  So cute.  Then I had the eyes turned to face the word eek and the card was done.  I did use the same pumpkin face for a bit of echo stamping inside.  Just right if you ask me.

Have a creative day!

Moana

Let It Snow

I know it is only the beginning of  September, but I do love seasonal cards, especially winter scenes and Christmas.  Not to mention that the Stampin’Up! holiday catalog goes live today.  So much fun!

Let It Snow

I have used several new products in today’s project.  New stamp set, new framelit set, new embossing folder and then comes a new card.  How cute is this little snowman?

Let It Snow

I stamped the image where I wanted it along with the sentiment.  Then I embossed the card front.  At first I wanted to have all the snowflakes sky blue and thought to use the brayer.  But I decided to be more selective and yes, I did water color select flakes.  It didn’t take that long, really.  The effect is nice.

Let It Snow

I had an extra ‘snow’ die cut from Saturday’s event project and knew just where to use it.  Actually, that is what started the card out.  I added in a little silver metallic threat and layered it all up on dimensionals.  Just my speed.

Have a creative day!

Moana