Oh Happy Day

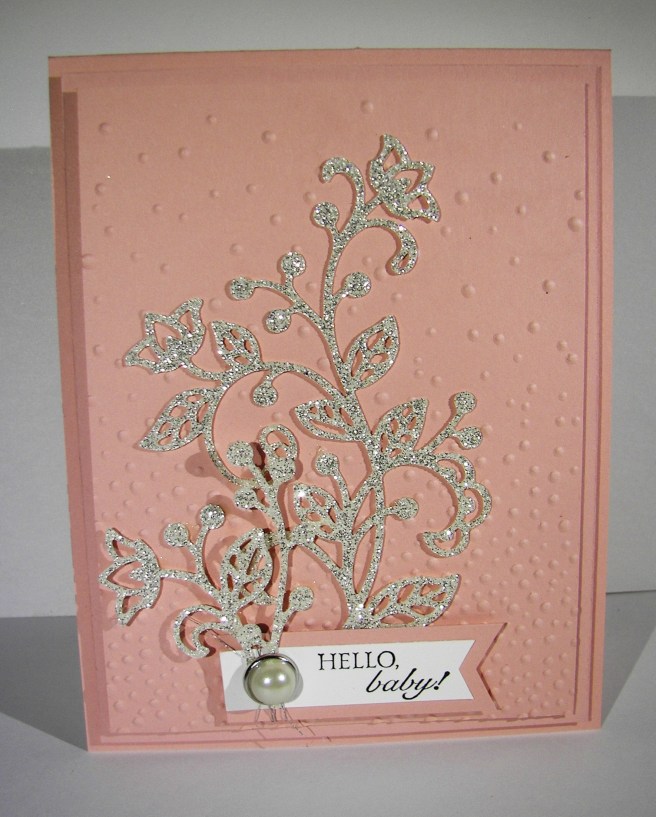
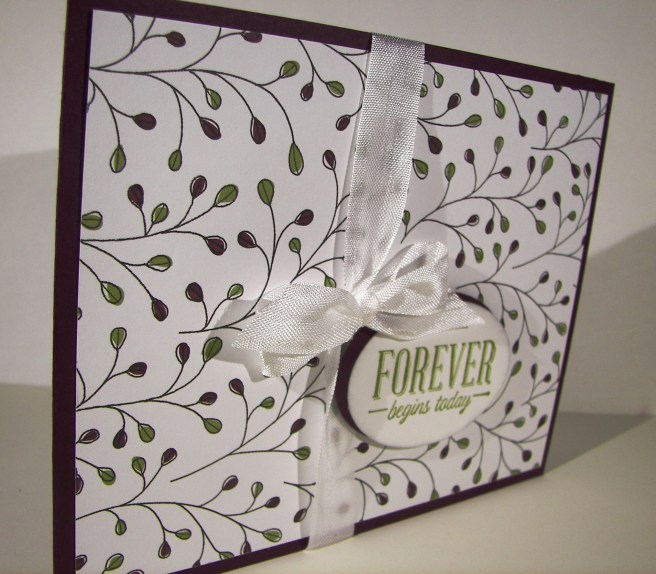
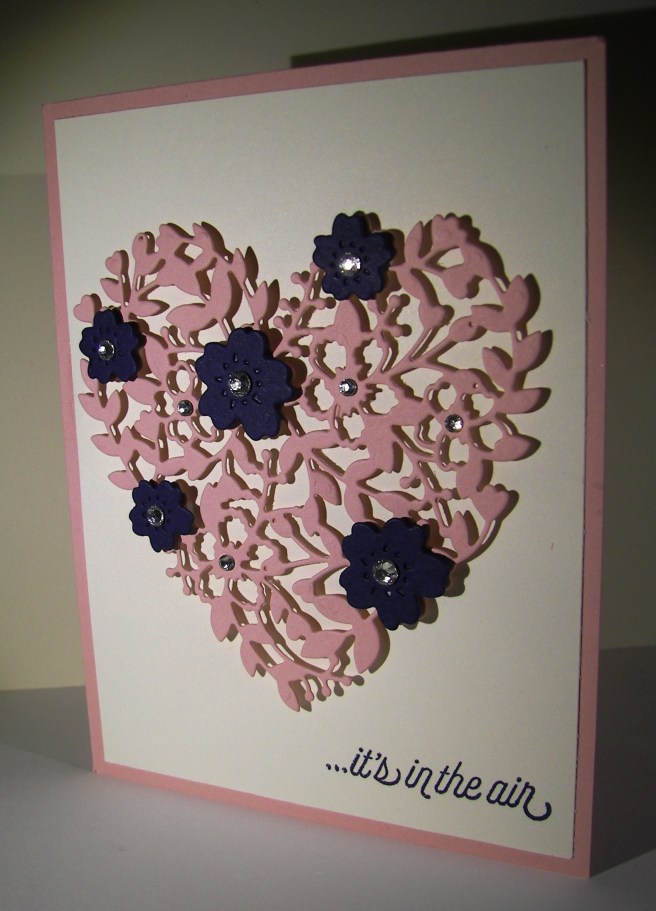
There is a certain someone getting close to having a baby girl and this just about sums it up. It is truly a happy day and I can’t wait.  And with the heat we have been having I am sure she is more than excited.

8-6

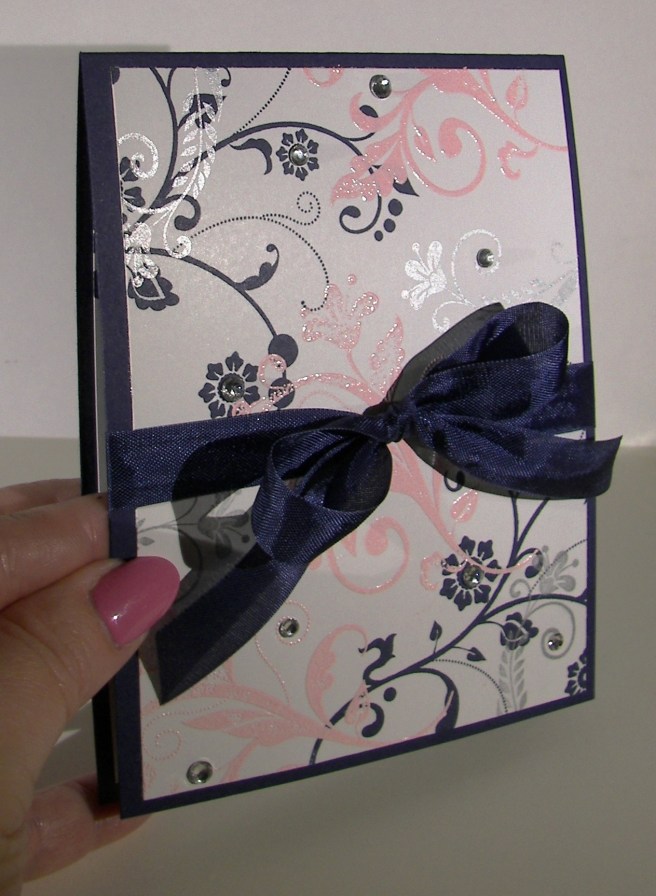
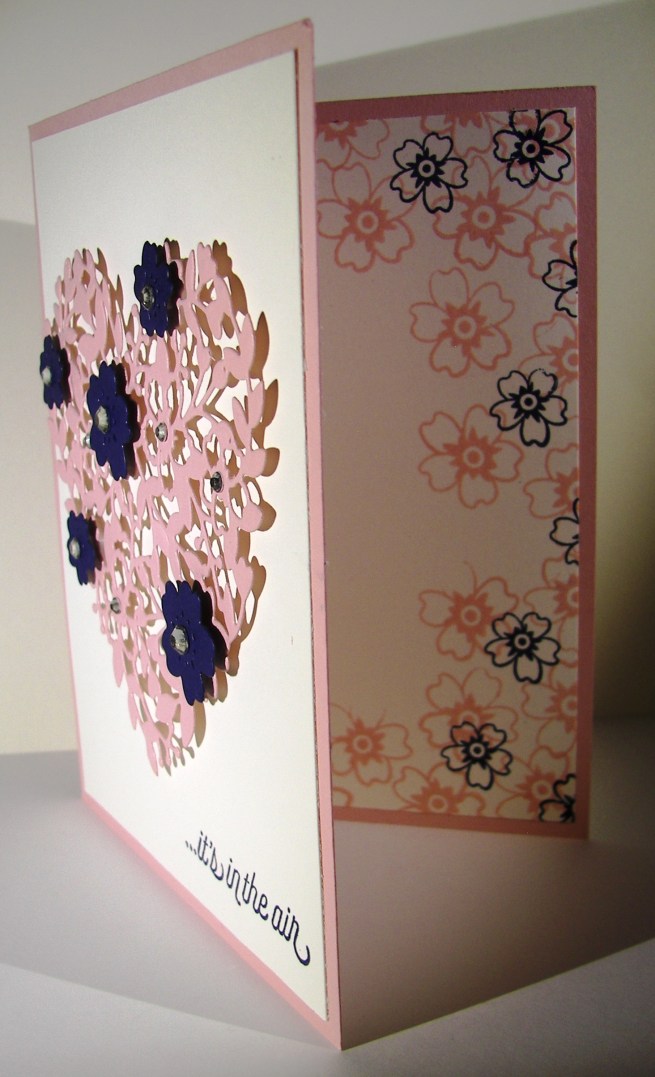
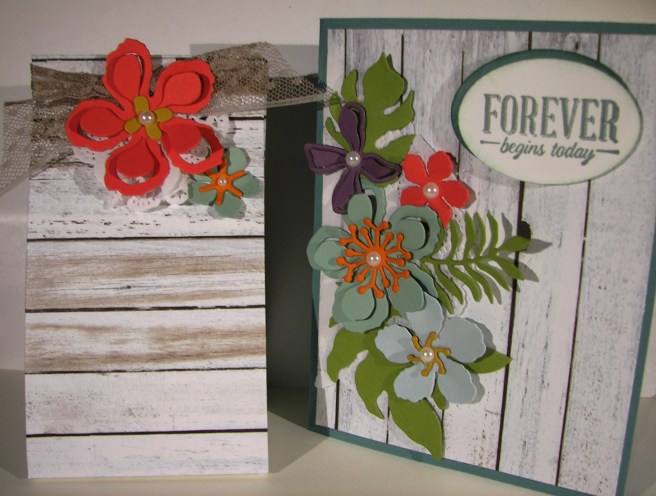
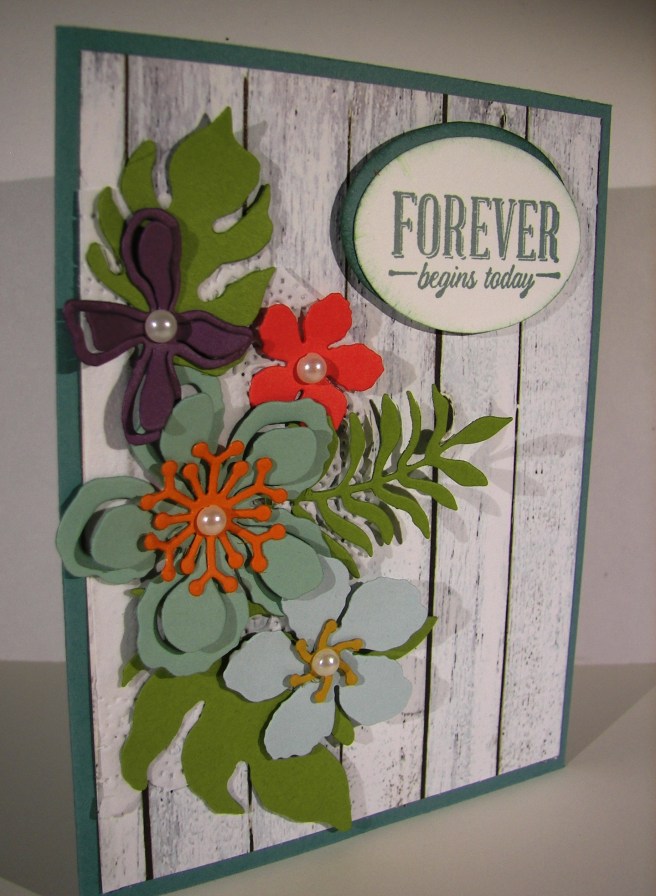
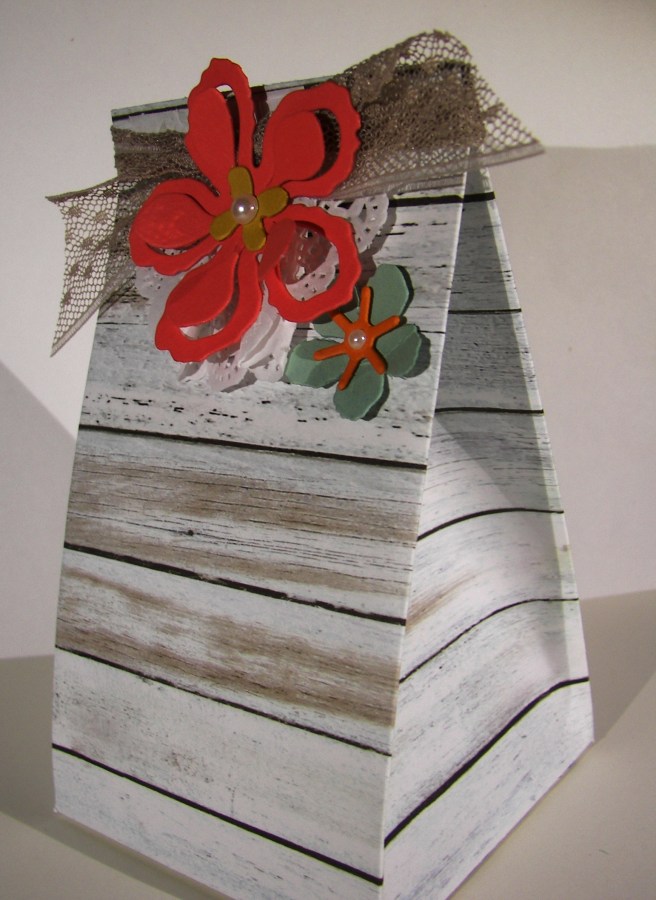
The very fun and exciting playful palette designer series paper stack almost overwhelmed me. The colors and patterns are so busy, almost too busy for me.  I started out with the most subtle one in the stack.  I can’t imagine some of these patterns in a 12 x 12, good thing this is contained to a 6 x 6 stack.  There will be a lot of fun card and gift bag sets I think. Smaller than my regular by far, which makes it much more manageable.

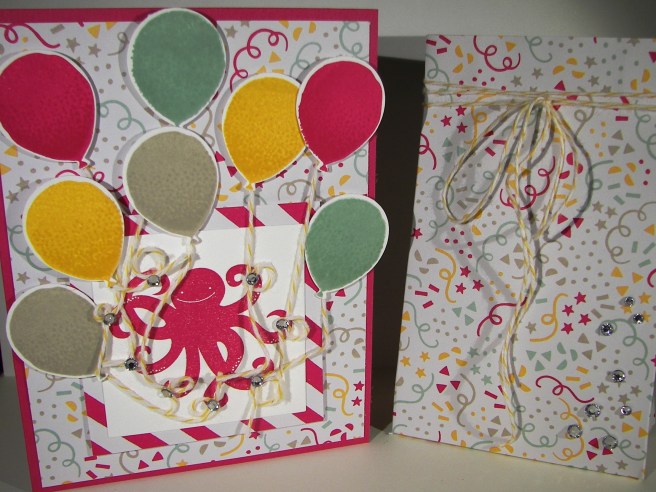
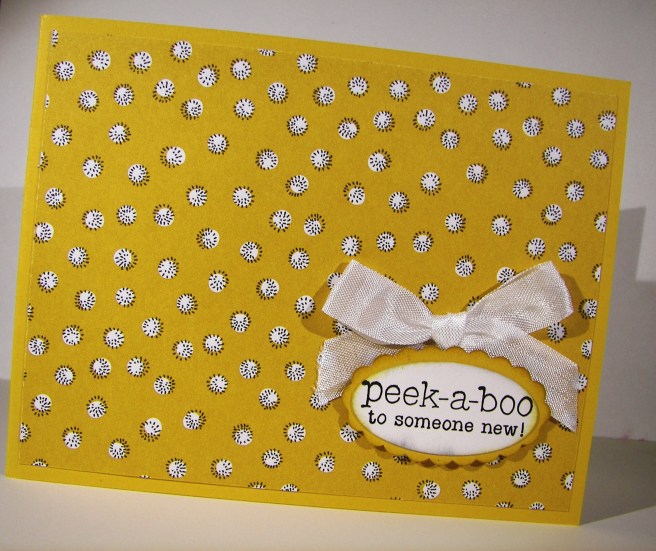
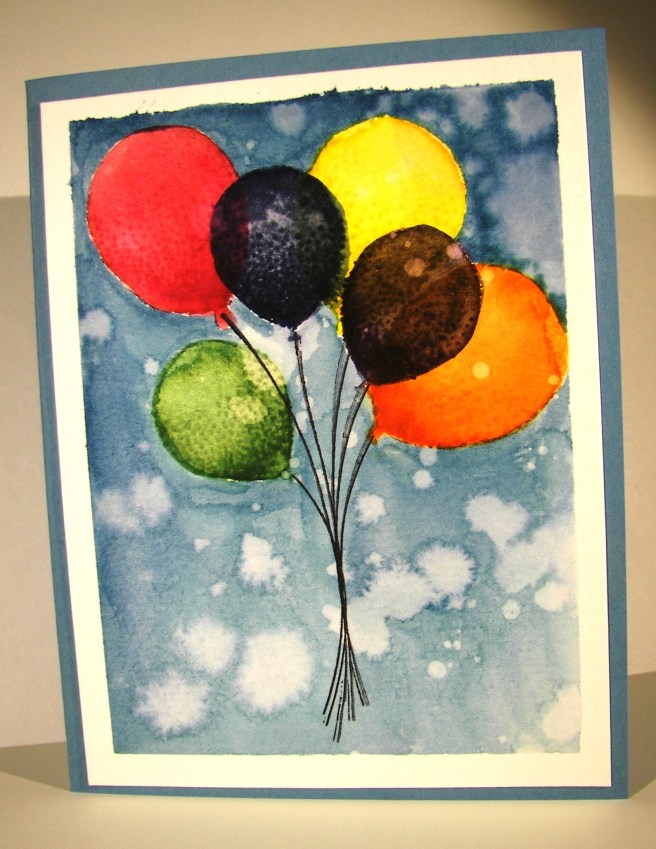
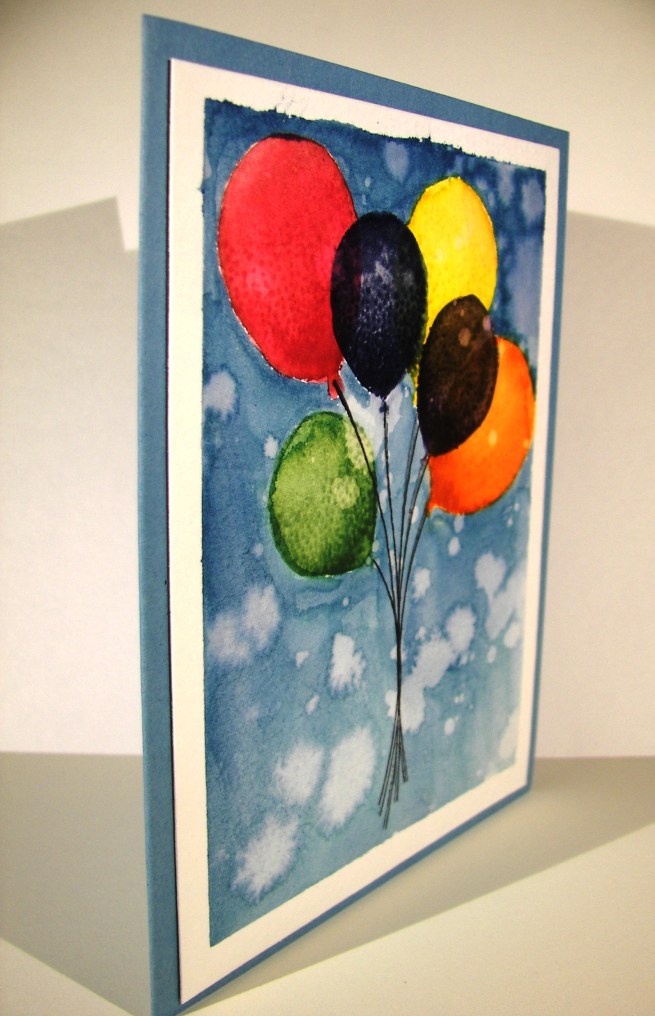
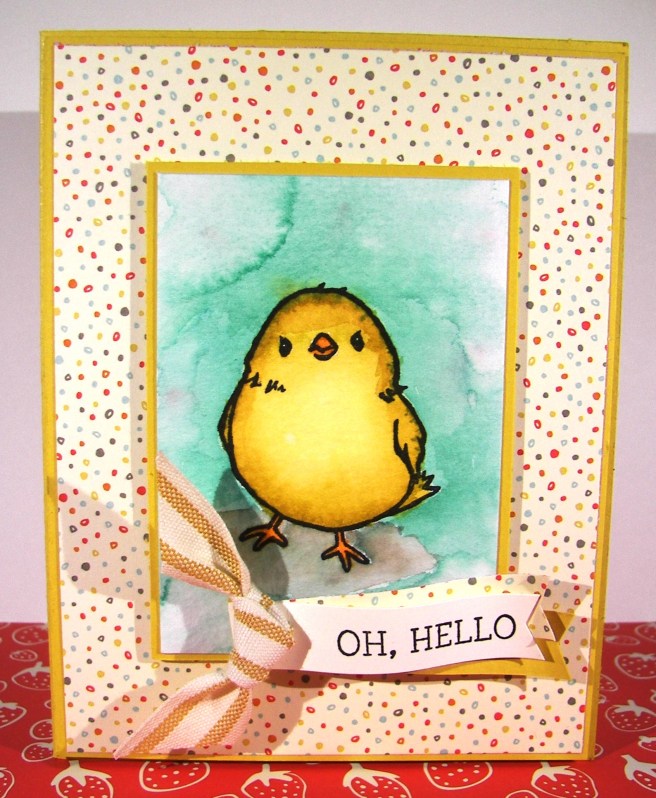
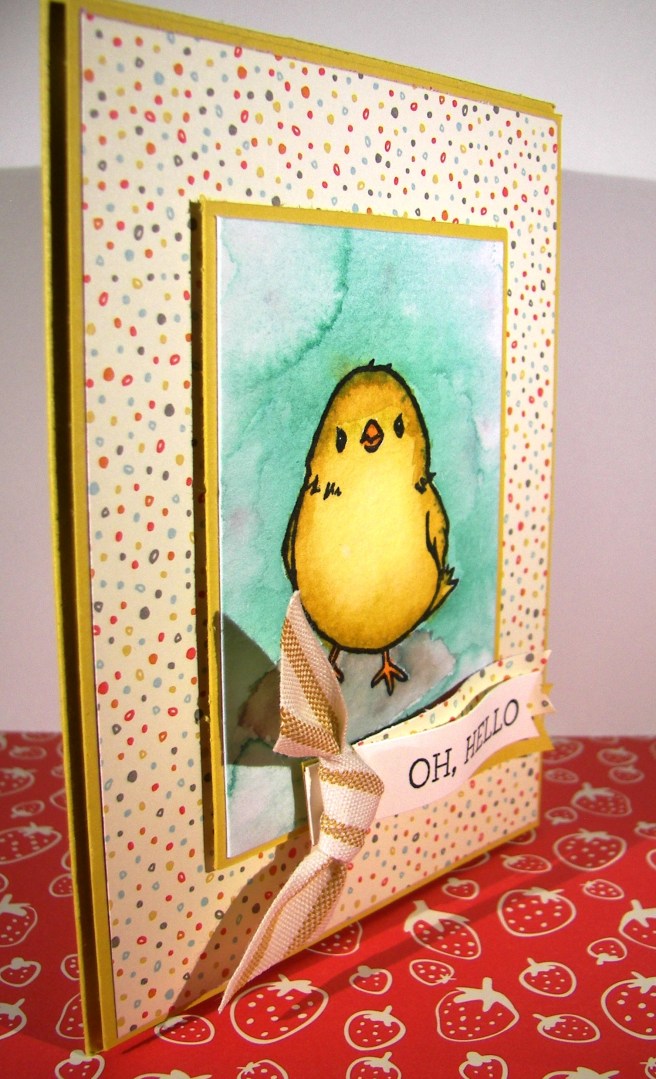
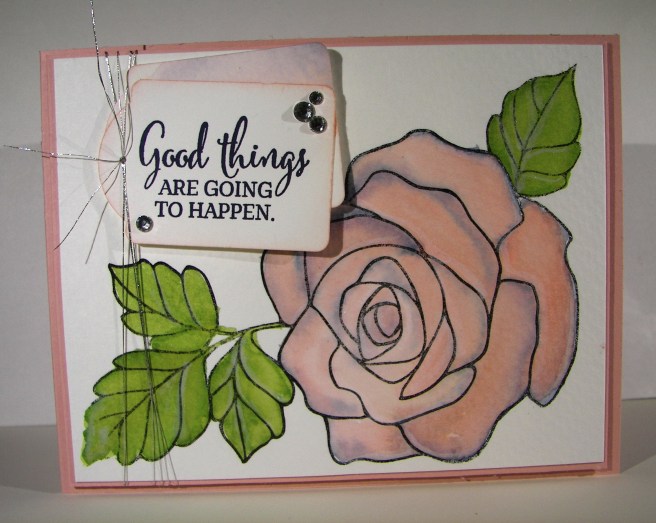
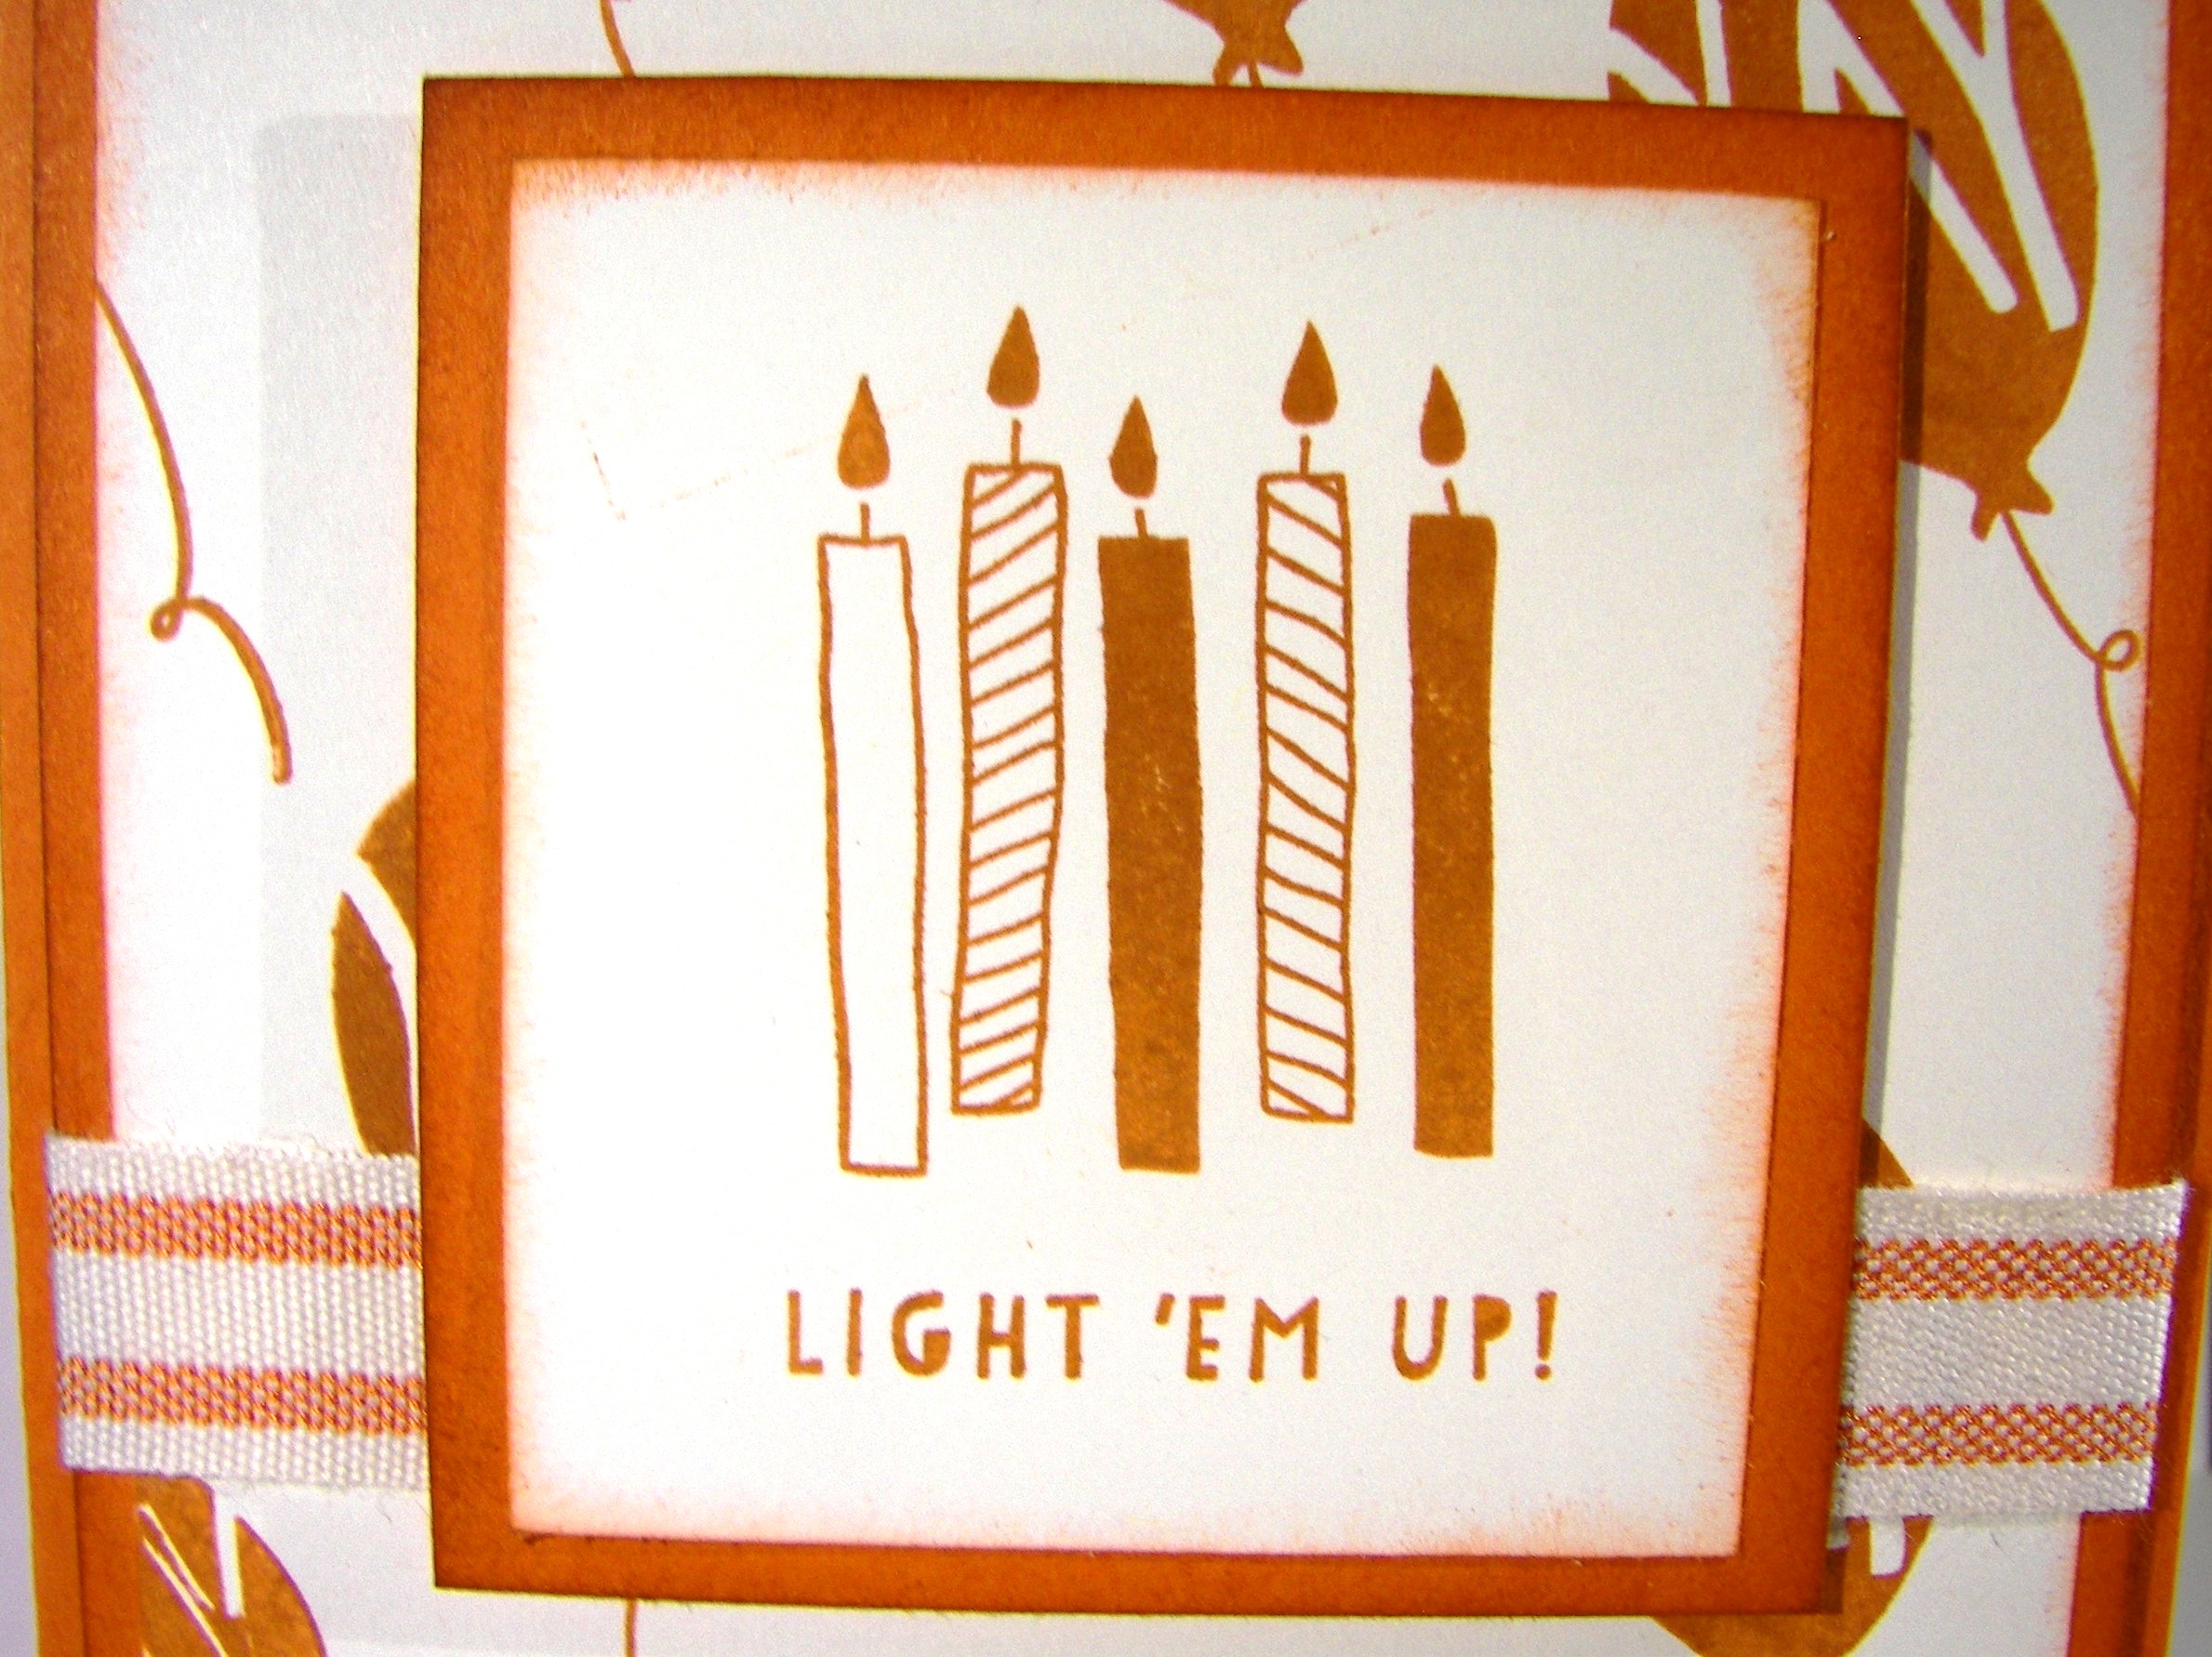
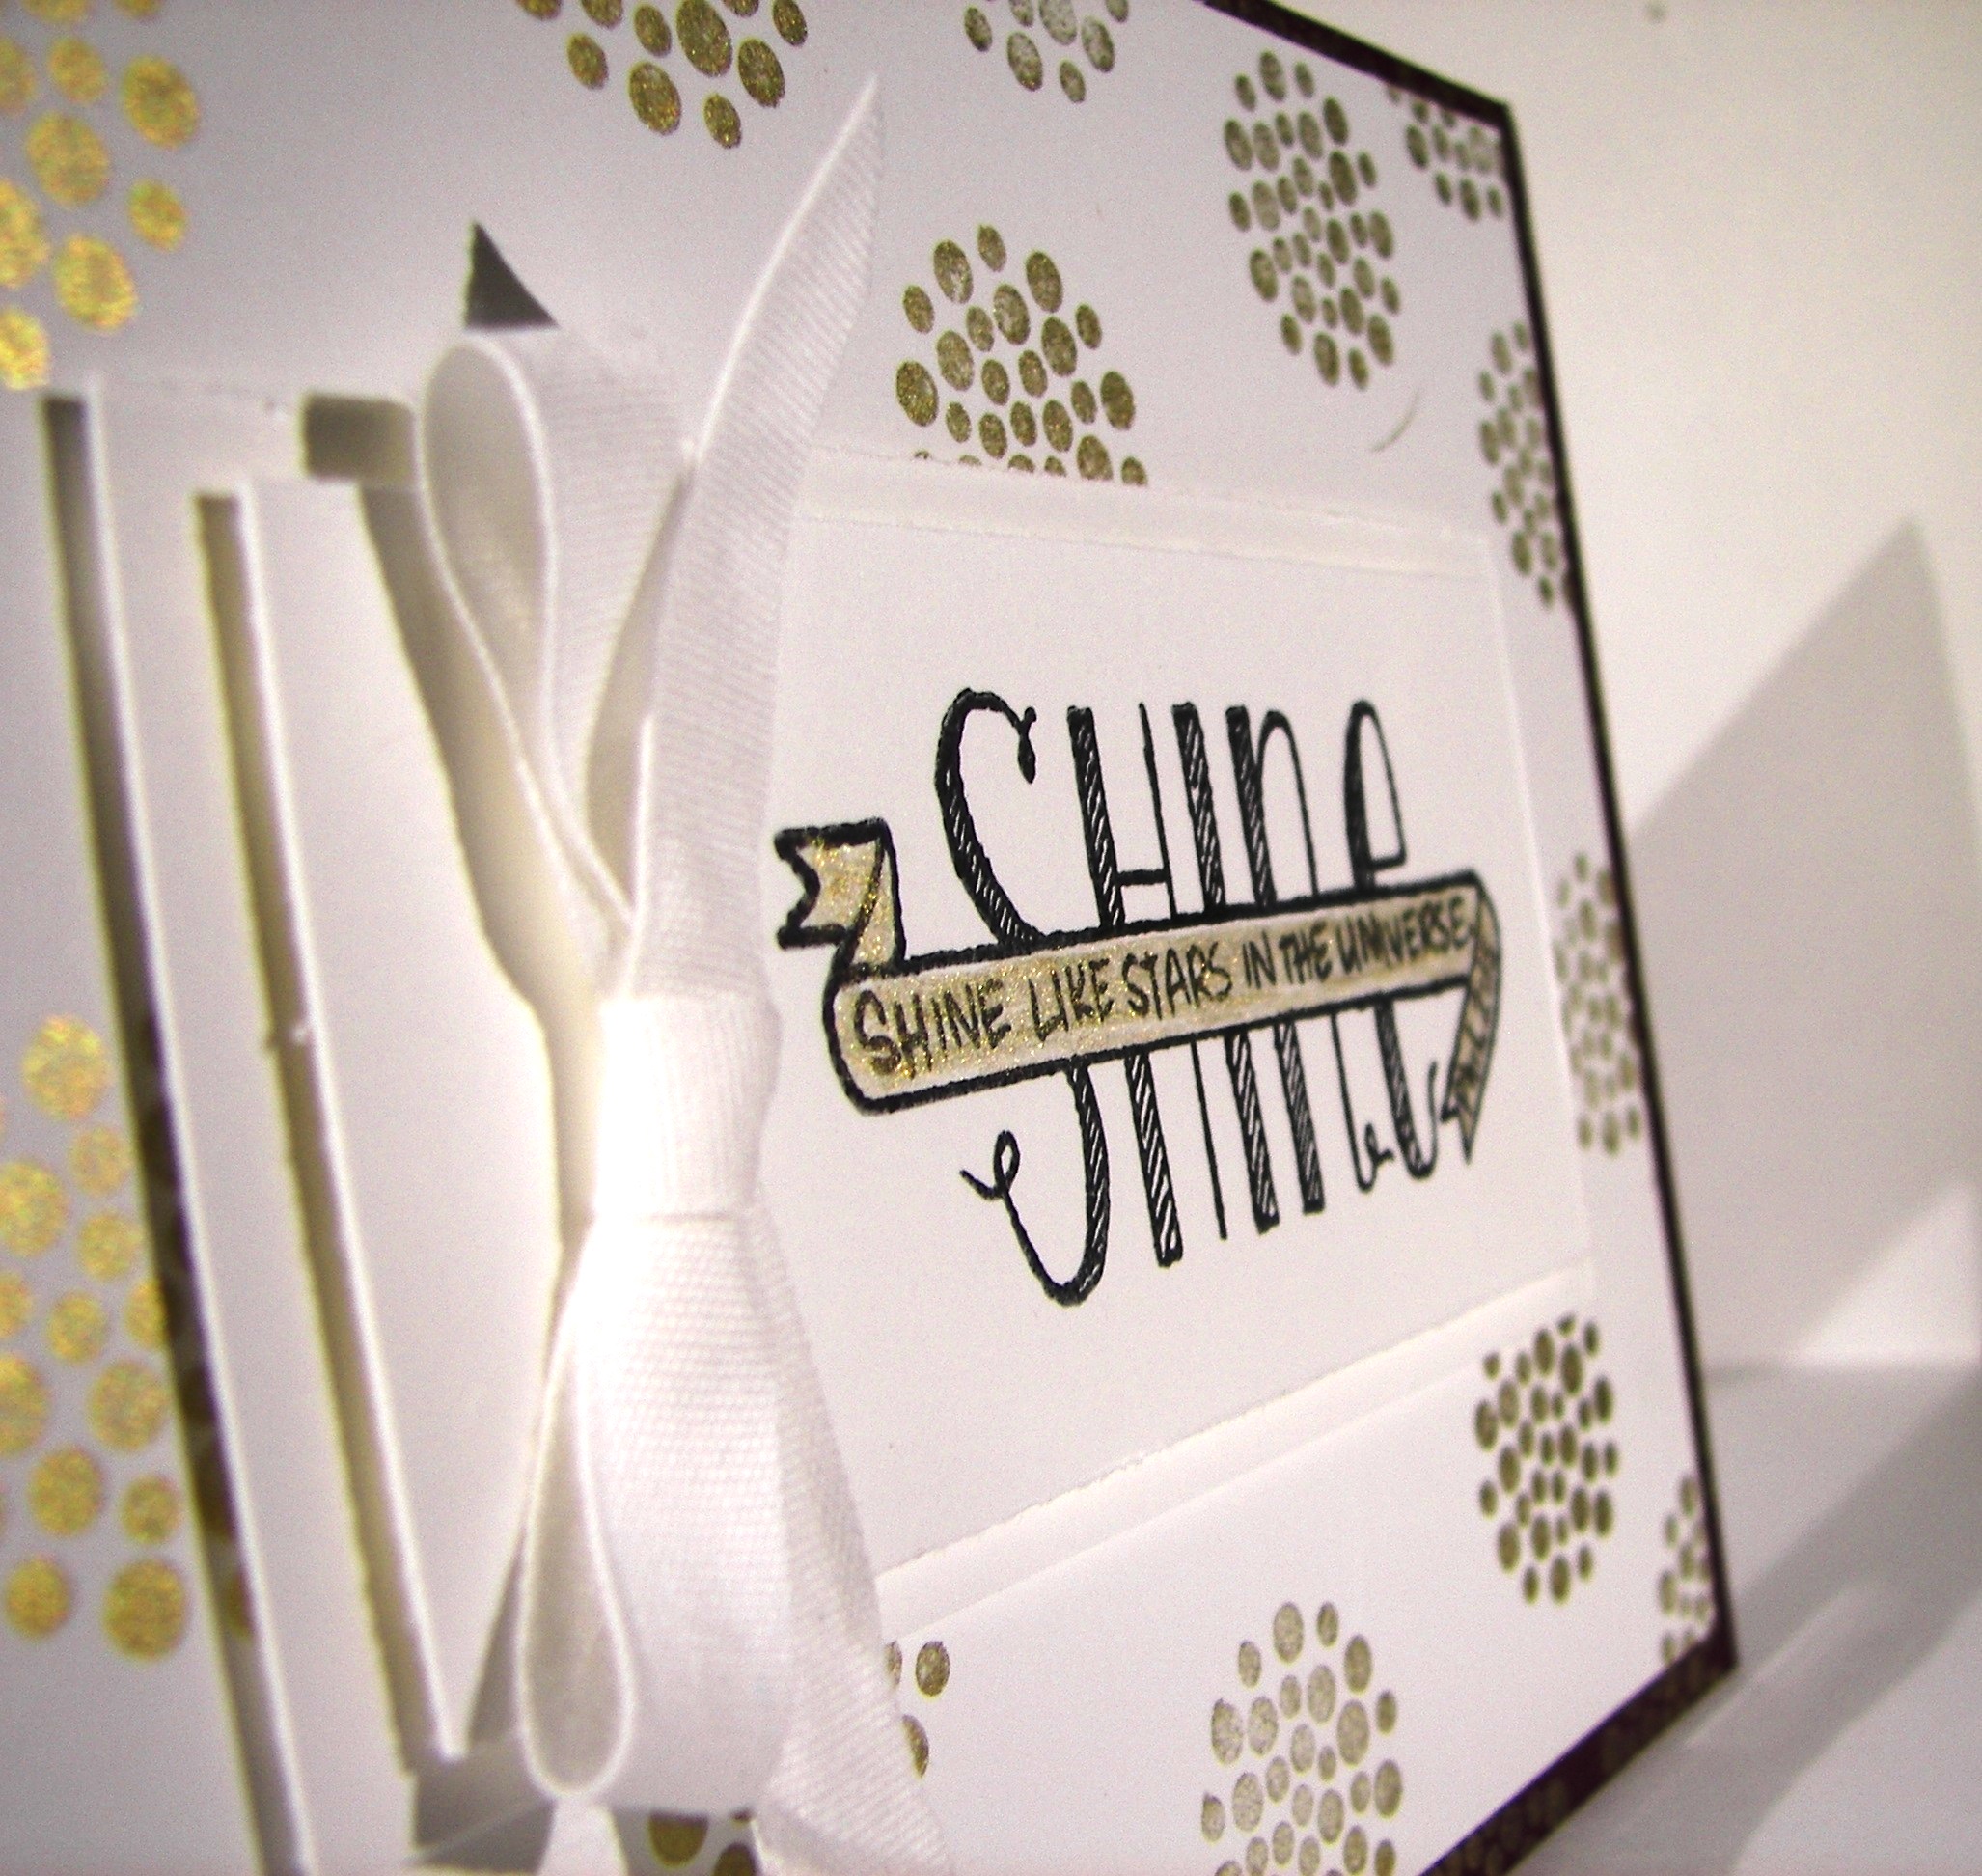
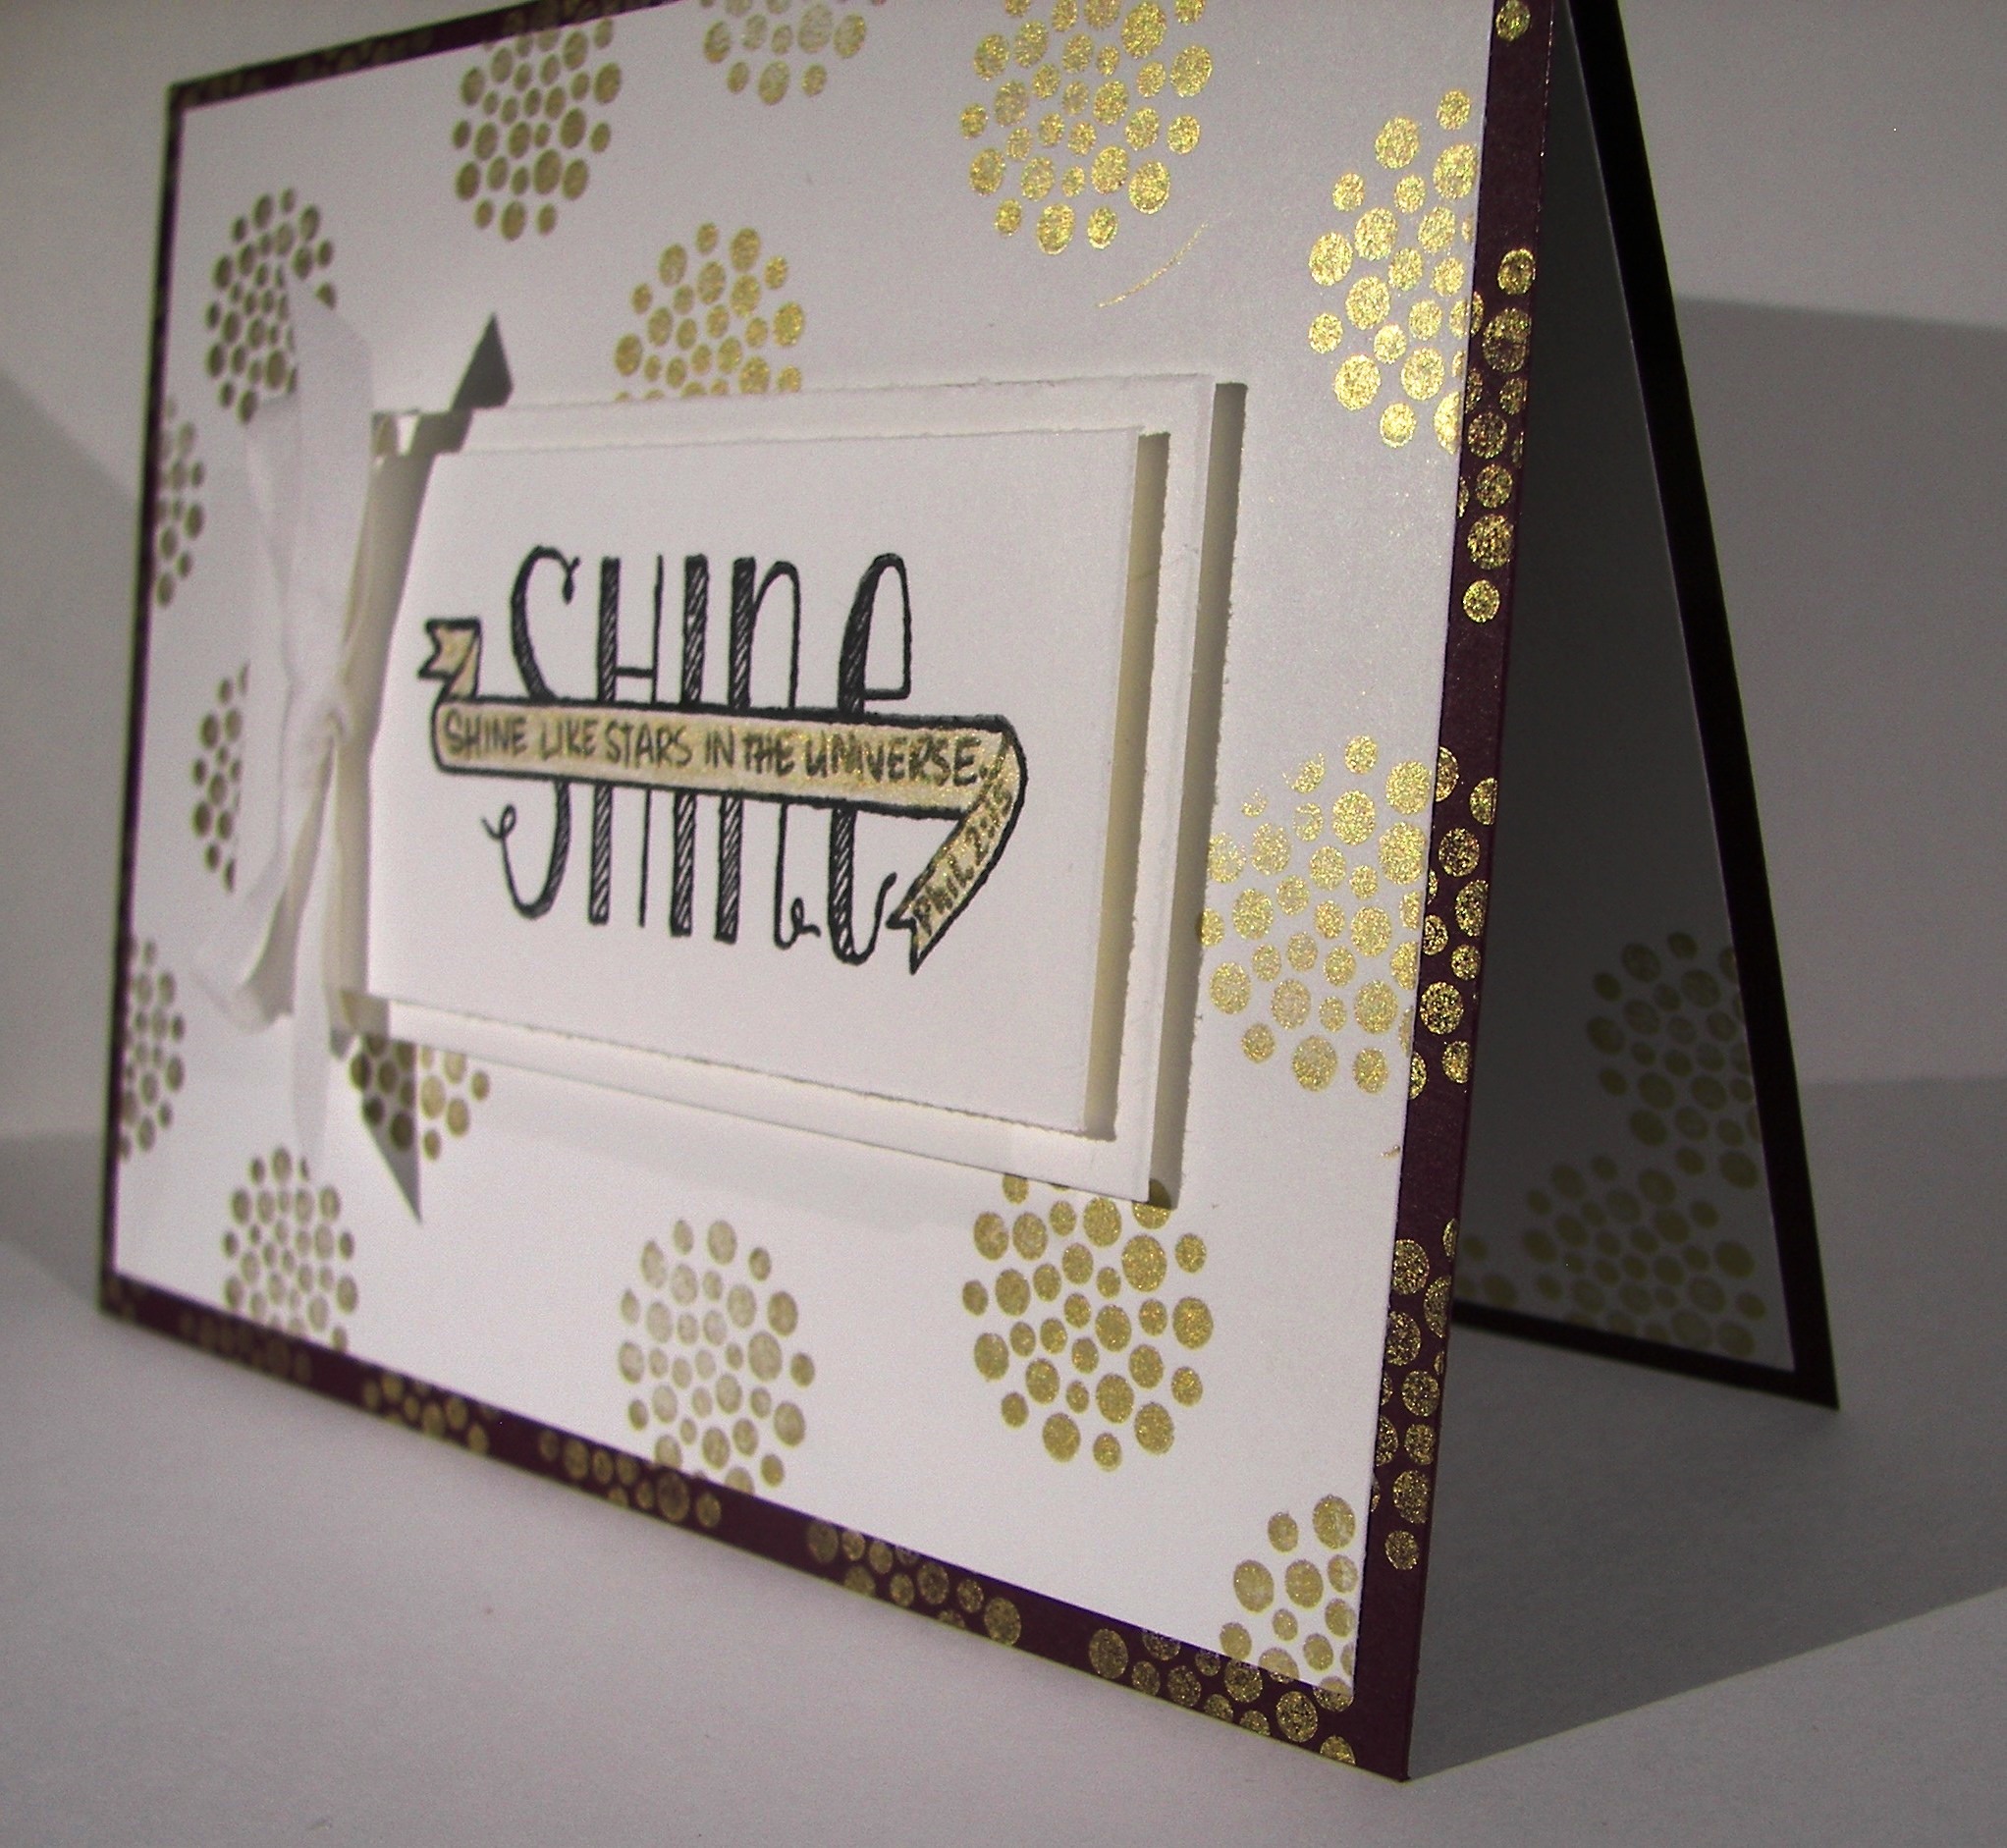
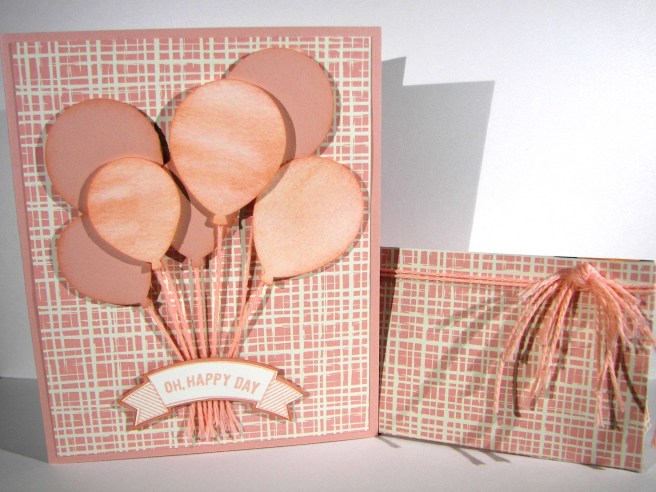
I punched several balloons from plain card stock, but wanted a different look too.  With my aqua painter I covered a section of water color paper with wide light swipes of coordinating ink.  I did sponge all of them as well. The stamp set, Thoughtful Banners, has tons of sayings that fit inside the banner stamp.  There is a coordinating punch for the banners, so that makes me very happy.  I did my stamping, but trimmed it right to the stamp so I could punch another one from card stock and have a tiny border all the way around.

8-6 (2)

The solid bakers twine really makes me happy.  I had longer strings attached to each balloon and trimmed them after they were squished into place with glue dots.  With the extra hanging off the card I tied one simple knot and used it as the embellishment for the gift card sized gift bag.  I do hate wasting product.  It turned out great!

Have a creative day!

Moana

Hello Baby!

A good friend of mind is expecting her third child soon, a baby girl.  It was a huge surprise but it is finally getting exciting for everyone.  Thought it was about time I made a special card or two just for the occasion.  What is it about pink and sparkles anyhow?

7-11

I haven’t purchased much in the department of this years designer series paper department, nor do I have any current baby themed stamp sets, so I had to get a bit creative.  It may be on the elegant side, but I do like how it turned out.

I made a couple of layers of blushing bride card stock to add to the card base, with the top most layer being embossed for a little texture.  Love it! I then decided to break out the flourish thinlits set and cut a few of the images in glimmer paper.  Again, it was totally working for me.  When it came time for a sentiment, I really had to look.  I found this treasure in the beautiful banner set and thought it to be perfect.  The sentiment was layered on more card stock and both layers were edged in the banner style.  A little wrapping with metallic thread and one huge metal rimmed pearl later and I called this one done.  Yes!

7-11 (1)

Have a creative day!

Moana

A Special Congratulations

When your daughter gets engaged it is a whole different feeling.  I don’t know how else to explain it, but it just is.  However, planning takes on a whole new level of excitement that is more than difficult to control.  Having two wedding receptions within seven months does slow you down though.  Creativity, don’t fail me now!

6-30 (3)

I finally broke out this bundle to see just what all the chatter is about.  Well, it is really that amazing.  I am going to have a ton of fun working this set.  So many bloggers have really done some amazing work so far, I am going to need to get to work to catch up.  I bet when my daughter sees this she might just get some shifty ideas about wedding invitations. Some things just aren’t fun when you have to make them by the hundreds though.  Perhaps the wedding invite and not the general reception invitation though, definitely manageable.

6-30 (2)

I went with metallic thread as to not distract from the detail of the die cut, but that won’t last long.  I see lots of different types and sizes of ribbon being wonderful here.  It makes me want to change this out right away, but I will leave it.  It matches the copper metallic embossing powder I used on the congratulations sentiment.  Simple and elegant.  Yummy.

6-30 (1)

Have a creative day!

Moana

Sea Street Pop-Up Party

A super happy birthday would be coming your way with this adorable gift set.  I suppose it might be more inclined towards a child, but I have a great appreciation for cuteness, and this is definitely cute.

5-13

I started out with the idea of this octopus holding eight balloons.  I suppose I should have used the bitty balloon punch, but I stayed with it.  Perhaps I will make it again to see how it would look.  I thought the small balloons would get lost in the fun background paper.

5-13(3)

The inside framelit action really makes a statement.  Even though it is in the middle, there is still plenty of room to write a personal message.  I do love the motion of the popup.  I had a large piece of paper left from the card background and went with a matching gift bag. If you are giving a birthday card, odds are you are giving a gift too.  Making a set is always my favorite thing.  It also helps me be brave and use up my designer series paper.  You can’t hang onto that too long you know.

5-13 (1)

Have a creative day!

Moana

Happy Mother’s Day All Around

This to me is the ultimate way to celebrate Mother’s Day, when your children are doing wonderful things.  Like getting married to an amazing woman.  Our family is more than excited for the big day, just under one month now!

5-6

They didn’t want hand made invitations, and I have to say I was relieved.  I would have of course, but what a bunch of work!  I did decide to make a Mother’s Day card for my own mother though.  She loves to take my cards and place them around her house like little pieces of art.  This one is going to stay out for a long time. How fun.

5-6 (1)

Have a creative day!

Moana

Beautiful Ride for Newlyweds

It may be hard to tell, but there are an absolute ton of colors going on here.  I had a blast working on this set.  When I finally finished I was a bit surprised to see how late it got, but it was worth it for sure.  I love making wedding cards just for special people in your life. This one is no different.

4-21

I worked the colors to create a sunrise look and I think it turned out really nice.  I was having a chocolate craving last night, so I settled for chocolate chip paper.  Not quite delicious, but it still worked out.  That led me to marina mist for the car color. From there everything else just came together.

4-21 (2)

I wanted a gift bag to go along with the card to give the gift card something to go in.  I think I will put a tiny selection of rich chocolates around it, wouldn’t you like to get a treat too? Opening gifts can be exhausting for a newlywed couple, so they deserve a sugar boost along the way.

The details in this set are really busy and probably hard to notice.  I think a project like this should look simple even if you know better.  Not everyone knows how much work goes into a tiny work of art like this, but that doesn’t stop me from sharing them.  Just a few more weeks and this card will find its way to the deserving adorable couple.

4-21 (1)

Have a creative day!

Moana

Forever Begins Today

I don’t think I can get enough of this pretty paper.  I am glad I managed to earn an extra pack of this paper during Sale-a-bration.  This particular pattern was my second favorite, hard to top it though.

4-2

Another sad part about this card is that soon the blackberry bliss I used for the card base will soon retire.  I will so miss using it.  It was really my favorite.  Time to enjoy it as much as possible and get ready for some new colors.  I think I might get a little stash of it built up to enjoy though.

This card is like the others in the series, pretty direct and to the point.  I stamped my sentiment in old olive, punched it with the extra-large oval punch, sponged it with silver encore ink and shadowed it with another punch in blackberry bliss.  I raised them up on dimensionals and put them just to the side of a lovely ribbon tied with seam binding ribbon.  I could use that ribbon on just about everything.  I thought I wouldn’t love anything as much as the chevron ribbon that retired last year, but I sure do!

4-2 (1)

Have a creative day!

Moana

Peek-a-boo to Someone New!

Adorable and adorable.  With a sentiment like this, any project is bound to look adorable. However, the dandelion puffs do help tremendously.  This is the third in a gift series focusing on one set of paper from Sale-a-bration and just one stamp set.  With a few punches and some ribbon I was able to create a dozen cards and a container to hold them. Enjoy them like I have.

3-26 (2)

One piece of paper for the card front, one tag layered with a scalloped background, and a simple bow.  I do think of a new baby with this card, but it could work for other situations I suppose.  There are several ladies in my life who are expecting little ones, so this just might get made a few times over.  Easy and fun to do.

3-26 (1)

Have a creative day!

Moana

Balloon Celebration

Experimenting with water coloring has become one of my new favorite things to do.  I am so young in this medium that it is a constant adventure.  I do try not to do it all of the time, but it might just be my favorite.  Hard to put that off.

3-18

I did stamp off the balloons twice before they got to the card front.  I wanted dark color, but still opaque.  It worked nicely.  The second layer stamping was done only stamped off once to make sure it was seen well.  Also a good fit.  I did go over the balloons again with the aqua painter to smooth things out.  A bit of dabbing with a paper towel helped to create better highlight spots.  Fun and fun. I am still waiting for the back-ordered balloon punch, so I had to layer the balloons with just ink.  That is why I had them opaque.  To allow the layering to show the balloons behind, just like it would with a real bouquet of balloons.  I do think this card is good for just about anyone’s birthday, masculine too.  A really great project that was satisfying on so many levels.

3-18 (1)

Have a creative day!

Moana

Sweet Li’l Things

I haven’t visited my little chickie for a while now and loved saying hello again.  This stamp just says adorable like crazy.  I normally wouldn’t get a stamp set for just one image, but this one was just too perfect to pass up.  Of course it helped that it was a free gift with purchase, so there you go!

2-24

I used the Sweet Li’l Things DSP for the background.  That is how I created the pallet for my water coloring today.  I was a bit distracted chatting on the phone with my daughter while painting, so I didn’t dry as often as I should have, but I decided I could live with the little edge goofs here and there.  Besides, I wasn’t going for a blue ribbon, just a smile or two.

The strawberry patterned paper underneath the card is the other side of the designer paper I used for the background.  I think I will turn that into a matching gift bag when I decide to use the card.  Might not be too soon because I want my lil’ chickie to be on my desk for a while.  I made a tiny triple banner set for the greeting and used the bitty banner punch for the edges.  So easy to make the edges just right.  The paper strips are 1/2″, so they fit right inside the punch.  I twisted them the way I wanted them and gave them a quick staple.  Then I used my bone folder to give them a bit of a curl then added a ribbon knot to finish it off.

Everyone is layered in 1/8″ borders and set up on dimensionals.  This one would definitely require extra postage going through the mail.  But since I plan on using this as a gift set, I didn’t worry one bit about how thick it got.

2-24 (1)

Have a creative day!

Moana

Bloomin Hearts Everywhere!

Springtime sure does bring a lot of beauty, especially love.  It is so much fun to hear about new engagements and wedding plans.  There are three this spring and early summer that are pretty darn exciting, one in particular, my son’s.

2-11

I was getting a little misty eyed and created a couple of cards with their wedding colors so I could write them each a personal note of congratulations.  I really had fun just taking my time and enjoying the process.  I did have a brief thought that these could be a lovely wedding invitation front.  Then I thought about having to make 400 or so and quickly decided that would be a lot of time spent that could be better spent otherwise.

2-11 (4)

The detail on this framelit is just so wonderful.  It makes such a pretty piece of art you don’t need anything else on the front.  I did do a little more, but just embellishments. Two varieties of pearls, one with the added framelit flowers, each with a different embossed background, and both finished off with very vanilla satin ribbon.  What an elegant look.

They are very similar, but also uniquely different.  Just like the two people I was thinking about when I made them.  This weekend we are hosting an engagement party for them. It should be so much fun!  I am new to this part of life, but I am definitely up for it.

2-11 (2)

Have a creative day!

Moana

Press Forward

When it is time to make a set of invitations, I usually struggle to keep them simple.  That was needed this time around though, and I managed to pull it off.  I even got to put some retired product to use.  Love that.

2-7 (1)

The invitations are basic and only one sided.  The graphic was provided, I do love it though, and I put it to work.  I got a little digital for this project.  I opened the image in InDesign and started picking fonts.  It didn’t take long to decide, I made it white and placed it as an overlay on the image.  Then I included the basic details below in a softer gray because black looked too stark.

2-7 (2)

I used the full graphic, including the title with supporting scripture reference, for a water bottle wrap.  I think these will look adorable.  When digging around, I came across another retired product I could use.  First, ribbon for the invitation, second, bakers twine for the bottle wraps, and third, paper to make a box for the invitations.  Everything gets used eventually, and I love having it on hand for quick project work.  This one wasn’t that quick, but took a good portion of the day from conception, design, prep work and assembly.  All done and ready to go though!

2-7

Have a creative day!

Moana

Flowering Flourishes

I think this will wrap up my adventures with this particular bridal shower invitation sample set.  I think I just might like this one the best.  I like the layers and different inks used with the added layer of embossing.

1-28 (1)

New stamps come out all of the time, but sometimes it is nice to go back to your favorites.  This set, Flowering Flourishes, is definitely one of my go to sets.  The detail is just beautiful and they layer so nicely together.  The simple elegance of it is so striking.  Just a one layer card today, even though the stamping has a bit of extra to it.  I did add a little extra sparkle here and there, sparkle is a must for this soon to be bride.

1-28 (3)

Have a creative day!

Moana

Rose Wonder

This was a fun project for sure.  As you have heard me say so much recently, I do love to water color with my stamping.  I wasn’t sure if these two colors would come together in an attractive mix, but they did well.  Having the touches of navy with the blush as a primary is really enjoyable.

1-26

I think I might be making the decisions a bit tricky for these bridal shower invitation choices.  I am not sure which one I like better between the two, guess I will have to come up with another one just for good measure.  I can’t spend too much time playing though, I have workshop coming this weekend.  It is fun to play though.

I stamped this huge wonderful rose on water color paper with stazon ink.  I didn’t goof it up too much, so I went with my first attempt.  I did a trial run with the colors on a scrap of water color paper just to check it out and I liked it.  So, I wet down my stamped image and got to work.  I spent a bit of time trying to be cautious, then I just went for it.  That is why I love to water color, it is pretty darn forgiving.  I even used my trial scrap as a background punch, cool right?  I do try not to waste.

1-26 (1)

Have a creative day!

Moana

Bloomin’ Love

I do enjoy making something special by request.  It isn’t always easy to start, but once you do, the ideas just begin flowing.  This is my first go at a bridal shower invite.

1-25

The brides colors are a blush pink and navy blue.  My blue looks a bit royal purple here, but it is a deep navy.  How about this lovely framelit die cut?  I thought I might go a bit bonkers trying to get it all detailed out, but I managed.  I am not always the most patient one, but this die requires it.  I had to put it through the big shot back and forth several times to get all of the cuts done.  It was worth the fussing though.  The detail is amazing.

1-25 (1)

I might have gotten a bit carried away on the inside stamping.  I was chatting while I stamped and before I knew it, it had gotten pretty busy.  If this one ends up being the choice, we might have to print the details on velum to be an overlay.  That would be pretty though too.  Love is definitely in the air.

1-25 (2)

Have a creative day!

Moana

Forever Begins Today

This was for yesterday, however, yesterday was for my family and there wasn’t time to share this with you.  I am sure it was worth the wait though.  Aren’t these flowers just the best thing ever?

1-21

One framelit set gives you all of these pieces, plus a couple more.  And they coordinate with velum, designer series paper just to name a couple. I have been planning this one for a while now, with a very specific goal in mind.  I am fortunate enough to have my son getting engaged and this is how I am going to approach the second reception.  What else could I possibly use for my inspiration piece, right?

1-21 (1)

I do admit that once I cut into a piece of designer series paper for a card front, I look to the remainder of the sheet and immediately think of a bag or box I can make to coordinate.  I have a hard time stopping myself to be honest.  I also have a bit of a problem filing back my scraps of cardstock when I work.  All of these colors were available to me in my stack of put me away papers.  I put them to good use for sure.

1-21 (2)

Have a creative day!

Moana

Inspired First Sight

I have a thing for unique mugs and my oldest daughter gets me.  She found this little treasure and couldn’t resist.  It reminded me of simple water coloring, so I thought I would create a card around it.

Inspired First Sight

Of course it had to be water color somehow to go with the simple brush strokes on the mug.  I matted a card base with painters tape to leave me a clean 1/4″ border and brushed the whole surface with plenty of water.  I then dabbed my aqua painter in the ink colors to coordinate with the mug and created a very soft background.  When I was satisfied I went looking for the perfect stamps.

Inspired First Sight

One of the new sets in the spring catalog caught my eye.  It is called First Sight and has more than one use.  It isn’t all about Valentine’s Day, or Mother’s Day but really has several uses.  For me, that is when a set gets purchased.  Having a stamp for just one use better be pretty darn amazing to get into my collection.  And as of today, the catalog is live so you can have the stamp set too.  How fun!

Inspired First Sight

Have a creative day!

Moana

Oh, Hello 2016

It would appear I have taken a few days off, and I guess I did.  I worked ahead to be out of town and still blog, but didn’t have quite the time to get back to it when I got home.  Sometimes life just has to happen, and it was so much fun!

Oh, Hello 2016

This card is just cuteness overload!  I am absolutely in love with this little chick, aren’t you?  It comes from a free set that is only available during Sale-a-bration.  It is a free gift option when you buy $50 of product.  No problems here, I love free!

Oh, Hello 2016

I snatched a tiny stamp from December’s Paper Pumpkin kit that says 2016.  It works with the calendar kit, but is just what I needed for this card.  Kind of like the year 2016 was there before I realized it.  I do think this chick will find its way on everything I can think of.  I have tons of other new product to play with, but nothing this cute.  Oh how I do love cute!

Oh, Hello 2016

Have a creative day, what’s left of it.

Moana

Balloon Bash with a Twist

A tangelo twist that is.  I went to my color buddy yet again this morning and she said orange.  What a great team.  I don’t need much, just a nudge sometimes.

Balloon Bash with a Twist

I had made a version of this card some time ago for a workshop.  I was asked for a birthday card and the design just popped right into my head.  So I guess I cased myself, again.  Well, I do tend to like my designs most of the time, so why not!

Balloon Bash with a Twist

It is a pretty direct layout today.  Everything is done in 1/4″ increments, nothing too tricky.  Dimensionals are definitely put to work, and I gave myself permission to sponge everything.  So liberating.  There is a lot going on, but it is also simple and easy to mail.  Gotta love that!

Balloon Bash with a Twist

Have a creative day!

Moana

Banner Blessings with Beautiful Bunch

I so enjoyed getting the silver ink out yesterday that I went back for more.  I really love working with metallic inks.  I hadn’t water colored with them before, but I thought I would give it a go.

Banner Blessings with Beautiful Bunch

The idea came from my daughters art final.  She pained this  beautiful water color and brought in gold.  It looks much more dramatic on her project, but hey, it is a start, right?  I liked how it turned out.

Banner Blessings with Beautiful Bunch

I wanted to use a stamp from my collection that would suggest a star, to match the sentiment, without being a star.  I ended up going with the flower centers from the Beautiful Bunch set.  I tried a different one first, but it looked more like paint splats or bad graphics from an old Star Trek episode.  I settled with the one you see here.  I do love making my own background paper.

Banner Blessings with Beautiful Bunch

I repeated the stamping on the edges of the card base and of course had to stamp on the inside opposite corners of my insert.  I even did one on the back bottom center, just to make Donna happy.  I love how the gold ink looks on blackberry bliss.  I see another project with those two coming along soon.

I used my aqua painter and the gold ink to highlight the scripture reference.  I stamped ink on a clear block and used that as my pallet.  It worked like a charm!

Have a creative day!

Moana