Journal Inspired Butterfly Basics

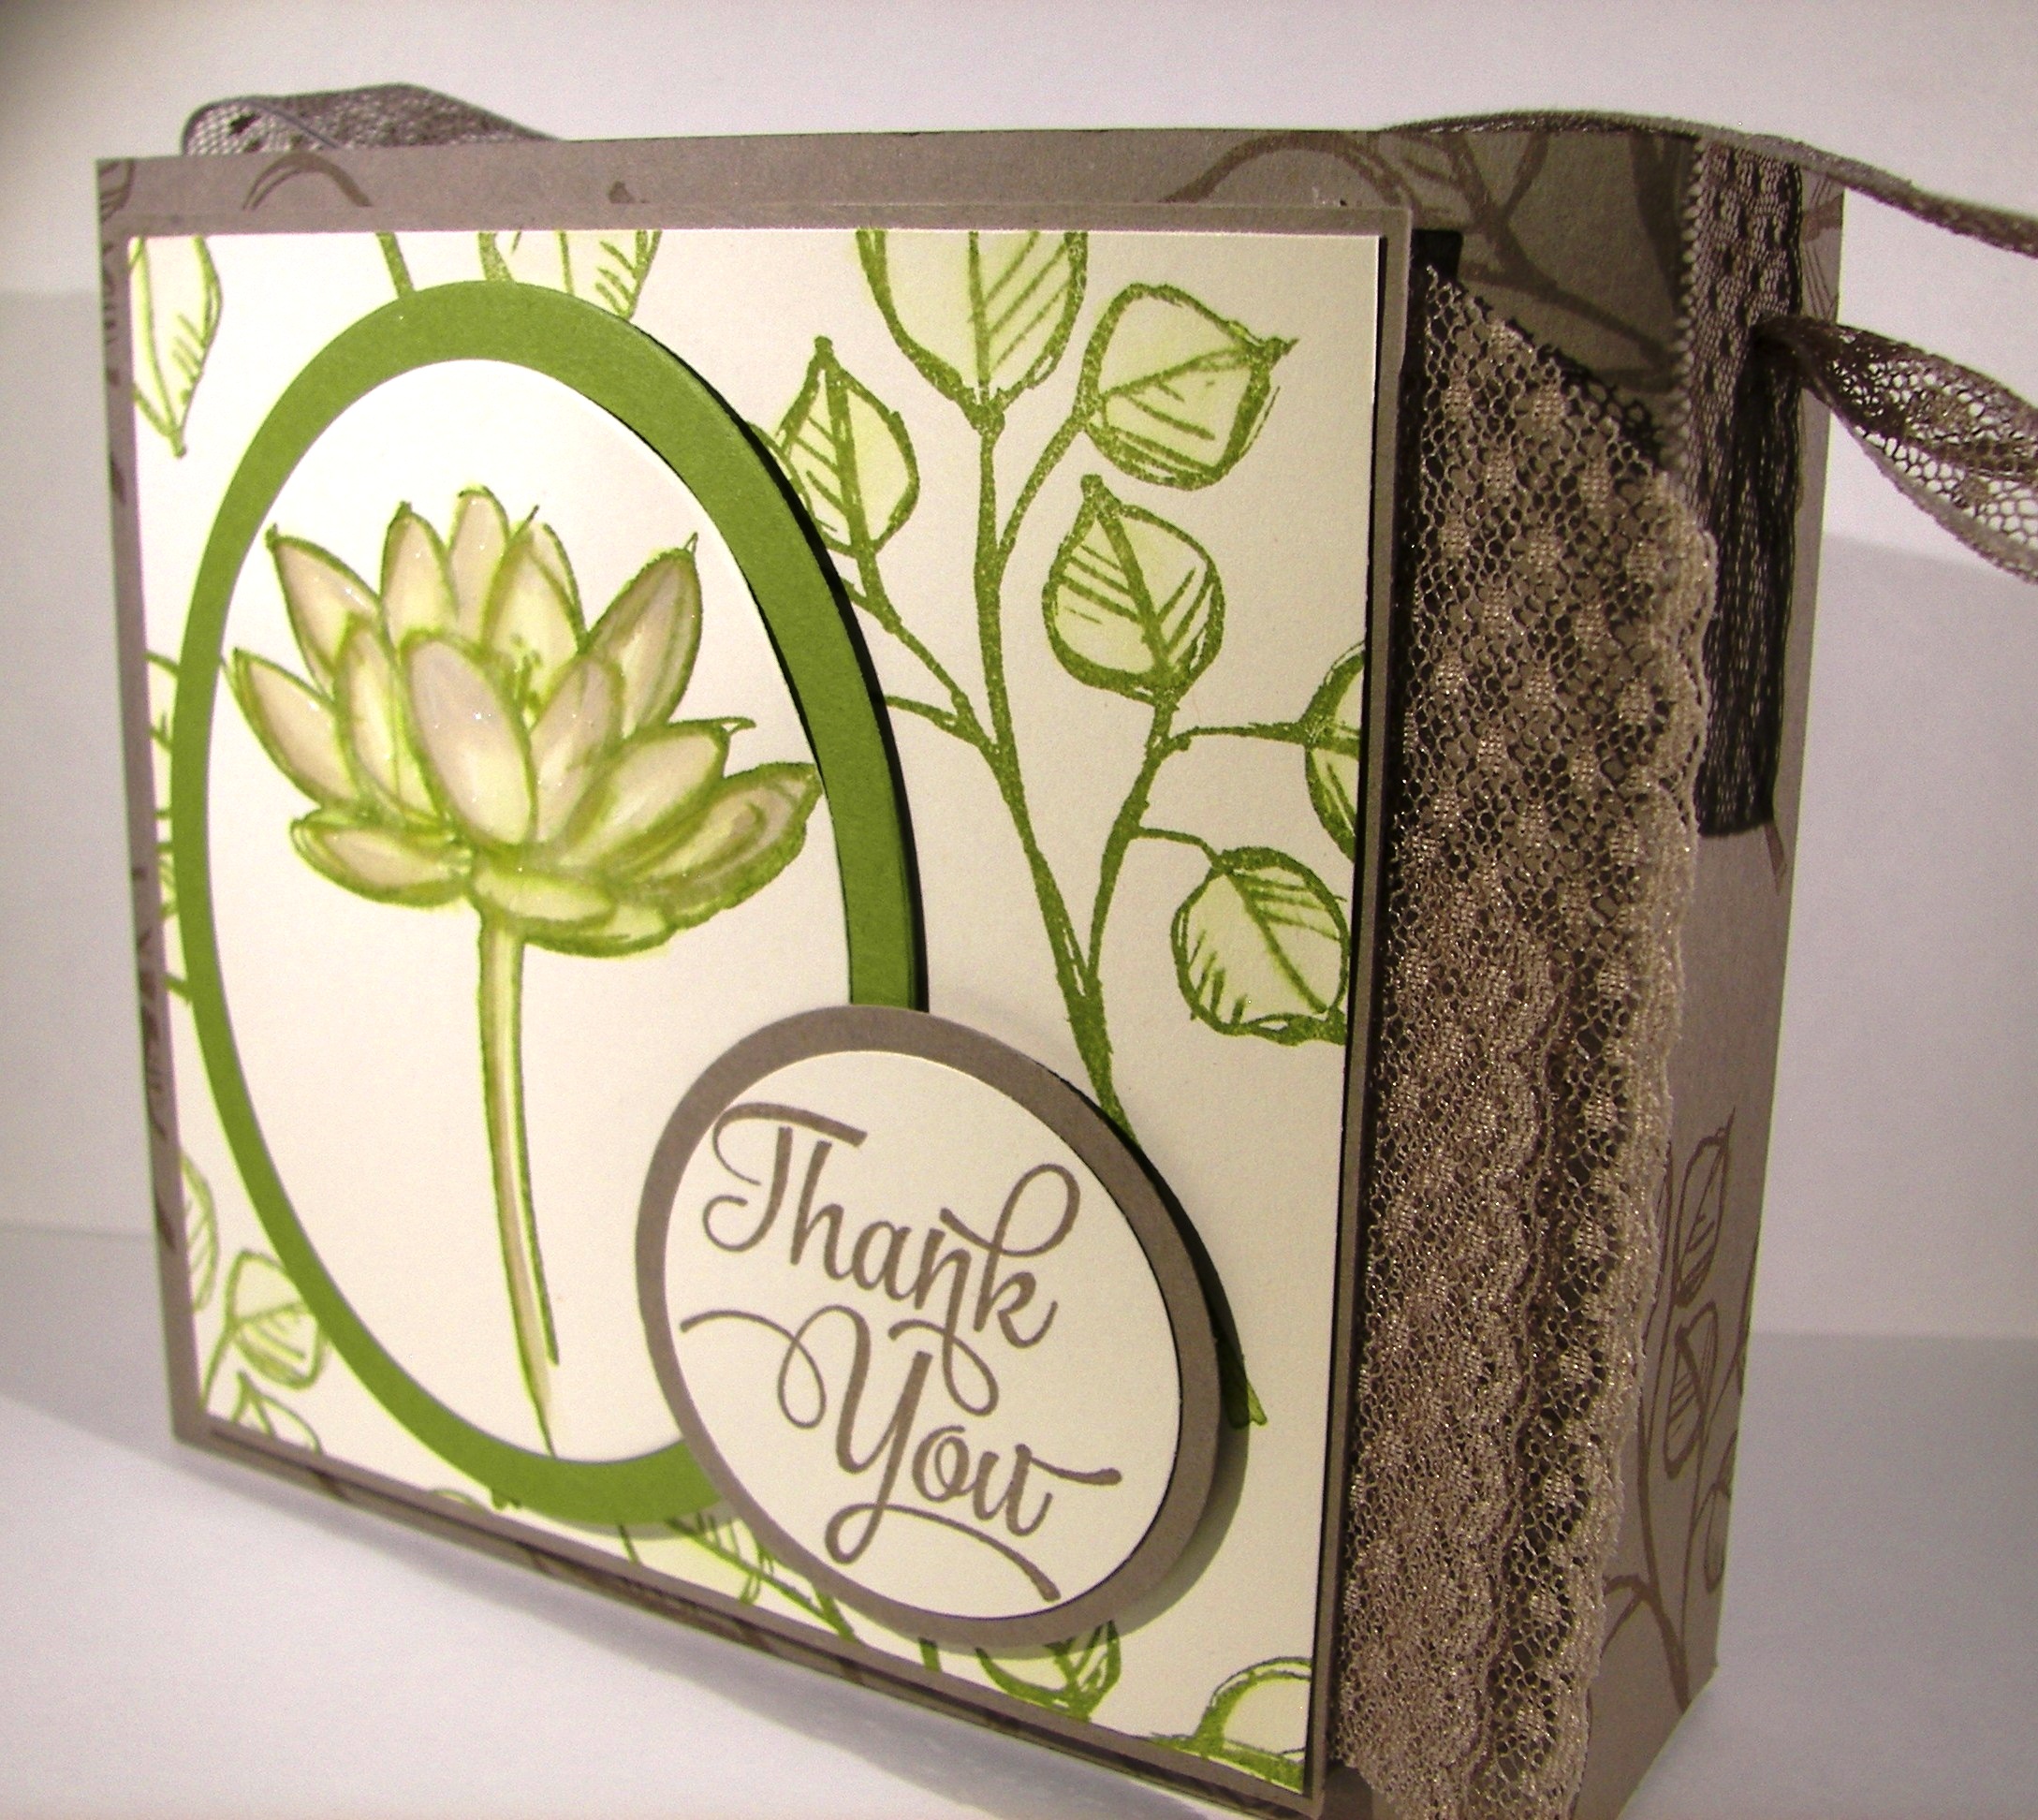
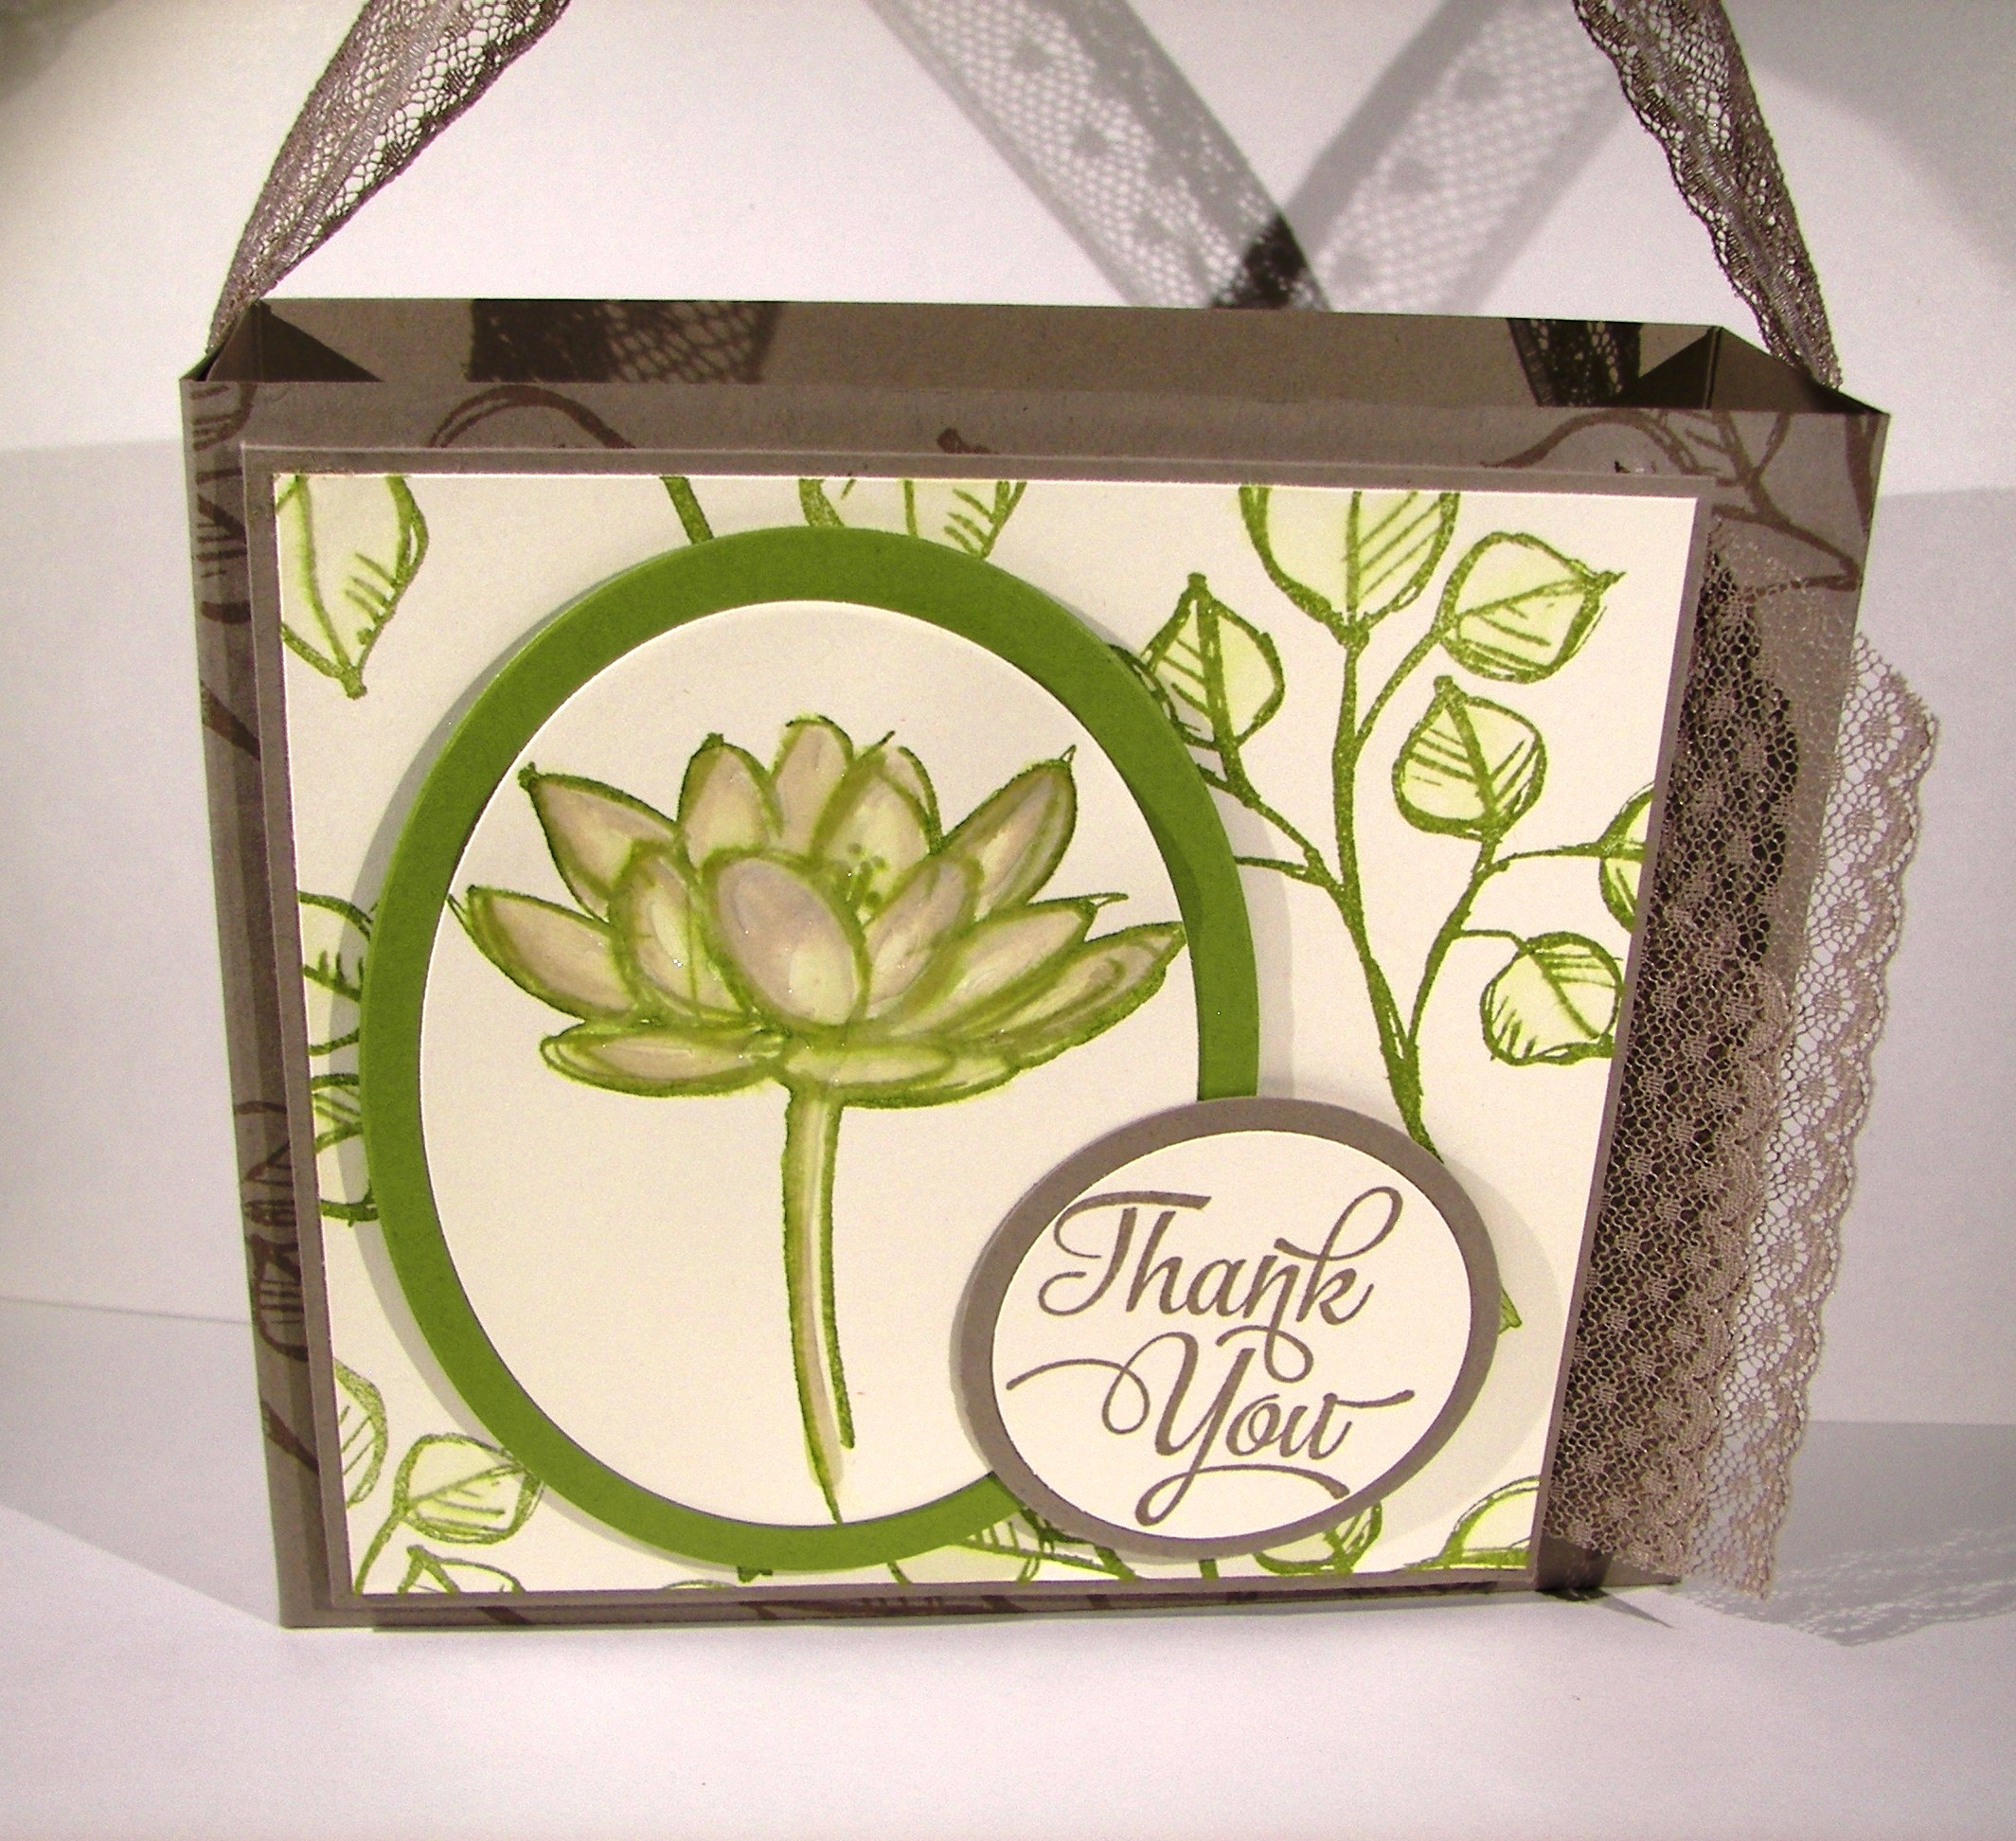
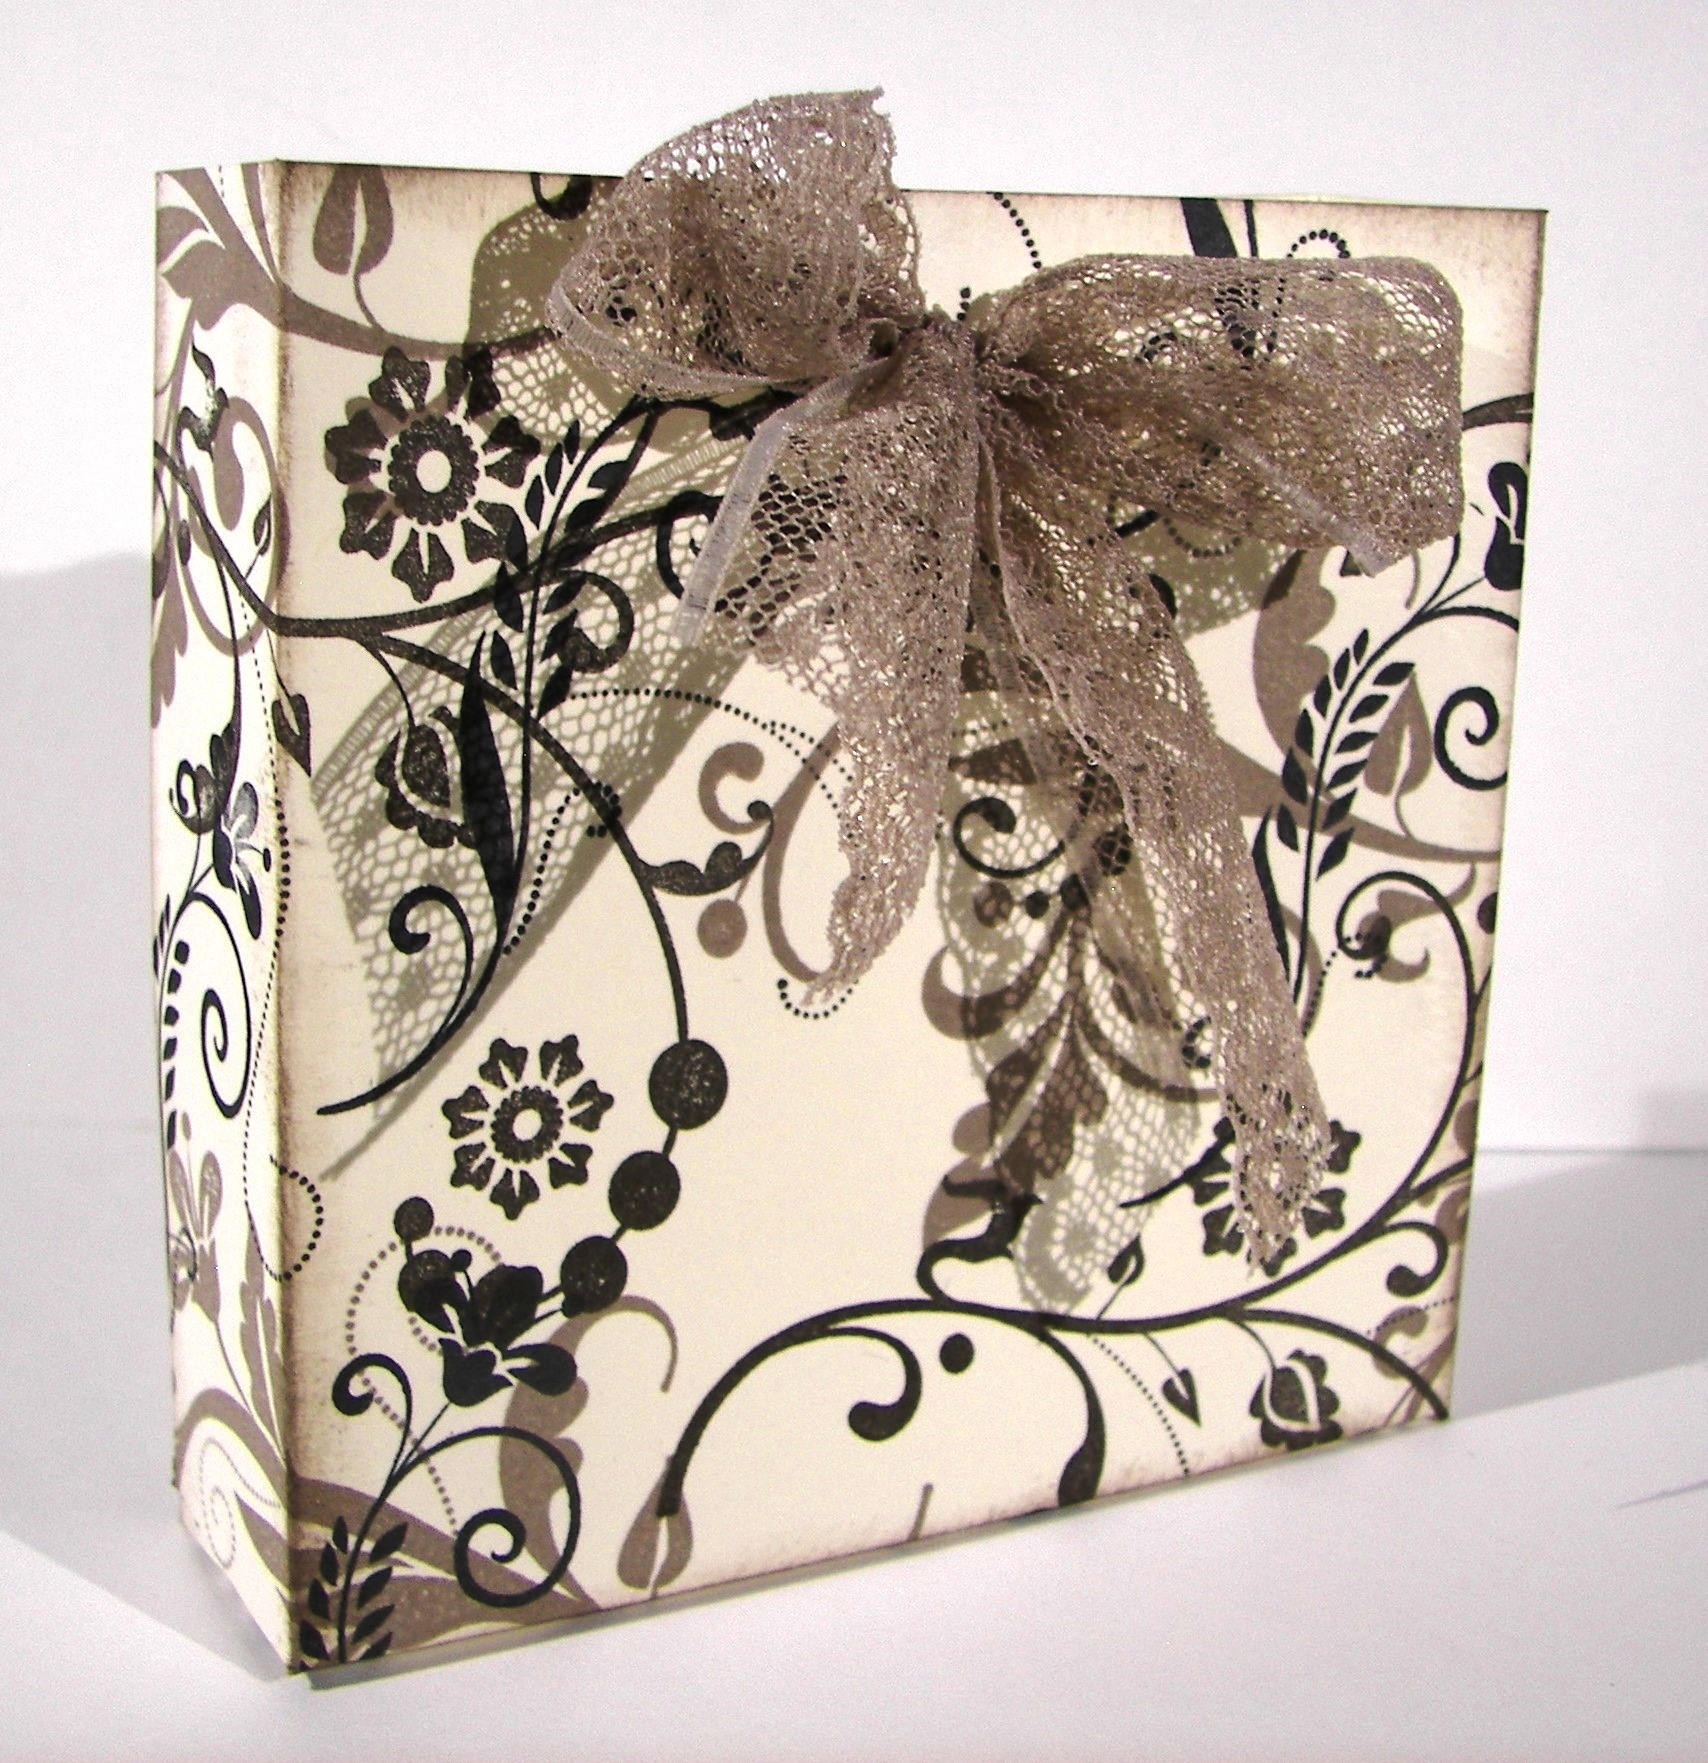
My husband bought this pretty journal and I immediately took it to my desk to stare it down.  I just knew there was a card in there somehow.  Well, after sharing swaps for nearly two weeks my creative bug was on high alert.  I sat down last night and gave myself some time to go at it.  And I did.

Journal Inspired Butterfly Basics

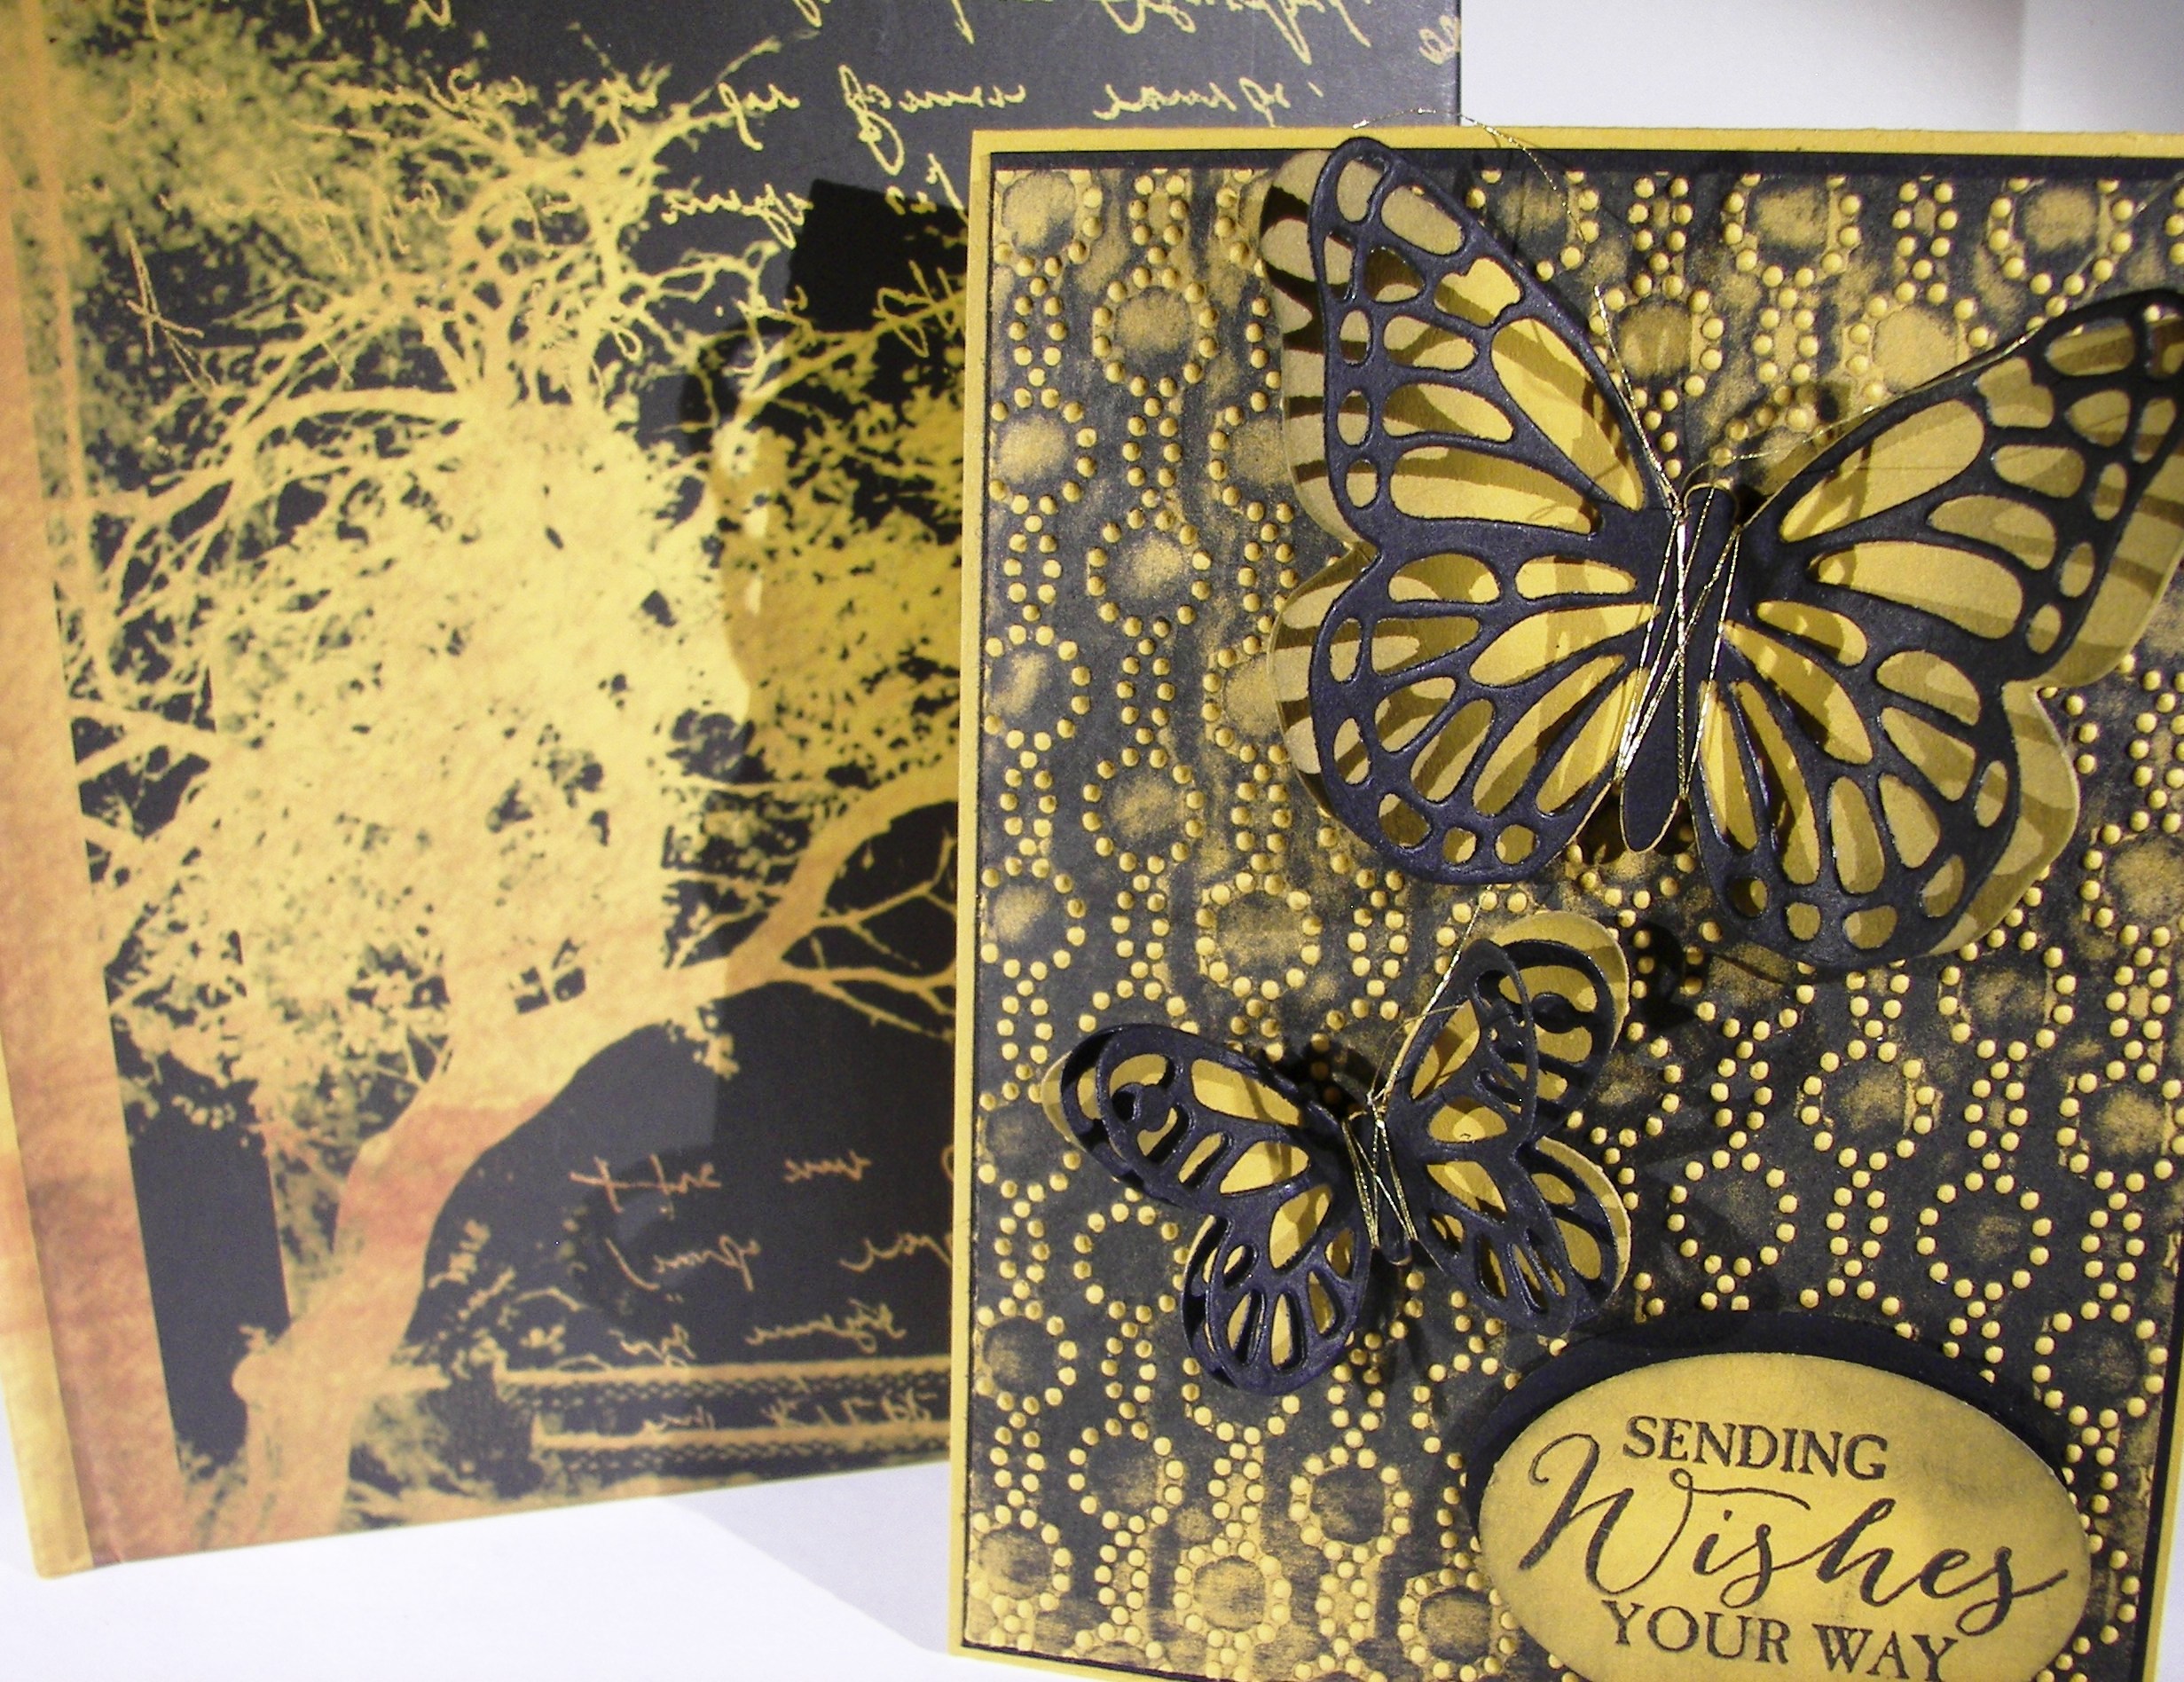
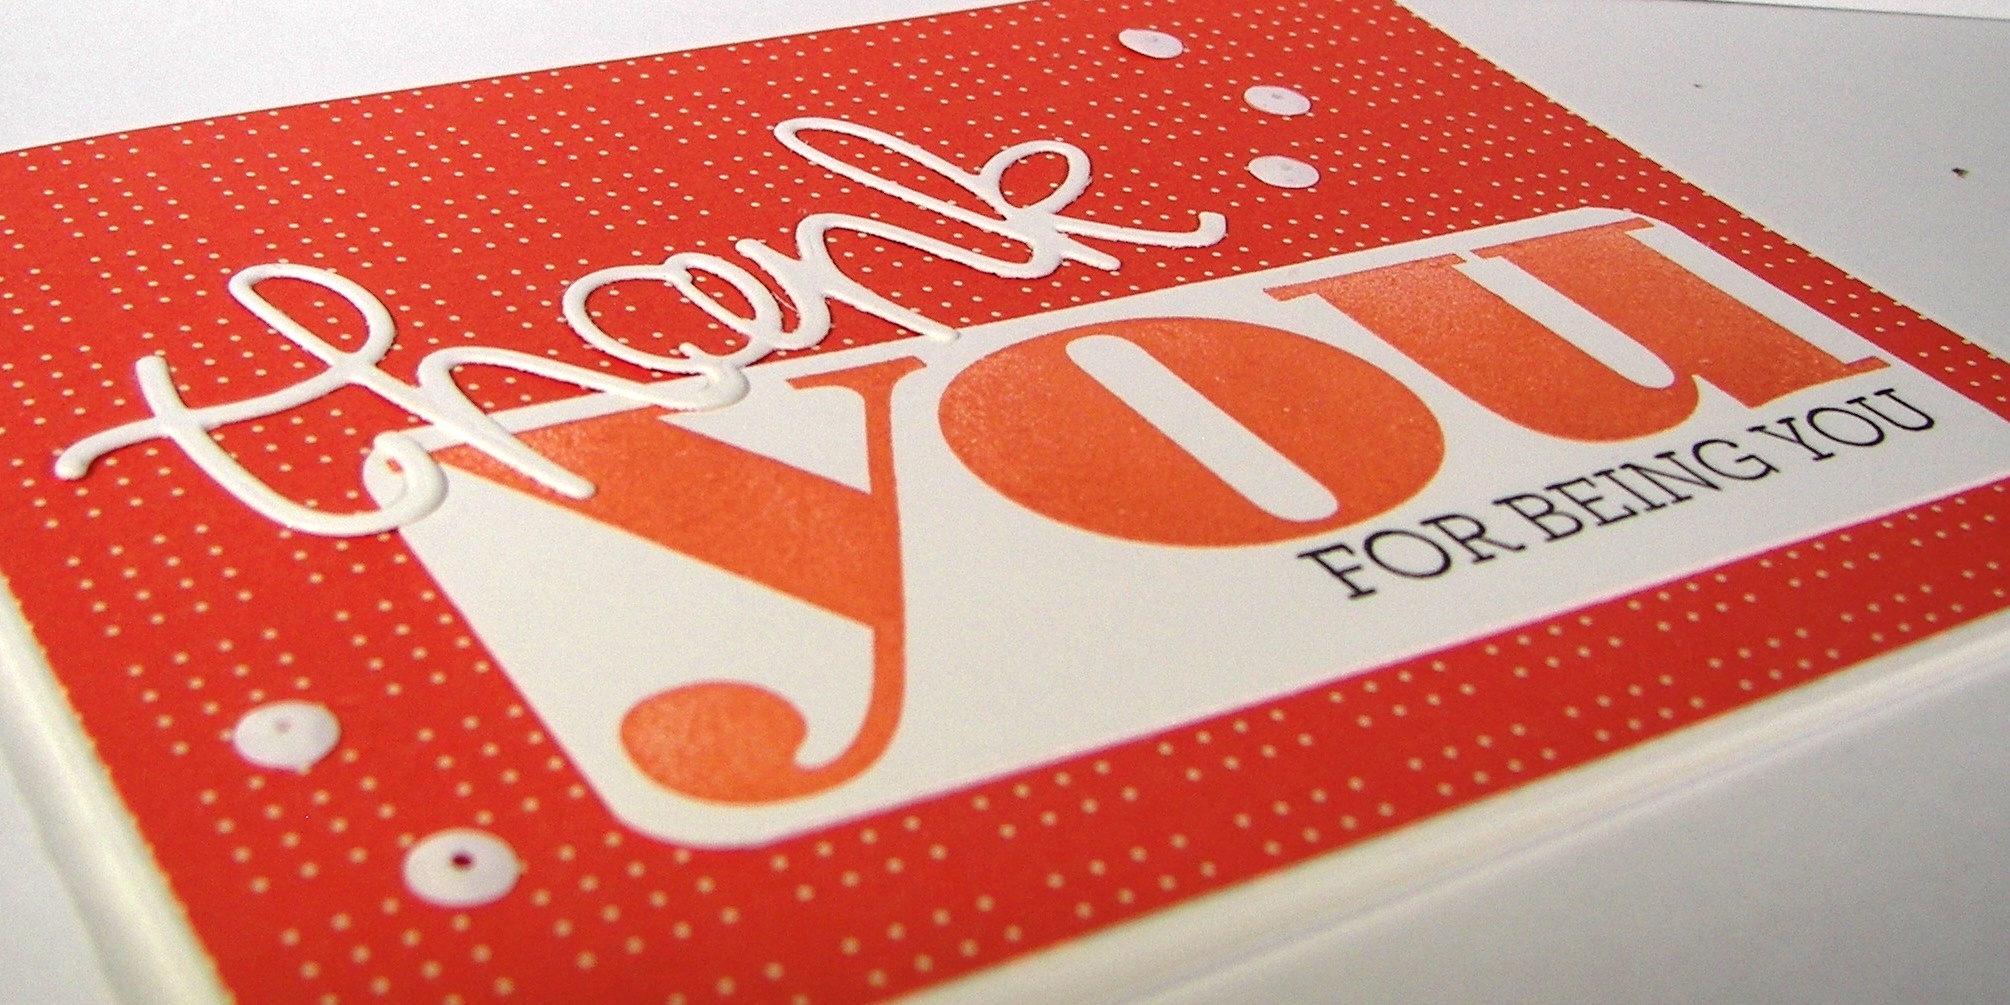
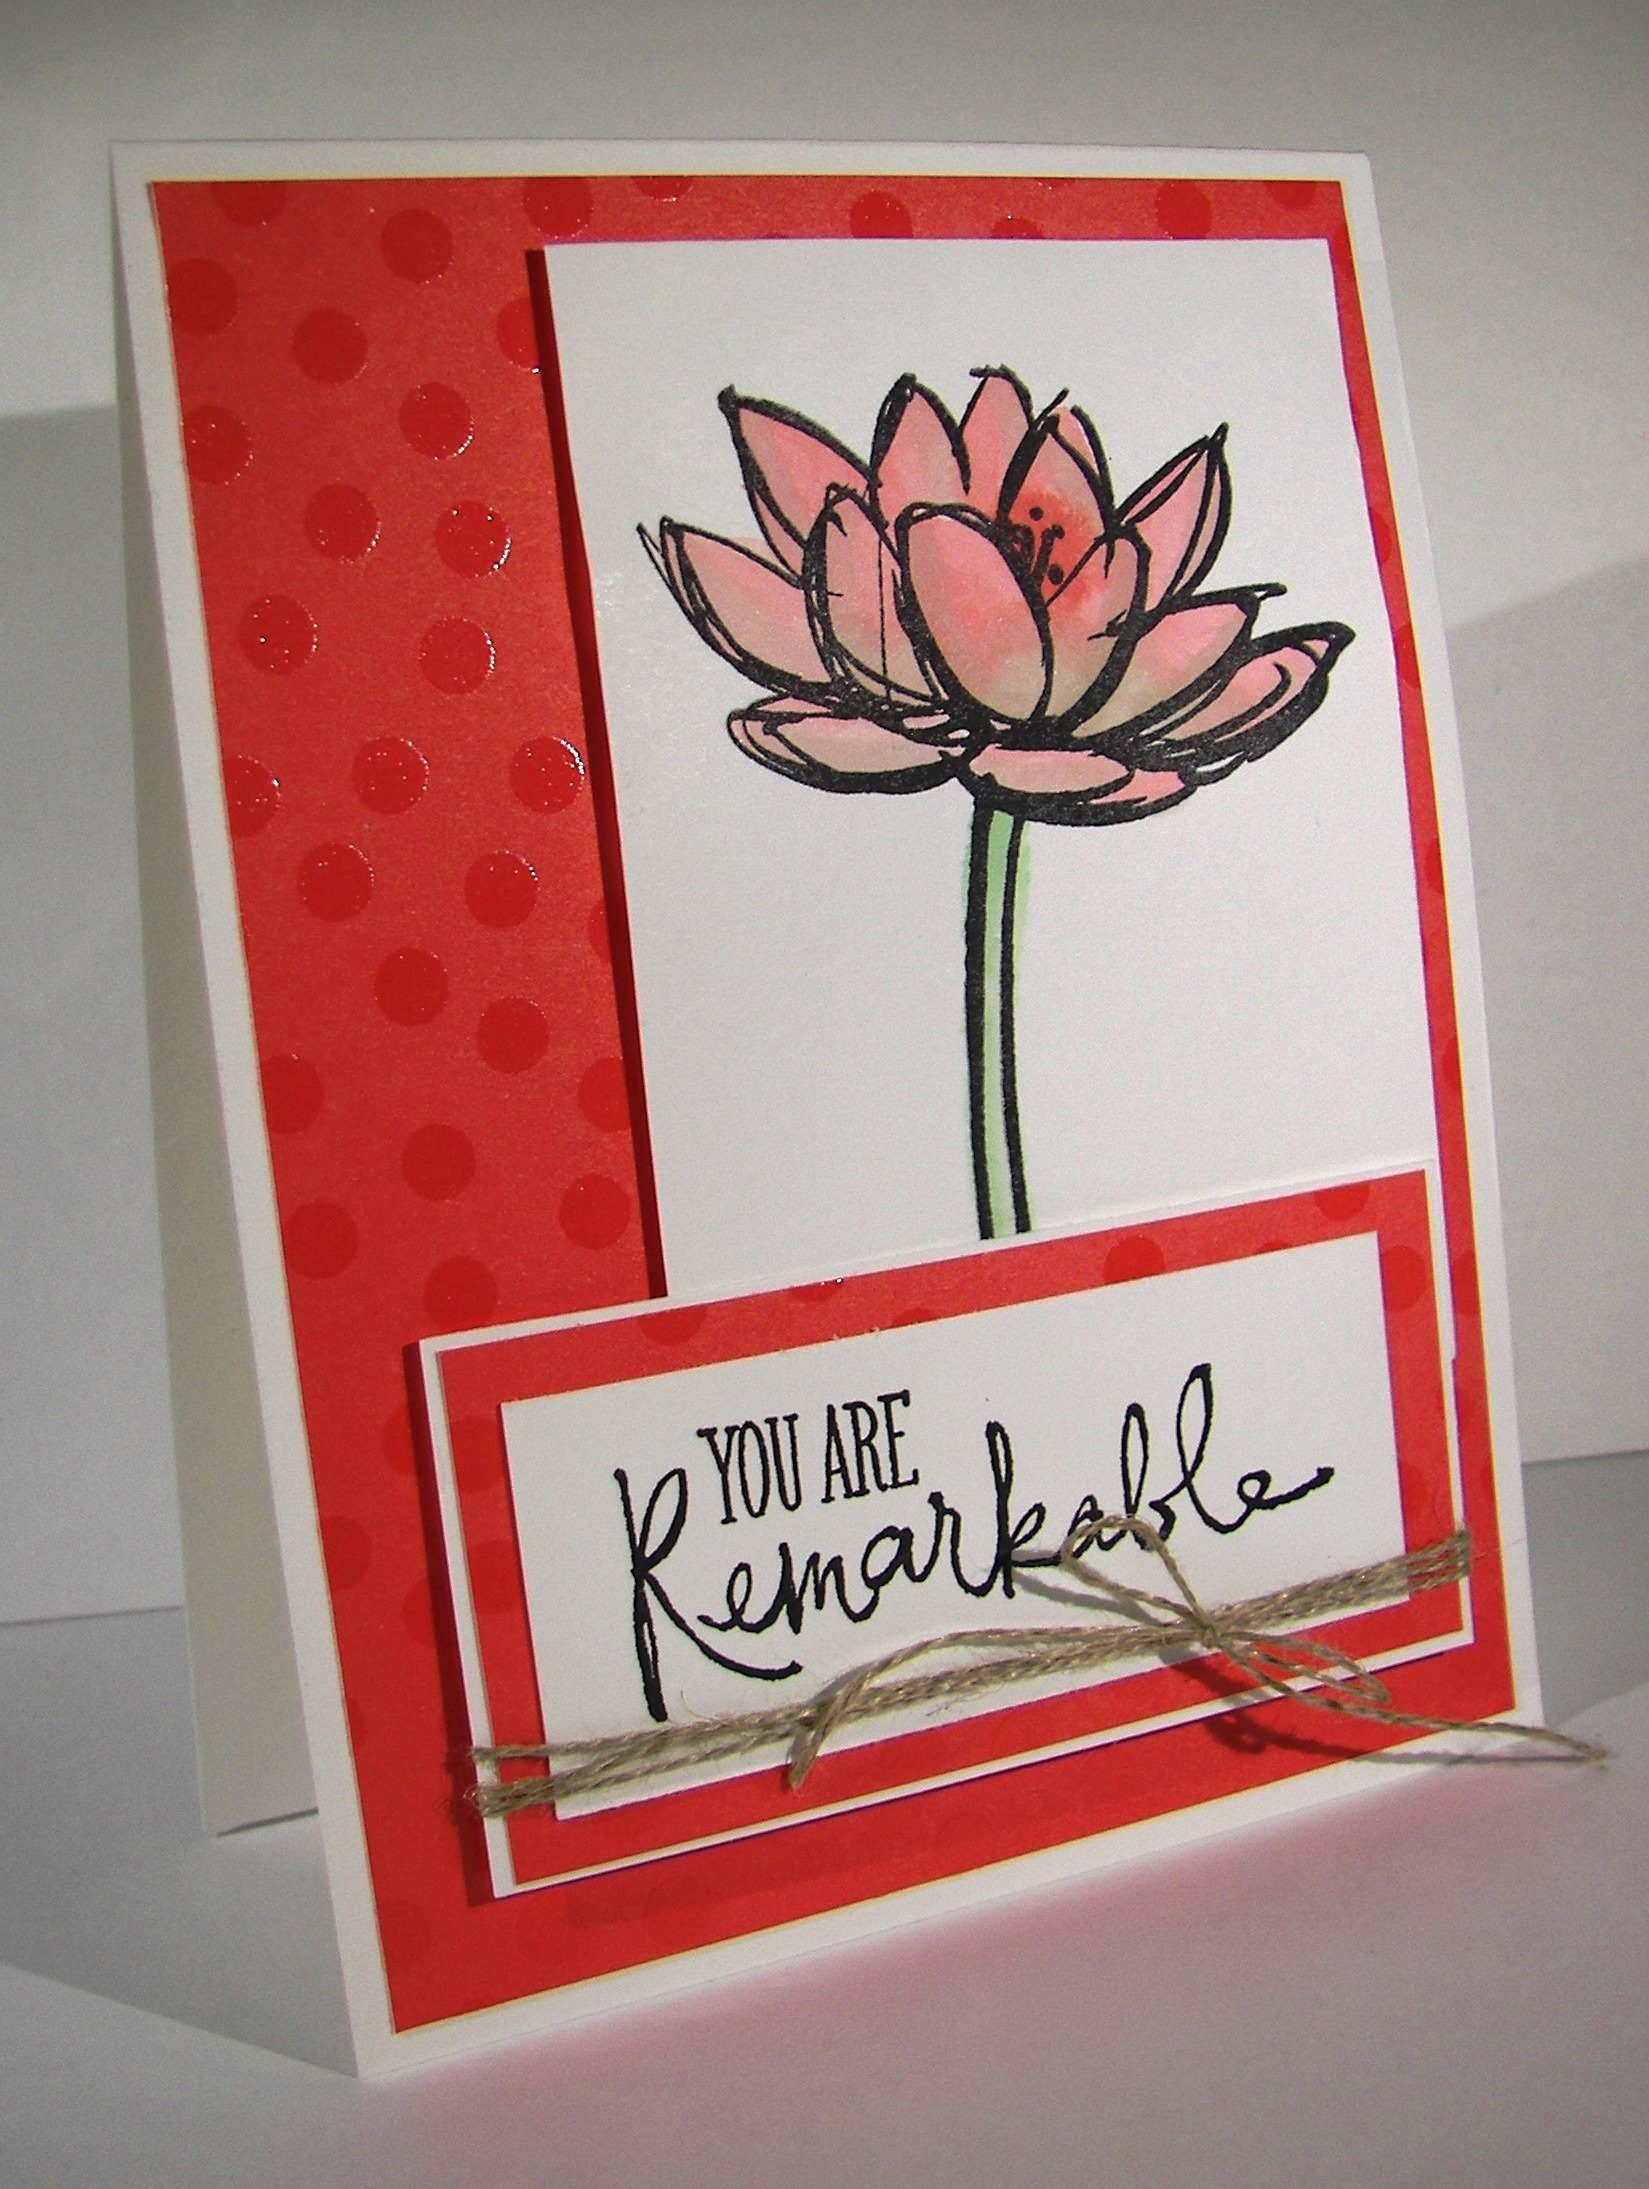
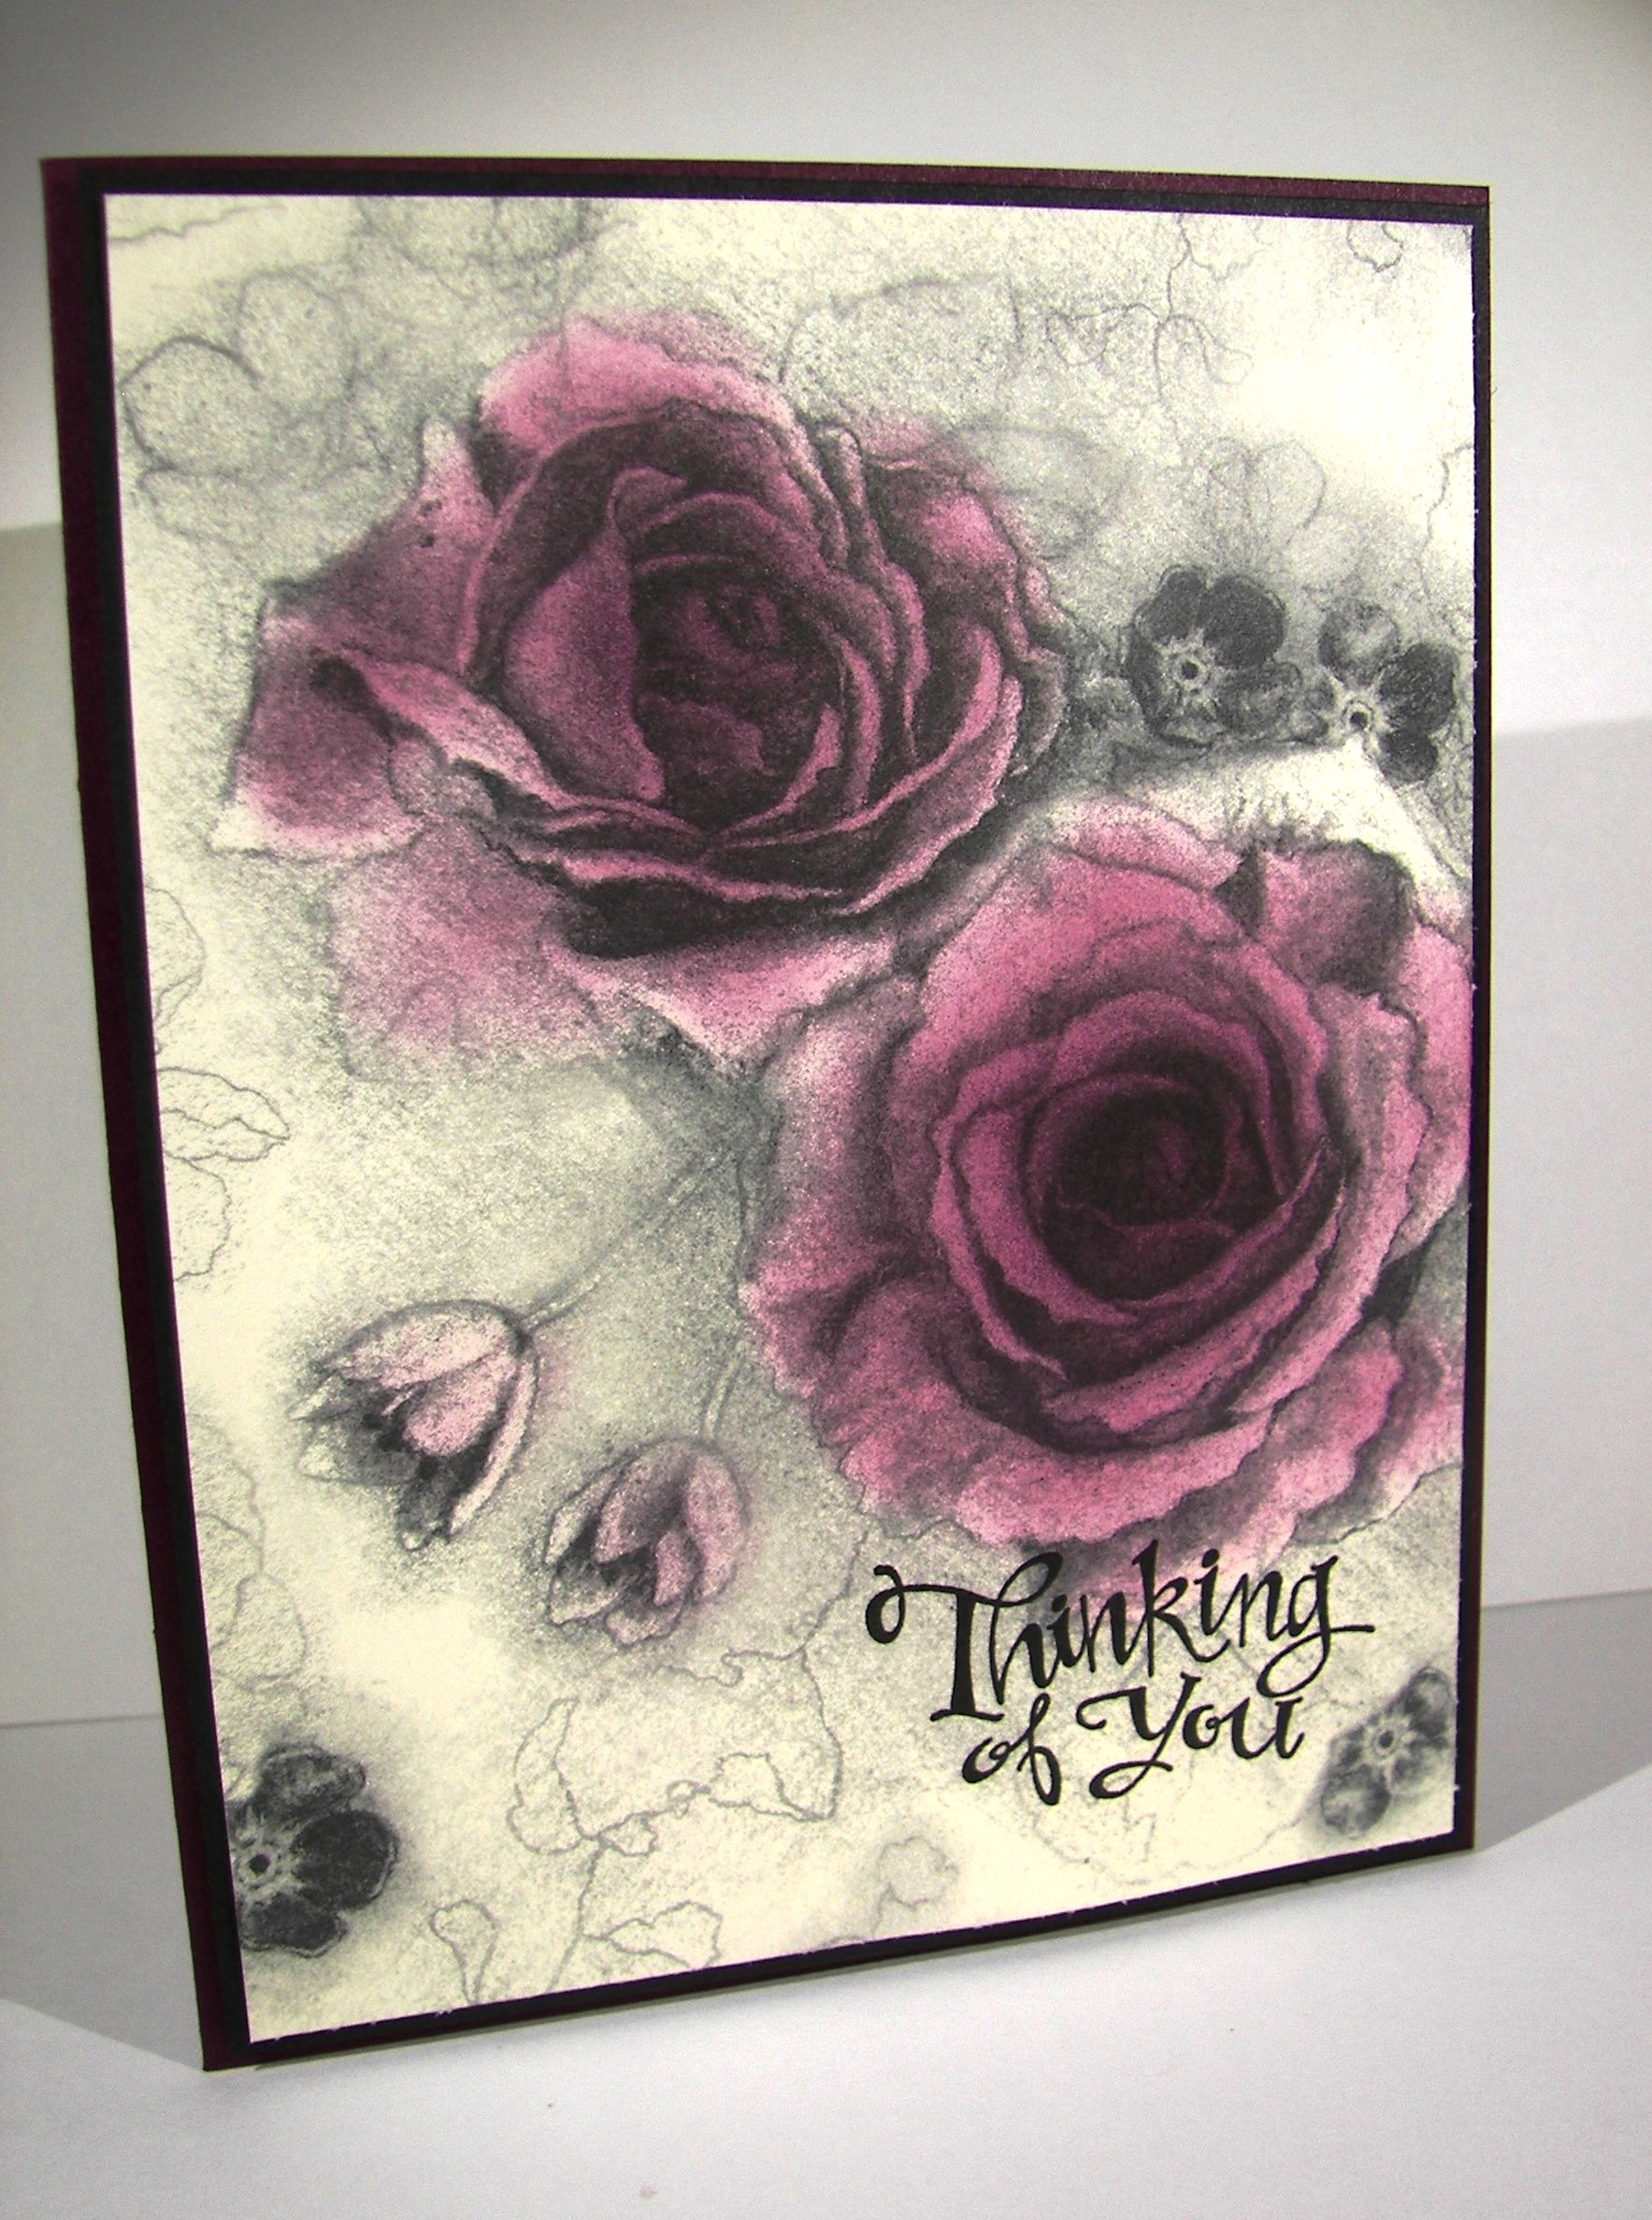
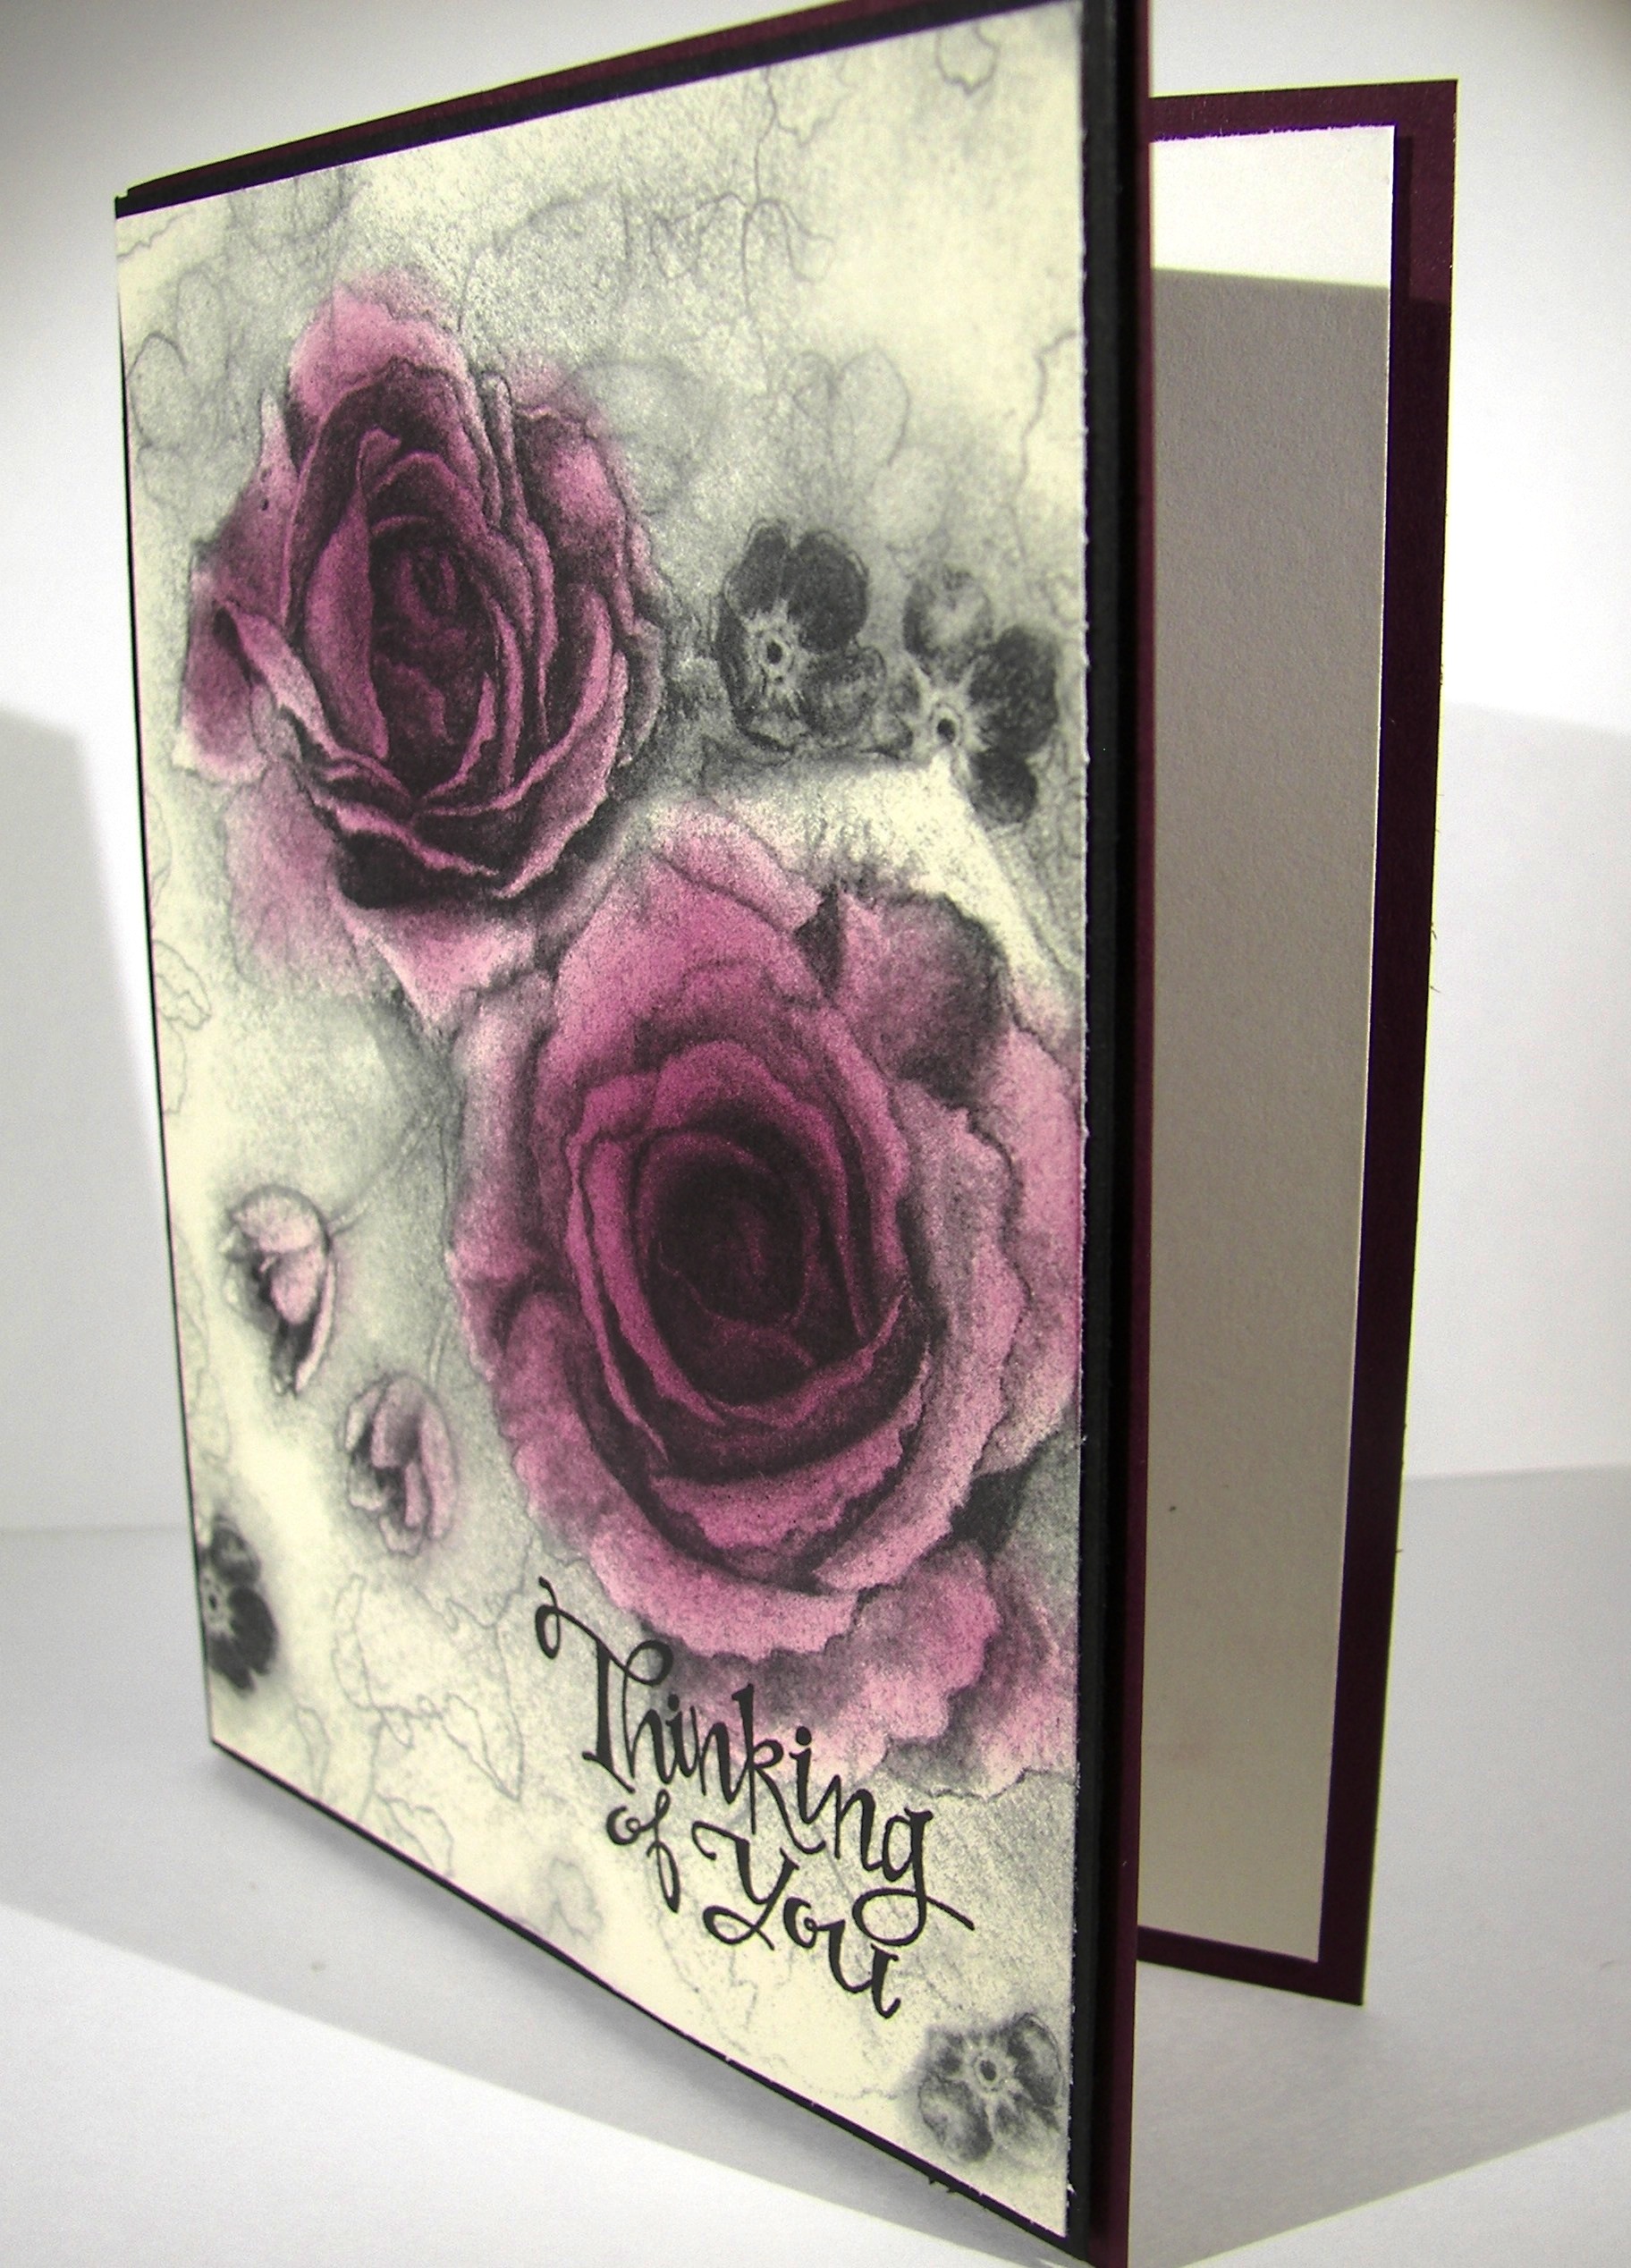
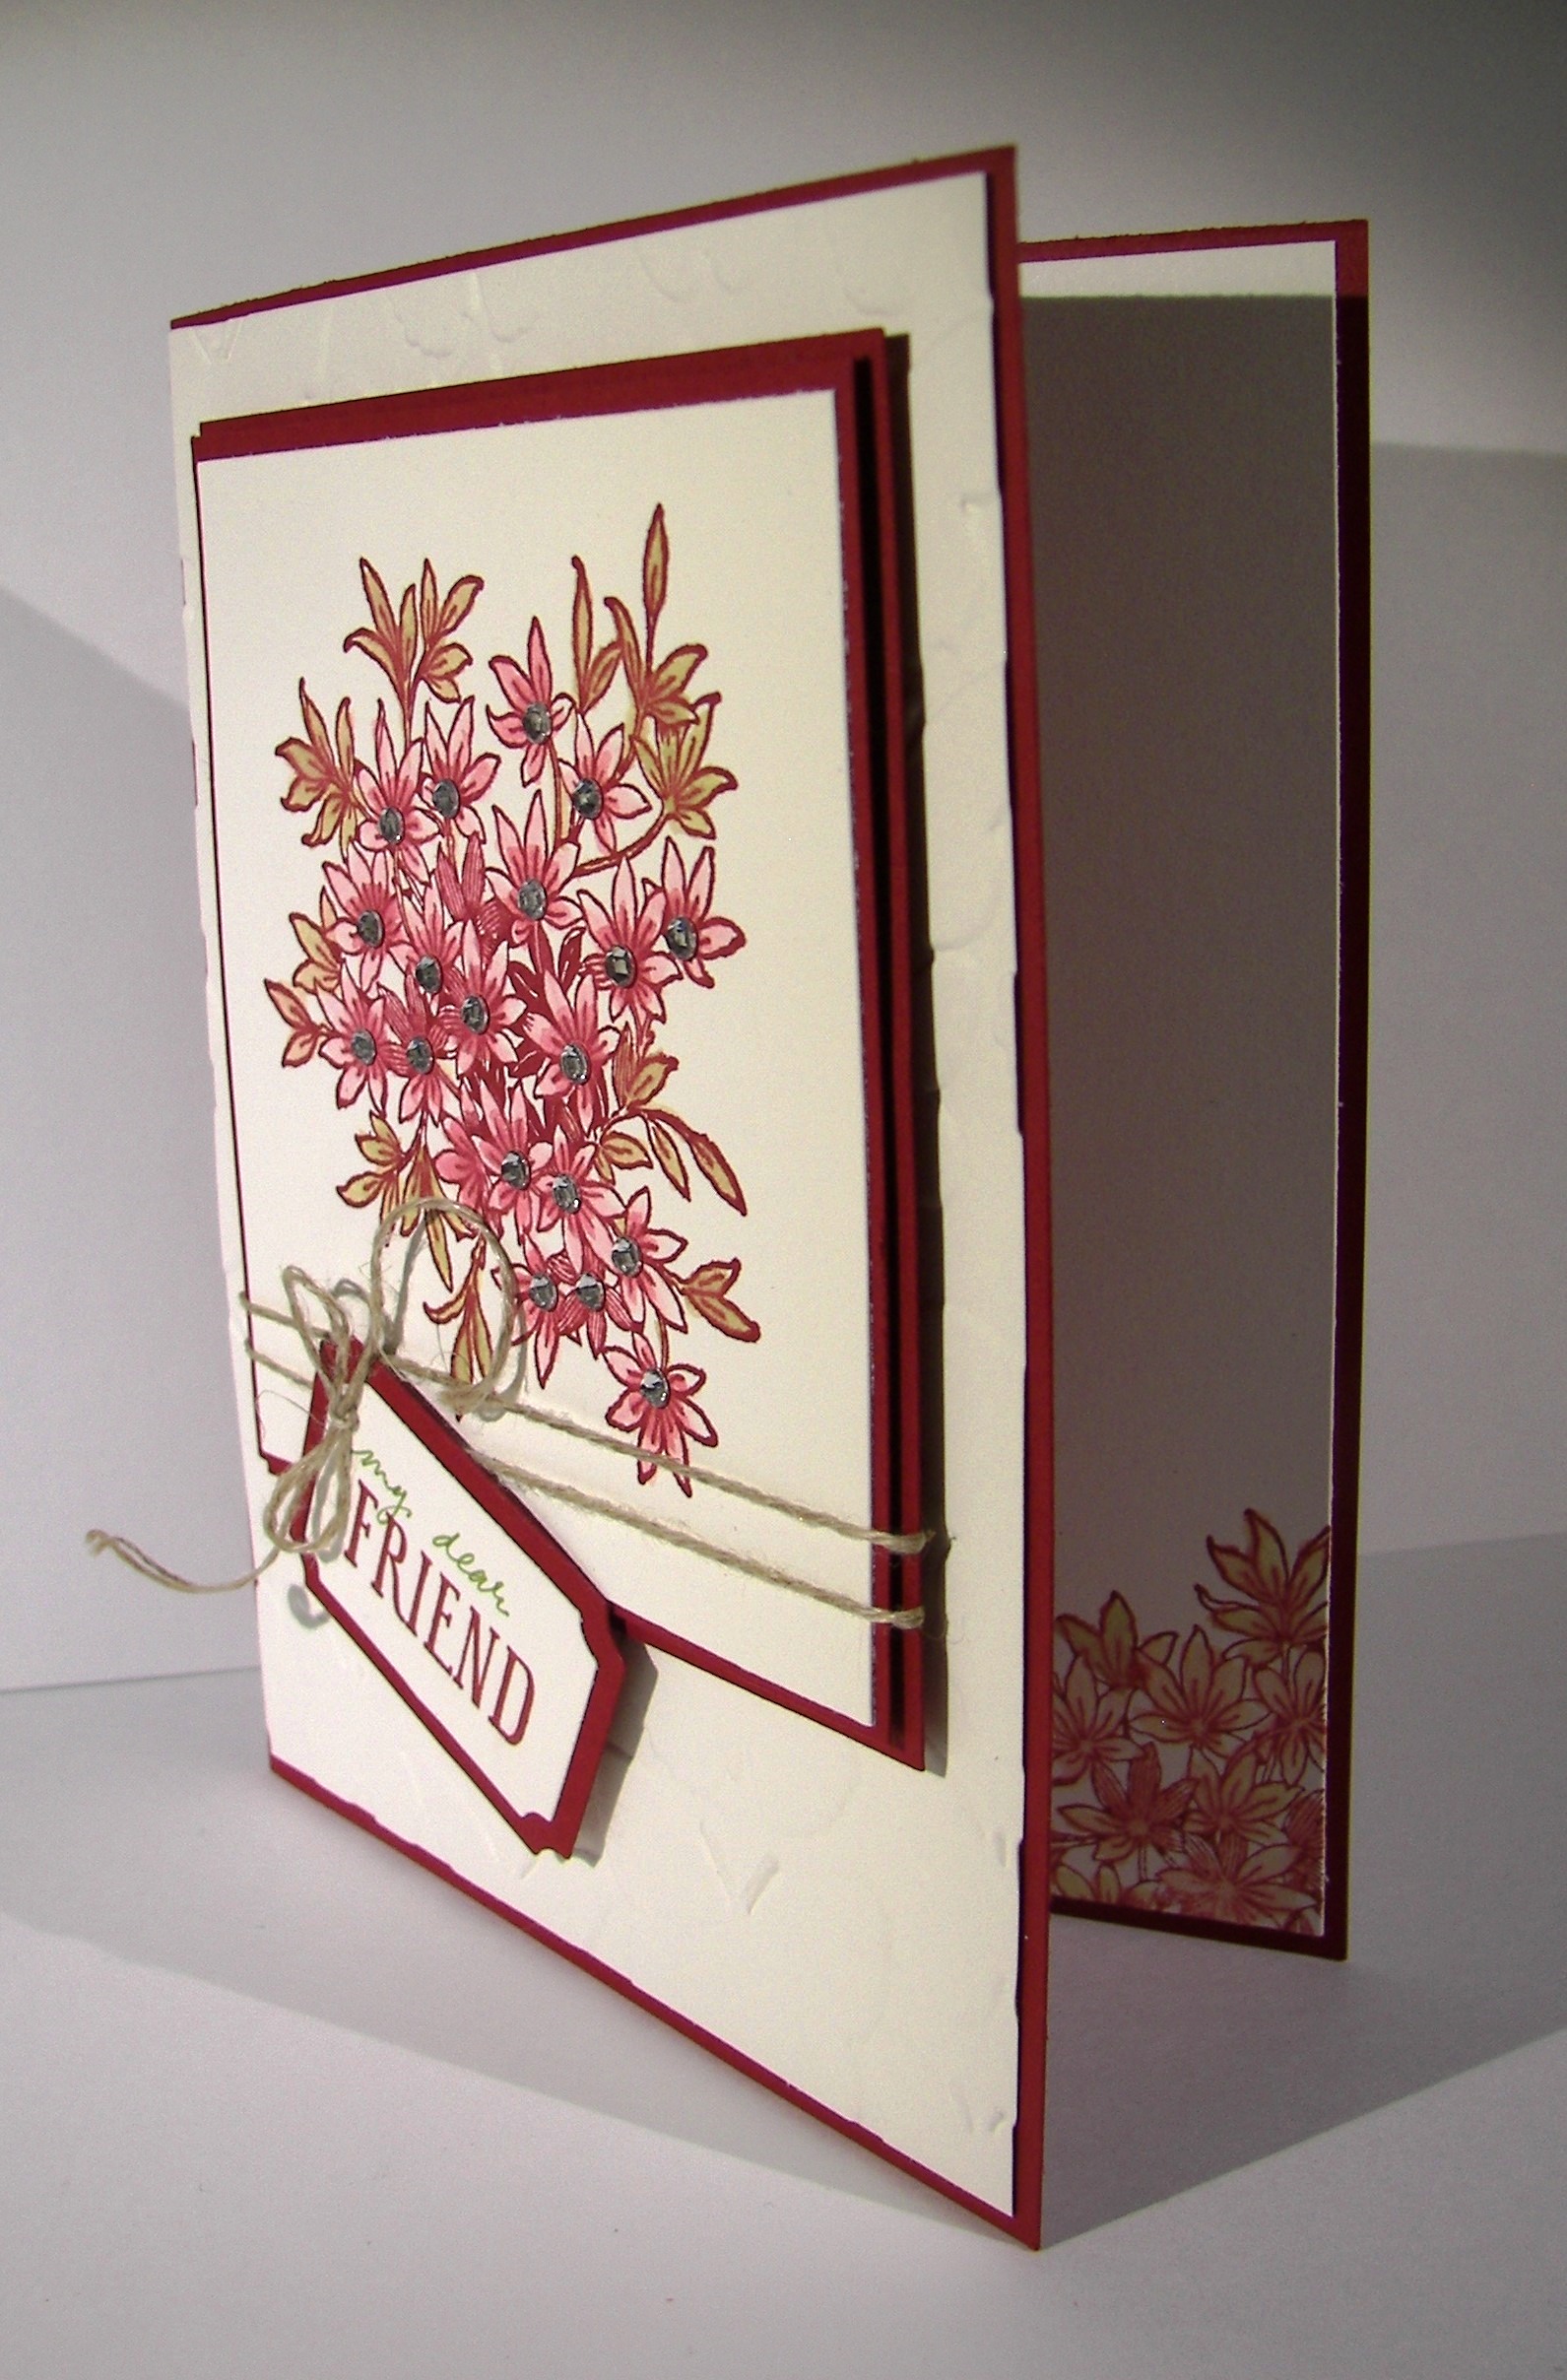
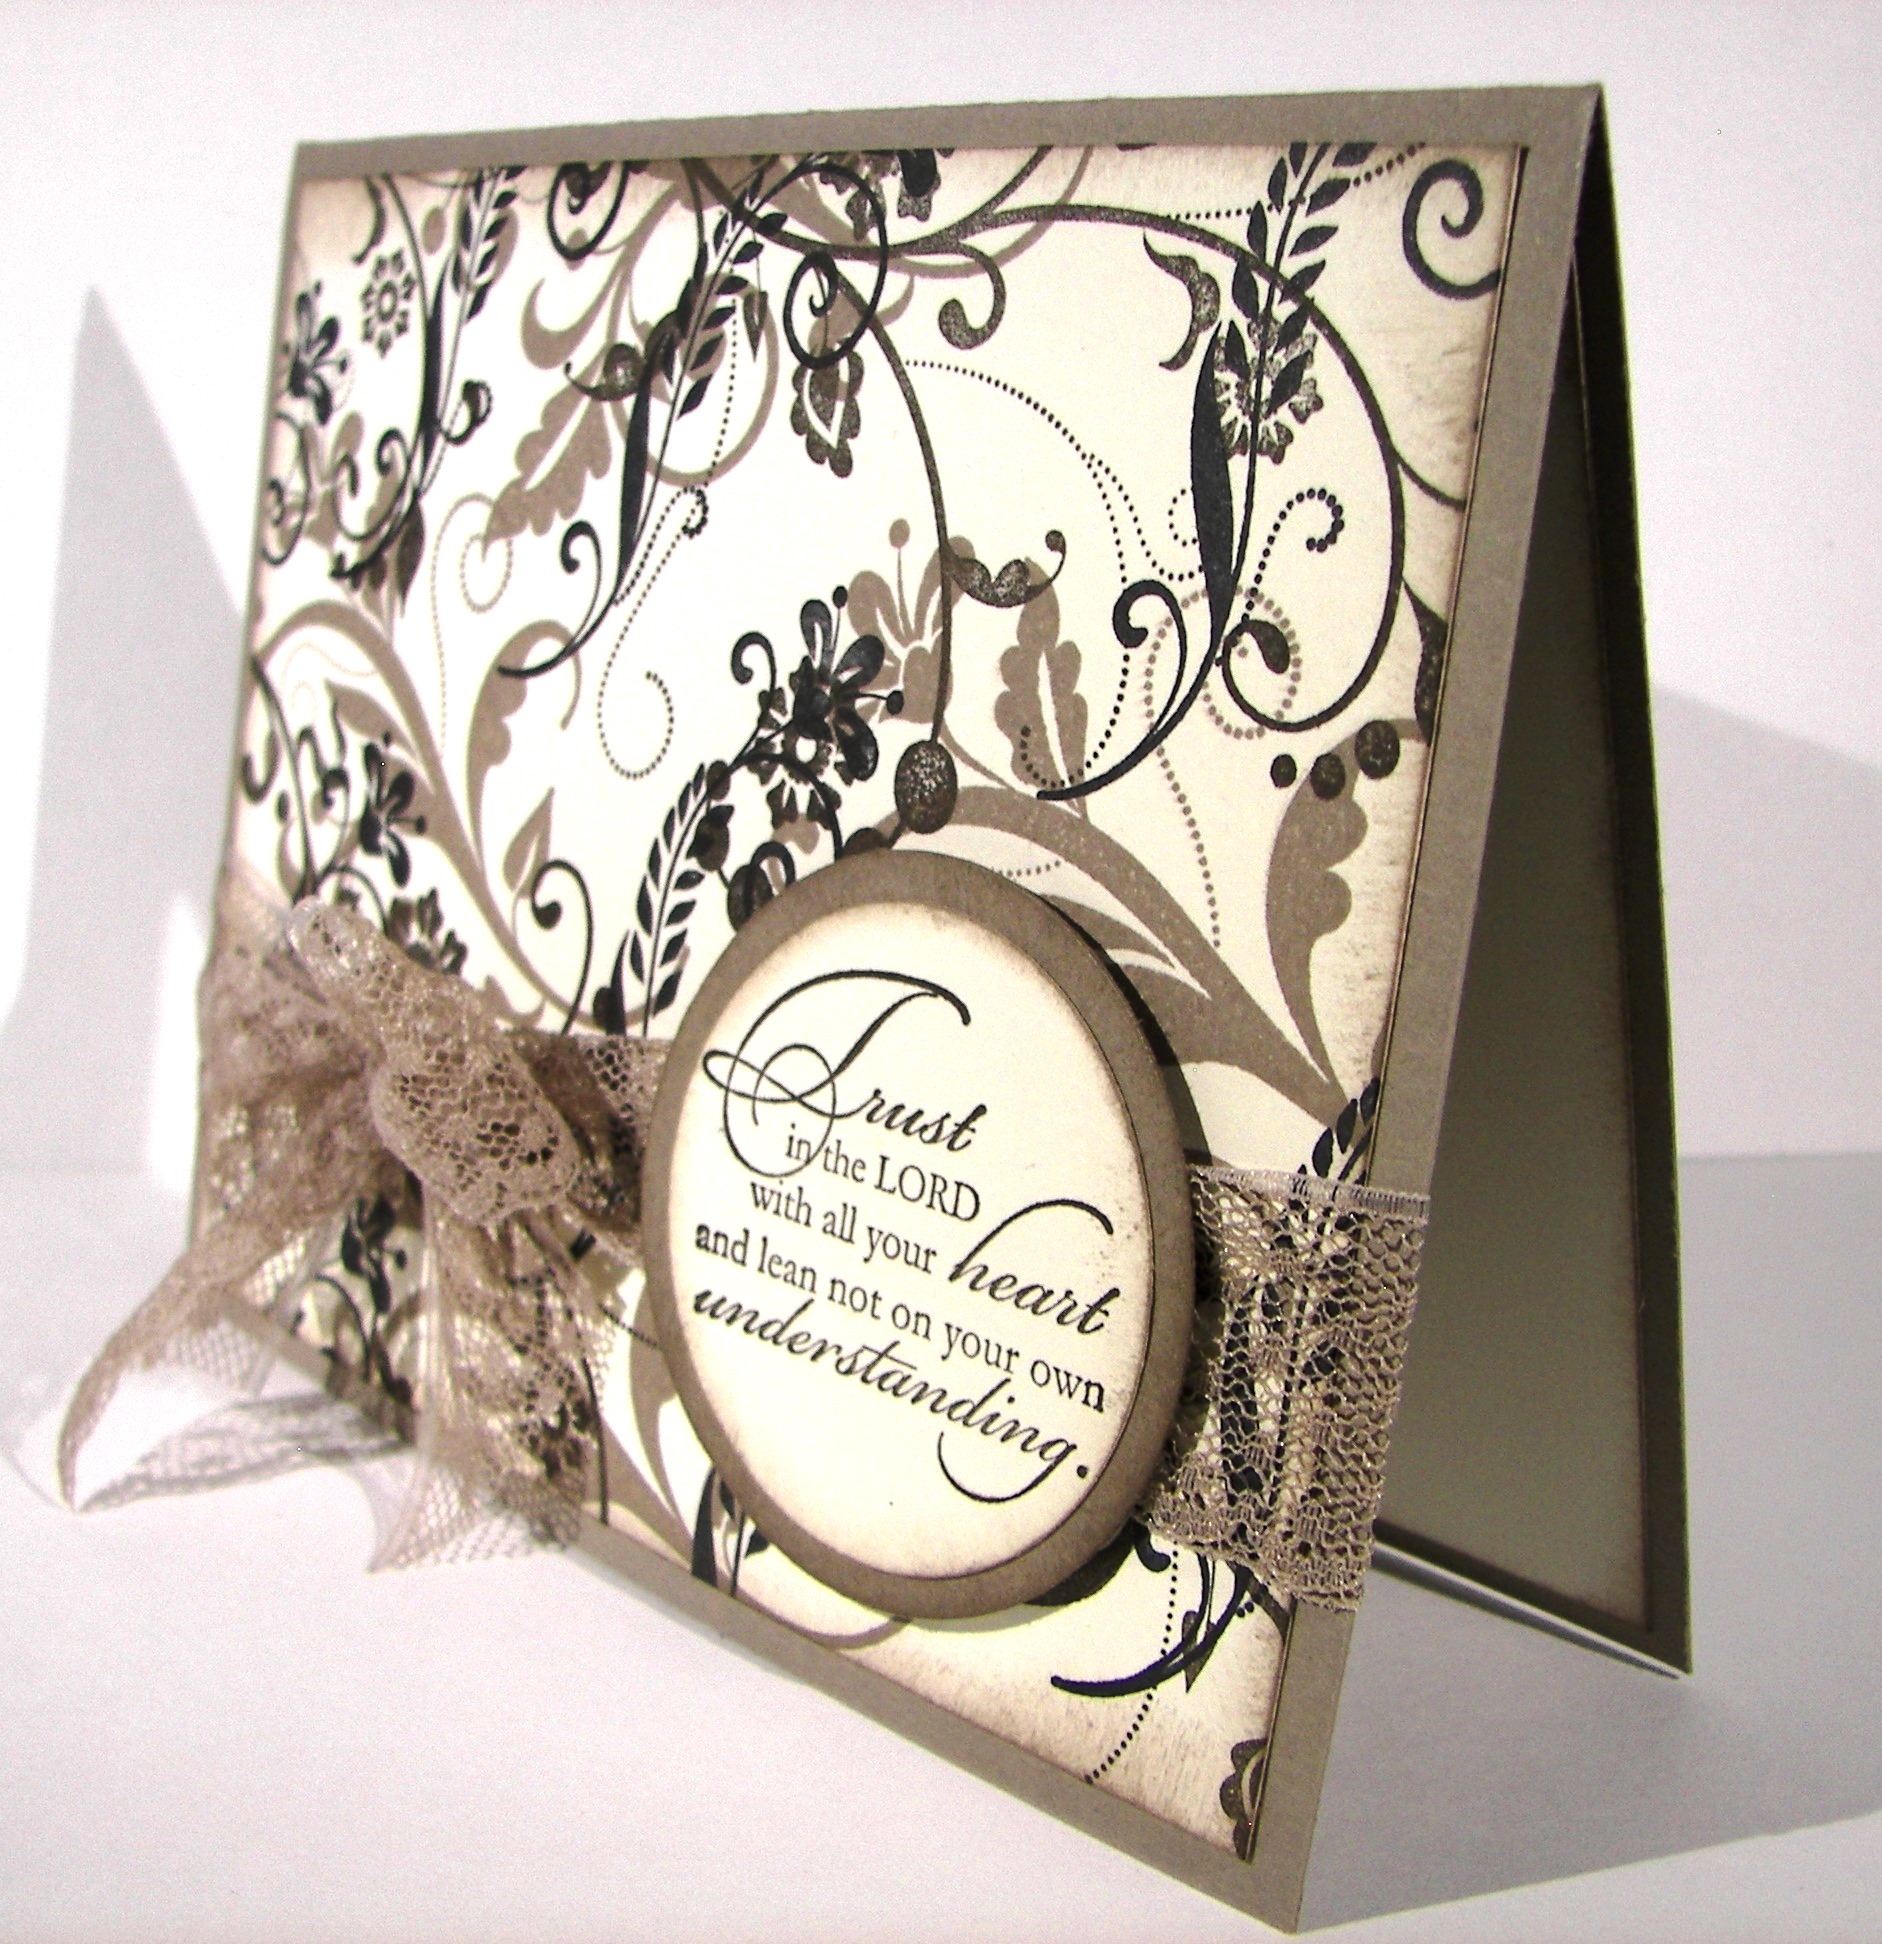
Isn’t is uncanny how close the colors are?  I guess that is why I migrated to it.  I have other off market stamps that might have gotten closer to the tree, but I really wanted to get my brain in gear for workshop this weekend.  I couldn’t be happier with the end result.

Journal Inspired Butterfly Basics

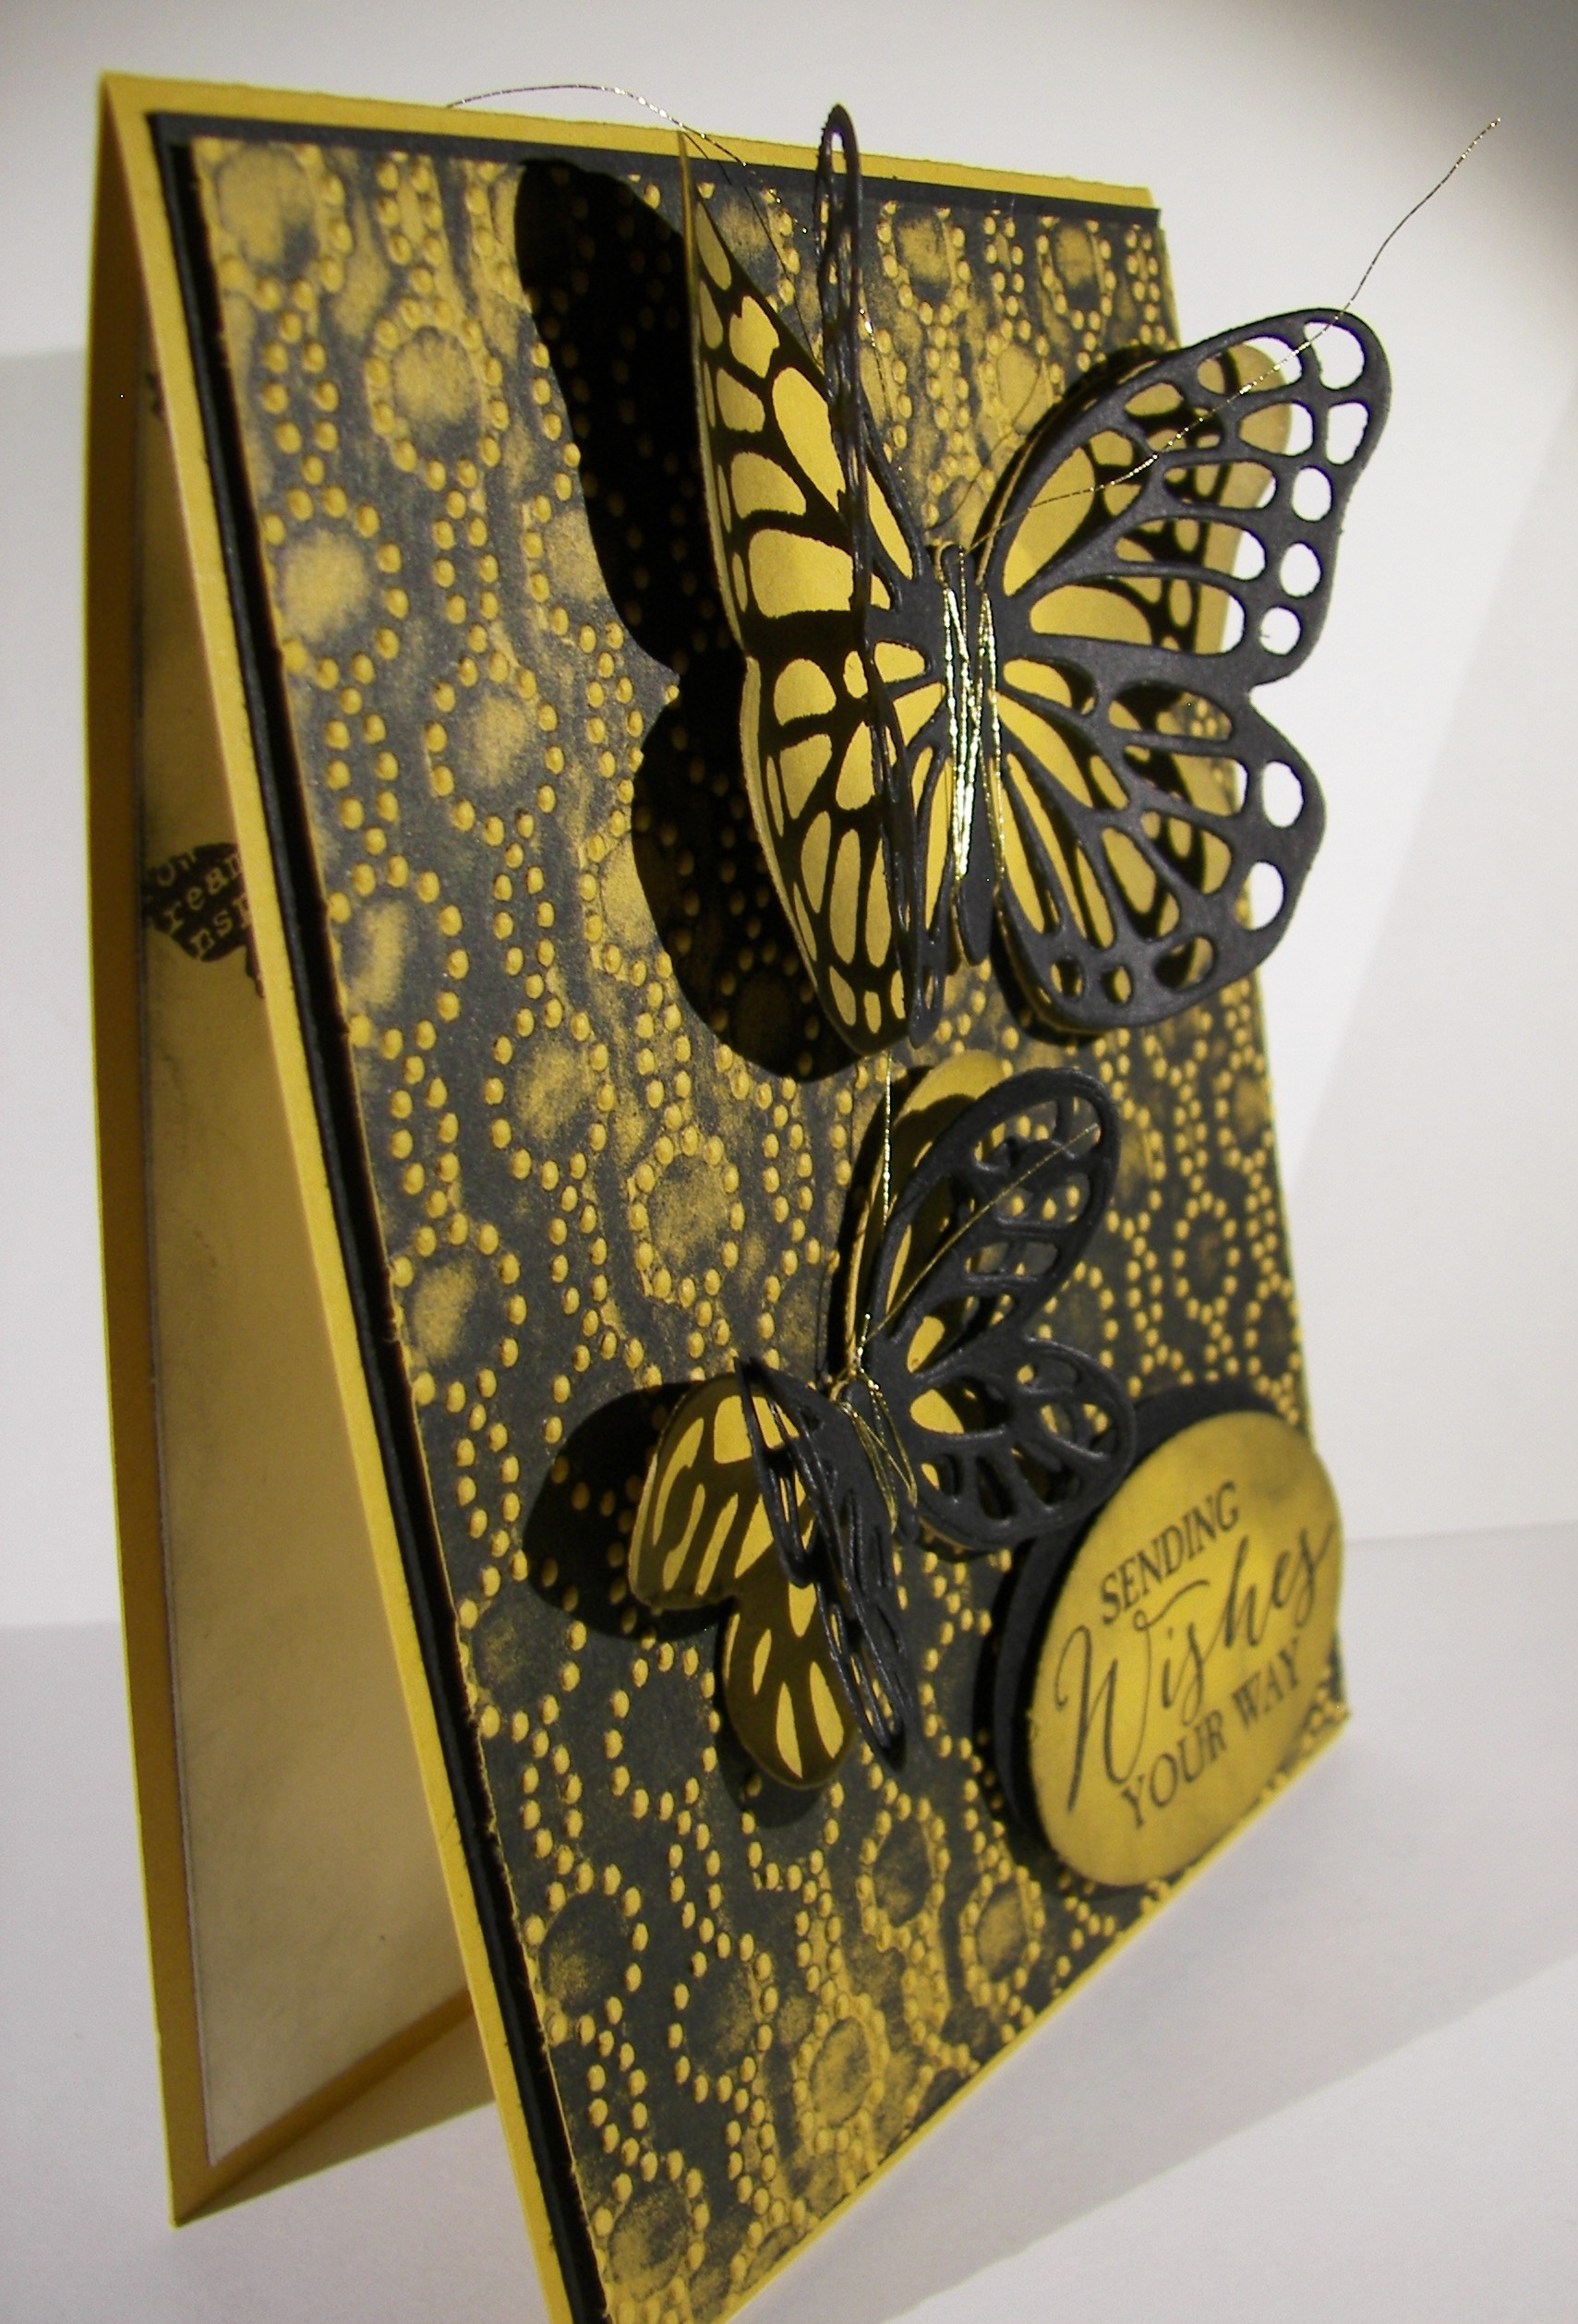
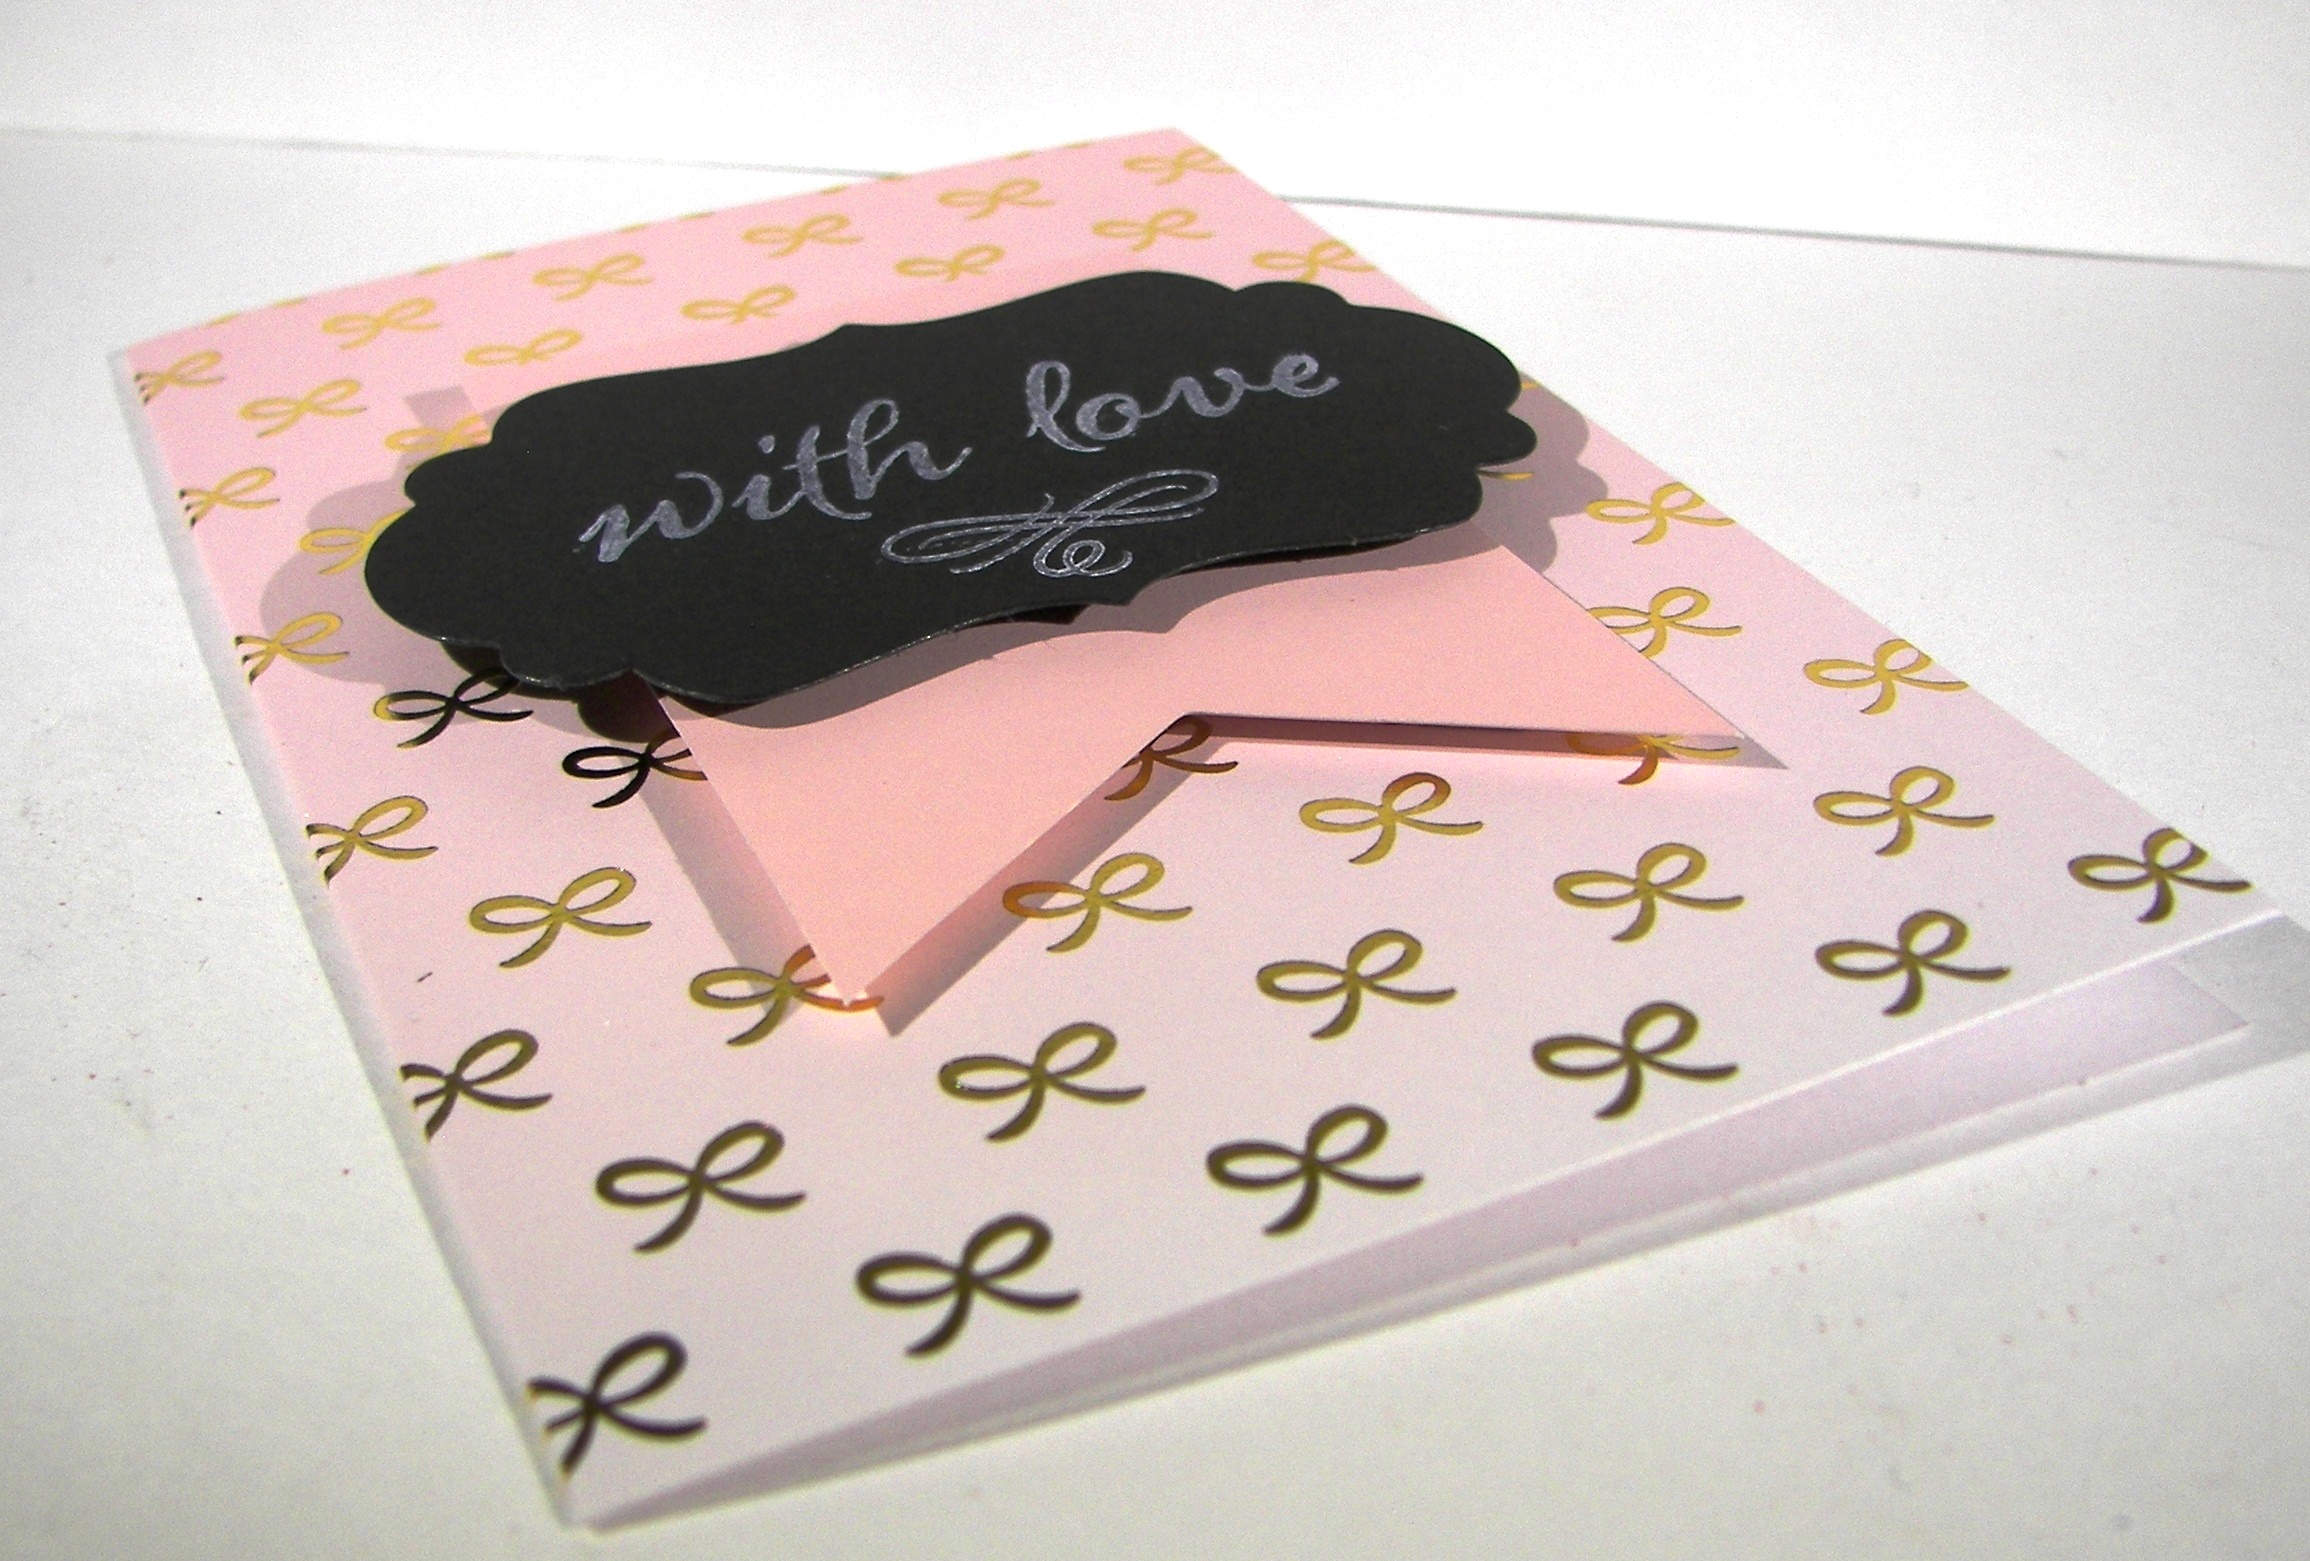
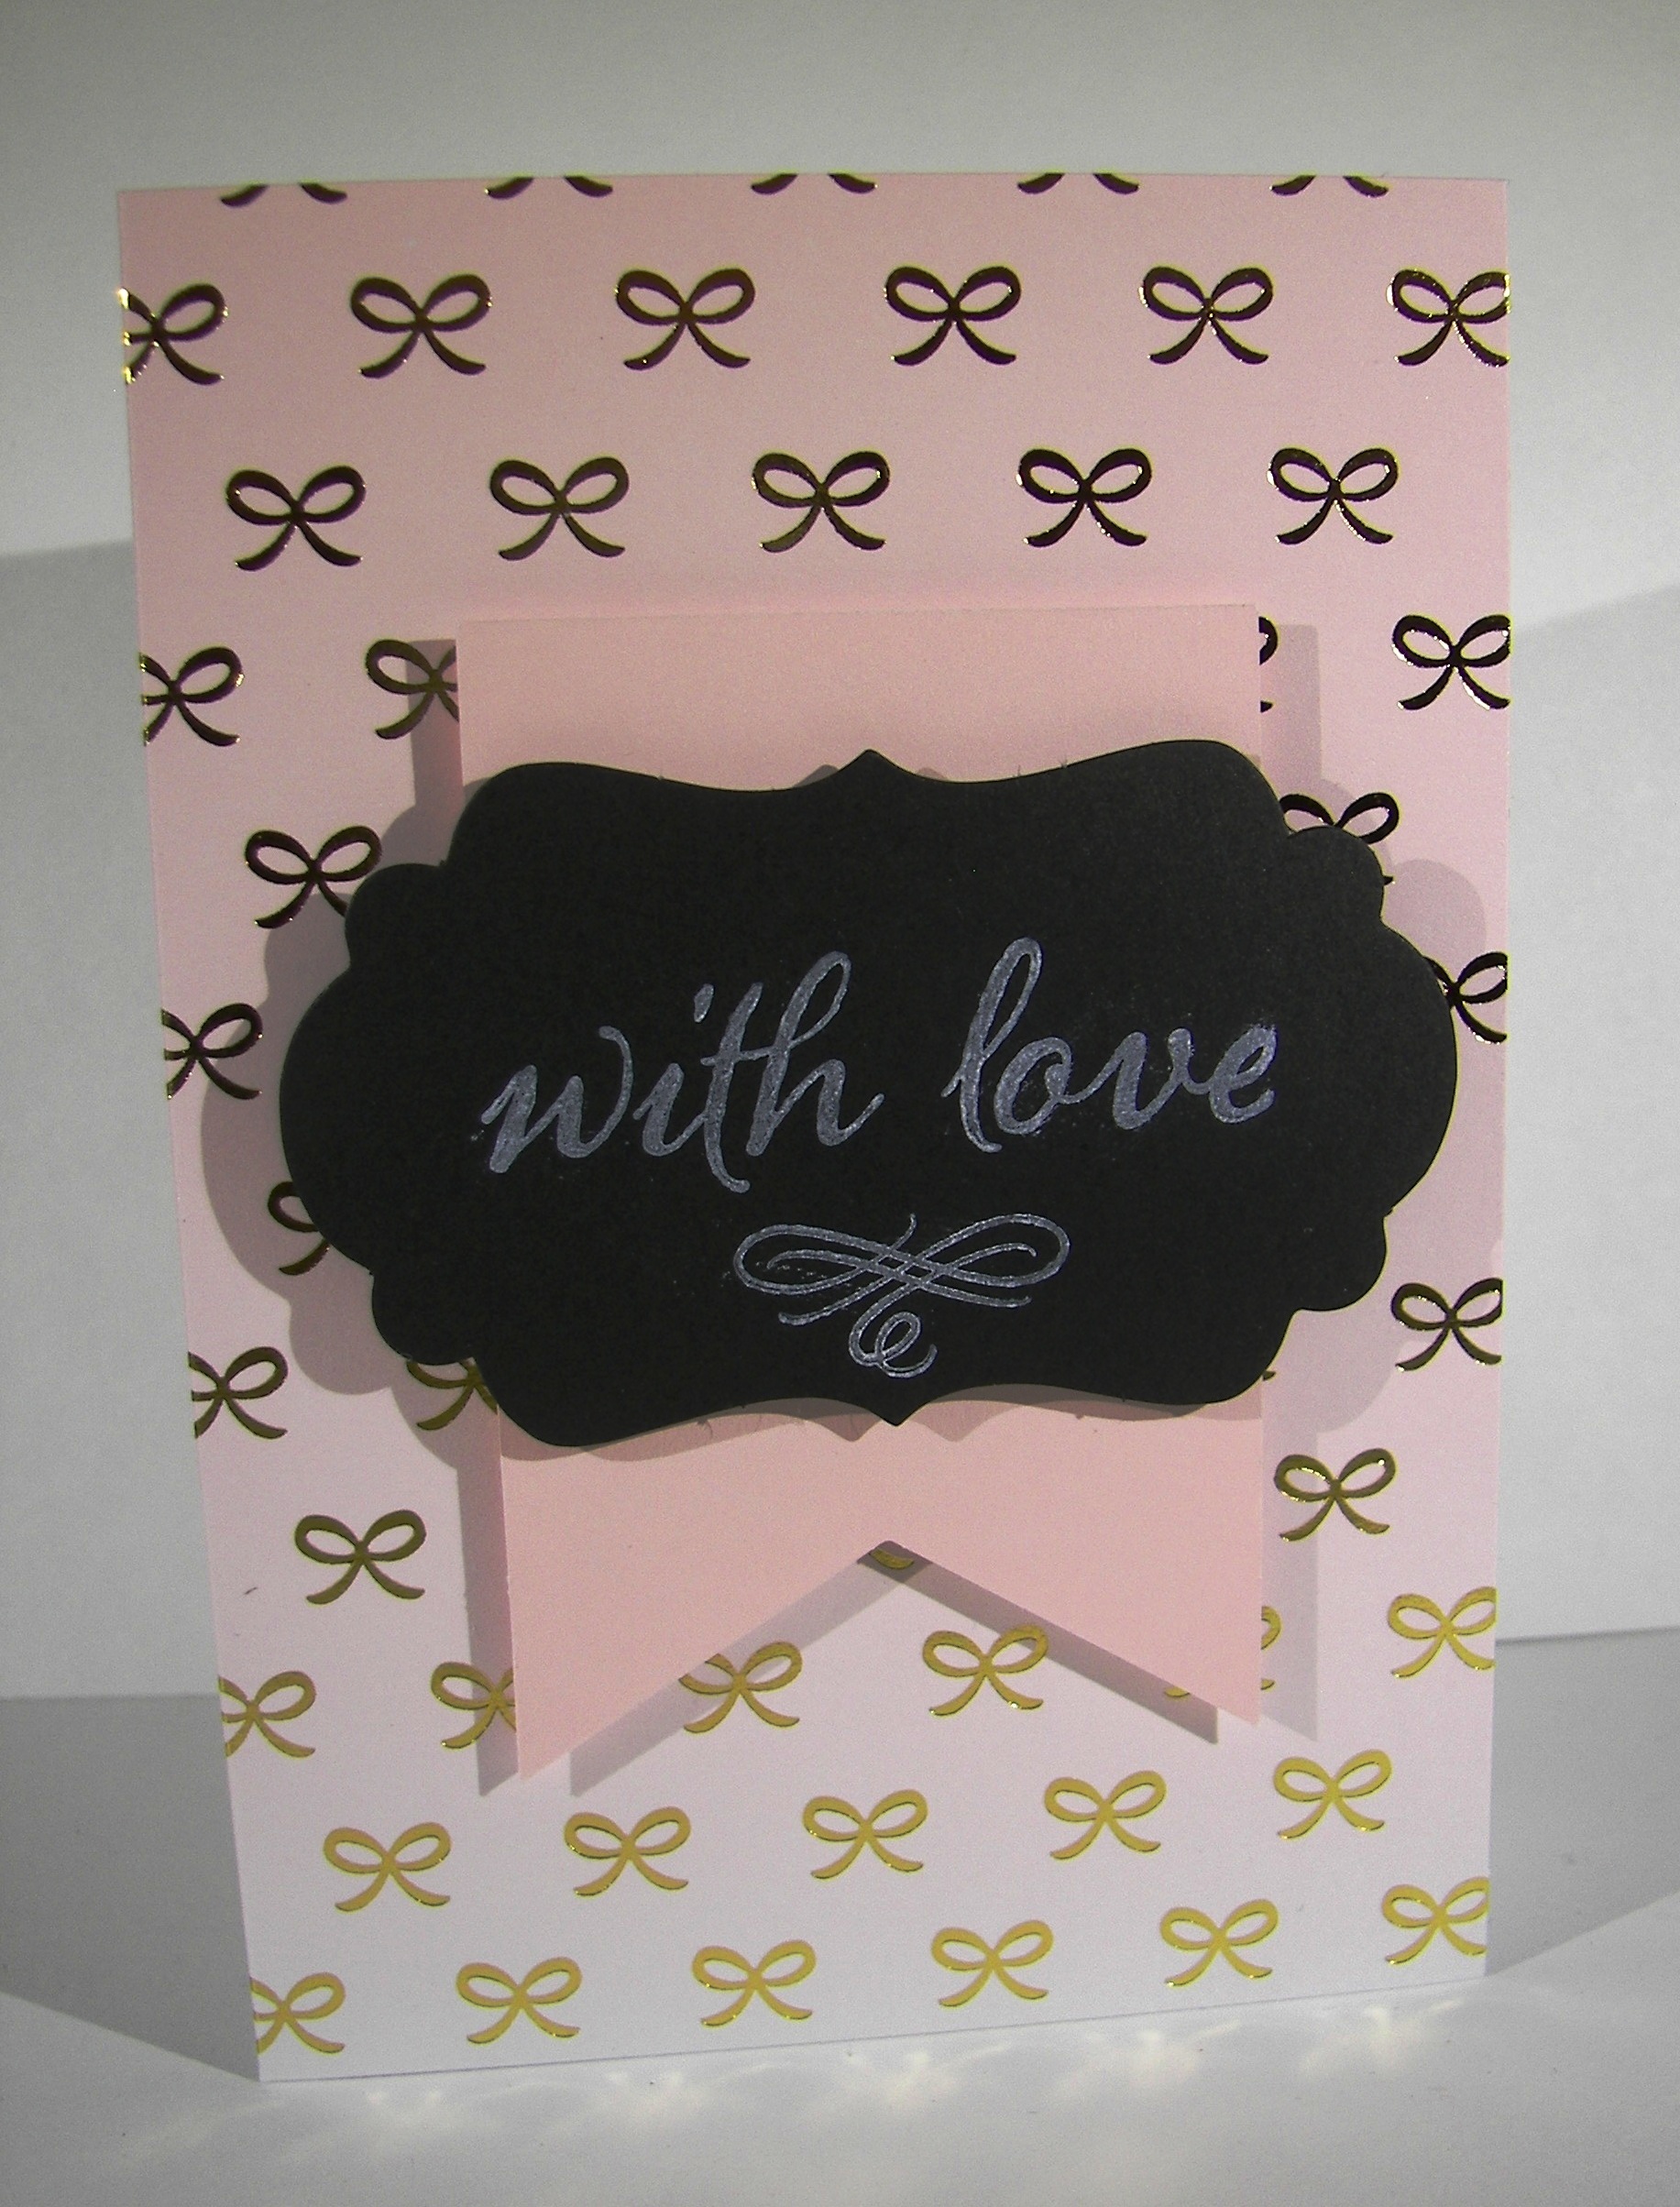
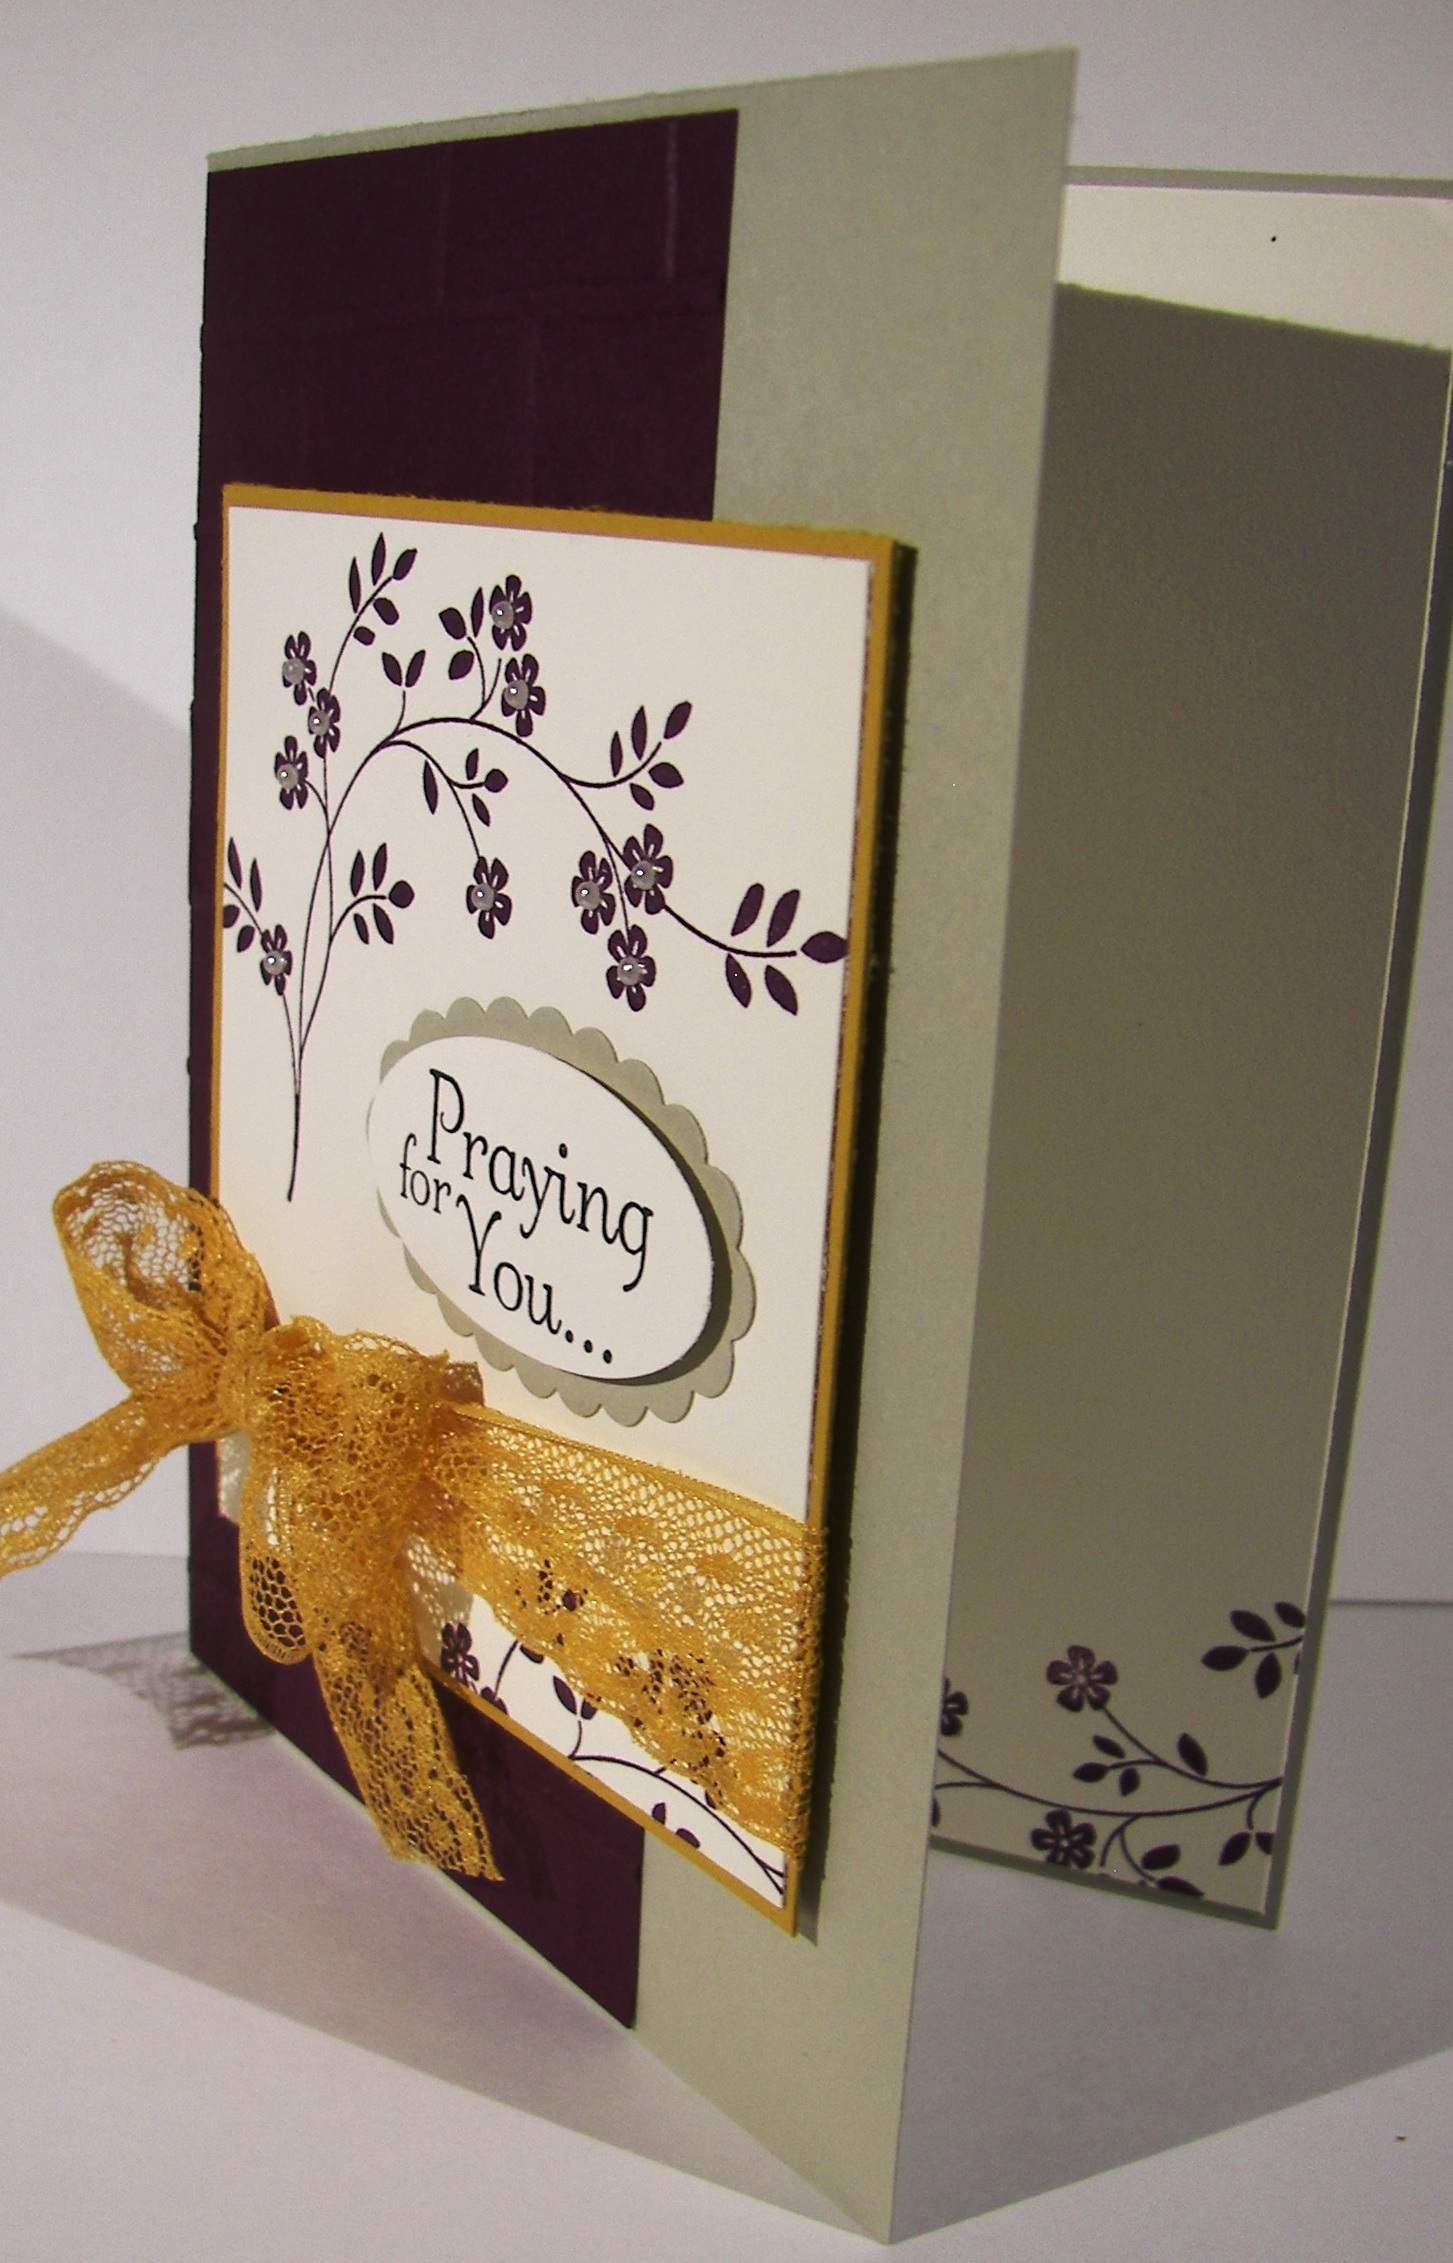
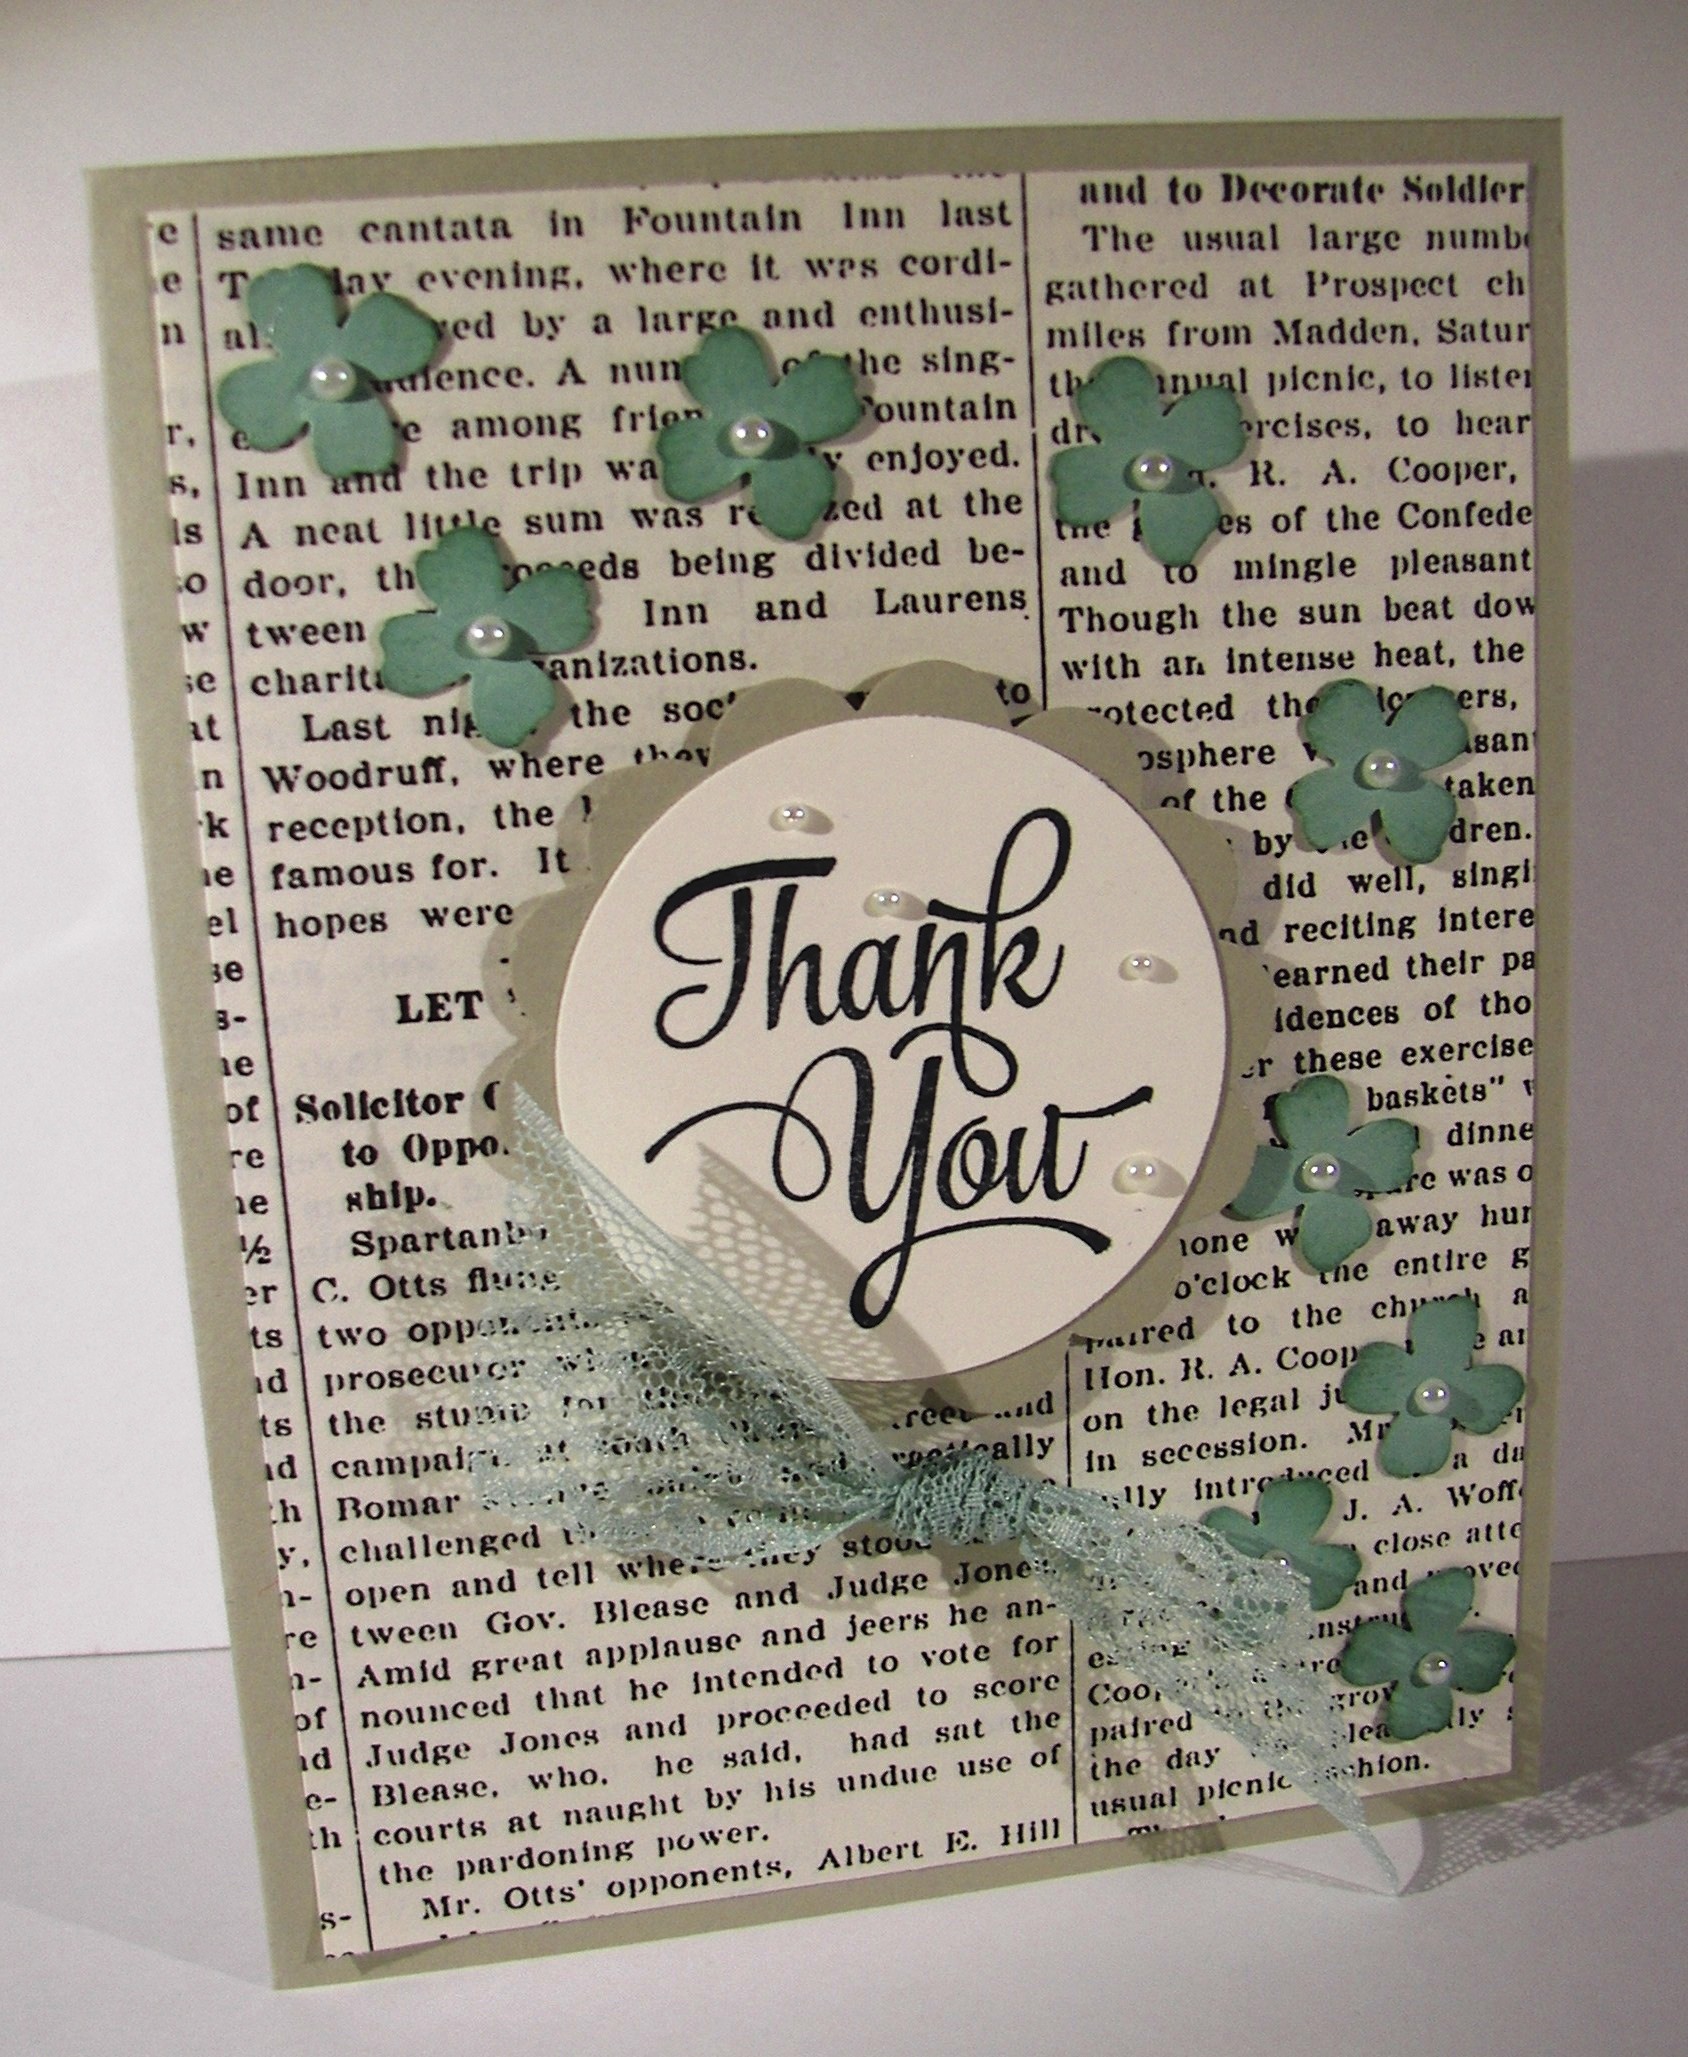
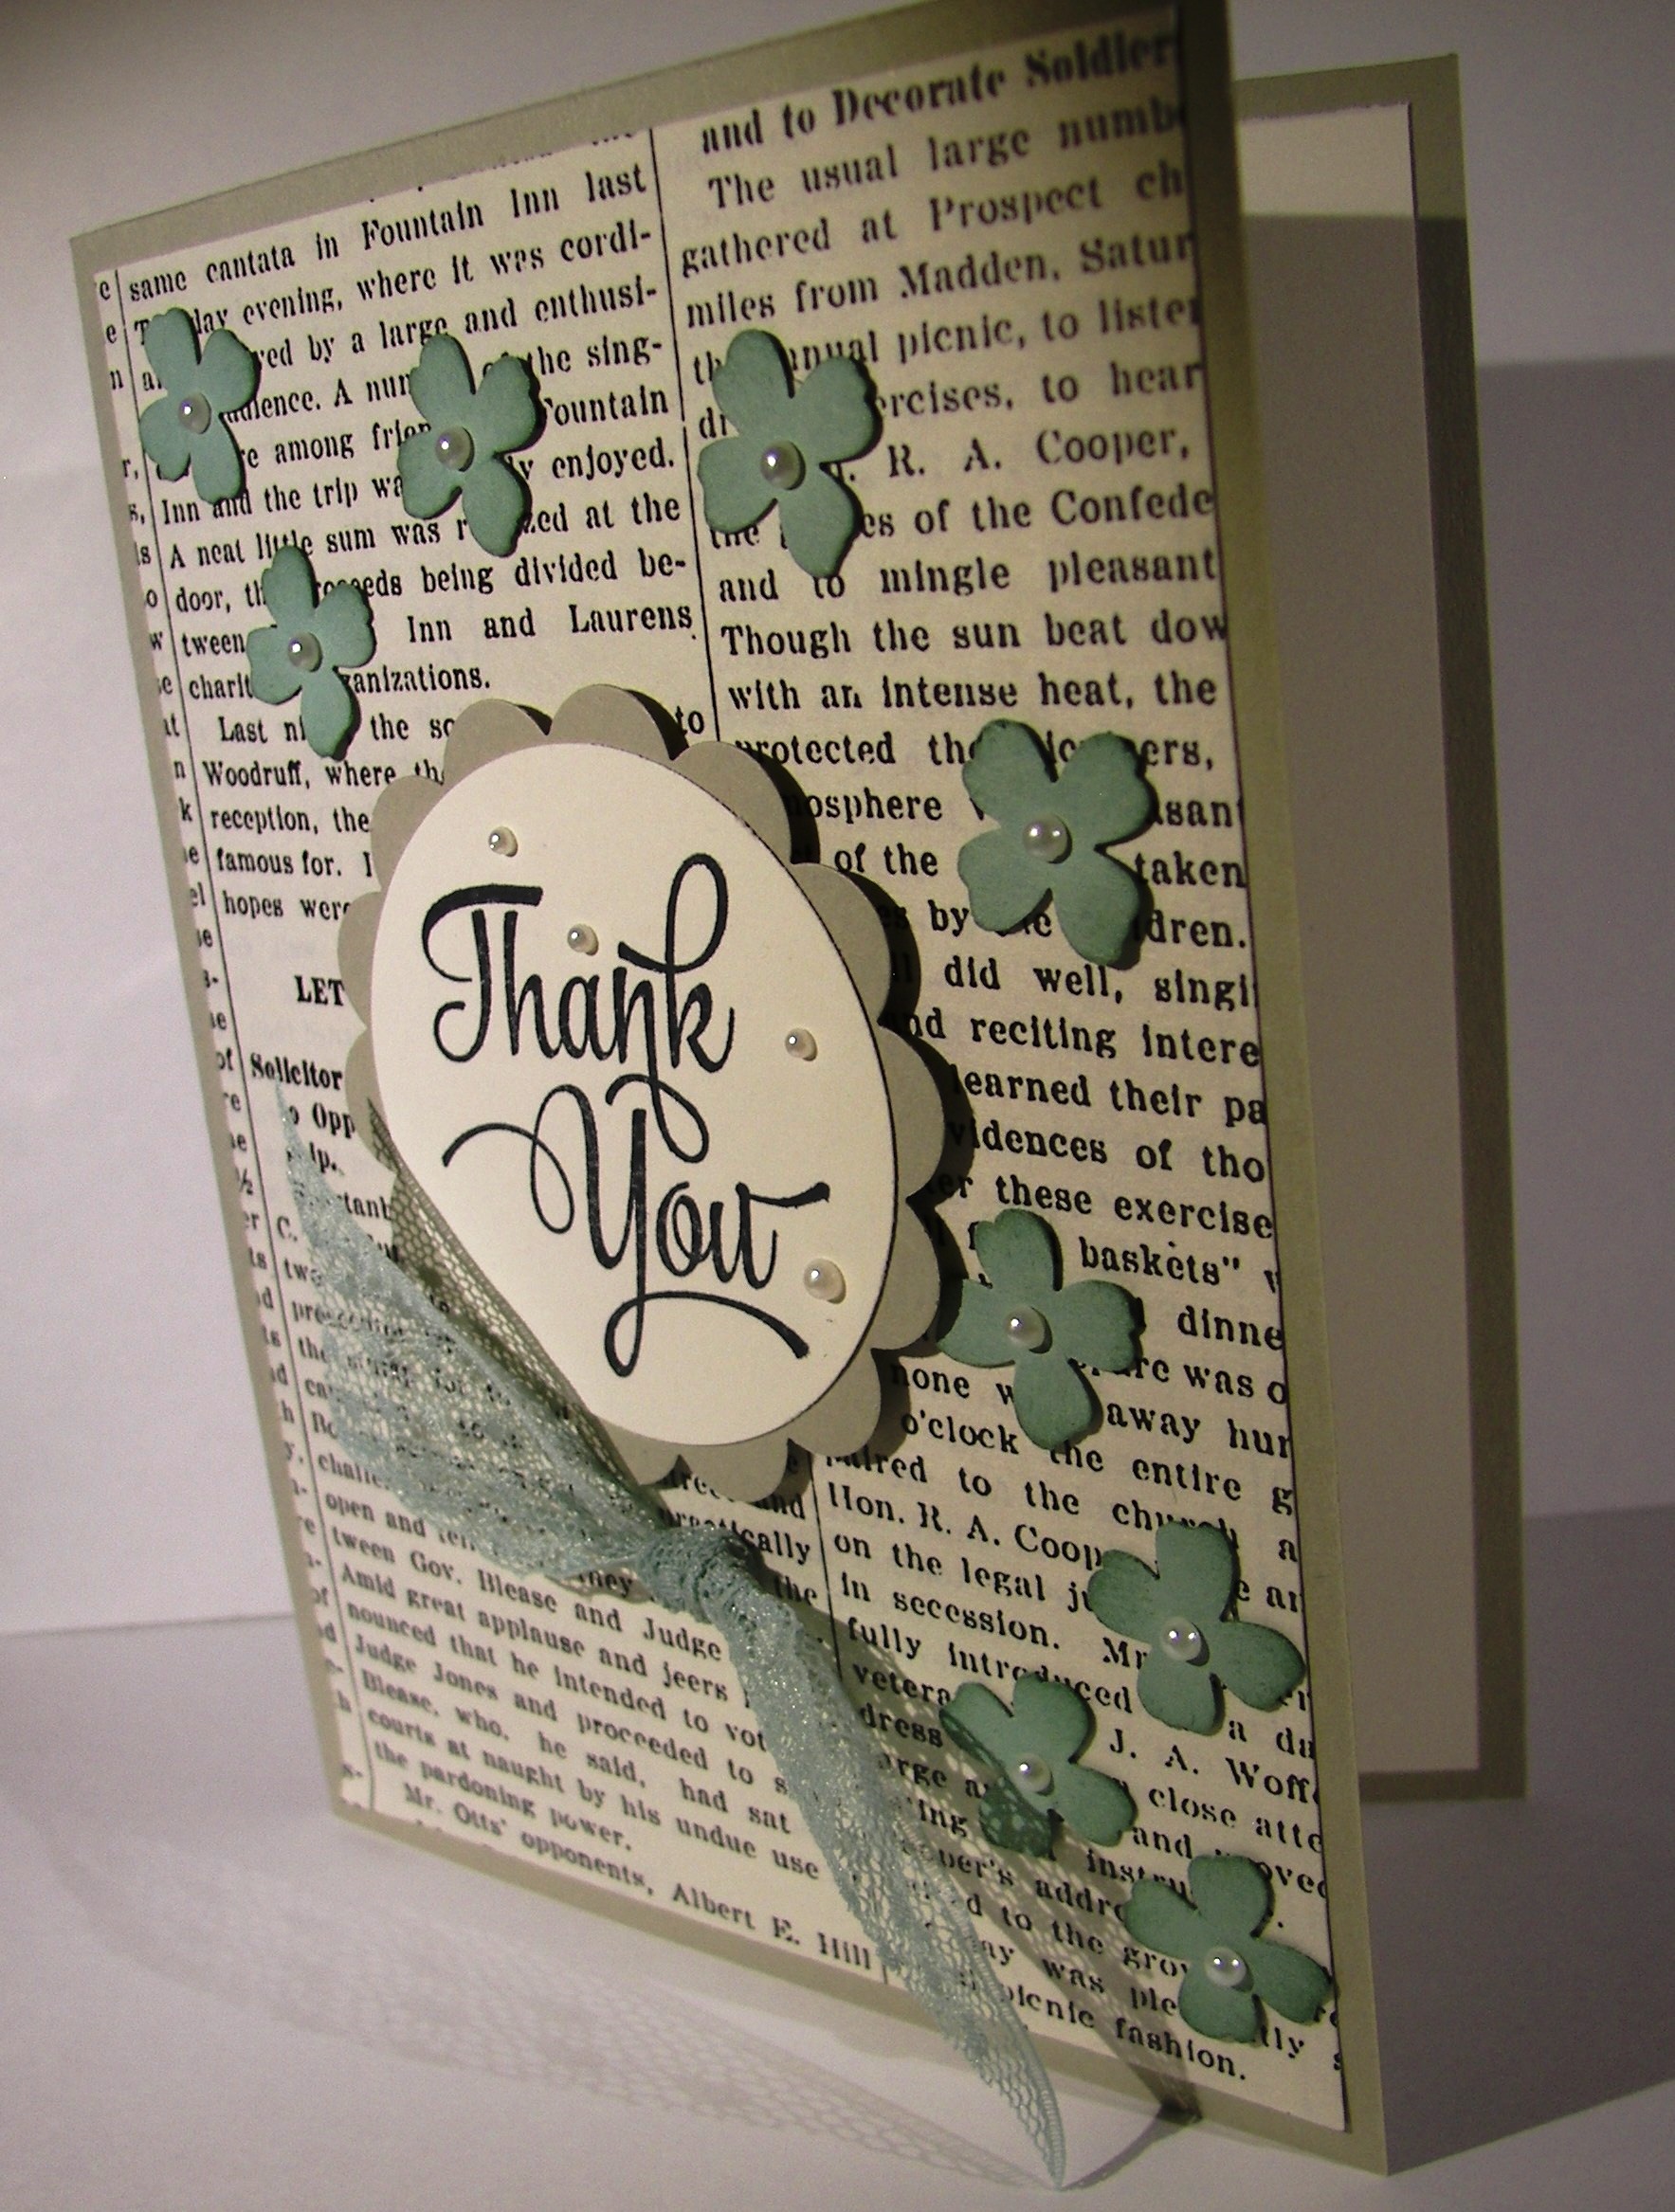
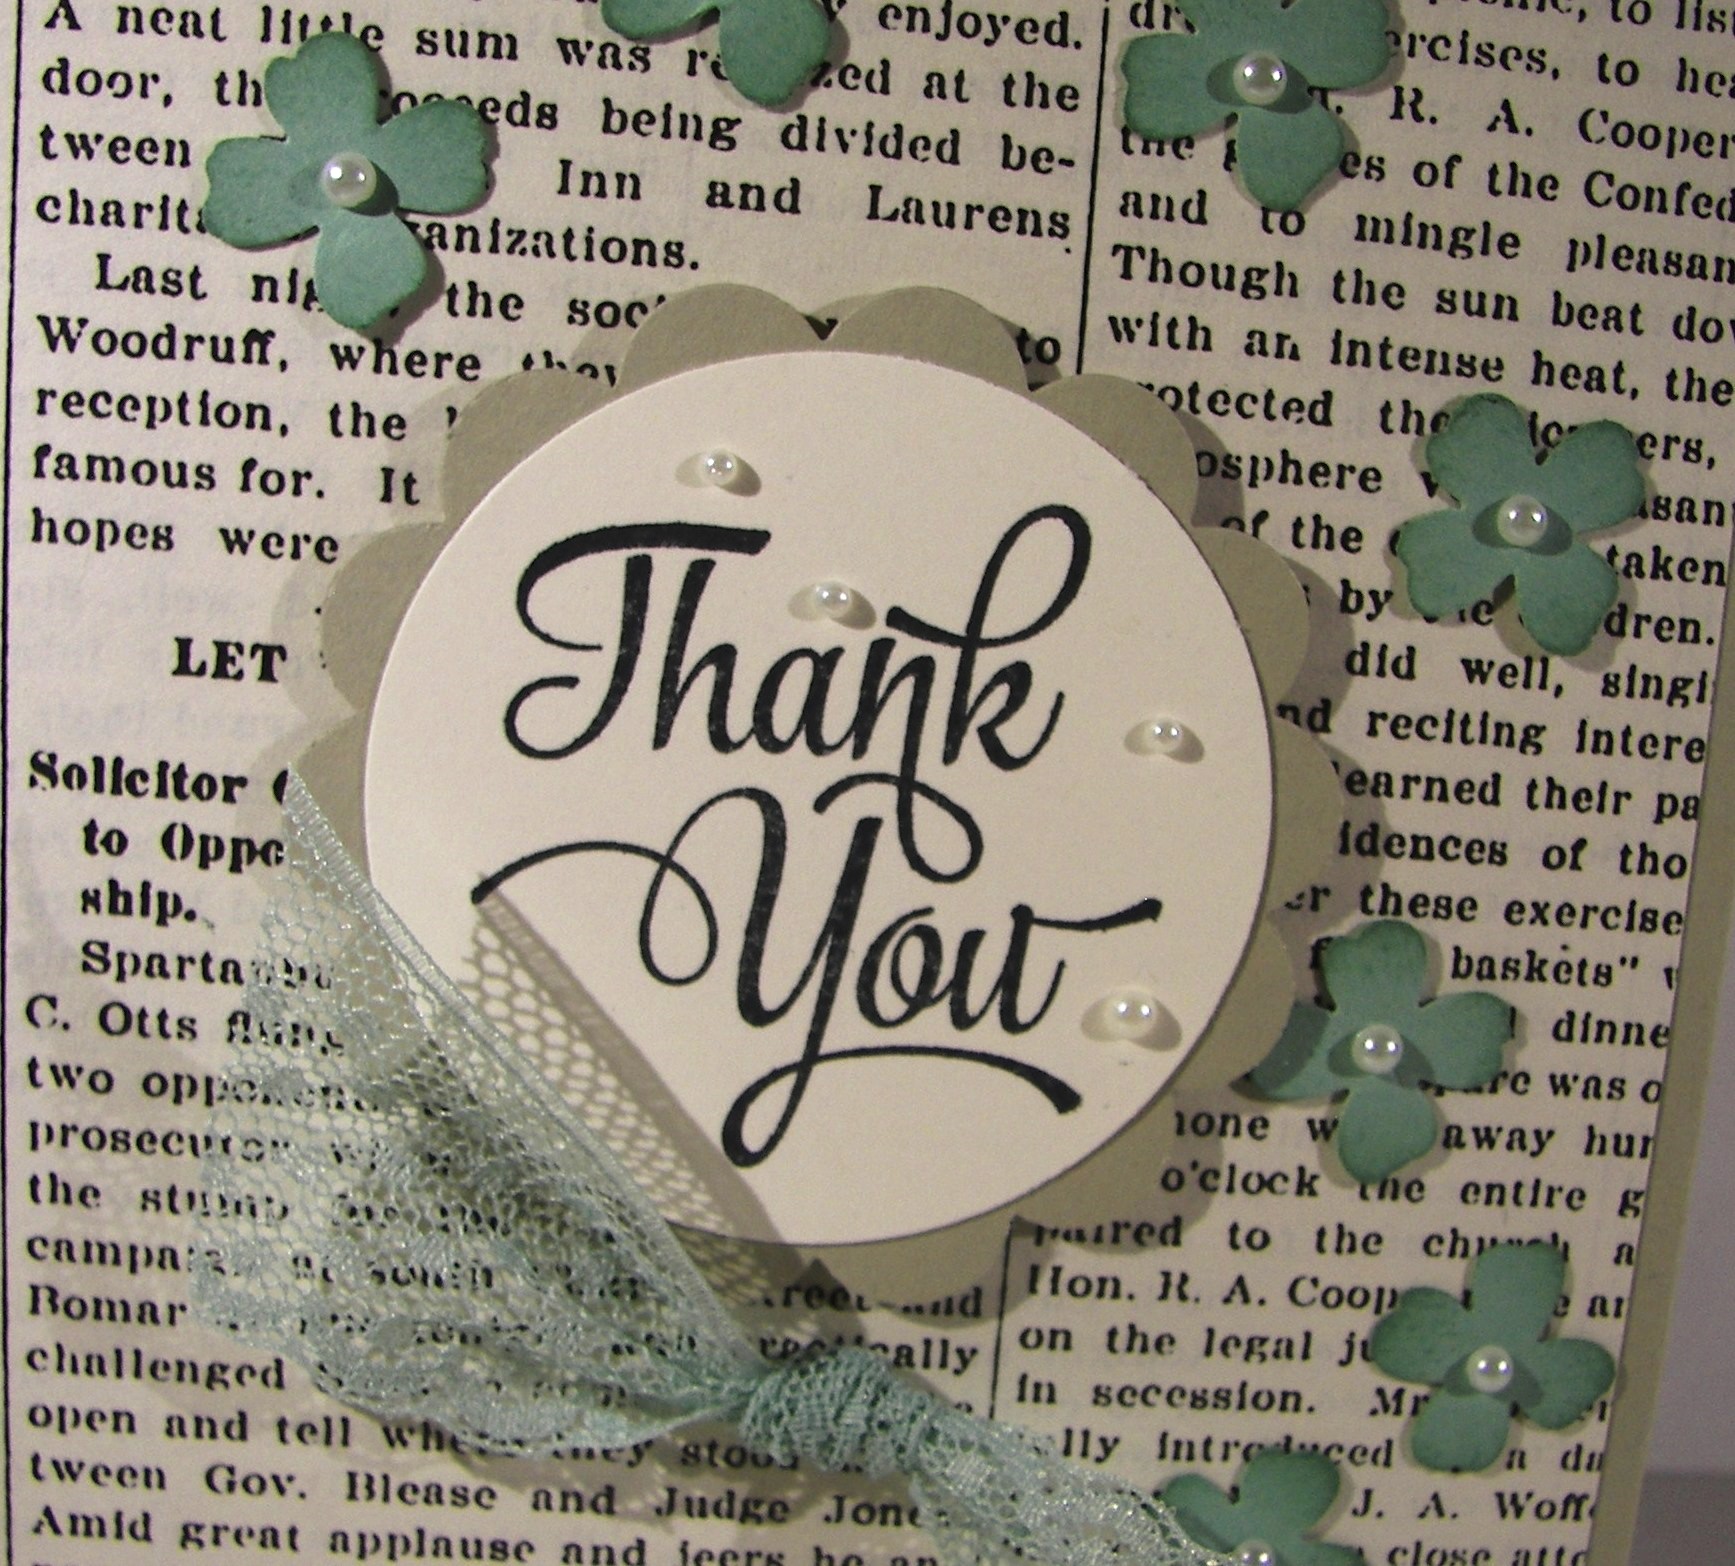
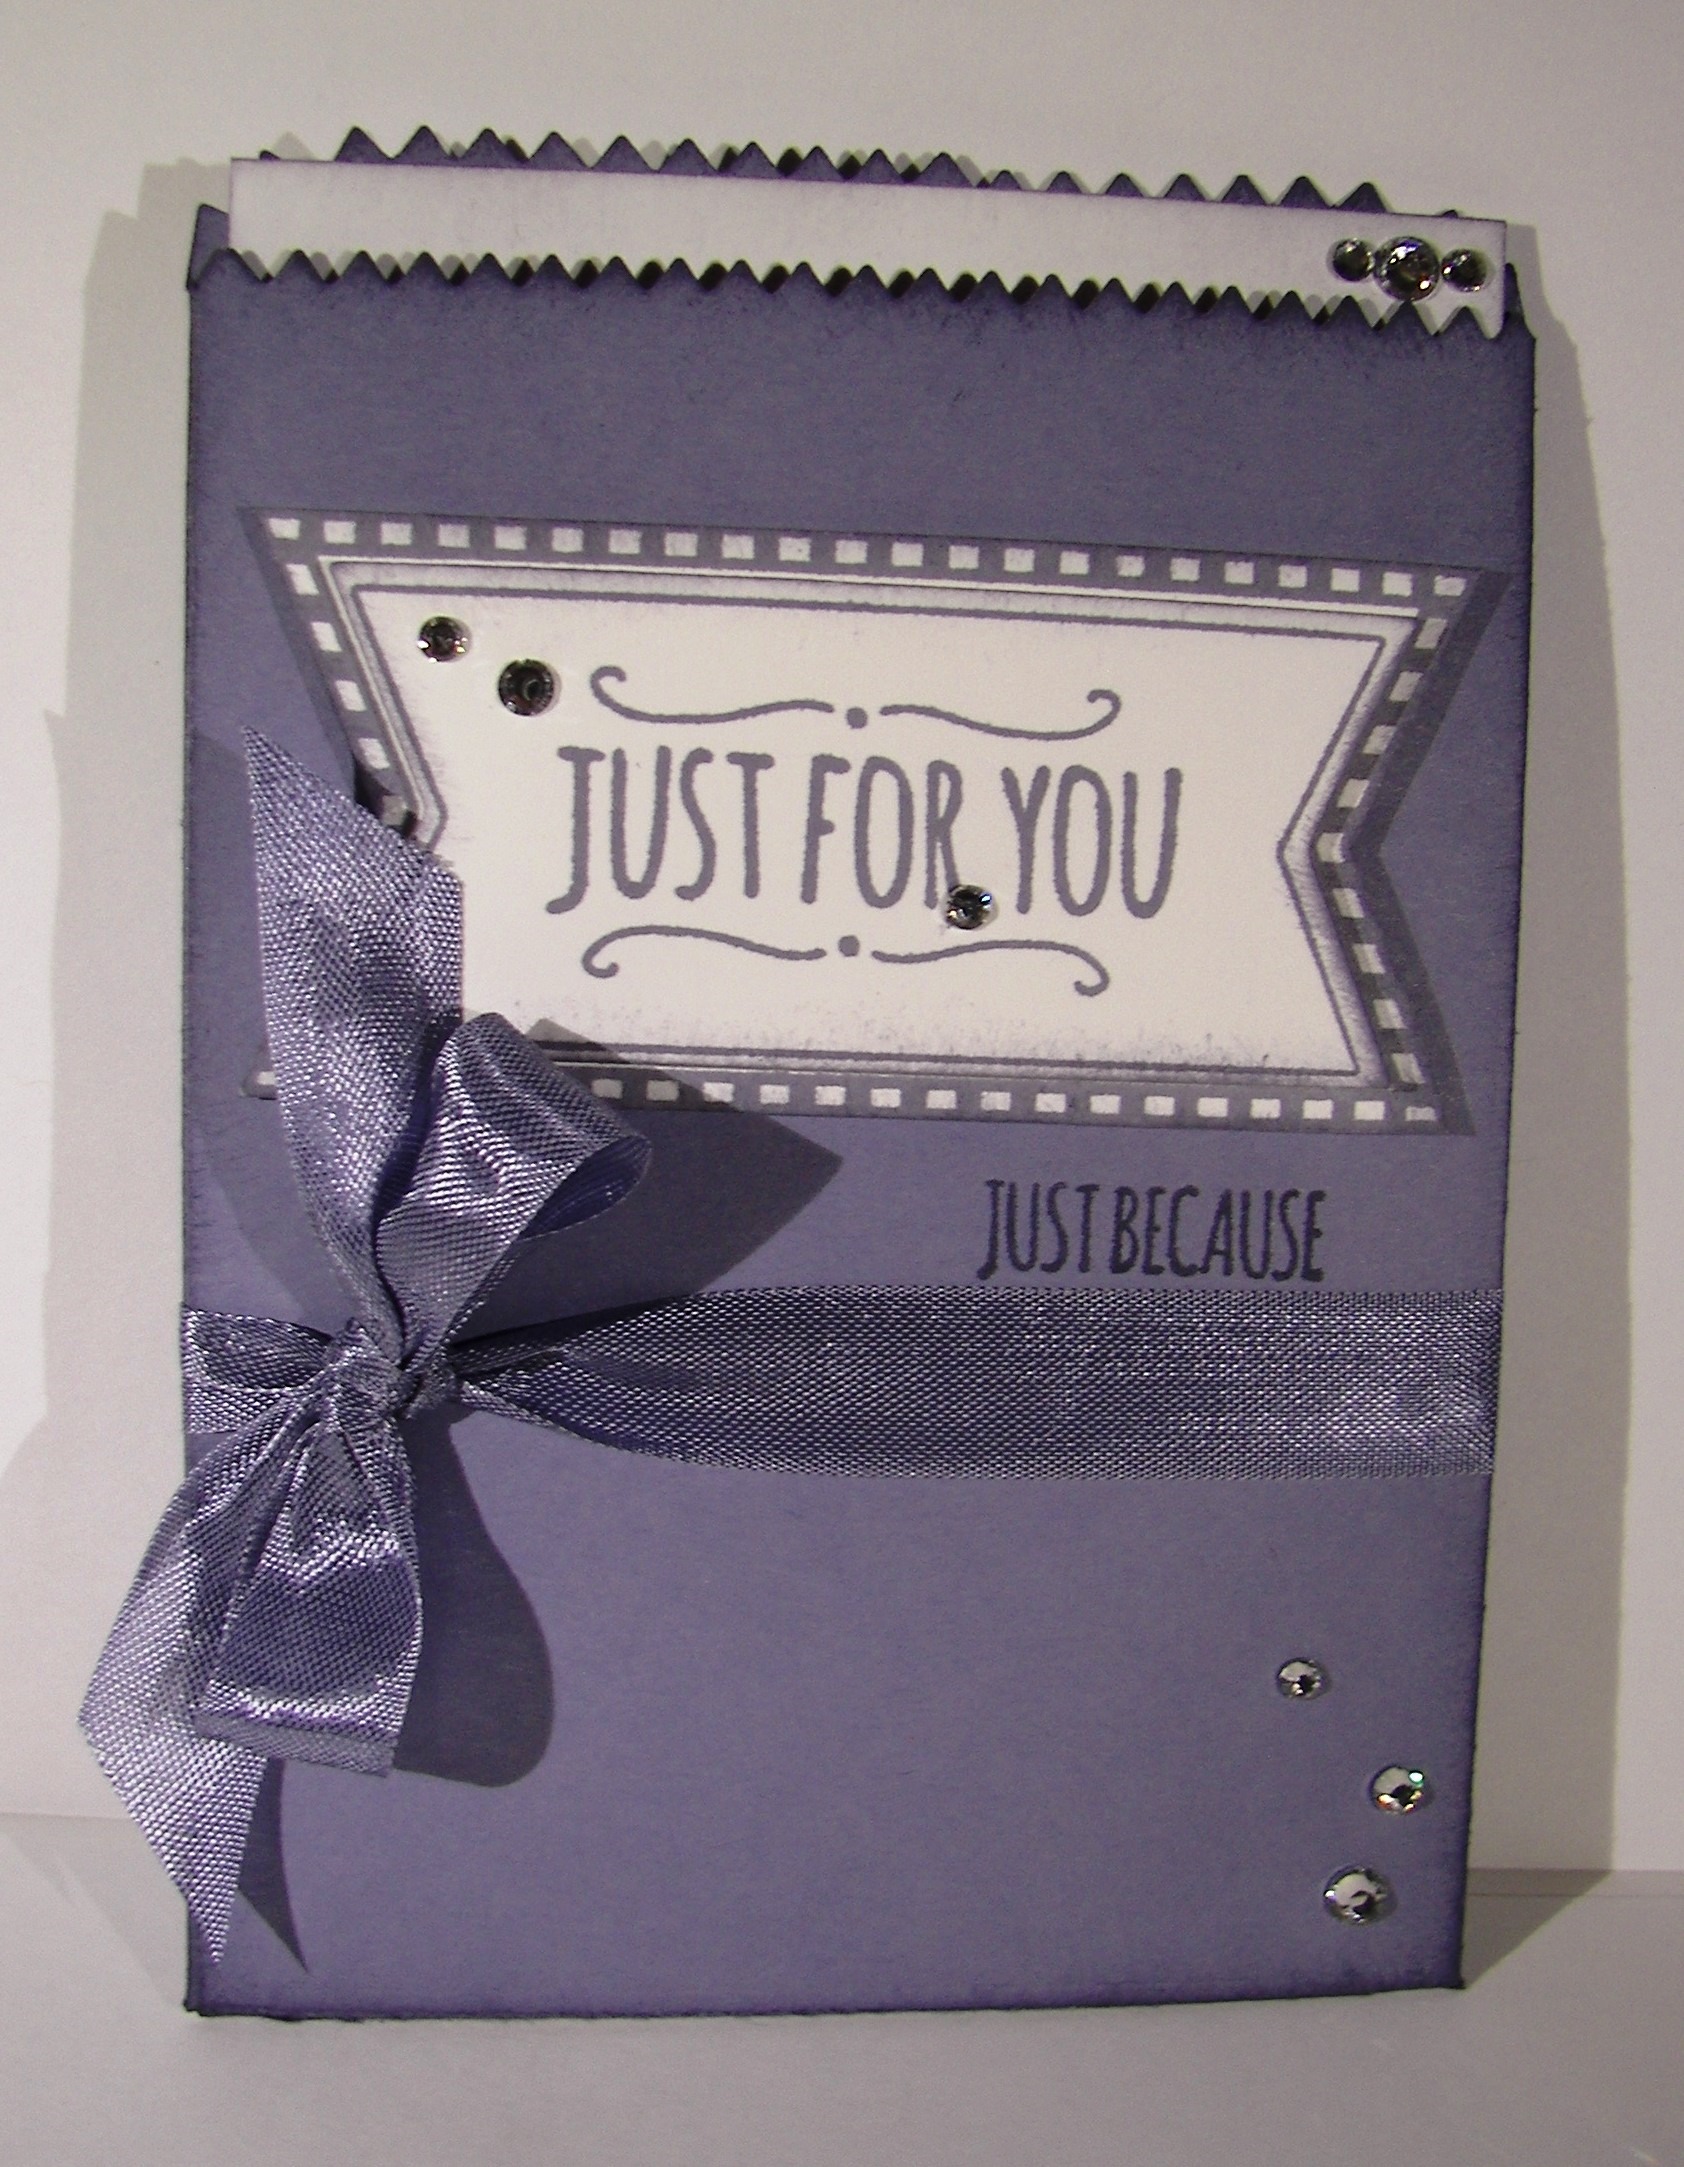
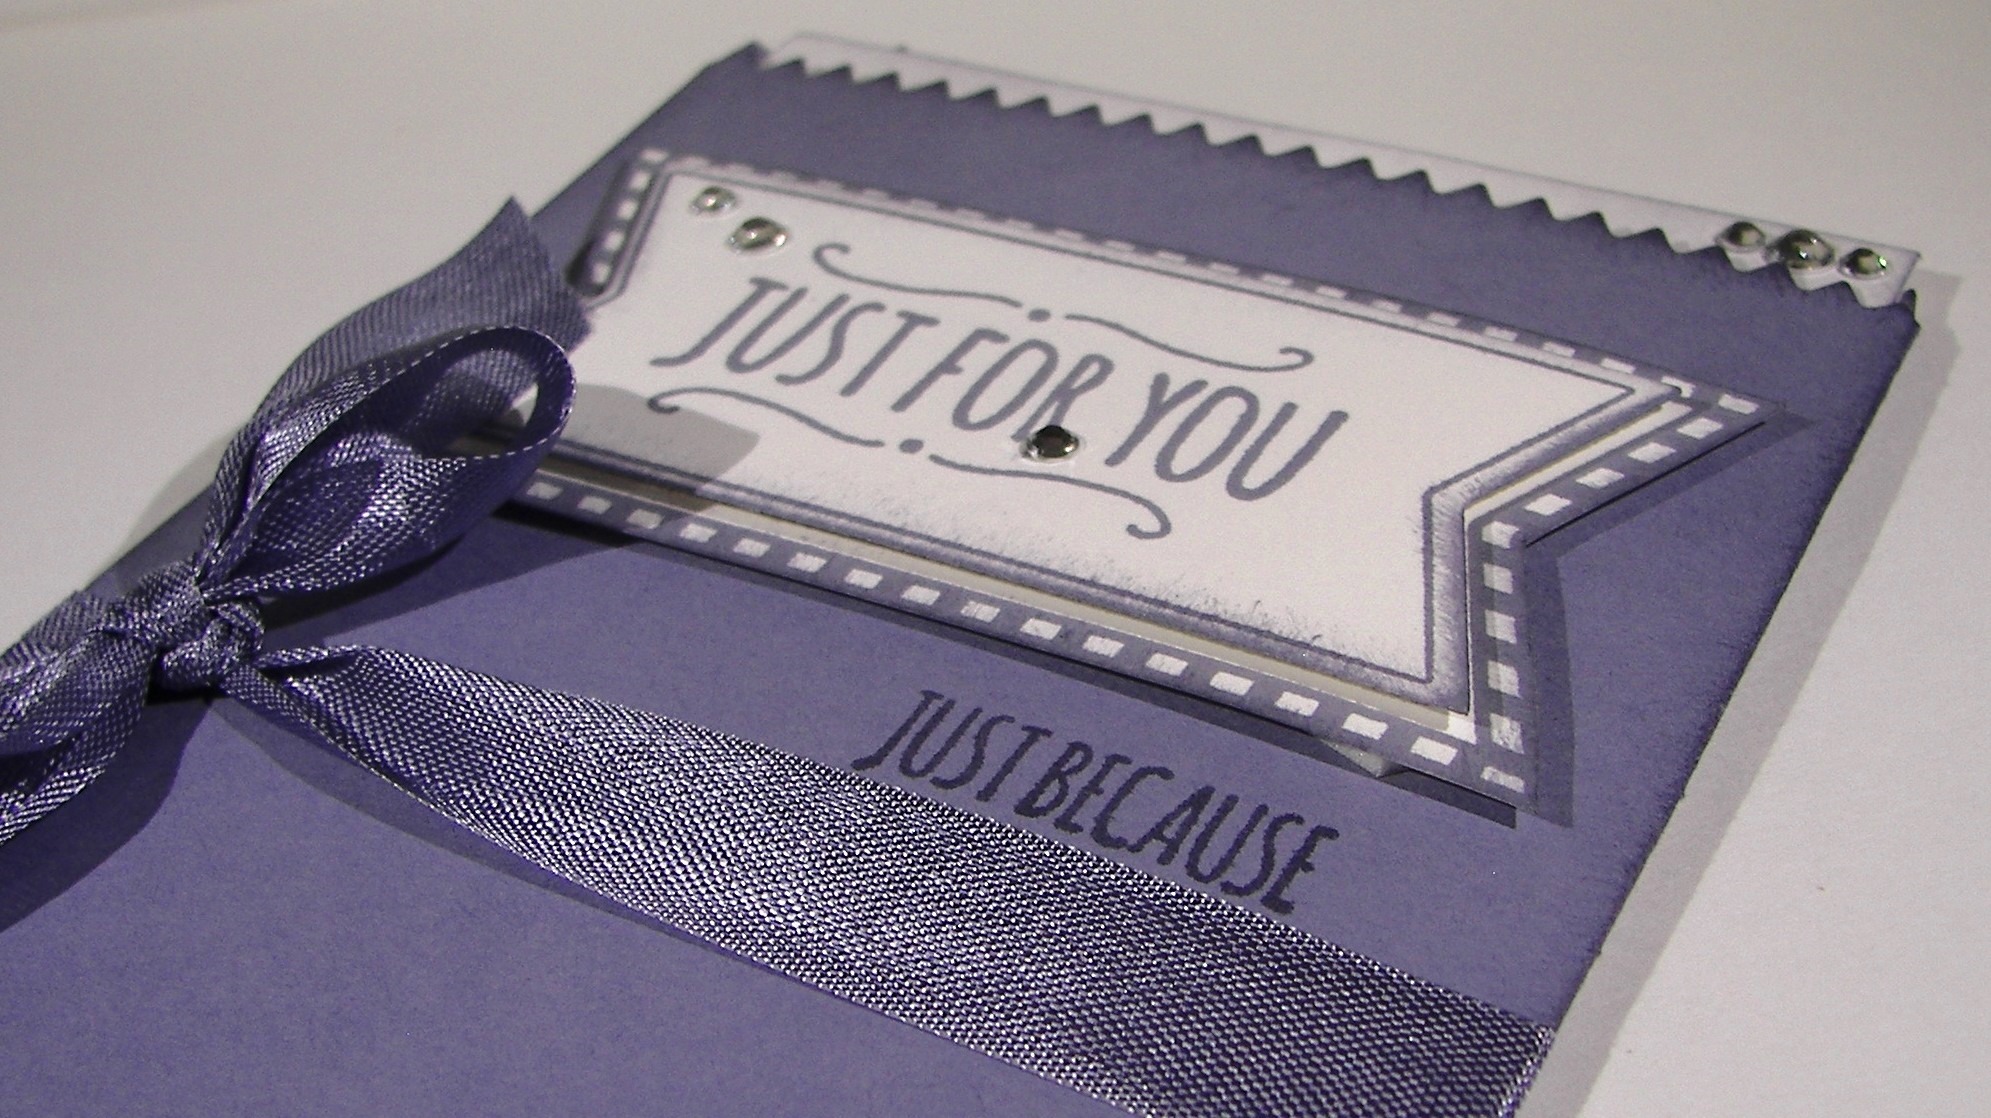
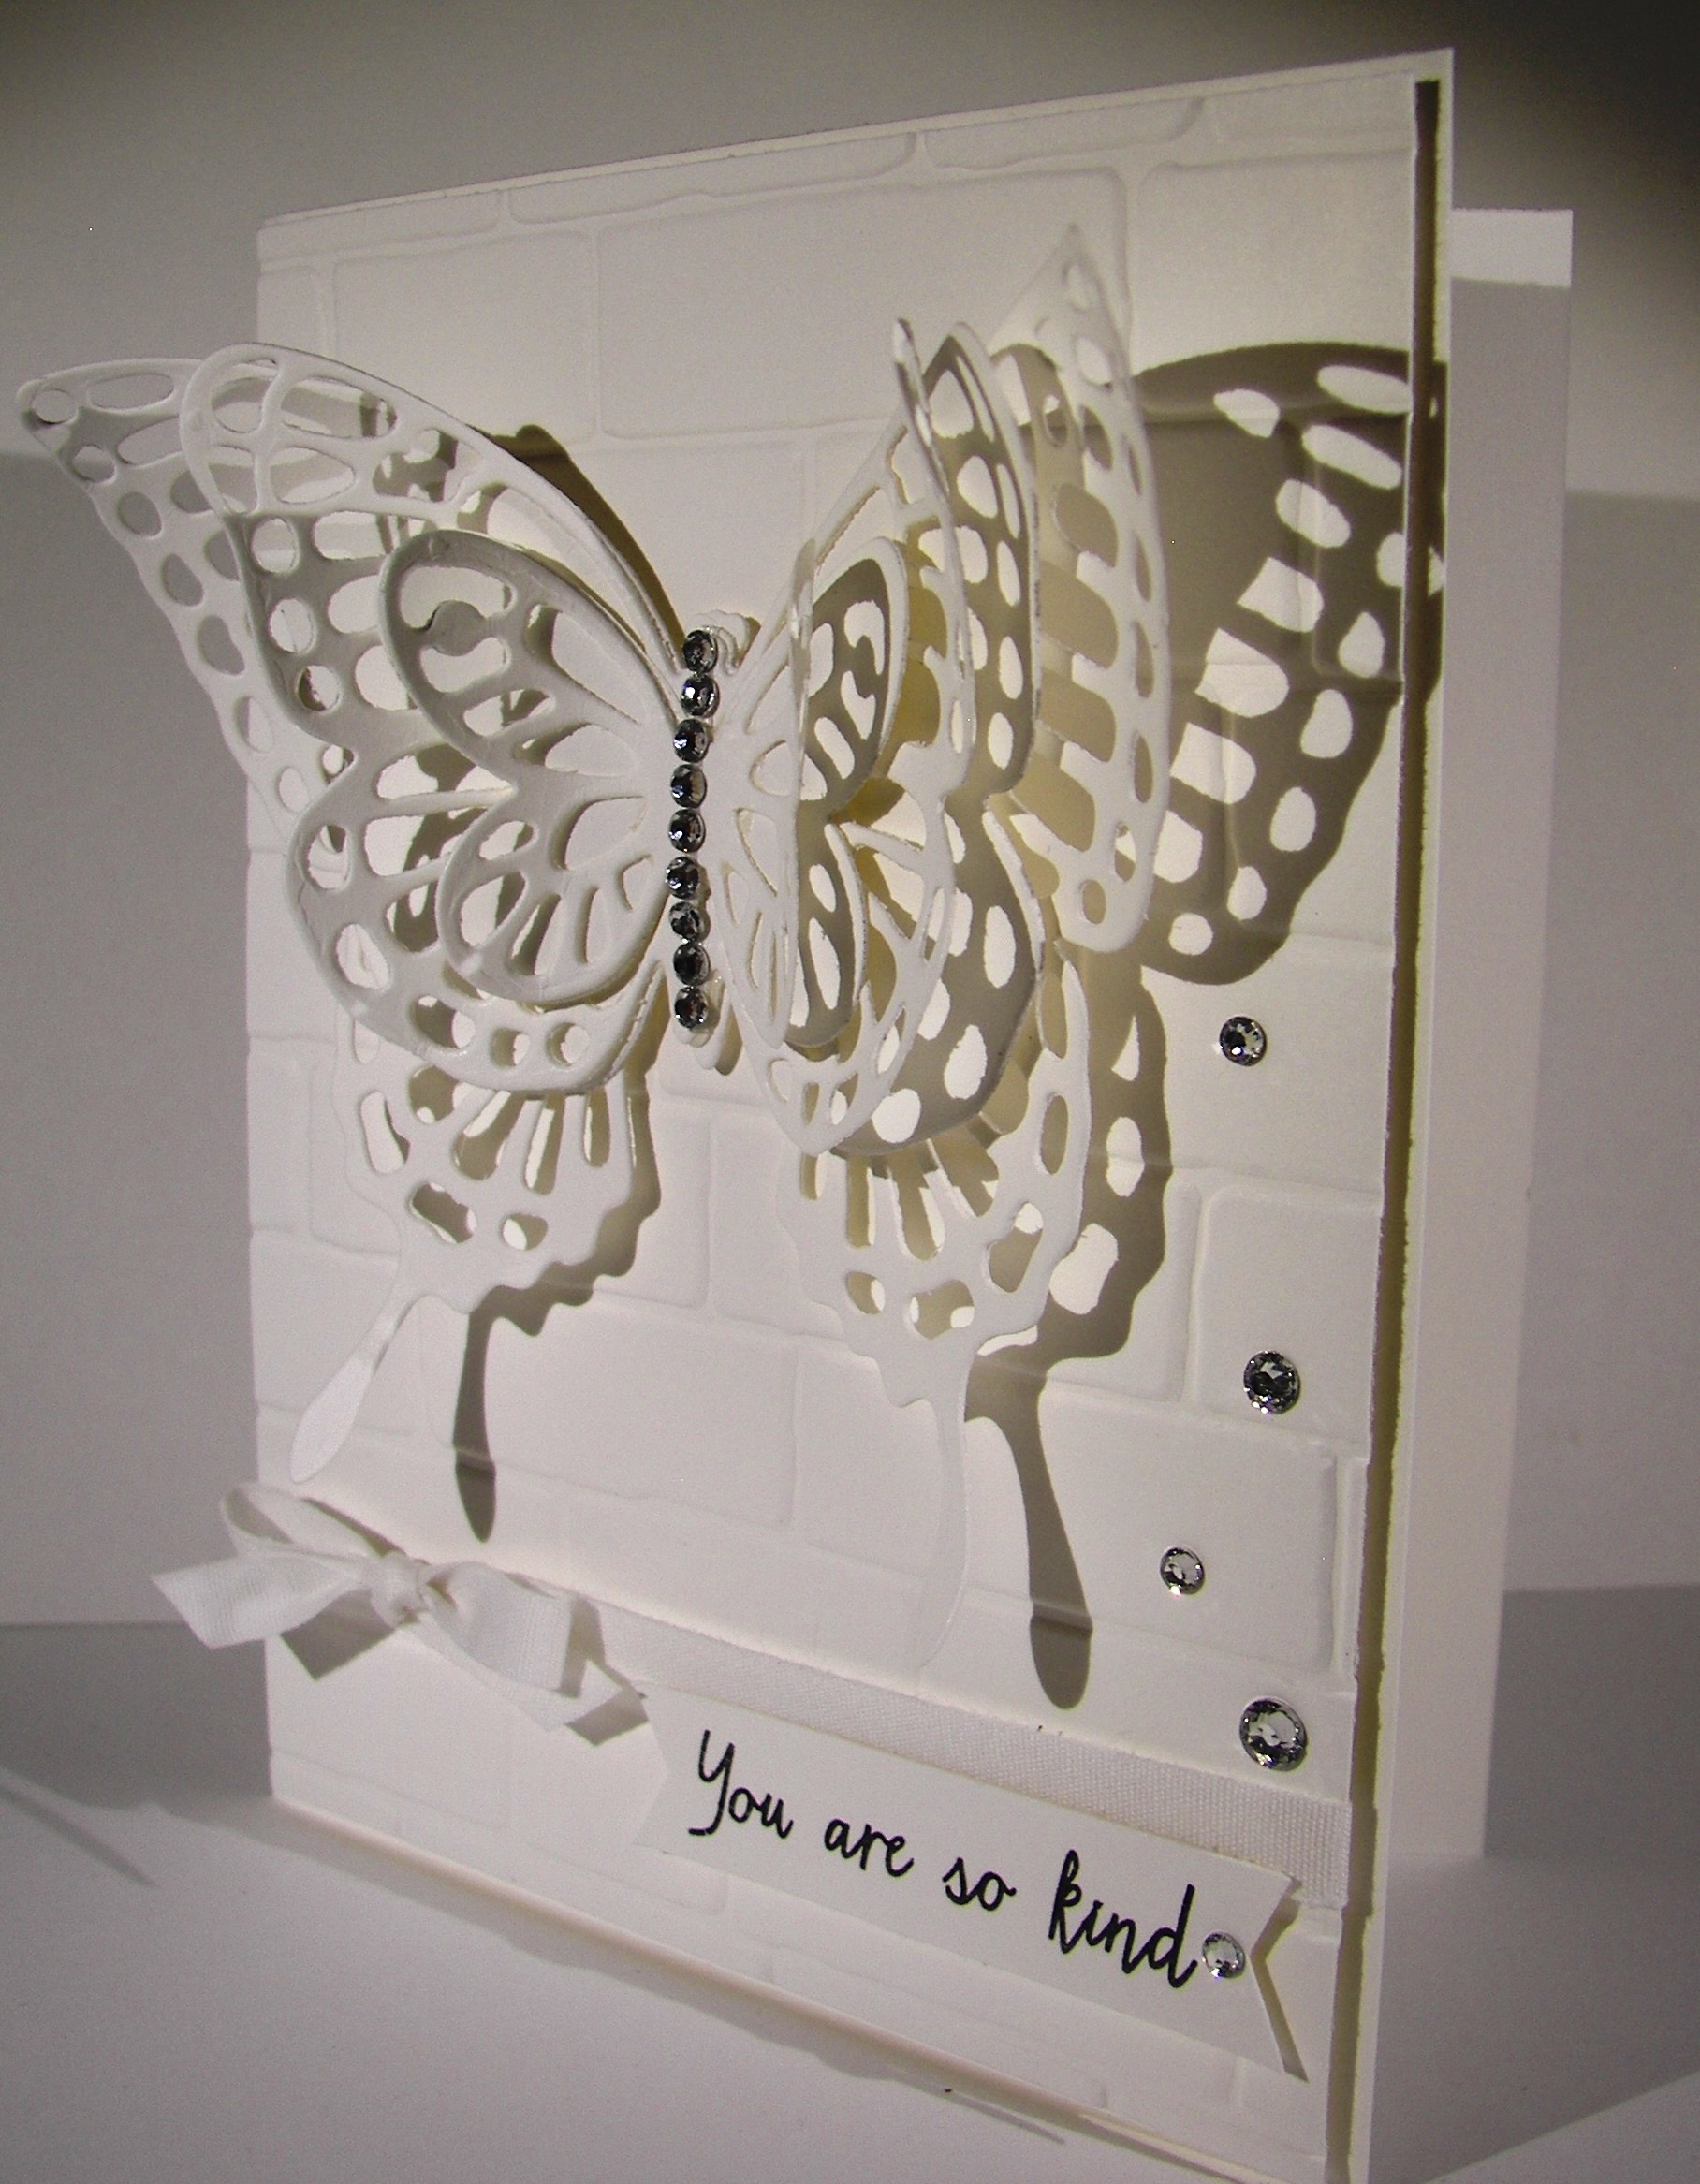
The borders are a narrow 1/8″, my favorite.  I bravely opened up my new elegant dots embossing folder and rubbed Stazon all over one side and then ran it through the  big shot.  I loved the result, and most of the ink came off.

Journal Inspired Butterfly Basics

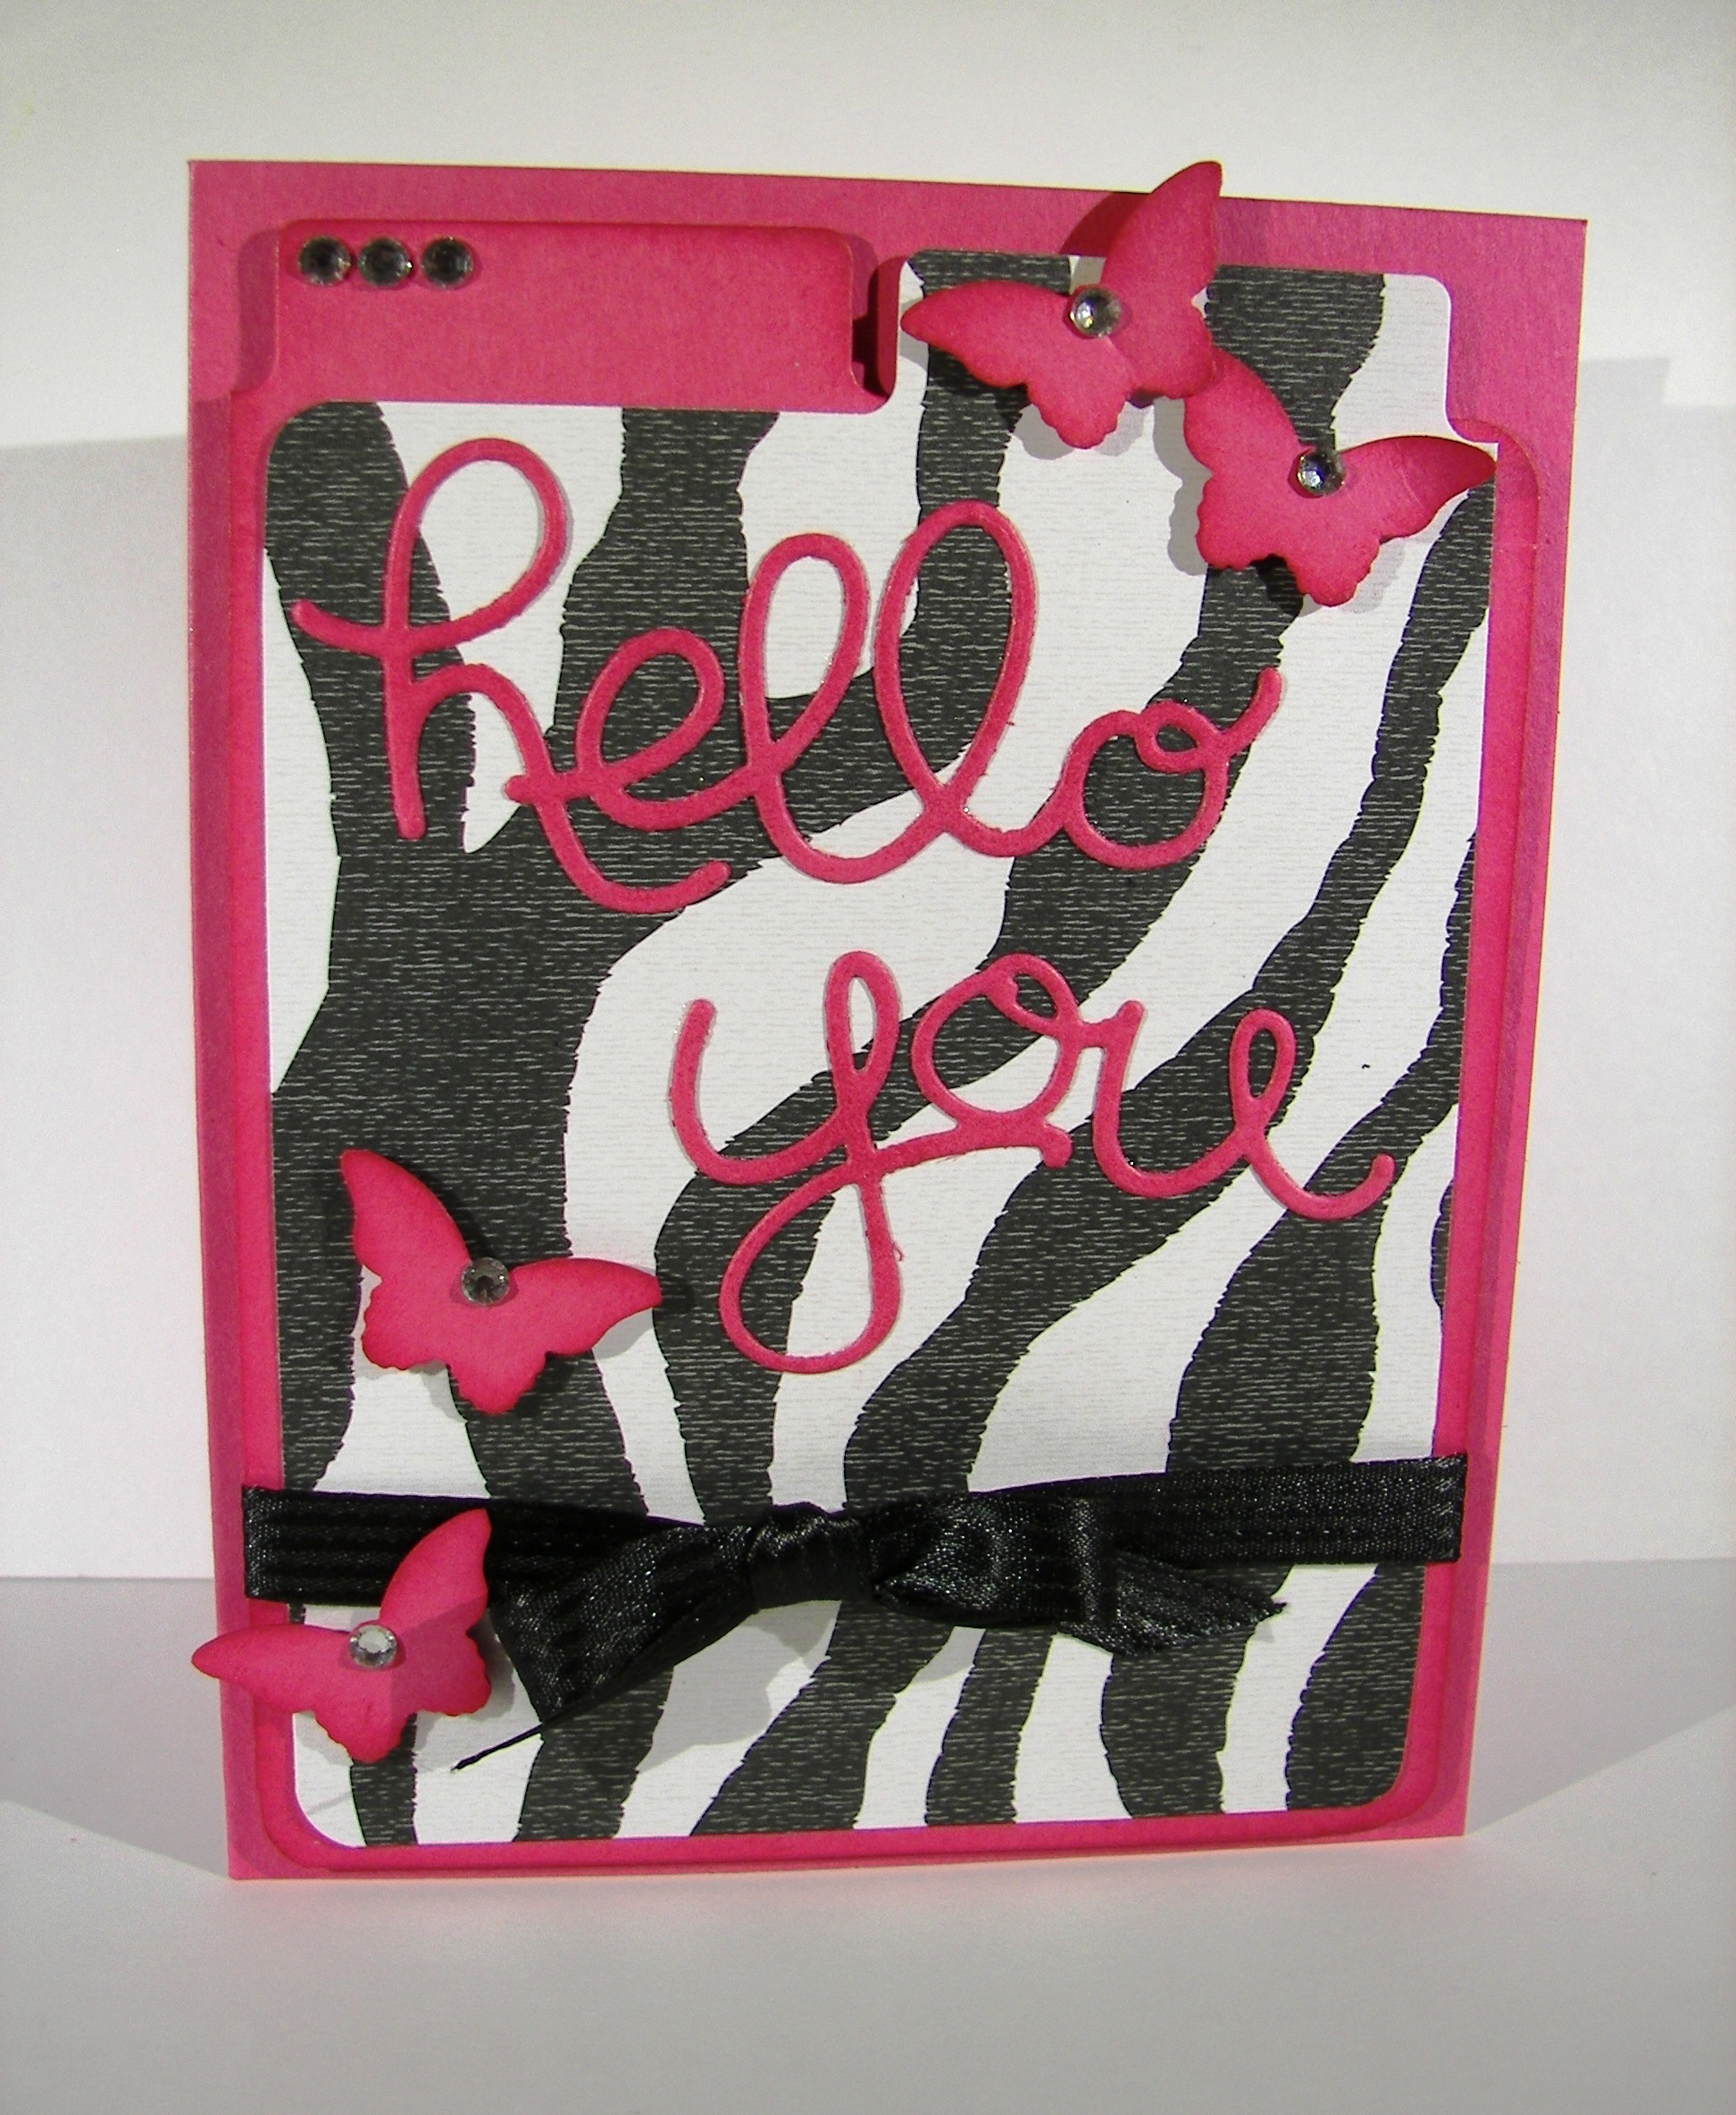
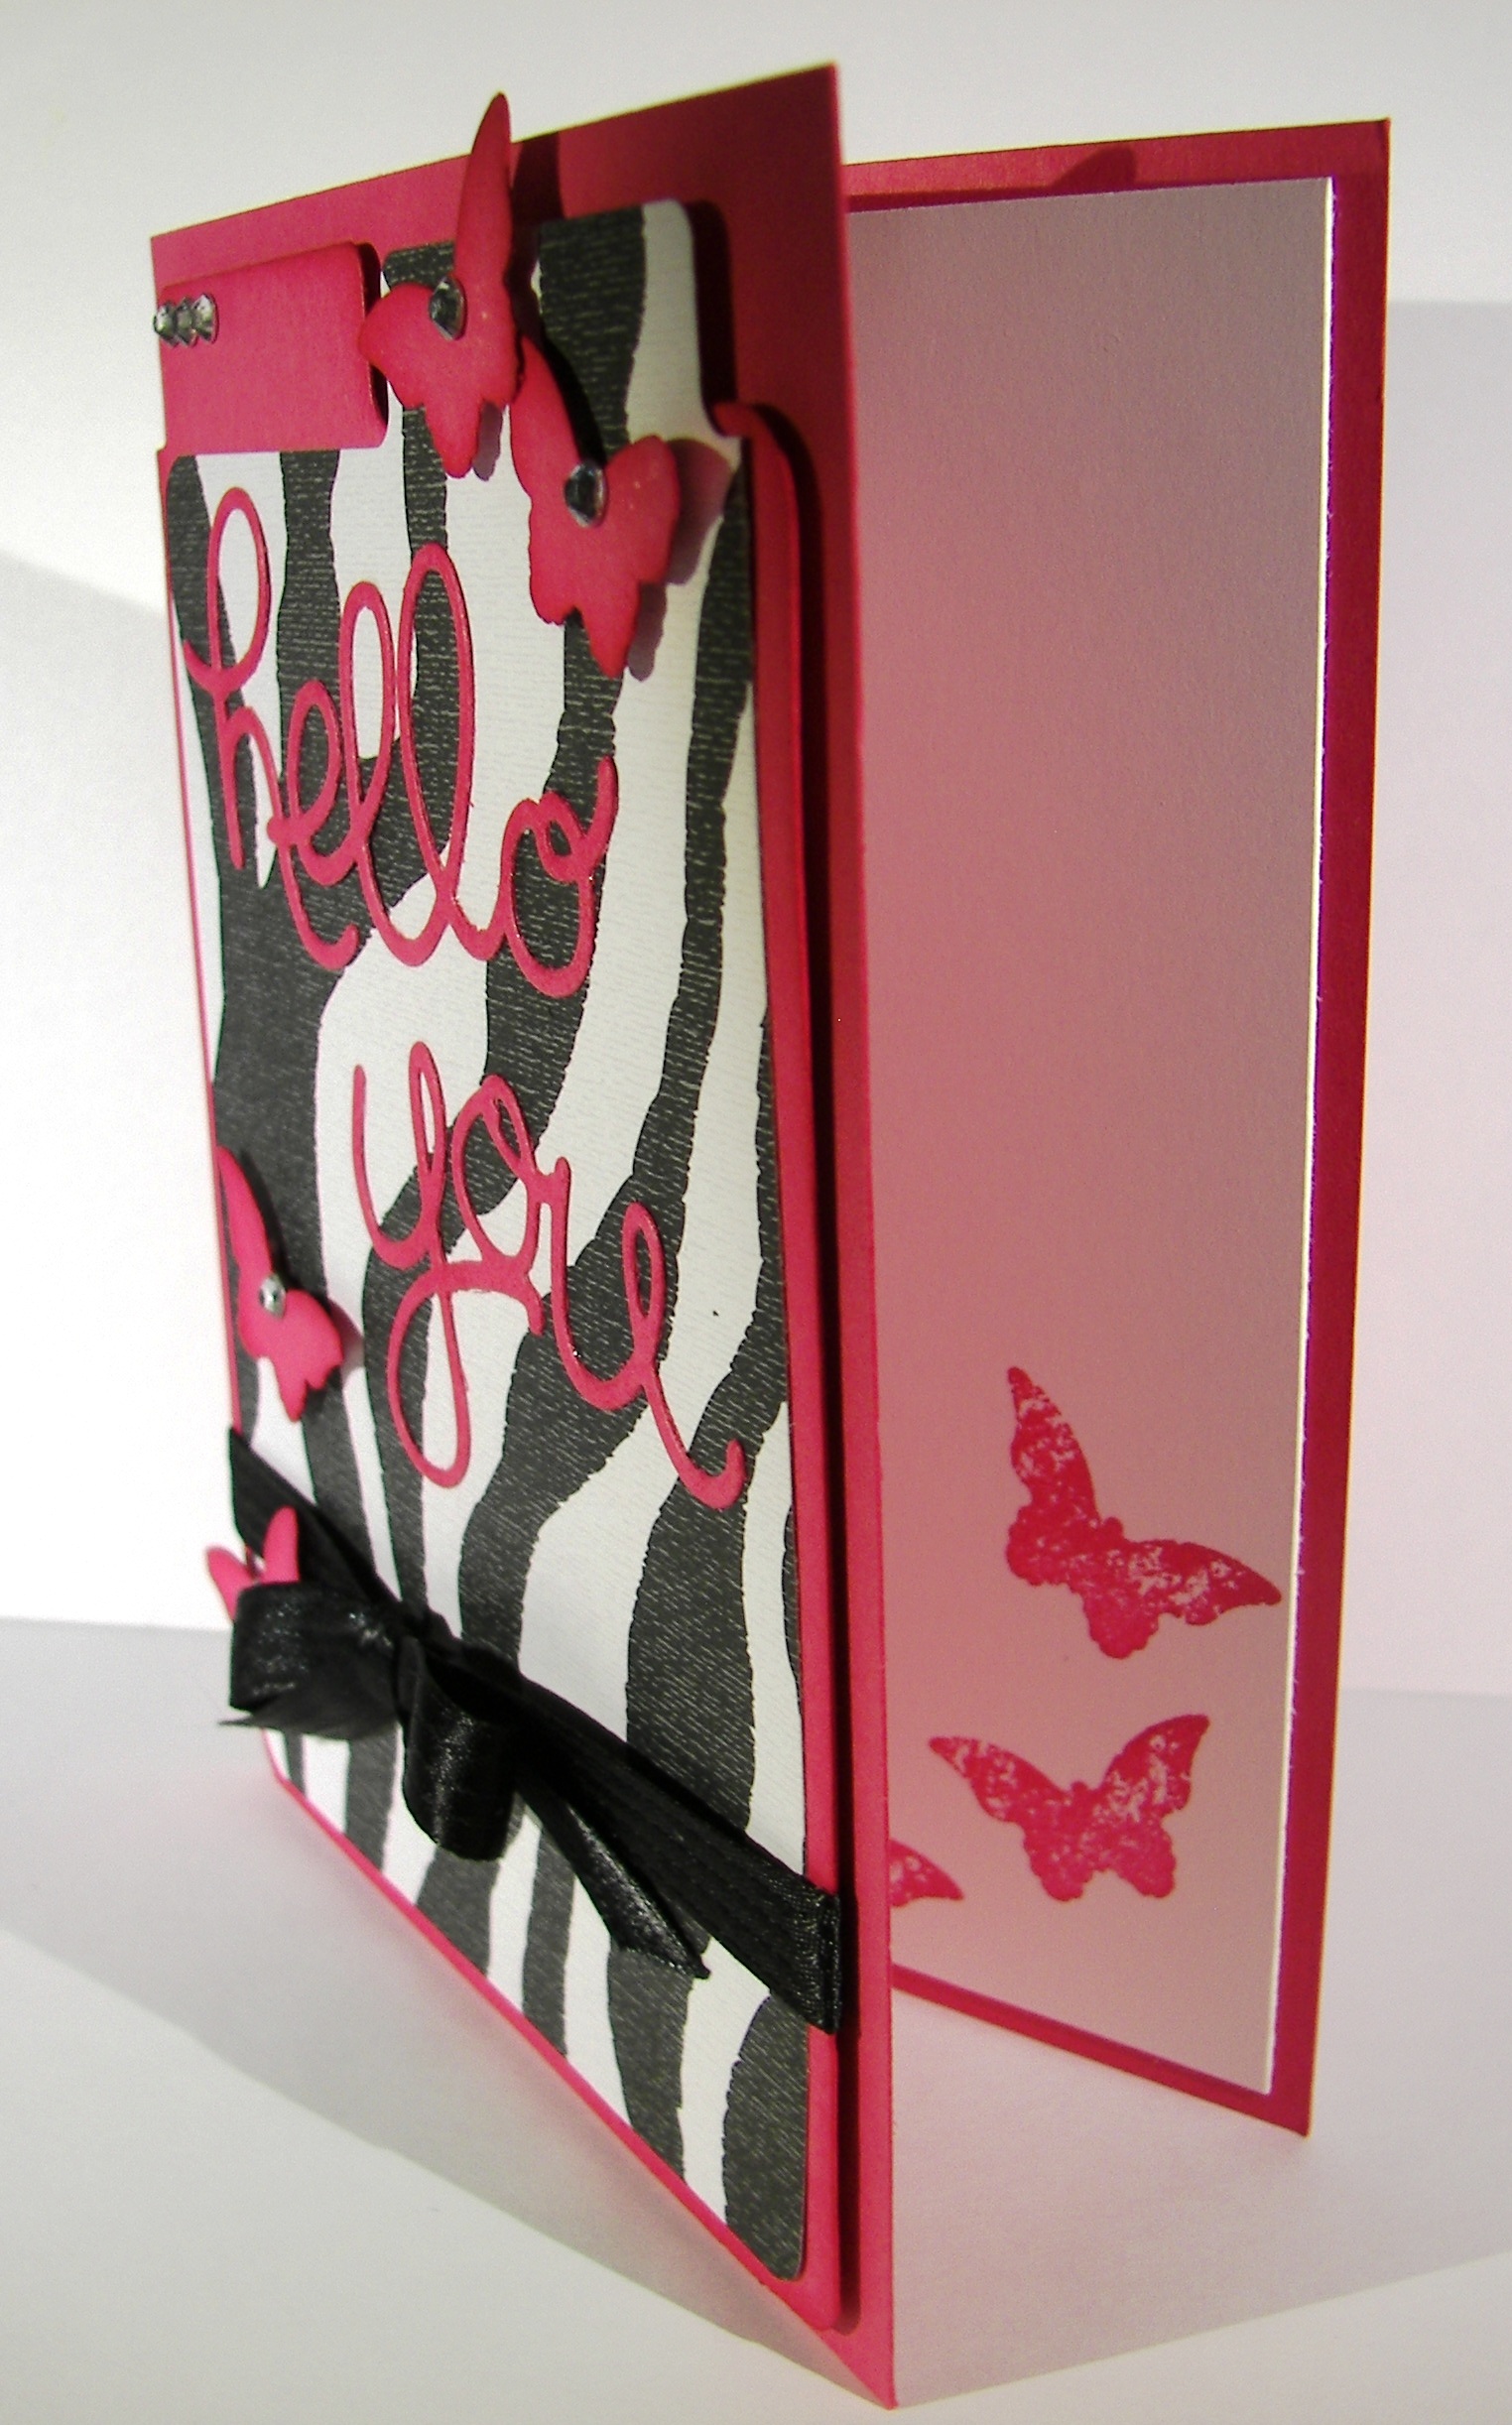
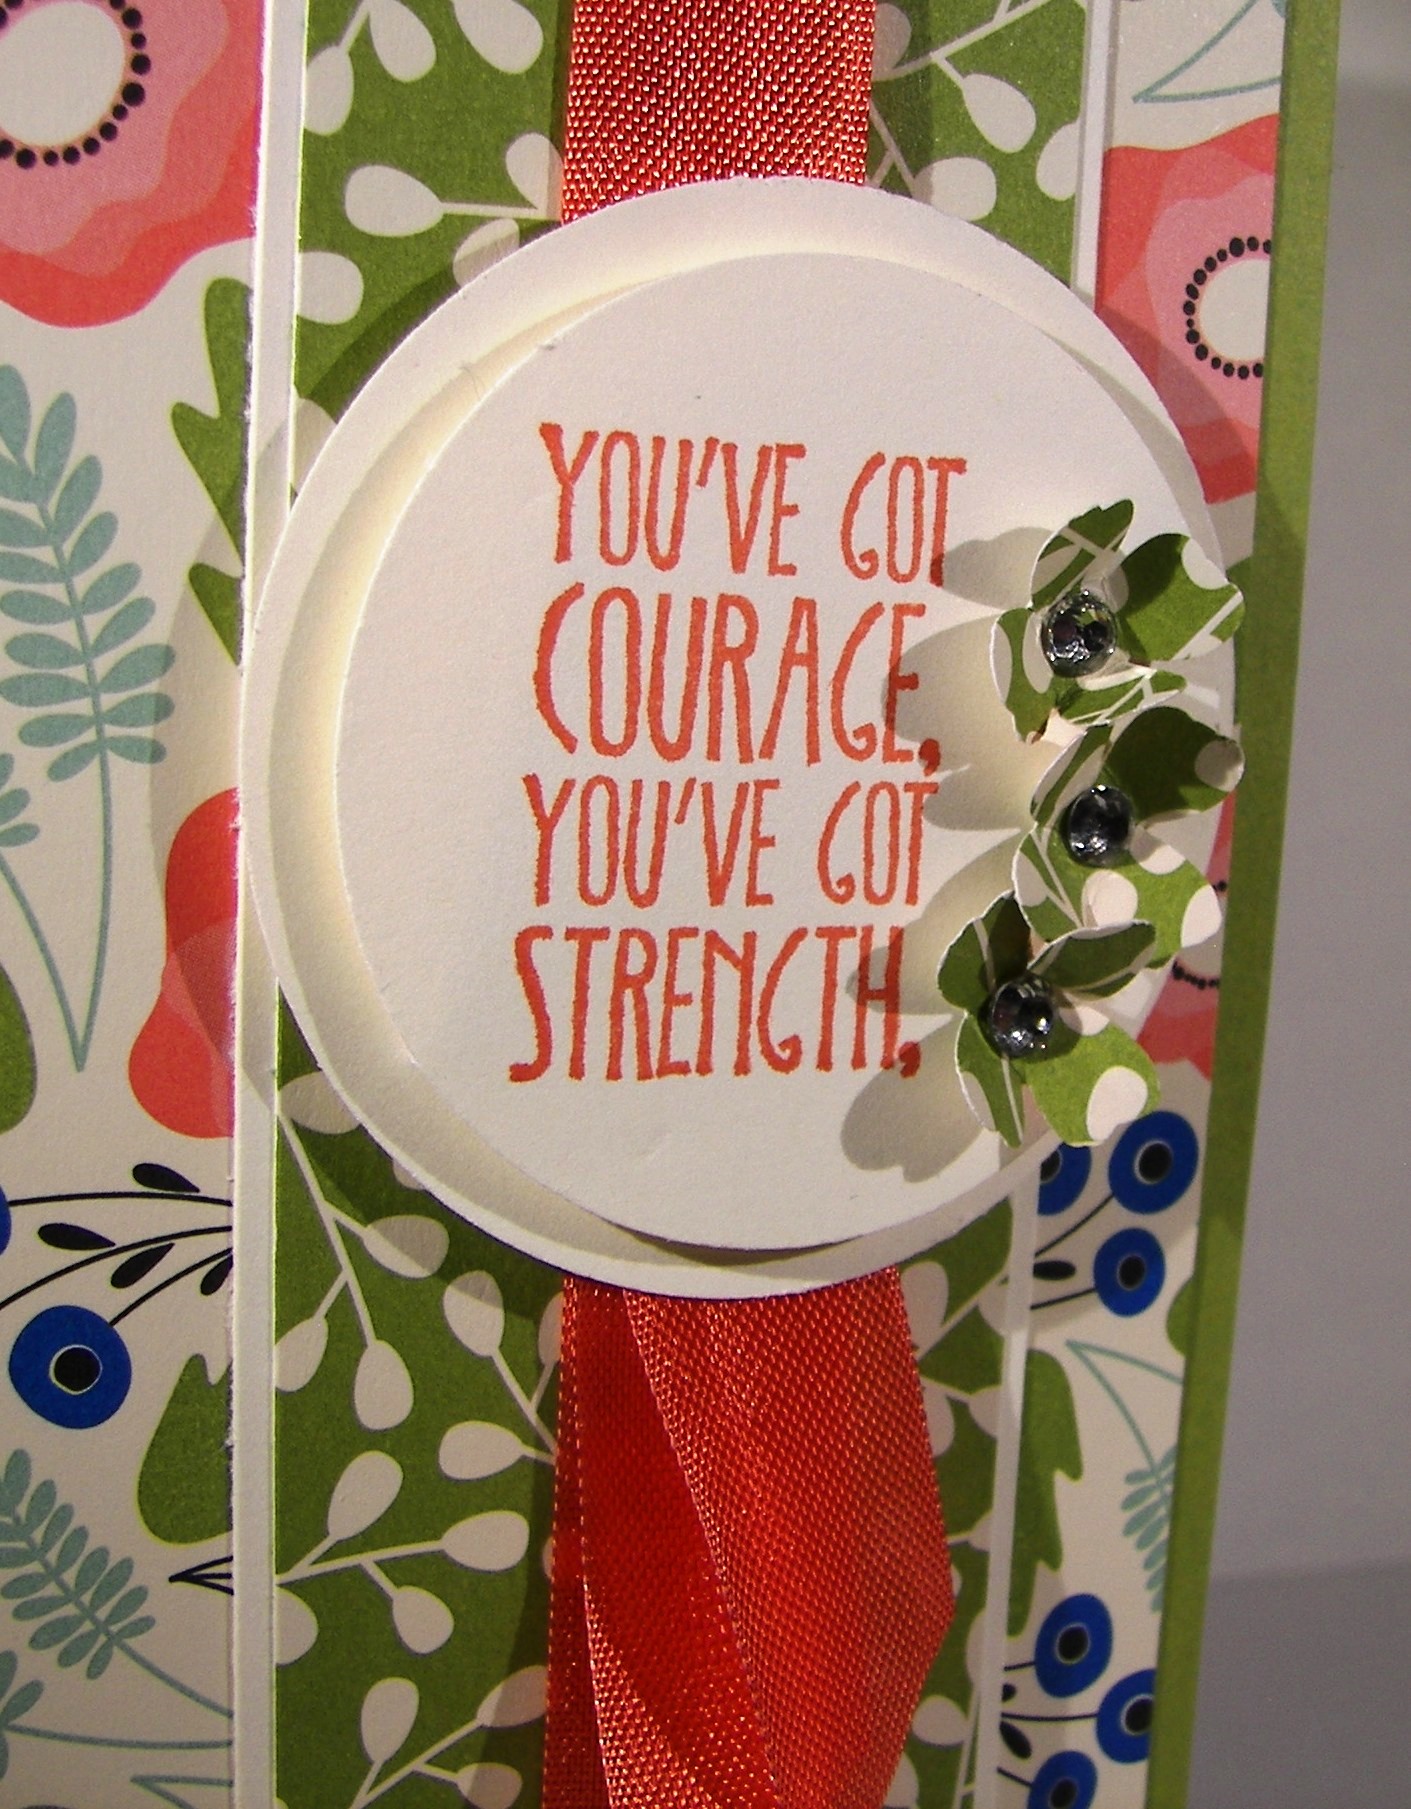
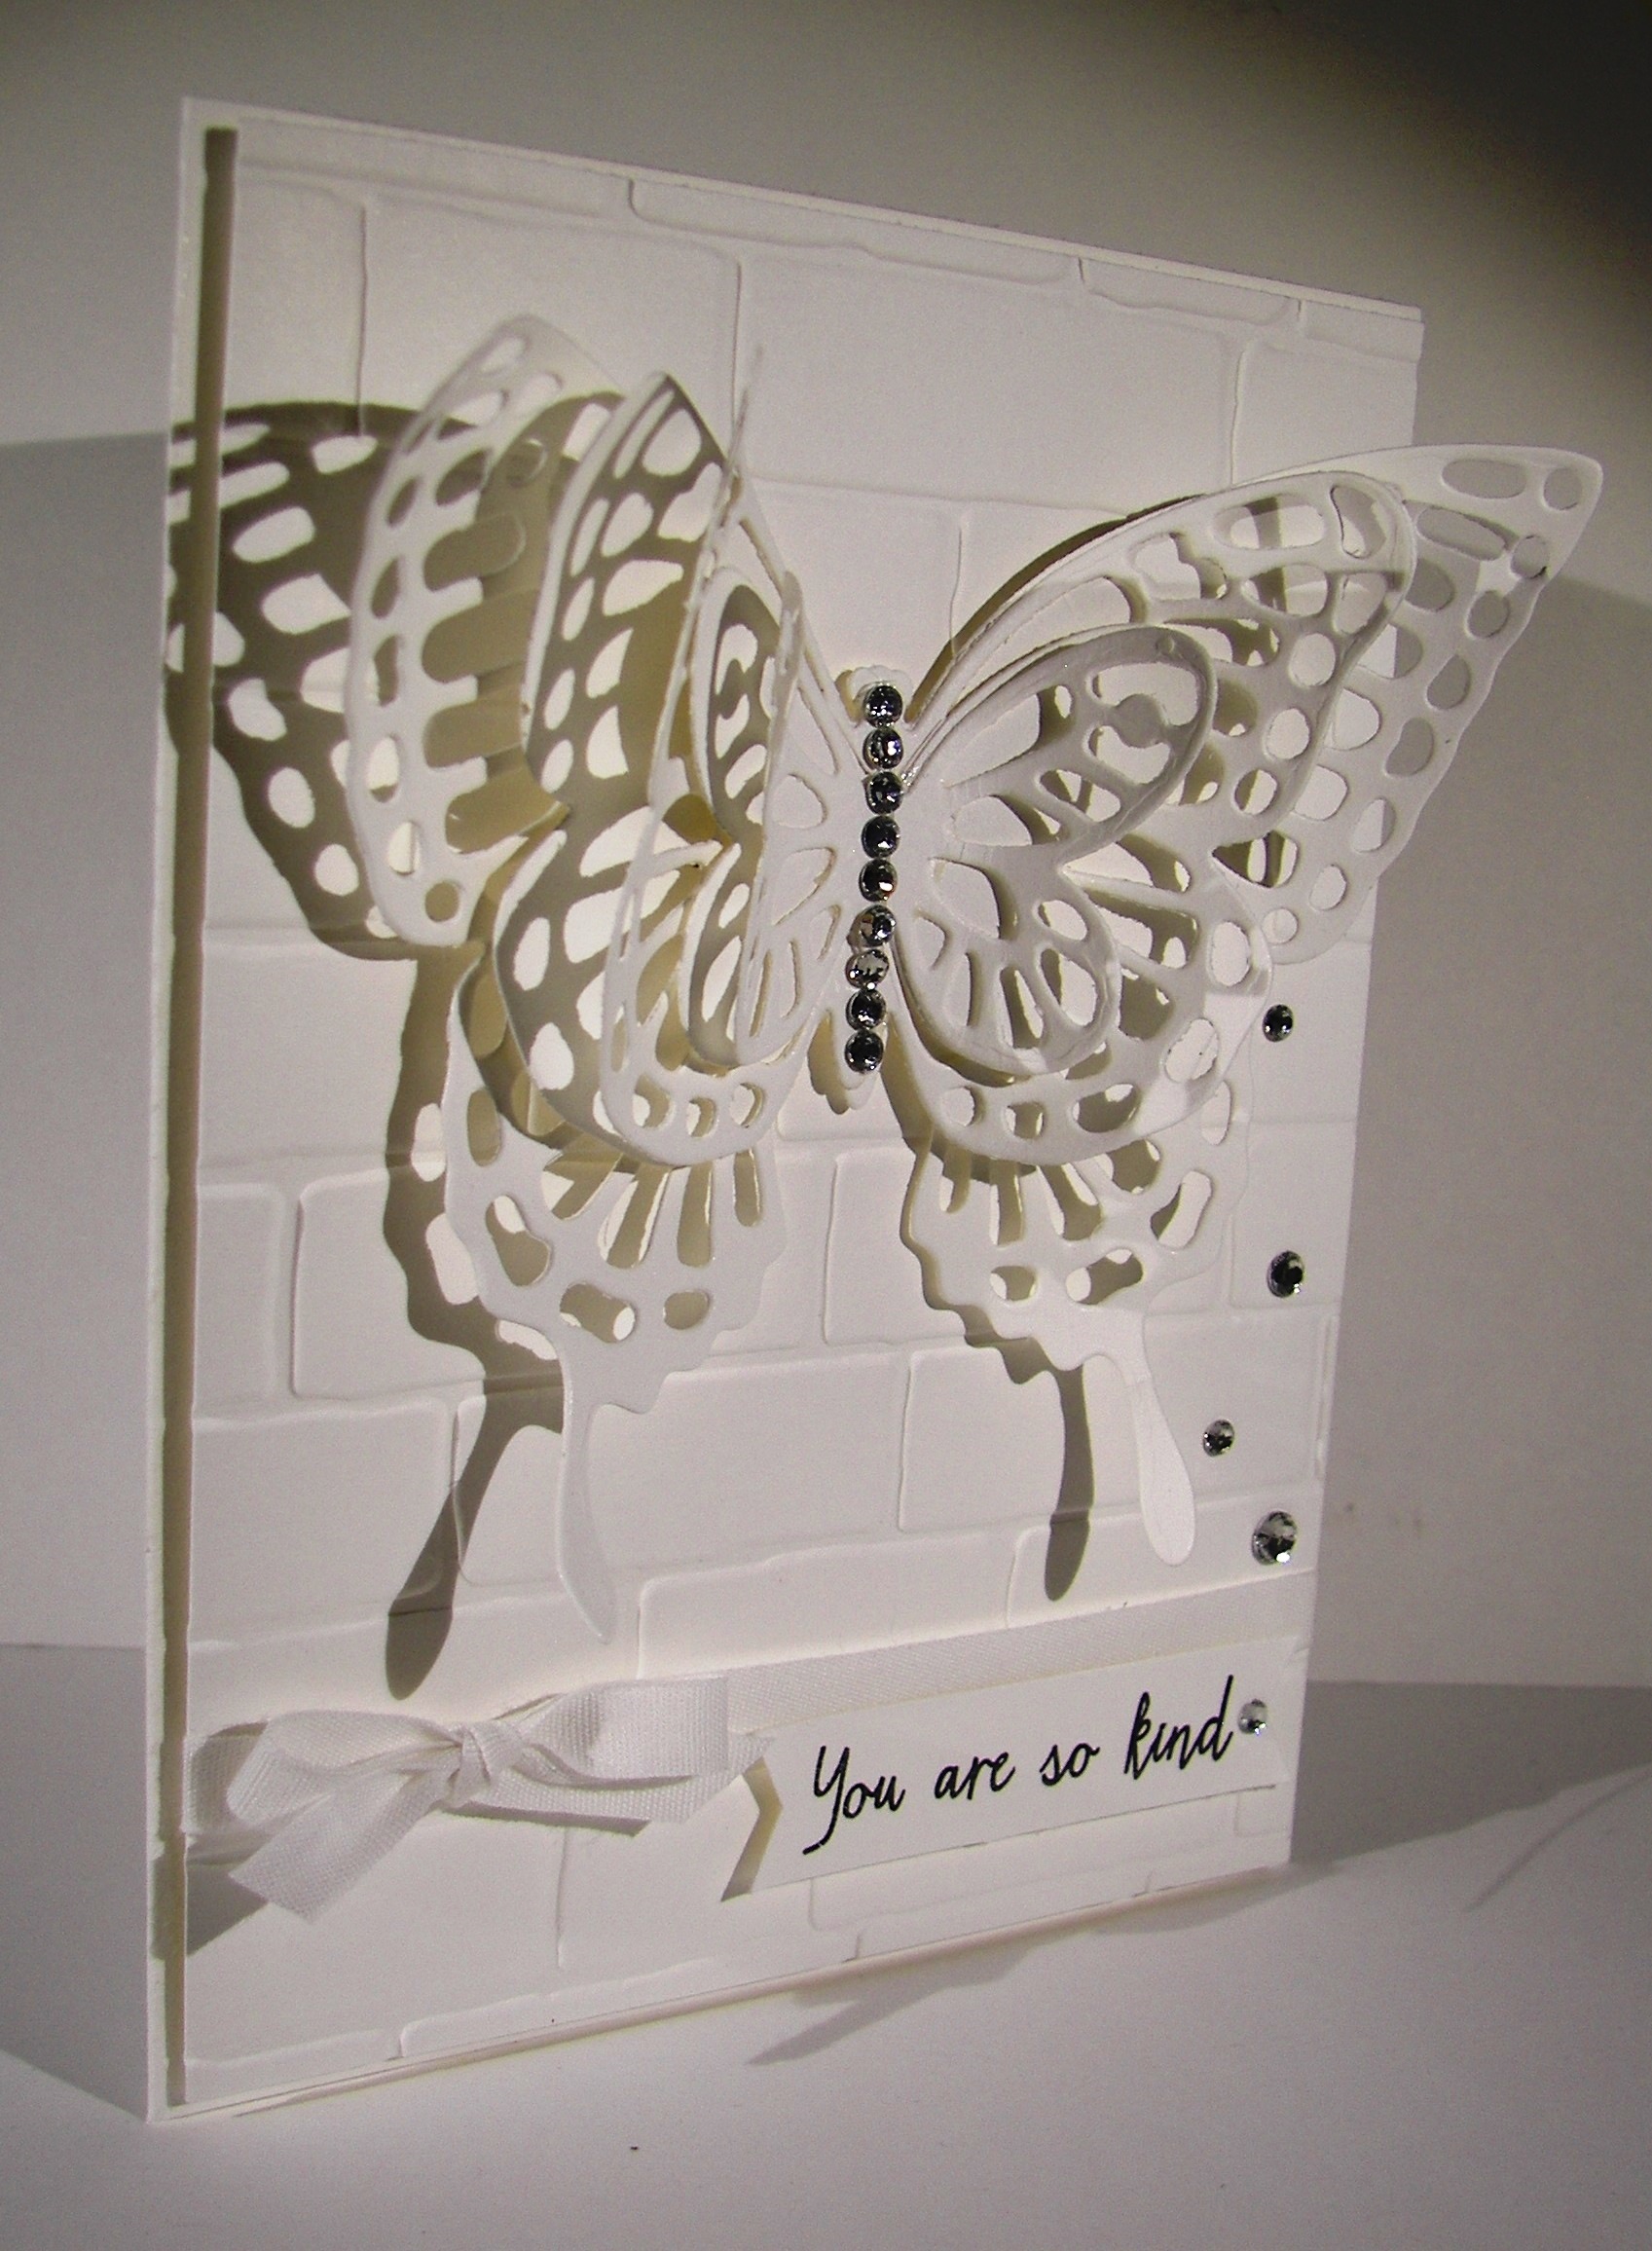
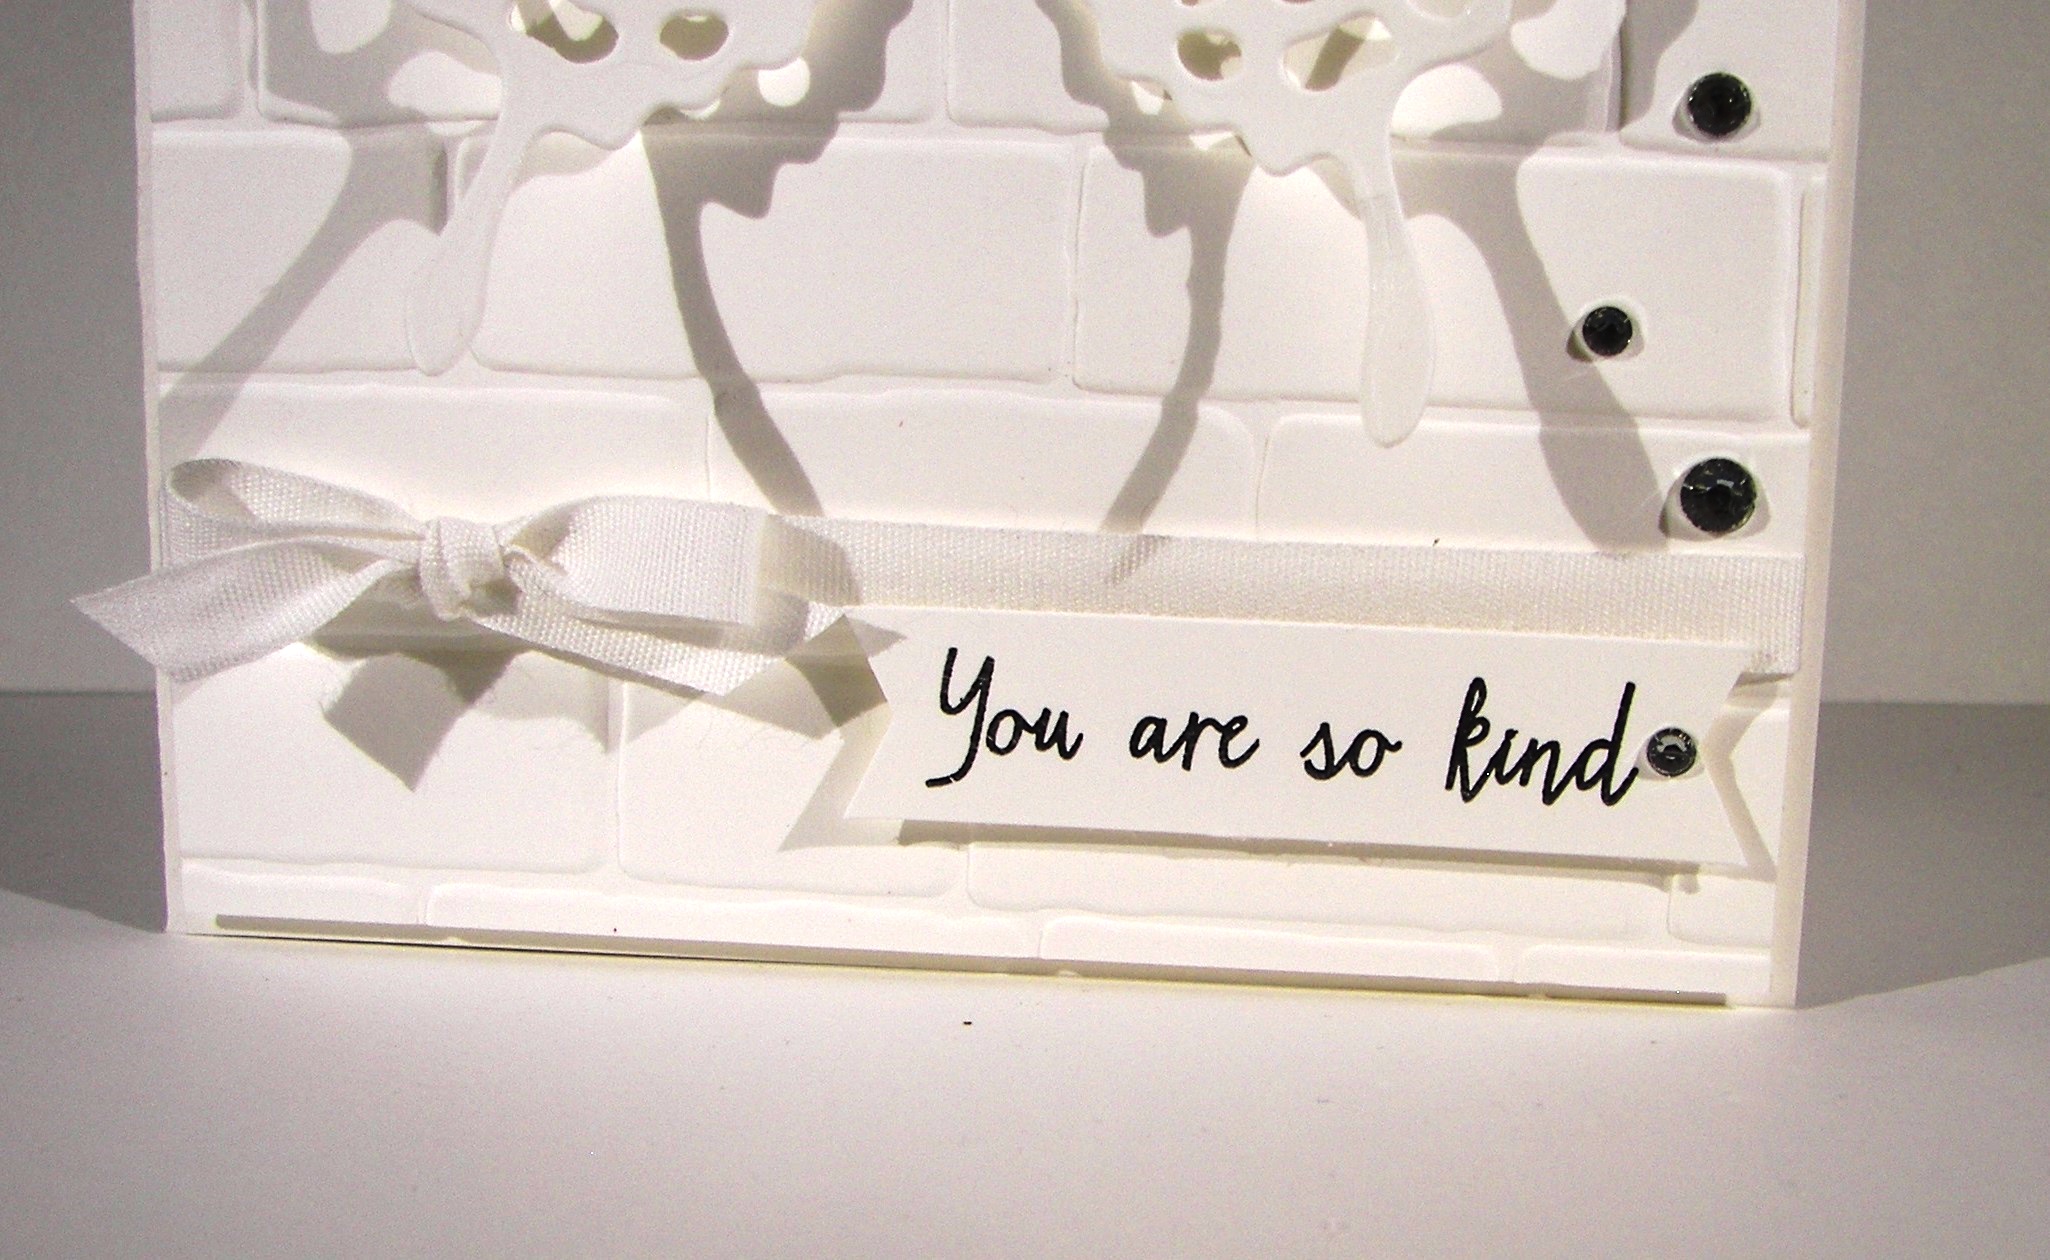
I used lots of butterfly framelits and layered everybody up.  The smaller one has two black die cuts over the delightful dijon layer.  Light sponging made everything look a little grungy and tied it together.  There is a little stamping inside, as well as more sponging.  I used plenty of glue dots to hold the butterflies together and layered like crazy with dimensionals.  So fun!

Have a creative day!

Moana

Chalk It Up To Love

This is only one of the three projects available in this months Paper Pumpkin kit.  Two different kinds of cards, three of each, and three pretty boxes.  What a fun kit!

Chalk It Up To Love

I sat down to make this card and it literally took me three minutes.  That includes stamping on one side, not liking how it turned out, turning it over and stamping the other side.  Yup, three minutes including a goof.  How cool is that!

Chalk It Up To Love

And that my friends is the beauty of Paper Pumpkin.  All of the creativity bundled together in quick easy to make and even easier to love kits.  Just my speed sometimes.

Chalk It Up To Love

All of the preparation I do for others, including my classes, it is just so nice to have something made just for me.  I know it isn’t just for me, but sometimes it feels like it.  Thanks Stampin’Up!

Have a creative day!

Hello You

How do you decide what to work with?  Today, I went with my skirt as inspiration.  While I am not wearing black and white zebra stripes with butterflies, the colors are right on.  I could hold it on display and coordinate so nicely.  I love how it turned out.

Hello You

I have to admit, this is the first time I have used my file tab edgelits and I have had them for a long time.  I wanted to use them, just in a different way.  The paper helps out a lot here, and I like them vertical instead of horizontal the way a file folder would normally look.  Mission accomplished.

Hello You

In order to coordinate the inside with the outside, I took the small butterfly stamp from Kinda Eclectic and stamped away.  It makes me so happy to have the inside match the front.    The card actually is quite simple, with patterned paper like this you do have to have some limits, just some.

Hello You


Have a creative day!

Moana

One Big Meaning and Remarkable You

To get my mind off the heat last night I sat down at my desk and got a little more creative.  It has been a bit since I spent this much time for one project, but to be fair, I didn’t have any idea what I was going to do when I sat down.

One Big Meaning and Remarkable You

I used a whole sheet of tip top taupe to make the bag.  Just simple scoring there, nothing fancy.  I did forget to stamp before I scored, ooops.  So, my stamping does have little crease marks on the edges.  Can’t be perfect.

One Big Meaning and Remarkable You

The base has two layers, tip top taupe and a stamped layer of very vanilla.  I brought out the aqua painter again, oh how I love that tool.  Just using the ink from the stamp gives such a soft look.

One Big Meaning and Remarkable You


The oval framelits were put to work again for the focal point.  What a lovely flower.  I brought in tip top taupe into the flower and water colored it into the old olive.  I can tell the color difference, but I can also see a hint of lavender forming.  Interesting.  Crystal effects really made a difference in the look of the flower.  I could really use that stuff way too much.  A final stamped sentiment layered with some circle punches finished the front.

A touch of dotted lace trim was put to the side and also used to make a simple handle for the bag.  It really turned out beautiful.

Have a creative day!

Moana

Ray of Sunshine and Pretty Petals

How about another one of those crazy mornings, that absolutely ran away from me.  To be honest, I was helping out everyone else and didn’t get my own goodies done.  Everything came together and worked out so, no worries!

Ray of Sunshine and Pretty Petals

Is this designer paper adorable or what!  This particular print reminded me of a recently retired stamp that has the most beautiful poppies in it.  I do love it when everything goes together so nicely.

Ray of Sunshine and Pretty Petals

A simple layering of designer paper, with coordinating paper and a length of ribbon to bring it all together.  I did a double layer of tags and squeezed in this sunshine sentiment keeping everything in calypso coral.  Love that color.  Six pretty little flowers all sponged and centered with basic rhinestones and I am in love with this card.

Ray of Sunshine and Pretty Petals


Have a creative day!

Moana

You Always Do For Others…

The people in our lives that give endlessly, they are so awesome!  They deserve much more than something like this, but always appreciate it.  Someone has to something nice for them, right?

You Always Do For Others...

My school secretary is just that person.  She even keeps the little containers I make her gifts in.  She has a cute little collection.  This one is a bit larger than others I have given her, but she deserves it!  The beginning of school is always so hectic.

You Always Do For Others...

One whole sheet of rich razzelberry for this gift bag.  Doesn’t it look lovely?  I didn’t have a project in mind, so I just reached to my paper files with my eyes closed, pulled the first file and there it was.  I then turned to my punches and grabbed the first one I focused on.  That would be the confetti hearts border punch.  The rest just fell into place.

You Always Do For Others...


I did my favorite sponging and opted not to layer the base.  Sometimes my fronts tend to curl a bit at the edges when I layer cardstock on cardstock with gift bags.  So, after I punched and sponged I used tombo liquid multipurpose glue to get to the edges well to make sure it stayed down nicely.  Perfect job.

A little matching cotton ribbon, subtle but still there, and the gift bag was done! Now I have the pleasure of getting the perfect treats and a gift to go inside.  That will be a fun little activity for sure.  Sea salt chocolates and maybe a lovely lotion.  Sounds nice.

Have a creative day!

Moana

Sending Good Thoughts

Yesterday quite simply just ran away from me.  Sometimes there are too many things to get done, too many people to help, and one too many places to go.  So, this was for yesterday.

Sending Good Thoughts

How about a nice masculine all occasion card?  Nice combination if you ask me.  When you have a great background stamp like Hardwood, the card almost finishes itself.  The front was stamped in early espresso and sponged lightly until I liked the look.  I tried something a little different for my inside stamping.  I just used this huge stamp at an angle and stamped opposite corners.  It worked out pretty good.

Sending Good Thoughts

I had to stamp my sentiment a few times though,  I wasn’t being very patient and then it didn’t look straight.  It doesn’t have to be perfect to make me happy, but maybe not look all wonky either.  A quick trip to the banner triple punch and my front layering was done.  How easy is that?

Sending Good Thoughts


I did layer the banner element up on dimensionals and accessorized lightly with two silver mini-brads.  That is all it needed.

Have a creative day!

Moana

Thoughts & Prayers, Praying For You

How weird is it to make a card with yourself in mind?  I have to think that sometimes that is more than okay.  More than okay, it is a great idea!

Thoughts & Prayers, Praying For You

I have to say that I am proud of this little card though.  My thoughts were more than scattered as I sat down to work.  I have a small stack of scraps to the side that I just haven’t filed back.  Today I made this project entirely from scrap, with the exception of the pearls and ribbon.  How cool is that!

Thoughts & Prayers, Praying For You

That makes my work easier, cleans up that little stack, and keeps my main stash of paper untouched for one more day.  I do feel a paper order coming on though.

Thoughts & Prayers, Praying For You


I love love love this brick embossing folder.  It makes so many fun looks and I love how it is 6×6 so I can have my bricks facing how I want regardless of my paper direction.  Wheeee!

Have a creative day!

Moana

Thank You For Being You

I am feeling a little extra grateful this morning.  There are those out there that step forward and go beyond their own limits just to be kind and take care of others.  Truly a beautiful thing.

Thank You For Being You

So, it had to be all about a special thank you.  Not to focus on too many distractions, just keep the emphasis on the thanking, specifically ‘you’.  With this totally awesome Larger Than Life Alphabet & Numbers set, no problem.  I am looking at this card across the room and it is so obvious what the card is about.  Perfect.

Thank You For Being You

The card base is the heavy weight whisper white card stock.  Love that stuff.  I just like knowing that the base will stand up to whatever I put down on the front.  Today’s isn’t heavy at all, but I know it won’t tip over or curl.  Happy days!

Thank You For Being You


What makes this project even better?  It has all kinds of fun, but it won’t need extra postage because it is flat.  How cool is that!

Have a creative day!

Moana

You’ve Got Me

I love it when everything coordinates so perfectly, but today is all about the sentiment.  I love these paired phrases, simple but strong.

You've Got Me

The card layering is fairly basic and puts a few favorite punches to work.  A dash of basic rhinestones to draw further attention to the sentiment and the front was done.

You've Got Me

I don’t normally stamp inside a card, but this one needed it.  I zoomed in on the detail, but it actually measures barely over a square inch.  When that card gets opened, that is what you see. “You’ve Got Me.”  How perfect is that.

You've Got Me

This new paper pack is loaded with beautiful paper.  I just used one sheet for this card.  The green floral is the other side to the main floral front.  My little flowers are from scrap of the same sheet.  I love putting all everything to work.

Have a creative day!

Moana

Tiny Thank You

Spending the morning with my husband took first place today.  So, blogging had to happen later on in the morning.  Works great for me, during the summer that is.

Tiny Thank You

I didn’t know where to start this morning, so I turned to my scrap pile.  You know, those extra bits of paper that are too big to toss and haven’t filed back into the paper files.  Well, there was this piece of bermuda bay measuring 5×6 that was calling to me.  I did the math and ended up using my scoreboard to make this cute little carton.  Simple division is a beautiful thing, did I just say that?  Yup!

Tiny Thank You

This carton is big enough to fill with plenty of treats or even a nail polish or two.  Sometimes it is fun to say thank you in a different way.  I do have a weakness for cute little boxes and bags.

Tiny Thank You

How about the washi tape though!  I did all of my scores first and then got the tape out.  I put it down on an angle leaving about 3/4″ between pieces.  I didn’t measure, just eyeballed it.  From a distance it looks like striped paper with blue stripes over the top.  Fun look.

Banner punches went to work on the adorable sentiment tag.  Using bakers twine was the only thing tiny enough to work well.  All in all, I do love this little guy. Now, who to share it with…

Have a creative day!

Moana

Love You My Friend

In the middle of cleaning out book shelves I had an idea for a card.  So I went to my desk, pulled out the stamps, dies and ribbon, and went back to my shelving.  This morning I just looked at them and thought, “What did I have in mind?”  Not sure, but this is what I ended up with.

Love You My Friend

I think it is funny because if you don’t read the little word love that is inside the heart cut out, the tags just say “you my friend”.  A bit basic, but really made me laugh.

Love You My Friend

All of the detail work went pretty quickly.  I started out by using the heart die cut on the whisper white paper and then ran it through the big shot to emboss it.  I thought the stamping inside the heart would be tricky to place.  Not at all.  I just eyeballed it and it was perfect!  Go figure!  The tags were simple stamping on scrap.  I do save scrap a bit too much sometimes.  But, the half inch that gets cut off when I trim down my paper works perfectly for sentiments and the banner punch.  Some might call it clutter, but I have used them so many times.

Love You My Friend

Have a creative day!

Moana

A Whole Lot of Lovely

Afternoons are good for blogging too.  Especially when you put your family first in the morning.  I do love a good routine, but sometimes you need to be flexible.

A Whole Lot of Lovely

I do try to say thank you right away, but sometimes you need a bit more.  Just like this little treat bag.  It is tiny, but is the right touch to emphasize the thank you.  I loved giving it away this morning at church.

A Whole Lot of Lovely

The new paper stacks are so fun.  This lovely floral pattern is one of many in the pack.  I do love floral paper, probably too much.  Either way, I thought the flowers on the paper matched the flowers in the hostess stamp set A Whole Lot of Lovely.  They look so nice together.

A Whole Lot of Lovely

Some stamping, a little bit of pearls, and plenty of ribbon and off we go!  Take the time to make a special thank you, it feels great to give it away!

Have a creative day!

Moana

One Big Meaning

Today is workshop day!  As much as I dislike all the rush to finish up last minute to-do’s, workshop is always fun.  I get to work with a bunch of really great ladies that love to create and do beautiful work.

One Big Meaning

I set out for a super quick project this morning and found it.  I do love how a few good punches can make magic so quickly.  It really was a grab and go kind of card.

One Big Meaning

This was made with a card front in my ever so favorite newsprint designer series paper.  It is so light and clean.  The look of newspaper without all the mess.  Partnered with a card base in sahara sand, all it needed was a simple sentiment and a bit of fluff.

One Big Meaning

I love the new thank you set, One Big Meaning.  I like having choices of how I say thank you.  A heavy dose of itty bitty flowers and basic pearls and it was nearly done.  A full bow was too much, so I opted for a simple knot instead.  When you are working with the beautiful dotted lace trim you can’t go wrong.  Great stuff!

Have a creative day!

Moana

Remarkable You

Working with great paper makes everything so much more fun.  Colored embossed paper, in such pretty colors?  Of course, why not!

Remarkable You

The project began with the new heavy weight whisper white cardstock, I love having such a heavy base, and gathered layers of stamping and more color.  The image and sentiment come from the same set, which is delicious by the way, and were stamped in black stazon.  I knew I would be water coloring, so that is the perfect ink to work with.

Remarkable You

I blended watermelon wonder with a touch of crumb cake and it turned out so nice.  I chose crumb cake because I was using linen thread and wanted to tie in the colors.  A large ribbon wasn’t going to work here.  It took too much focus away from the flower and sentiment.

Remarkable You

I think I would add a mat or two behind the flower next time, but left it alone for now.  It turned out nice, just right.  I do love a simple water color.

Have a creative day!

Moana

Timeless Elegance

Jumping in with both feet here everyone.  I managed to once again open a new pack of DSP, that I am so in love with, take out my favorite pattern and make something without guilt.  Isn’t this paper just so beautiful?

Timeless Elegance

I feel like I got into my daughters sketch book and took out drawings for a card front.  Almost a dreamy feel.   The whole pack of paper is so pretty.  One side has a hand drawn feel and the other sides are more patterned and organized.  Best of both worlds.  I also like that it isn’t just black and vanilla, but includes sahara sand for that perfect balance.  I will be buying more of this I can tell.

Timeless Elegance

To give a touch of color, even though it didn’t need it, I got out my blackberry bliss sponge dauber and did some ever so exact swirling.  It took just a few seconds to swirl around and bring in some color.  Good stuff.

Timeless Elegance

I tried to use a ribbon or something else to accessorize it, but kept pulling it off.  The paper spoke for itself on this project.  I couldn’t even do a layered tag for the sentiment.  So I used my versamark and embossing powder to put the sentiment right on the paper.   I even left the inside clean to keep the focus all on this paper.

Have a creative day!

Moana

Just For You Treat Bag Card

I started this project out completely different than it ended up.  Who doesn’t like an adventure now and again, right?

Just For You Treat Bag Card

The mini treat bag thinlits were out waiting to get to work.  I wanted to use he heart framelit and coordinating stamp.  After I pulled the paper and matching seam binding ribbon, it switched around on me.  Not a problem,

Just For You Treat Bag Card

Then I didn’t have a treat to put inside so I could give it away.  How can you give away a treat bag with no treats?  You can’t, that wouldn’t be any fun.  So I thought, does it have to hold a treat?  Why not make it an envelope and put a card to write on inside.

Just For You Treat Bag Card

Worked like a champ!  Now I have another choice with how I use this set.  Not everyone wants a treat, but something sweet to read is also yummy.  This little number will also fit inside one of our standard envelopes for mailing.  How cool is that!

A quick note on the stamp.  I stamped the image once and used the coordinating framelit.  It cut off the cool dashed boarder that I liked so well.  So I stamped it again, fussy cut it out, not my favorite activity, and layered it on dimensionals.  After I sponged everything of course.  Thought you might like that little detail.

Have a creative day!

Moana

My Dear Friend

I focused on one image for today’s project.  It initially reminded me of a Japanese maple tree as it starts to change colors.  They are so vibrant.  As I started to paint them I noticed the flowers and the leaves looking different.  I thought it was more of a shrub.  Put your glasses on, right?

My Dear Friend

I put the aqua painter to work here.  I stamped the image in cherry cobbler and brought the color in with just water.  Then I added in old olive and mixed the colors, just as the leaves would be looking.  I decided I wanted the flowers to stand out more, so I darkened the centers to bring out the detail.  I can’t believe I didn’t notice the flowers the first time.

My Dear Friend

Talk about being generous with the basic rhinestones, but I wanted all of the centers to sparkle.  Such a pretty look.  Is it over the top?  Well, if it is for a dear friend, you want it special.  The friend stamp seemed a bit lonely, so I wrote in above it using an old olive stampin’ write marker.  First try even, not bad.

My Dear Friend

There are so many new products used today.  The framelits, the embossing folder, the stamp, and they work together great!  I even got all nostalgic thinking about an old friend that I just don’t get to see anymore.  Guess I know where this one is going!

Have a creative day!

Moana

You Are So Kind

Nothing says elegance quite like a white on white greeting card.  I love how they look and how subtle their beauty is.  I am not sure this will fit into a regular envelope with all of those layers.  I think I will have to make a custom one.

You Are So Kind

I knew I wanted to use the new brick wall embossing folder, I have been so excited to get it.  I also knew I wanted to use both sets of butterflies dies.  I just didn’t know for sure how to fit them all together nicely.  They ended up all layered together, all five of them.

You Are So Kind

I only used one stamp from the watercolor wings set for the sentiment.  I haven’t let myself play with all of the other stamps.  I do try to budget how much time I give to my craft each day, otherwise nothing else would get done.

You Are So Kind

I used the bitty banner punch to give me banner ends on my sentiment and layered everyone up with dimensionals.  I glued my butterfly layers together using tombo and put the final butterfly object on dimensionals as well.  I finished it off with basic rhinestones, a string of nine for the body, and a scattering along the left side and bottom.  Just right.

Have a creative day!

Moana

Trust God

So much has happened during the last week, even as I write in advance for this blog, I know my heart is both heavy and full at the same time.

Trust God

Taking yet another child to university is so exciting, but reminds me of how little time we actually have with these children and how soon they grow up and leave home.  Luckily, I still have a few more years with my youngest.

Trust God

Then partnering that event with a demanding and fulfilling pioneer trek has surely put me over the edge.  But in a good way.  Even though it was surely to be physically and emotionally difficult, I have complete faith that I loved it and will treasure it always.

Trust God

I created this set knowing how I would be feeling, and knew there would be a lot on my mind.  The flowering flourishes has been one of my favorite stamp sets for a very long time.  The results it gives are always different and very beautiful.  This color combination is soft yet ornate at the same time.  I wasn’t sure about layering the stamps over each other, but these colors allowed it.  I hope you have enjoyed it as I did.

Have a beautiful, and very creative day.

Moana