Corner Garden Bliss

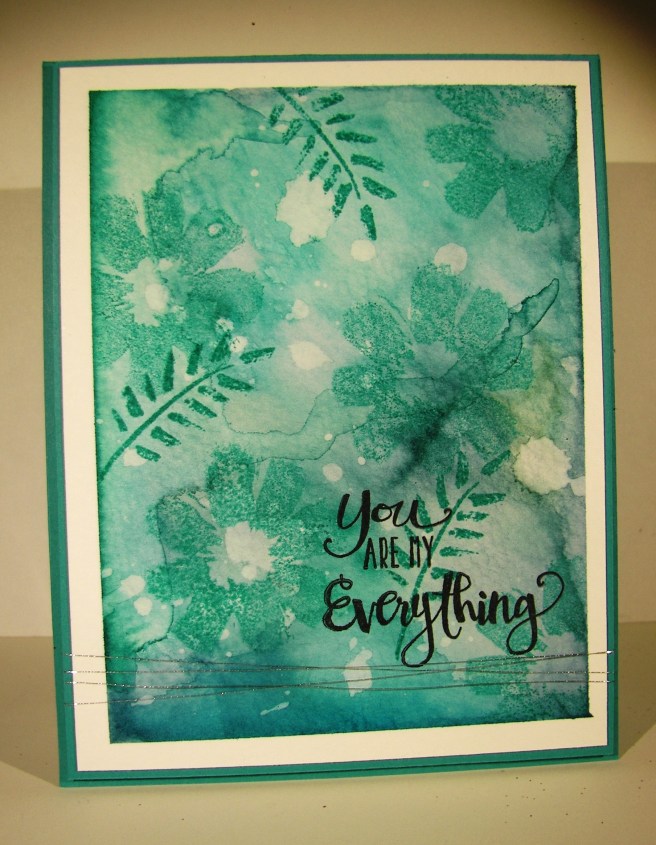
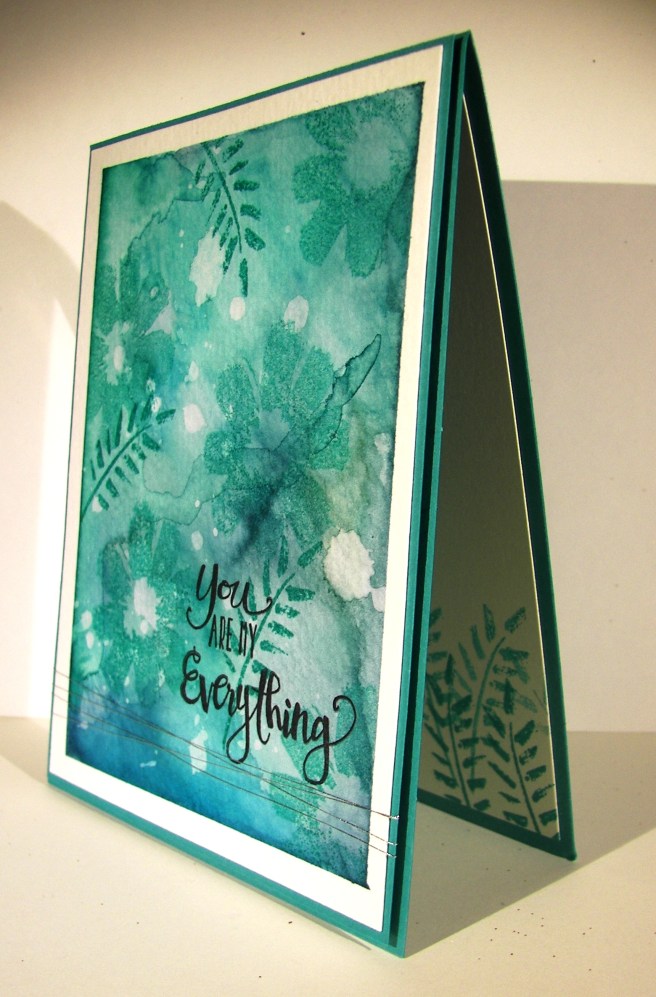
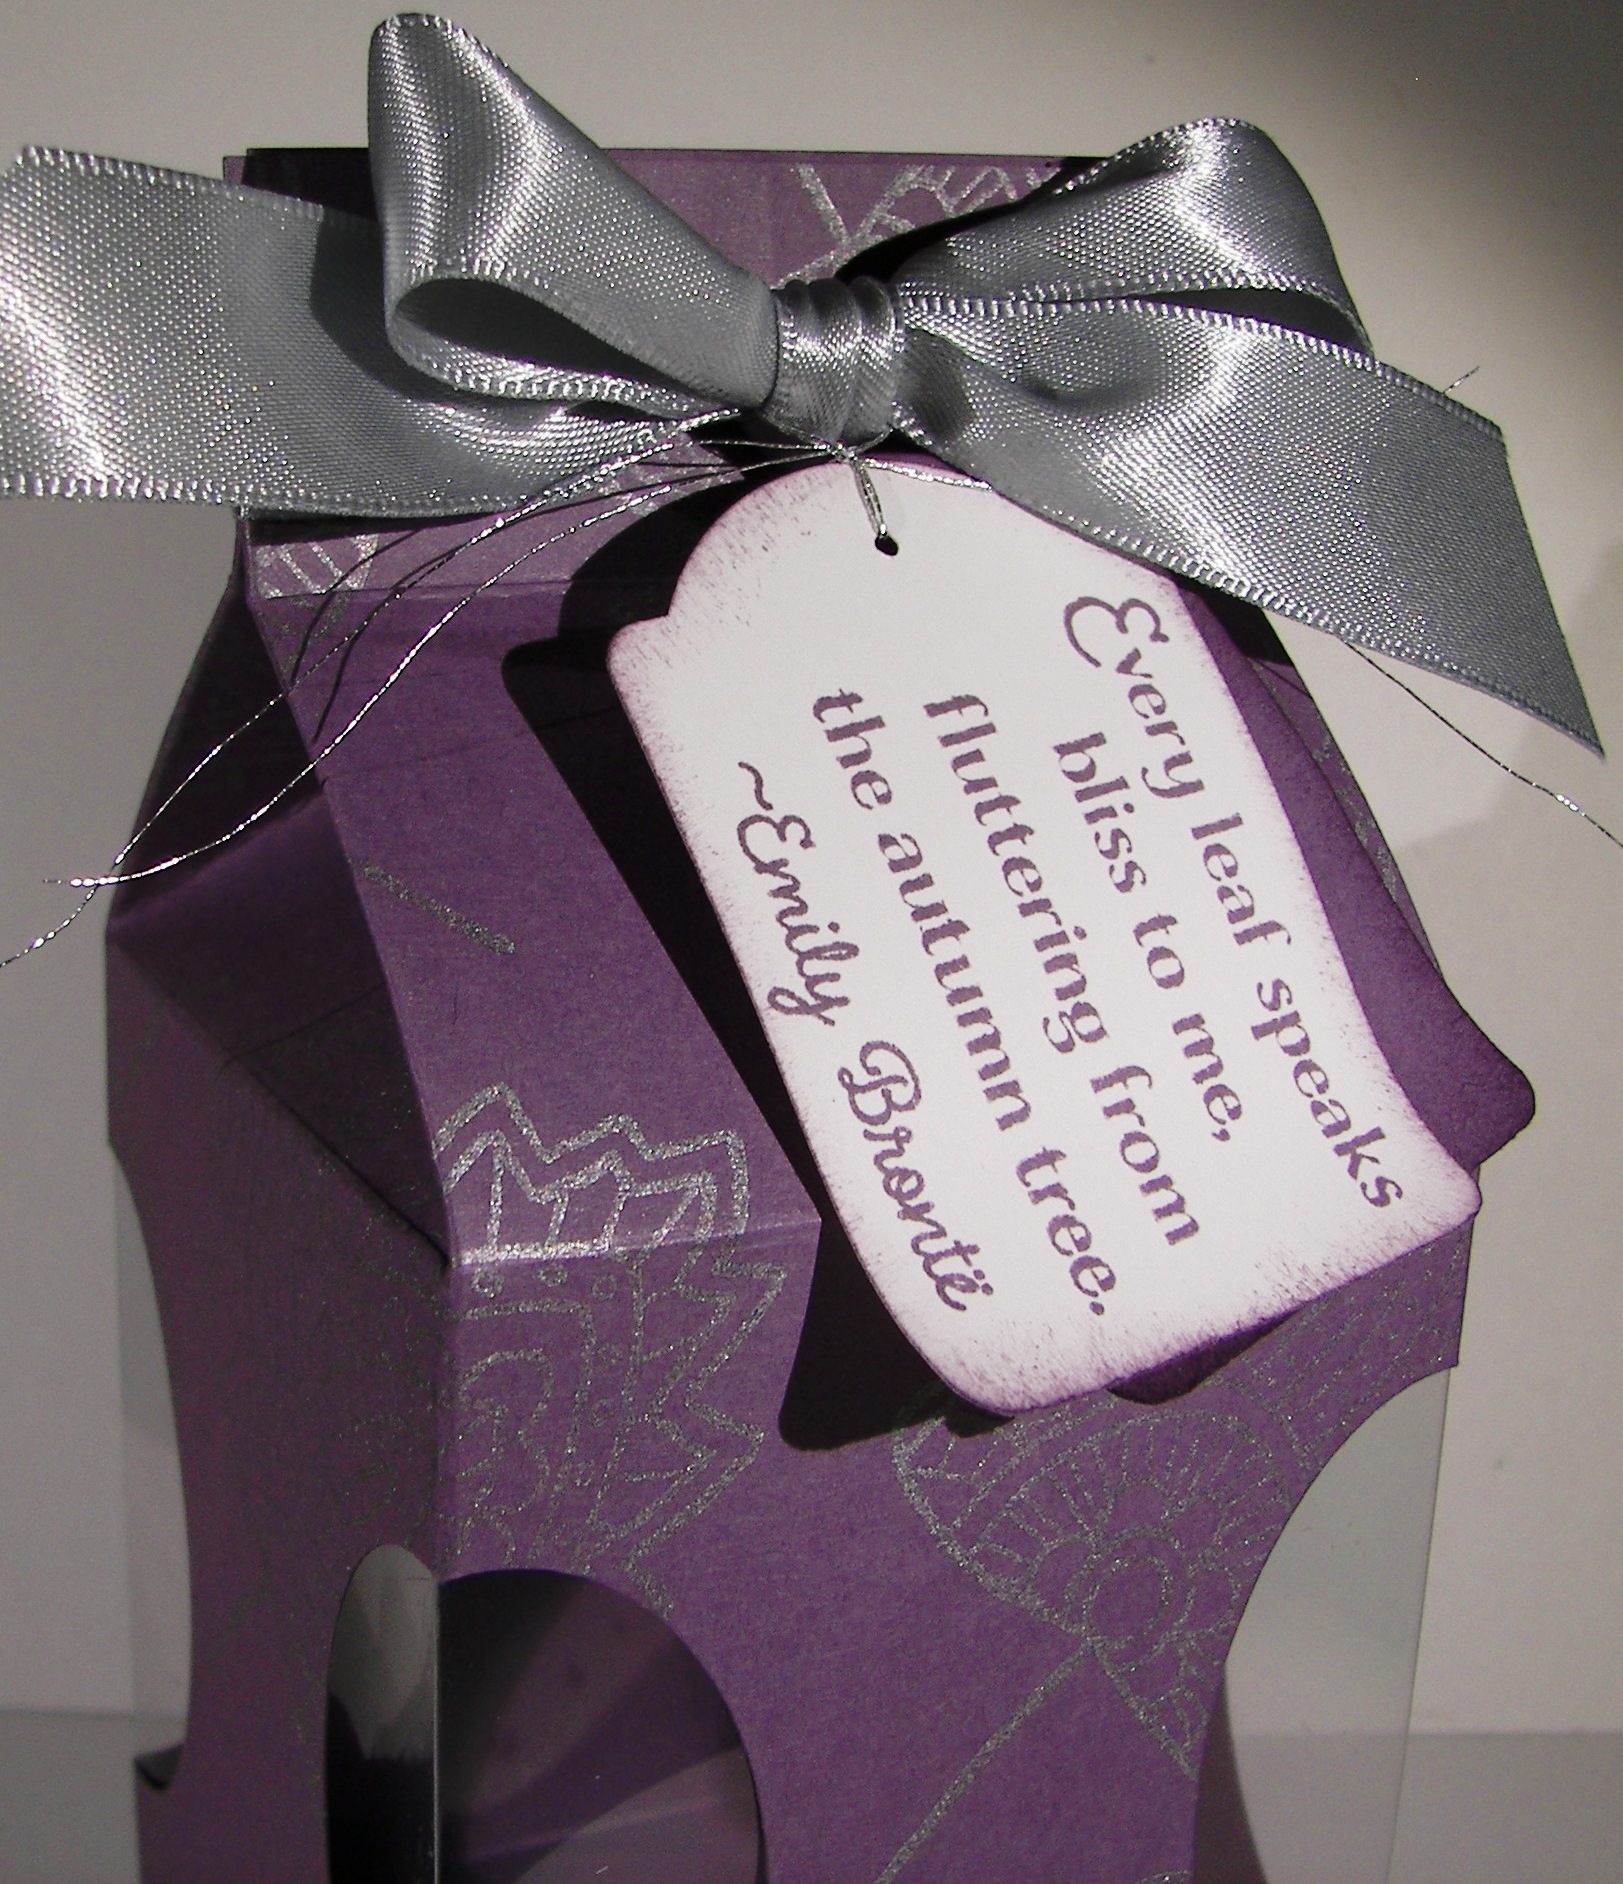
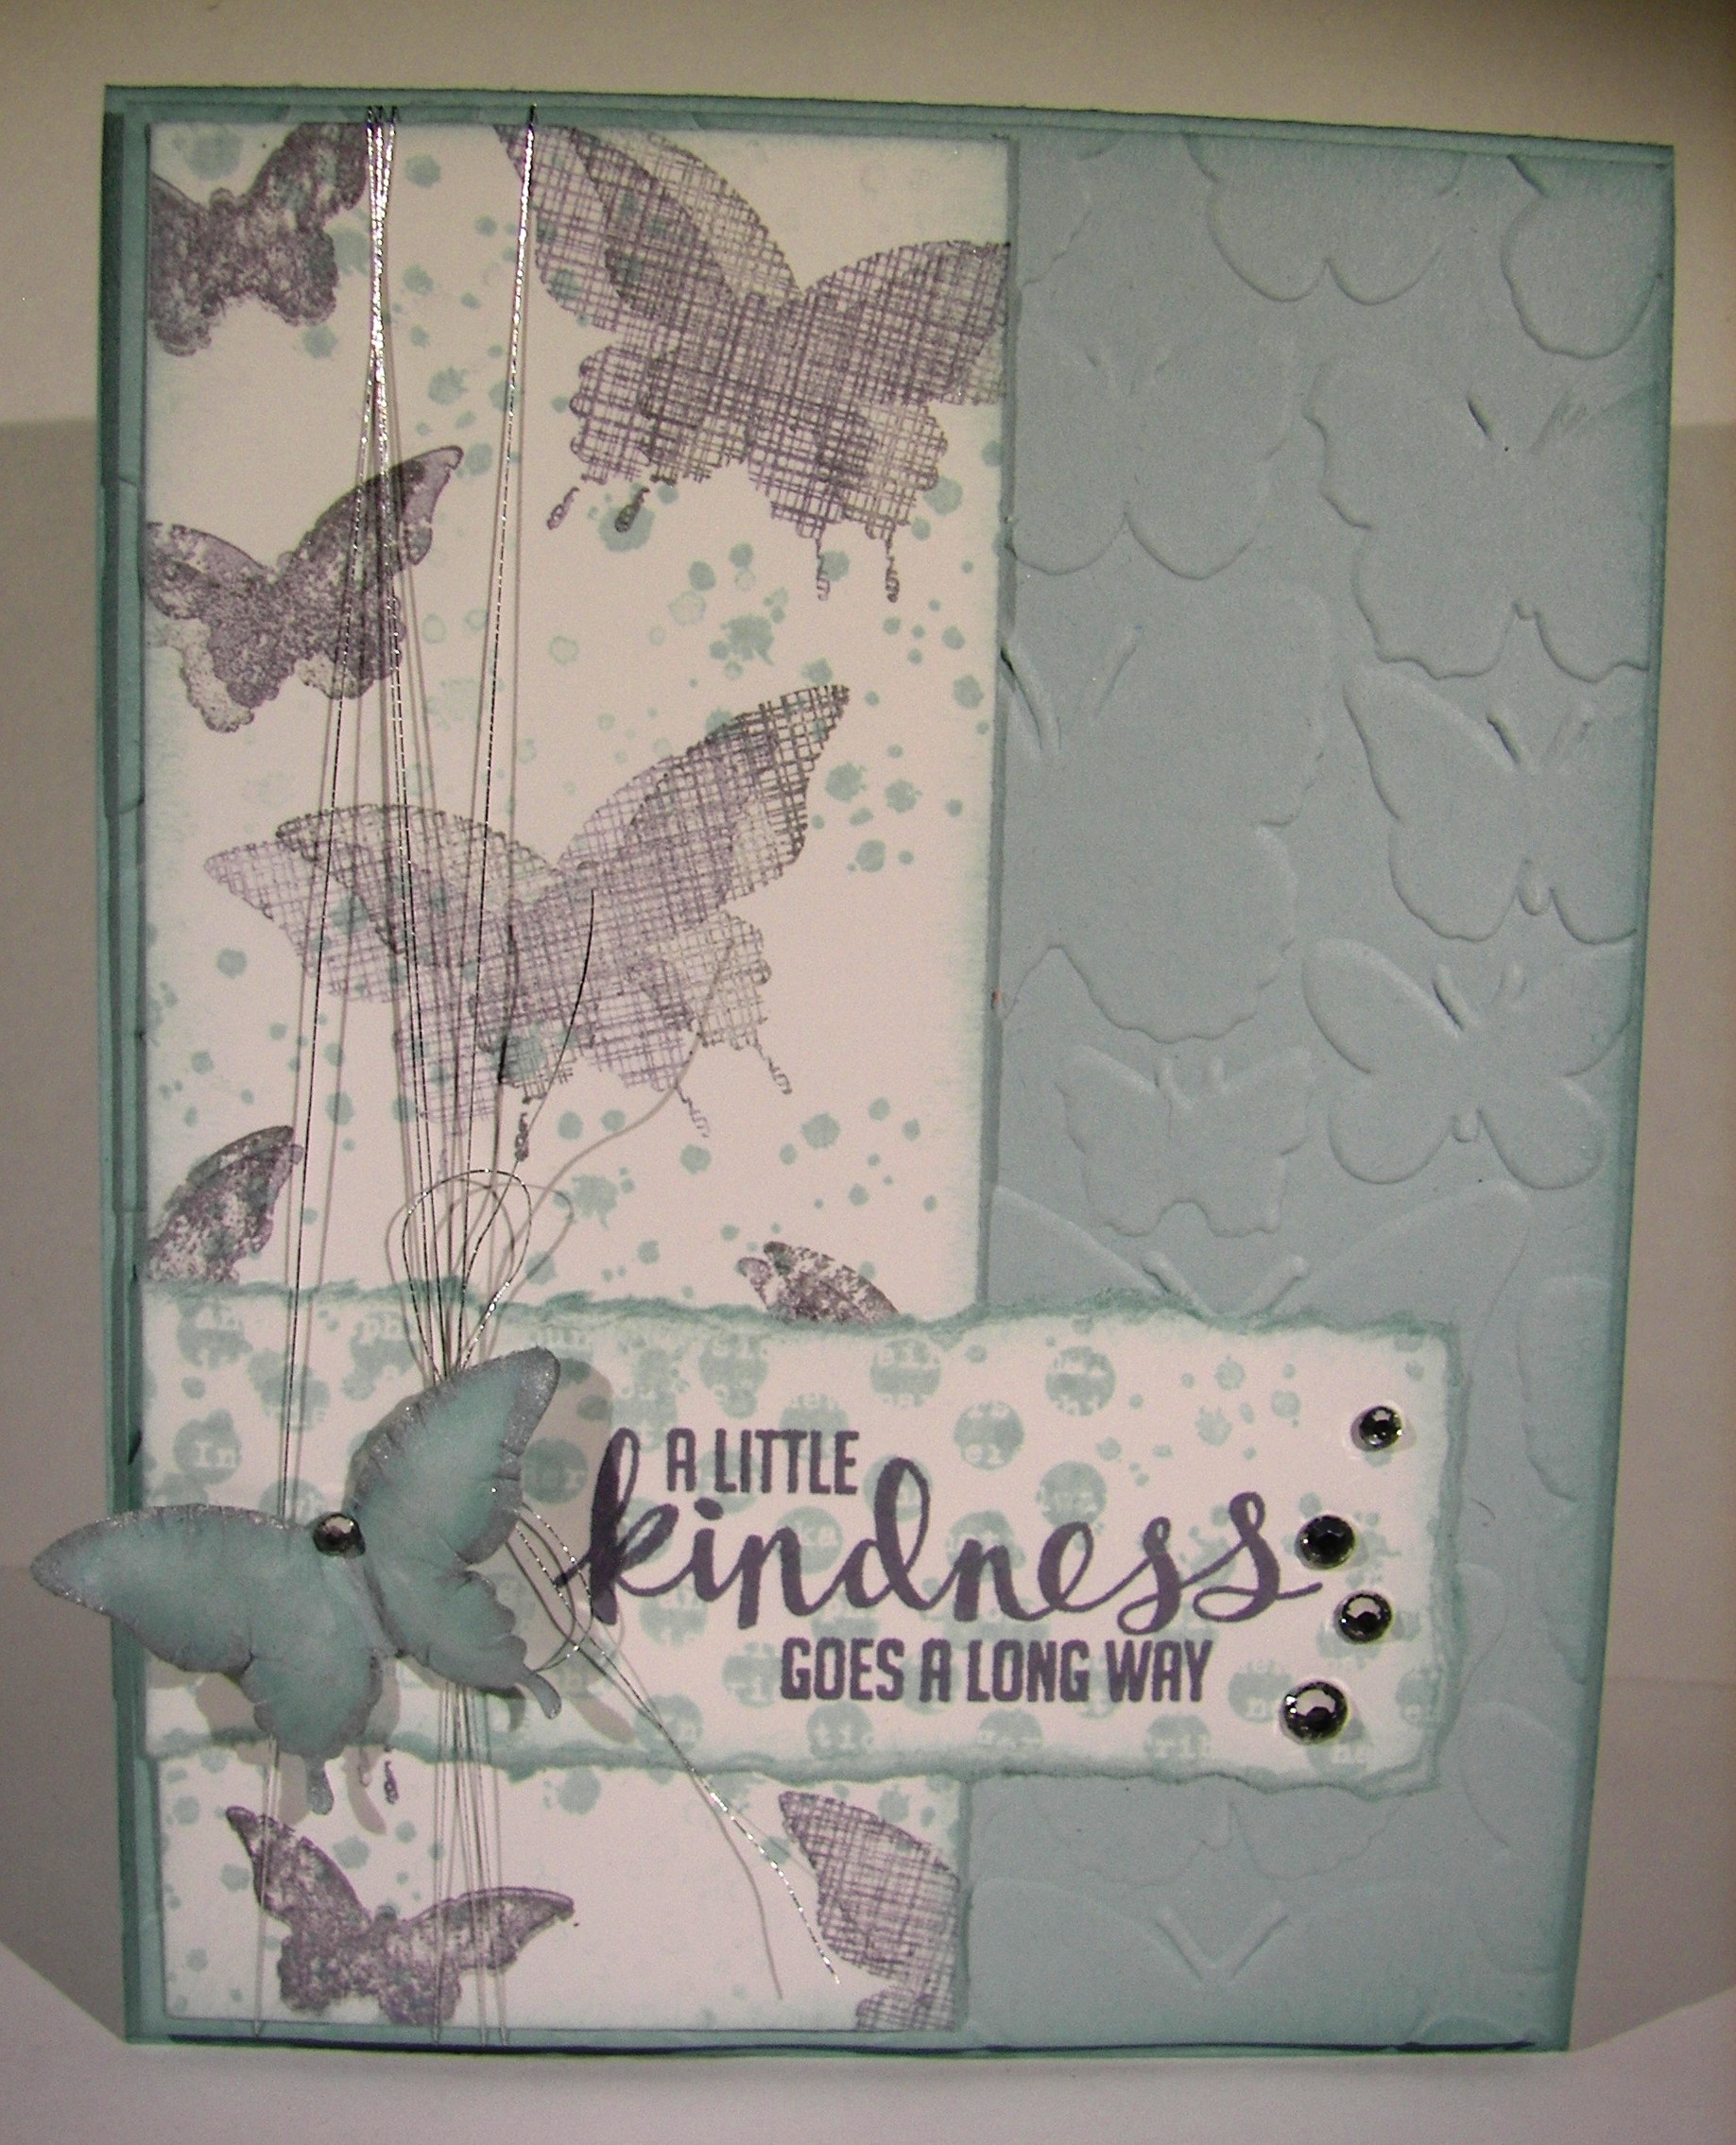
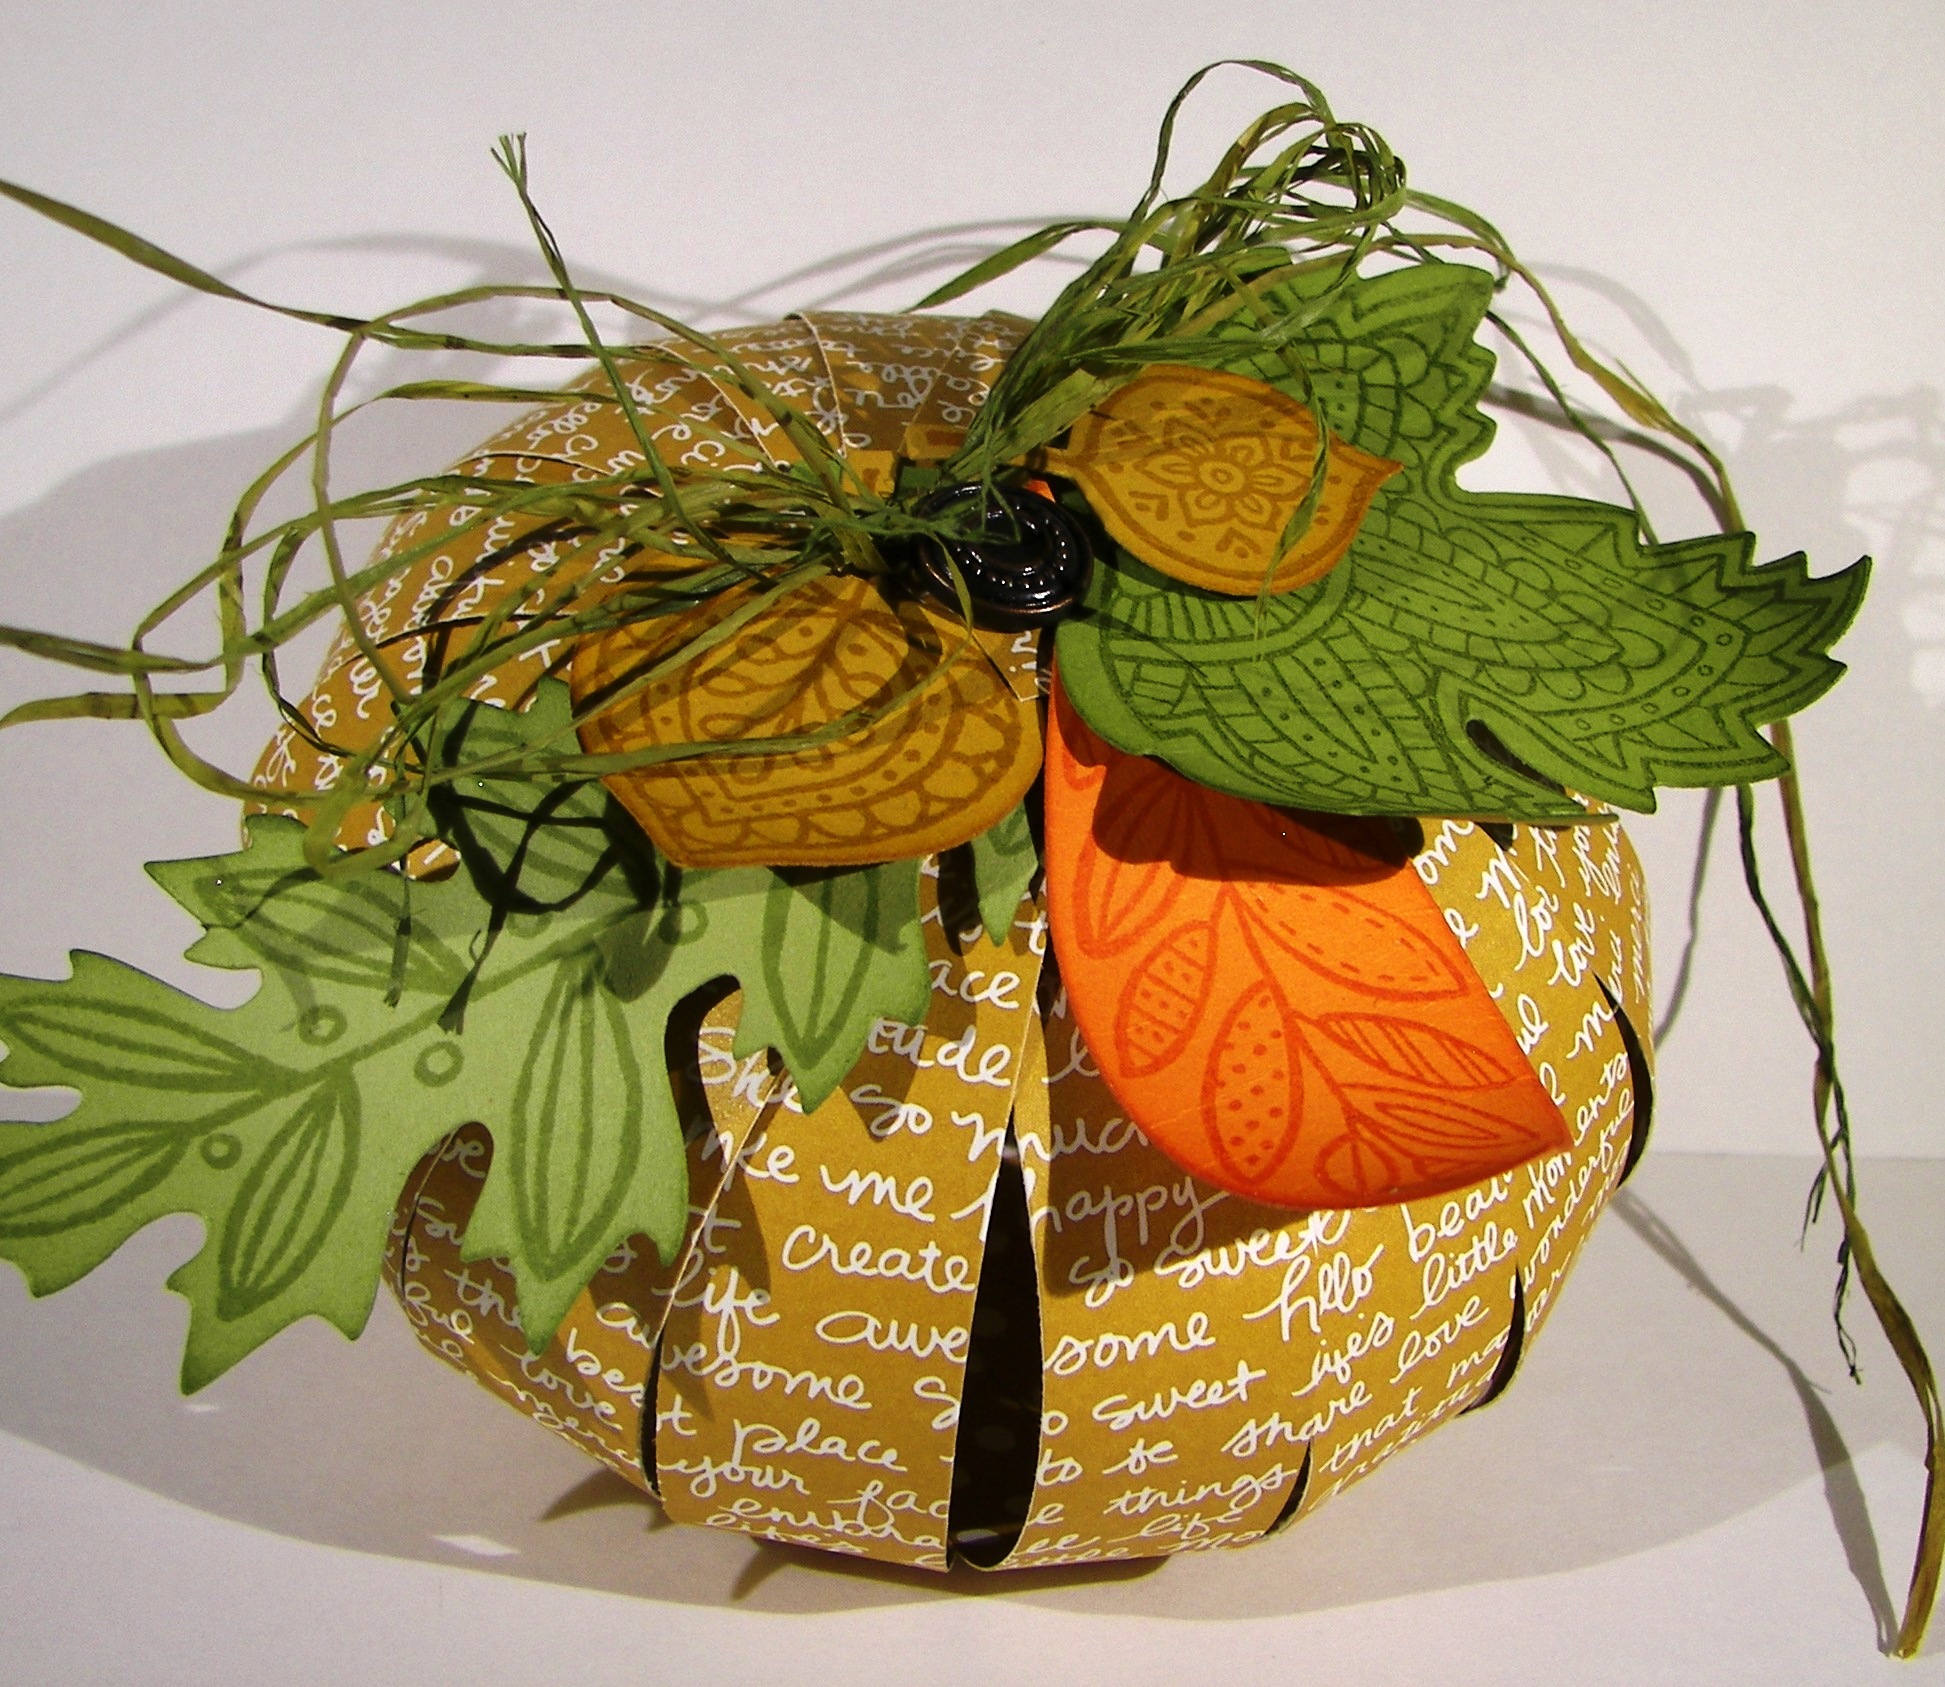
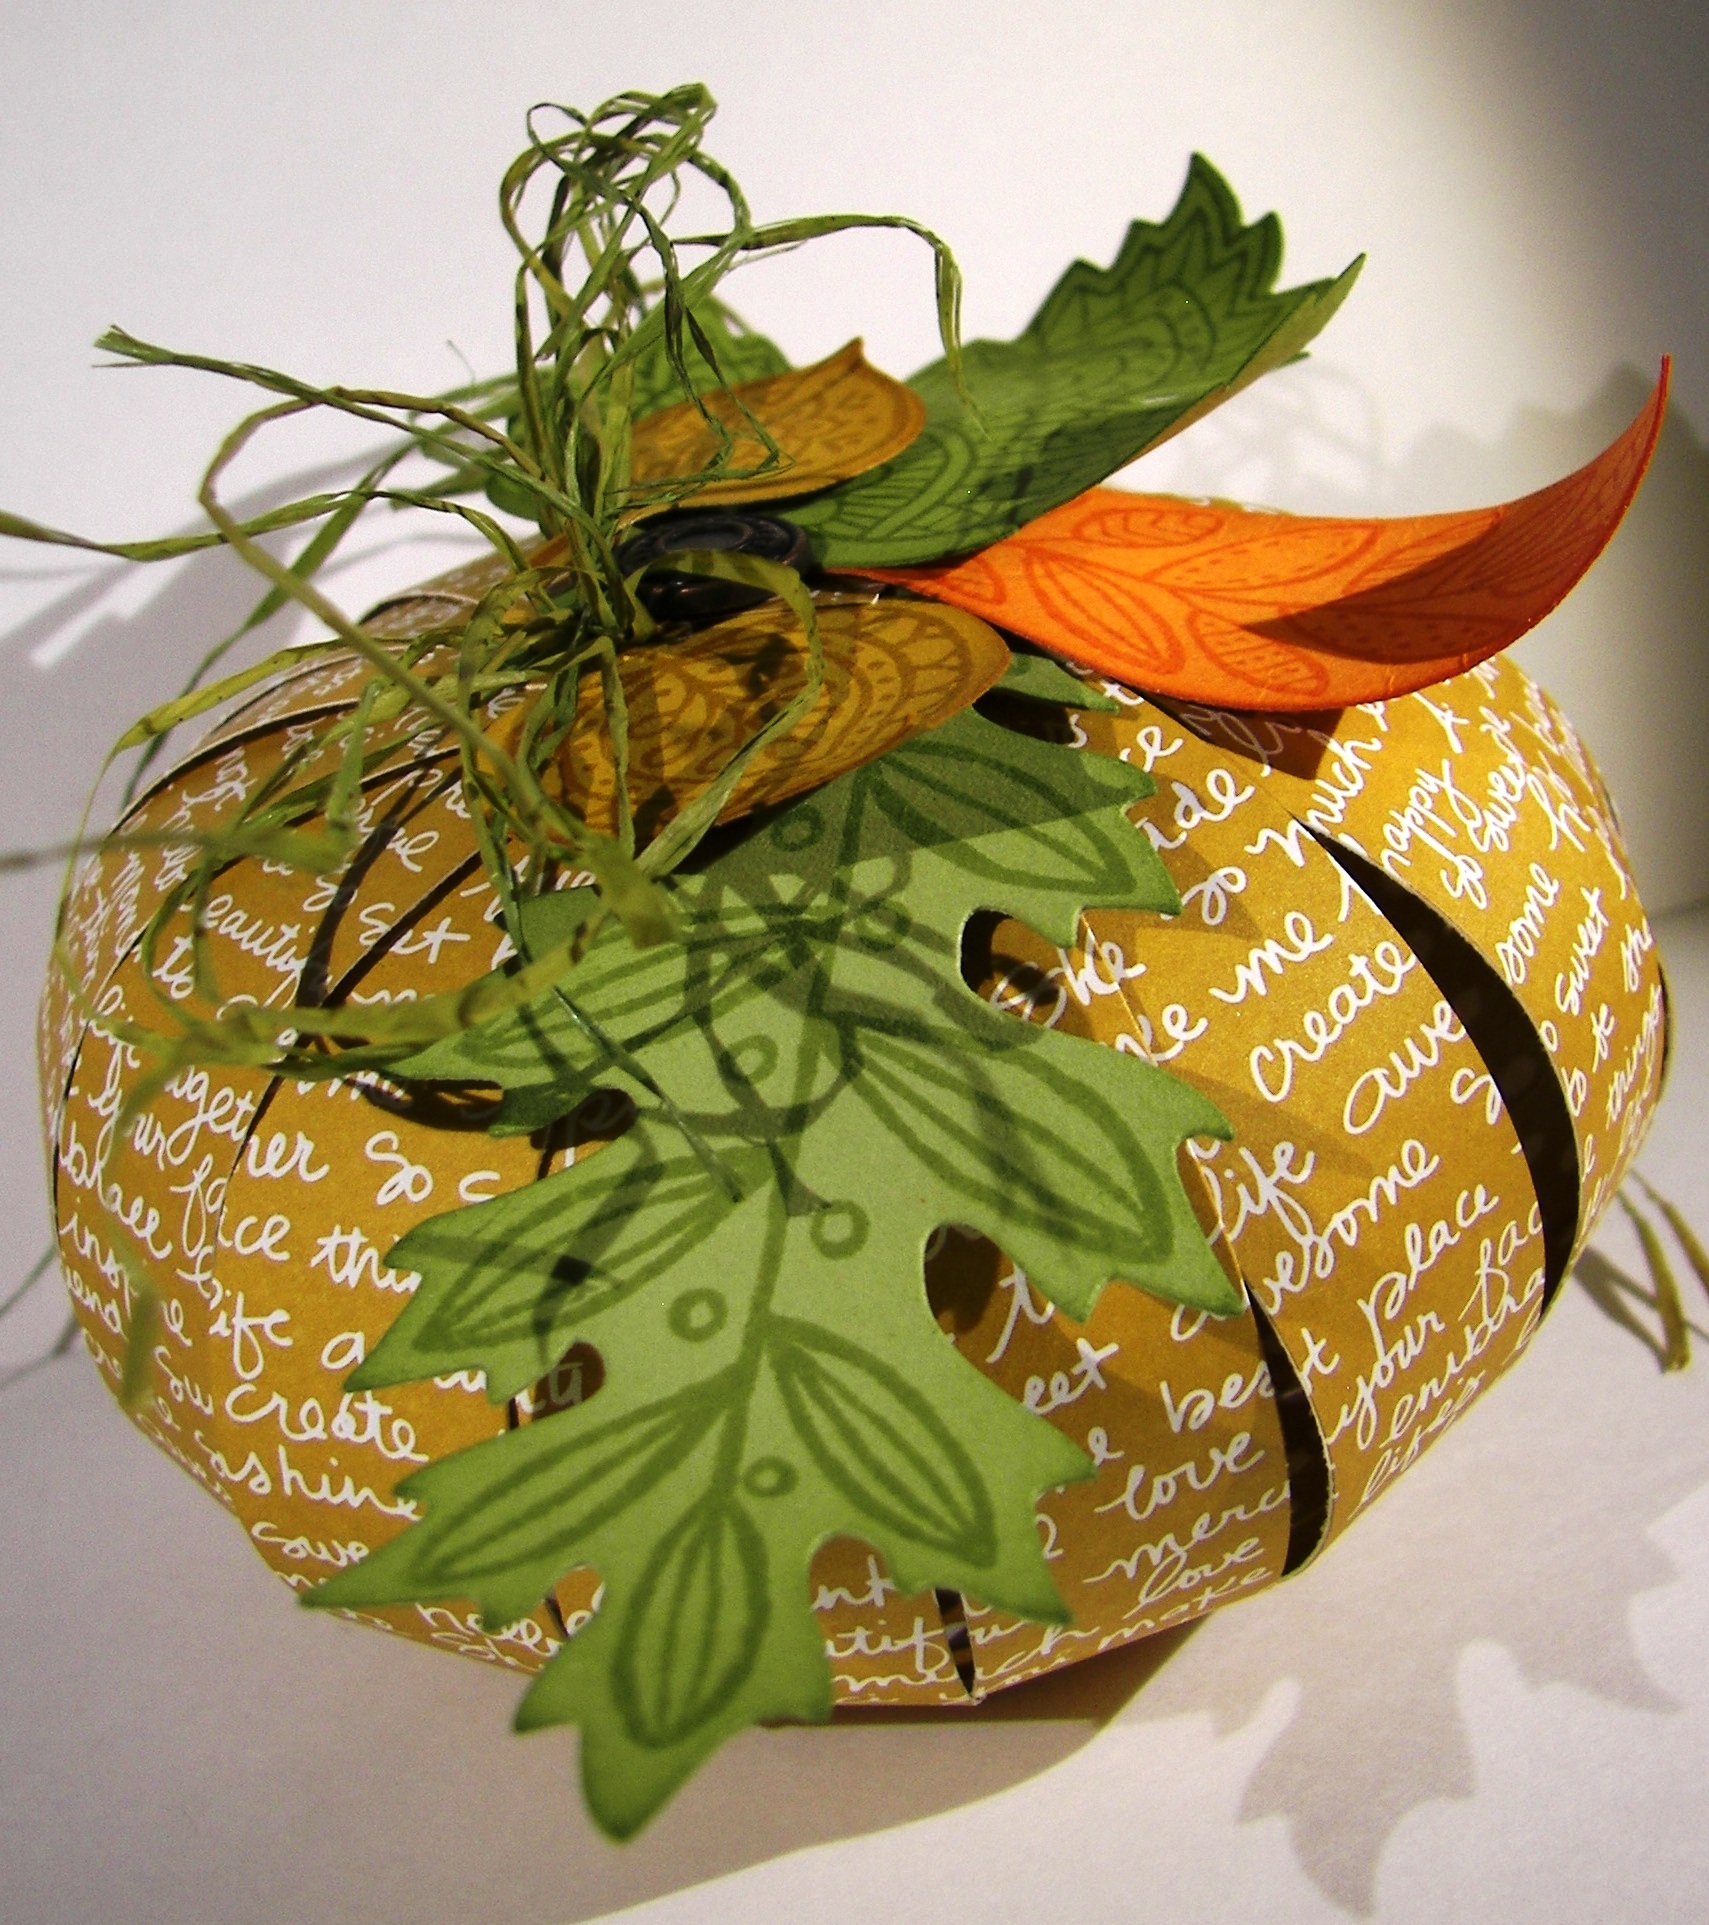
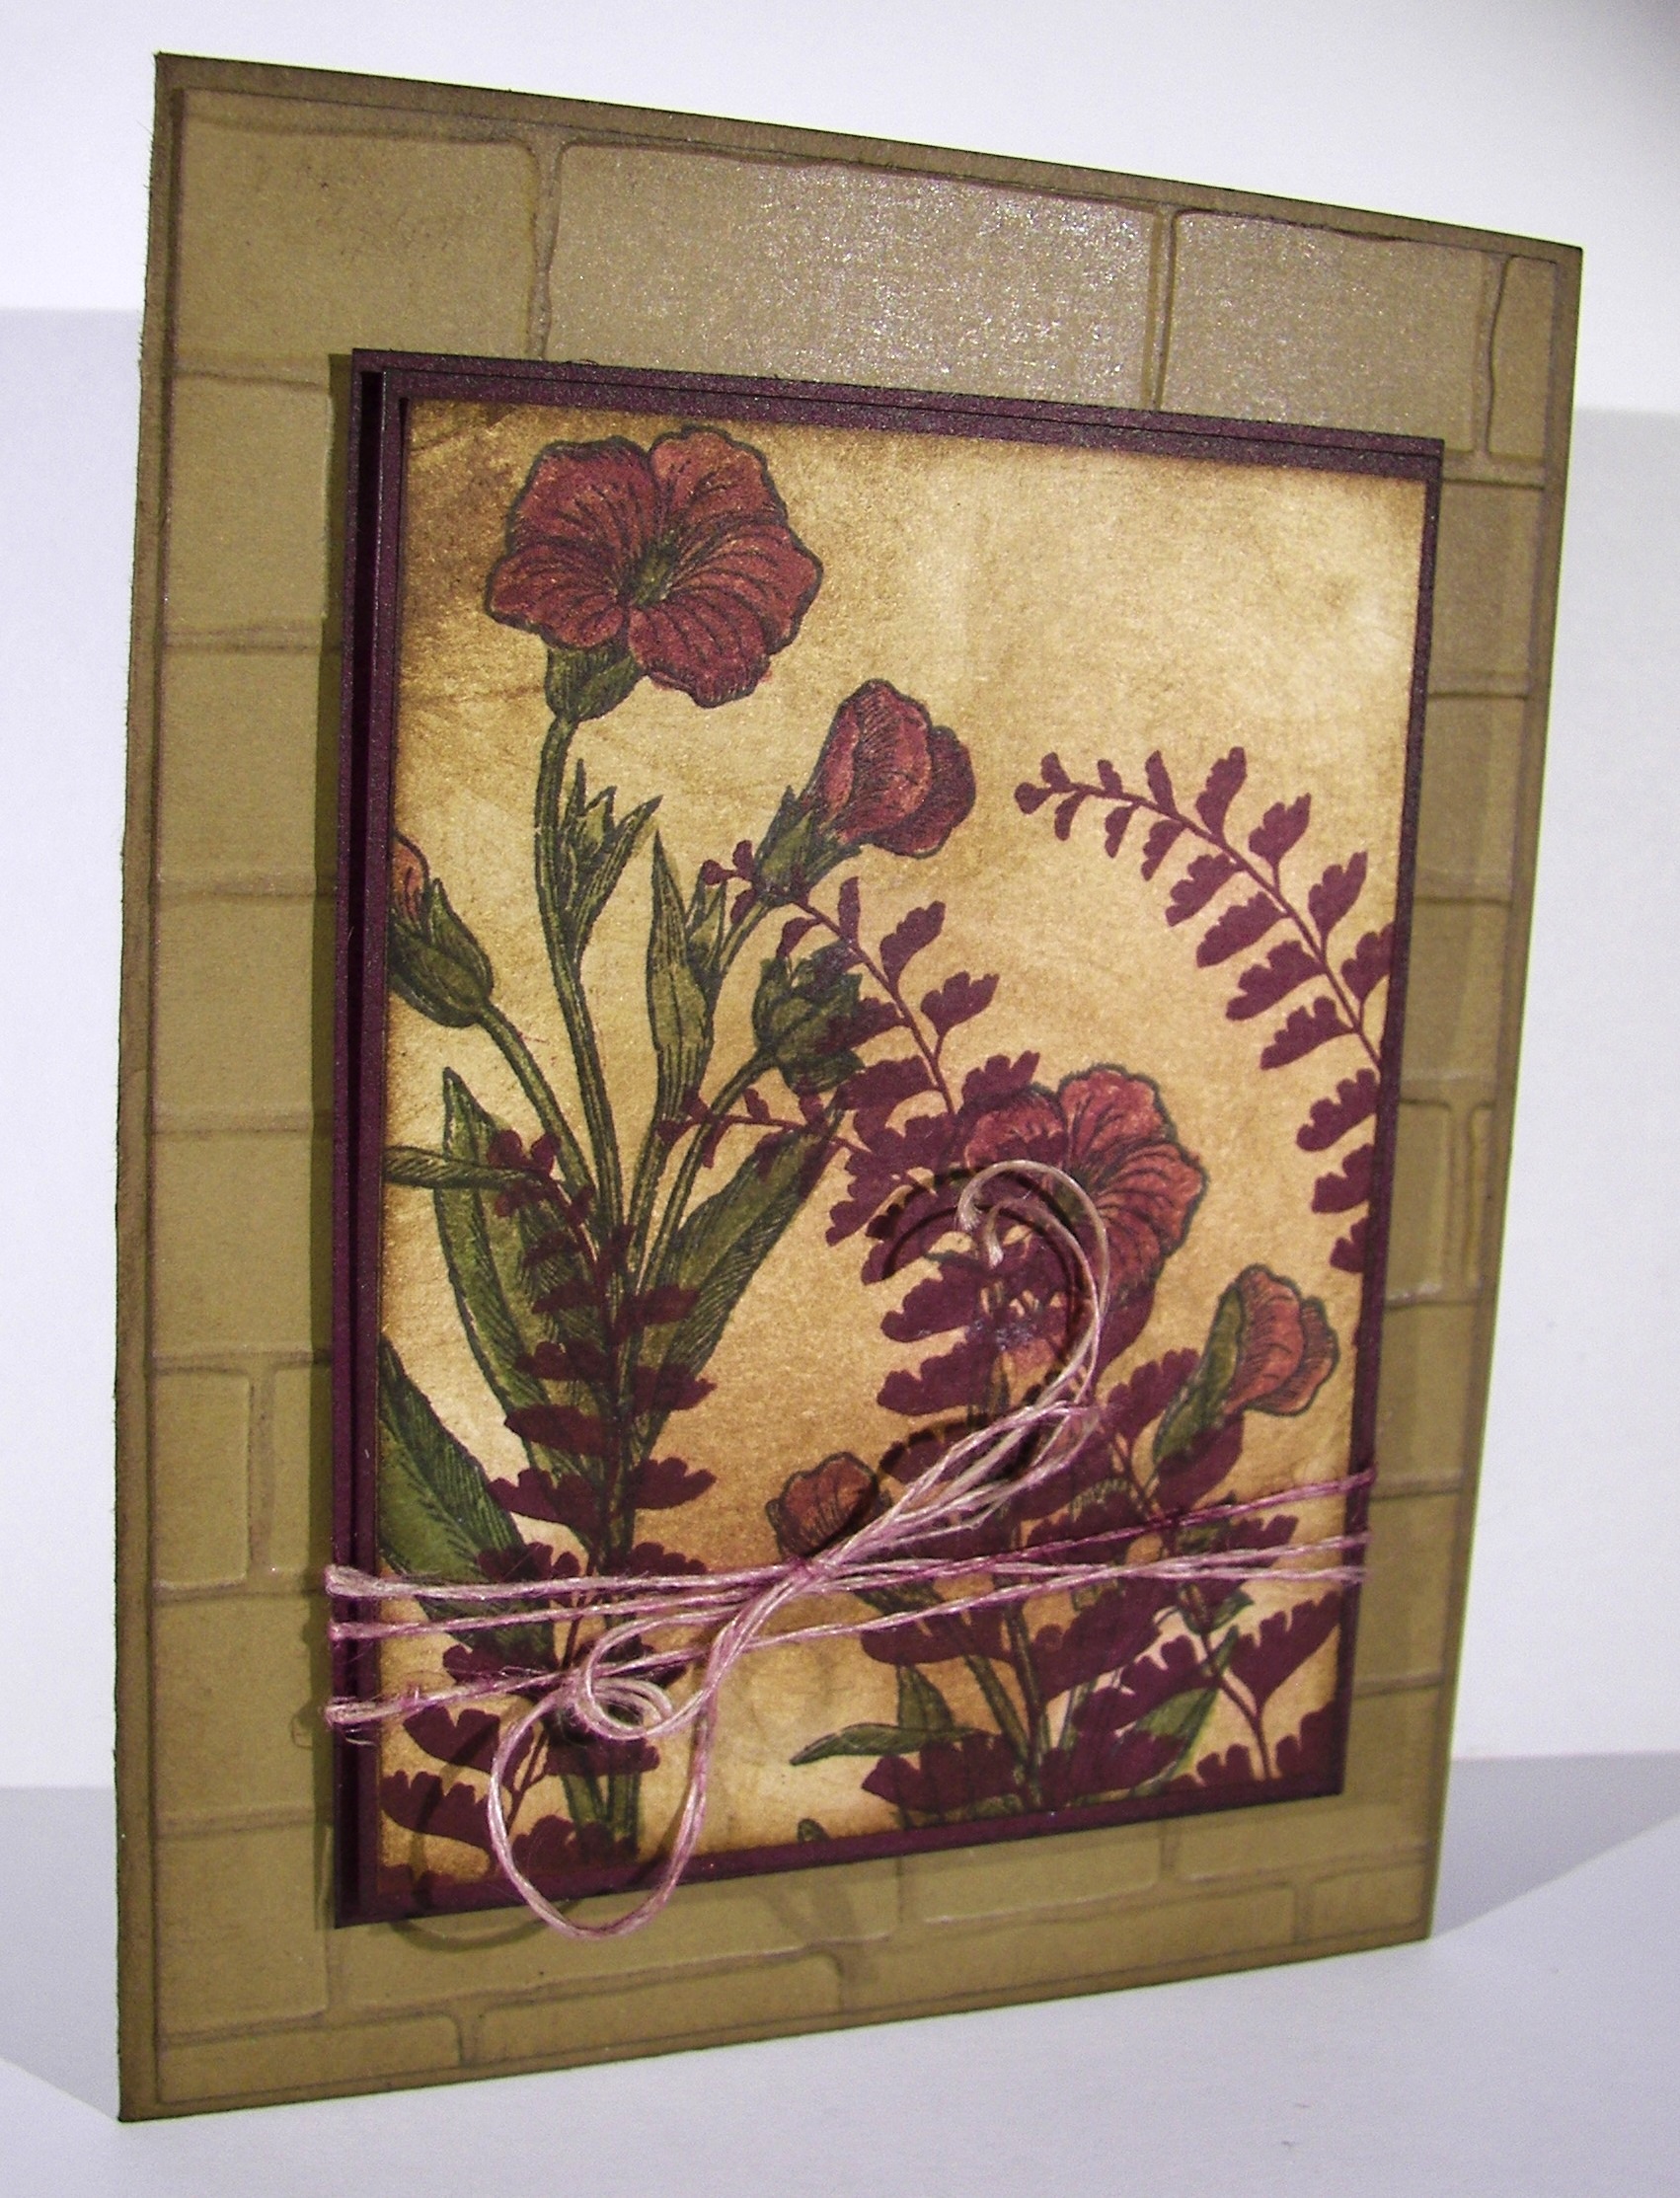
As another catalog year comes to a close I have to be brave and say goodbye to the things that I have loved so much.  This card has so much of that in it.  The stamp, and three of the colors.  A very sad farewell indeed.

5-5

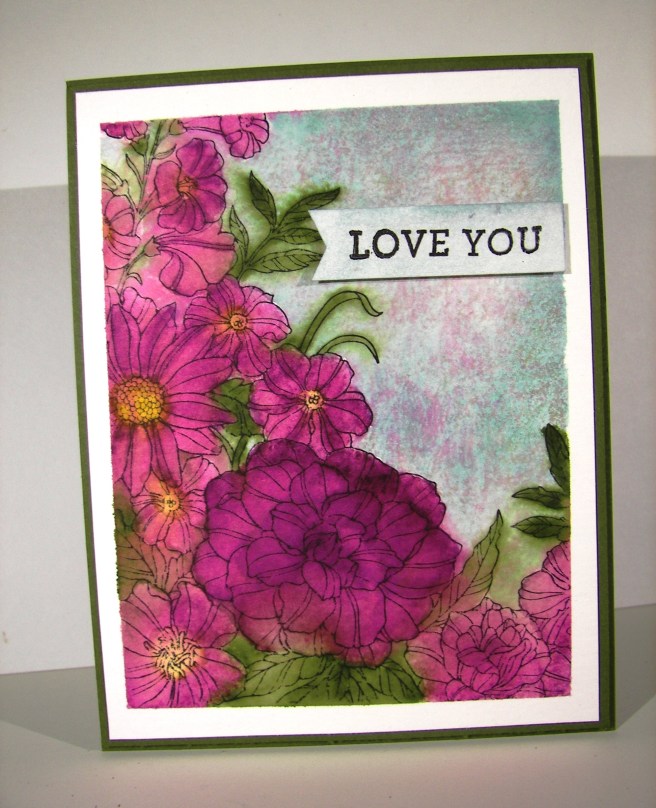
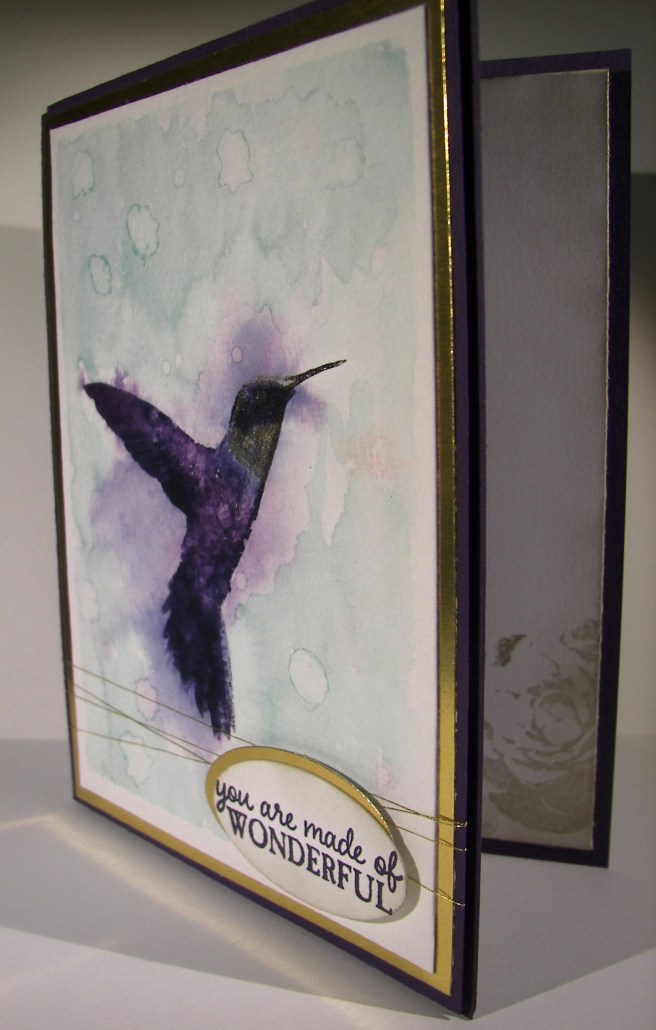
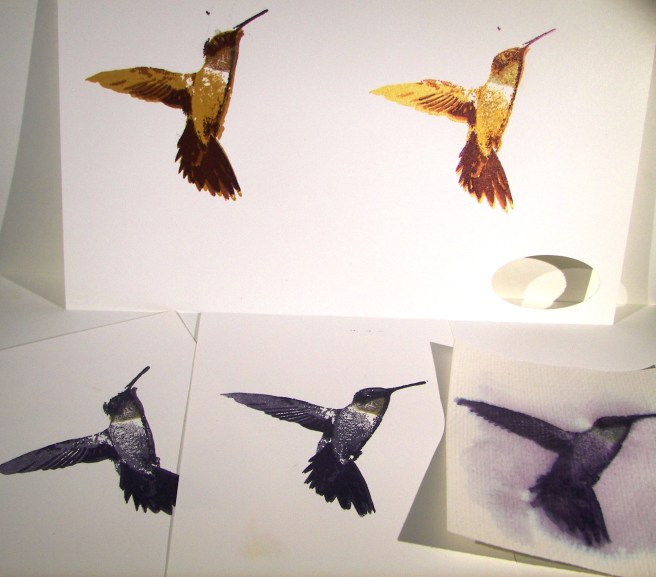
I masked a piece of water color paper and stamped the floral image in black stazon ink.  I have loved this stamp so much.  I do think it will stay with me even when it isn’t available to purchase.  The only color I wanted for the flower petals was blackberry bliss.  So, that meant some had more color than others and they all got special treatment to make them look unique but coordinated.

Before I painted the leafs and stems I applied the soft sky background.  I knew that mossy meadow would cover easily and I still wanted to allow it to blend out a bit.  It worked like a charm.  The flower centers were painted in hello honey and allowed to blend out a bit into the flower.  After the painting was done I  just stared at it wondering how I wanted to distress it.  I didn’t want splatters or spots, but didn’t want to leave it either.

I decided to use a spritzer and water.  Several sprays later I started to like what I was seeing. I did some sponging with a paper towel to lift off some color, then a neat thing happened. I took my damp, inky paper towel and sponged from the bottom to the top which brought a very light amount of blackberry bliss with it.  It looked pretty great so I went with it.  I bet I couldn’t recreate it though, but I will most certainly try.

5-5 (1)

Have a creative day!

Moana

City By the Bay

Wouldn’t you love a view of the city like this?  Well, my view is a whole lot more country, but I would one day love to be able to enjoy one like this.  I might have to settle for occasional holiday trips, but it would still be wonderful.

4-30

I put quite a bit of planning into this project.  I had to think backwards in order to keep the layers straight.  I embossed my whisper white piece with elegant dots and used the recessed side to make my ‘wall’.  I inked up my sponge and just pounced in here and there to create this look.  I kept going until it looked more like a textured wall than a piece of embossed paper.  The edges got sponged.

The hearth and home thinlit of the window was used twice.  Once to create the hole in the wall and again to make the window frame.  I glued the white one to the tip top taupe one with tombo liquid glue and nestled it back into place with the card front.  That way it looked raised up without a lot of fuss.

The skyline was created with the calling all heroes set.  It was stamped with black stazon onto water color paper.  The texture of the paper made it look really neat.  I went to work on the water line and then moved up to the sunset.  The windows were colored in with gold wink of stella, even though you can’t tell as much, they do sparkle.  That was centered in the window and got a heavy dose of dimensionals.  I am sure I could have worked it out easier if I had thought a bit more, but sometimes a creative journey takes a few extra turns.

4-30 (1)

Have a creative day!

Moana

Tap Tap Tap into Retirement

Well, it has begun.  The retirement list has been published and I can start getting sad over some of my favorites.  This has been one of them.  I love the images, but really love the little tap tap tap tap stamp.  It is so adorable.  Some stamp sets I just keep because they make me smile, and I love to smile almost as much as making someone else smile.

4-20

This project was created with a few techniques.  I stamped my little typewriter  in cajun craze first, then did a bunch of stamping all around the base image with almost artichoke first and then moved on to delightful dijon.

When that was done I got out my sponge and went at the edges.  I aged the entire background by swirling around and around focusing on the edges to make them darker.  I added a little extra sponging around the edge to really darken it up.  I did the same on the inside, but left the center light for easy writing.

4-20 (2)

I stamped my front piece with cajun craze and then sponged in three different areas to keep the colors blended, but still very separate.  I fussy cut it, layered it to some more card stock, sponged that too and put it up on dimensionals.  I did a single wrap of striped cotton ribbon sticking it down with glue dots on the front and back.  The background piece was placed on another sheet of card stock with a tiny border and then layered it up again on even more dimensionals.  Love those guys, they make me so happy.

I don’t normally show the entire inside of a card, but it turned out so awesome that I had to. I thought it was nice enough it could be a card front all by itself.  Not today, but I gave an extra peek just for fun.

4-20 (1)

Have a creative day!

Moana

You Are My Everything

There are days when I really don’t know what I want to make, but that isn’t today and it shows.  When I know who I am creating for it shines through.  The awesome extra free stamp set in this months paper pumpkin kit had the stamps I had to use.  How beautiful are they?  Well, I will be using them excessively I am sure.

4-17

I knew I wanted to make a card for my husband with the two stamps  that share the phrase ‘You Are My Everything’.  It couldn’t be more perfect.  Once I knew that I knew the color pallet I needed and the medium as well.  Blues and water coloring are the perfect combination for him.

The technique of water coloring really doesn’t have a lot of guidelines.  I do start with a wet masked surface.  Then I begin to add and take away color, dry and wet again sprinkle and dab, and color all over again.  It is more of keep going til you get the results you want than a step by step process.  So much fun, really.

Then I stamped the large flower in bermuda bay, once stamped off first, here and there.  I added a fern stamp a few times, full strength not stamped off.  Then finished with the two stamps that make the sentiment.  I did a little echo stamping to coordinate the inside with the card front.  To complete the project I layered the art onto another piece of bermuda bay card stock and wrapped it several times in silver metallic thread.  Then up on dimensionals for a little extra style and sit back to enjoy the view.  I do love this card.  I think it looks like a beautiful batik fabric I would love to own and sew with.

4-17 (1)

Have a creative day.

Moana

Floral Tone on Tone

Pretty, pretty, and just so pretty.  That is what comes to mind here.  My husband thought it looked a little tropical with the white outline, I am really loving this card.  While driving back from an ice cream run last night the idea came to me.  There is no inspiration connection here, just a great idea.

4-14

The image was stamped in versa mark ink on watermelon wonder cardstock instead of white or water color paper.  Different for me, but it worked out well.  I embossed with white embossing powder and water colored in the flowers.  Pretty easy and such a nice effect.  I layered it in white to bring out the outline and wrapped it in some of the most beautiful ribbon I have.  Yummy!

4-14 (1)

Have a creative day!

Moana

Hey Dude, Get Well

Making a custom card can be fun, difficult and frustrating all at the same time.  Masculine cards are an interesting creature to say the least.  It doesn’t have to be covered in metal, fire or tools to have the masculine touch you are looking for, but flowers will just not work obviously.

3-1

I used some stamps from two different Paper Pumpkin sets to give me the phrase combination I wanted.  How perfect is the word ‘Dude’.  It works equally well for both depending on the recipient, but is fantastic for a masculine theme.

I decided to create a grungy water color look instead of searching through paper, background stamps, or anything else.  That way I had control of the look and feel and could stop when it looked just right.  I spent quite a bit of time adding, sponging away, adding, drying and repeating it all.  Now I love it so much I don’t want to give it away.  It was a special request though, so it will get to be signed by a school staff and delivered this afternoon.  Good thing I have photos, because this one is going to get created again.

3-1 (1)

Have a creative day!

Moana

Picture Perfect Hummingbird

Is it possible to be defeated by a stamp set?  It was surely happening with this project.  I decided to tackle a four step stamp, yes, this innocent looking hummingbird.  I took a photo of my study series, or my path of frustration to say the least.

2-27 (1)

I am much more used to sitting down, getting out whatever I want, and having it turn out pretty darn amazing.  This was not to be the case.  However, if I was to come across 3-D glasses, I might have had more fun.  My first two attempts obviously were poor color choices.  The hummingbird I had in mind was not going to come together.

I changed to monochromatic thinking that might help.  It did some, and I improved, but was still unhappy.  Keeping this guy all lined up, even being able to see through the stamp, was proving harder than anticipated.  I switched to water color paper and played some more.  I gave it one more try, with elegant eggplant, night of navy, gold, and black stazon.

Stamp one was in elegant eggplant, stamp two in gold (the little neck), stamp three was done in night of navy, and the final stamp (which included the beak) was done in black stazon.  I got to work with my aqua painter for the background wash, in soft sky, and then added coloring to the bird.  It got out of control fairly quick and I thought I was done for sure.  I was being so careful, so I thought.  I ended up putting a thick layer of paper towels over the image to seep up the crazy color mess.  When I peeled it away I got a little hope, it didn’t look so impossible.

When I had finished I fell in love with it.  I am not sure if I could duplicate it, because of all of the water color layering effects, but I won’t be scared to try.  It is such a pretty image and I love it in water color.  Especially with the gold ink and the wink of stella added in.

2-27 (2)

Have a creative day!

Moana

Thoughts & Prayers Raining Down

This is the lovely view I have had all this past week.  It has been so wonderful to enjoy the cool cloudy days filled with light rain.  It makes everything look bright and clean, and the smell is wonderful.

Thoughts & Prayers Raining Down

I stamped my image first and washed the paper with plain water.  I then proceeded to layer on my ink until it was dark on the top and the right layer of light on the bottom.  I continued dabbing my brush along the top pointing down for ink to kind of fall down.  It started to look more and more like rain.  I finished it off with spritzing water, allowing it to dry some and doing it again. The last time I spritzed heavier allowing for some drops to form, and then controlled them down the piece.  It worked wonderfully.  How simple is that?

Thoughts & Prayers Raining Down

Have a creative day.

Moana

Garden Green Gift Box

Need a gift box or two?  During the holidays we are always looking for something to wrap a last minute gift or party favor.  That is what my husband needed for a work party tomorrow.

Garden Green Gift Box

They are having a white elephant gift exchange, so I thought a really great box would throw them off completely.  The ornament inside is nearly bizarre, but almost interesting at the same time.  It has a flying pheasant, with a hunting fest hung below, and then a pheasant call hung below that.  Yes, somehow I let that one not go on my tree.  I wonder how that happened.

Garden Green Gift Box

This box though.  I used two sheets of garden green cut at 8.5 x 8.5 and scored at two inches all the way around for the sides.  The top score lines were moved a smidge over so the lid would be just a bit larger than the bottom and fit snug.  Mission accomplished.  I used the snowflake stamp from the Perpetual Birthday Calendar set.  Love that one so much.  It gets used all of the time.  I put a whole in the center with a circle framelit, which gave me funny half circle edges on two of the sides, but I couldn’t see a way around it, so I just went with it.

The window sheet was embossed with the elegant dots folder and stuck down inside.  The sheet measured 4 x 4 and I used fast fuse to keep it in there.  I ended up wrapping the gift in some 6″ wide burlap ribbon and doesn’t that look great?  Surprised me too.  Then this lovely box was given a big hug with some satin ribbon, gold to match the stamping, after being sponged like crazy of course.  Now, the fun begins!

Garden Green Gift Box

Have a creative day!

Moana

Your Presents

Good morning to this bundle of happiness!  My daughter was teasing me about how I get these ideas, don’t know if they will work out, because they always look amazing.  Well, I don’t know if my original vision was achieved, but I do rather like how it turned out.

Your Presents

Wouldn’t it be fun to see a big pile of gifts like this?  With the holidays here and Christmas right around the corner, I guess it could happen.  It reminds me of growing up with the way my mother decorated and wrapped gifts.  She liked everything to coordinate, the wrapping, the tree, decorations, everything.  If someone gave a gift that didn’t coordinate, she would wrap it over to make it match.  She would approve of this card for sure.

Your Presents

Just one stamp set and all of this pattern just happened.  I bet if I worked harder I could have gotten more.  I know that I will get to use this for countless birthday cards.  A holiday stamp that can keep going on is my kind of stamp.  I just stamped and layered with glimmer paper.  The gifts were sponged lightly and a couple got bows stuck on top with glue dots.  A few stars inside and one on top of the pile and it was done.  So cute.

Your Presents

Have a creative day!

Moana

Hearth & Home Thinlits Fun

After a full day of workshop excitement, I finally have a few minutes to share the third project we did.  This one just about did my ladies in, but they managed though most of it.  I didn’t have to help too much really.

Hearth & Home Thinlits Fun

The base of this candle holder is made with old olive from one sheet of cardstock.  Two card bases with 1/2″ cut off from one side and 1/2″ score on the other with a score in the middle.  With two of these joined together, the box frame was made.  Four panels of heavy whisper white cardstock were put through the Bigshot in the Brick Wall embossing folder that had been brayered with old olive ink.  It gave the perfect mix of a soft brick wall that coordinates nicely with the base.

Hearth & Home Thinlits Fun

Cherry cobbler was used to create the window frames.  The Hearth & Home Thinlits set is simple, but what a great look right?  The window frame is a great focal point that I chose to back with velum to allow an opaque look in.  I had provided fun battery operated candles that fit nicely inside.  When they flickered it made it look like there was a very colorful set of Christmas lights going on inside.  So pretty.  A couple of buttons, some twine with a simple saying set the front panel apart from the others.  Along with a few little shrubs made from mossy meadow paper punched with a scalloped circle punch.  Really, a cute project all in all, even if it was a bit of work.

Hearth & Home Thinlits Fun

Hope your day was creative, mine sure was!

Moana

Sparkly Seasons Pumpkin Patch

It may not look very busy, but these little pumpkins almost did me in.  I nearly got to the point of just showing you how frustrated I was and that there was not much to show for it.  Then I thought about iridescent ice, and the world came together.

Sparkly Seasons Pumpkin Patch

I love that stuff.  It can make the most simple things look almost magical.  I used three different framelits for my pumpkins and got to work.  I used a large stylus to create grooves and texture to the surface, but from the back side.  It really broke down the fibers a lot.  Then I began to water color streaks to give dimension.  That didn’t do a whole lot.  Then I spritzed water and swiped ink on with my finger.  It got better.  Then I sponged with pumpkin pie and added early espresso too.  At that point they looked okay, but still kind of sad.

Sparkly Seasons Pumpkin Patch

That is when I tried the iridescent ice.  I daubed the whole surface with versamark and sprinkled on the powder.  I only used one coating and thought that would be enough.  It was just right.  I did sponge a bit more with early espresso afterwards.  I layered the pumpkins together using dimensionals, with the stems too, and wrapped them all in linen thread.  I wanted to leave it then, but decided on a simple word phrase.  And there you go!

Sparkly Seasons Pumpkin Patch

Have a creative day!

Moana

Believe Bookmark with Lighthearted Leaves

Welcome to my Sunday morning.  When I have the opportunity to teach a church lesson I always feel blessed.  Teaching often gives more to the teacher than to the student.  Maybe not at a school setting, but church, for sure.

Believe Bookmark with Lighthearted Leaves

I do my best thinking while I am crafting, so I almost always have some kind of handout that relates to the lesson.  It also allows me to think of who I am teaching individually, and to make sure I am taking into consideration who they are and how they feel.  Such a wonderful time.

Believe Bookmark with Lighthearted Leaves

I definitely dipped into my retired product stash for these bookmarks.  The cardstock and ink are hello honey, current, but the other color is summer starfruit.  What a great color to work with.  I thought they went well together, so I got to use some of my retired dsp stash and retired ribbon too!  Win for all.  I think people often overlook the fact that it is okay to stamp on patterned paper, as long as the pattern is small.  That was the case for this pattern for sure.  It came together so quickly.  Once the design was clear  in my mind, about five minutes, another thirty-five and I was all done.  Yup, I churned out a dozen of these in less than an hour.  Again, a win for all.

Believe Bookmark with Lighthearted Leaves

Have a creative day!

Moana

Vintage Leaves, All Through My Yard

The weather has finally changed and I love the color change that follows.  Looking out my window I can see trees with leaves in all of these colors.  Just so lovely this time of year.

Vintage Leaves, All Through My Yard

This stamp set lets you create leaf images that have so much texture and the play of light across them.  How fun and validating is that.  Becoming the artist without knowing how to be.

Vintage Leaves, All Through My Yard

I stamped the leaves in different colors starting from light colors to darkest.  I had started with a different intention, but it didn’t work out.  I stuck with my background as the focal point and just enjoyed water coloring it.  It went together rather quickly.  A few simple layers, very light sponging, and a gentle wrap of gold metallic thread for an accent.  I love this kind of creative fun.

Vintage Leaves, All Through My Yard

Have a creative day!

Moana

Flower Fair Gift Box

I am definitely in the mood for gift boxes.  I wanted to make a huge floral bloom and then make a box sized right for the flower to cover the whole top of it.  And here you go .

Flower Fair Gift Box

I used pumpkin pie paper with stamping and sponging in tangerine tango.  Color families make such lovely projects.  I wanted the sponging to be more prominent and give a bit more depth.  I think it worked out nicely.

Flower Fair Gift Box

The flower layers were adhered with dimensionals with the larger flowers and then switched to glue dots withe the smaller ones.  Overall, it was a very satisfying creative process.  When I scored the box, I just made sure that the dimensions allowed the right base for the flower, 2″ square.  The top isn’t sealed shut, just folded for easy opening and closing.  This great big flower is actually stuck to the ribbon, so it could slide off without damaging the box.  I also tied the ribbon in a knot so it could be folded over and appear to be leaves or a banner looking element.  Great fun!

Flower Fair Gift Box

Have a creative day!

Moana

Lighthearted Leaves Treat Carton

All day long I have tried to get this blog post done.  That gives you a little hint into how my day has been.  Not done yet, but definitely on my way.

Lighthearted Leaves Treat Carton

I had a bag of Lindt truffles on my counter and loved how the bag looked.  I thought that it would be fun to try to make a bag that could hold treats and look elegant too.  I asked my husband for a color choice, I grabbed a ribbon and matching ink and went to work.  Of course I had to use my current favorite stamp set, Lighthearted Leaves.

Lighthearted Leaves Treat Carton

One sheet of 8.5 x 11″ perfect plum cardstock went into this one.  Evenly scored and punched along the sides with the extra-large oval punch to give the windows.  Window sheet was scored along the same measurements and tucked inside.  It was a bit tricky to handle the placement, but with a little patience and plenty of glue dots, I experienced success.  I am so happy with the results.  I am sure to make this one again and again.

Lighthearted Leaves Treat Carton

Have a creative day!

Moana

Elegant Butterfly

Butterflies, butterflies, and more butterflies.  There are a bunch going on here, but one in particular started it all.  You might not realize it, but I played quite a bit with this little butterfly.  Lots of detailing and working it with a stylus.

Elegant Butterflies

Sometimes the attention to detail makes all the difference.  My daughter made a good observation.  She said it would be really pretty if it were glass or something so it could be a necklace charm.  I have to agree, it would be lovely.

Elegant Butterflies

I do rather enjoy working with colors that are so not of the current holiday.  Nothing more entertaining than making a spring card in late fall, or a fun Christmas project in the middle of July.  Something different to expect.

Elegant Butterflies

Have a creative day!

Moana

English Garden with Flower Patch

Can we just not jump right into the next holiday?  That is my theme for today.  I know everyone will be all into Christmas, blowing right by Thanksgiving, but I am going to take a break in between.  So, how about a lovely birthday card?

English Garden with Flower Patch

This paper is so absolutely wonderful.  I would love it in fabric so I could have it all around.  However, I wanted to partner a technique I recently learned with flowers, so I knew the pretty paper wouldn’t be the focus.  Is that even possible?

English Garden with Flower Patch

After stamping and punching out these pansies, I tried the technique out.  I used a very large stylus to just roll around the petals, slowly breaking down the fibers and creating curl.  Oh, you do this on a foam pad so you can squish a lot. It was so fun.  I did the same thing with the little leaves I made.  For those I punched a circle and then used the same punch to punch a section out of both sides giving the leaf shape.  It leaves kind of an apple core looking center behind.  Hope that makes sense.  One day I will get brave and try videos, not there yet though.  Lots of sponging for everything involved and tons of dimensionals.  This is one thick card, extra postage for sure.

English Garden with Flower Patch

Have a creative day!

Moana

Workshop Fun

Workshop was yesterday and this is the first chance I have had to share it with you.  Two of the projects you have already seen, but this cute little pumpkin is new.

Workshop Fun

I had the opportunity to attend one day of a scrapbooking convention with all kinds of lovely things to see, touch, and of course buy.  One of the many make and takes available was this cute little pumpkin.  When my friend and I would go by this particular area, there was always someone using the stations, but I knew I wanted to try one out.  I took a few photos of the samples and did my best.

Workshop Fun

There are a few other pumpkins on my counter, but this is the one I ended up making for my workshop ladies to play with.  I used  a piece of dsp cut at 6 x 12 and cut strips measuring 3/4″.  You get 15 strips from the sheet exactly, no waste at all.  They were stacked, clipped together, and punched with the ever handy crop-o-dile at both ends.  A hearty brad was used to keep the strips together, then you just fan them out.  Promise, they fan out nicely and curl into this pumpkin.  Then stamping and die cutting the fun leaves and place them where you like.  Some of the samples had ribbon, you could top it how you like.

Workshop Fun

Have a creative evening, since the day is pretty much done.

Moana

Vintage Butterfly Basics

This project started out as something entirely different, but I love where it ended up.  Would you believe I thought I was going to make something dark and dreary with a Halloween theme?  Well…like I said, it ended up lovely.

Vintage Butterfly Basics

The floral images were stamped in black and water colored with blackberry bliss and mossy meadow.  The ferns were also stamped in blackberry bliss.  Then the soft suede ink was put to work.  Lots of sponging and swirling and edging went into image.  I ended up with something that look almost tea dyed.  Just what I wanted.

Vintage Butterfly Basics

A double layer of blackberry bliss became the frame for the card front.  Linen thread was pulled through my blackberry bliss sponge to give it a tint to coordinate.  The tan color it comes in didn’t quite go with the soft suede.  Extra attention went into dimensionals to give  lots of height.

Vintage Butterfly Basics

A narrow boardered piece of soft suede card was embossed with the brick wall embossing folder and then sponged to give additional detail to the embossing.  All together, these elements created something lovely, just lovely.

Have a creative day!

Moana