Love…

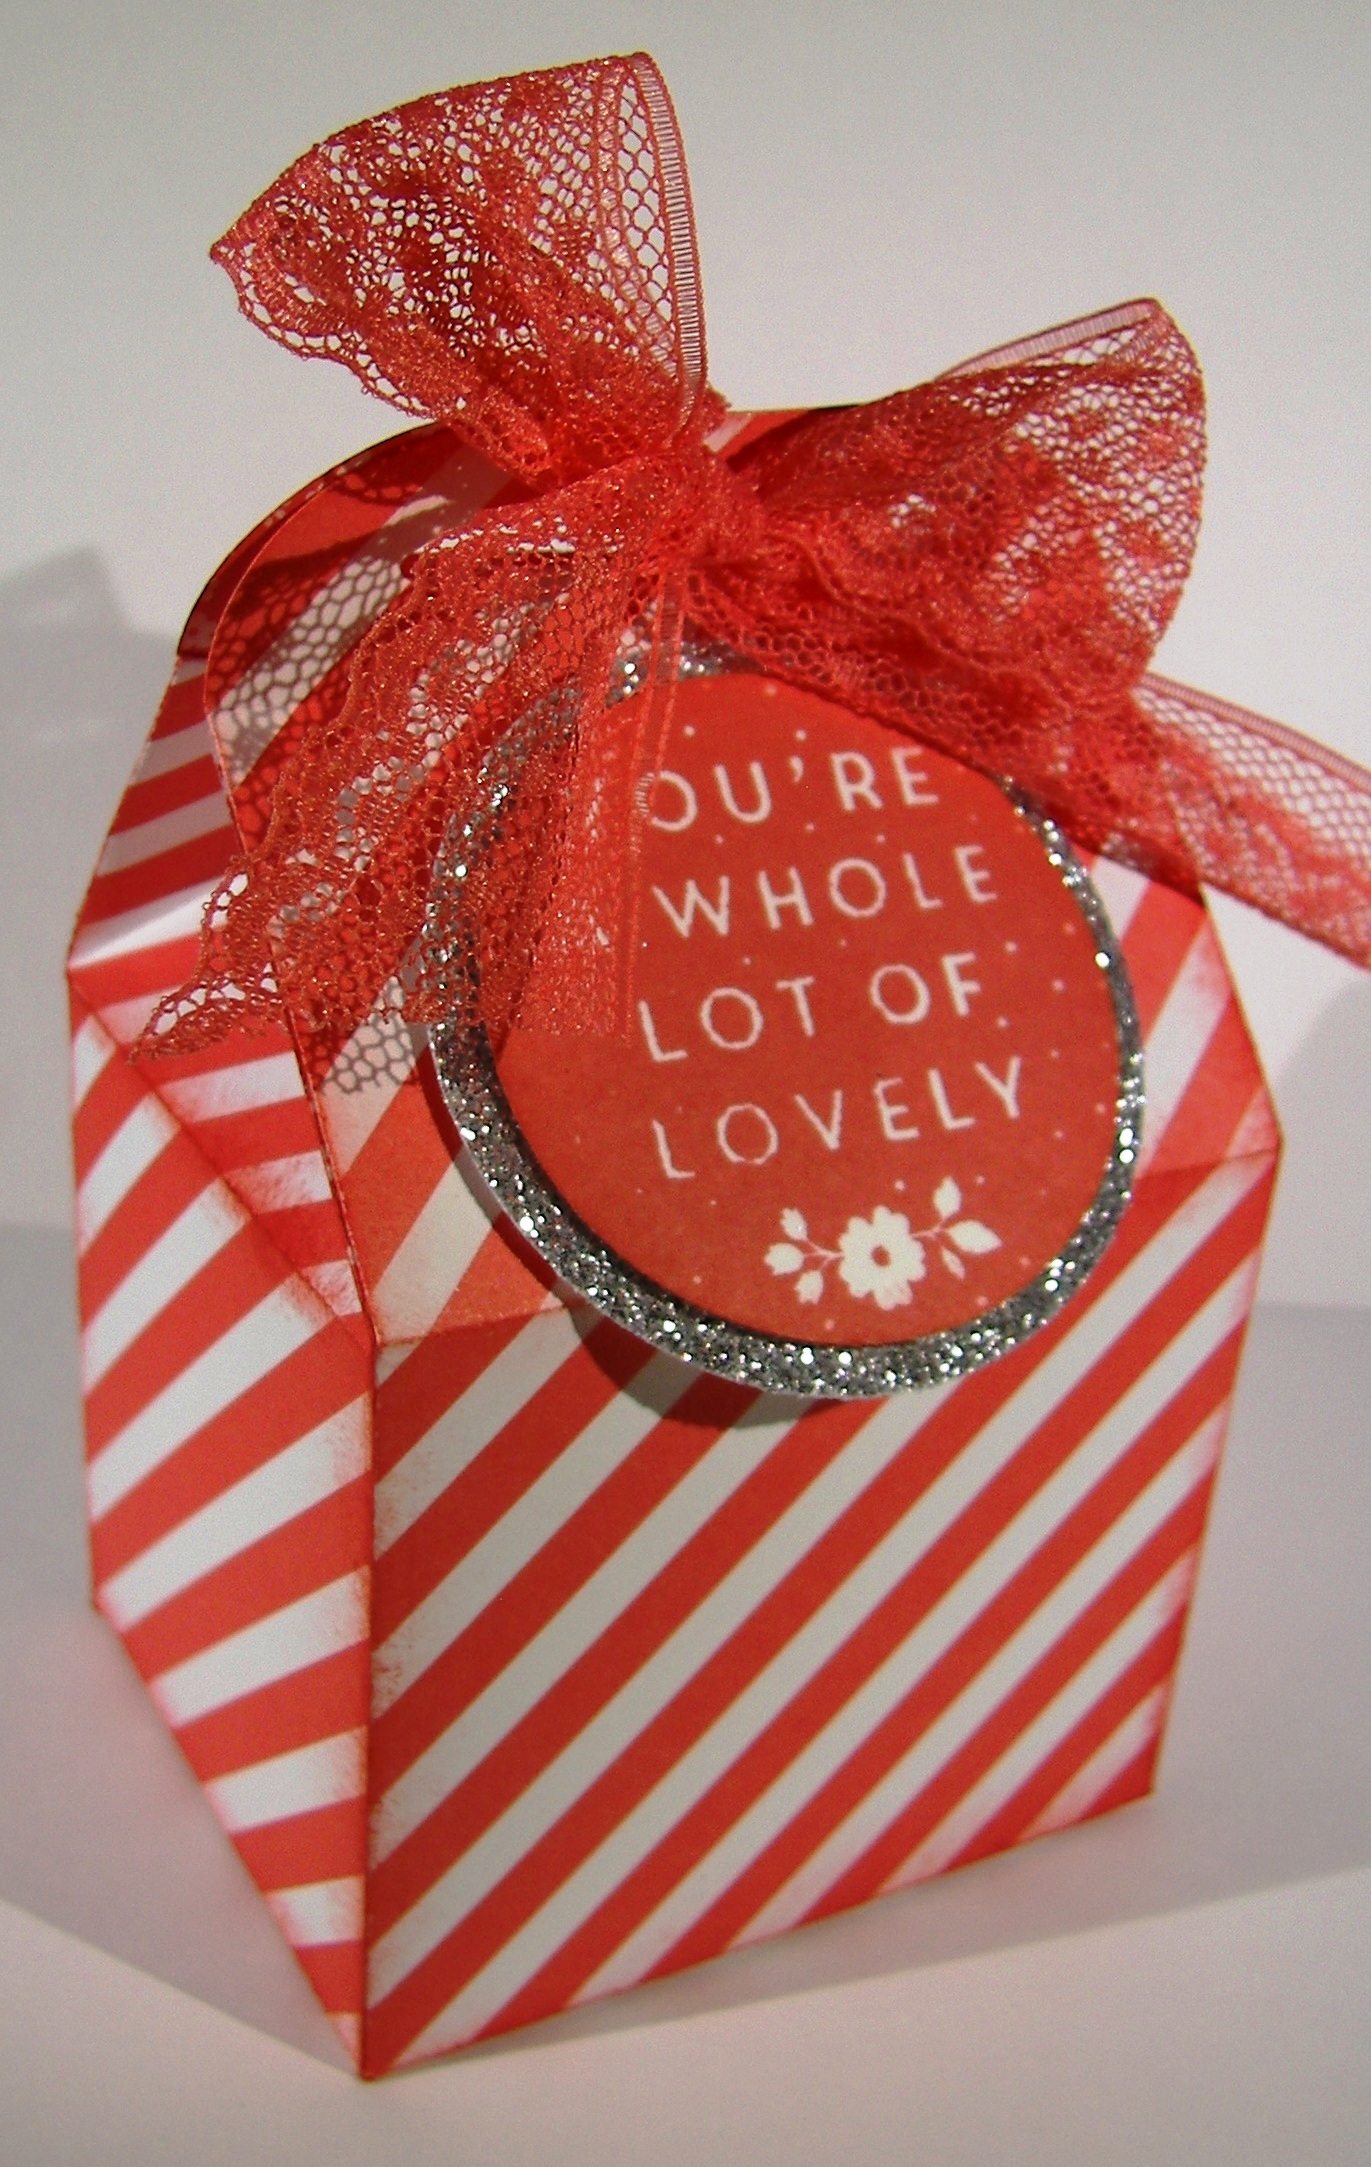
Okay, a little time off is nice, but that wasn’t my intention here.  Life took a busy turn and I am trying to get back on track.  I am out of town trying to enjoy time with my son and his new bride, help my oldest daughter with wedding plans, and manage a little bit of business as well.  I would like to say I am on vacation, but a bit too busy for that.  No fussing, just enjoy the love through it all.

7-28 (2)

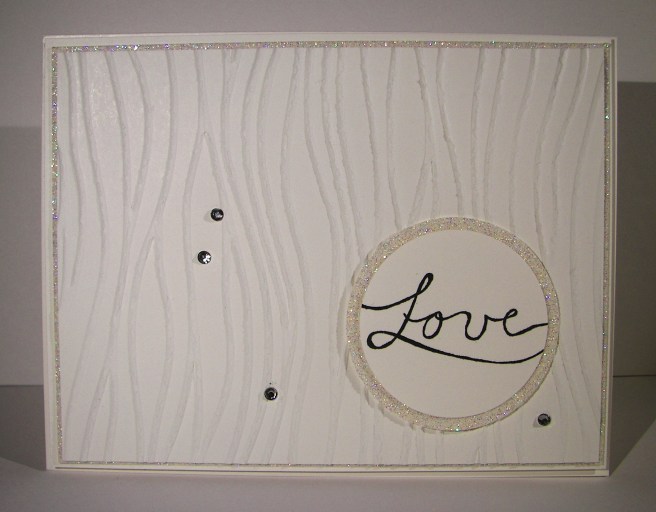
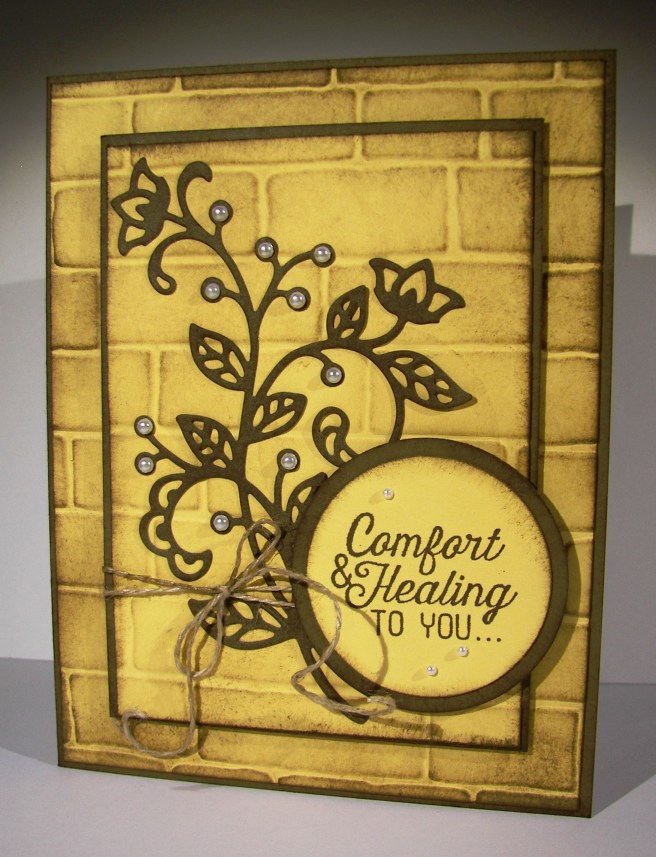
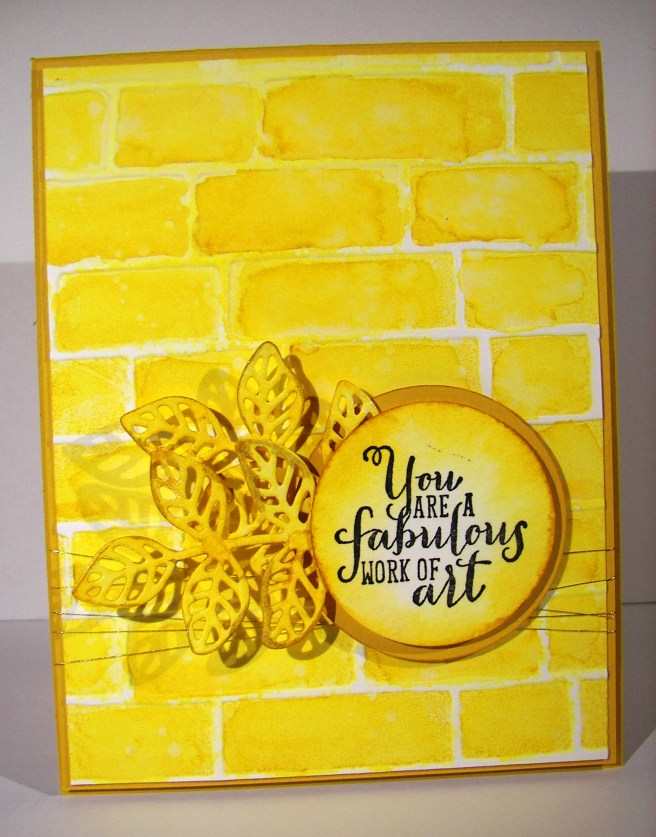
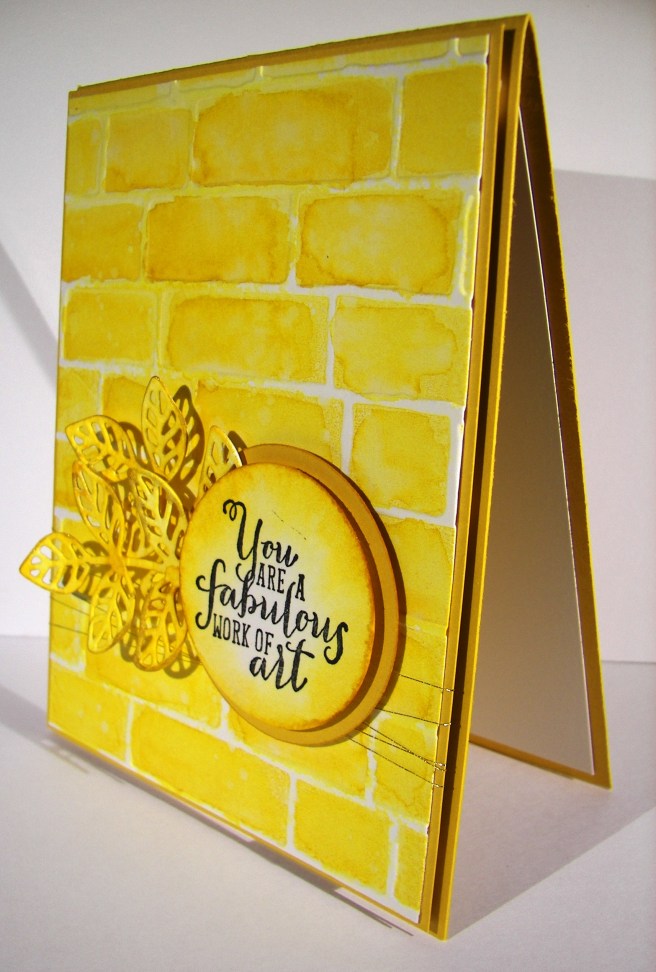
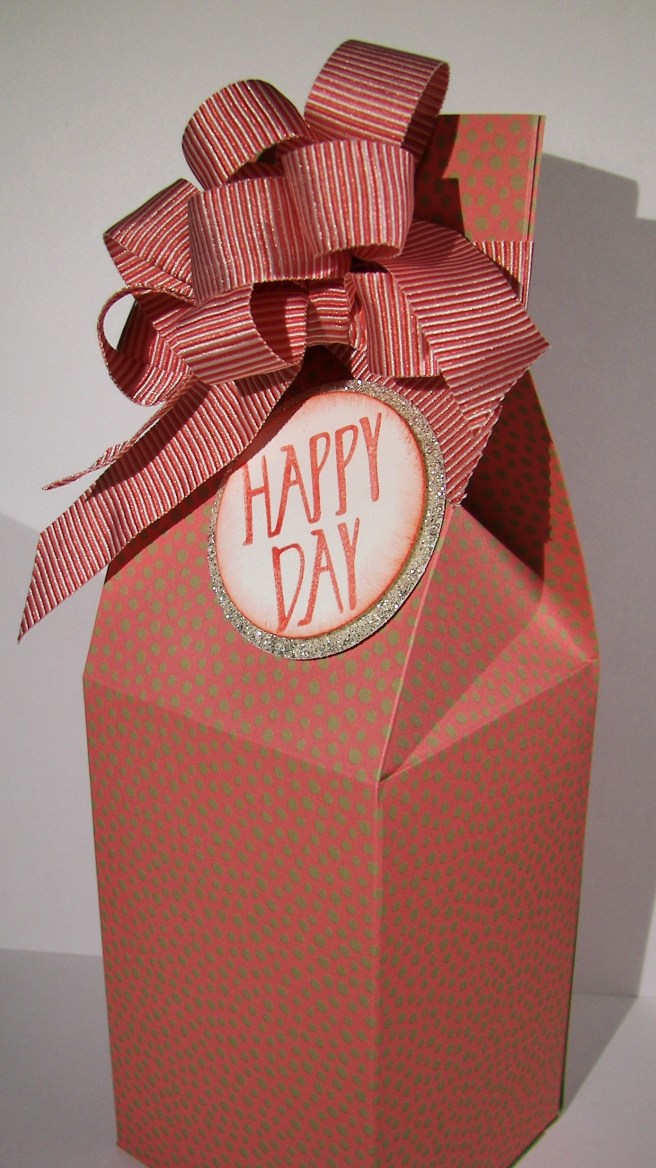
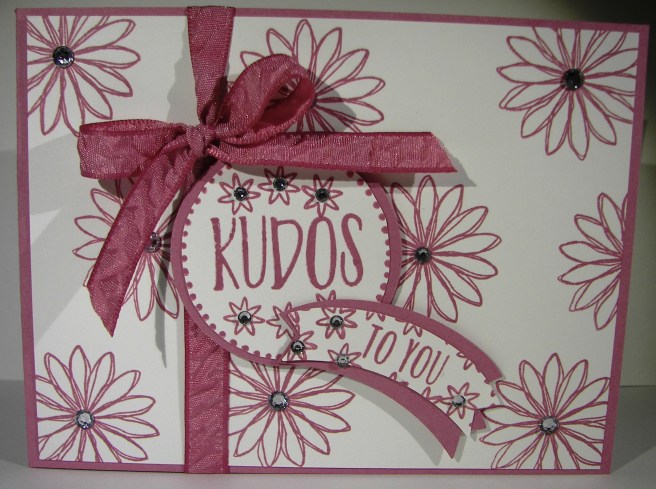
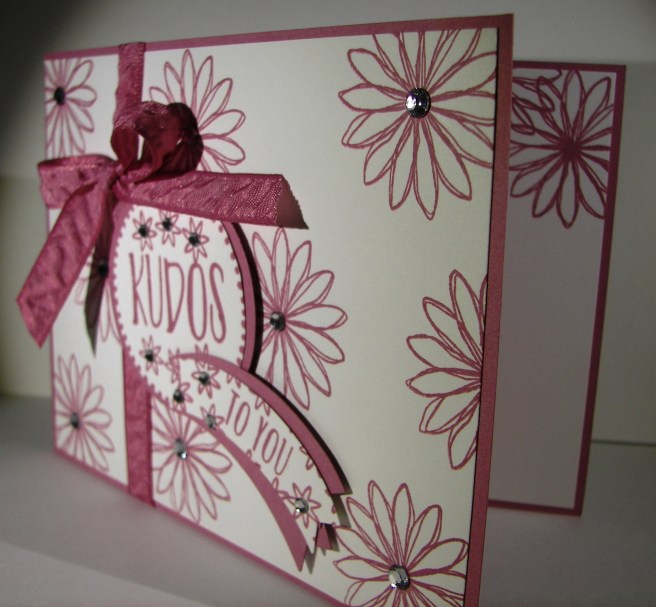
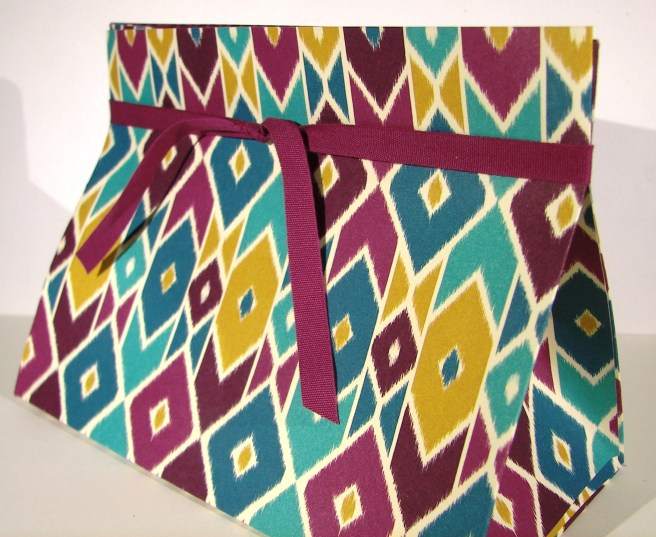
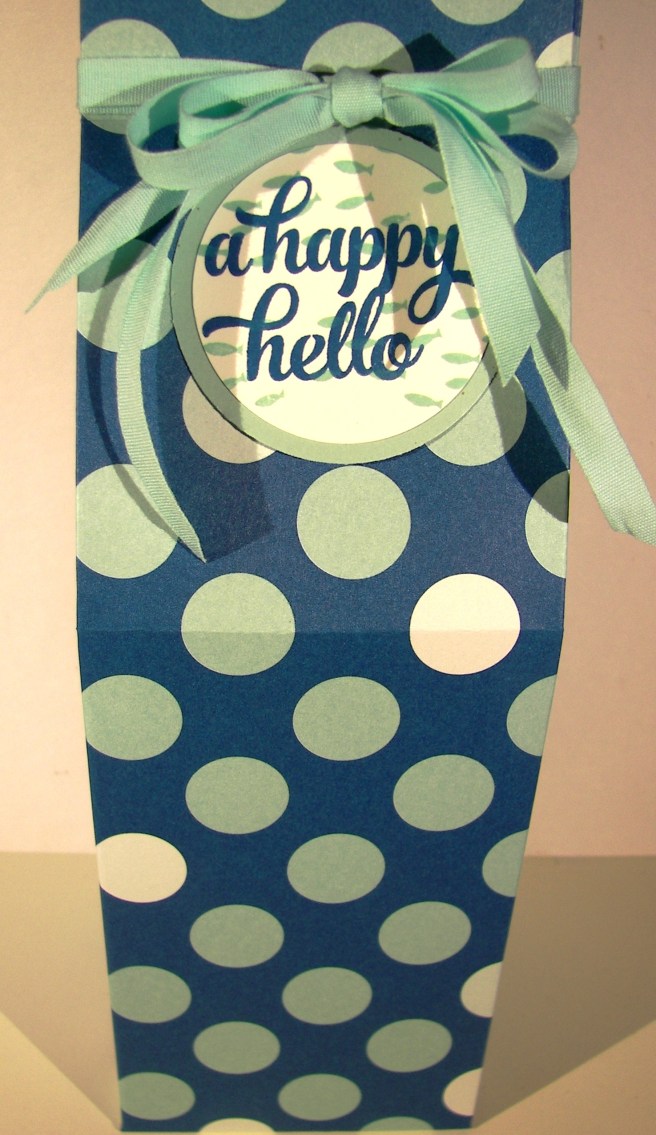
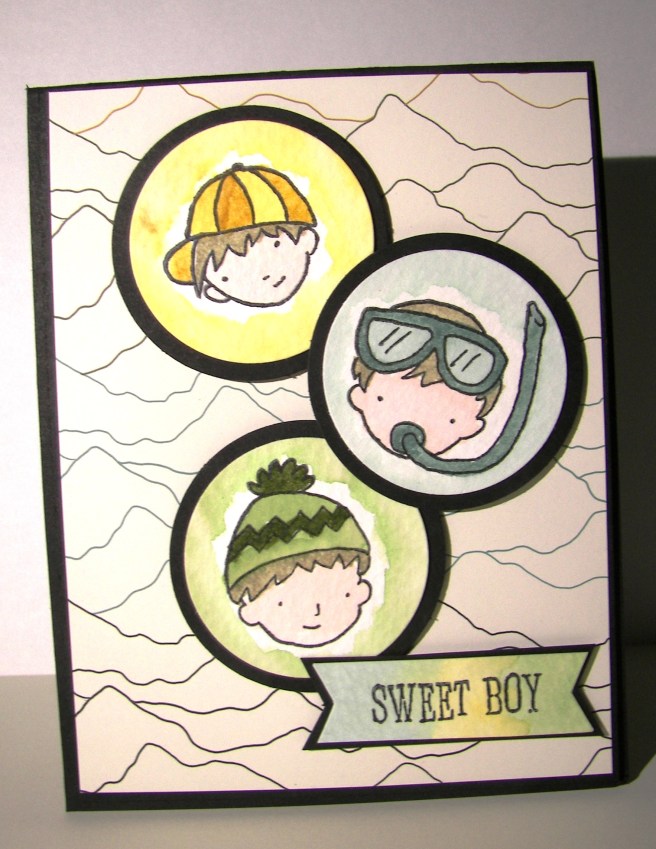
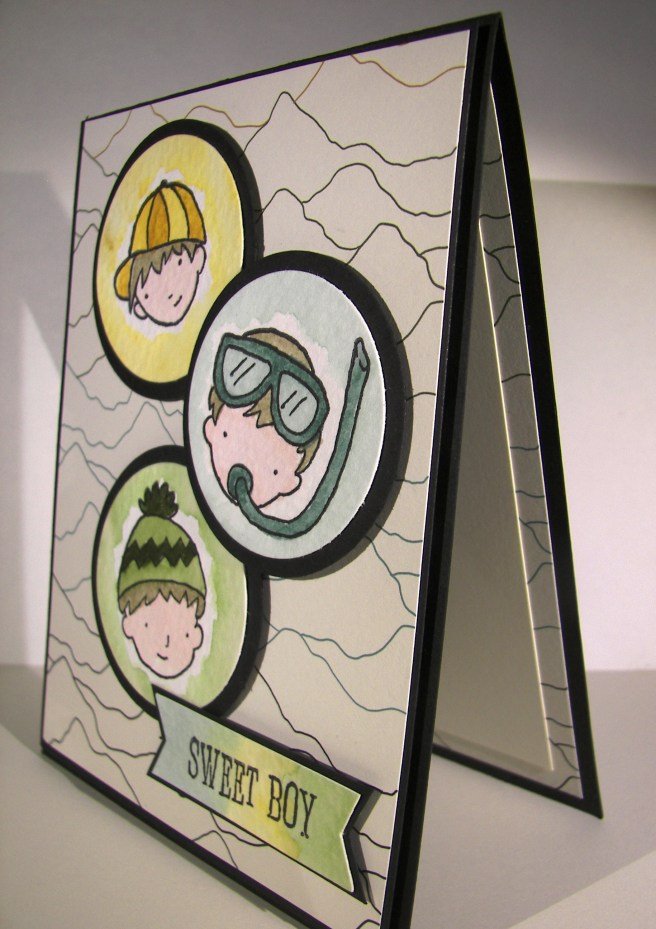
This simple card was made from an extra kit from a workshop last weekend.  Simple layers, this is all about those layers.  I wouldn’t have paired this particular embossing folder with items outside of nautical items, but I loved how it looked.  I made a large set of cards to blog ahead with and had the intention of sharing them with my new daughter in love.  She is adorable.  Living in a university town there are plenty of weddings to attend, so that is the job of this particular card.  They actually have three to go to in the next month or so.  Busy.

7-28 (1)

Have a creative day!

Moana

Comfort & Healing to You…

There are so many talented people out there that love to share their projects like I do. Sometimes one will come along that I not only enjoy, but have to give it a try.  This project is a mix of a couple of different ideas with my own twist.  I do love how it turned out.

7-21

One of the projects I studied had the card base smooth, which was lovely, and no extra layers, just the circle tag.  The other had the same layers I used with a different embossing folder, but I didn’t want to use that one.  I decided on the brick wall folder, but thought it still looked a bit plain.  After it got a good sponging and distressing I was much happier.  I even sponged the die cut piece because it just didn’t match the rest.  A healthy dose of basic pearls finished everything off.

7-21 (1)

The inside of a card almost always gets a whisper white or very vanilla piece, but I went with the card front color of so saffron like another example showed.  The color is light enough to be written and stamped on equally well.  A very nice touch.

Have a creative day!

Moana

Yellow Brick Road

I have gotten a bit lost over the past few days over a different series.  It is a re-telling of The Wizard of OZ, very unique perspective.  It is actually a quite twisted tale of what happens after the story we all know.  Working with middle school aged children gives me permission to read young adult fiction and I must be honest, I love it.  This one is no exception.  Hence my yellow brick road card today.  Book three done, but it continues on…darn!

7-19

Either way, how about this fun, bright and cheery card!  Using my brayer to apply ink to the inside of my embossing folder really makes these bricks interesting.  However, I wanted more, so I distressed as well.  First, I gave the freshly inked paper a hearty spritz with water.  That got the ink moving nicely.  I knew I was going to work this over a bit, so I did start out with water color paper, quite necessary.  I added more ink with my aqua painter all around the bricks, sponged off with a tissue to lighten areas, then dripped water all around and dabbed to remove ink too.  Great look here at the end.

I also had a bit of fun with the tag.  I stamped and punched my sentiment on water color paper.  I then liberally rolled the edges and in a bit too in the ink pad.  Then I spritzed it too. That caused the ink to move to the middle, but not all of the way.  So much fun.  The leaf die cuts were smushed in the ink pad too and then spritzed as well.  Everything got the same kind of treatment.  It allowed a different but connected look for all of the elements.  Wheee!

7-19 (1)

Have a creative day!

Moana

My Happy Day

Yesterday was my birthday, and it was most certainly my happy day.  I made this project with that in mind.  Using my favorite go to ideas and things that make me happy.  Water coloring is awesome, both intricate and simple cards, and a myriad of other projects all bring me joy.  However, there is nothing more satisfying than a beautiful crisp gift box or bag.  I love making and sharing these, they really do bring me joy.  So I indulged myself a little bit here.

7-7

Using an entire piece of designer series paper goes against my “make it last” mentality, but it was my birthday after all.  So I pulled out a piece that I loved and created just what I wanted.  I like to maximize the height so it can hold more of whatever I have in mind.  This one did get a bit of switching around.  The top of the bag needed to have enough space to hold the large ribbon and bow I had in mind, so it ended up losing just a touch of volume, but it was well worth it.

This ribbon though…it is so very nice.  It looks great in a knot, a simple bow, and creates lovely larger bows just like this.  While I may hesitate using my paper, I do not hold back using ribbon.  I love large bows and could put them on everything.  Something I learned from my mother to be certain.  In a workshop situation I wouldn’t go this large, my ladies would just get frustrated trying to make it pretty.  Can’t have that, but since this was for me, I let it slide a bit.  Then of course a simple layered circle tag set, stamped off once and sponged around the edges.

7-7 (1)

Again, my favorite types of things.  Second only to sharing them that is.  The bow of course can just slide off so the box can be filled easily and used again.  I always try to make my gift bags and boxes that way.  They are too lovely to be used just once.  So, I make sure the recipient knows how easy it is to re-gift them.

Have a creative day!

Moana

Thanks For Being You

The beginning of a new and simple series.  It is focused on one designer series paper set that is new with the new catalog.  It is also all about thank you.  I am fortunate enough to have a great set of TA’s that do so much for me at school.  They of course will be getting special personalized thank you gifts from me.  Some kind words and chocolate, that is what works for them.  Well, me too I guess.

6-8

Super simple and super simple.  I didn’t spend a lot of time on the bags in the series because I know they will look at it for a bit, like it, empty the candy slowly and then it will go away.  No need for a lot of fuss there.

Have a creative day!

Moana

Perfectly Wrapped in Sweet Sugarplum

I am getting pretty darn excited for the new catalog to go live.  Just a couple of more days now!  This is a tiny peek into what awaits.  I usually wait to get into new product until everyone can order the new product, but I decided not this time.  I am so very excited about this particular new color.  I always enjoy the new in-colors Stampin’Up! brings out, but this one has me hook, line and sinker!

5-30

The card itself is really super simple and in my favorite style.  Creating my own background from pretty stamps is the best.  I used several stamps from the same set, Perfectly Wrapped.  It is actually part of a kit that you can make a ton of different types of gift boxes and bags.  I think it would be so fun to play with at a workshop. One thing at a time.  This set is really going to get a lot of use.

And can I say how wonderful this new ribbon is?  In the catalog I was totally unimpressed. It looked kind of dumpy and I didn’t plan on getting it.  However, when I placed my demonstrator pre-order I gave in and am I glad I did!  It ties bows like a dream and looks so pretty.  Again, you just can’t tell from a catalog what things are like.  Too bad I don’t just have one of everything.  How can you, really now.

5-30 (1)

Have a creative day!

Moana

Bohemian Work of Art

Rich colors and exciting patterns, that is the theme for today.  In between wedding reception planning I have managed to create this lovely due.  Now I get to add this to the collection of card sets and greeting cards I am donating for a cub scout fundraising event tonight.  I get to share my work and clean out my stash at the same time!  I call that a win.

5-14

The card began with the chevron stamp from the Work of Art set.  I didn’t really pay too close attention, just stamped it four times down a piece of water color paper.  The color pallet came from the bohemian designer series paper set, only leaving out the yellow tone. The focus was on bermuda bay and I started there.  Color was layered, sponged off, added, and distressed a ton until I was satisfied.  Then I did something that was new for me.  I hi-lighted some of the distress areas with my gold wink of stella brush pen.  That was super fun and I had a hard time stopping.

5-14 (1)

The gift bag was made from a whole sheet of designer series paper.  I went for a wide stocky bag instead of my usual tall slender ones.  It is nice to change things up a little bit here and there, don’t you think?  The ribbon I had in rich razzleberry was just long enough to go around the bag top.  I do love using up product that is retiring before it actually retires.  I am not often that lucky.

5-14 (2)

Have a creative day!

Moana

“Suite” Treats

People are placed in our lives for a reason.  It is so wonderful to realize those precious moments as they occur.  A simple, sweet thank you speaks volumes.  As does the kindness shown to me time and time again.

5-10 (1)

In my desk scrap file I looked for something pretty to make a gift bag for a friend.  I came across this wonderful foil velum.  I scored the long sides 1″ in, on both sides.  The bottom of the bag was scored at 5 1/2″ and 6 1/2″ to give a 1″ margin all around.  Folding, adhering, and then adding a bow all went very easy.  Deciding on a phrase took a moment, but as I have often enough, I turned to the Suite Sayings set and found just what I wanted.  The stamping was done in the soon to be retired blackberry bliss, I sure will miss that color, and then punched with the 1 3/4″ circle punch.  A layer of silver foil was punched with the 2″ circle punch and then layered in place.  The tag is stuck to the bag so the ribbon can be removed easily.  That is important for getting to those treats and even re-gifting the bag.

5-10

Have a creative day!

Moana

A Happy Hello

I tell you what, the more I think things should calm down, the more they wind up.  No need to fuss I say, just pick up where you left off and get going.  So, here we go!

4-26 (1)

I thought it would be fun to pull out some paper that I did not know how I would put to use. The School House DSP is definitely in that category.  I don’t have young children, and I don’t work in an elementary school setting anymore.  That is when you look to the other side of the paper.  And what did I discover?  These awesome spots!  They just had to get to work in a huge box to show them off.

I stamped the little fish from the Sea Street set in pool party and my sentiment in pacific point.  The color combination is so fun and happy.  Just what I needed.  I even had an unopened spool of pool party cotton ribbon.  That called for a double bow for a little extra fun.  Then my favorite combo of circle punches and I didn’t even sponge them.  The spots were huge and clean looking, so I stayed with that look.  And there you go!

4-26

Have a creative day!

Moana

Woodland Baby Shower Gift Set

I admit it, I love giving gifts of thank you cards.  Especially when everything goes together so nicely.  This sweet friend was given a woodland themed baby shower and I knew I had just the right paper to fit the bill.  The invitations even had turtles and foxes on them.  Fun work time for me!

4-25 (2)

The gift box and gift bag were even fun to make.  I honestly haven’t purchased a gift bag in the longest time.  I love it.  Gifts usually aren’t that large, for the most part.  I just set the gift on my score board, measure some and go for it.  I am usually right on target, the box for the card set was a bit long, but it still worked out.  How about the foil cloud bag though, so adorable right?  I hadn’t paired the silver satin ribbon with it yet, and it looks perfect together.

4-25 (3)

The cards were very assembly line, both sets the same.  The background paper was cut with 1/4″ borders and a contrasting, but still coordinating, strip of designer paper from the same set was placed near the bottom.  A card stock 2″ circle layered with a stamped 1 3/4″ circle on top.  I stapled matching ribbon along the side of the circles for one more tiny layer and a bit of interest.  I do think they turned out adorable.

Inside this most adorable bag are two very silly baby books.  One is called “Toot”.  And yes, it is all about passing gas.  Just too funny to not share.  Both books were 7″ wide and 1″ thick, so that was easy enough to measure.  I scored at 2″ along each side and made the bottom scoring at 5″ and 7″.  This gave me a bag that measured 7 x 5 x 2 and worked out great!

All in all the set came together really fast.  From basic design concept, product choice and complete assembly it took about three hours.  Two gift bags and 24 cards, not too bad if I do say so myself.  I couldn’t attend the shower myself since I was teaching my card workshop, but one of my club ladies was also going and she took it with her.  It worked out great.

4-25 (1)

Have a creative day!

Moana

My Heart Smiles Just Thinking of You

It has been a very busy, but very fun, visit to Utah.  We have stayed a week, been snowed on twice, enjoyed the rain, and driven all over to spend more time with our son and his fiance. I would always like more time, but also can’t wait to get home.  Facing the long drive isn’t very inviting though.

4-1

This is a tall card, cut at 4 1/4″ and scored at 5 1/2″.  I like working with cards this way because of how easy it is to add ribbon.  I arranged my tag just under the ribbon to make it look like it was attached.  There wasn’t room on the tag for an actual punch, so I had to make do.  It looks great though, don’t you think?

4-1 (2)

Have a creative day!

Moana

You Wonderful Thing You

Yet another adorable card in this series.  I sure have loved sharing this card set, even more so giving it away for someone else to share and enjoy.  The true joy of card making.  What a fun color combination for sure, one of my favorites.

3-30 (1)

The seam binding ribbon I used got a little rumpled in the center of the spool.  However, I decided I liked the look of it and didn’t try to iron it out.  I have bought ribbon before that was ruffled on purpose and liked it that way.  So, instead of getting frustrated at the center of the spool, I just made the best of it and enjoyed the results.

The sentiment was stamped on whisper white and layered with a scalloped circle of calypso coral to coordinate with the card base.  Don’t you just love this paper?  Full of whimsy and cuteness.  The simplicity of the color scheme also keeps this one very clean and simple.

3-30 (2)

Have a creative day!

Moana

Dear Heart, Sweet Boy

This project was all about giving myself a challenge.  I grabbed a piece of dsp, decided on three colors, picked a stamp set I hadn’t used a long time and went for it.  This was definitely not my usual style, but it felt good.

3-20

The card itself wasn’t too complicated, just one layer for the background.  I stamped my little boys on water color paper with black stazon and opened the ink pads.  Their faces were done with a very diluted wash of pink pirouette with the hair in tip top taupe.  I wanted them to look like the same boy just doing different things.

Each boy face was accented with one color only.  For the darker areas I kept the ink fairly strong.  When I accented I diluted it a bit more and even more for the outlined areas in the background.  I left it simple because I wasn’t really going for perfection, just soft coloring. I punched their faces out with the 1 3/4″ circle punch and a background of black with the 2″ circle punch.  They were arranged on the front and layered with a bit of dimensionals.

The banner was stamped from the same set and a light wash of each color was put on its own section.  Then each end was punched with the bitty banner punch.  I also put that up on dimensionals.  I repeated the pattern of paper inside with more dsp and a smaller piece of very vanilla to write my message on.  Such a sweet card, for a very sweet boy indeed.

3-20 (1)

Have a creative day!

Moana

Getting Ready for a St. Patrick’s Day Party!

It has been a busy few days getting ready for a large youth etiquette dinner.  This one won’t be all about the perfect manners, but more like what do you do when things don’t go quite right.  Those tend to have the best memories anyway.

101_1222

The invitations were pretty darn basic, which was great when I needed to make sixty rather quickly.  The dinner menu was just printed on card stock to coordinate with the invitation. The names of the menu items are in a kind of St. Patrick Day code.  All of the items, from the food to the utensils, are going to be a mystery to the kids.  When they are served what they “ordered” they might end up with odd and end food items and maybe a straw or toothpick to eat with.  After a some laughs and efforts at etiquette, they will be sent through to fill their plates properly and do their best.

101_1223

Part of the table decorations will include these adorable favors with rainbow fish crackers in them.  The stamp comes from a long retired stamp set that went with the ever adorable milk carton bigz die.  I could have made those forever.  I still have it, because I don’t think I can part with it.

It should be an evening filled with good friends and even better laughs.  I can’t wait!

101_1221

Have a creative day!

Moana

You’re a Whole Lot of Lovely

When I was cleaning up my desk I came across several kits left over from workshops that hadn’t been filed away.  Usually I just break down the kits and put the supplies back. This one had the stamping, punching and they were layered together.  So I thought I would make something with them.

2-9

I do not remember what the original kit was at all.  It had two pieces of 6 x 6 paper, ribbon, and the stamped embellishment.  So, I decided to not bother looking it up on my blog and make something new. My go to projects are cards with matching tiny gift bags. Mission accomplished and kit used up.  I still don’t know what the other one was, but I am quite happy with this little number.

2-9 (3)

Have a creative day!

Courage Doesn’t Always Roar…

I wasn’t sure about posting this one, it is definitely not my usual type of project.  And if I am being totally honest, it is a bit of a mess.  It wasn’t my idea, but I needed to make a sample, so it happened.

1-15

I work with the youth in my church, specifically the young women ages 14-15, and this was our project last Wednesday night.  One of the girls had suggested this activity and we went at it.  I was to make the sample and I rushed through it a bit too quickly.  We only have a little over an hour to work with, so I was on a timer.  Also, this wouldn’t be my best crafting area.  It is so okay to know there are areas to improve in, and I don’t mind sharing my learning opportunities. (I don’t like to call them mistakes.)

I used two sheets of dsp for this project.  I love the paper. I did get a bit of teasing from the girls.  “Are those artichokes?”  Yes they are, and I love them.  The back side of the paper reminded me of a double wedding ring quilt pattern, so it was a win all the way around.  We were to modge podge pretty paper to a clip board, add some decoration, and finish it off with a favorite inspirational quote.  I have creases and bubbles, but I still love it. I also got into my retired stash of ribbon and found a bunch to use.  I will be happily using this clipboard.  I do need to sand the edges a bit, but otherwise, it is all done.

1-15 (1)

Have a creative day!

Moana

Holly Jolly Ho Ho Ho

Another Christmas card is ready to go!  I think this one is adorable.  I wasn’t sure about these dots, but they turned out pretty cute.  It is hard to concentrate this morning as I need to drive down to Provo and it is snowing, and sticking.  Such a pansy anymore.

Holly Jolly Ho Ho Ho

Either way, I love this little card.  I actually got a little brave and did a little curving with the photopolymer stamp.  The ‘ho ho ho’ is actually straight, but I wanted a circle punch and it had to fit.  So now it does.

Holly Jolly Ho Ho Ho

Have a creative day!

Moana

Christmas Advent Book Service Project

I did think I would get to blog yesterday, but this project completely took over my day.  The absolute, entire day.  Seriously, from 6:00 in the morning to after 9:00 in the evening.  And yes, there is still more to be done.

Christmas Advent Book Service Project

What is going on with all of this?  Well, it is a service project that a friend of mine and I designed for our church’s young women to work on.  So many peoples lives were turned upside down with all of the fires this year.  My friend teaches with another woman that is from one of the many areas devastated by fires.  We made a goal to do something for a dozen families that could help them enjoy the Christmas season a bit more.

Christmas Advent Book Service Project

These are advent books that will have an activity, scripture, story and a Christmas song in each of the twenty-five envelopes.  They are designed to be all inclusive.  Additional materials are not needed to enjoy the activities, just your family.  Since there are so many people still displaced, Christmas might not feel the same.  Maybe this will help a dozen families find some comfort.

Christmas Advent Book Service Project

There is still work to be done, but it won’t be long now.  They will be delivered before December begins so they can start on the first.  Serving others makes even something as fun as paper crafting even more fun and rewarding.

Have a creative day!

Moana

Treats for My Boys

More little thank you treats for my wonderful TA’s.  They put up with a lot, even getting bored when I make them just sit and do homework when things are caught up.  Who doesn’t like a little treat now and again, right?

Treats for My Boys

I absolutely love this embossing folder with the retired coordinations paper.  I think they missed their calling together.  I have a ton of the early espresso coordinations paper from when it was retired and put into the clearance rack.  I think I will just make lots of fun things with these two products.

Treats for My Boys

Funny little floating heads, or moons, or pumpkins or whatever you want to call them.  They are adorable and they look great.  I really think these bags are great.  They came together really quick with scoring, folding, and sponging.  Just my kind of fun.

Treats for My Boys

Have a creative day!

Moana

A Whole Lot of Lovely Baker’s Boxes!

I tried to not purchase this particular die cut, but I fell in love with it at a workshop.  I guess that isn’t too different from the ladies I teach in my workshops.  It works for me because I just love this box!

A Whole Lot of Lovely Baker's Boxes!

This adorable box came together so quickly.  The set comes with several other dies to accent or accessorize how you like.  More than enough choices.  I just chose one of my favorite combinations of circle punches with a simple stamp framed with glimmer paper.  How absolutely lovely, right?

A Whole Lot of Lovely Baker's Boxes!

One little glue dot just below the handle was all I needed to keep the top snug to add my favorite dotted lace trim with a big bow.  I moved into my favorite sponging party and did it up right.  Simple yet so adorable.   Hope this little project finds you in a good mood and ready to try your own.

A Whole Lot of Lovely Baker's Boxes!

Have a creative day!

Moana