Workshop Fun

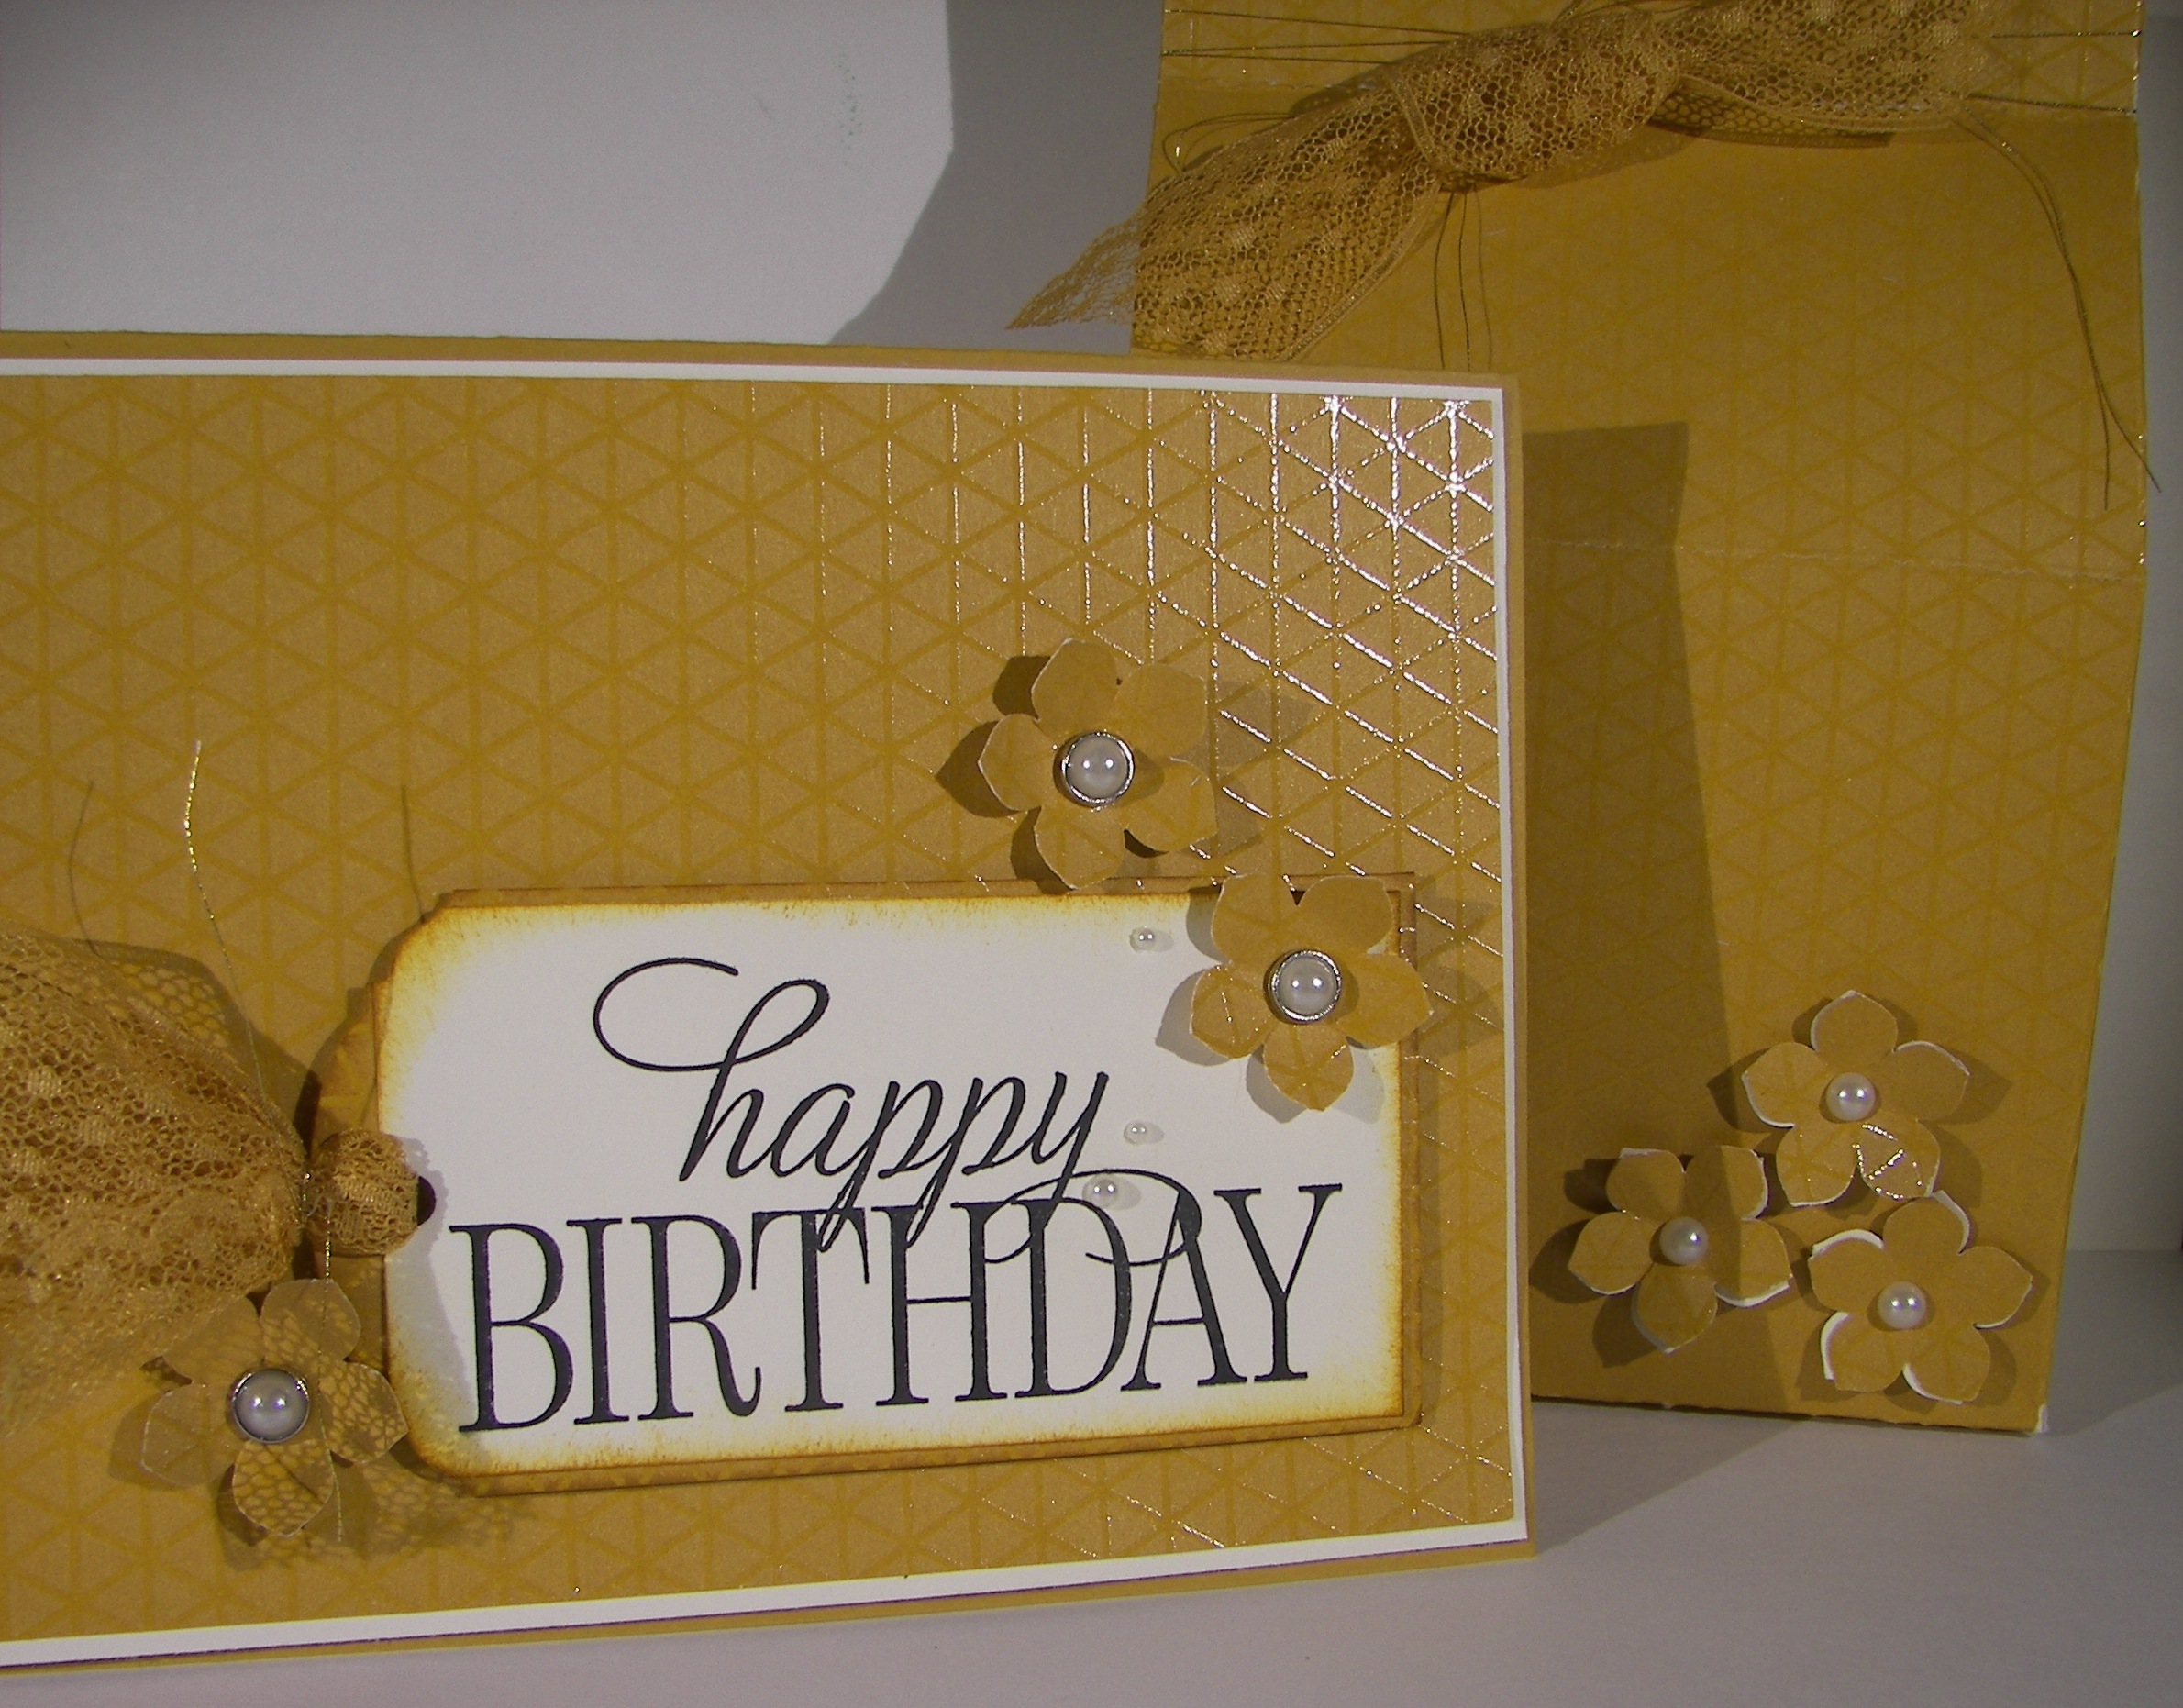
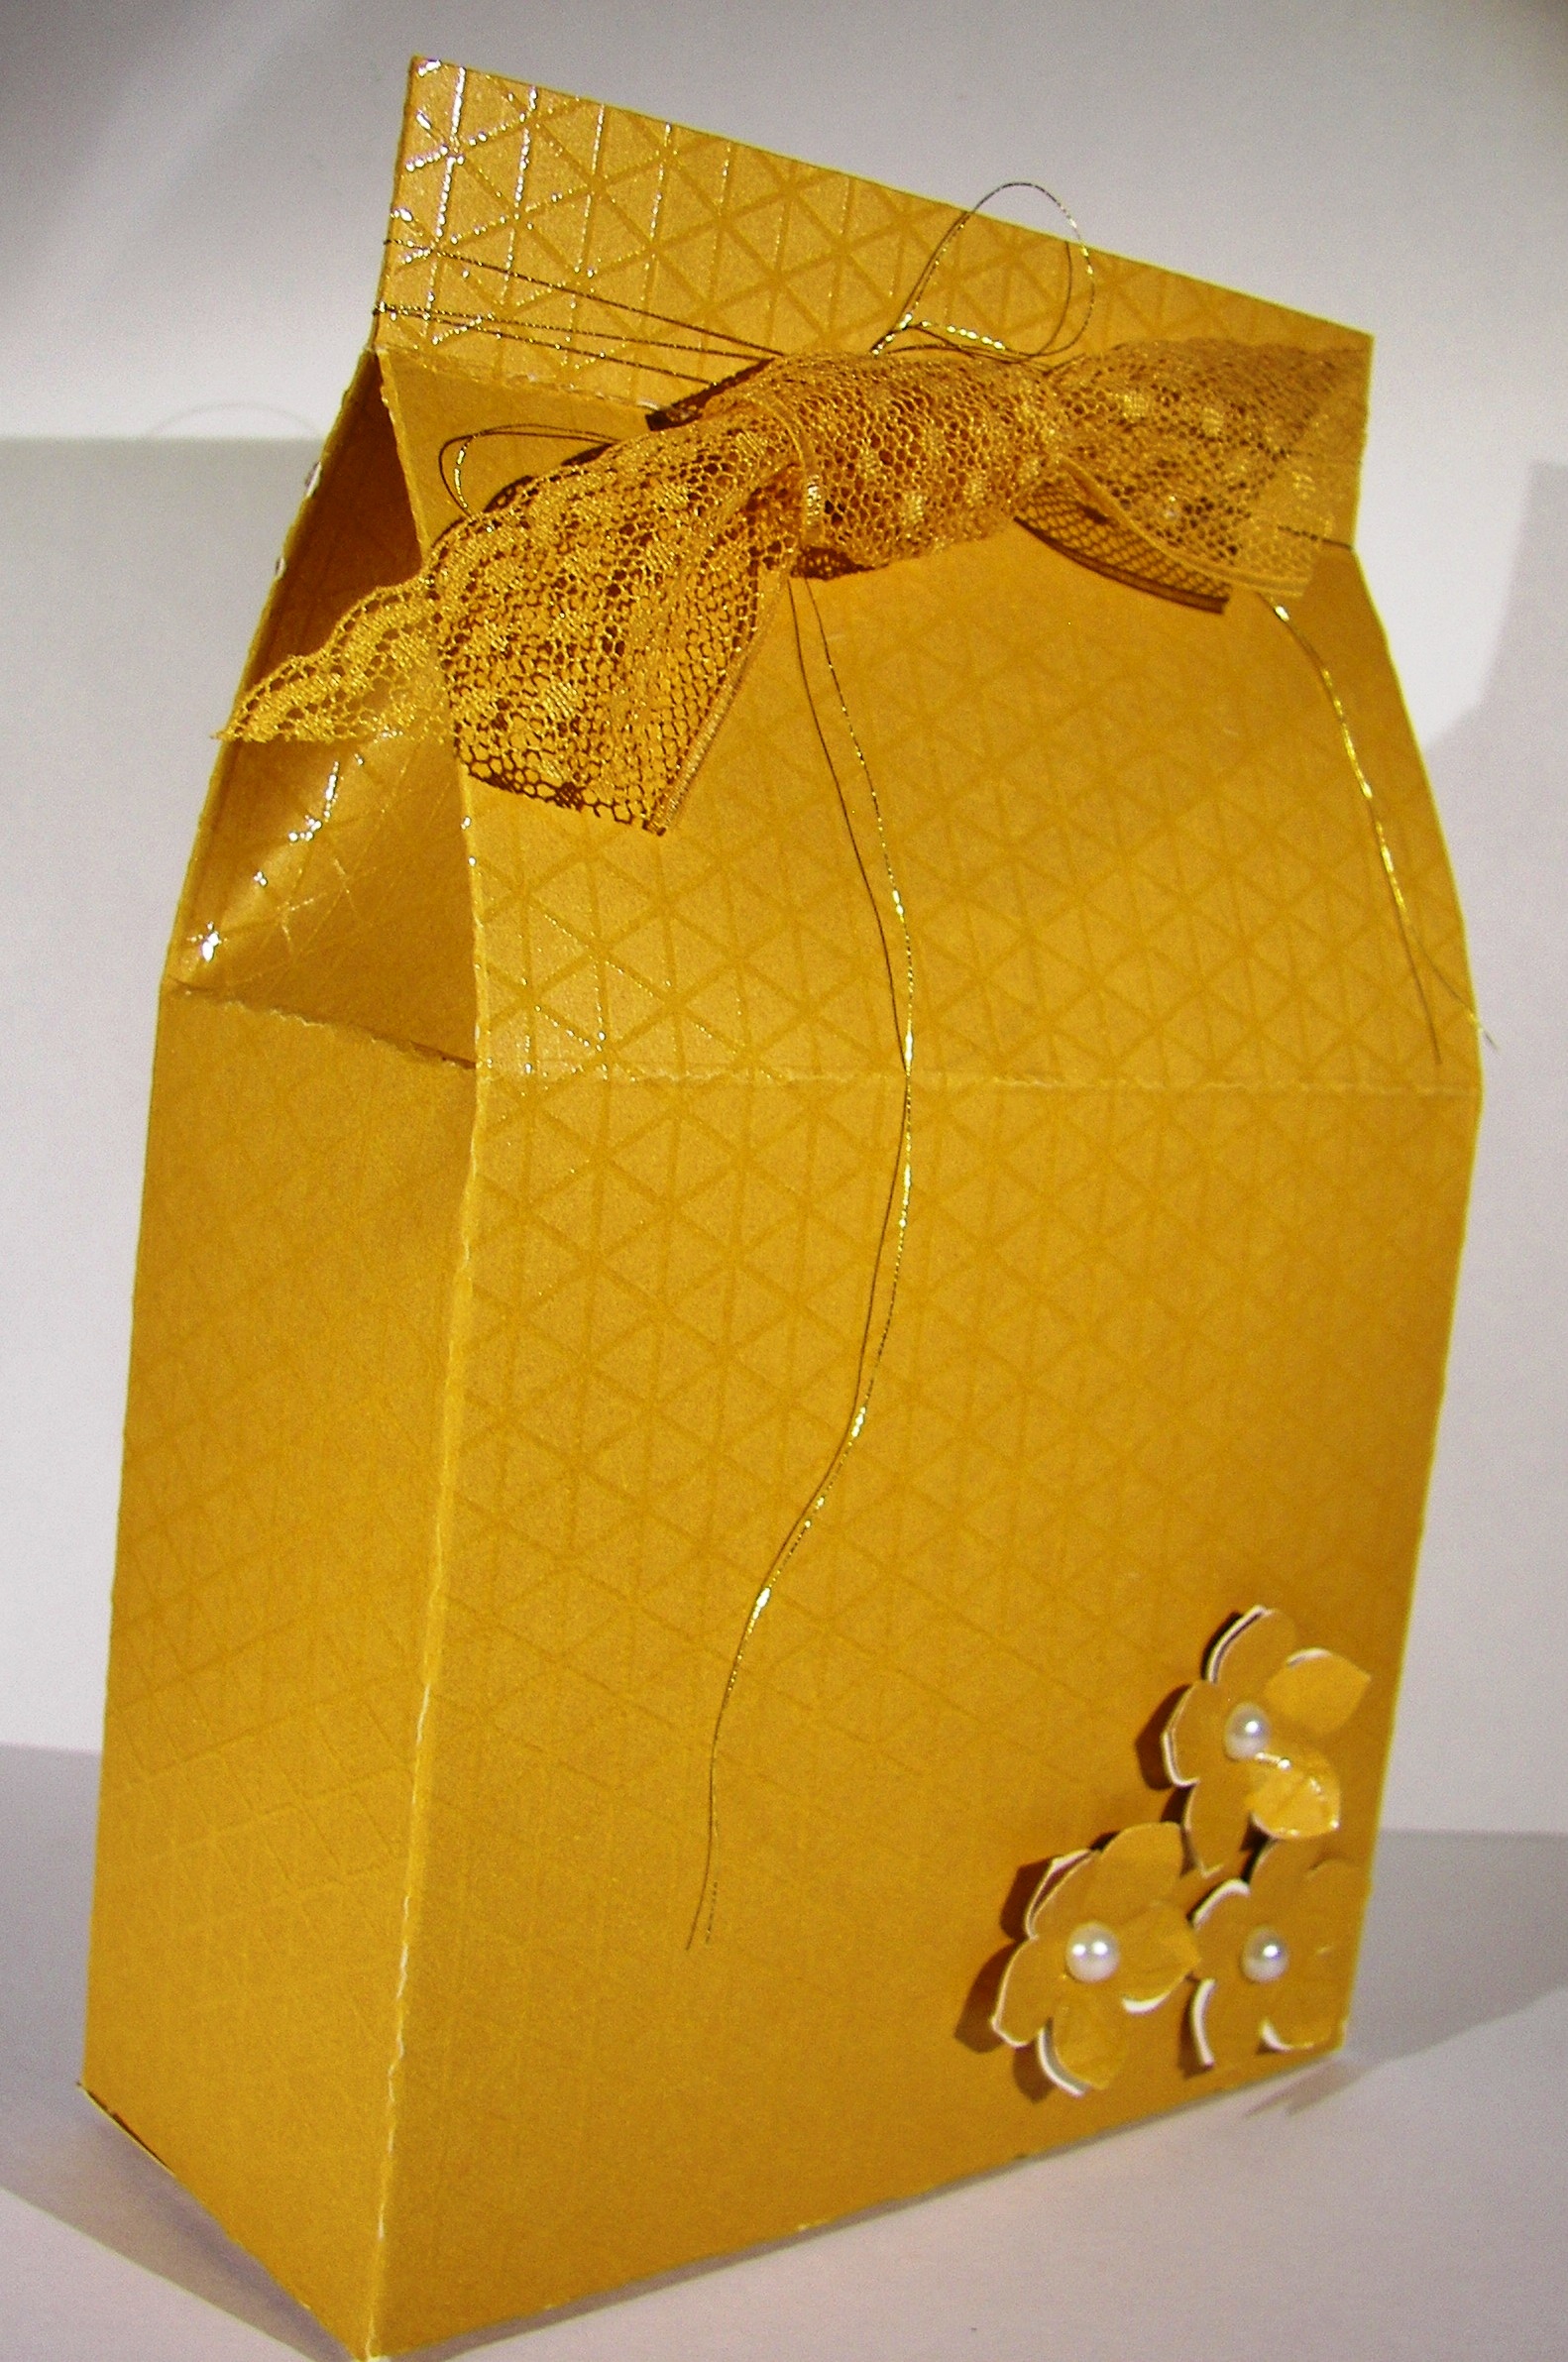
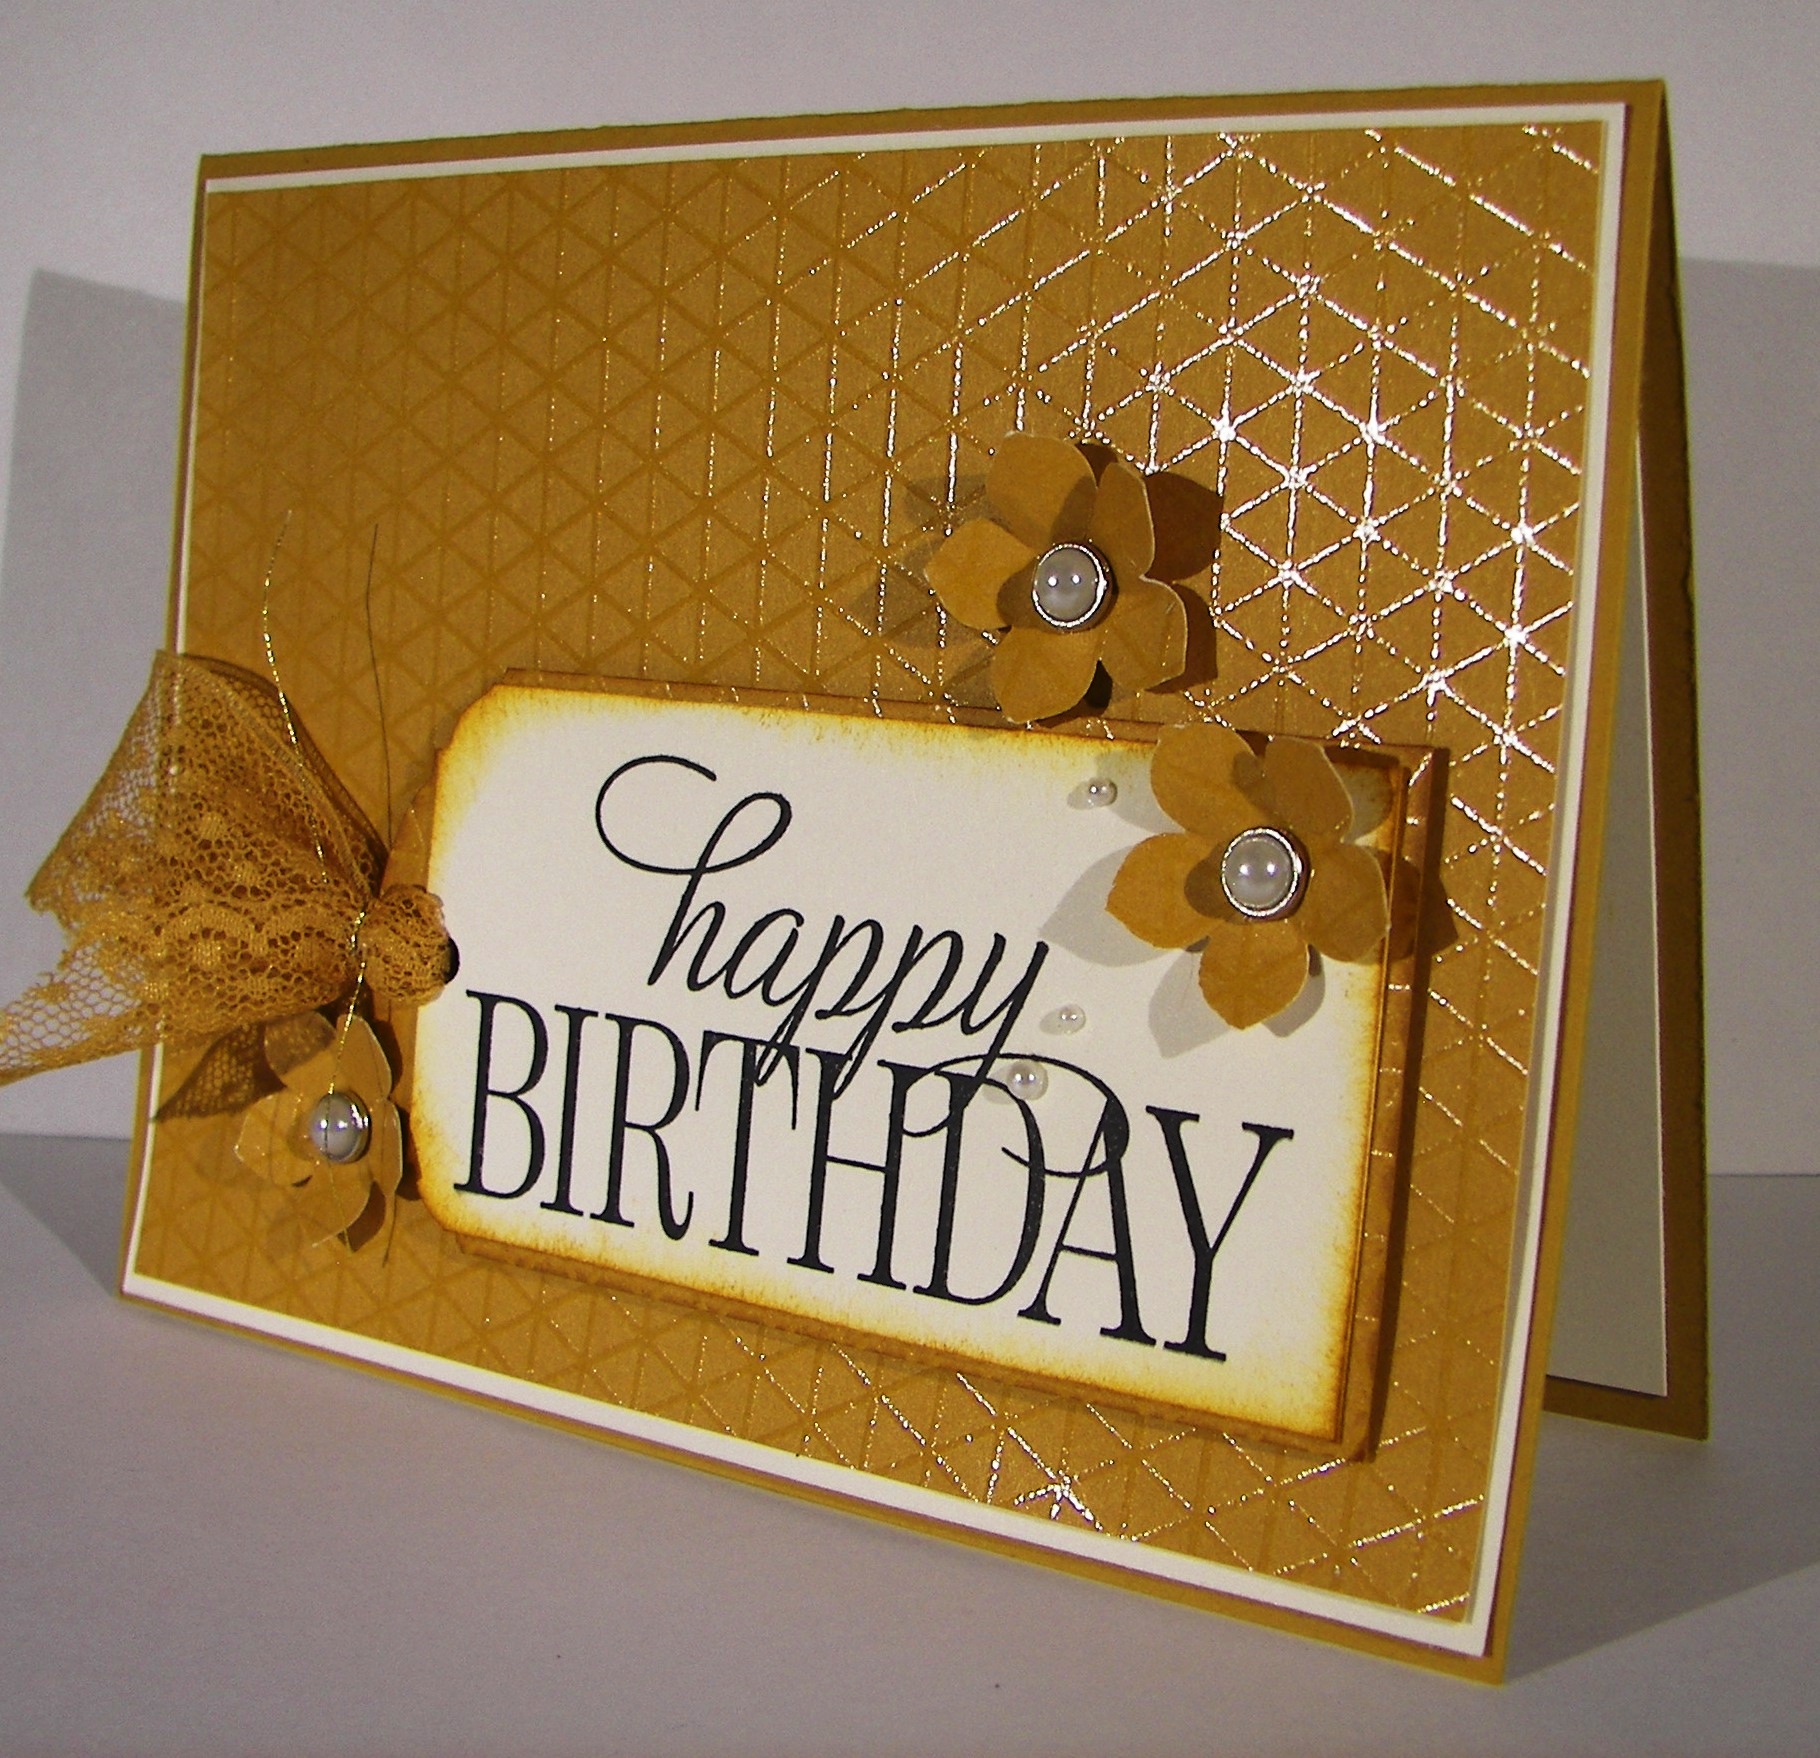
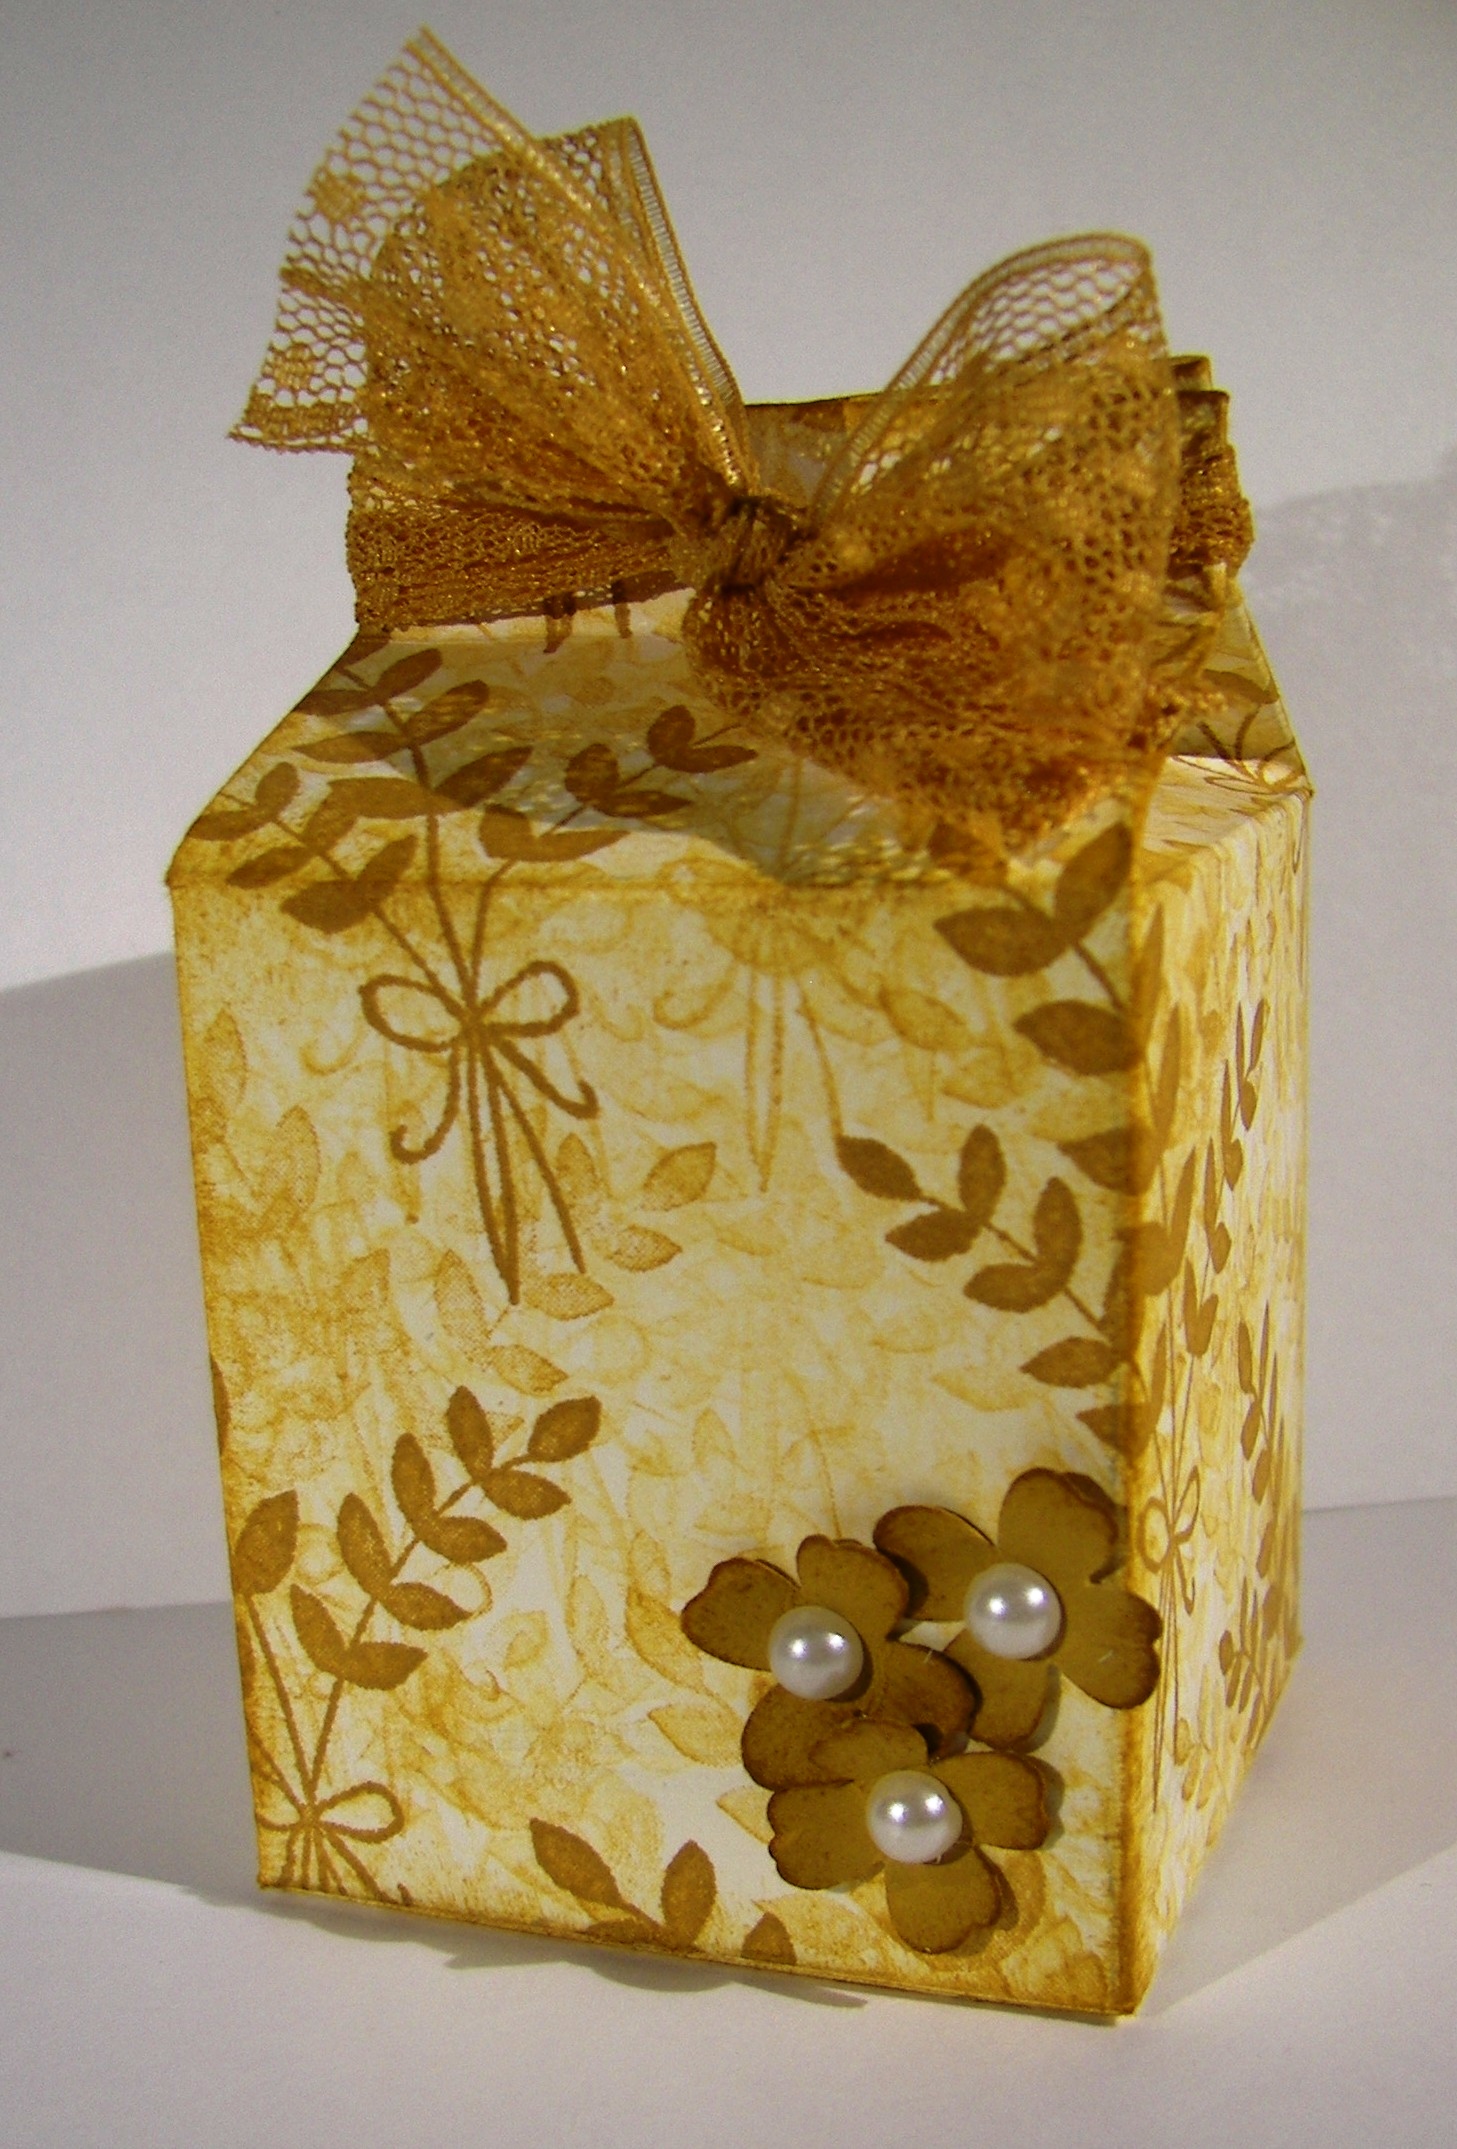
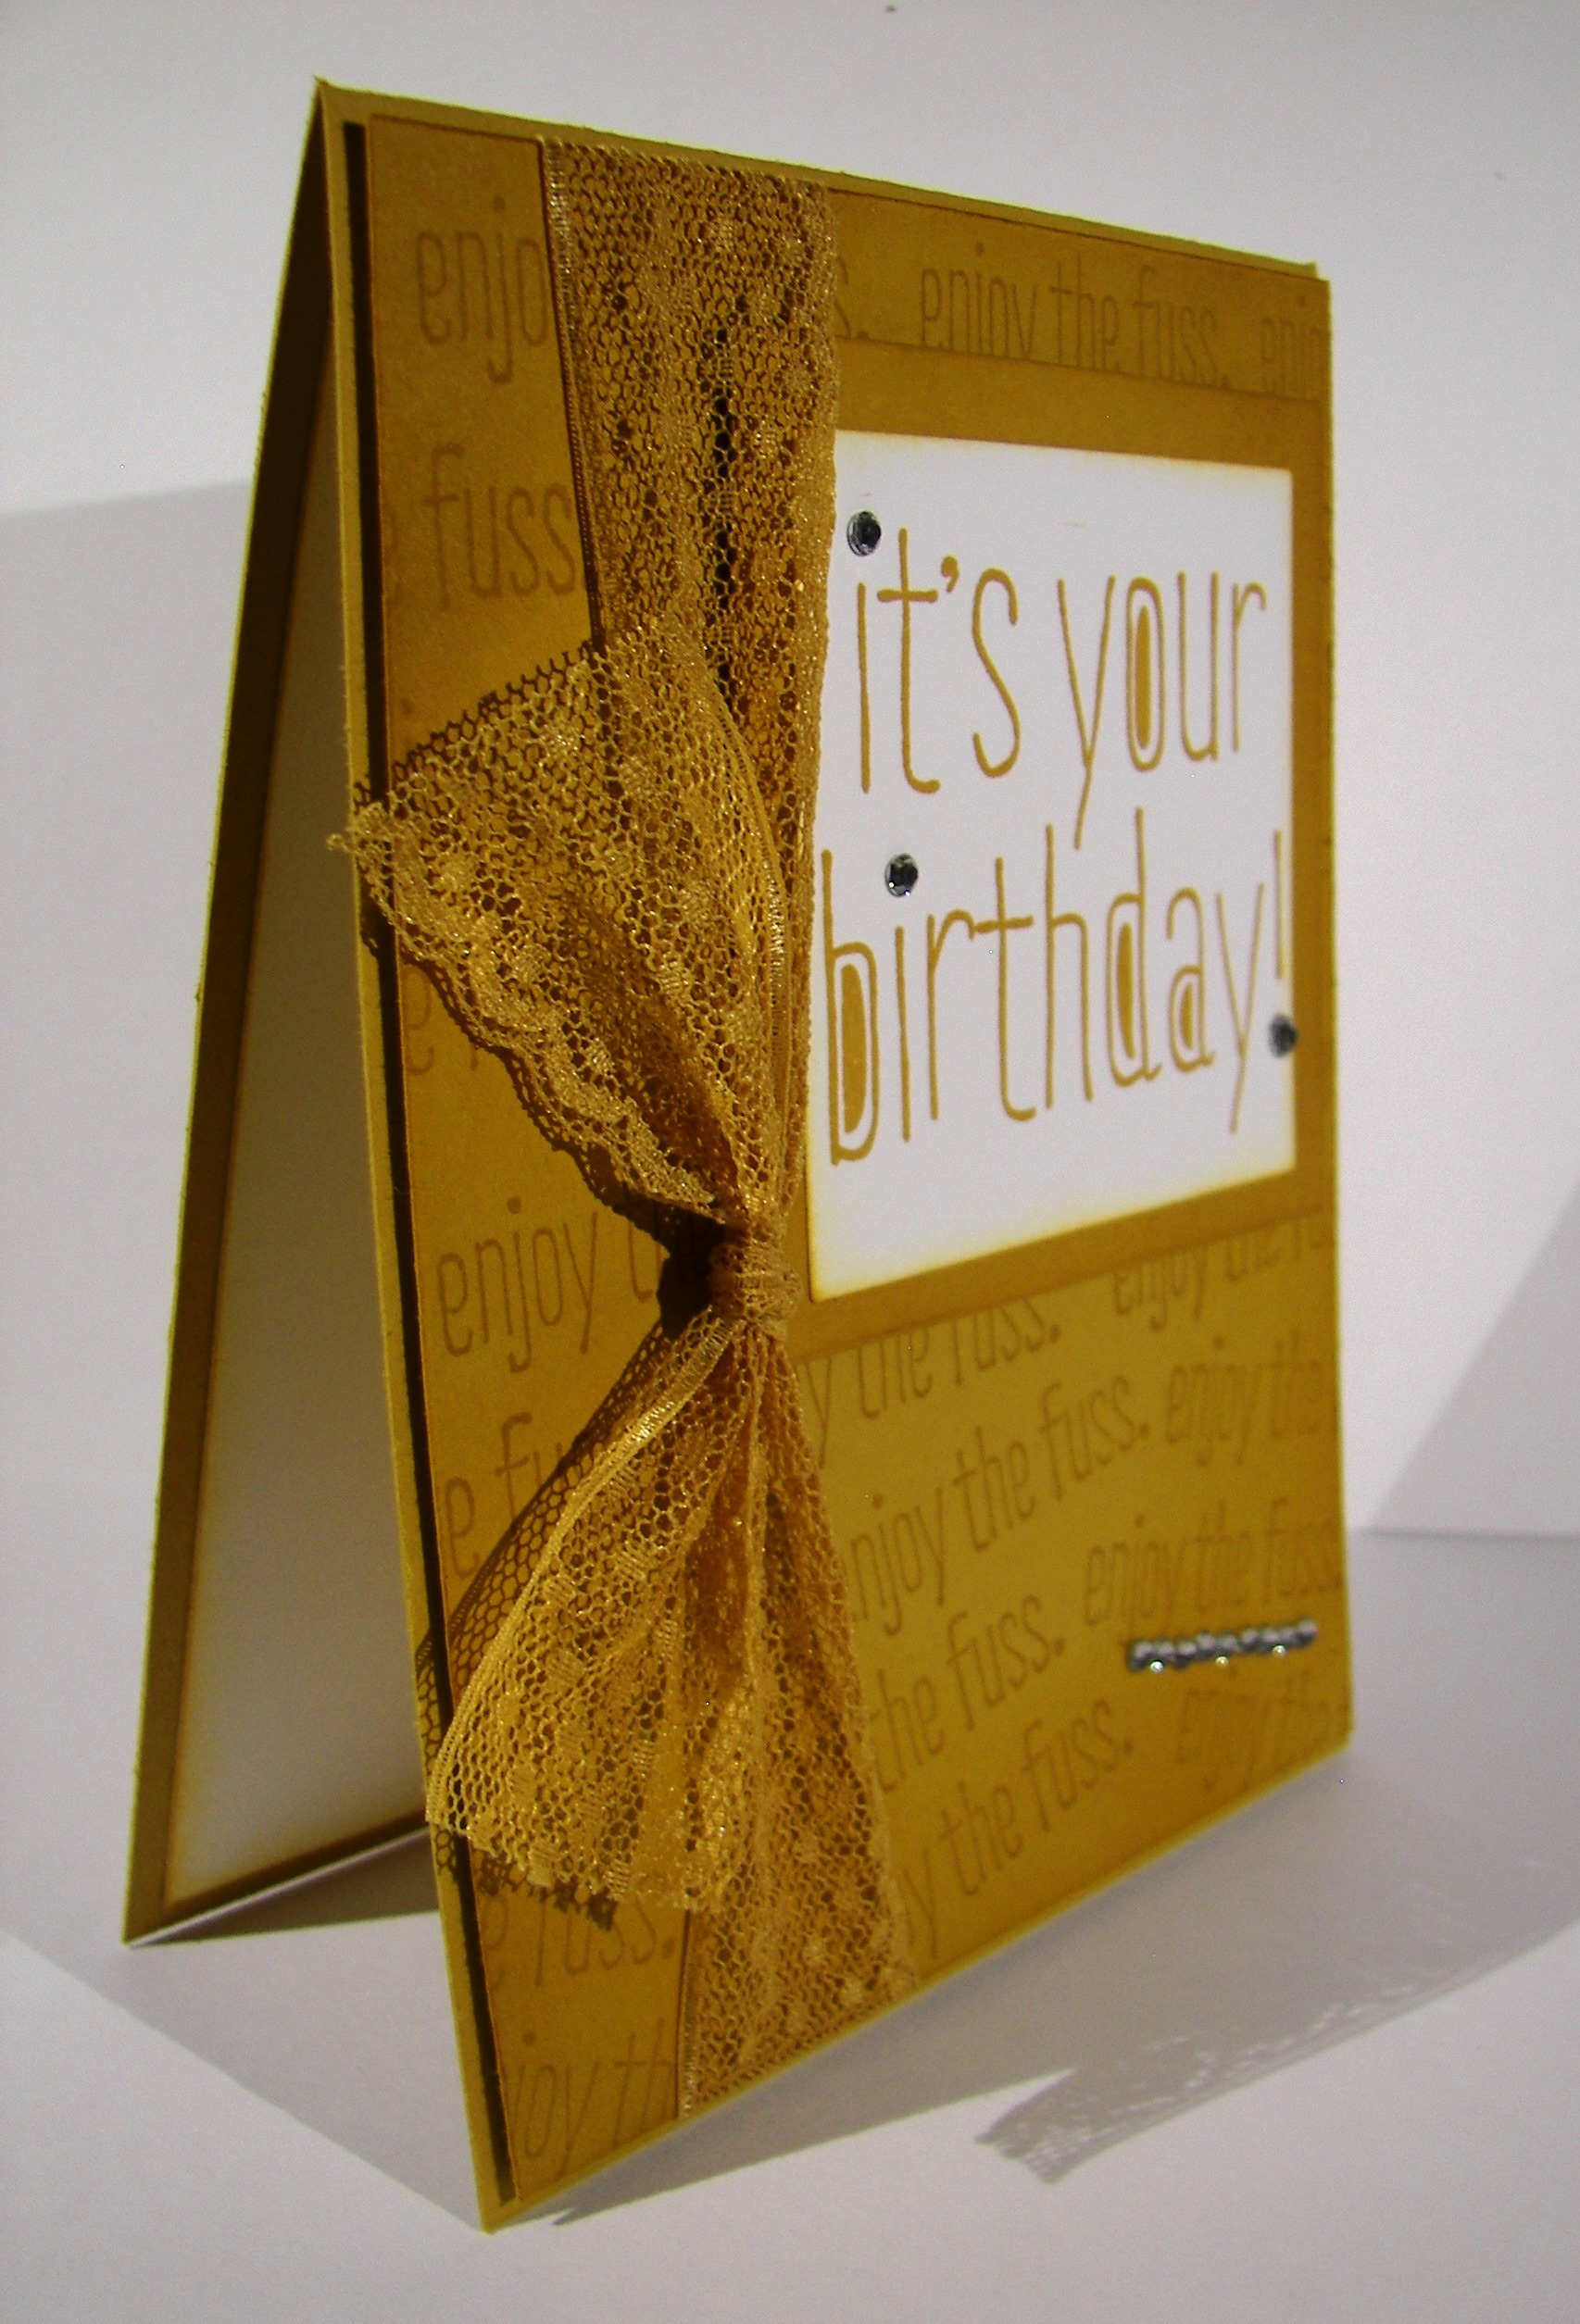
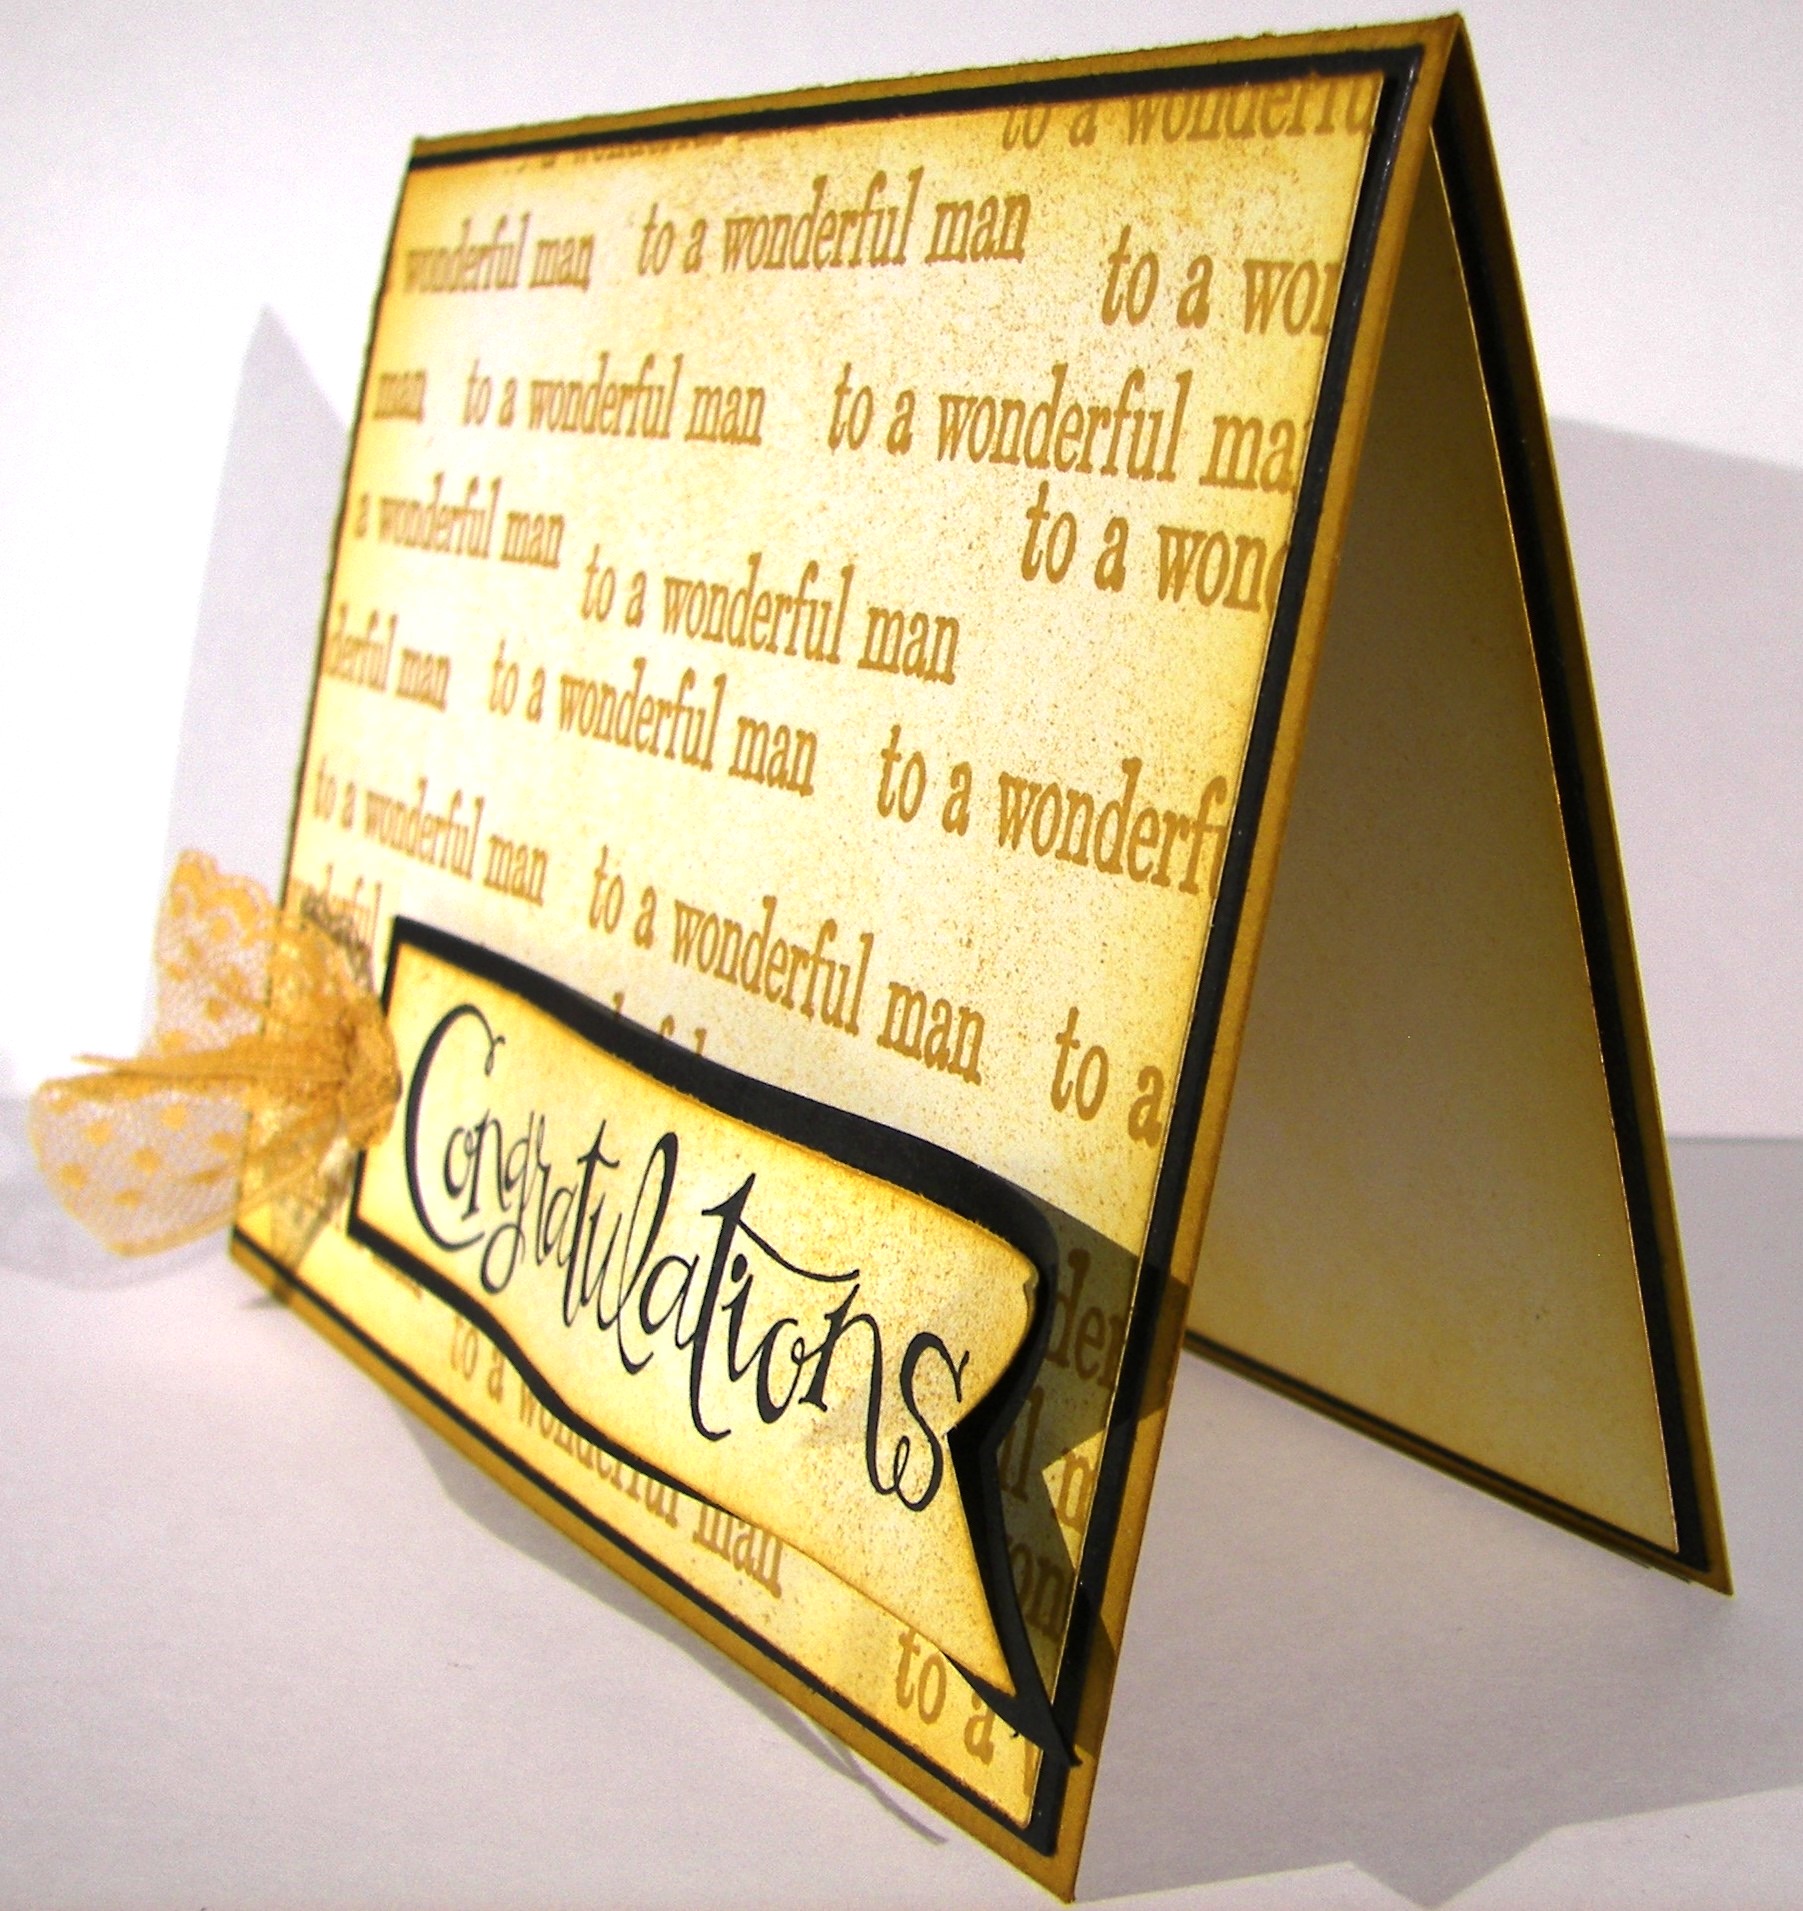
Workshop was yesterday and this is the first chance I have had to share it with you.  Two of the projects you have already seen, but this cute little pumpkin is new.

Workshop Fun

I had the opportunity to attend one day of a scrapbooking convention with all kinds of lovely things to see, touch, and of course buy.  One of the many make and takes available was this cute little pumpkin.  When my friend and I would go by this particular area, there was always someone using the stations, but I knew I wanted to try one out.  I took a few photos of the samples and did my best.

Workshop Fun

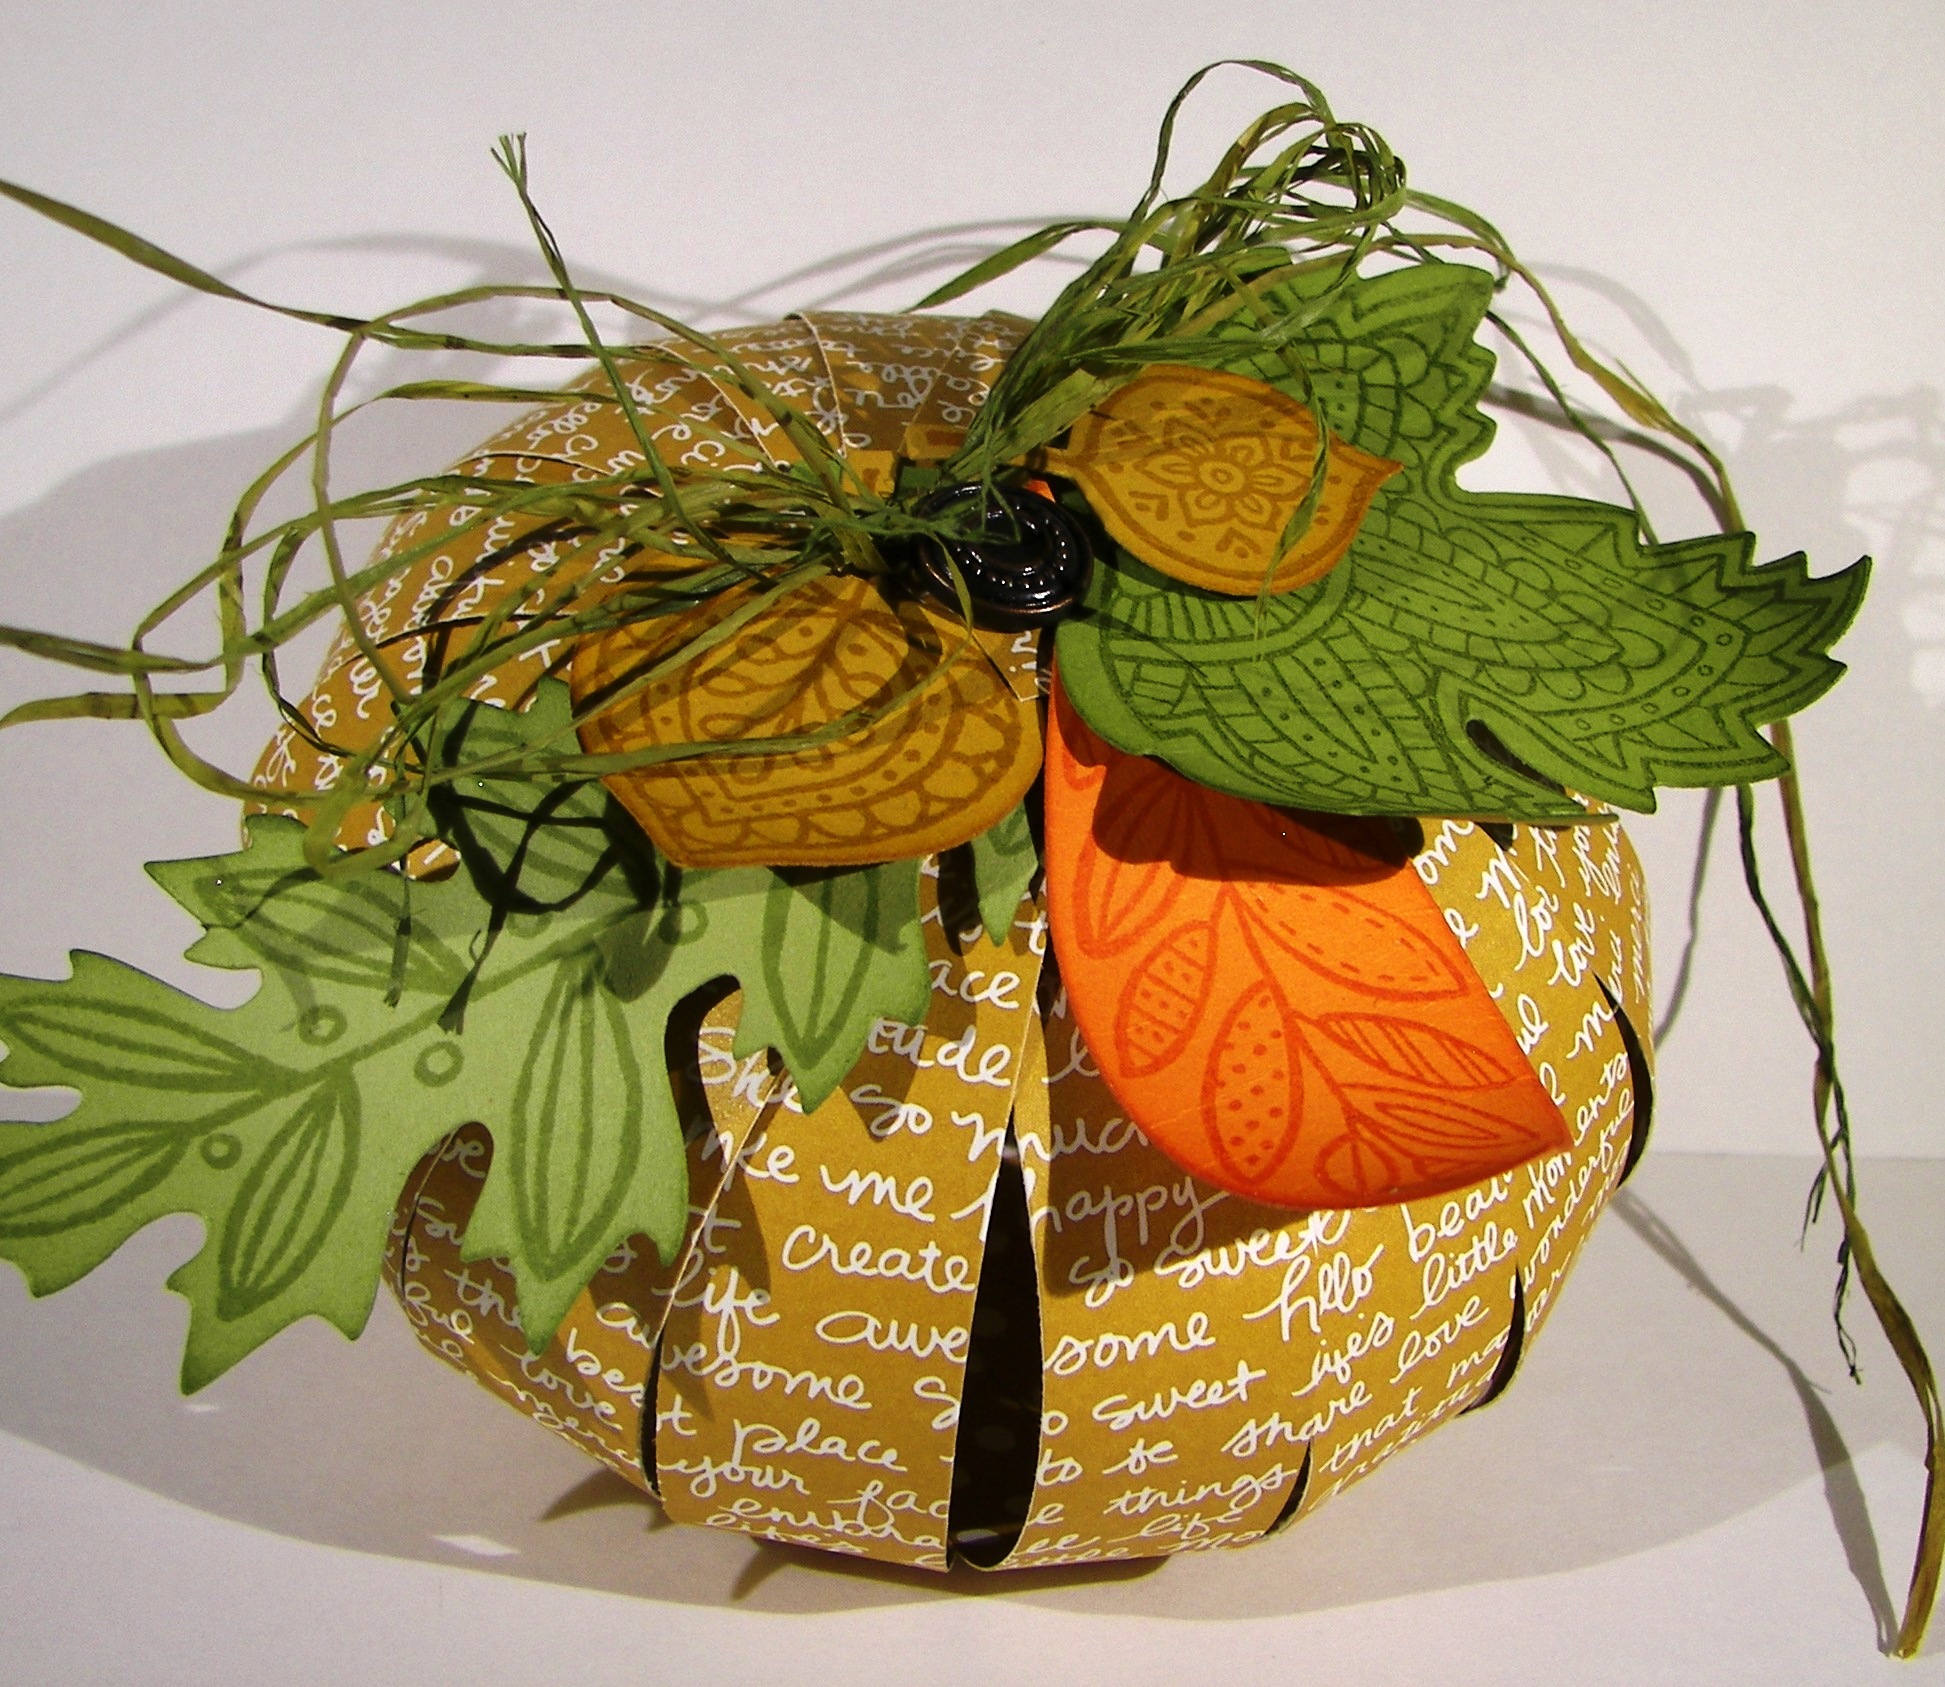
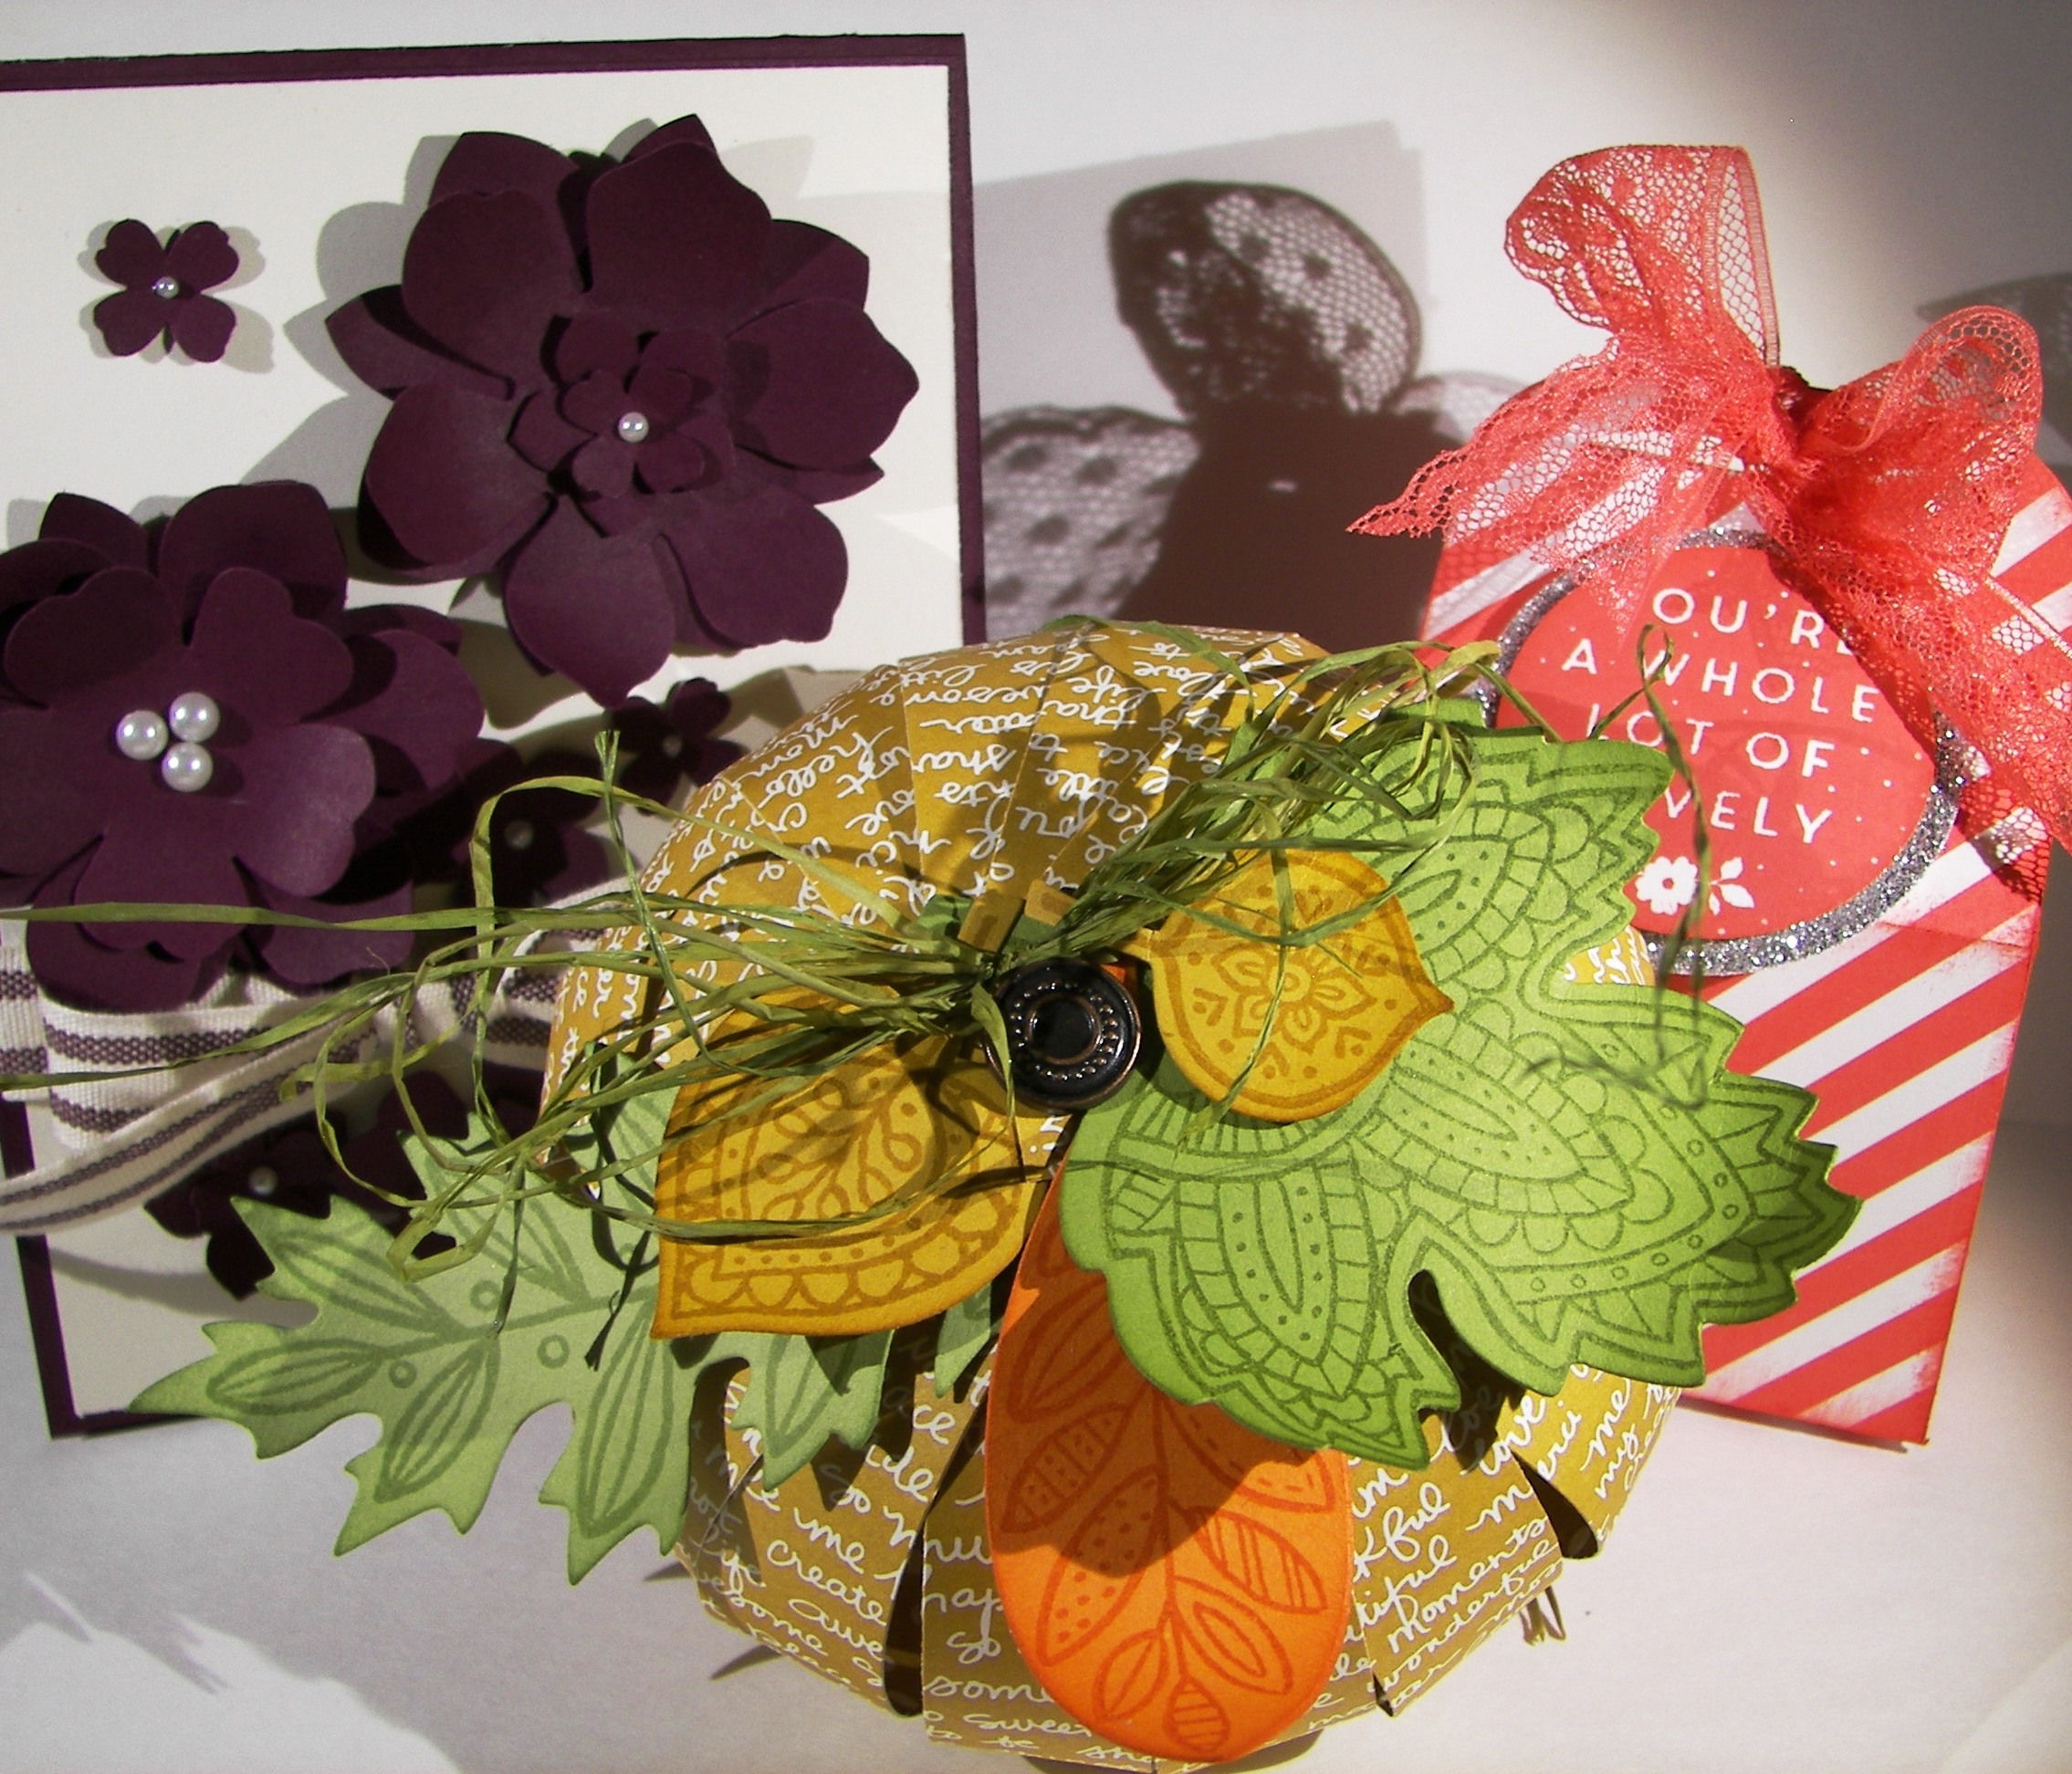
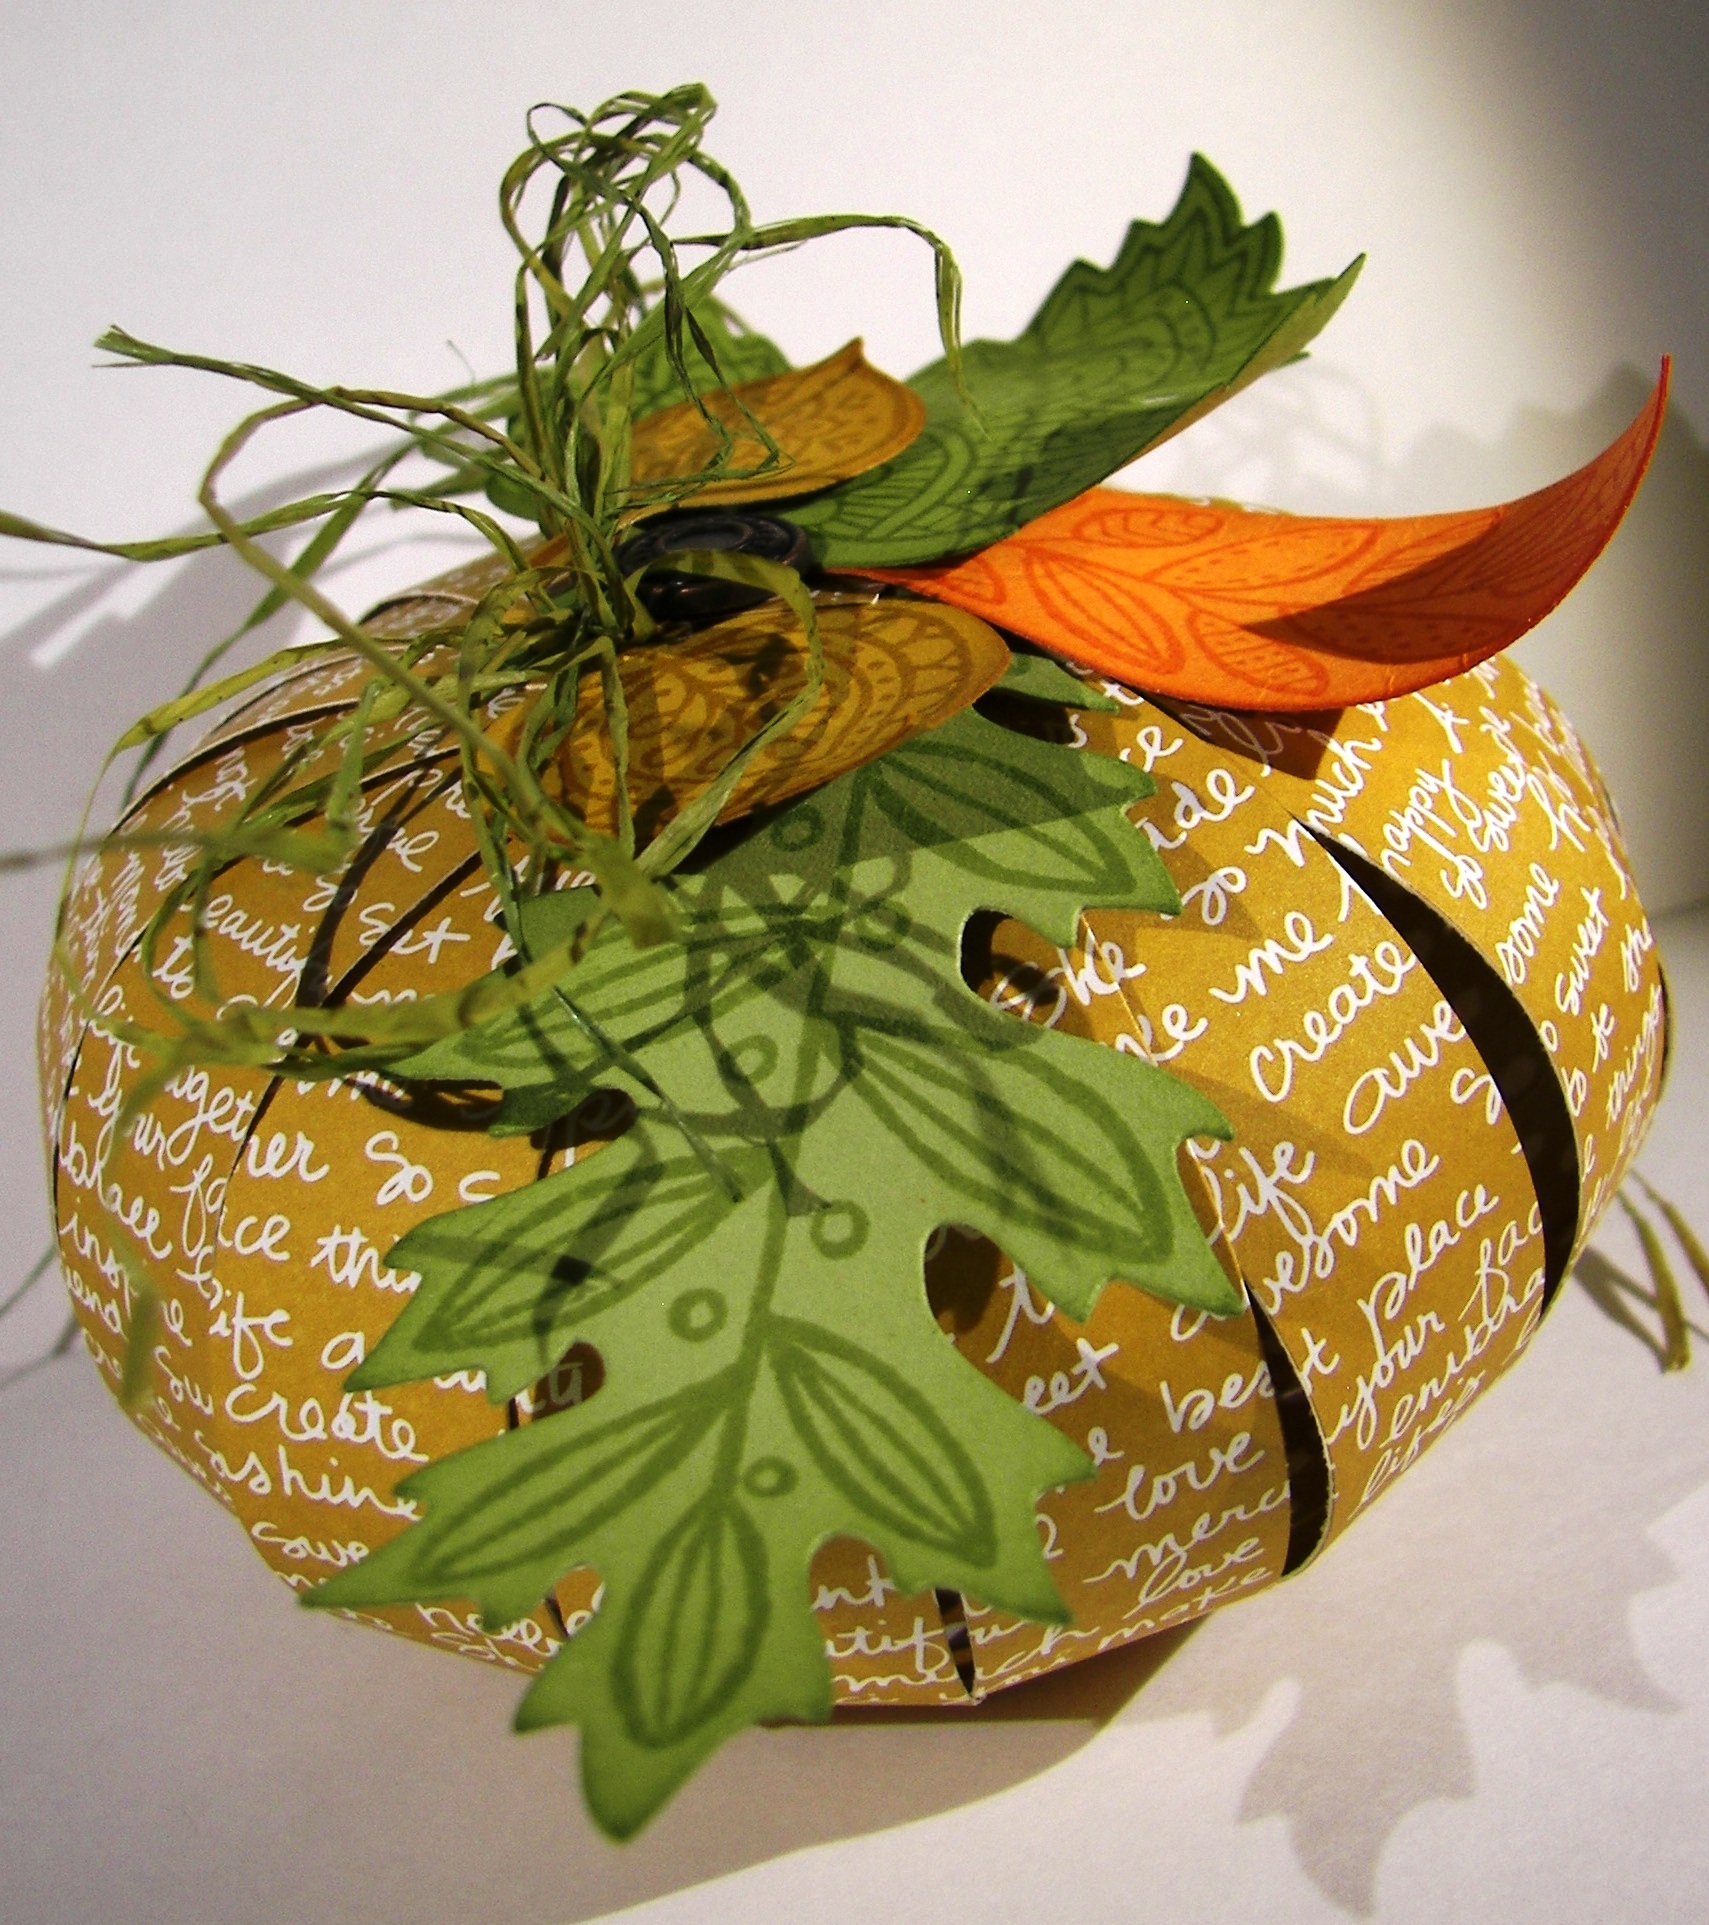
There are a few other pumpkins on my counter, but this is the one I ended up making for my workshop ladies to play with.  I used  a piece of dsp cut at 6 x 12 and cut strips measuring 3/4″.  You get 15 strips from the sheet exactly, no waste at all.  They were stacked, clipped together, and punched with the ever handy crop-o-dile at both ends.  A hearty brad was used to keep the strips together, then you just fan them out.  Promise, they fan out nicely and curl into this pumpkin.  Then stamping and die cutting the fun leaves and place them where you like.  Some of the samples had ribbon, you could top it how you like.

Workshop Fun

Have a creative evening, since the day is pretty much done.

Moana

Delightful Birthday

It has been a while since I made a matching set like this.  For a while it seemed like I couldn’t get enough of them.  But, you can only use so many, and share so many, and eventually store so many.  I took a break, but found my way back.  So much fun!

Delightful Birthday

One full sheet of the wonderful ‘Color Me Irresistible Specialty DSP’ was used to makey great set. I love that is has white sheets that can be altered to any color or tone, but I also love that it comes in colors and patterns.  The options are great, so diverse.

Delightful Birthday

A pretty gift bag with a lovely matching card has to be one of my favorite things.  I think people feel special when the attention to details are brought together like this.  The assembly was pretty direct, nothing very fancy.  Simple work and lovely results, my favorite.

Delightful Birthday

Have a creative day!

Moana

For All Things

It can be hard to get even the simple things done when you don’t quite feel yourself.  That is why today’s project is super simple, just what I needed.

For All Things

I started with a half sheet of very vanilla cardstock and scored every 2″ on the 8.5″ side which left me a 1/2″ edge to seal the box together.  I also scored along the length at 2″ to make the bottom, and at 3/4″ at the top and then 1″ over from there.  I know I am not very exact at sharing my measurements, but it works out I promise.  Oh, I did do my stamping before I scored, forgot to mention that.

For All Things

I have held the box together using the tear n tape adhesive.  I do like that stuff, easier to work with than sticky strip.  The flaps are folded together and adhered with the same and then I got to sponging.  All the edges and even on these bitty little flowers.  I love that look!  I put the largest basic pearls inside each flower and grabbed for a scrap of ribbon.  The dotted lace trim has a good bit of stretch to it, so it is held on just by that.  Not a glue dot or anything.  That makes it easy to use and re-use.  A simple bow and it was all done!

For All Things

Have a creative day!

Moana

I Cased Myself! Eeeek!

I have the pleasure of hosting a card workshop for my club this weekend and decided I would use yesterday’s project as one of our projects.  I do like to give them choices and encourage a bit more creativity, so I cased myself to give them another choice.  Too fun I must say.

I Cased Myself!  Eeeek!

Same kind of layout as yesterday, but I made my background paper instead of using designer series paper.  Choices, like I said.  And I love to encourage people to use their stamps differently.  This qualifies for sure.

I Cased Myself!  Eeeek!

I used the pumpkin face from the seasonal stamp set Sparkly Seasons.  That is one diverse set, absolutely love it!  I stamped the faces alternate directions using black stazon first.  Then I went back over them to create a shadow/3D look.  It turned out fun.  I will use that technique again for sure.

I Cased Myself!  Eeeek!

When I put the eyes on I placed them over the pumpkin eyes and got a mouth out of it.  So cute.  Then I had the eyes turned to face the word eek and the card was done.  I did use the same pumpkin face for a bit of echo stamping inside.  Just right if you ask me.

Have a creative day!

Moana

Journal Inspired Butterfly Basics

My husband bought this pretty journal and I immediately took it to my desk to stare it down.  I just knew there was a card in there somehow.  Well, after sharing swaps for nearly two weeks my creative bug was on high alert.  I sat down last night and gave myself some time to go at it.  And I did.

Journal Inspired Butterfly Basics

Isn’t is uncanny how close the colors are?  I guess that is why I migrated to it.  I have other off market stamps that might have gotten closer to the tree, but I really wanted to get my brain in gear for workshop this weekend.  I couldn’t be happier with the end result.

Journal Inspired Butterfly Basics

The borders are a narrow 1/8″, my favorite.  I bravely opened up my new elegant dots embossing folder and rubbed Stazon all over one side and then ran it through the  big shot.  I loved the result, and most of the ink came off.

Journal Inspired Butterfly Basics

I used lots of butterfly framelits and layered everybody up.  The smaller one has two black die cuts over the delightful dijon layer.  Light sponging made everything look a little grungy and tied it together.  There is a little stamping inside, as well as more sponging.  I used plenty of glue dots to hold the butterflies together and layered like crazy with dimensionals.  So fun!

Have a creative day!

Moana

Thoughts & Prayers, Praying For You

How weird is it to make a card with yourself in mind?  I have to think that sometimes that is more than okay.  More than okay, it is a great idea!

Thoughts & Prayers, Praying For You

I have to say that I am proud of this little card though.  My thoughts were more than scattered as I sat down to work.  I have a small stack of scraps to the side that I just haven’t filed back.  Today I made this project entirely from scrap, with the exception of the pearls and ribbon.  How cool is that!

Thoughts & Prayers, Praying For You

That makes my work easier, cleans up that little stack, and keeps my main stash of paper untouched for one more day.  I do feel a paper order coming on though.

Thoughts & Prayers, Praying For You


I love love love this brick embossing folder.  It makes so many fun looks and I love how it is 6×6 so I can have my bricks facing how I want regardless of my paper direction.  Wheeee!

Have a creative day!

Moana

You’re So Vintage

I have been doing so many floral projects I thought I should bring out something different.  I have been waiting to use this stamp set, it is so different and funny to me.  The sentiment reminds me of something out of my elementary school wardrobe.  I might have had matching jeans, how exciting.

You're So Vintage

I am more happy with the sentiment layer than the rest, but I am happy enough with it to make up for the other.  It seems like the star boarder punch was a bit much, but I kept it there.  The colors though, they are spot on.  They were cool then and have made it around to be cool again.  How fun is that?

You're So Vintage

I knew I wanted to use markers to make the words different colors, but I wasn’t sure how it would react on the photopolymer.  By the time I did the last word the others had beaded up quite a bit.  I went over them, huffed a lot, and used my foam mat.  It still came up all splotchy.  However, it was perfect for the phrase!  I am so happy with it!  It looks extra cool for sure.  I almost created a lava lamp to go along, but relaxed on that front.

You're So Vintage

I can’t wait to try this out on other stamps and see which ones still look awesome. Floral stamps could look water colored even.  One adventure at a time.

Have a creative day!

Moana

Birthdays are Big News!

This is definitely a bit of a crazy card.  I wanted a little more order to the stamping on the background, but didn’t have the patience.  Blogging ahead like I am, Utah trip and pioneer trek remember, has made me run a little short on patience.  I just went with it and decided I liked it after all.

Birthdays are Big News!

There may be lace and a bit of bling here, but I thought it could work for a guy as well, maybe.  This new color delightful dijon is starting to grow on me.  It took a while for summer starfruit to get anywhere with me, but I ended up being so sad when it retired and find myself missing it.  This is much darker, but I am starting to get there.

Birthdays are Big News!

This project was a real quick put together.  Just a couple of square framelits, some simple stamping, a bit of sponging and it was done.  Then I wanted to put a bit of bling on and even underlined with rhinestones one of the ‘enjoy the fuss’ sentiments.  Good stuff for sure.

Birthdays are Big News!


I have added another birthday card to the stash.  There never seems to be an end to the need for birthday cards.  Especially when you know so many wonderful people!  A great thing to be able to do.

Have a creative day!

Moana

Congratulations to a Wonderful Man

Yesterday was such a wonderful day for my family, especially my husband.  He was able to participate in a graduation ceremony for earning his masters degree.  Working full time, teaching early morning religion classes, and completing his program in eighteen months with straight A’s.  Congratulations to a Wonderful Man, truly.  A card doesn’t sum up an accomplishment like that, but I needed somewhere to write the words that would.  Perfect solution.

Congratulations to a Wonderful Man

The new stamp set Happy Birthday, Everyone is obviously more versatile that just birthdays.  I used  one of the many phrases included in this host set to make my background paper.  I just stamped it over and over again, not even trying to be straight, and it turned out pretty well.  I added the congratulations from the Sassy Salutations set.  I used black paper as well to emphasize the main sentiment, all about the congratulations here.

Congratulations to a Wonderful Man

Even though it was for my husband, I though I could get away with a little of the dotted lace trim.  Almost compulsory there since it is new and coordinates so well.  I only used a tiny amount, no bows or anything.  Welcome to yet another wonderful In-Color.  Glad to have you Delightful Dijon!

Have a creative day,

Moana