Lovely Amazing You

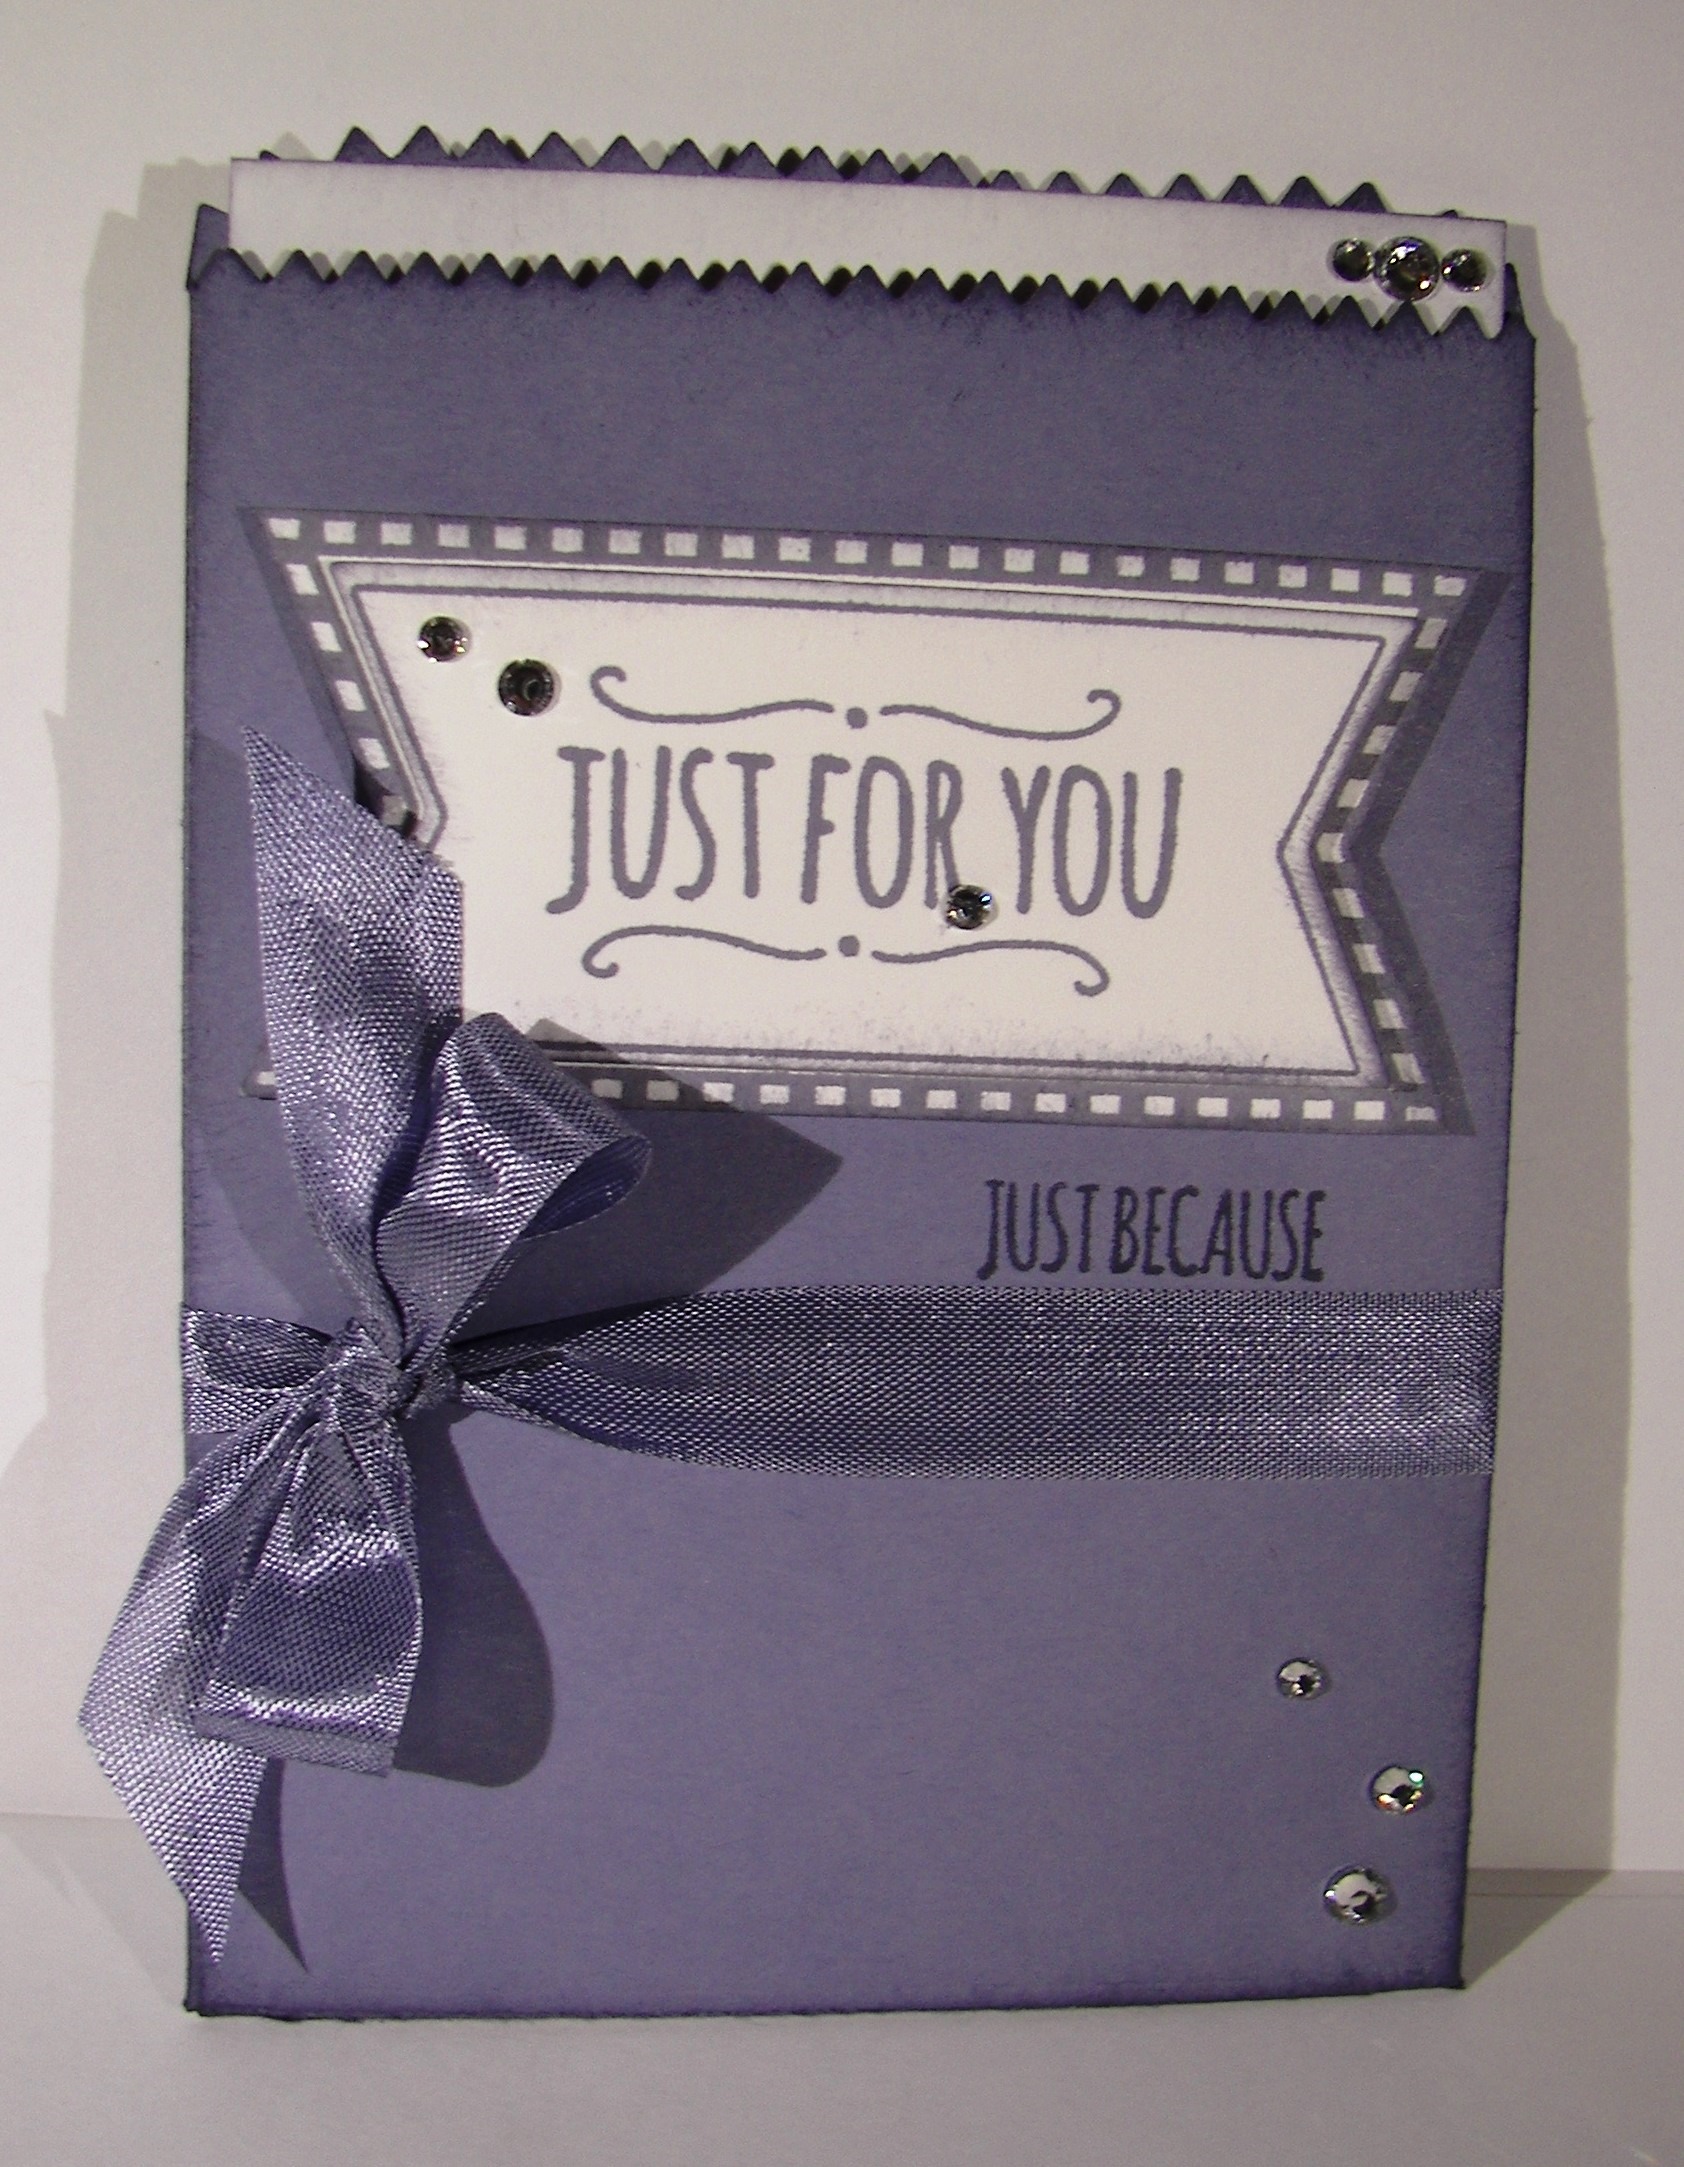
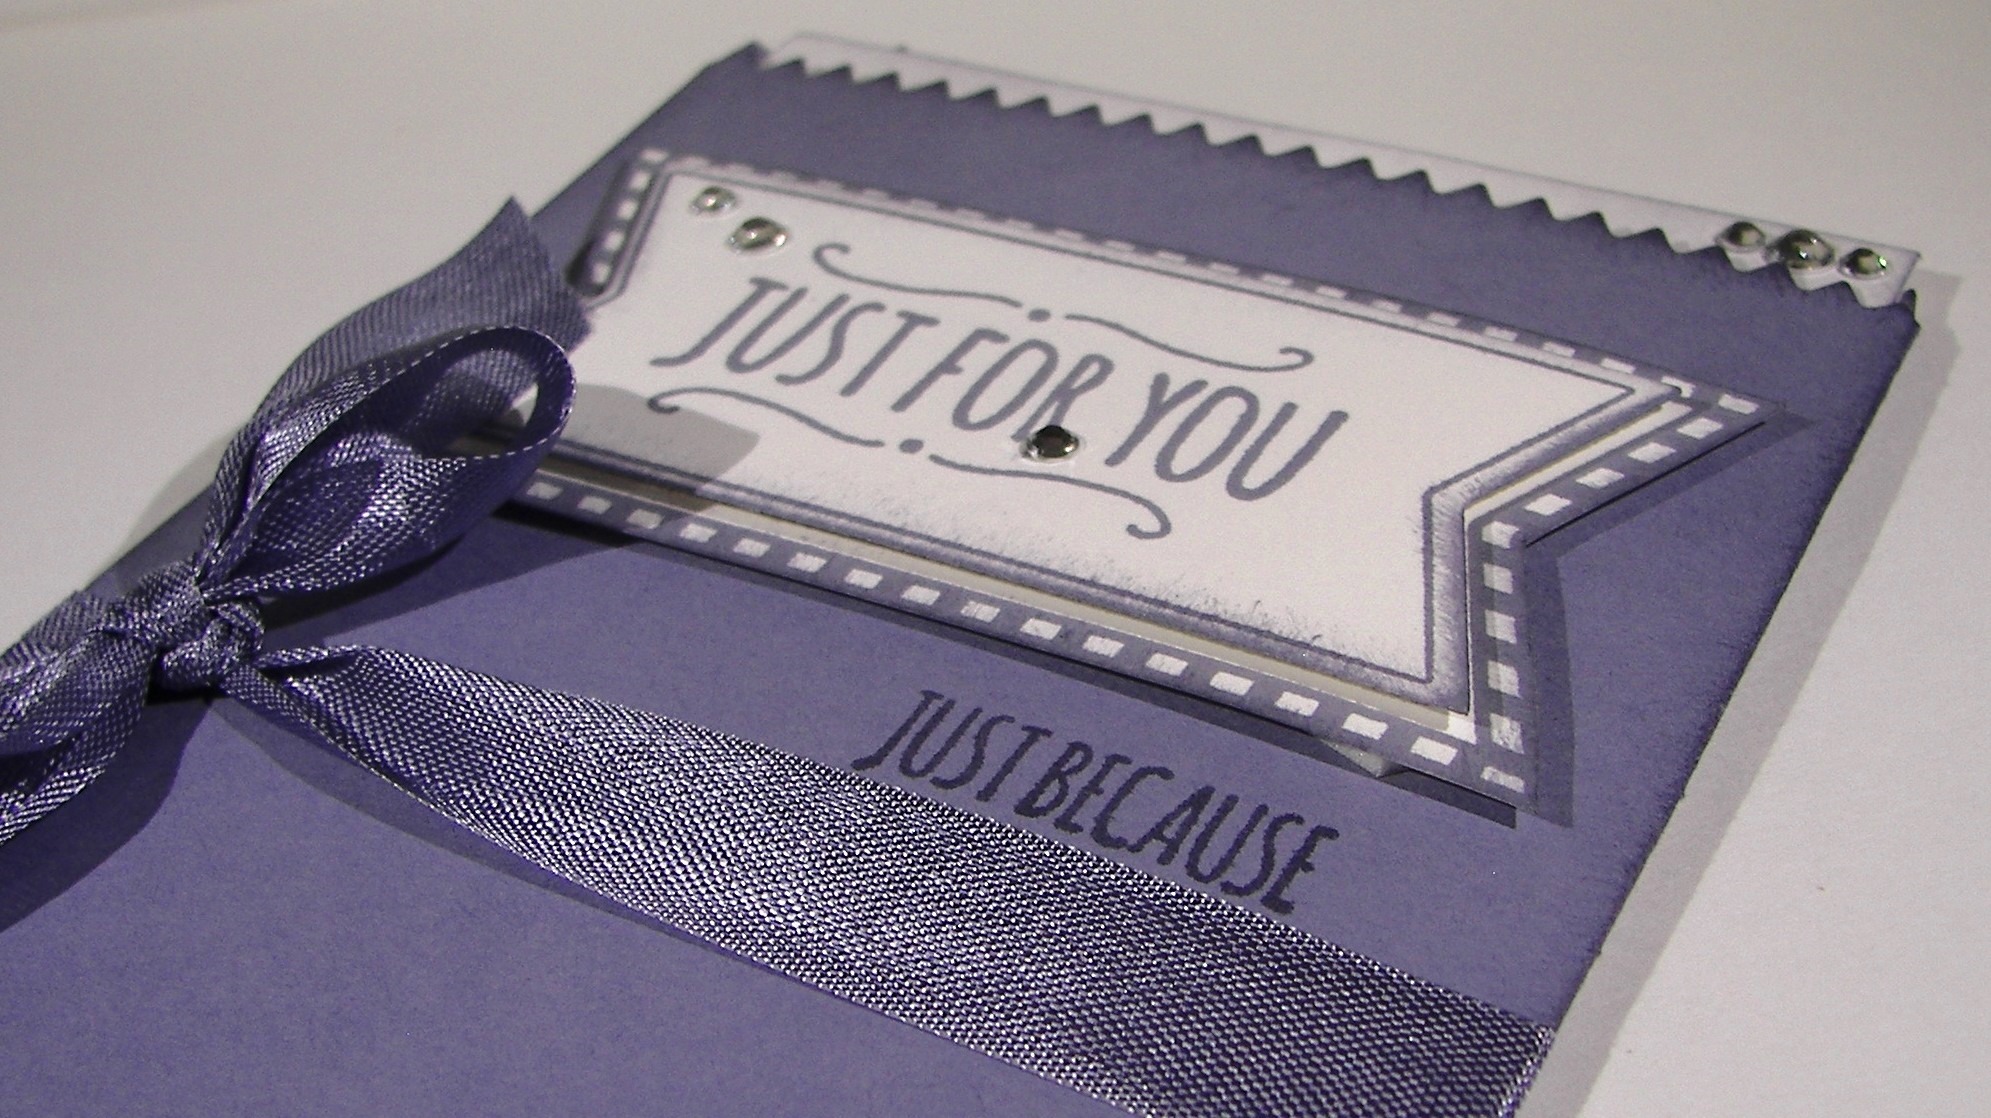
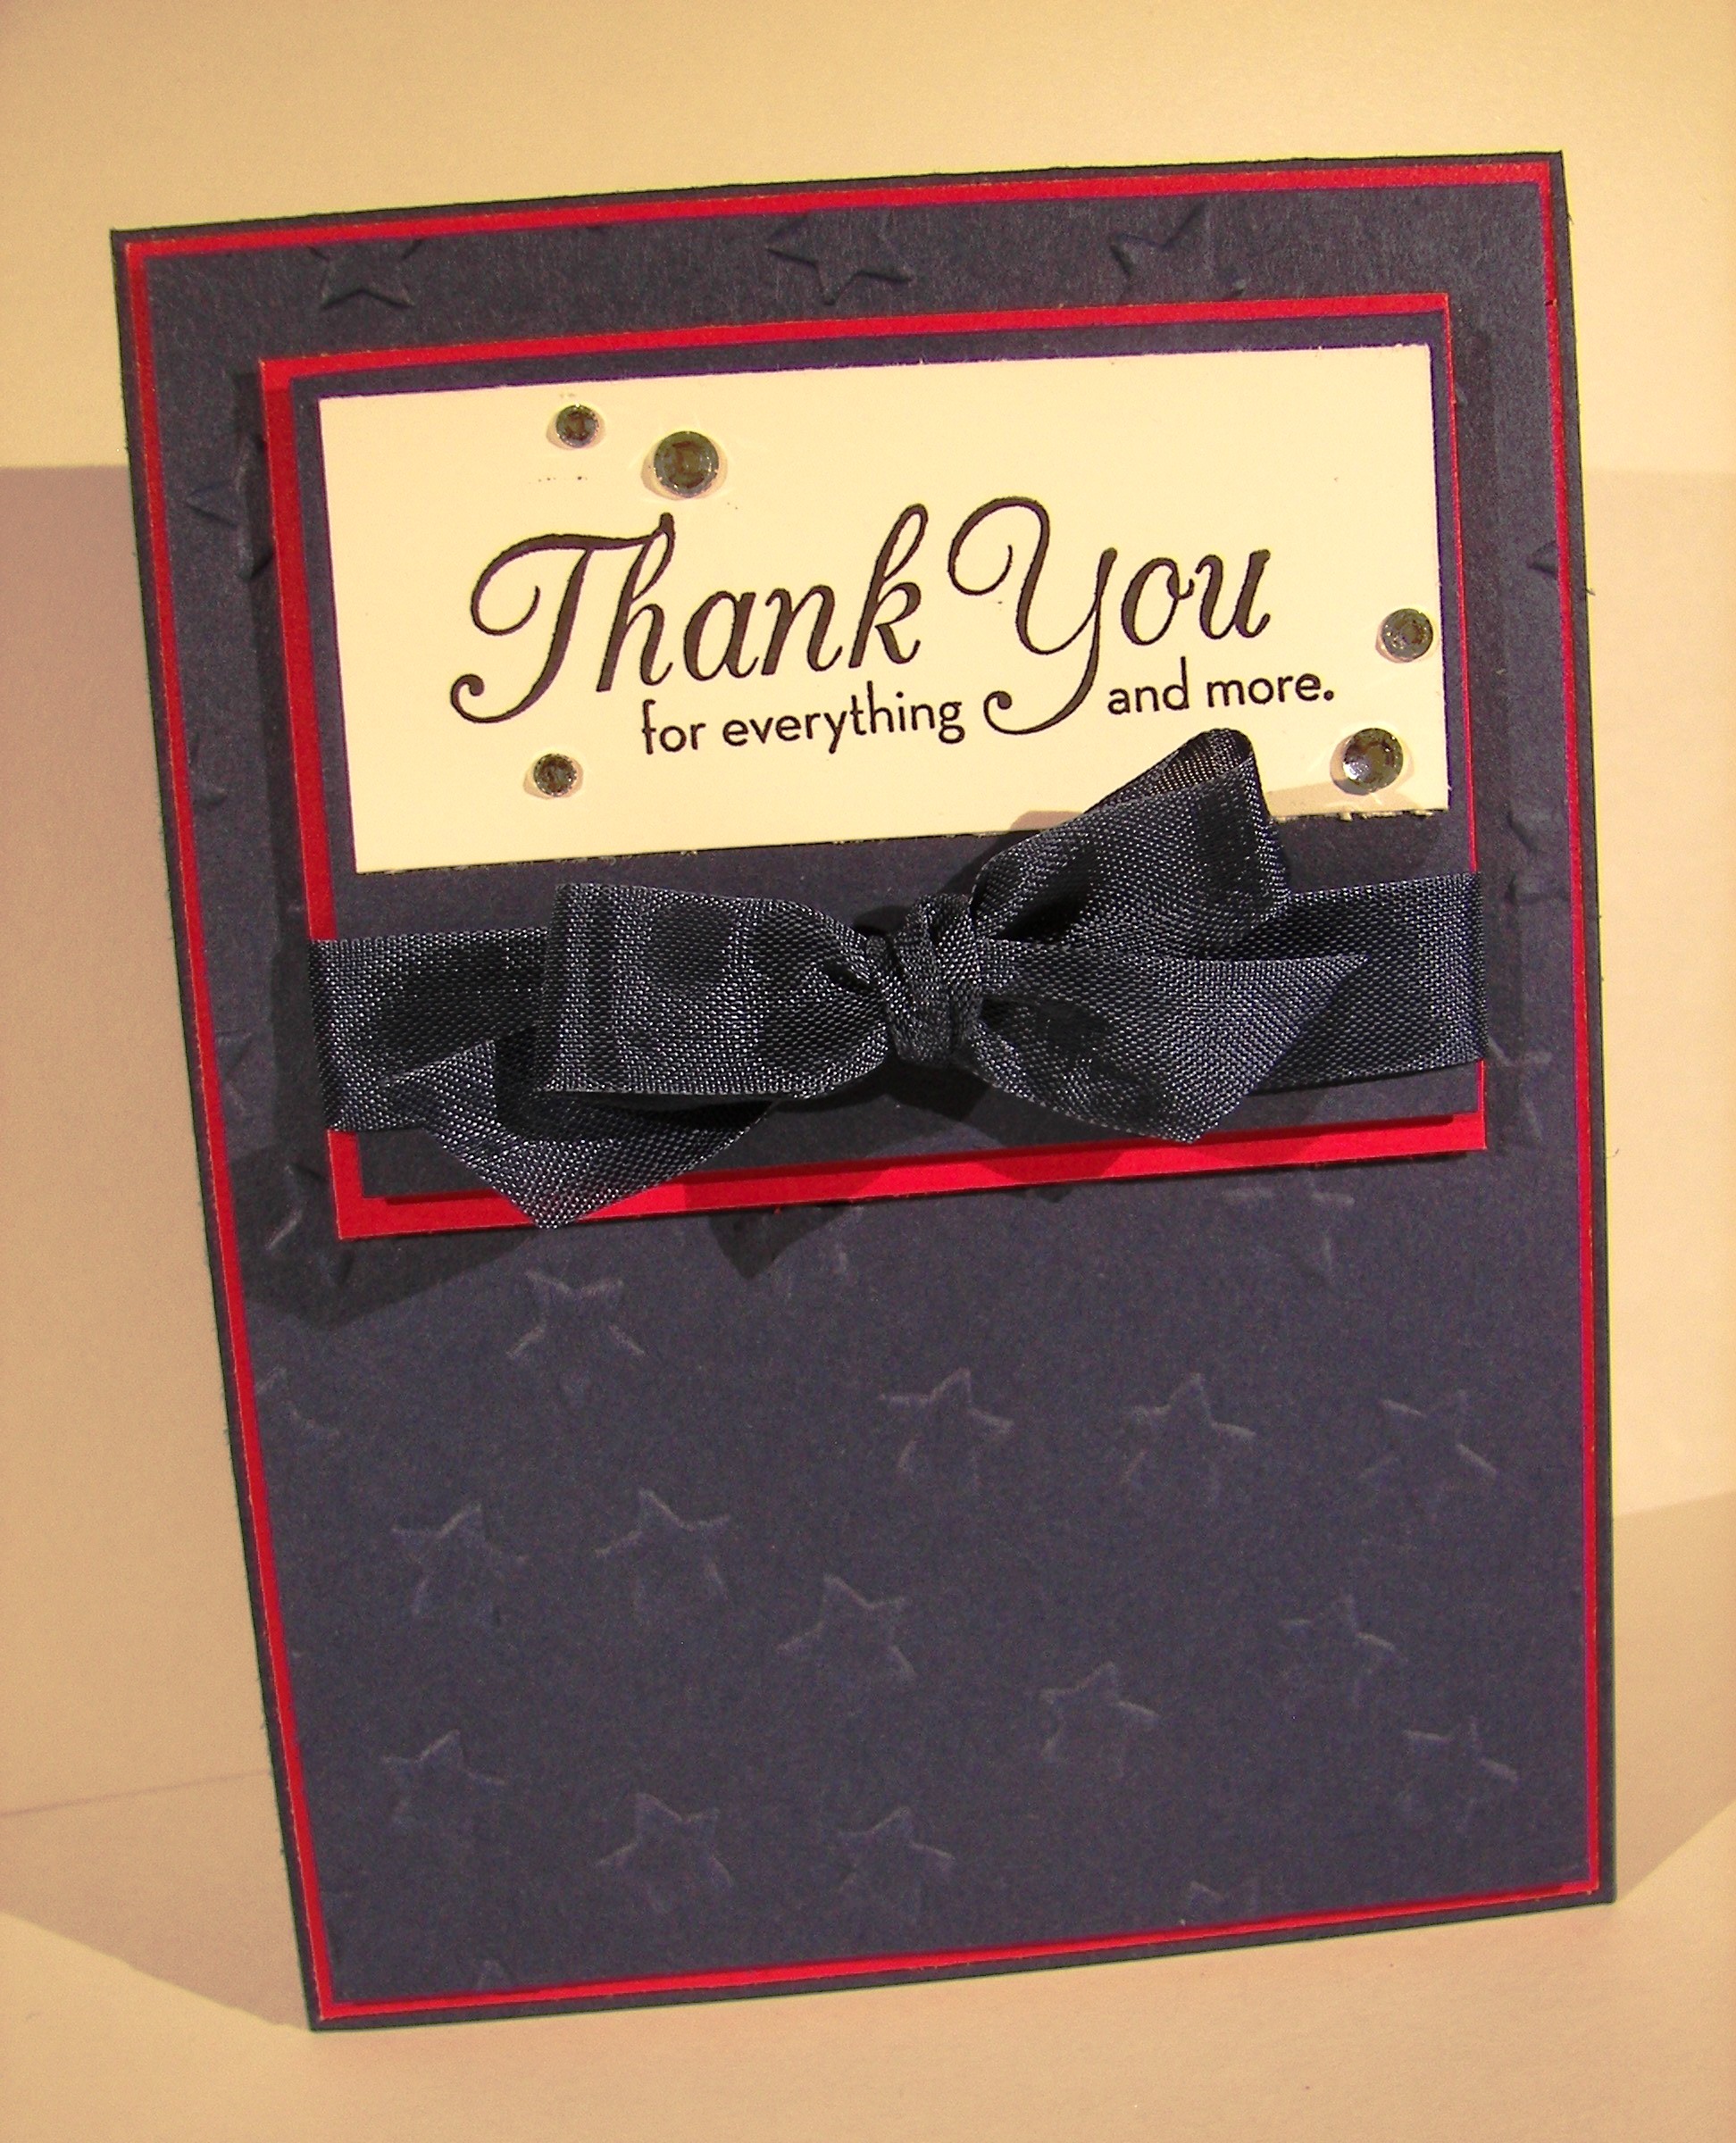
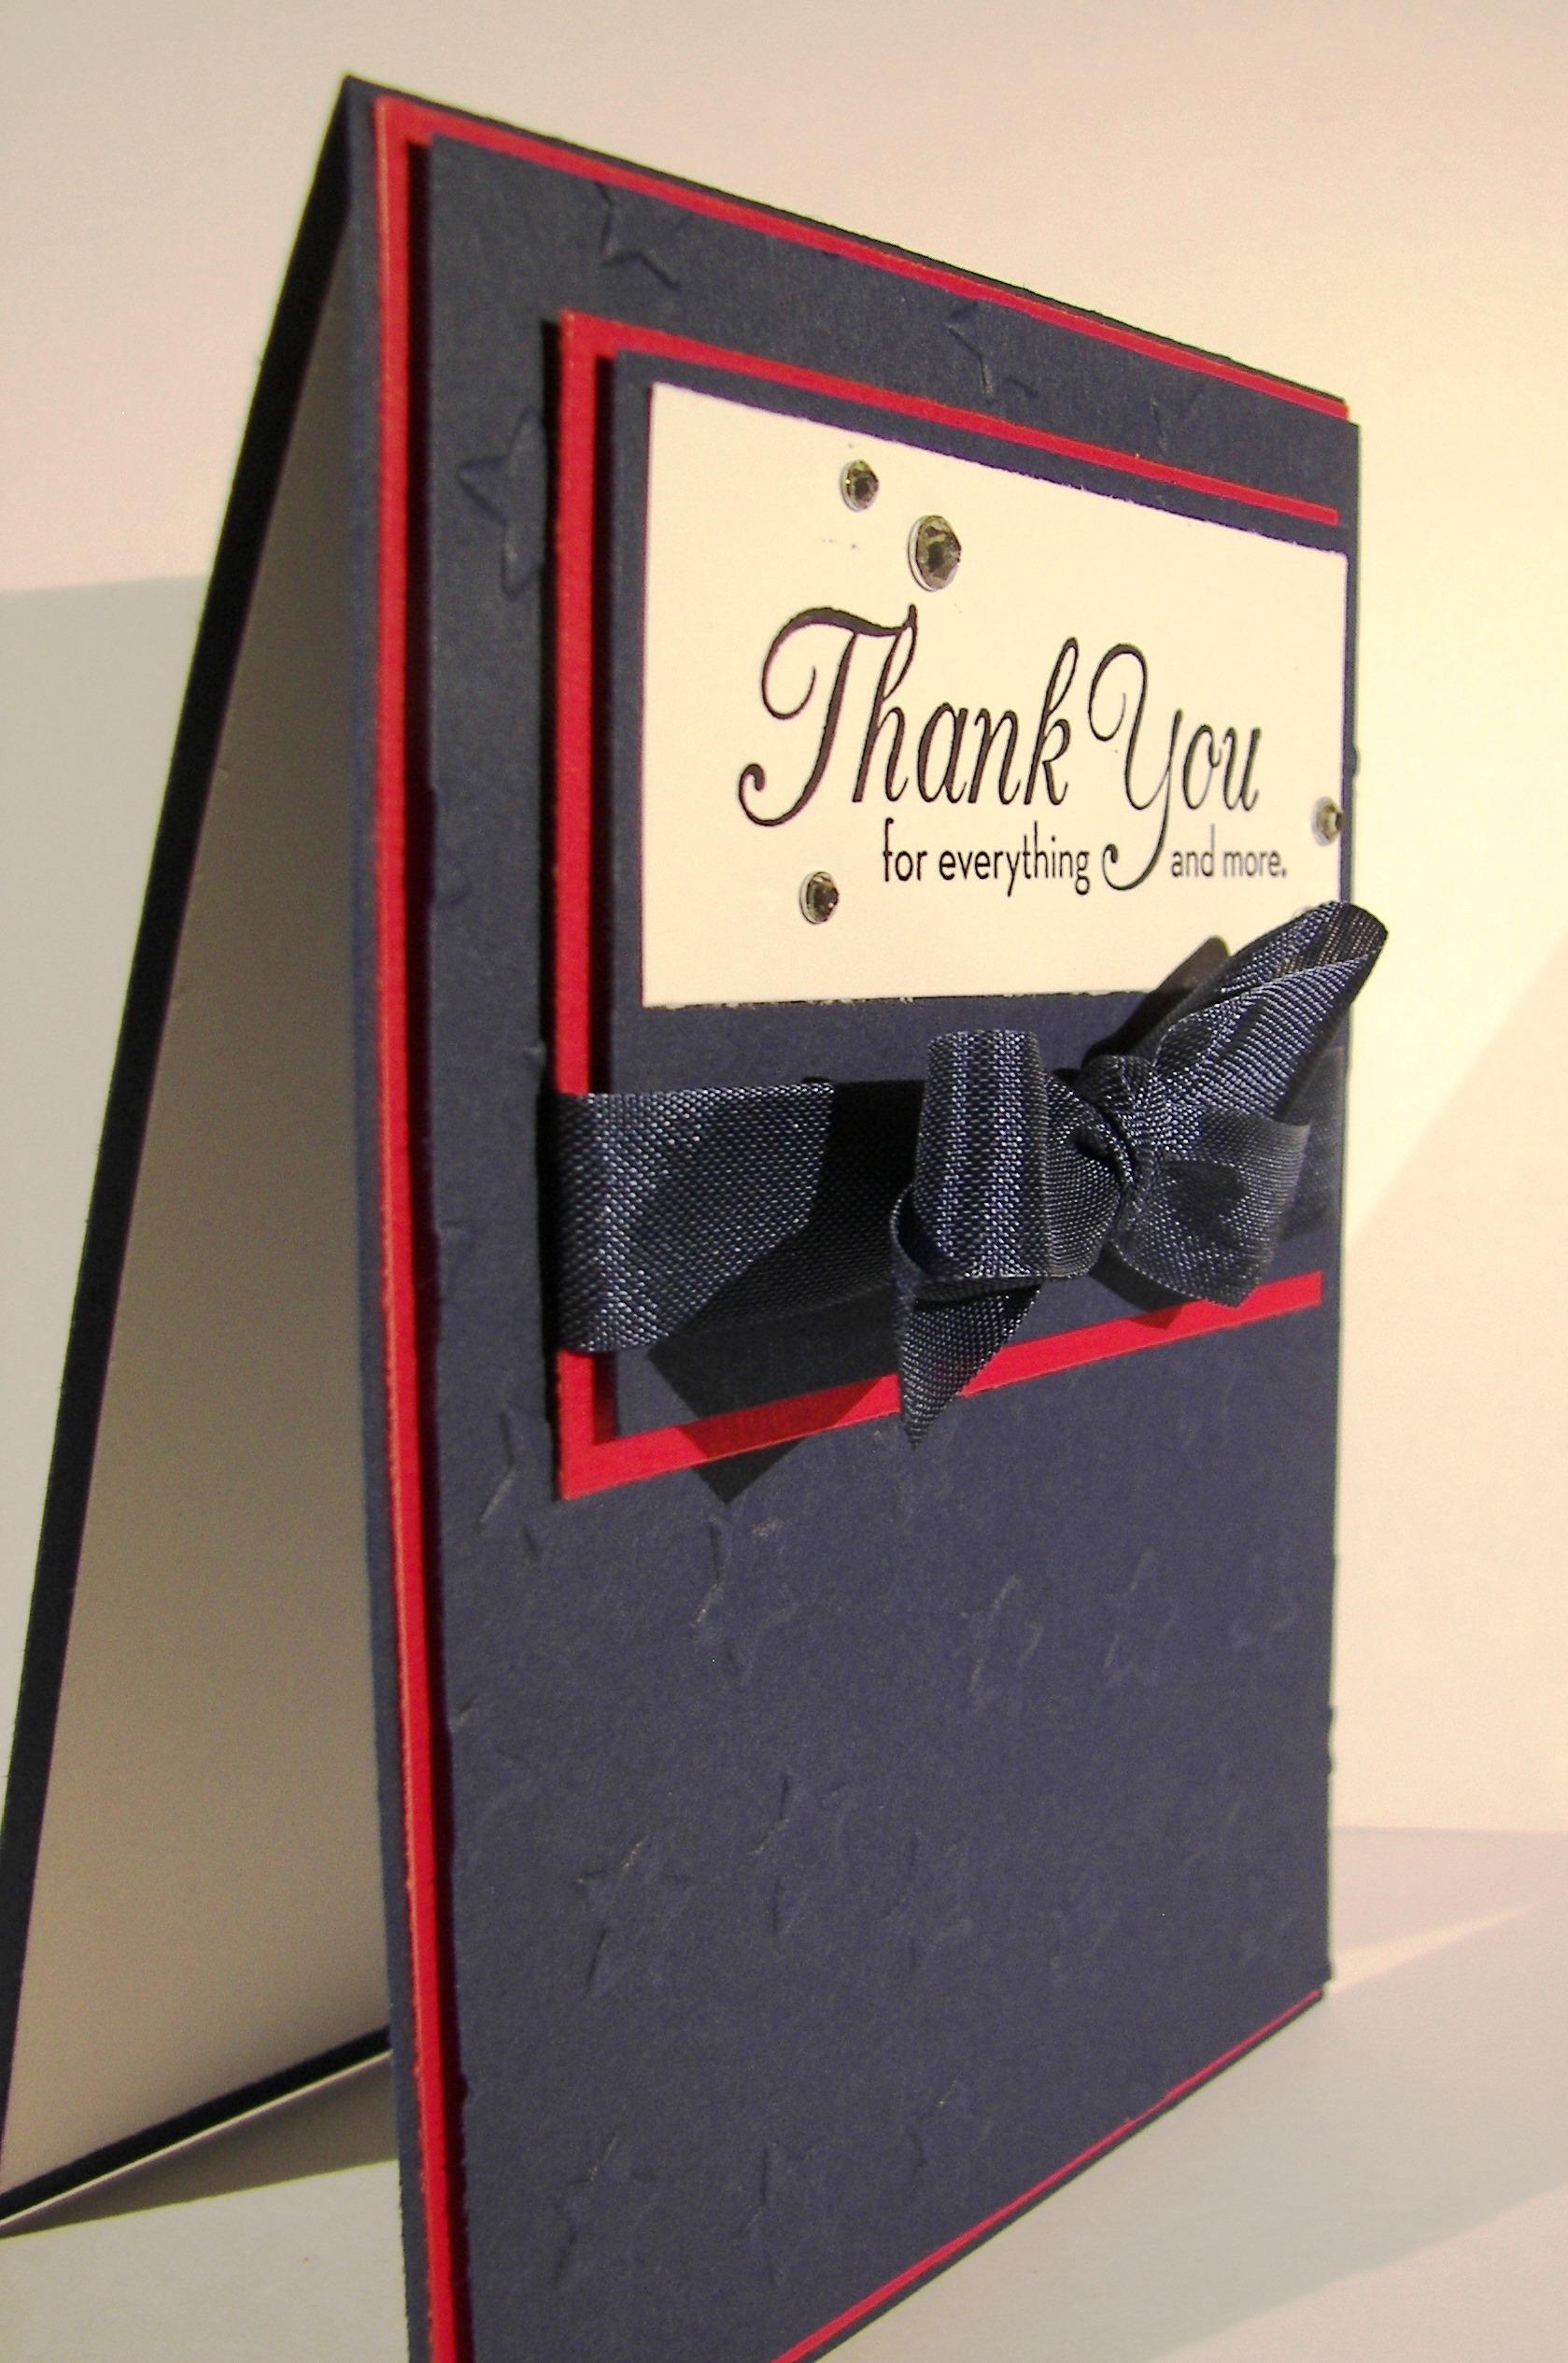
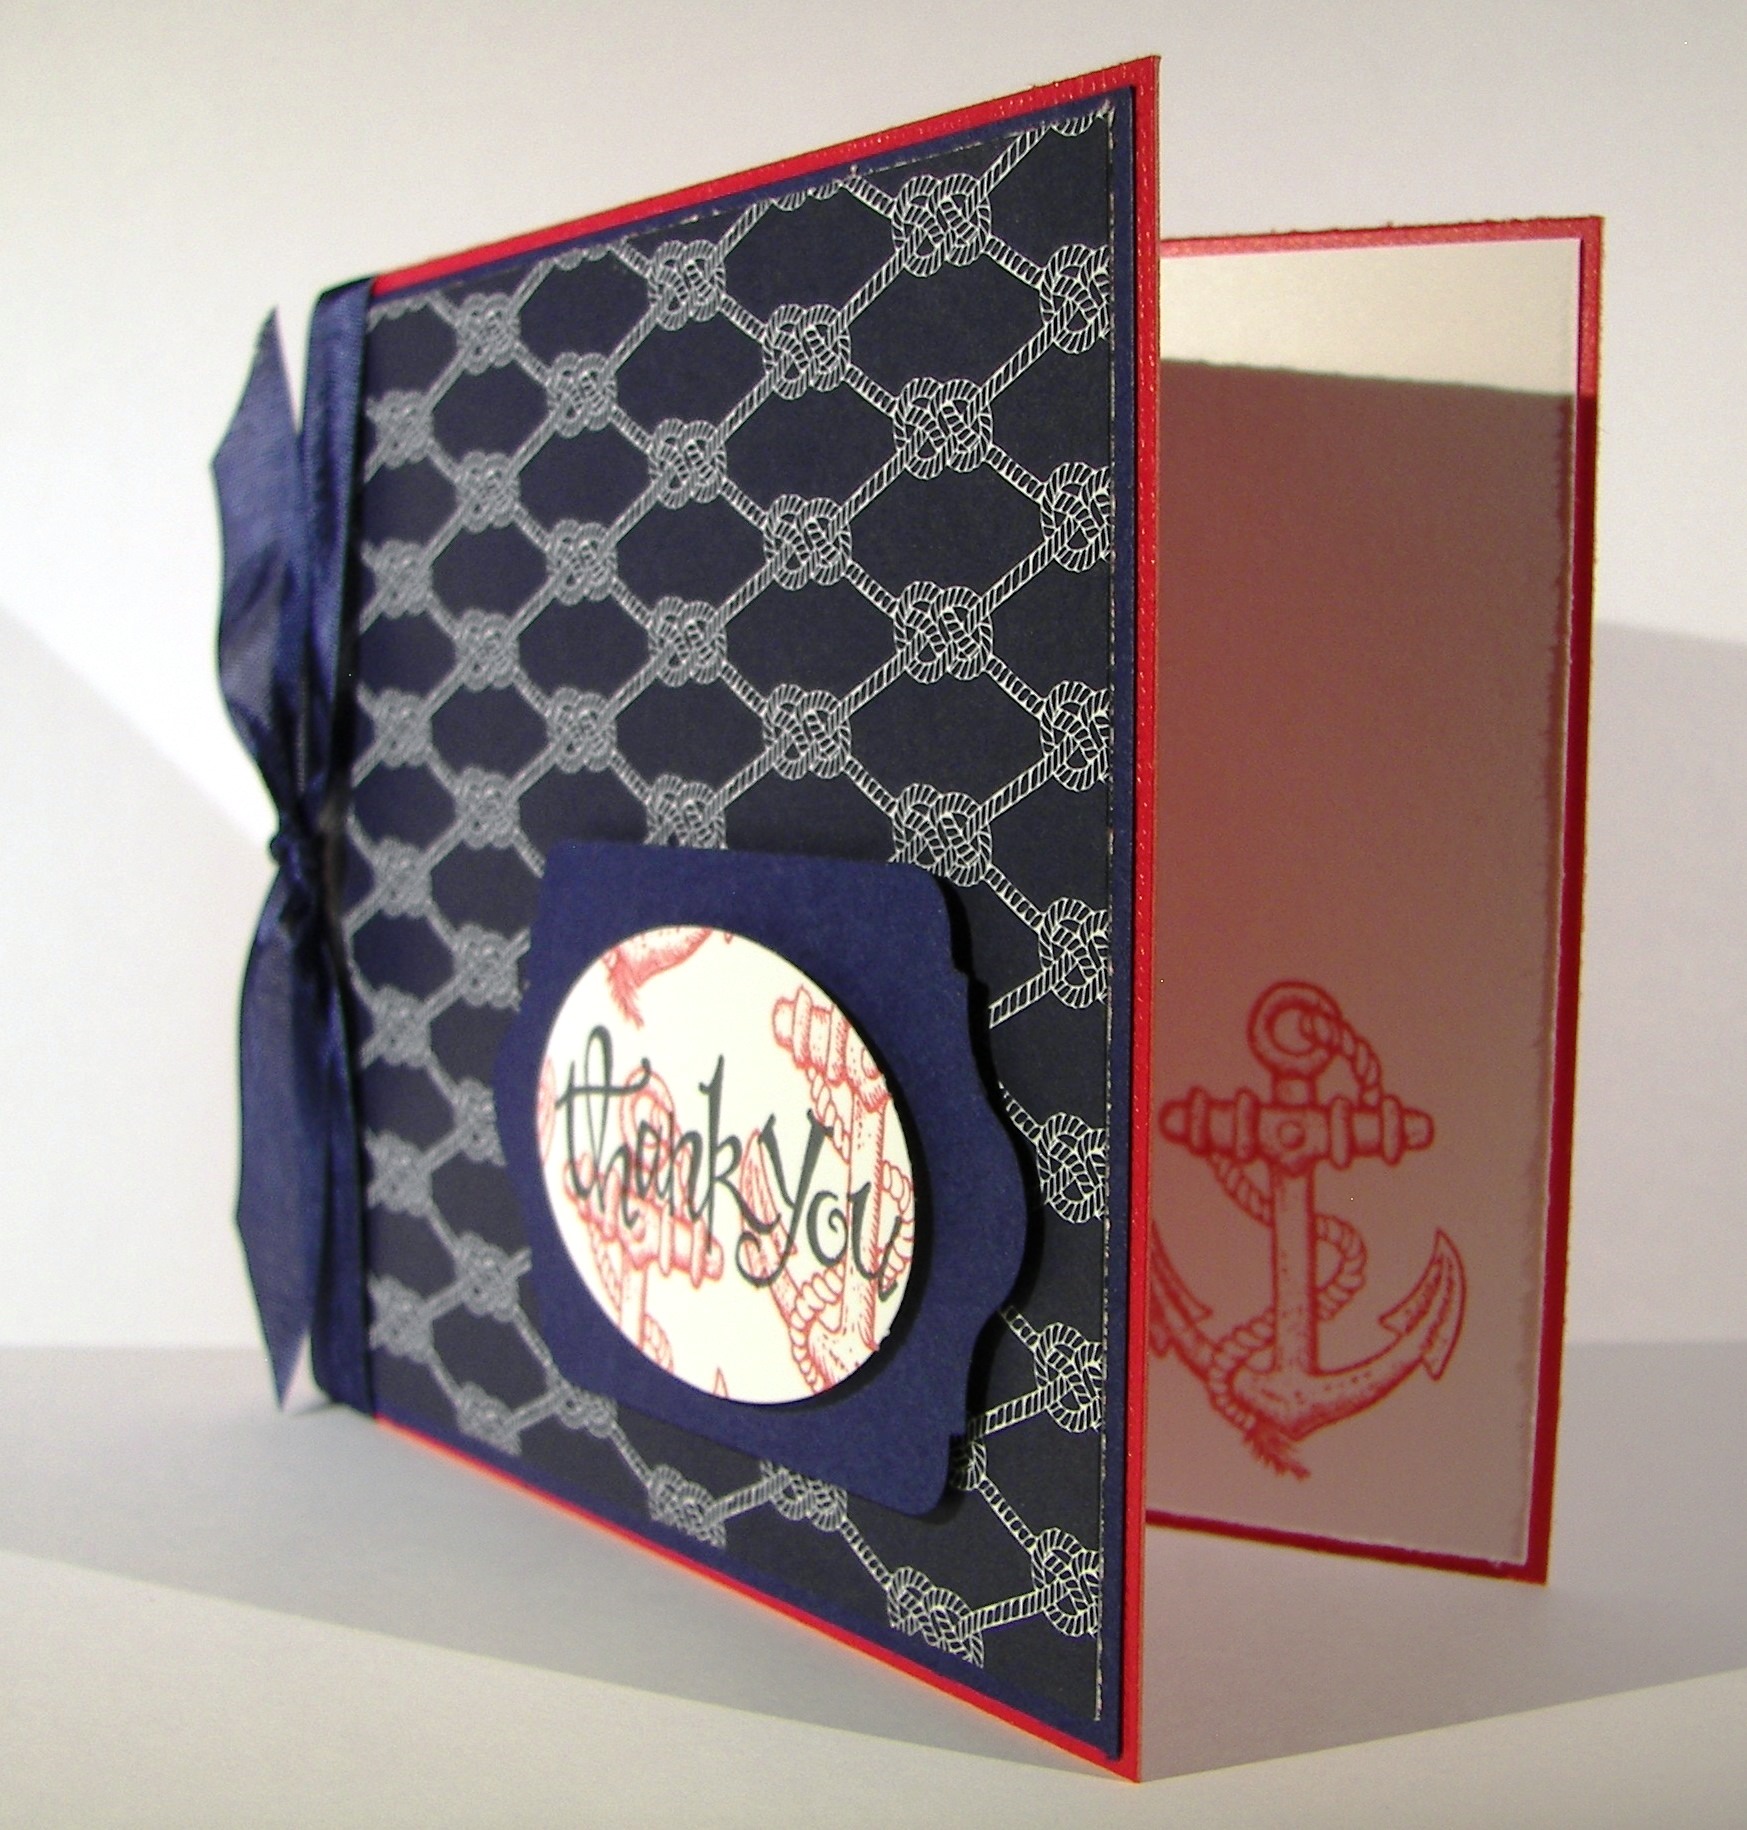
While sitting next to my youngest daughter, trying to keep her awake to finish homework, I thought I would complete my project for the next day.  Good idea, right?  I pulled two stamp sets I hadn’t used in a while and asked her for a color idea.  She said dark blue, so I went with Night of Navy.  The card began.

Lovely Amazing You

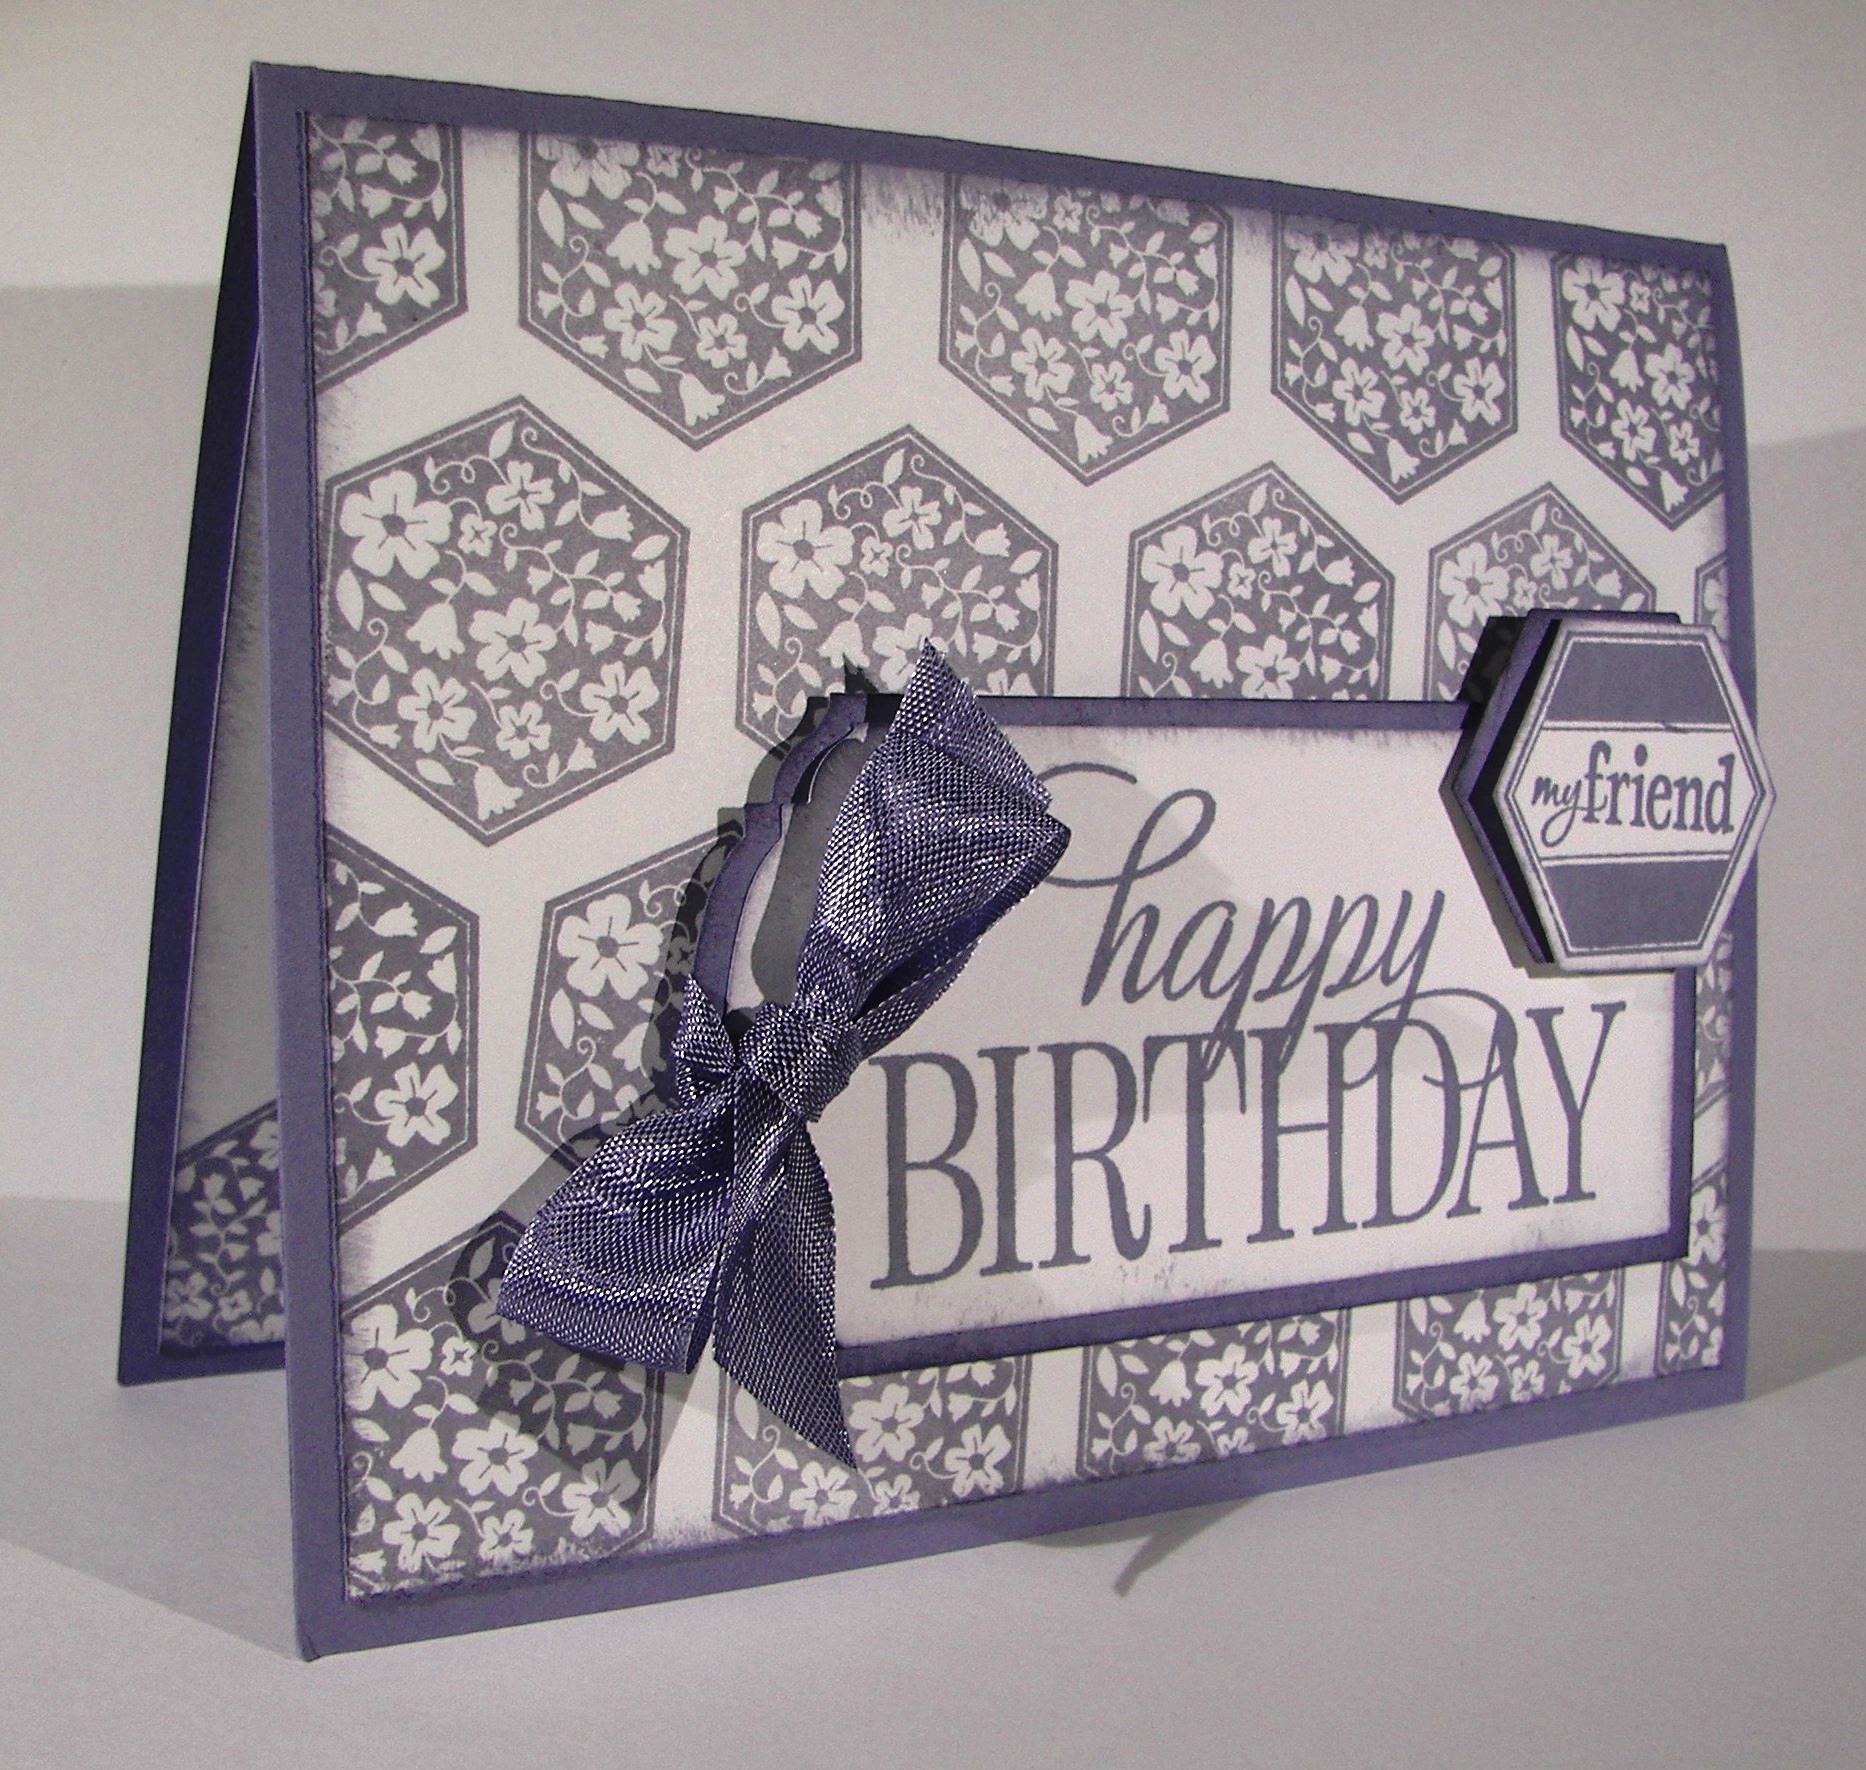
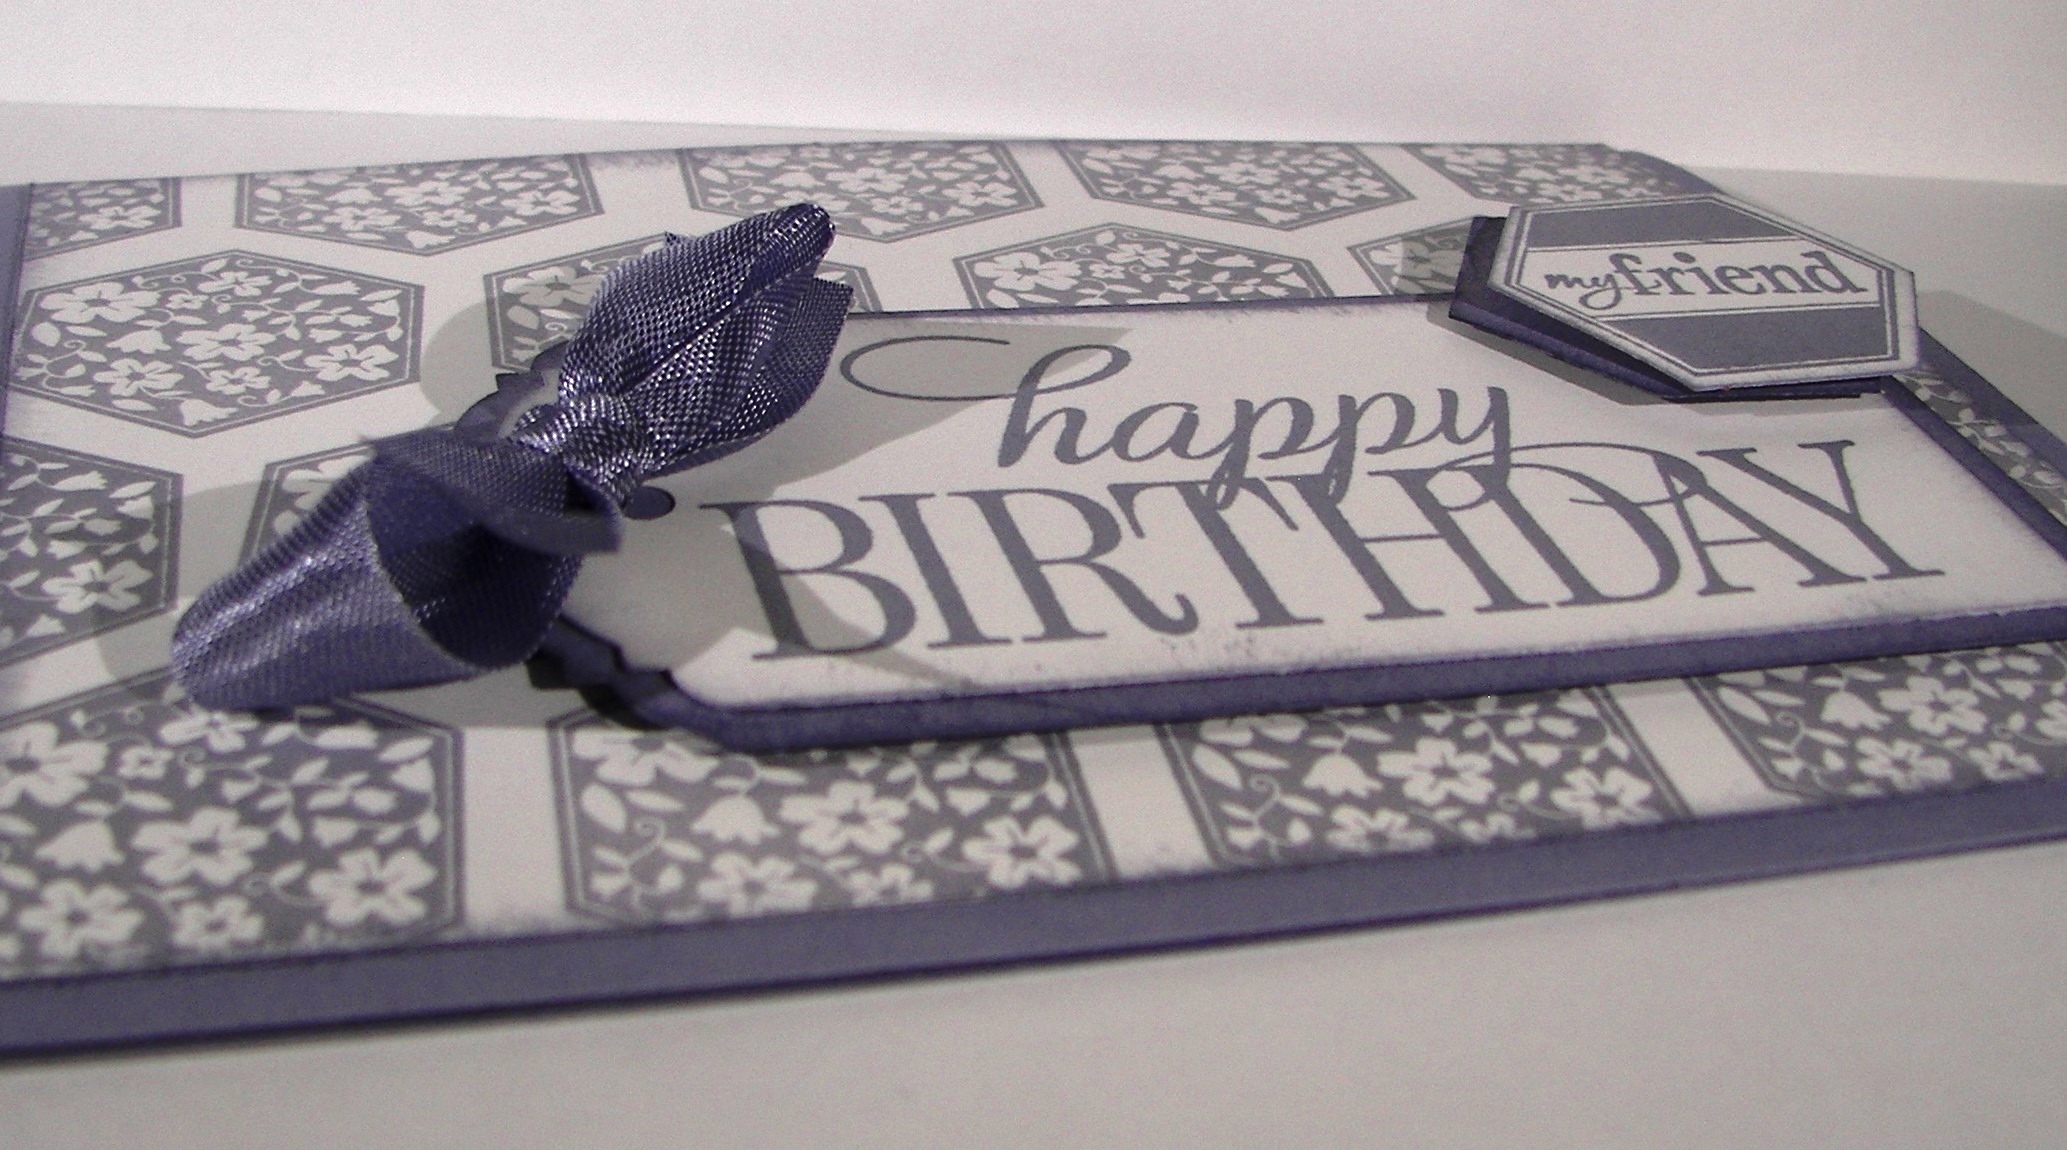
She wasn’t having the best of evenings and her older sister came to the rescue, even though she is out of state attending university.  I do think that technology can interfere with real personal relationships, but this was perfect.  The infamous ‘snapchat’ was just the thing.  The sad faces turned to happy and then on to absolutely silly.  And that is how I chose my sentiment.  Thank you my sweet daughter for being the best big sister ever.

Lovely Amazing You

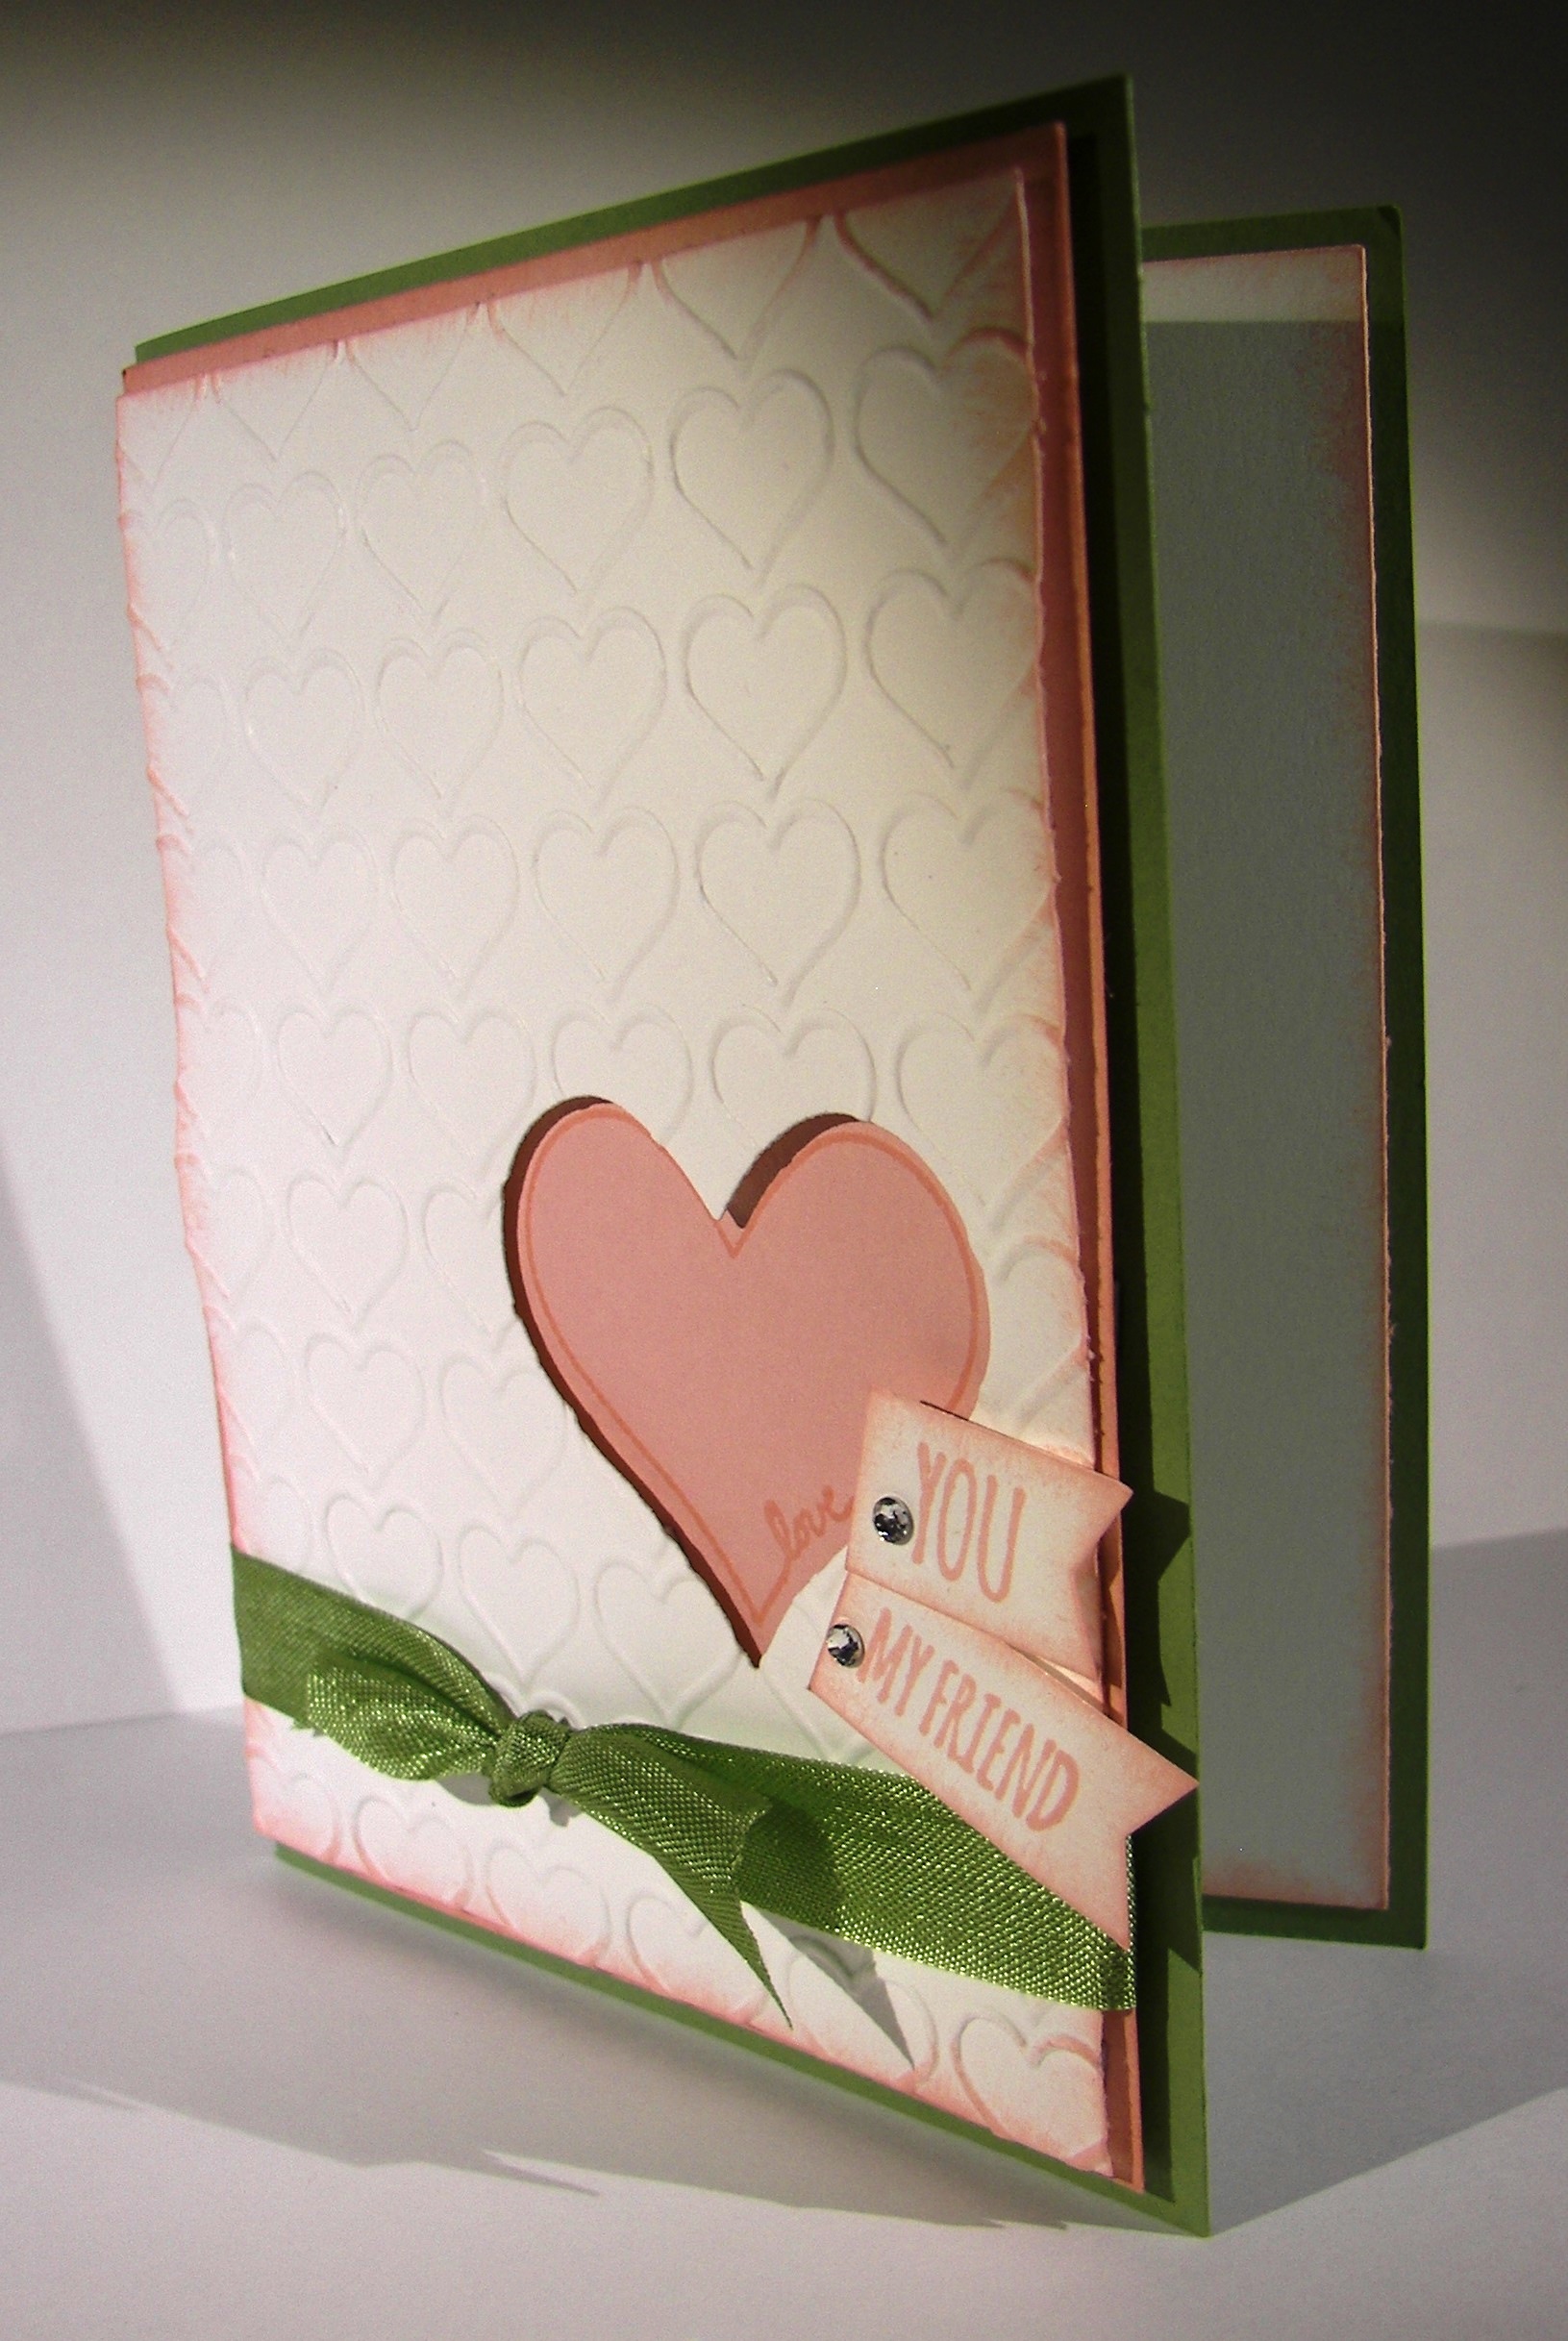
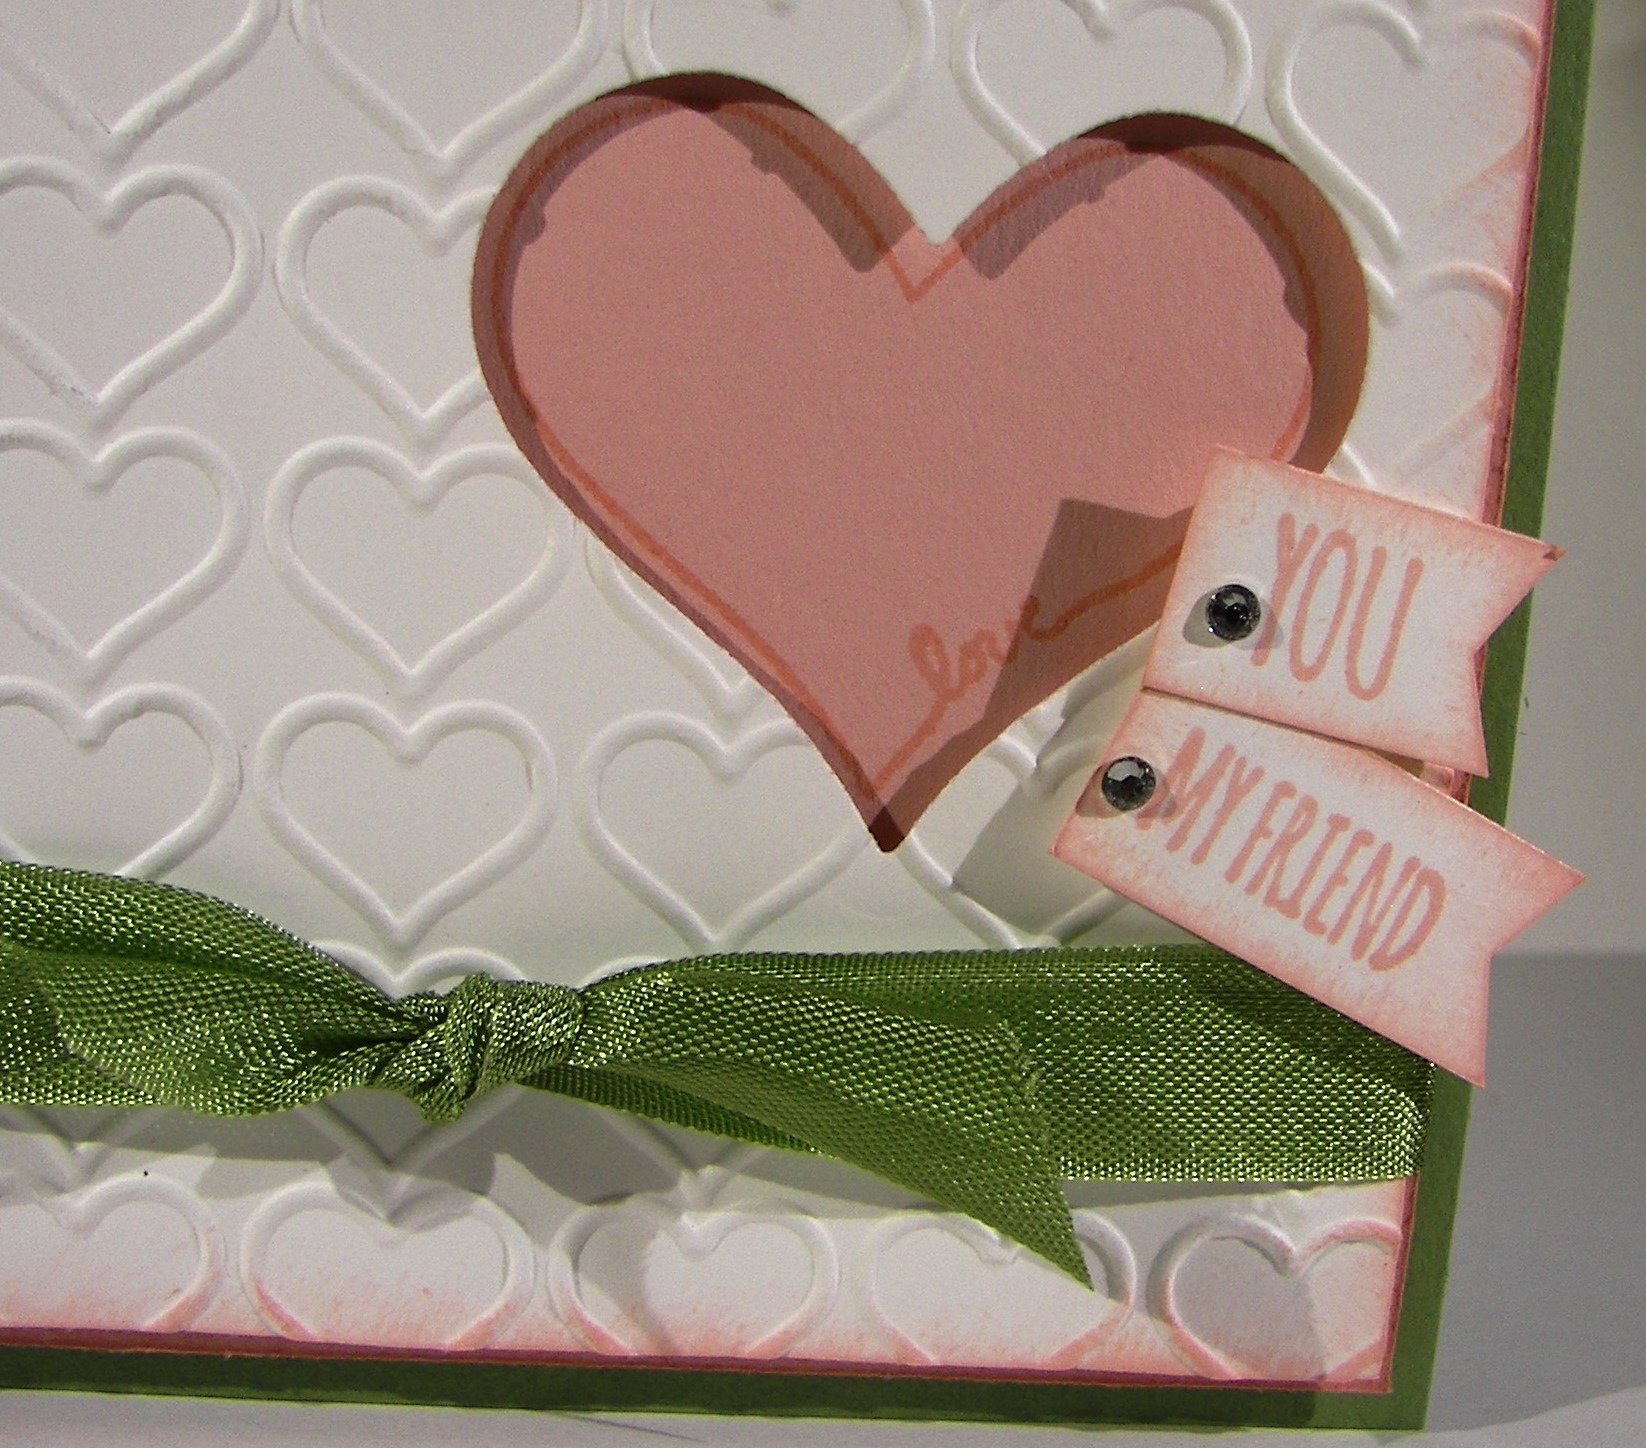
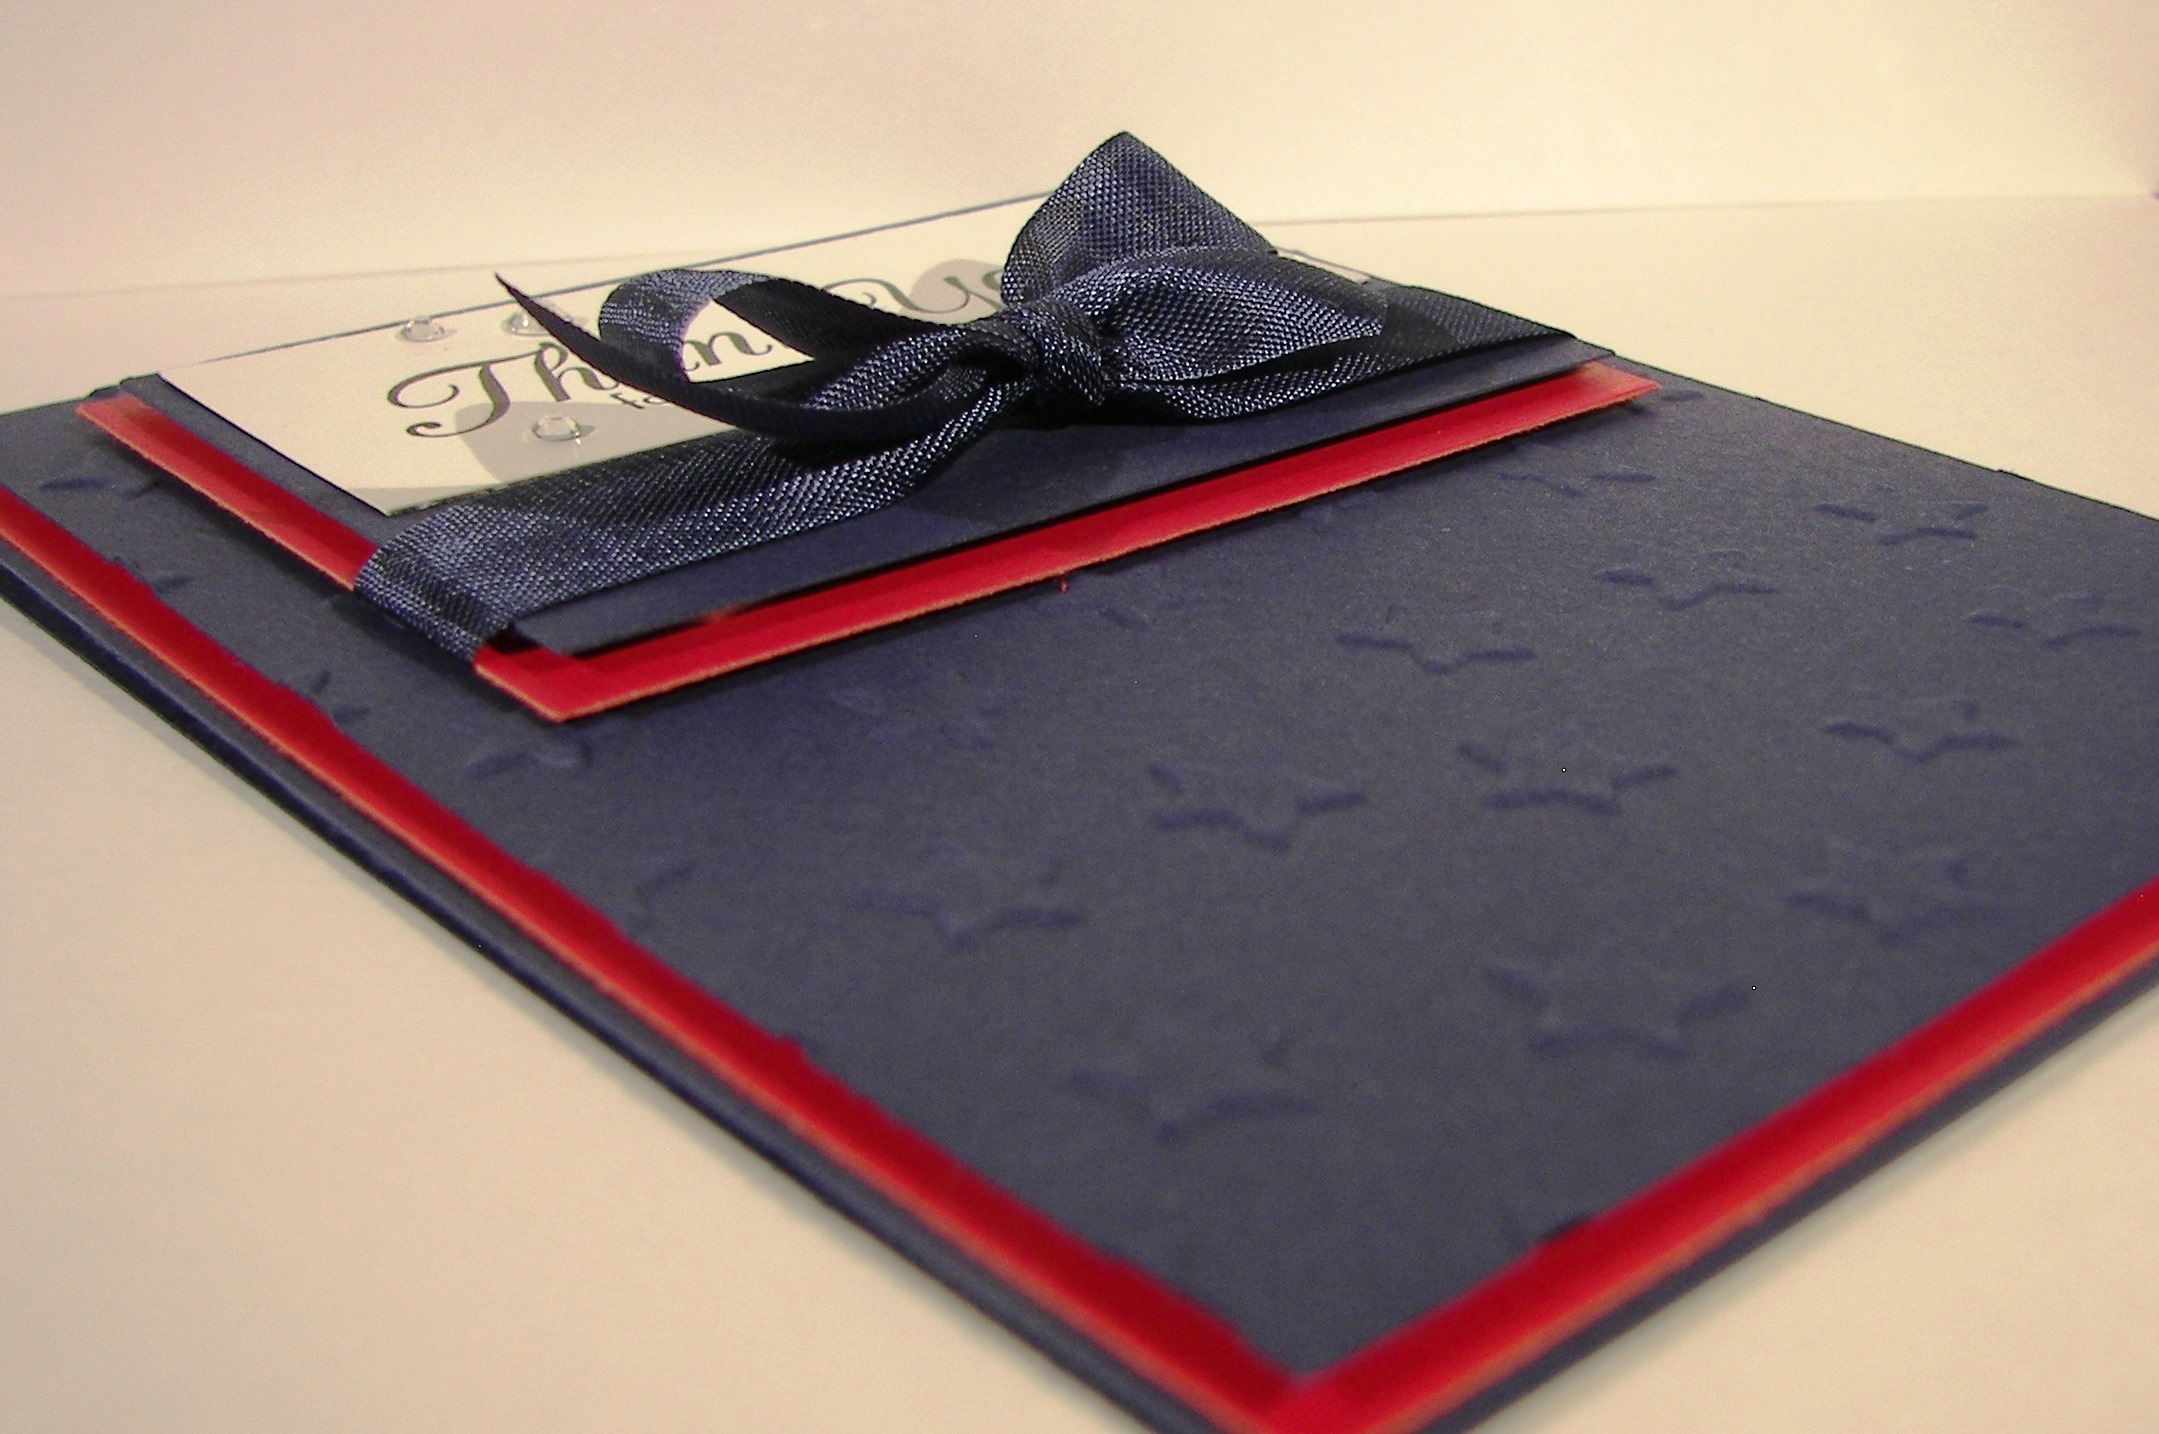
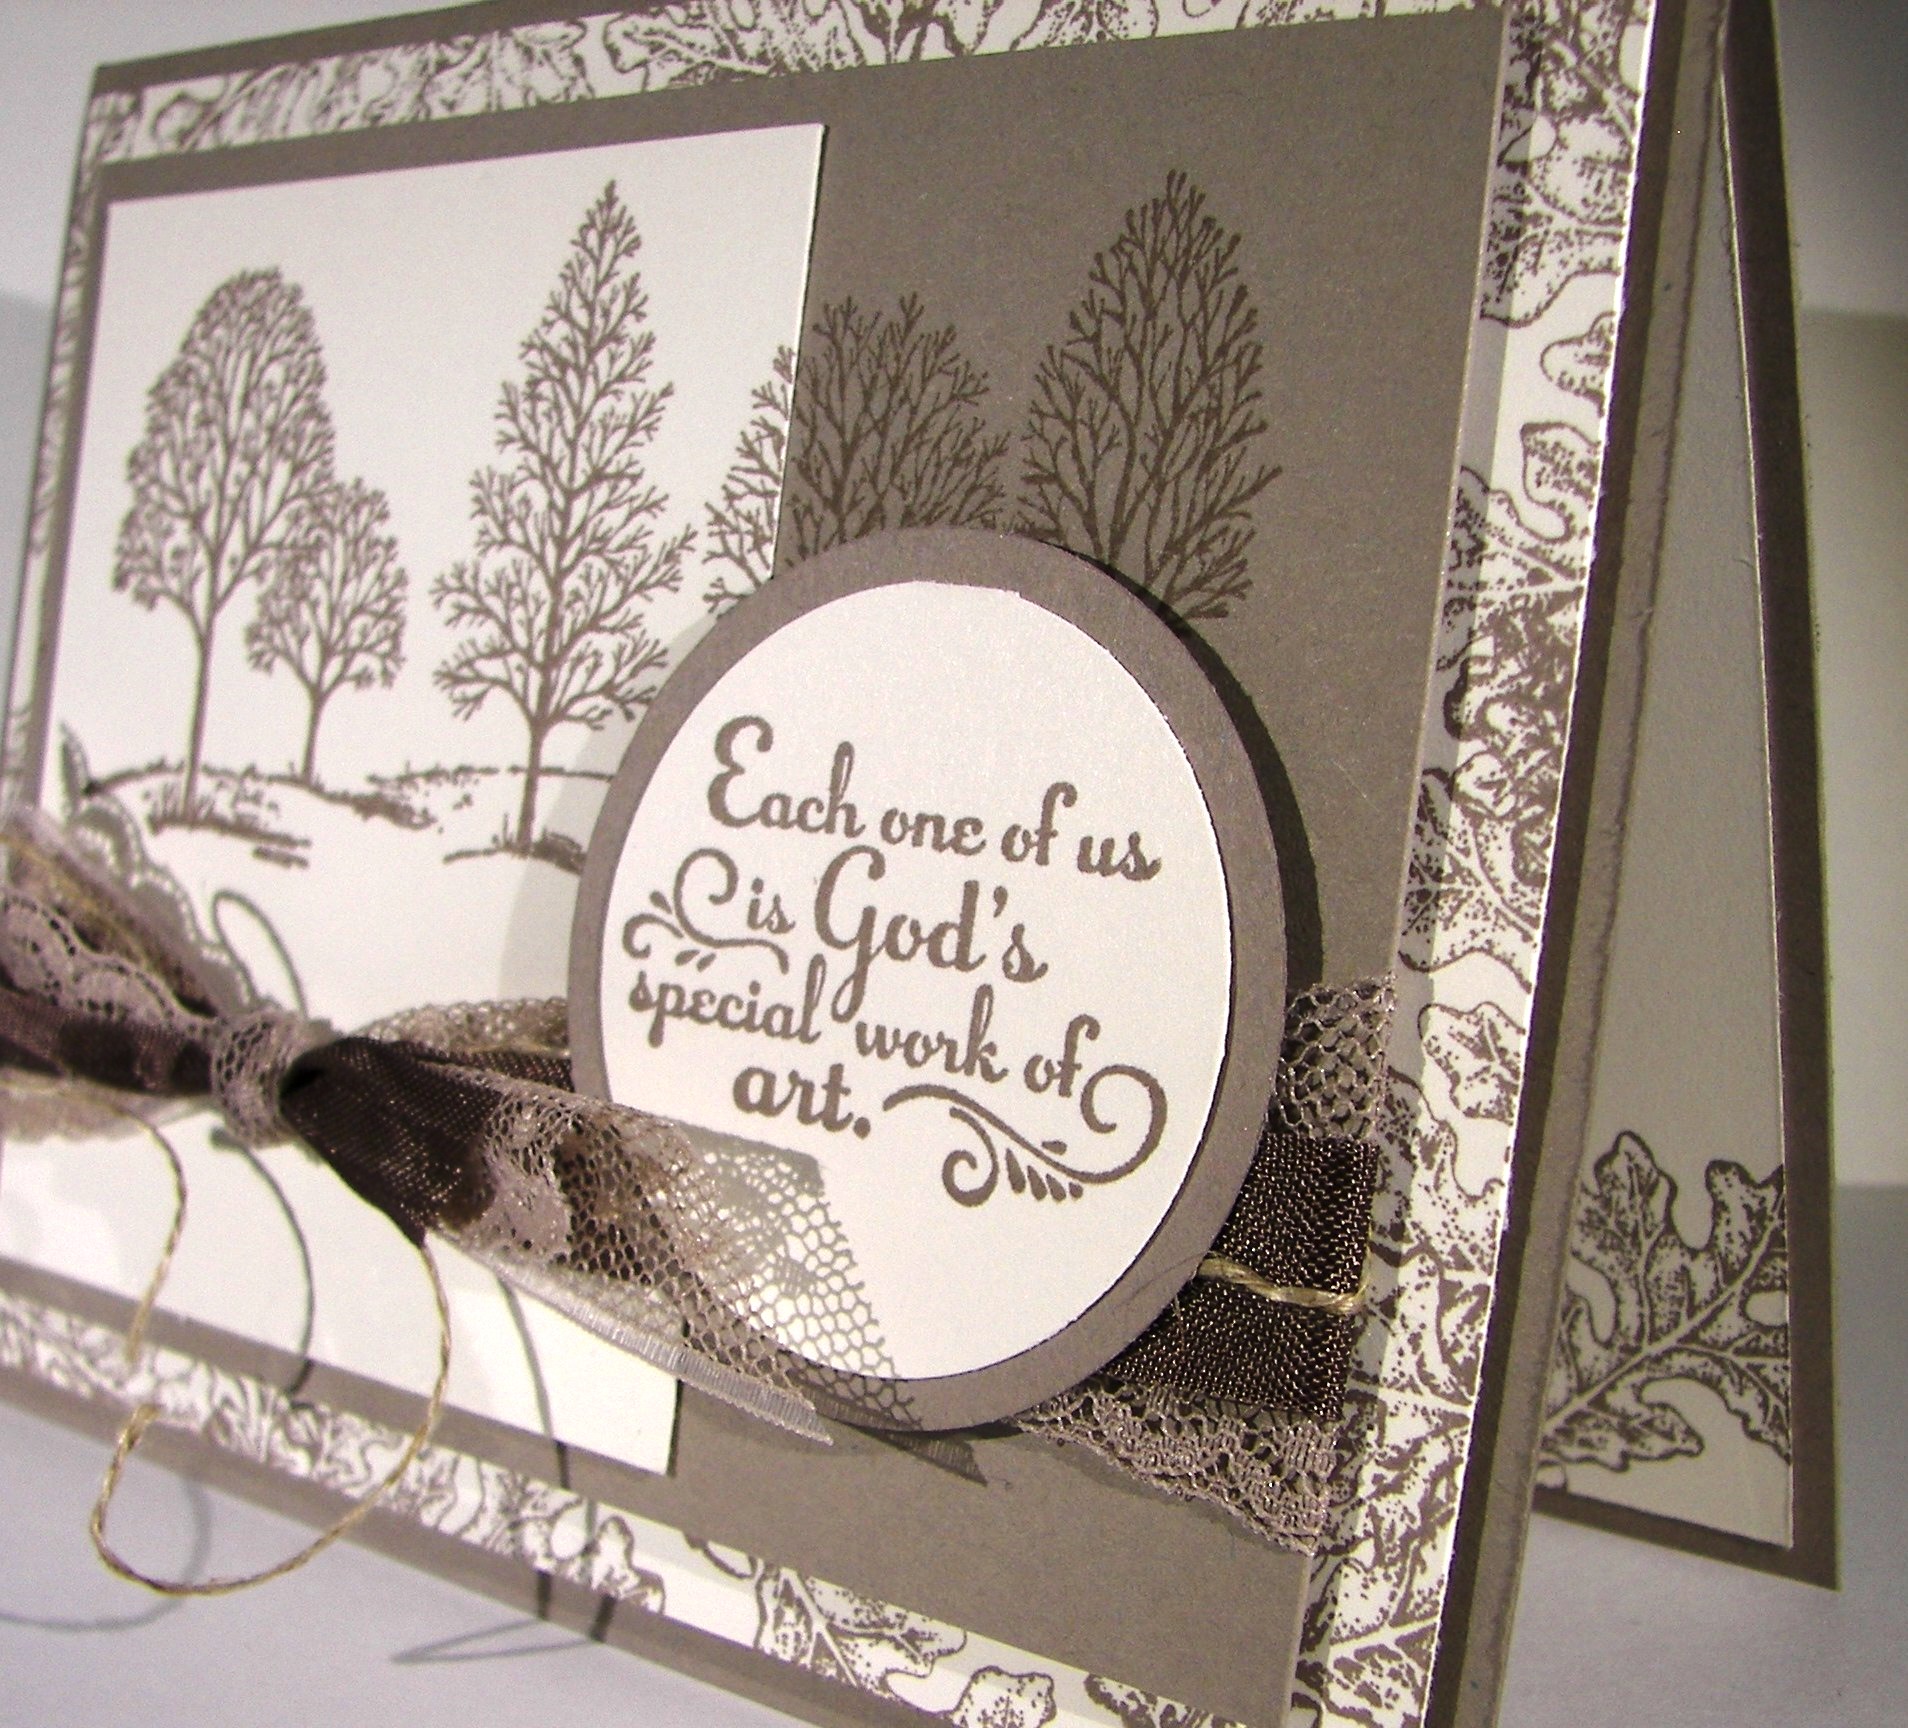
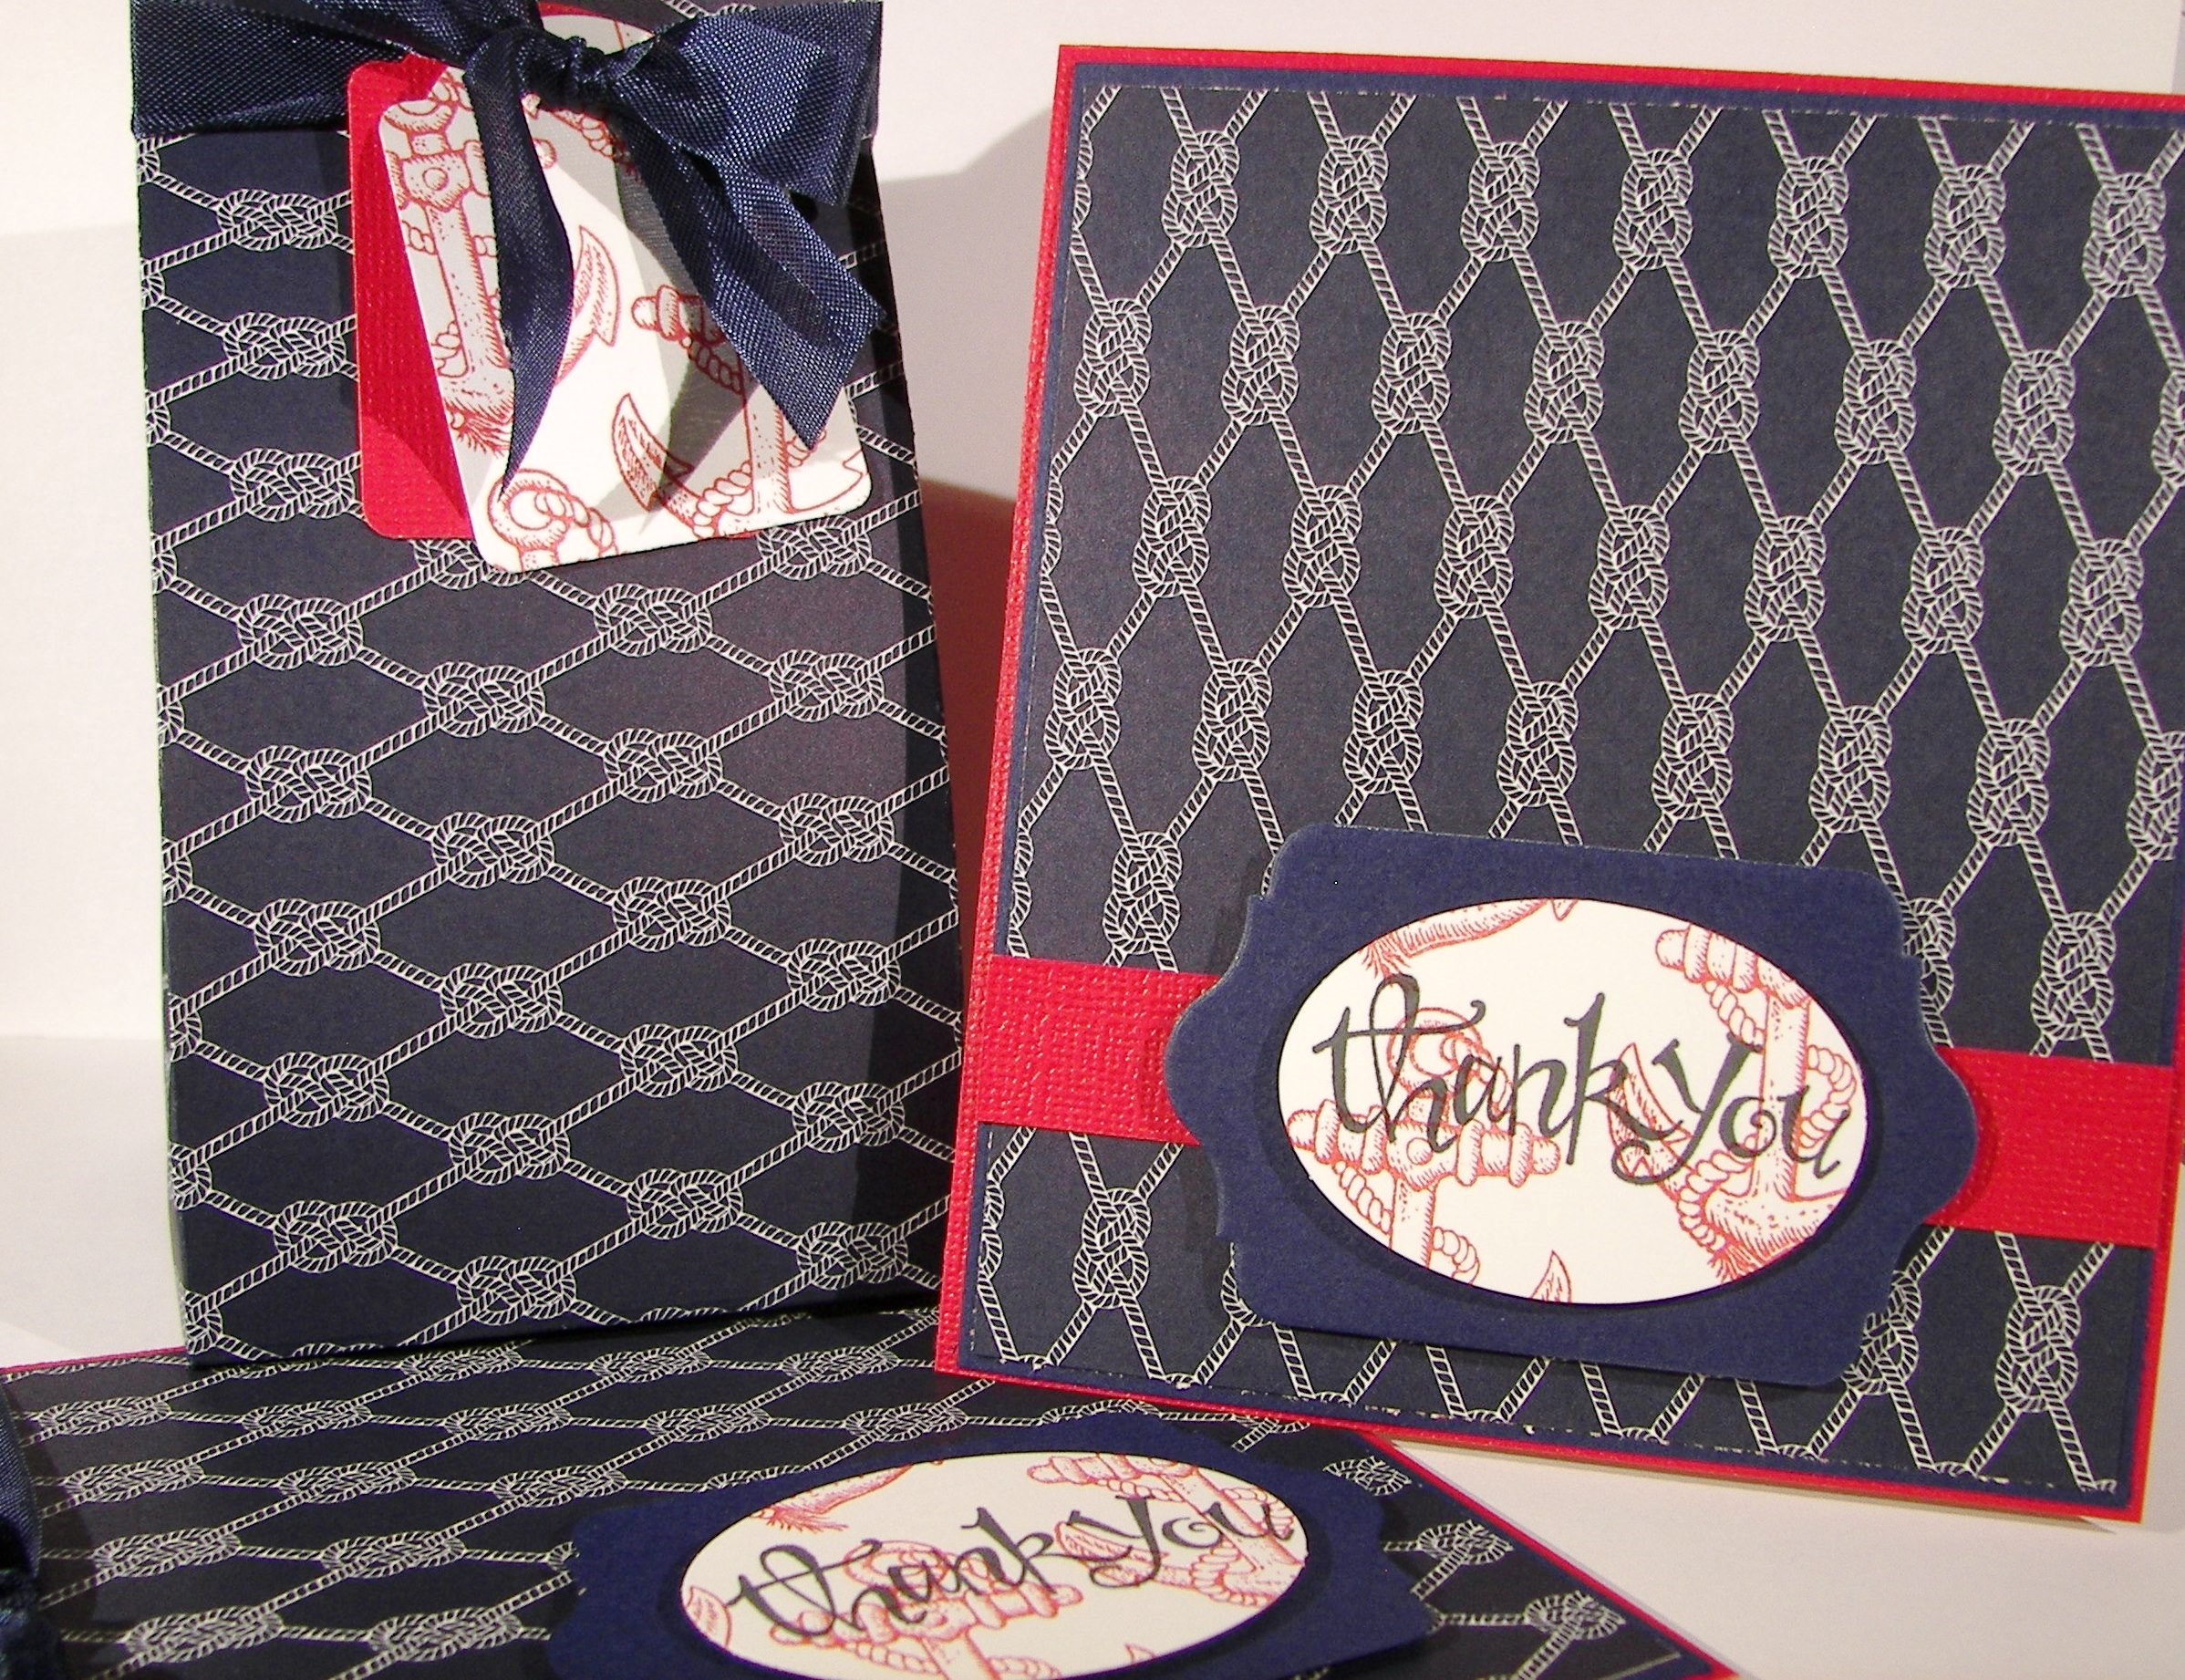
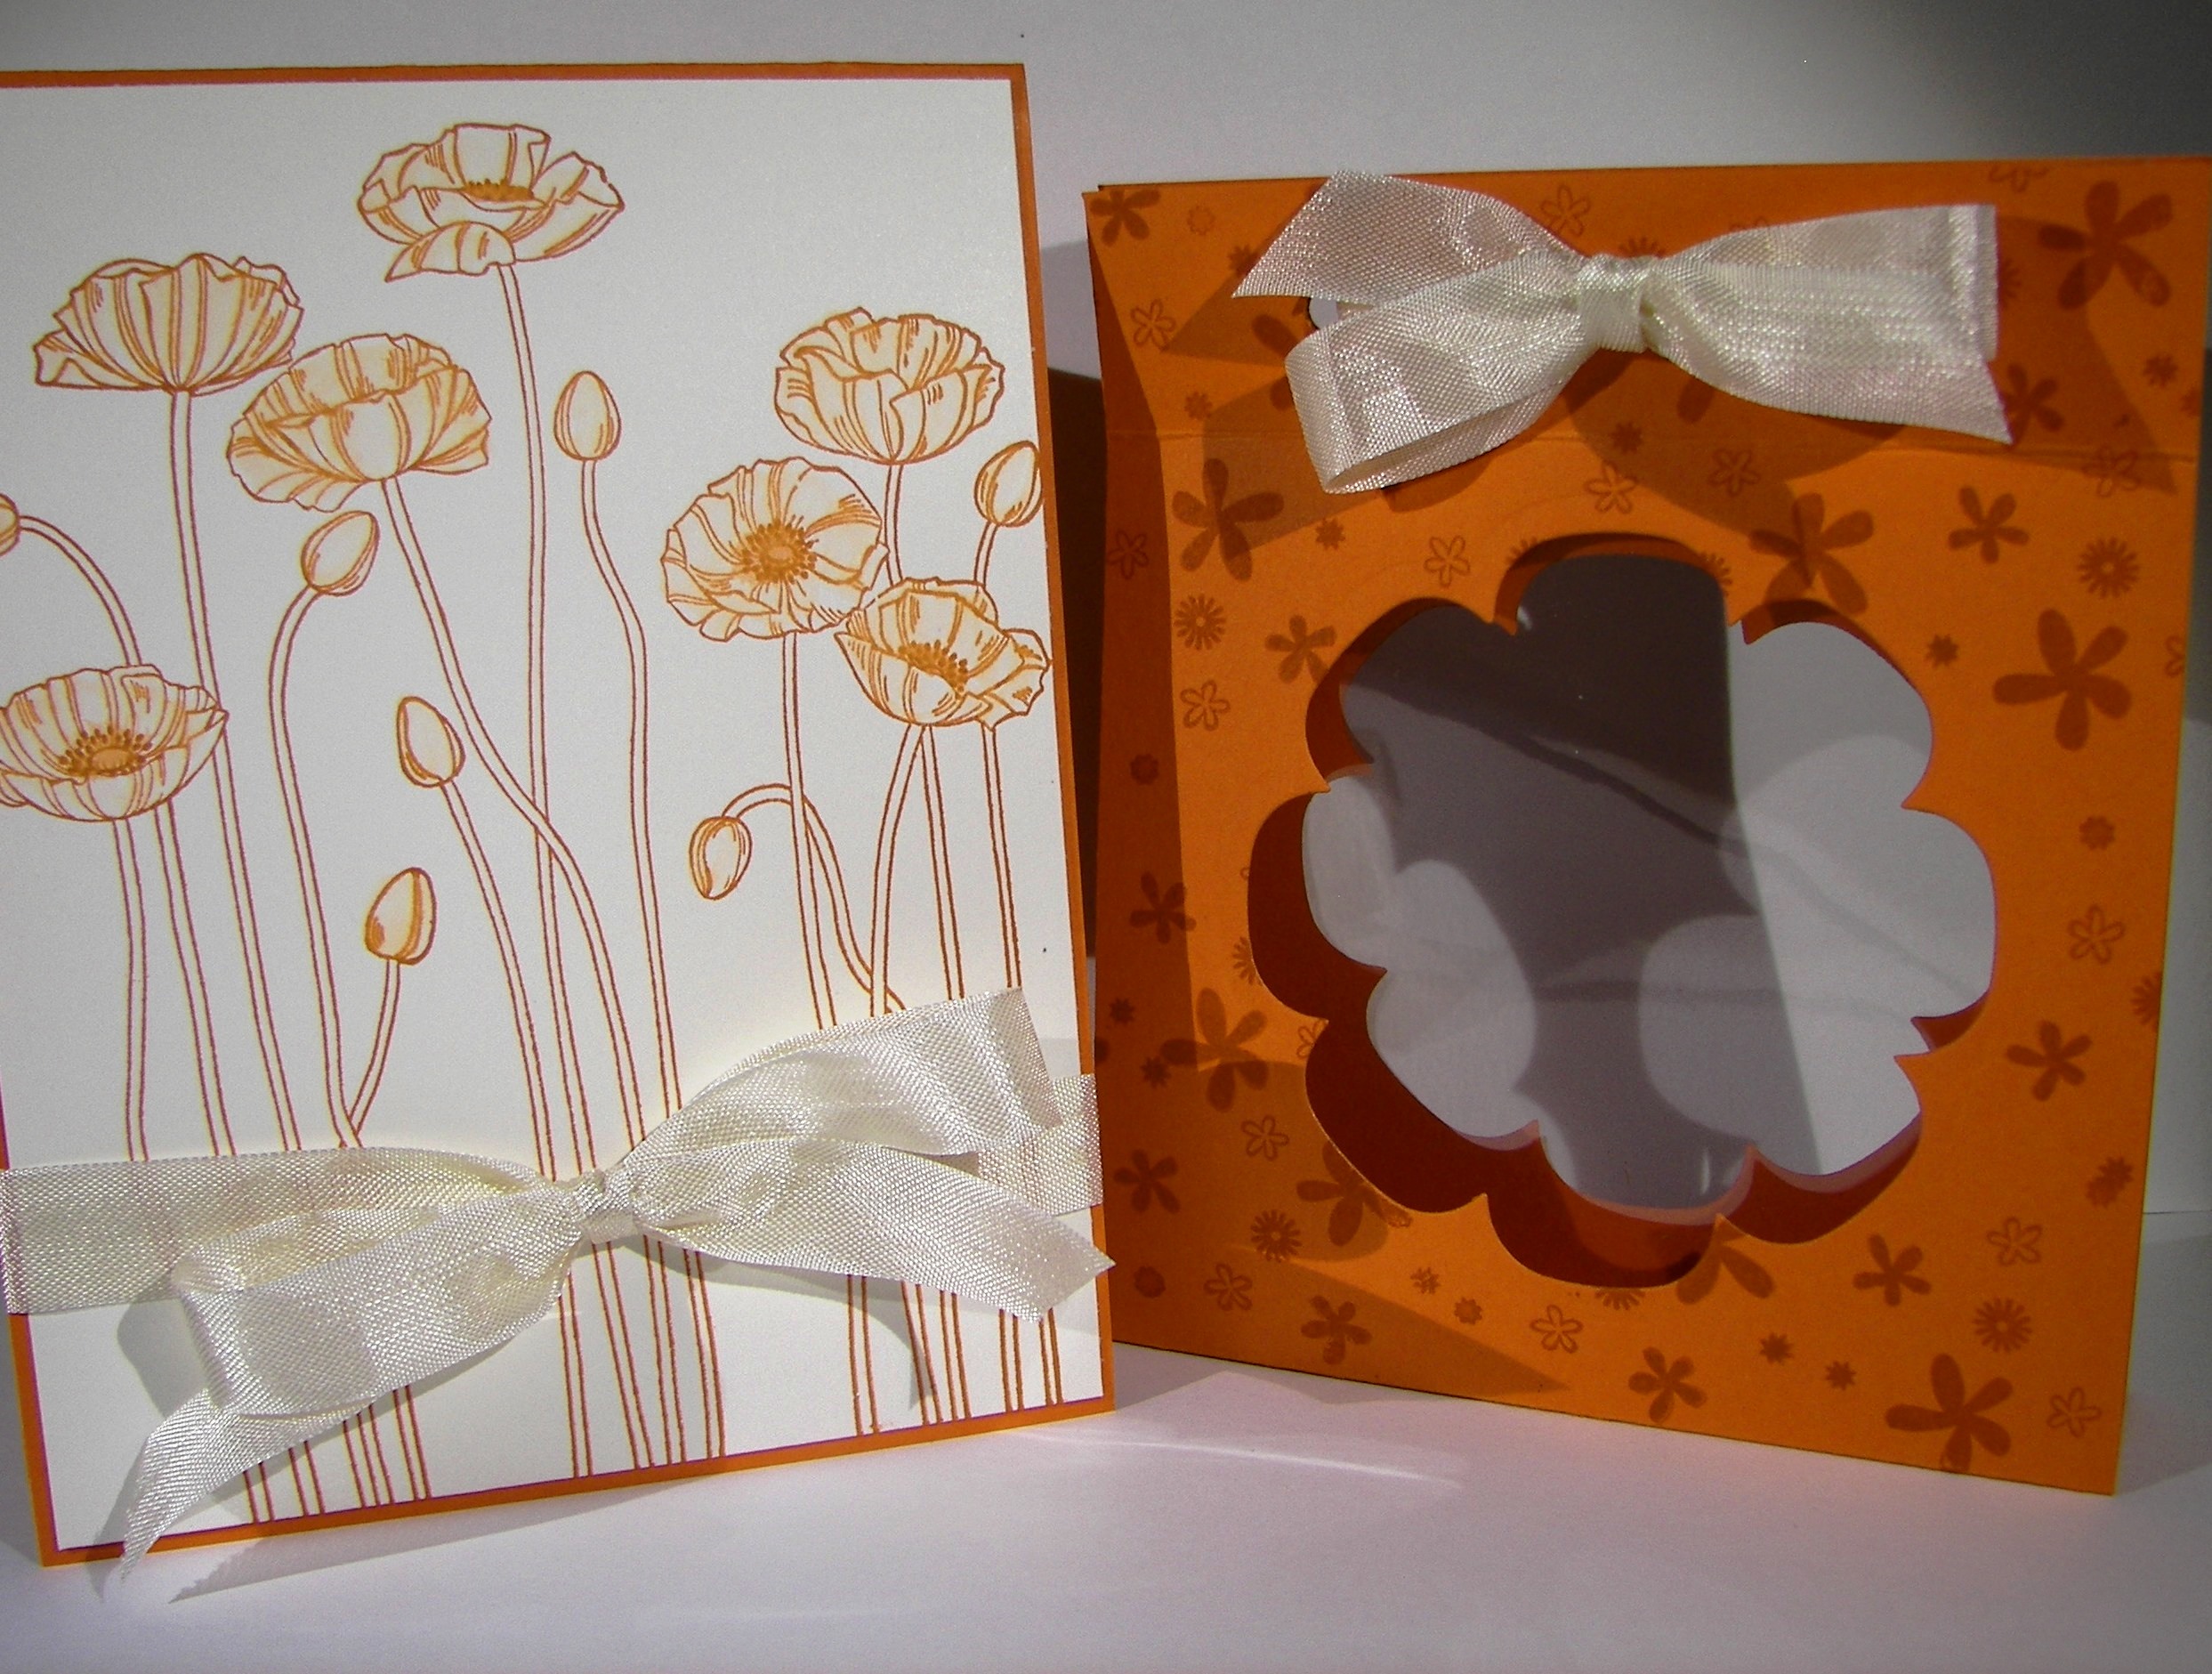
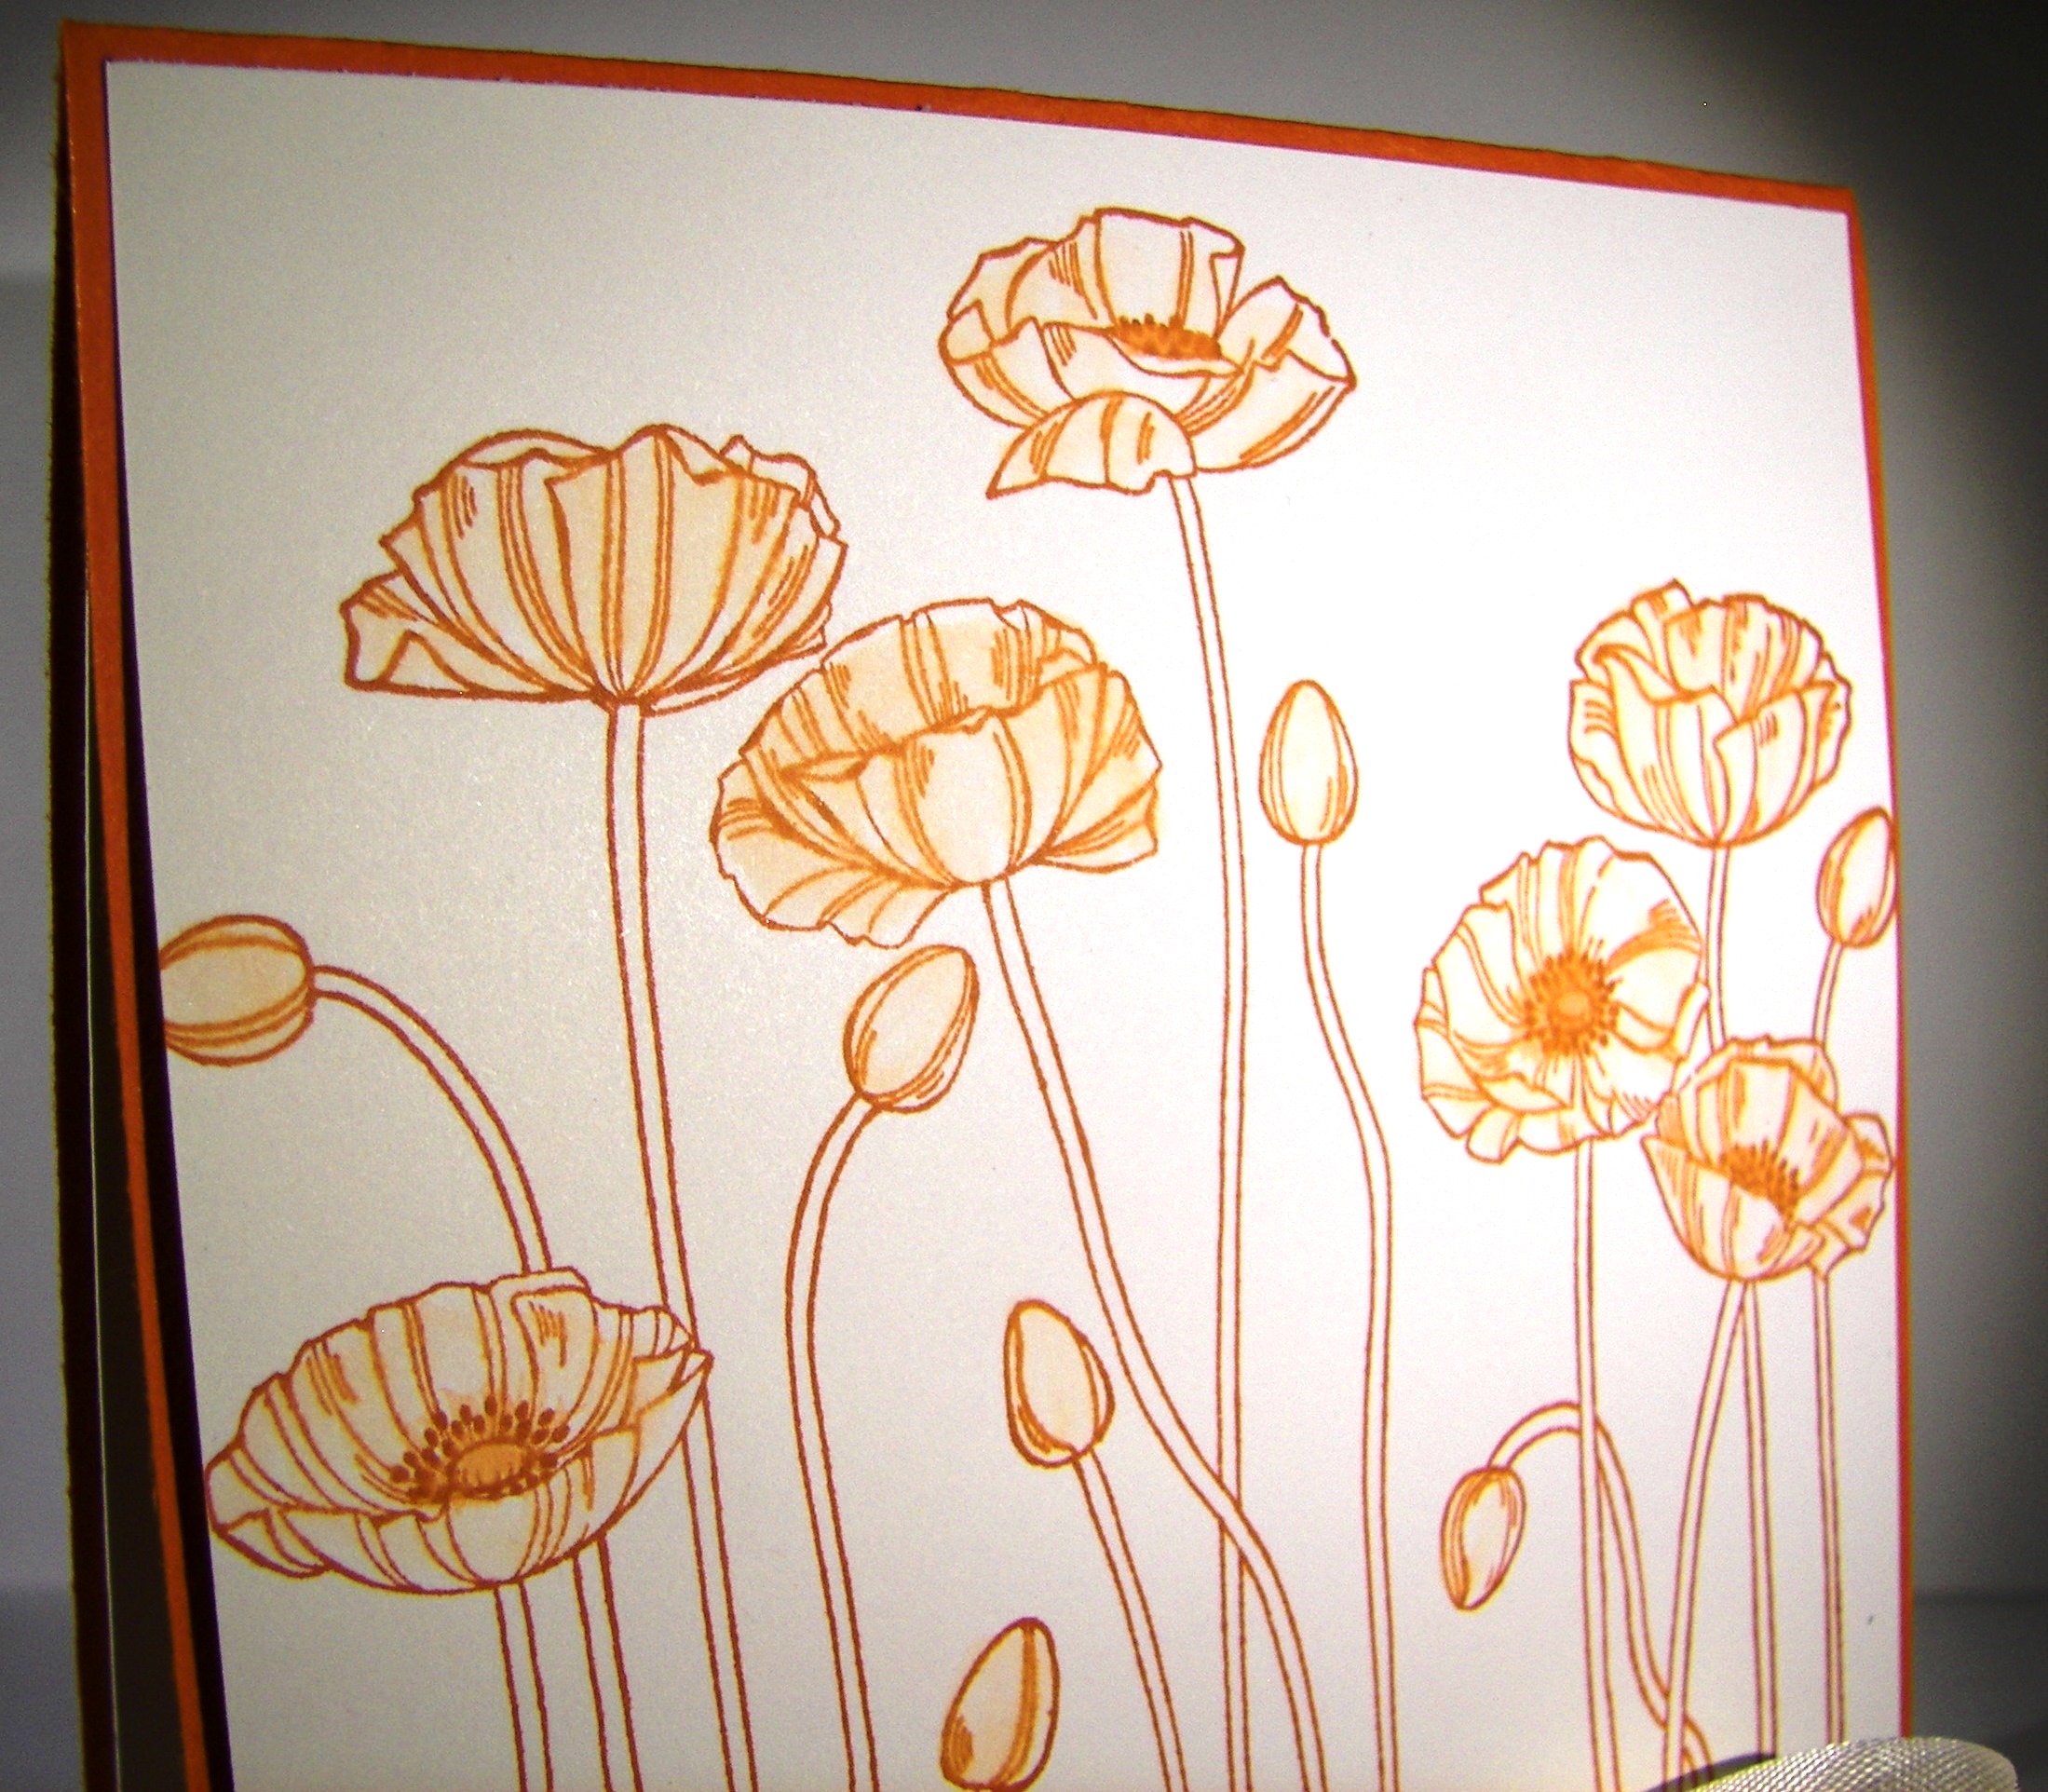
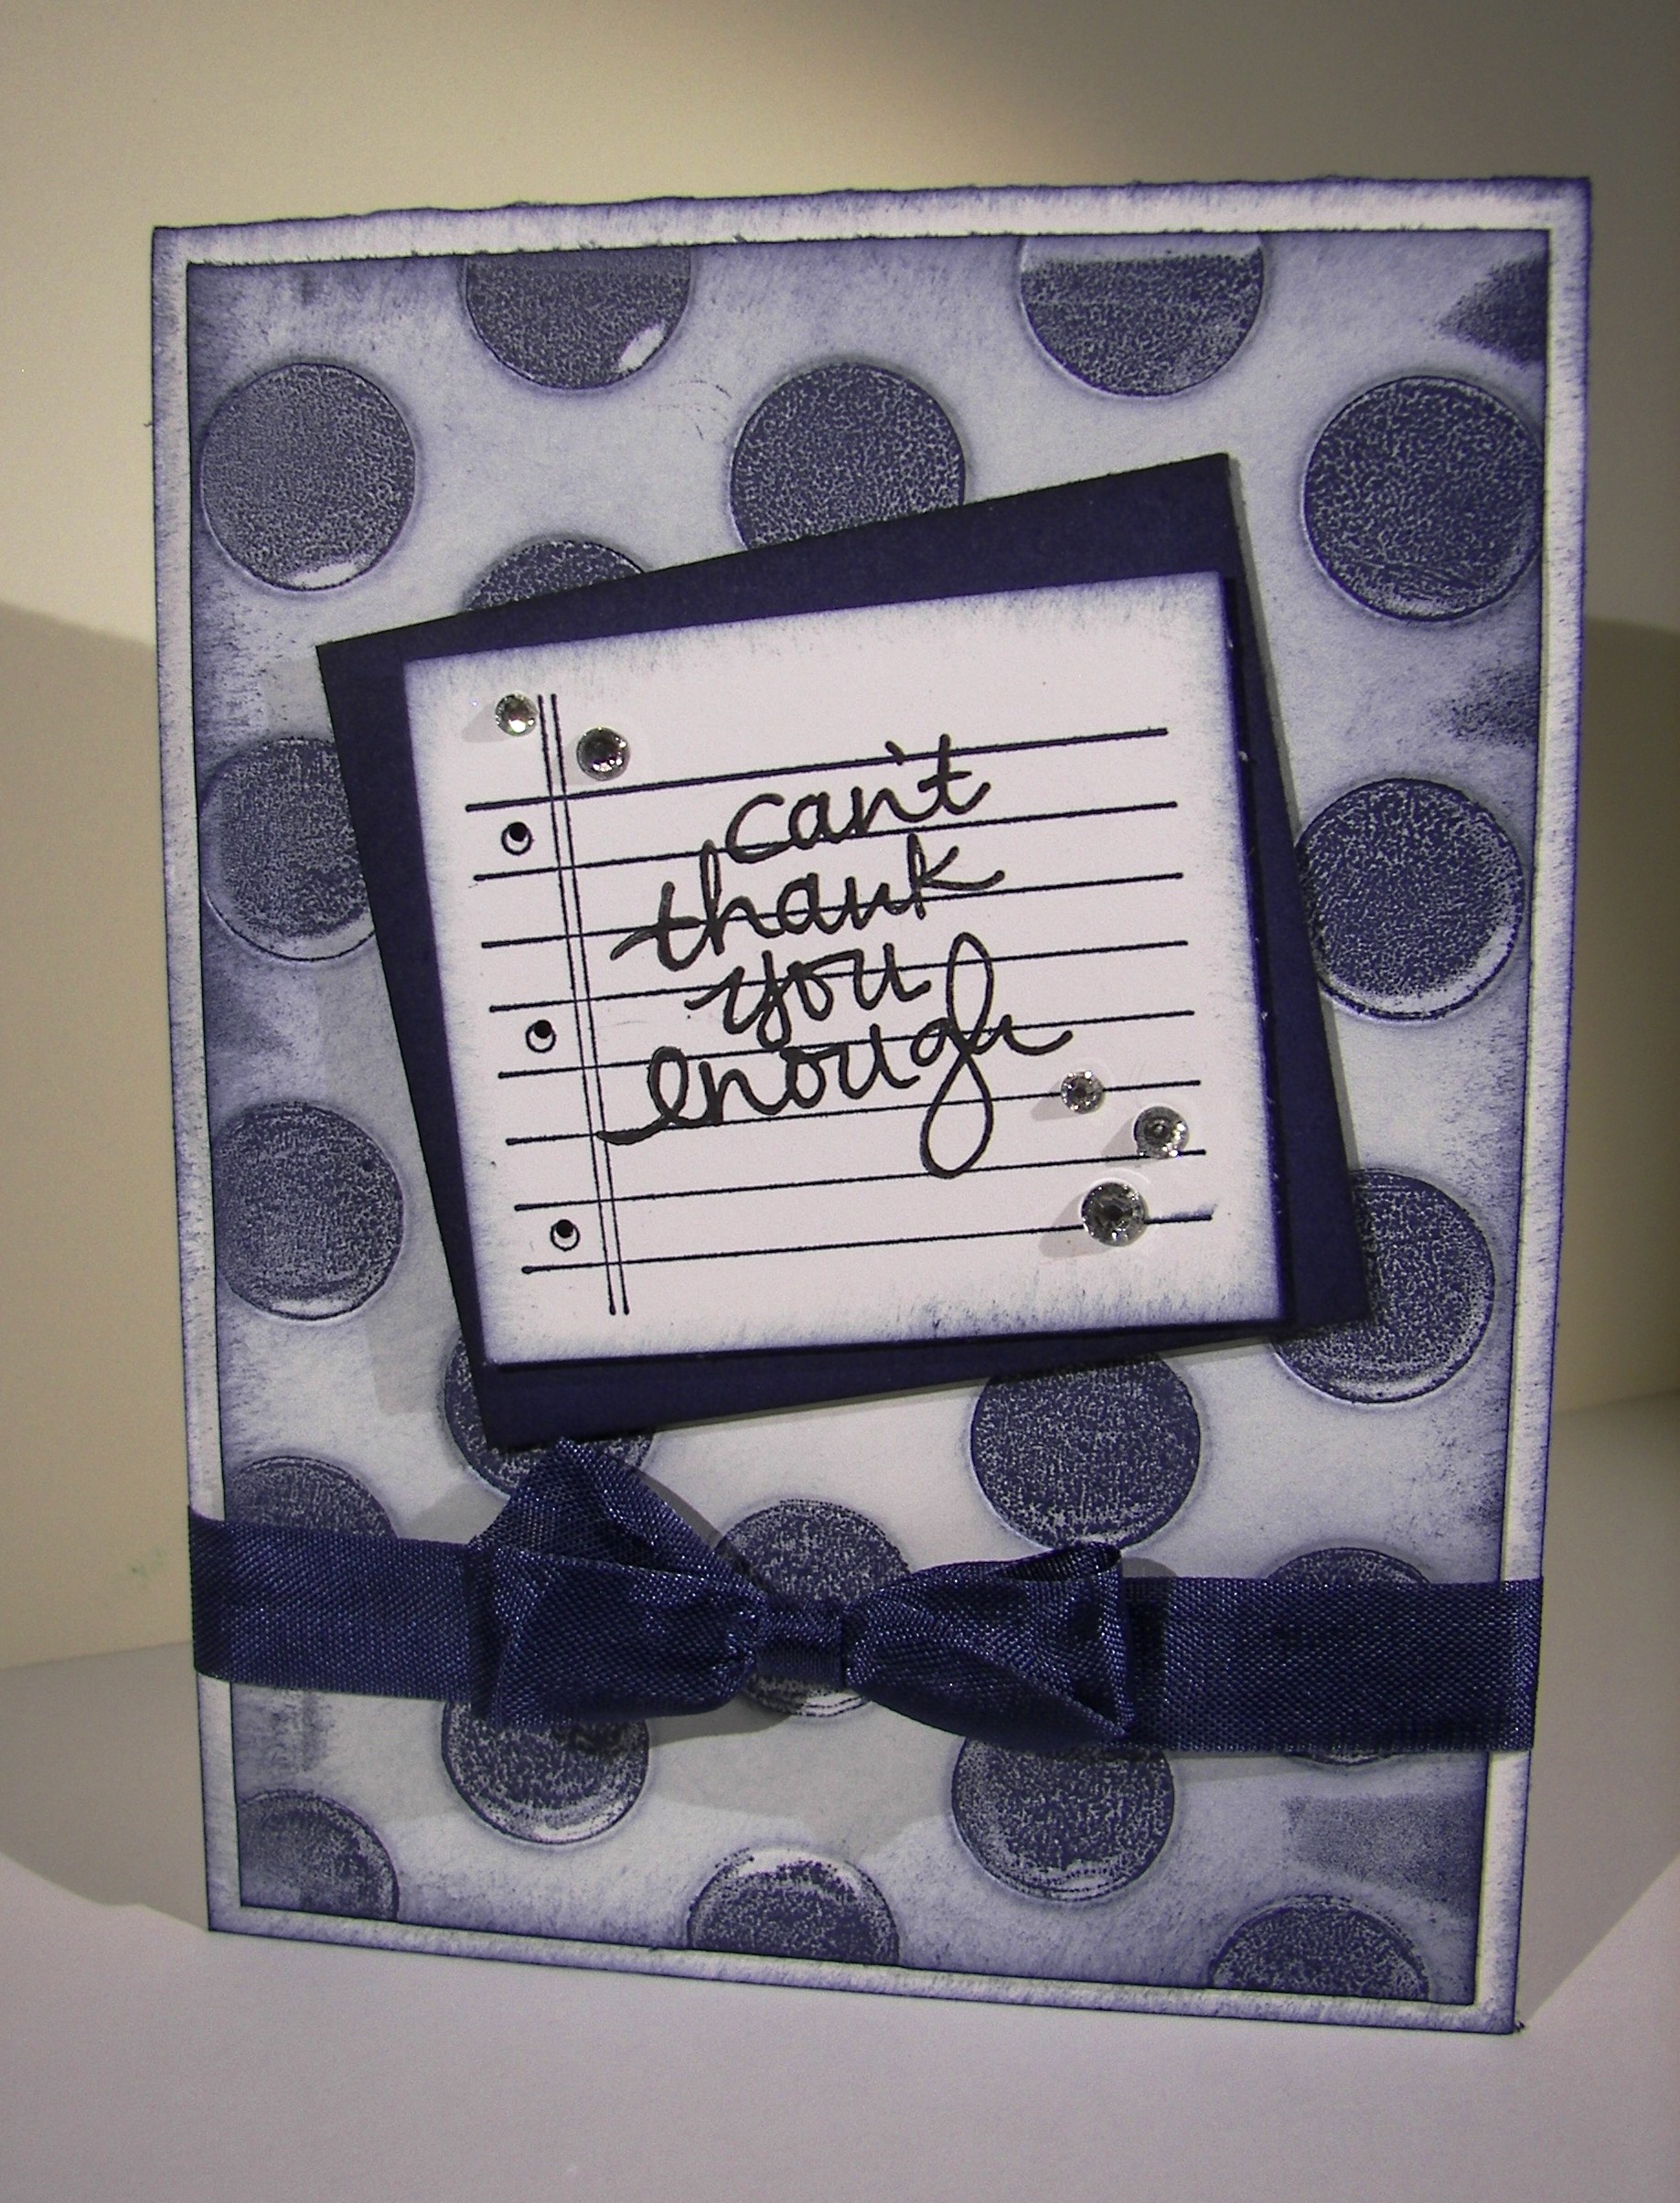
The brayer was still out from workshop so I let it give me my background on the large polka dot embossing folder.  Kind of artsy looking, even if I didn’t keep it perfectly clean.  I then decided to do a lot of sponging to disguise some of that, can’t hide it all, and also sponged lightly all over the paper.  Nice.

Lovely Amazing You

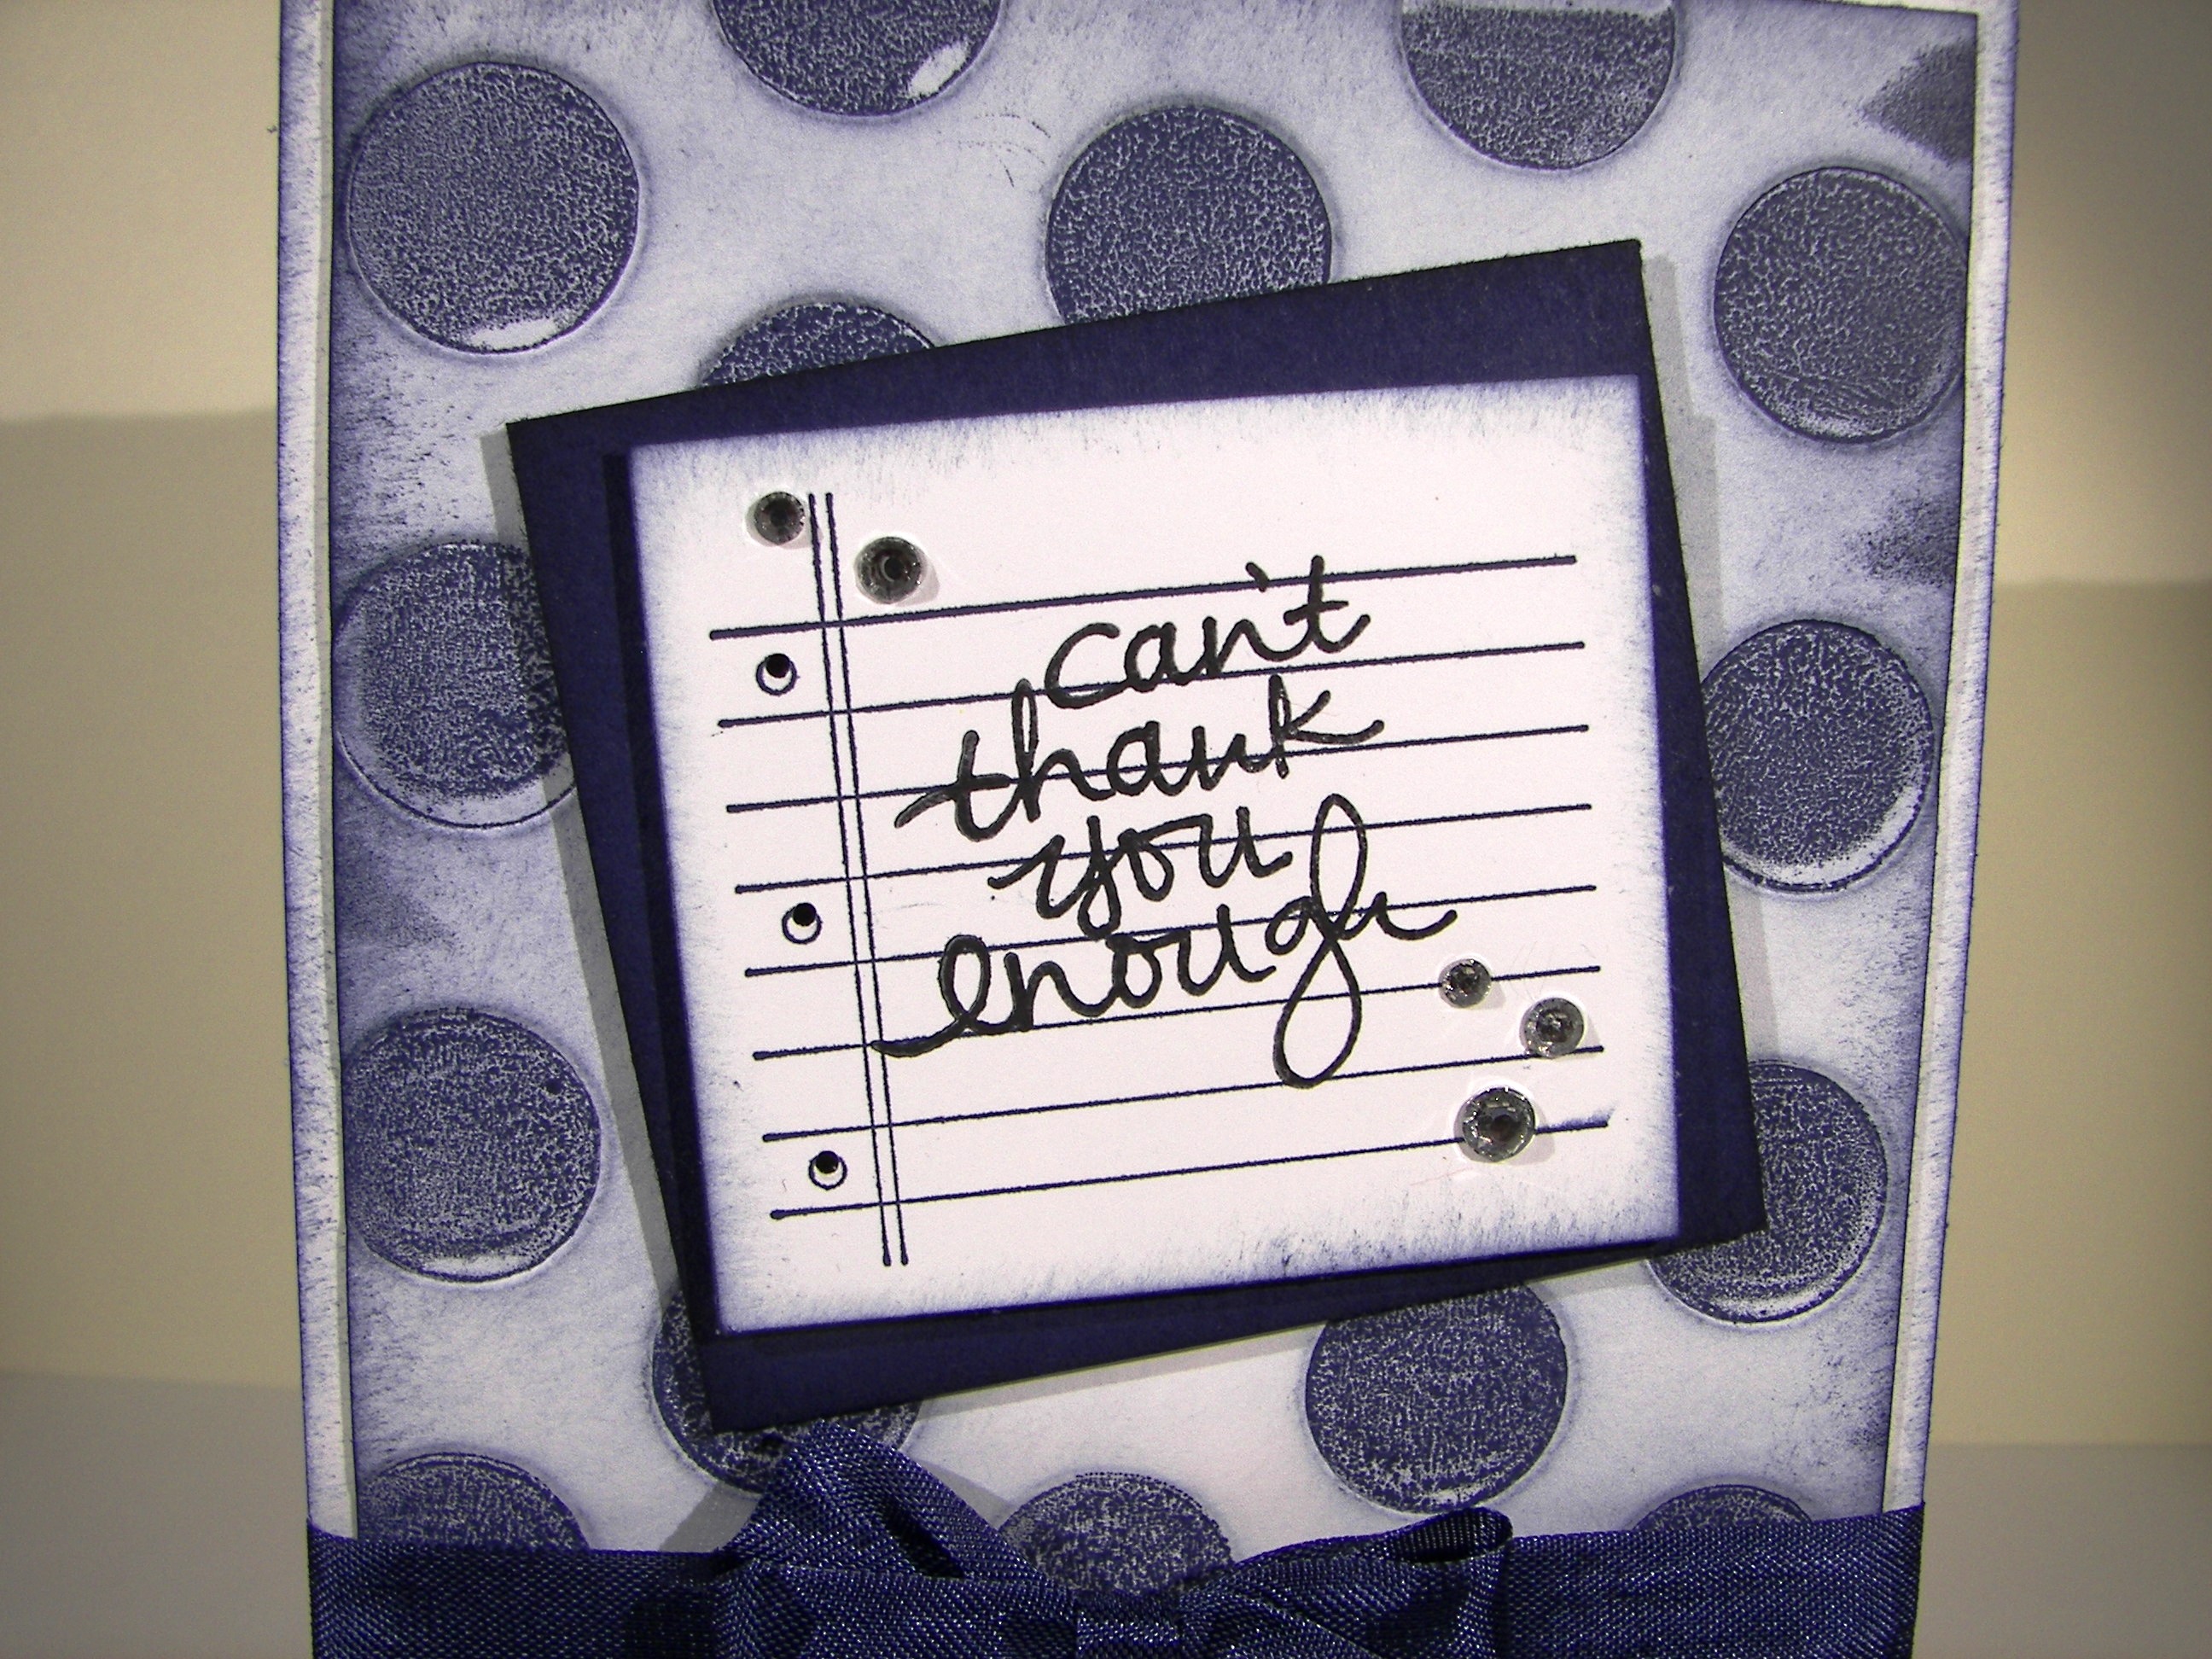
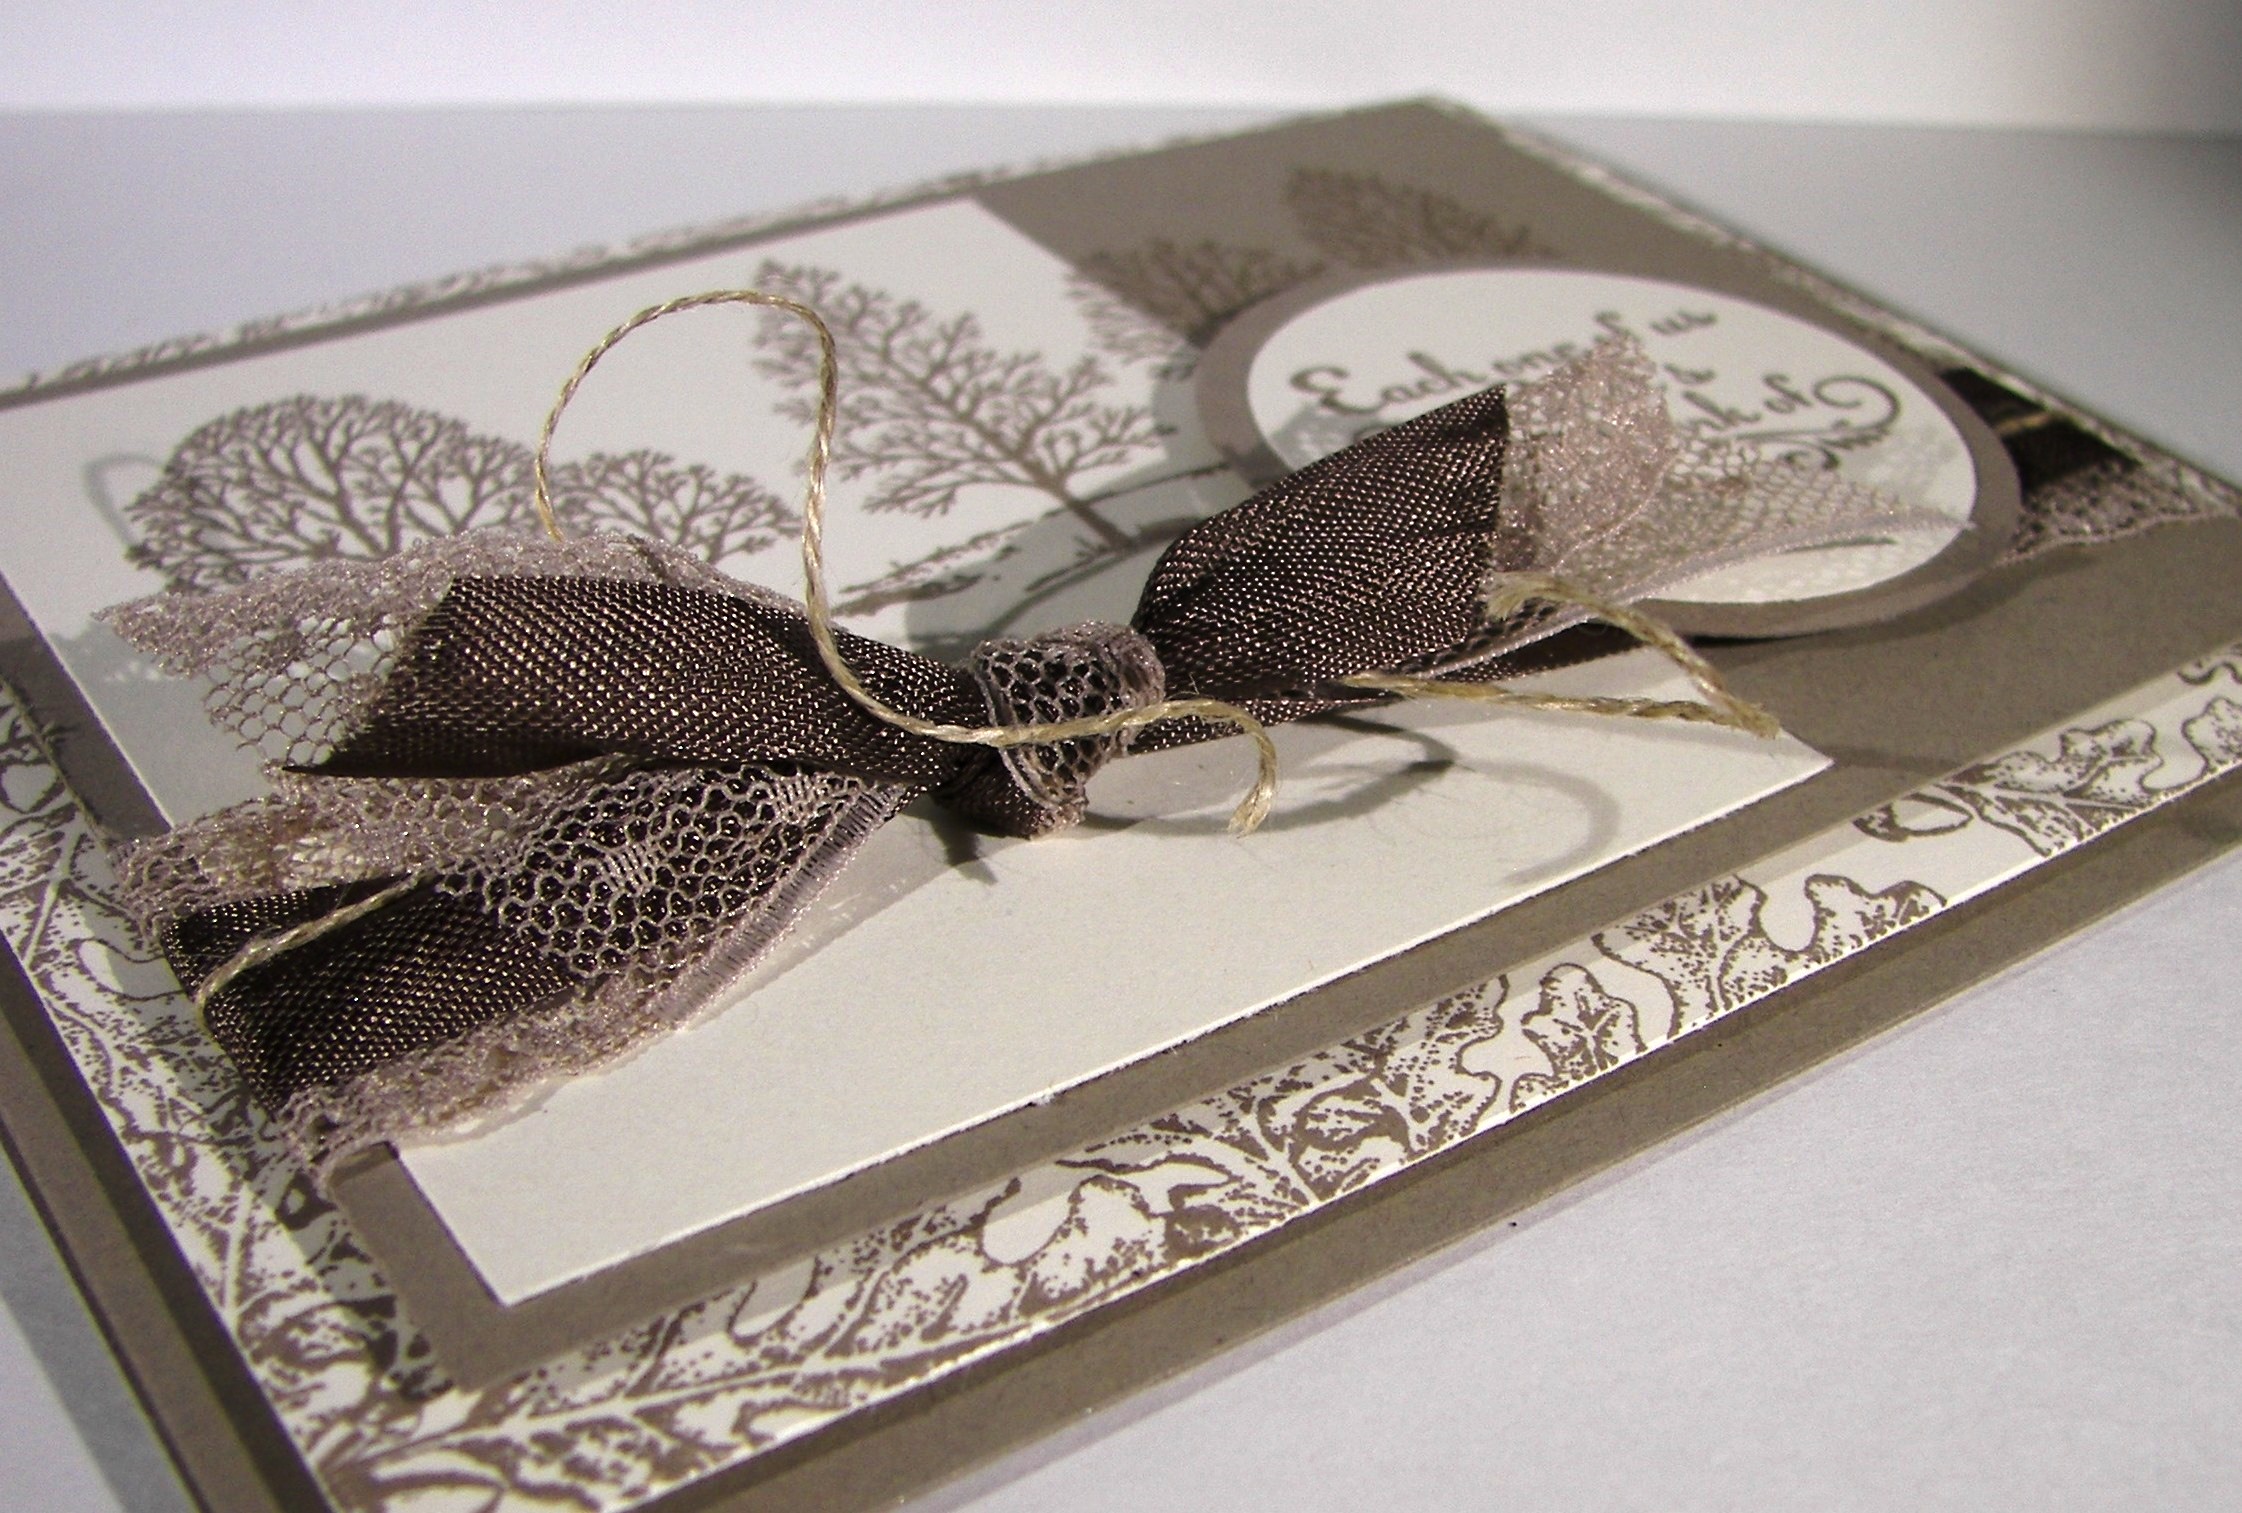
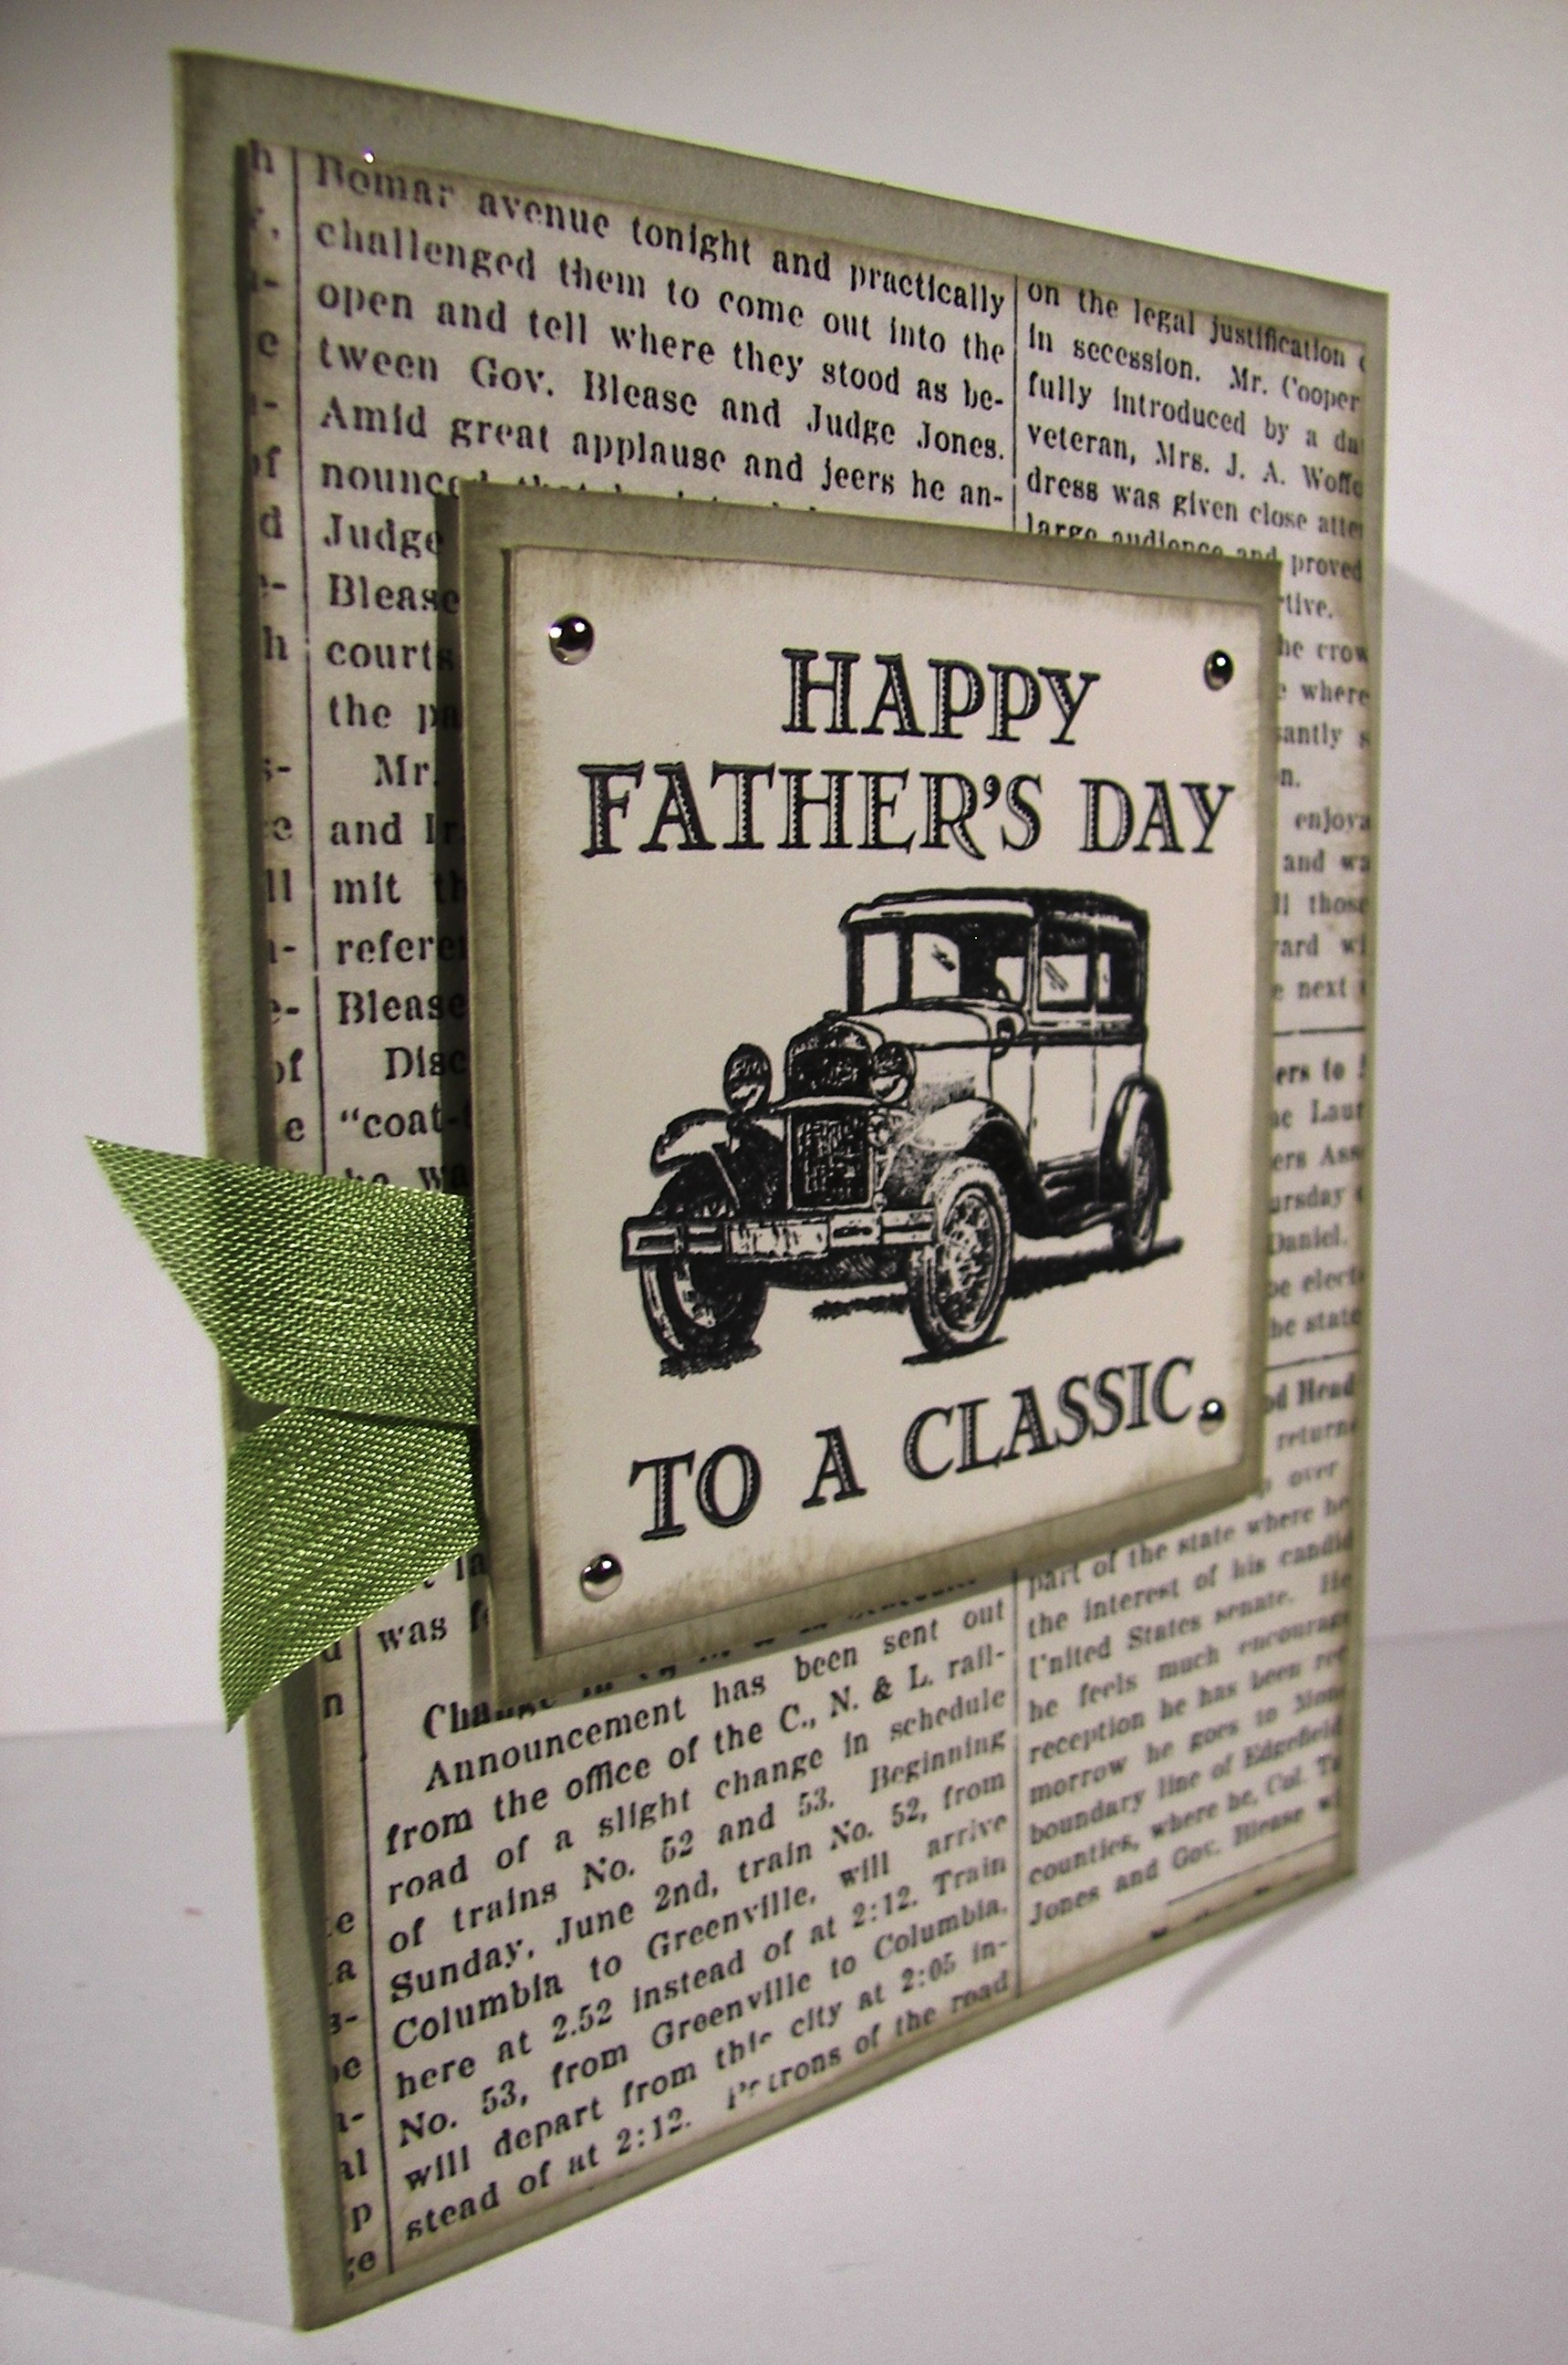
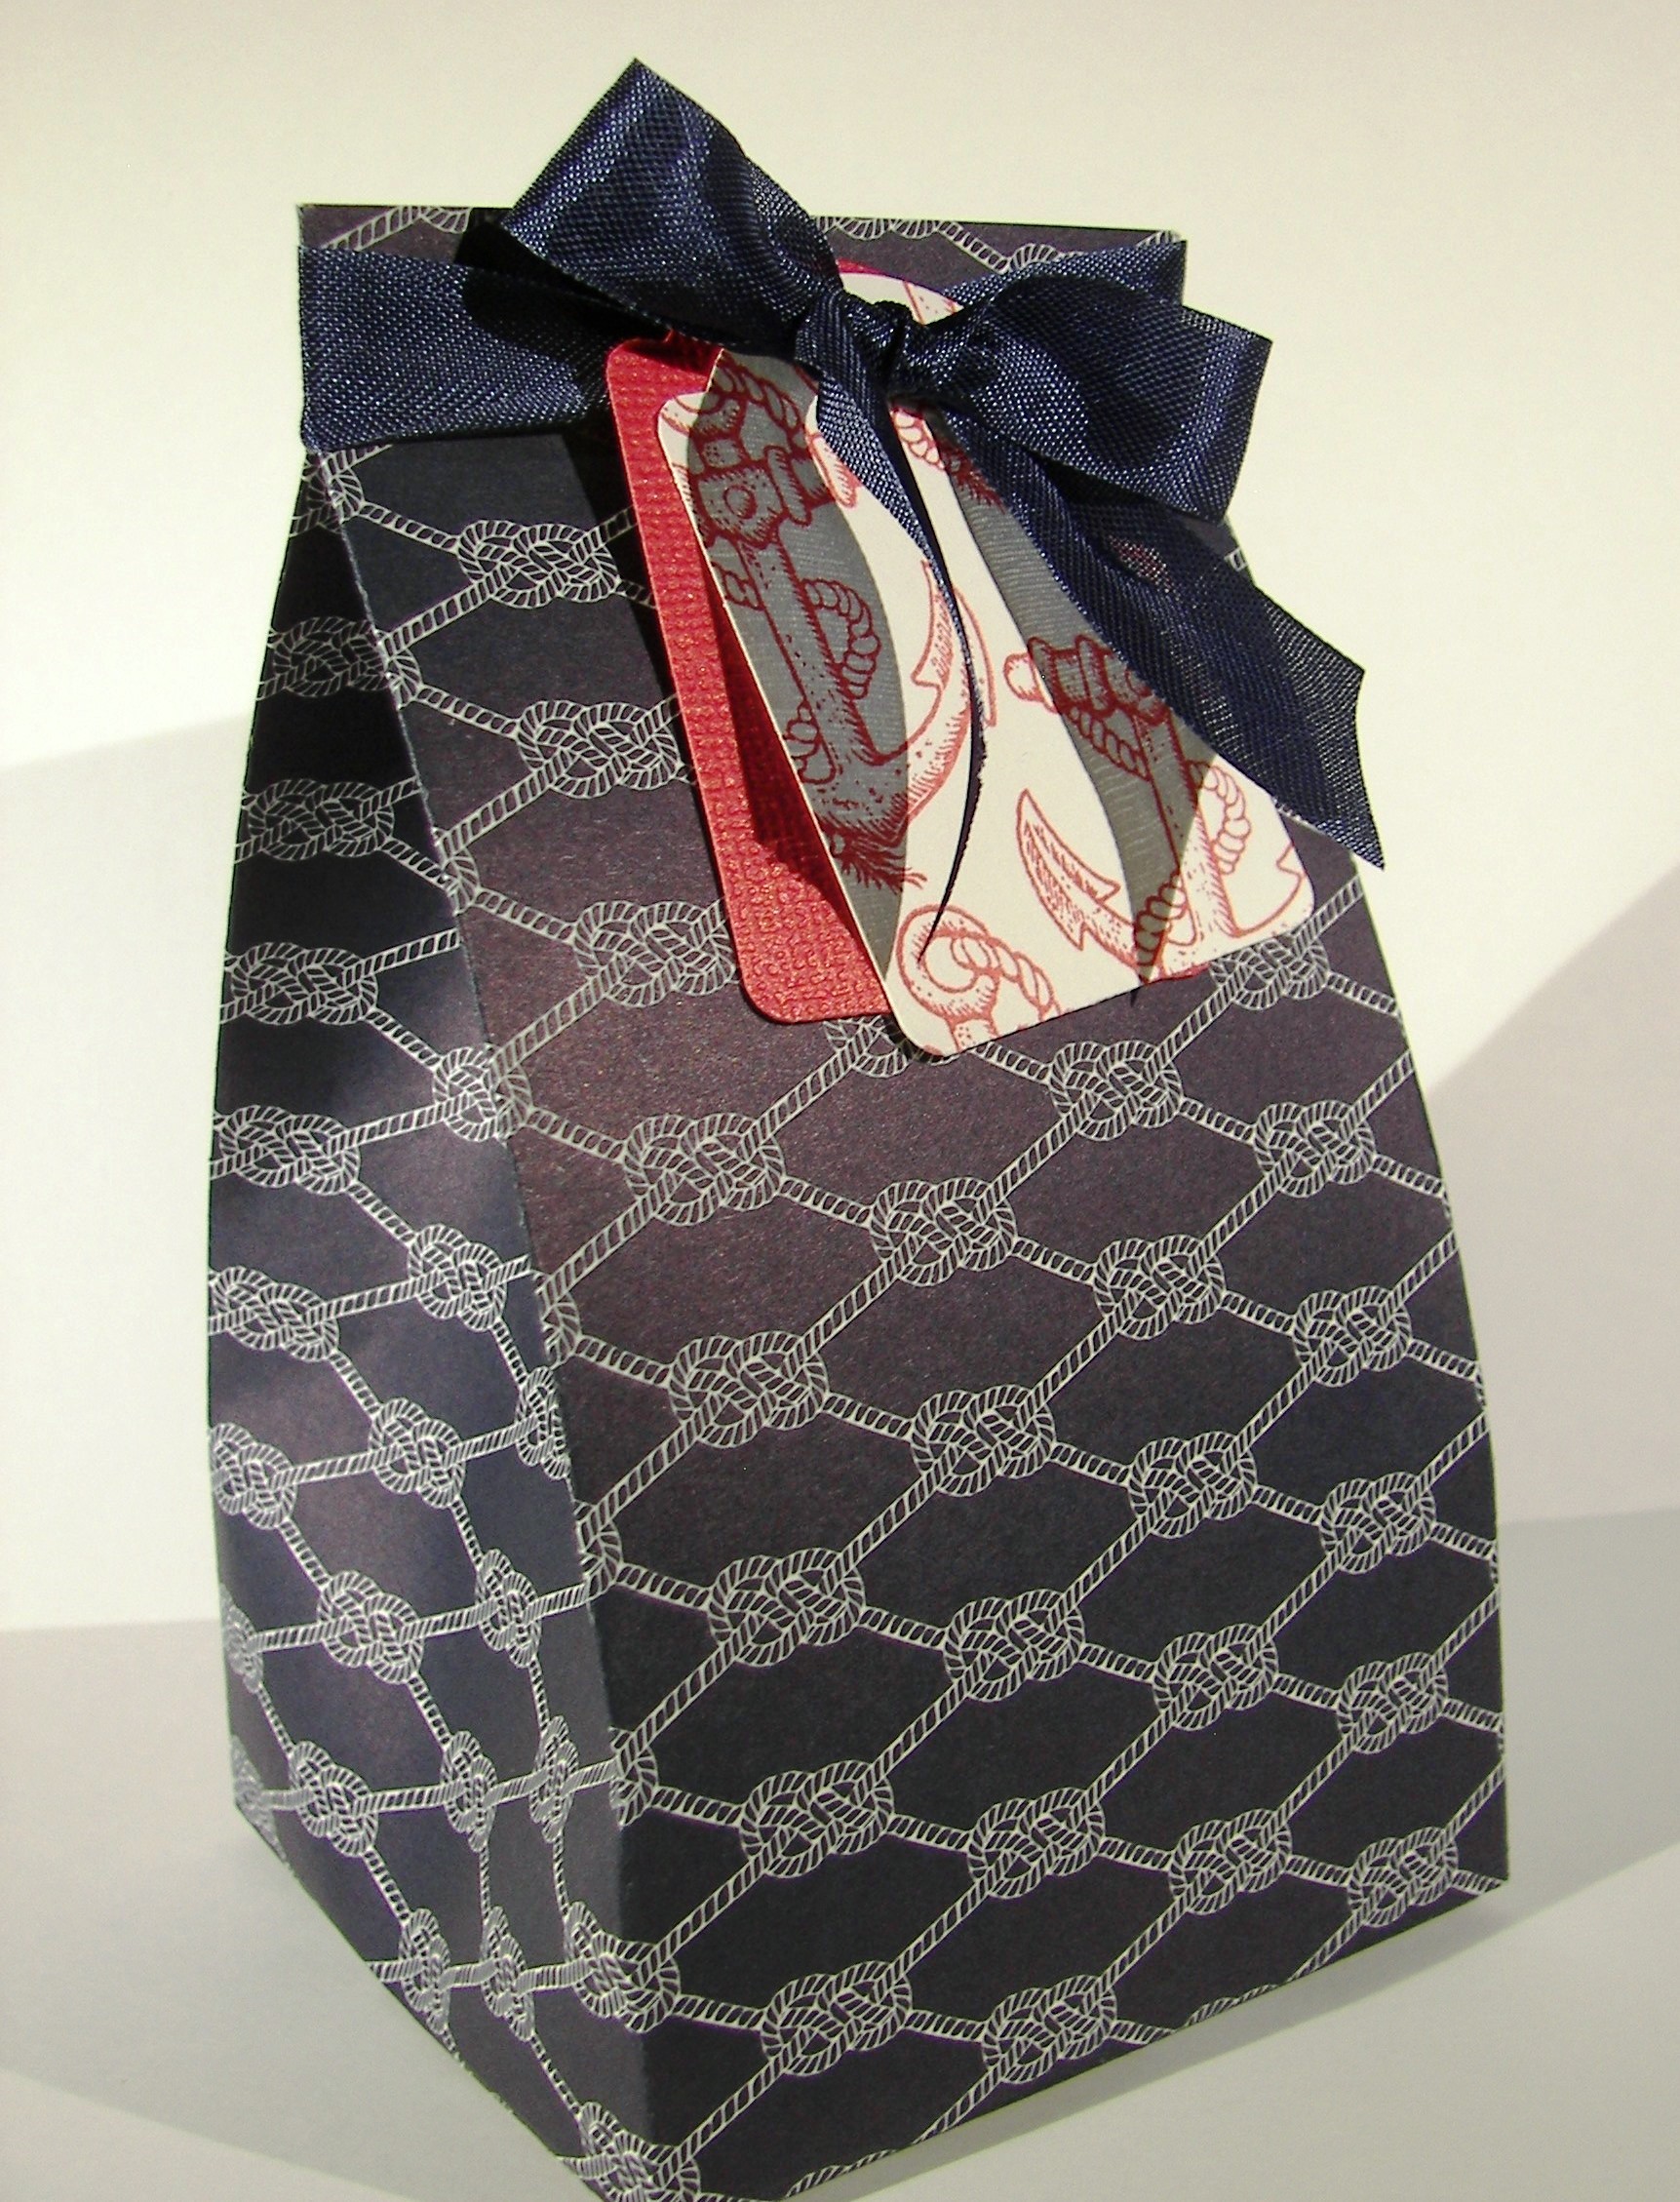
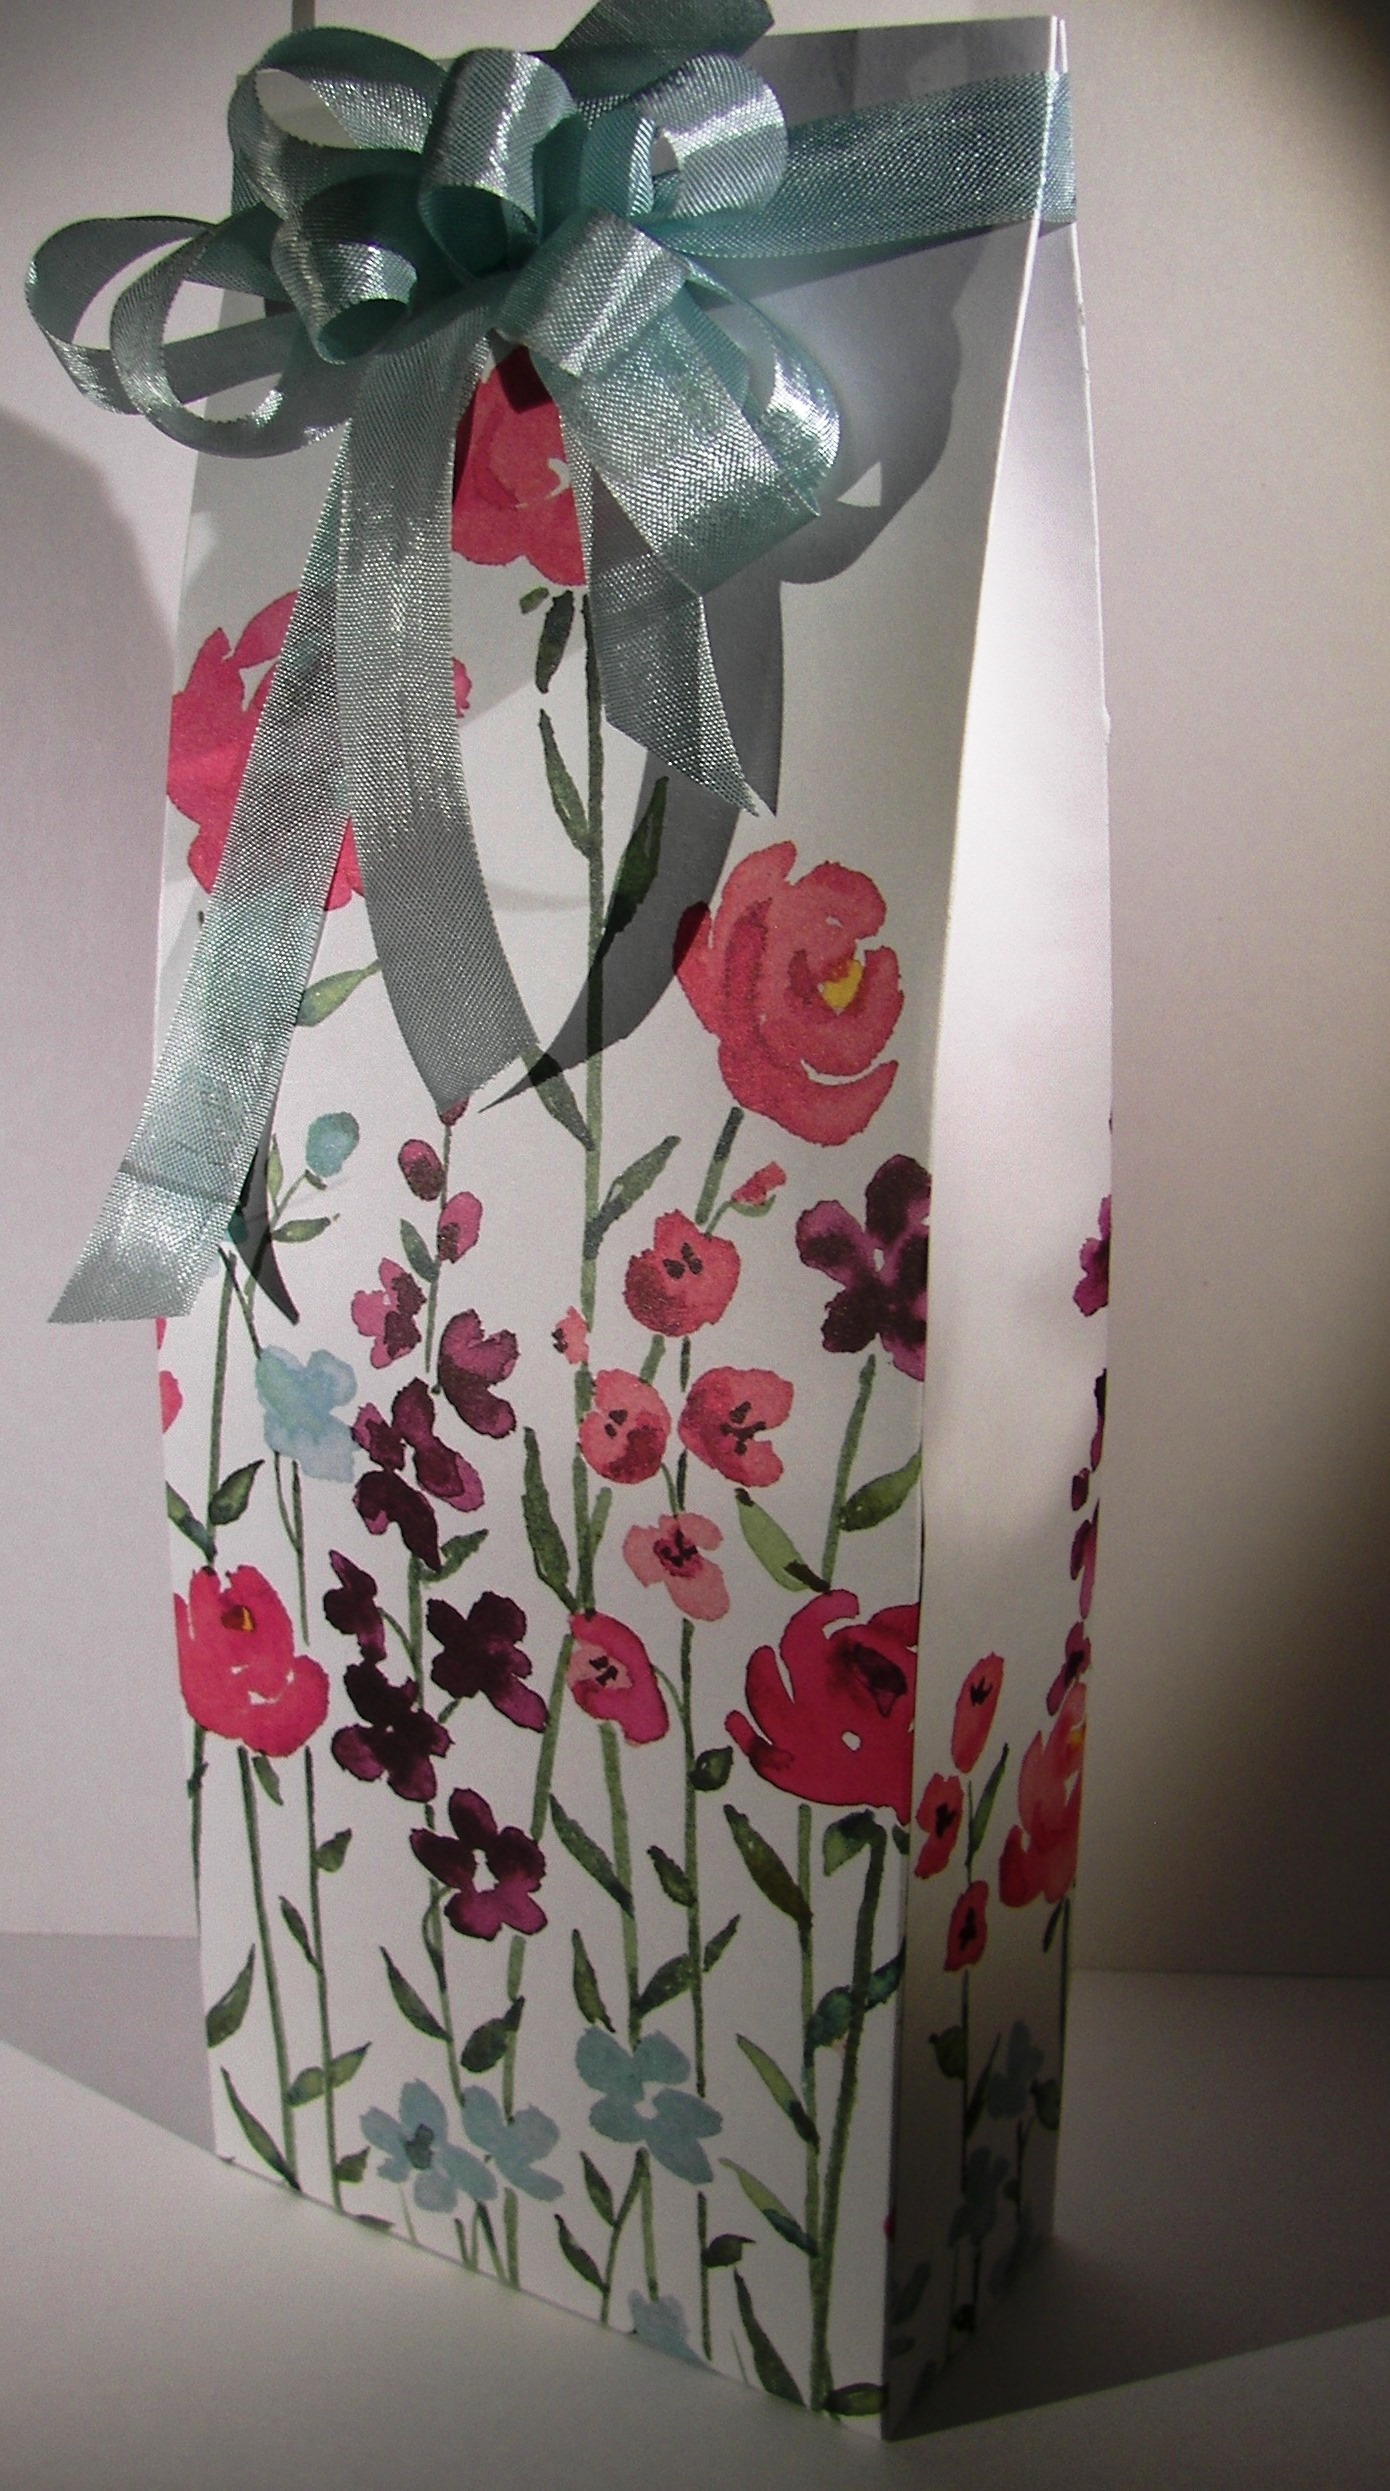
The little notebook sheet was created with a stamp from the Tap Tap Tap set, offset on some Night of Navy cardstock, raised up on dimensionals and embellished with basic rhinestones.  I even used the 1/16″ hand held punch and punched actual holes over the stamped ones.  Pretty cute.  I finished off the project with a bow of seam binding ribbon and decided I loved it!

Have a creative day!

Moana

If the Broom Fits

I love halloween!  Well, all of the fun decorations and cuteness that can go along with it.  Orange is also my favorite color, so that makes sense too.  You would think that I make lots of halloween cards from the collection I have to work with, but, not so much.  Same goes for Christmas though.  I am a stamper, and I love stamps!

If the Broom Fits

So, the irony of today’s card is that today is my 25th wedding anniversary.  I don’t think this particularly applies to me directly, but the phrasing of it surely does make me laugh.  Well, giggle actually.  I do have someone I can give it to.  I don’t know if she would laugh or not, but I think she will.

If the Broom Fits

It was a very simple card to create.  One big stamp cut out with the largest smooth oval framleit.  I sponged the edges up and added it to the scalloped layer I cut out with the largest framelit from the same set.   It nearly didn’t fit on the card front.  I did do background stamping on the card base and sponged the edges as well.  A lovely little ribbon between layers to tie in the early espresso ink and it was nearly done.

If the Broom Fits

I managed to use the edge of the stamp to sneak one broom on the inside.  This lovely stamp is another image available in the coming catalog that goes live on September 1st.  Fun little sneak peeks!

Have a creative day!

Moana

Ray of Sunshine and Pretty Petals

How about another one of those crazy mornings, that absolutely ran away from me.  To be honest, I was helping out everyone else and didn’t get my own goodies done.  Everything came together and worked out so, no worries!

Ray of Sunshine and Pretty Petals

Is this designer paper adorable or what!  This particular print reminded me of a recently retired stamp that has the most beautiful poppies in it.  I do love it when everything goes together so nicely.

Ray of Sunshine and Pretty Petals

A simple layering of designer paper, with coordinating paper and a length of ribbon to bring it all together.  I did a double layer of tags and squeezed in this sunshine sentiment keeping everything in calypso coral.  Love that color.  Six pretty little flowers all sponged and centered with basic rhinestones and I am in love with this card.

Ray of Sunshine and Pretty Petals


Have a creative day!

Moana

You’ve Got Me

I love it when everything coordinates so perfectly, but today is all about the sentiment.  I love these paired phrases, simple but strong.

You've Got Me

The card layering is fairly basic and puts a few favorite punches to work.  A dash of basic rhinestones to draw further attention to the sentiment and the front was done.

You've Got Me

I don’t normally stamp inside a card, but this one needed it.  I zoomed in on the detail, but it actually measures barely over a square inch.  When that card gets opened, that is what you see. “You’ve Got Me.”  How perfect is that.

You've Got Me

This new paper pack is loaded with beautiful paper.  I just used one sheet for this card.  The green floral is the other side to the main floral front.  My little flowers are from scrap of the same sheet.  I love putting all everything to work.

Have a creative day!

Moana

Love You My Friend

In the middle of cleaning out book shelves I had an idea for a card.  So I went to my desk, pulled out the stamps, dies and ribbon, and went back to my shelving.  This morning I just looked at them and thought, “What did I have in mind?”  Not sure, but this is what I ended up with.

Love You My Friend

I think it is funny because if you don’t read the little word love that is inside the heart cut out, the tags just say “you my friend”.  A bit basic, but really made me laugh.

Love You My Friend

All of the detail work went pretty quickly.  I started out by using the heart die cut on the whisper white paper and then ran it through the big shot to emboss it.  I thought the stamping inside the heart would be tricky to place.  Not at all.  I just eyeballed it and it was perfect!  Go figure!  The tags were simple stamping on scrap.  I do save scrap a bit too much sometimes.  But, the half inch that gets cut off when I trim down my paper works perfectly for sentiments and the banner punch.  Some might call it clutter, but I have used them so many times.

Love You My Friend

Have a creative day!

Moana

A Whole Lot of Lovely

Afternoons are good for blogging too.  Especially when you put your family first in the morning.  I do love a good routine, but sometimes you need to be flexible.

A Whole Lot of Lovely

I do try to say thank you right away, but sometimes you need a bit more.  Just like this little treat bag.  It is tiny, but is the right touch to emphasize the thank you.  I loved giving it away this morning at church.

A Whole Lot of Lovely

The new paper stacks are so fun.  This lovely floral pattern is one of many in the pack.  I do love floral paper, probably too much.  Either way, I thought the flowers on the paper matched the flowers in the hostess stamp set A Whole Lot of Lovely.  They look so nice together.

A Whole Lot of Lovely

Some stamping, a little bit of pearls, and plenty of ribbon and off we go!  Take the time to make a special thank you, it feels great to give it away!

Have a creative day!

Moana

Just For You Treat Bag Card

I started this project out completely different than it ended up.  Who doesn’t like an adventure now and again, right?

Just For You Treat Bag Card

The mini treat bag thinlits were out waiting to get to work.  I wanted to use he heart framelit and coordinating stamp.  After I pulled the paper and matching seam binding ribbon, it switched around on me.  Not a problem,

Just For You Treat Bag Card

Then I didn’t have a treat to put inside so I could give it away.  How can you give away a treat bag with no treats?  You can’t, that wouldn’t be any fun.  So I thought, does it have to hold a treat?  Why not make it an envelope and put a card to write on inside.

Just For You Treat Bag Card

Worked like a champ!  Now I have another choice with how I use this set.  Not everyone wants a treat, but something sweet to read is also yummy.  This little number will also fit inside one of our standard envelopes for mailing.  How cool is that!

A quick note on the stamp.  I stamped the image once and used the coordinating framelit.  It cut off the cool dashed boarder that I liked so well.  So I stamped it again, fussy cut it out, not my favorite activity, and layered it on dimensionals.  After I sponged everything of course.  Thought you might like that little detail.

Have a creative day!

Moana

Thank You for Everything and More.

What a wonderful way to start this special holiday.  Making this card this morning gave me some quiet alone time to contemplate.  I do my best thinking while I am crafting, I really do.

Thank You for Everything and More.

This project was more about the sentiment than anything.  Of course the color choices were important.  I kept everything subtle so the message was clear.

Thank You for Everything and More.

Gratitude, plain and simple.  Grateful for the freedoms I know I have, but so much more.  There is a larger picture that regular citizens are just simply unaware of, and sometimes grateful for that ignorance.  I do feel truly blessed for the way I am allowed to live my life.

Thank You for Everything and More.

Take the opportunity to share the gratitude you feel in the way you feel most comfortable.  I get to enjoy my quiet  beginning, attend a flag raising social at my church, and spend the afternoon with family.  Just wonderful.

Have a creative day!

Moana

Happy Birthday My Friend

Making my own background paper is one of my favorite things to do.  Part of it comes from not having all of the new paper, and the other more important part is customizing it to exactly how I want my project to feel.  I loved these tiny little flowers, so that is what I went with.

Happy Birthday My Friend

I didn’t have patience to use my stamp-a-majig, so I just did my best.  It didn’t turn out too bad and the secondary pattern looks great.  Hexagons can look a little more strict by their shape, but using the floral one gave it a much softer look.  And of course I love a layered tag.  Go ornate tag topper punch!  I love a great set of tools.

Happy Birthday My Friend

I have some work to get done today for use.  I will be gone all next week between taking my daughter to university and participating in a pioneer trek.  I will blog ahead like I did during girls camp, that seemed to work out just fine.  I think July will be a little more kind to my schedule, I hope.

Have a creative day!

Moana

Camp Bountiful in a Card

Spending a week with a wonderful group of ladies working together to serve the most beautiful girls, communing with nature and worshiping God, it is obvious why I created the card I did.

Camp Bountiful in a Card

Lovely as a Tree will remain one of my long time favorites, always.  Being surrounded by nature and removed from technology and distractions brings solace like no other.

Camp Bountiful in a Card

The girls, that huge group of lovely girls, worked together, learned together, laughed together, and cried together.  It was such a wonderful experience and I hope I get the opportunity to serve again next summer.

Camp Bountiful in a Card

It wont be easy to get back into the routine of life, but there isn’t a choice.  But, I can choose to keep myself in tune with the things I learned and felt.  I will continue to serve those I love.

Have a creative day!

Moana

Guy Greetings and Father’s Day Too!

Card workshop is today and even though I am totally exhausted, I know I will have a great time.  This is one of the projects we will be making.  It is getting close to Father’s Day, so of course we had to make something to celebrate that wonderful holiday.

Guy Greetings and Father's Day Too!

Can you see the learning opportunity in this first photo?  I was chatting it up with my own father and wasn’t paying close attention.  I know my stamping is a bit wonky, but I neglected to use my stampin’ pierce mat with the one on the left.  Of course my image wasn’t as clear and even a bit void in the center.  Yes well, it didn’t click on that second attempt.  The one before is hiding behind that one.  I tried to re-stamp it, but even with the photopolymer being so very clear, the image was too detailed for me to line up perfectly.  It gave it a nauseating 3-D look that had to go.  We all learn, right?  Use that mat for best results with photopolymer.

Guy Greetings and Father's Day Too!

Some of my ladies like to have choices as they work, so this should work nicely.  The stamp set it so huge that not only do they have choices, they just might be overwhelmed.

Guy Greetings and Father's Day Too!

I have used just a touch of seam binding ribbon to add some color, just a little bit. A nice masculine card is definitely something to have on hand, and this fits the bill.  I am so glad this stamp set carried over because it is the best for making all kinds of manly cards.  Love it!

Have a creative day!

Moana

Something to Say with Flowering Flourishes

I honestly sat down to my very messy desk and couldn’t think of what to do.  There are many reasons to stay organized, and that is one of them.  I looked to my paper for inspiration, as I usually do when I get stumped.  But I haven’t purchased any of the new paper yet, so that threw me another loop.  I really had to look for a little extra creativity, so I kept looking.  The foil velum carried over and I had some of that.  For the win!

Something to Say with Flowering Flourishes

I started out with the idea of making a purse style gift bag, but thought it was looking to be too bulky and wide.  So, I cut it in half and went for two of these little beauties.  I stamped my wisteria wonder card stock with the medium stamp from flowering flourishes to go under the velum.  I love the soft layering it gives.

Something to Say with Flowering Flourishes

I used a whole 12 x 12 sheet of velum to start with.  When I trimmed it to match the 8.5 x 11 I had a nice strip left over.  I cut that in two and made two mini envelopes for the tiny gift cards.  The cards are large enough for a tiny note and also house a gift card.  Nice, right?

Something to Say with Flowering Flourishes

I plan on putting a couple of gourmet cookies in a cellophane bag to tuck inside the gift bags.  It should make a lovely set.

Have a creative day!

Moana

Maritime Thank You

Today is a day filled with gratitude.  Not only for our freedom, but for those who sacrificed so much to provide it to us.  Sometimes we feel a bit removed from celebrations like Memorial Day.  Today I have the opportunity to spend time with family, and to thank my own sailor, my father-in-law.  Hence, the nautical themed projects for today.

Maritime Thank You

I used the awesome anchor from Guy Greetings to make a background paper for my sentiment and stamp inside as well.  All you need to say is ‘Thank You’.  We will enjoy writing special notes in these.

Maritime Thank You

I had to make a treat bag, of course.  But I knew I would be making this specific, so I actually bought candy to go inside.  It is already tucked inside ready to go.  Everyone needs a treat once in a while.

Maritime Thank You

So, don’t forget to take some time in your busy, and hopefully wonderful, holiday to share your gratitude.

Maritime Thank You

Have a creative day!

Moana

Pleasant Poppies Gift Set

As poppies are in bloom, my attention was drawn once again to my favorite background stamp.  I am sad to see it retire, I truly am.  Retiring or not, this one is a keeper that I will use for years to come.

Pleasant Poppies Gift Set

With that said, this post is a good news bad news.  Yes, my precious poppies will retire, but the wonderful Perpetual Calendar stamp set carried over!  The little flowers I stamped all around my gift bag are one of many adorable little stamps in that set.  It is so versatile.  I think it has been the most heavily used stamp set from the spring catalog.  Interesting…

Pleasant Poppies Gift Set

You cannot tell from the photo, but there is a little cellophane bag inside.  I made the floral windows on both sides to show the “treats”, but there aren’t any to show.  Literally, I don’t keep candy at my home.  You will just have to use your imagination.

Pleasant Poppies Gift Set

I stamped the poppies on a very vanilla card front using tangelo twist.  I then used my aqua painter to get a bit of ink to the centers of the flowers that showed them.  I cleaned my brush of ink and just used water on the rest.  I simply brushed over the stamped flowers to move bits of the ink around.  It gives a very subtle look, but it is just right.  I could have brought in another color for the stems, but I wanted this monochromatic.  A simple bow of very vanilla seam binding ribbon, sadly retiring, finishes off both projects.

Have a creative day!

Moana

Glorious Painted Blooms

When I sat down to create something for today’s blog I was stumped.  I had been reading for a while and had a hard time getting focused.  What I usually do when that happens is go to my designer series paper and pick something that catches my eye and work from there.

Glorious Painted Blooms

What I discovered tucked between to organizers of paper was an unopened set of the Painted Blooms designer series paper.  Oh. My. Goodness.  I felt like a little kid.  I have loved this set so much and have used a ton of it.

Glorious Painted Blooms

Since it will be retiring with the spring catalog, I got really bold.  I opened it up and took out my favorite pattern.  The first pack I had I treasured this pattern and had the hardest time cutting in up.  So, I just went for it.  I used one whole sheet and made a beautiful gift bag to showcase it.  It was quite liberating.  Good thing there is two of each pattern in a package.  I can still treasure the last one.  Maybe I will do like others have and frame it.

Glorious Painted Blooms

I didn’t want to cover up one bit of it with a tag or any stamping.  So, I went a little crazy with the seam binding ribbon.  How perfect is this gift bag!

Have a creative day!

Moana

Swallowtail Watercolor

The only thing I could think about was getting out my Swallowtail stamp.  I love this huge guy.  I had visions of a muted but colorful butterfly on watercolor paper.  Well, it took a few tries before I didn’t hate what I was doing.  Sometimes my vision and my technique process don’t connect.  Then something new comes up.

Swallowtail Watercolor

I took a piece of watercolor paper and spritzed it heavily with water.  I then applied drops of ink randomly, focusing on one color at a time.  I used my spritzer to dilute the ink drops further and helped them spread out more.  I ended up with four colors.  I put my heat gun to it until it was nice and dry.

Swallowtail Watercolor

I really had my heart on using black stazon for the butterfly, but that just wasn’t looking right.  I switched it up and stamped it in wisteria wonder.  That gave the perfect look.  I think because the ink is water based and could be loaded up heavier gave a better impression on this type of paper.  Not sure exactly, but it sounds good.

Of course I had to make a little bag.  The need to make matching sets is so strong sometimes.  When you see a card or a bag on this blog by themselves, you know I had to tell myself to just walk away.  This time, it had to be done.

Swallowtail Watercolor

I actually love it so much, I can see myself making a large set of these for a gift for someone.  They are truly all occasion, not a sentiment to be found.  That also took great self control.  Not to mention how badly I wanted to add basic pearls.

Swallowtail Watercolor

I have gone on and on, but I wanted to give more detail today.  You should really give this one a try.  It is so liberating and actually, quite simple.

Have a creative day!

Moana

Park Lane Duo

I started this set yesterday morning, got stumped, fussed last night, and finally fixed it this morning.  I kept trying to put the yellow butterfly on the card front.  Yes, the one I inlaid back into the gift bag I cut it from.  Strange how things come together better when you give your creativity a break to refocus.

Park Lane Duo

I colored the paper with my ink sponges.  I didn’t want a lot of exact color, just subtle hints.  So I just used the sponges with leftover ink already on them.  It did the job just right.  Of course my photos make it hard to see, but I love the effect.

Park Lane Duo

When you use delicate die cuts it helps tremendously to sandwich wax paper in between the layers.  The paper just pops out then.  I decided to use the wax paper ones as well.  I didn’t want to cover up the coloring and the yellow butterfly just took over.

Park Lane Duo

After I swapped things around I fell in love.  I attached my wax paper butterflies with some folded glue dots and then ran a string of basic pearls down the body.  It gave such a delicate finish.

Park Lane Duo

One quick stamp from the Sheltering Tree set and the card was done.  No ribbon, no other extras, just some light color and transparent butterflies.  Since they are so thin, the move when the card does.  Beautiful.

Get out there and have a creative day!

Moana

Huge Thank You Part 2

Here is the other half of the project.  You saw a bit of color at the front and probably suspected more cards.  How many?  How about ten?  Yup, I did the entire brights collection.  I knew this stamp and card idea would look wonderful no matter what color I used.  I wonder if I should do the other color sets?

Huge Thank You

All ten cards fit nicely inside this container that coordinates with both the gift set and the main card.  It also allows the large card to be on display without being in the way.  What a perfect way to brighten up your desk, right?

Huge Thank You

What card set would be complete without matching envelopes?  It just finishes everything off.  I only goofed one envelope with the stamp in the wrong corner.  It is hard to get everything right all of the time.  I can deal with that.

Huge Thank You

Now it is turned over to my daughter for nice signatures and gift giving.  It always feels good to say thank you, especially when it looks as beautiful as it feels.

Have a creative day!

Moana

A Huge Thank You

When a lot of people need to say thank you, you need a huge card.  This one measures 5.5 x 8.5, totally huge.  It has signing panels on both sides, plenty of room for everyone.

5-10 (2)

I had the opportunity to be a driver for my oldest daughters small business class field trip to Silicon Valley.  There was a lot of prep work, a hectic schedule, and highway time galore.  I thought it appropriate that the students thank their teacher for all of her hard work.

5-10 (3)

To make it a little better, I made a little something extra that I will share with you tomorrow.  You can see the top of them poking out of the holder.  It should sit nicely on her desk either at home or school.

5-10 (1)

My Denali will get the students to sign during the morning and give it to her during class.  It should be a nice thank you from all of us.  Sometimes we need to help others to be grateful.  Let’s call this an additional learning opportunity for the students.

I will share photos of the gift portion of the thank you tomorrow.  So festive and fun.

Have a creative day!

Moana

Geometrical Confetti Celebration Retirement Party

More retirement stuff?  Absolutely!  So, out of this project, what did I use that will be retiring?  It would be easier to share what isn’t.  That would be the whisper white paper and coordinating seam binding ribbon.  Yup, everything else is heading out.

Geometrical

When I bought this stamp set I admit it was for the sentiments.  Specifically, the cheer up buttercup one.  Totally worth it in my mind.  But I have gotten a little more attached to the funny little shapes.  It is nice to do something different once in a while.

Geometrical

This card set was made from four cut and ready card bases.  Three cards and one holder, and yes, the holder was made from a card base.  A little scoring, a little edgelit work, a little inking and there you have it.  Crazy, right?  I need to get the whole video thing going, you would like to see how easy that one is.  I surprised myself.

Geometrical

I am enjoying more and more making sets that I can use as gifts.  People love getting pretty things they can turn around and use.  I love the smile on their faces when they look at them.

Geometrical

Well, I had better get going.  I have a prom dress to add sleeves to.  That is okay, my sewing machine feels neglected when I paper craft so much.

Have a creative day!

Moana