Wondrous Wreath and My Plum Trees…

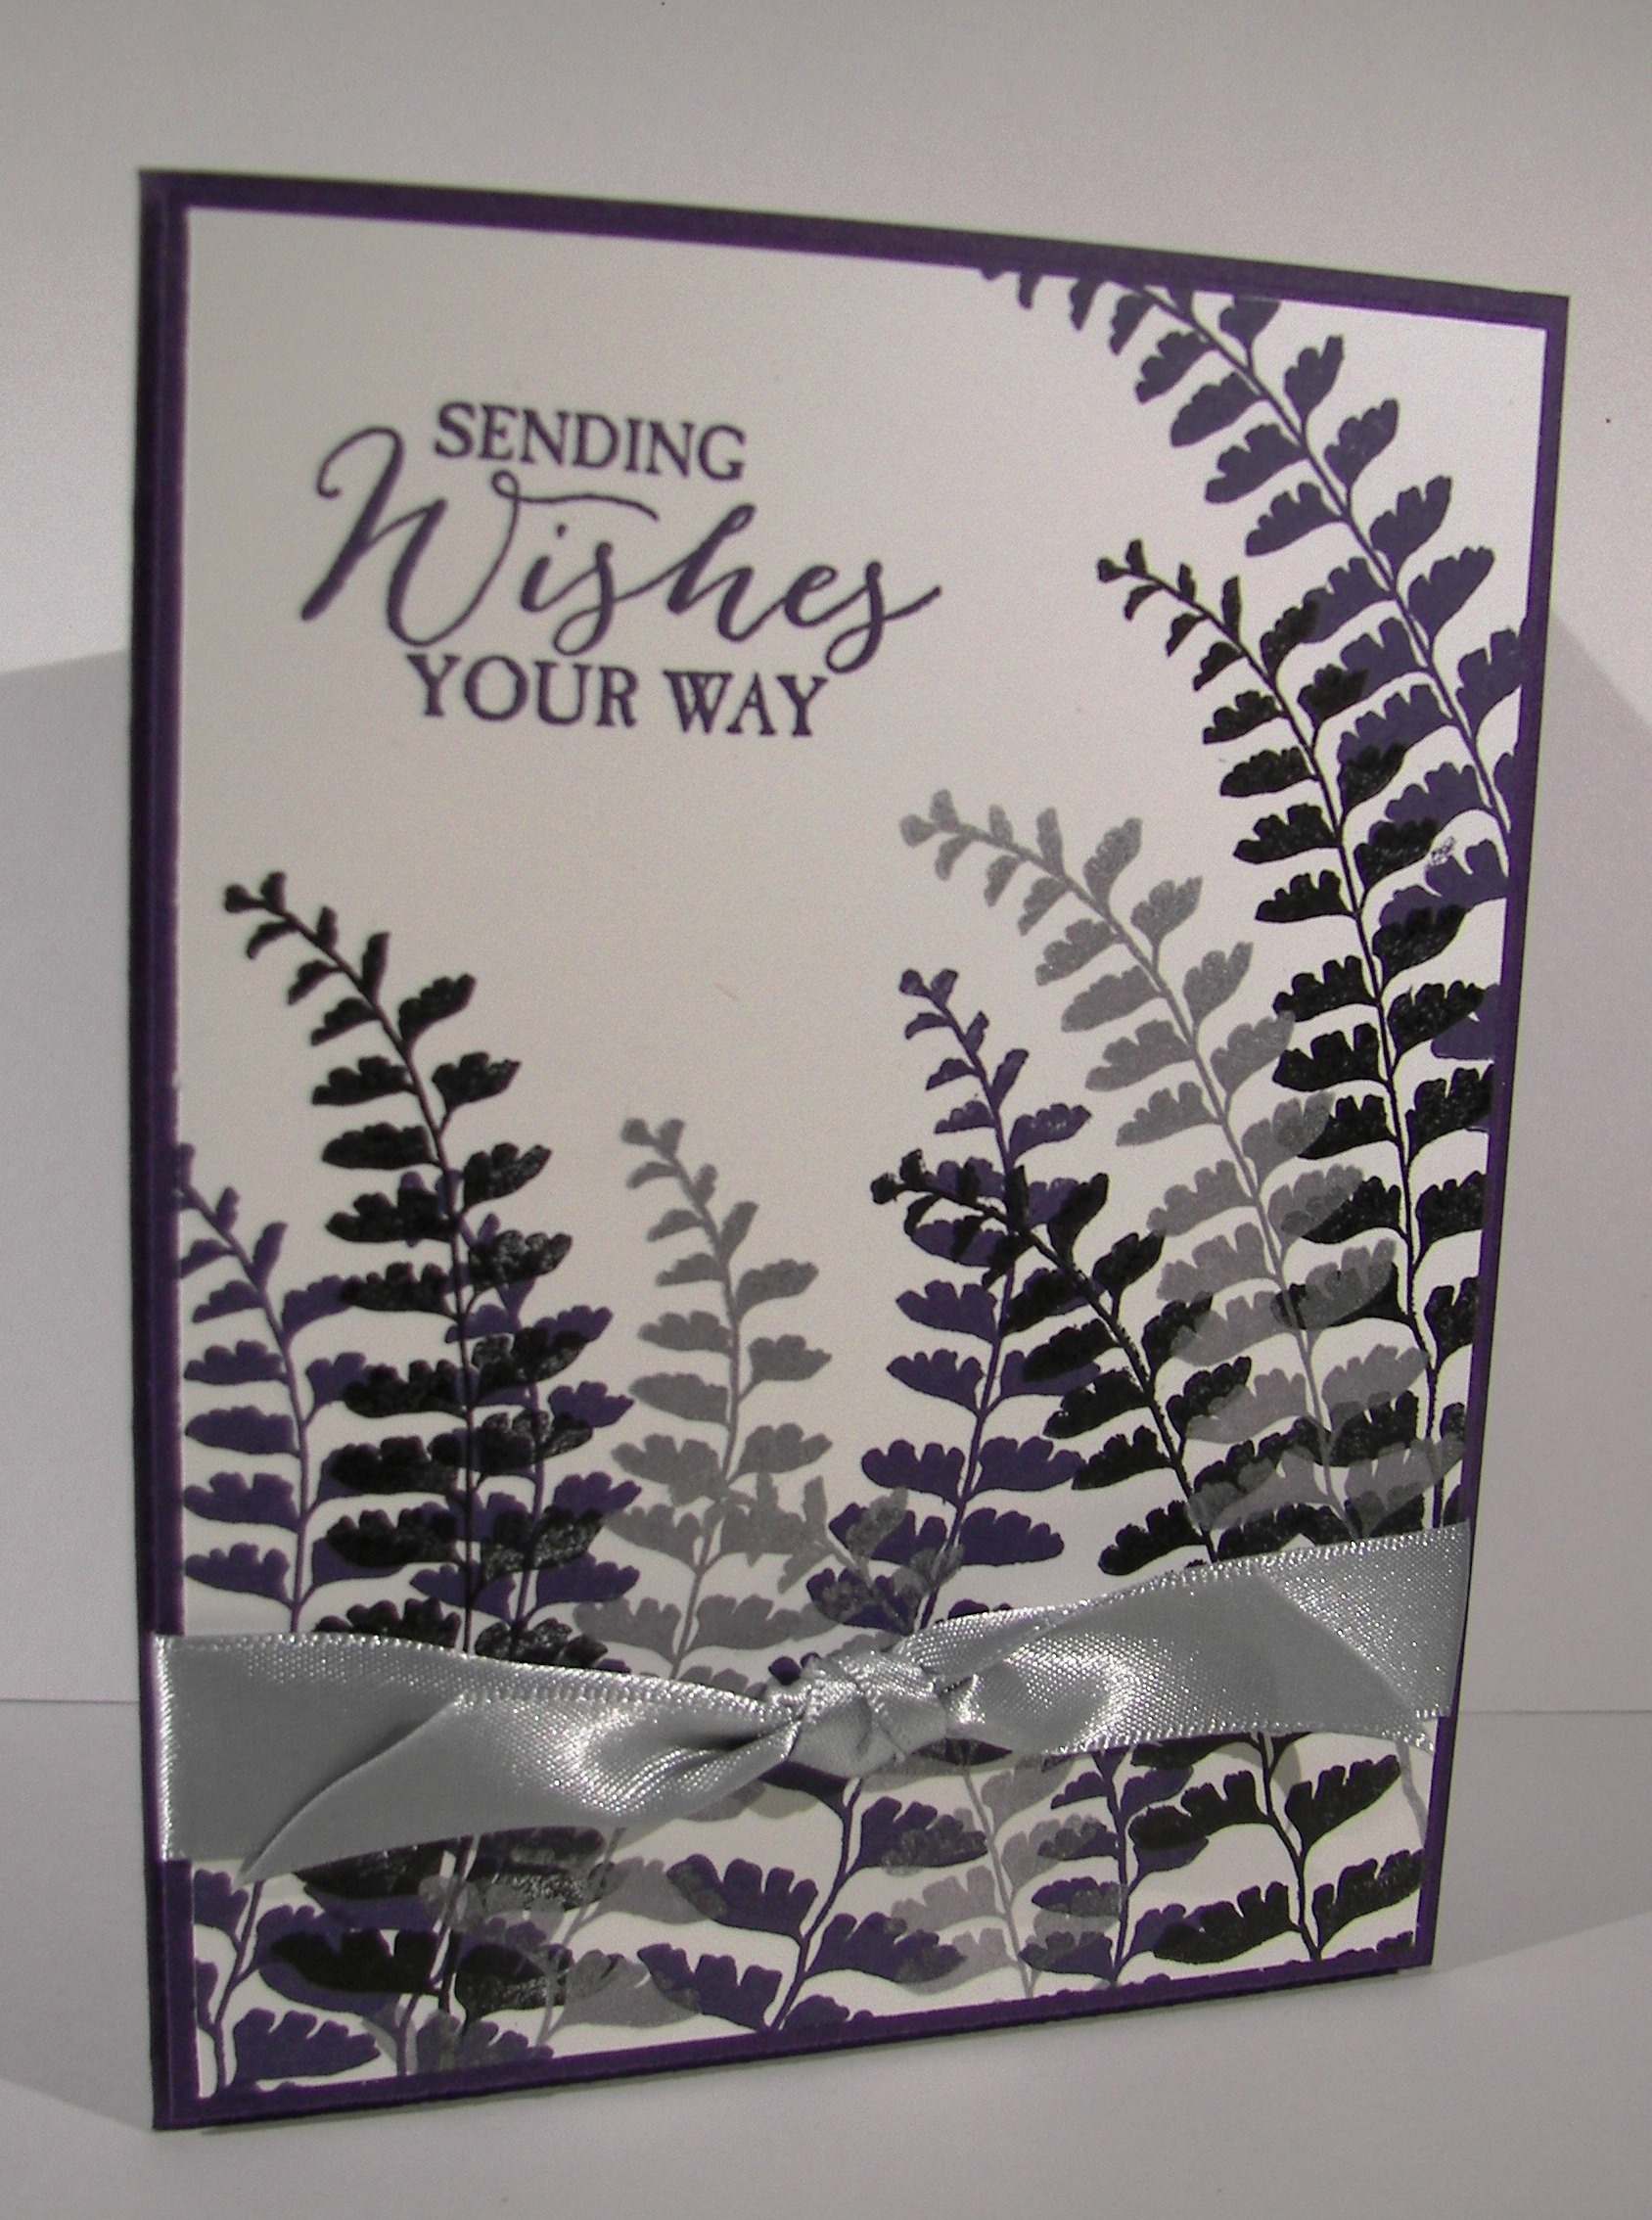
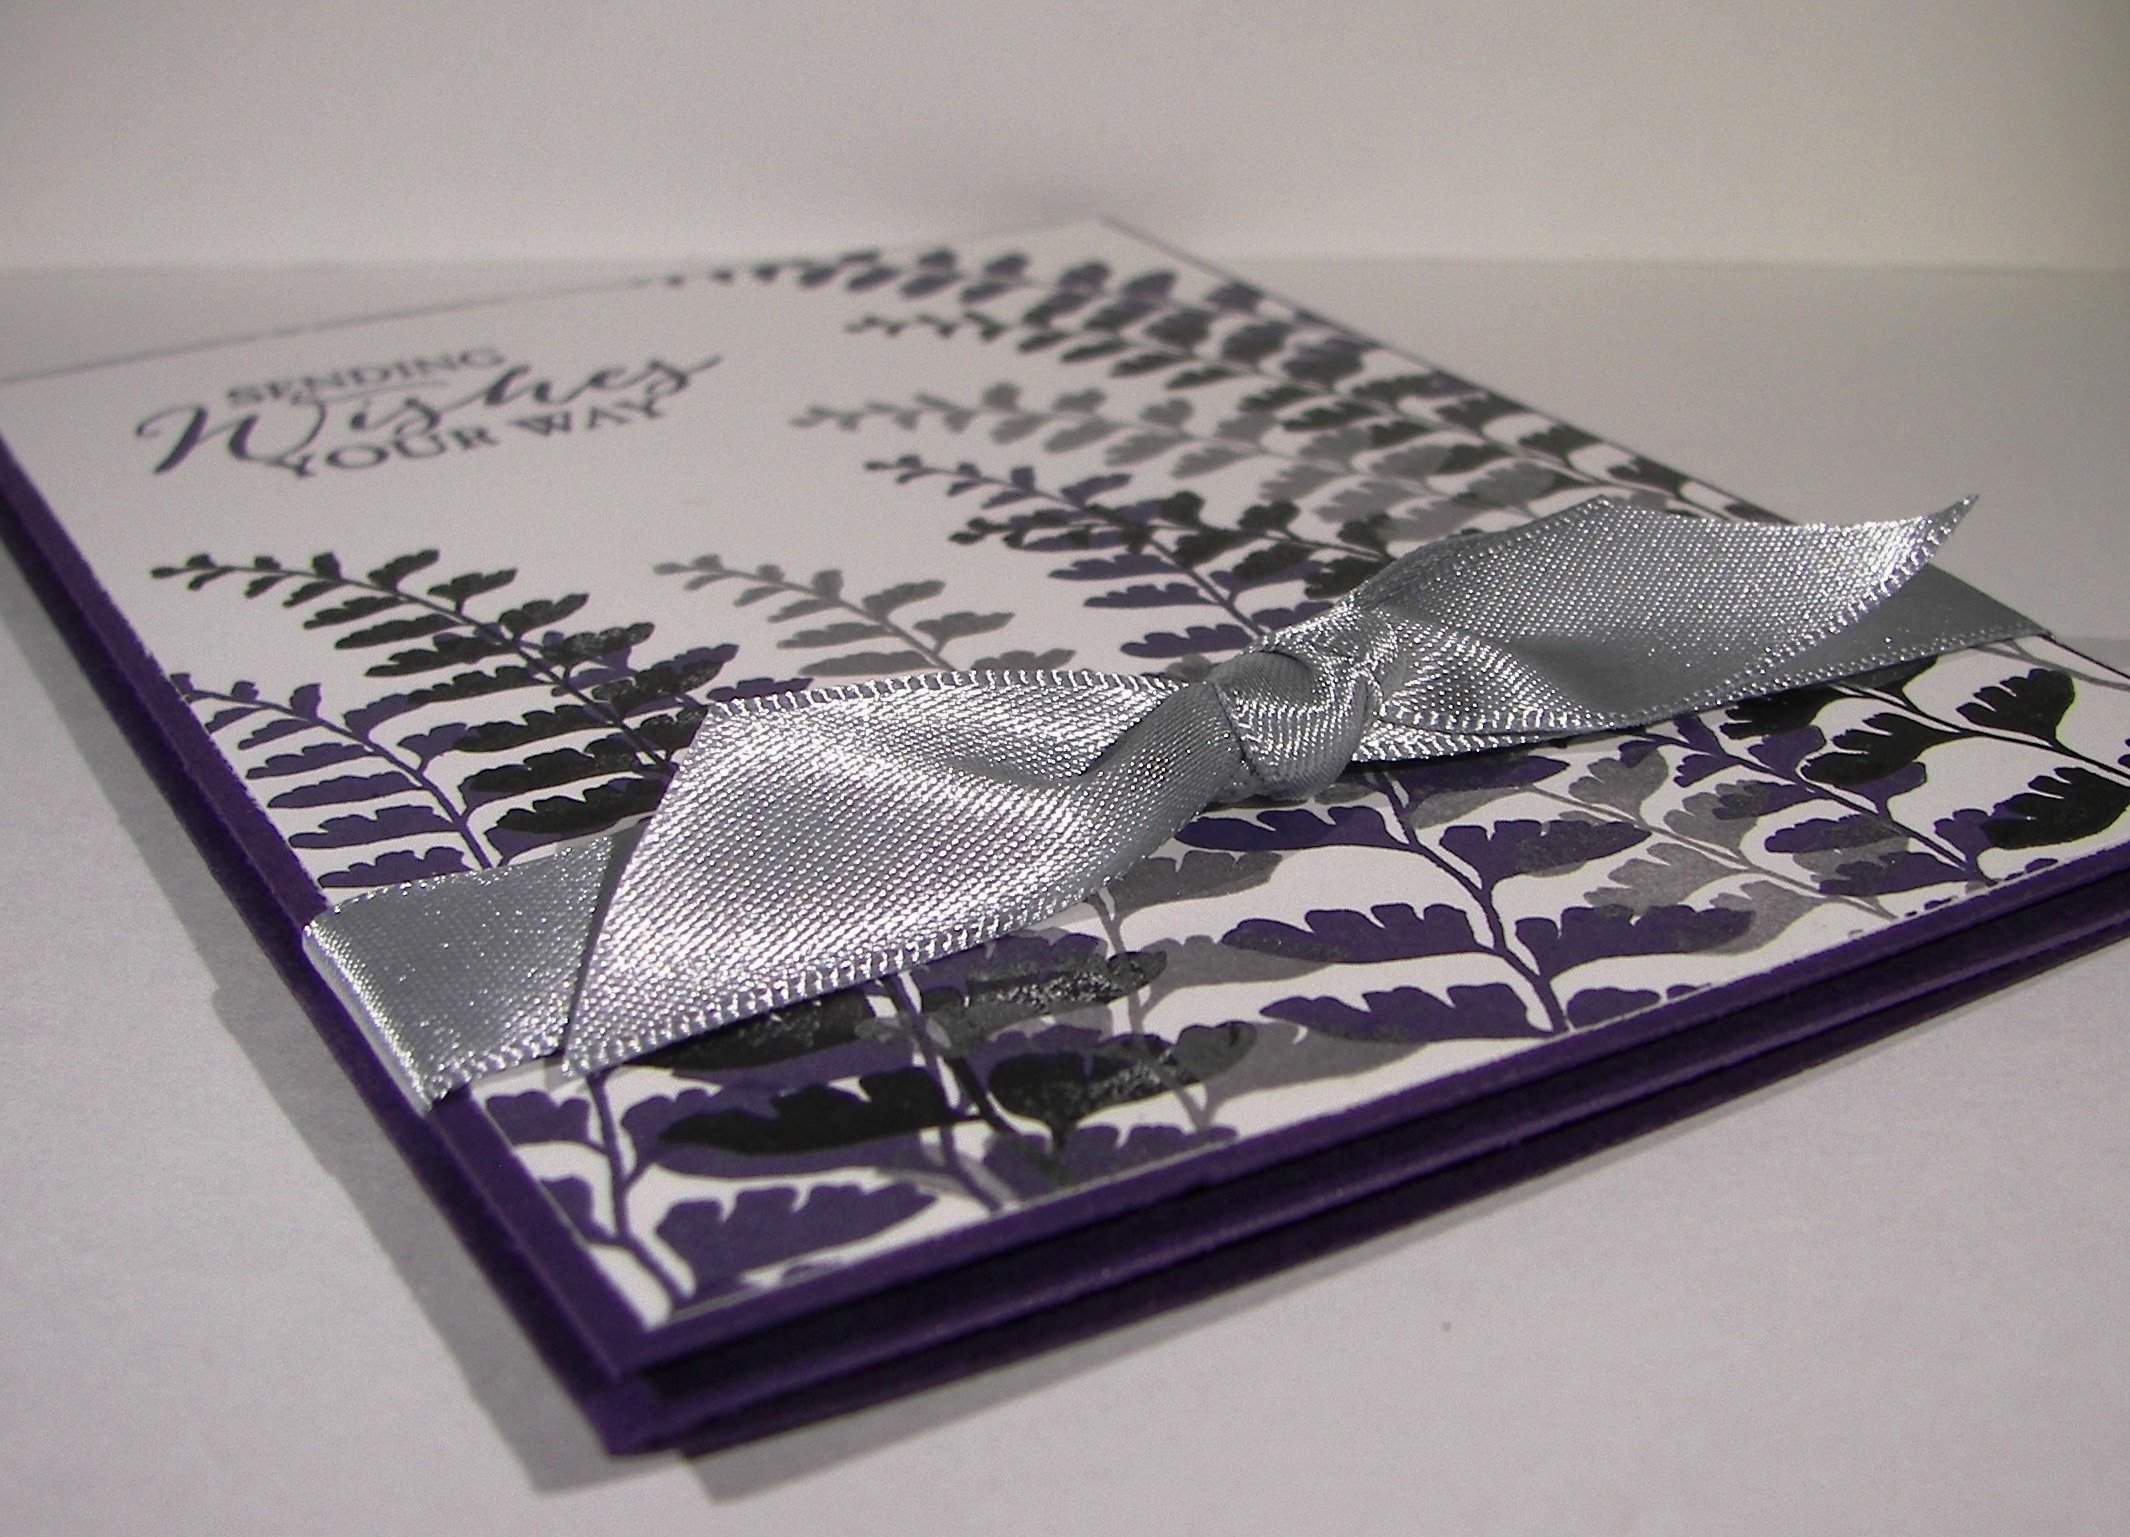
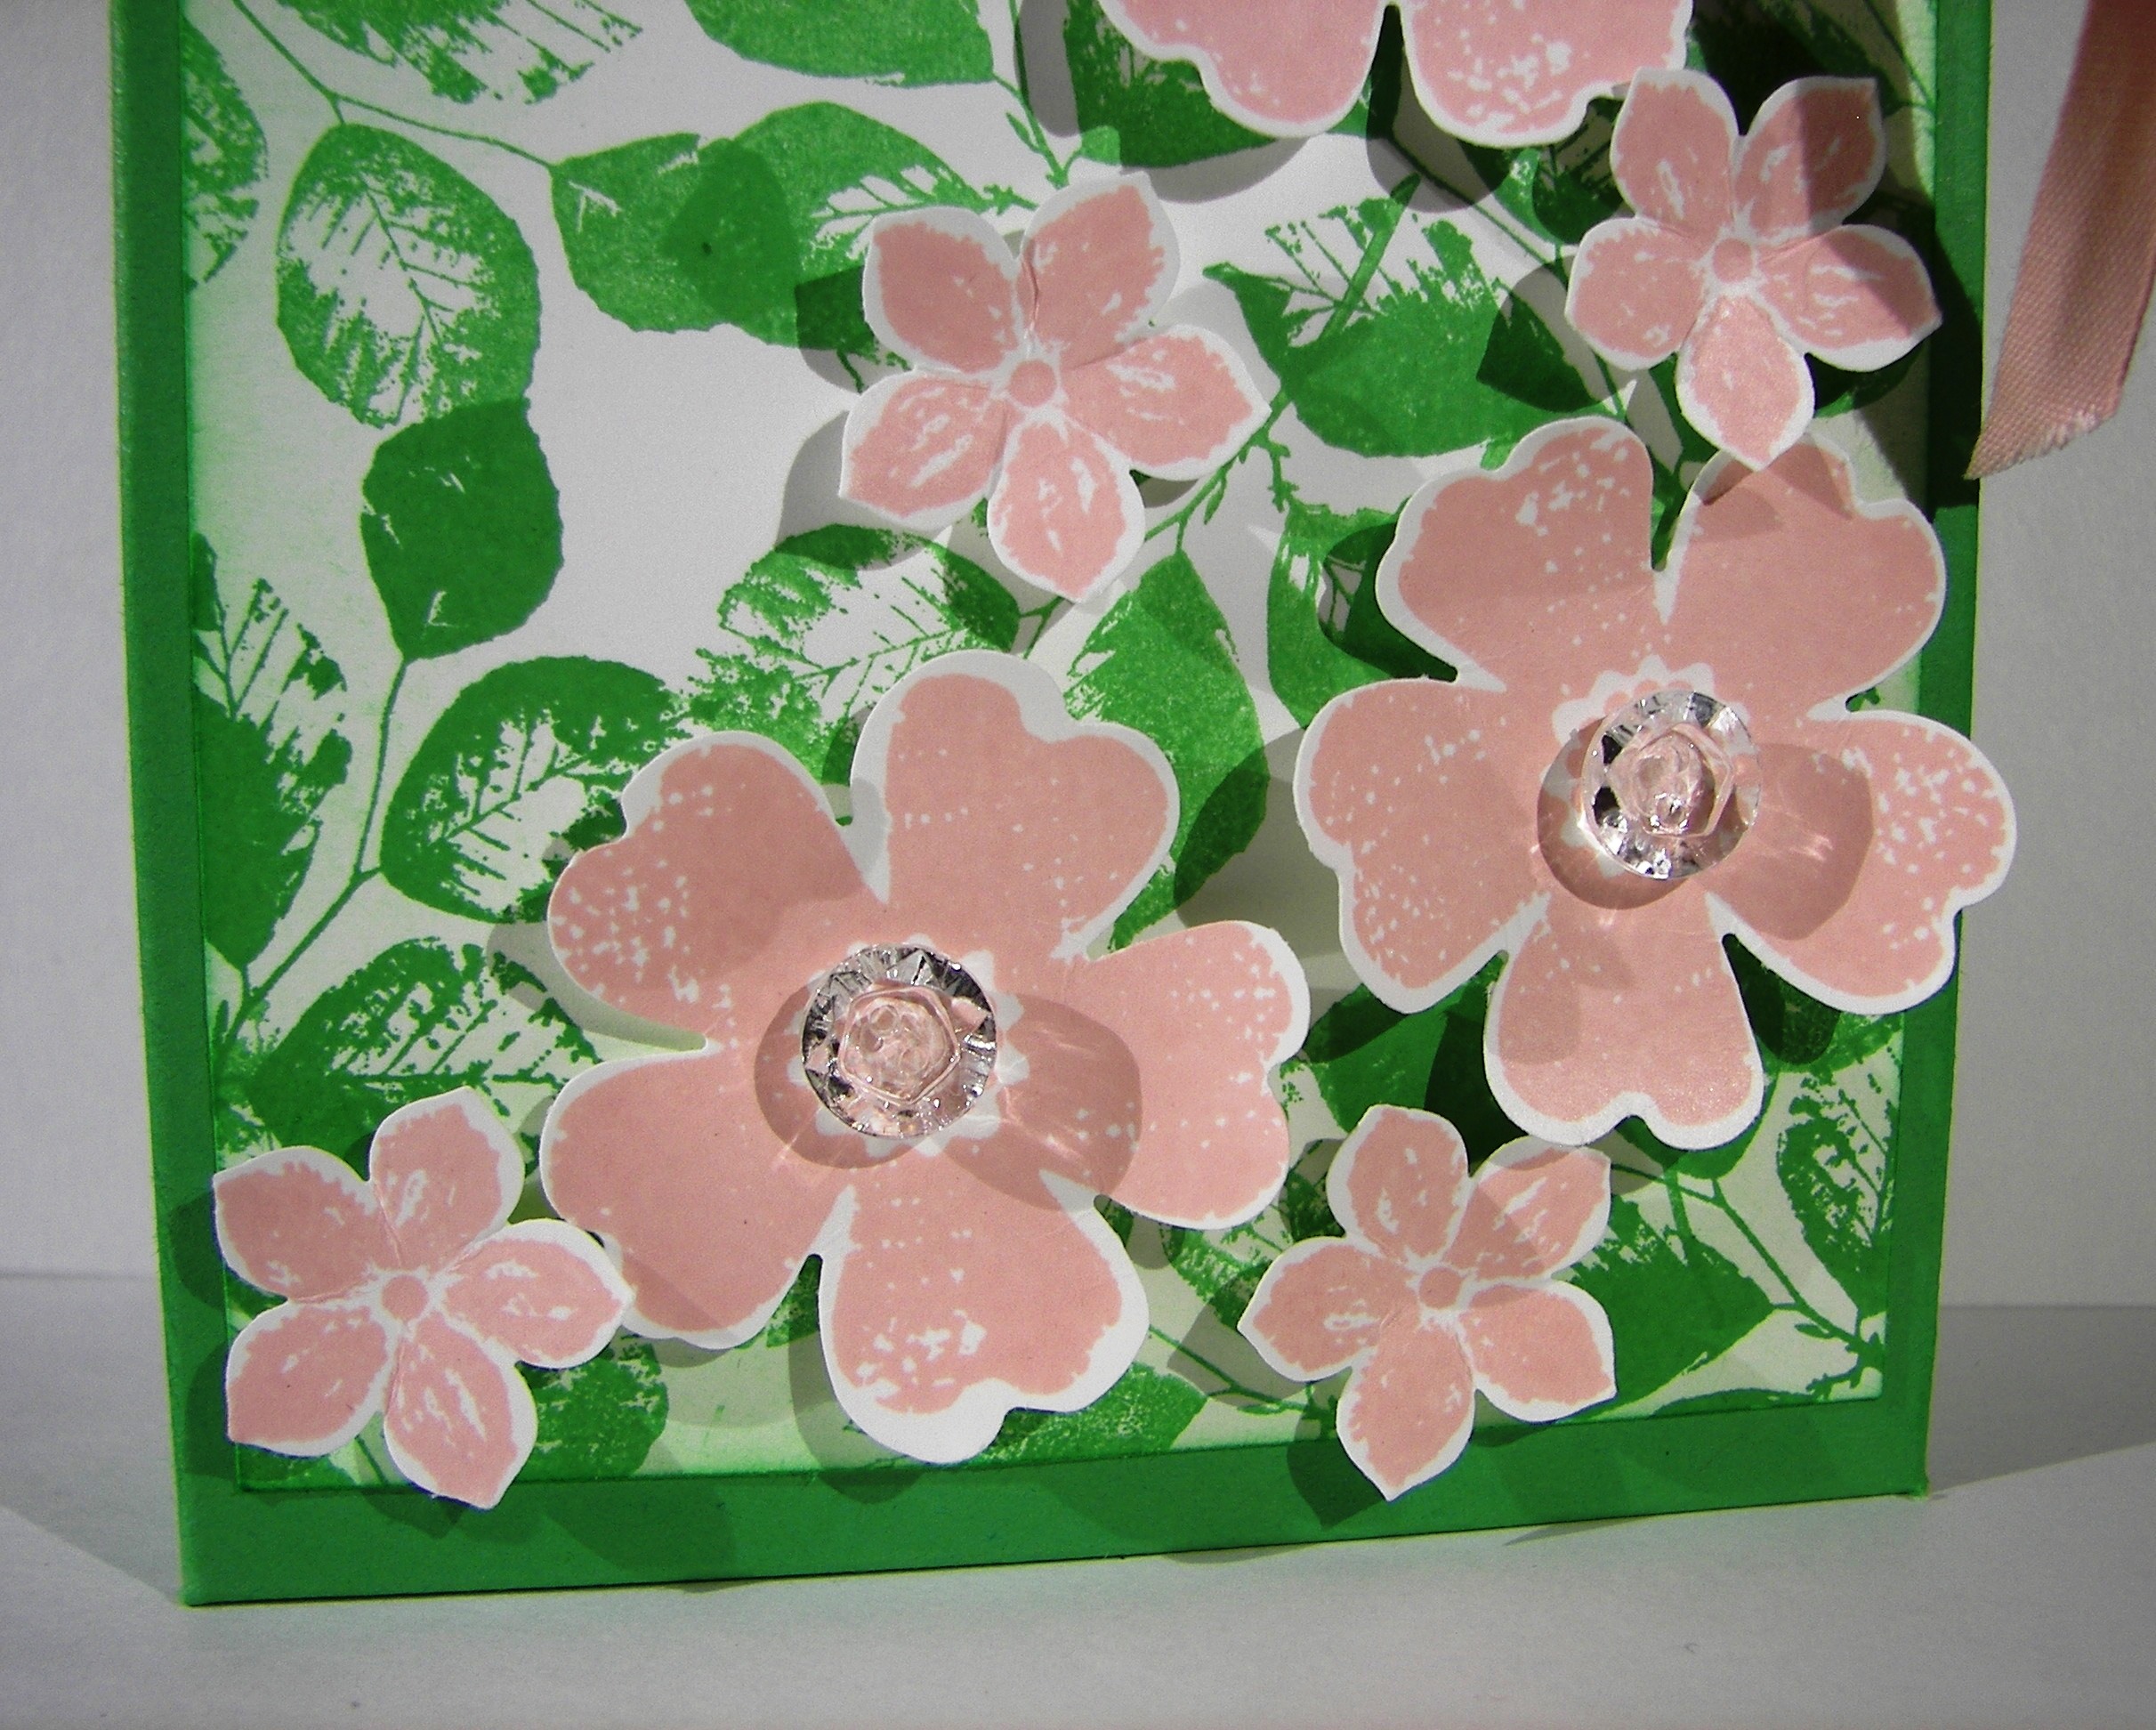
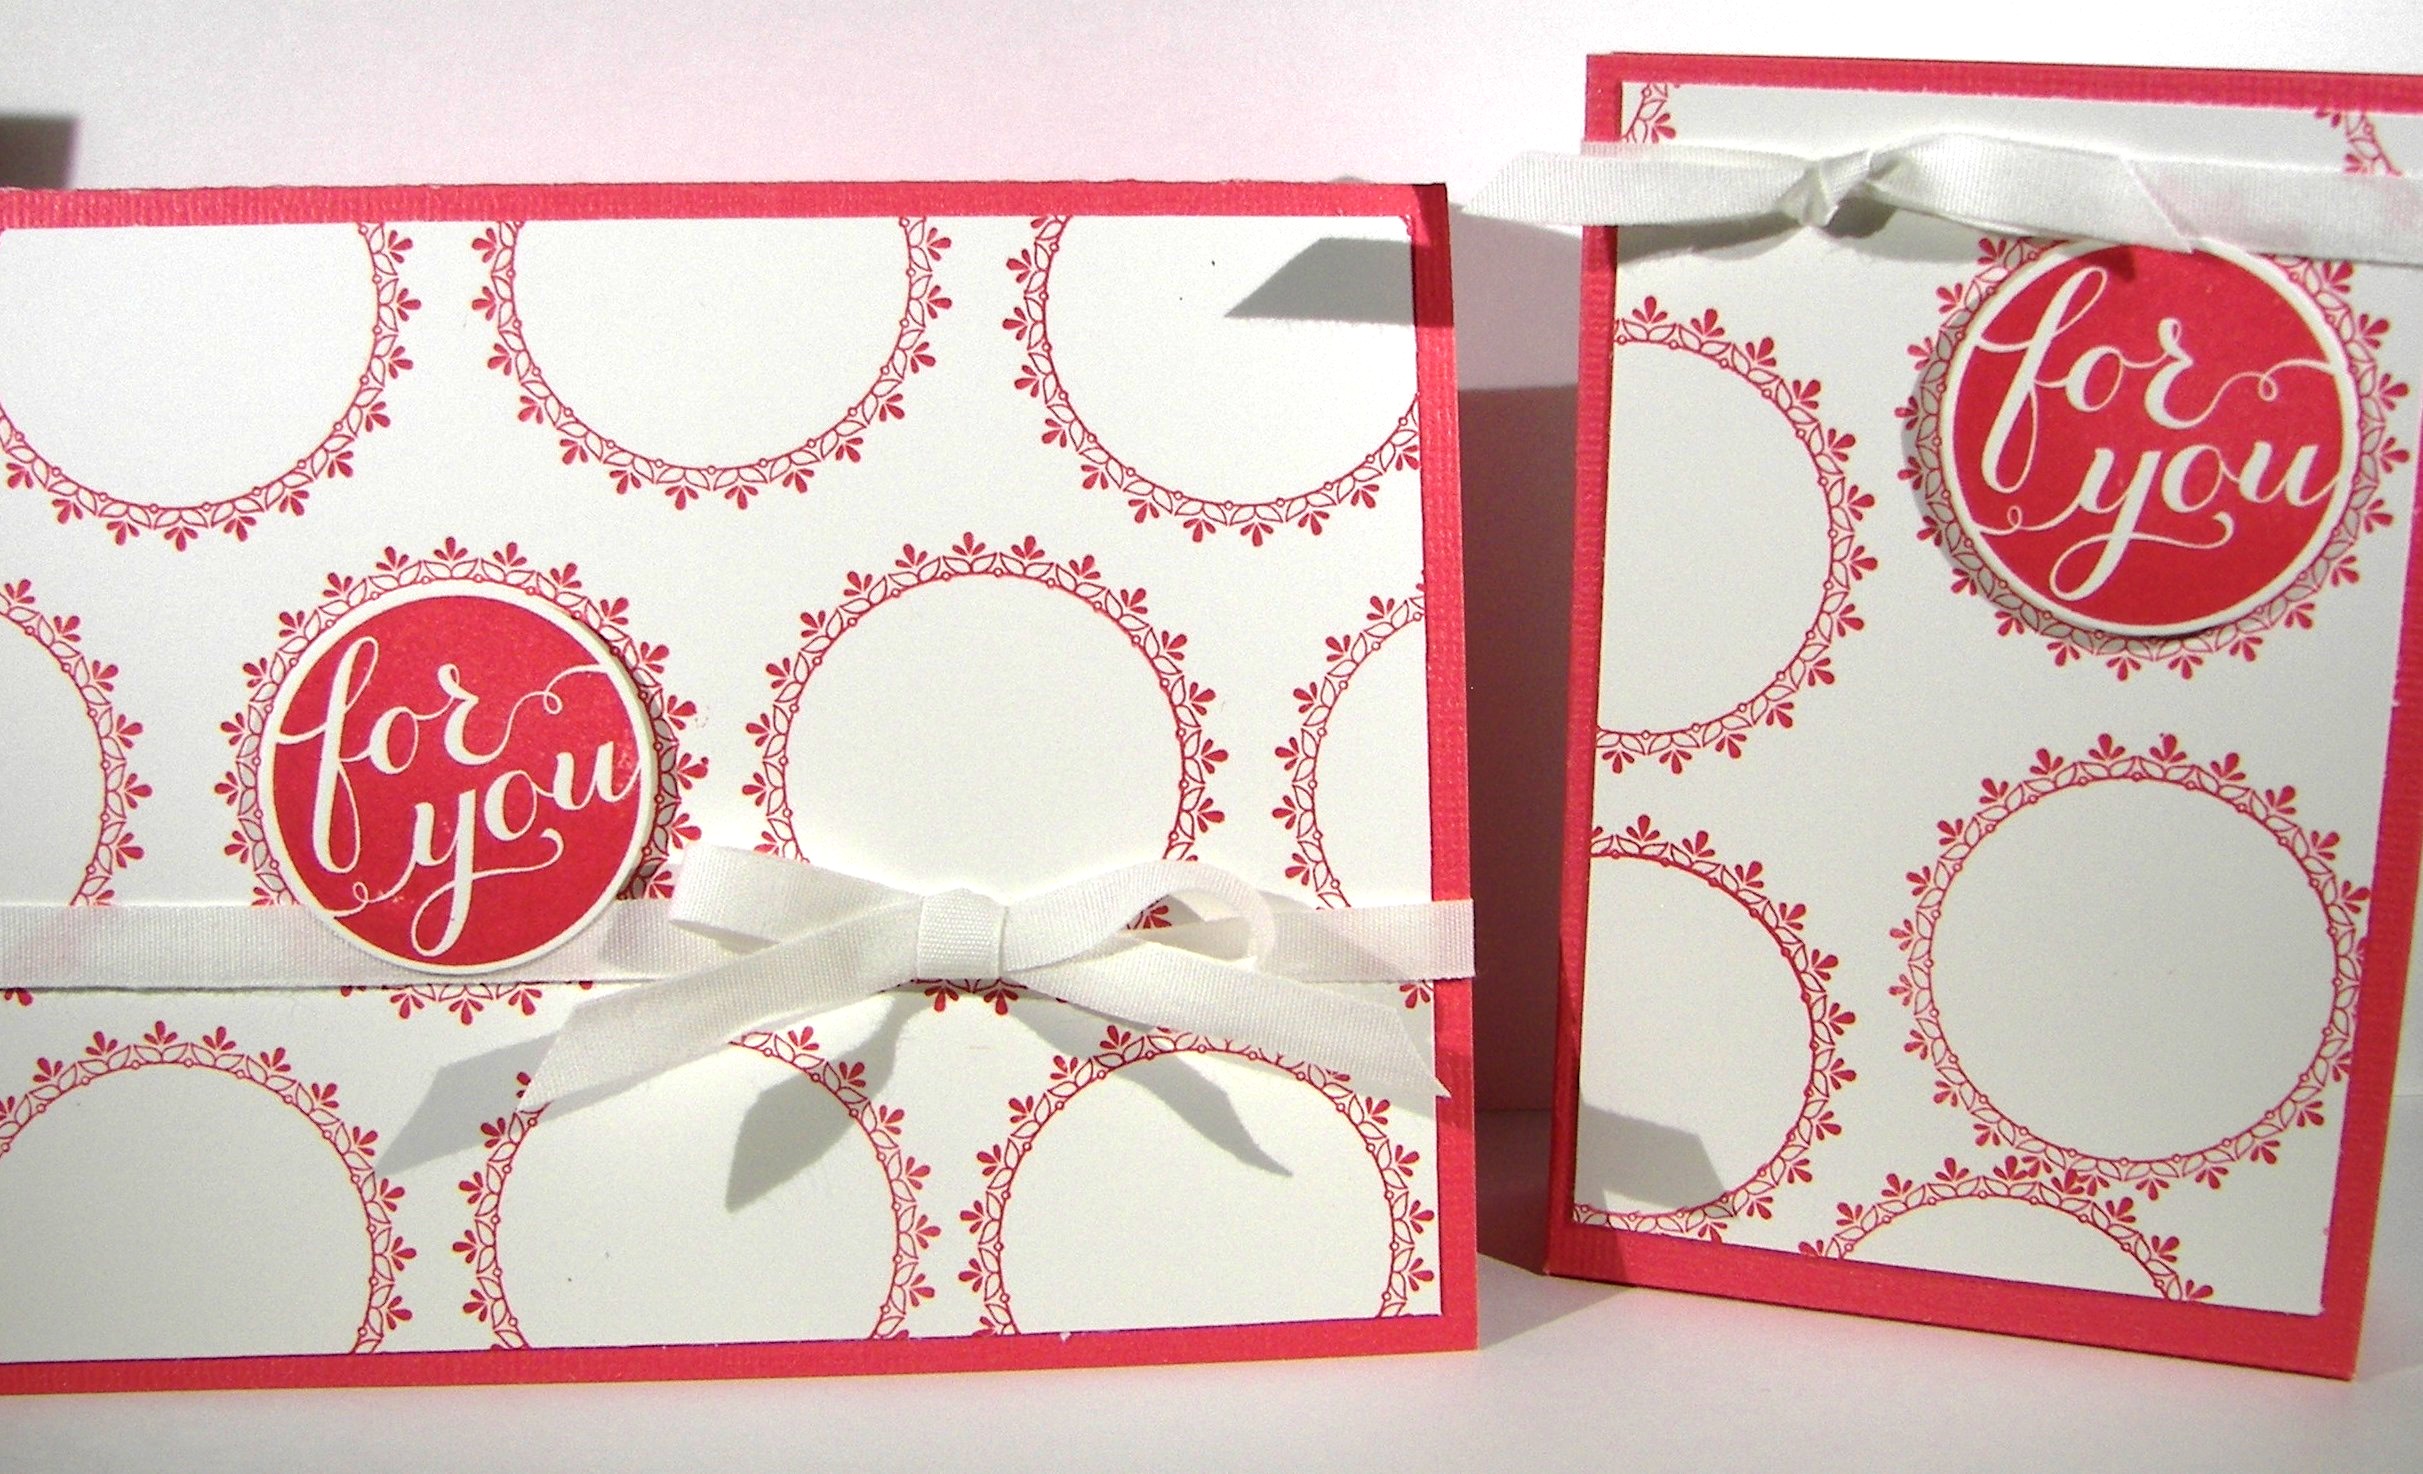
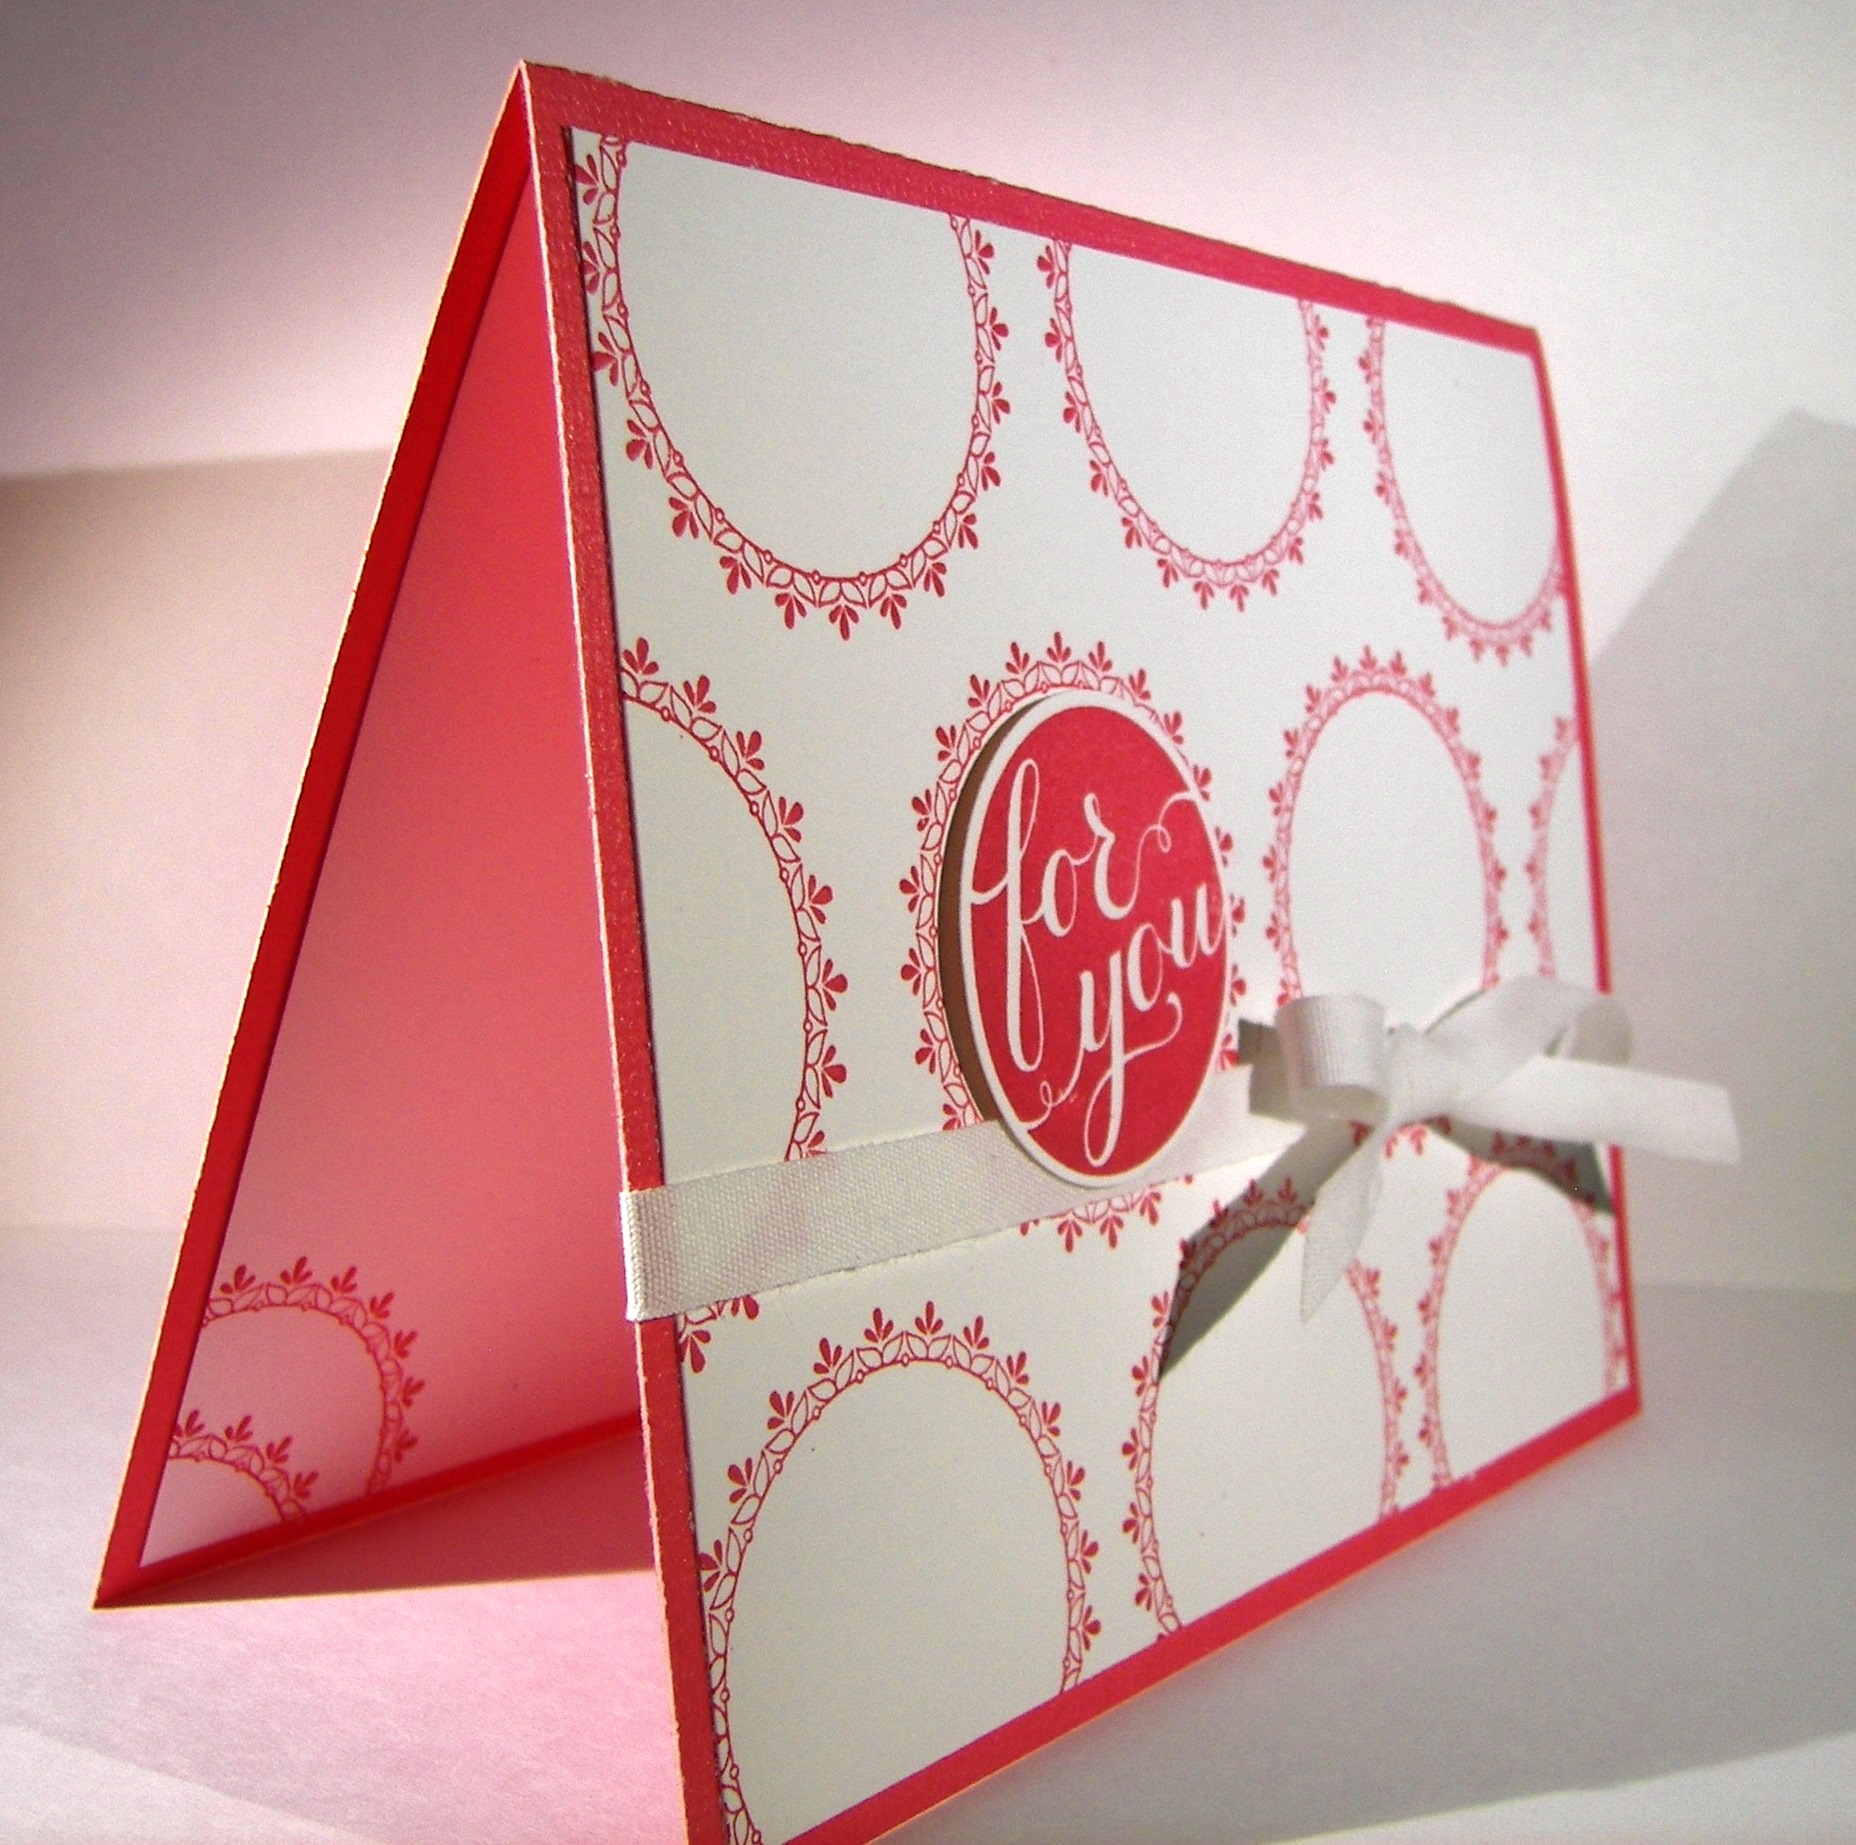
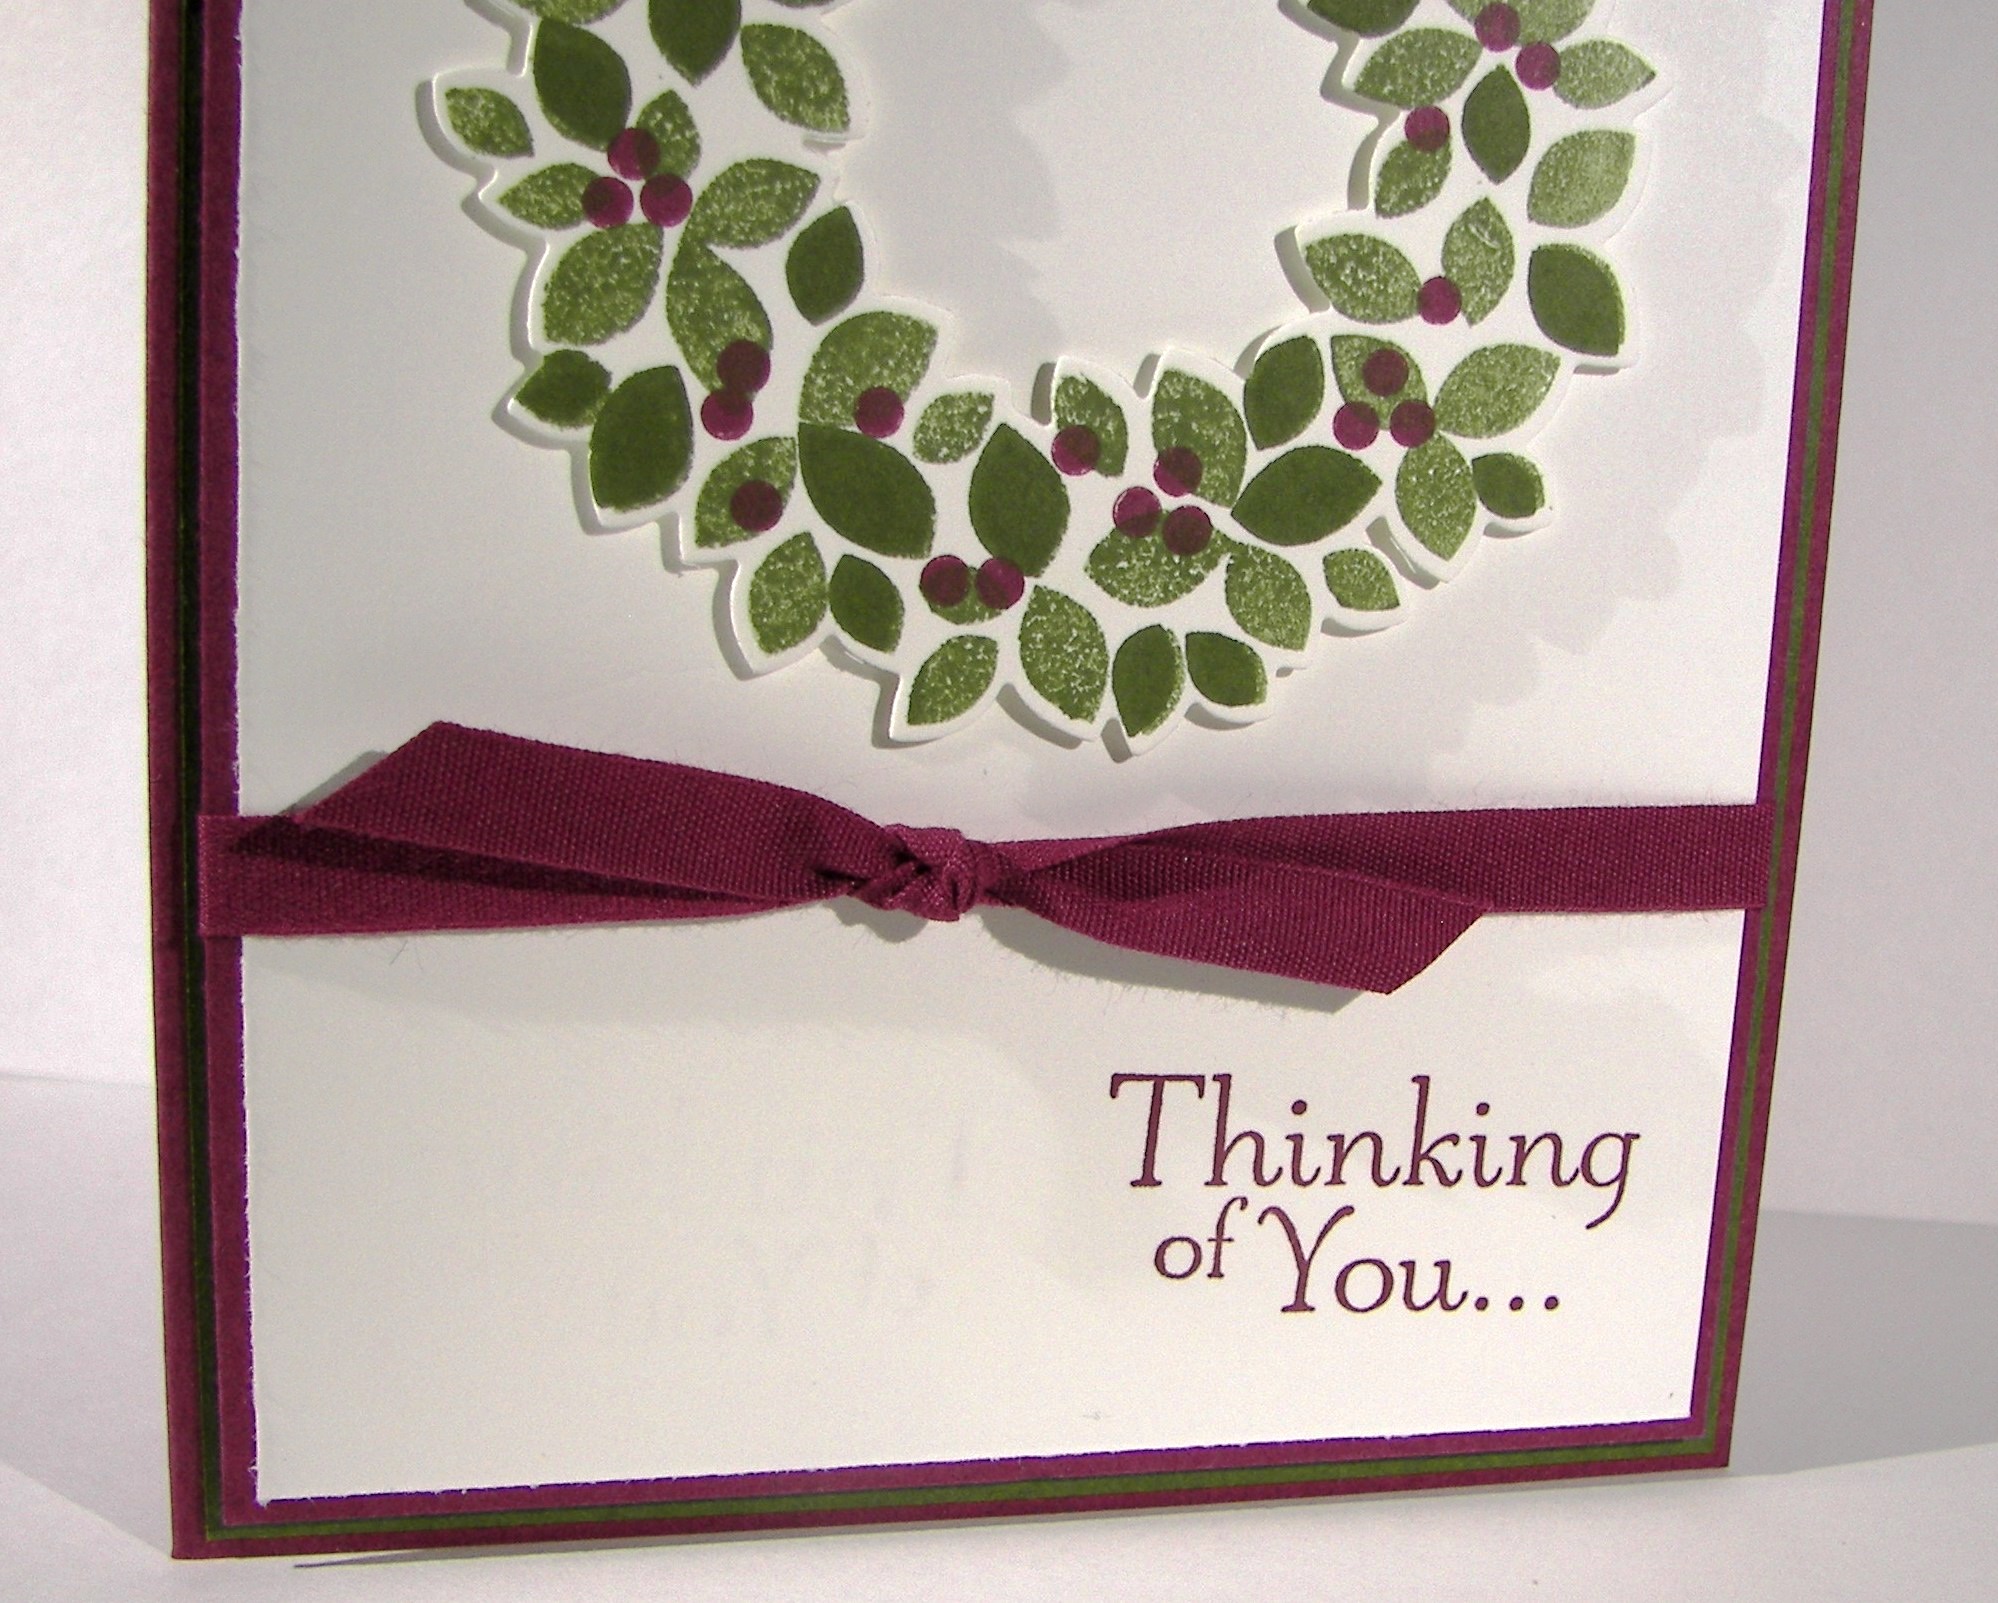
I was out looking at my plum trees last night and decided I wanted to bring those colors into a project.  My photos aren’t the best, you can hardly even see the mossy meadow layer in-between the two others, but it is there.  I so need a new camera.

Wondrous Wreath and My Plum Trees...

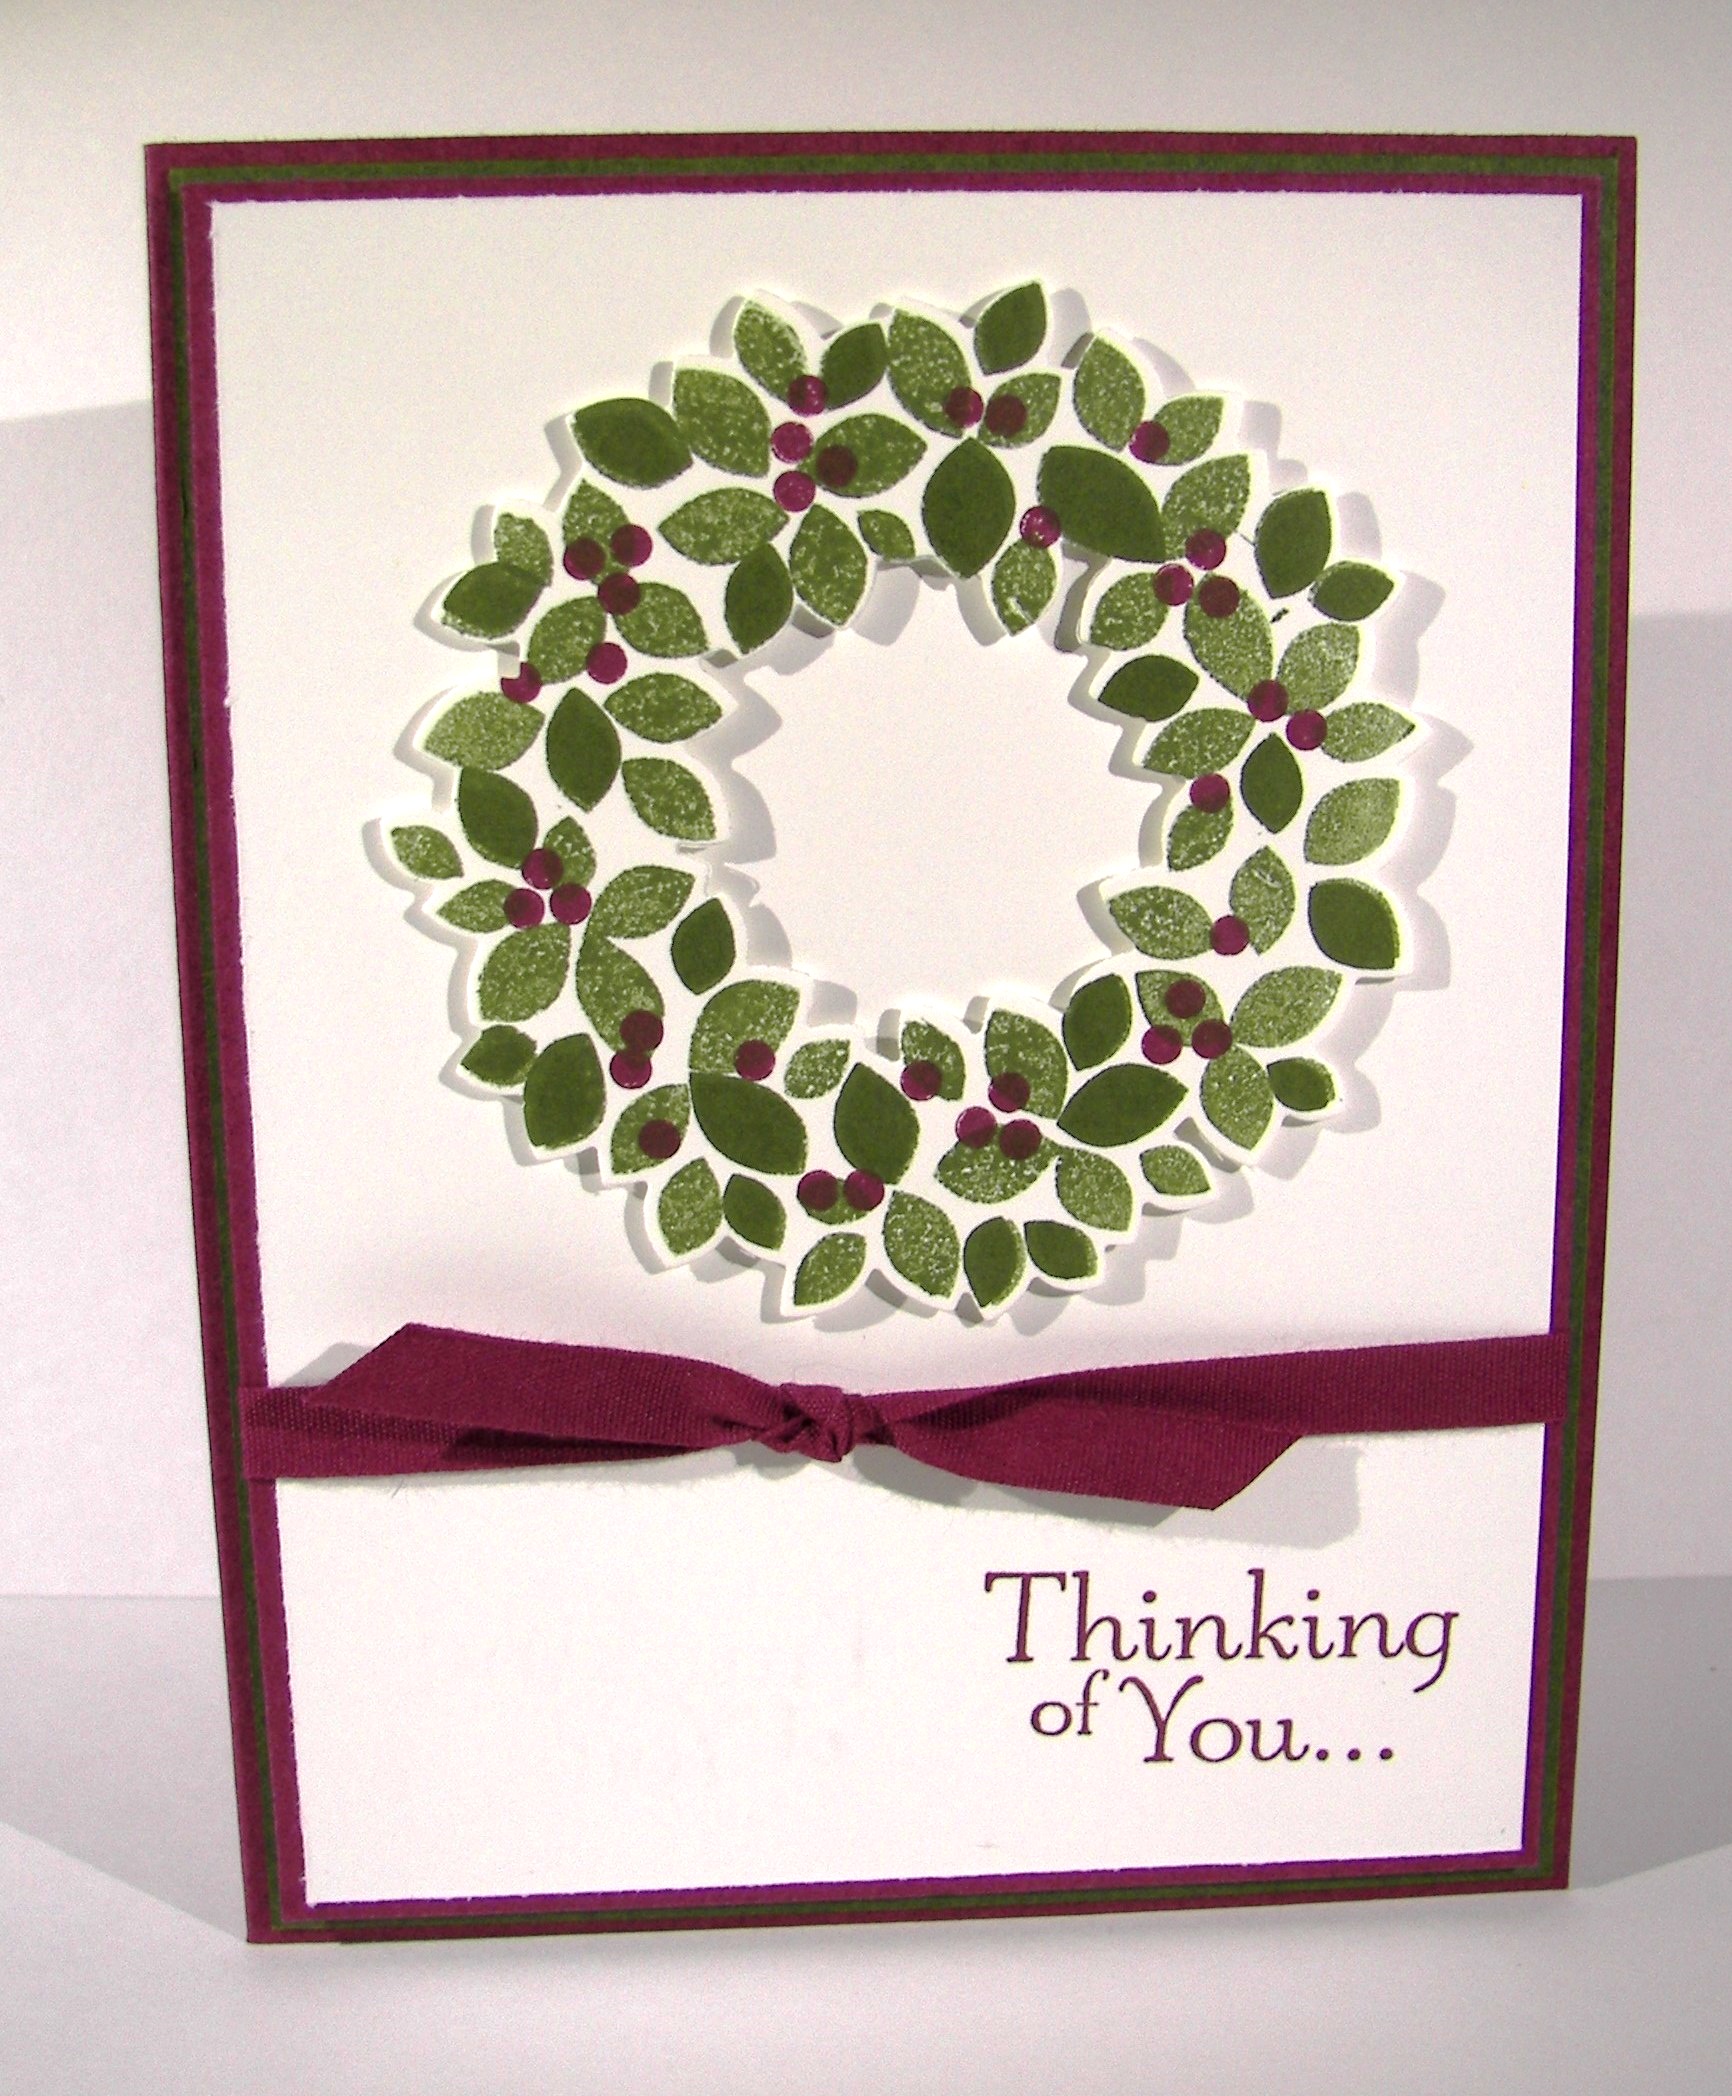
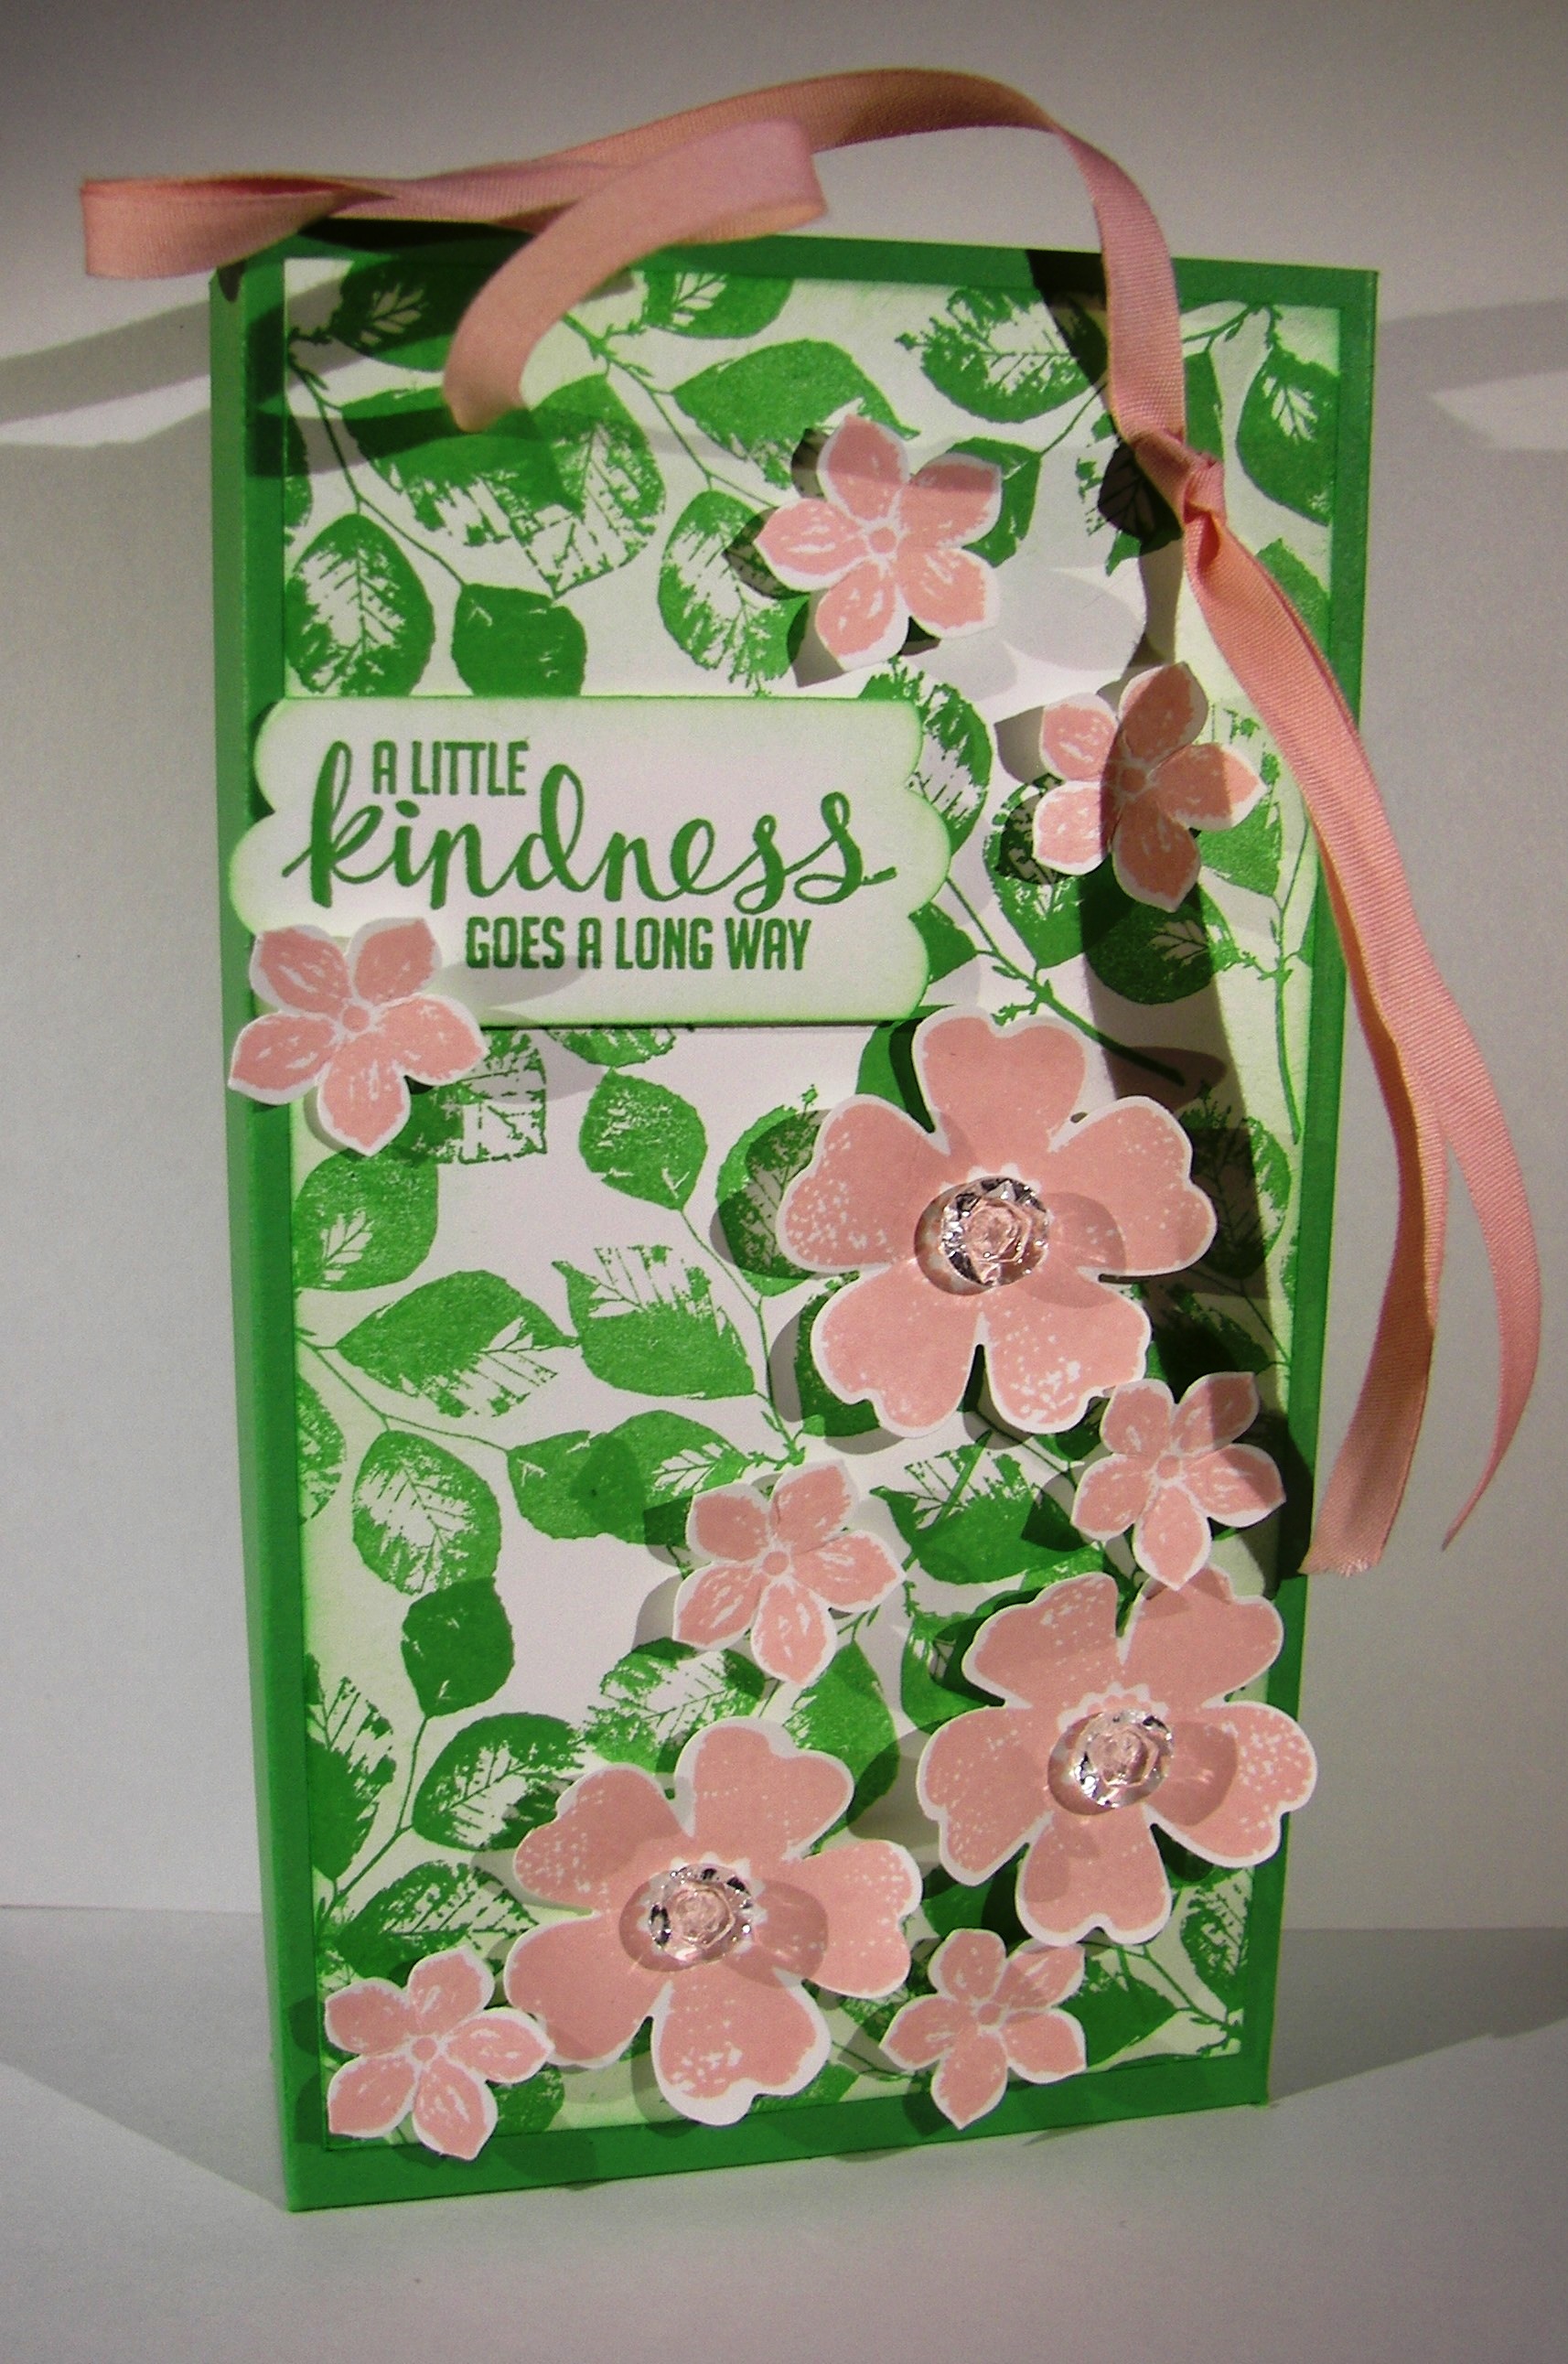
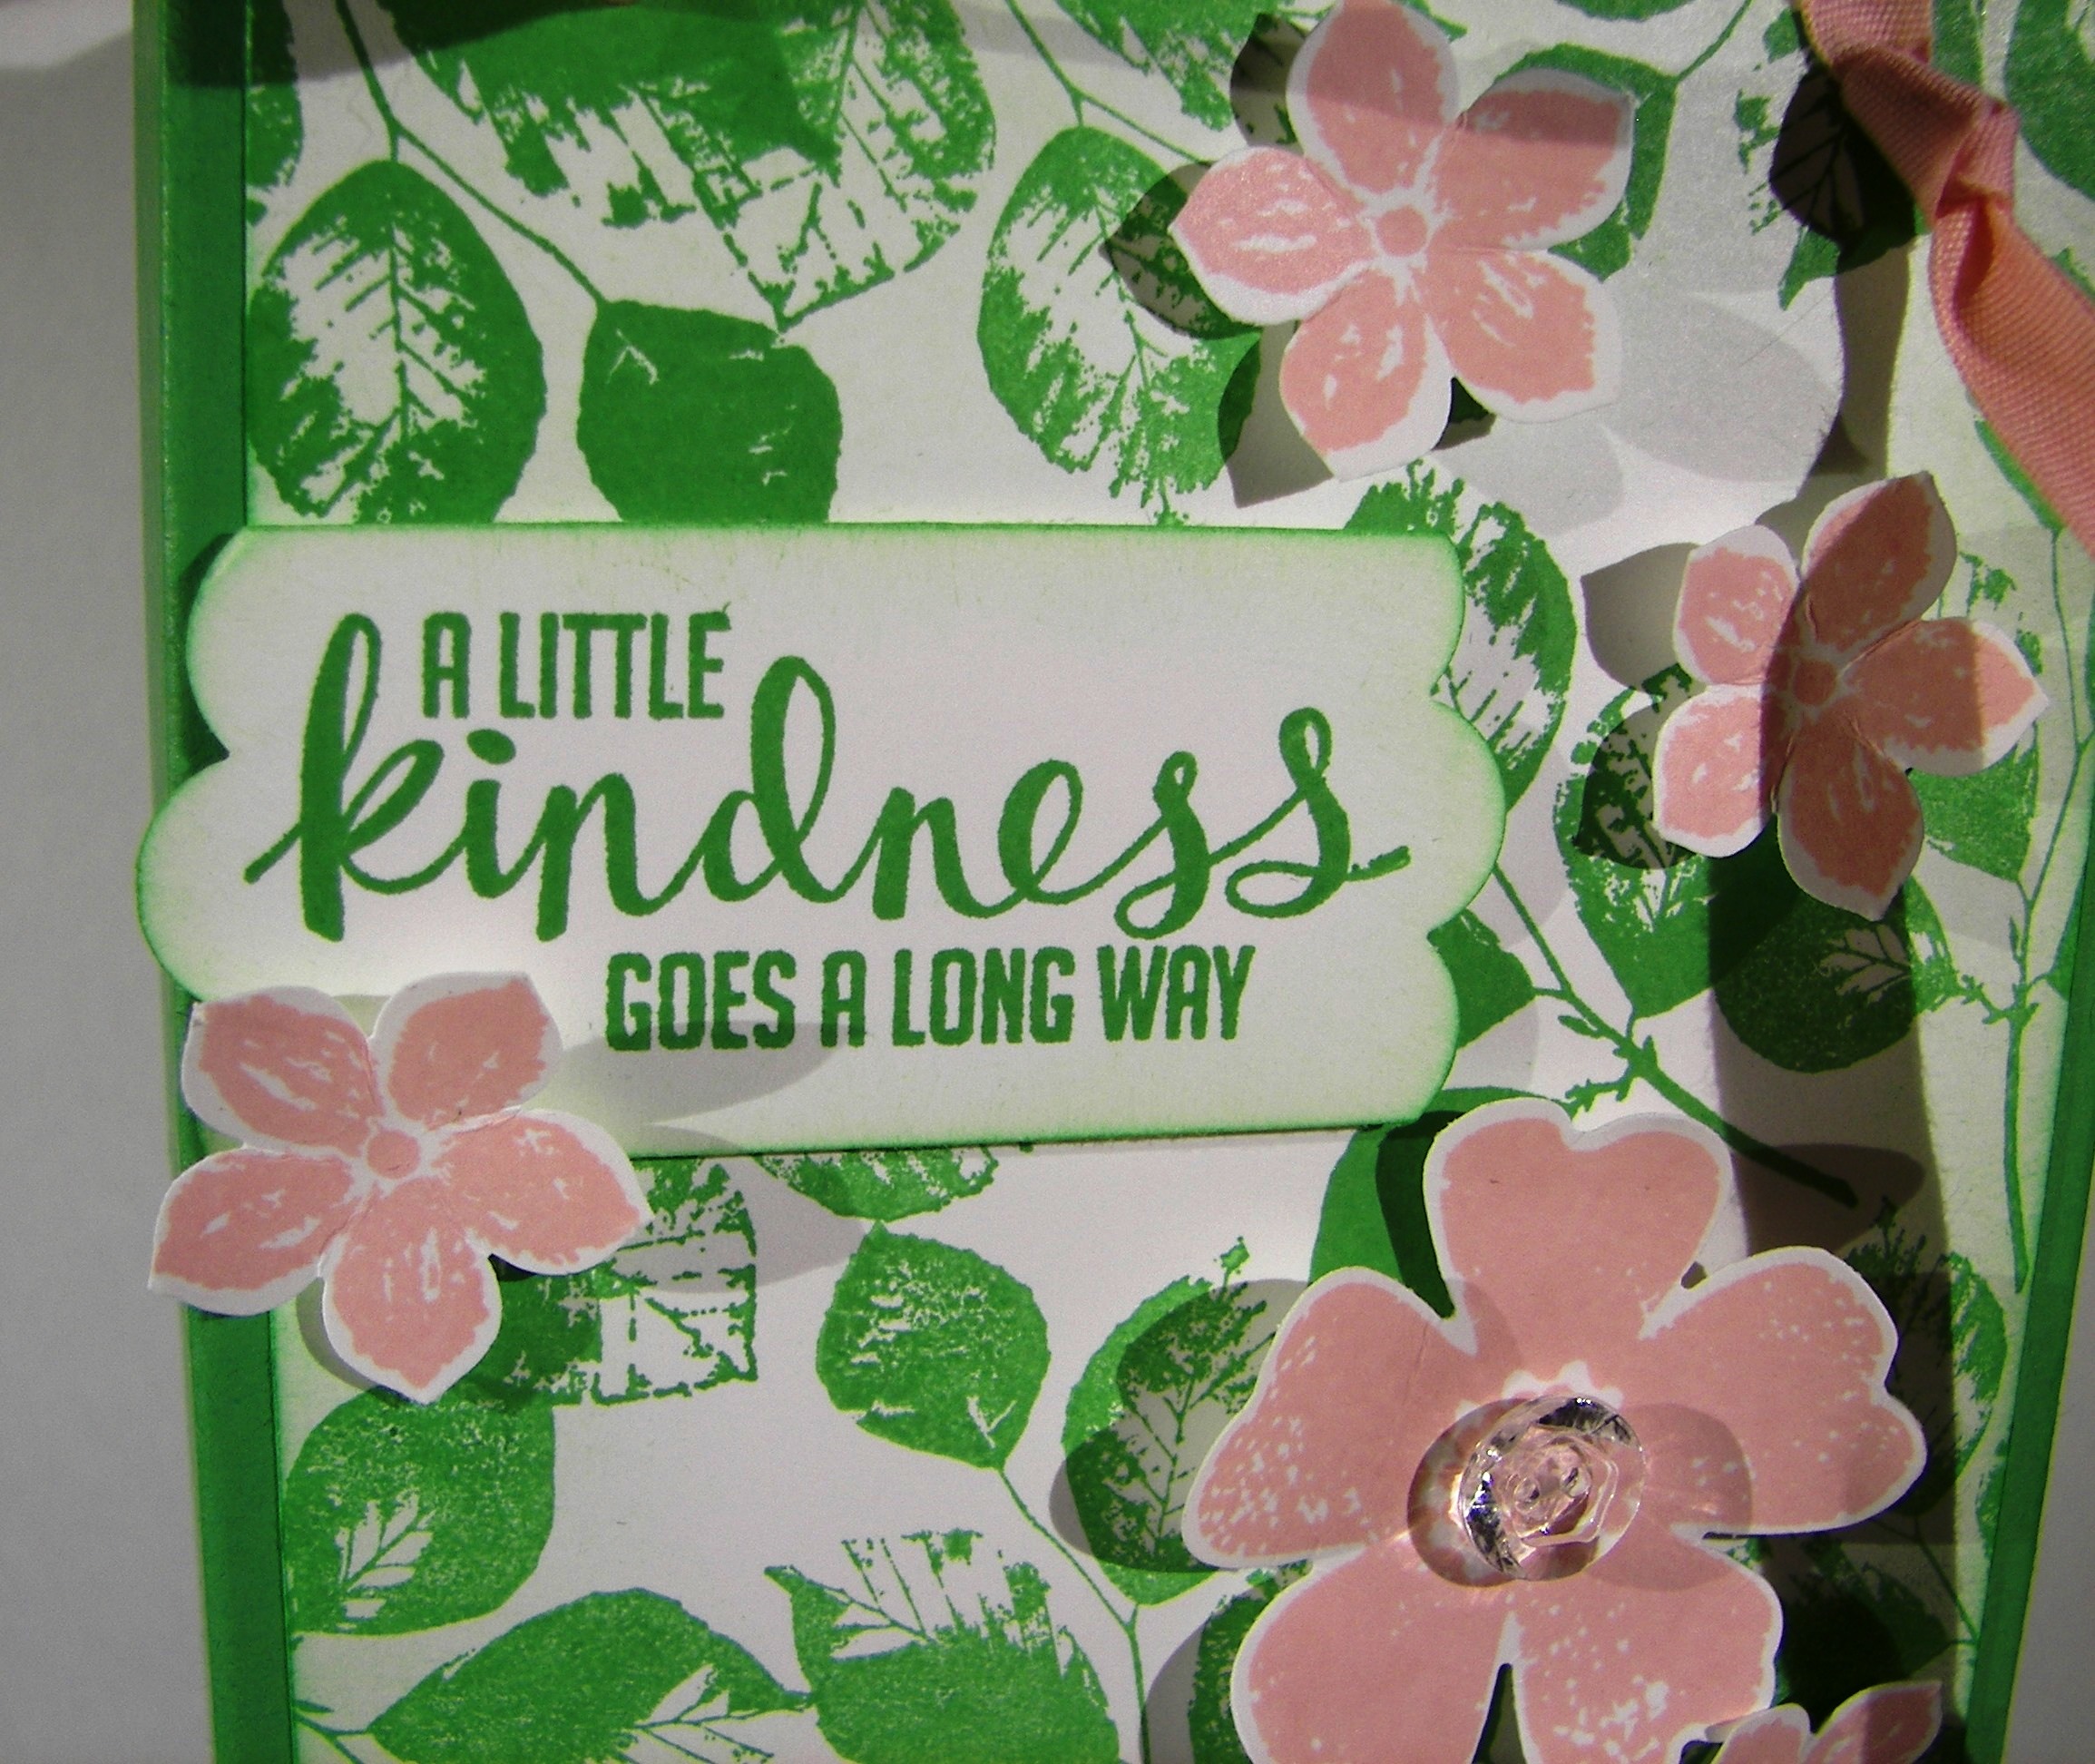
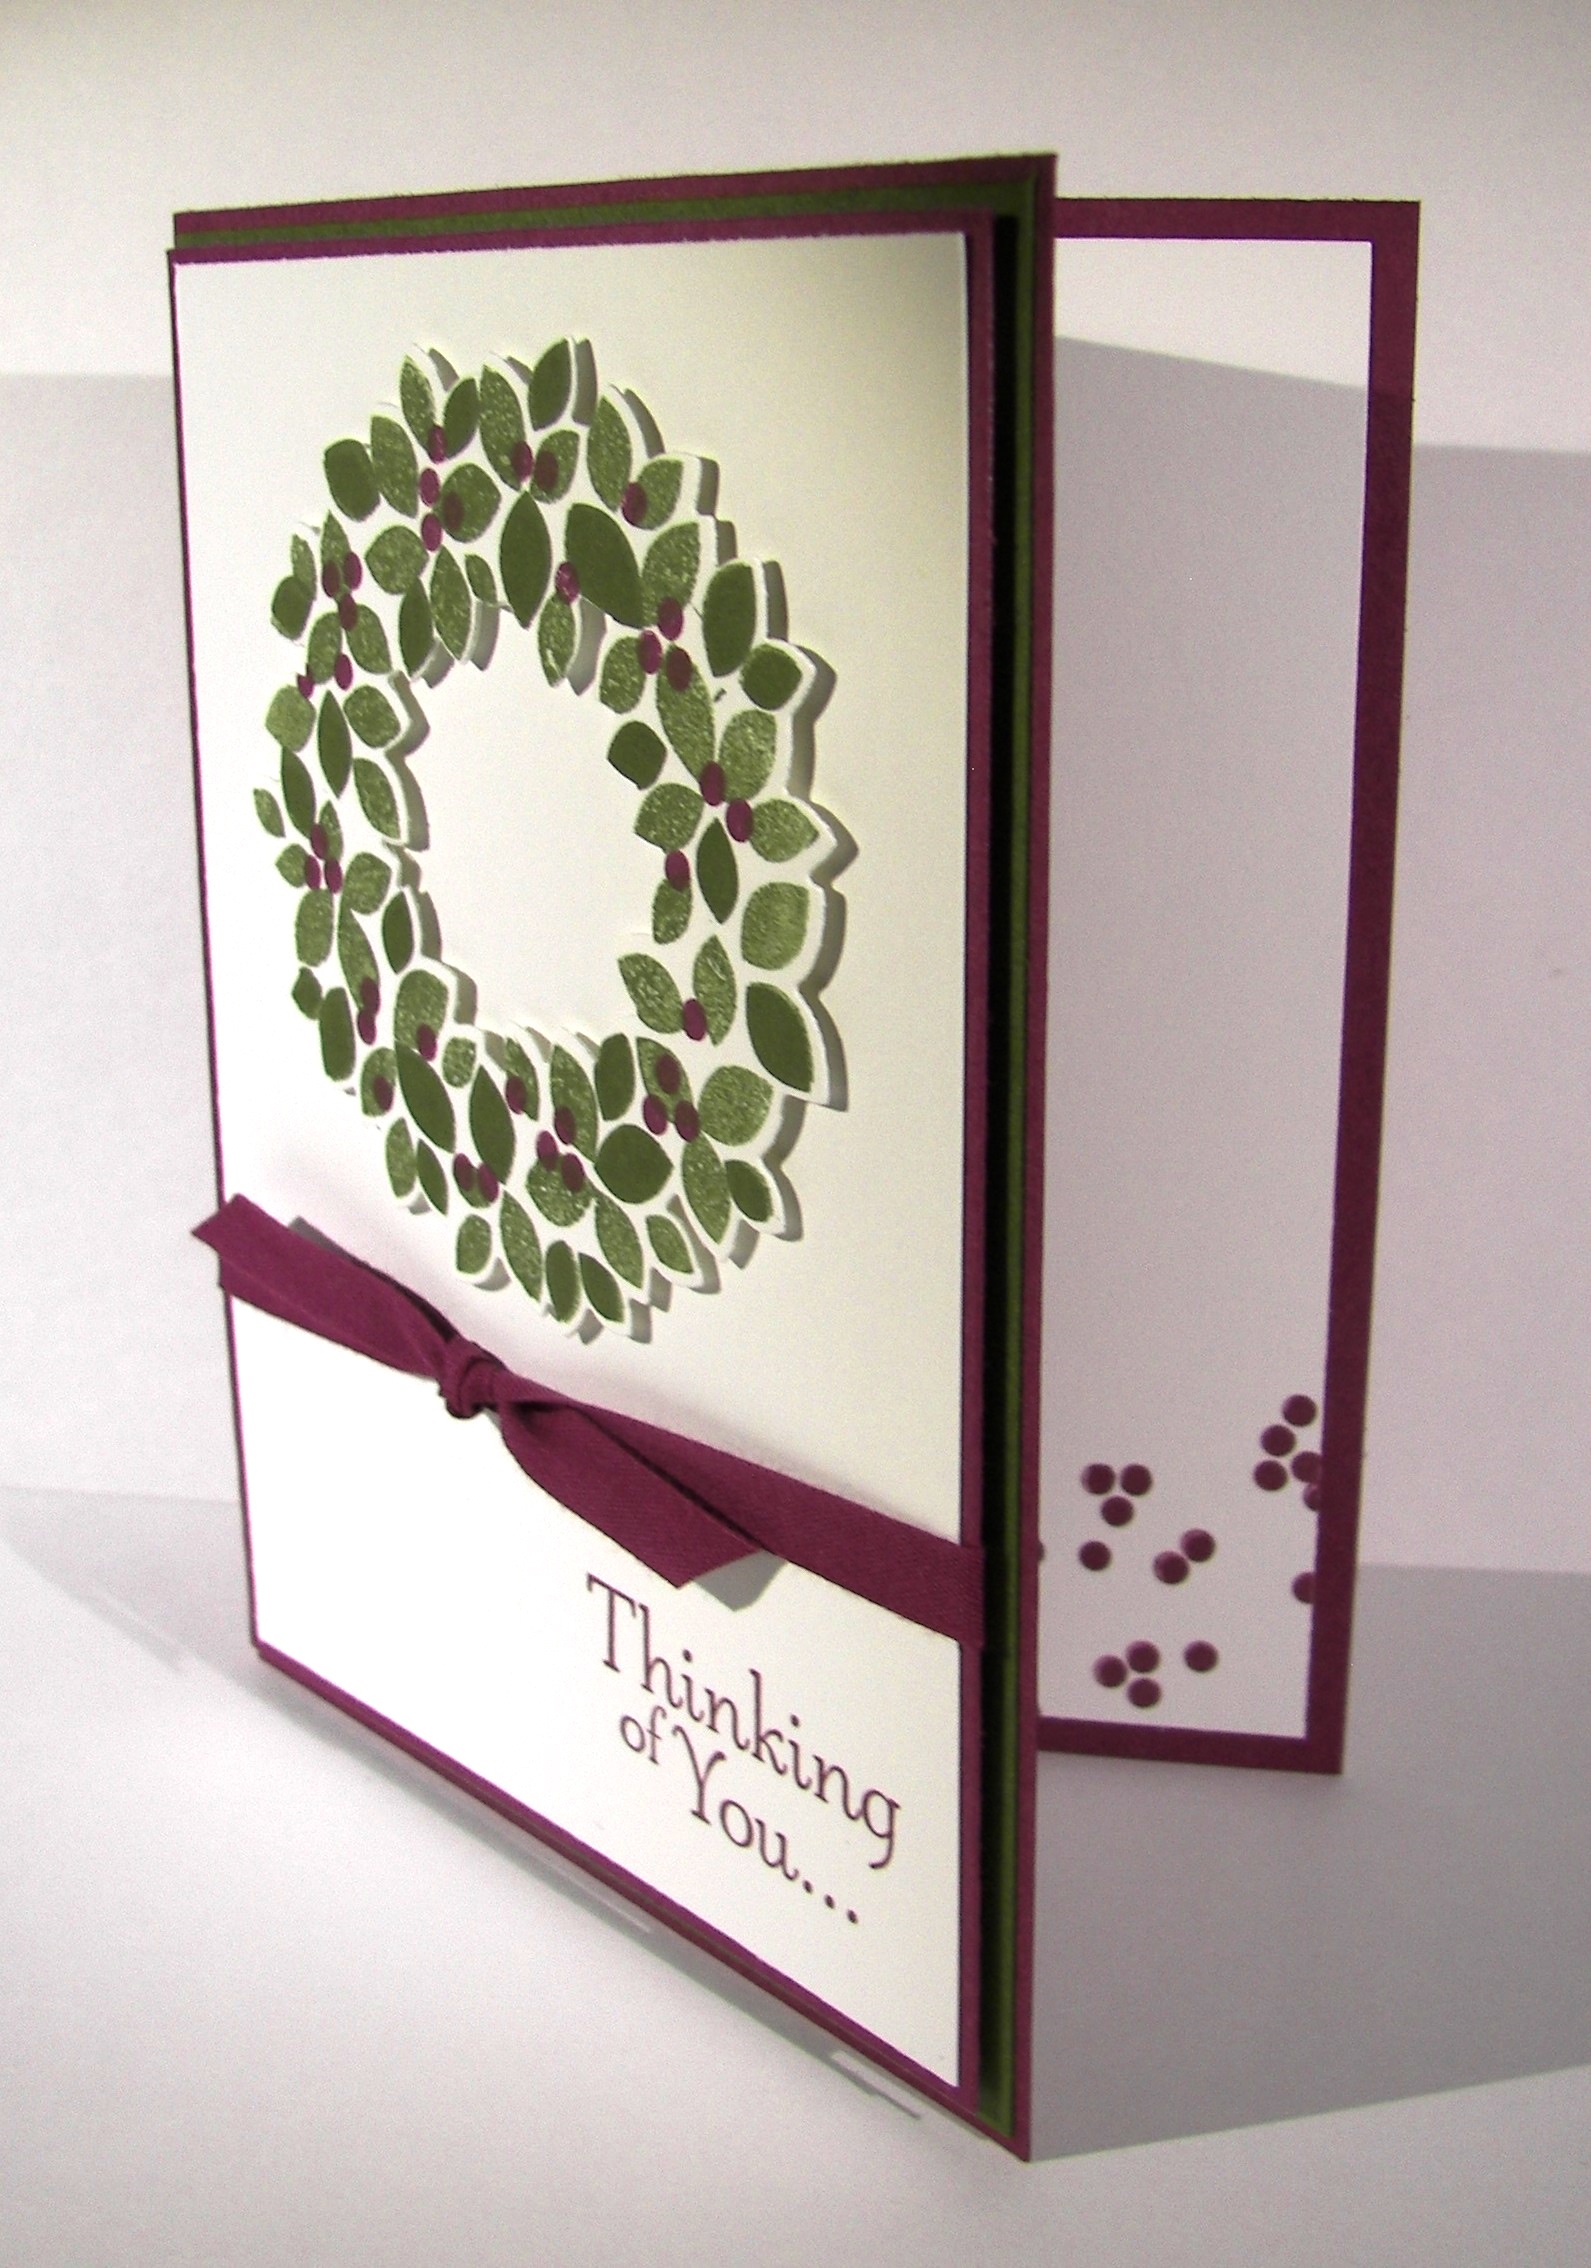
Either way, I still love how it turned out.  I stamped off once on my first layer of leaves.  So when I added the second layer of leaves with the second stamp I left it full strength.  Lovely contrast if I do say so myself.  I did the berries in rich razzelberry to match of course.  I continued those little guys on the inside, and they are so cute.  I can see me using the berry stamp to make a background paper.

Wondrous Wreath and My Plum Trees...

I know my wording is a bit slanted, but I was tired.  The heat has been so bad lately that by the time I get to settle down to work, I am so warm and tired that I don’t have the patience I should.

Wondrous Wreath and My Plum Trees...

My brain is so all over the place.  Just too many things to get done and not enough time.  Summer break may be here, but I have yet to really enjoy any of it.  July will be better, supposedly.

Have a creative day!

Moana

Butterfly Basics

Simple elegance is one of my favorite things in a card.  This color combination surely does lend itself in that direction.  I even think it is neutral enough to be masculine, what do you think?

Butterfly Basics

I used the Butterfly Basics set for this project for the element and sentiment.  I put the fern stamp to work with three different inks.  I started with black stazon, layered with silver encore, and finished up with elegant eggplant.  I continued stamping inside with just the elegant eggplant.

Butterfly Basics

I added some silver satin ribbon to keep those ferns together but kept it in a knot instead of a bow.  The ribbon kind of took over when it was tied in a bow, but just right in a knot.

Butterfly Basics

I kept the boarders narrow and popped the front up on dimensionals.  A nice clean look for an elegant card.  I think I have just the person to send it to.

Have a creative day!

Moana

Cucumber Crush Party

Getting back into the groove can be a bit slow at first.  I also gave myself a challenge this morning by making cucumber crush my main color.  We haven’t become friends just yet, so I thought we needed some together time.  I helped it find a friend in blushing bride, and I like how it worked out.

Cucumber Crush Party

I used a full sheet to make this pretty gift bag.  I stamped the background paper with the fun leaf from the Kinda Eclectic set.  Loved it.  I used it full strength some, but mostly stamped it off once first.  I like how different this color looks at different strengths.

Cucumber Crush Party

I sometimes stop myself from using flowers, because I feel like I really get them everywhere.  I just love flowers!  So, I didn’t hold back at all here.  I usually stamp off blushing bride, but it needed to be strong to work with this fun green.  The combo is full of life.  I think a yellow would have paired nicely, but I had to stop somewhere.

Cucumber Crush Party

These pretty clear faceted buttons are so fun to use.  It helped me finish up this gift bag nicely.  Sometimes I go overboard on bling, but not today.  I wasn’t sure when I started this project, but I love how it ended up.

Have a creative day!

Moana

Camp Bountiful in a Card

Spending a week with a wonderful group of ladies working together to serve the most beautiful girls, communing with nature and worshiping God, it is obvious why I created the card I did.

Camp Bountiful in a Card

Lovely as a Tree will remain one of my long time favorites, always.  Being surrounded by nature and removed from technology and distractions brings solace like no other.

Camp Bountiful in a Card

The girls, that huge group of lovely girls, worked together, learned together, laughed together, and cried together.  It was such a wonderful experience and I hope I get the opportunity to serve again next summer.

Camp Bountiful in a Card

It wont be easy to get back into the routine of life, but there isn’t a choice.  But, I can choose to keep myself in tune with the things I learned and felt.  I will continue to serve those I love.

Have a creative day!

Moana

Welcome Cucumber Crush

Let me introduce you to Cucumber Crush.  Now you have seen all of the five new In-Colors that will be with us for the next two years.  I can’t believe we have had the other set for a year already.  But this bright, perky green, we don’t have a color like it.  And it is bright.

Welcome Cucumber Crush

My family assured me this wasn’t too much and they really liked it.  I kind of didn’t, at all.  I thought it looked like a leprechaun got into a fight with Valentine’s Day.  But, I went with it anyway.  Everyone makes mistakes and I don’t mind that at all.  I do think that this particular combo won’t happen again.  Cucumber Crush needs to have another color or two to balance it out.  Just my thoughts though.

Welcome Cucumber Crush

This is also another sneak peek at the Happy Birthday, Everyone host set.  I touched on it yesterday, but went further today.  The ‘Happy Birthday’ sentiment is the large main one and it comes with several support phrases.  Too fun.

Either way, a new set of fun In-Colors combined with a great new catalog looks to make another great year.  So much creativity in store.  I hope you find yours.

Have a creative day!

Moana

You’re Fabulous

Today I am using the same stamp set as yesterday, even if it is hard to tell.  Stamps can be as versatile as you let them be.  Example, I used the tiny floral stamp in the set to make the background paper.  Yup, it started out as plain whisper white and then got exciting.

You're Fabulous

Watermelon Wonder, what a yummy name for a color.  It is super springy and full of fun.  I experimented with bringing in some basic black, and although it looked elegant alongside, I wanted to keep it monochromatic to showcase it.

You're Fabulous

I started stamping the flowers full strength and continued stamping off on the paper to create the background.  I took it inside as well, but just in two opposite colors.  I did some light sponging inside and on the front.  I liked it so well, I took it across the whole piece and removed any white spaces.  Talk about color, it is all there.

You're Fabulous

A double tag, a few bitty butterflies with rhinestones, and a touch of the new dotted lace trim and it was all done.  Another project that is very likely to be used in next weekends workshop.

Have a creative day!

Moana

A Whole Lot of Lovely

How about a sneak peek at some new product coming out next week!  I have been waiting to play with some of the new products, but have made myself wait until it was closer to being released.  The background stamp is a returning favorite, but the rest is all new!

A Whole Lot of Lovely

Let’s start with the color.  It is called Tip Top Taupe and I love it!  It is darker than Sahara Sand and lighter than Crumb Cake.  I think it is so pretty.  Wait until you see the other four new In Colors.  I will do one a day to show all five.  How fun!

A Whole Lot of Lovely

The stamps shown are two of the four in one of the new host sets coming out. I love it when they make a stamp that fits a punch just right.  How perfectly does this pretty sentiment fit inside the 2″ circle punch, right?  Just the perfect nudge of white boarder around the image, yummy.  And then of course just a little inside stamping to coordinate.  I really went at the sponging today and gave it an almost vintage look.  I wanted to put this new color to the test.  It has passed with flying colors.

Take a look at the new ribbon though.  It is called Dotted Lace Trim and it comes in the new five colors.  It is actually quite soft and just a bit stretchy.  I can see myself using this often, good thing I get a discount.

Have a creative day!

Moana

Lullaby Gift Carton

It has been a while since I have scattered flowers across a project like this.  But sometimes, you just really want to.  I like trying an unlikely pairing and seeing how it turns out.  Especially when it works!

Lullaby Gift Carton

I started with the paper, thought of the cute baby tag idea and decided it needed flowers.  Even though we traditionally put boys with blue and not flowers so much, doesn’t mean we have to stick to it.

Lullaby Gift Carton

It would be easy enough to swap out the tag for something else though.  I do like a versatile project, don’t you?

Lullaby Gift Carton

Each day brings me new opportunities to stretch my mind and try to challenge myself without too much frustration. Quite the interesting balance sometimes.

Have a creative day!

Moana

Flowerpot Painted Petals Trio

Sometimes when you draw a blank, you still come out on top.  I was sure I had crafters block yesterday.  So I sat and read a novel instead.  When I made myself go back and sit down I decided to pull out a sheet of designer series paper and just design a bag and call it good.  As soon as I had this sheet of paper on my desk my brain got busy.  Cool right?

Flowerpot Painted Petals

I hadn’t paired this ribbon with rich razzelberry yet and I wish I would have.  They look great together!  And then a bit of glimmer paper to frame a tiny sentiment and we are off and running.

Flowerpot Painted Petals

I trimmed off a 4″ section from the whole 12 x 12 for a card front.  When I finished the other cut to give me the 4 x 5 1/4″ front I needed I was left with a choice.

Flowerpot Painted Petals

Make a second card, put the remainder back with its set, or make another tiny bag to go along.  The tiny bag won.  What a cute little baby bag.

Flowerpot Painted Petals

This set went together really quickly.  That is what happens when you have great product.  Just a little bit of stamping, some creasing, adhesive here and there and a ribbon on top.  I went to bed with a smile for sure.

Have a creative day!

Moana

Corner Garden Gift Bag

Sometimes I design a bag around a gift or to match some cards I have made.  This time I wanted to work around a specific stamp.  I wanted to do a tone on tone with the Corner Garden stamp set.  The detail is fine and subtle, just the look I was going for.

Corner Garden Gift Bag

The bag is large enough to hold plenty.  It could hold a large set of cards and envelopes, or any number of things.  It is sturdy too.  A nice heavy cardstock bag with my favorite chevron ribbon.  Bring on the heavy gift, I am totally ready.

Corner Garden Gift Bag

At workshop Saturday my ladies teased me about my need to sponge the edges of everything.  I was able to say that I had controlled myself and we only sponged one of our three projects.  So I was feeling the need and definitely got busy on this bag. I just love the look it gives.

Have a creative day!

Moana

Stacked With Love

Today is all about the paper.  The stacked with love dsp set is often overlooked in my stash.  One side is Valentine’s Day, and awesome at that.  The other is all of these really cool black and white themed prints. So functional.

Stacked With Love

However, I like to soften the look with sponging ink all around.  I did an ombre effect across the diamond pattern.  It is heaviest at the right where I placed the sentiment.  I so love when a stamp has a coordinating punch.  Just yummy.

Stacked With Love

I hadn’t known what to do with this pattern.  It stumped me.  When I put the Just Kidding sentiments to work, I wish I had tons of this sheet.  There is four of each pattern in the stack, but not enough.  I love this card.  Luckily I have an embossing folder with a similar image.  It is retiring, but I have mine.  So exciting!

Stacked With Love

I also like how I sponged around the image to draw additional attention to it.  A simple but effective technique.

Have a creative day!

Moana

May Workshop Club Thank You!

Everyone does their workshops in their own way.  I just love to say thank you in fun little gift ways.  I have the privilege of sharing Saturday mornings with some really wonderful people.  Some are regular club members and others come just for the projects.

May Workshop Club Thank You!

Both sets of friends come away with plenty of wonderful.  I go overboard on my projects on a regular basis, so that is always fun.  But my regular shoppers get a little extra.  I shop ahead and plan for special thank you gifts.  Like this awesome ribbon that I have had for quite a while.  It retired last year and I have been waiting, and waiting.  But getting a ten yard spool of awesome ribbon is so worth it!  They are going to be so pleased!

May Workshop Club Thank You!

I also try to make something that they can re-gift.  No need to be wasteful.  They are also getting a little embellishment treasure.  We all oogled over the something borrowed embellishments but decided they might be a bit too pricey.  They went on sale and I got us a pack to share and one for me to keep.  They are so pretty.

May Workshop Club Thank You!

As I write this I am watching the clock.  I need to leave in just over an hour to be nice and early for setup.  The bag is made with a half sheet of hello honey and coordinating paper and ribbon.  The paper will stay, but the rest is retiring.  The new product is lovely though.  Two weeks til the new catalog goes live!

Have a creative day!

Moana

Hello There Farewell

I have been trying to stay focused on this years catalog and finish it through, but the new product keeps on sneaking into my thoughts.  I thought this would be a fitting solution to all that is going on.

Hello There Farewell

I like to make samples using the new in-colors for the season and send them along with the new catalog to my club ladies.  They love getting to see, and touch, some of the new product along with the catalog.

Hello There Farewell

Last year I made a card in this format using tangelo twist as one of the five samples included.  I thought it fitting to make another with a companion gift bag, since I love that these days, with an in-color that is retiring.  Farewell to strawberry slush, and your four other friends.  I have loved using you!

Hello There Farewell

I have begun planning my new samples with the wonderful new in-colors.  I also got to pre-purchase some of the new host sets, perks of being a demonstrator, and they are lovely!  They will make some great gifts for my ladies.

Have a creative day!

Moana

Sweet Taffy Gift Bag

How about a huge bag made from awesome paper?  Sounds like the perfect thing to me.  It wasn’t hard to decide which paper to use, but which stamp would go best on the tag.

Sweet Taffy Gift Bag

I knew it had to be bold and long.  But I didn’t want the reader to turn sideways to read it.  So I had to dig into my sale-a-bration stash and use this beauty.  I have used this one like crazy.

Sweet Taffy Gift Bag

I used the dotted hexagon stamp from the six-sided sampler set to coordinate with the paper.  I thought it paired wonderfully.  The bow does make it a bit more feminine, but if had put it in a knot it would be great for a guy as well.  Good stuff there.

Just how big is the bag?  I used a whole 12 x 12 sheet to make this one.  I measures nearly 3 x 3 at the base and goes up to 9″ to the top.  Plenty of space to put in a light gift or two, maybe even a stash of taffy?

Have a creative day!

Moana

Park Lane Duo

I started this set yesterday morning, got stumped, fussed last night, and finally fixed it this morning.  I kept trying to put the yellow butterfly on the card front.  Yes, the one I inlaid back into the gift bag I cut it from.  Strange how things come together better when you give your creativity a break to refocus.

Park Lane Duo

I colored the paper with my ink sponges.  I didn’t want a lot of exact color, just subtle hints.  So I just used the sponges with leftover ink already on them.  It did the job just right.  Of course my photos make it hard to see, but I love the effect.

Park Lane Duo

When you use delicate die cuts it helps tremendously to sandwich wax paper in between the layers.  The paper just pops out then.  I decided to use the wax paper ones as well.  I didn’t want to cover up the coloring and the yellow butterfly just took over.

Park Lane Duo

After I swapped things around I fell in love.  I attached my wax paper butterflies with some folded glue dots and then ran a string of basic pearls down the body.  It gave such a delicate finish.

Park Lane Duo

One quick stamp from the Sheltering Tree set and the card was done.  No ribbon, no other extras, just some light color and transparent butterflies.  Since they are so thin, the move when the card does.  Beautiful.

Get out there and have a creative day!

Moana

A Huge Thank You

When a lot of people need to say thank you, you need a huge card.  This one measures 5.5 x 8.5, totally huge.  It has signing panels on both sides, plenty of room for everyone.

5-10 (2)

I had the opportunity to be a driver for my oldest daughters small business class field trip to Silicon Valley.  There was a lot of prep work, a hectic schedule, and highway time galore.  I thought it appropriate that the students thank their teacher for all of her hard work.

5-10 (3)

To make it a little better, I made a little something extra that I will share with you tomorrow.  You can see the top of them poking out of the holder.  It should sit nicely on her desk either at home or school.

5-10 (1)

My Denali will get the students to sign during the morning and give it to her during class.  It should be a nice thank you from all of us.  Sometimes we need to help others to be grateful.  Let’s call this an additional learning opportunity for the students.

I will share photos of the gift portion of the thank you tomorrow.  So festive and fun.

Have a creative day!

Moana

Adventure Awaits Gift Set

I made this lovely set for a baby shower I went to today.  Don’t you think motherhood is one of the great adventures in life?  It will be her first, so it is definitely an adventure.

Adventure Awaits Gift Set

I have used three of my favorite stamp sets to complete this project.  And yes, all three are retiring.  I will be using them regardless.  When I find sentiment sets that say just what I want, I have a hard time letting go.  The new catalog has some fun options, but I can’t share them just yet.  It goes live on June 2nd.  Wheee!!!

Adventure Awaits Gift Set

I am realizing more and more how my camera is giving up on me.  Sorry for the photo quality, but for now it will have to do.  My main color really is pear pizzazz, really.  I sponged my background paper to give it an ombre look that is so awesome with these patterns.  I had to use my yummy chevron ribbon as well, and am truly sad that it is retiring.  It is so great to work with.  No whining, right?

Adventure Awaits Gift Set

When I finished the two sets of cards I was giving as the actual gift, they didn’t fit in my first bag.  So I had to make another, get a bit creative, and pair them together.  It worked out great!  This bundle has 14 cards and envelopes in total!  The ladies loved it, especially my friend.

Adventure Awaits Gift Set

I think everyone should have beautiful cards to give away, especially as special thank notes.  That is why I love to gift these.

Have a creative day!

Moana

Happy Heart Mini Treat Bag

Could this treat bag be any cuter?  I don’t know, maybe.  I did buy some chocolate to put inside, but forgot to take a photo with them included.  Ooops, but it will still get in there.  I am actually going to give it away today.

Happy Heart Mini Treat Bag

I used the framelit set to cut out the bag bits.  While I was working the big shot I went ahead and cut out the ‘for you’ sentiment from the same paper, calypso coral. I did some sponging, but knew I needed something more for the bag front.

Happy Heart Mini Treat Bag

I used the heart framelit from the same set on some of the coordinating washi sheets.  I had planned on sticking it directly to the paper, but the embossing changed that plan.  I left it on  the white background paper it came on and liked it.  I did punch a few hearts with the bitty heart punch and stuck them on.  But not til I had embossed the bag front with the happy heart folder.  Those little hearts fit in pretty darn good.  I used my stylus to help tuck them in just right.  Before I did, I used my brayer and inked over the embossed hearts to make them pop a bit.  I got a little messy, so I went with that and sponged a bunch to help balance it out.

Happy Heart Mini Treat Bag

I used the row of dots framelit, also in the same set, to make some sewing punches for my ribbon.  It wraps around the back, but laces in the front.  I put it in a bow and tied my tag on.  I did stick the tag with a dimensional to help it stay just right.  Now, to get the chocolate in and give it to my friend.  Should be fun!

Have a creative day!

Moana

Sassy Salutations with Flowering Flourishes

Let’s just say that my camera doesn’t always do me the best favors.  It is pushing ten years of heavy use, guess that is to be expected.  You get the idea though.

Sassy Salutations meets Flowering Flourishes

I was stumped for an idea, so I asked my youngest daughter for a little help.  All I asked her for was a color, something to get me started.  She said red, but not a love card.  I took her challenge and had fun with it.

Sassy Salutations meets Flowering Flourishes

I don’t normally work in red, but I do like the results.  I used two cut and ready card bases, retiring sad to say, for this set.  One for the card and the other for the box.  You could also make these from just one sheet.

Sassy Salutations meets Flowering Flourishes

I stamped on the velum with stazon and let it dry for a bit while I did the red stamping.  I hid my adhesive under the stamping and my embellishments.  Aren’t these just beautiful?  When they went on sale I broke down and bought a couple of containers.  So glad I did.  They are also retiring.

Sassy Salutations meets Flowering Flourishes

Even though my camera didn’t help out too much today, I think you get the idea.  Give yourself a challenge and see what happens.  You might be pleasantly surprised.

Have a creative day!

Moana

Adventure Awaits on Sea Street

I do enjoy it when a designer series paper set has a matching stamp set.  Everything just goes together that much better.  I thought this stamp from the Adventure Awaits set had the perfect sailor sentiment.  All kinds of happy here.

Adventure Awaits on Sea Street

I don’t know why I can’t just make one card, but I like everyone to have friends, even my crafting projects.  That sure does make extra stacks of cards to deal with.  I have taken to just giving people blank cards to play with.  It works for everyone.

Adventure Awaits on Sea Street

How about the cute little bag though.  It started out as a bag, I measured wrong, tried a box, then went bag to a modified bag.  What a busy bit of paper.

Adventure Awaits on Sea Street

Of course I had to do some inside stamping.  Those little flags are so adorable.  If I had more patience last night I would have colored them with markers, but I kept it one color for the sake of sanity.  Everyone needs some of that.

The designer paper is retiring, as well as the little oval punch I used to punch out my little anchor from the Sea Street set.  I use that punch a lot.  I will keep that one on hand for sure.  Too useful.

Have a creative day!

Moana