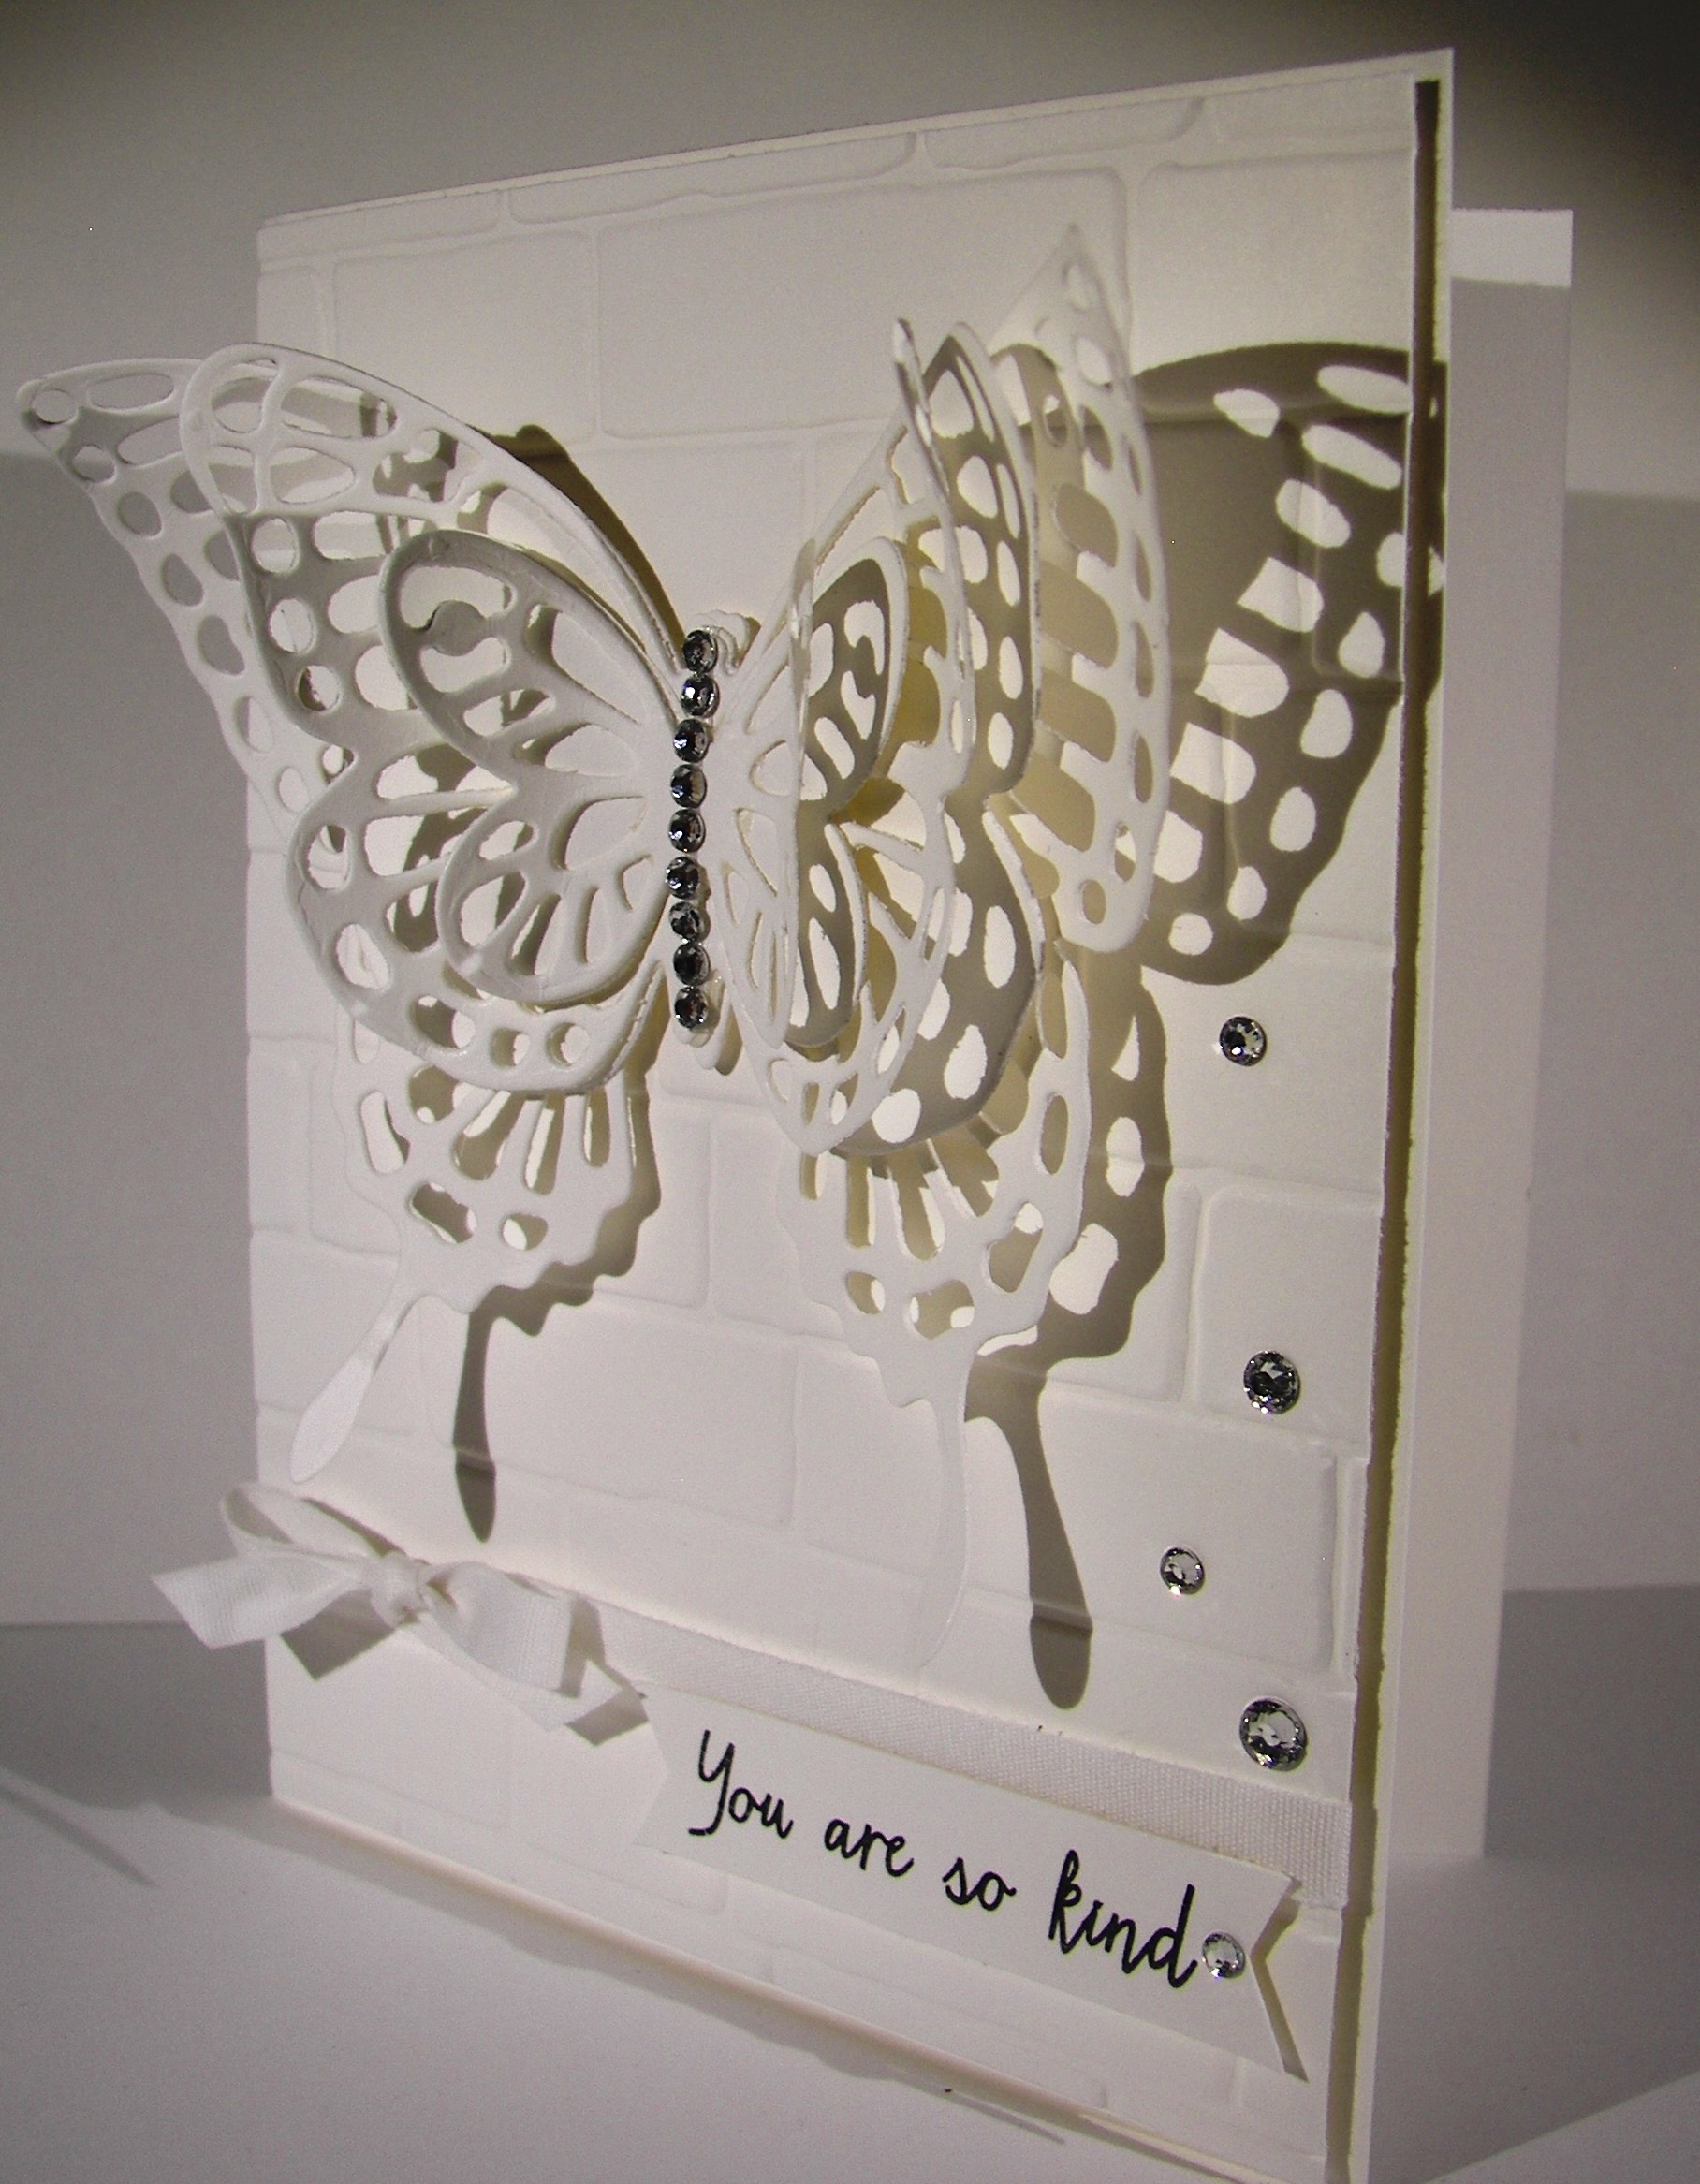
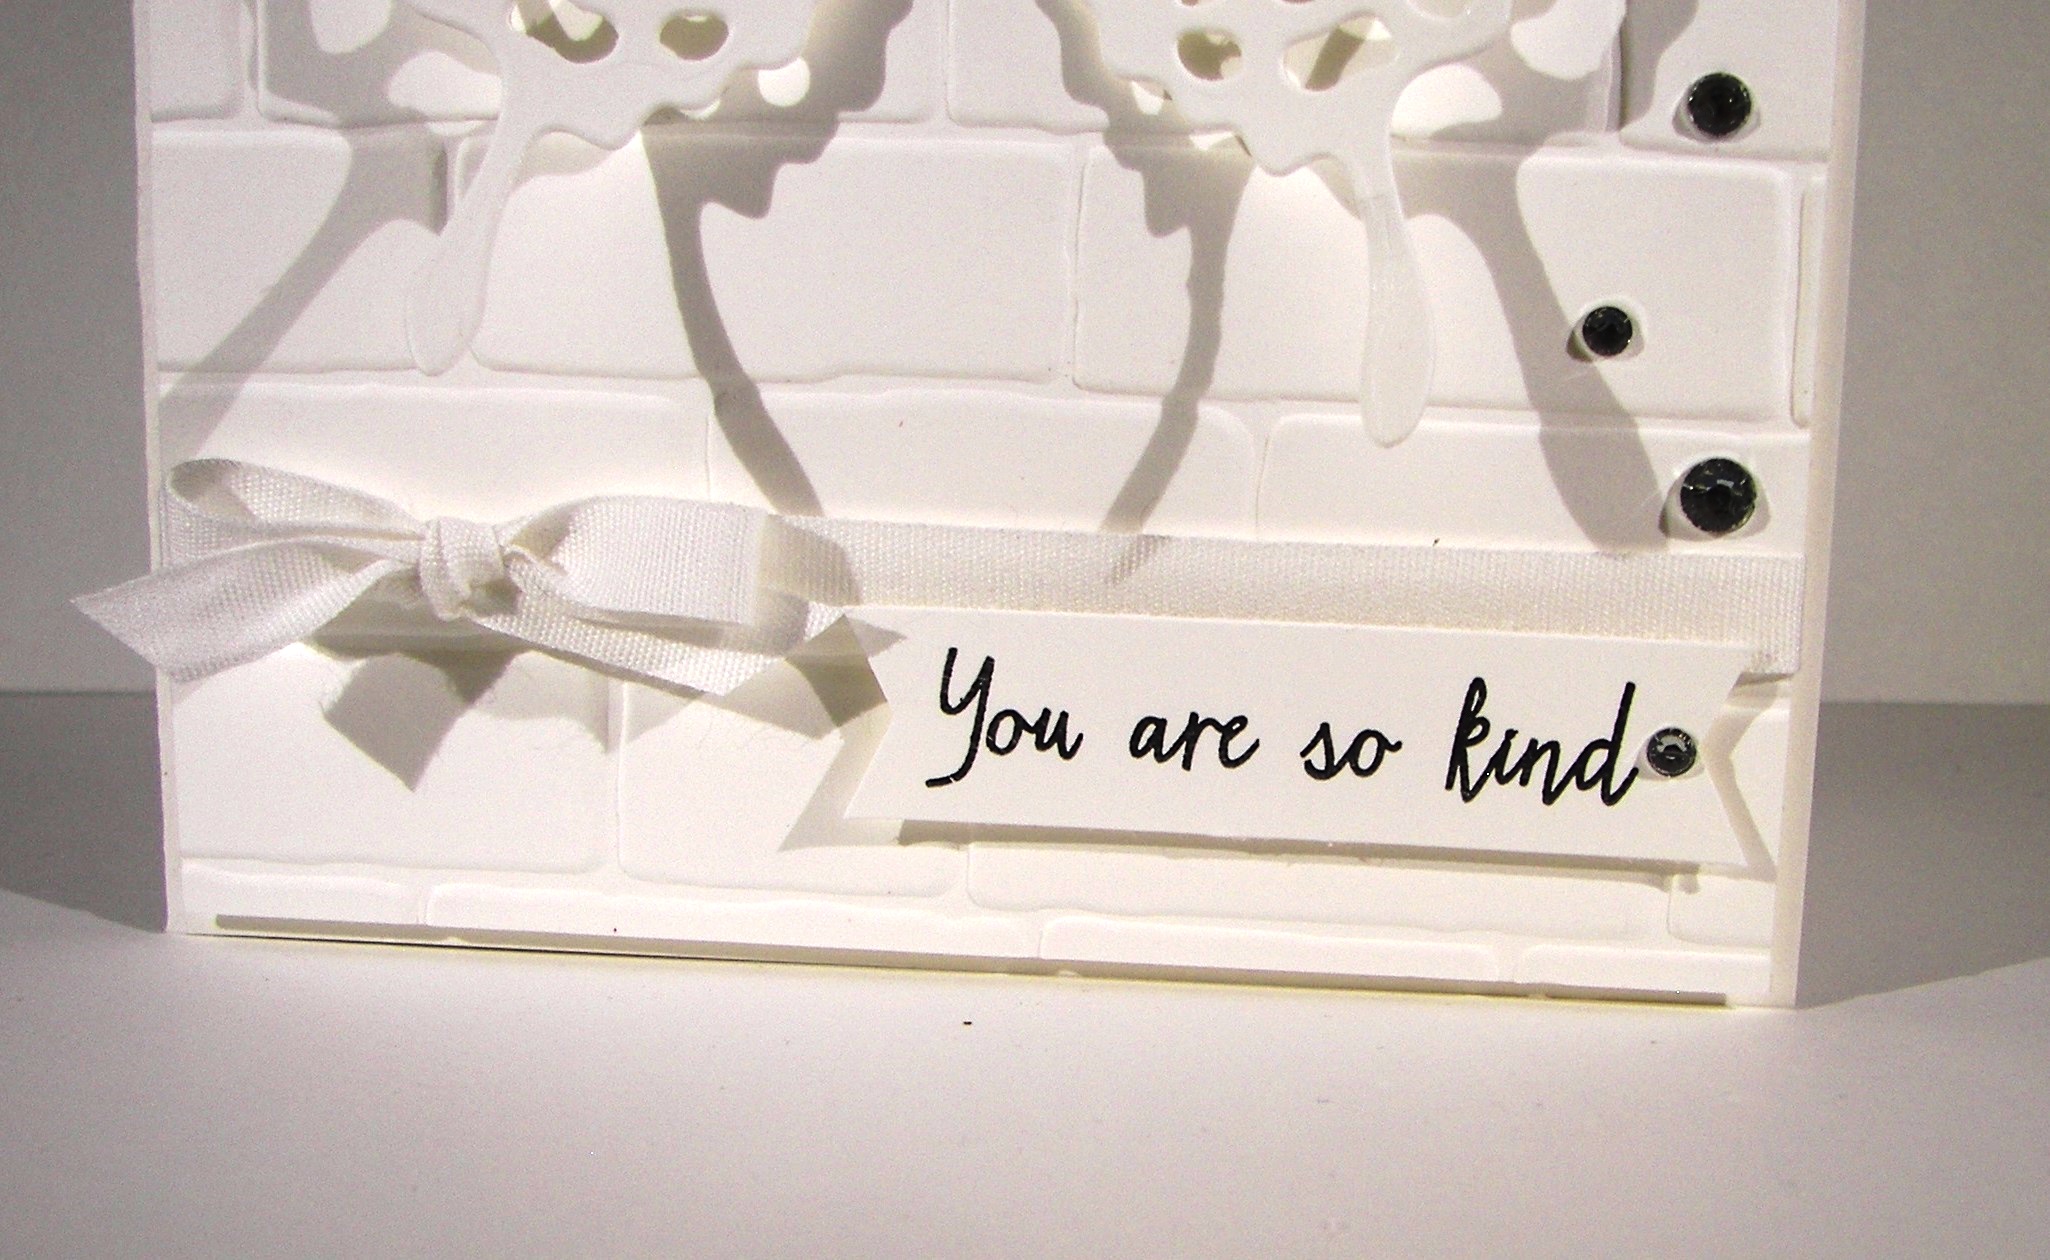
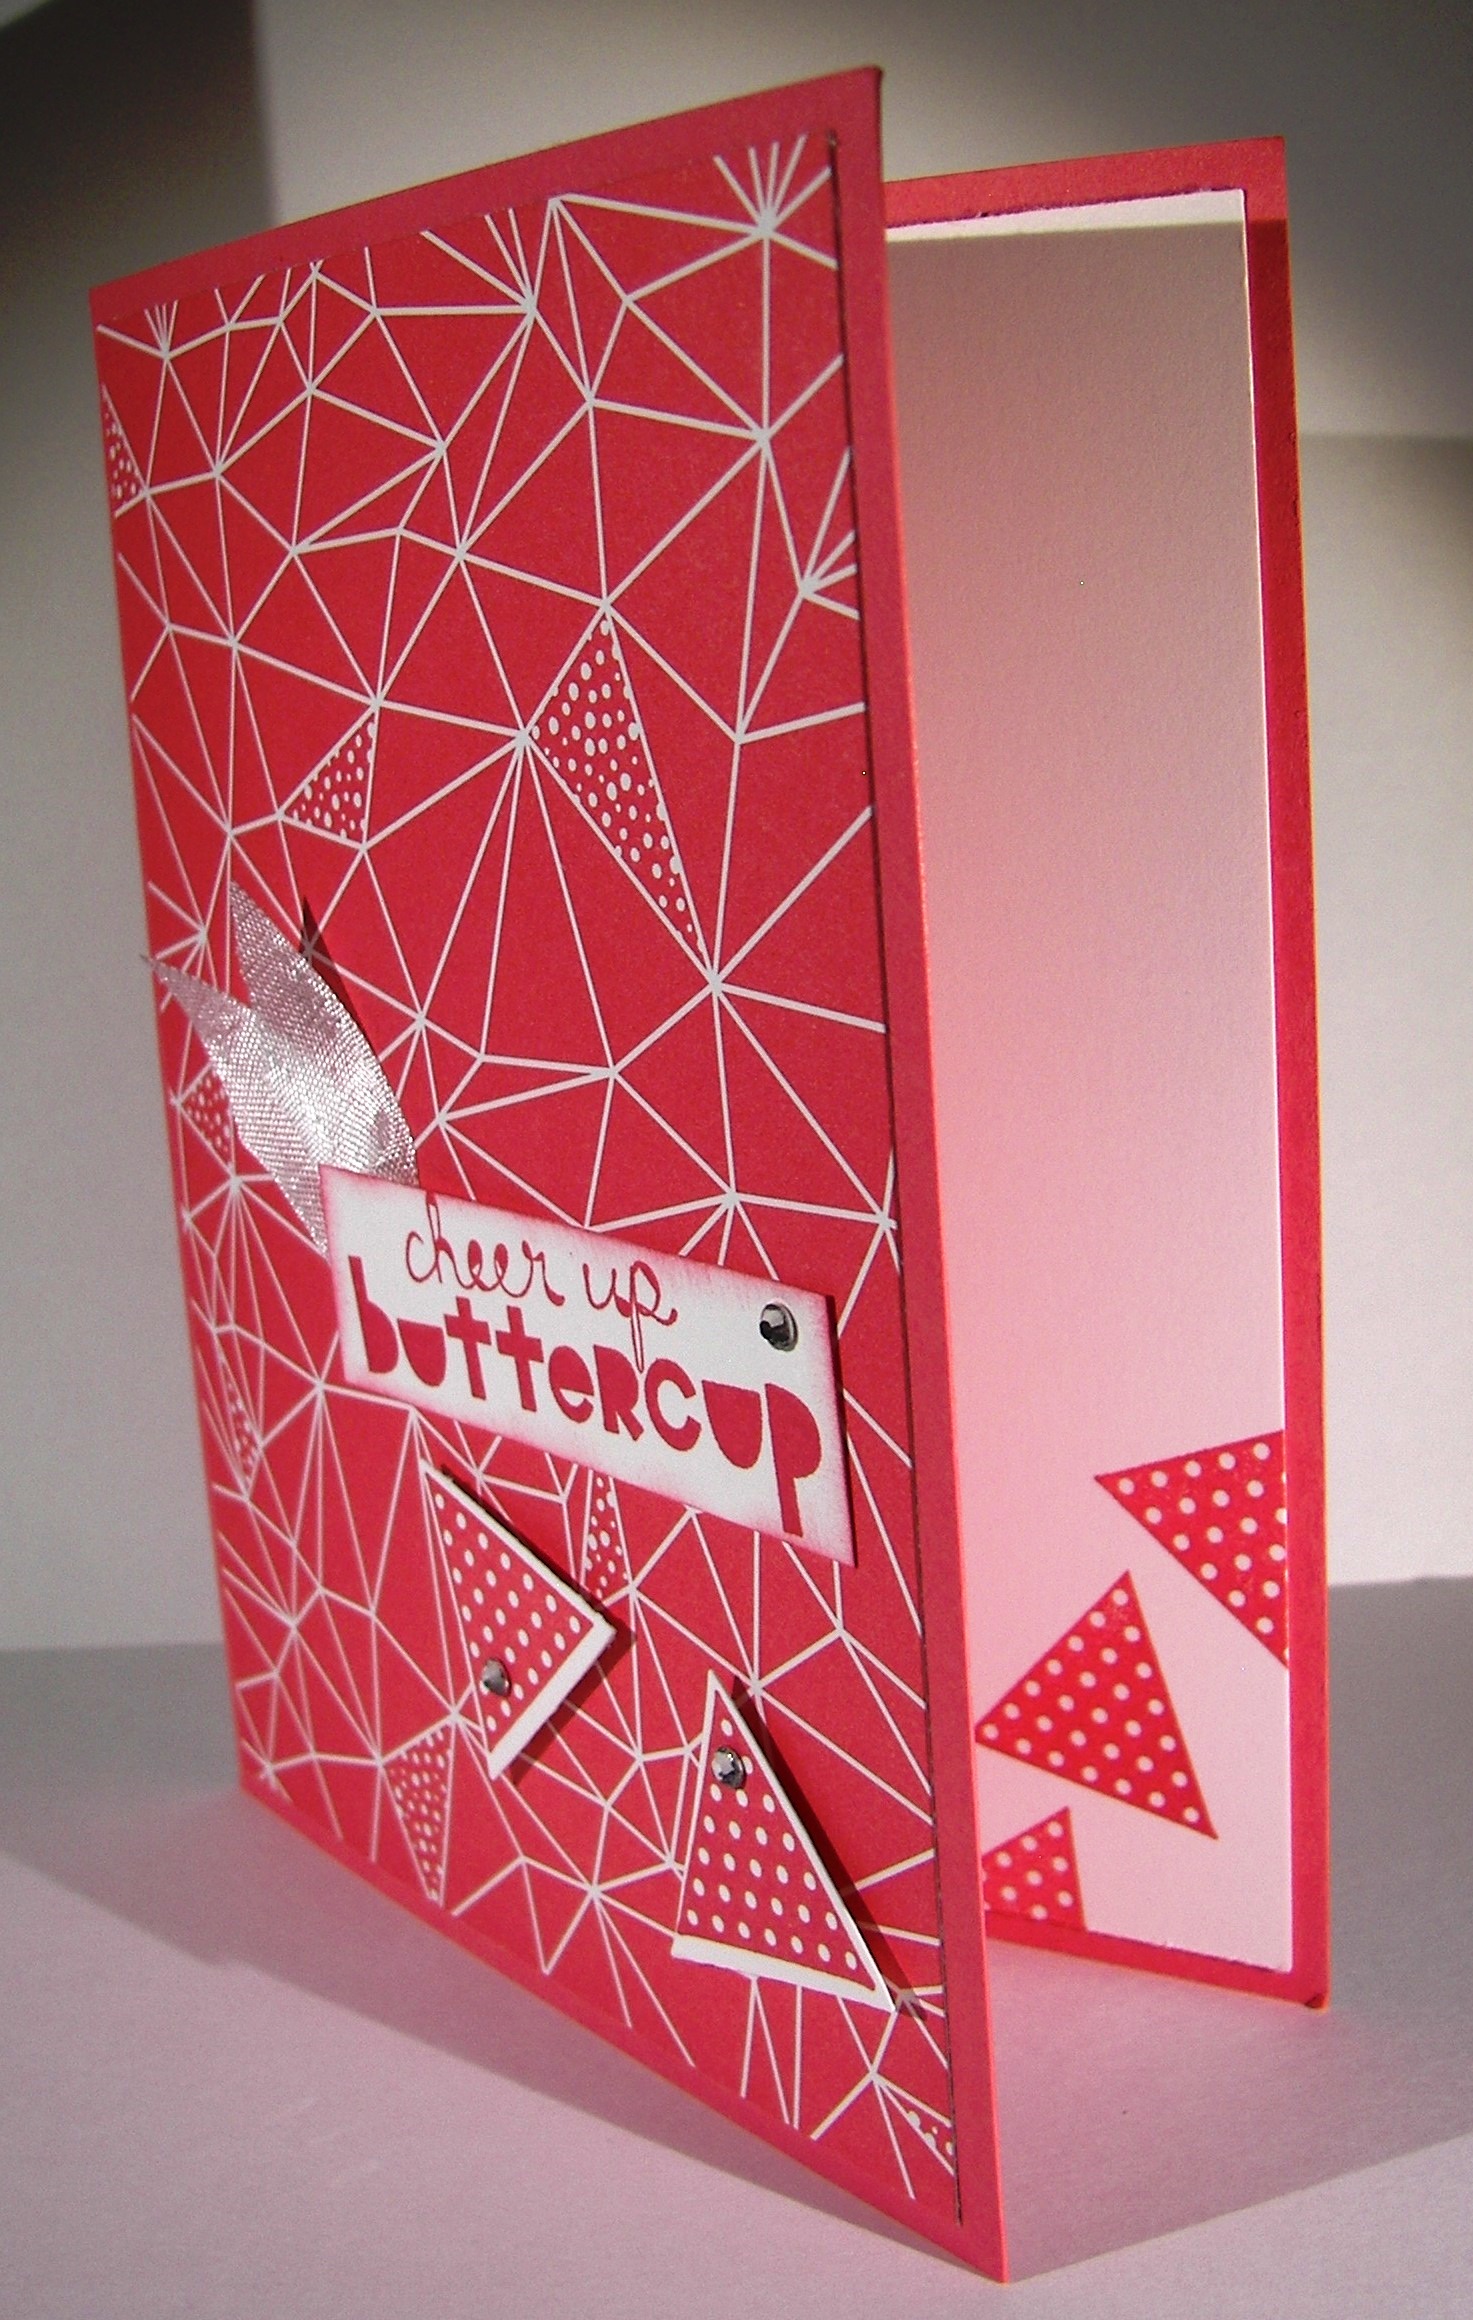
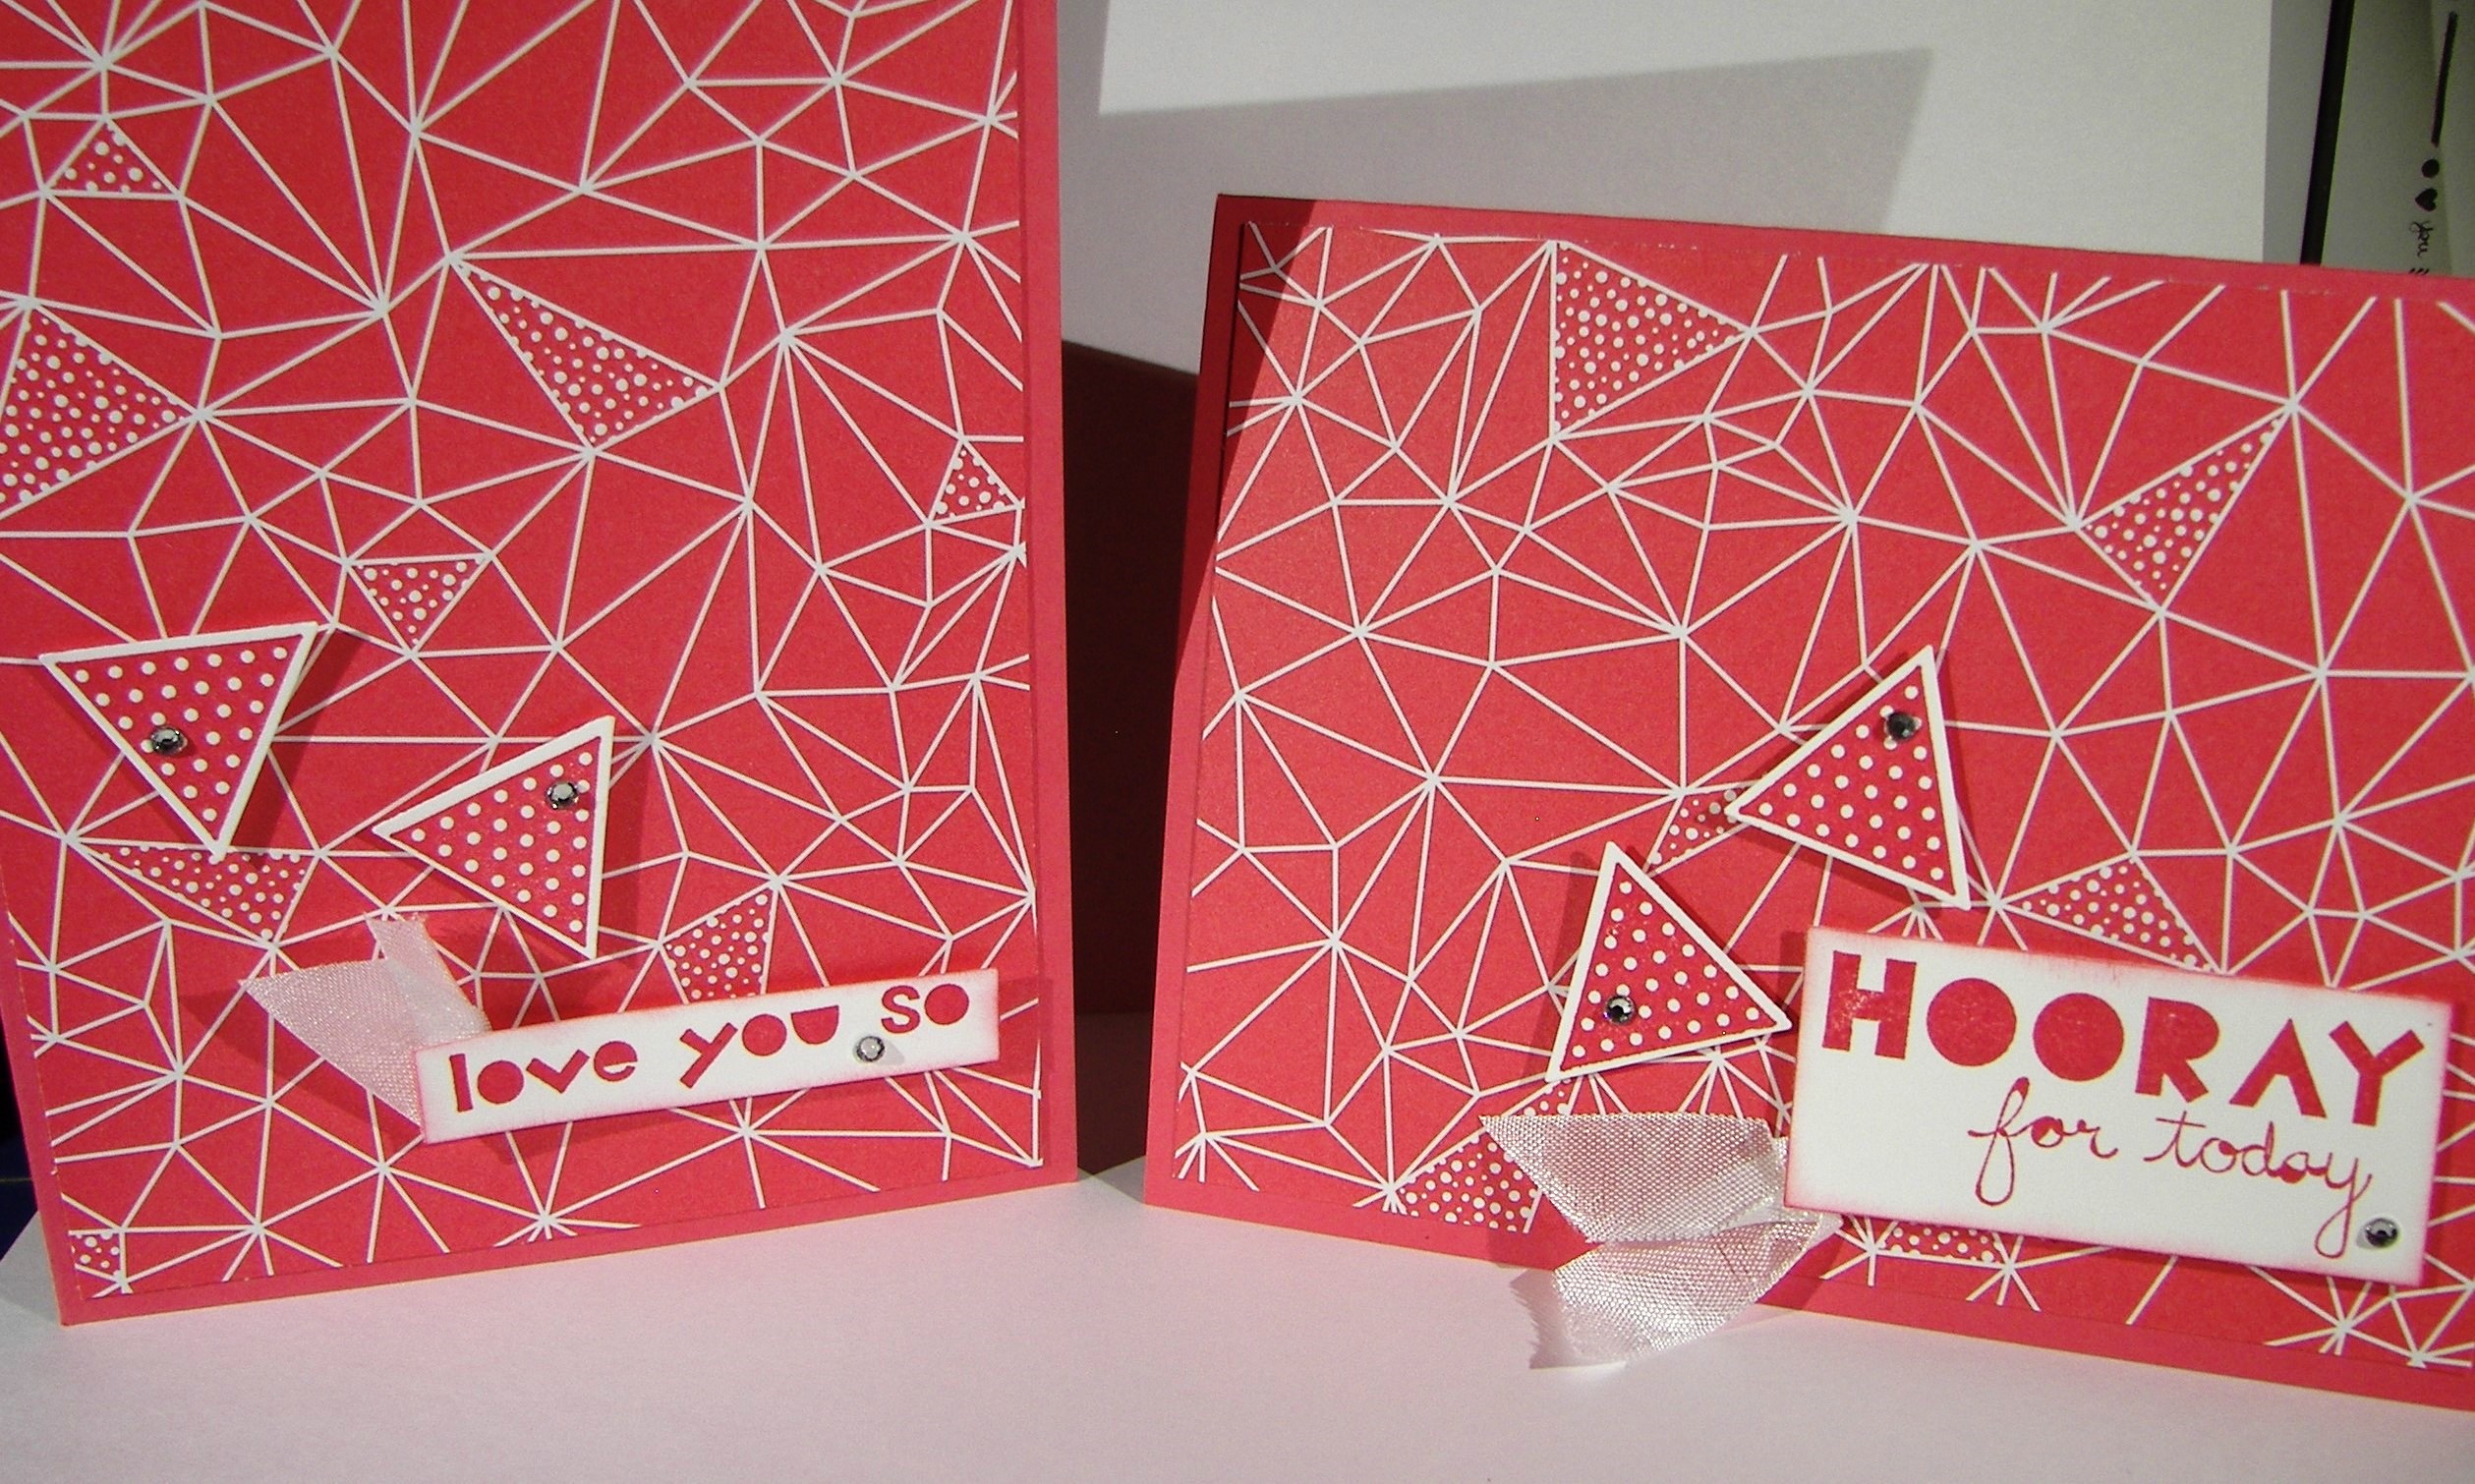
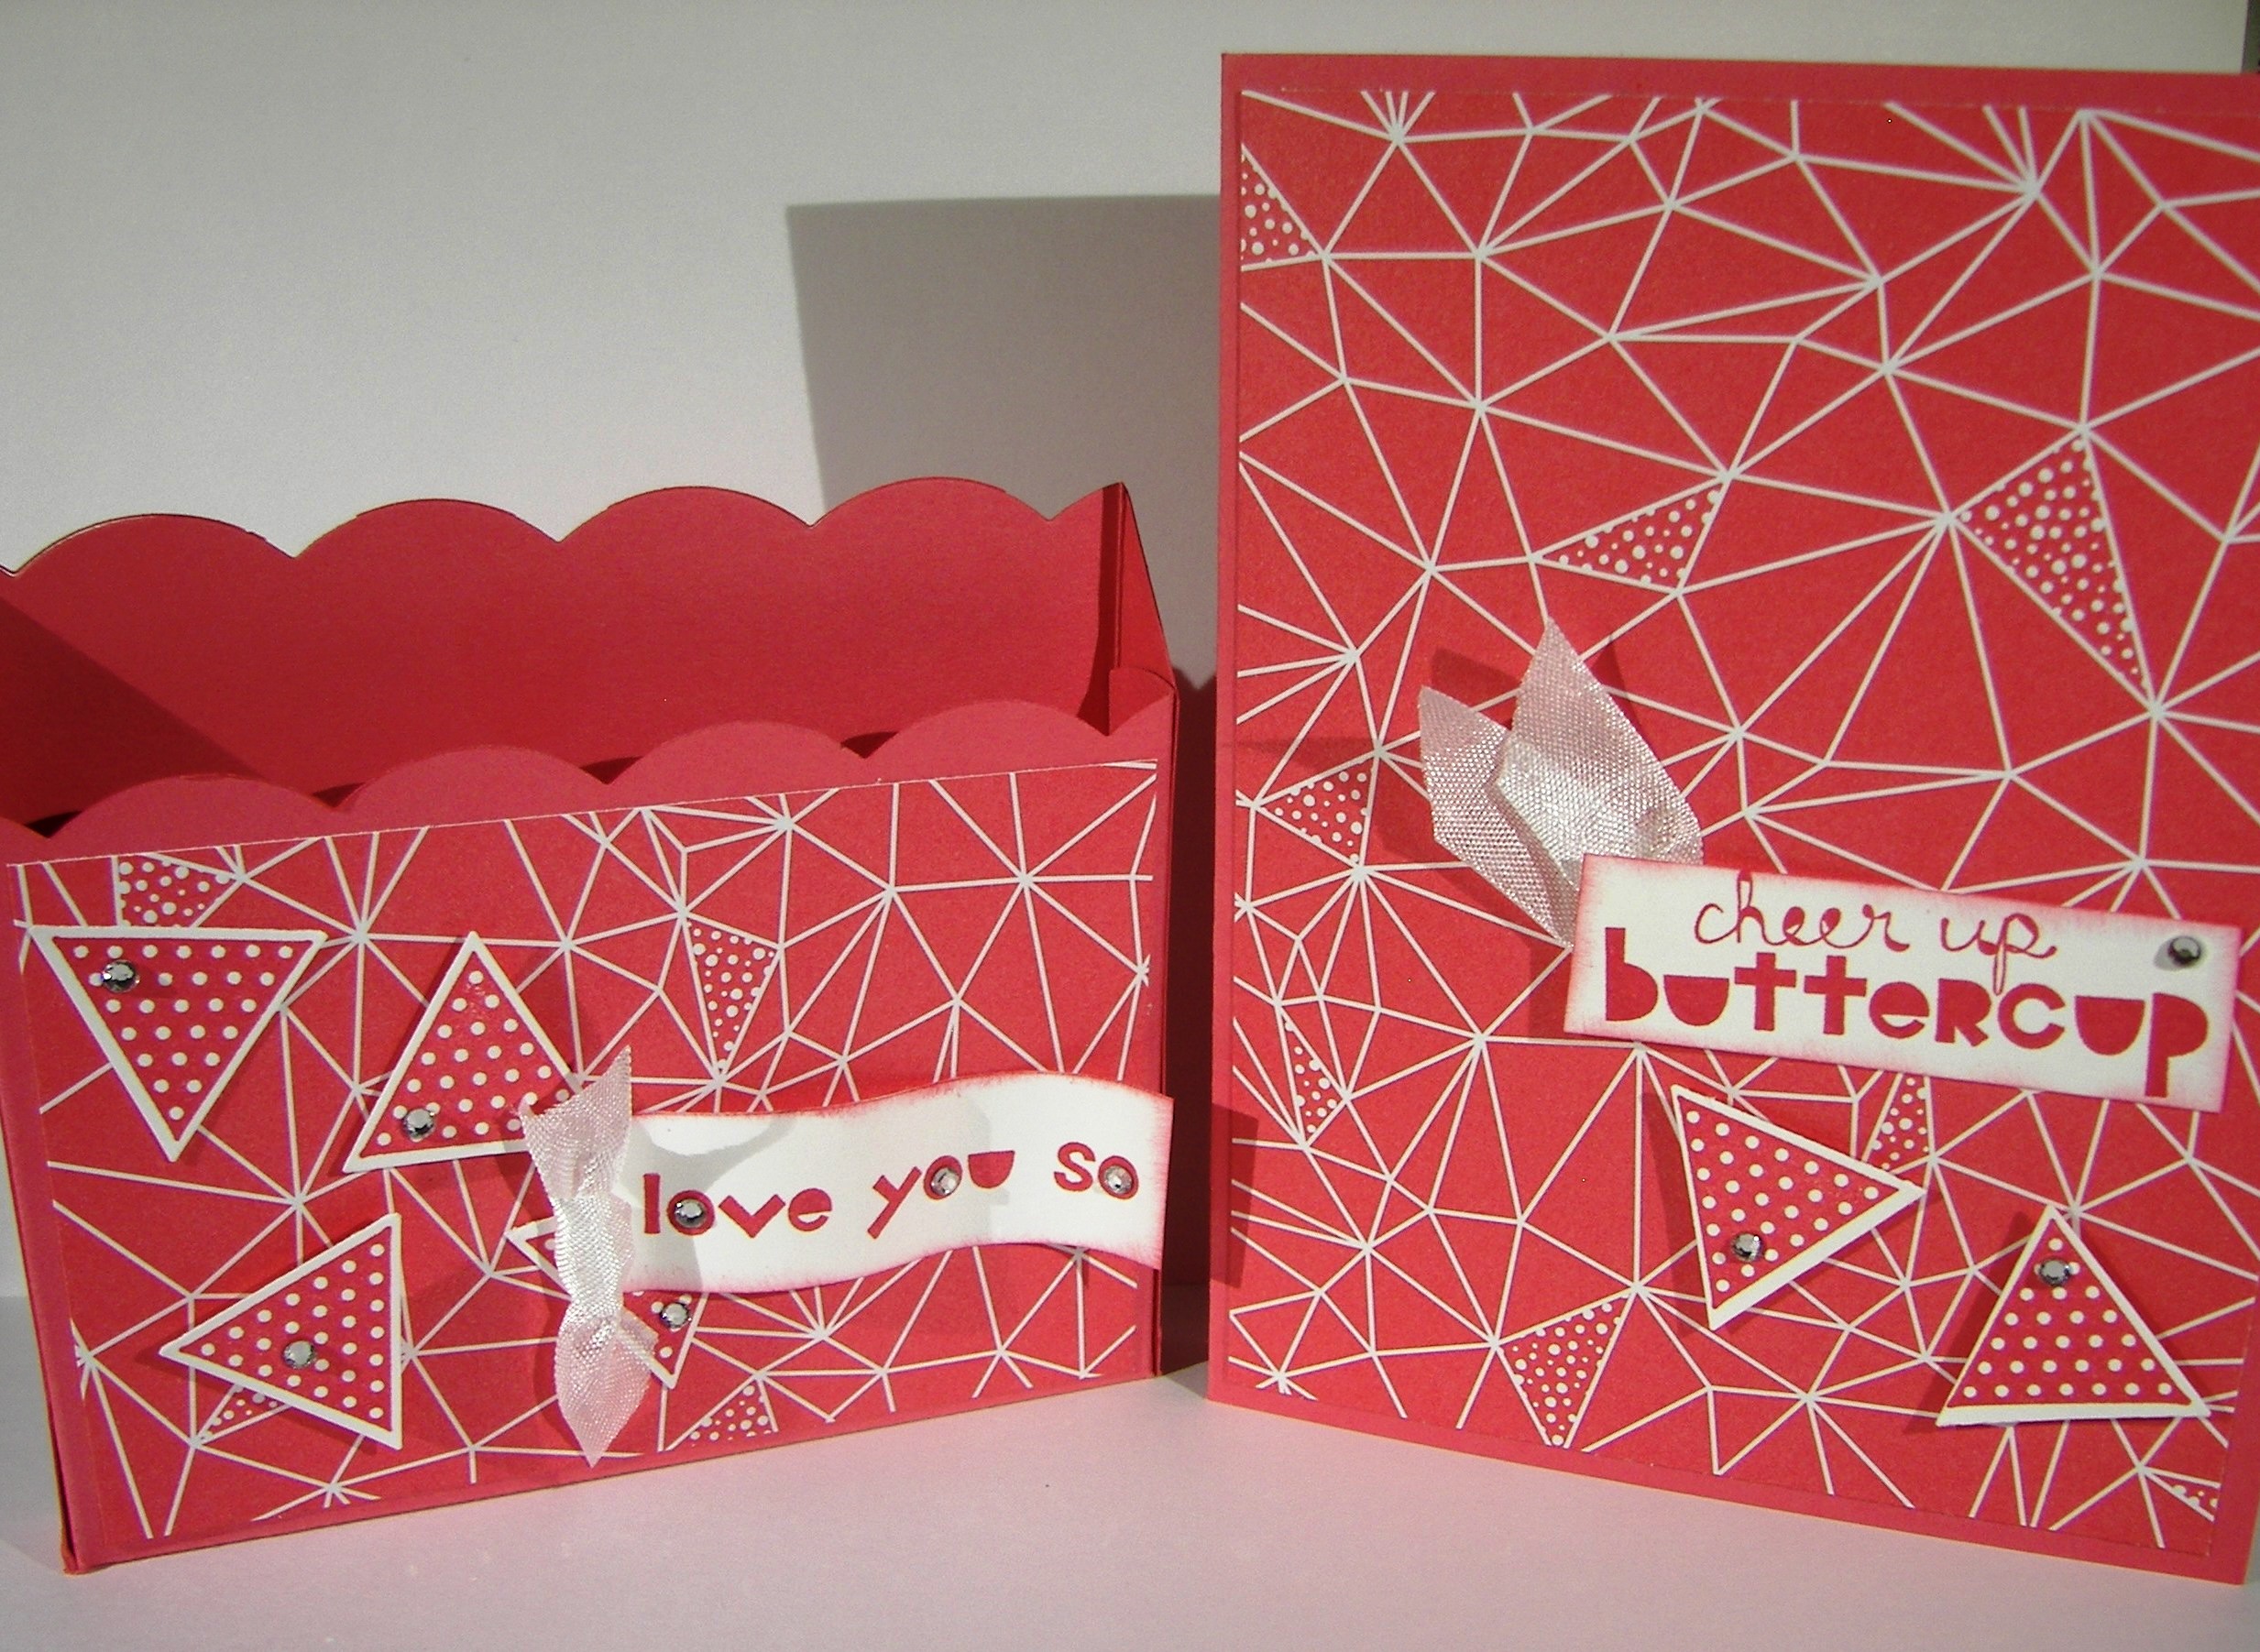
How about another one of those crazy mornings, that absolutely ran away from me. To be honest, I was helping out everyone else and didn’t get my own goodies done. Everything came together and worked out so, no worries!
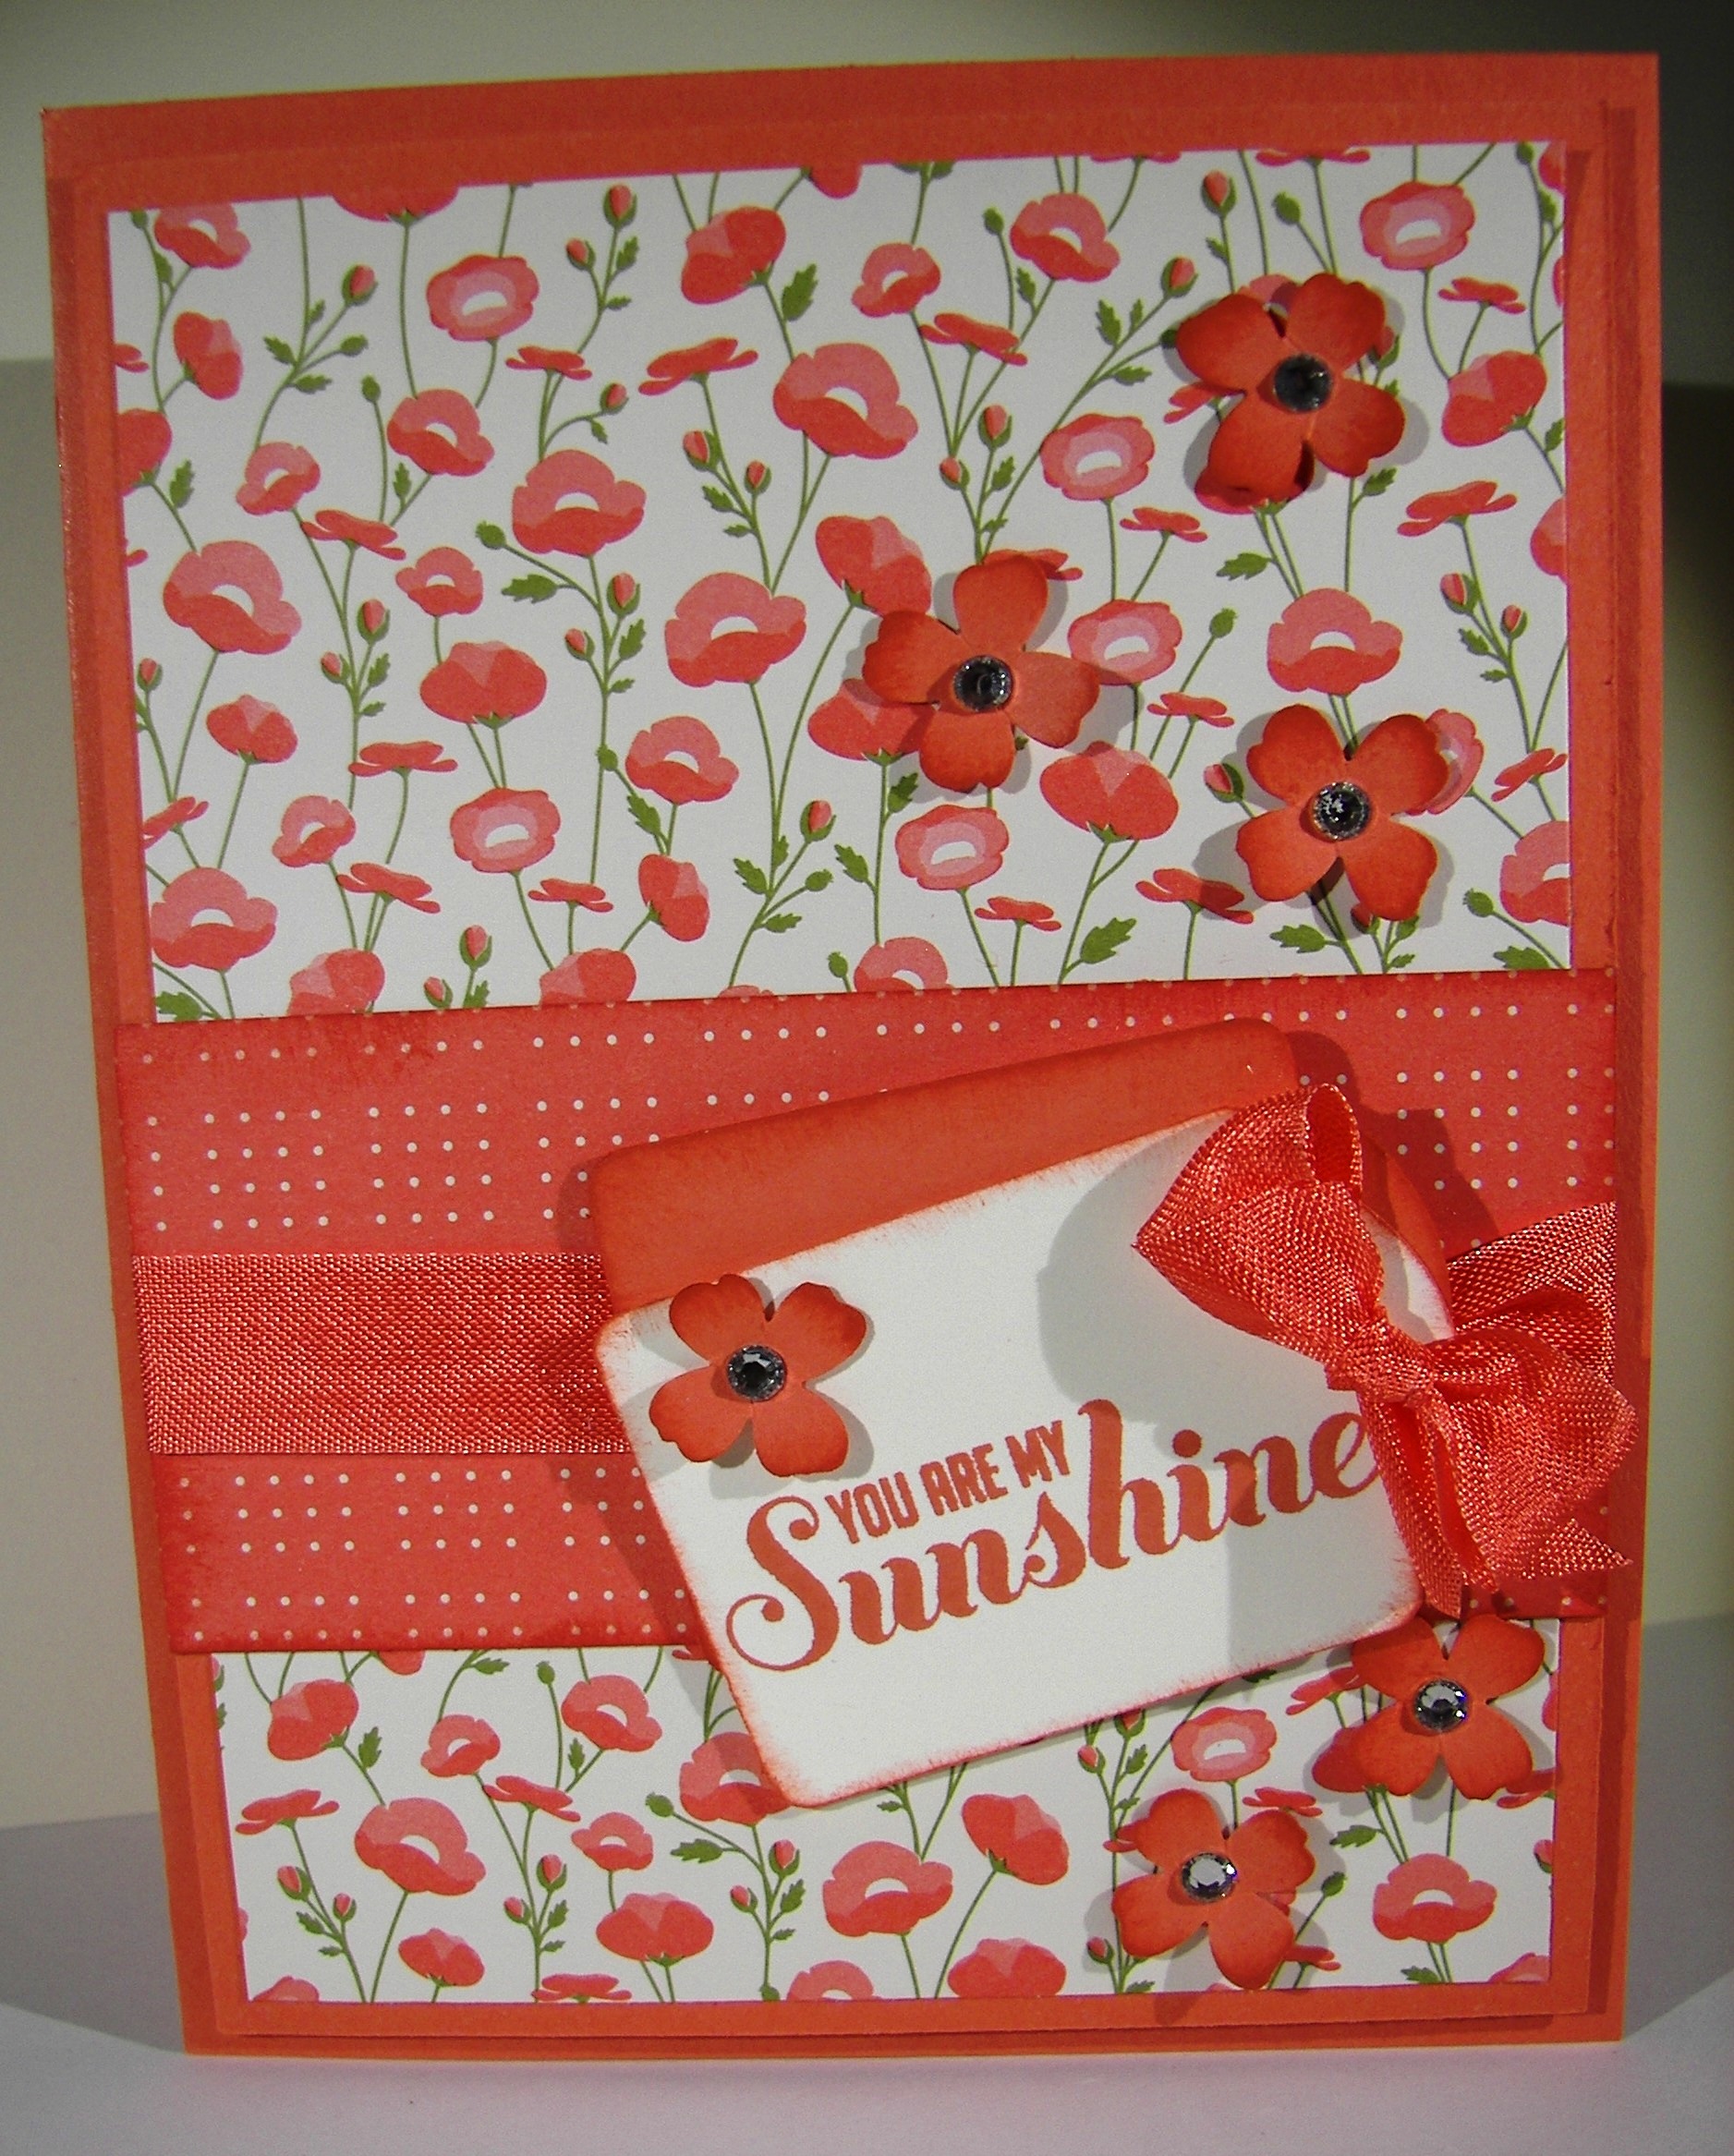
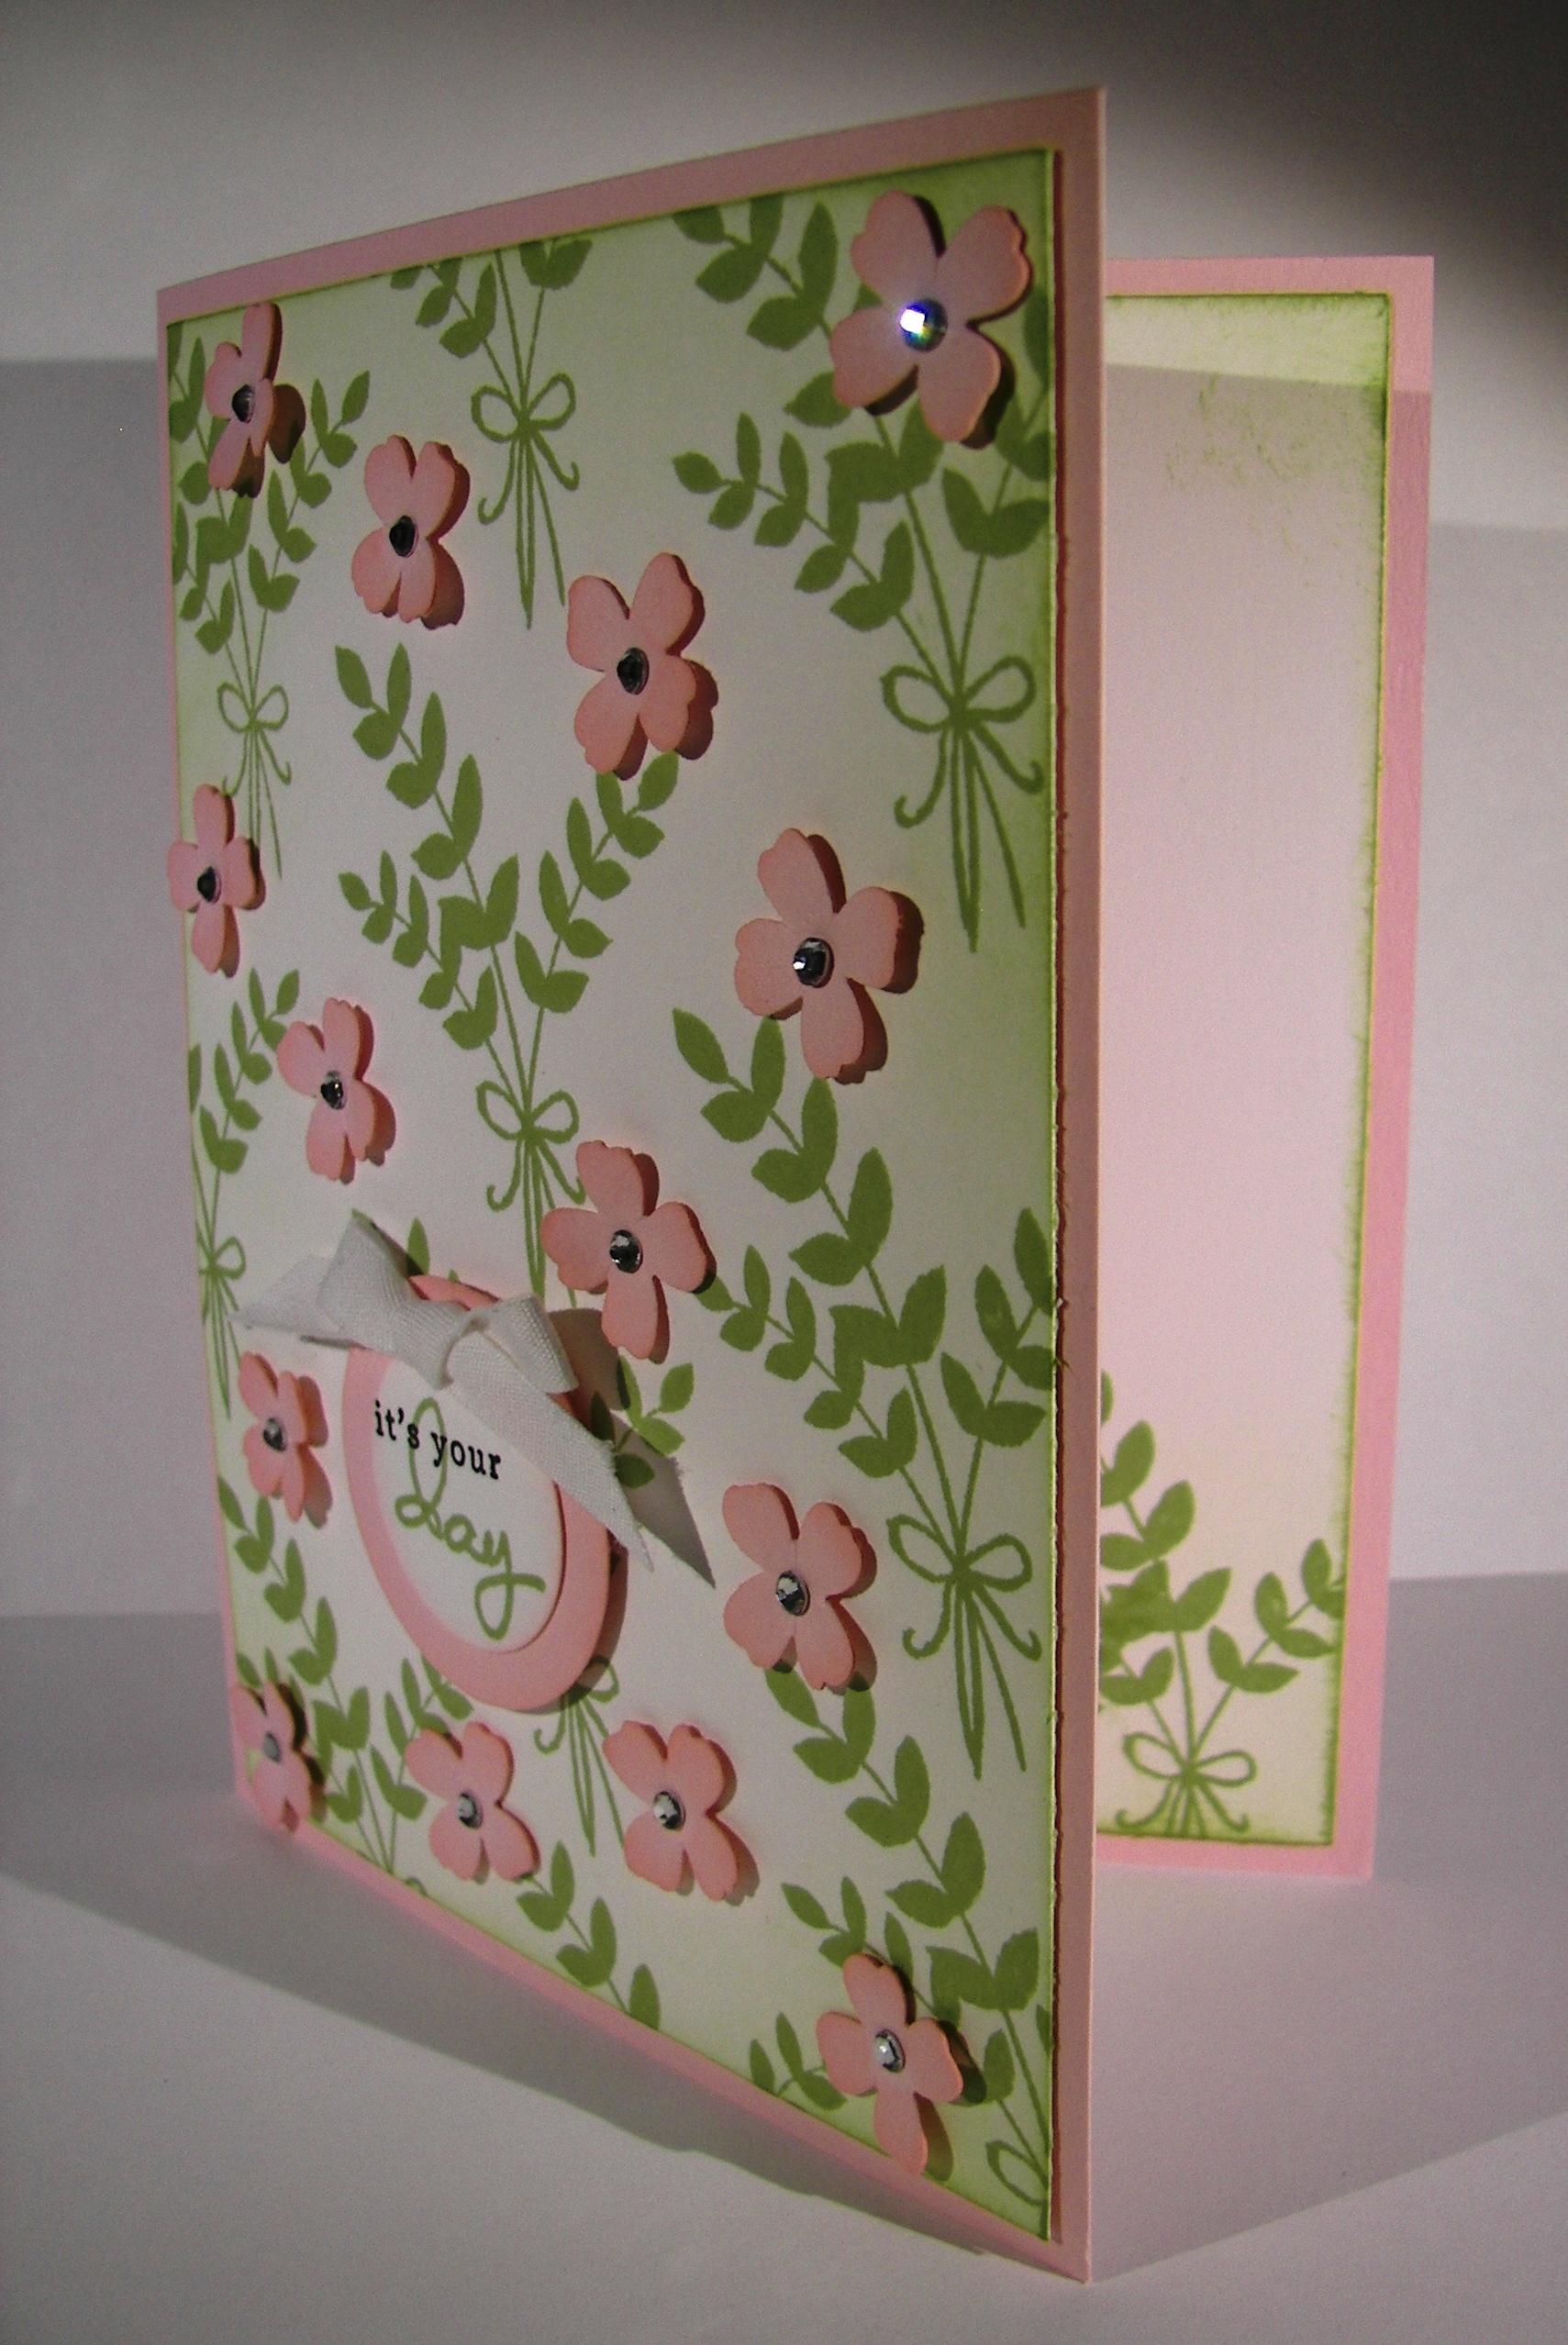
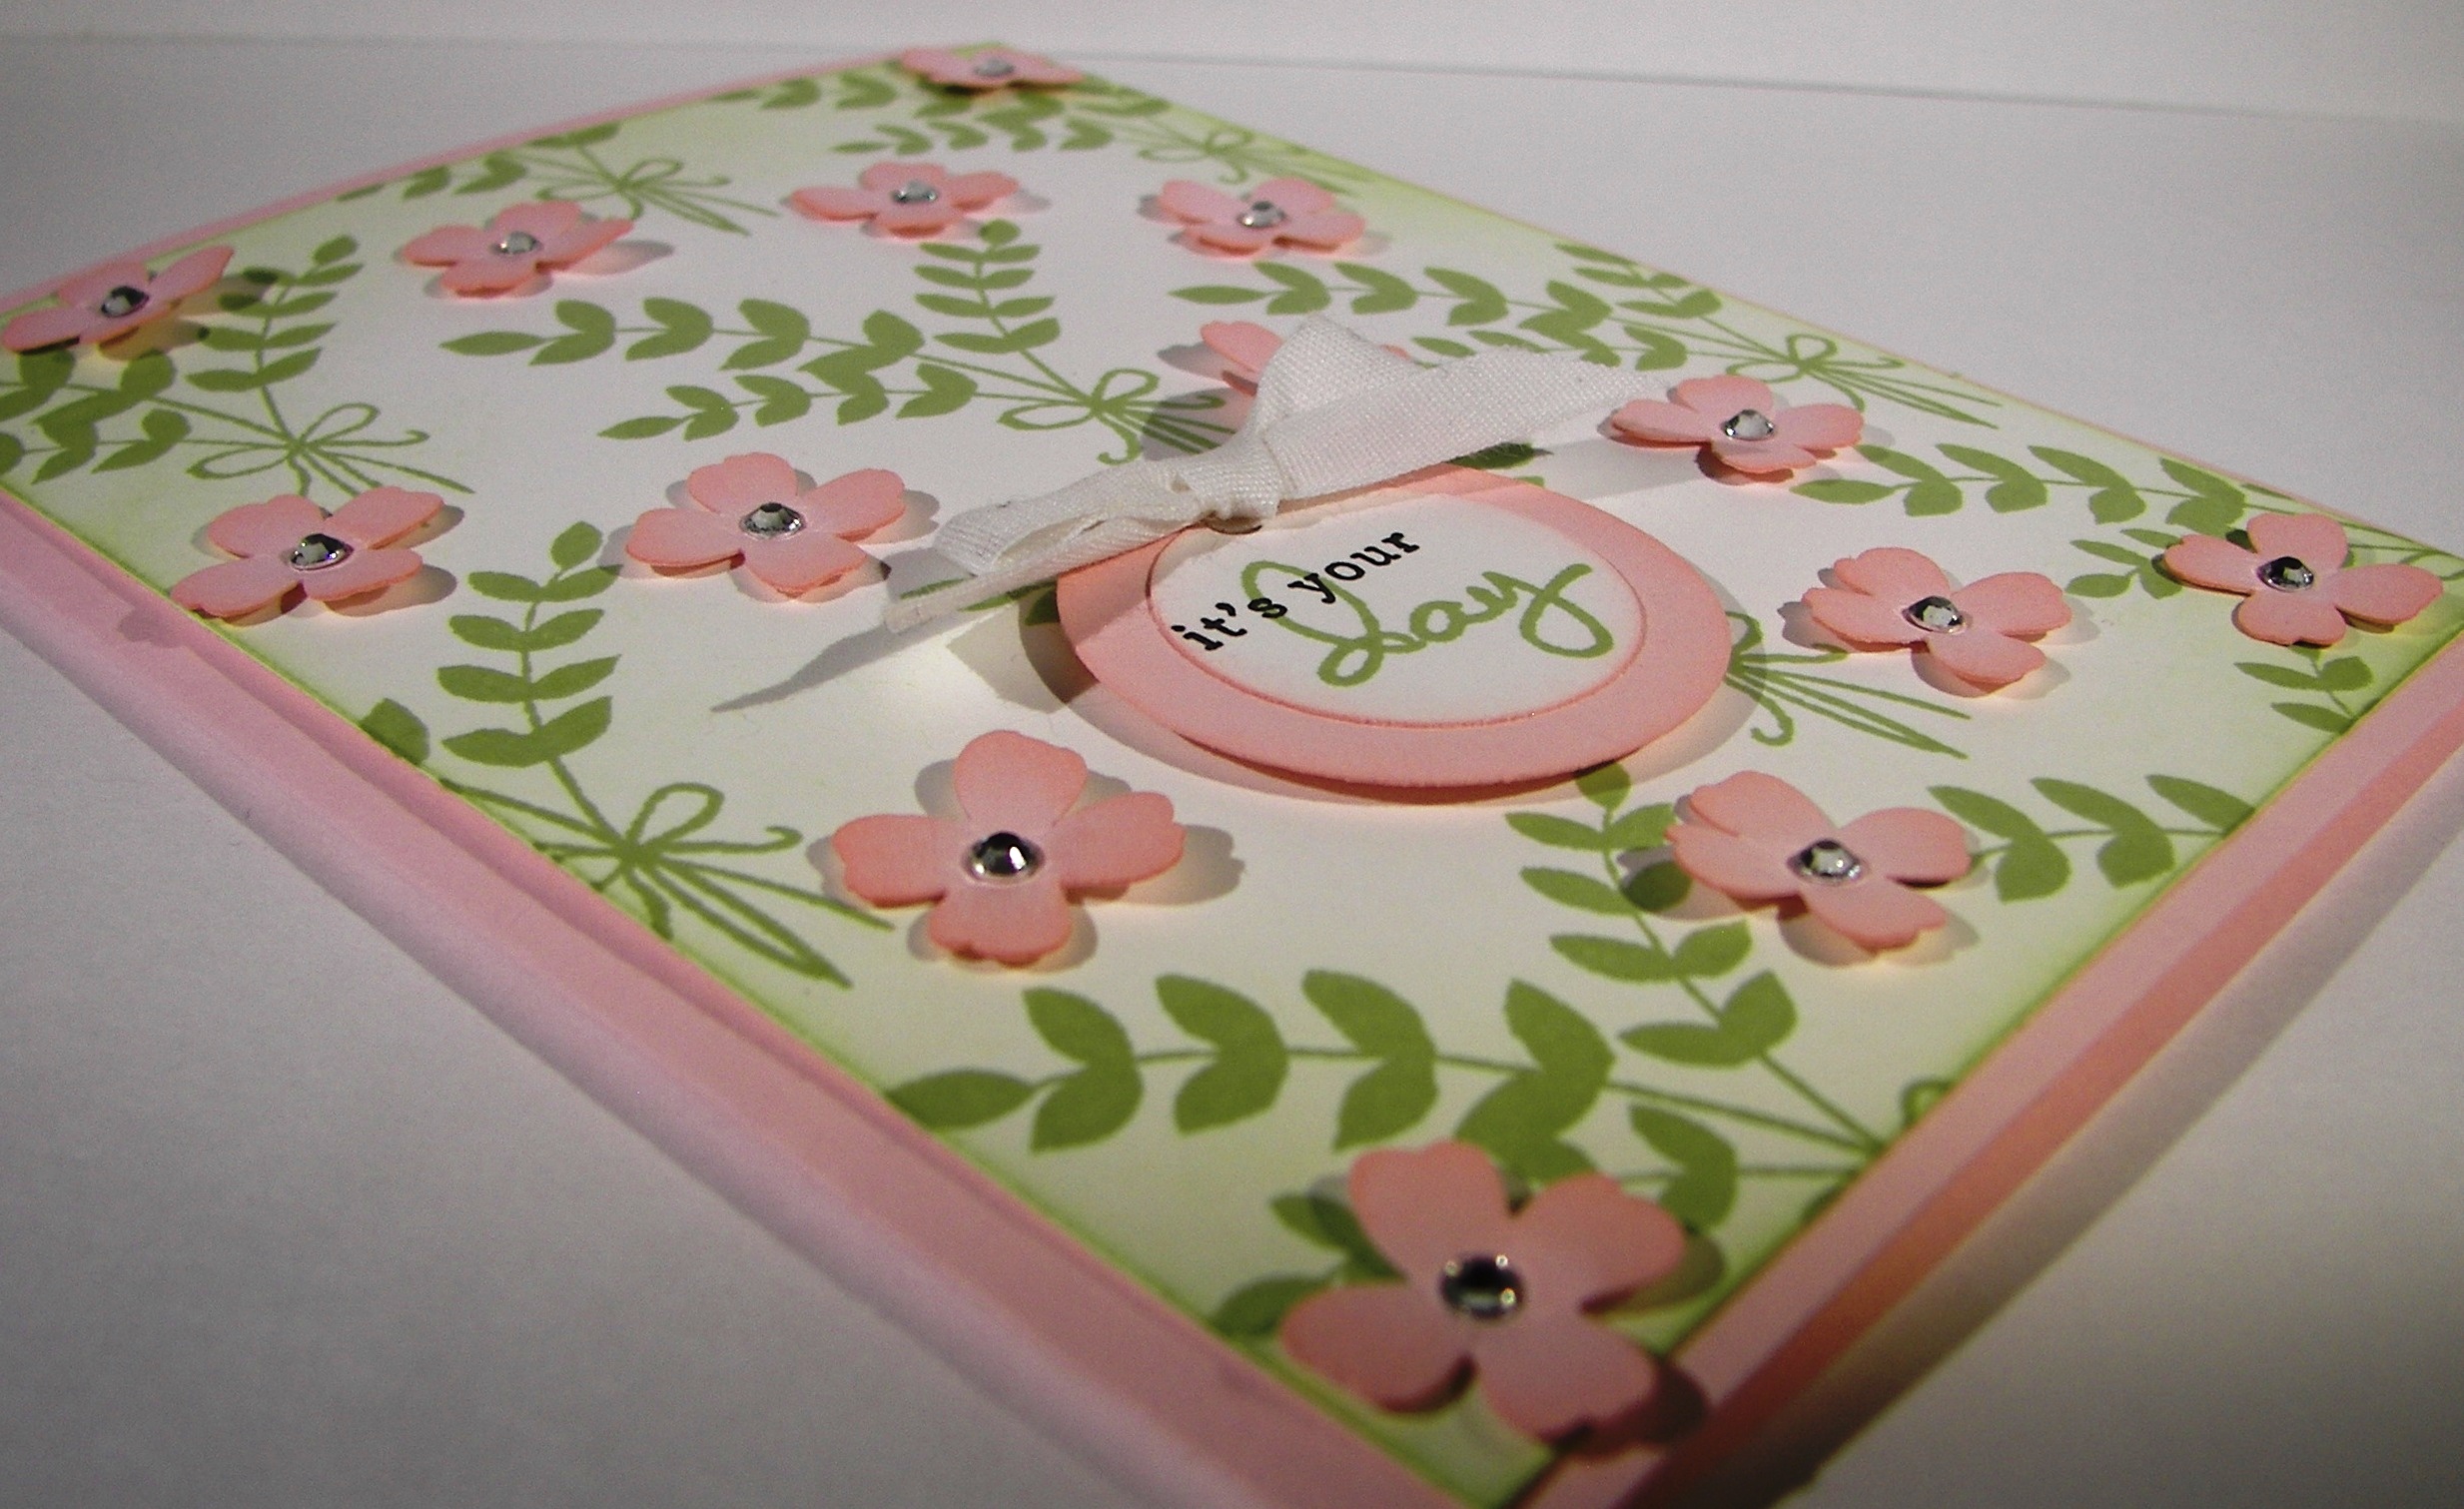
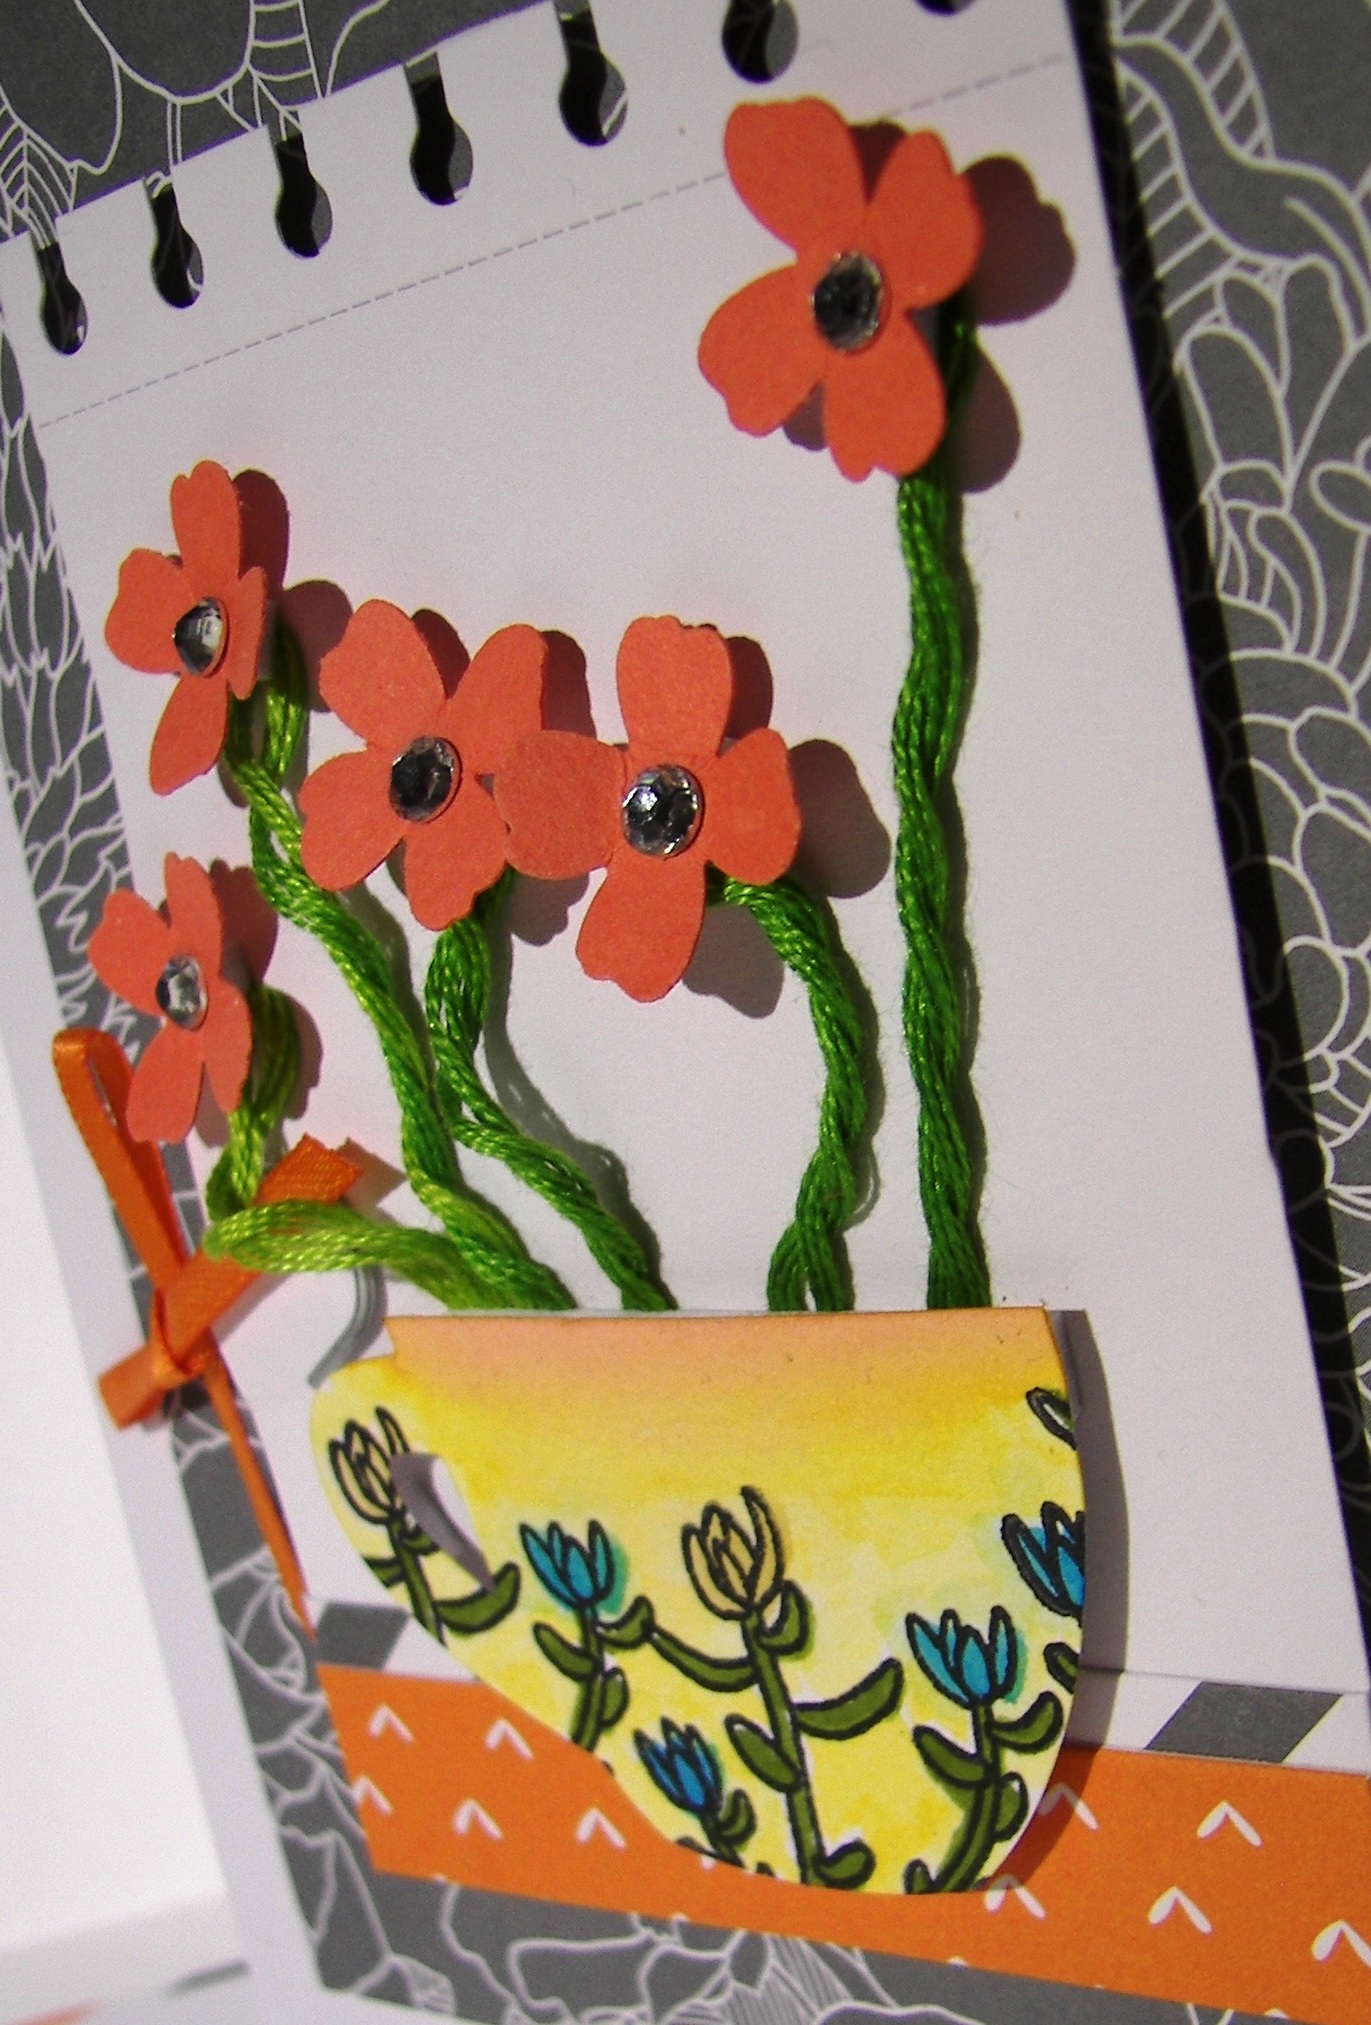
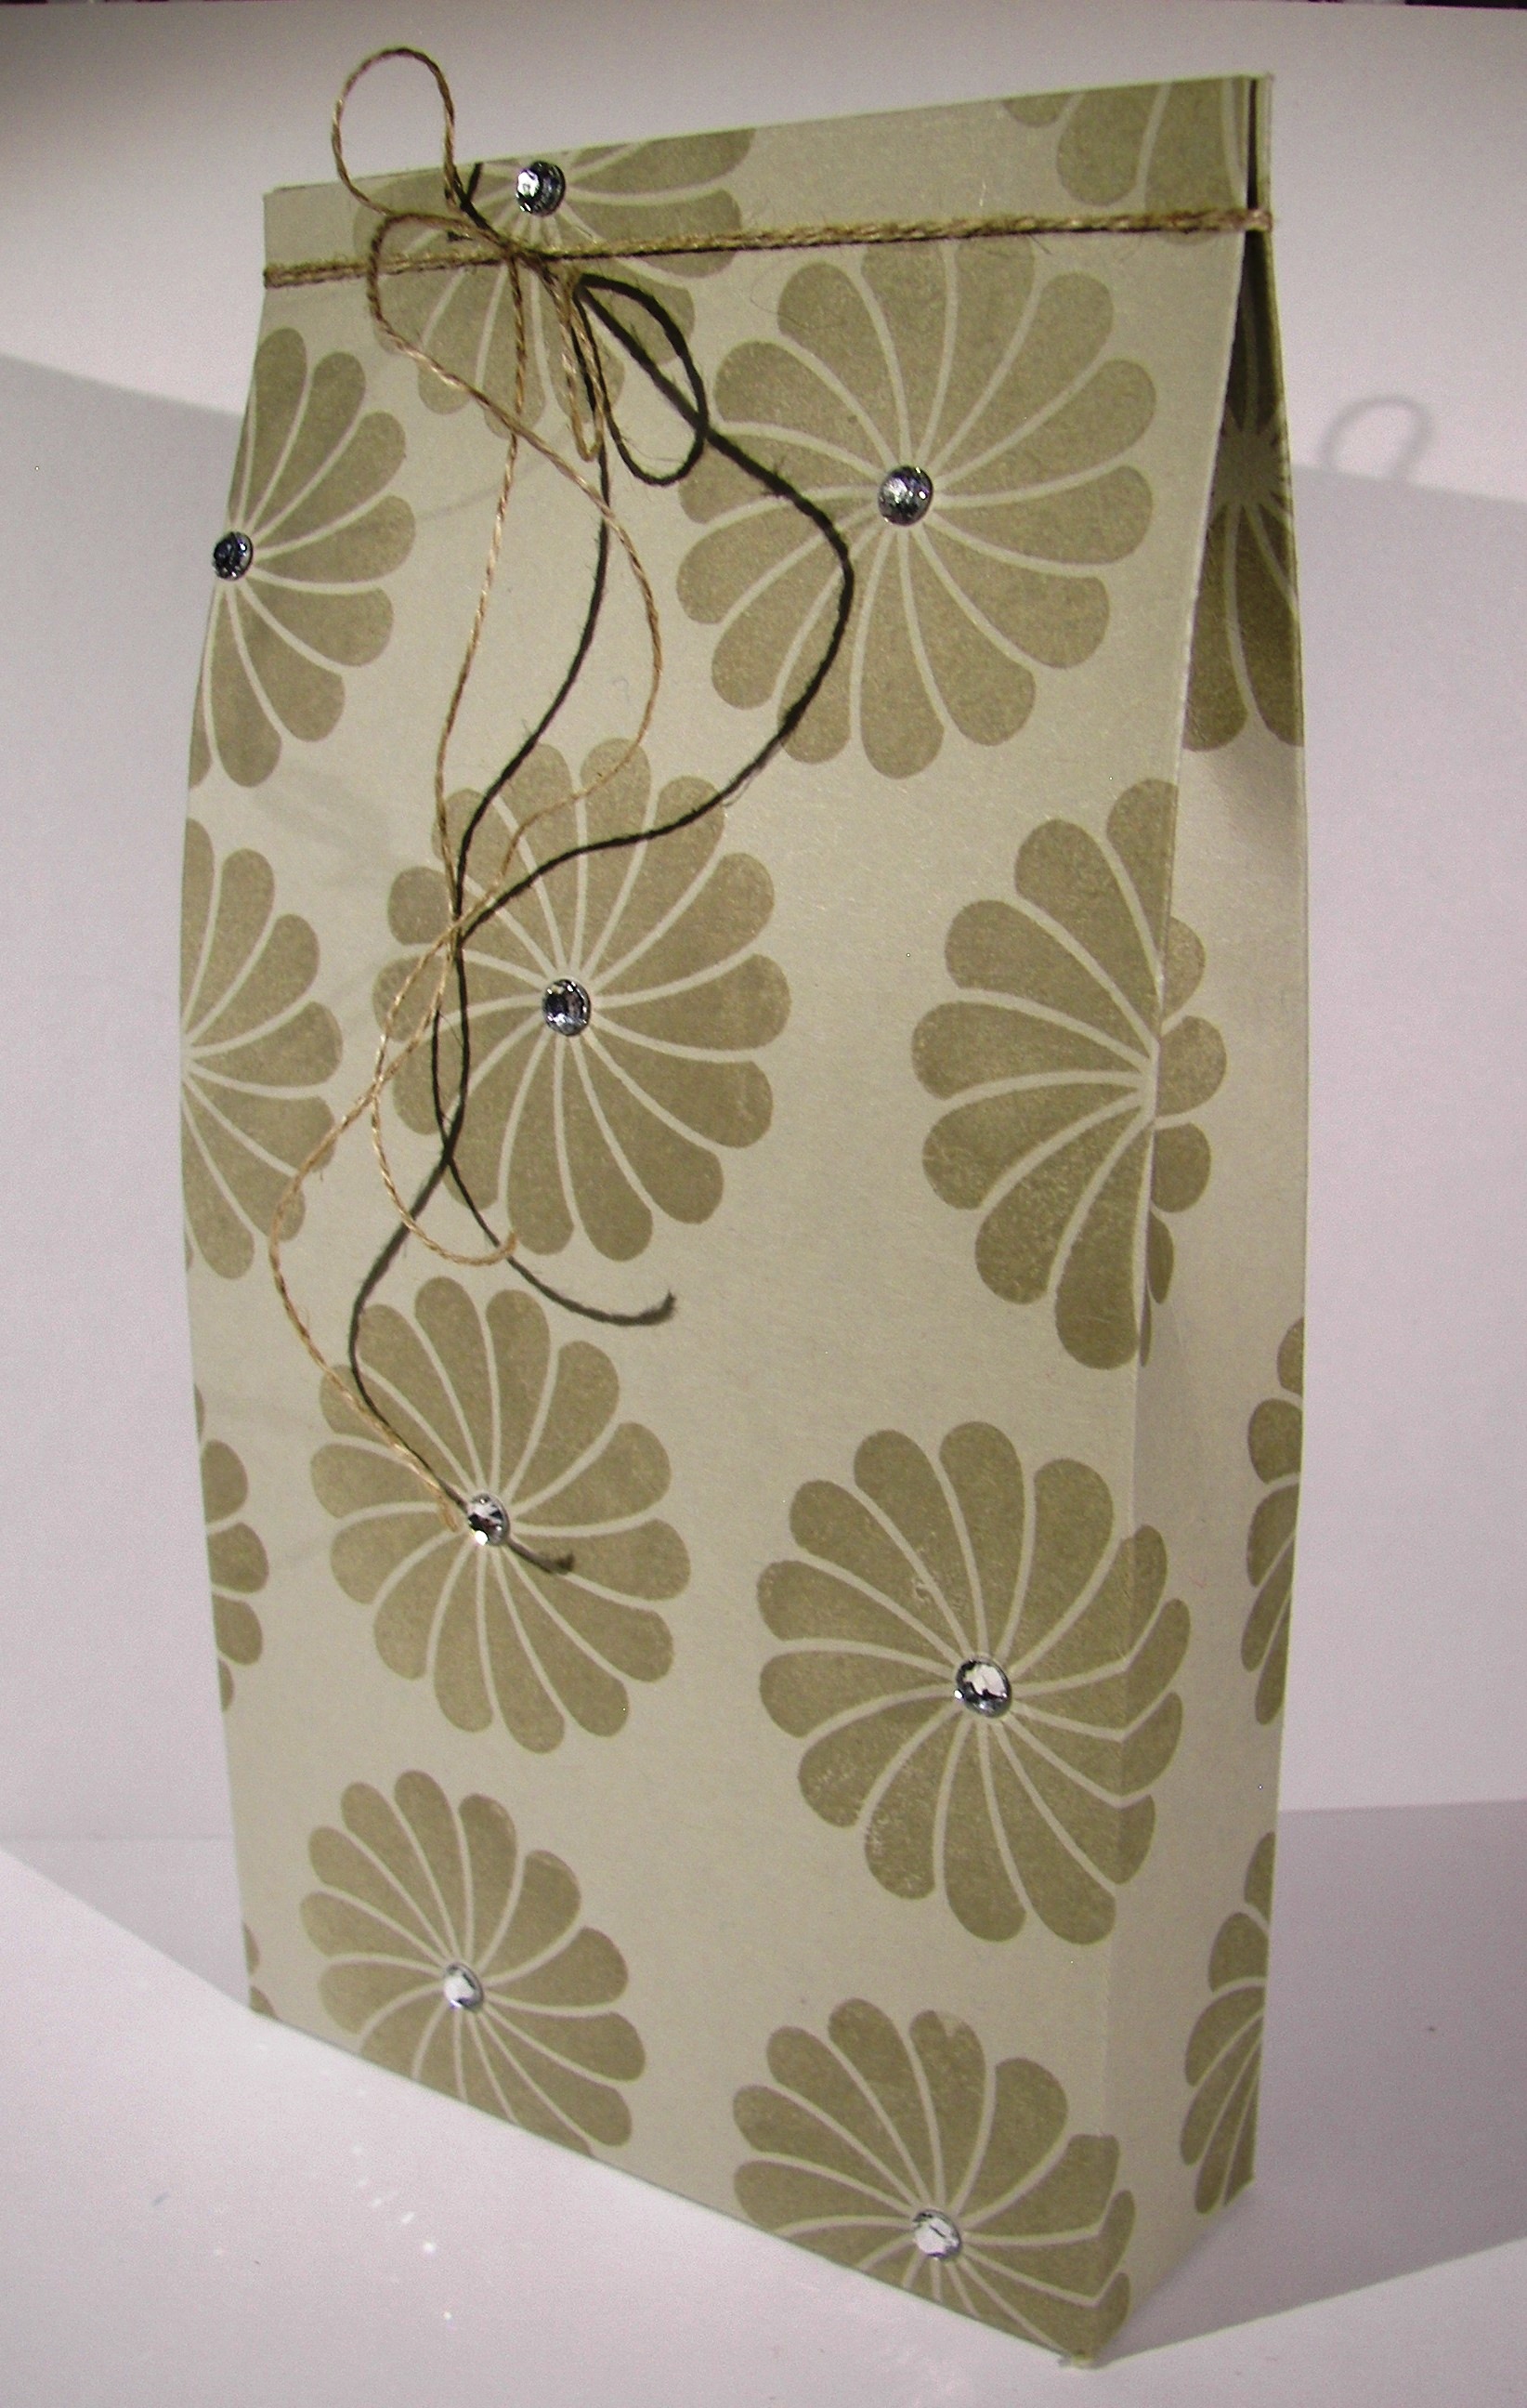
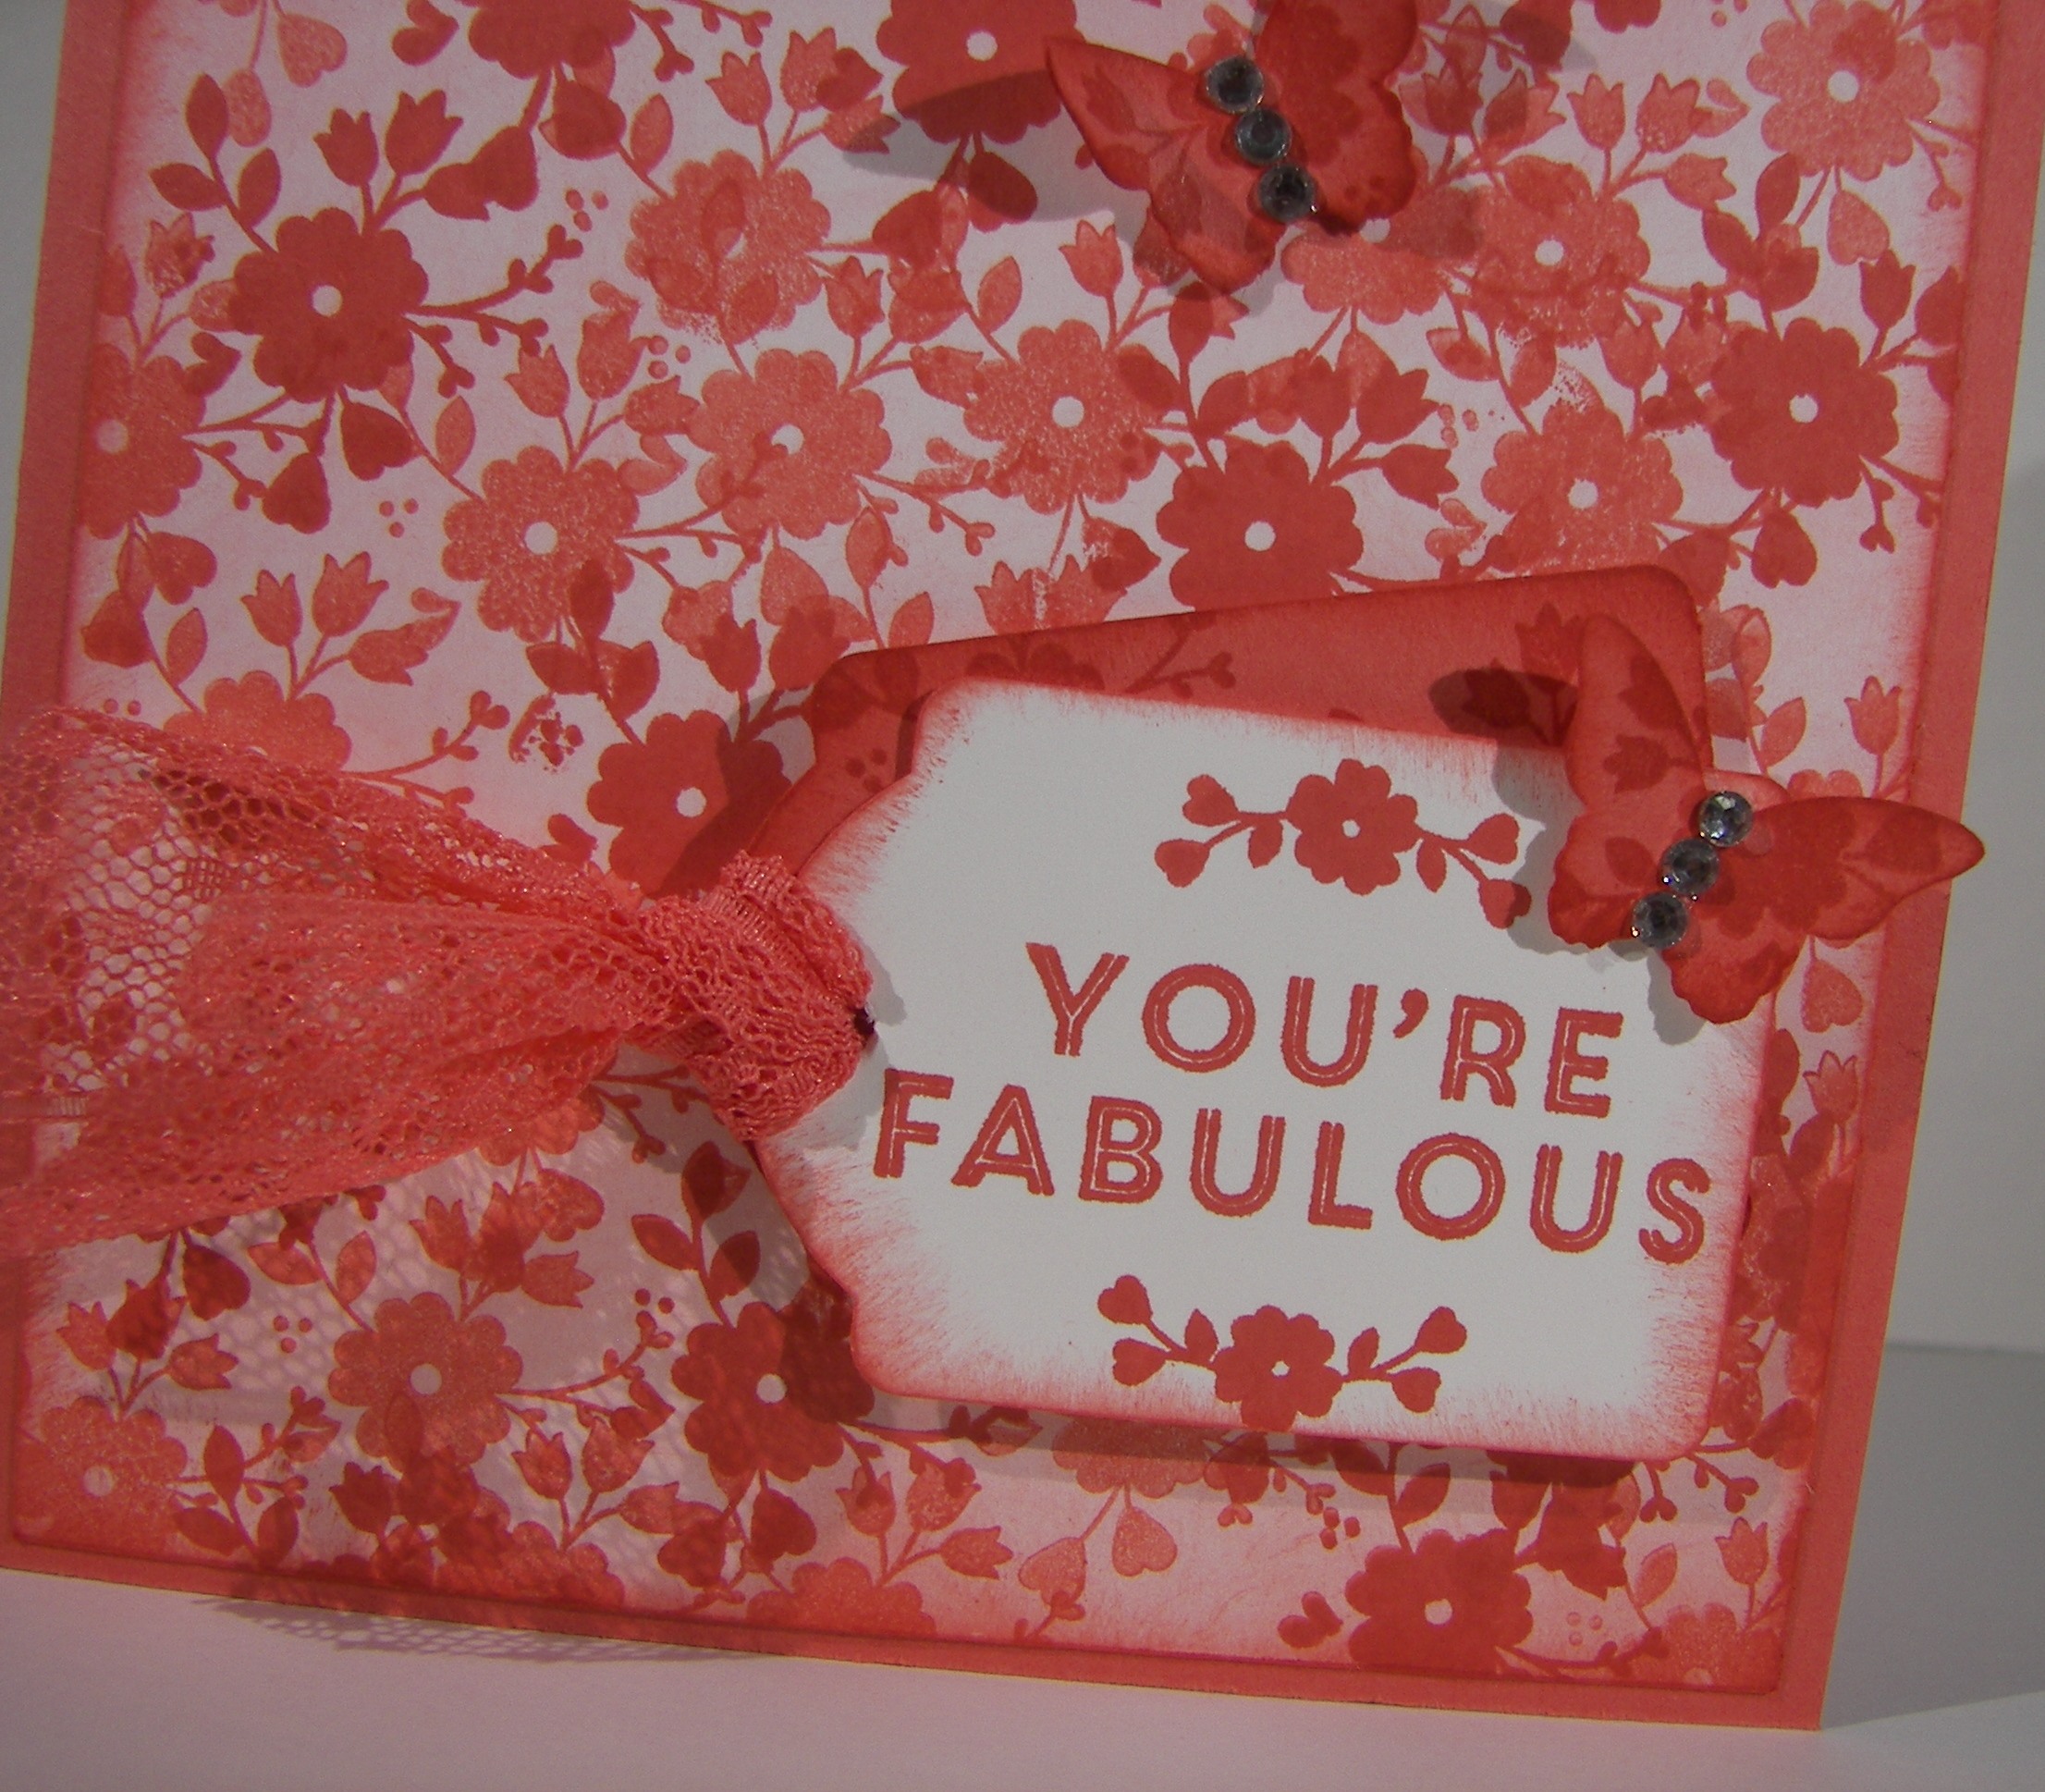
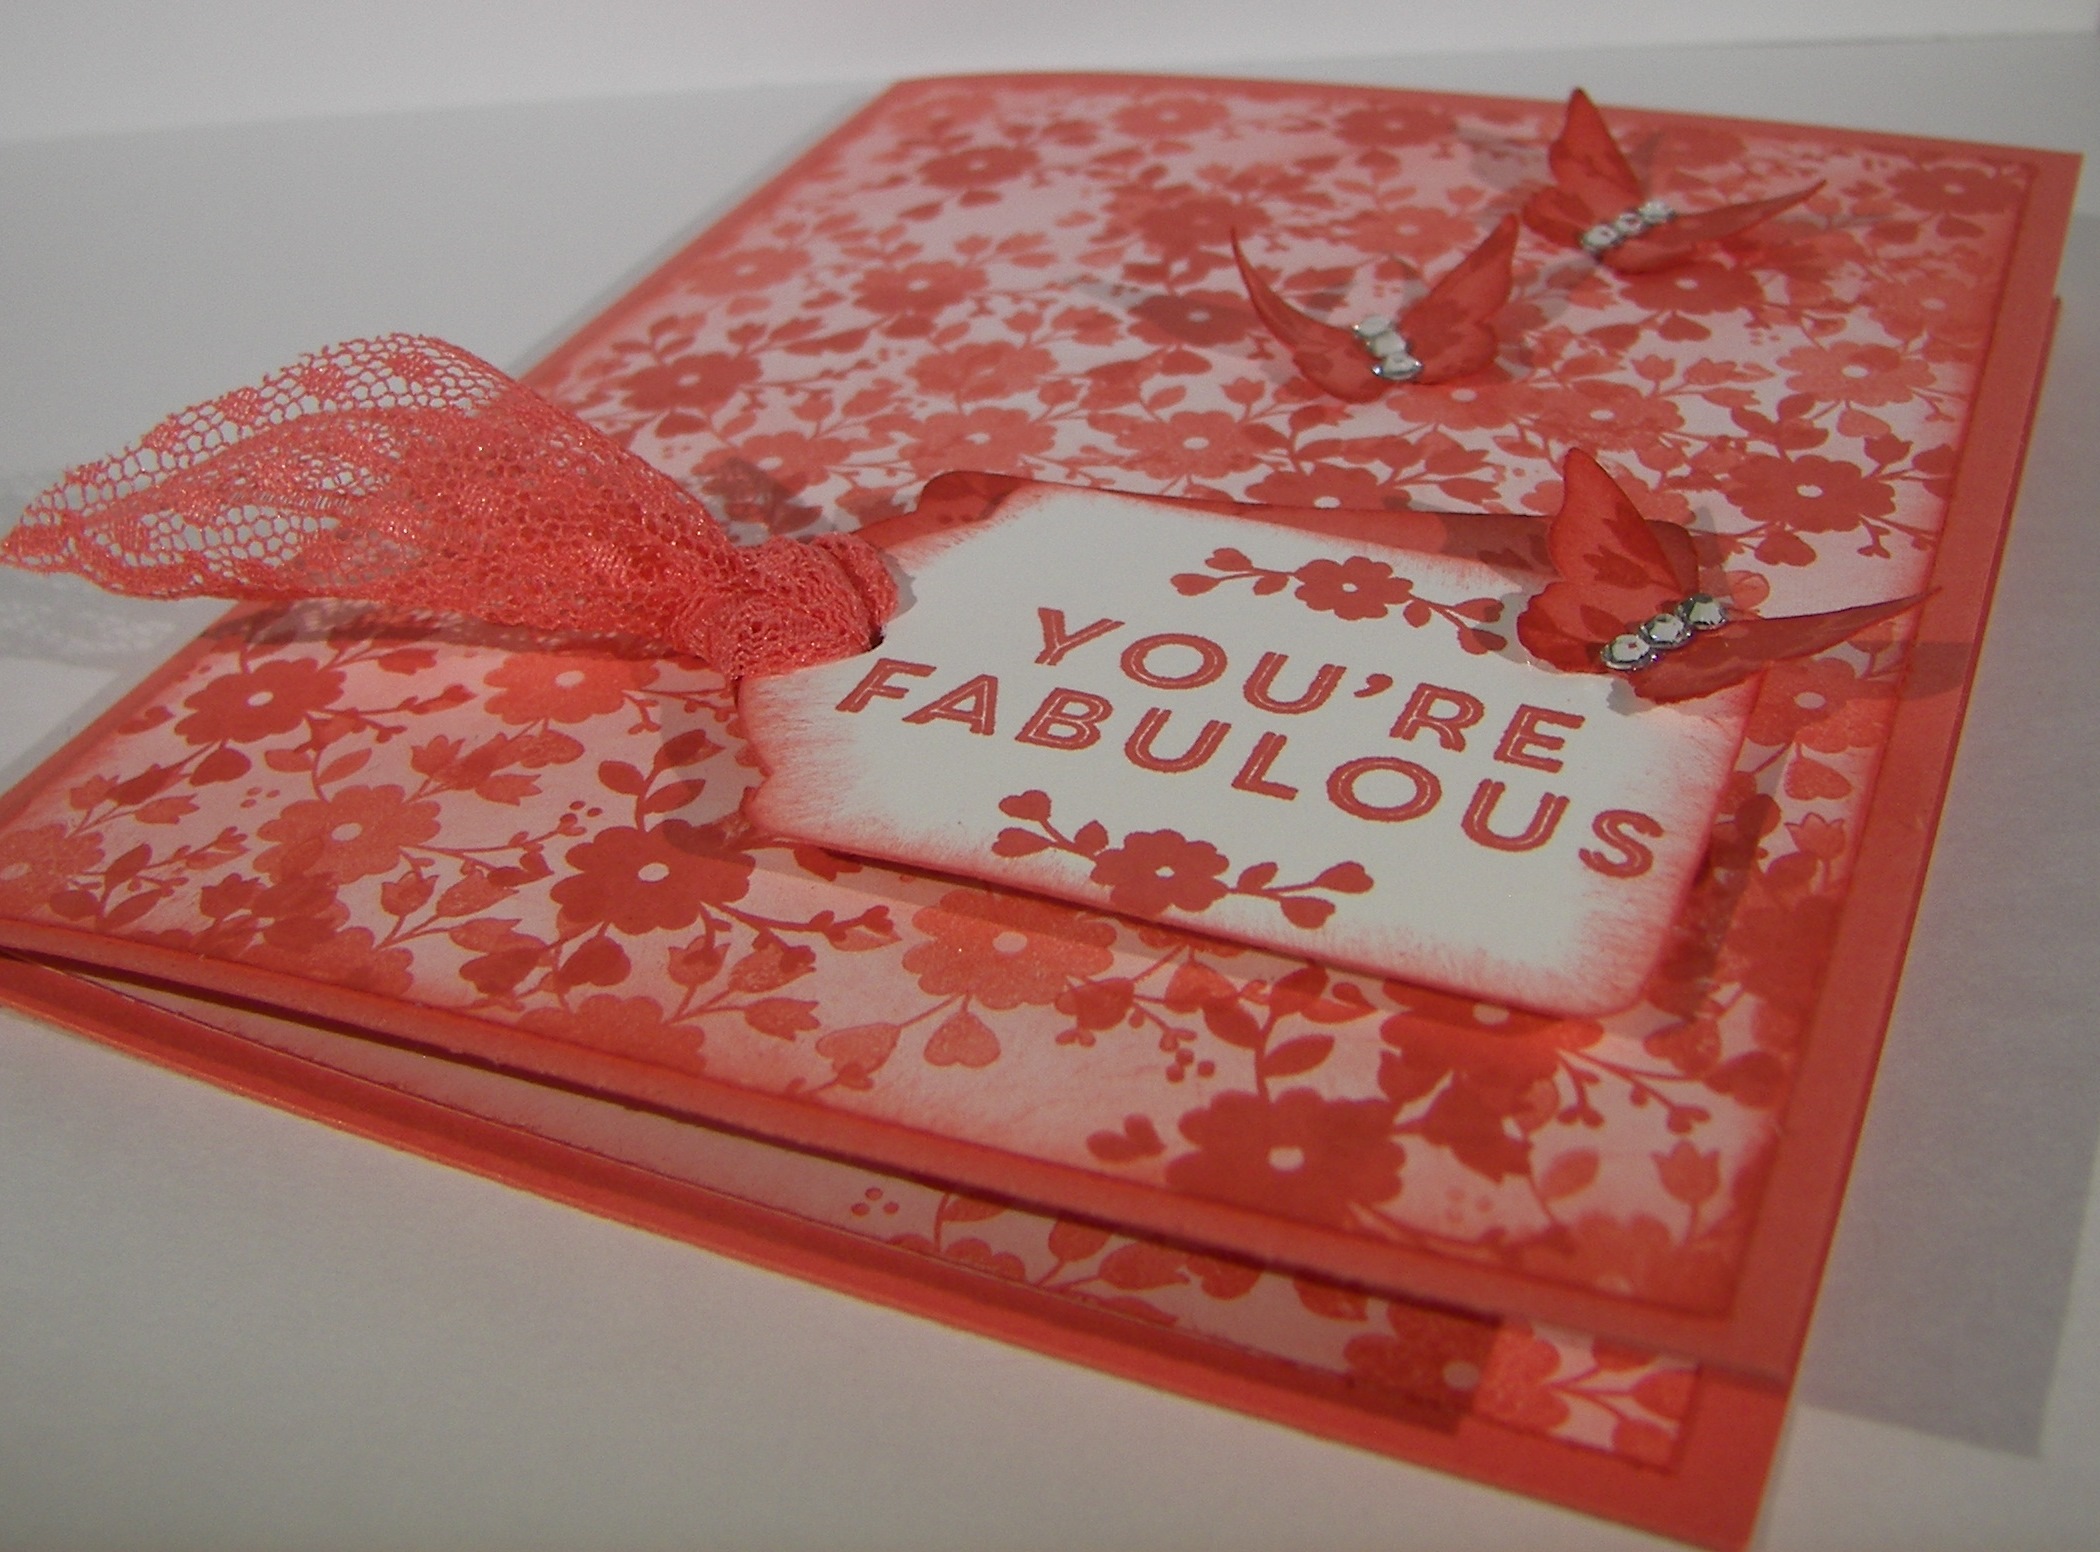
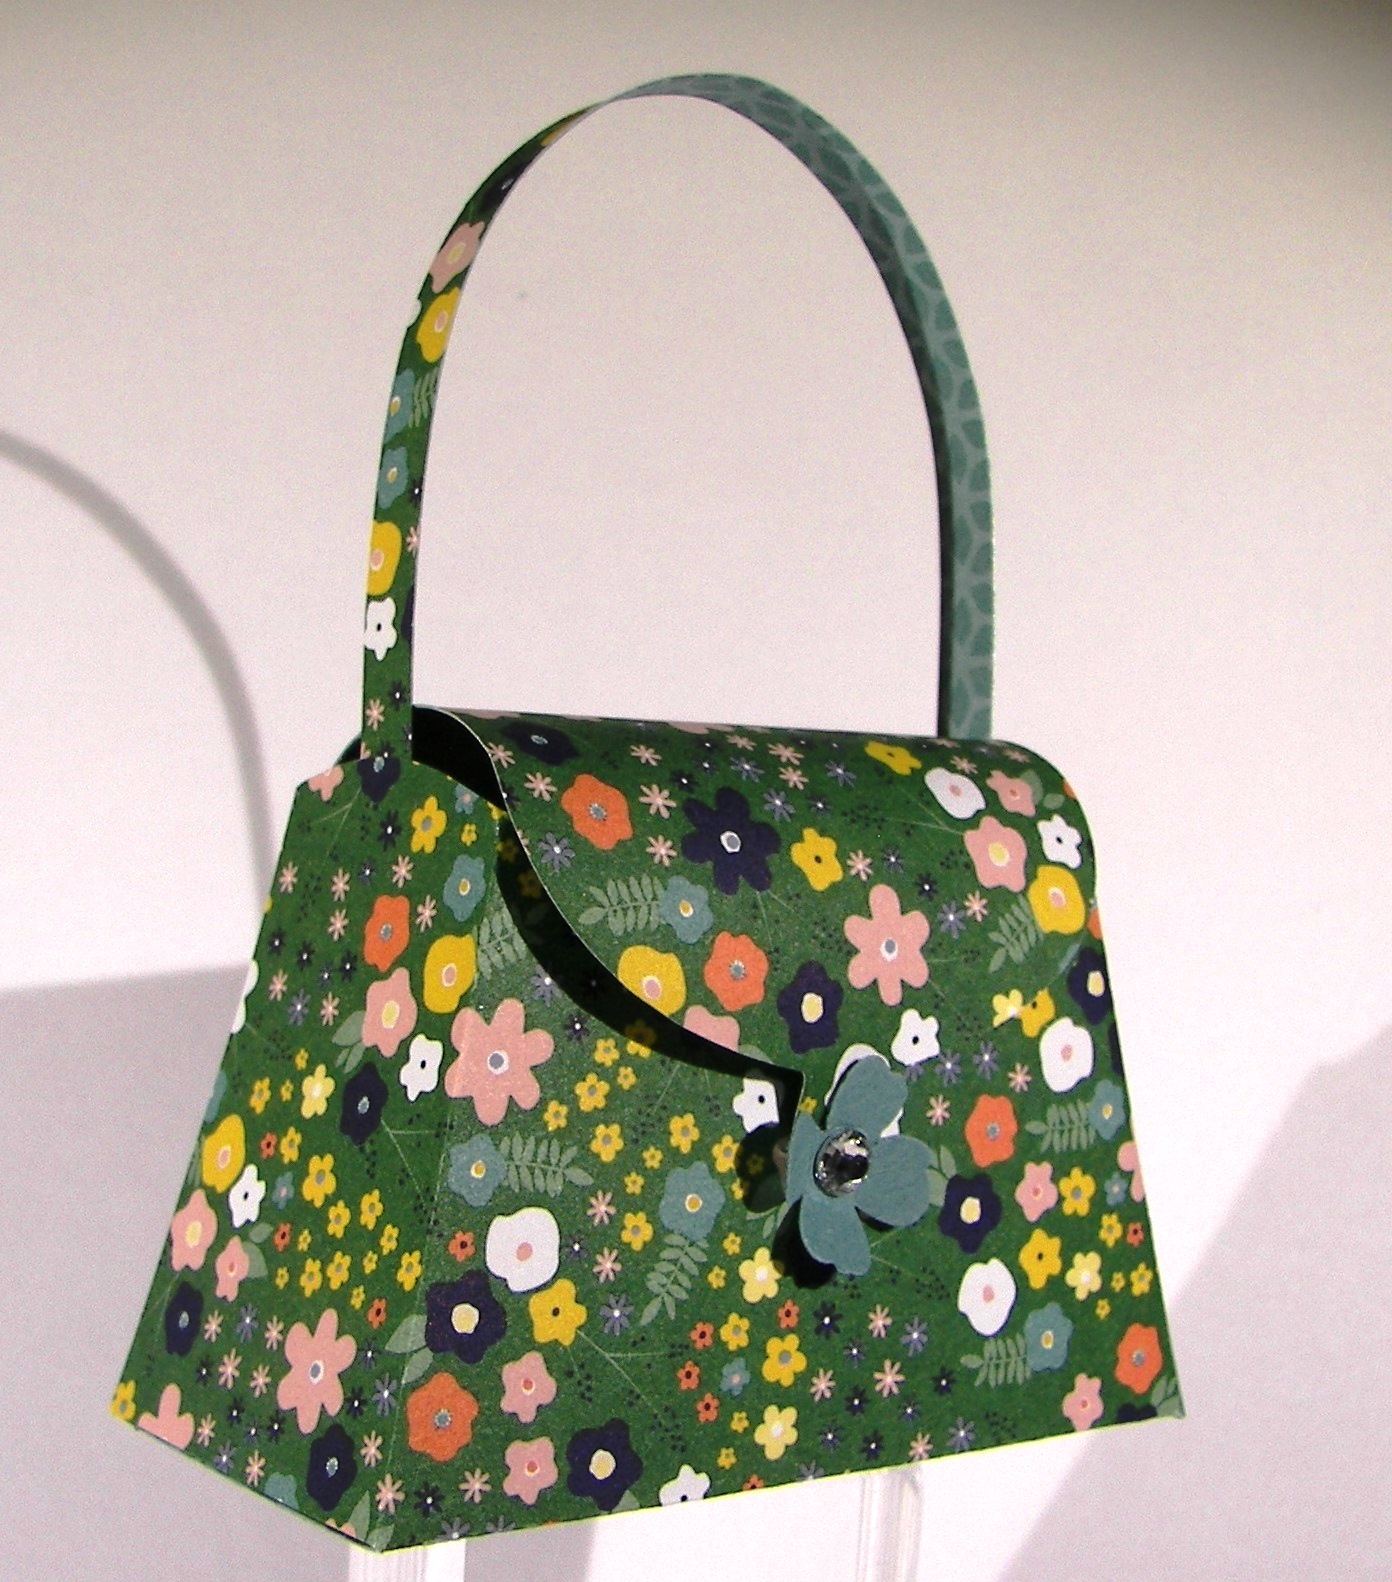
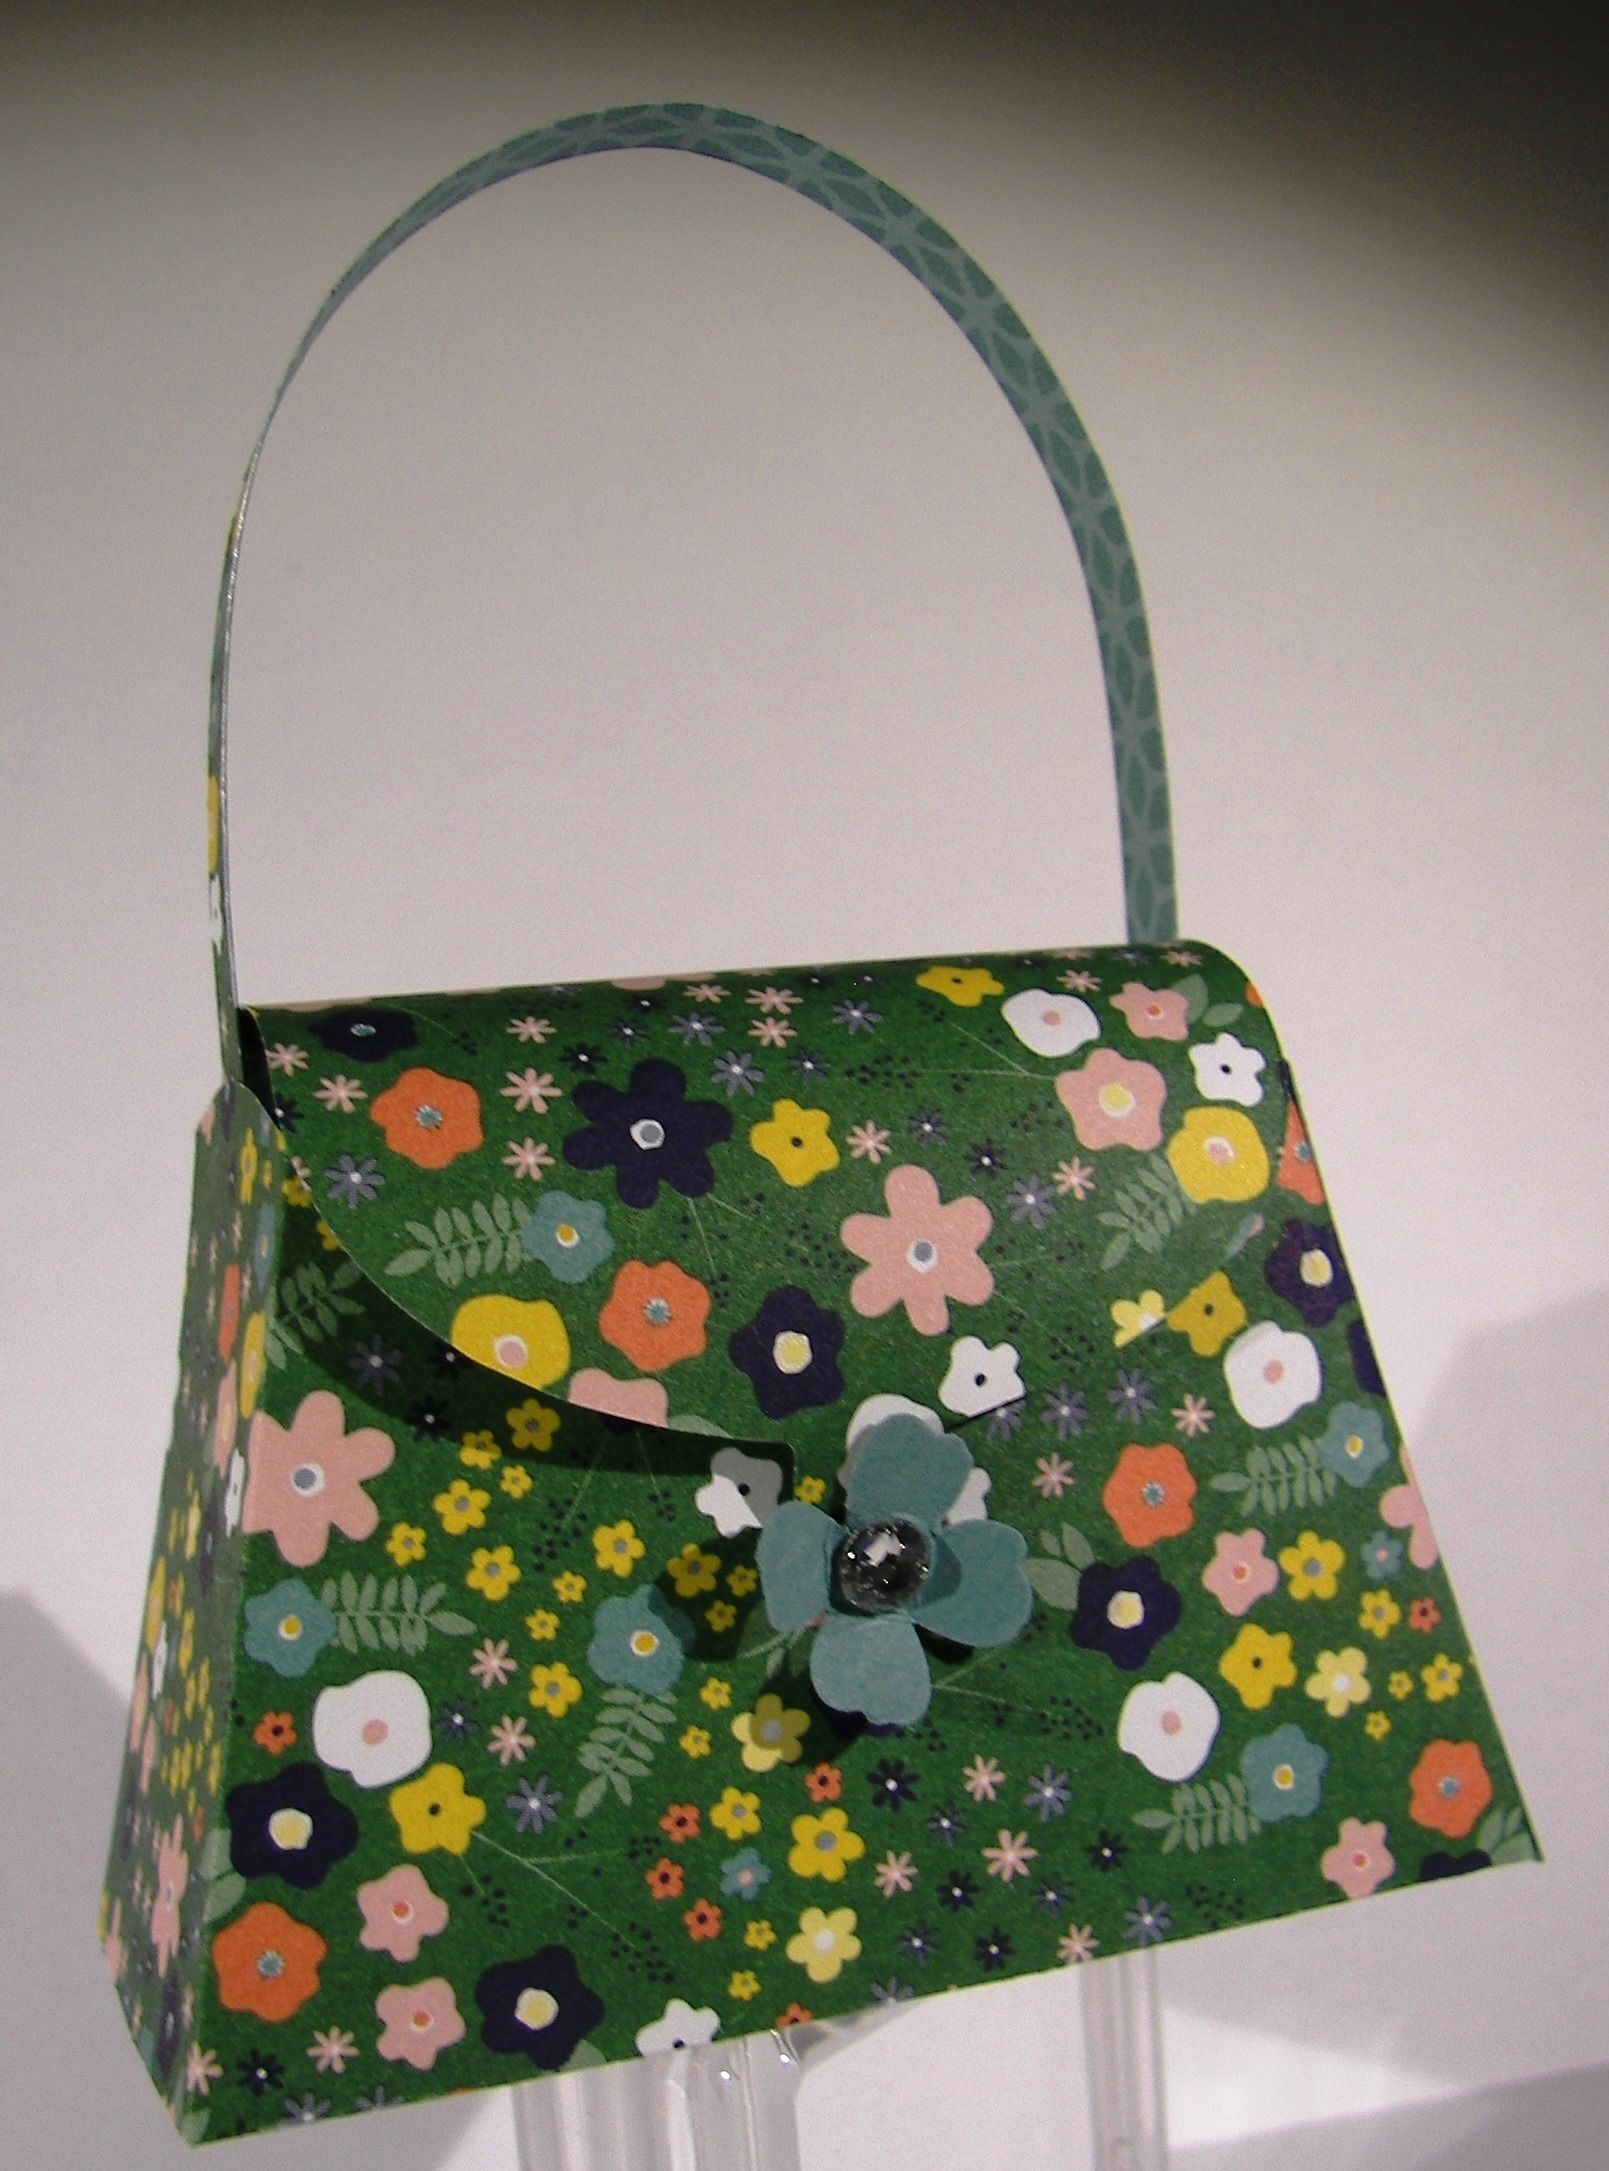
Is this designer paper adorable or what! This particular print reminded me of a recently retired stamp that has the most beautiful poppies in it. I do love it when everything goes together so nicely.
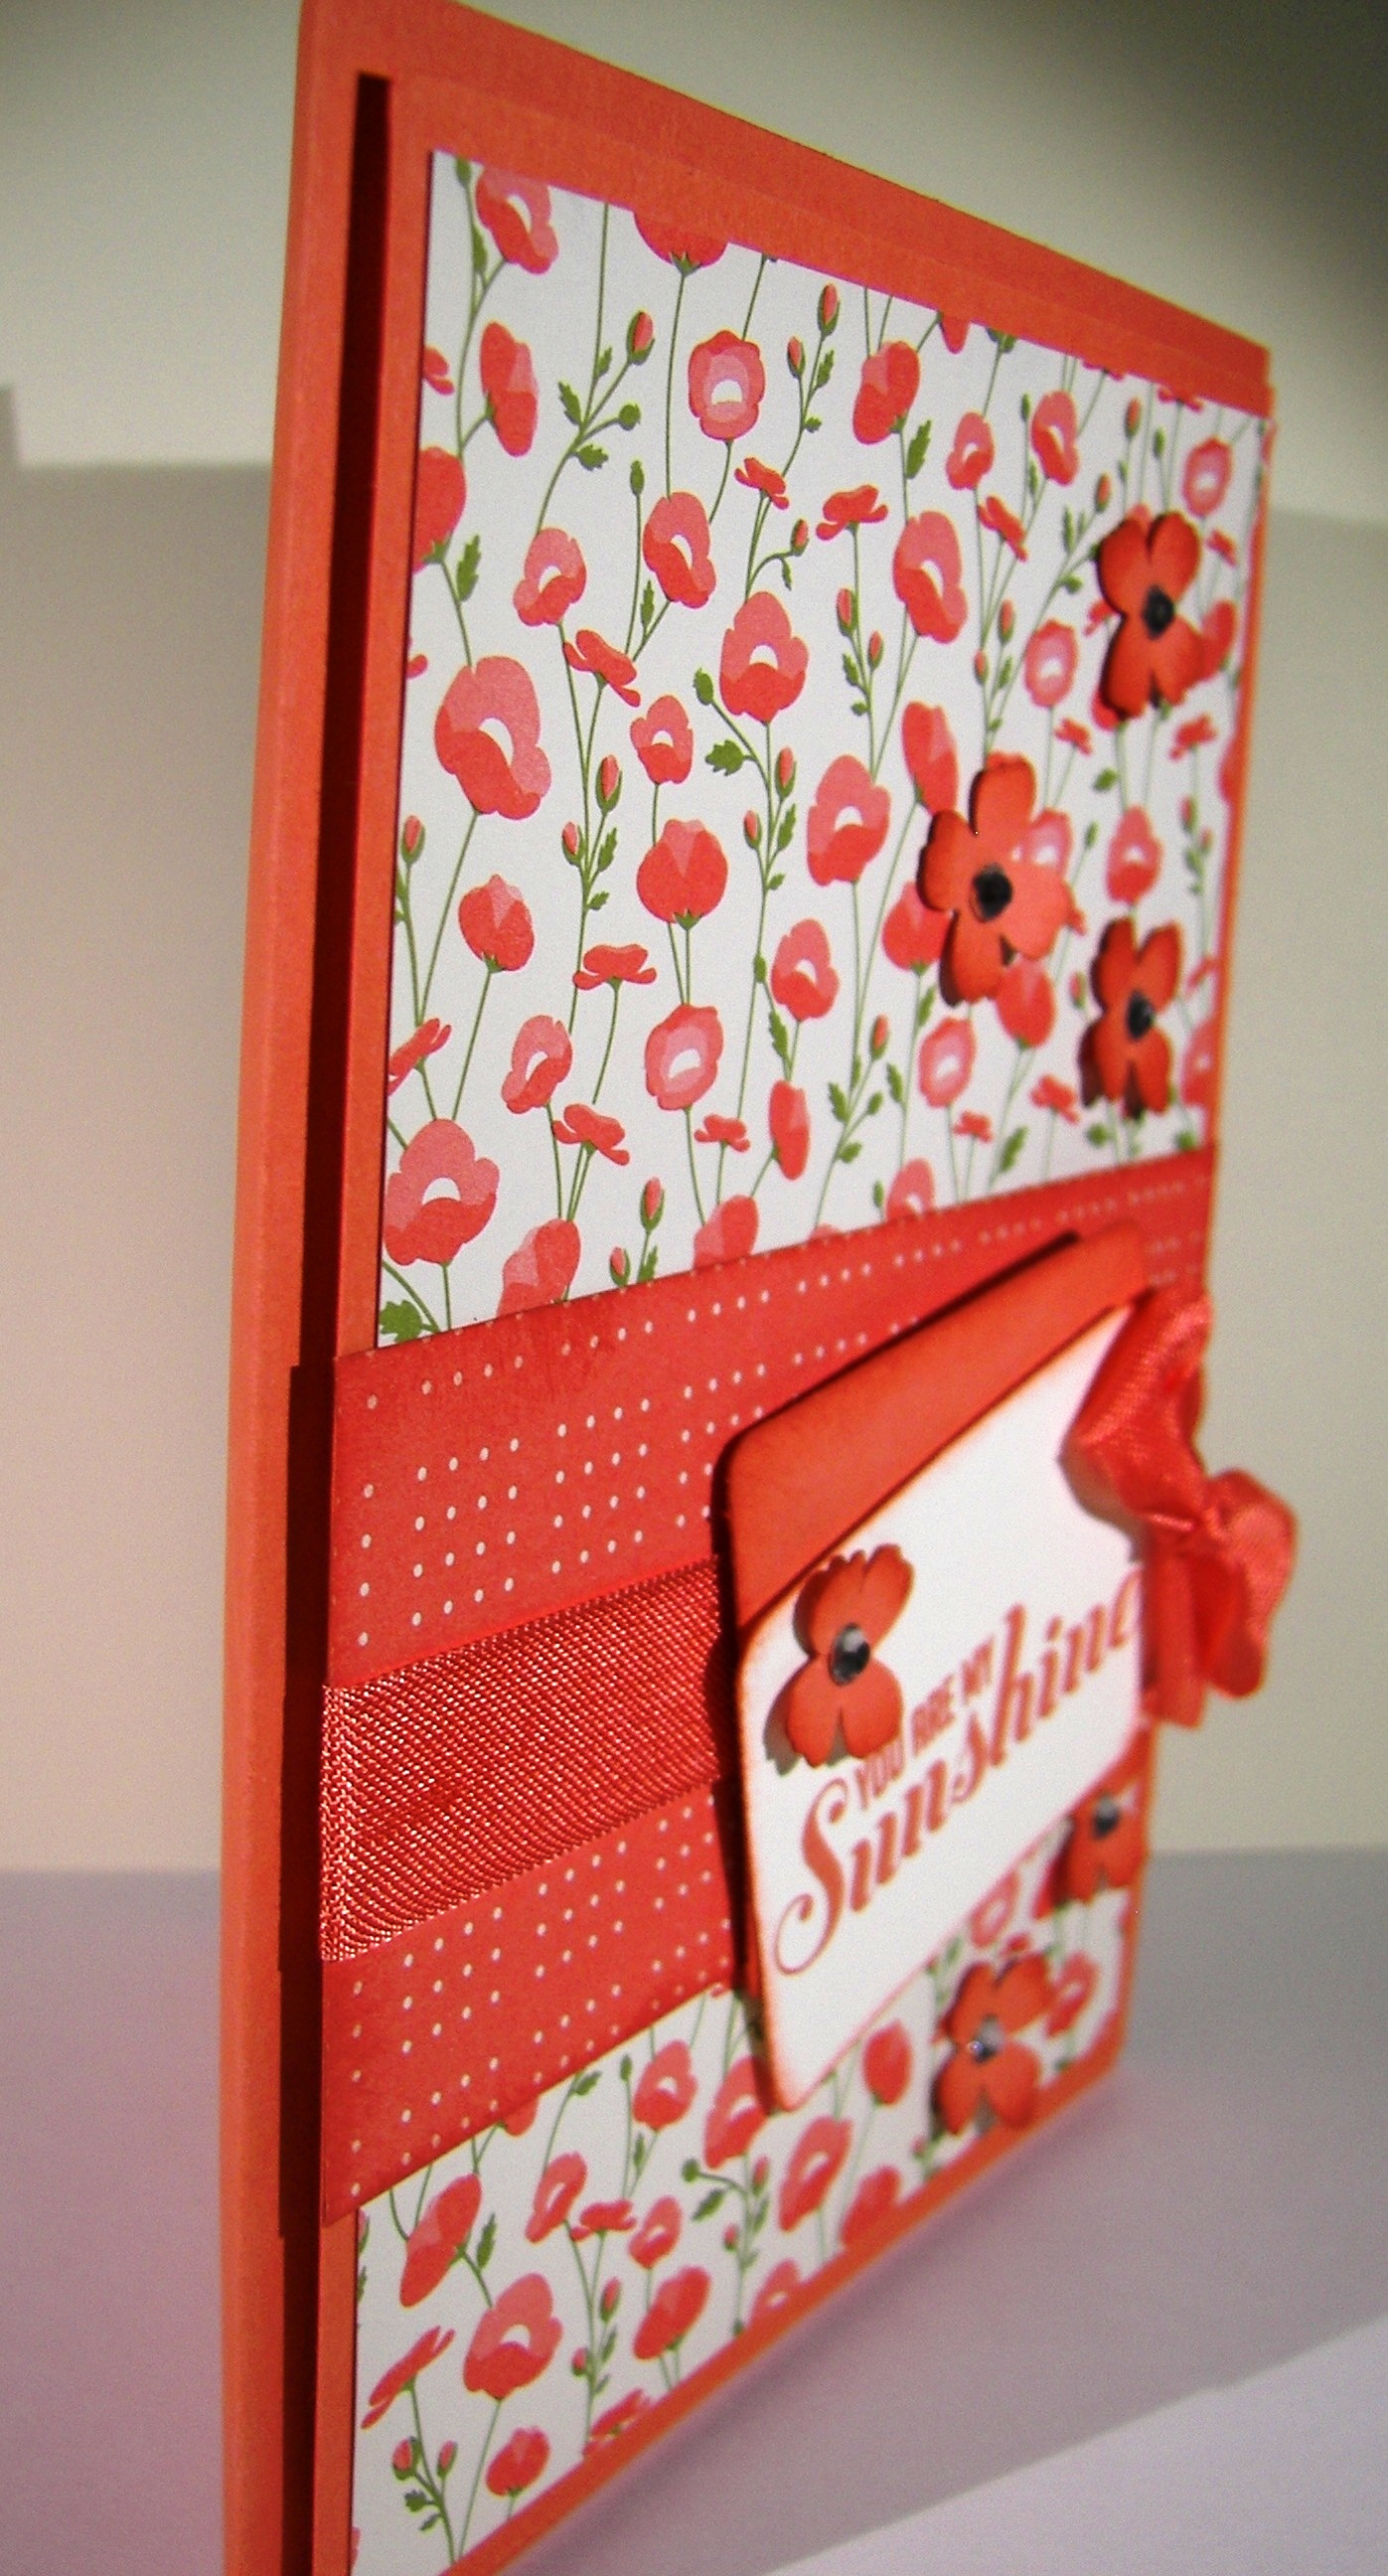
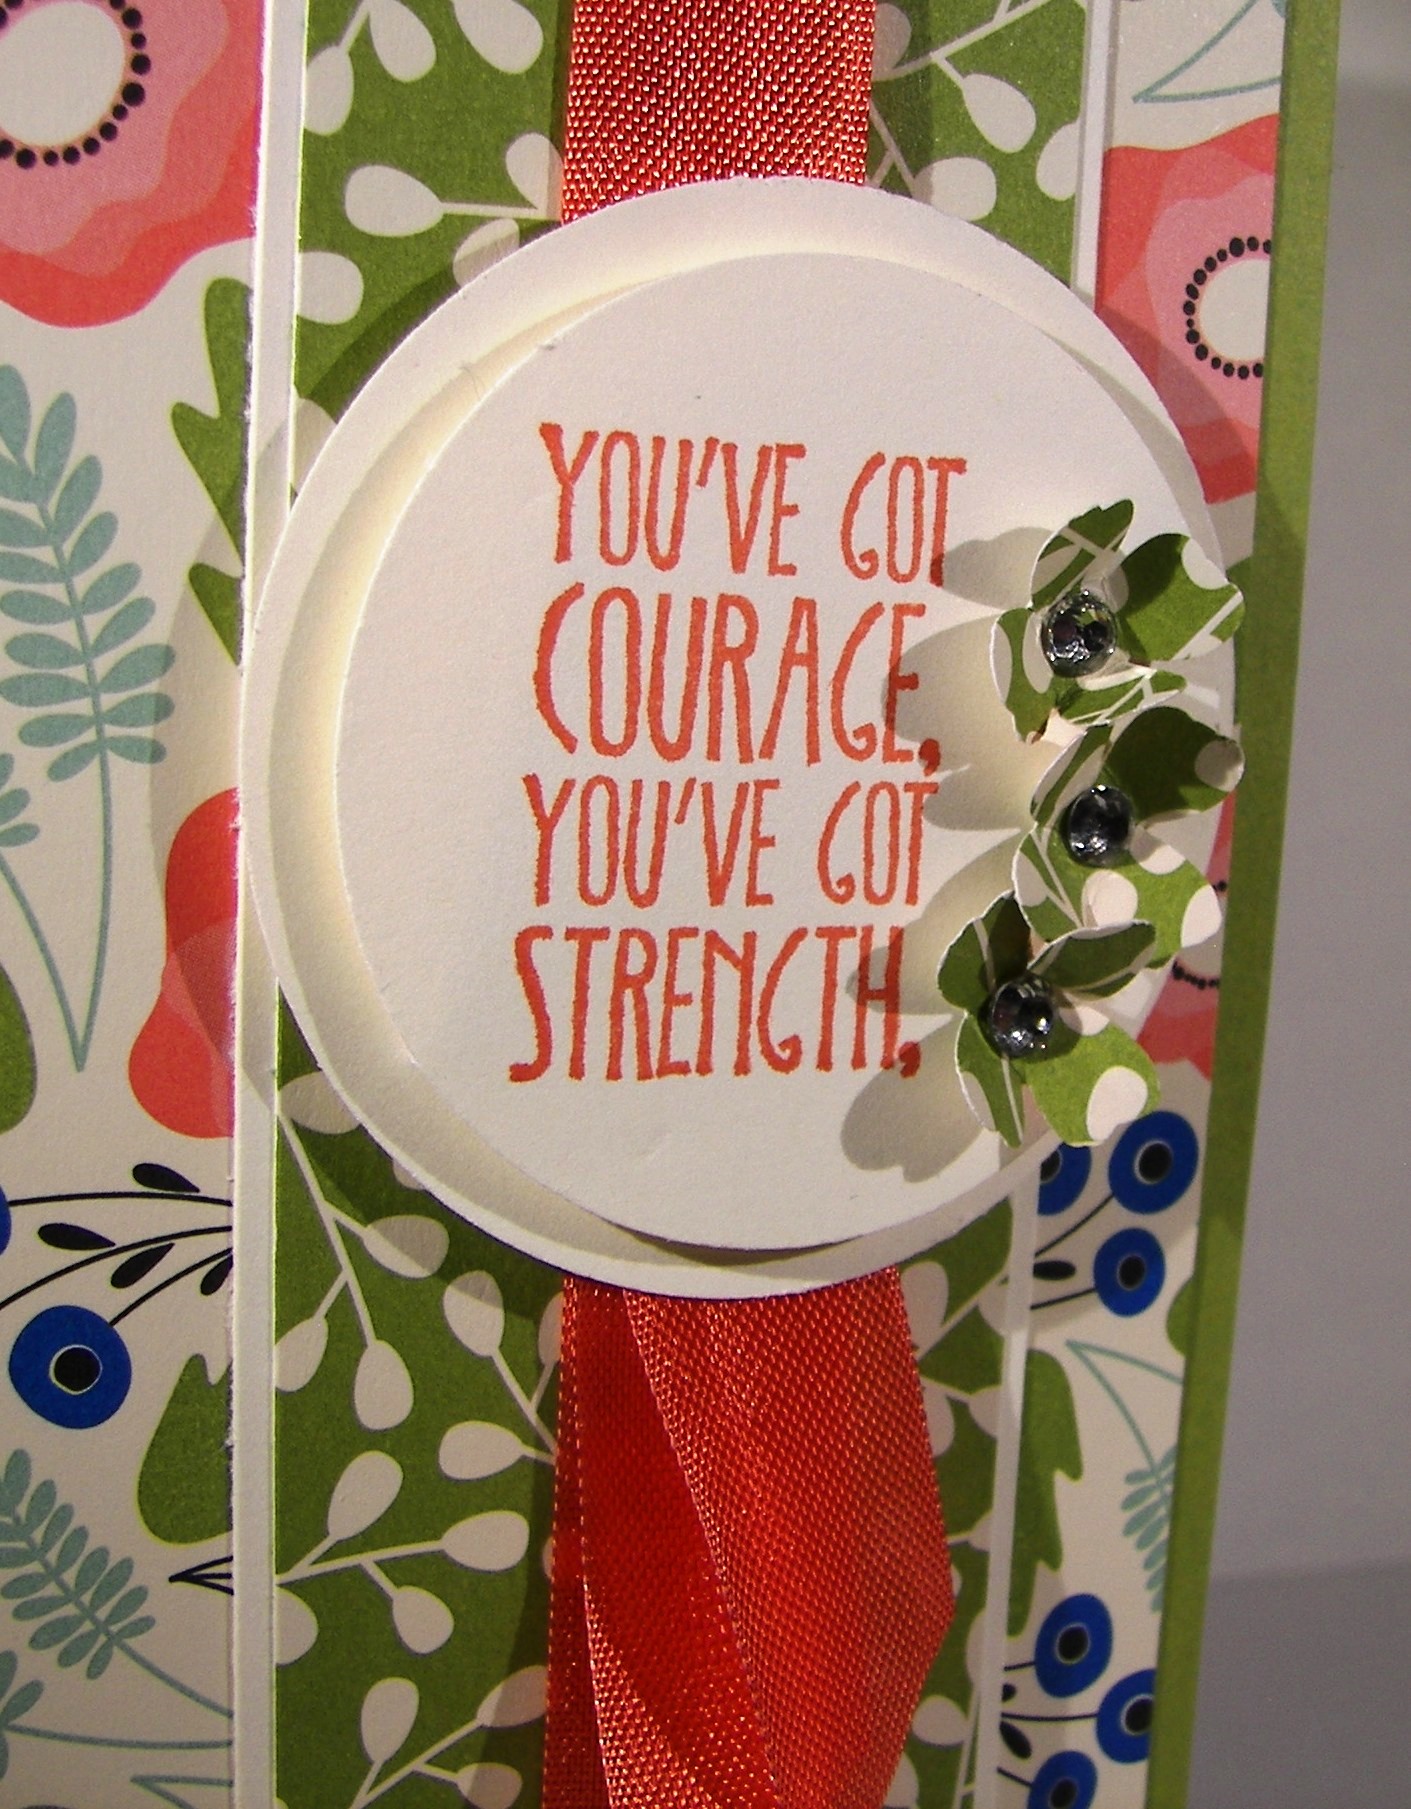
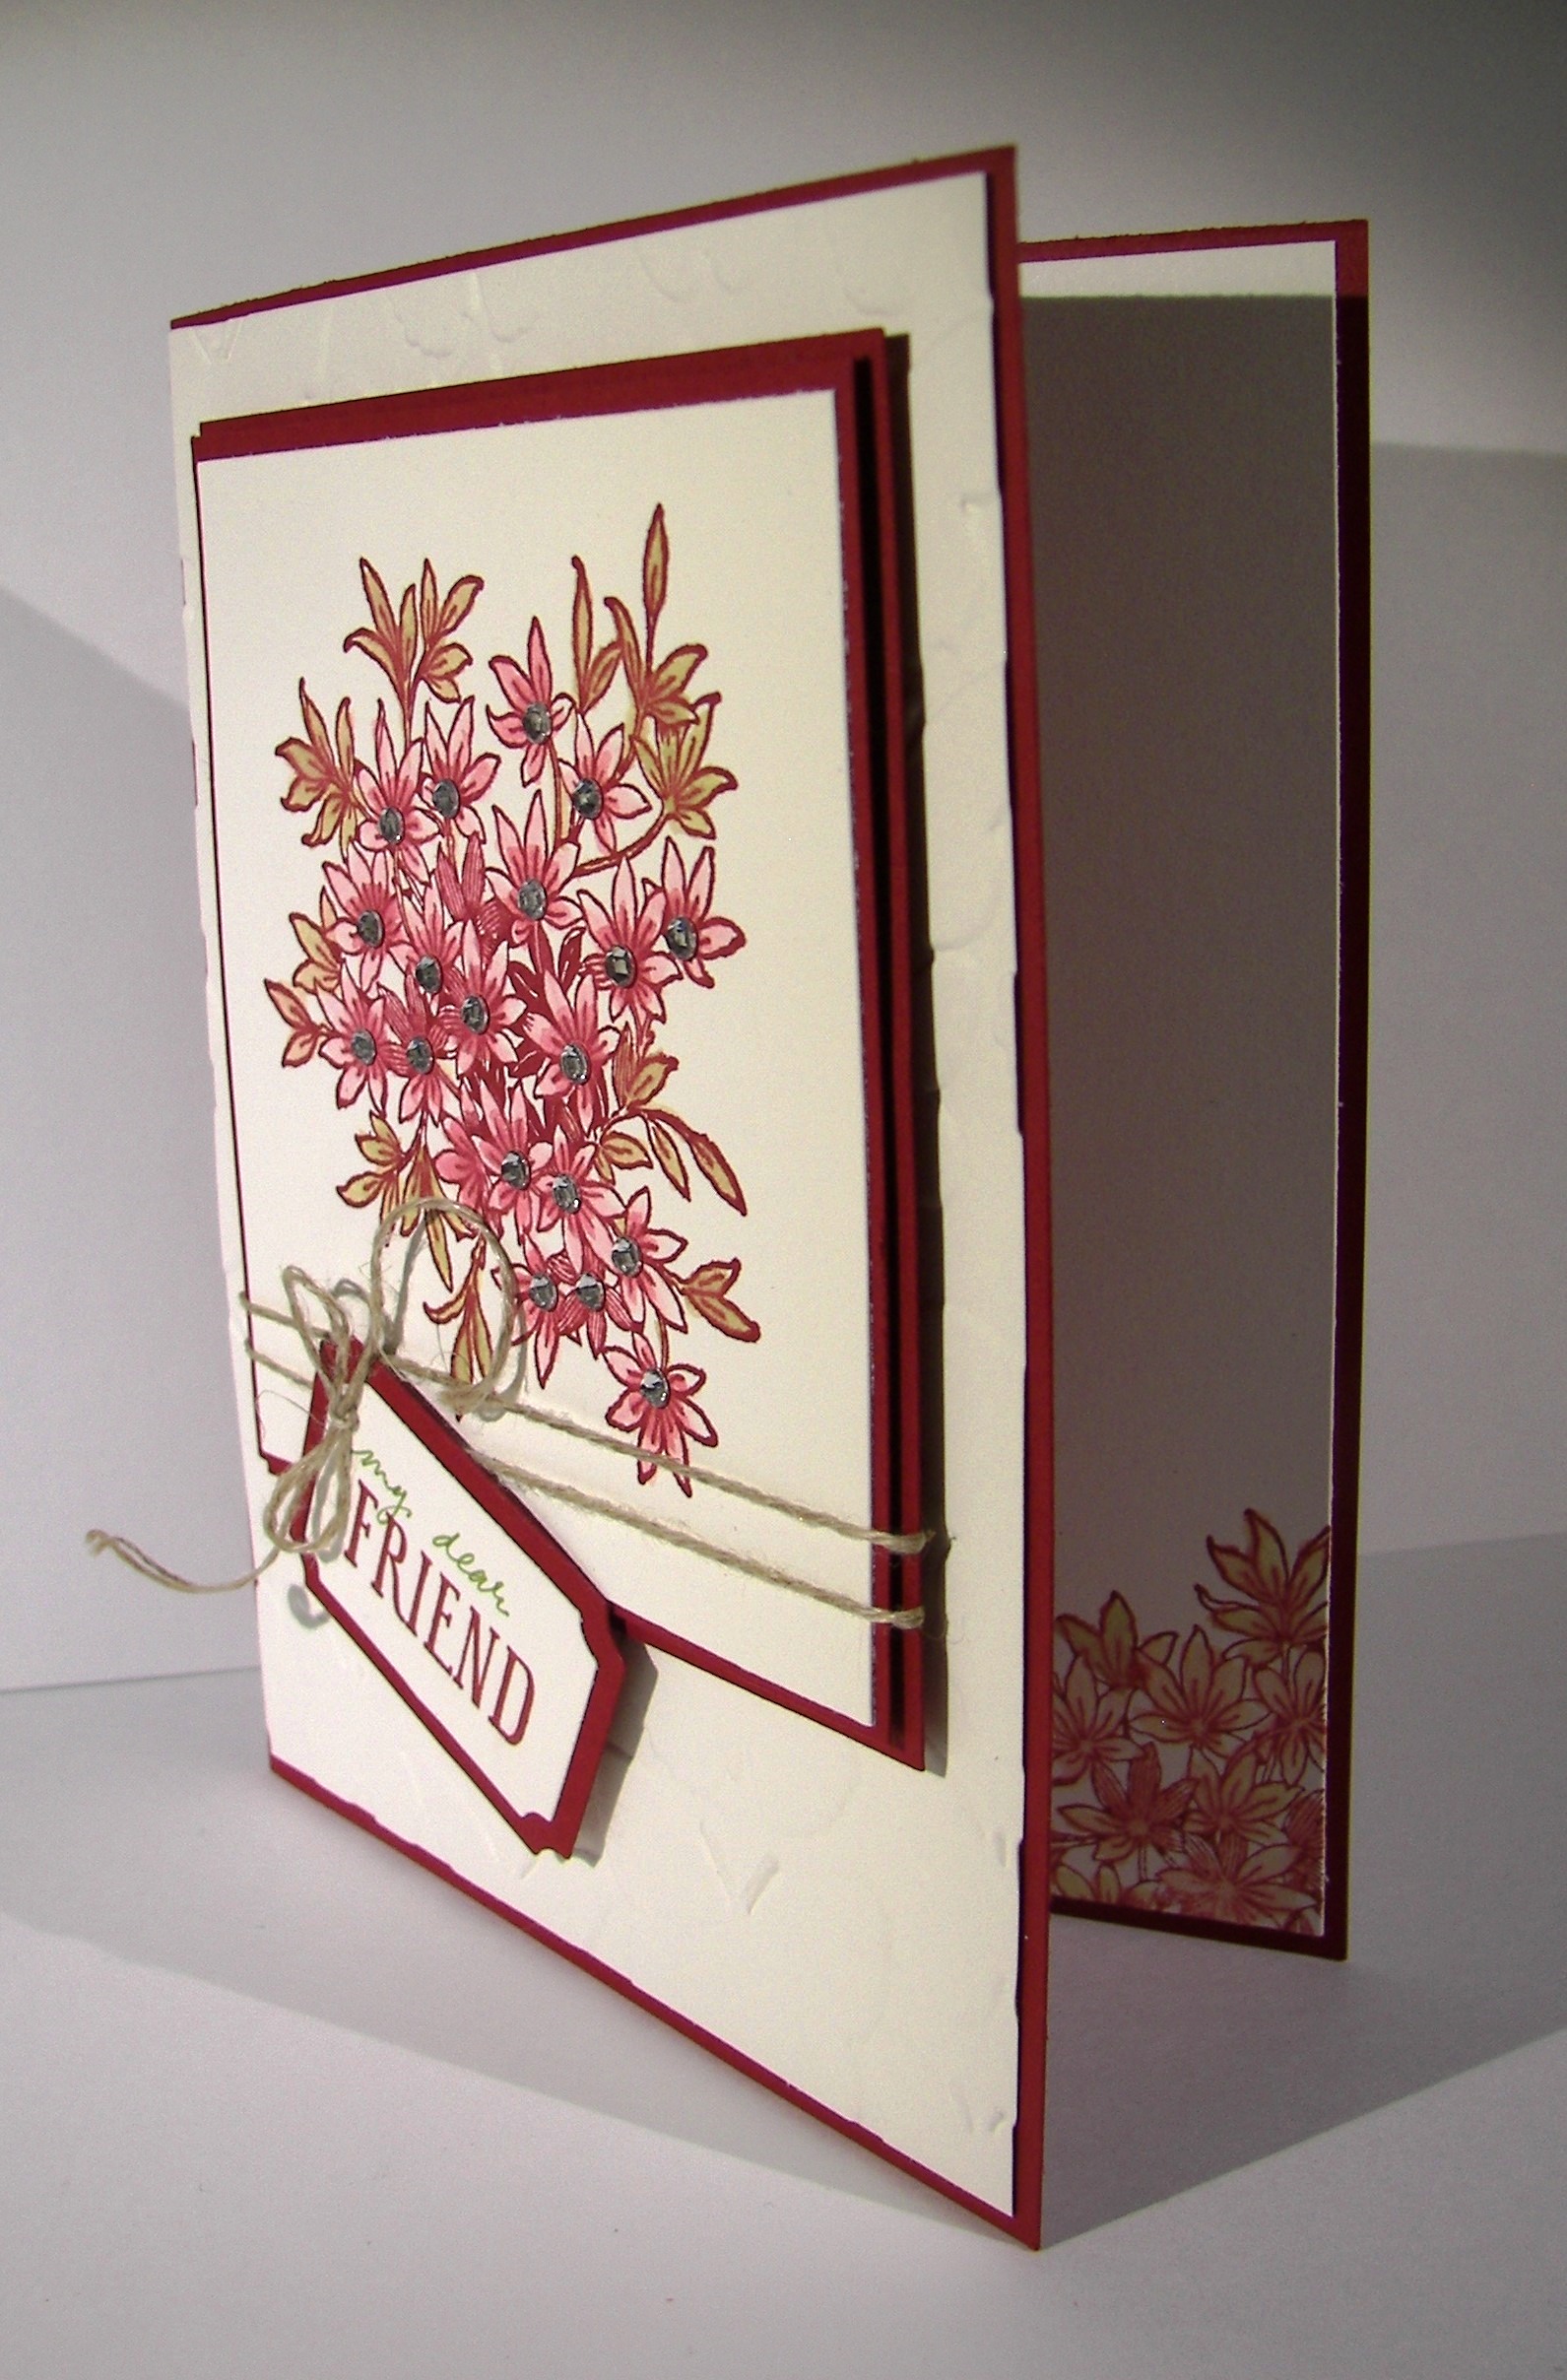
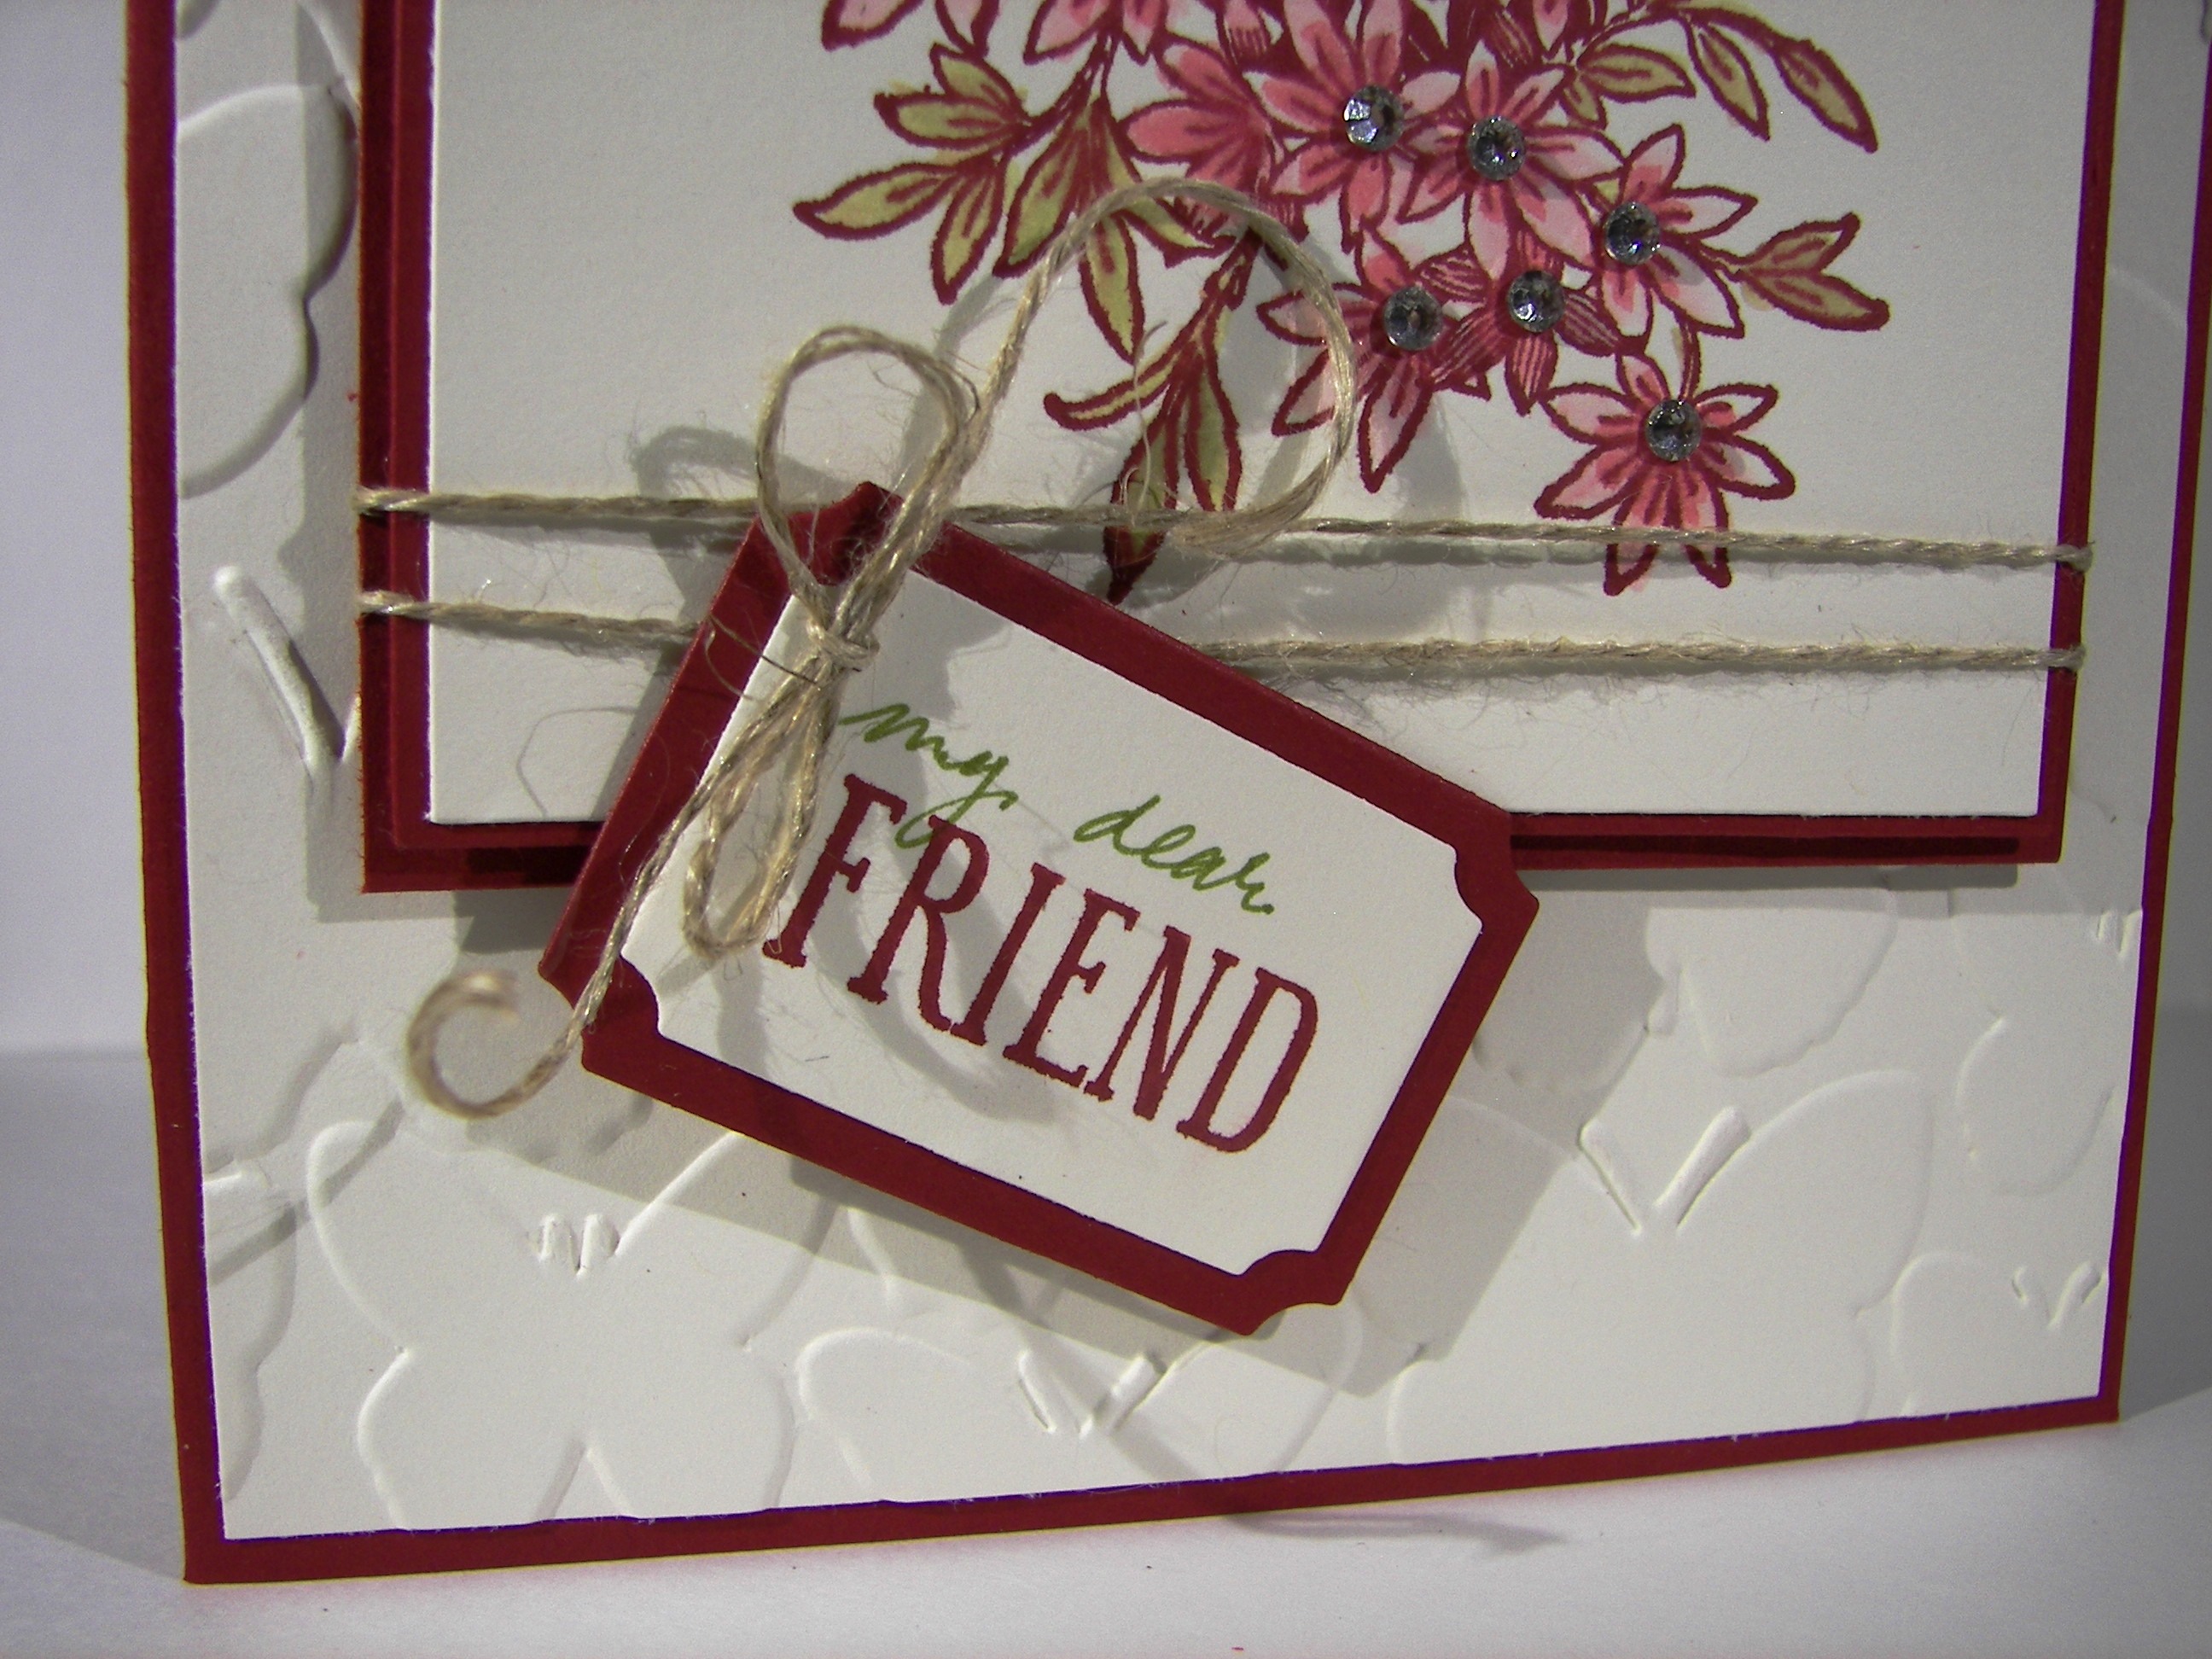
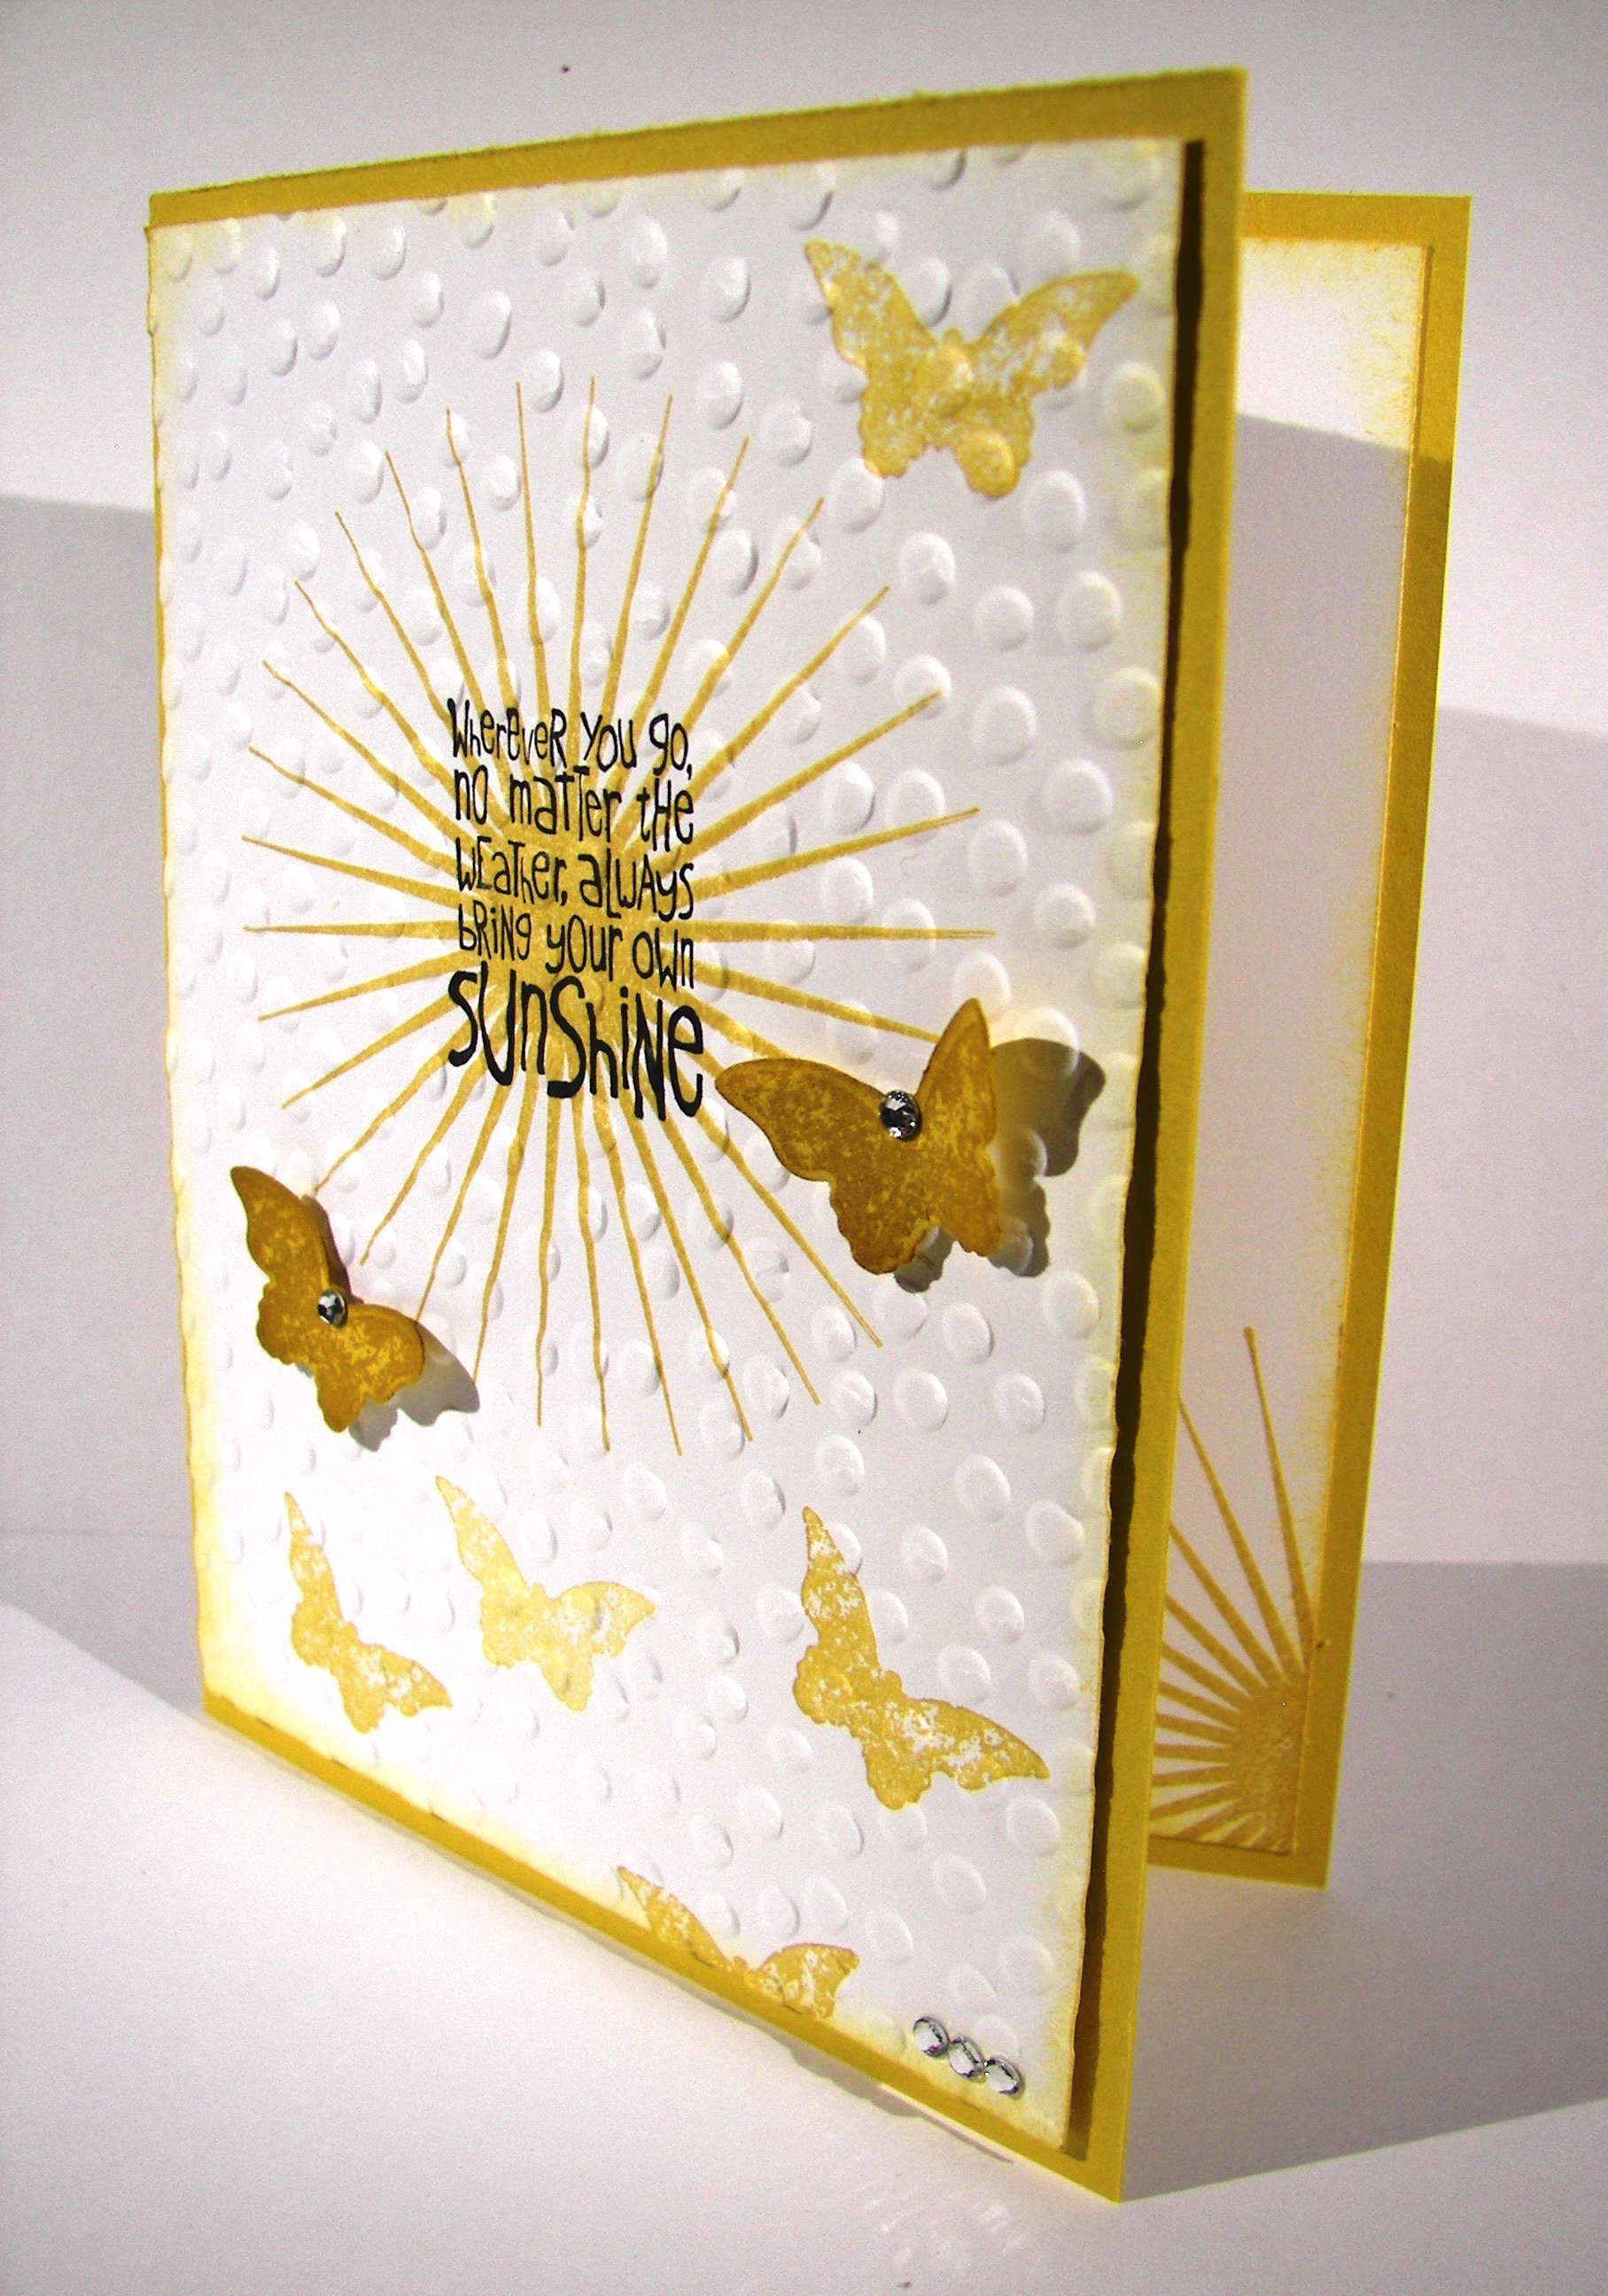
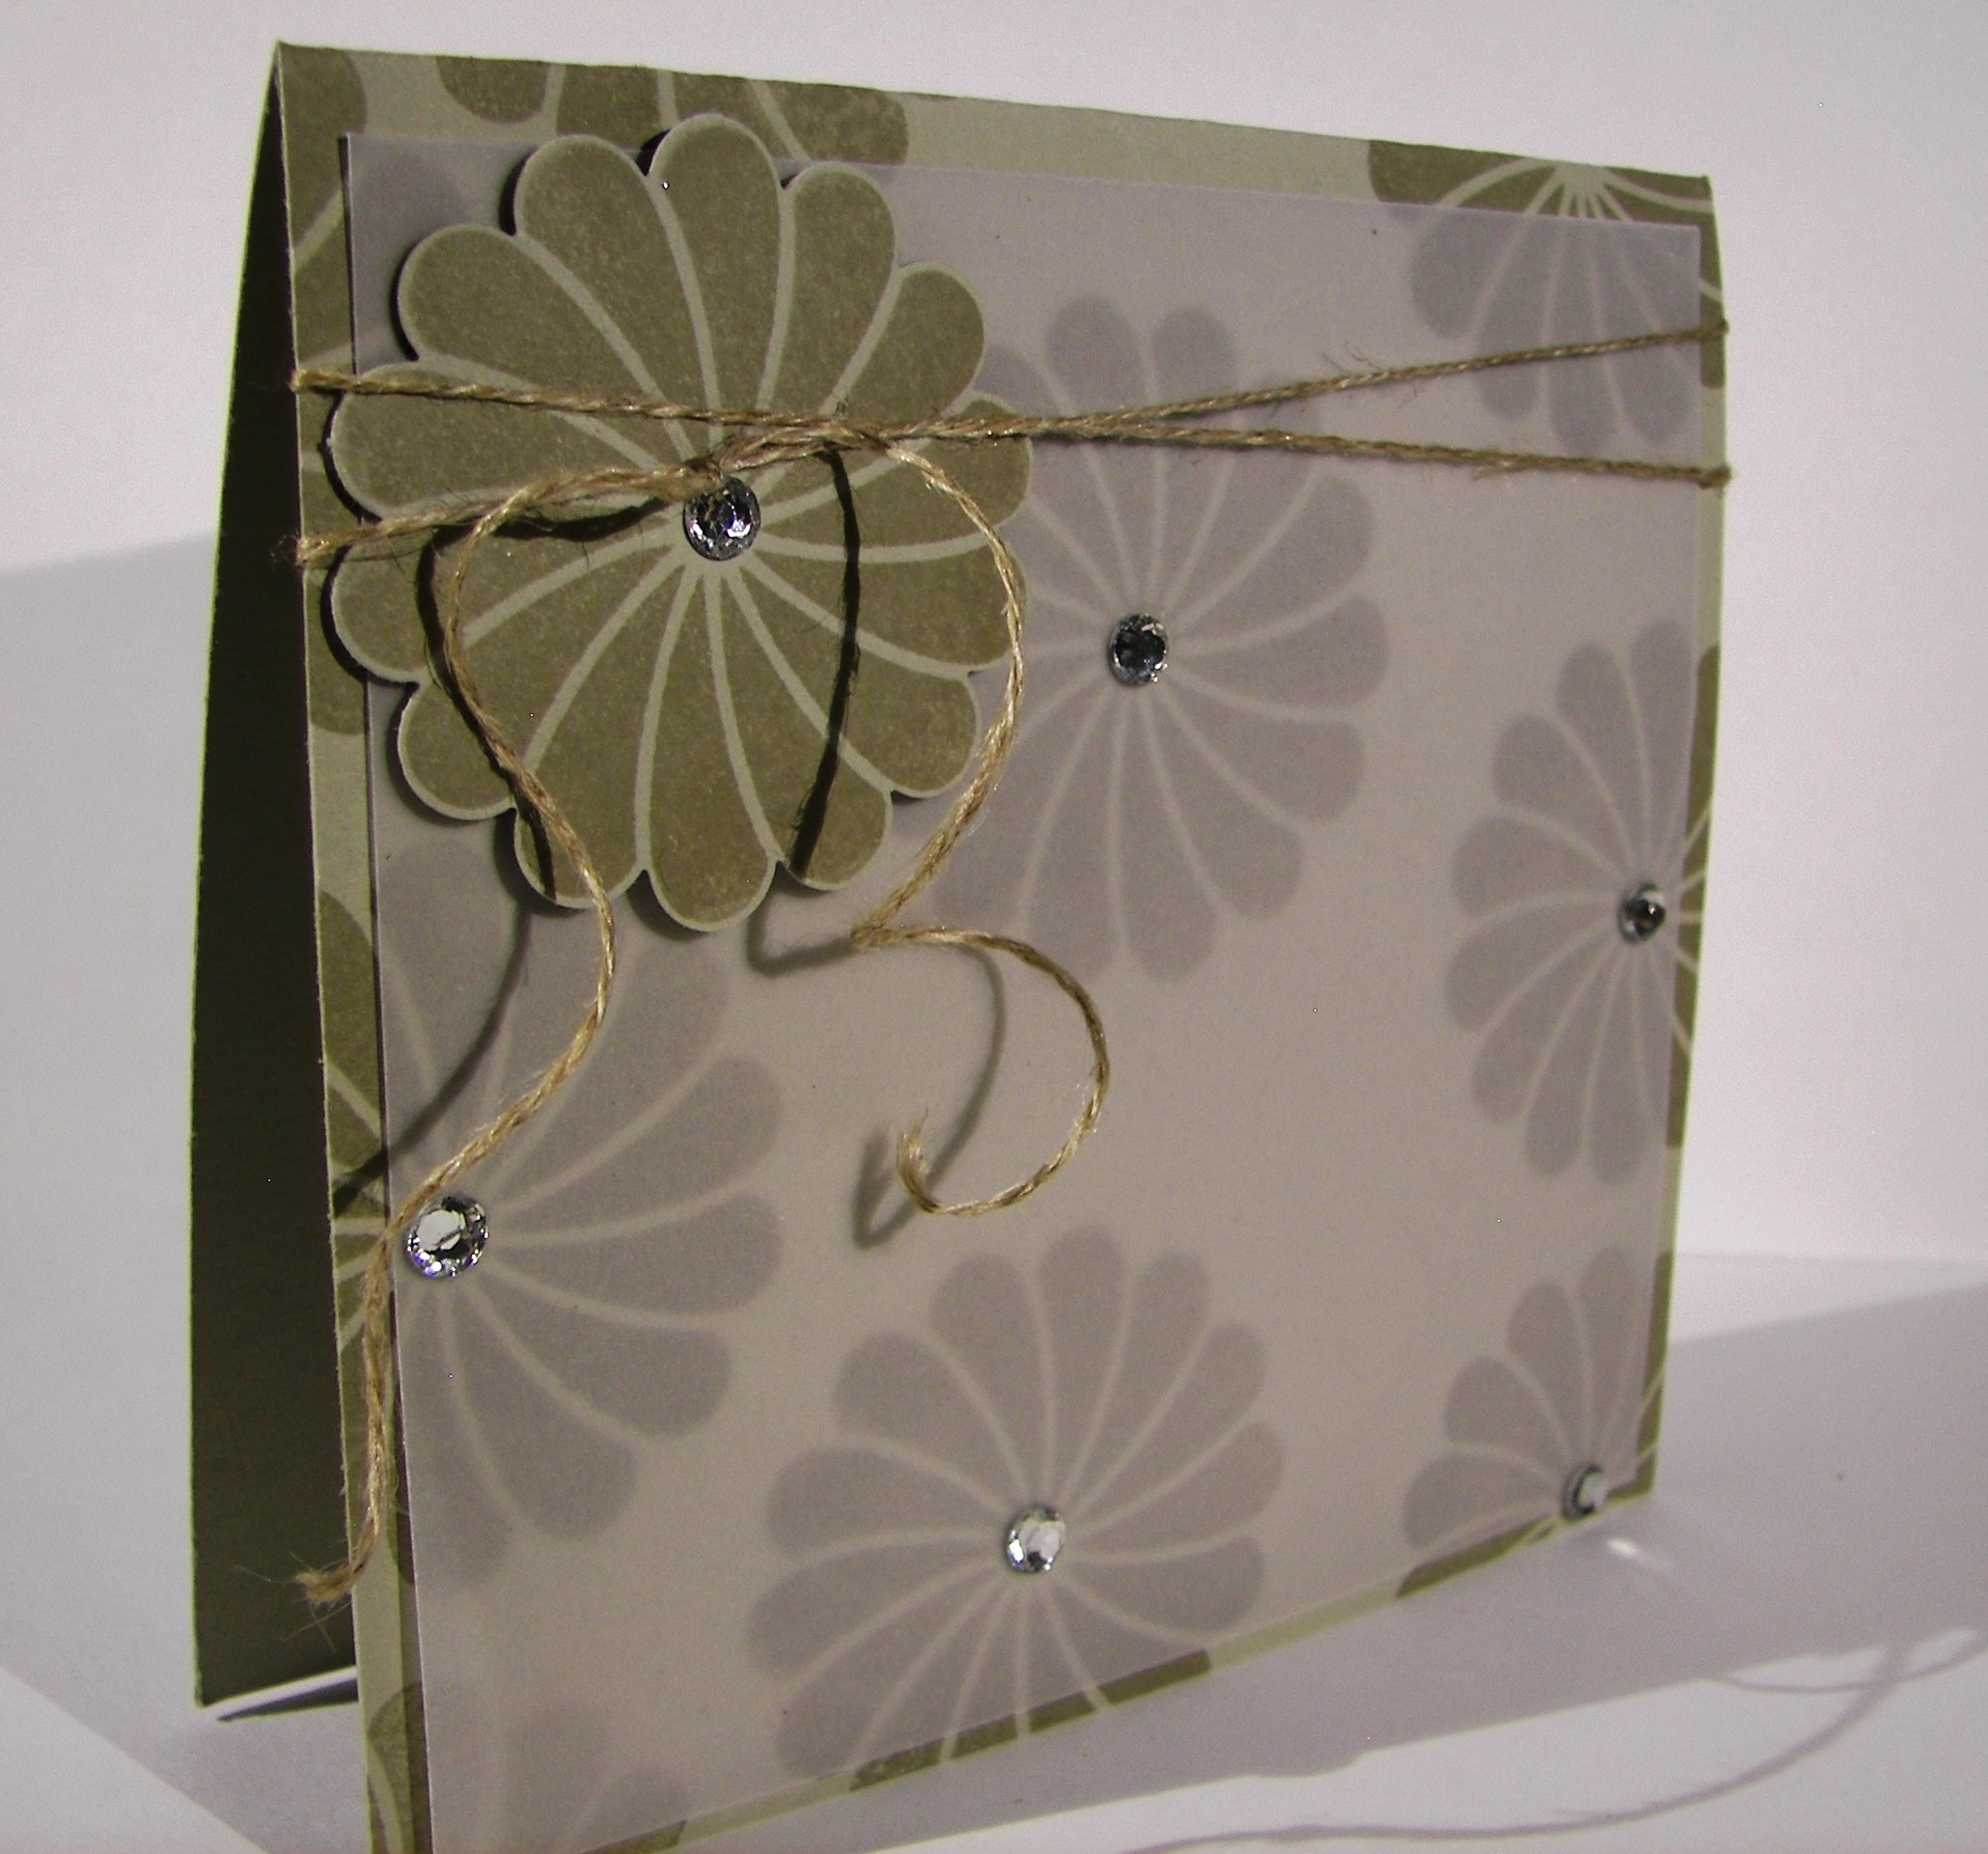
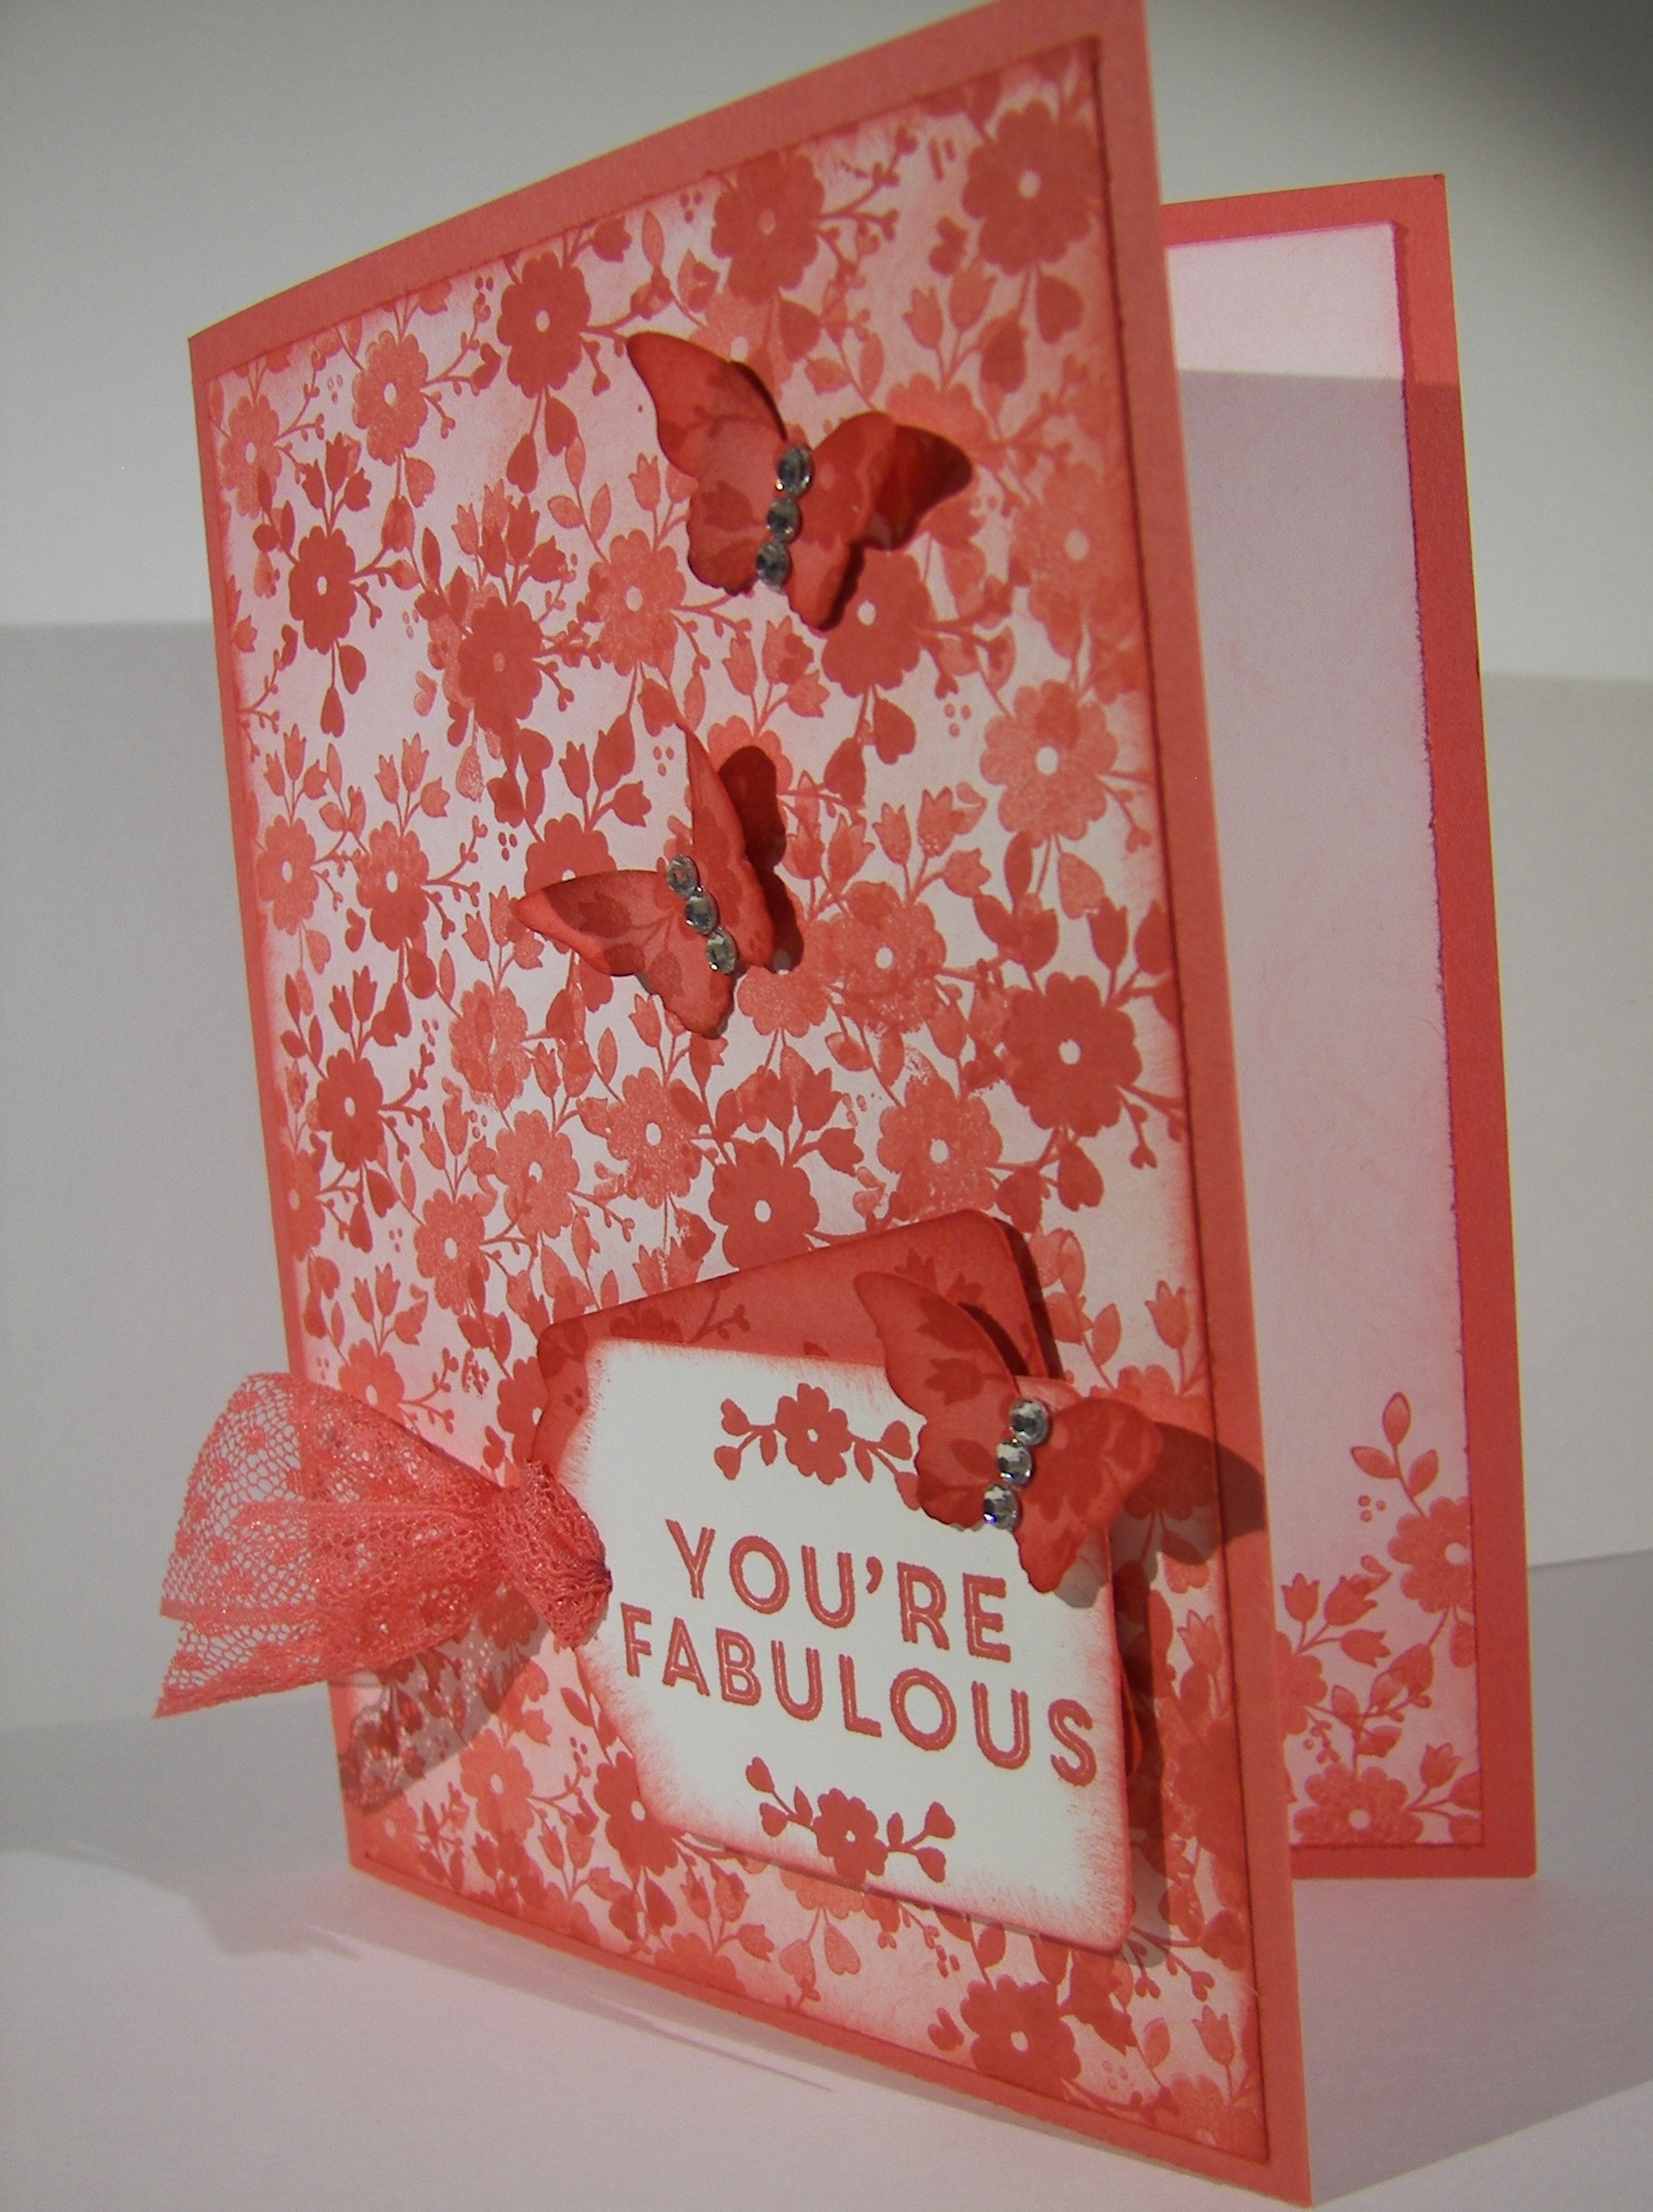
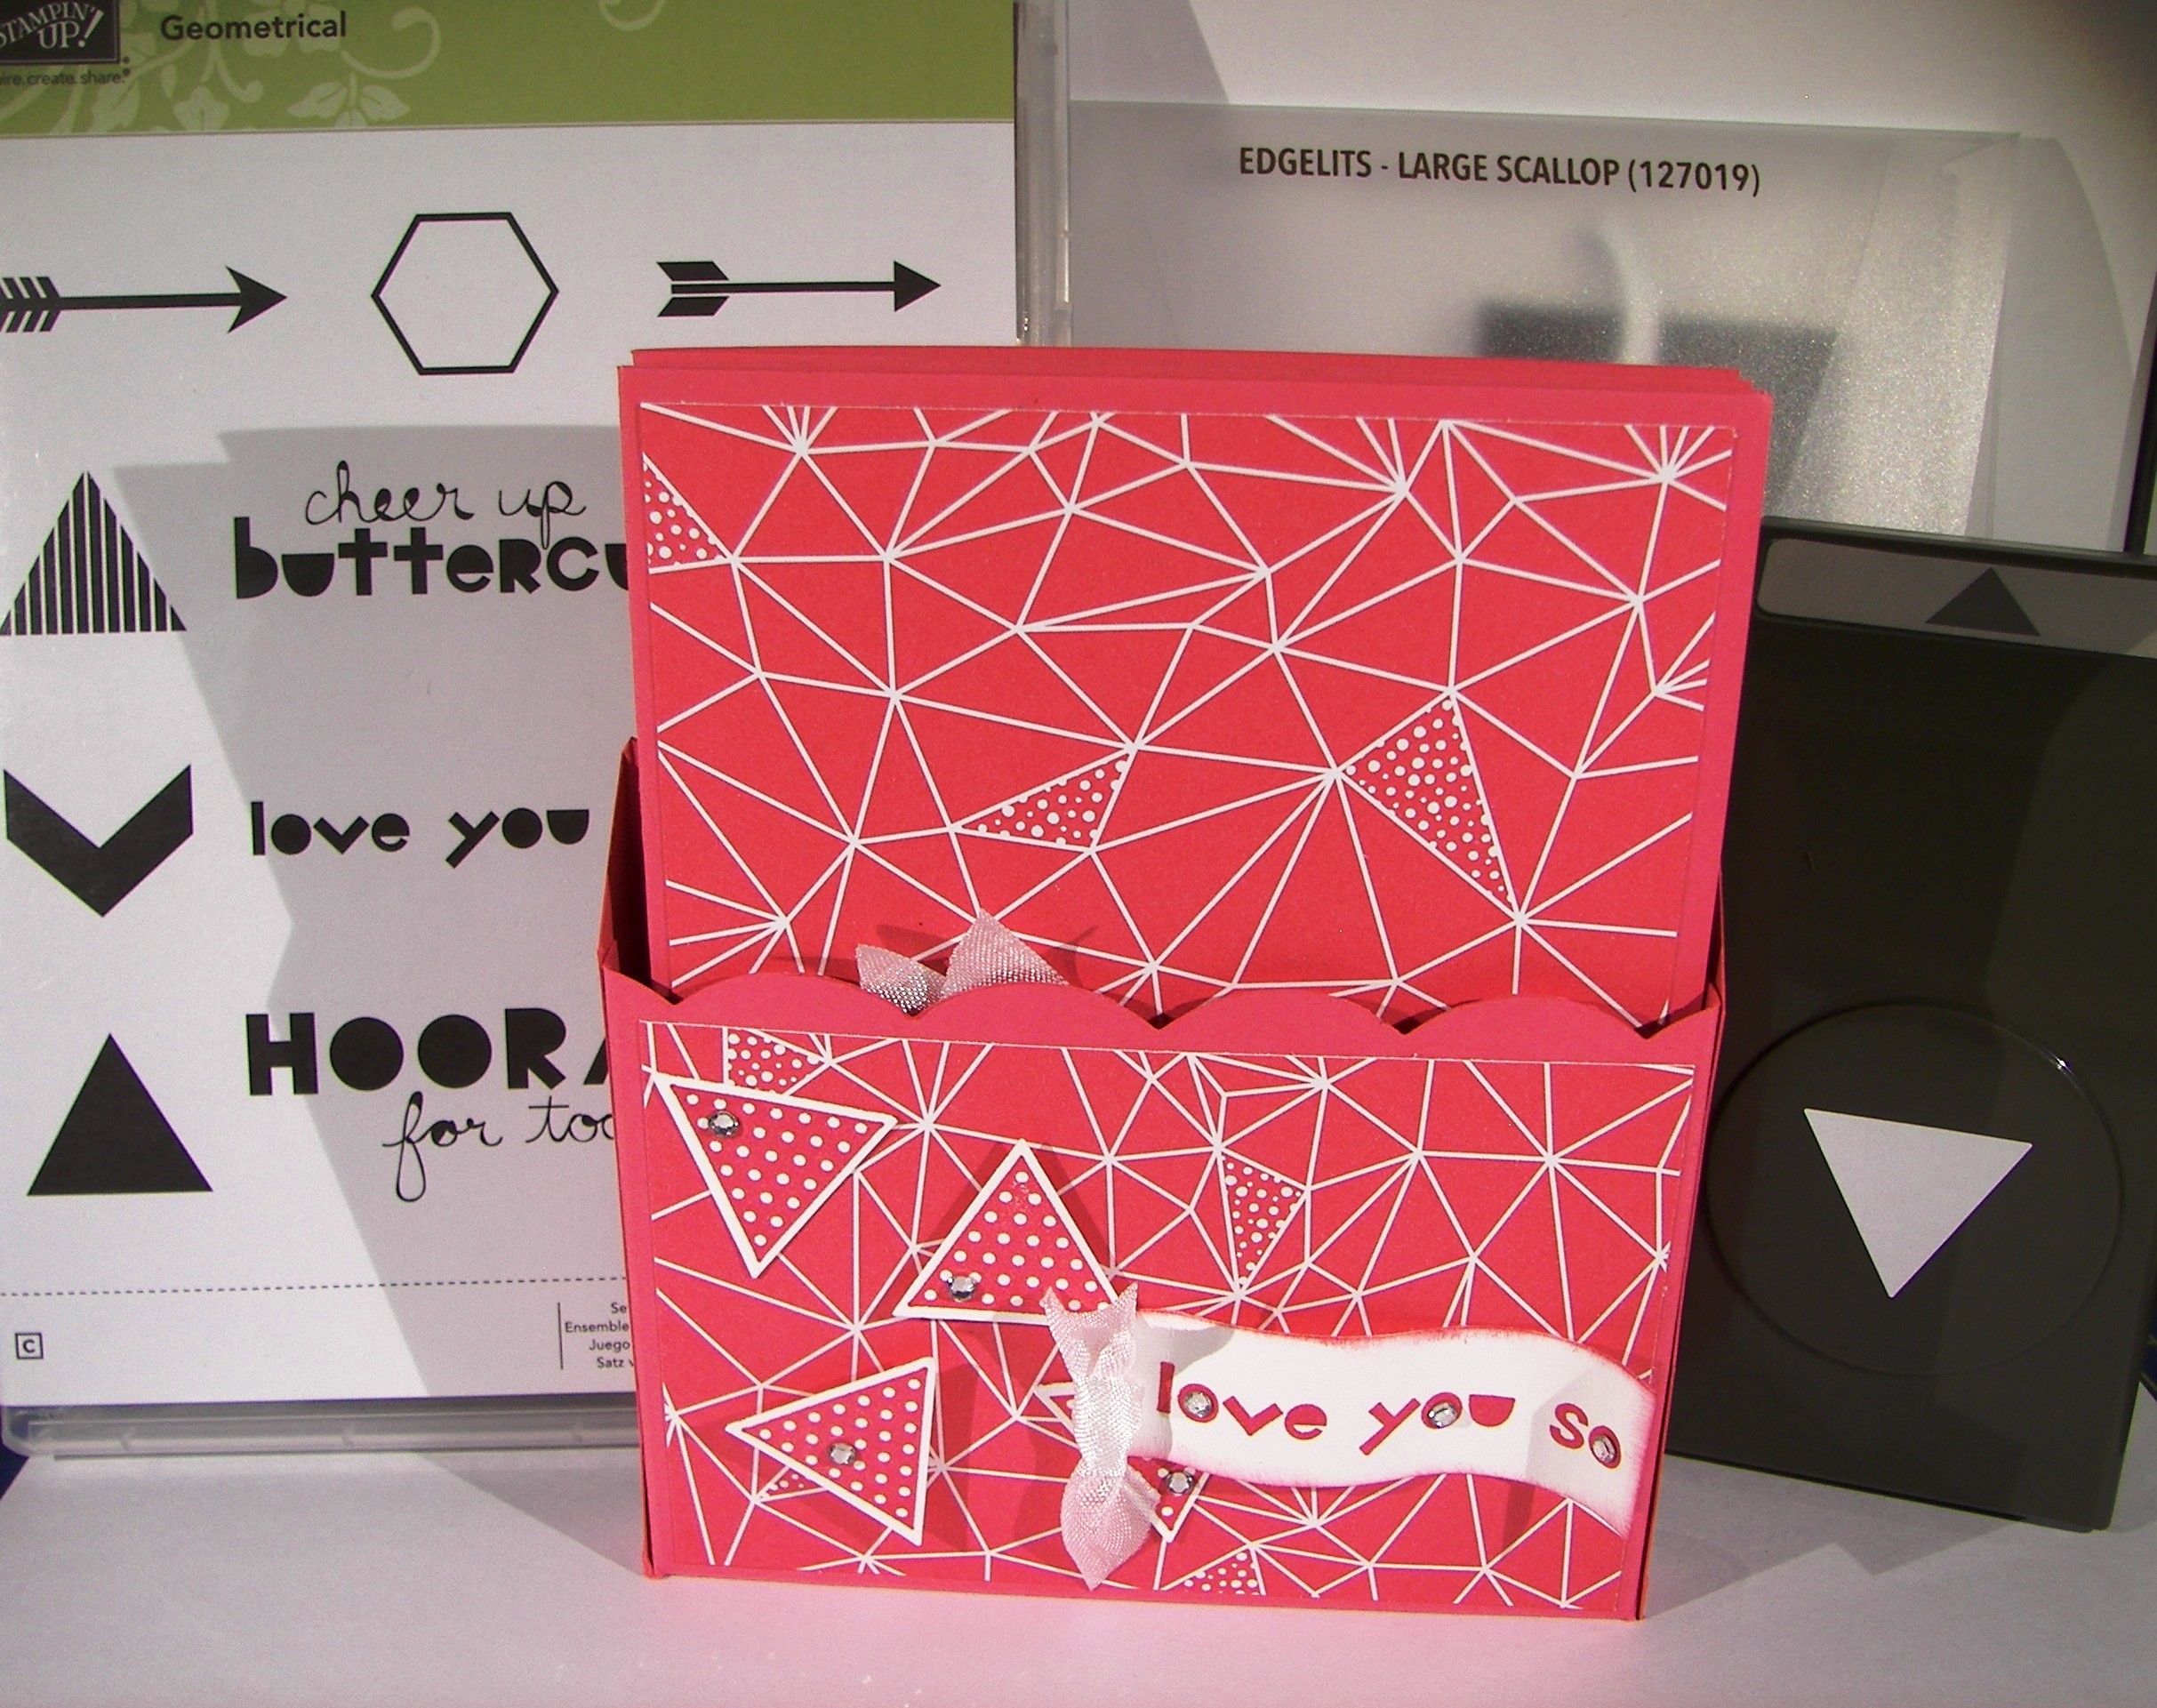
A simple layering of designer paper, with coordinating paper and a length of ribbon to bring it all together. I did a double layer of tags and squeezed in this sunshine sentiment keeping everything in calypso coral. Love that color. Six pretty little flowers all sponged and centered with basic rhinestones and I am in love with this card.
Have a creative day!
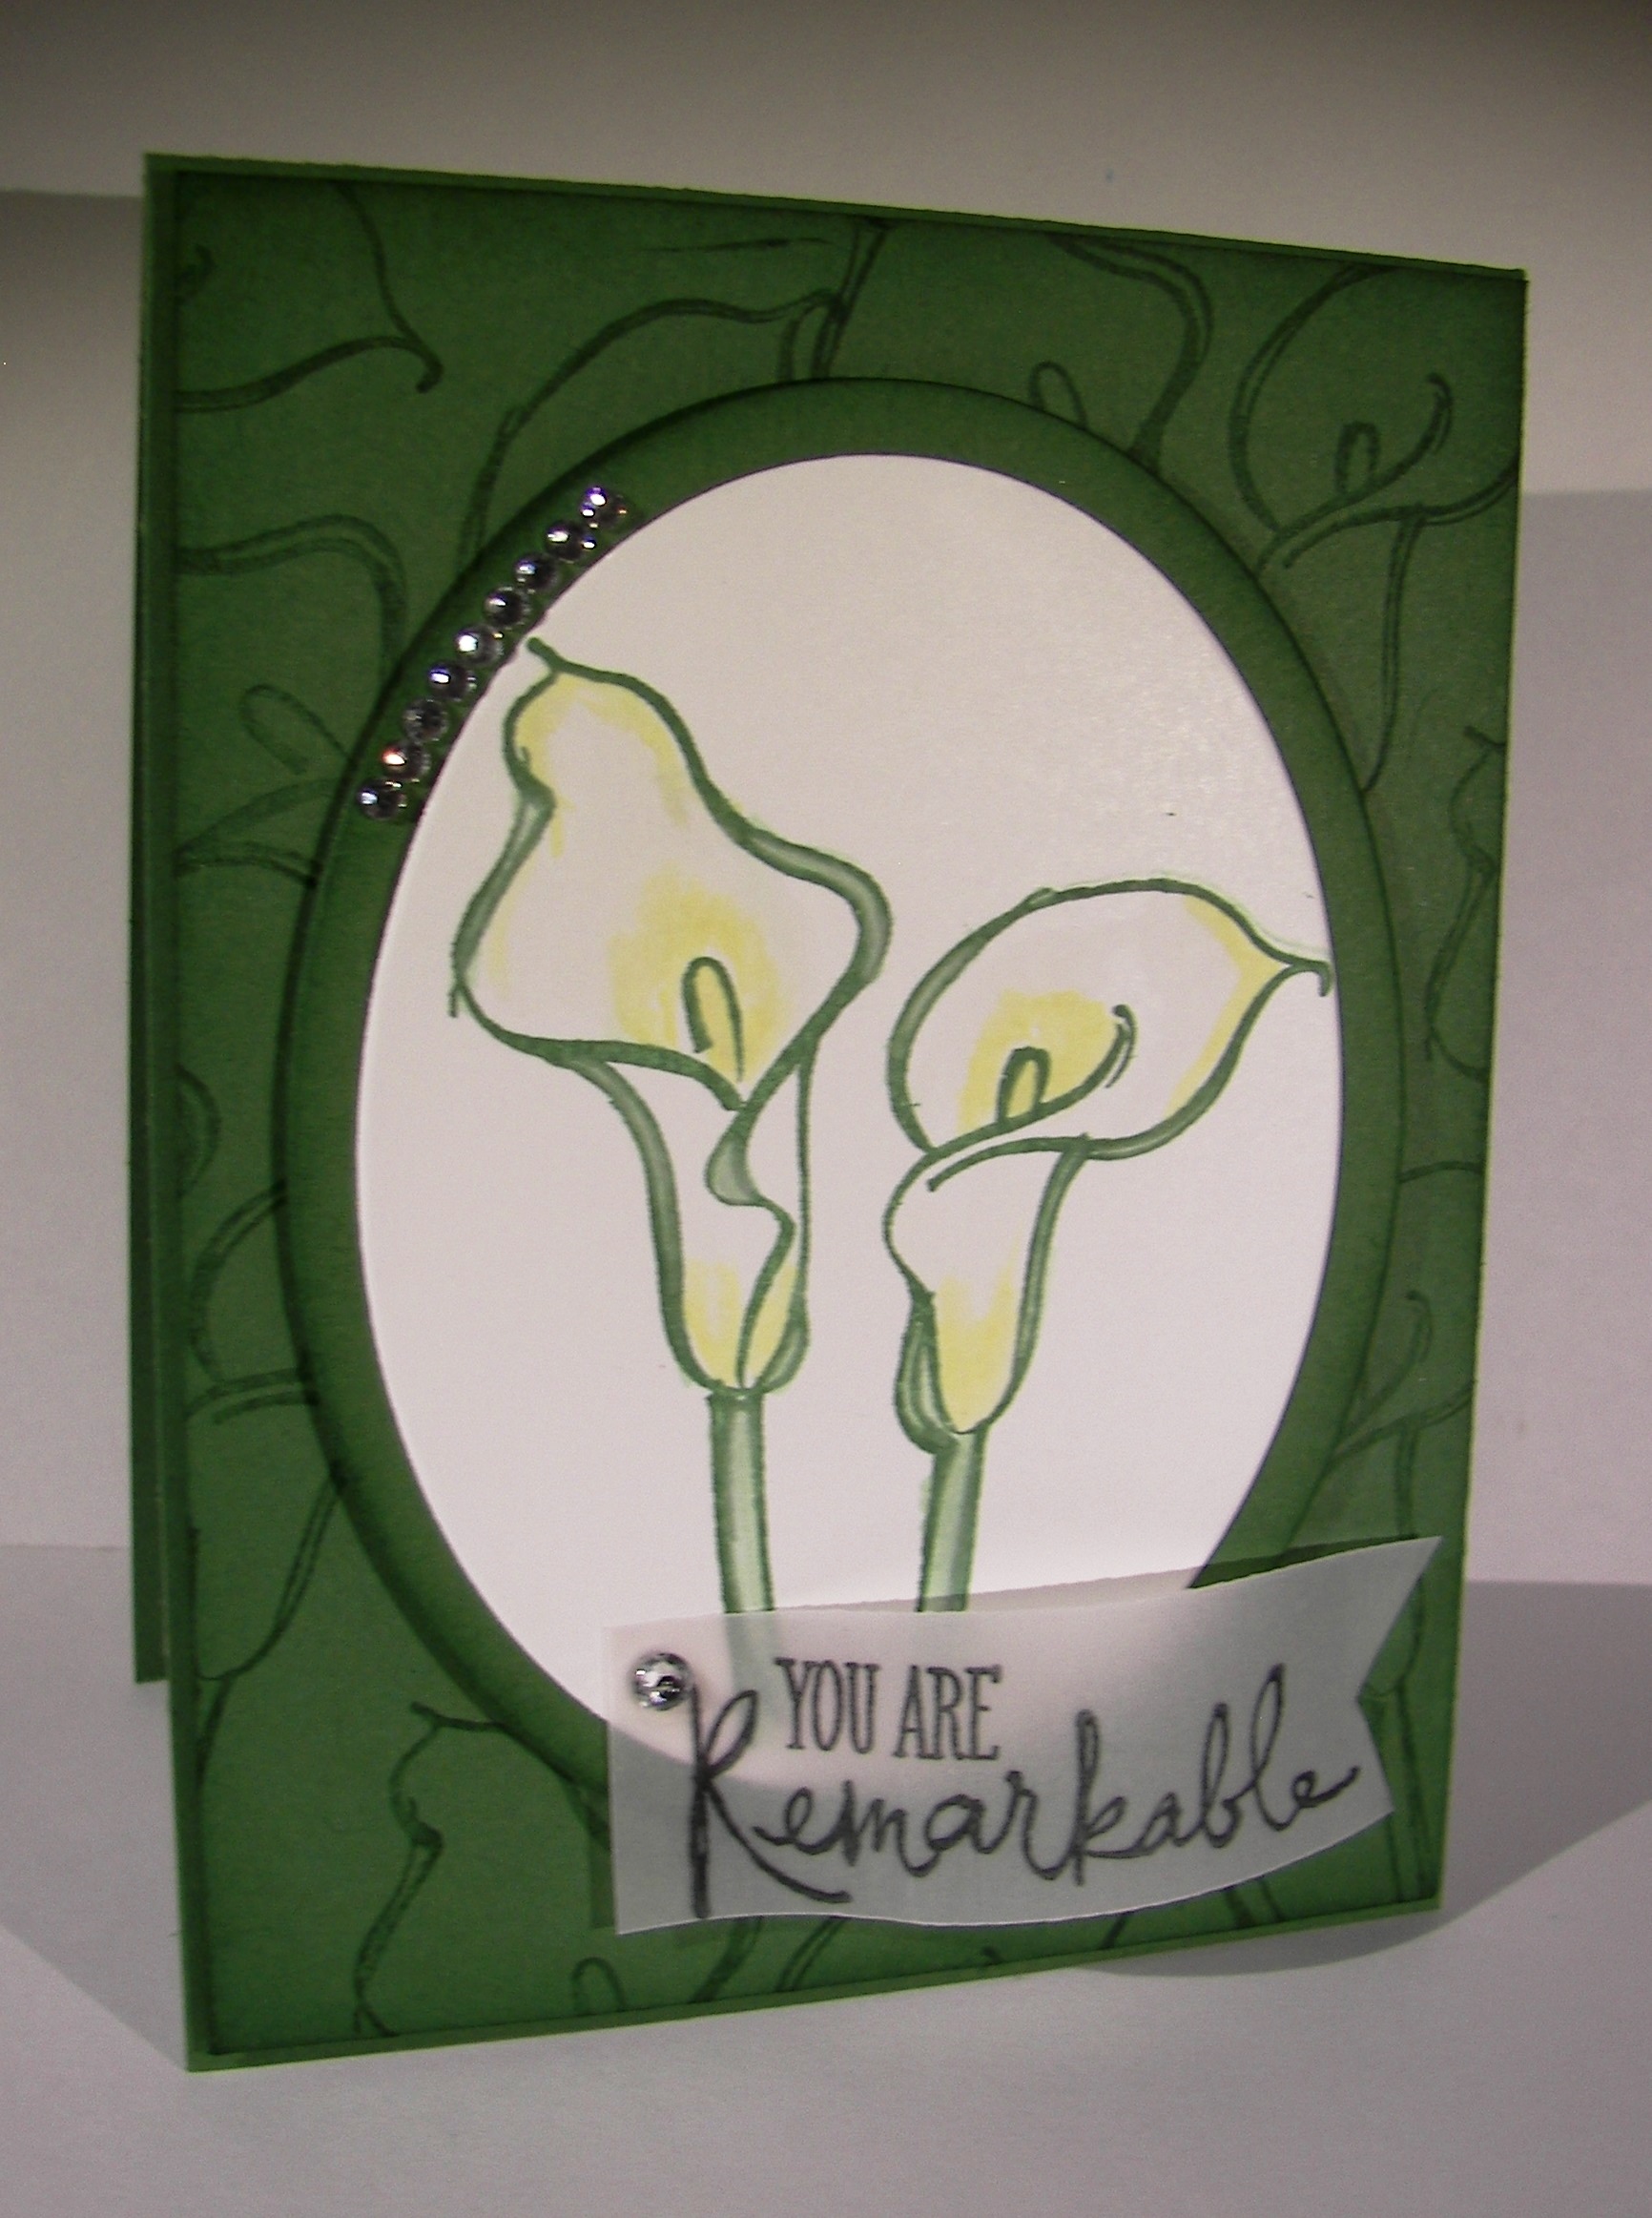
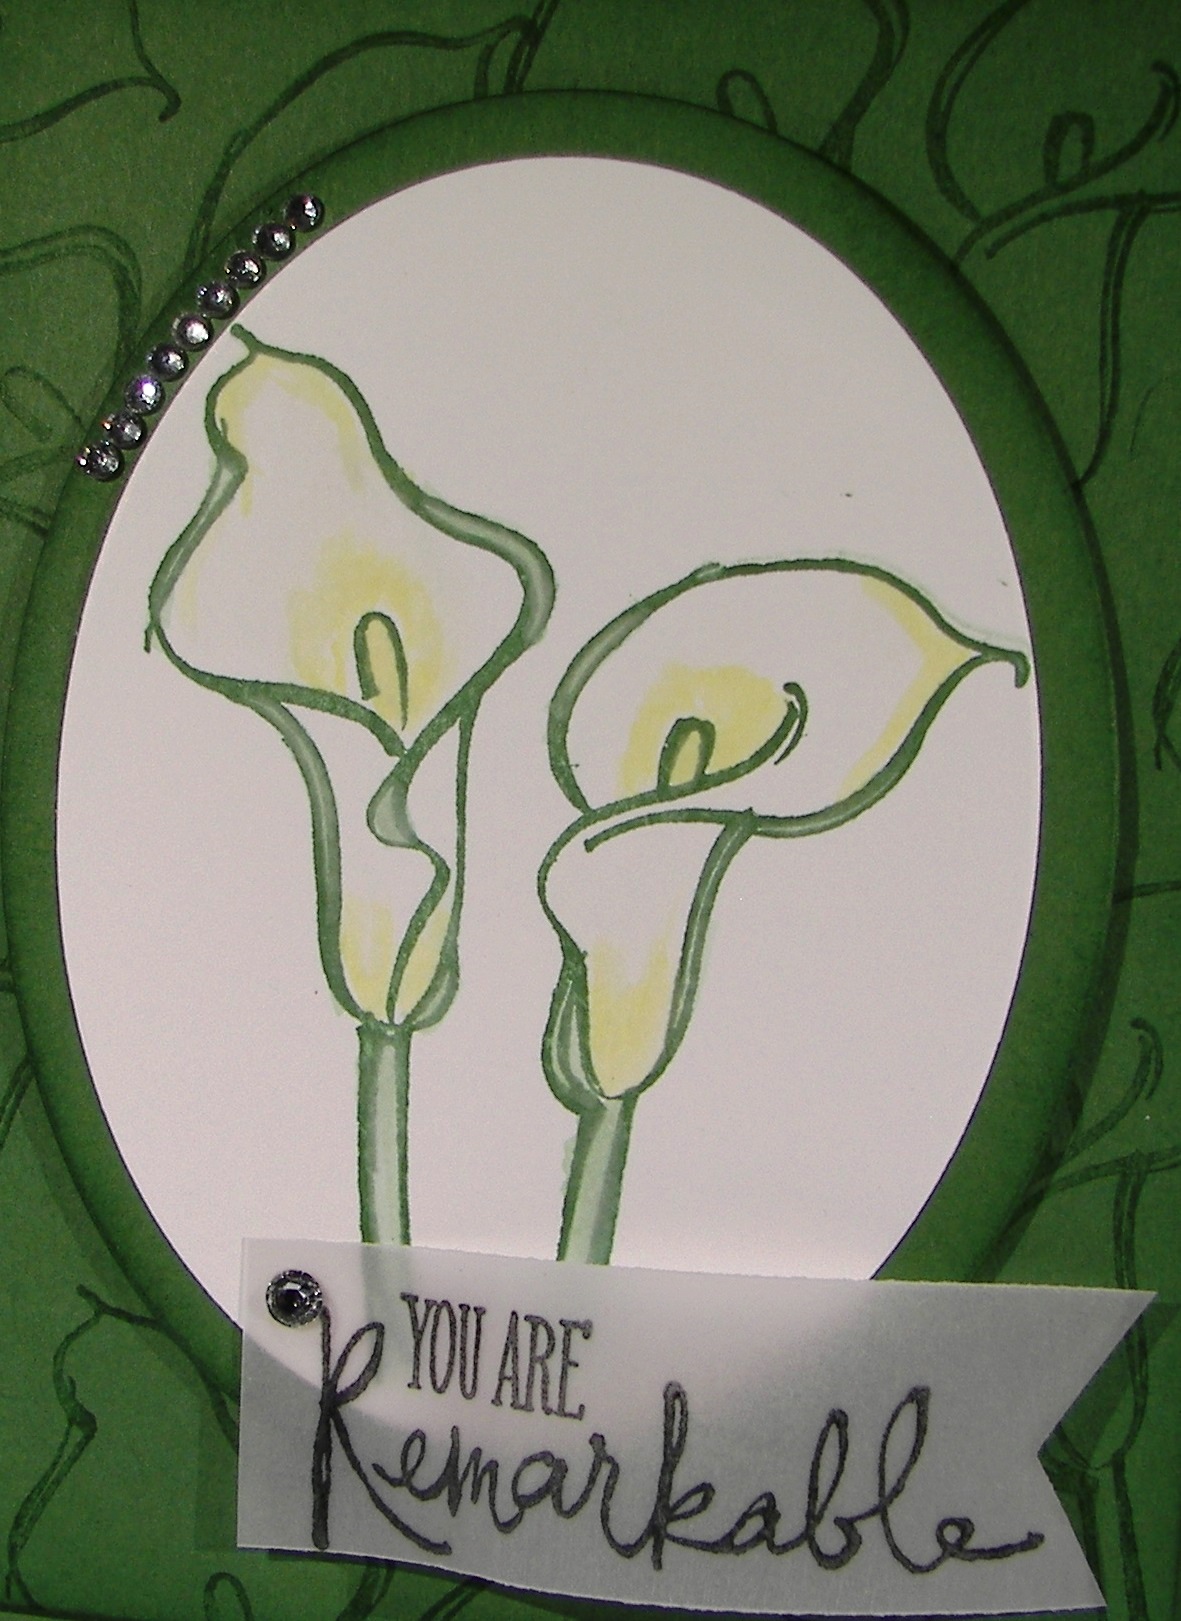
Moana